
OT: 9m Project ........ Vespa???
 04-25-2010, 01:45 AM
#91
I ride a Harley Davidson Road King and have for quite some time. In that time I have witnessed many terrible motorcycle accidents. I know this is a fun thread and I do not want to be a downer, BUT DO NOT LET YOUR 16 YEAR OLD DAUGHTER ride a scooter/motorcycle of any kind. It is not a question of if she will go down, but when.. And the real question is....will it be easy or hard. 
 04-25-2010, 06:58 AM
#92
Great stuff! Can't wait to see the progress as I will be calling in next Saturday to see the speedster.
I'm also tempted to get a Vespa for a bit of fun - the days of the Yamaha RD400 with 'coffin lid' tank doing 100+ down the Tatton Mile are well behind me............although you never know.....
I'm also tempted to get a Vespa for a bit of fun - the days of the Yamaha RD400 with 'coffin lid' tank doing 100+ down the Tatton Mile are well behind me............although you never know.....
04-25-2010, 12:54 PM
#94
Drifting
Join Date: Aug 2006
Location: South Bay, Los Angeles
Posts: 2,733
Likes: 0
Received 3 Likes
on
3 Posts
If I had a farm to tool around on, it'd be great. But with a 40 MPH top end and 220 lbs. to haul, it just doesn't work for me where I live.
04-26-2010, 09:49 PM
#95
Addict
Rennlist
Site Sponsor
Rennlist
Site Sponsor
Thread Starter
Little progress over the last week other than me cleaning up a lot of parts ready for the big refit, but frustratingly I have also found an oil leak on the transmission that I've got to sort out before the weekend if I'm going to get it built in time for the 9m93 Speedster launch party.
That said, me and JJ took a trip out today to visit Mike at Rage Designs (http://www.rage-designs.co.uk/roadbikes.htm) who specialises in race bike graphics - we know him due to looking after his 996GT3 trackday car. Not content with a "plain" prismatic silver paint finish JJ wanted the little scoot making a bit more special, so Mike is kindly finding the time in his busy schedule this week to do a bit of a custom number on the frame - yes, it's going retro!!
More photos to follow soon.
04-26-2010, 10:00 PM
#96
Addict
Rennlist
Site Sponsor
Rennlist
Site Sponsor
Thread Starter
I ride a Harley Davidson Road King and have for quite some time. In that time I have witnessed many terrible motorcycle accidents. I know this is a fun thread and I do not want to be a downer, BUT DO NOT LET YOUR 16 YEAR OLD DAUGHTER ride a scooter/motorcycle of any kind. It is not a question of if she will go down, but when.. And the real question is....will it be easy or hard.
I suppose what you have to take into account is the sensibility (or otherwise) of the individual in question and also the fact that for a 16 year old in the UK there is no other choice of motorised transport available other than a 50cc moped or scooter. The compulsory training she will receive is quite rigorous before she is allowed on the road, furthermore I also anticipate going out with her for a few weeks on my own scooter to make sure that she learns road sense skills quickly. The good news is that although she's comfortable with my speed in a car, put her in a go-cart on track and she doesn't take risks of any kind nor has a desire to race, so overall I'm comfortable with the decision to let her have her own scooter until she is old enough to drive a car. Besides, I've already warned her that she has to treat all other road users as idiots ....
04-27-2010, 12:14 AM
#97
Addict
Rennlist Member
Rennlist Member

Join Date: Sep 2003
Location: Saratoga, CA
Posts: 993
Likes: 0
Received 0 Likes
on
0 Posts
Granted drivers are probably more aware in the UK than here (especially in NorCal). But I have always tried to recognize the game cars play when I'm on my bike - they are playing a deceptive game of tag, and my goal is to anticipate them trying to nail me. So far, so good. Now the track, that's a different story = so far, so bad.
Oh yeah, knock on wood. --- Keep the pix coming and hope MayDay is great for you guys.
Oh yeah, knock on wood. --- Keep the pix coming and hope MayDay is great for you guys.
04-27-2010, 01:40 AM
#98
Guru
Lifetime Rennlist
Member
Rennlist Small
Business Sponsor
Lifetime Rennlist
Member
Rennlist Small
Business Sponsor
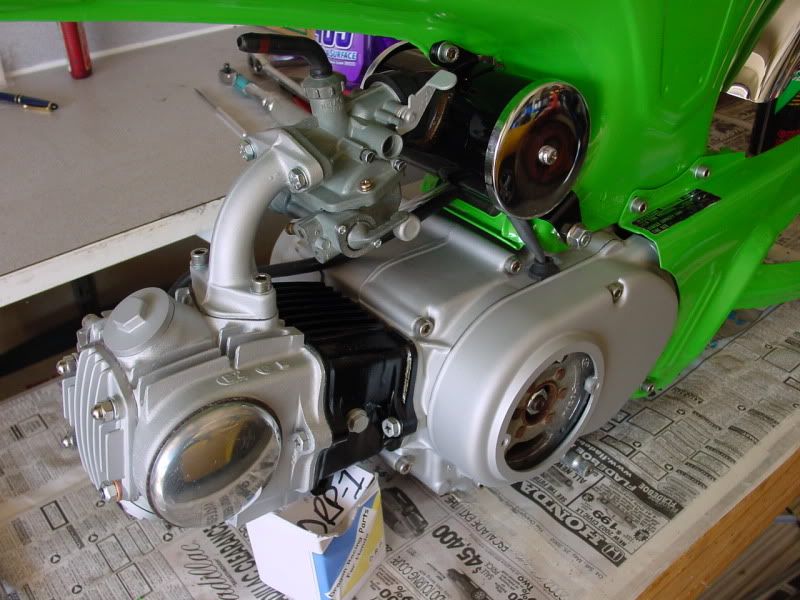
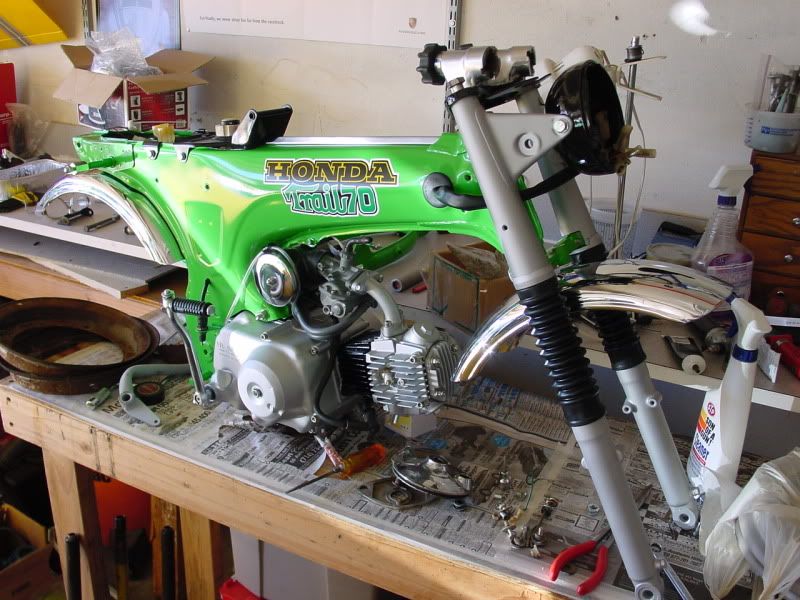
Have you followed the Trail 70 phenomenon in the last 10 years? Ever since American Honda discontinued it, there have been major restorations, high dollar transactions ($2K+?) aftermarket parts, Chinese knockoffs, etc. Everyone reliving their childhoods, I guess.
If I had a farm to tool around on, it'd be great. But with a 40 MPH top end and 220 lbs. to haul, it just doesn't work for me where I live.
If I had a farm to tool around on, it'd be great. But with a 40 MPH top end and 220 lbs. to haul, it just doesn't work for me where I live.
 04-28-2010, 08:45 PM
#99
Addict
Rennlist
Site Sponsor
Rennlist
Site Sponsor
Thread Starter
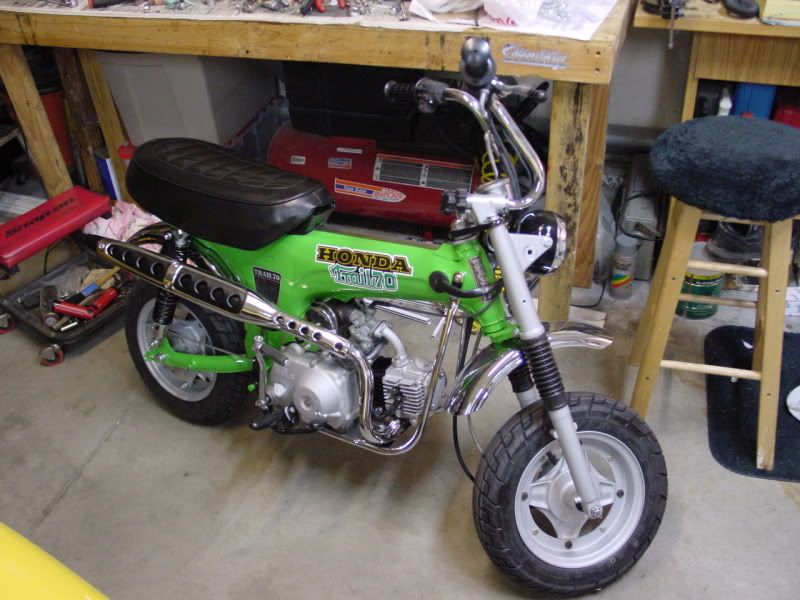
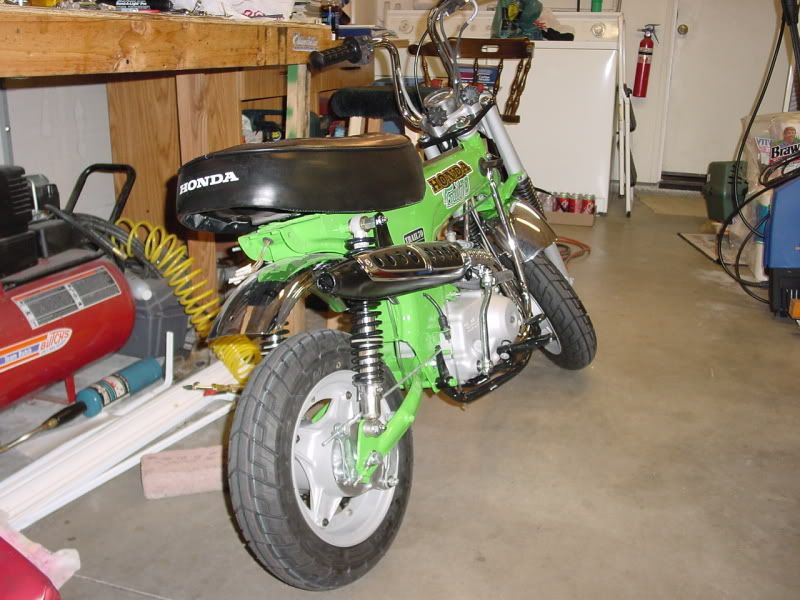
I'm glad I'm not the only one with a two wheel secret pleasure, Chris. Your Honda looks cool, but maybe a bit on the small side for commuting!?
Here's the latest from the home Vespa workshop where I've been busy playing the machanicals whilst the body has been at 9m for paint. I must admit that it makes a refreshing change to get out there and do a bit after getting home from work rather than just relaxing in front of the TV with my laptop or bass guitar. That said, I've also been burning a few midnight hours as well collecting the new parts I need from the internet.
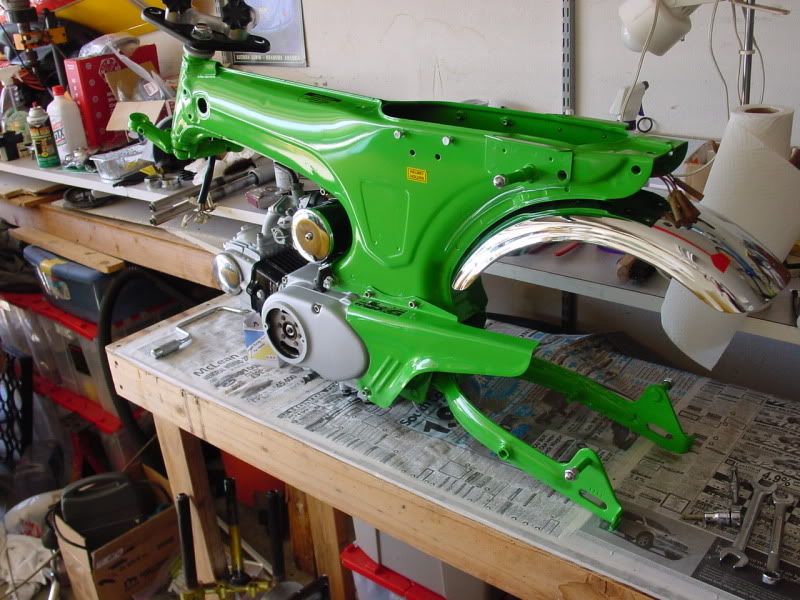
However, as I'm sure none of you want to see the pile of cleaned parts and the chrome bits that I have been polishing with brasso, here's something that you may find more interesting: the variable ratio transmission. After removing the back wheel I left the engine/trans assembly on the floor for a few days whist I concentrated on the body, but once I got around to lifting it onto the bench I discovered oil on the garage floor which I subsequently found was coming from the bottom of the transmission casing.
The investigation meant that I had to remove the belt cover, the variator and the clutch mechanism to access the reduction gear cover, hence a little improvisation was required to make locking tools for both ends so that I could undo the central nuts off the shafts and remove the belts. The final drive end was easy, take one piece of 2" square timber, drilled a 7/8" hole for the socket & two 1/2" holes with a pair of 1/2" drills for the locking pins and the clutch nut was easily loosened. The engine end was a lttle trickier, as I had to hold the starter ring gear with a conventional 911 style flywheel lock - made from a drilled alluminium bar bolted to the case and a fixed tooth in the shape of a ground end of an old Ikea allen key knocked through a hole in the bar. Simple!
Once the drive belt assembly was removed, the problem was evident. In my struggle to remove the rear wheel I resorted to a Vespa forum for some help and the most common advice seemed to be to knock the wheel off the hub by hitting the end of the shaft with a hammer whilst pulling the wheel. Easy peasy, a few reasonable hits and the wheel was off. What I did not realise though was that one of the hammer blows was sufficient to break off a piece of the casting at the other end of the shaft....
Here's the latest from the home Vespa workshop where I've been busy playing the machanicals whilst the body has been at 9m for paint. I must admit that it makes a refreshing change to get out there and do a bit after getting home from work rather than just relaxing in front of the TV with my laptop or bass guitar. That said, I've also been burning a few midnight hours as well collecting the new parts I need from the internet.
However, as I'm sure none of you want to see the pile of cleaned parts and the chrome bits that I have been polishing with brasso, here's something that you may find more interesting: the variable ratio transmission. After removing the back wheel I left the engine/trans assembly on the floor for a few days whist I concentrated on the body, but once I got around to lifting it onto the bench I discovered oil on the garage floor which I subsequently found was coming from the bottom of the transmission casing.
The investigation meant that I had to remove the belt cover, the variator and the clutch mechanism to access the reduction gear cover, hence a little improvisation was required to make locking tools for both ends so that I could undo the central nuts off the shafts and remove the belts. The final drive end was easy, take one piece of 2" square timber, drilled a 7/8" hole for the socket & two 1/2" holes with a pair of 1/2" drills for the locking pins and the clutch nut was easily loosened. The engine end was a lttle trickier, as I had to hold the starter ring gear with a conventional 911 style flywheel lock - made from a drilled alluminium bar bolted to the case and a fixed tooth in the shape of a ground end of an old Ikea allen key knocked through a hole in the bar. Simple!
Once the drive belt assembly was removed, the problem was evident. In my struggle to remove the rear wheel I resorted to a Vespa forum for some help and the most common advice seemed to be to knock the wheel off the hub by hitting the end of the shaft with a hammer whilst pulling the wheel. Easy peasy, a few reasonable hits and the wheel was off. What I did not realise though was that one of the hammer blows was sufficient to break off a piece of the casting at the other end of the shaft....
04-28-2010, 09:01 PM
#100
Addict
Rennlist
Site Sponsor
Rennlist
Site Sponsor
Thread Starter
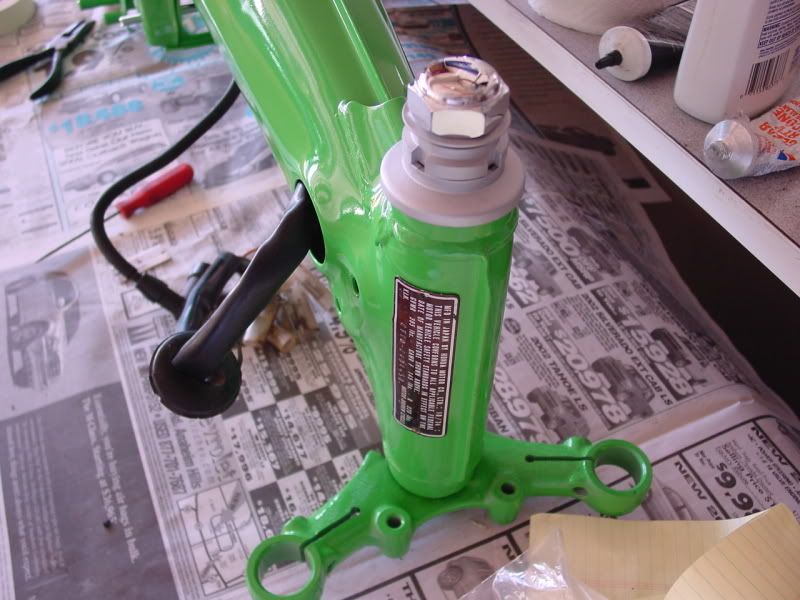
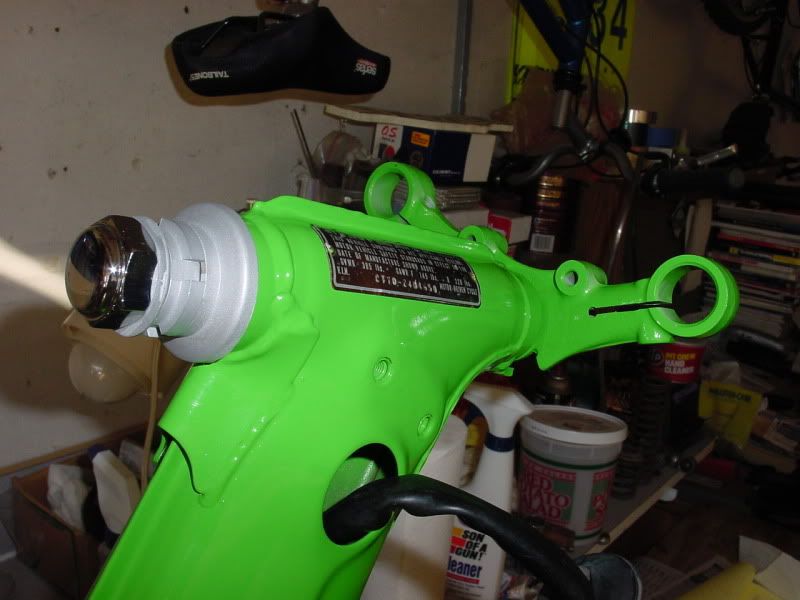
The only reasonably good news was that I have ordered a new final drive cover from Vespa and it's only �30, against the last gearbox endcasing that I ordered from Porsche which cost 10x that! So, now that I'm waiting for the replacement part to arrive I had to move my attention to the other end of the bike and make another special tool which is to tighten up the collar nuts on the top of the steering shaft.
Take one old imperial socket, turn down the outside in the lathe, source a straight piece of 40mm stainless steel pipe, face both ends, interference fit the tube onto the machined step of the socket in the press, then machine out the teeth on the milling machine to finish. The only problem I had was finding a suitable short length of 40mm OD pipe, but after searching around the workshop it was actually the 993 which came to the rescue by donating a piece of header pipe chopped out of an old heat exchanger.....
Here's the resulting 993/Vespa tool with the collar nuts.
04-28-2010, 09:49 PM
#101
Addict
Rennlist
Site Sponsor
Rennlist
Site Sponsor
Thread Starter
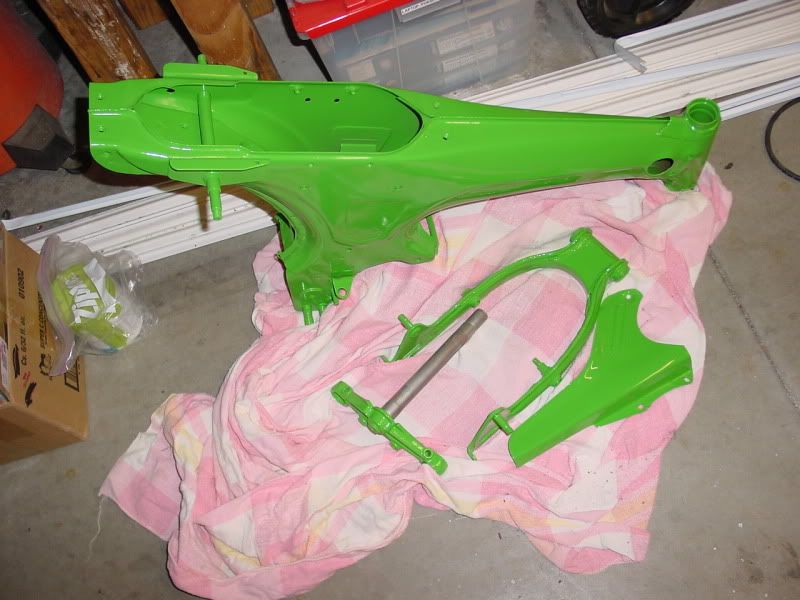
When the Vespa arrived home JJ actually loved the concept of the Union Jack graphics even though we were both horified about how the original owner painted them onto the bike - in fact she's even got a Union Jack picture hanging in her bedroom. Hence it was no surprise that when she loaded the "before" photos of the scooter on her facebook page to show all her mates the resulting concensus was that nomatter what colour we painted it, the UJ graphics had to stay. Fair enough, I suppose.
What we have ended up doing is compromising the accuracy of the flag slightly by painting it in candy red & blue over the silver prismatic, using the silver to replace the white background of the flag and the translucent colour to allow the prismatic finish to shine through in the sunlight. Here's the body with just the basecoat applied, we then wet flatted off the rest of the original clearcoat with 1500 wet & dry, Marc masked up the inside & bottom of the frame & then he hit it with another 3 coats of clear laquer.
At close of play tonight the Vespa was left going though the bake cycle in the booth, so with a bit of luck I should be able to post more photos of the final finish tomorrow.
 Doh!
04-30-2010, 01:31 AM
Doh!
04-30-2010, 01:31 AM
#103
Poseur
Rennlist Member
Rennlist Member
Colin--you're doing such a great job on that Vespa that I have sent a couple of my guys over with a few more...start on them when you get some free time...
05-03-2010, 09:07 PM
#104
Addict
Rennlist
Site Sponsor
Rennlist
Site Sponsor
Thread Starter
05-03-2010, 09:10 PM
#105
Addict
Rennlist
Site Sponsor
Rennlist
Site Sponsor
Thread Starter
On second thoughts, no, send back the truck. I think we'll have had enough once we've done three (JJ's, mine and Marc's).