When you click on links to various merchants on this site and make a purchase, this can result in this site earning a commission. Affiliate programs and affiliations include, but are not limited to, the eBay Partner Network.
Cohline 2240 - 9.3MM ID. The only exception is from the fuel filter to the feed side of the fuel rails, which I'm using the same stuff except 7.3MM ID. For whatever reason Porsche made that line smaller ID than everything else (7MM vs 9MM). The Cohline 2240 is rubber with braided reinforcement suitable for high pressure applications and rated for up to 100% ethanol content.
I'm crimping the appropriate size Cohline collars onto the stock fittings. I had the stock fittings and new Cohline collars plated to match all the hardware (you can see them above in the upper/middle left side of my re-plated hardware). On the piece between the fuel rails, I'm using an Oetiker 154 high pressure crimp clamp to ensure it doesn't budge off the rails. The stock stuff is a thin polyamide hose which is snaked through an outer protective rubber hose. The barb ends on the fuel rails are designed for rigid hose, hence the clamp. You can see one end is already crimped above. I don't want to attach the other end until I mount it and cut the hose to the exact length I want.
Additional specs:
Working Pressure: 145 psi or 10 bar
Bursting Pressure: 725 psi or 50 bar
Temperature Range: -40F to 257F
Approved for gasoline, diesel fuel, bio diesel, water, and air. Features an internally reinforced braiding to withstand pressure. ETHANOL Proof- 100%. Abrasion Resistant Outer Rubber Layer German OEM
Additional Standards: BMW GS 93010, DBL 6256.70, GME 08 007, SAE J30R9, VW TL 524 24, DIN 73379 Type 3E
Do you have more specifics on the fuel line? Great job really on the research and selection.
Do you think a clamp could be used on the crimp fittings instead of the collar?
I don't believe there's any reason you couldn't use a crimp clamp. I'd use a strong one like an Oetiker 154. Not that this is a very high pressure application really but I wouldn't use a flimsy clamp. I don't see any way that a clamp like that could budge or the fuel line get pulled off over the barb on the fitting. Below is a pic that shows the barb end of the fitting. The photo was taken after I cut open a test crimp on a hose collar to confirm the crimps were behind the barb. May have shared this with you on Instagram, cant recall. In any case, with the hose on there and a strong clamp behind the barb, again don't see any way it could pull off if you went that route.
The main reason for hose collars is to also protect the ends of the hose from fraying/wear, in addition to clamping behind the barb to prevent slippage. Personally, I prefer the collars and going that route because I want it to look more factory. I got them plated to match the fittings that were all refinished.
Regarding the fuel line specifics, not sure which you mean (stock or the Cohline 2240)? If the latter, the above is all I have and that it is used as OEM supply to various car makers.
Actually, I was being sarcastic about the massive amount of detail on the hoses! Very thorough.
Agree the Oetiker 154 clamp should work without problems.
You far exceed my minor obsession for stock appearance.
You ride will look factory fresh everywhere!
KW V3's. Rears have Rennline upper spring perch + Rennline monoball mounts. Fronts have Elephant monoball mounts and HybridAir air cup nose lift.
The air cup/nose lift has no effect on the suspension when deflated. It replaces the upper spring perch and the coilover's springs function as normal inside the air cup cavity. When inflated, it raises the nose of the car by extending the coilover piston shaft.
Last edited by boomboomthump; 04-15-2022 at 08:58 AM.
BTW, I replaced all the various mismatched strut tower nuts that Rennline and Elephant supply with factory lock-nuts from Porsche (as can be seen above).
Can someone answer a very stupid question for me, please? I've often pondered, what is the significance of the combined REDandYELLOW paint that the factory put on the strut tower lock nuts? I'm fully aware that a paint mark on nuts/bolts normally indicates it was torqued to spec and also visually indicates movement by a paint line no longer being "aligned" to where it was drawn (well understood).
But why are these nuts painted red and yellow? I've often wondered about the dual paint marks on them. Why two colors instead of just one?
(Yes, I'm so curious because I fully intend to paint both colors on them for a "factory look")
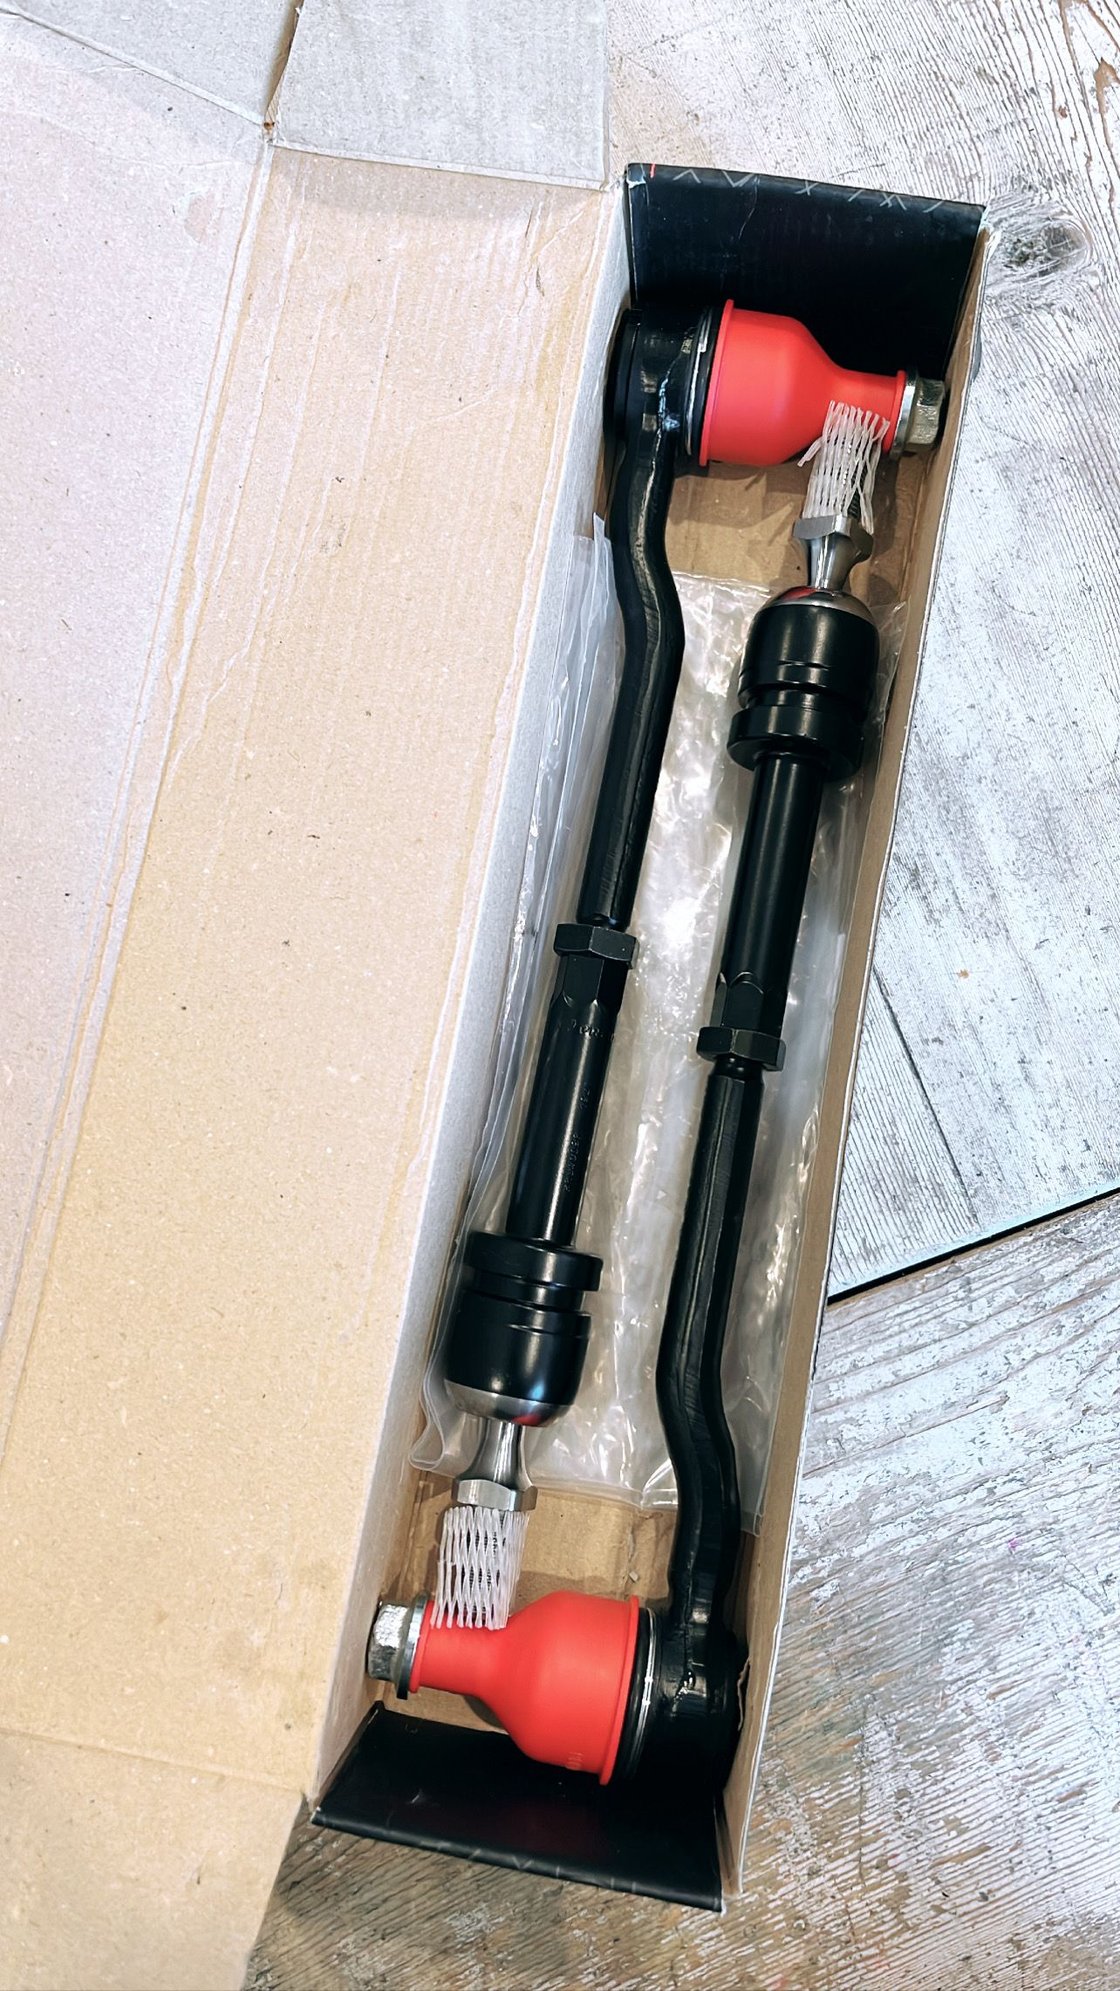
Tie-rods and some other misc stuff showed up while we were in Disney last week.
It's also been exactly a year since I dropped the motor on this thing to strip it down for paint. Hard to believe but it was one heck of a year. Looking forward to kicking it into high gear now that the weather is nice.
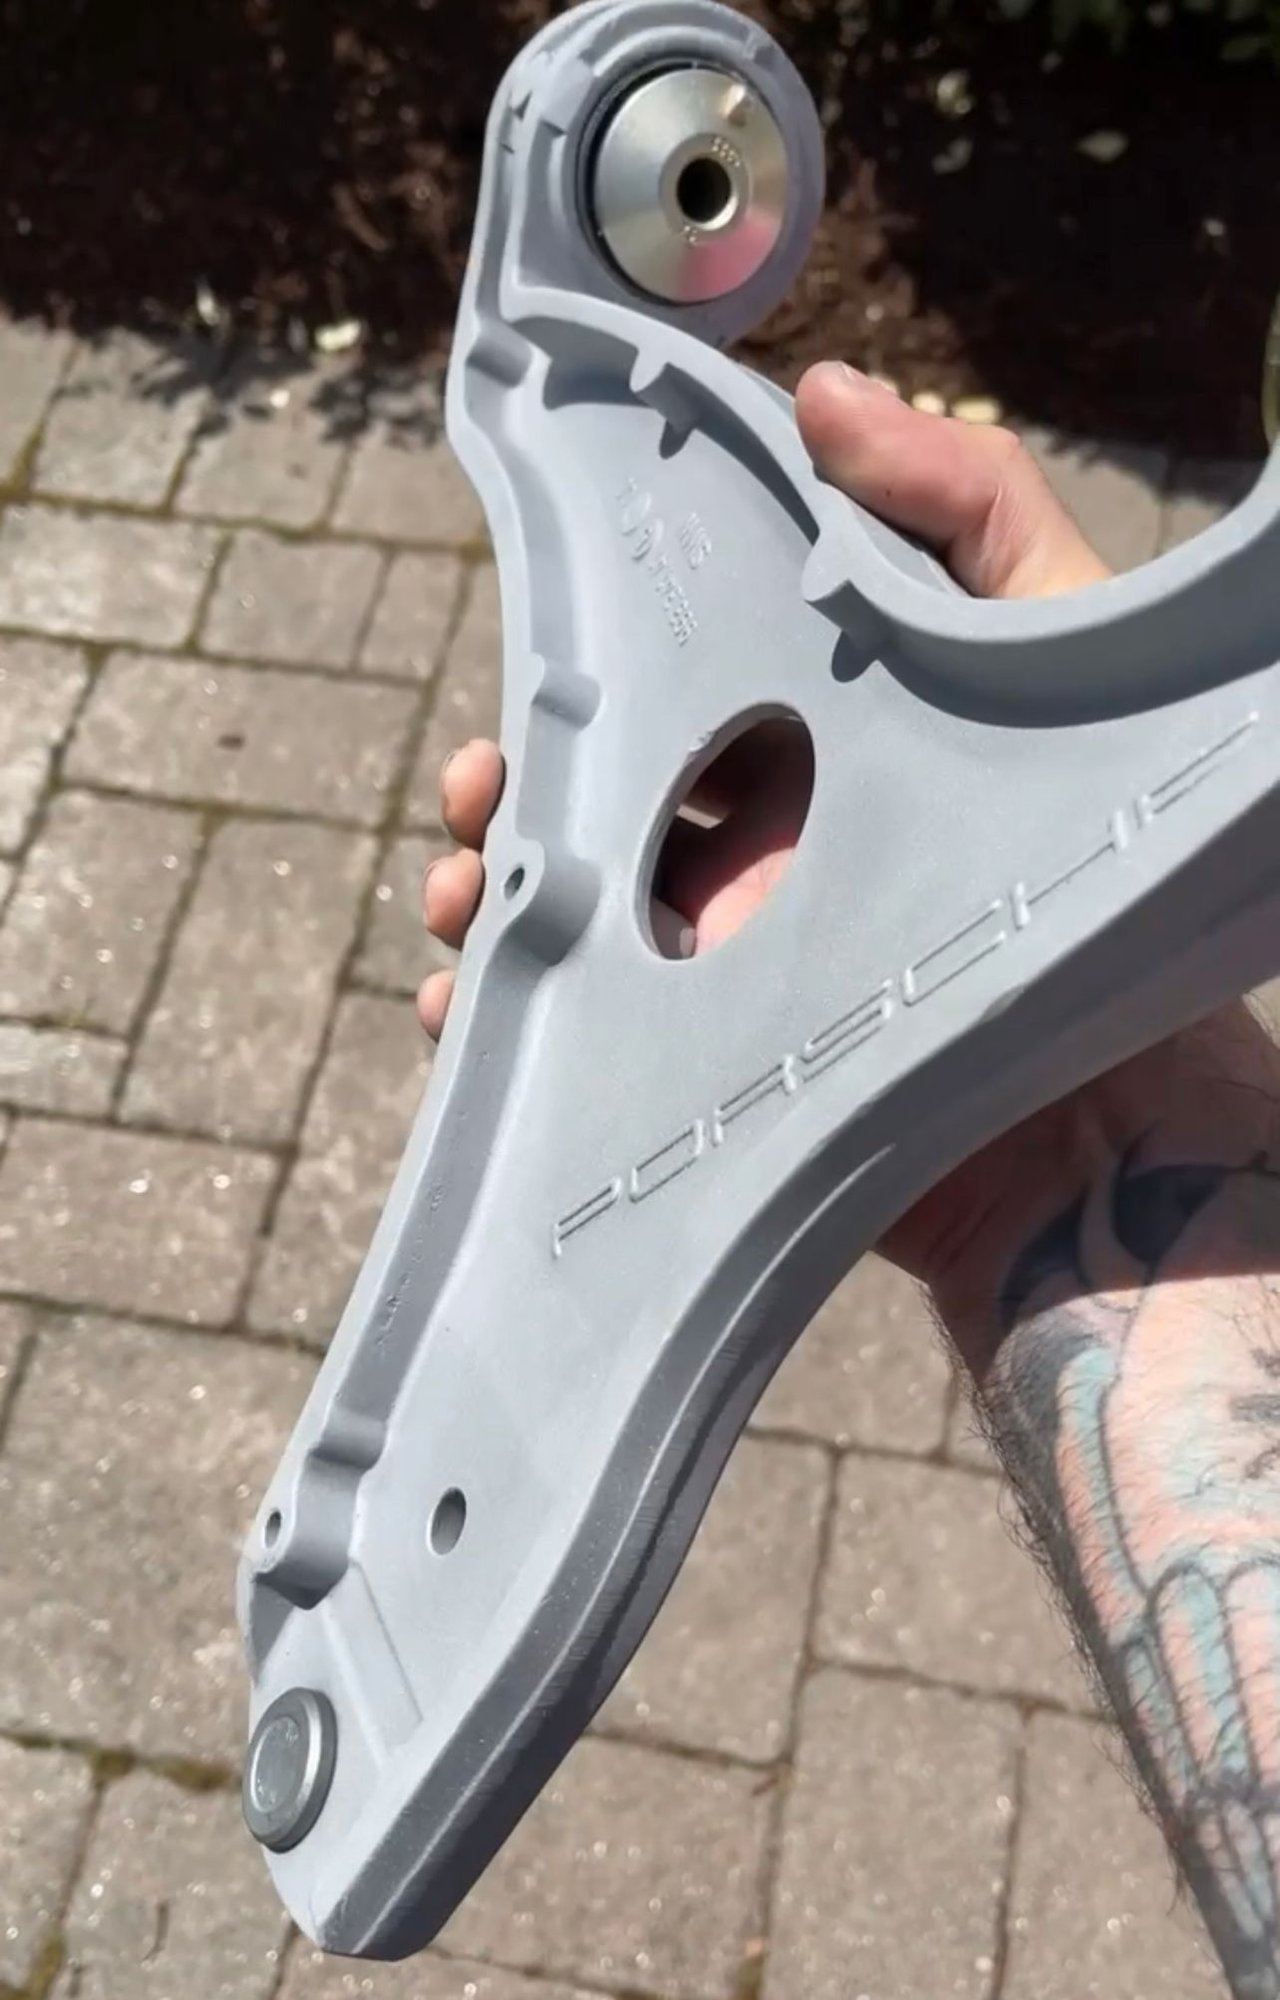
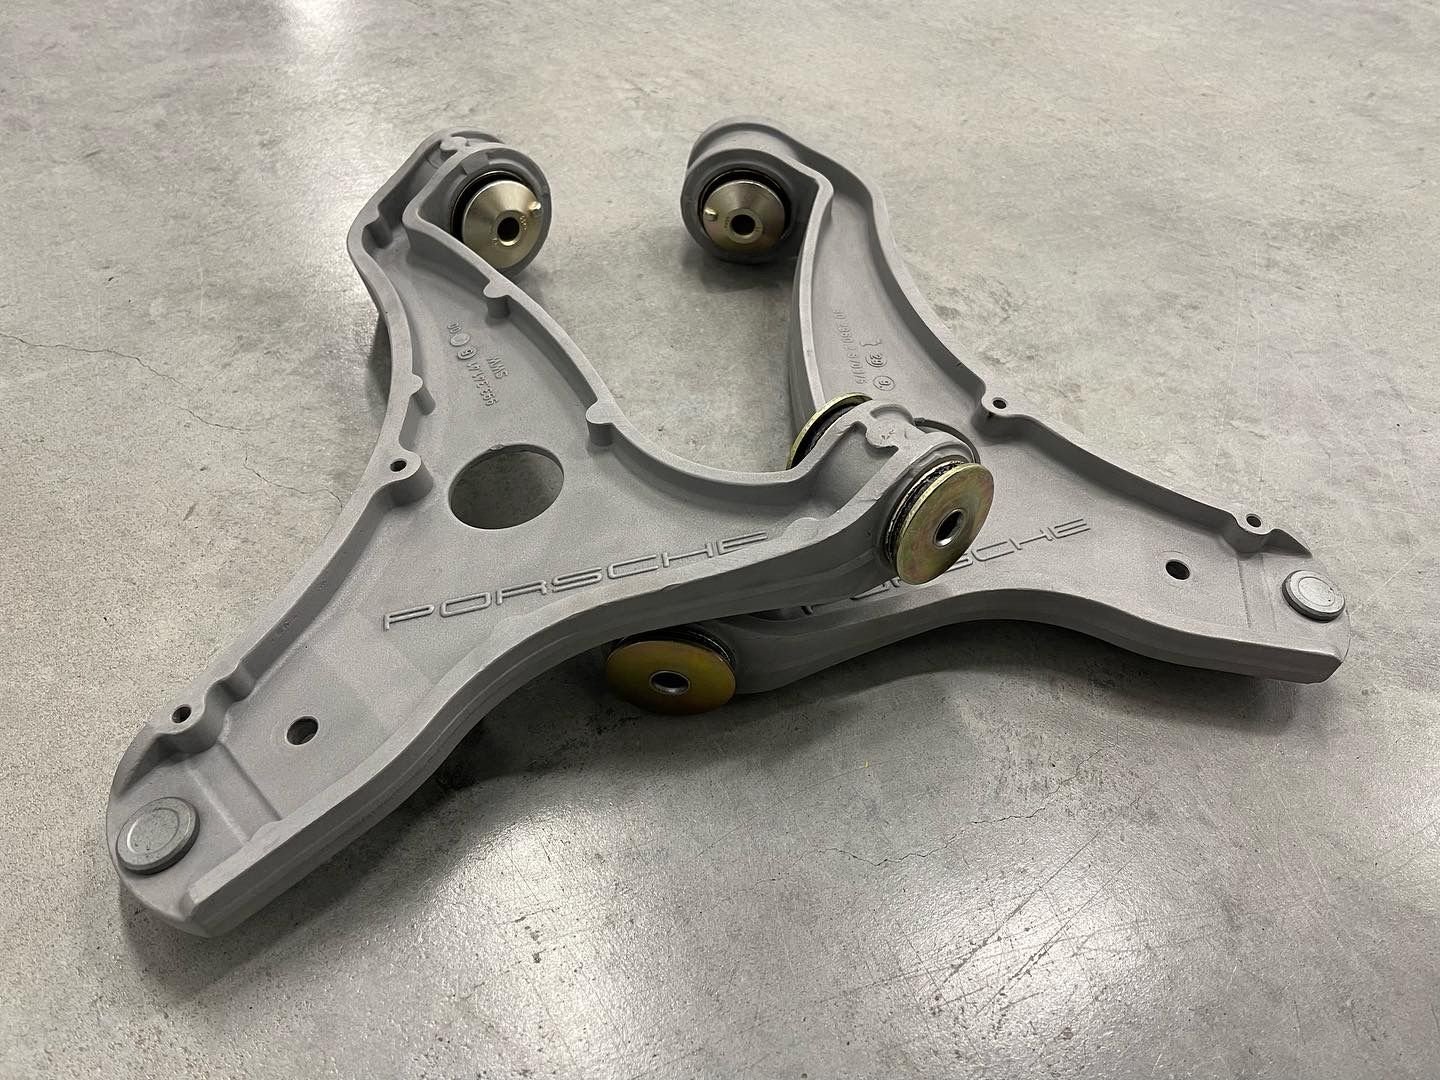
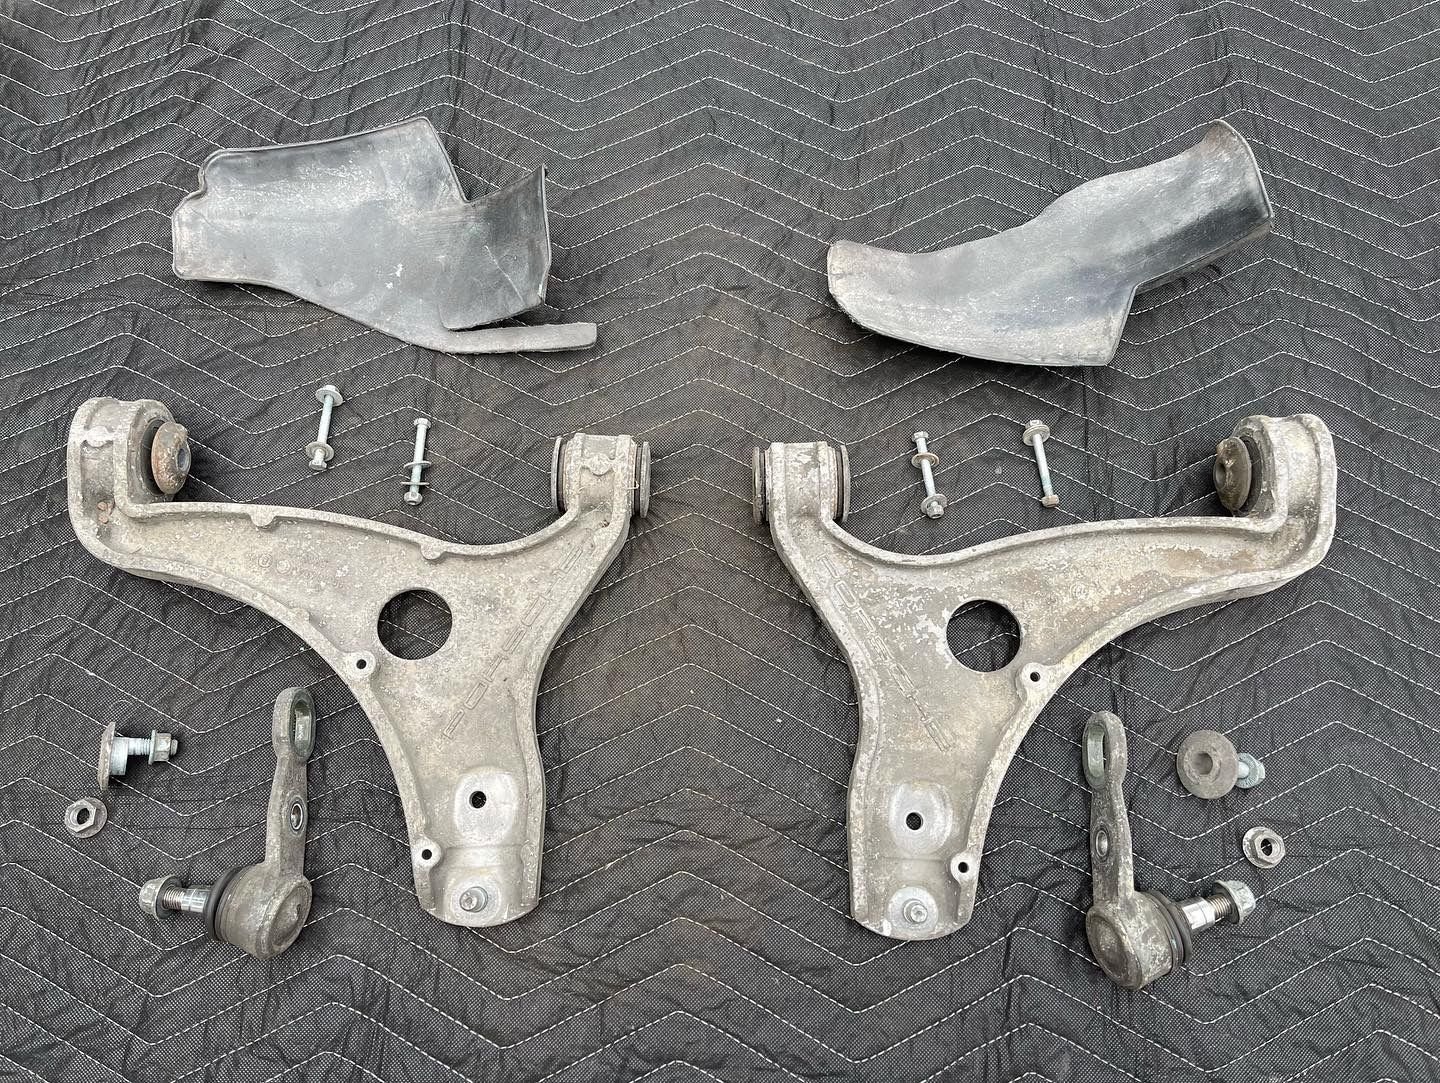
Next up: I'm bead blasting all the suspension arms, pressing in all the new bushings and new wheel bearings.
Incredible. How do you know how to do all of this? I can barely keep up with the lingo, let alone even considering doing something like this. How do you know what do do and what tools to use? I mean absolutely incredible.
- glass bead blasted them myself
- went to visit my shop press in the storage unit to press the bushings in
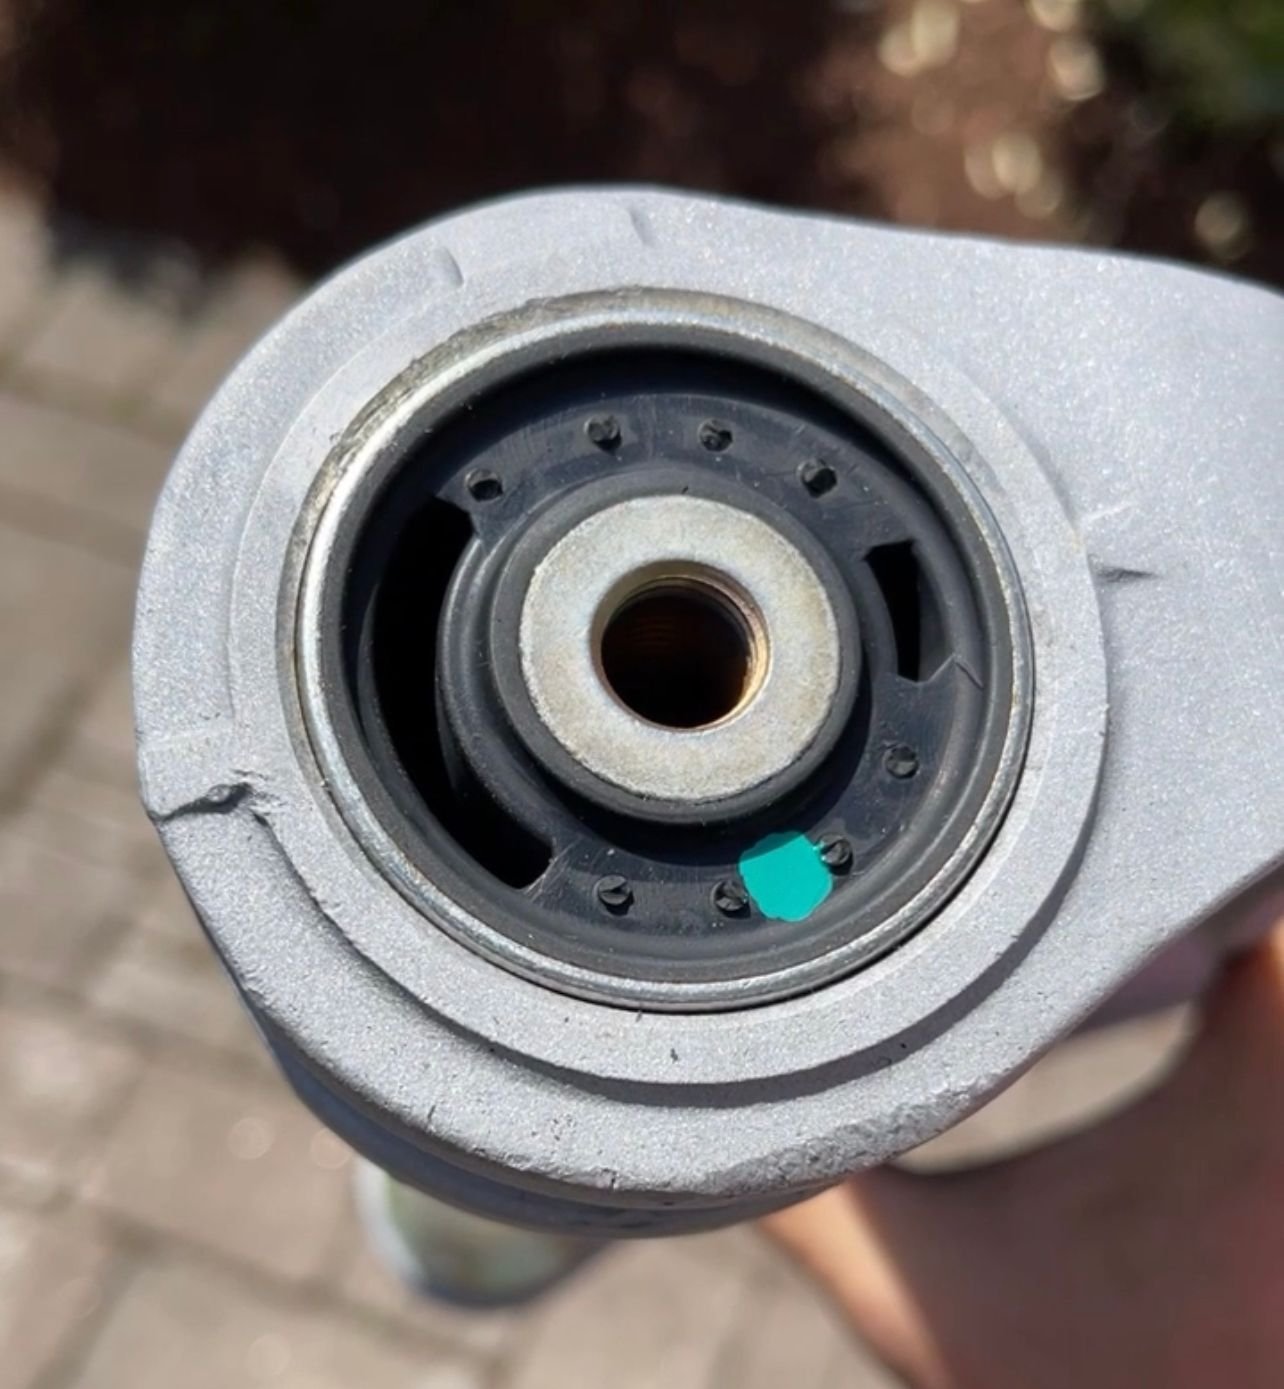
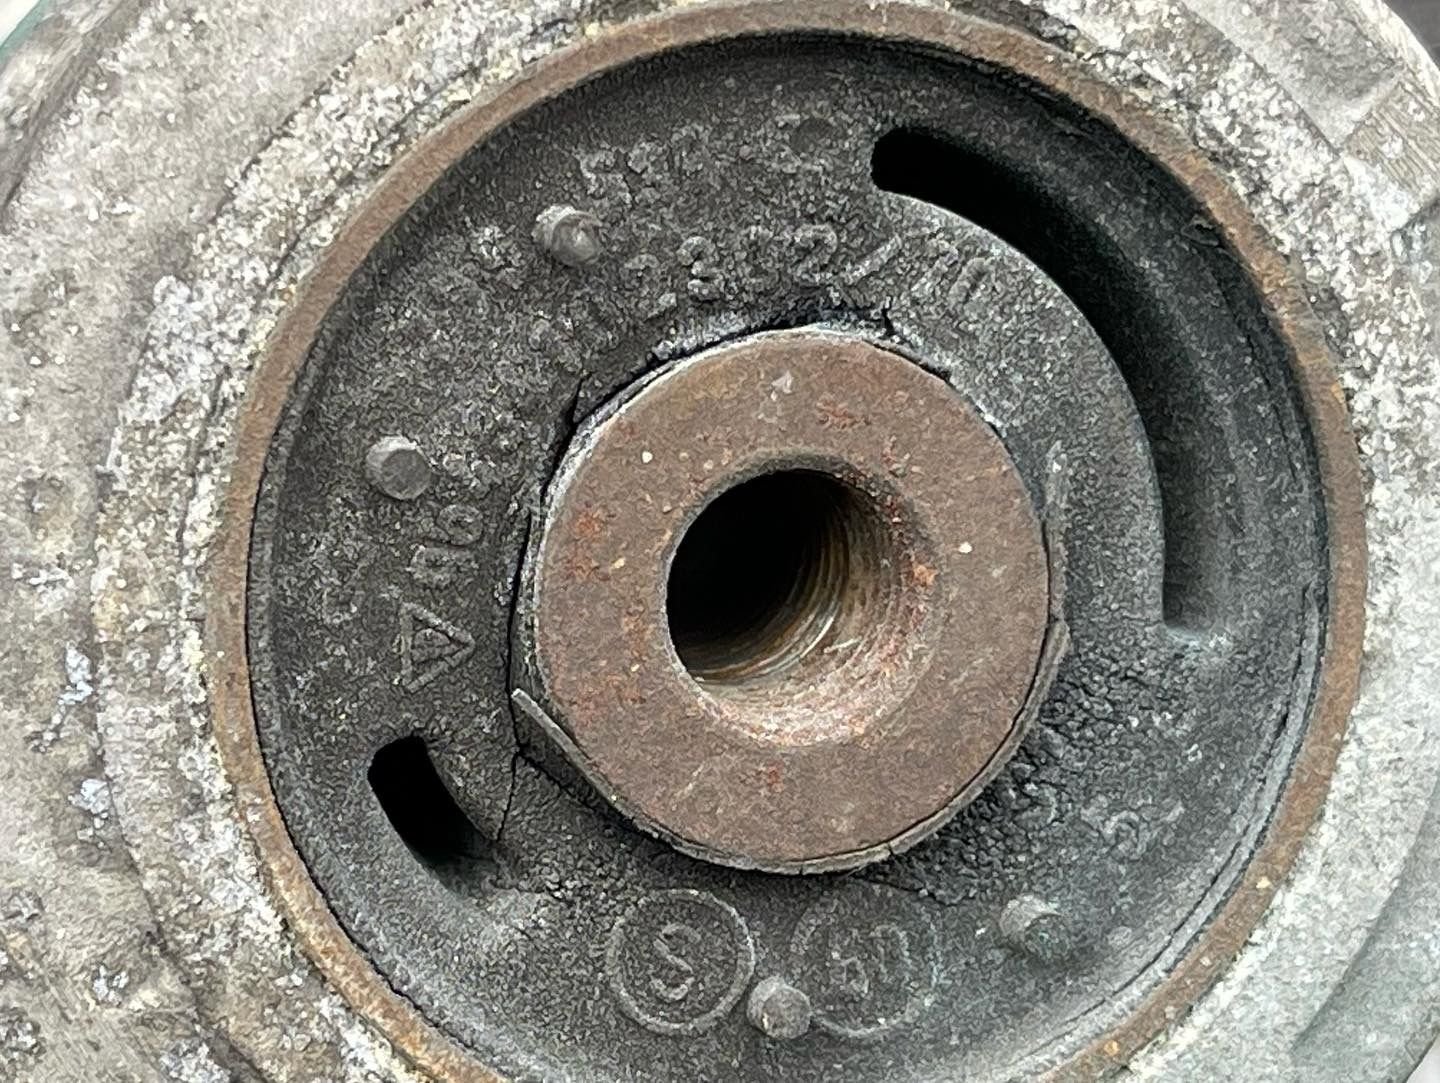
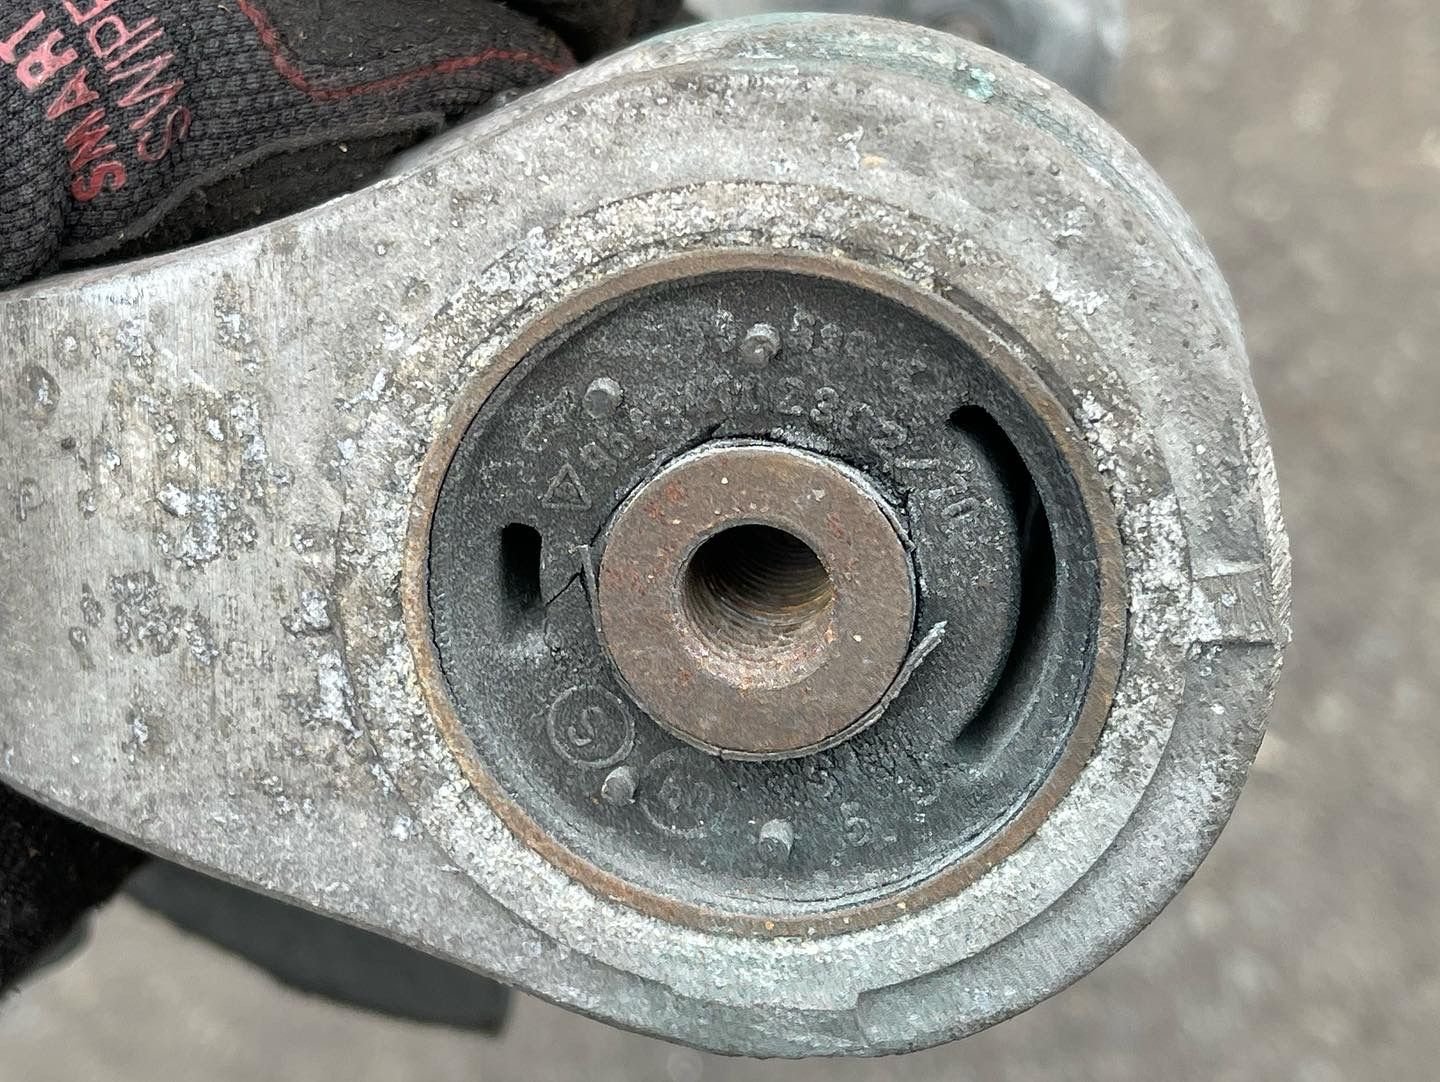
Here�s some pics of the before and after. Pressed in the Elephant �Sport� bushings (RS hardness). Even put a green paint dot on the rubber so the next guy (should I die) has a clue that it�s not stock rubber.
Next up: completely took apart and removed the whole rear suspension subframe and parts. All getting blasted and the same treatment with bushing upgrades/replacements. The subframe itself will get solid mounts from Elephant.
Last edited by boomboomthump; 05-02-2022 at 11:05 AM.

 04-08-2022, 07:14 AM