When you click on links to various merchants on this site and make a purchase, this can result in this site earning a commission. Affiliate programs and affiliations include, but are not limited to, the eBay Partner Network.
Many thanks to polobai, BlitzIS, and others for this mod!
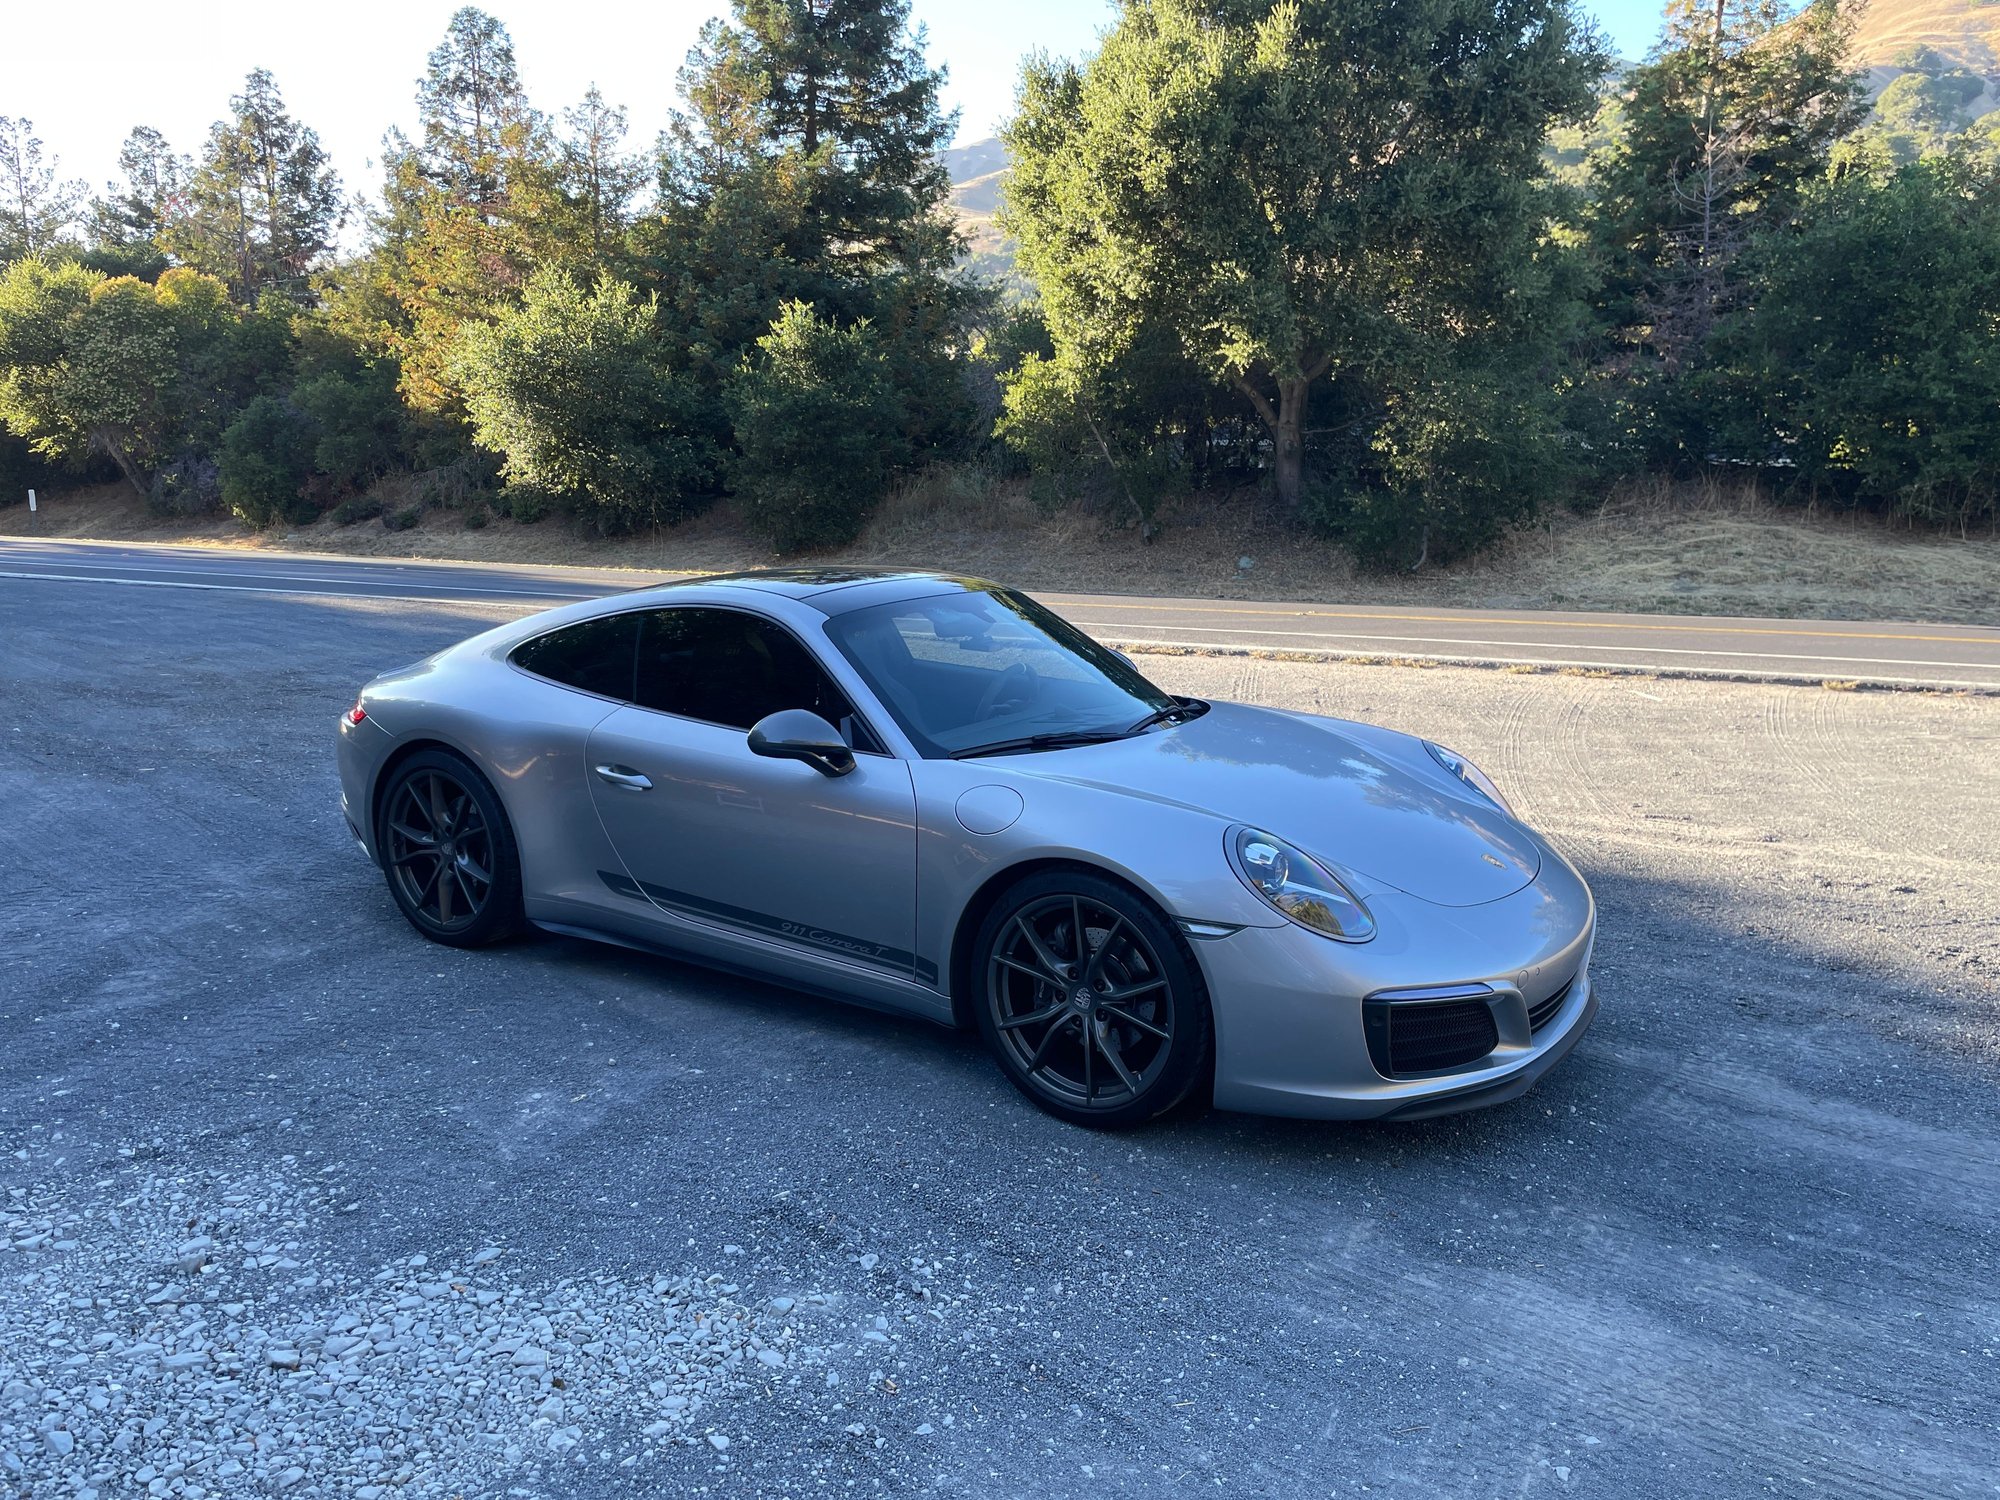
Here are some pics and additional tips from my experience putting on the sideskirts. With a little experimenting, figured out how to do this in a completely reversible manner (no holes drilled into car) and with minimal gap.
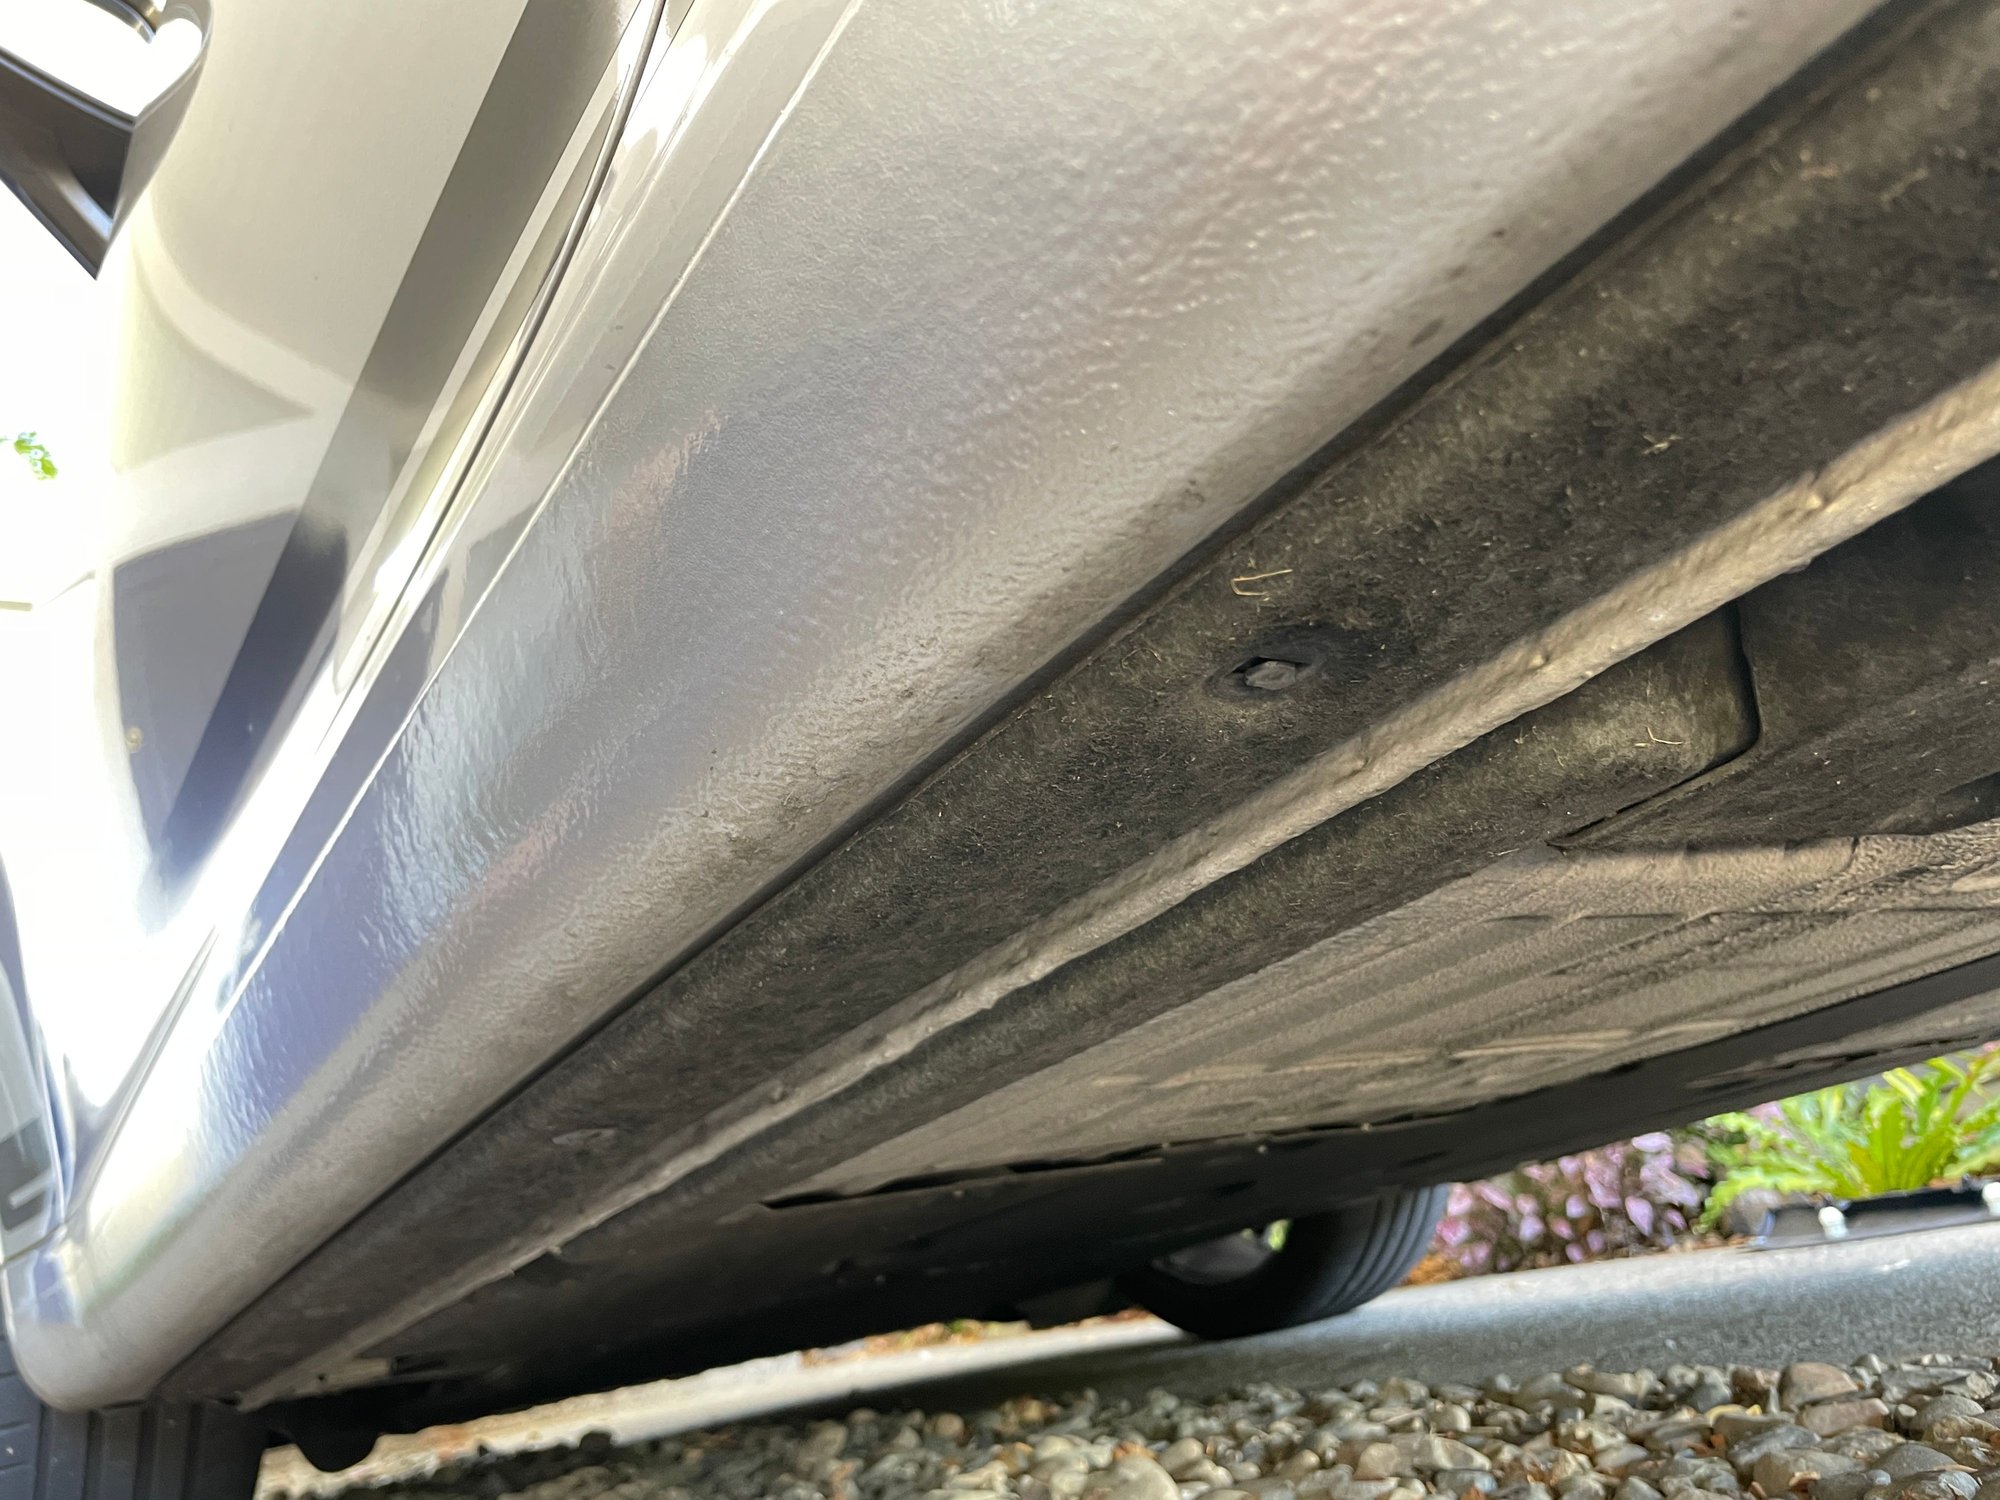
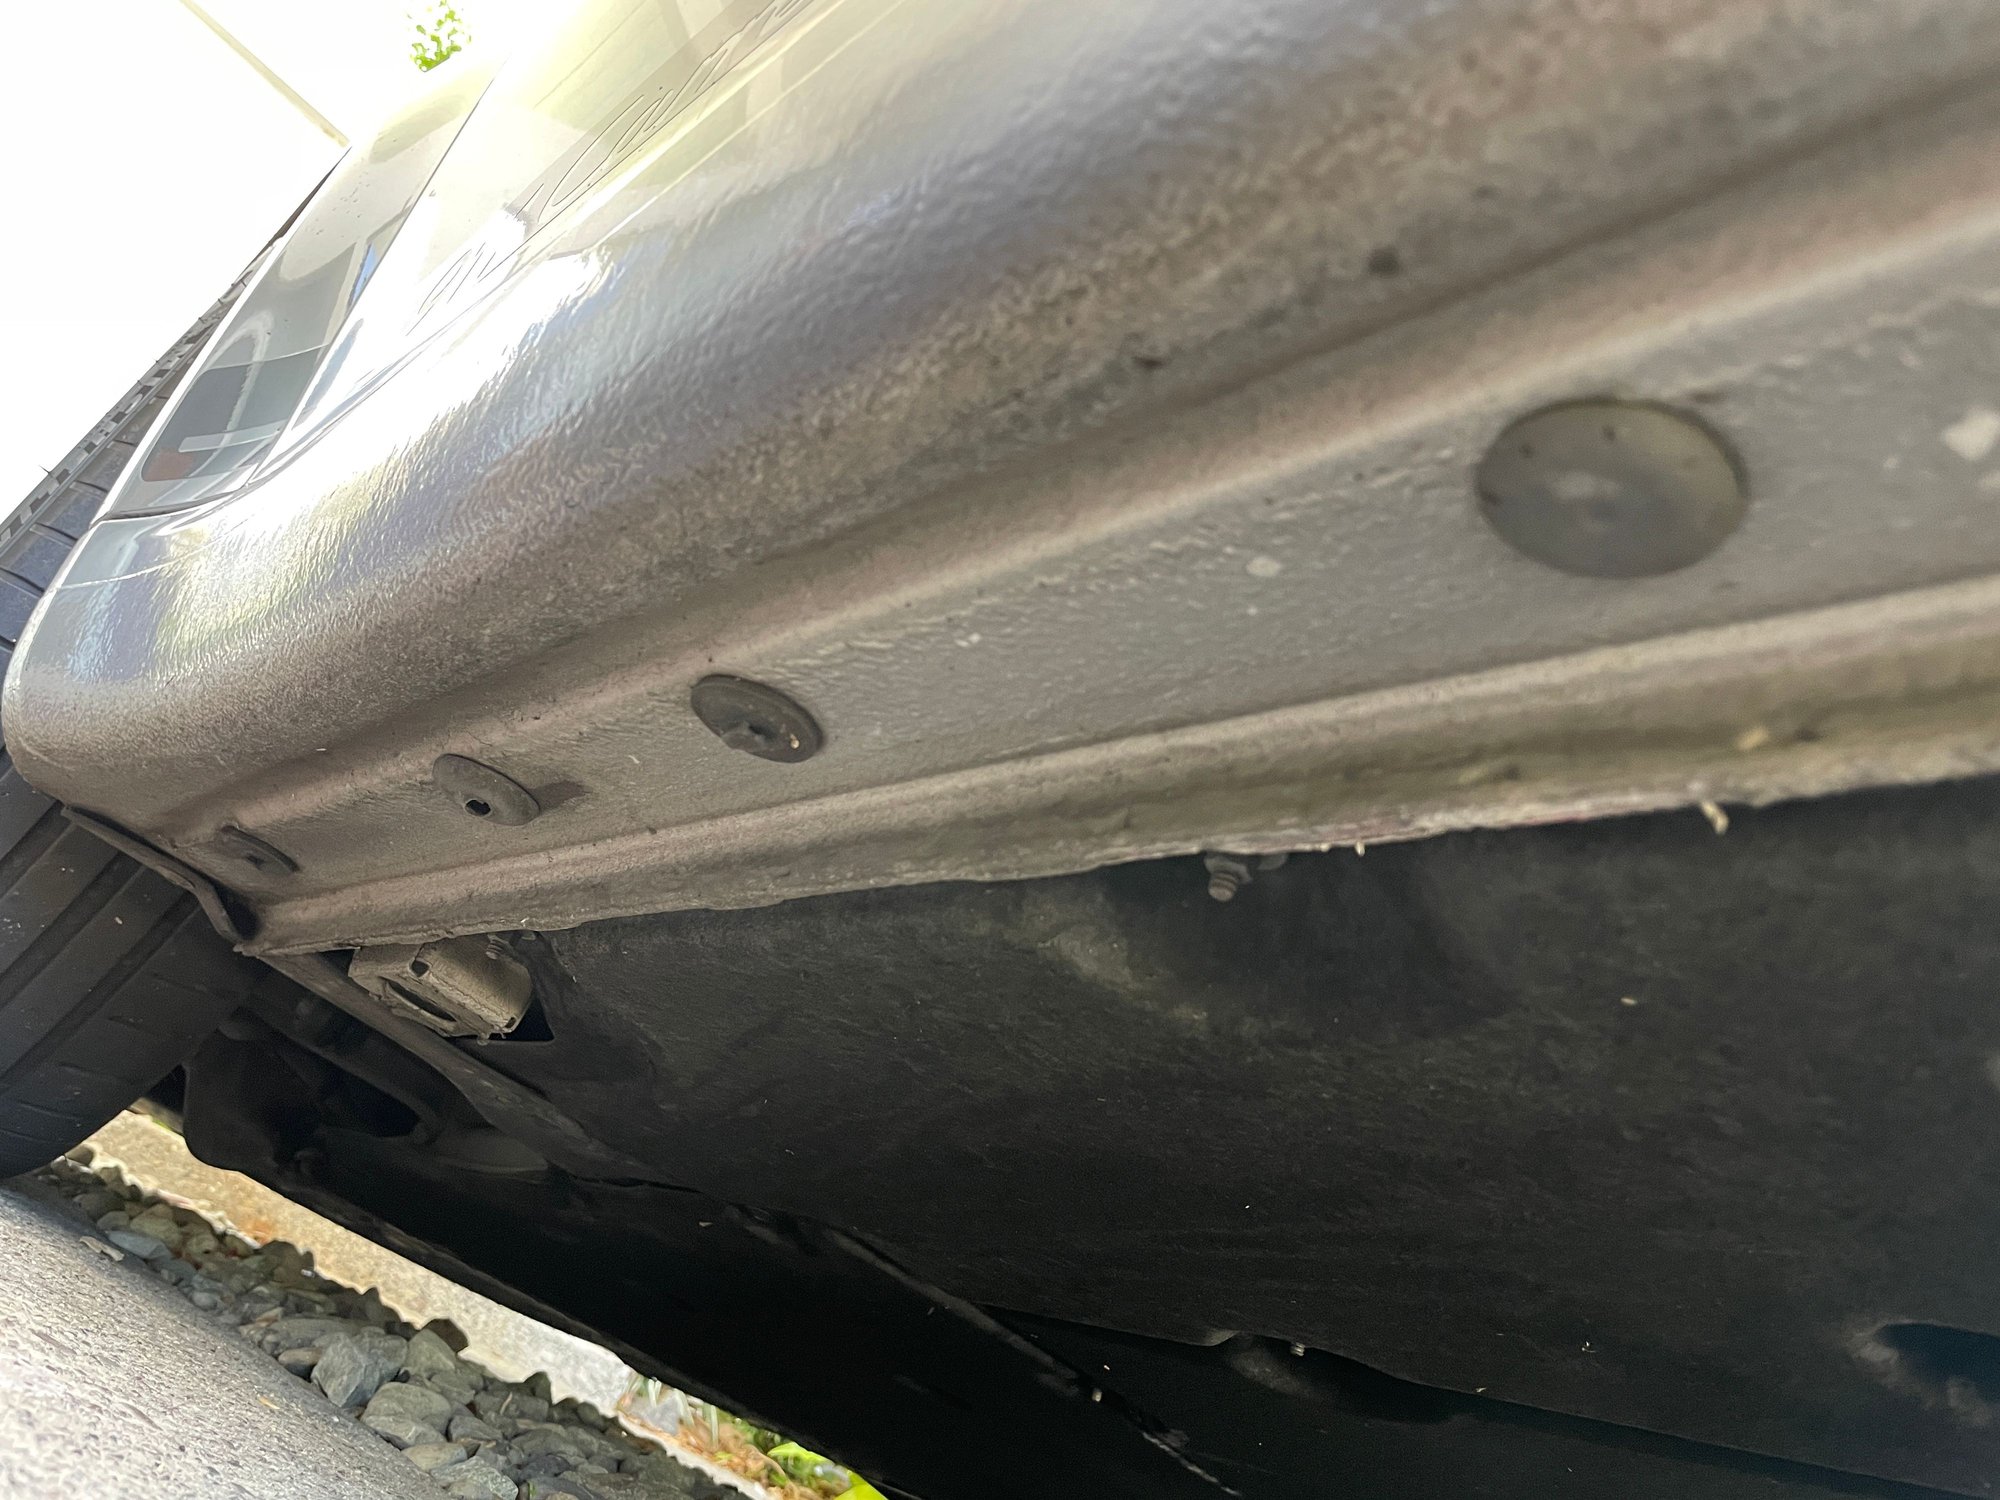
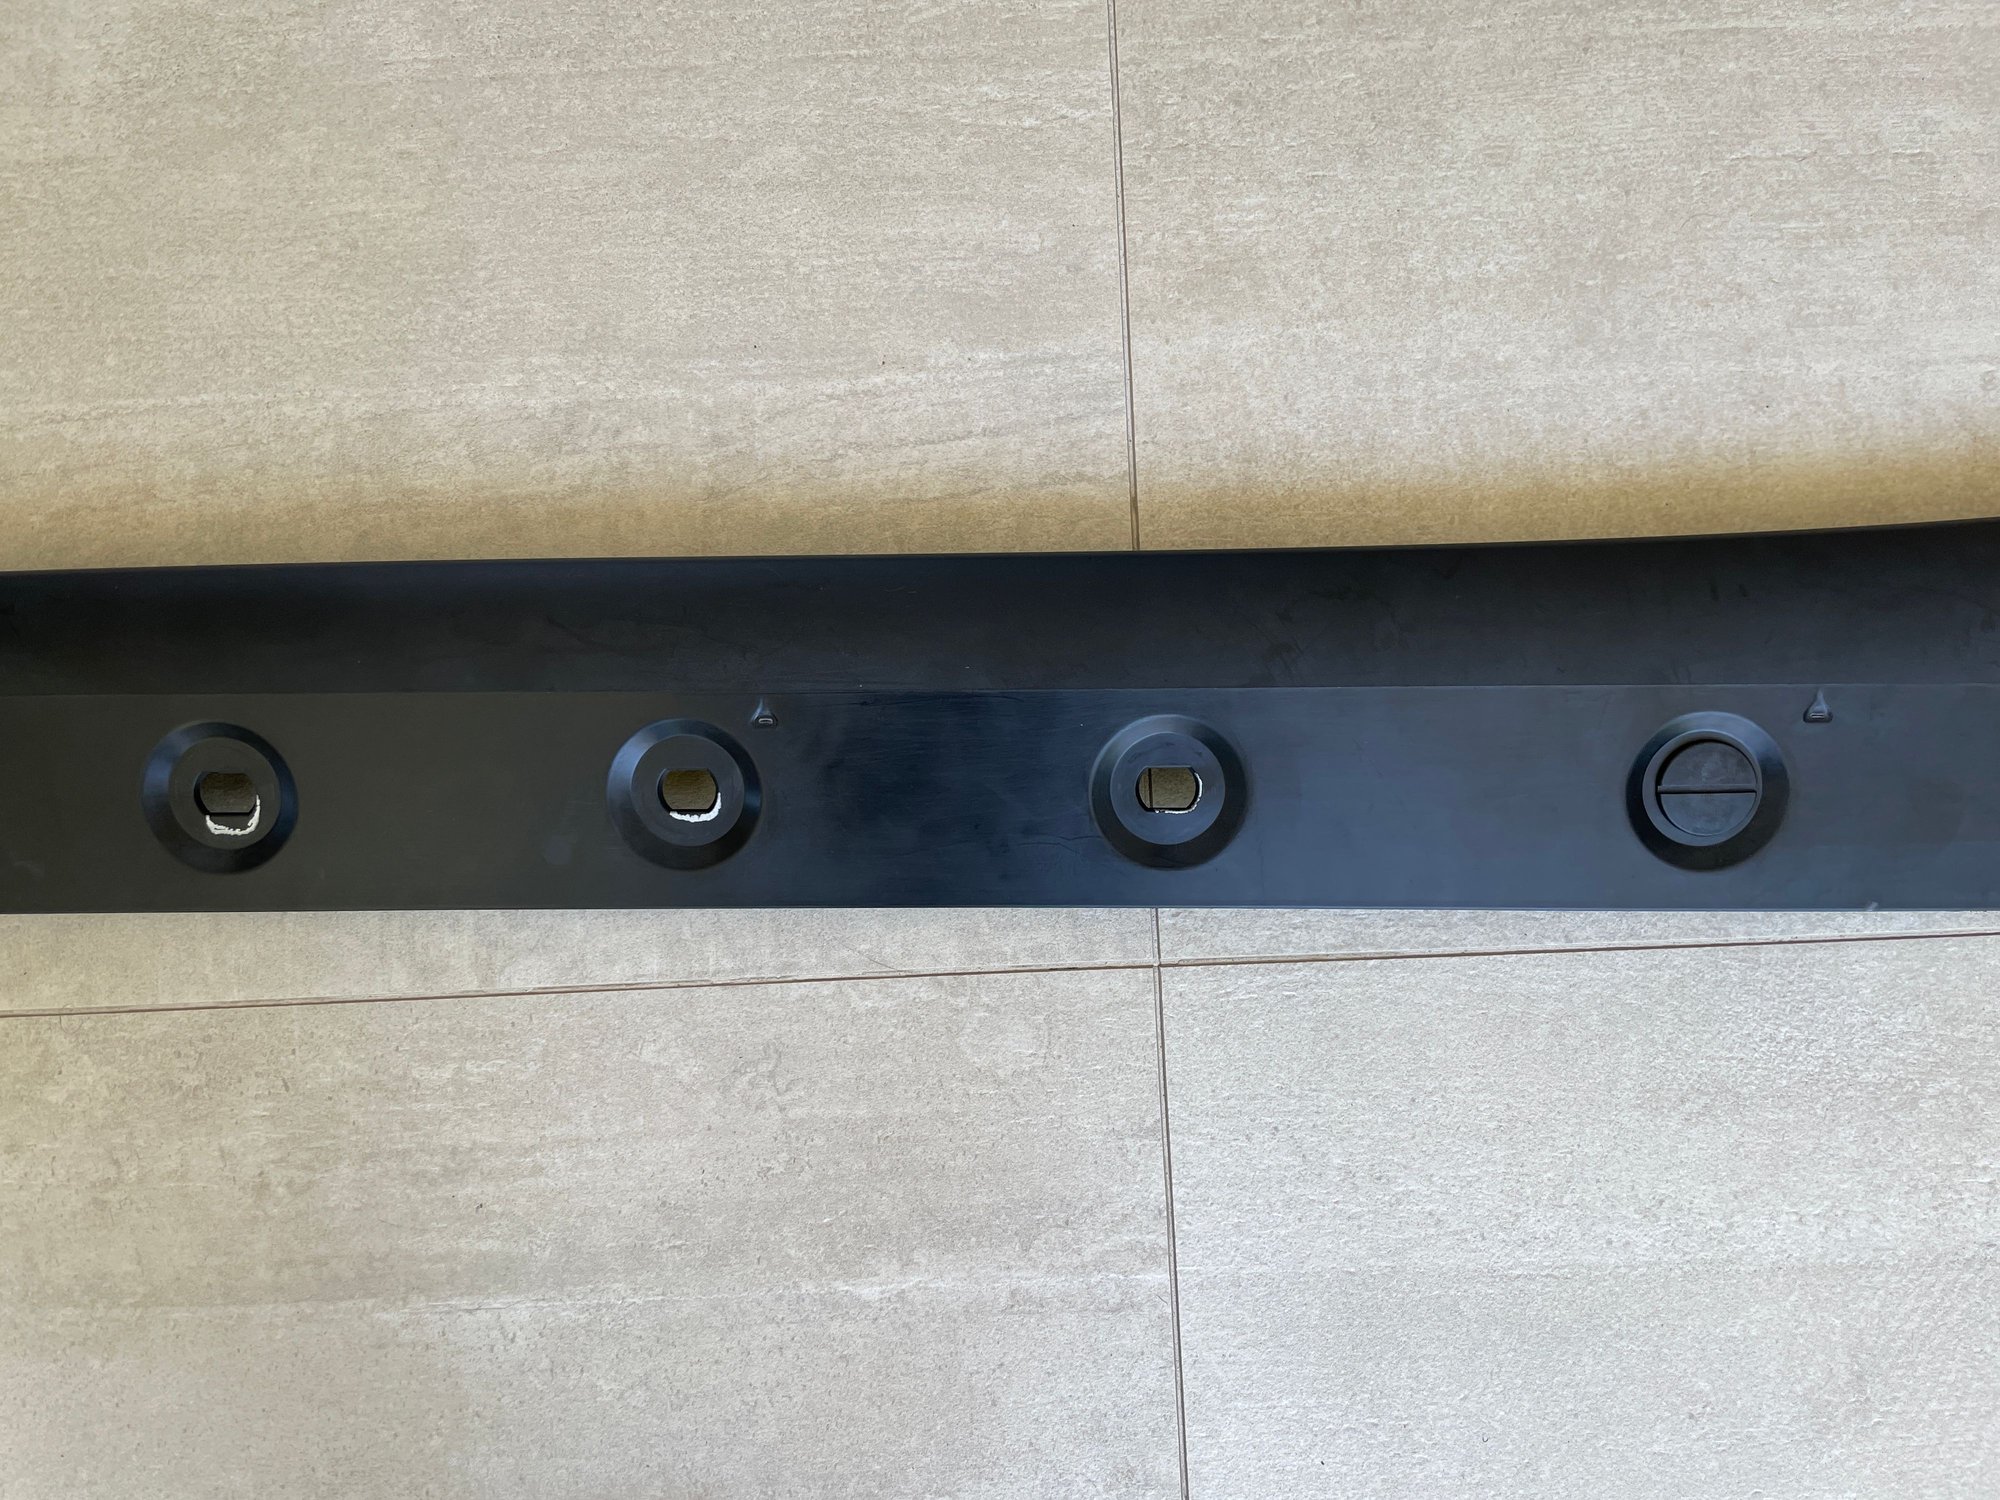
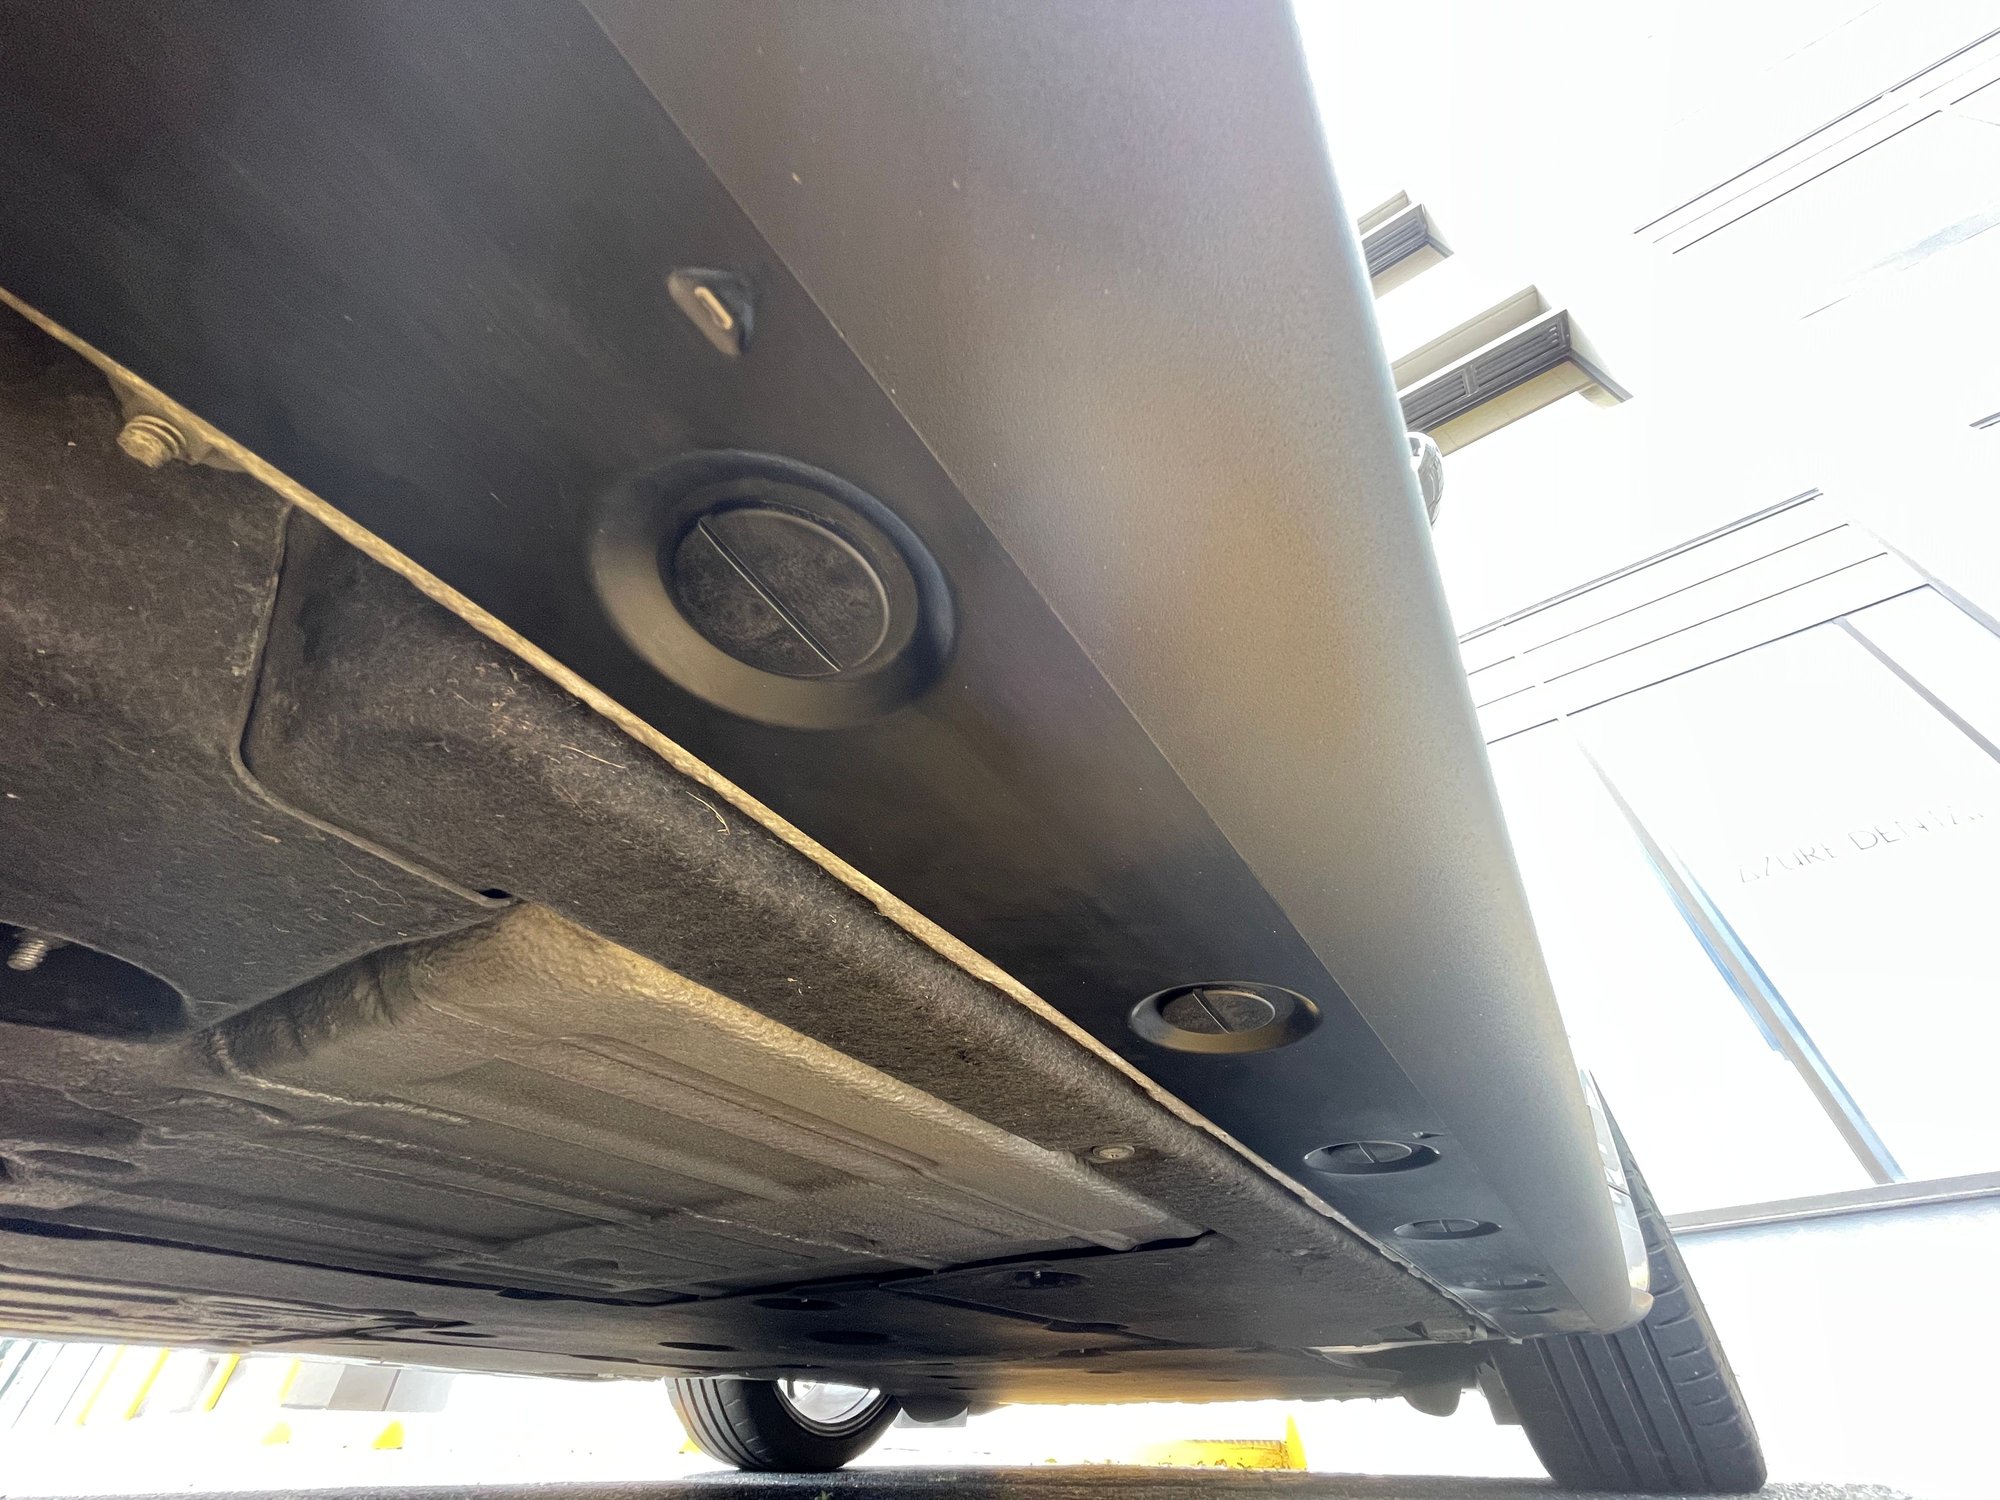
Here's how things start out.
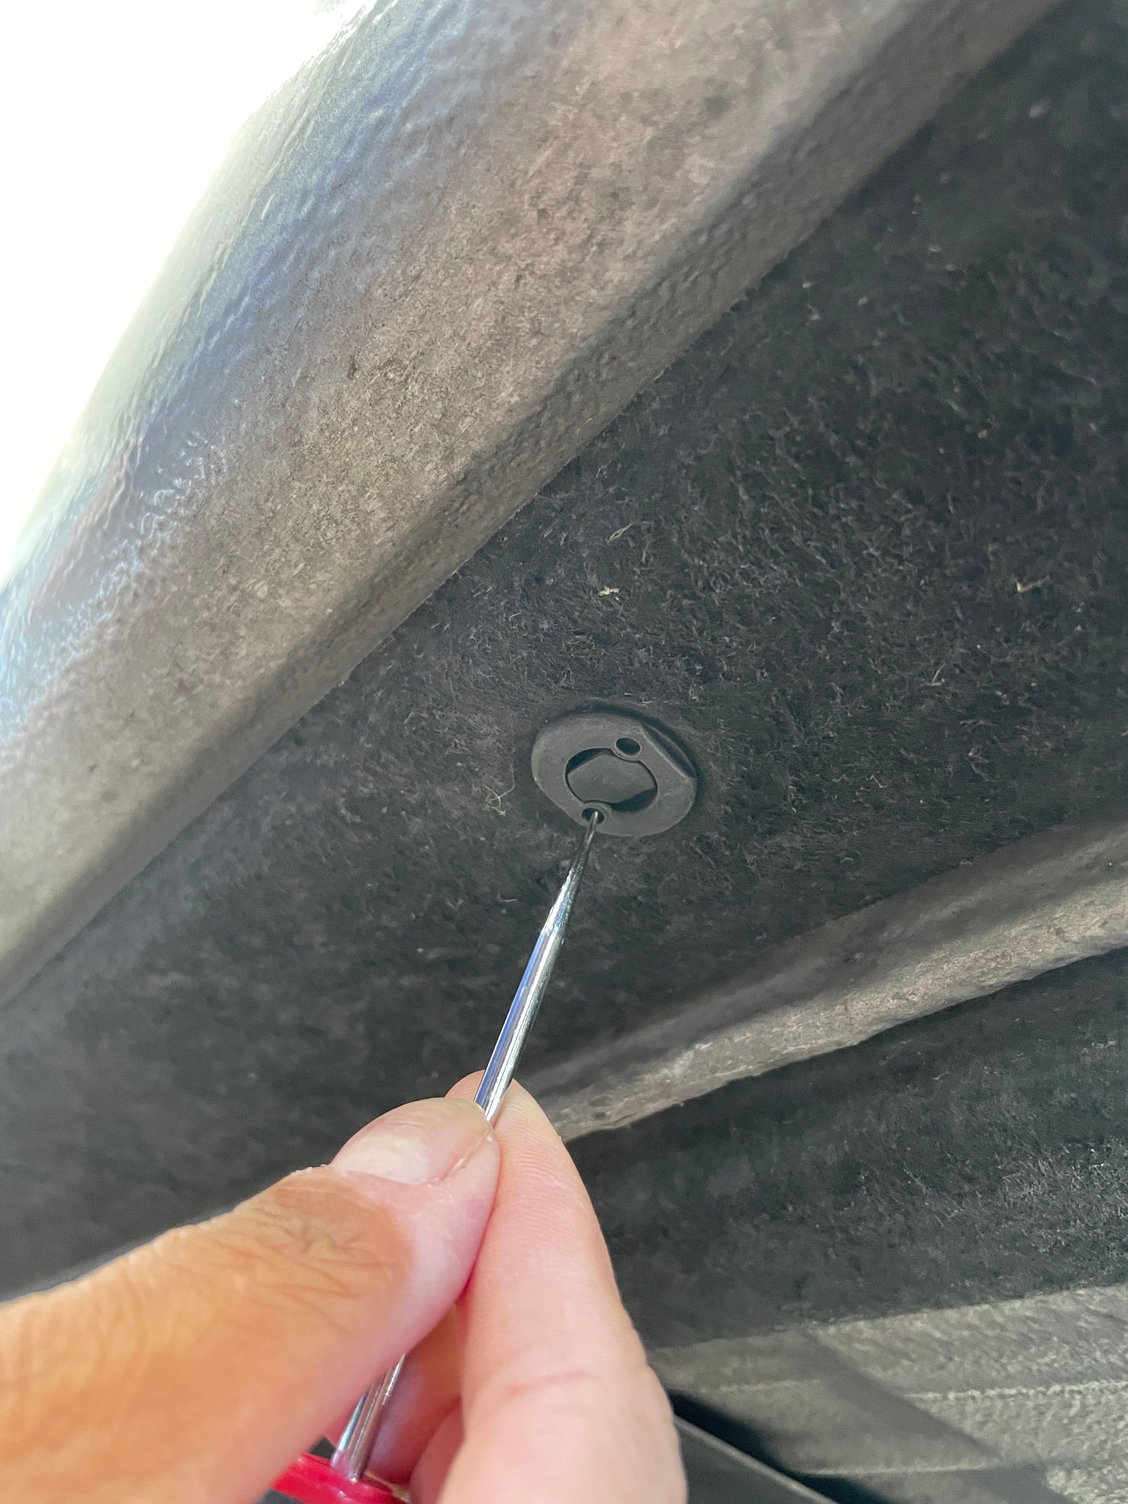
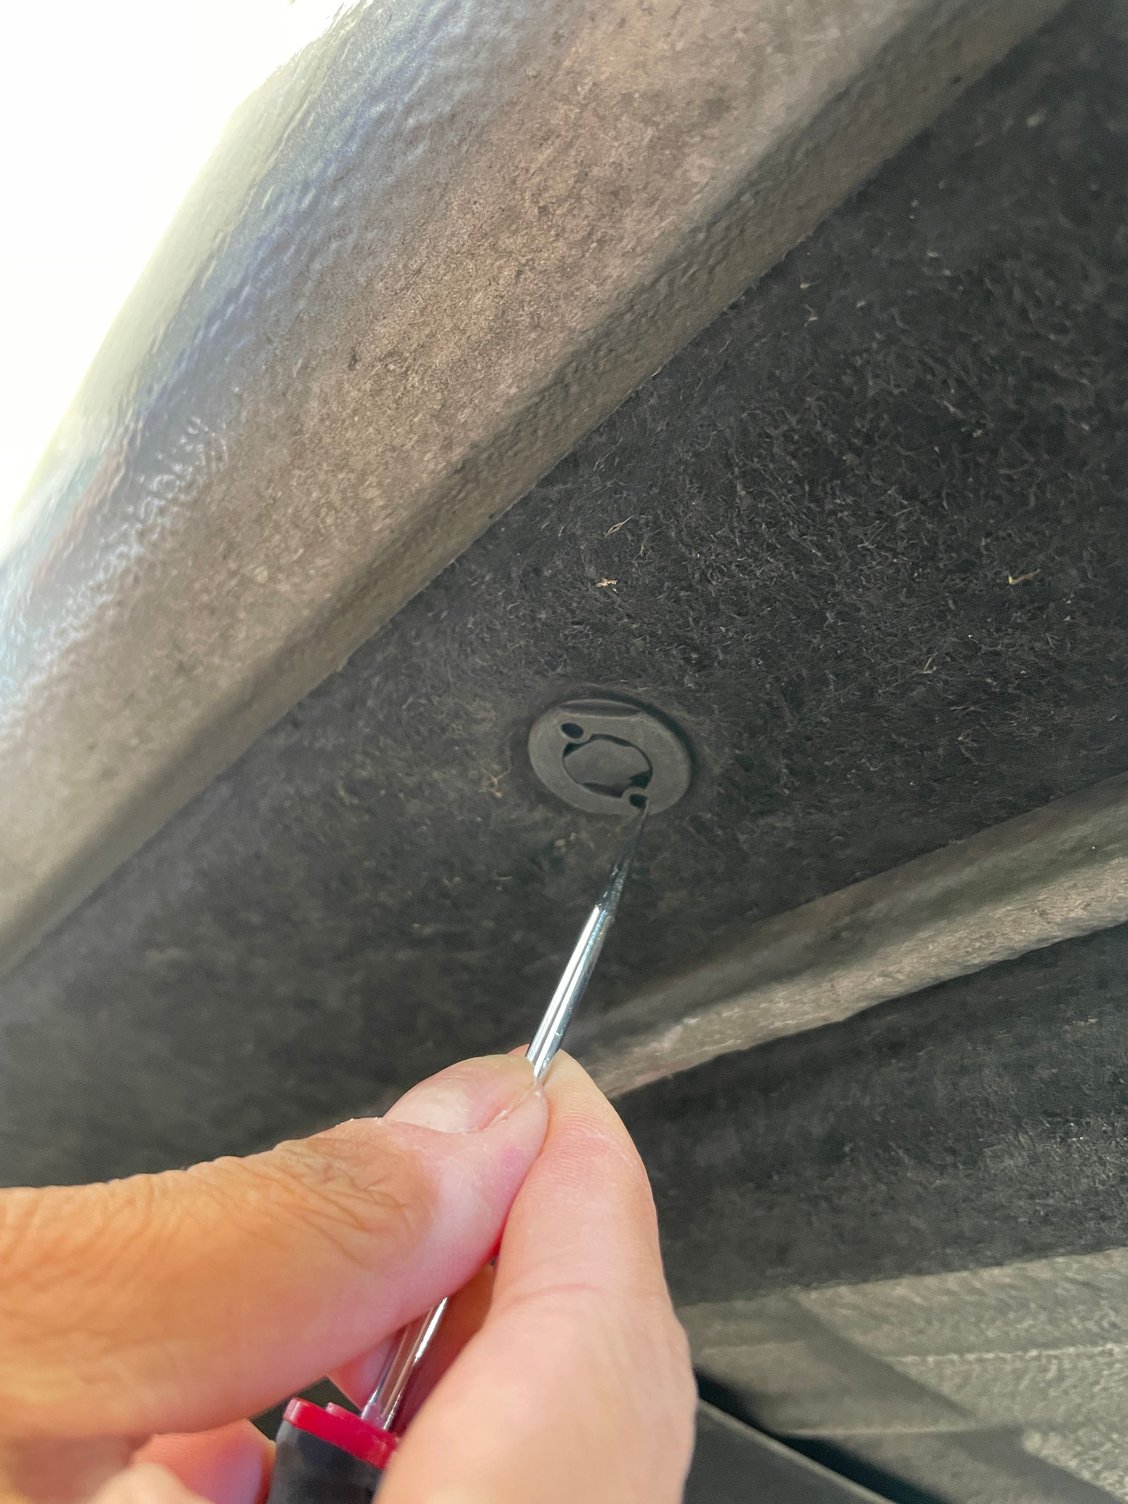
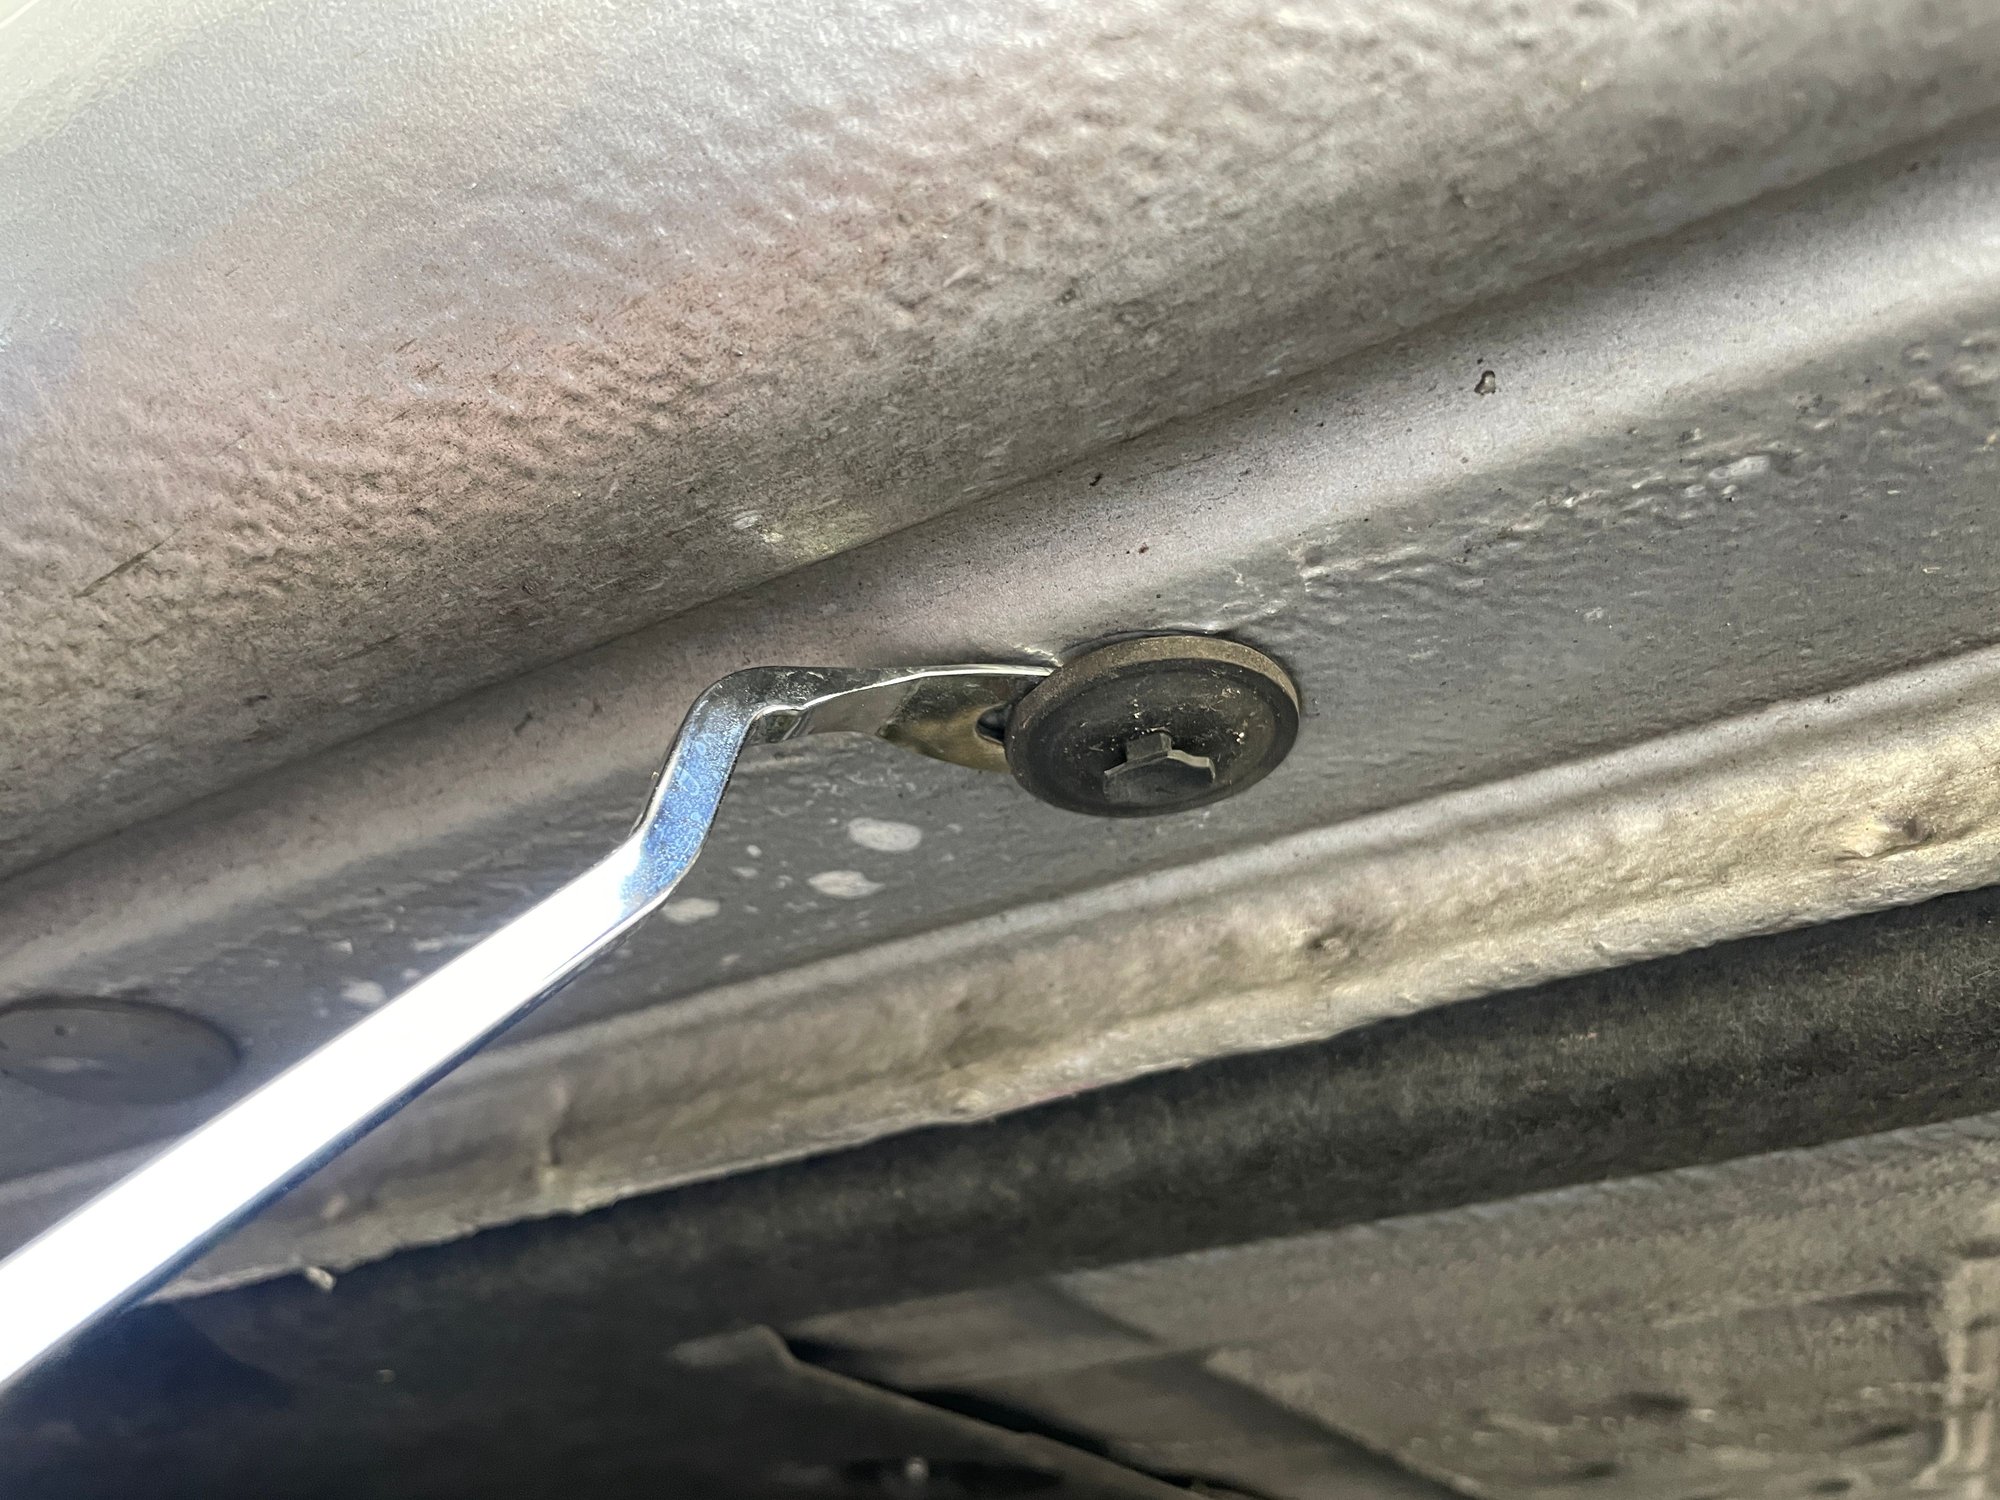
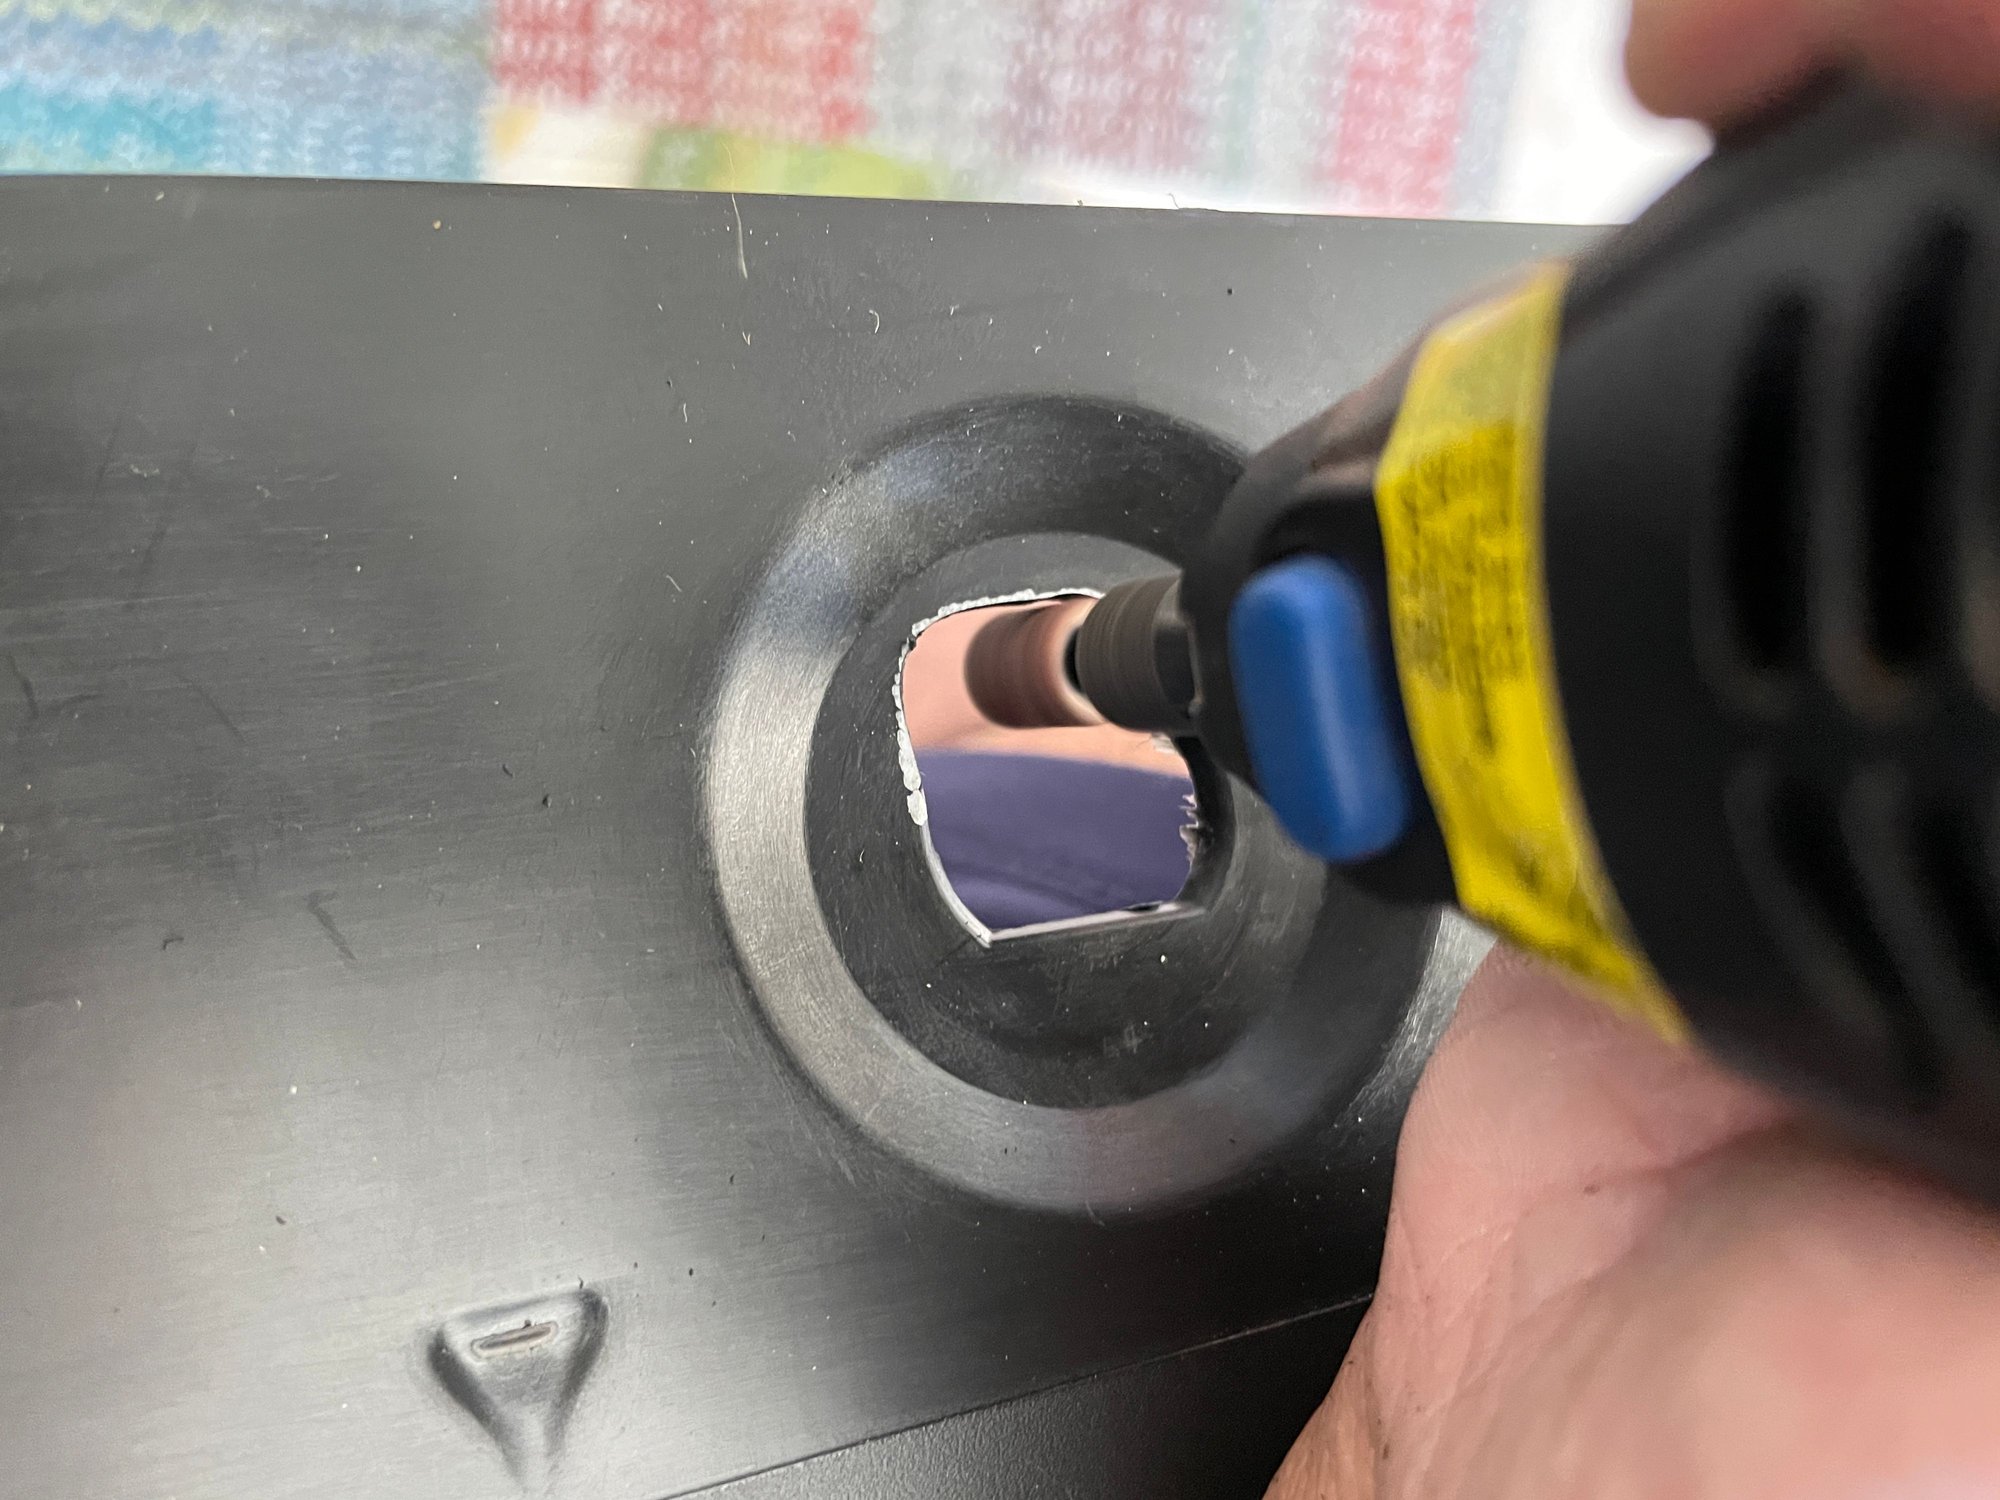
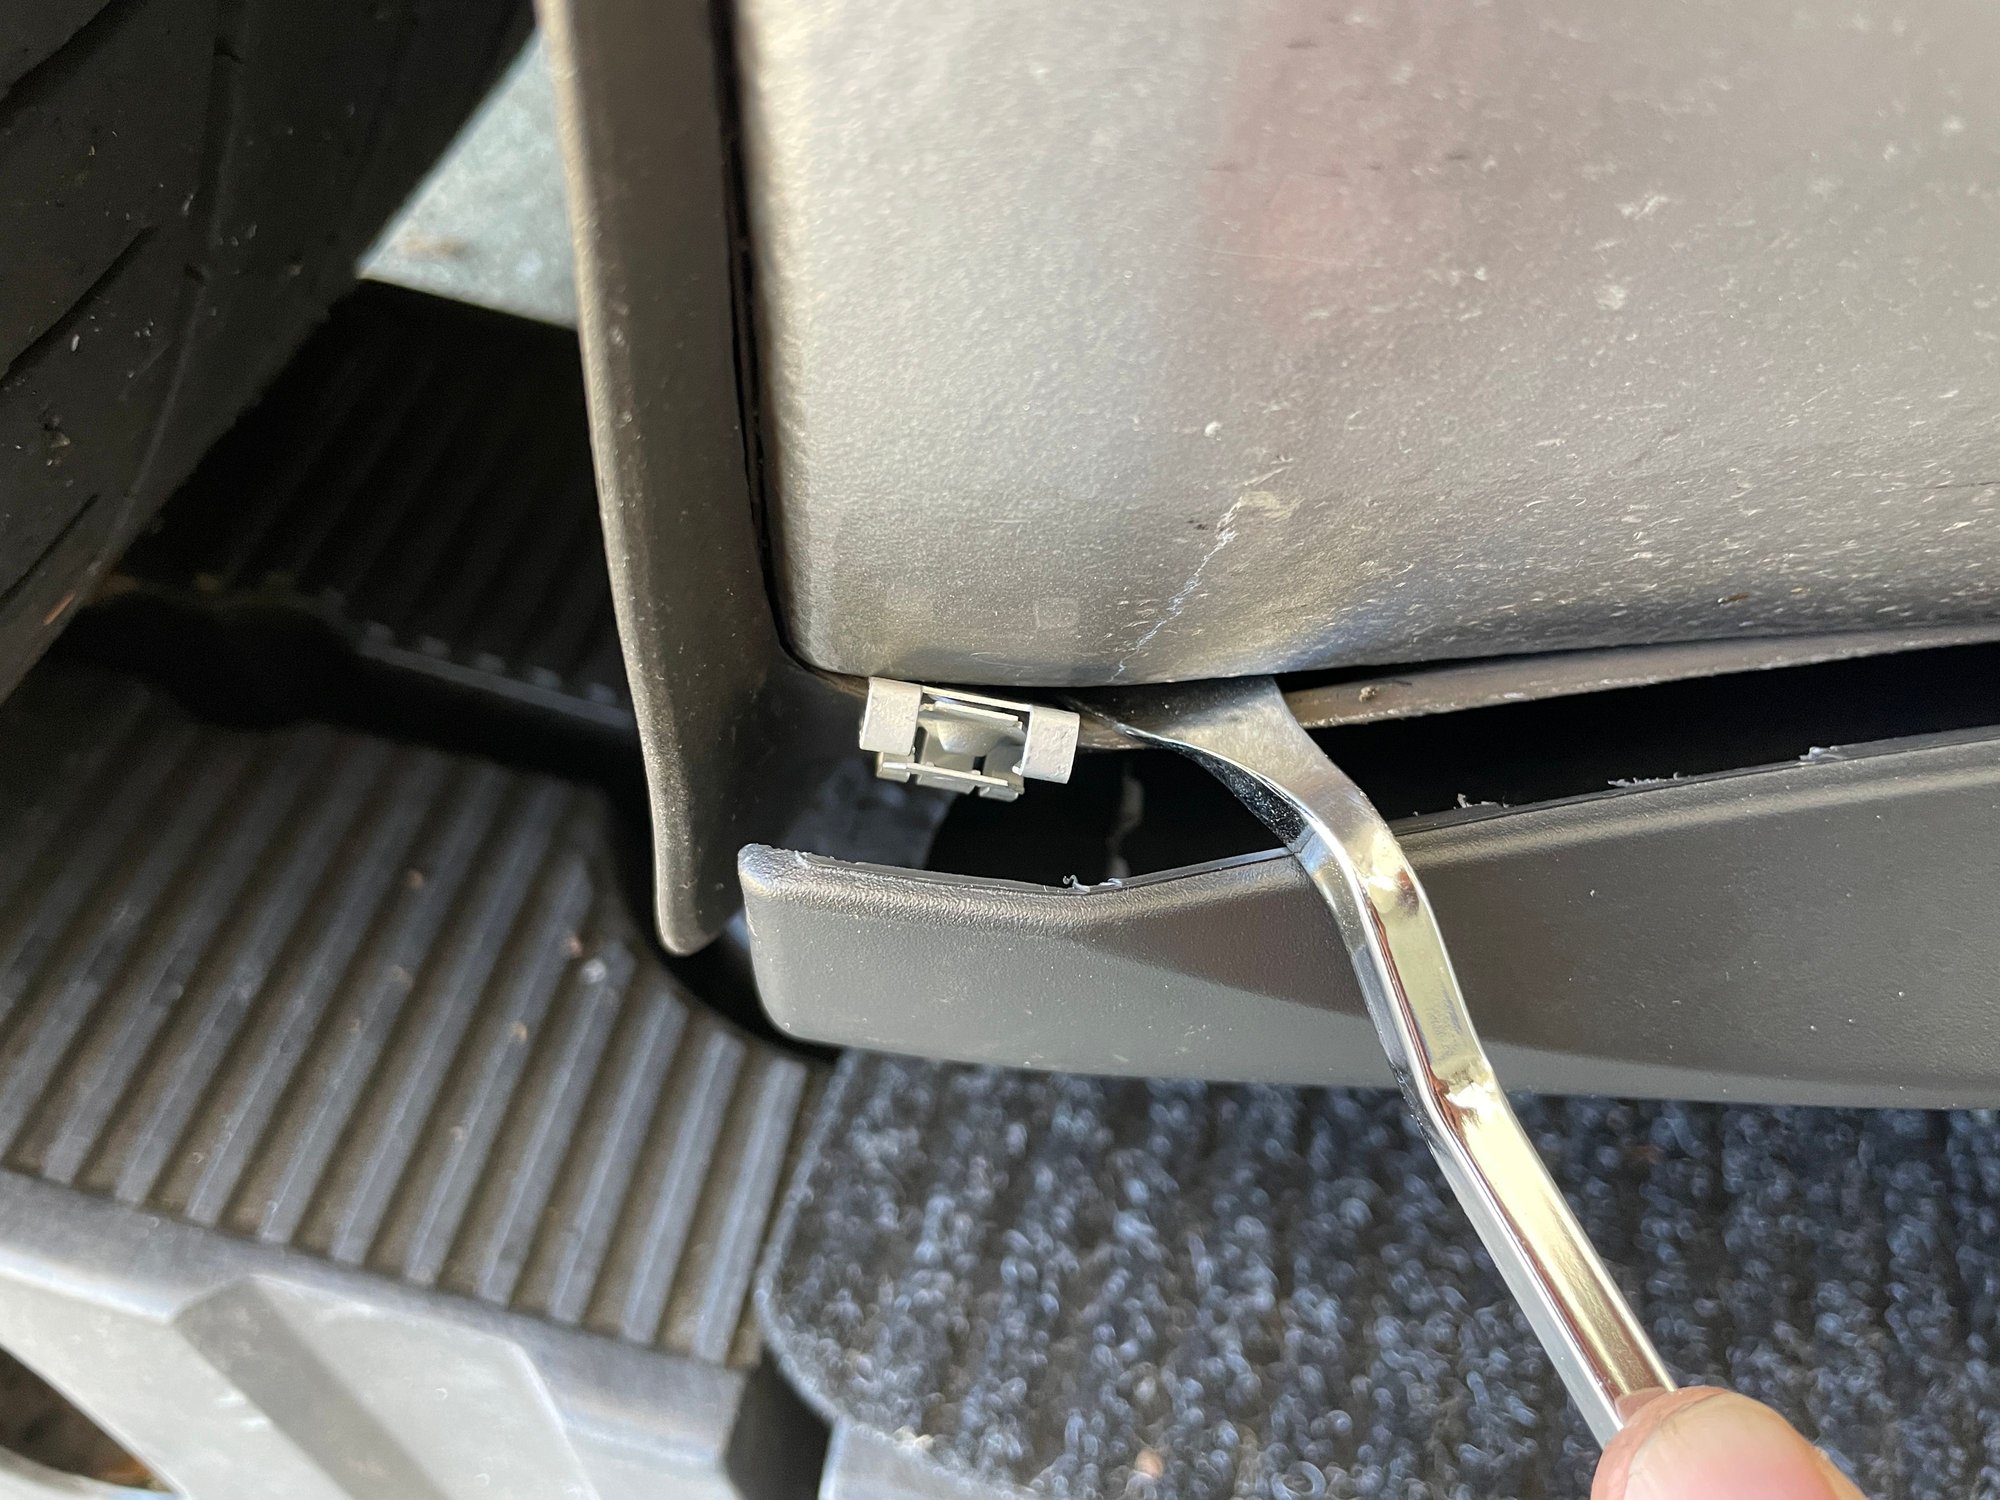
Use a pick to turn ring counter-clockwise to release clip.
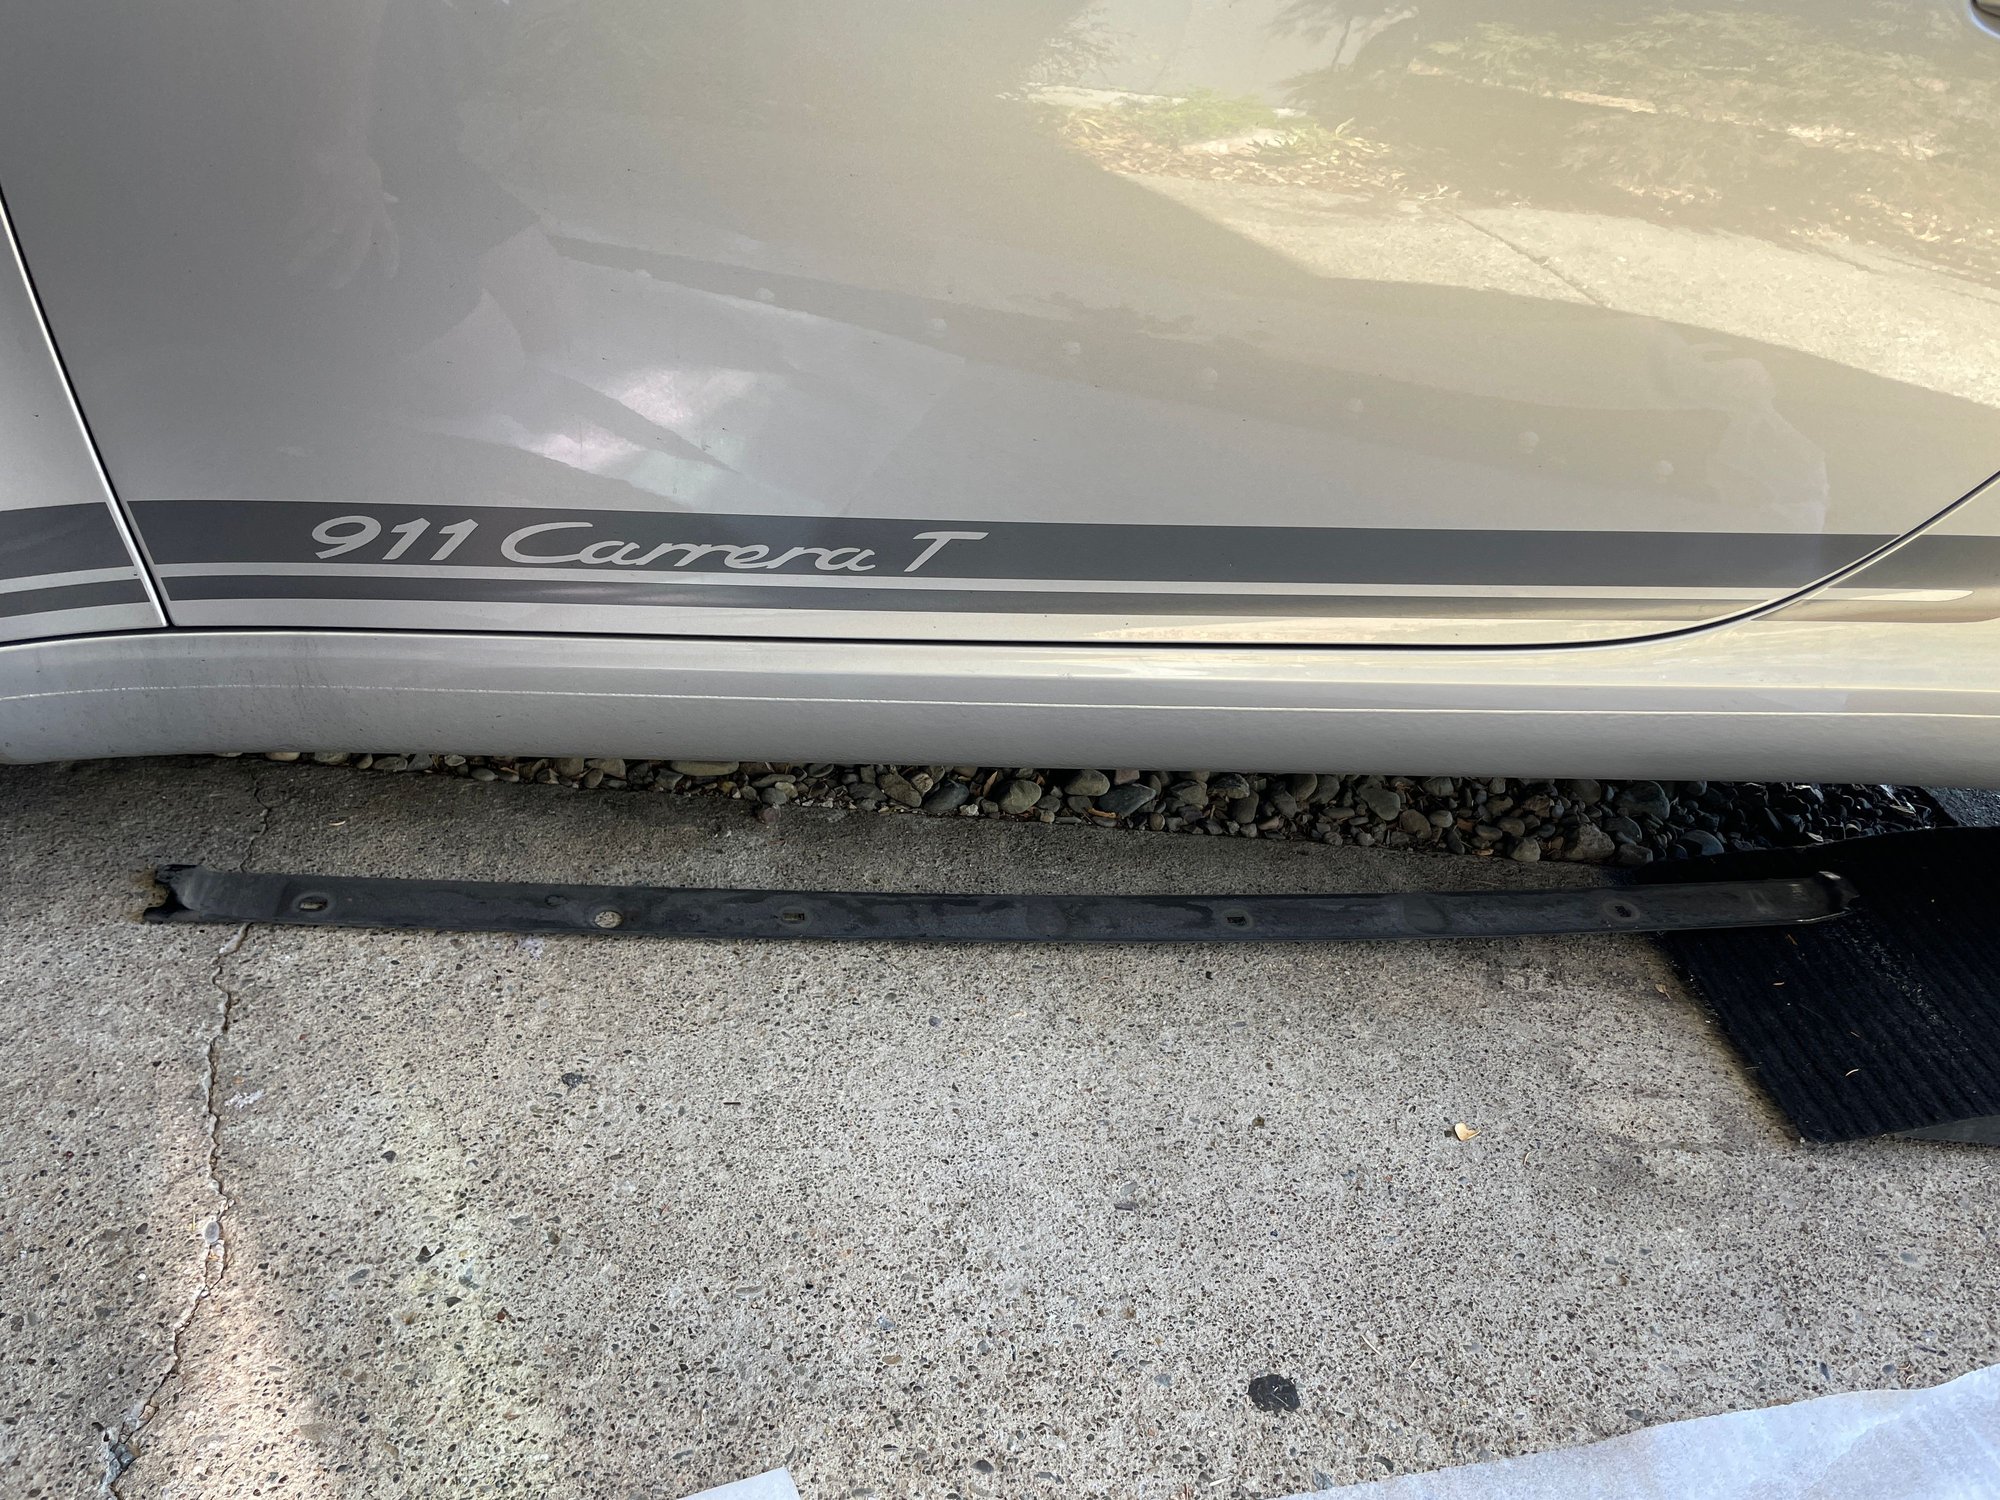
Release existing panel.
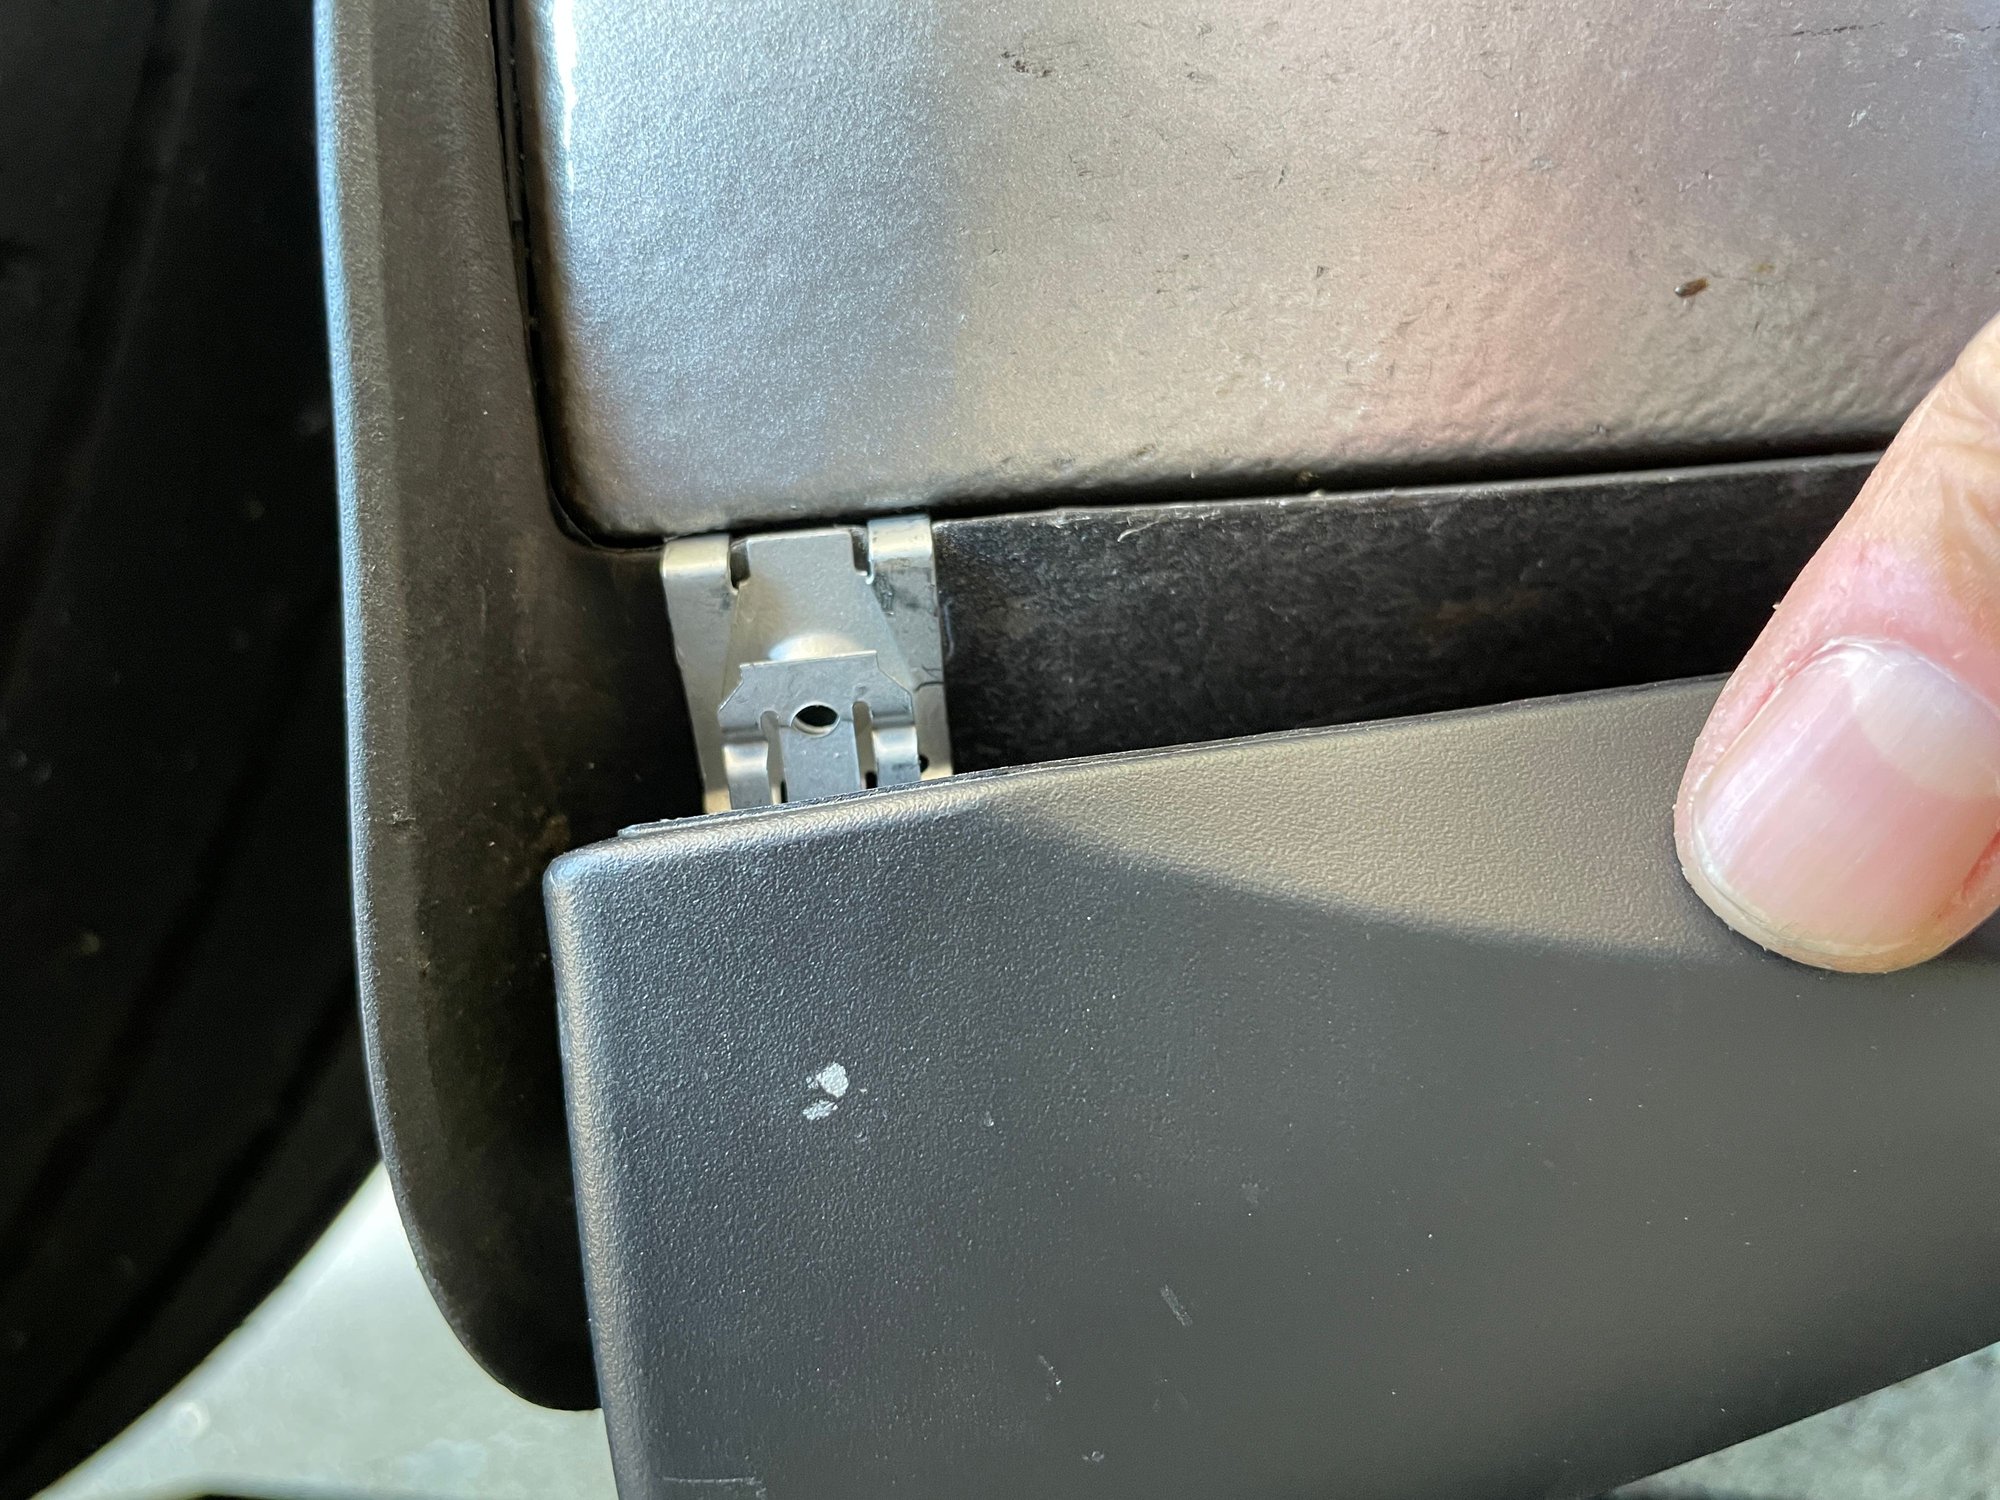
There will be some rubber grommets, a rubber drain, and some plastic clips that you see.
Pry these off.
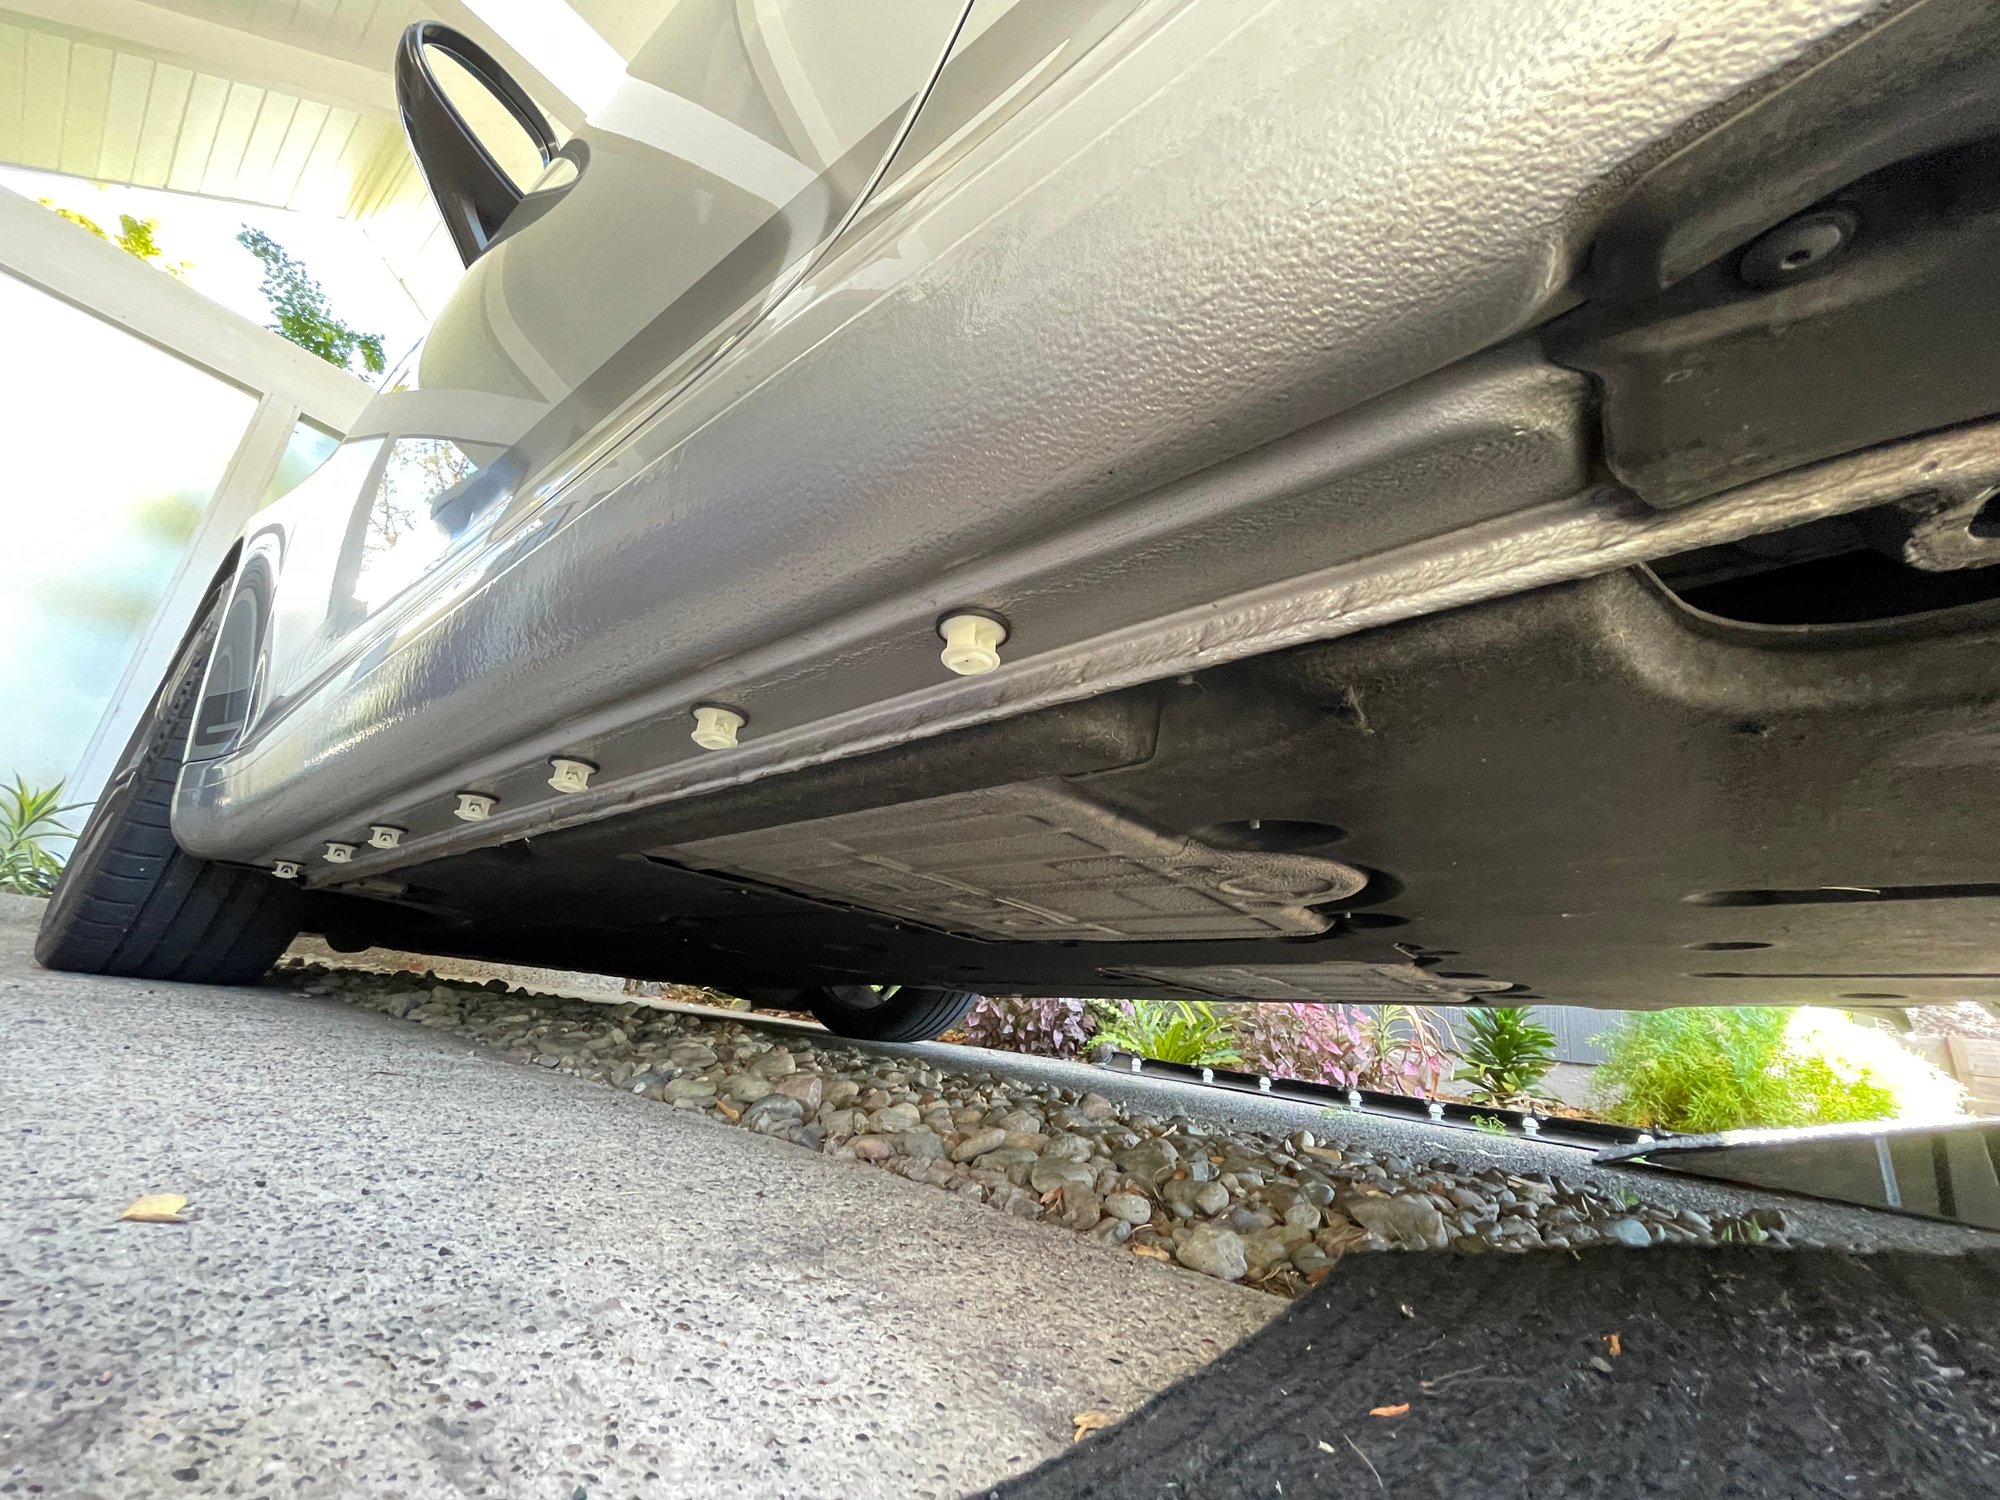
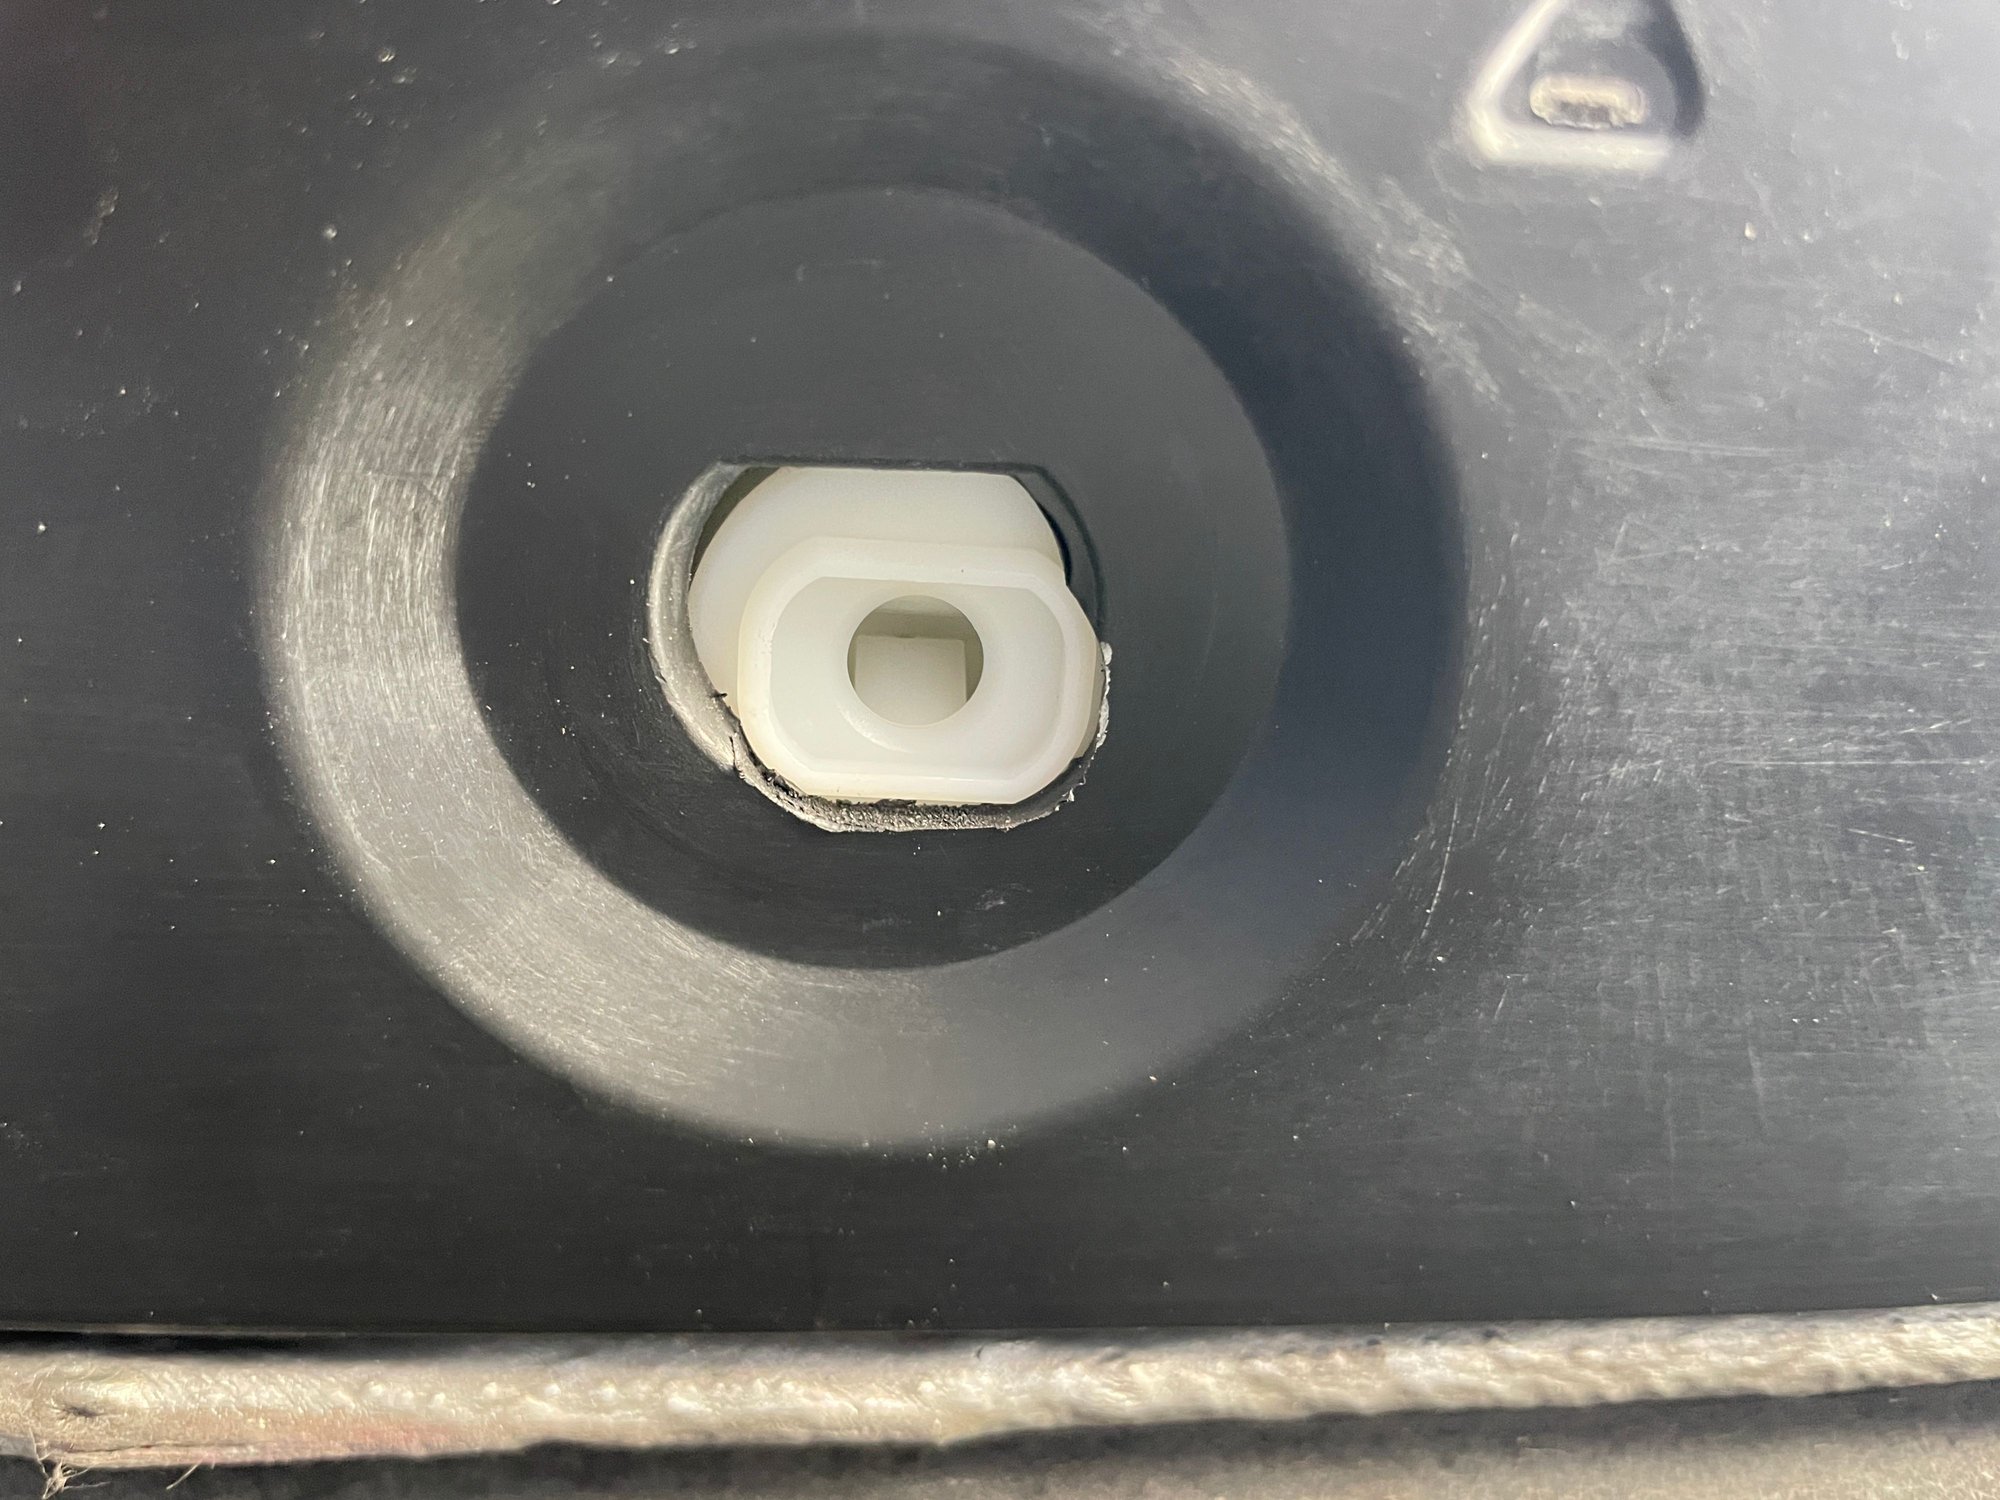
Next, insert the white mounts that come with the new sideskirts.
That completes the prep work. Now move on to modifying the sideskirts themselves.
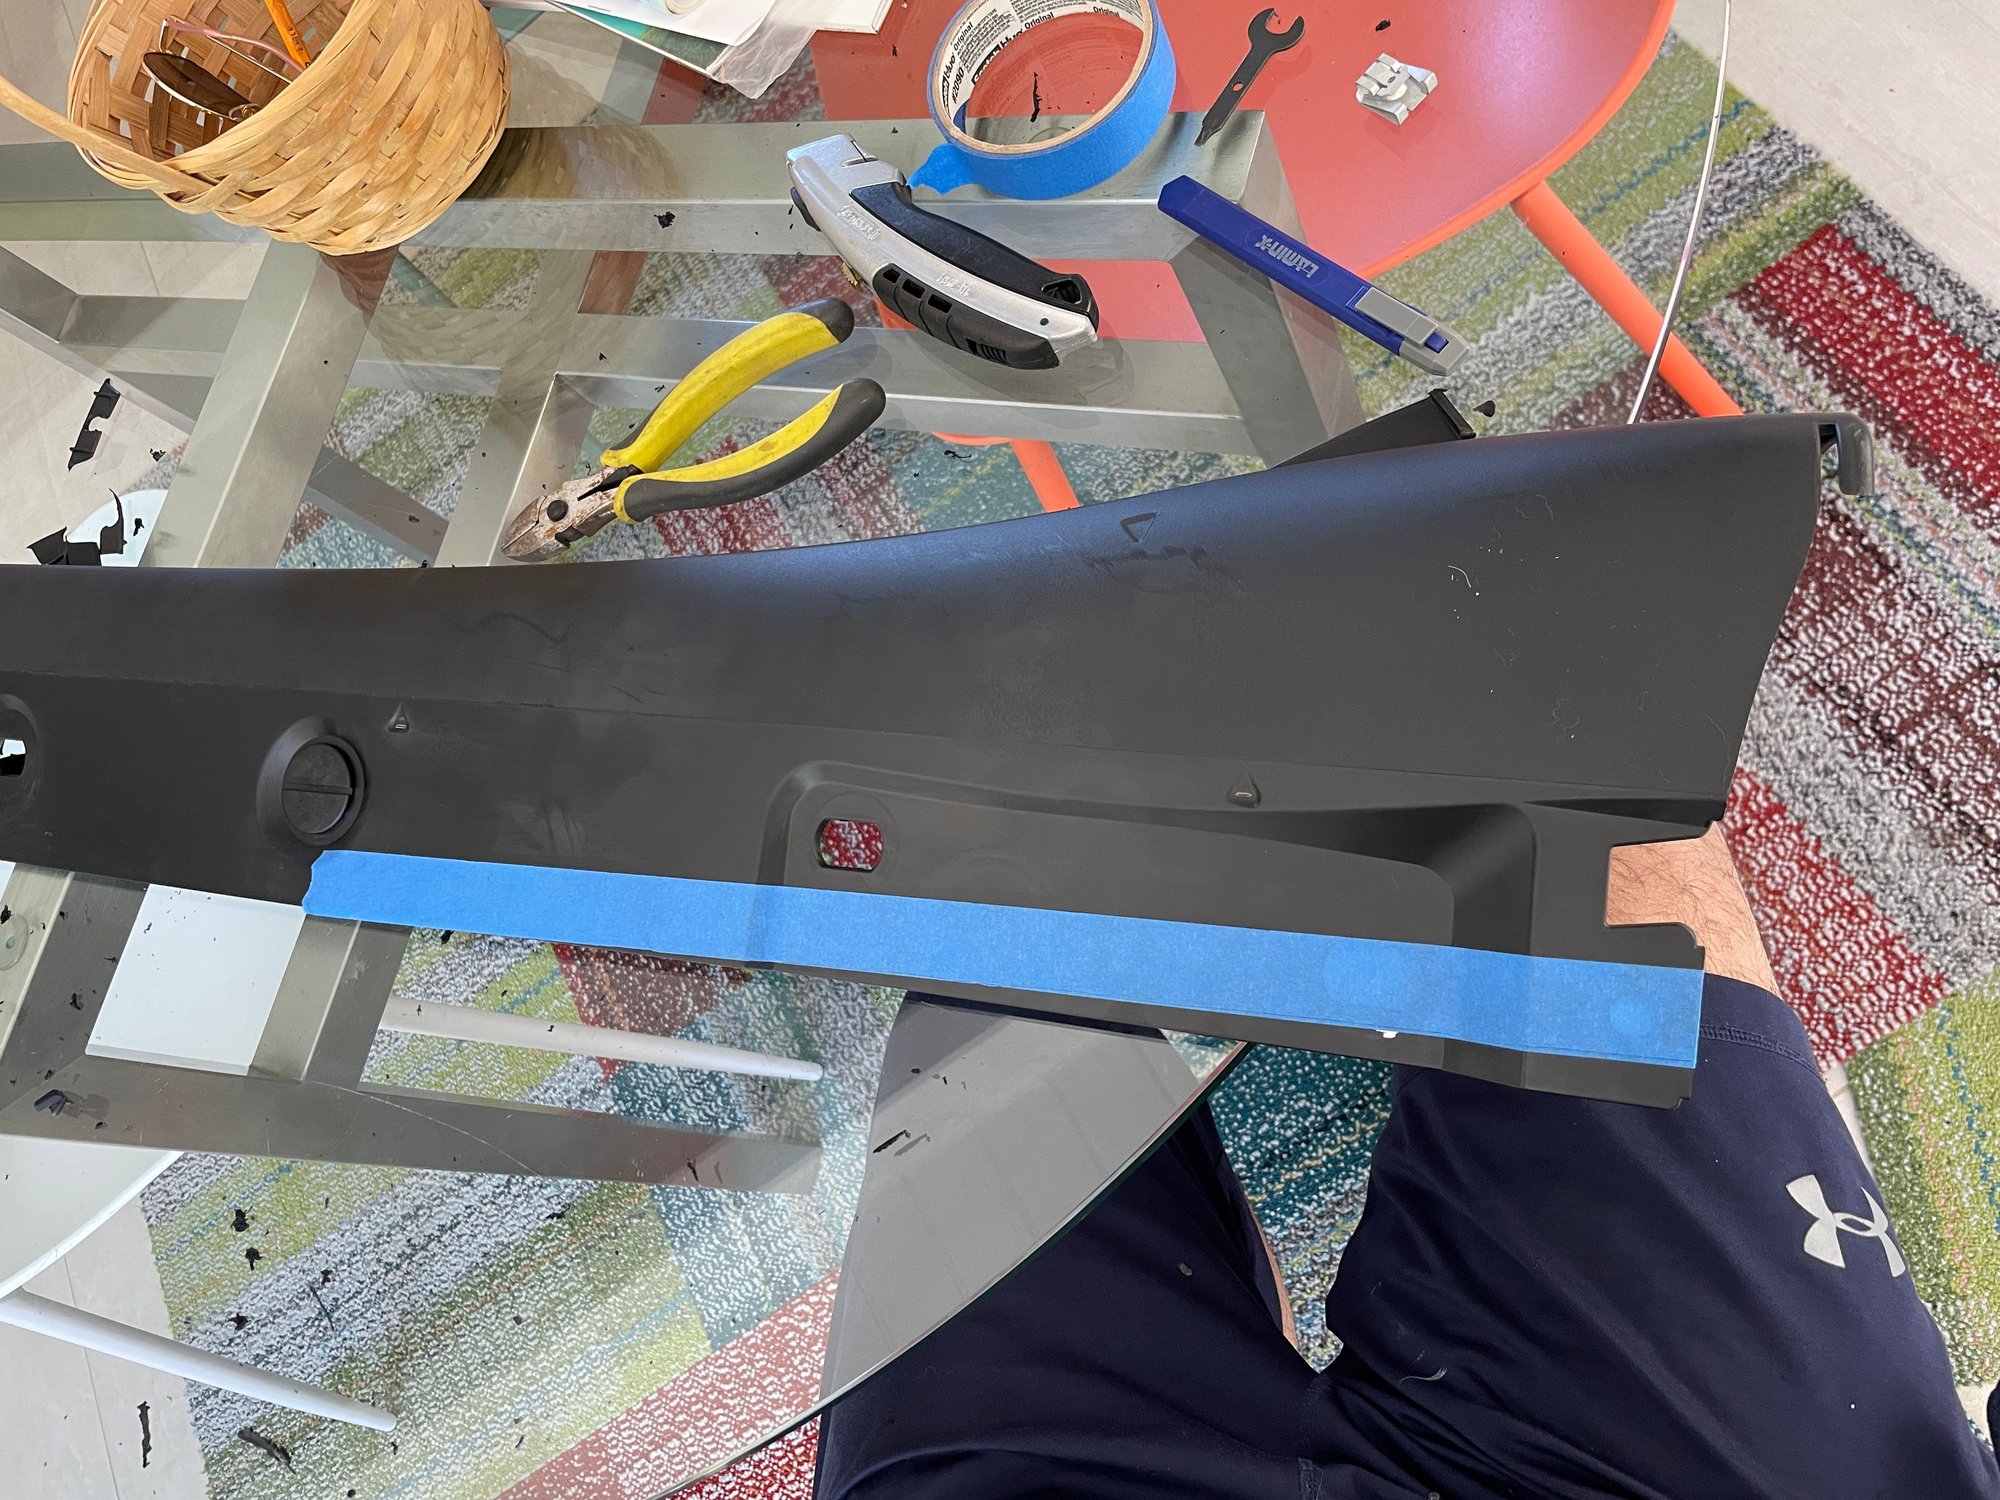
Trim all tabs/protrusions and other parts exactly as indicated by polobai. I also used a Dremel to smooth out the trimmed areas.
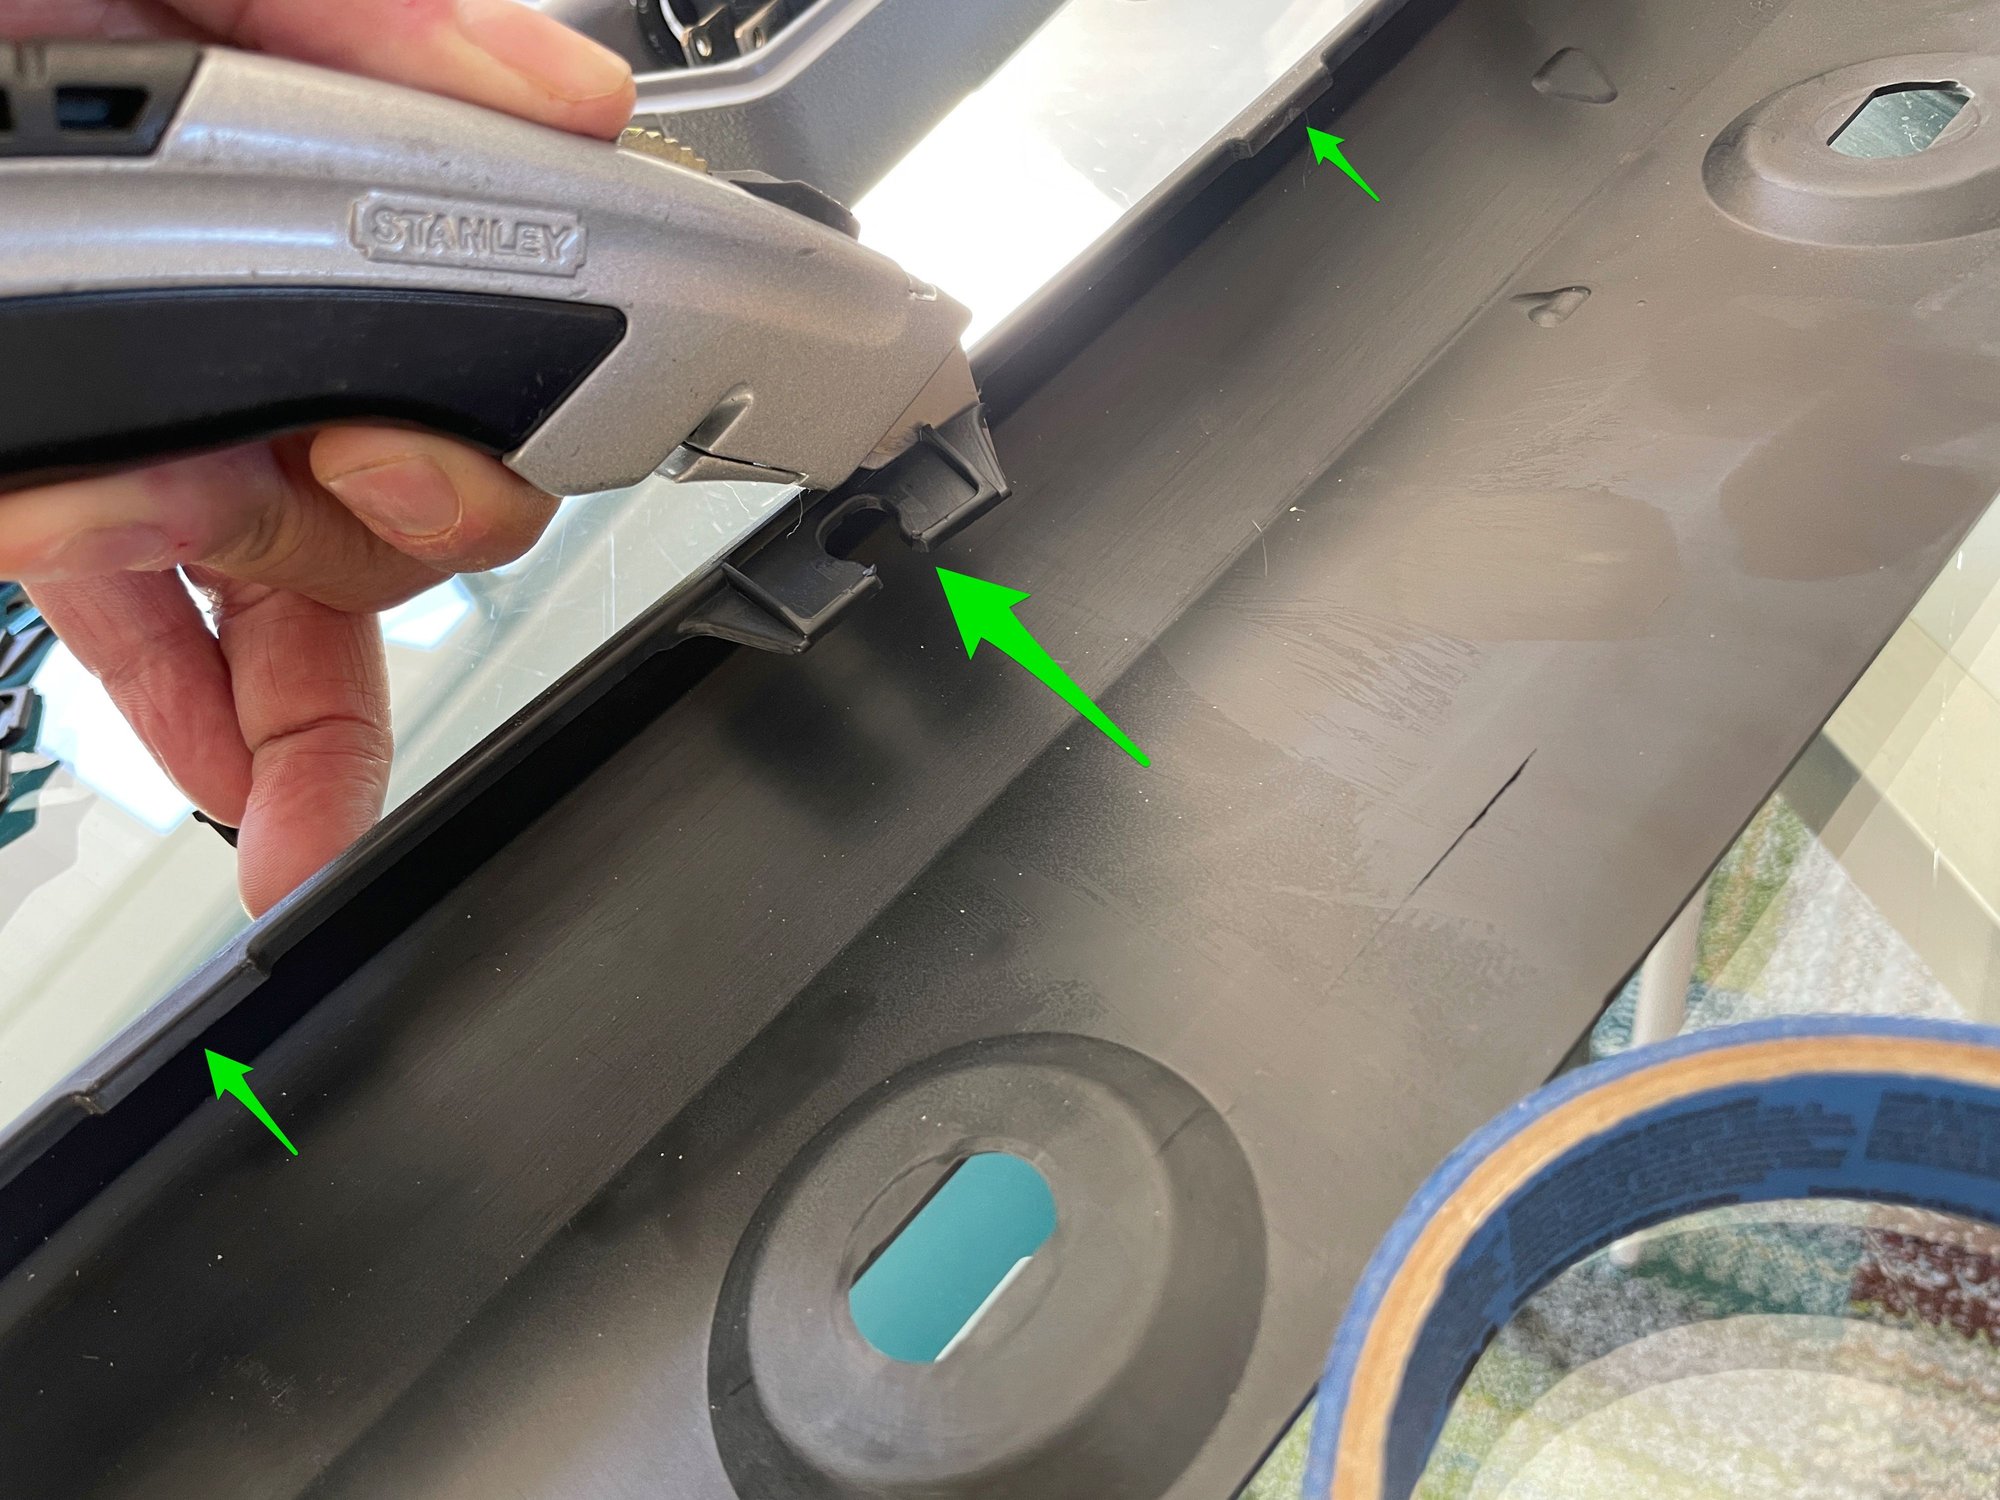
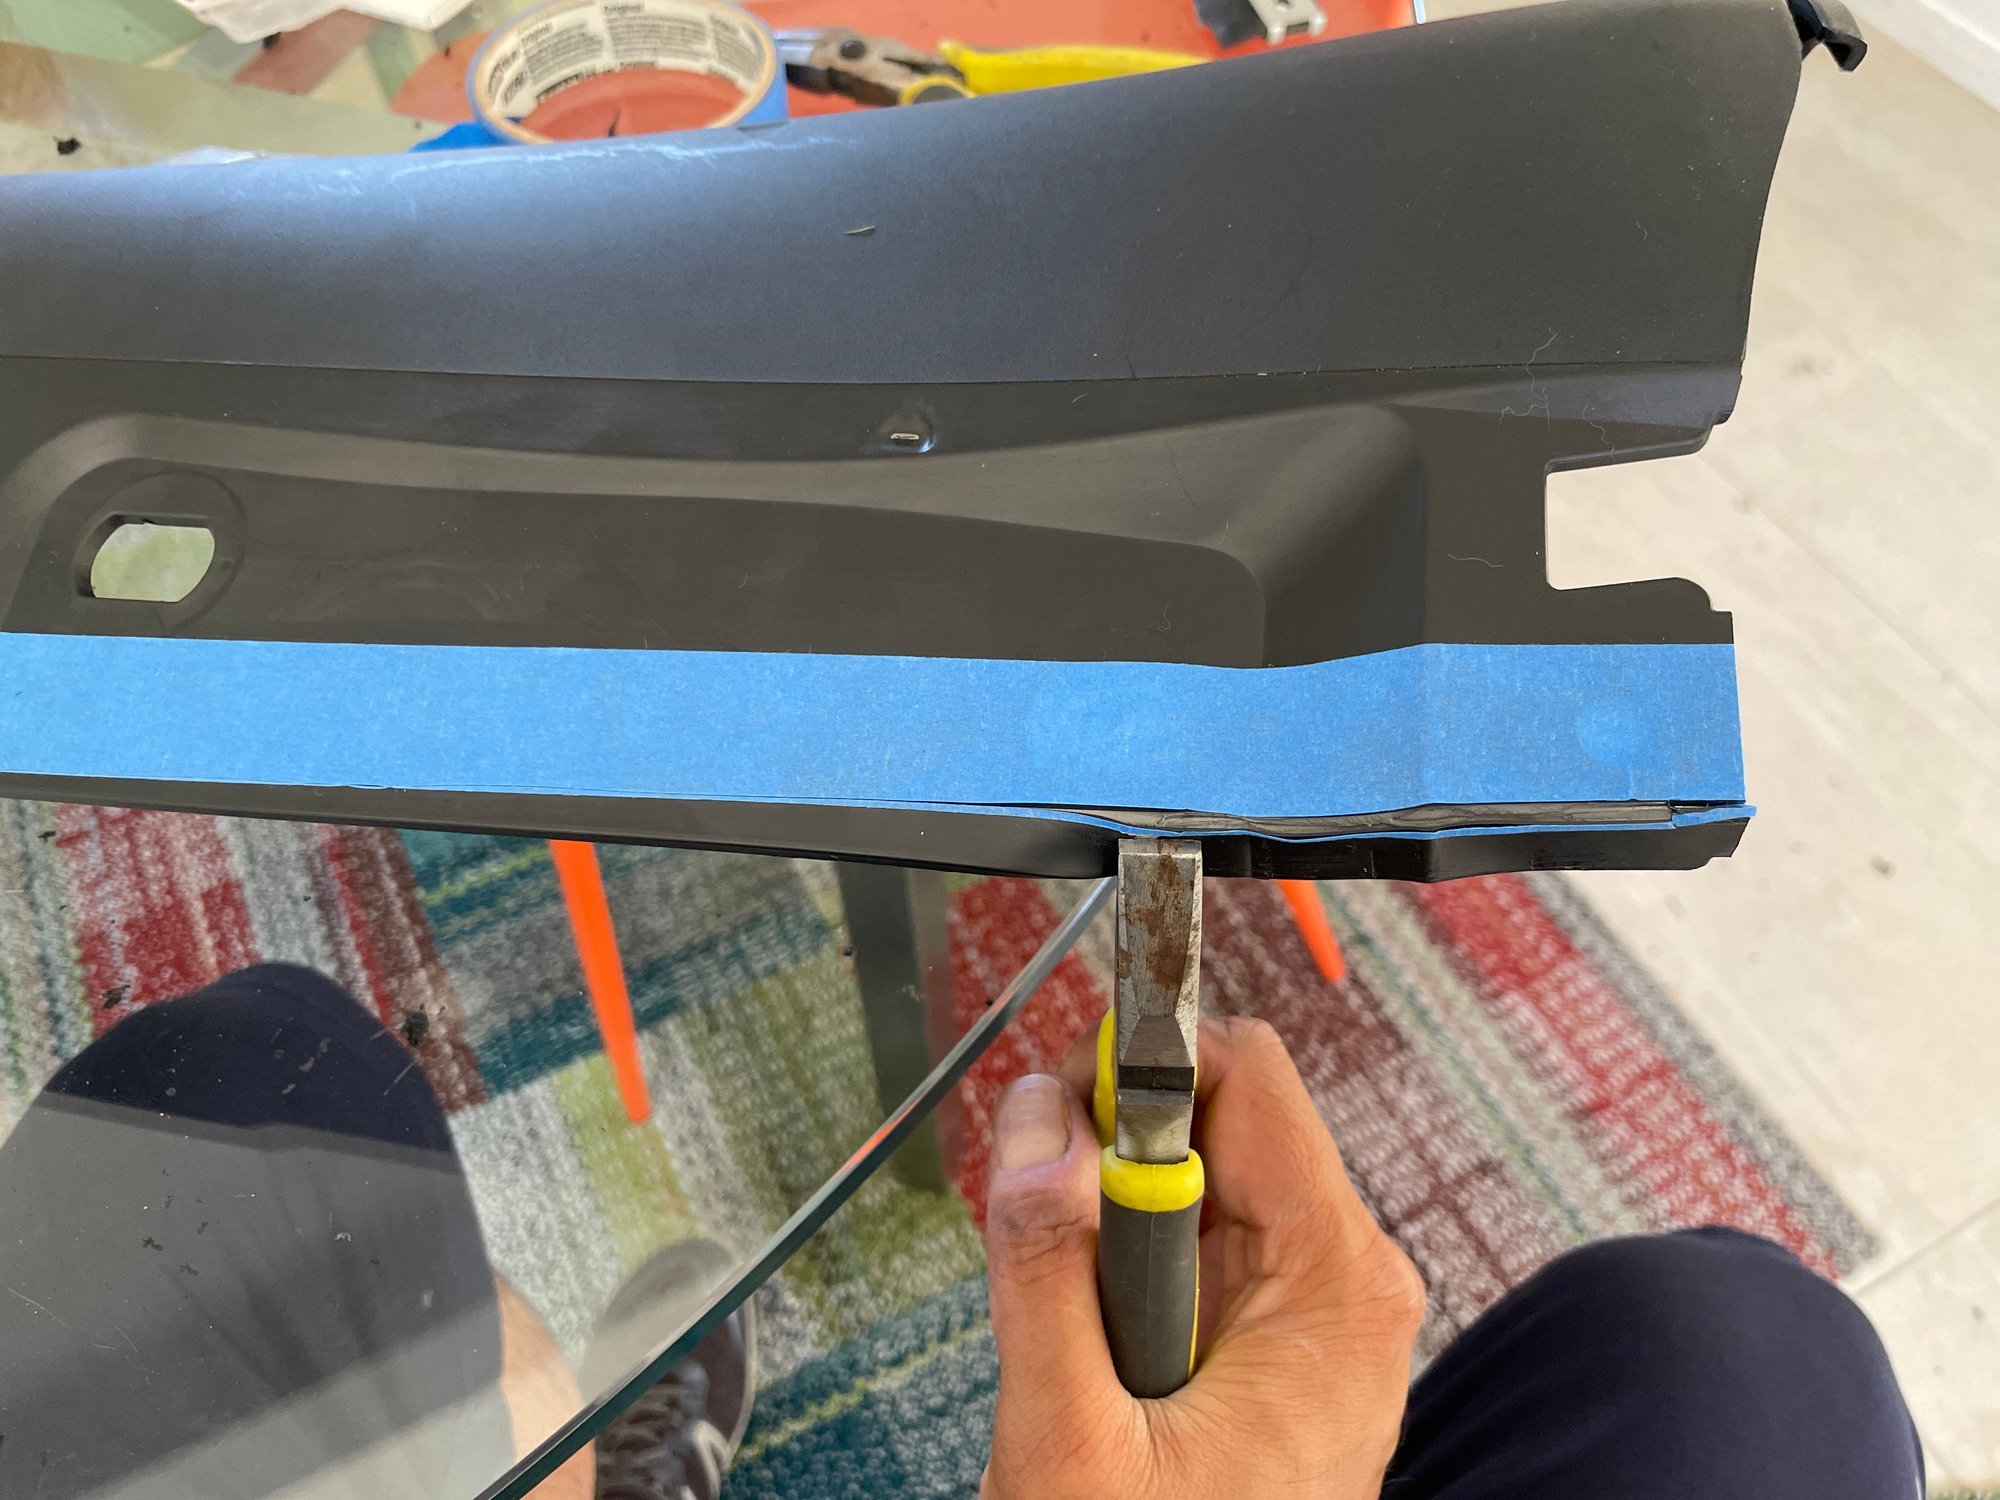
Super easy to trim this plastic as it is SUPER soft. Just score with a knife...
And bend to separate. Be careful--the material is so soft, I inadvertently scratched one part of it with my fingernail!
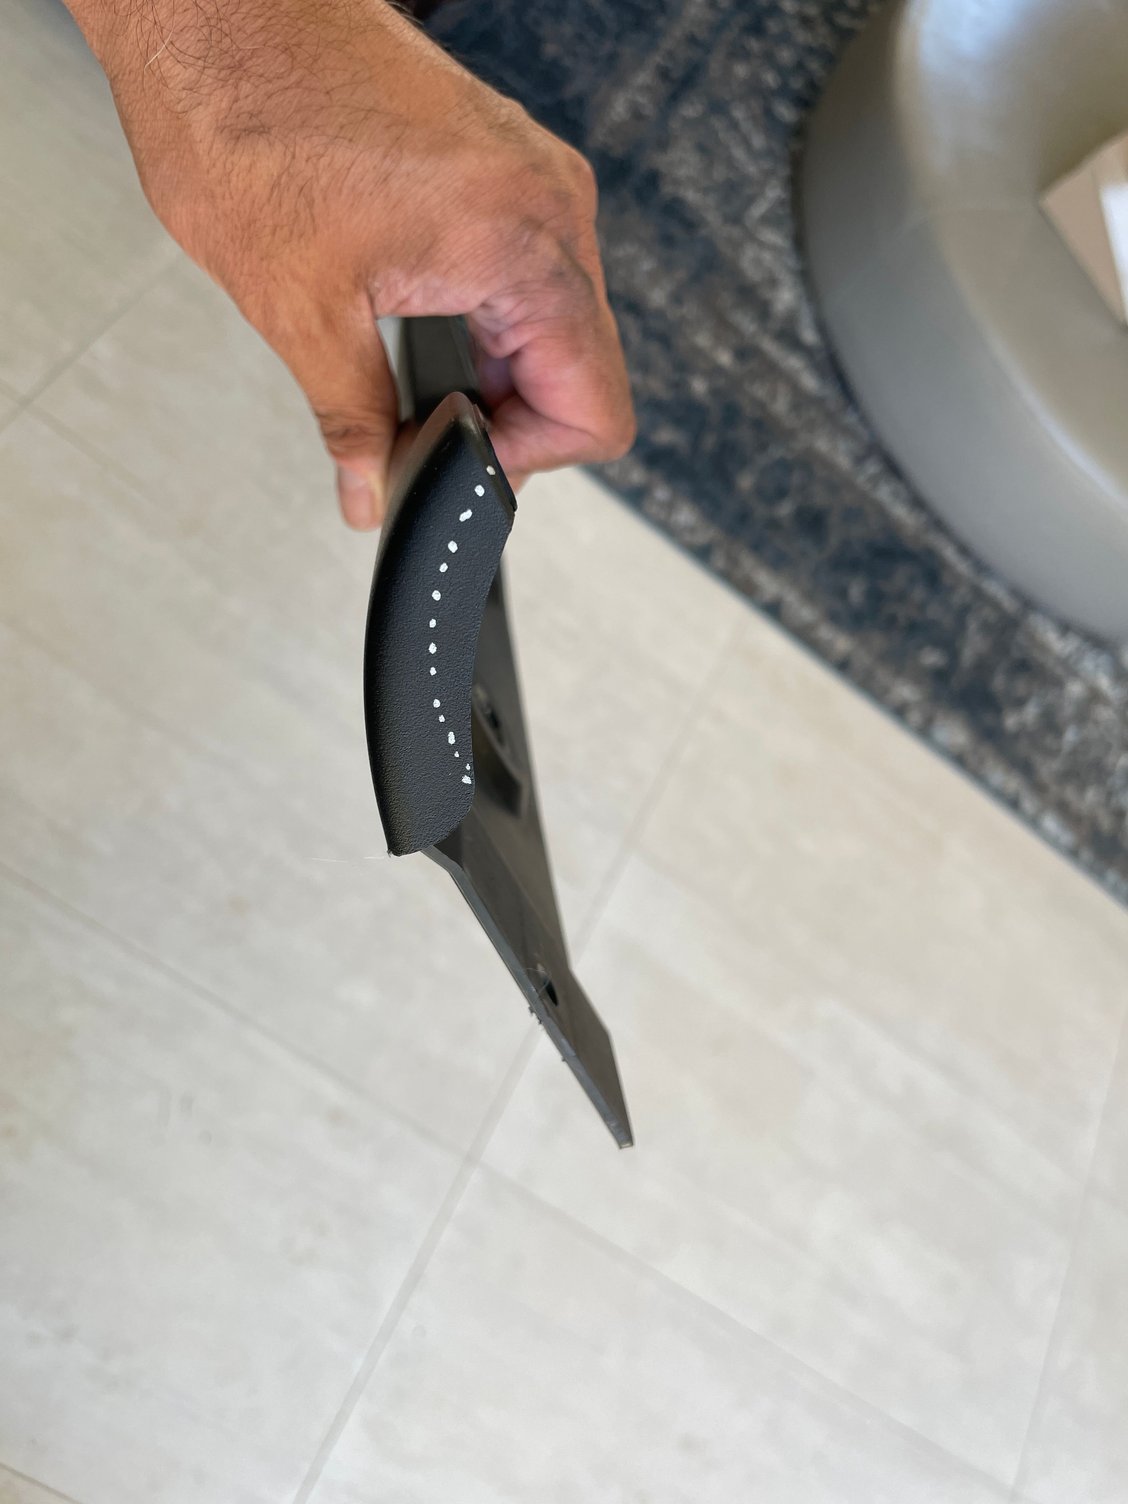
Use a silver Sharpie to mark what to trim. Score and bend, or slice, then use Dremel to smooth. I don't show all of the trims polobai indicated, but do all of them.
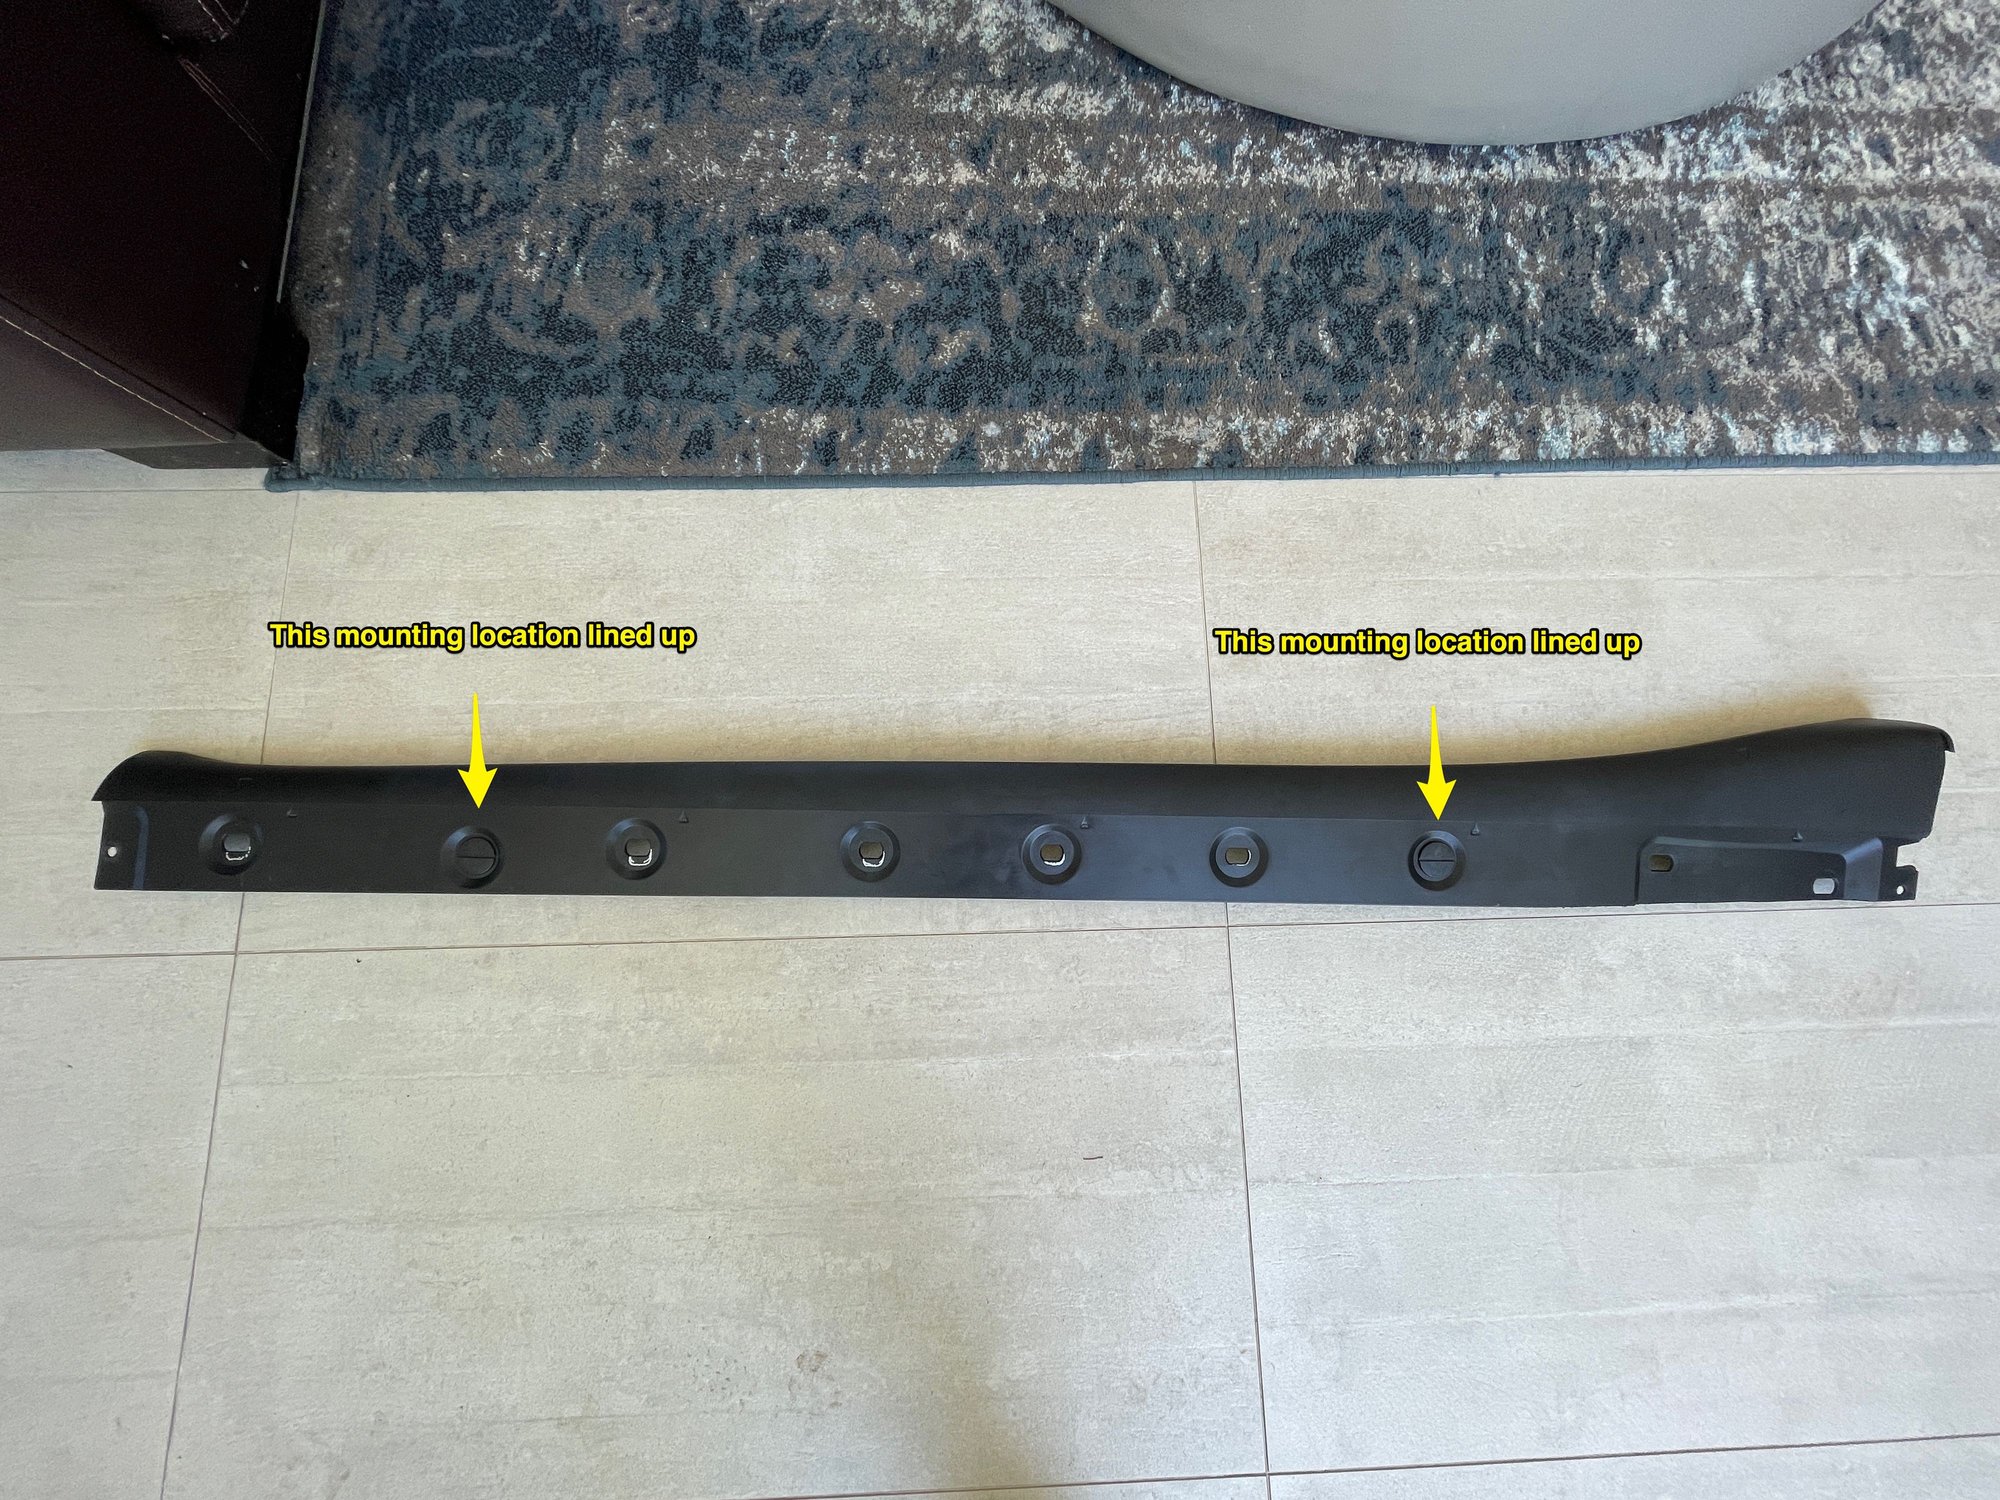
Now you are are ready to go back to the car for more fitting. Hold the sideskirt in place and you will find that some of the mounts line up, and some don't. On the driver's side, 2 mounts lined up perfectly, and on the passenger's side, 3 or 4 lined up (oddly, not symmetric).
See the silver Sharpie marks? These are what you will need to trim.
A closeup.
Handy Dremel to the rescue.
Adjusted hole.
And... on the car itself.
Pop in the black plastic pins to hold in place.
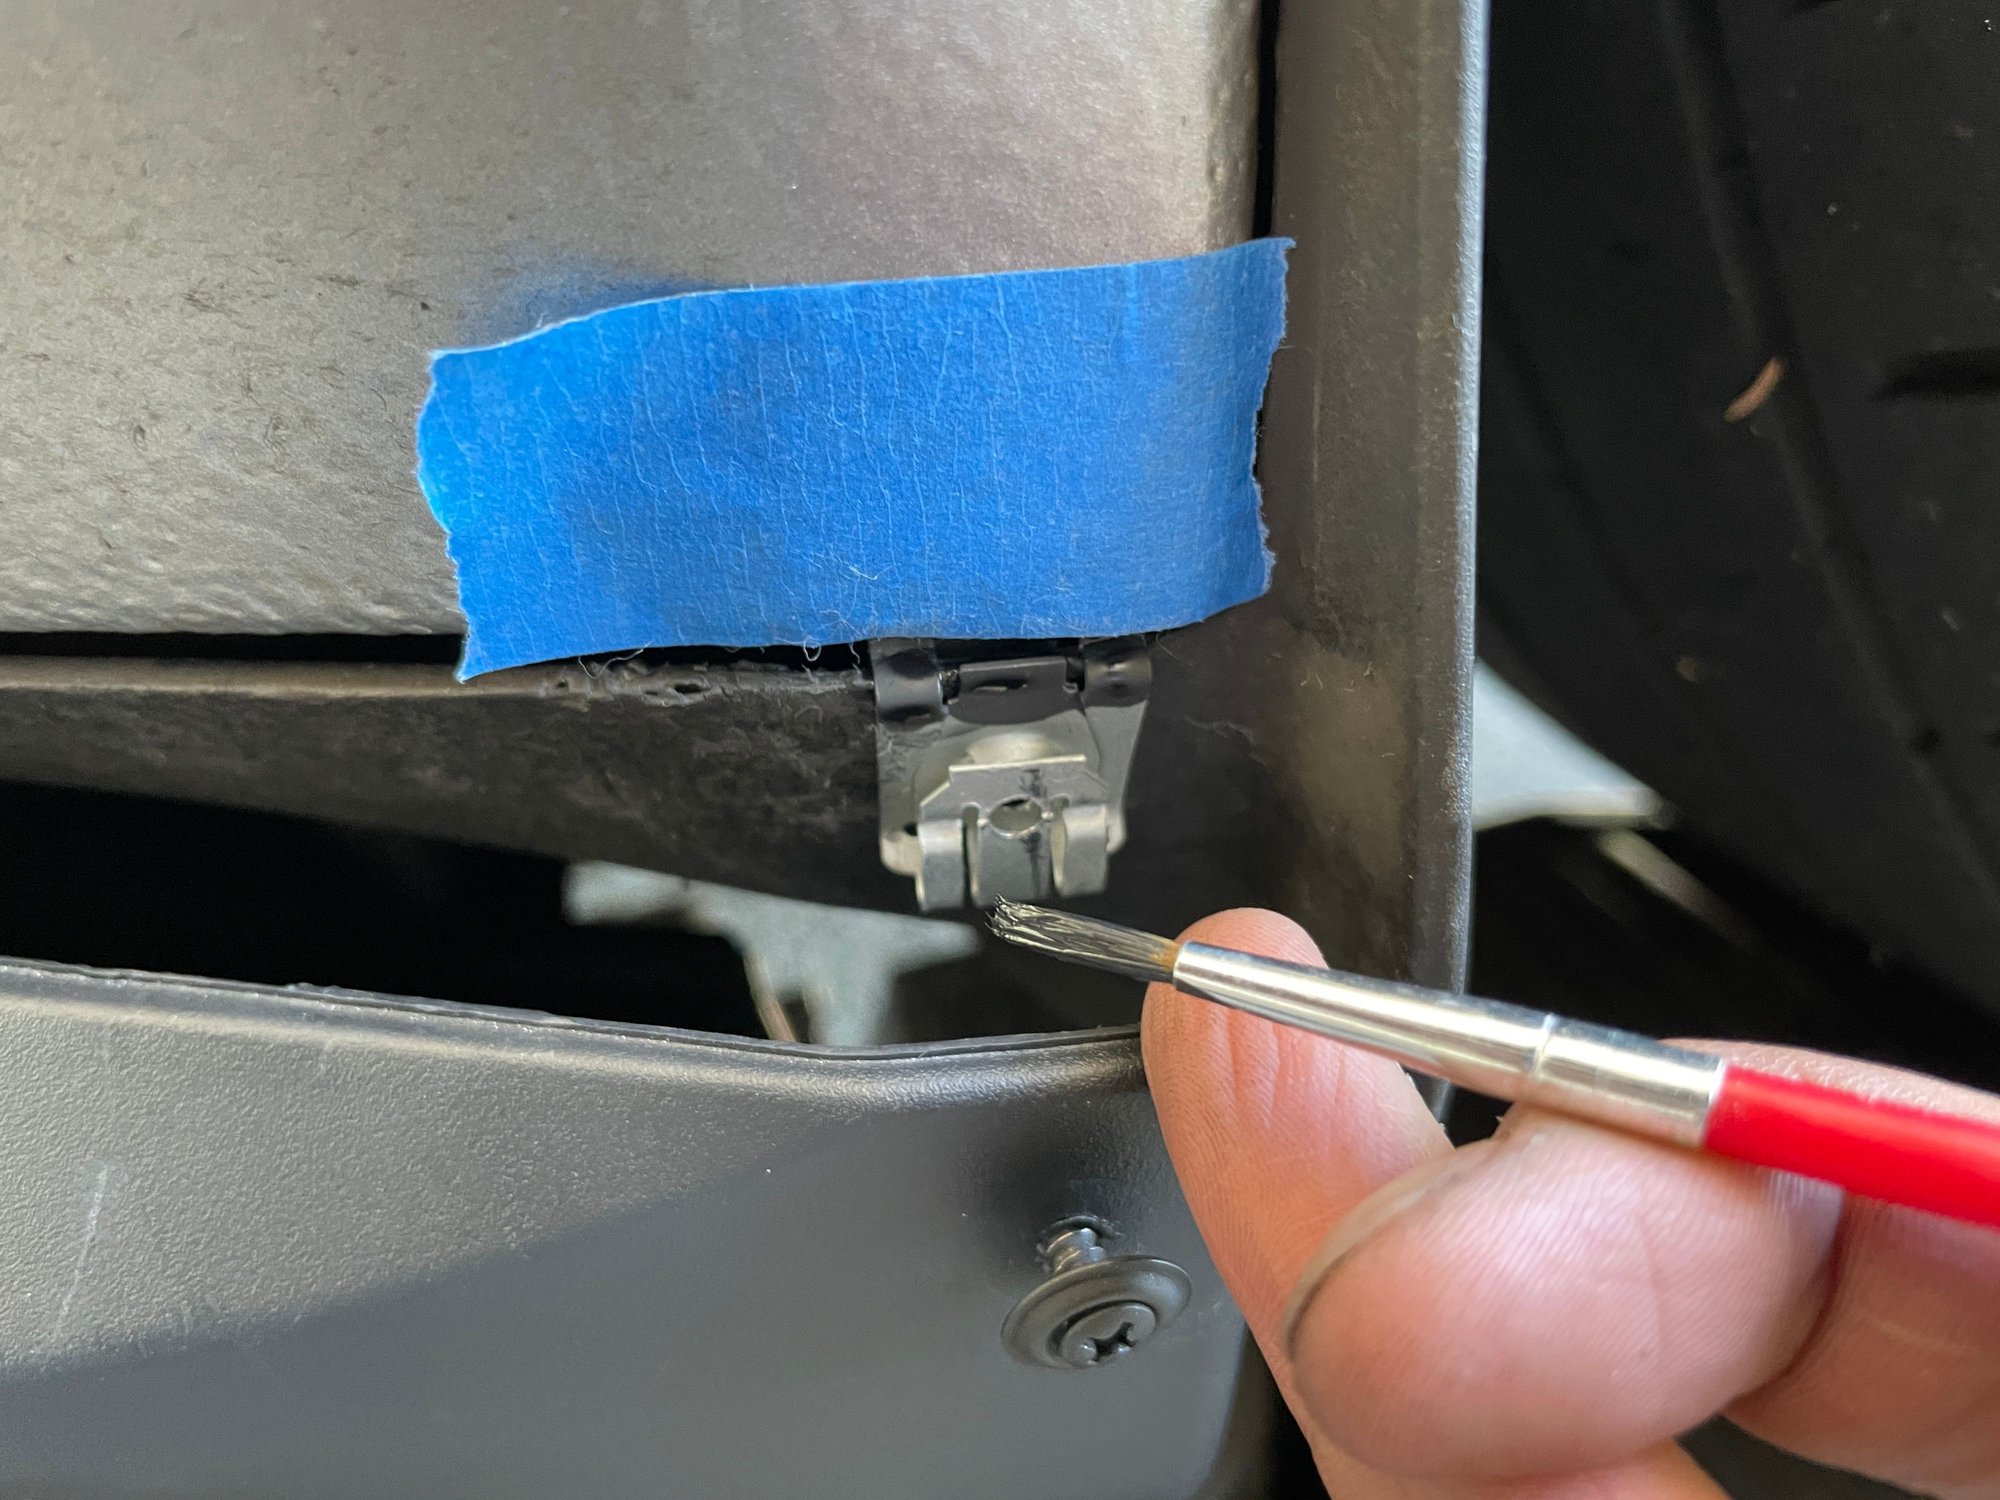
Next, at the rear of the car, pry back the mudguard and slip on one of the speed nuts as far back as you can place it. No need to remove the mudguard or wheel liner.
Notice that the speednut is facing backwards. This is intentional! In this way, the bracket part of the nut just hooks over the mudguard, and the part the screw goes into is facing the outside. Doing it like this, the screw can go into the speednut directly, and doesn't have to go through the mudguard, thereby avoiding damage and making this whole thing completely reversible.
Mark where you'll need to drill a small hole in the sideskirt. I used a 9/64 bit.
Almost done! To keep things super stealthy, paint the tops of the brackets matte black. The screw you see there is a matte black trim screw from Ace hardware. 59 cents each. Get the smallest size they have (#6, 3/4 inch). I did Dremel the screws a bit shorter, to make sure they didn't dig in to the mudguard (reversible install!).
Last step. At the front edge of the sideskirt, I used some 3M body work double sided tape to make sure it followed the body well. I did use adhesion promoter just on the sideskirt side (not the body of the car). Once it's stuck down, reuse the torx screw here at the front. It lines up perfectly.
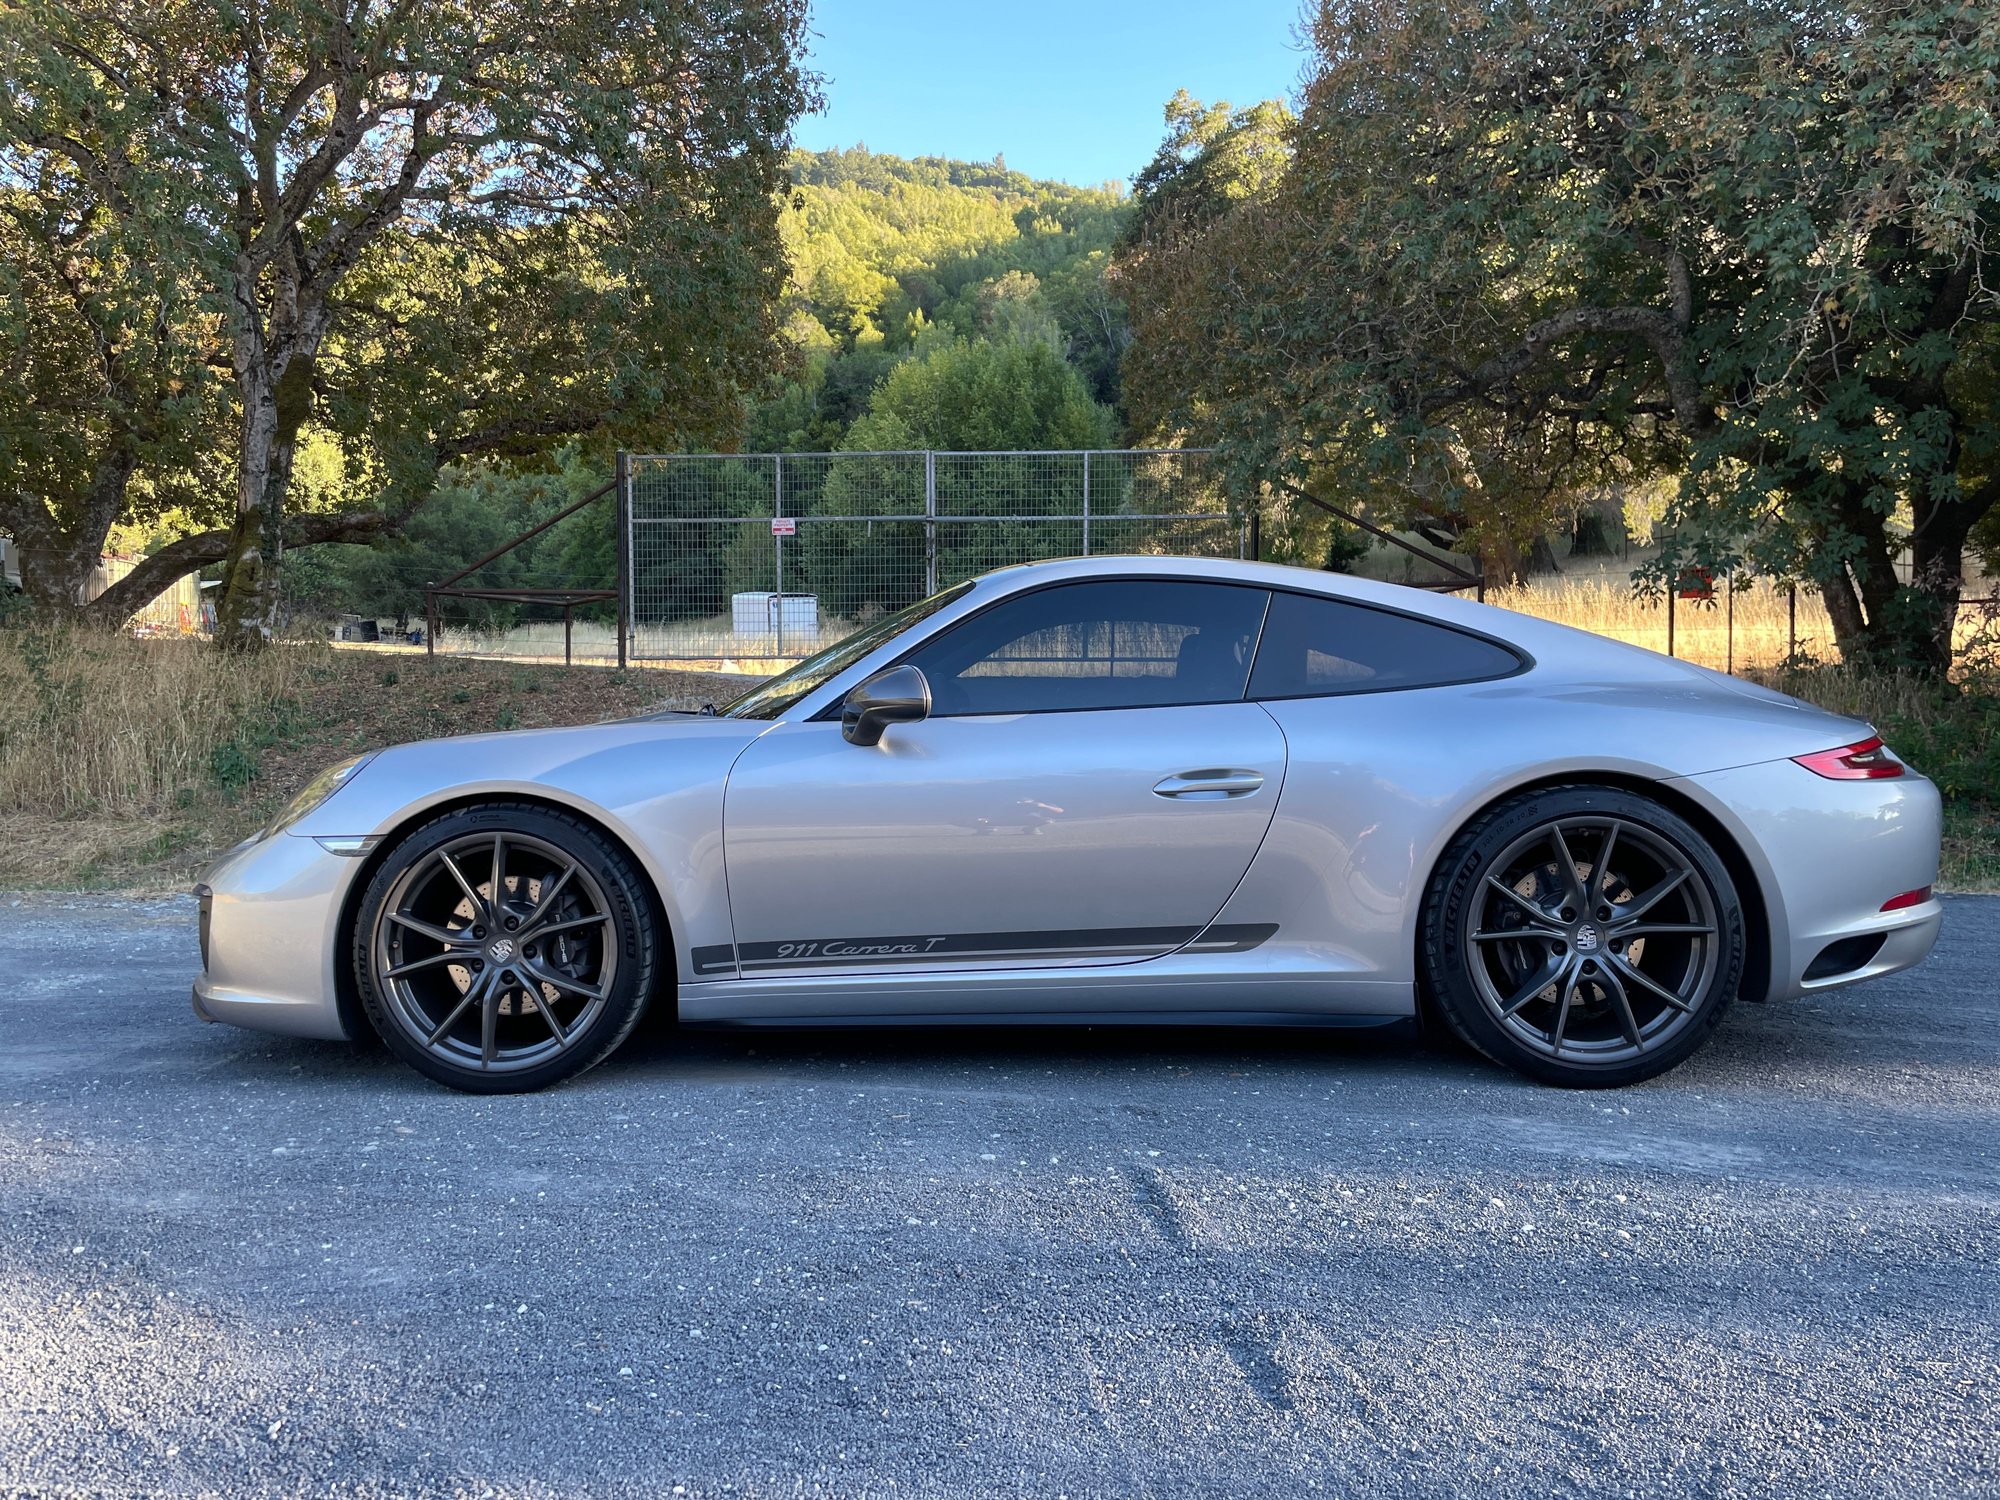
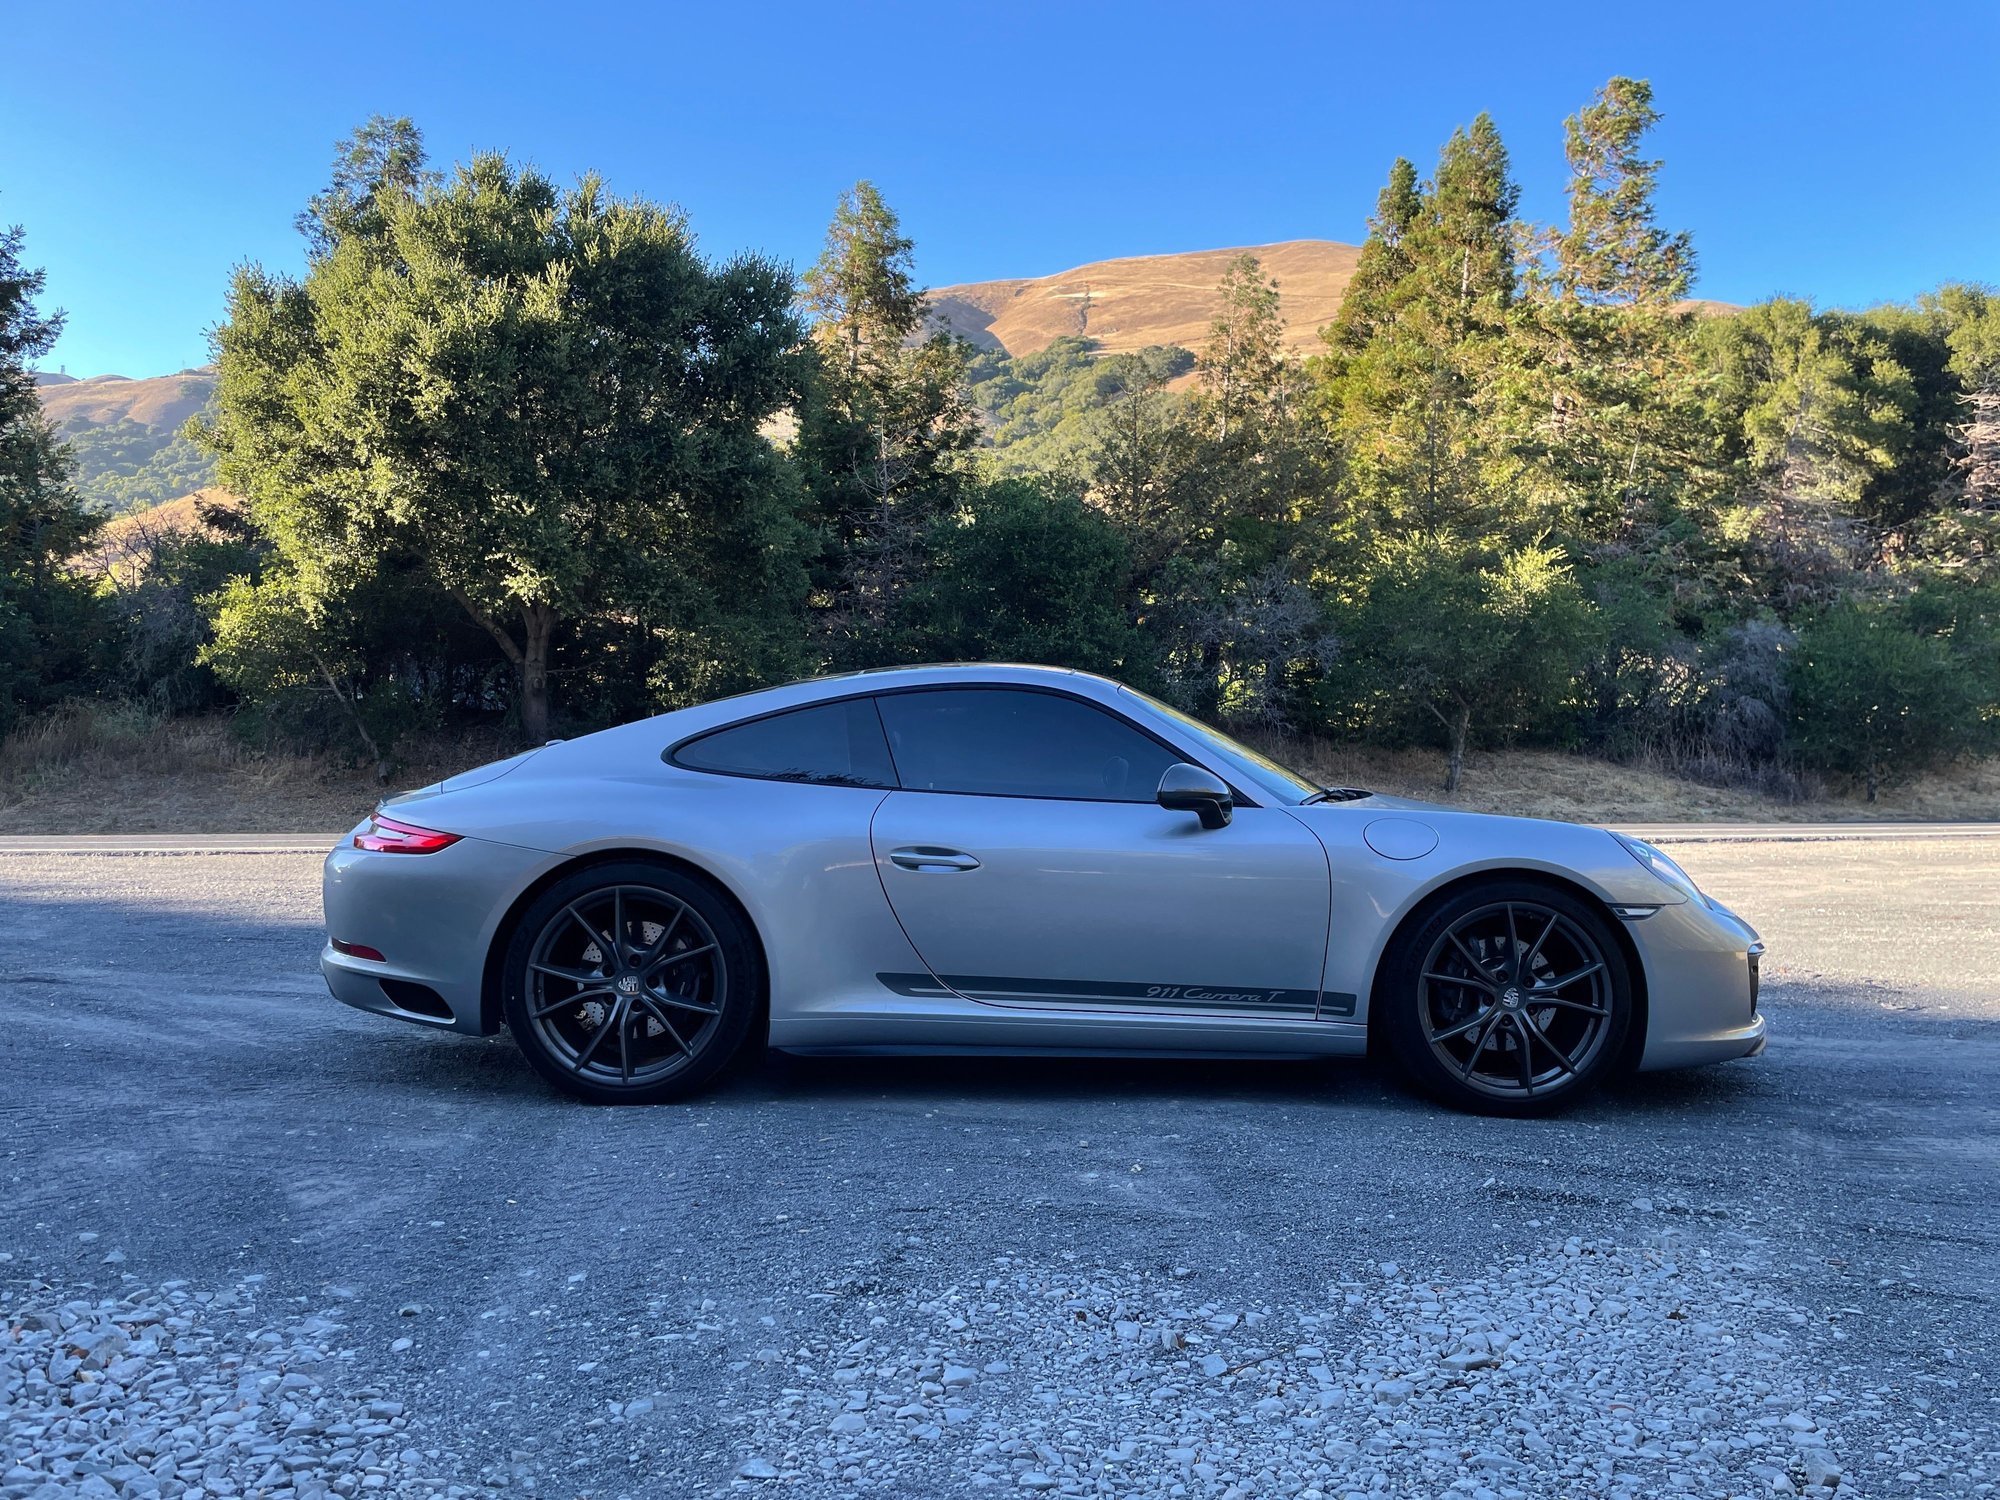
Congrats, you're done! This project did take me all day figuring stuff out; second side went much faster. Hopefully with this guide and everyone else's, it will only take you a couple hours!
Very nice and great write up! I tried this same set up but didn't like the gaps (you can fill with black silicon) so I ended up going with Maxton design sides.
Also, is the back screw with the speed nut absolutely necessary? I was wondering if it could be deleted for a cleaner look.
You will need something in the back to make it work, but I went with the screw from the back of the mud flap, a lot more discrete. Not �fully reversible� but trust me, you won�t want to remove this once it�s on, It looks that much better. A buyer won�t care either. You can always buy a new mudflat worst case. I kept the original felt/plastic piece in place and just bolted to the existing plastic fasteners and that gave me a better fit than trying to use the plastic fasteners that came with the blades (I tried both) but YMMV. For fitment, the small gap in the rear, as well as fitting the front to sit perfectly flush with the body, all it took was a little time with the heat gun, no extra screws needed in the front other than the factory underside one.
@tx-911 Looks great! Thanks for this! I will probably go the same route as you when I take on this project. Are those the 4S/GTS/Targa side skirts or the GT3 RS ones? And also when you used the factory mounts and the felt, did you trim the side skirt mounting points like Devtec did?
@tx-911 Looks great! Thanks for this! I will probably go the same route as you when I take on this project. Are those the 4S/GTS/Targa side skirts or the GT3 RS ones? And also when you used the factory mounts and the felt, did you trim the side skirt mounting points like Devtec did?
GT3RS. I didn’t have to trim the mounting holes but on a few of them I did have to put the screw at the very edge of the openings to be able to match up to the existing plastic fasteners in the car. Of course I did have to trim the actual blades (same as everyone in the inside rear of them, and the tabs it comes with). To “shape” the blades to conform to our NBs, I would mock it up, then pull them out, use the heat gun to shape the areas that needed slight bending, and used iced water on a spray bottle to “set” the shape, then mock up, repeat til I was happy, then mount. Also to trim the plastic, I used box cutters and would heat the cutting blade with the heat gun, which made it cut thru it like butter. HTH.
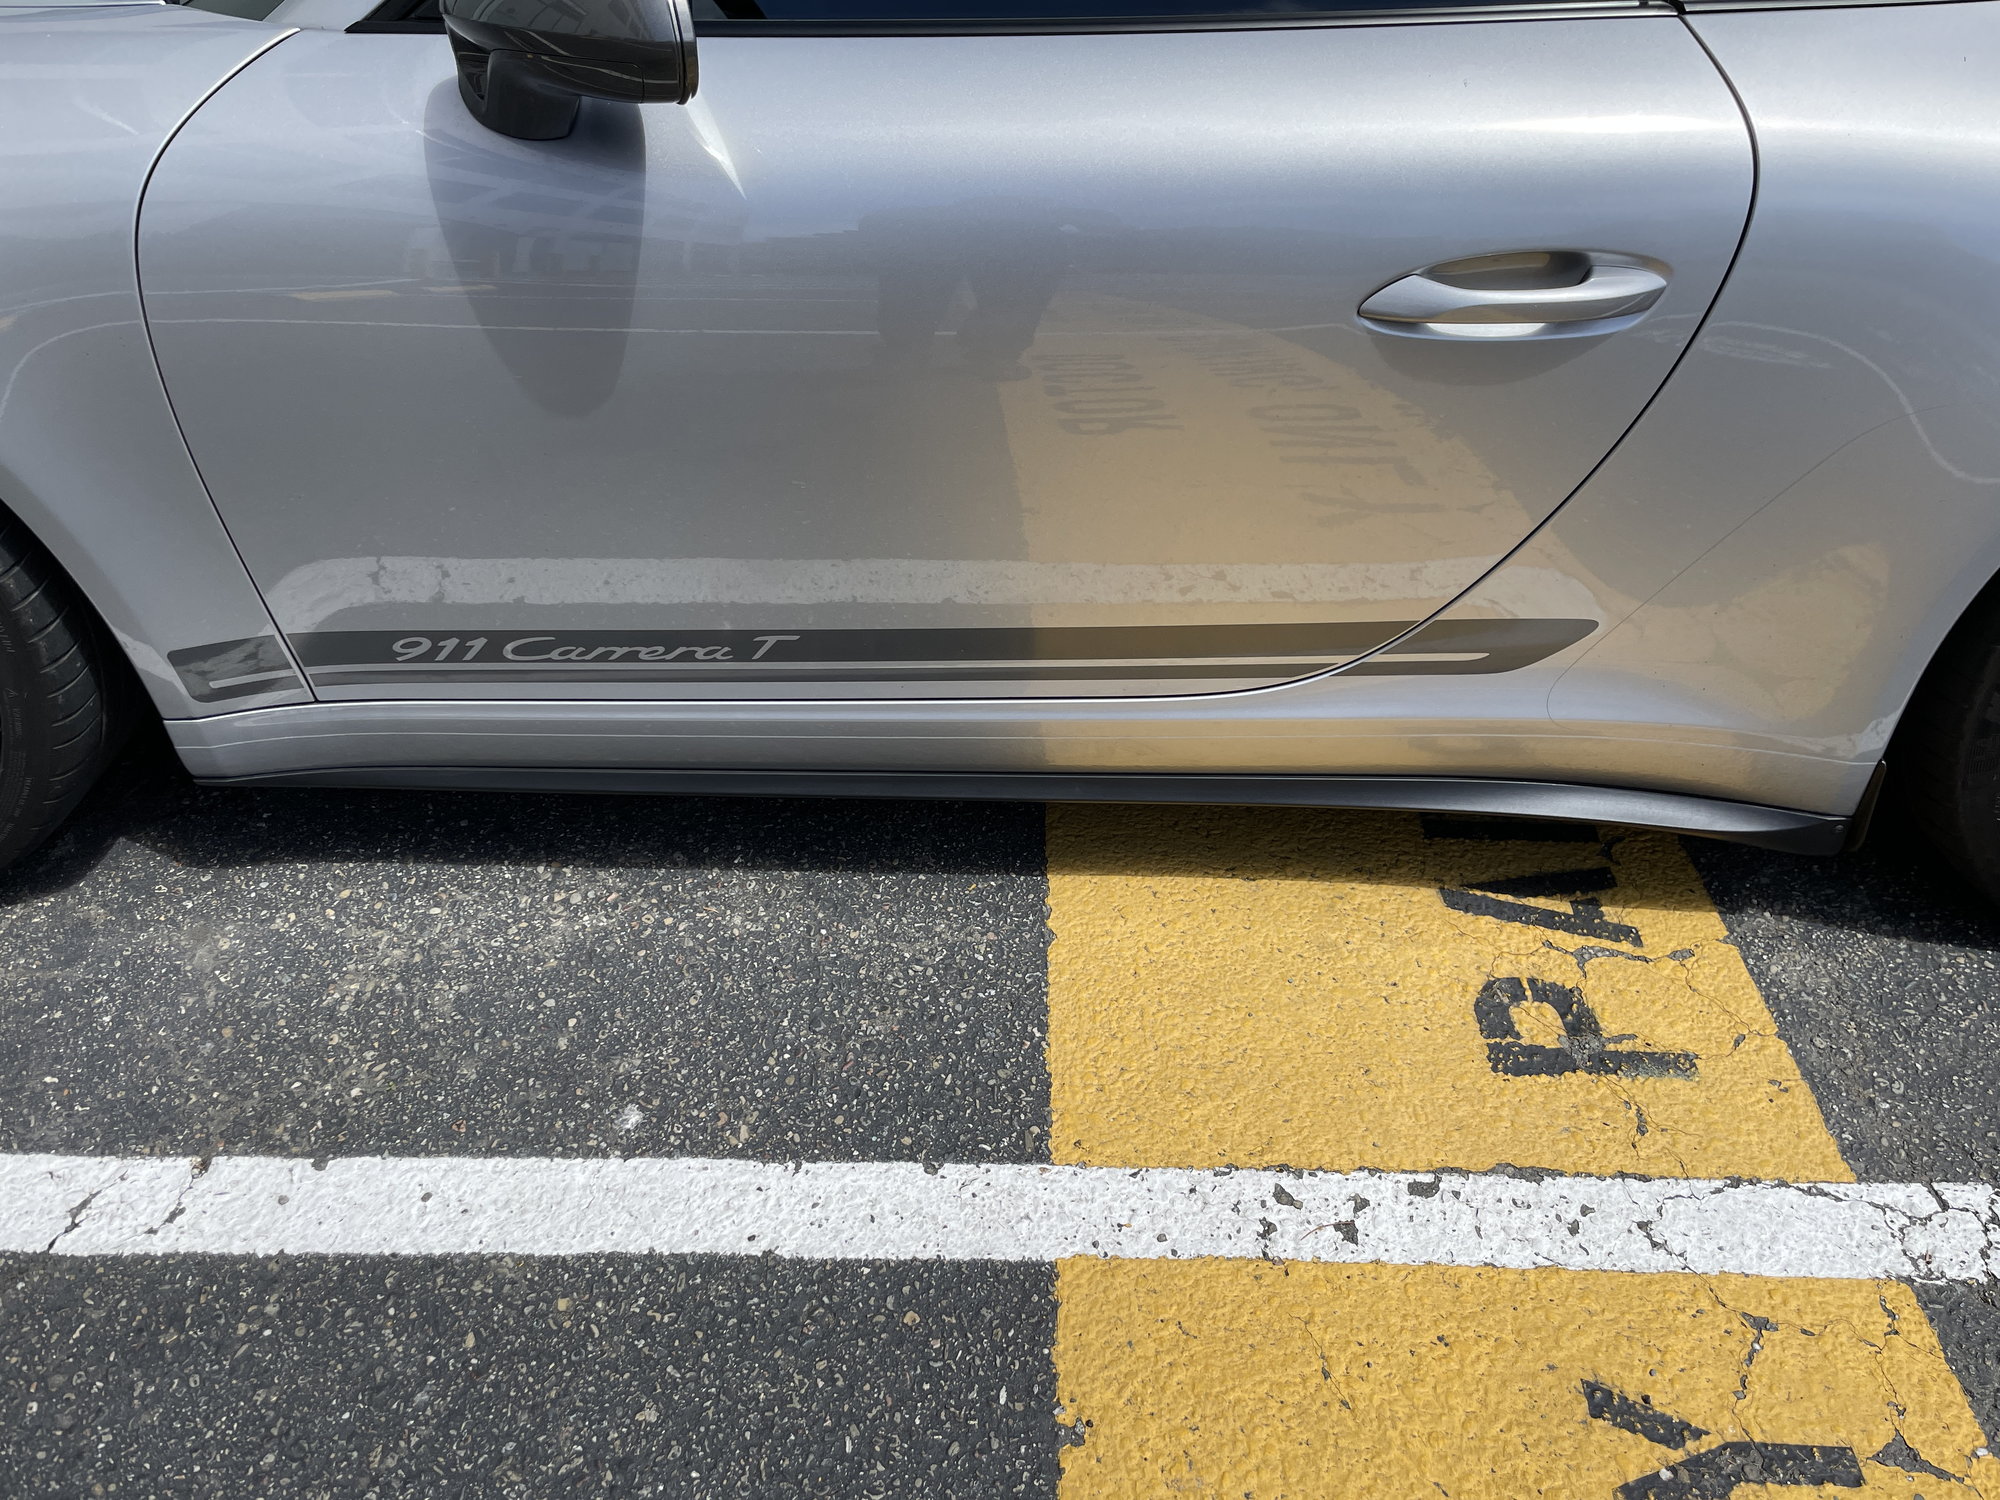
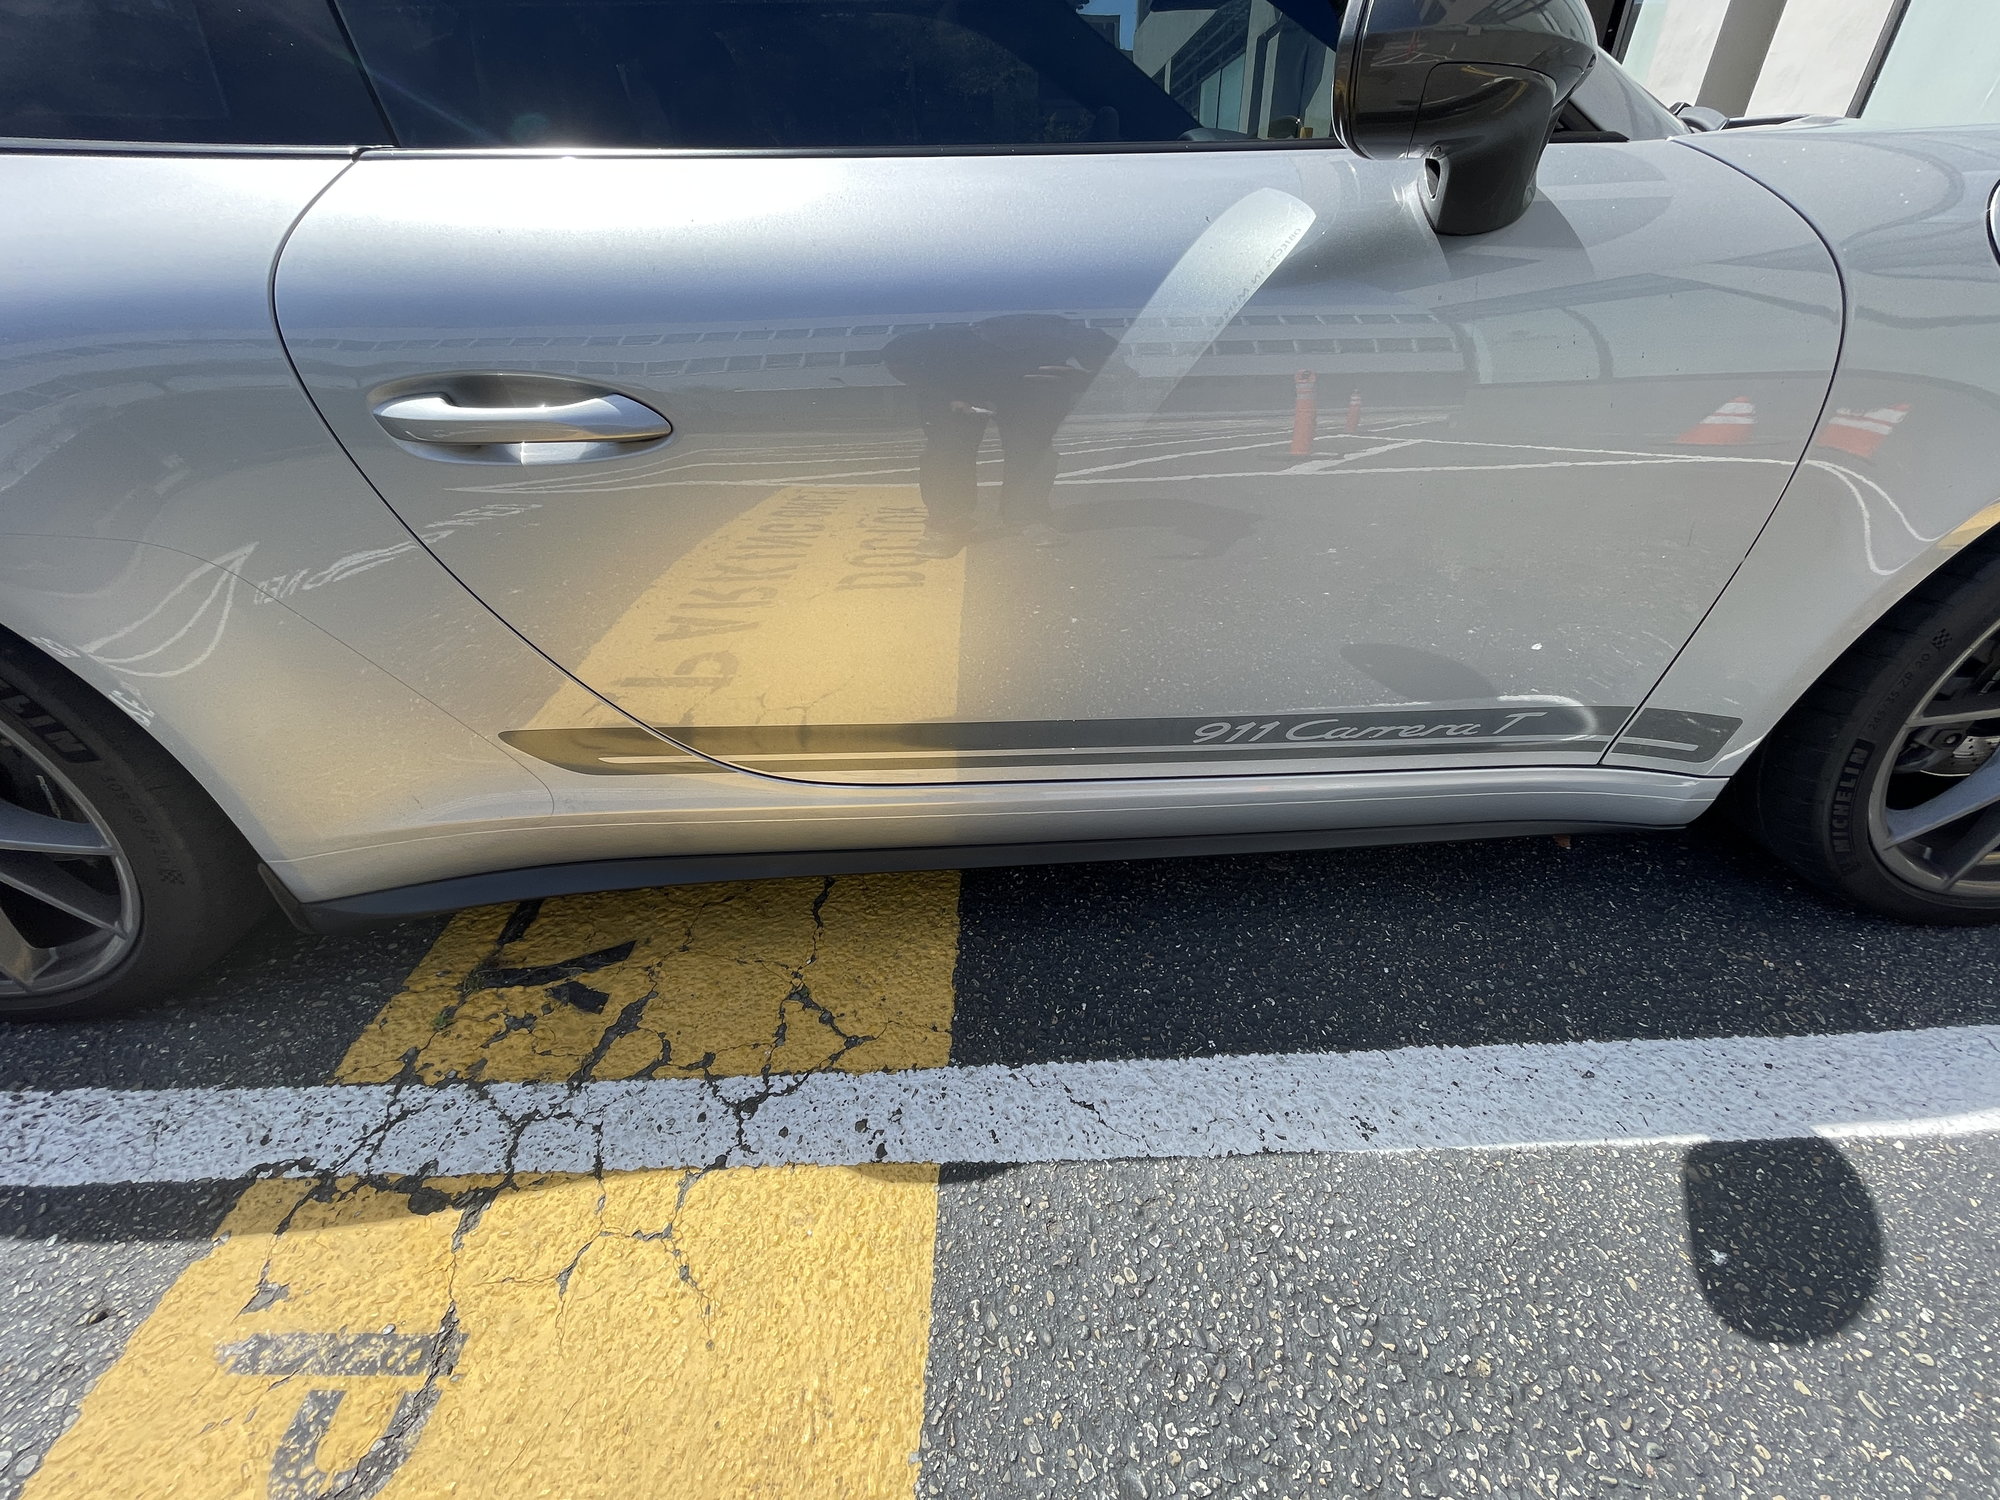
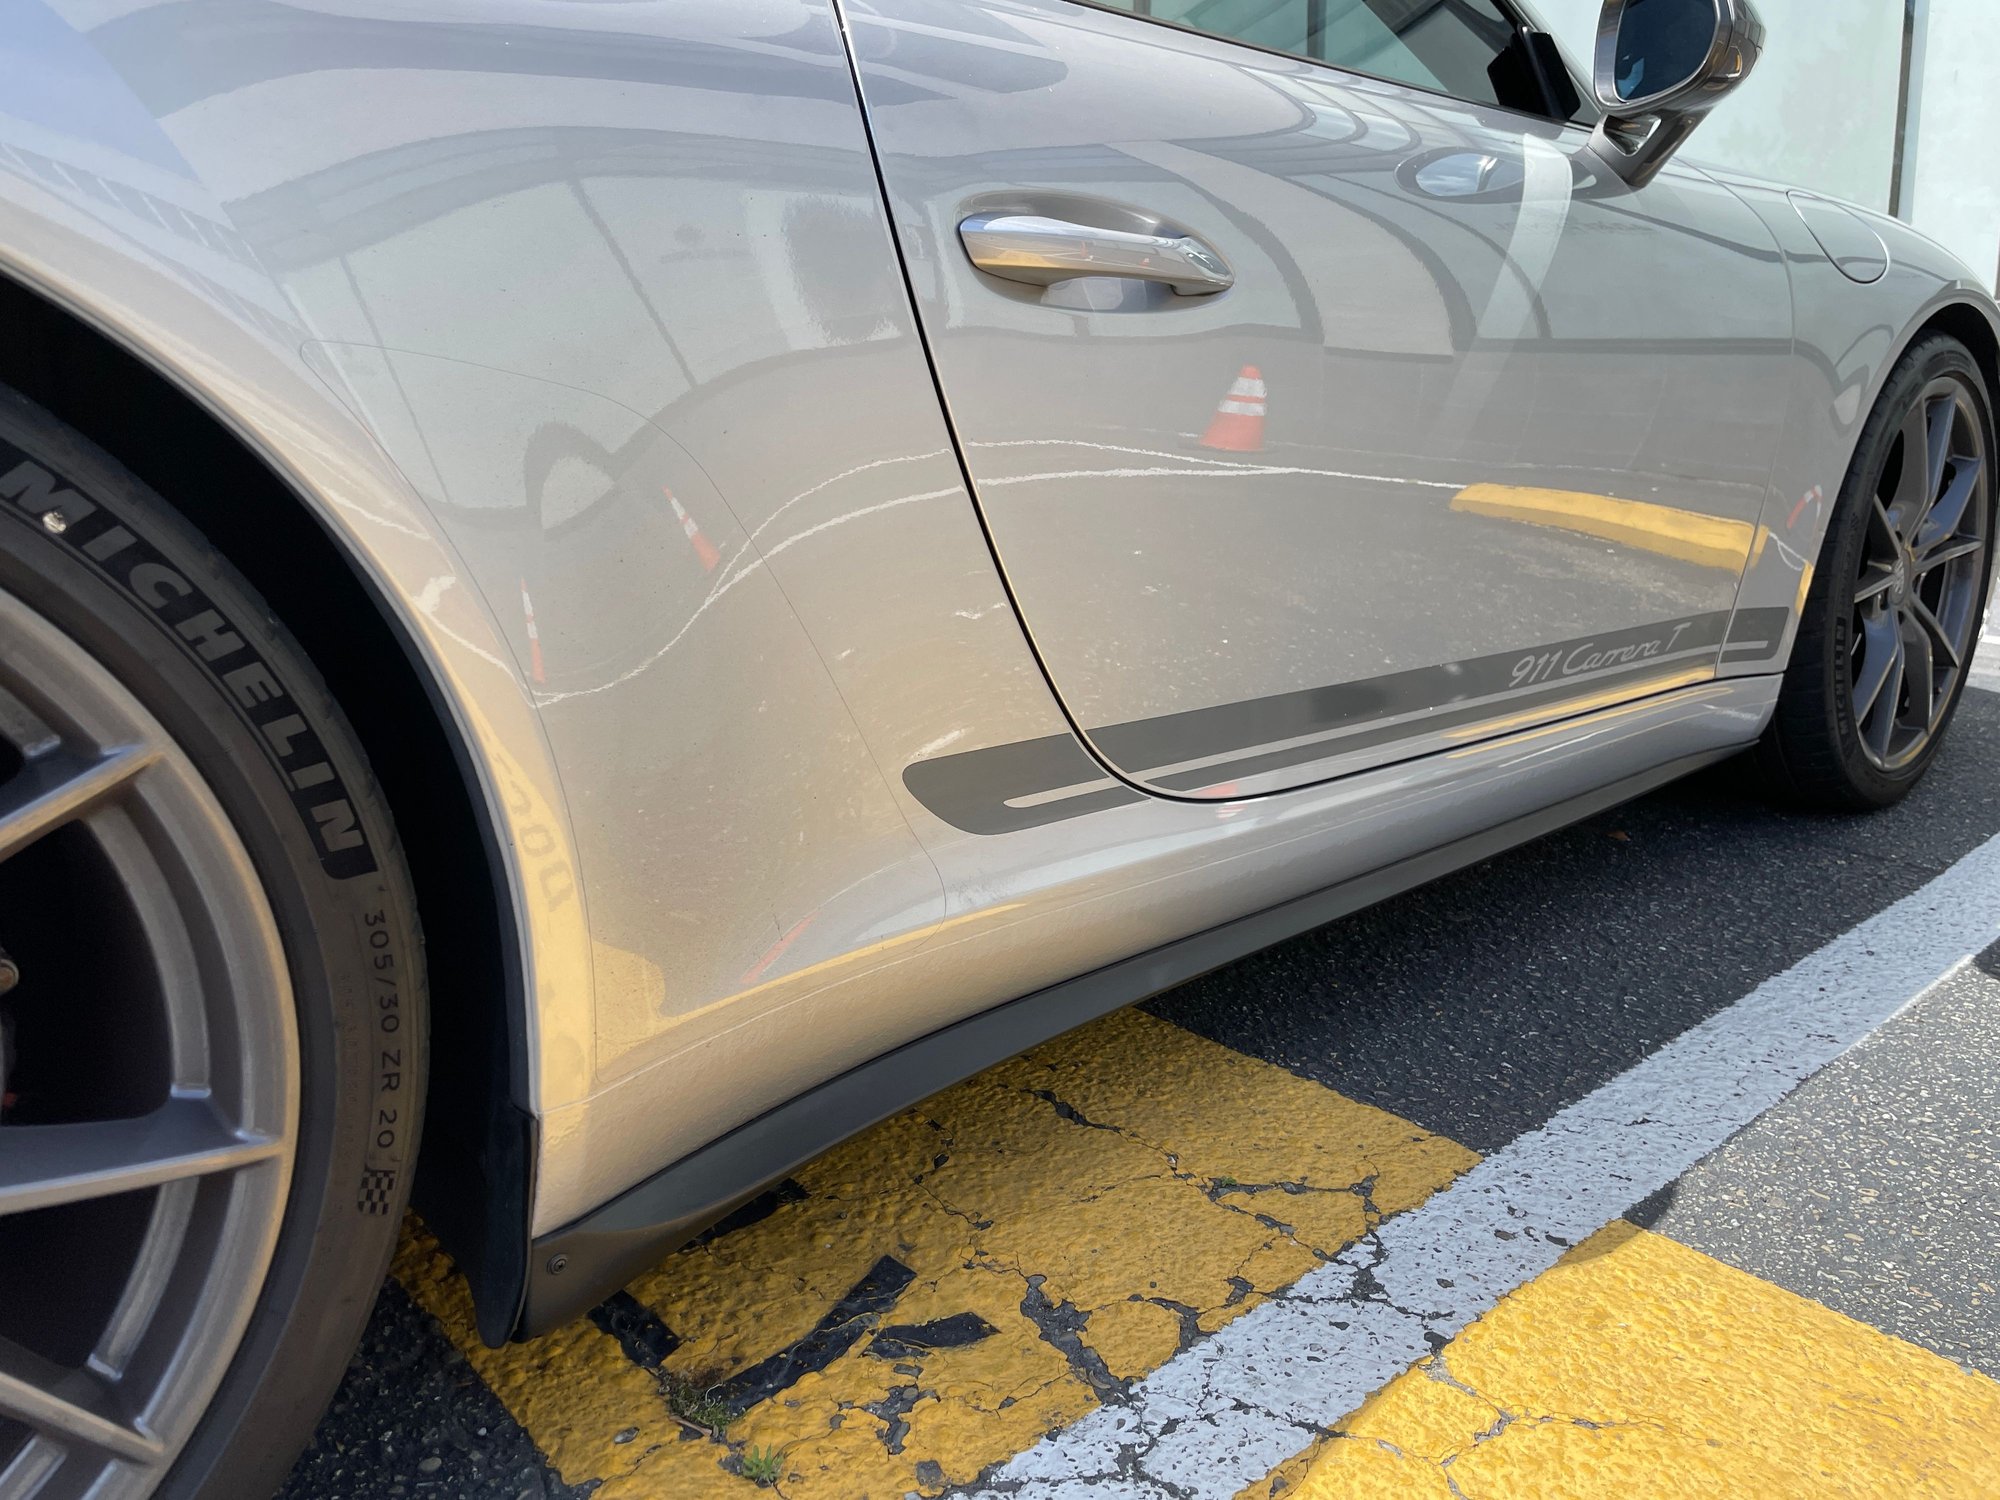
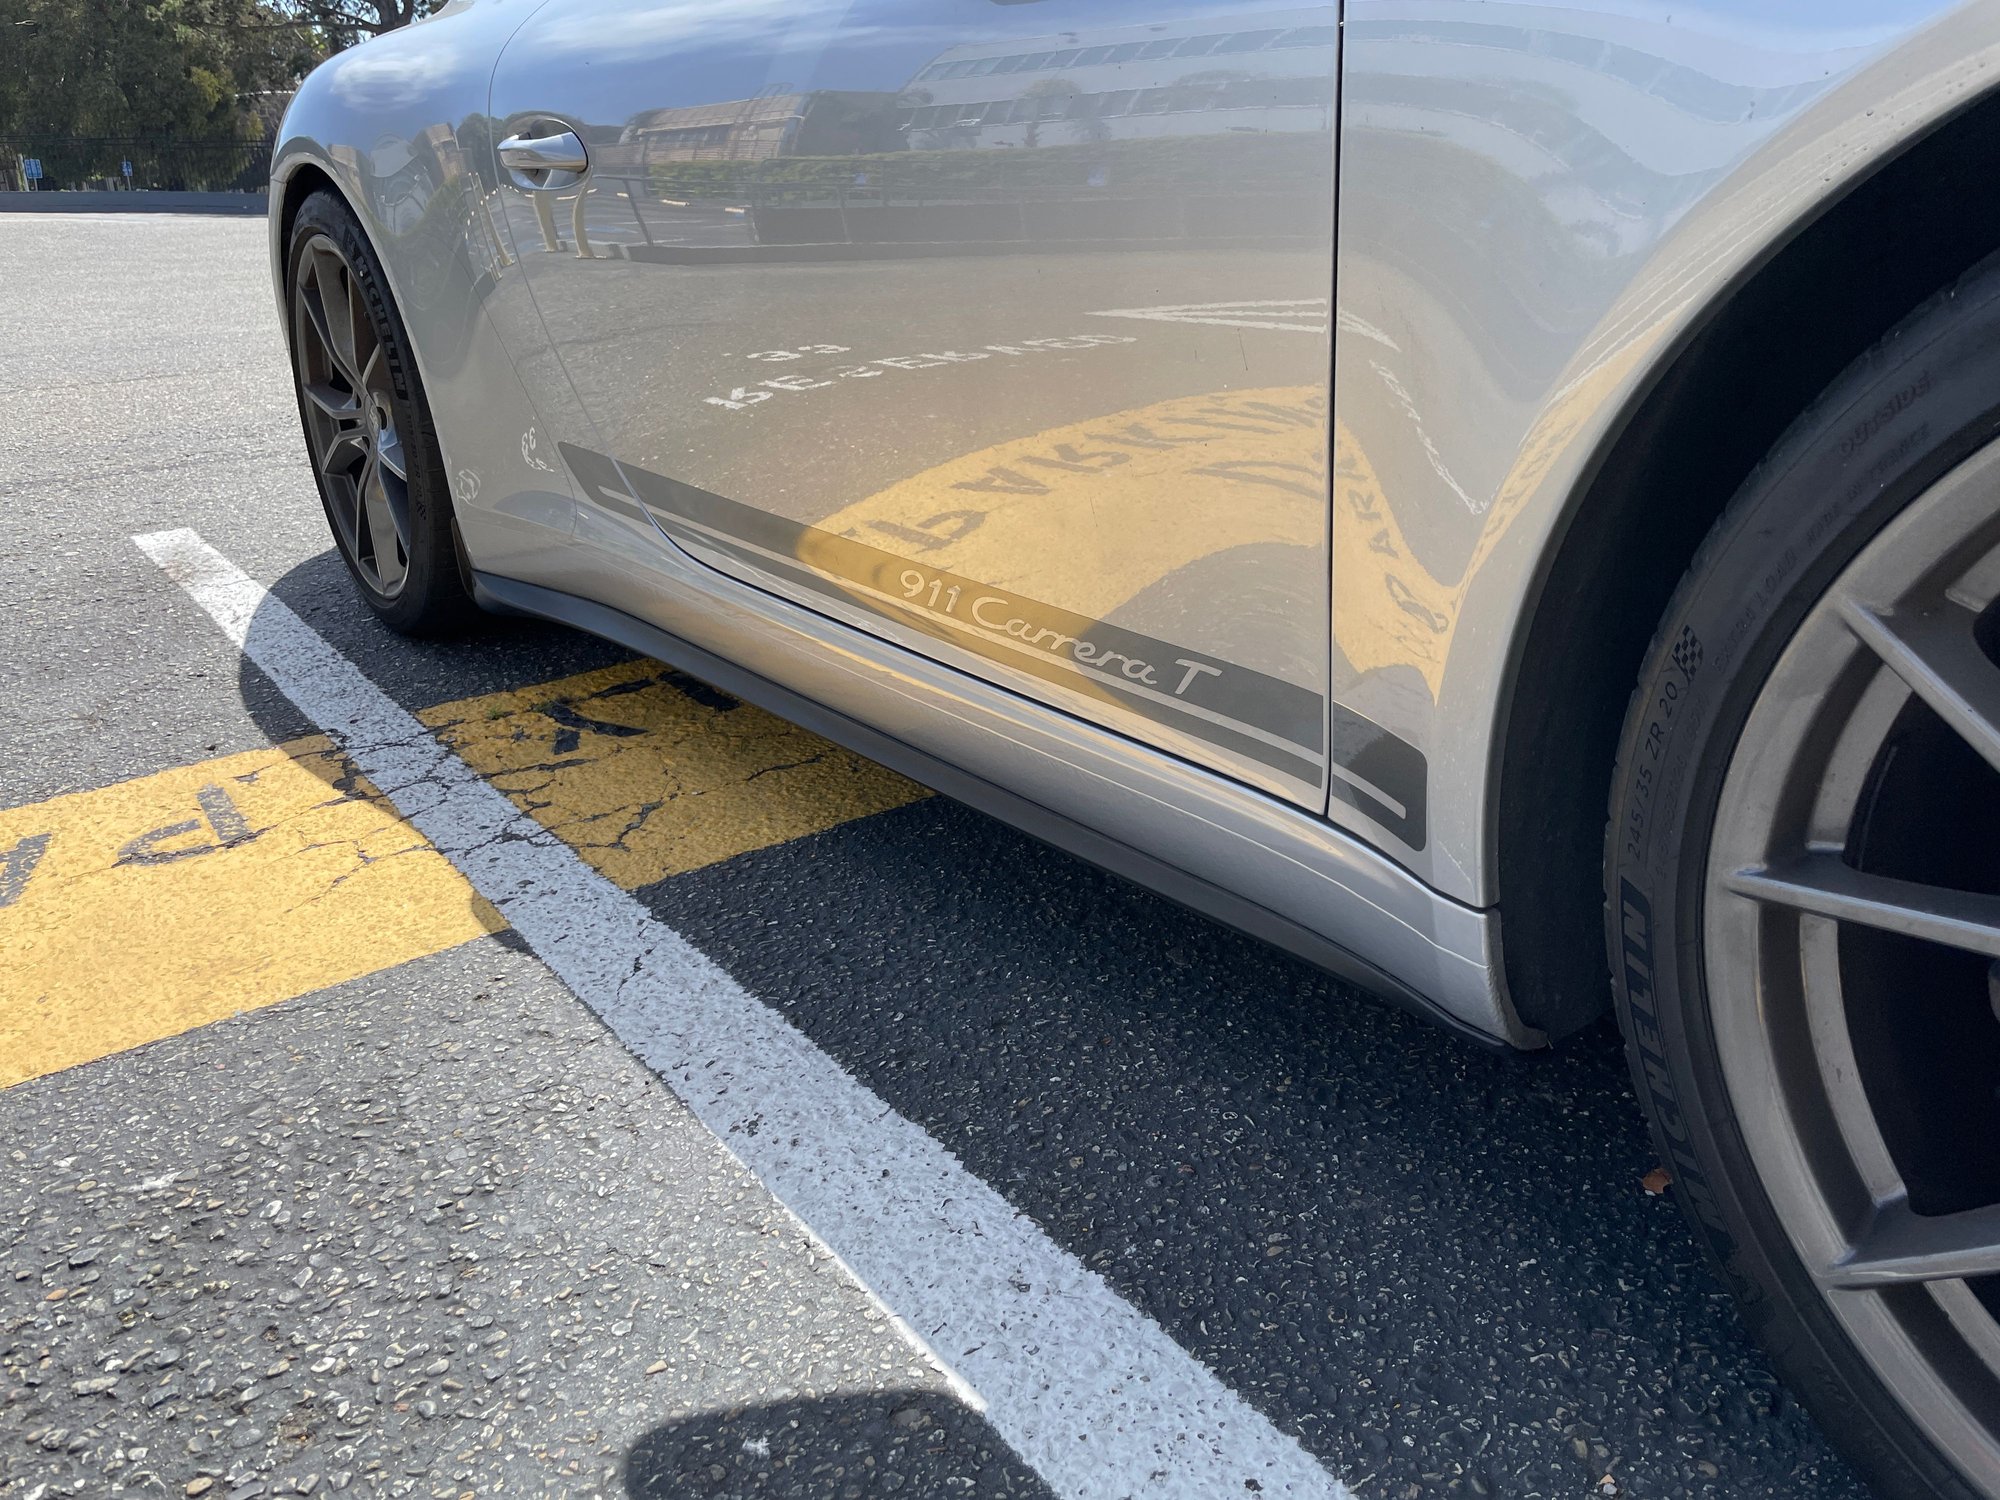
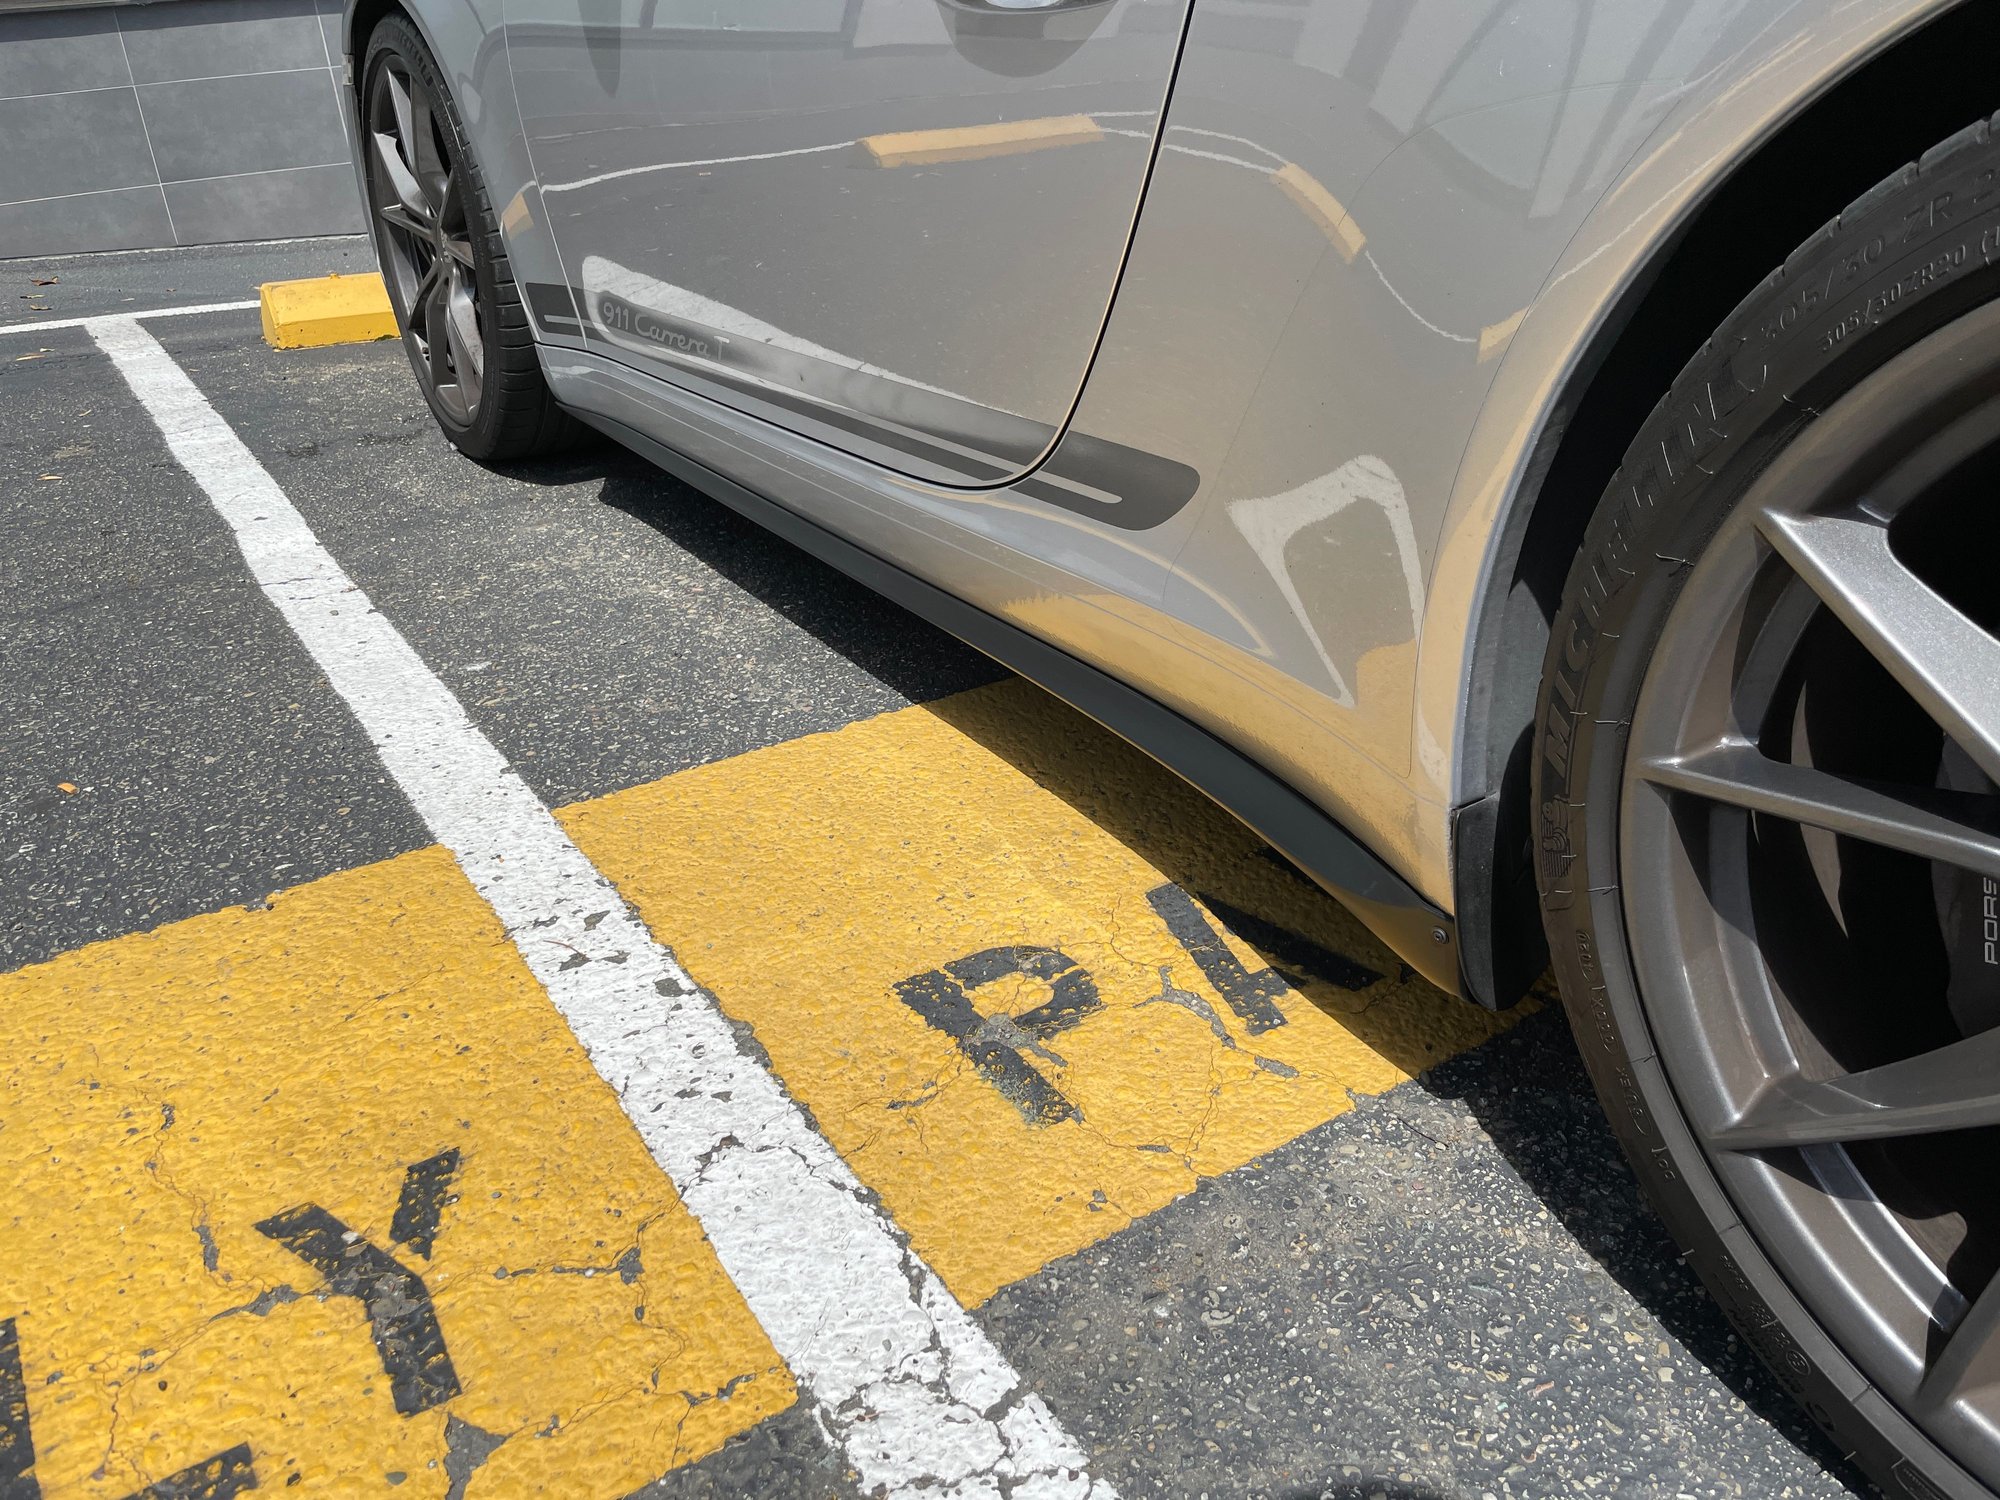
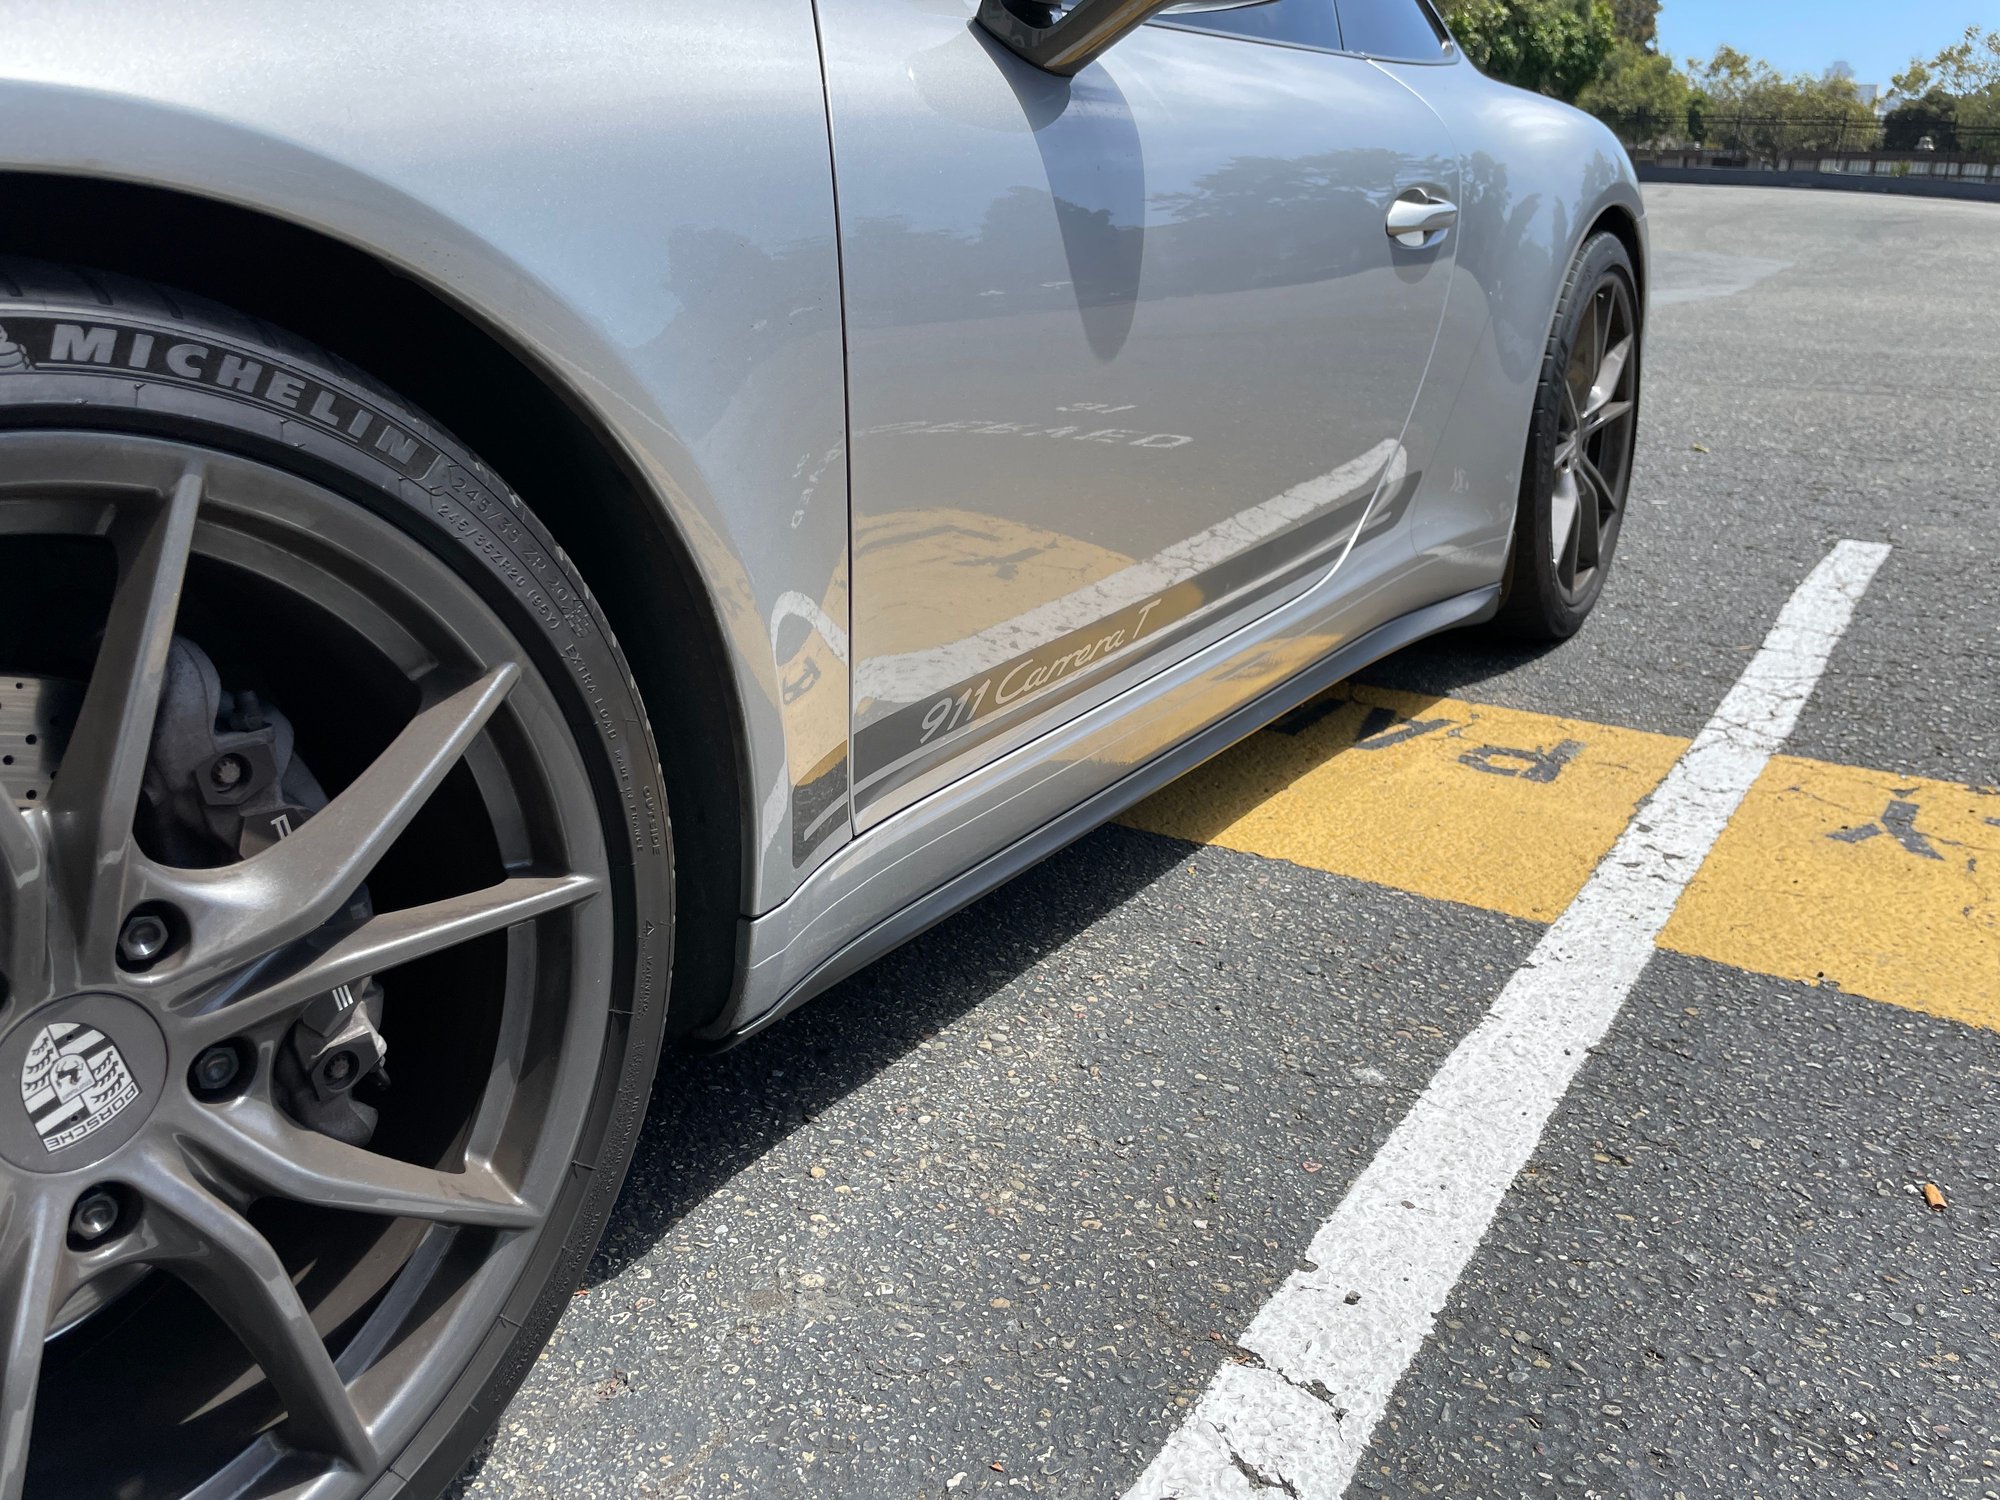
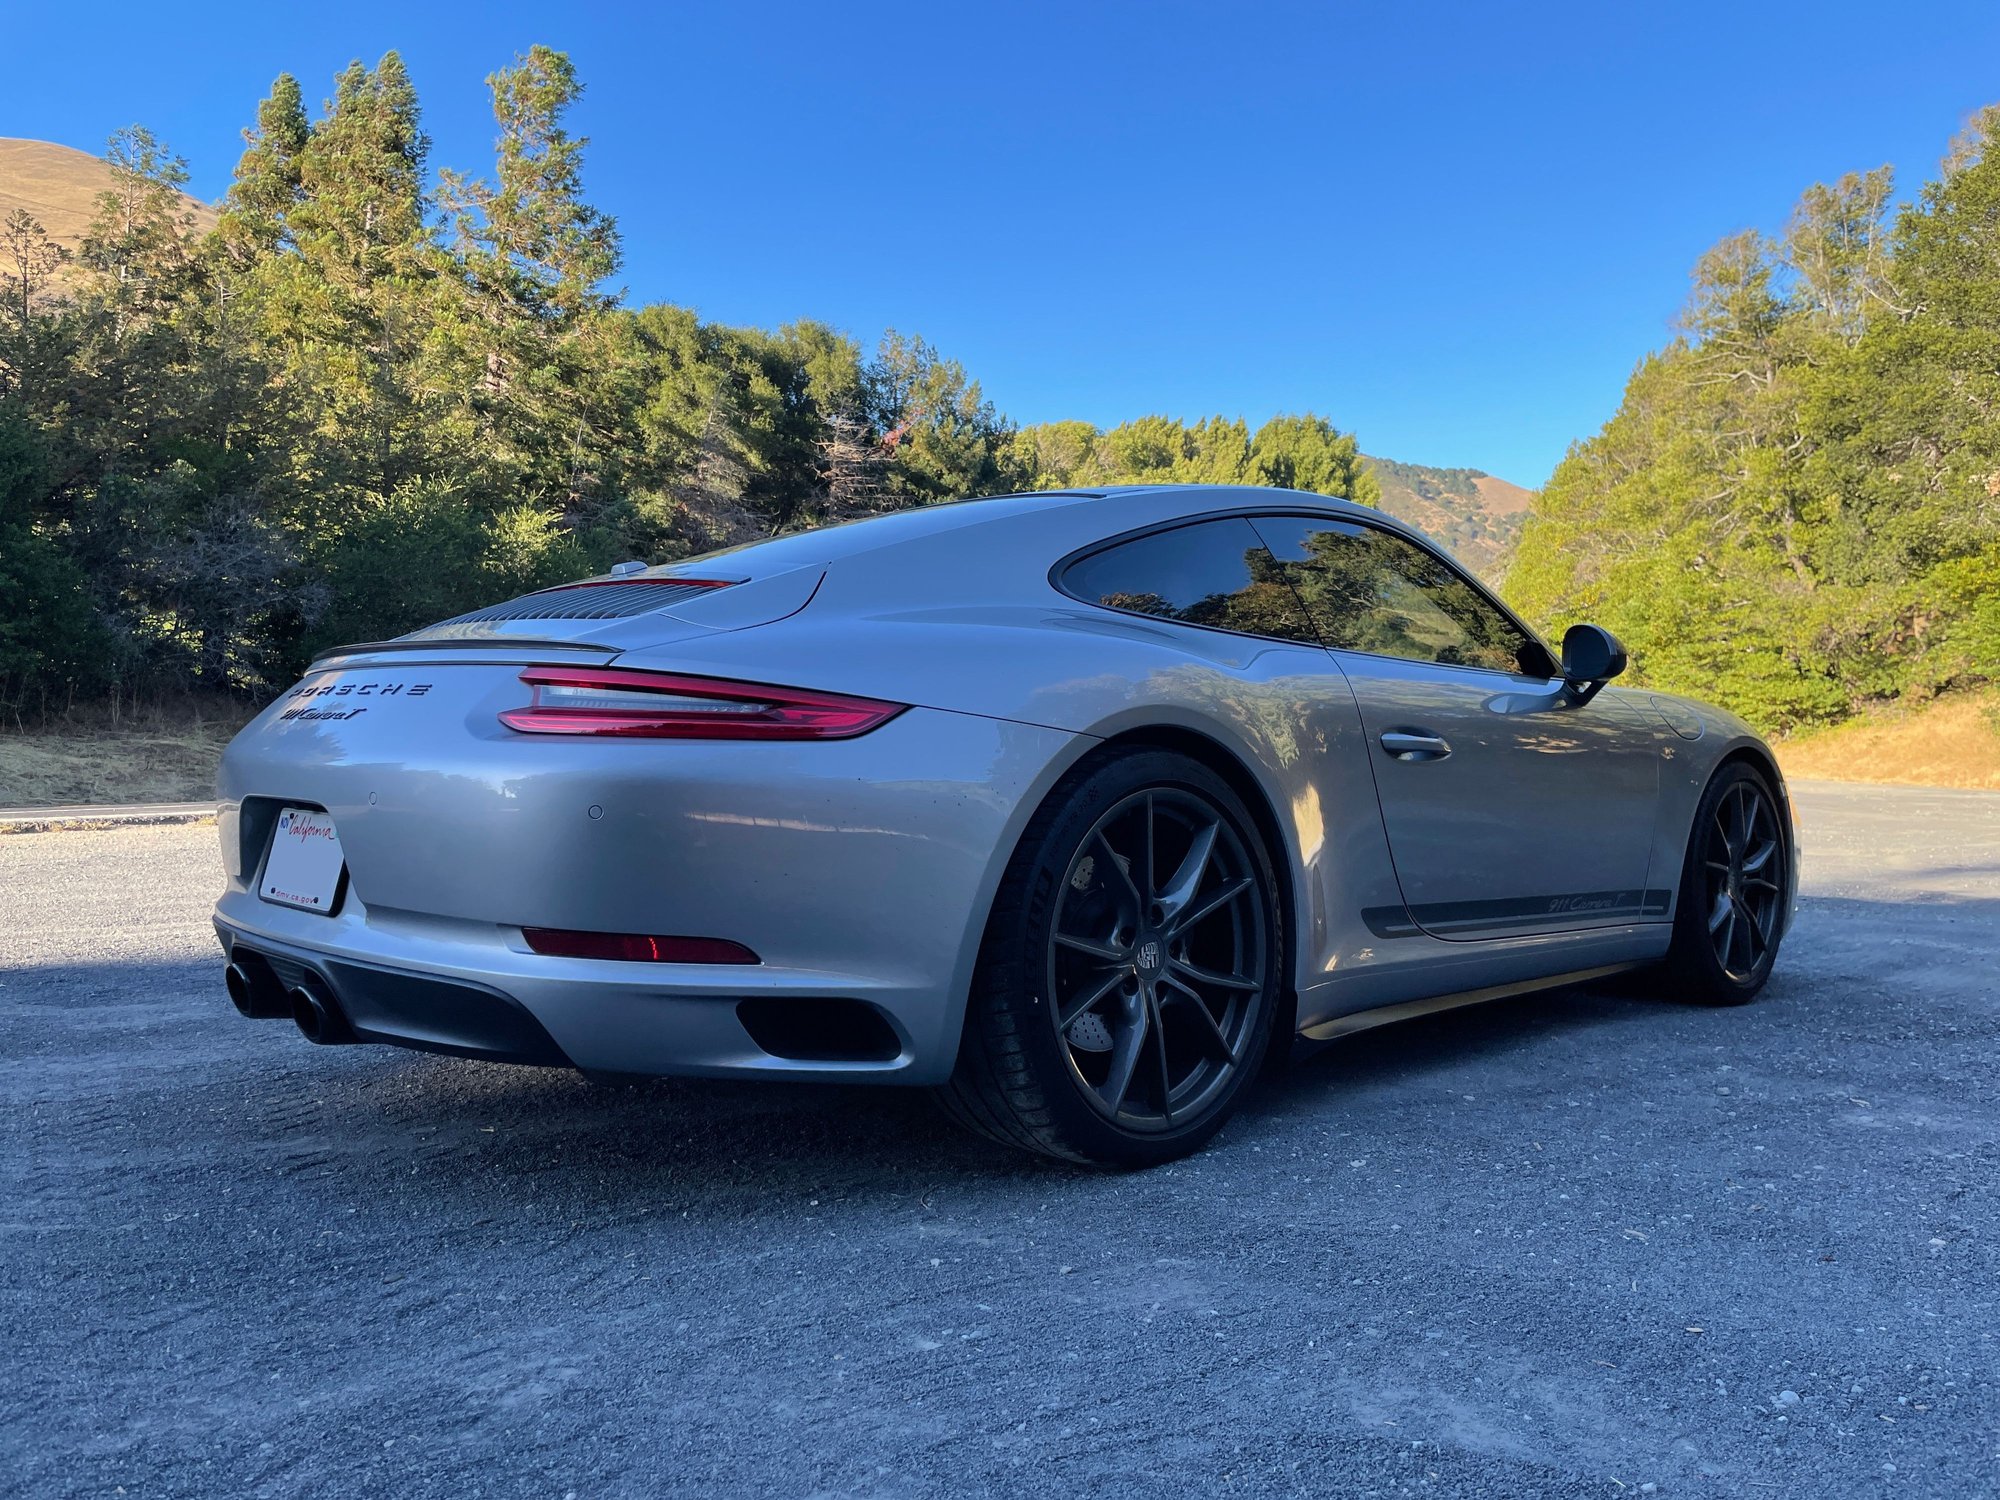
I've gone through this whole thread and folks mentioned several times there is a gap for the narrow body. What gap are folks referring to? I can't seem to spot it in the photos! Maybe this speaks to how well folks are installing the side skirts.
I've gone through this whole thread and folks mentioned several times there is a gap for the narrow body. What gap are folks referring to? I can't seem to spot it in the photos! Maybe this speaks to how well folks are installing the side skirts.
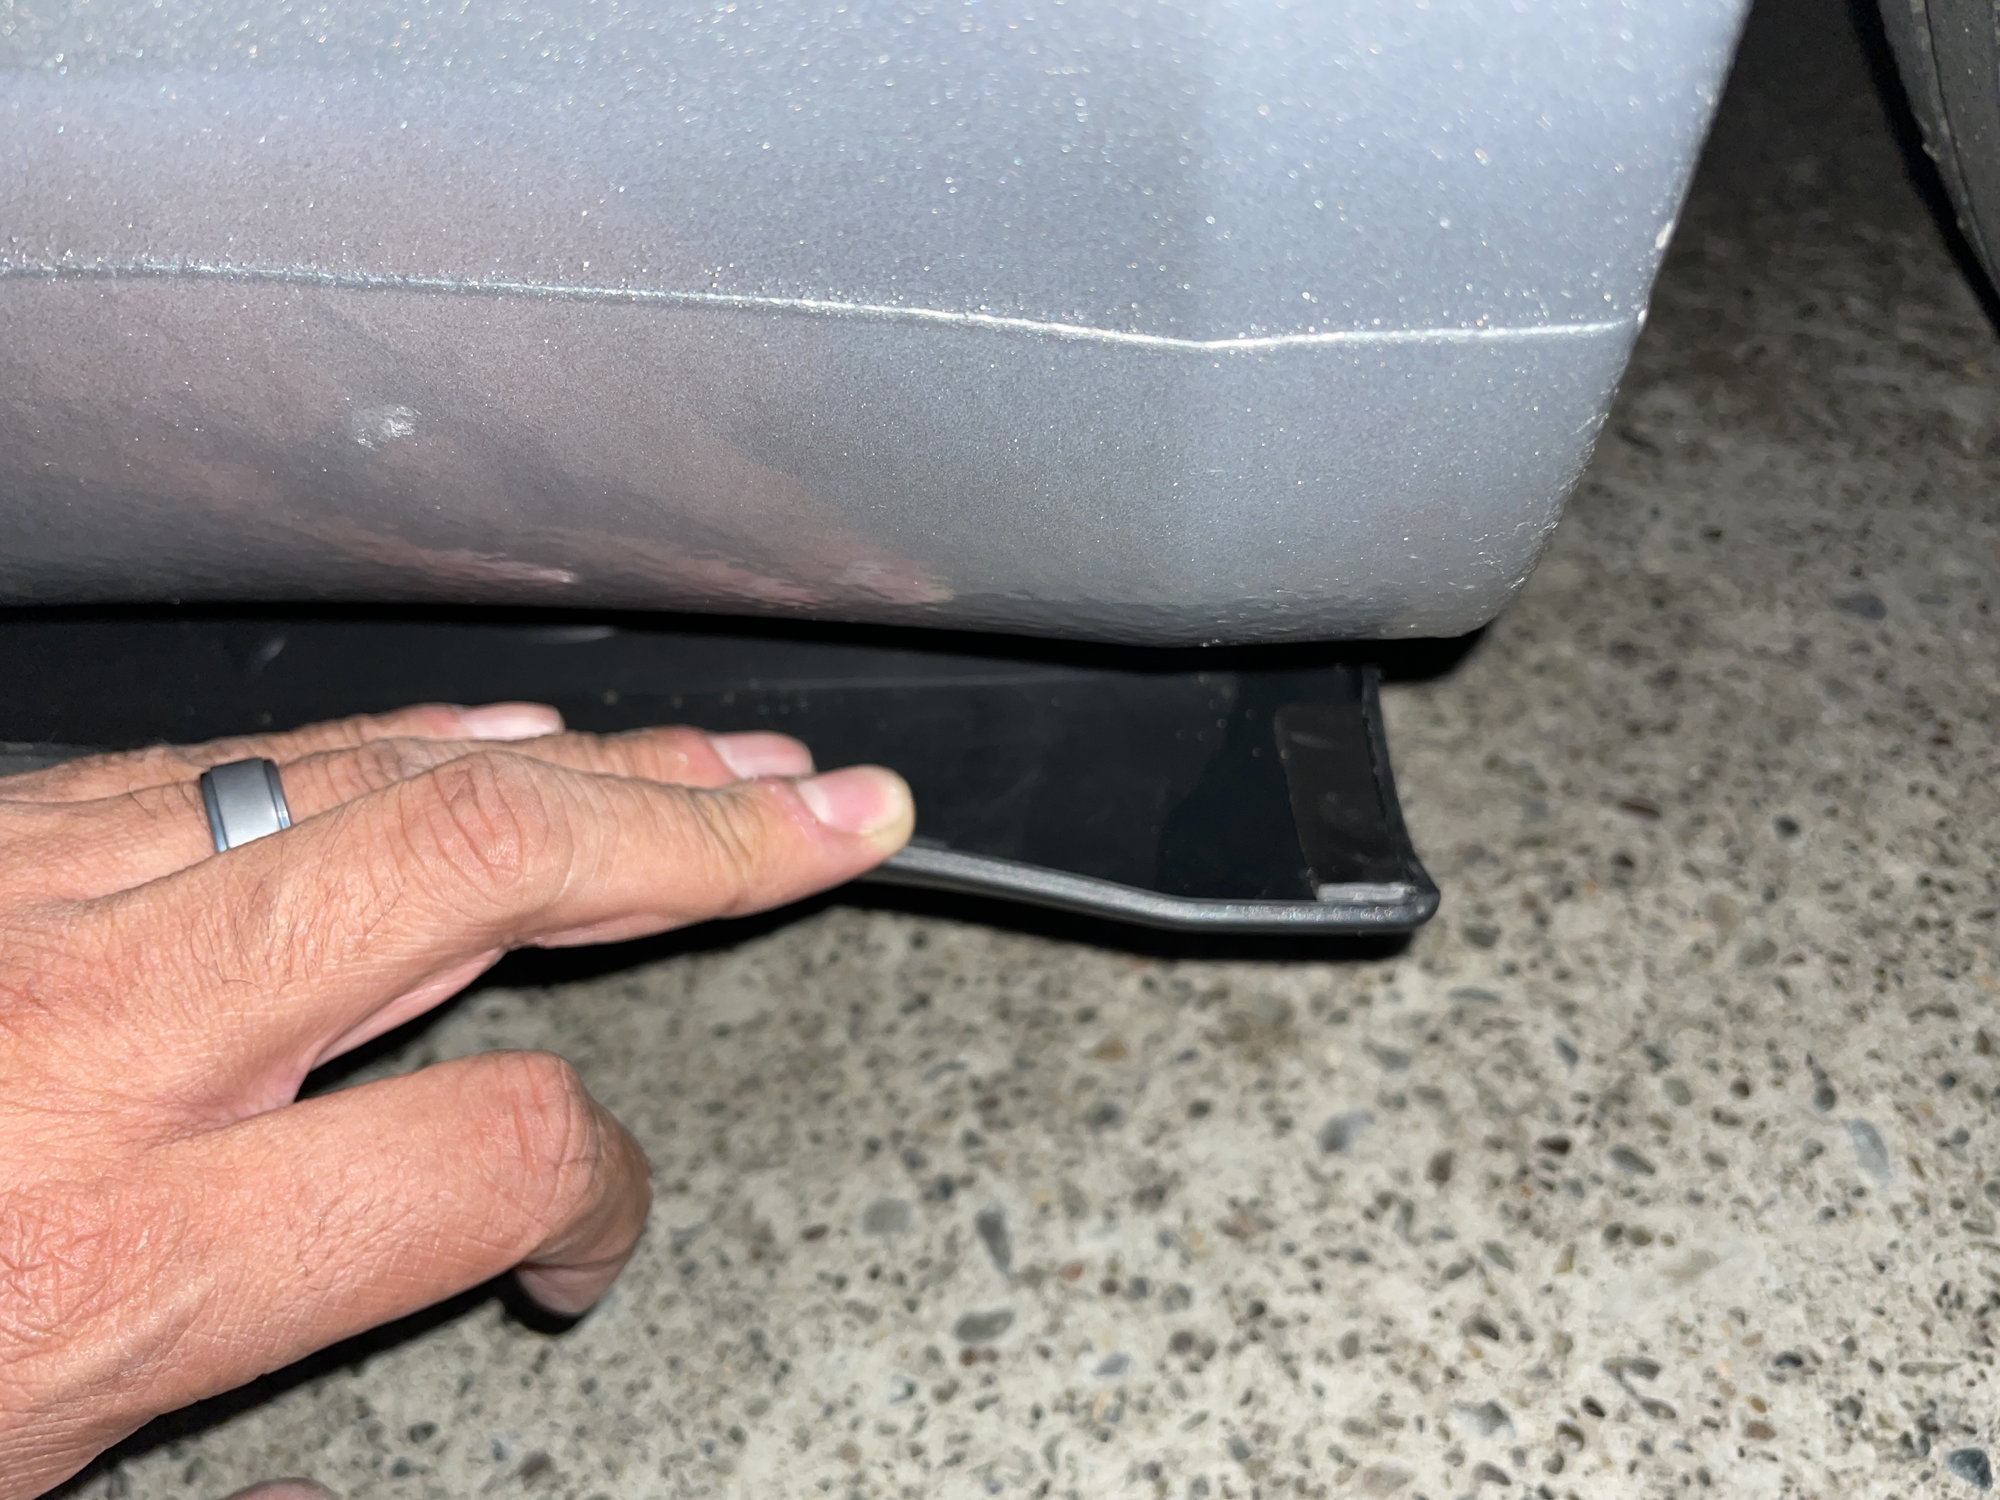
There will be a small gap in the rear, it�s pretty much impossible to completely eliminate it, but it�s subtle/not an issue from 3 ft apart. Doesn�t bother me despite my OCD. 🤷🏻♂️
There will be a small gap in the rear, it�s pretty much impossible to completely eliminate it, but it�s subtle/not an issue from 3 ft apart. Doesn�t bother me despite my OCD. 🤷🏻♂️

 07-17-2022, 03:59 PM