
Orthojoe .2 GT3 Thread
 05-03-2018 | 04:09 PM
#136
Basic Sponsor
Rennlist
Site Sponsor
Rennlist
Site Sponsor
Joined: Aug 2009
Posts: 1,067
Likes: 71
From: murrells inlet, sc
Yep
__________________
Clark
ApexPerformance.net
Premier Racing Outfitters
Toll free: 866-505-2739
Direct: 843-299-0997
EM: chamerly@apexperformance.net
www.apexperformance.net
Save 10% on your next order over $75 on most items- enter Promocode Rennlist-10 on your next order or mention Rennlist during your phone order.
PCA Club Racing - National Sponsor
05-03-2018 | 06:37 PM
#137

Burning Brakes
Joined: Mar 2004
Posts: 1,062
Likes: 460
05-03-2018 | 10:52 PM
#140

Rennlist Member
Joined: Sep 2015
Posts: 987
Likes: 85
From: Little Rock, Arkansas
Spent the this past weekend at Barber with Alabama Region. Danny Crabtree, my customer, from Little Rock was the first to install these Essex AP BBKs on his 991.2 GT3 and he was in attendance at Barber. He had nothing but good things to say about there performance. He was very clear to point out that these brakes were superior to the stock Brembo stuff. Not to mention the big weight reduction. These babies weigh just 1.5#s per corner more than PCCB and the rotors don't cost $24000 to replace..
For those of you that have questions etc. Feel free to give me a call. WE are a Motorsports Partner of Essex Parts and are very active selling their BBKs.
For those of you that have questions etc. Feel free to give me a call. WE are a Motorsports Partner of Essex Parts and are very active selling their BBKs.
And Clark was excellent to work with - great seeing you at Barber this weekend buddy
Joe, now if I only had the problem of having to swap them out and onto my incoming GT3RS............
05-04-2018 | 05:29 AM
#141
Three Wheelin'
Joined: Mar 2013
Posts: 1,416
Likes: 41
From: Europe
The more you drop the pressure during the day, the more you are putting heat into the tire and causing overheat. This leads to inconsistent and slower times as the day goes on. I've found my times to be more consistent throughout a session and throughout the day when I don't mess with the pressures.
05-04-2018 | 06:17 AM
#142
Instructor
Joined: Jul 2017
Posts: 167
Likes: 30
From: Australia
Lower pressure makes the sidewalls of the tyres more flexible and compromises grip and handling. It also means that the tyre deforms more due to the weight of the vehicle and this causes heat buildup in the rubber, reducing its life.
according to: https://www.driverknowledgetests.com...yre-pressures/
according to: https://www.driverknowledgetests.com...yre-pressures/
05-04-2018 | 07:48 AM
#143
Rennlist Member
Joined: Dec 2006
Posts: 709
Likes: 67
Hey guys,
Has anyone gotten the Track App to work consistently on the new car?
It worked great on the 991.1 GT3.
I've tried everything. It shows a connection and GPS link but just won't do anything when you hit start.
Has anyone gotten the Track App to work consistently on the new car?
It worked great on the 991.1 GT3.
I've tried everything. It shows a connection and GPS link but just won't do anything when you hit start.
05-04-2018 | 04:28 PM
#144
Basic Sponsor
Rennlist
Site Sponsor
Rennlist
Site Sponsor
Joined: Aug 2009
Posts: 1,067
Likes: 71
From: murrells inlet, sc
Clark is correct - the AP/Essex BBK exceeded my expectations. I swapped out the OEM for the same reasons enumerated by OrthoJoe. But, a nice surprise was that I think the AP kit worked better than OEM. Combine that with the weight savings, easier/cheaper pad swaps and its a no brainer.
And Clark was excellent to work with - great seeing you at Barber this weekend buddy
Joe, now if I only had the problem of having to swap them out and onto my incoming GT3RS............
And Clark was excellent to work with - great seeing you at Barber this weekend buddy
Joe, now if I only had the problem of having to swap them out and onto my incoming GT3RS............
Hope you can make the Alabama Region Barber event in June.
WE are going back to Barber in a couple weeks for the PCA Club Race.
05-04-2018 | 04:32 PM
#145
Basic Sponsor
Rennlist
Site Sponsor
Rennlist
Site Sponsor
Joined: Aug 2009
Posts: 1,067
Likes: 71
From: murrells inlet, sc
The pads themselves are about the same thickness as stock (17-18MM). But the compound we recommend is the Ferodo endurance compound DS1.11. Based upon some research I have done it looks like their may be another pad that will fit the front that is like 25MM thick. I just asked Jeff and will let you know what I find out.
05-05-2018 | 12:05 AM
#146
Pro
Joined: Apr 2017
Posts: 720
Likes: 79
From: Typically at a race track near you!
Once you have done that once, then you just have to select start, going forward.
Best Regards,
Dave
05-05-2018 | 12:15 PM
#147
Burning Brakes
Joined: Mar 2004
Posts: 1,062
Likes: 460
The pads themselves are about the same thickness as stock (17-18MM). But the compound we recommend is the Ferodo endurance compound DS1.11. Based upon some research I have done it looks like their may be another pad that will fit the front that is like 25MM thick. I just asked Jeff and will let you know what I find out.
05-05-2018 | 12:57 PM
#148
Three Wheelin'
Joined: Nov 2013
Posts: 1,674
Likes: 8
From: Almost home
I�ll settle for both.....but if only one, dip stick always for a car I use for track sessions. The .1 system is a inconsistent piece of crap.....not with the actual measurement but just trying to get a reading with stars aligned, temp proper, ground level, whispering sweet nothings into engines ear, etc etc etc always something off???? but I�ve cursed so many times at my oil level system that it might be angry at me and playing hard to get info at this point.
05-09-2018 | 01:57 AM
#149
Thread Starter
Nordschleife Master
Joined: Nov 2010
Posts: 7,804
Likes: 191
From: Bay Area
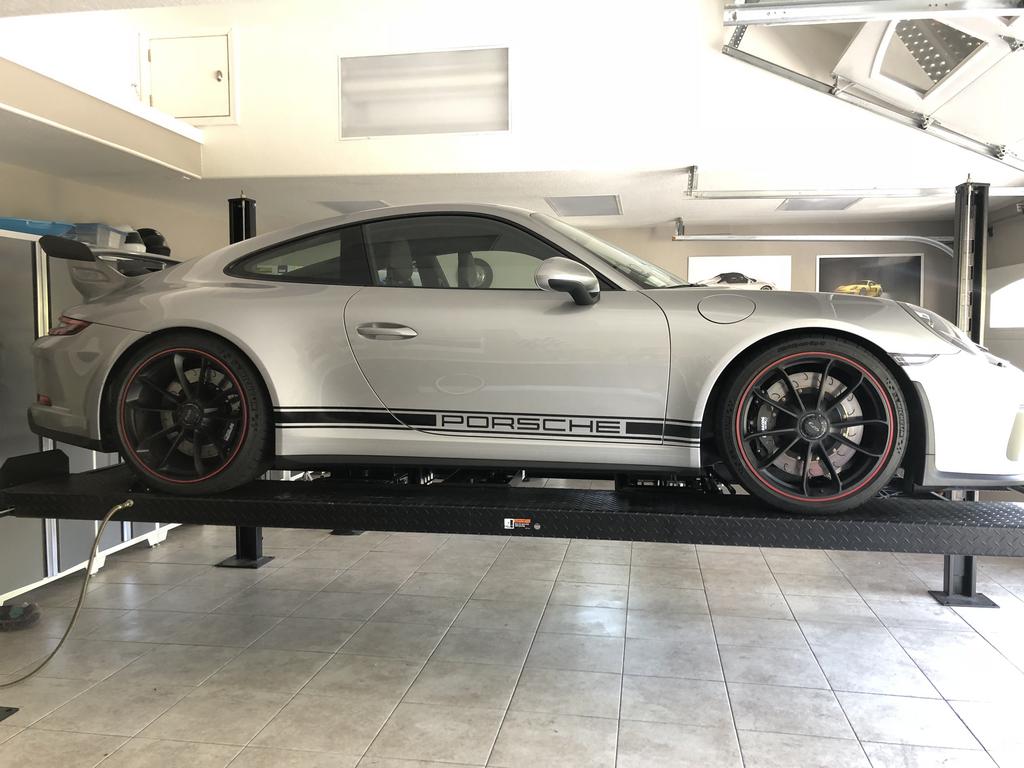
I installed the AP caliper/rotor kit this weekend along with a set of Ferodo DS1.11 pads. The parts all look top notch. The instructions are really well written and detailed. The kit comes with everything you need, even rubber caps to plug the brake lines temporarily while you are swapping. I weighed the OEM and AP parts and will confirm approximately 30# of weight savings from the kit. The rotors, pads, and calipers are all lighter than stock. The install is very straight forward. In fact, the actual install of the calipers and rotors take less time to do than simply switching brake pads on OEM calipers. Installing the brake lines is more tedious because you want to make sure there are no leaks, everything is torqued down right, and you have to take some time 'clocking' the lines so there is no binding or twisting at the connection sites. I had no problems with bleeding out the lines using the motive brake pressure bleeder. I replaced the OEM fluid with Motul RBF600, which has been my 'go to' for years. There were only 2 issues that I ran into during the install:
1) Be careful using brake cleaner on the calipers. The red bottle (chlorinated) CRC brake cleaner fluid I used ended up dissolving the logo paint on the caliper.
2) I had an issue with one of the brake lines leaking at the banjo bolt connection to the caliper. The guys at Essex were great about trouble shooting the problem. I ended up using a new set of crush washers and torqued down a little bit more and the leak was fixed.
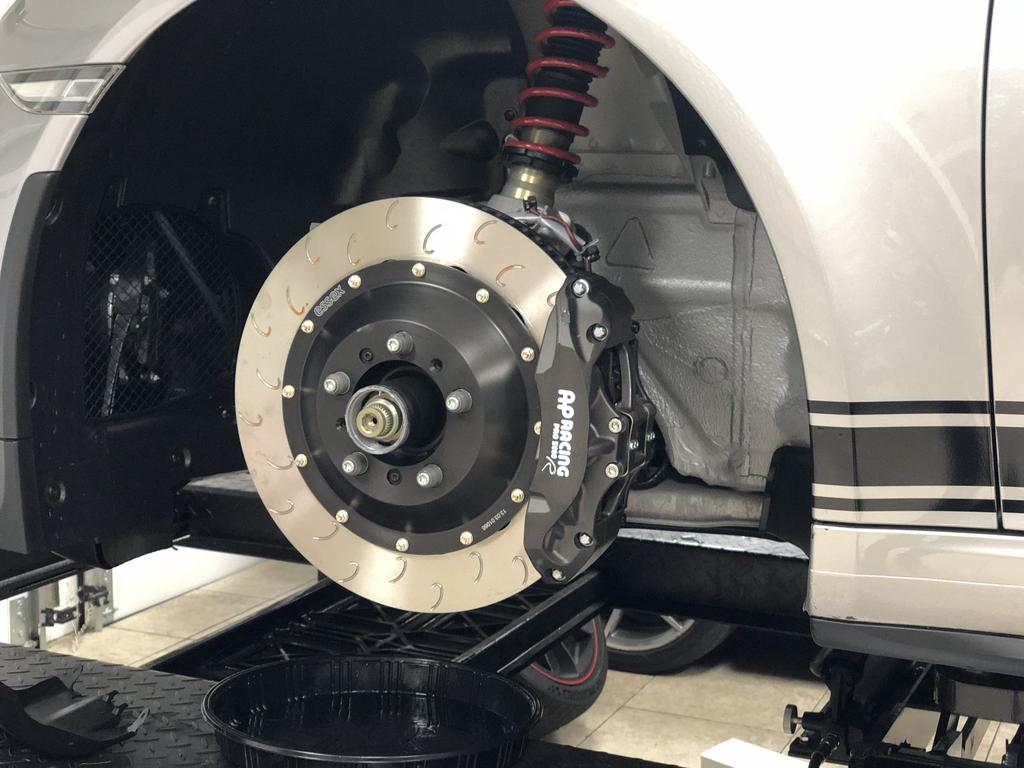
I was wondering how the more subdued color calipers would look compared to the bright red OEM calipers, but I think they look the 'business' and make the car look more purposeful. I had tears of joy when I installed the brake pads. What a night and day difference compared to the horrible OEM calipers. Pad swaps will be a 5 minute job now.
Here are pics from the install:
Before

After
OEM front caliper

Brakes removed

Adapter installed onto the upright for the caliper:

Installed
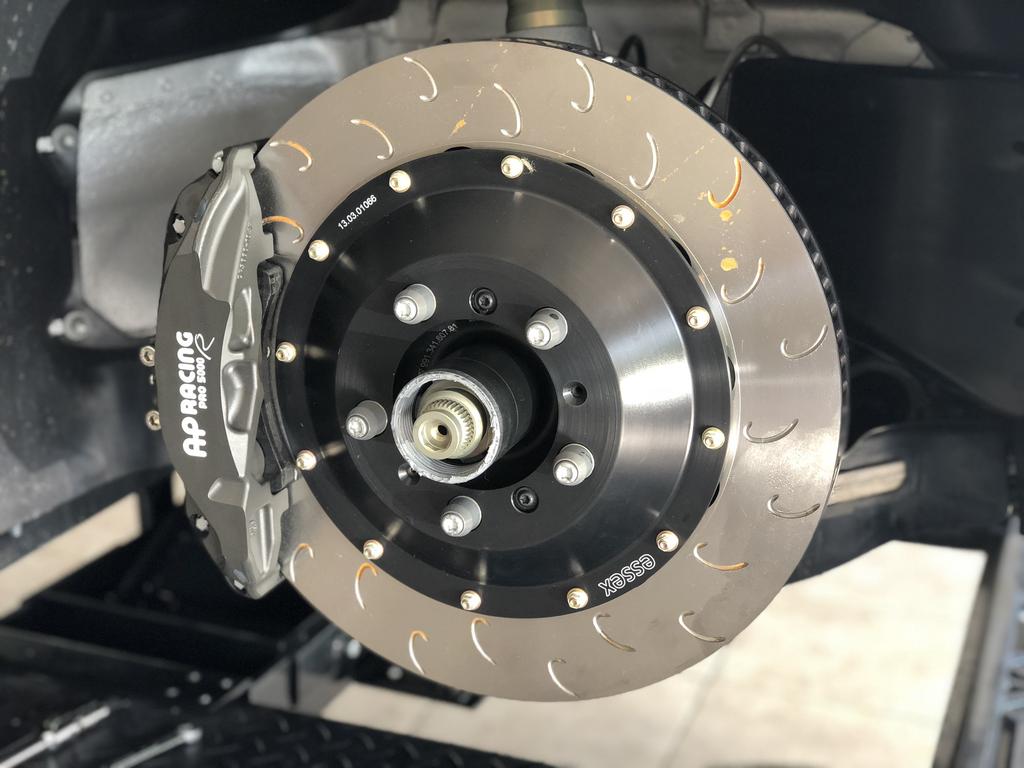
OEM rear brakes. Get something to cover the hub or that damn centerlock paste gets EVERYWHERE. I hate that paste. It gets literally everywhere and is impossible to wash off.

Brakes removed

Adapter installed on the upright. Per the instructions, you might need to dremel a notch into the backing plate to make room for the adapter. I only had to do it on the passenger side. Driver side was fine.

close up of the notch

Rear brakes installed

Front and back done

DONT LET BRAKE CLEANER TOUCH THE LOGO!

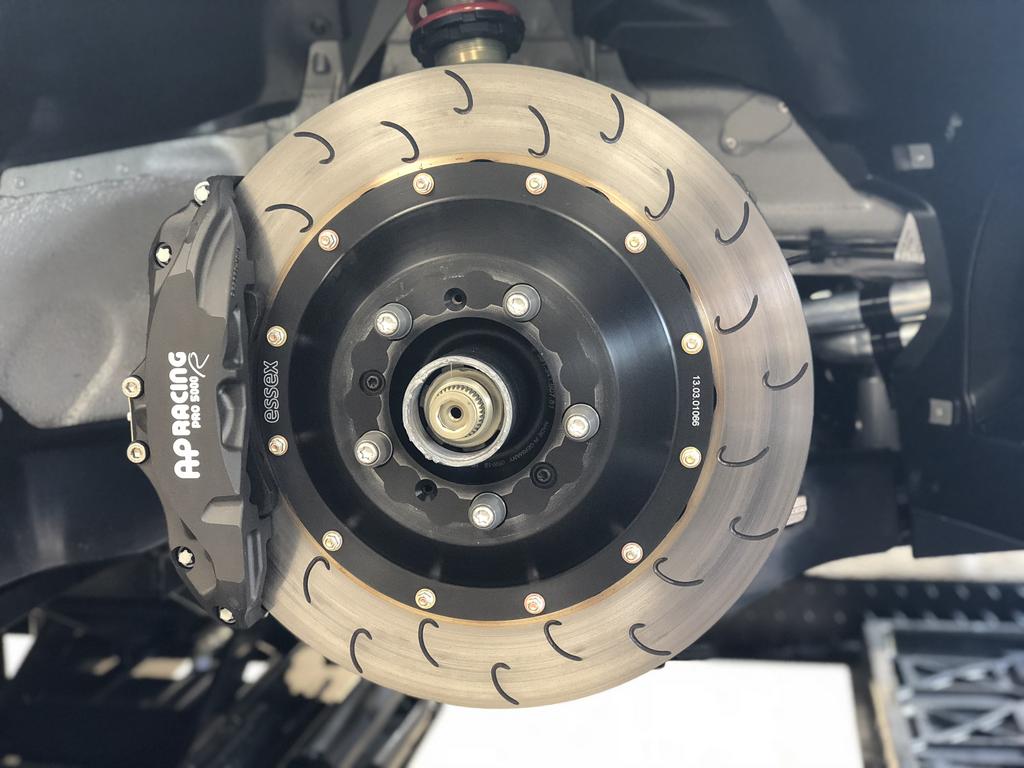
Before bedding the brakes
After bedding the brakes
Wheels back on


Headed to Laguna Seca tomorrow to test out the system!
1) Be careful using brake cleaner on the calipers. The red bottle (chlorinated) CRC brake cleaner fluid I used ended up dissolving the logo paint on the caliper.
2) I had an issue with one of the brake lines leaking at the banjo bolt connection to the caliper. The guys at Essex were great about trouble shooting the problem. I ended up using a new set of crush washers and torqued down a little bit more and the leak was fixed.
I was wondering how the more subdued color calipers would look compared to the bright red OEM calipers, but I think they look the 'business' and make the car look more purposeful. I had tears of joy when I installed the brake pads. What a night and day difference compared to the horrible OEM calipers. Pad swaps will be a 5 minute job now.
Here are pics from the install:
Before
After
OEM front caliper
Brakes removed
Adapter installed onto the upright for the caliper:
Installed
OEM rear brakes. Get something to cover the hub or that damn centerlock paste gets EVERYWHERE. I hate that paste. It gets literally everywhere and is impossible to wash off.
Brakes removed
Adapter installed on the upright. Per the instructions, you might need to dremel a notch into the backing plate to make room for the adapter. I only had to do it on the passenger side. Driver side was fine.
close up of the notch
Rear brakes installed
Front and back done
DONT LET BRAKE CLEANER TOUCH THE LOGO!
Before bedding the brakes
After bedding the brakes
Wheels back on
Headed to Laguna Seca tomorrow to test out the system!
The following users liked this post:
G12R (06-30-2020)