When you click on links to various merchants on this site and make a purchase, this can result in this site earning a commission. Affiliate programs and affiliations include, but are not limited to, the eBay Partner Network.
I tried to replace crumbling door handle seals on my driver's side door.
Not wanting to cut the thin section, and trying to do it correctly, I failed when a plastic clippy thing attached to the rear of the door handle fell off and inside the door... somewhere...
I tried to replace crumbling door handle seals on my driver's side door.
Not wanting to cut the thin section, and trying to do it correctly, I failed when a plastic clippy thing attached to the rear of the door handle fell off and inside the door... somewhere...
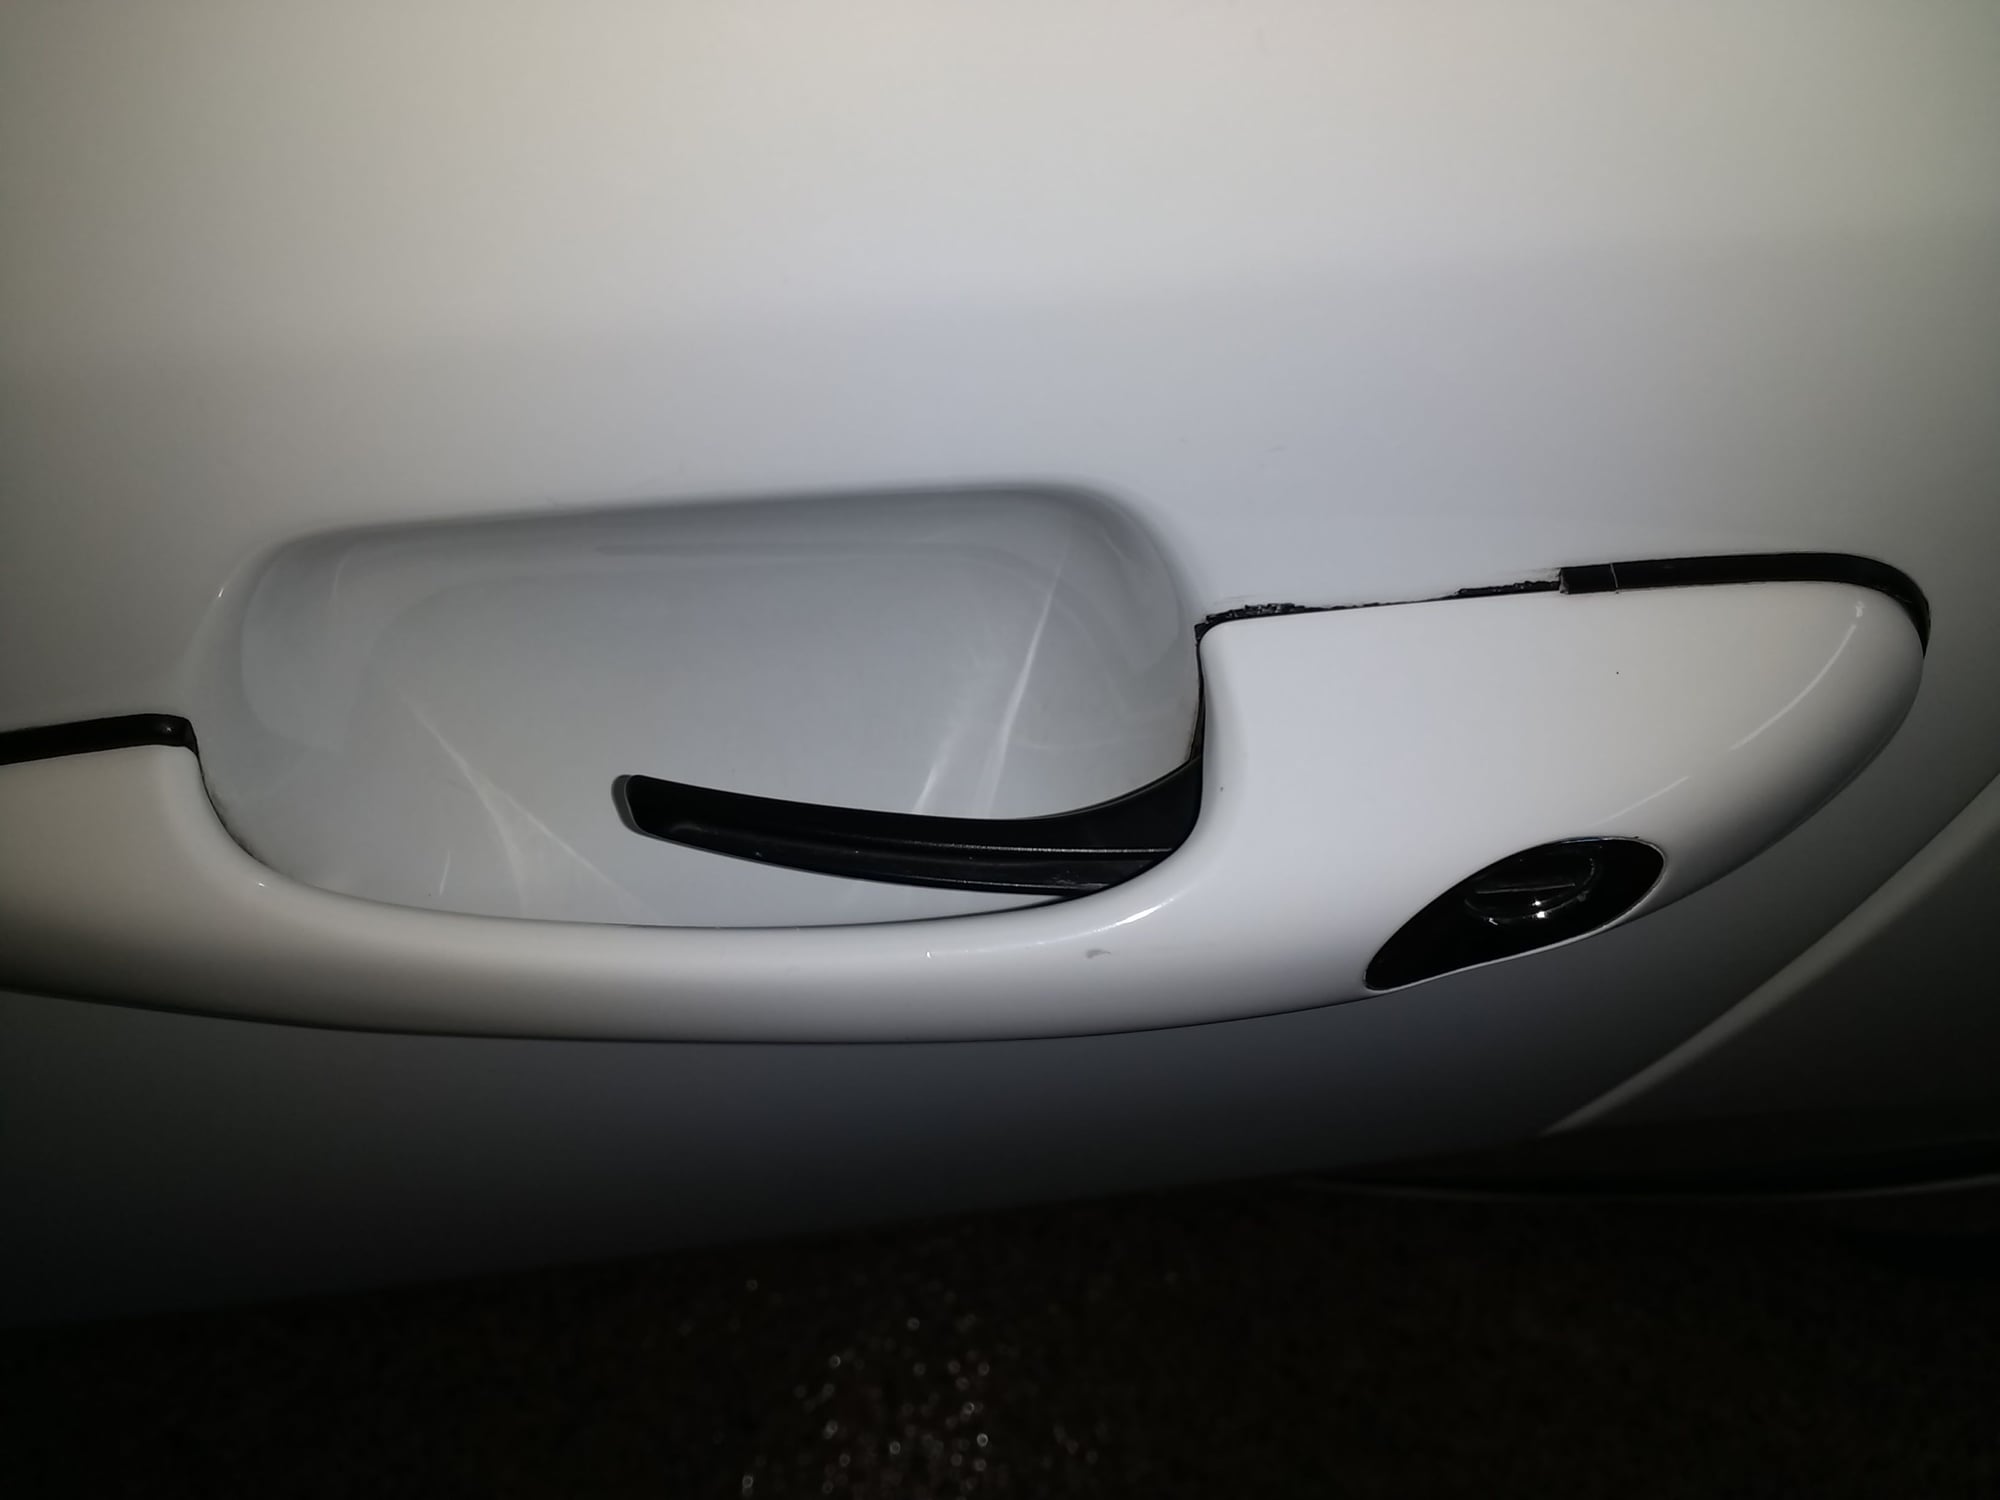
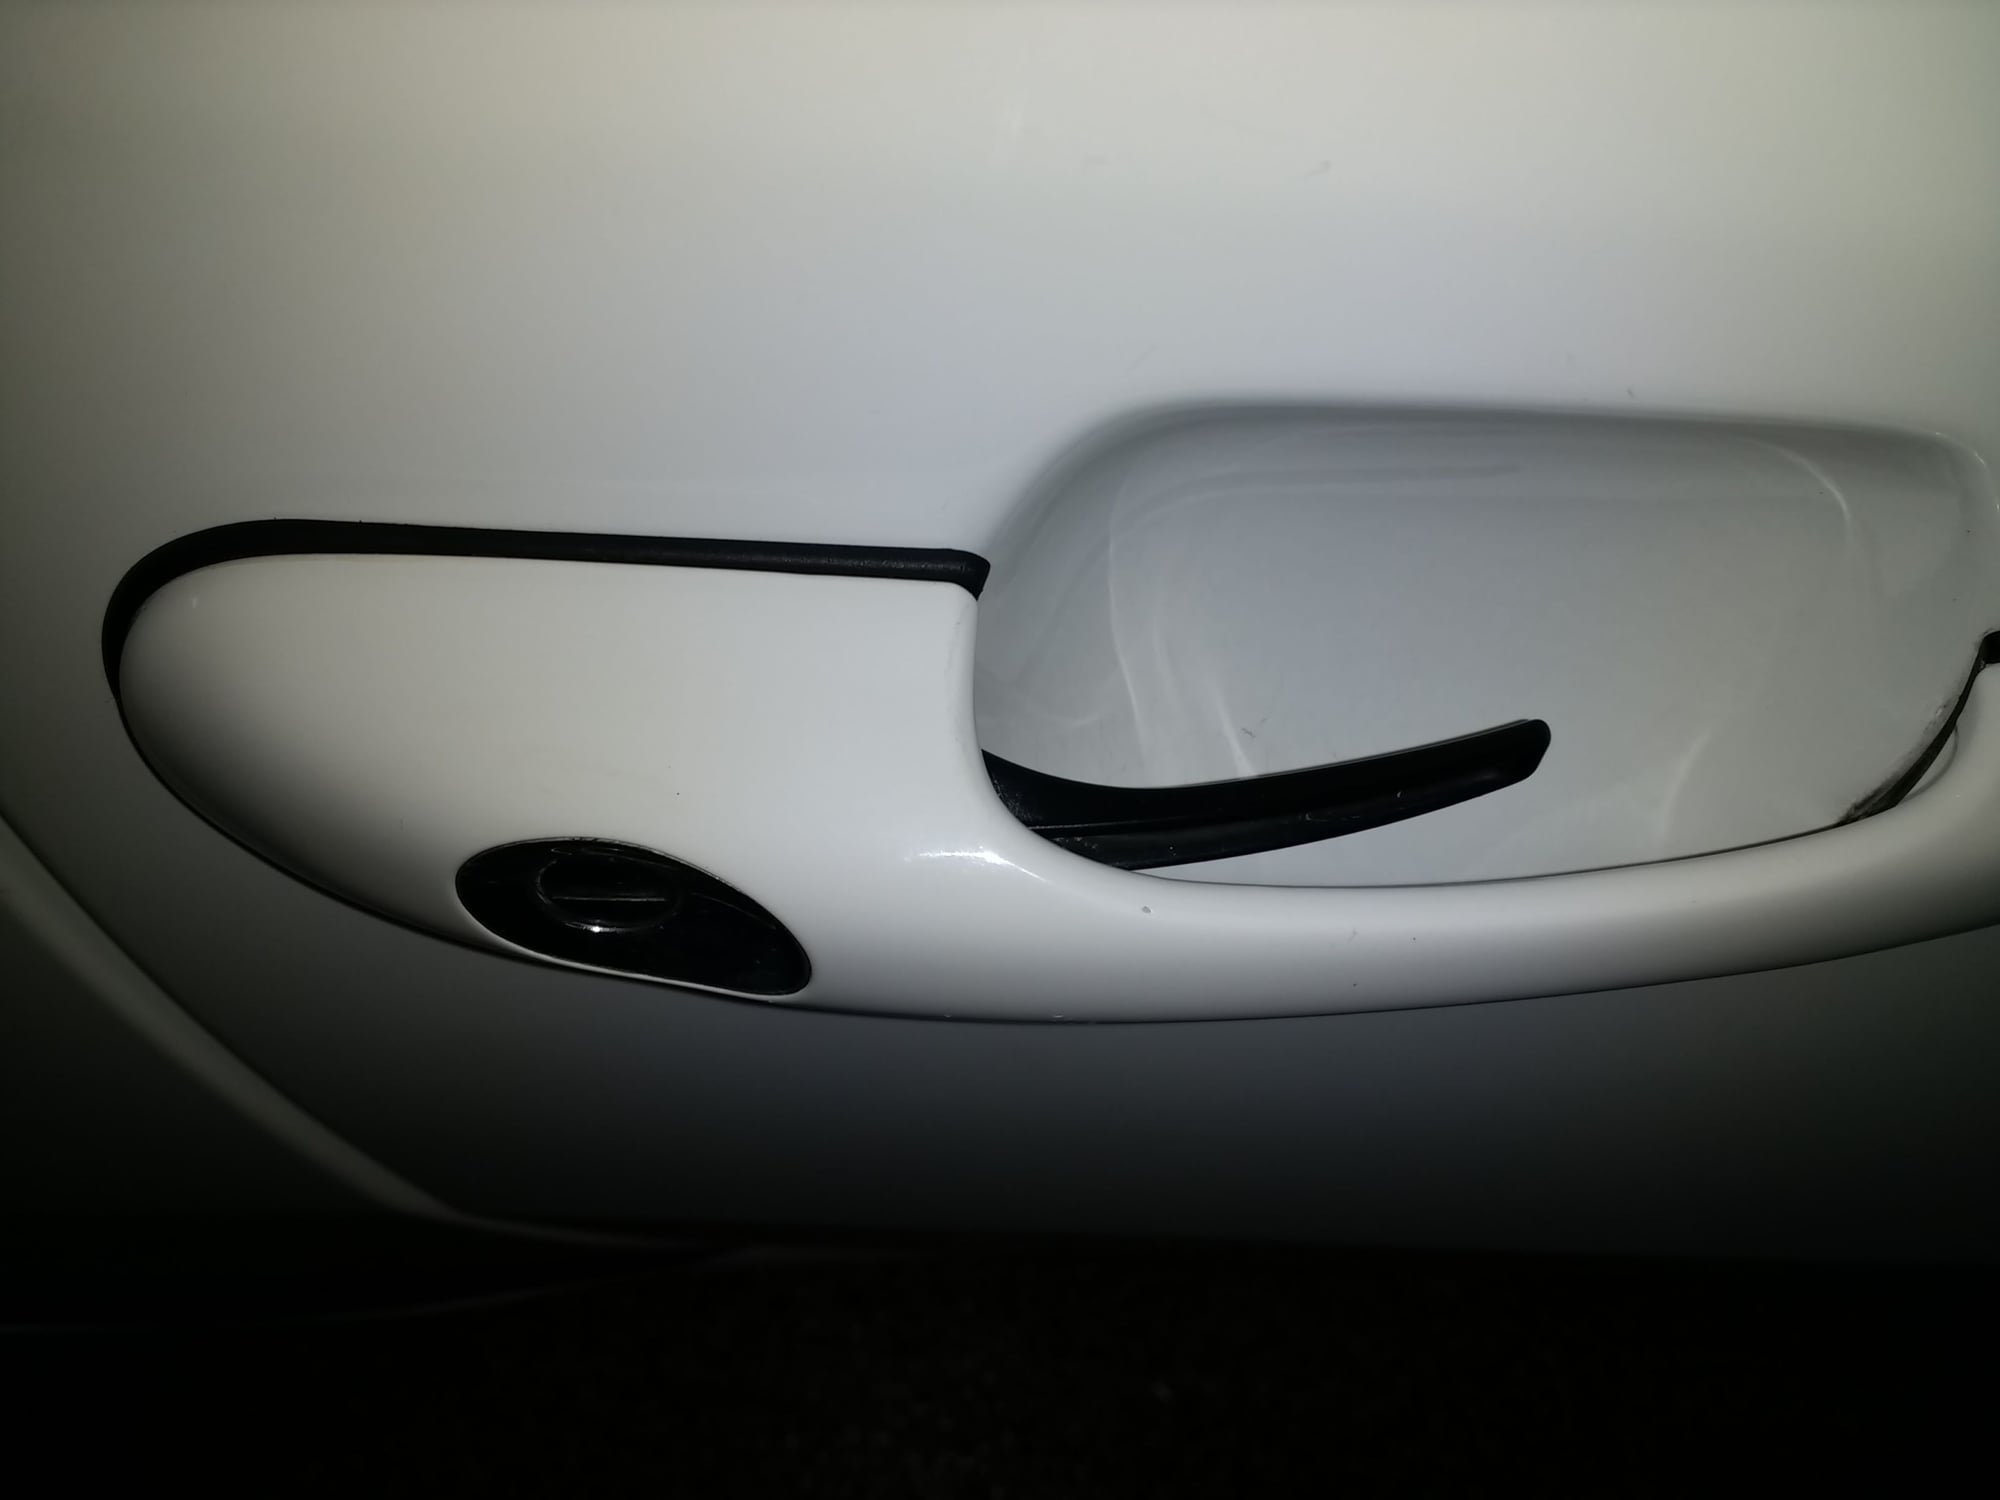
Photos please? My driver's side rubber seals are cracked too. Passenger side is fine.
I understand that a "short-cut" is to slice the bottom of the seal and slide it in. I'm probably going to ask a body shop to do it for me.
Photos please? My driver's side rubber seals are cracked too. Passenger side is fine.
I understand that a "short-cut" is to slice the bottom of the seal and slide it in. I'm probably going to ask a body shop to do it for me.
I replace mine by cutting away the old ones, cutting the bottom of the seal and sliding them into place. Attached are before and after pics, The gap below the handle is imperceptible..Simple to DIY.
If you don't want to make the slit... the central locking switch needs to be disconnected, which is not in the workshop manual... maybe that was standard, but the switch on the door handle, is connected by the white insulated wire, which is disconnected from the lock body by a screw, followed by another snap-fit... you need to do that. Then you'll have a better chance of wiggling the door handle out of the hole without breaking the die-cast lever for another $35. That lever operates the door opening action, and is connected by a steel ball in a plastic receiver. I think there's actually two of those as one is used as a guide or something. I used at steel ruler and a screwdriver to re-make the snap connection - it felt like surgery with possible hand cramping until somebody handed me a scalpel! Good luck!
If you don't want to make the slit... the central locking switch needs to be disconnected, which is not in the workshop manual... maybe that was standard, but the switch on the door handle, is connected by the white insulated wire, which is disconnected from the lock body by a screw, followed by another snap-fit... you need to do that. Then you'll have a better chance of wiggling the door handle out of the hole without breaking the die-cast lever for another $35. That lever operates the door opening action, and is connected by a steel ball in a plastic receiver. I think there's actually two of those as one is used as a guide or something. I used at steel ruler and a screwdriver to re-make the snap connection - it felt like surgery with possible hand cramping until somebody handed me a scalpel! Good luck!
Yep, I already figured that part out reading the manual I listed above. It does say to remove the micro-switch.
I assume the snap-fit you speak of is the little plastic doohickey in #4 below, that fell inside where I can't retrieve it, when I gently pried it with a screwdriver. So I removed the door panel thinking it had fallen all the way down, only to find... nothing! I don't think this was the door opening actuator, as the door still opens...
There is, however, a large black panel that I can't see the handle behind...
Being that a poor seal could let water intrude, I really want to do this correctly.
I put in a new Porsche hatch seal. Best $100 spent so far. Completely silenced the rear squeakyness of the hatch over bumps etc.... and now the hatch release works like clockwork for my wife. No more pulling on the spoiler to get it open. Should have done this a year ago. The real Porsche seal was not that much more than the knock offs and Im very happy. Now I need to activate the little button on the keyless entry system I installed for the hatch (it has lock, unlock, and a trunk or hatch button). This needed an external relay but now that the hatch pops open this would be the icing on the new operation.
John, I have a write up and lots of photos on connecting the trunk release to the keyless remote. I'll try to post later today. Which brand of remote to you have? Major challenge is running a control wire and a power wire from the front into the trunk. I mounted all my relays/fuses below the spare so it's not visible and it's protected.
I rounded over part of the alternator adjustment turnbuckle and failed to loosen the locking nuts, despite being aware of reverse-handed threads on one end and 24 hours of multiple shots of PB blaster, Kroil, etc.
Oh, and I finally got the door handle gaskets replaced. The easy way. Without disconnecting or cutting.


 05-07-2019, 10:32 PM