Notices
964 Forum 1989-1994
Sponsored by:
Sponsored by:

964 C4 light refurb

Thread Tools
 
Search this Thread
 
Old 02-23-2018, 02:34 AM
  #991  
John McM
Rennlist Member
Thread Starter
 
John McM's Avatar
 
Join Date: May 2001
Location: Auckland, New Zealand.
Posts: 13,223
Received 580 Likes on 345 Posts
Default


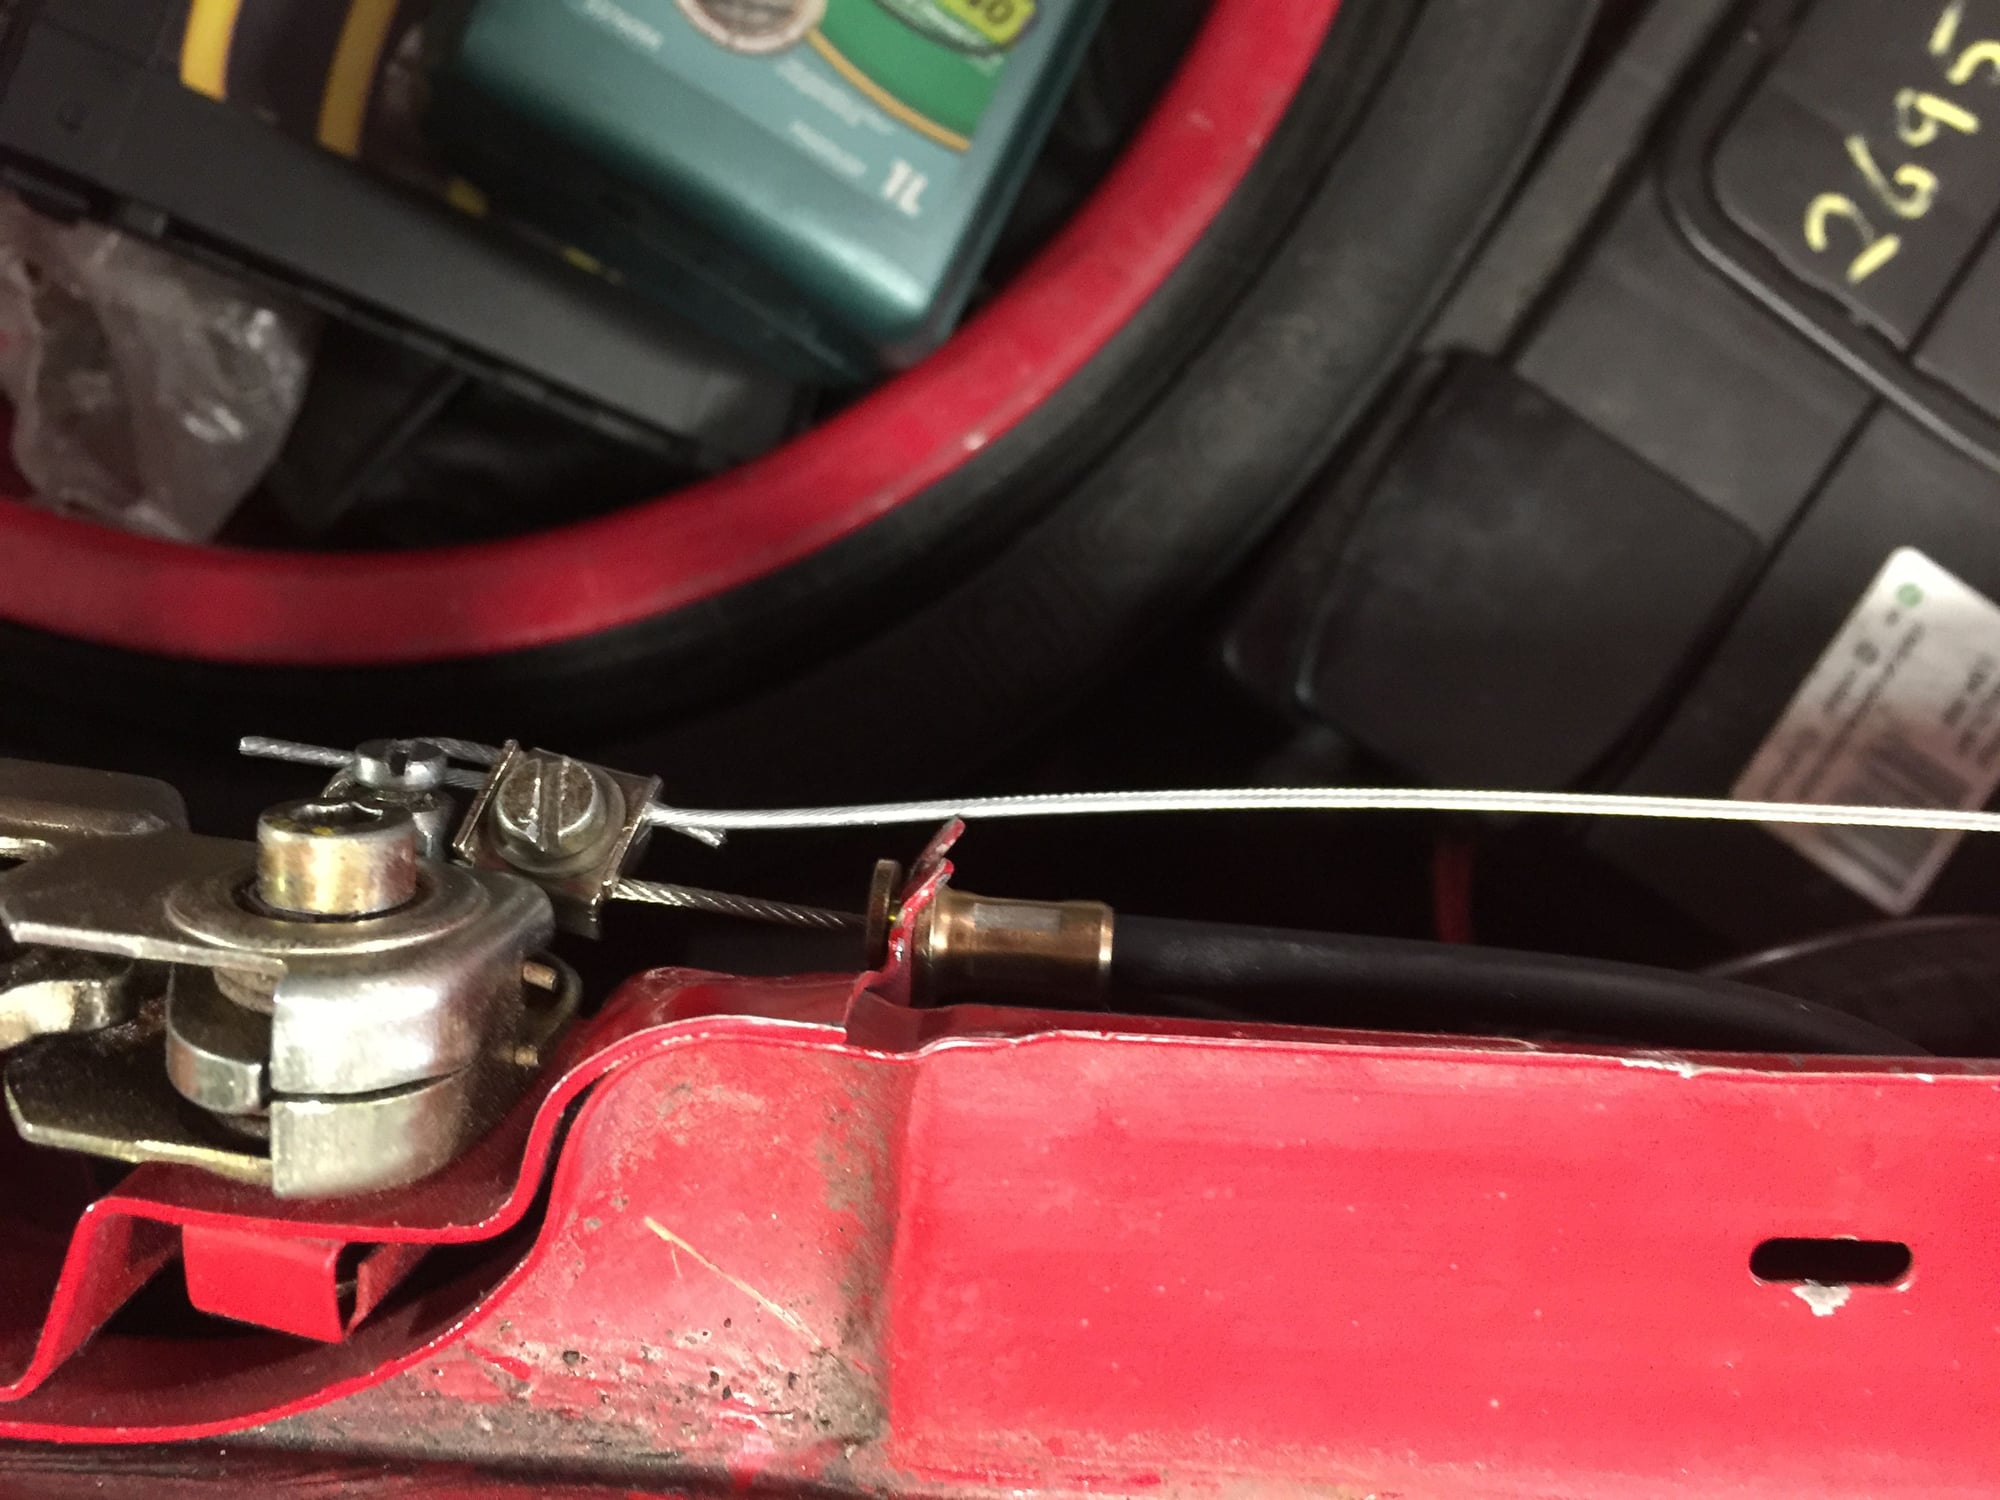
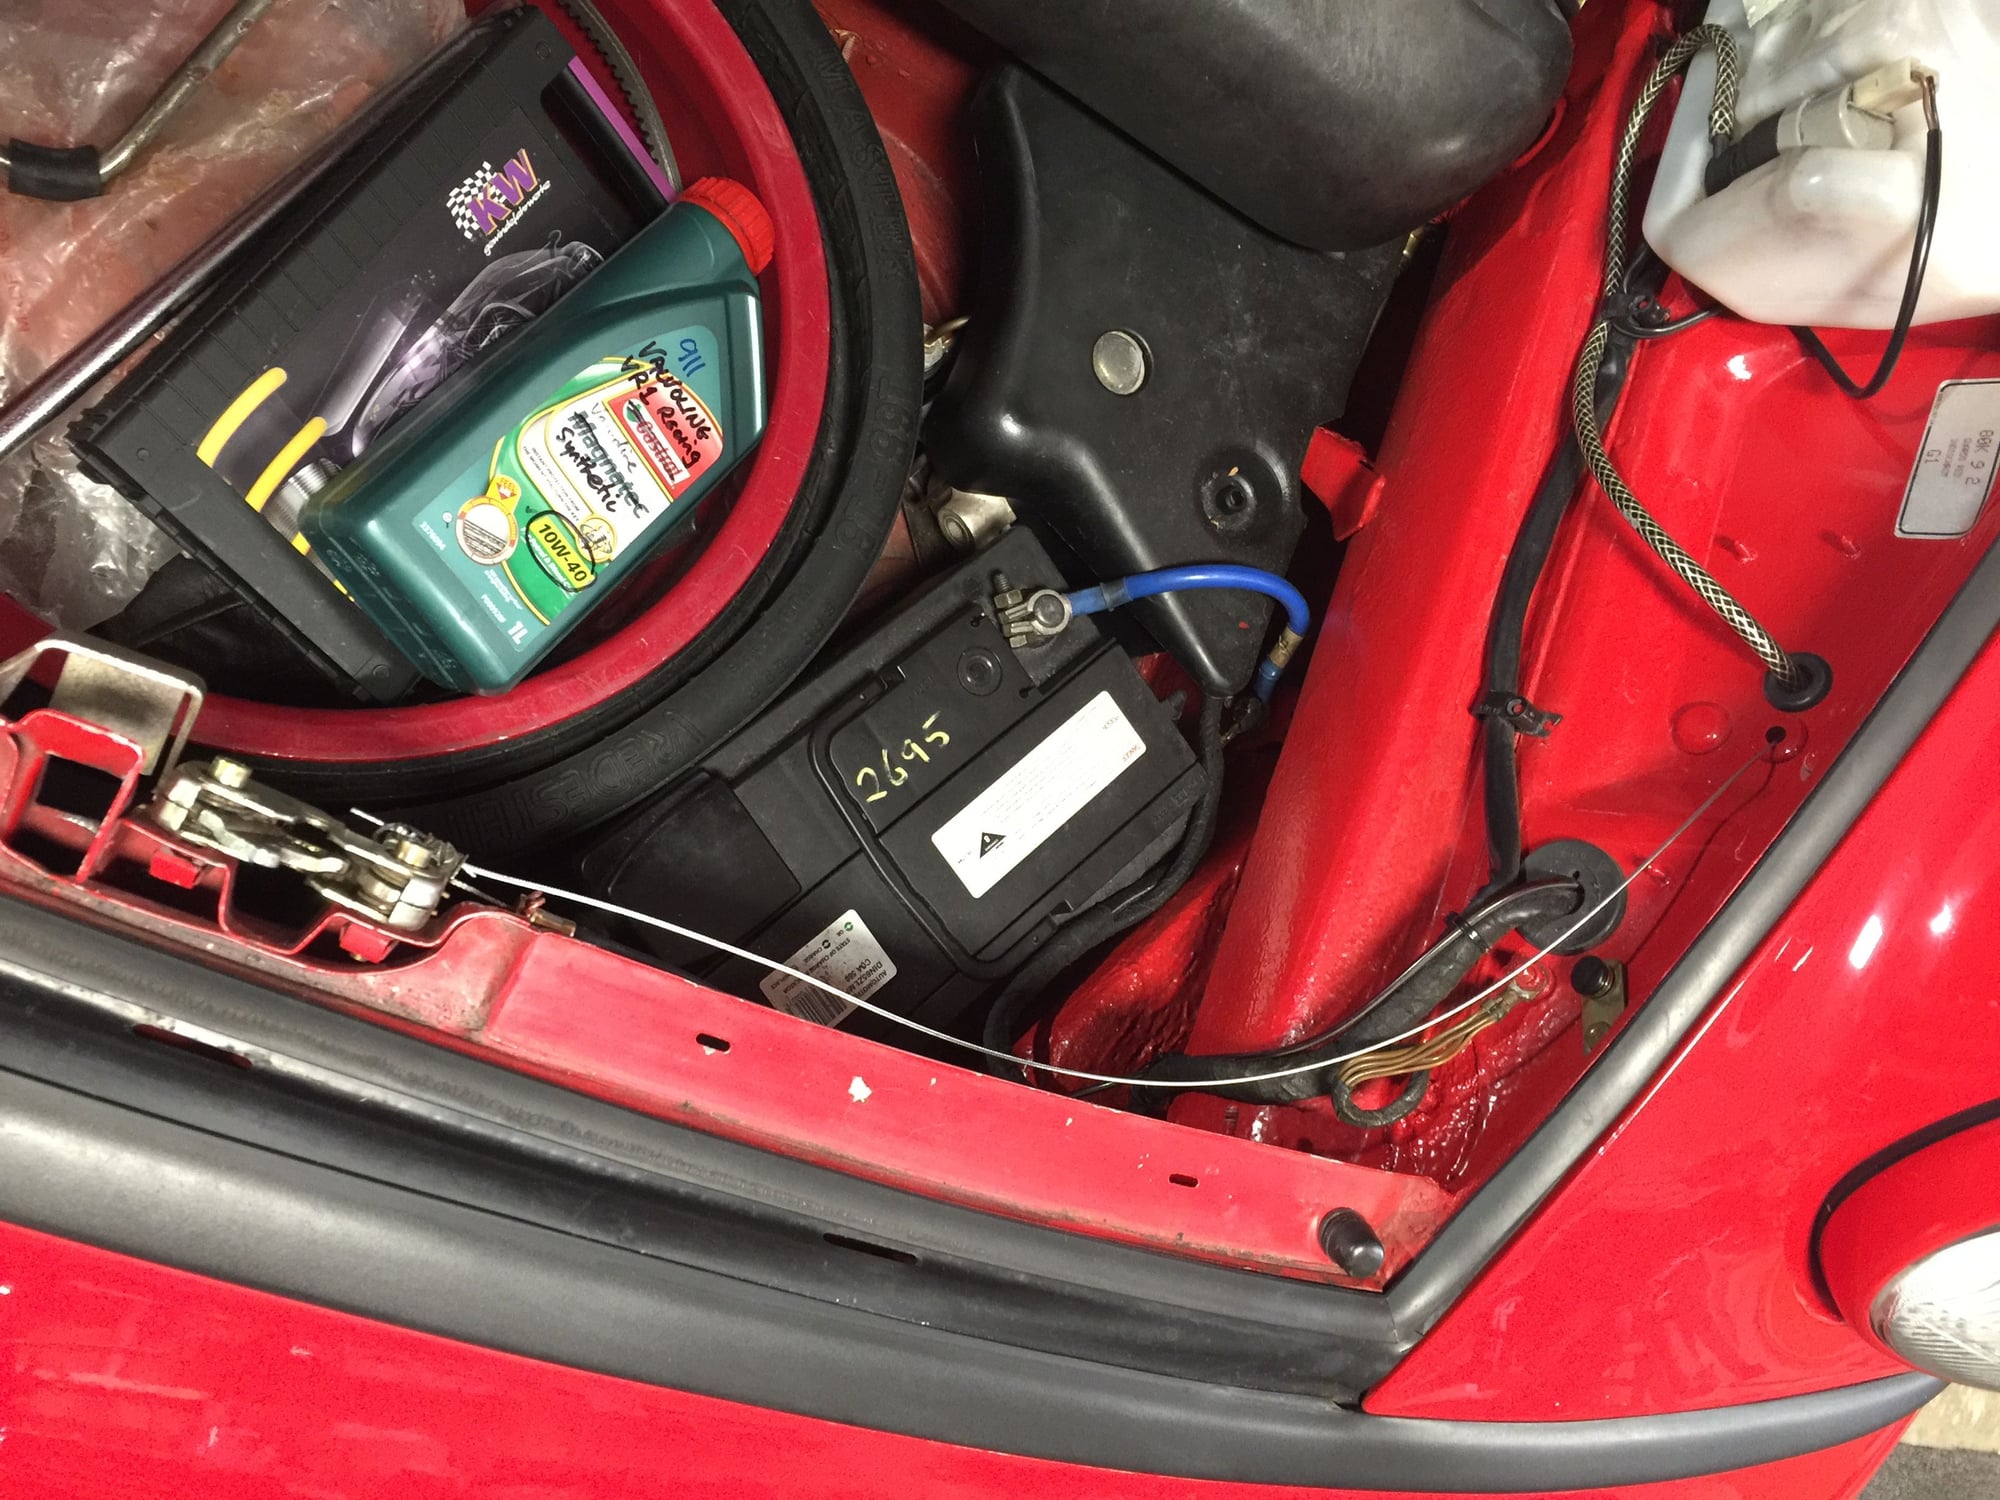
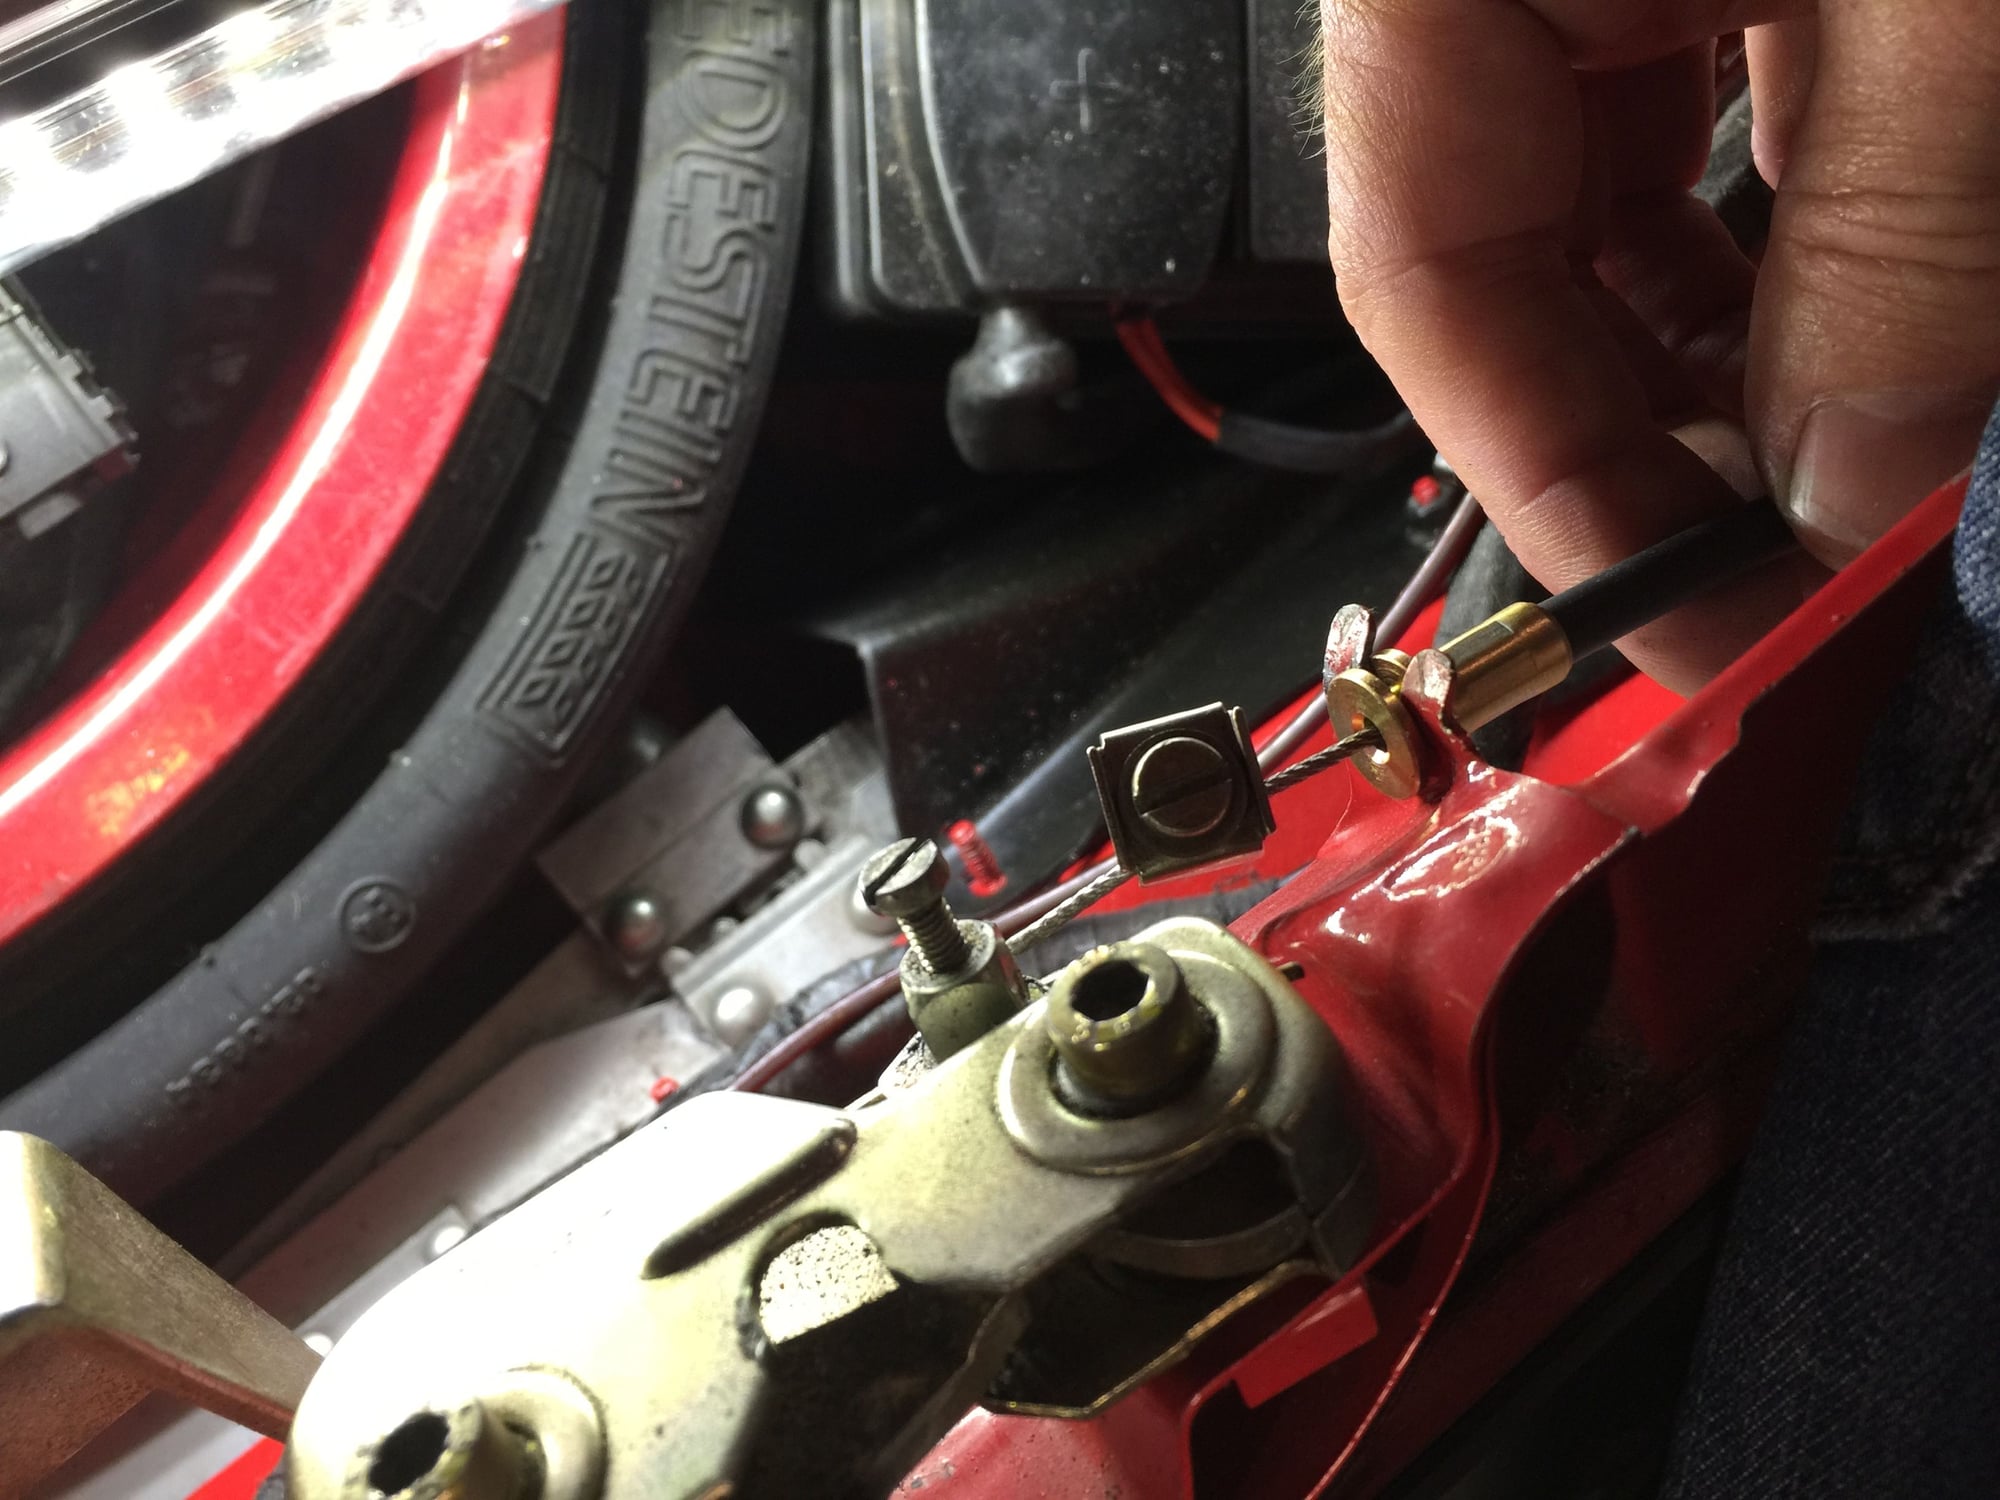
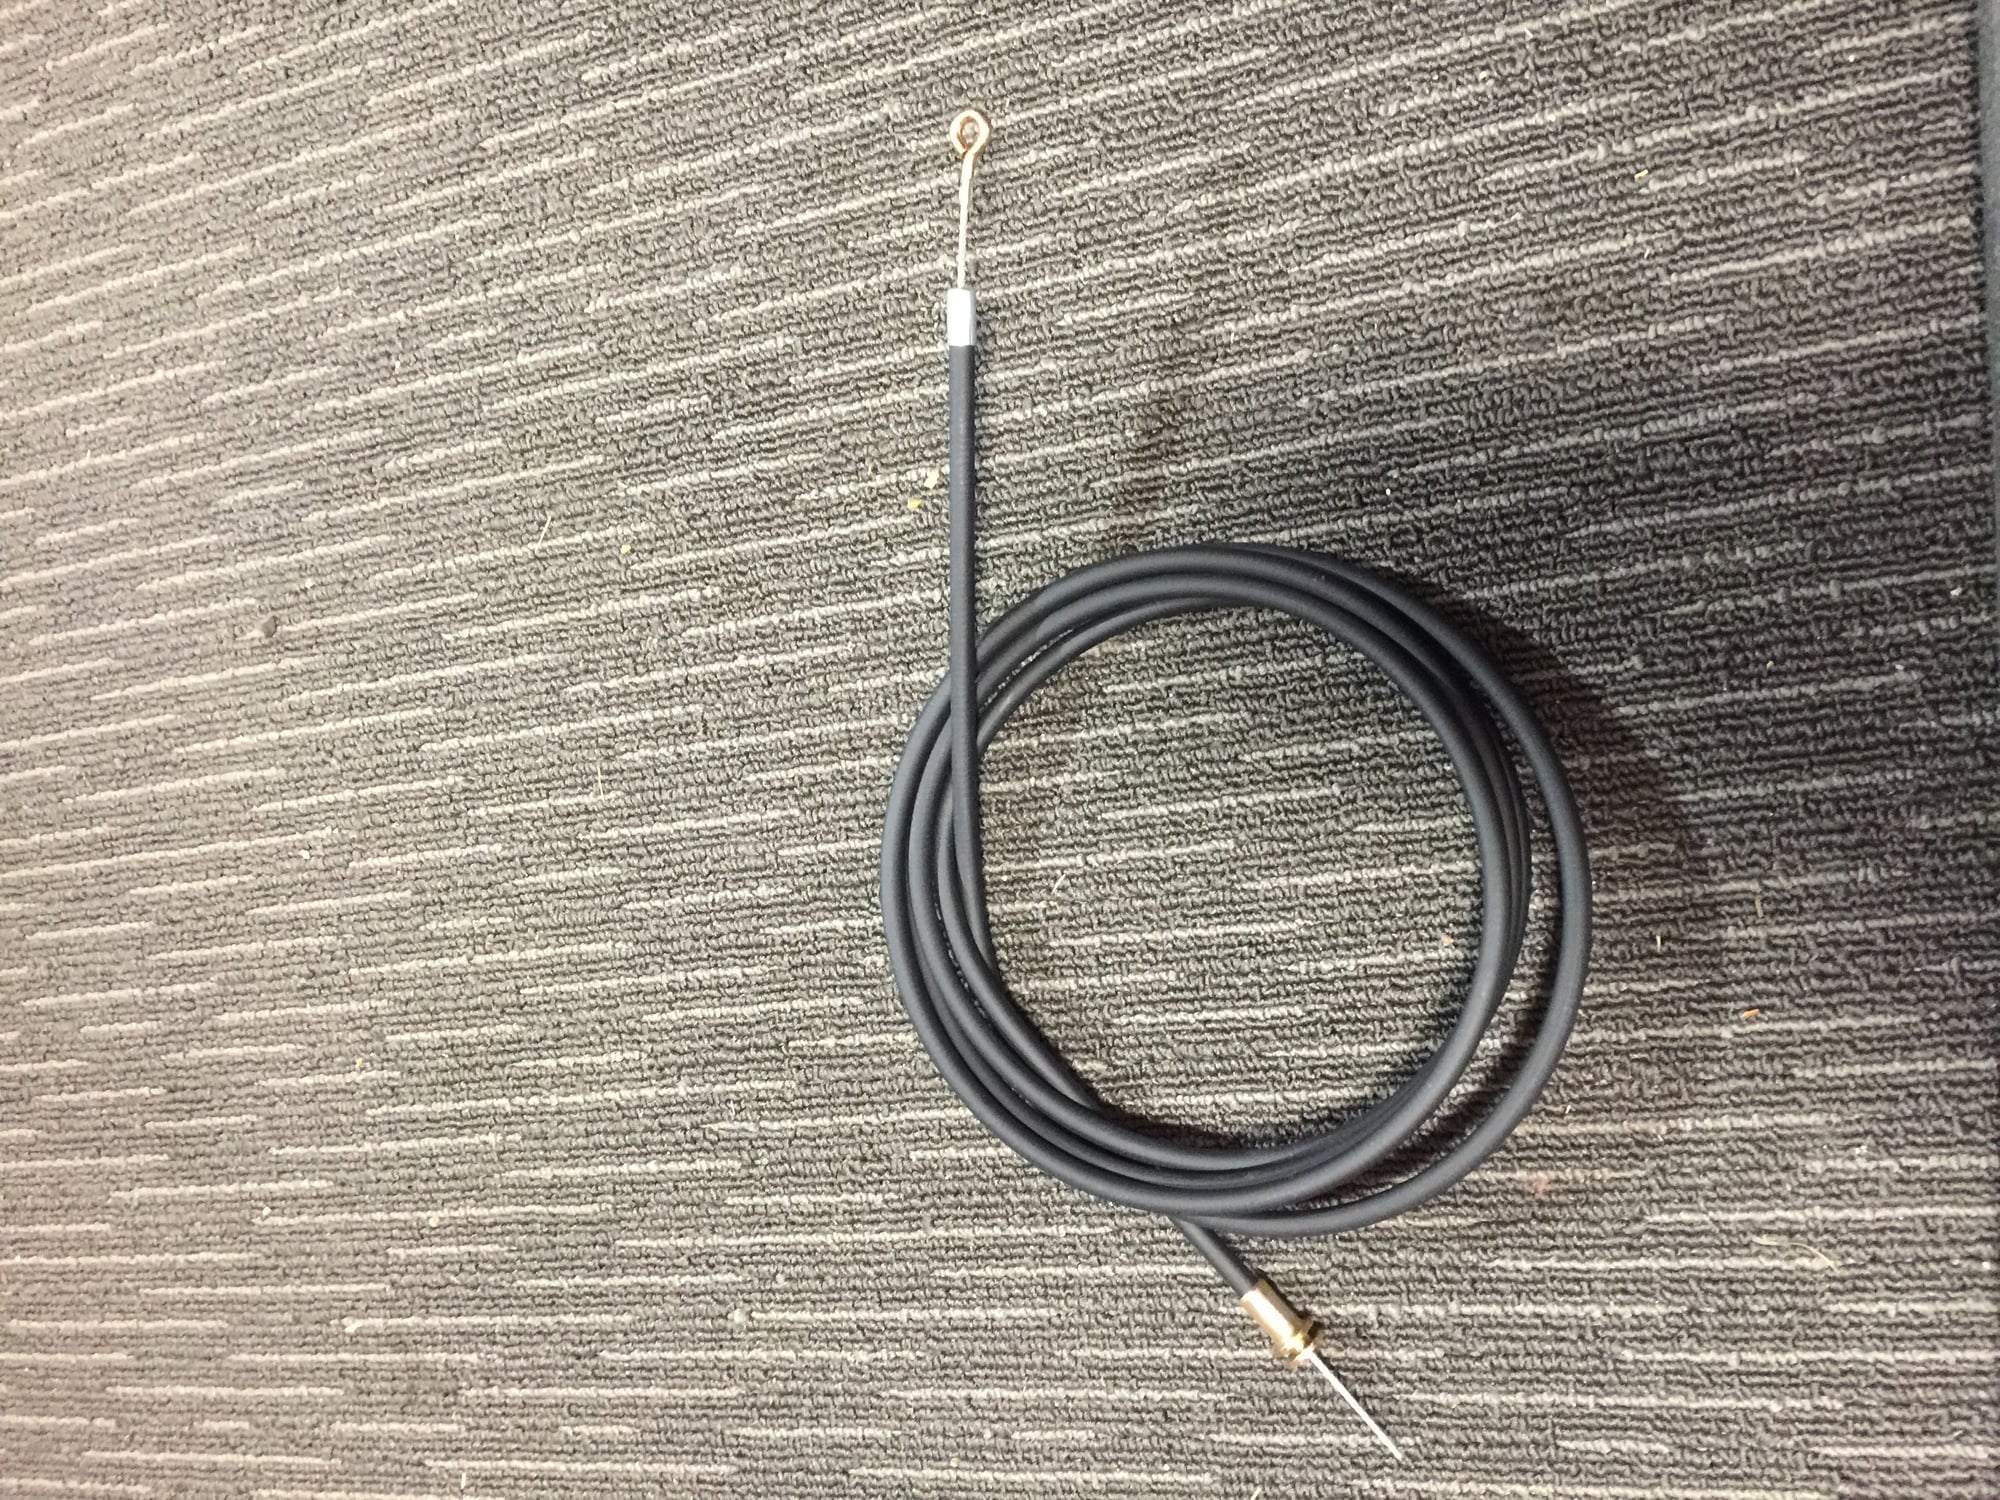
I’ve been doing some work on another 964 this week where I installed a new frunk cable opening and added an emergency release as well.
Old 02-23-2018, 02:38 AM
  #992  
John McM
Rennlist Member
Thread Starter
 
John McM's Avatar
 
Join Date: May 2001
Location: Auckland, New Zealand.
Posts: 13,223
Received 580 Likes on 345 Posts
Default


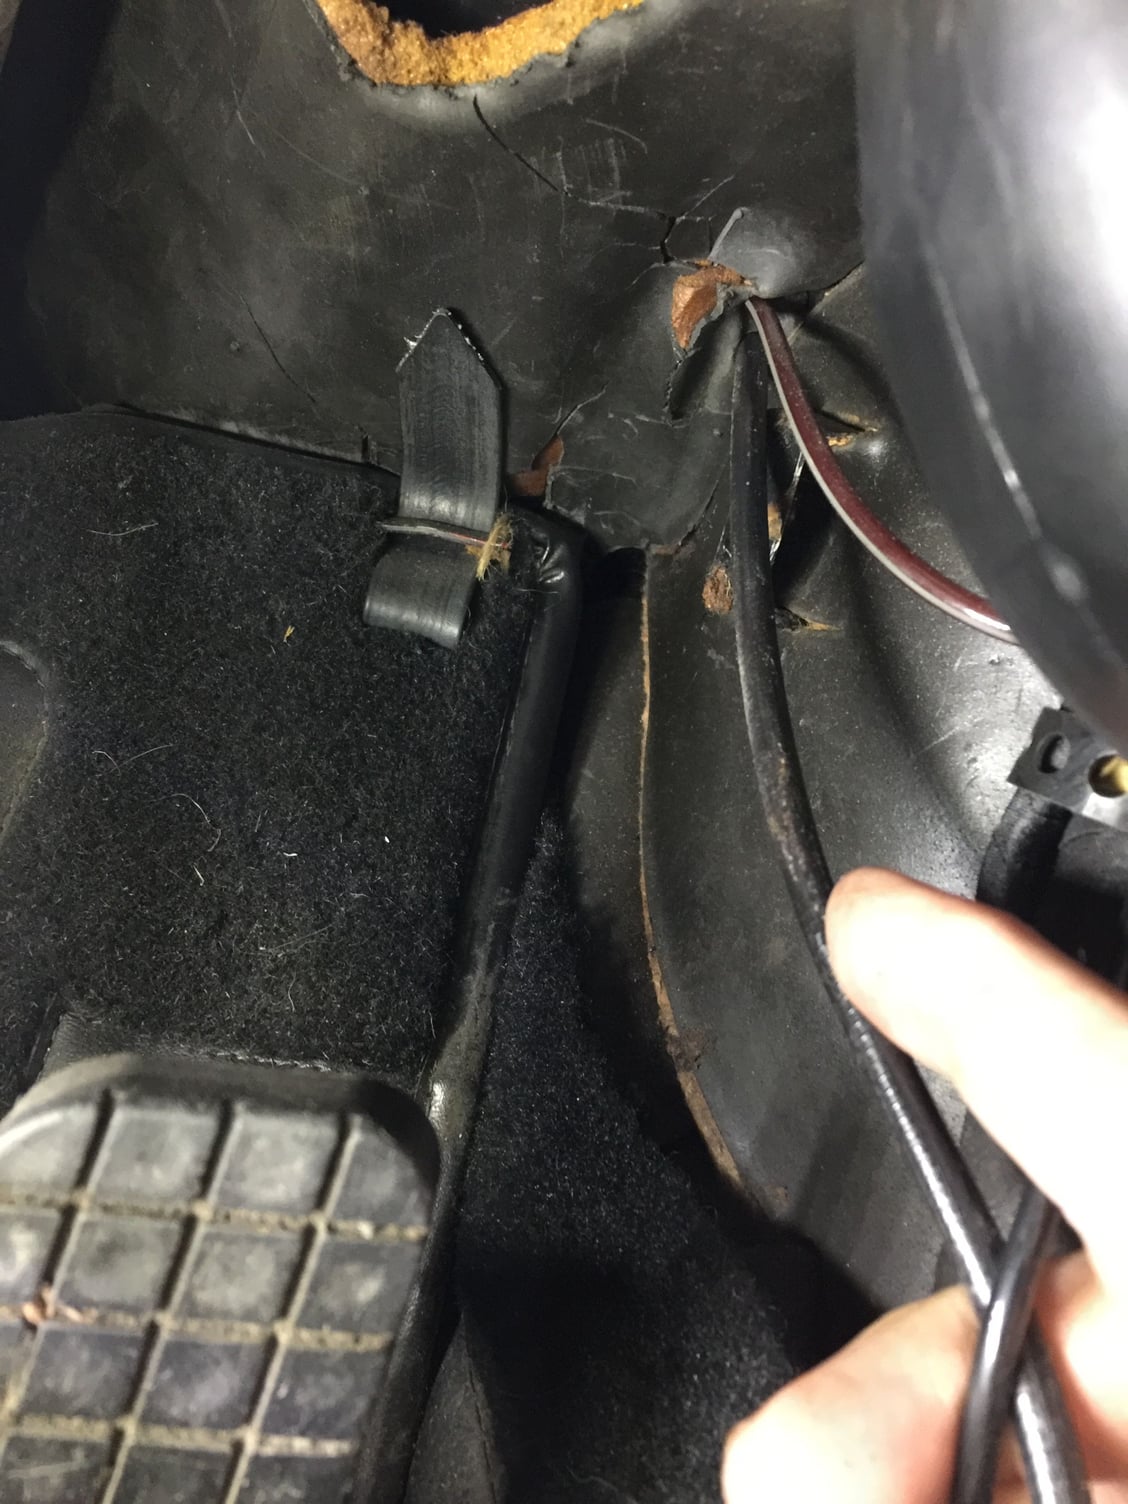
The emergency cable is threaded through an exisiting hole that comes out next to the air con condenser. You can access it by removing the side reflector. The only challenge is attaching it to the catch as the 1990 model didn’t have provision for an emergency release.
Old 03-01-2018, 05:32 AM
  #993  
John McM
Rennlist Member
Thread Starter
 
John McM's Avatar
 
Join Date: May 2001
Location: Auckland, New Zealand.
Posts: 13,223
Received 580 Likes on 345 Posts
Default


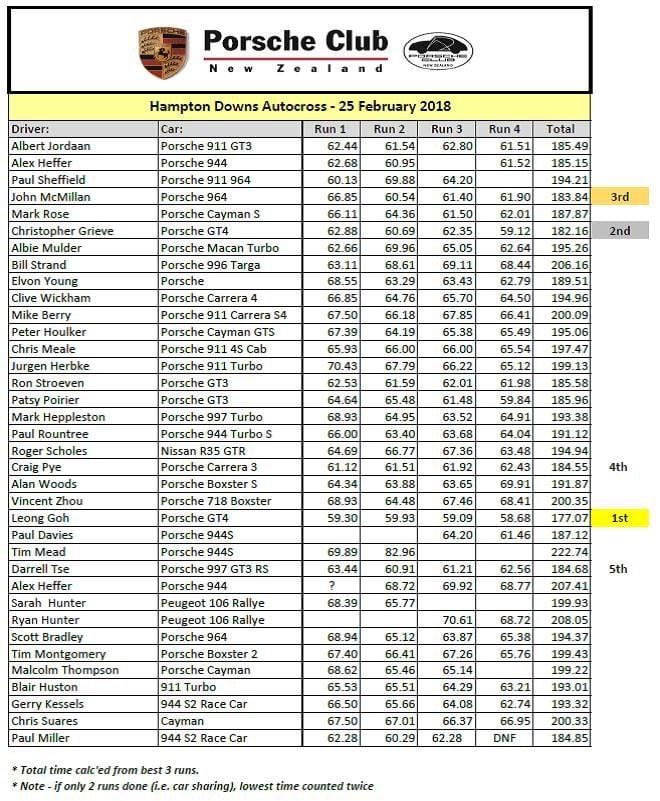
I took the car to an autocross event with the local Porsche Club. The theory was for a 7/10ths run, but that plan quickly went out the window. I was third out of 30 cars. Road legal Hankook Z221 track tyres and that 4wd system proved to be the difference.
Old 03-01-2018, 05:38 AM
  #994  
John McM
Rennlist Member
Thread Starter
 
John McM's Avatar
 
Join Date: May 2001
Location: Auckland, New Zealand.
Posts: 13,223
Received 580 Likes on 345 Posts
Default


Q

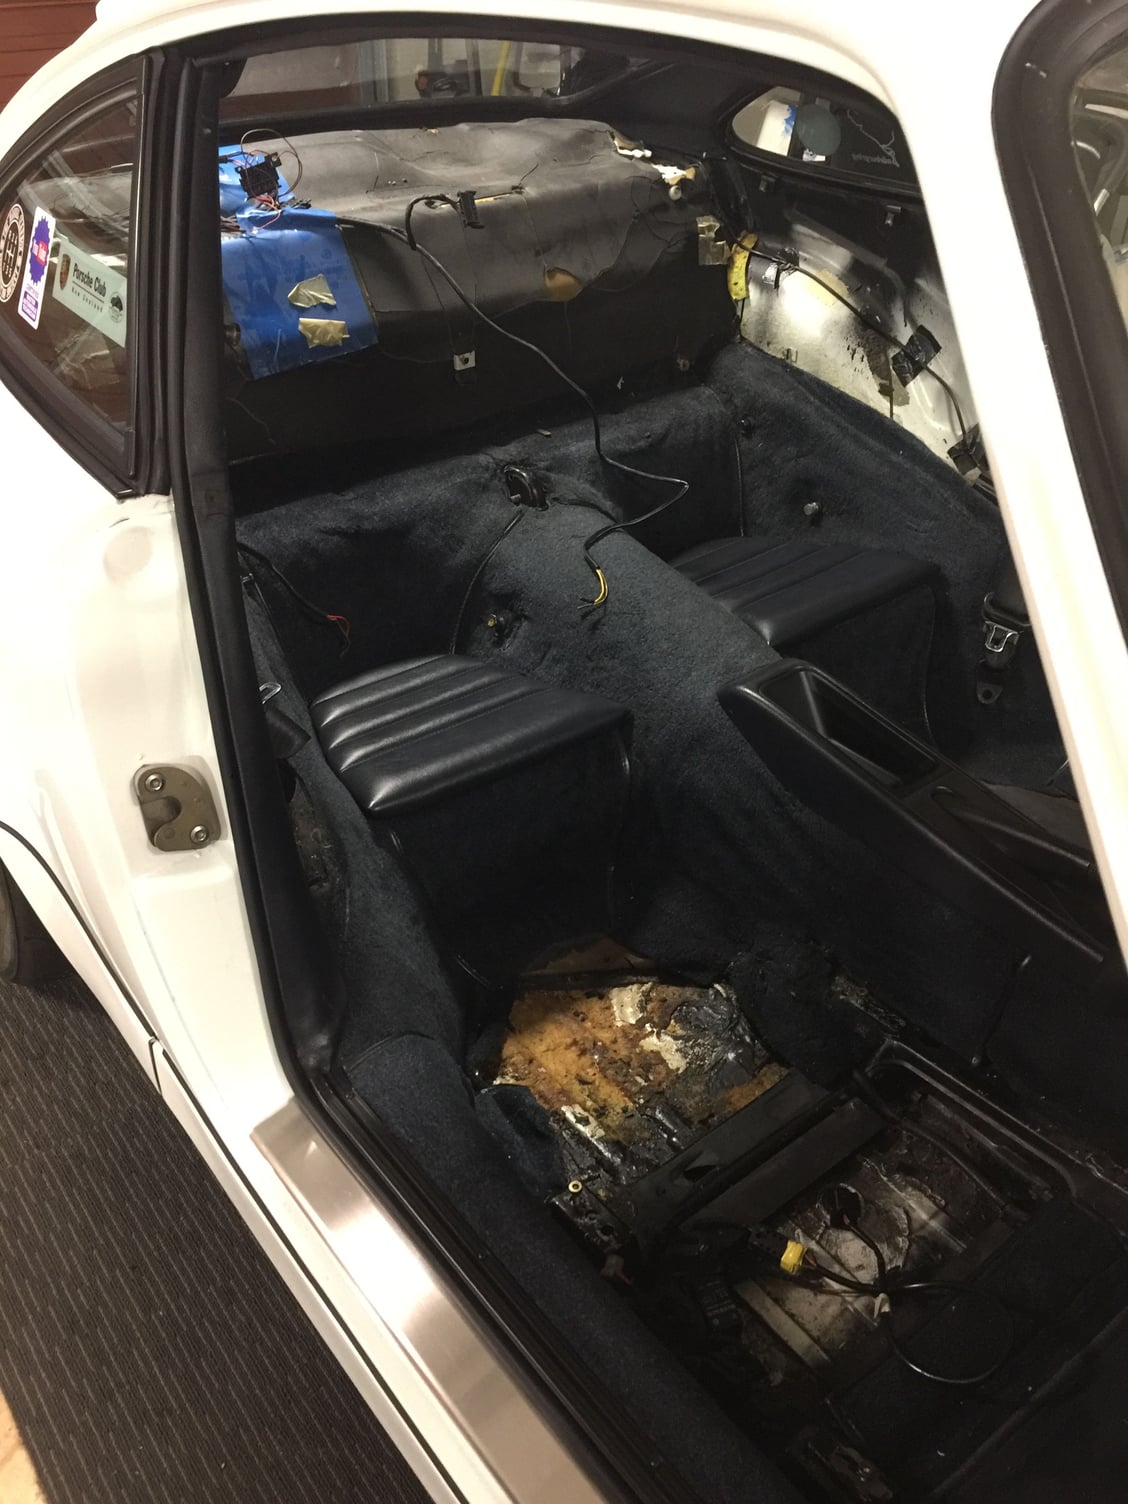
With the autocross finished I decided to tackle three big jobs:

1. Replace the Air con evaporator
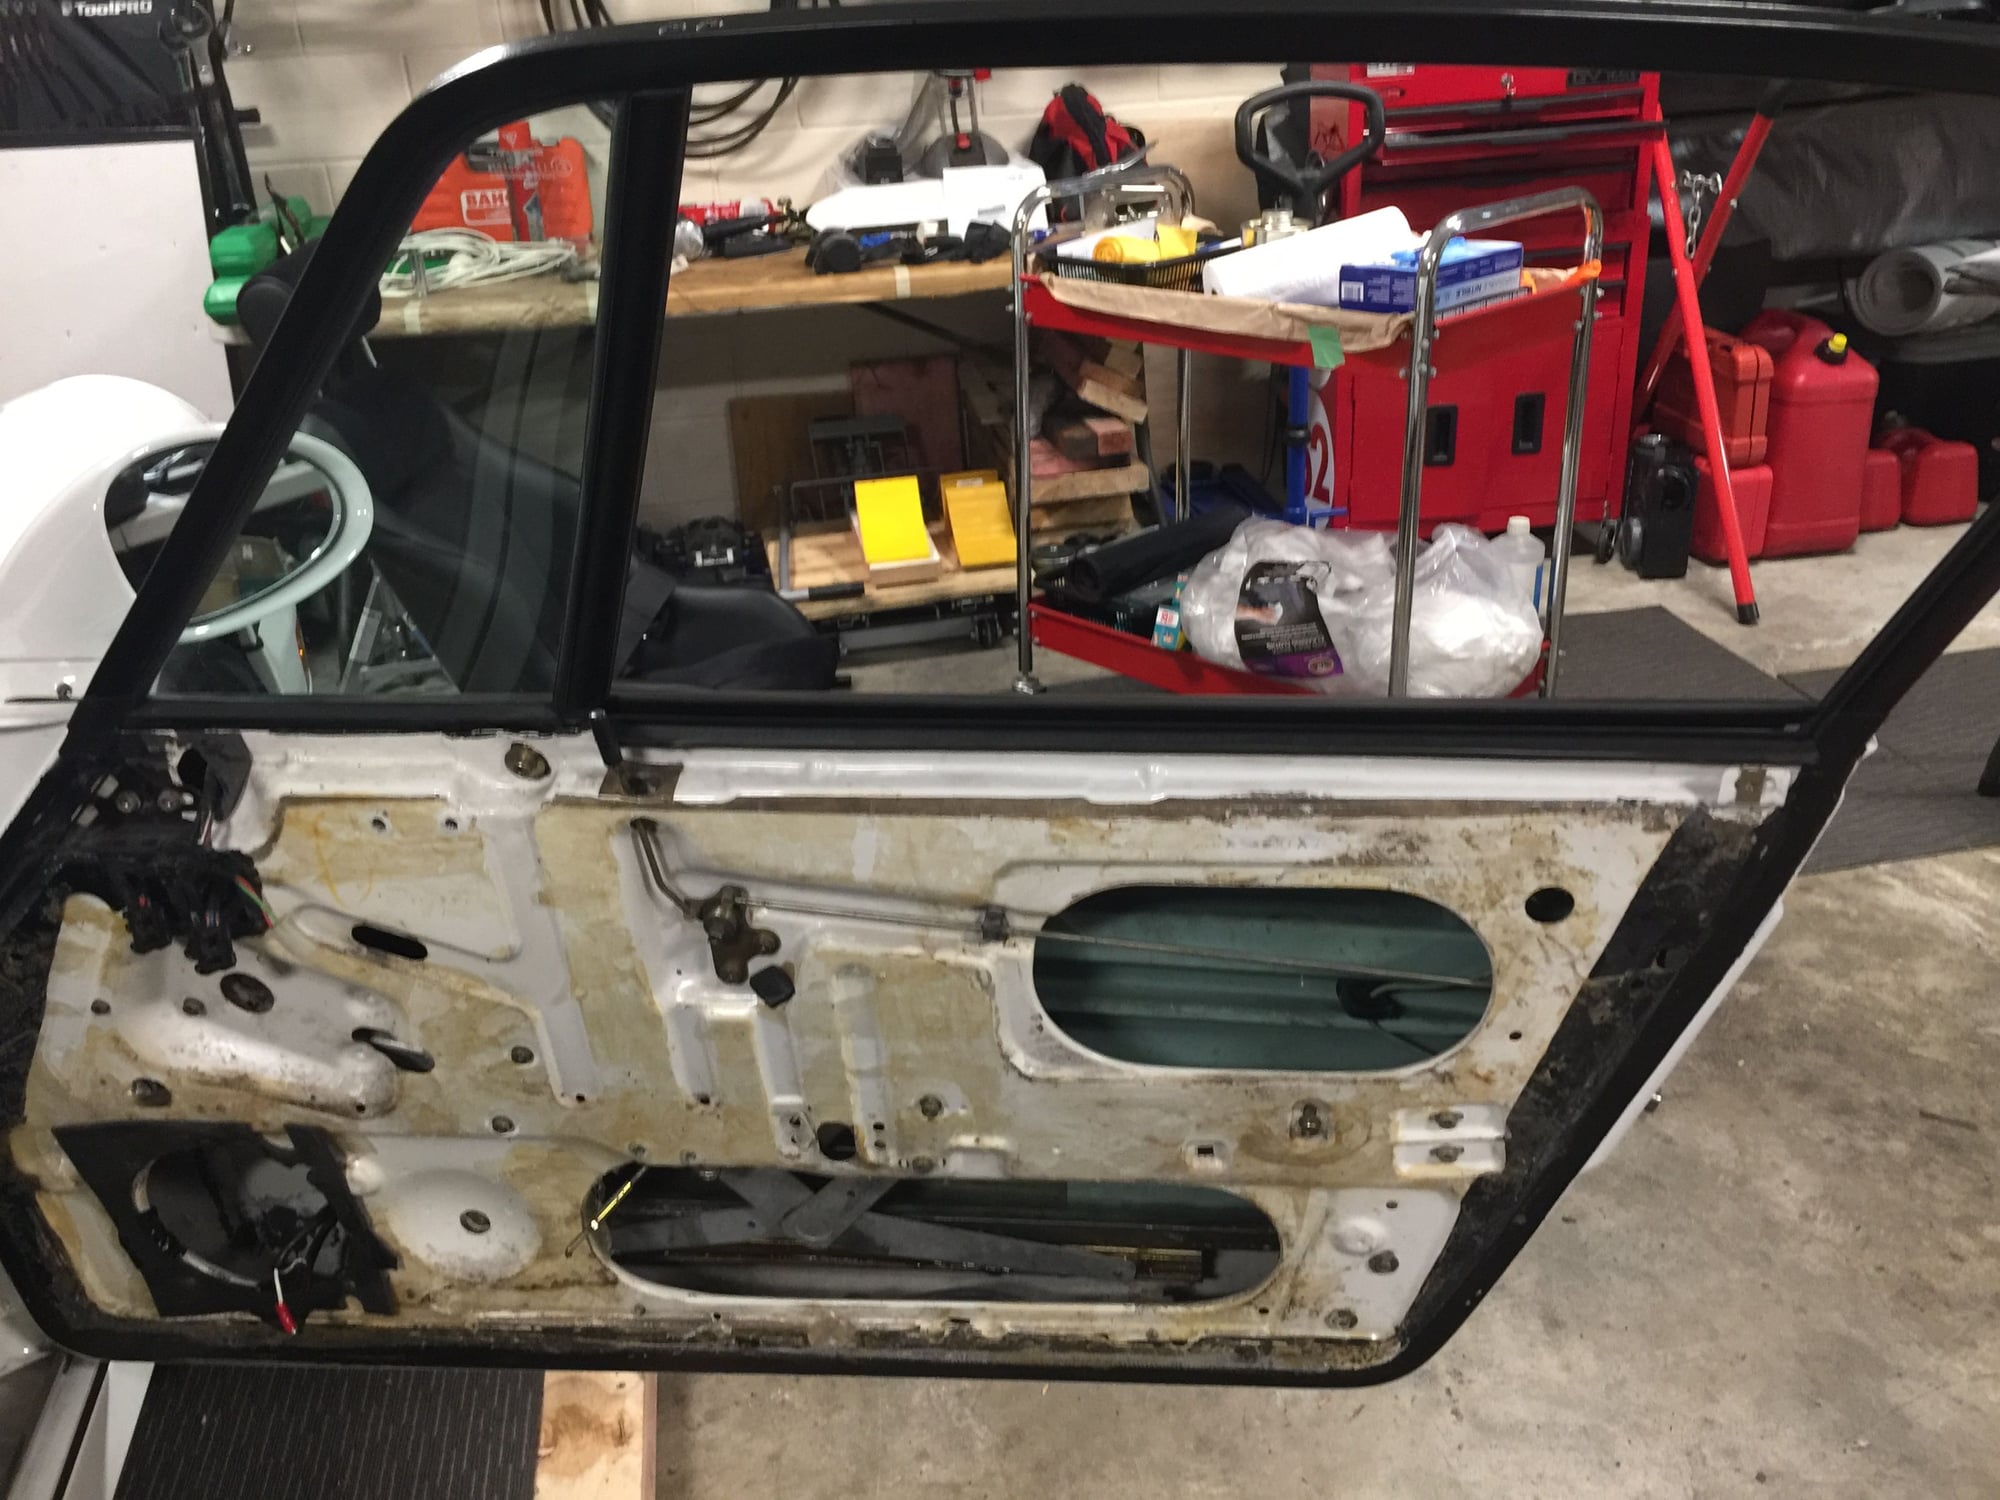
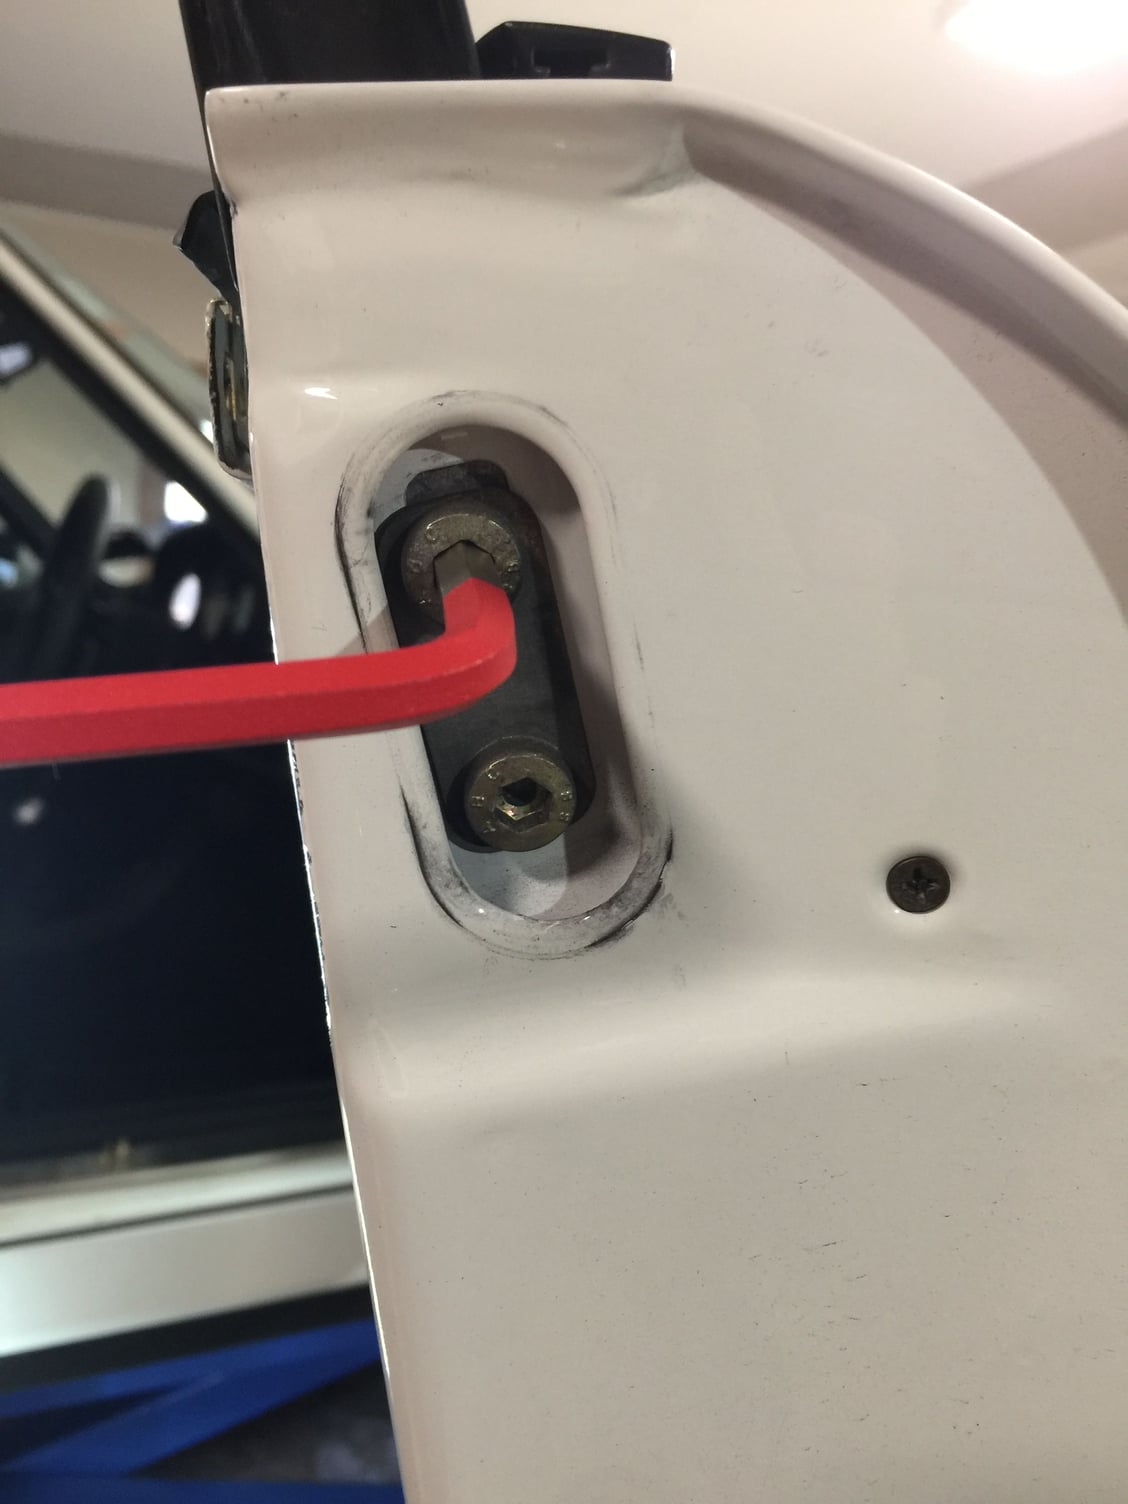
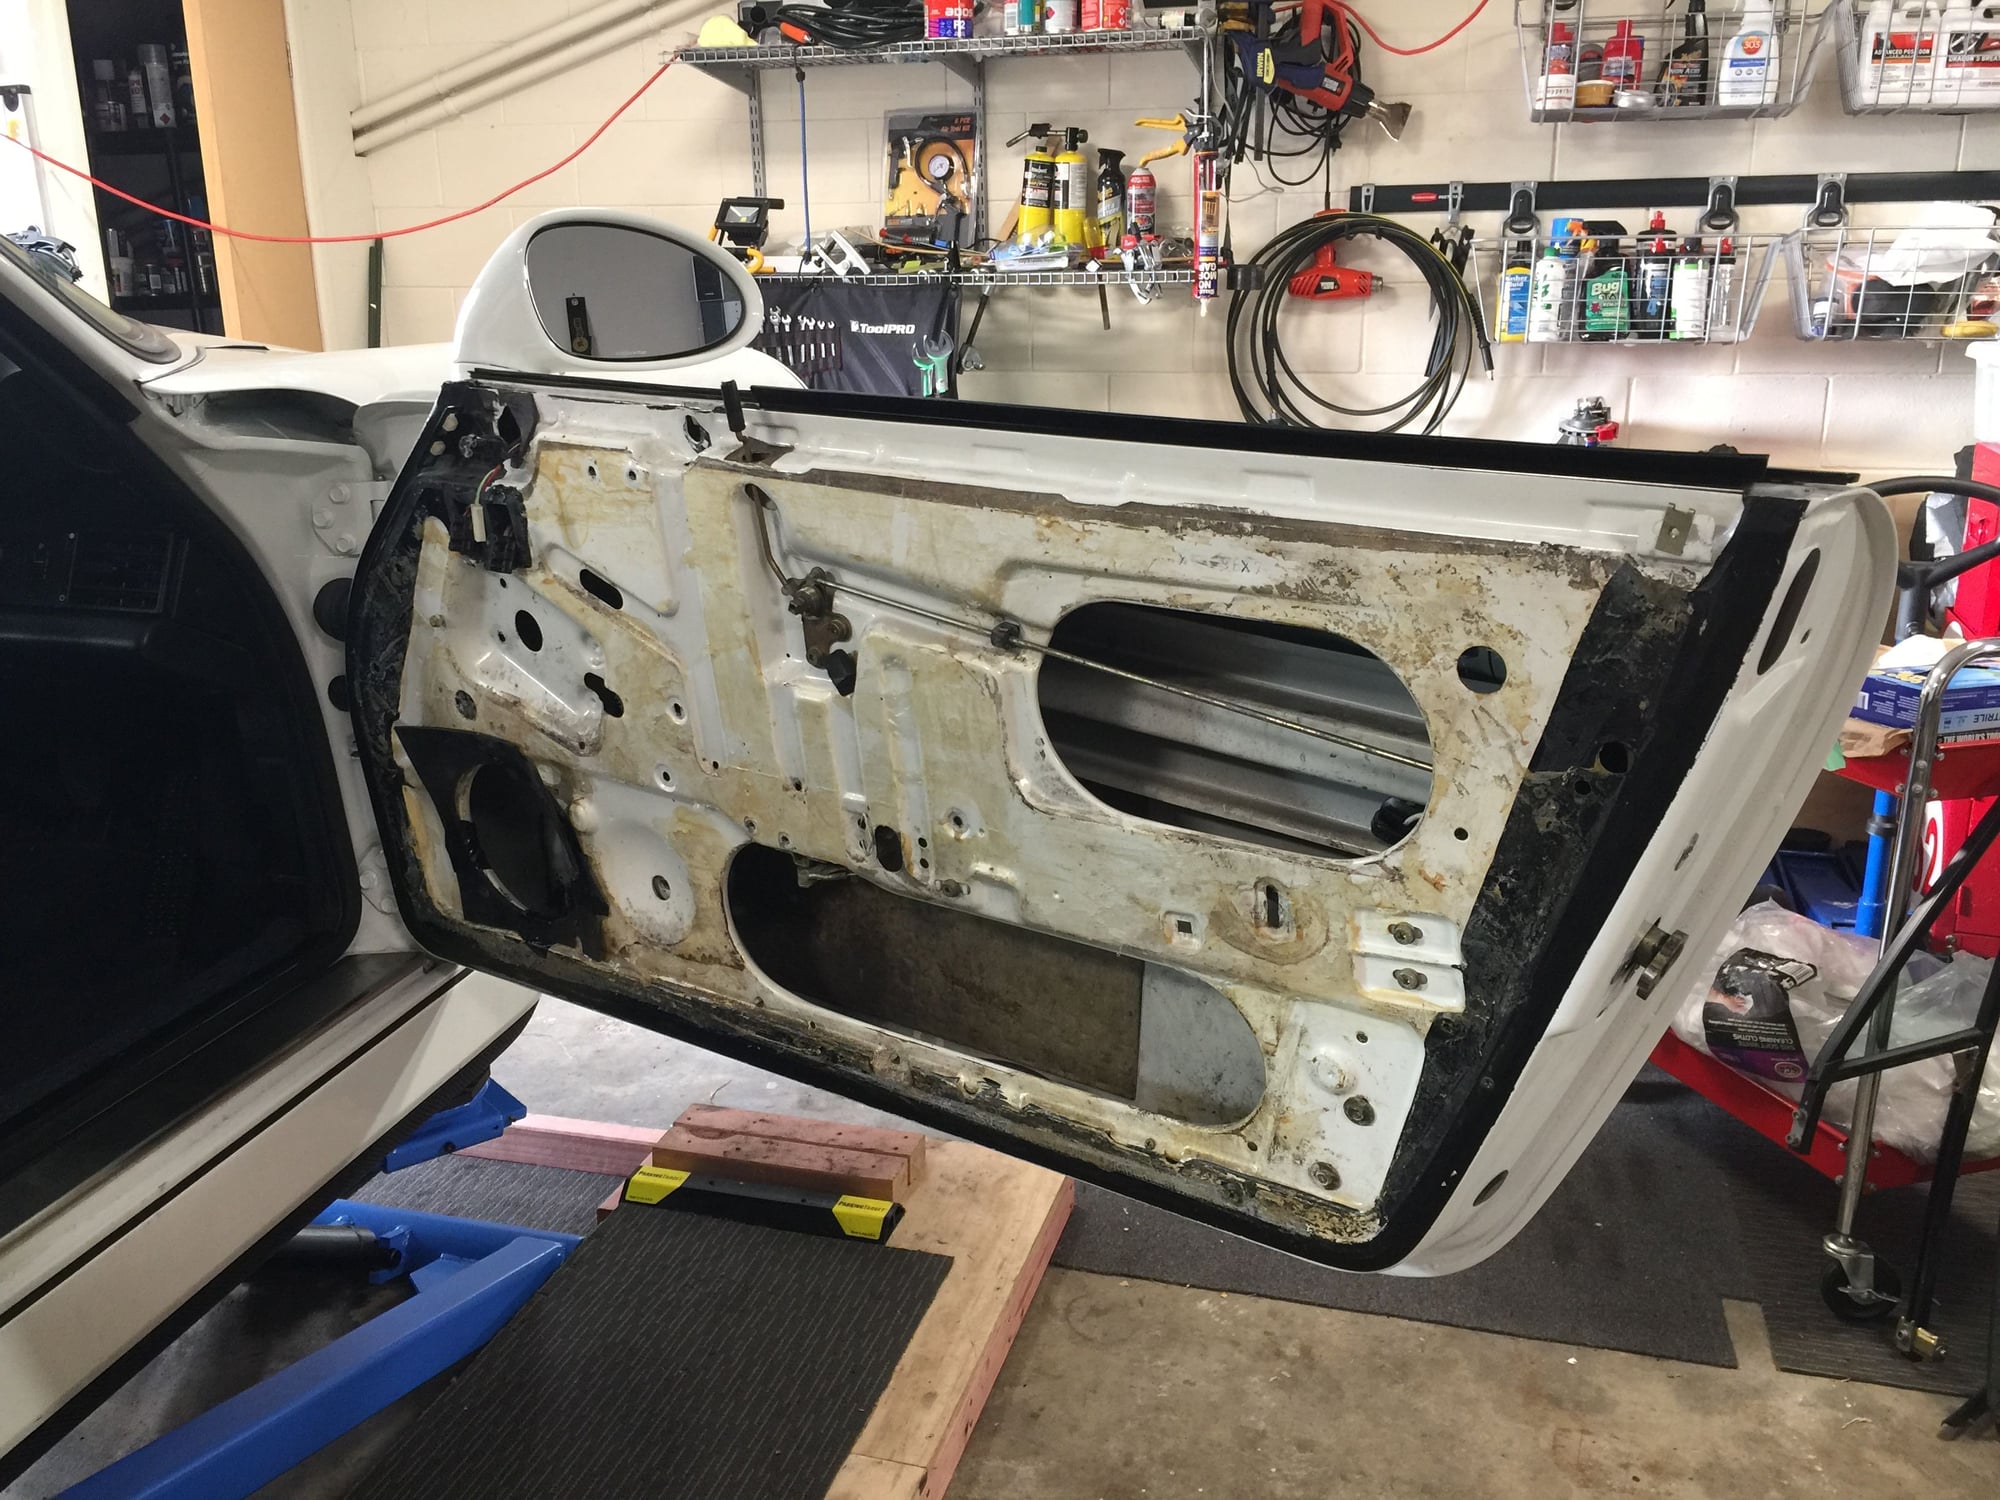
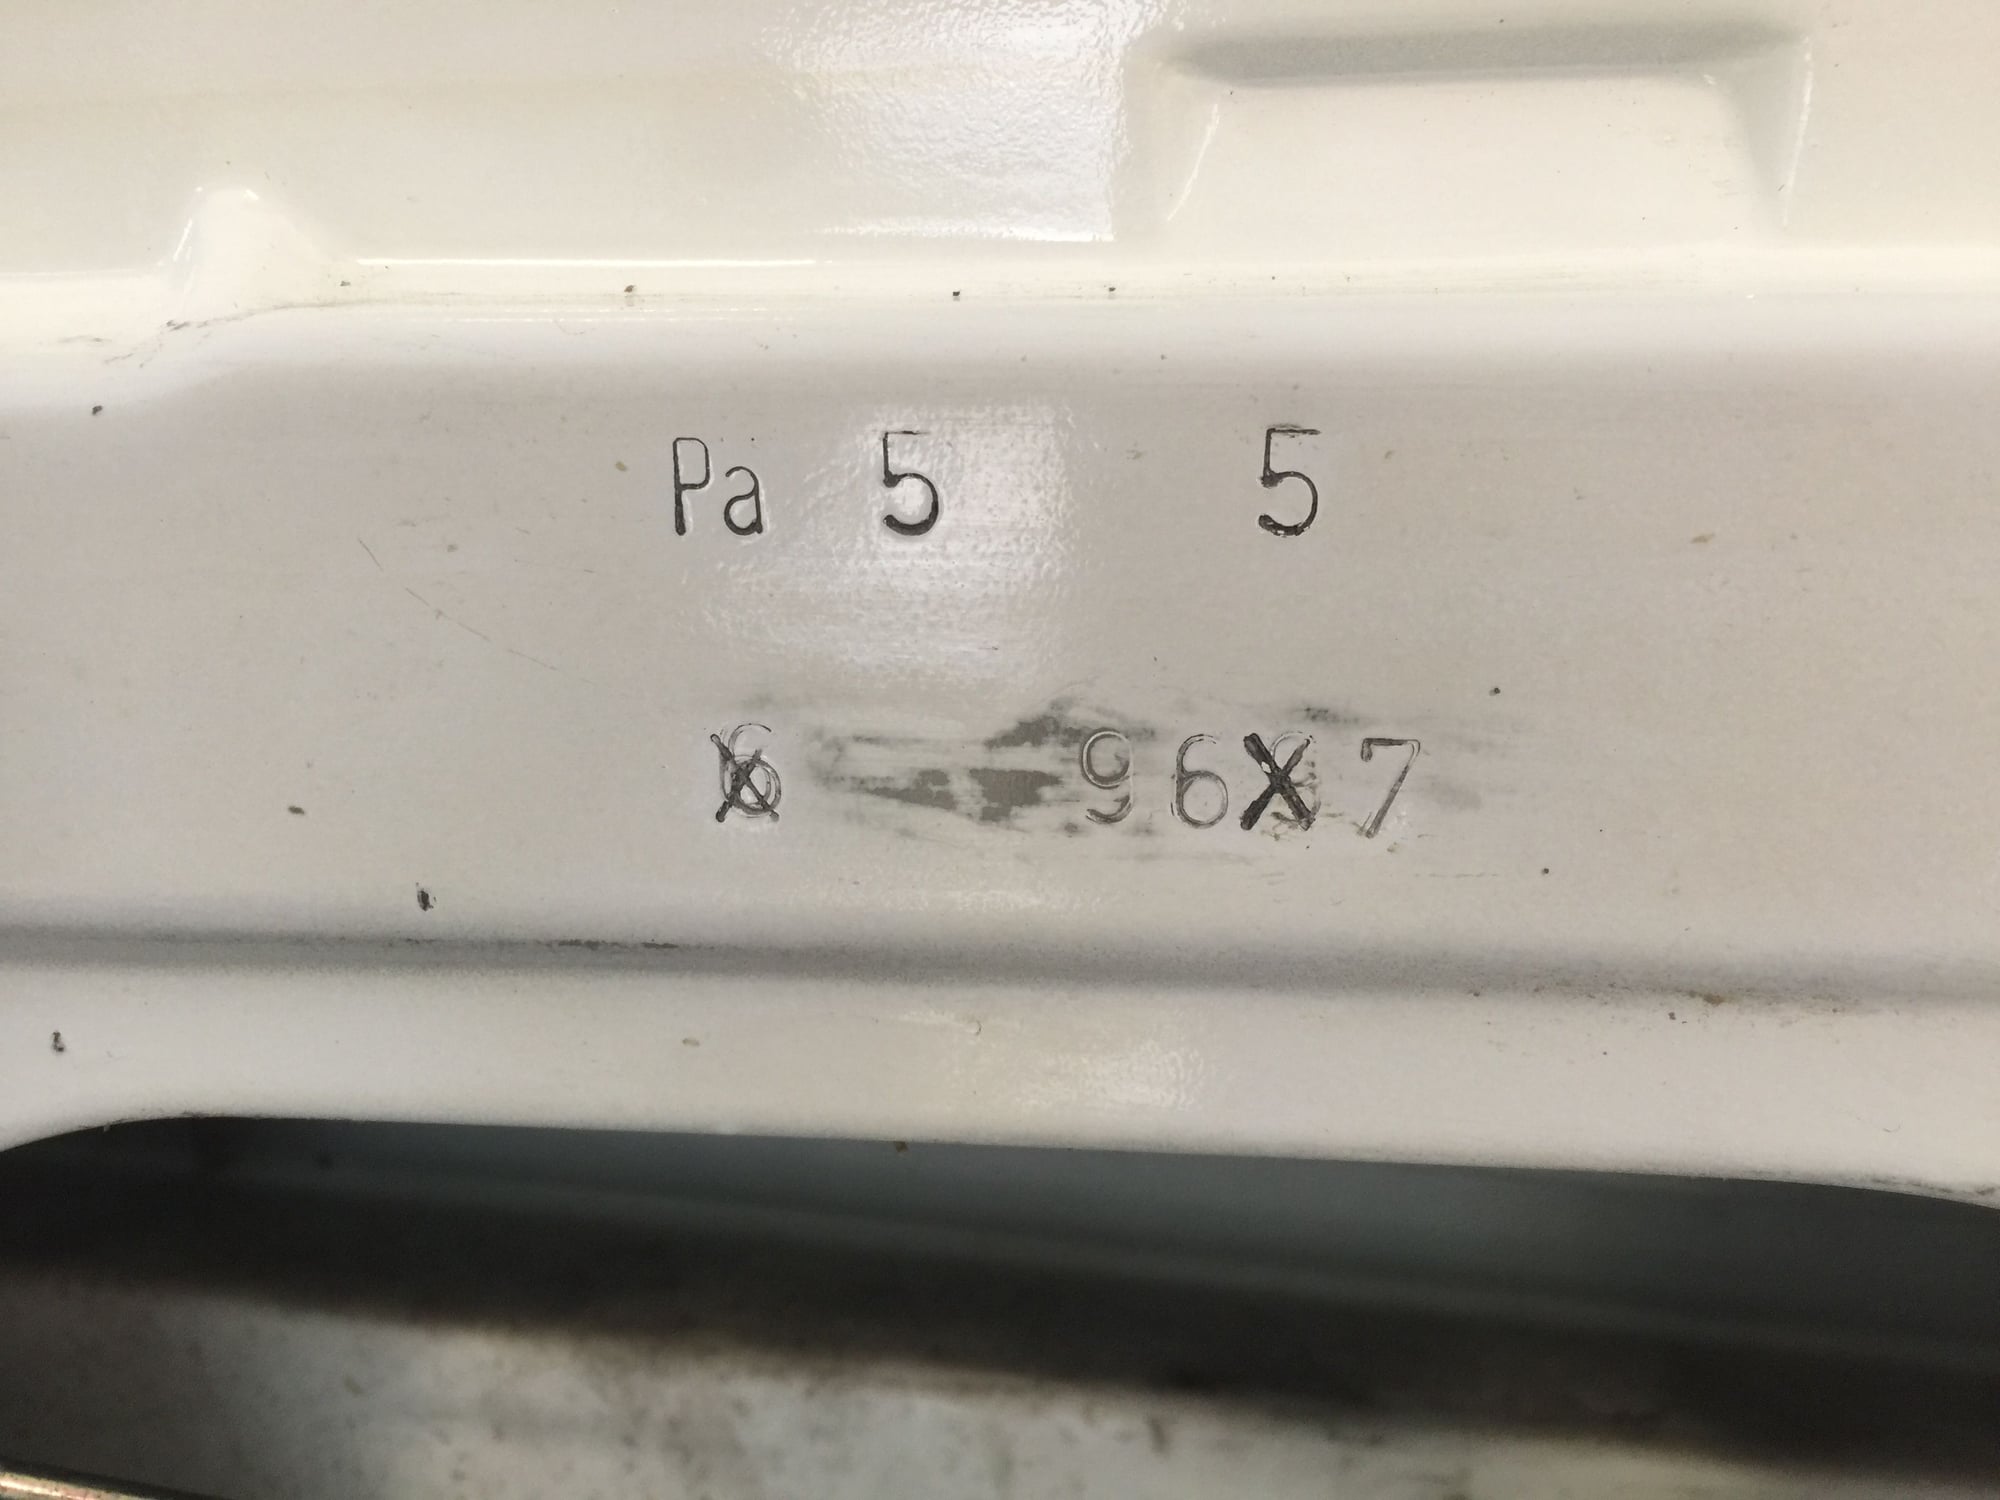
2. Fix the crack in the driver door inner skin and modify the stay mechanism; and
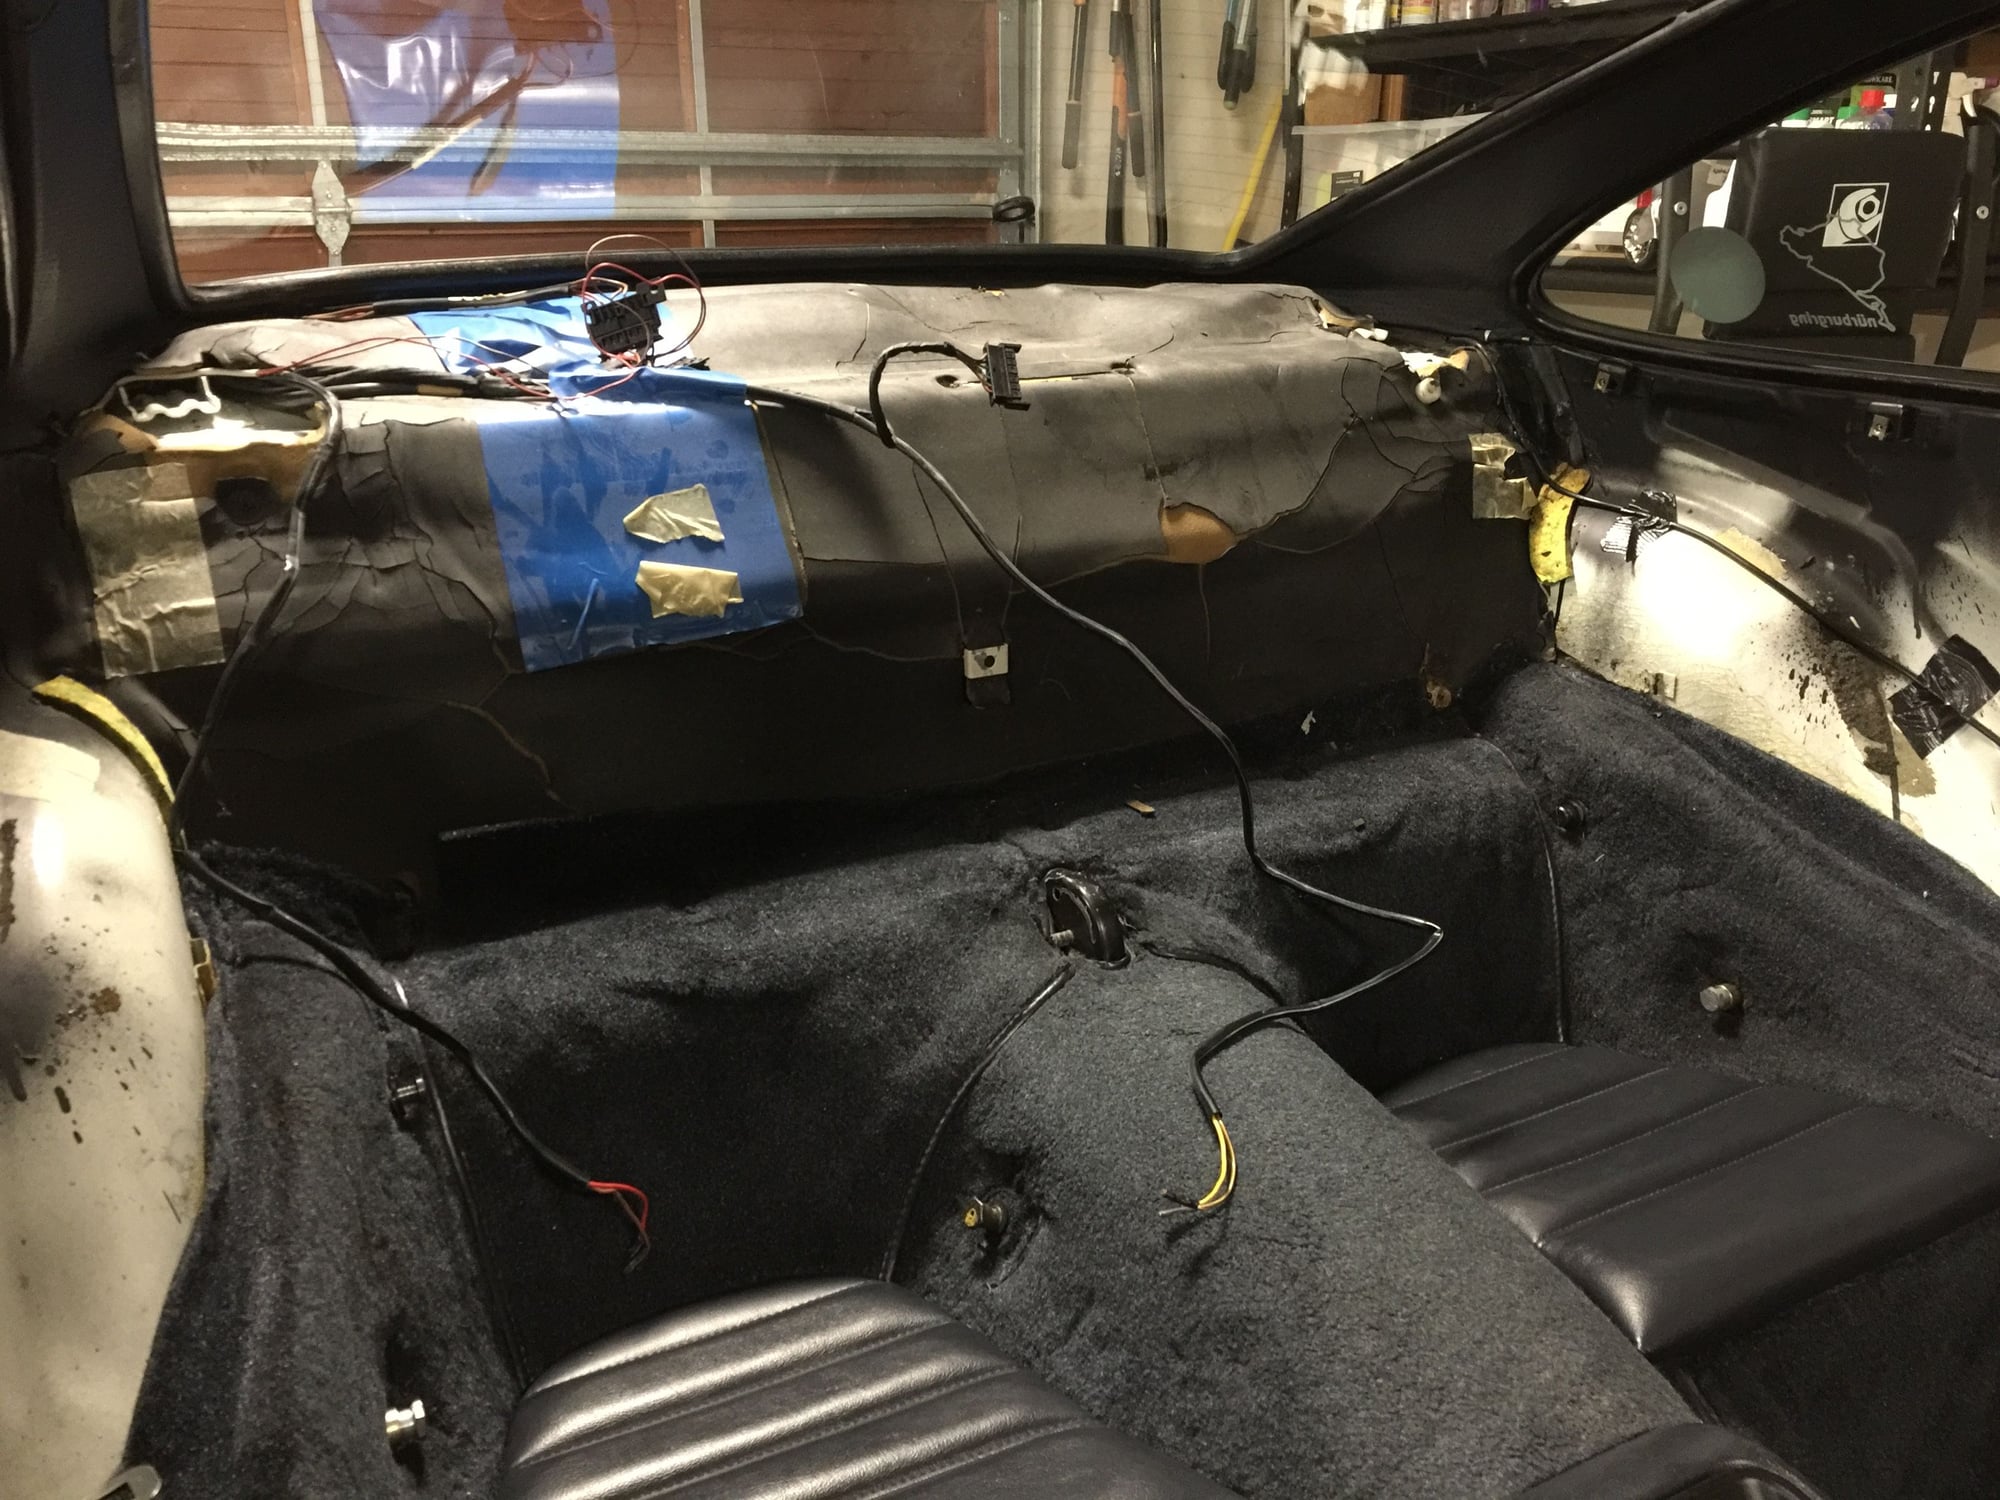
3. Fit new carpet.

Tonight was a general tear down, starting with a relatively empty garage because I know how congested it will become. The real work is yet to come.
Old 03-01-2018, 10:05 AM
  #995  
Deserion
Burning Brakes
 
Deserion's Avatar
 
Join Date: May 2011
Location: Orange Park, FL
Posts: 754
Received 54 Likes on 39 Posts
Default

Originally Posted by John McM
I wonder what a Carrera 3 is, though (4th). A C4 with a broken axle?
Old 03-01-2018, 01:15 PM
  #996  
Jacke2c
Formerly turbotwoshoes
Rennlist Member
 
Jacke2c's Avatar
 
Join Date: Mar 2010
Location: Russellville, Arkansas
Posts: 849
Received 30 Likes on 23 Posts
Default

WOW, congrats John.. awesome runs. Looks like you have the set-up about maximized.

Real inspiration!
Old 03-01-2018, 01:32 PM
  #997  
John McM
Rennlist Member
Thread Starter
 
John McM's Avatar
 
Join Date: May 2001
Location: Auckland, New Zealand.
Posts: 13,223
Received 580 Likes on 345 Posts
Default

Originally Posted by Deserion
I wonder what a Carrera 3 is, though (4th). A C4 with a broken axle?
A Carrera 3.0 is a late 1970s model with 197hp and 1,120kg. Nimble and quick with 5.68kg/hp. My Car is 1,380kg so 5.52kg/hp

Old 03-01-2018, 01:43 PM
  #998  
John McM
Rennlist Member
Thread Starter
 
John McM's Avatar
 
Join Date: May 2001
Location: Auckland, New Zealand.
Posts: 13,223
Received 580 Likes on 345 Posts
Default

Originally Posted by turbotwoshoes
WOW, congrats John.. awesome runs. Looks like you have the set-up about maximized.

Real inspiration!
I have the RUF suspension package from the late 1990s, but it was horses for courses with the C4 well suited to the corner and cone set up. If the straight had been longer then the high powered cars would have prevailed.

I know my car well and as I keep on saying a C4 in real world driving is a great drivers car. It gives nothing away to the C2 and walks away from it in the wet.
Old 03-01-2018, 03:14 PM
  #999  
Deserion
Burning Brakes
 
Deserion's Avatar
 
Join Date: May 2011
Location: Orange Park, FL
Posts: 754
Received 54 Likes on 39 Posts
Default

Originally Posted by John McM


A Carrera 3.0 is a late 1970s model with 197hp and 1,120kg. Nimble and quick with 5.68kg/hp. My Car is 1,380kg so 5.52kg/hp


That's what I figured, decided to add a bit of levity.

I'd definitely check your evaporator blowers since you're pulling it apart. I'm eager to see how well my A/C works this summer now that I've changed mine out.
Old 03-01-2018, 03:23 PM
  #1000  
John McM
Rennlist Member
Thread Starter
 
John McM's Avatar
 
Join Date: May 2001
Location: Auckland, New Zealand.
Posts: 13,223
Received 580 Likes on 345 Posts
Default

Originally Posted by Deserion
That's what I figured, decided to add a bit of levity.

I'd definitely check your evaporator blowers since you're pulling it apart. I'm eager to see how well my A/C works this summer now that I've changed mine out.
I'll be going through everything as this task sounds like it will quite involved.

I'm aiming to have this car for life so I want it to be in as near new condition as I can get it right now. Apart from evidence of a small hit under the front left frunk area (I suspect it hit a kerb) I know this car is totally rust and accident free. Glass out respray, engine rebuild and transmission rebuild all done. These three tasks will get me to near perfect. I've even ordered an interior screw kit from Classic 9 to go through each fitting to make sure it's correct.
Old 03-01-2018, 09:34 PM
  #1001  
Jacke2c
Formerly turbotwoshoes
Rennlist Member
 
Jacke2c's Avatar
 
Join Date: Mar 2010
Location: Russellville, Arkansas
Posts: 849
Received 30 Likes on 23 Posts
Default

It took my about two years, but I also added the RUF suspension parts to mine when I overhauled the frontend. Mostly just torsion bars and I uprated the shocks. Before I was running true cup shocks 600/900 with mono ball top hats. One 400 mile trip with my wife made me change it to a more forgiving spring rate (H&R Sport coilovers with about 1/2 the spring) will allow me to skip the dental visit. The expansion cracks on the bridges in Tennessee made me almost chip a tooth. It actually handles better now and the ride is something that I may drive to Cali in May.
Old 03-02-2018, 04:13 AM
  #1002  
John McM
Rennlist Member
Thread Starter
 
John McM's Avatar
 
Join Date: May 2001
Location: Auckland, New Zealand.
Posts: 13,223
Received 580 Likes on 345 Posts
Default


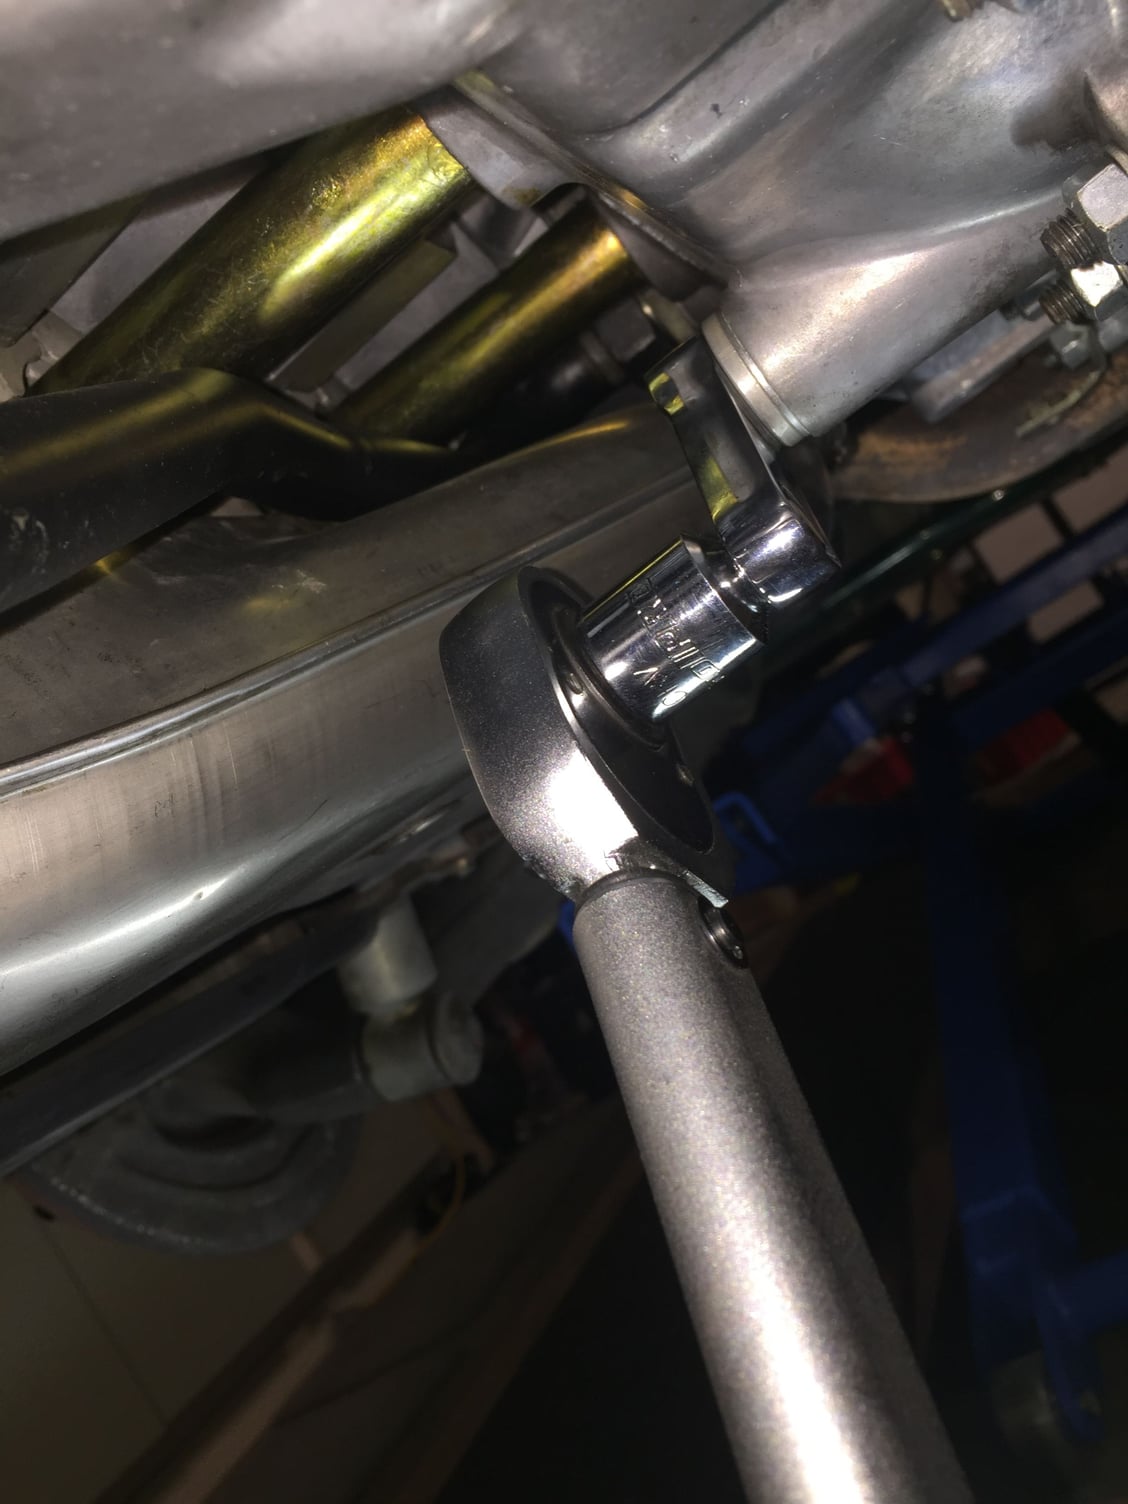
Thanks Jason, my first Snap-on tool and a lifetime of perfectly torqued drain plugs ahead of me.

Last edited by John McM; 03-02-2018 at 01:10 PM.
Old 03-02-2018, 04:49 AM
  #1003  
964tit
Instructor
 
964tit's Avatar
 
Join Date: Nov 2013
Location: Australia
Posts: 244
Received 30 Likes on 15 Posts
Default

If you have any AC questions I can see if my mech is happy to talk. My work is still probably fresh in his memory.
Old 03-02-2018, 05:14 AM
  #1004  
John McM
Rennlist Member
Thread Starter
 
John McM's Avatar
 
Join Date: May 2001
Location: Auckland, New Zealand.
Posts: 13,223
Received 580 Likes on 345 Posts
Default


Originally Posted by 964tit
If you have any AC questions I can see if my mech is happy to talk. My work is still probably fresh in his memory.

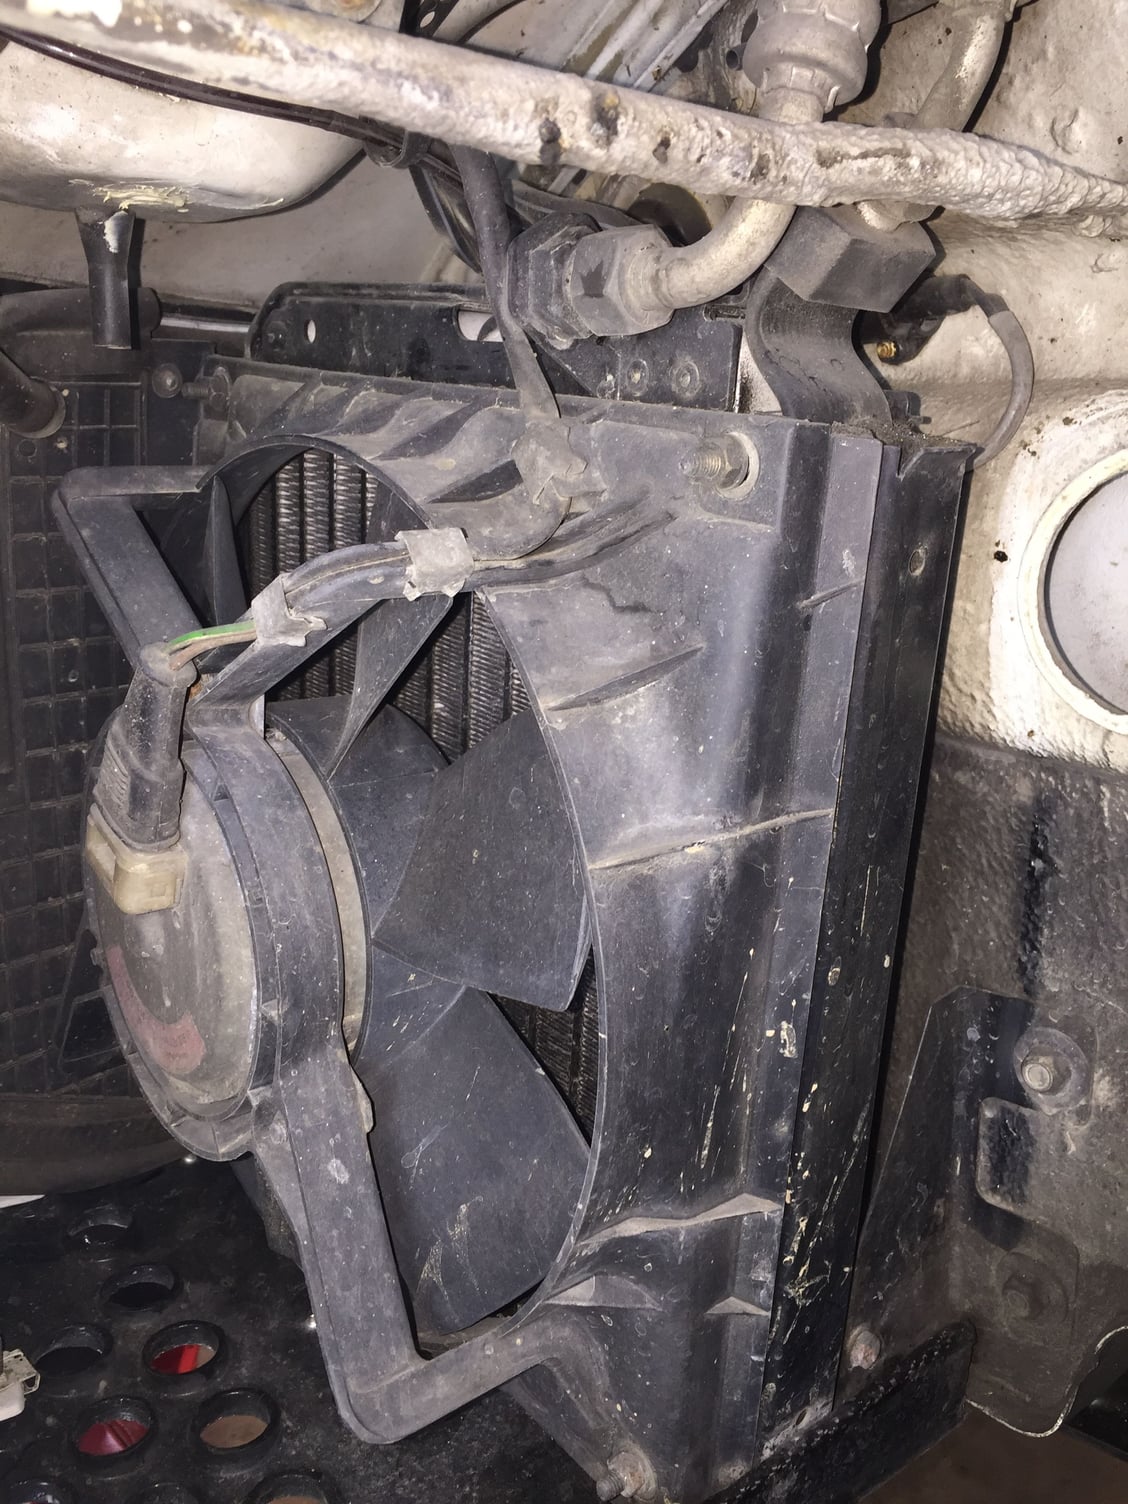
Any tips would be helpful. I need to siphon the tank tomorrow. Tonight I just checked the condenser and resistor. Both look fine from this side although the condenser may be a lot dirtier on the intake side.

Last edited by John McM; 03-02-2018 at 05:34 PM.
Old 03-04-2018, 05:51 AM
  #1005  
John McM
Rennlist Member
Thread Starter
 
John McM's Avatar
 
Join Date: May 2001
Location: Auckland, New Zealand.
Posts: 13,223
Received 580 Likes on 345 Posts
Default


I decided to do the door first as the body guy could turn up any day to take it away.

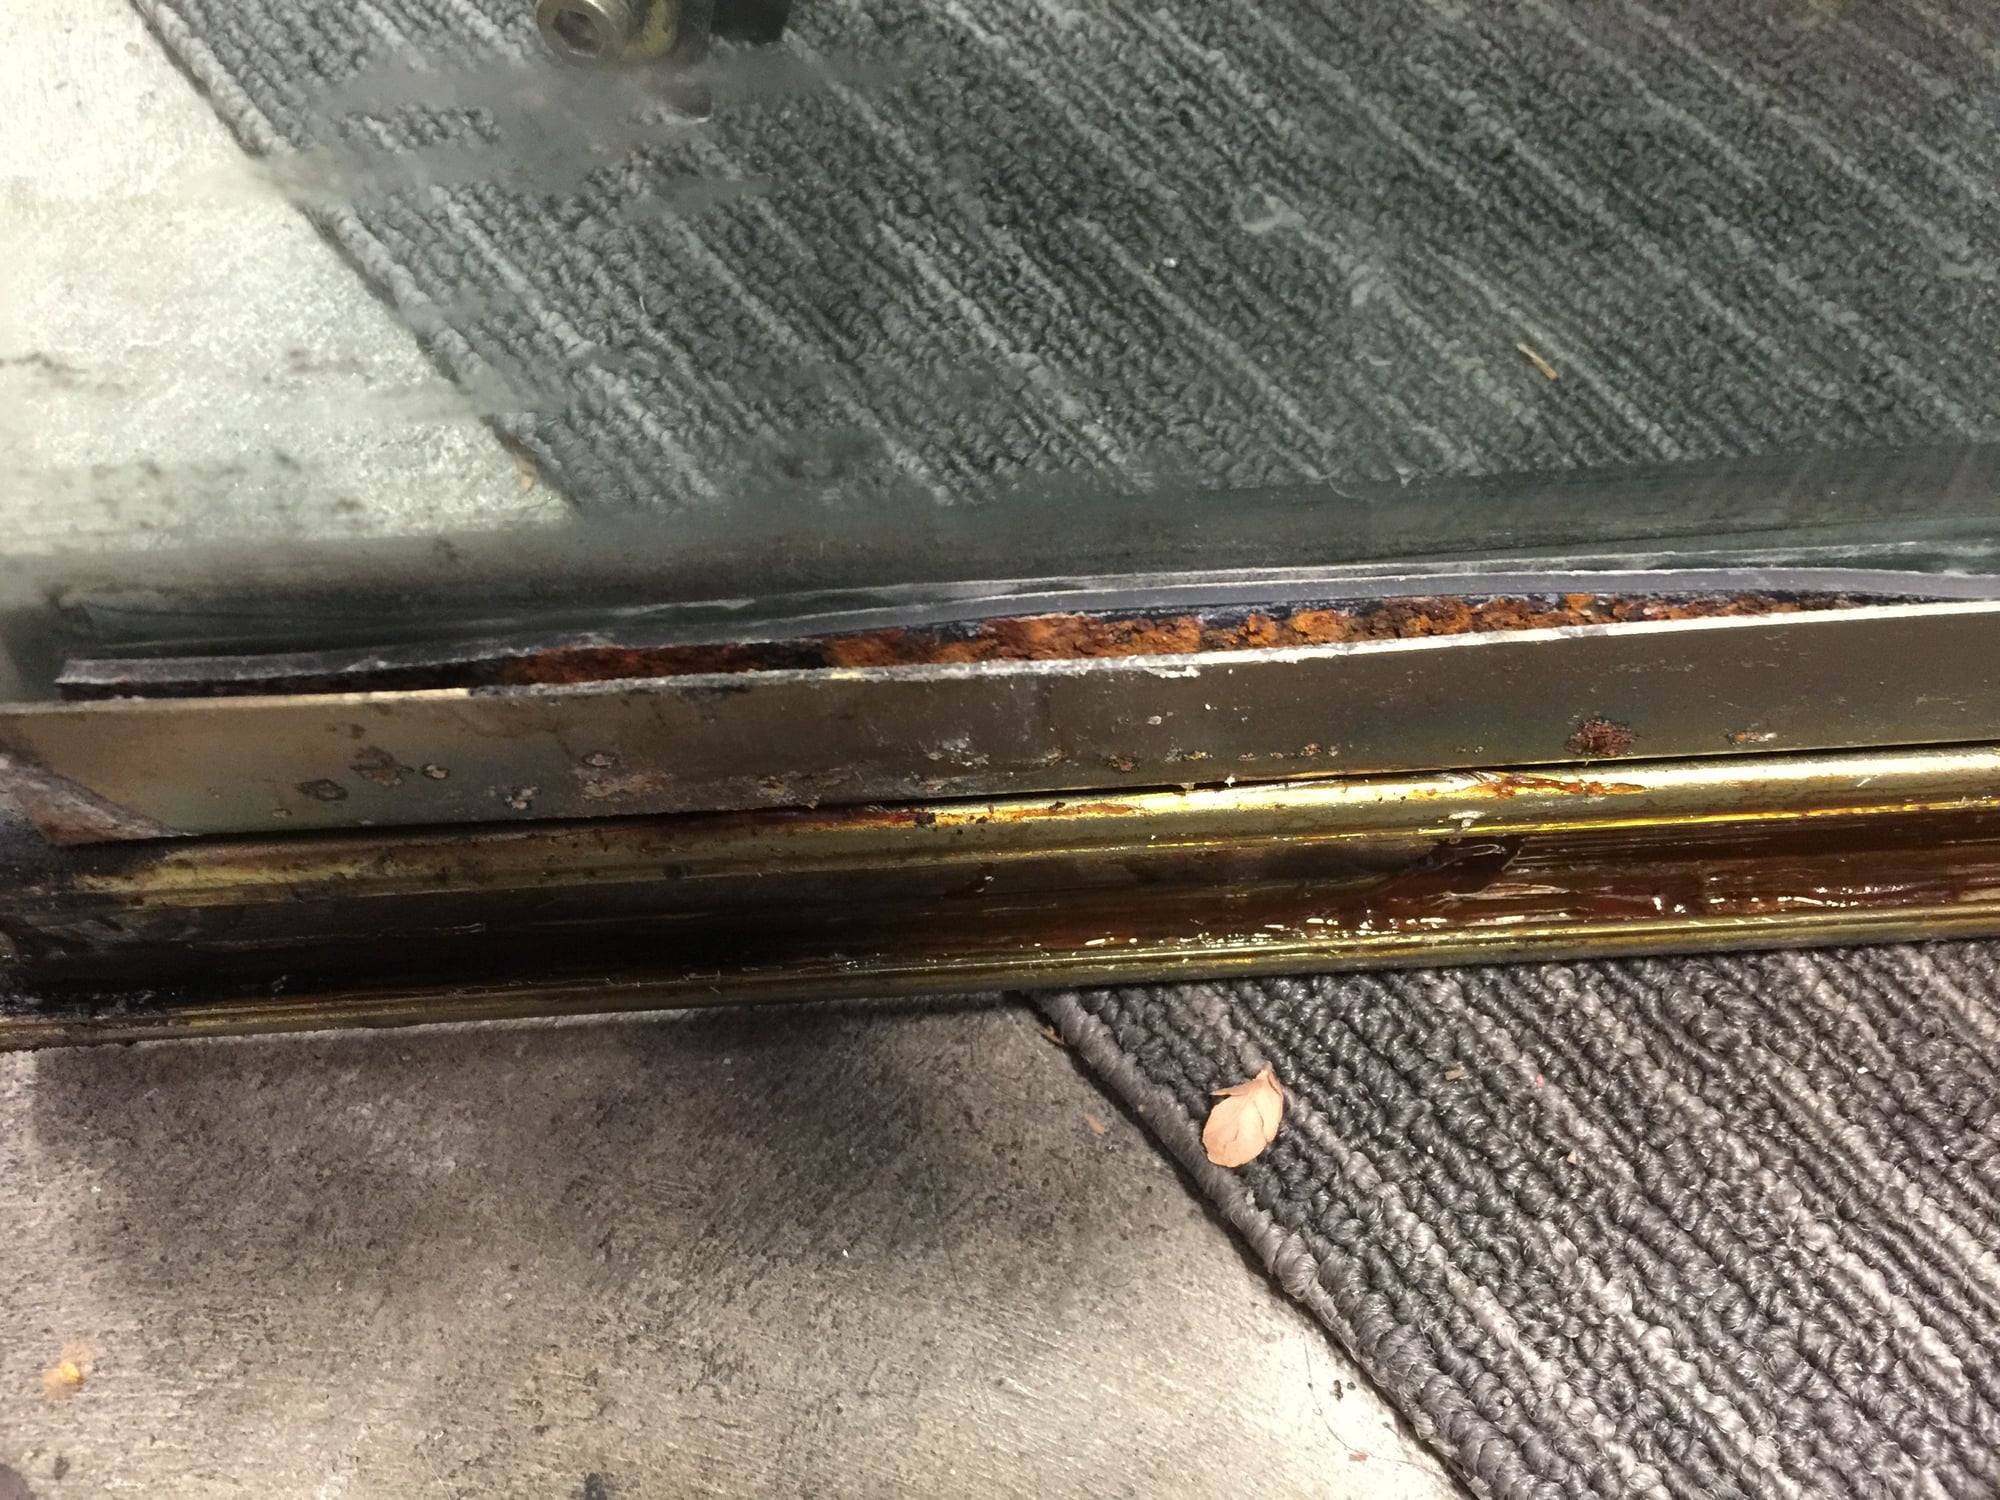
I took the window motor and regulator out, then removed the window frame, and finally the window. There’s evidence of rust in the window rail, but given the new price I’ll stem the corrosion rather than replace.

I used paint thinner to remove the Ados contact adhesive used to affix the cheap membrane (comes without adhesive - maybe I could have used a better one than contact adhesive?). What goes on now is the Porsche self adhesive one. It may be expensive but it’s better long term value.

Last edited by John McM; 03-04-2018 at 03:24 PM.


Quick Reply: 964 C4 light refurb


All times are GMT -3. The time now is 05:15 PM.