964 C4 light refurb
#1066
Rennlist Member
Thread Starter
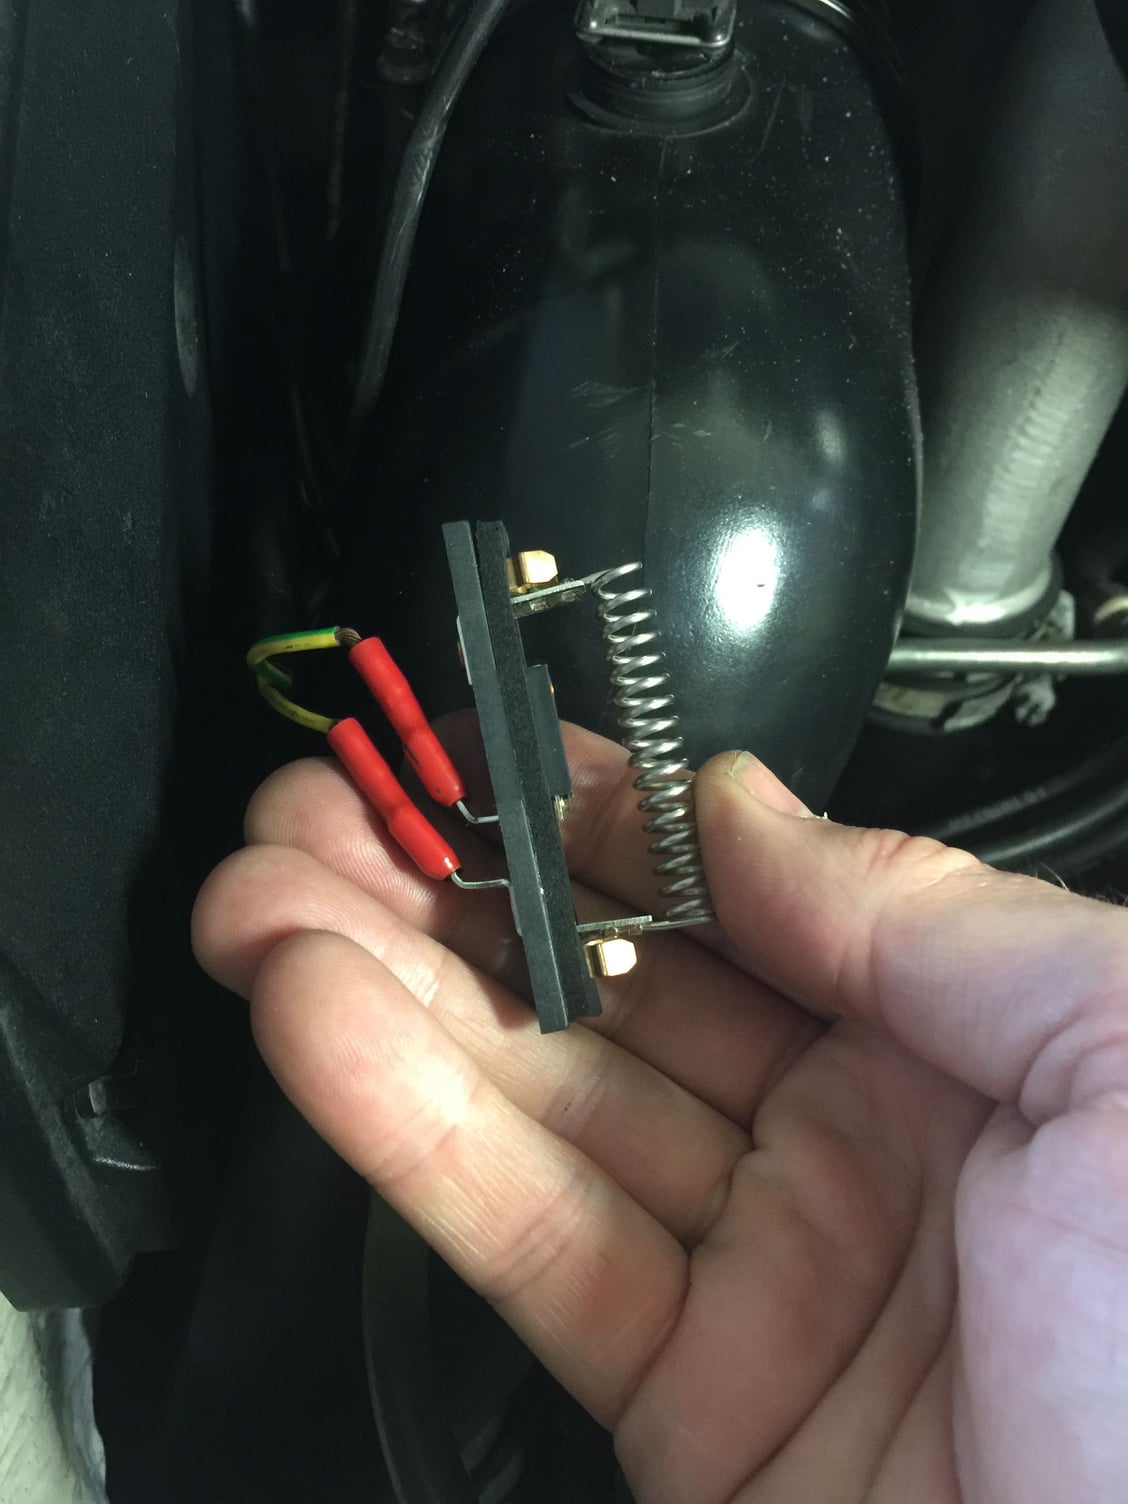
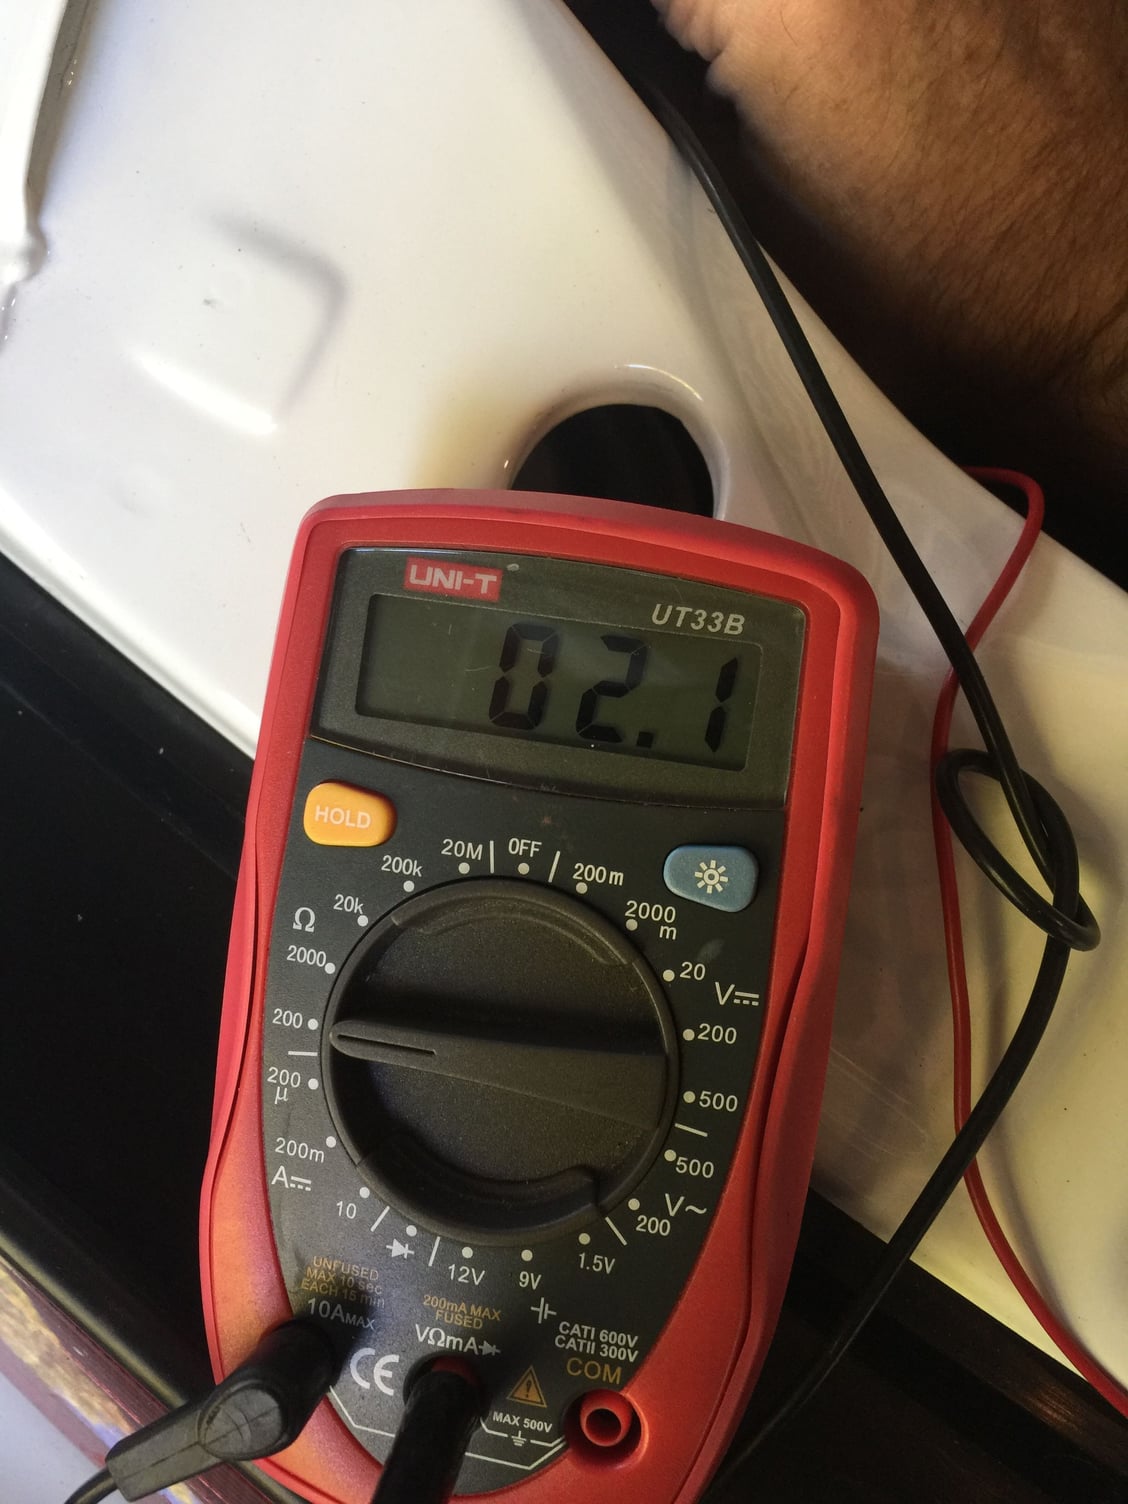
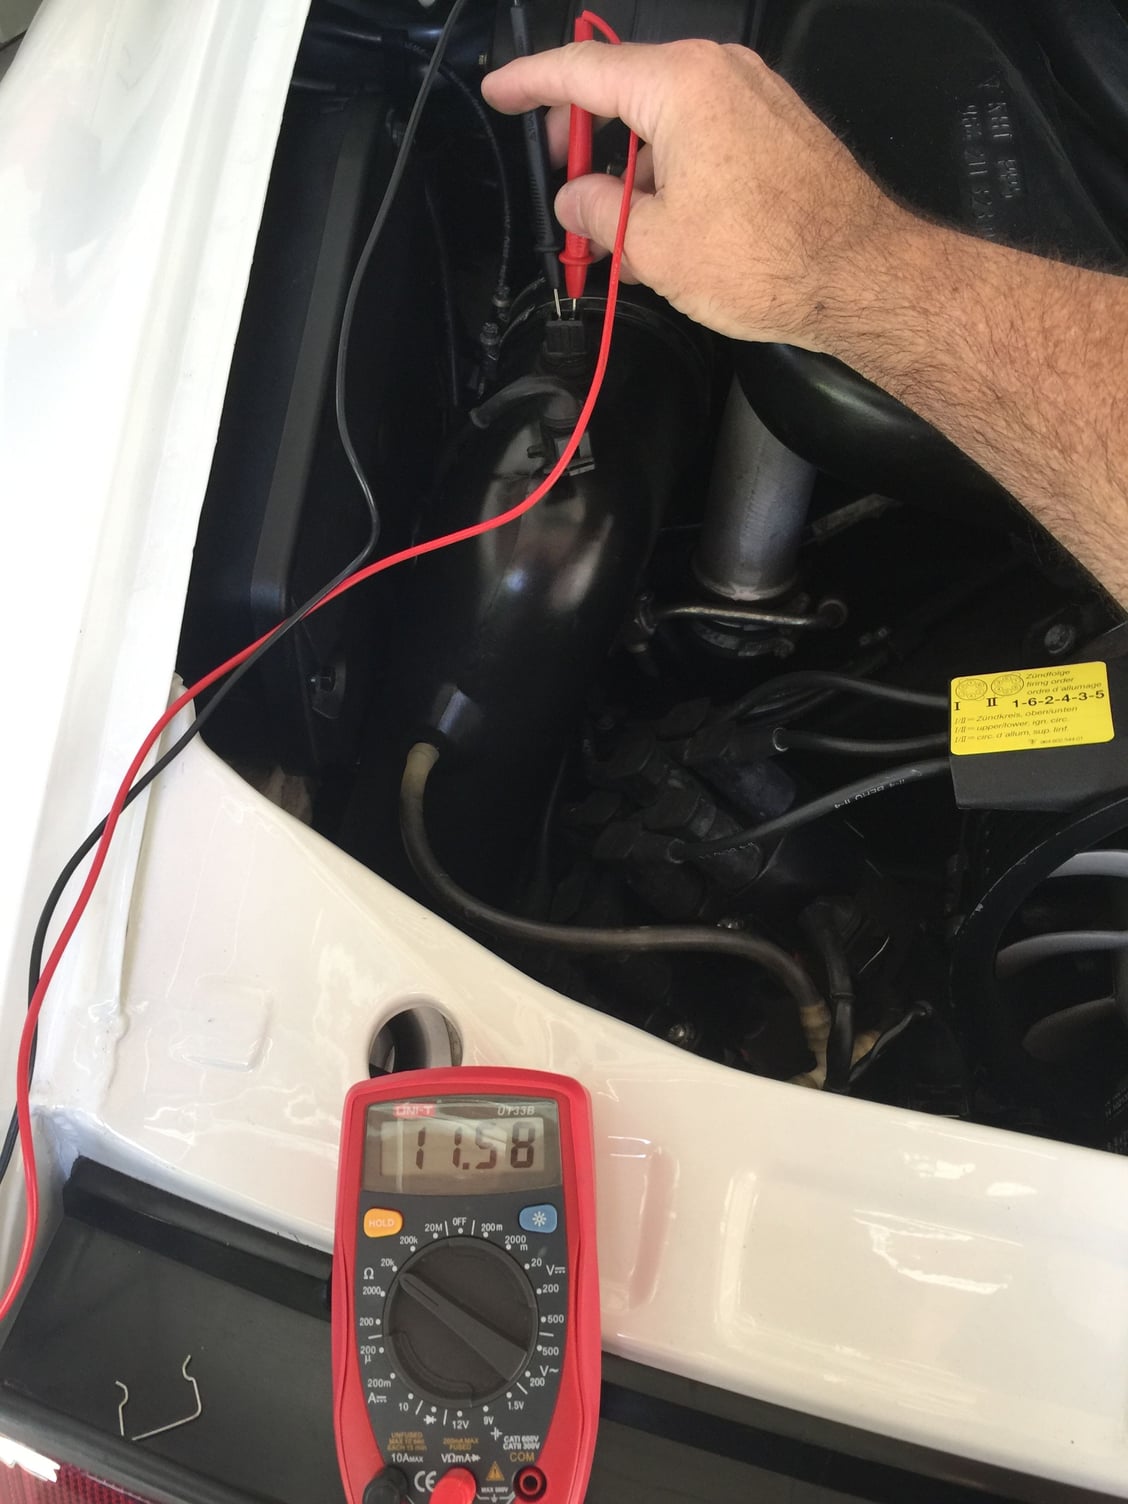
A new resistor arrived and took a couple of minutes to fit. As I understand it the resistor needs to be in place for the rear fan motor to work as itís actually a cut off thermistor that trips and cuts power to the rear fan if the fan motor seizes and everything heats up.
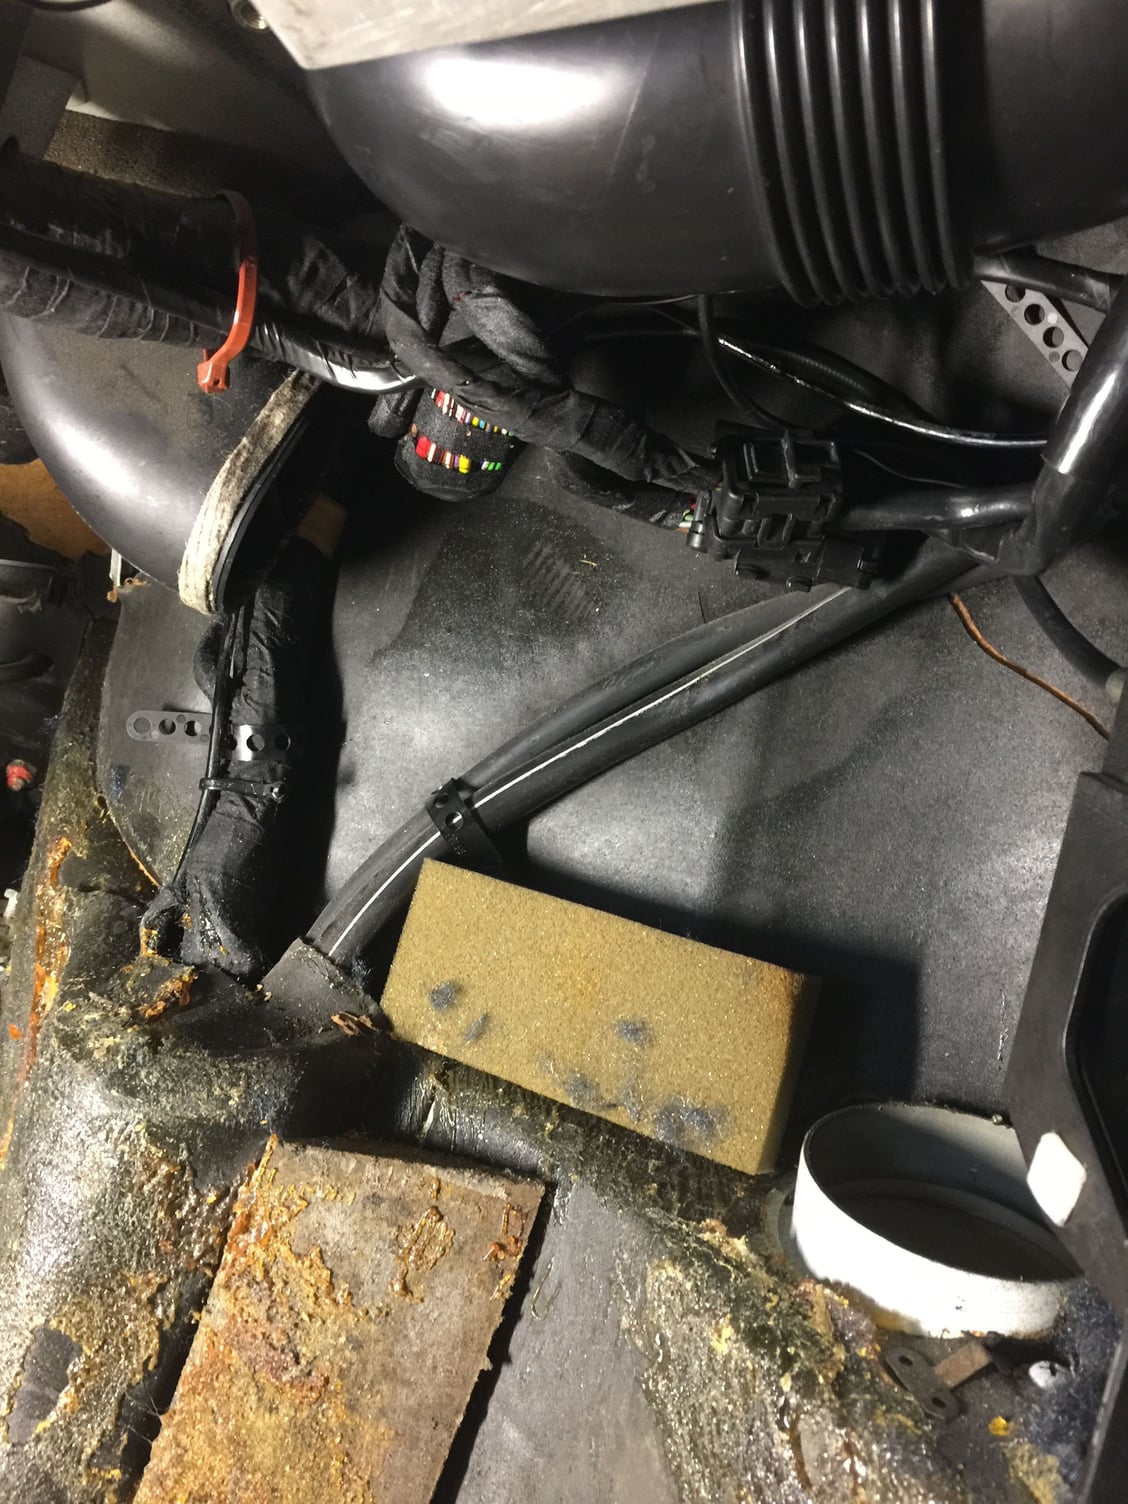
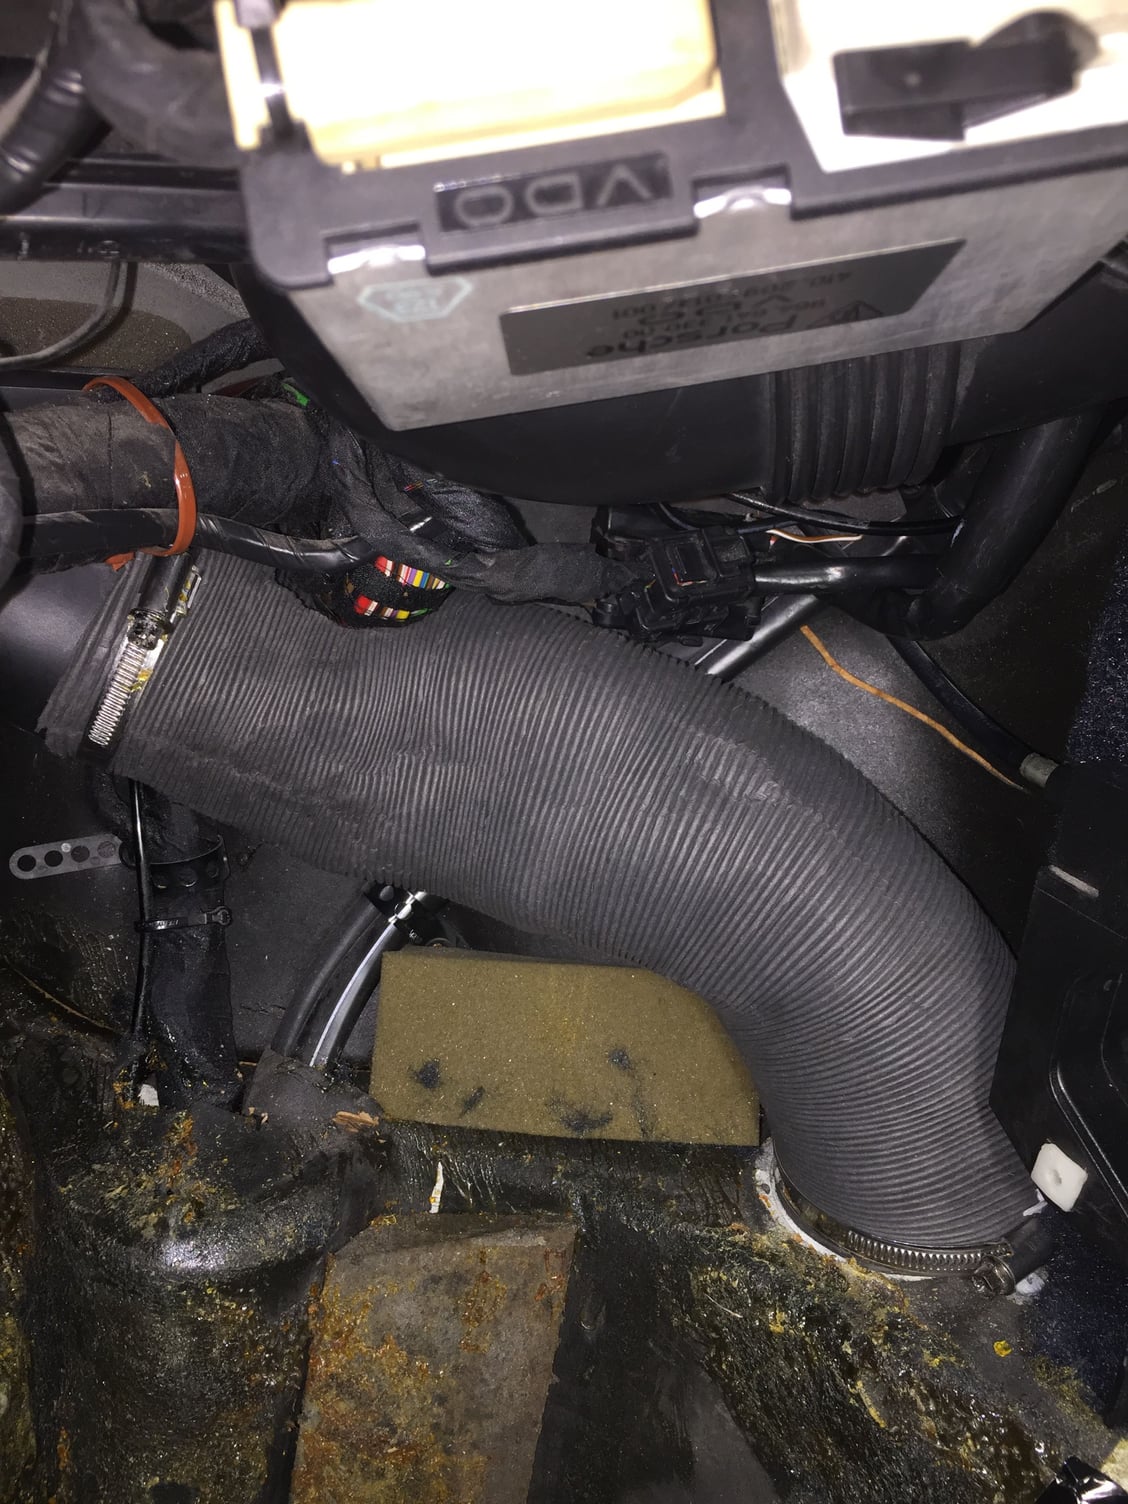
I also fitted a new heater duct pipe. If these rip or leak then you get very hot air in the footwell. They are quite difficult to fit as they are not overly flexible.
#1067
Rennlist Member
Thread Starter
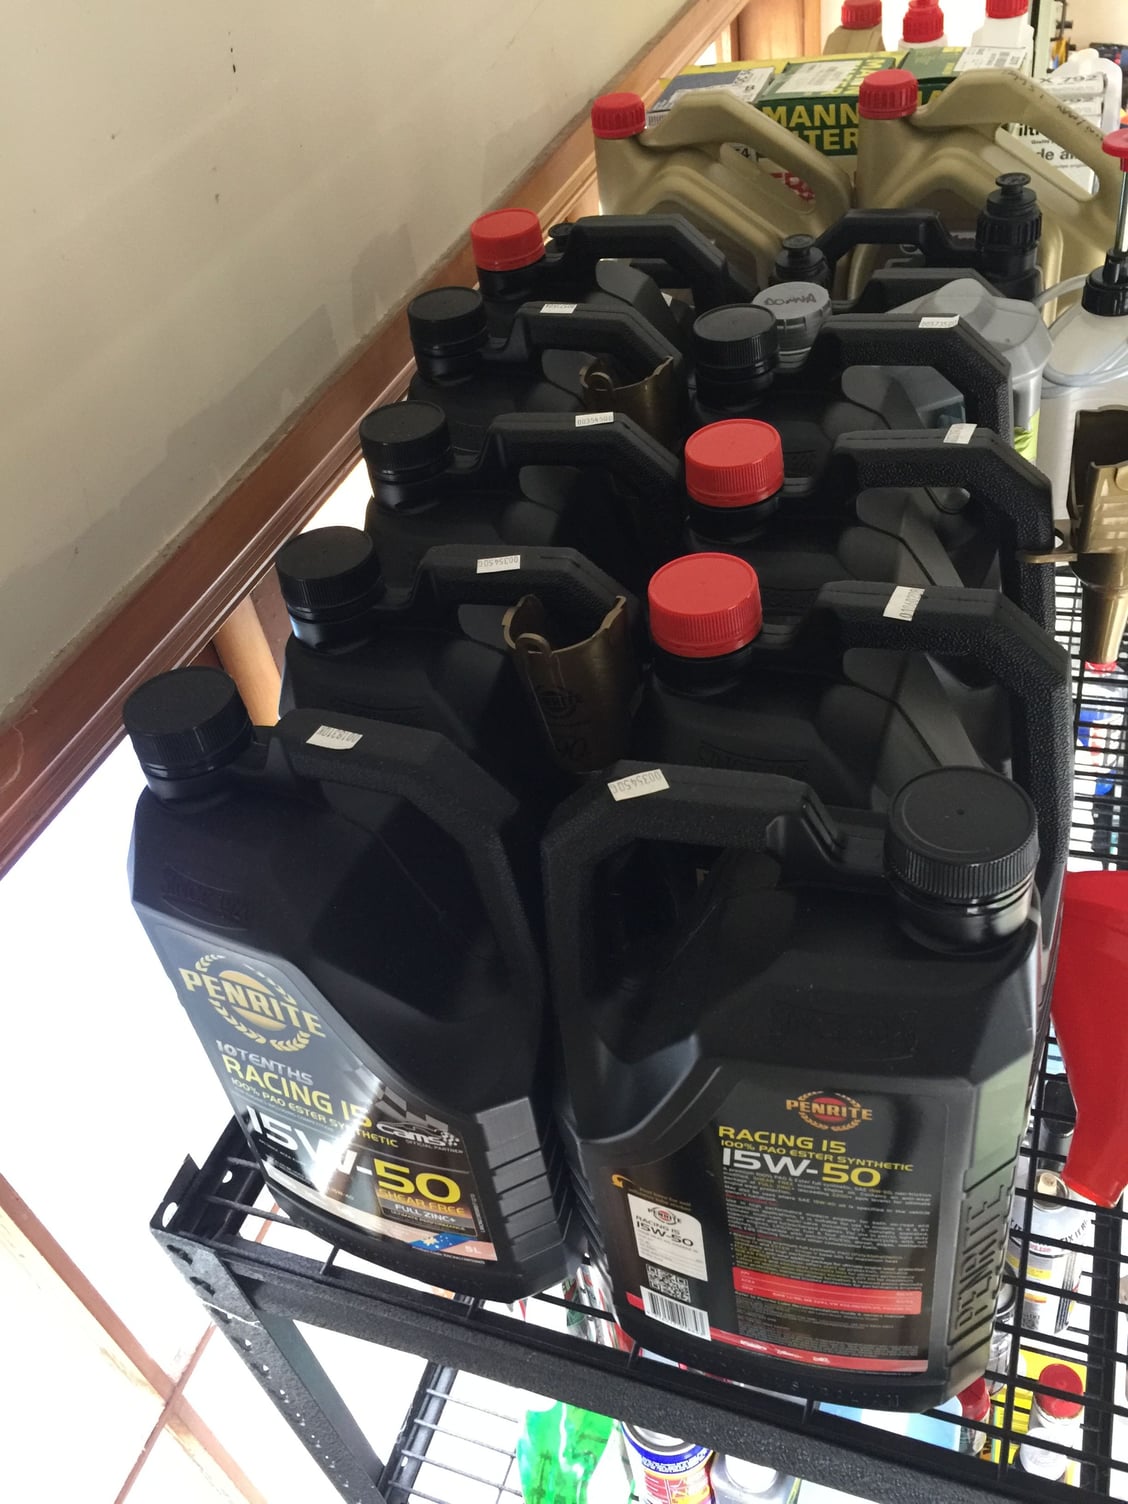
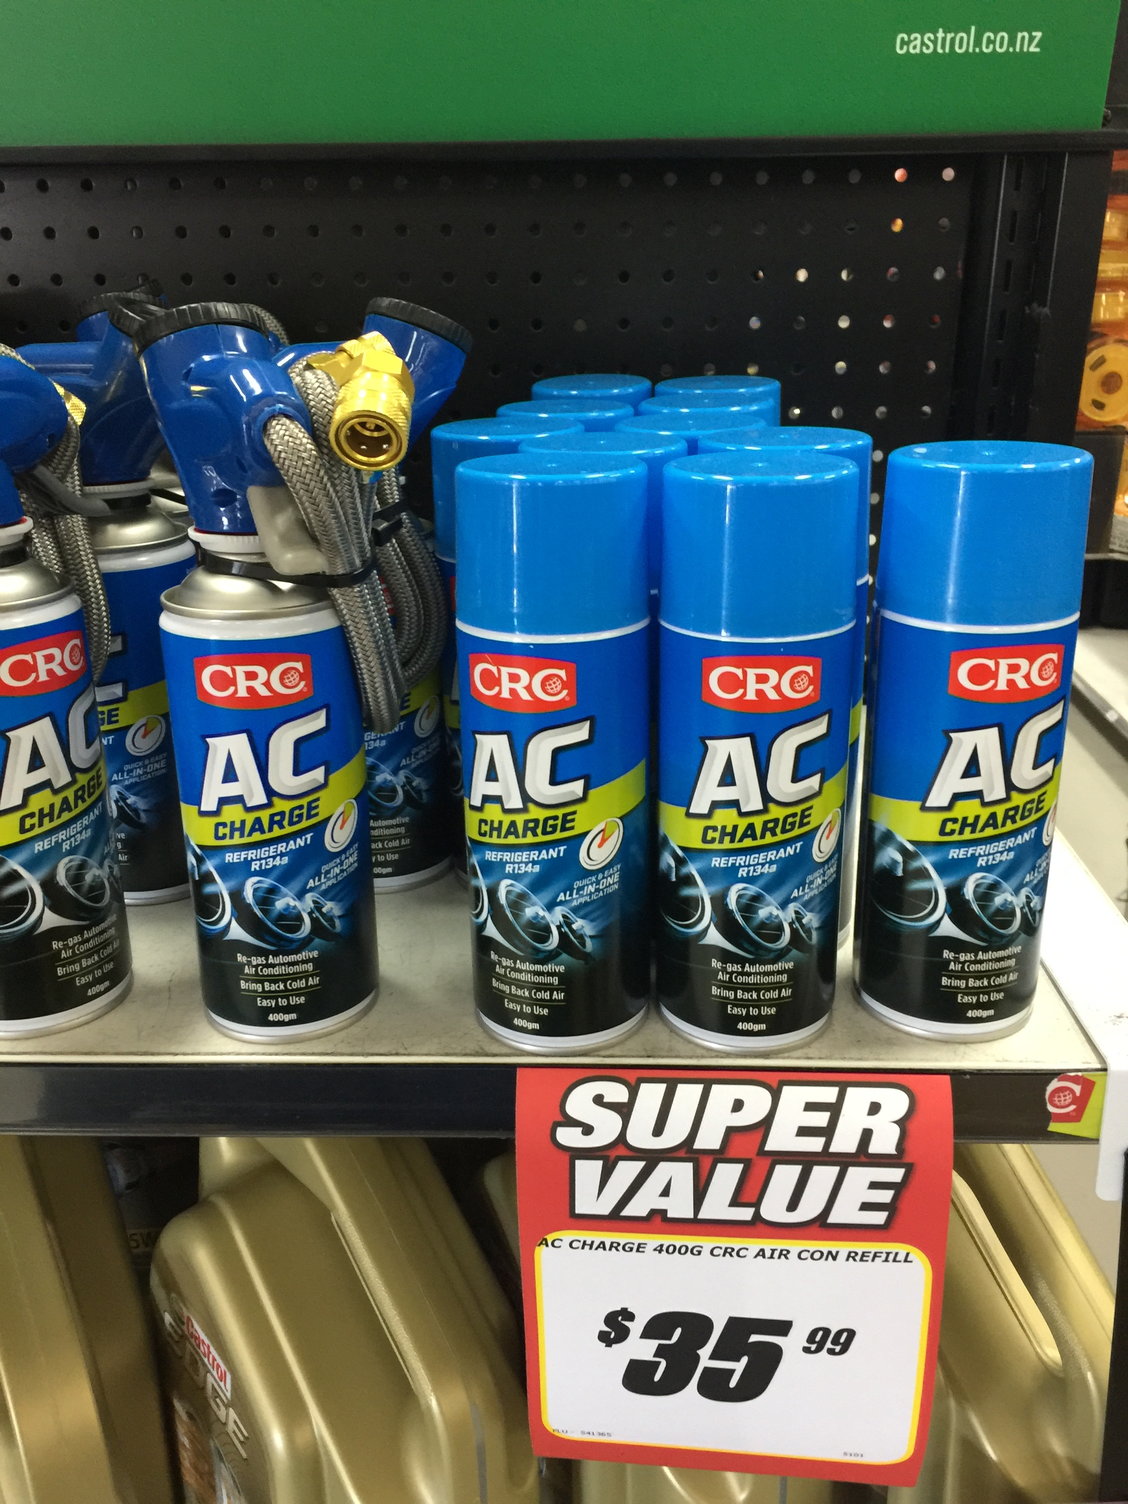
I wish the local auto shop would stop discounting oil, 45 litres is enough for five oil changes. Mind you I have seven filters (I add them to orders from the UK until the order freight cost changes) so could do with another 10 litres

While in the shop I noticed R134a recharge kits. I’m getting my first charge done professionally but am wondering what the downside is of topping it up myself later on. Does anyone know or do it themselves? This is the instruction video https://www.crc.co.nz/AC-Charge/6813...a-s16/#alltabs
#1068
I'm due for an oil change soon. Maybe I'll order from McMillan auto parts 

The following users liked this post:
nabfa1 (03-17-2024)
#1072
Rennlist Member
Thread Starter
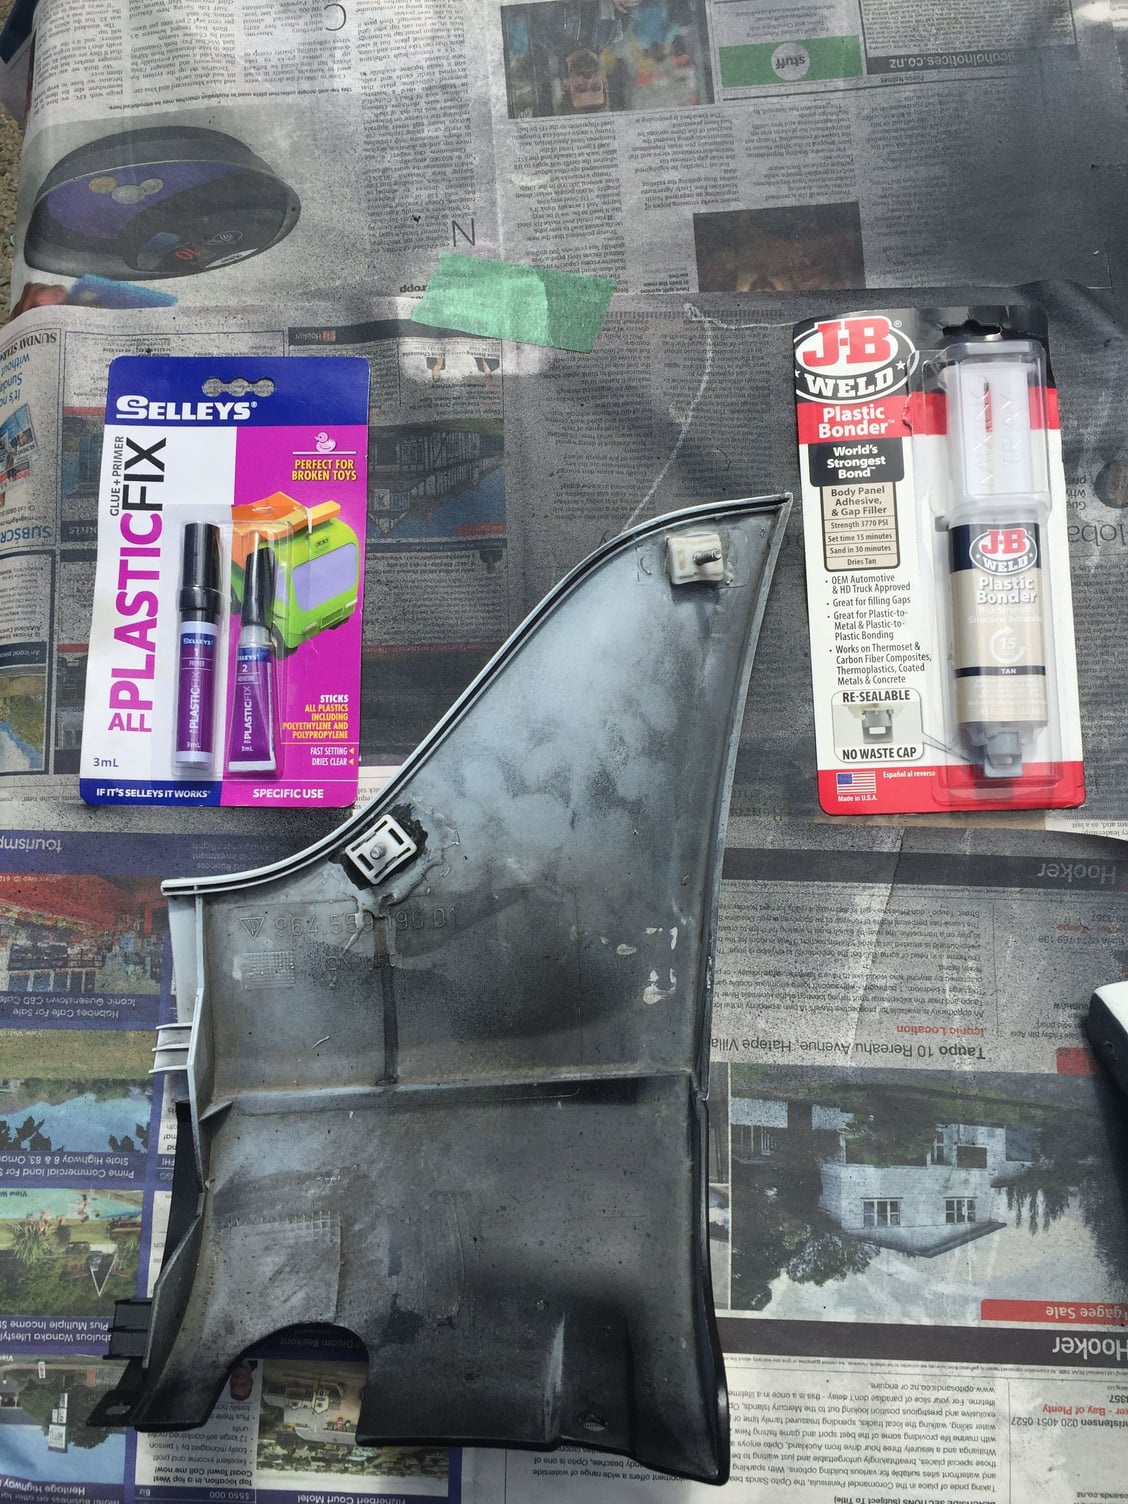
One of the Sharks fin clips was predictably loose.
I had previously repaired one with the Selleys product, but it was a cleaner break.
This one saw the clip lose hold of whatever someone else had used. As that was holding onto the Sharksfin well, I cleaned it up and bonded a new clip in with this JB Weld Product. It seems like it will hold. The glues are next to their respective clips. The Selleys product is a form of Superglue.
The following users liked this post:
nabfa1 (03-17-2024)
#1073
Rennlist Member
Thread Starter
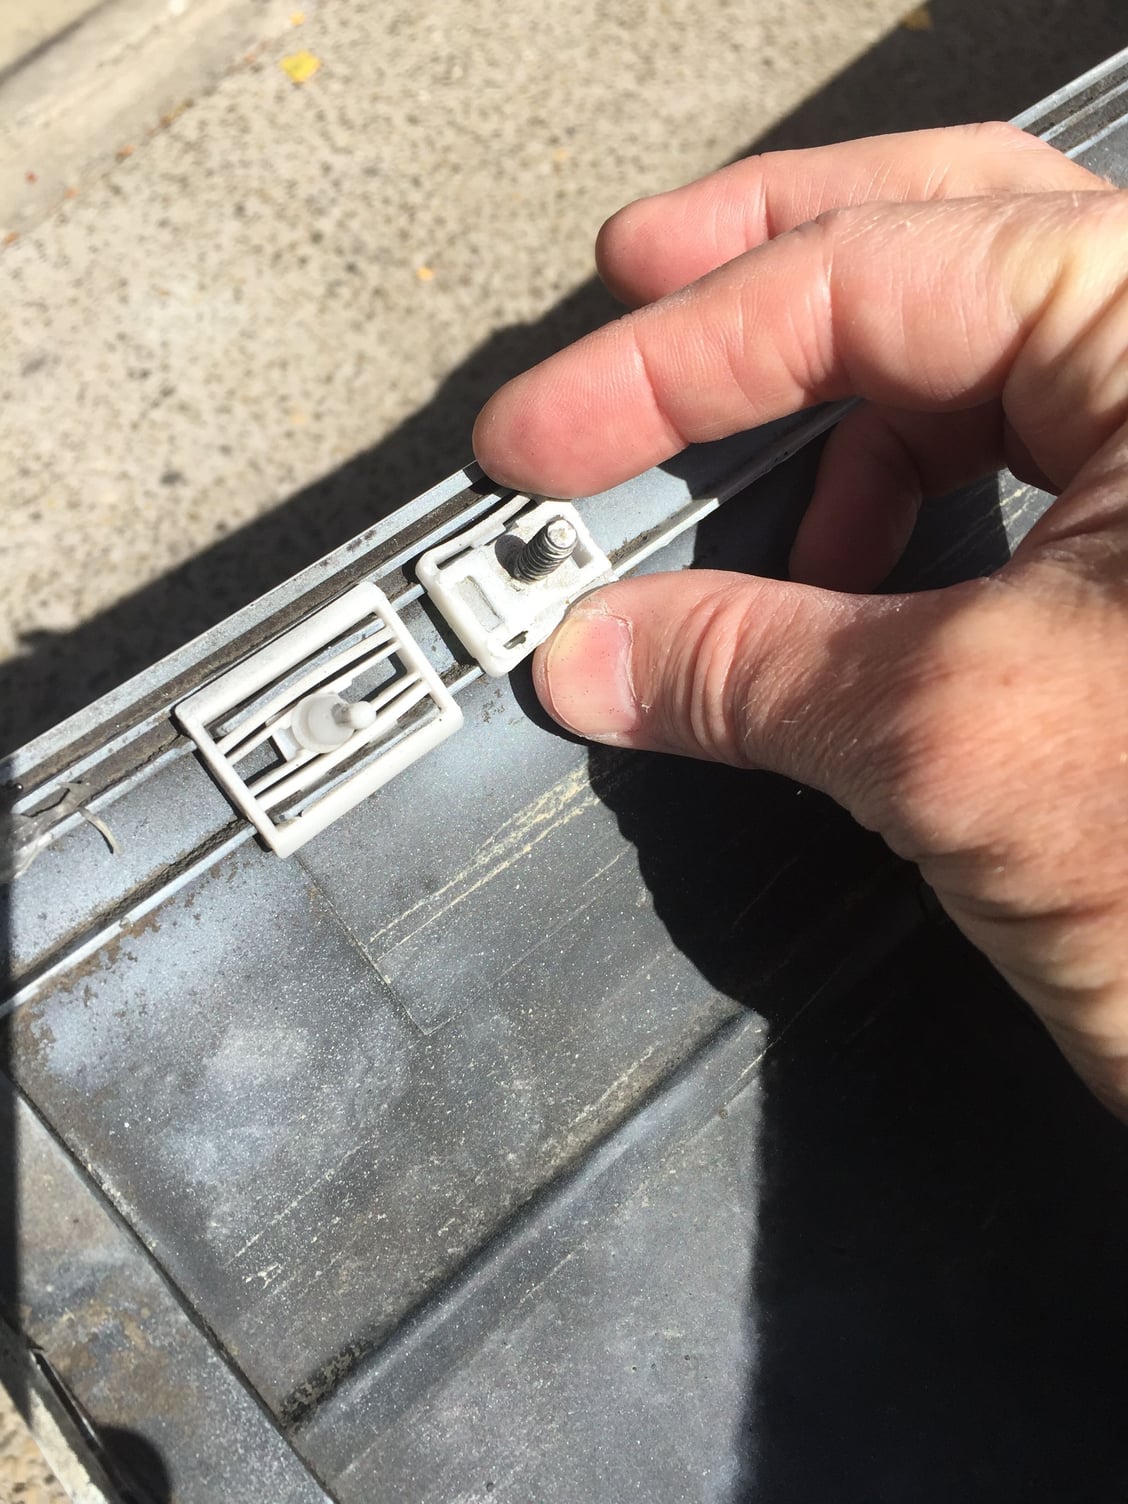
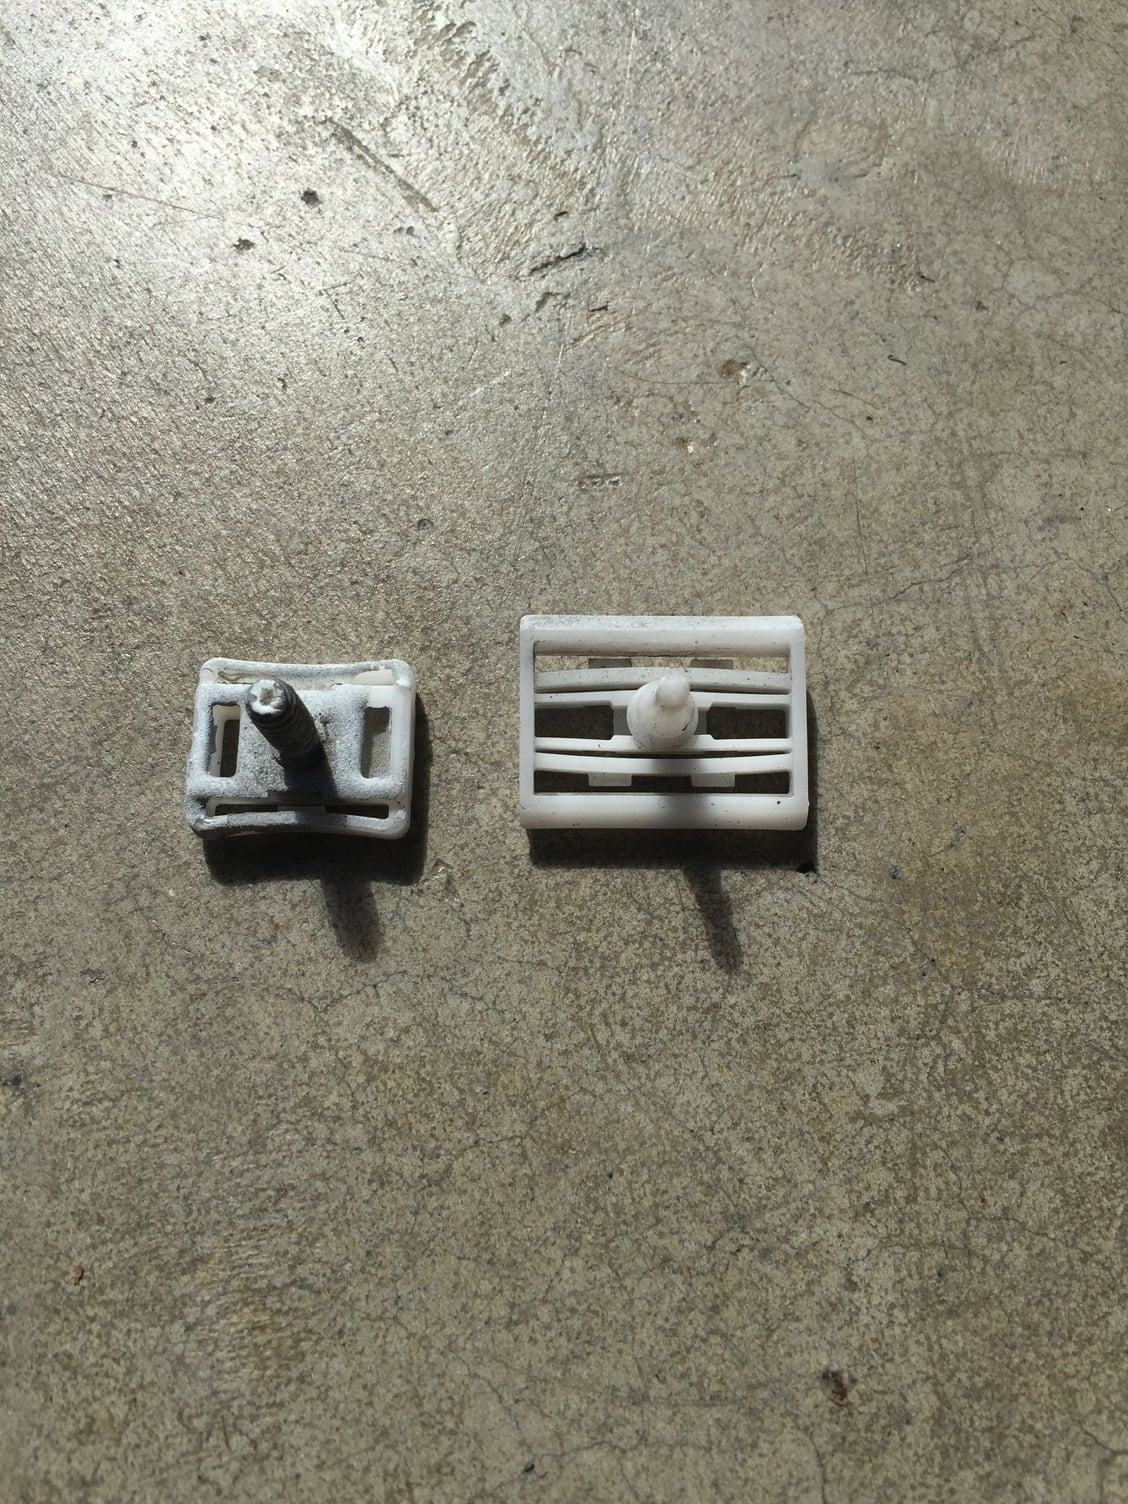
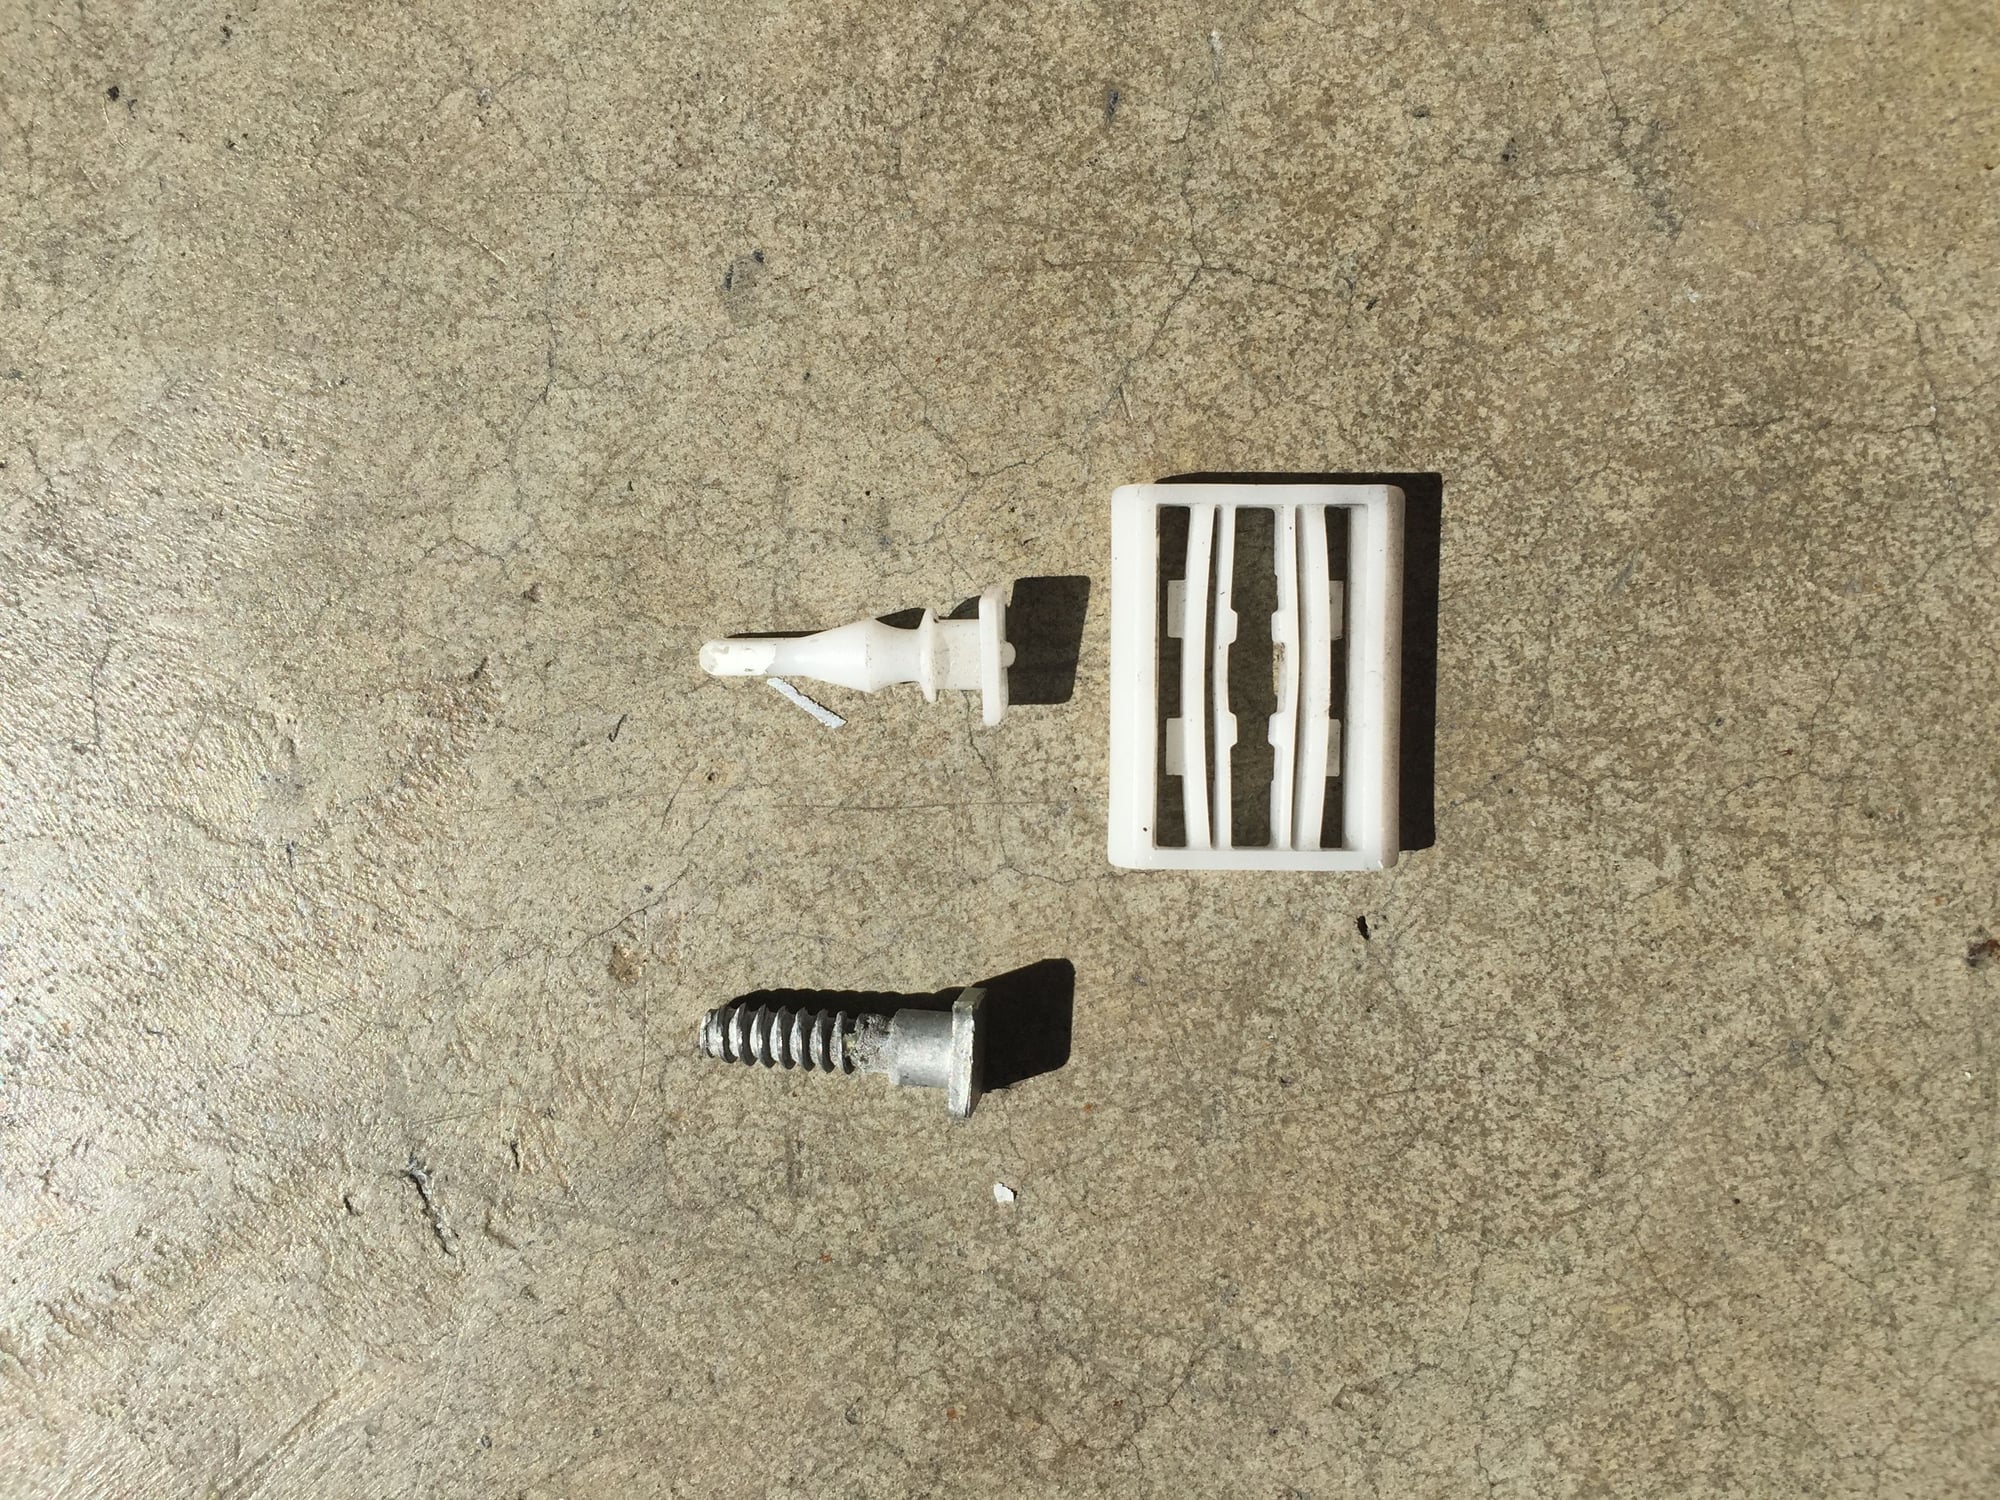
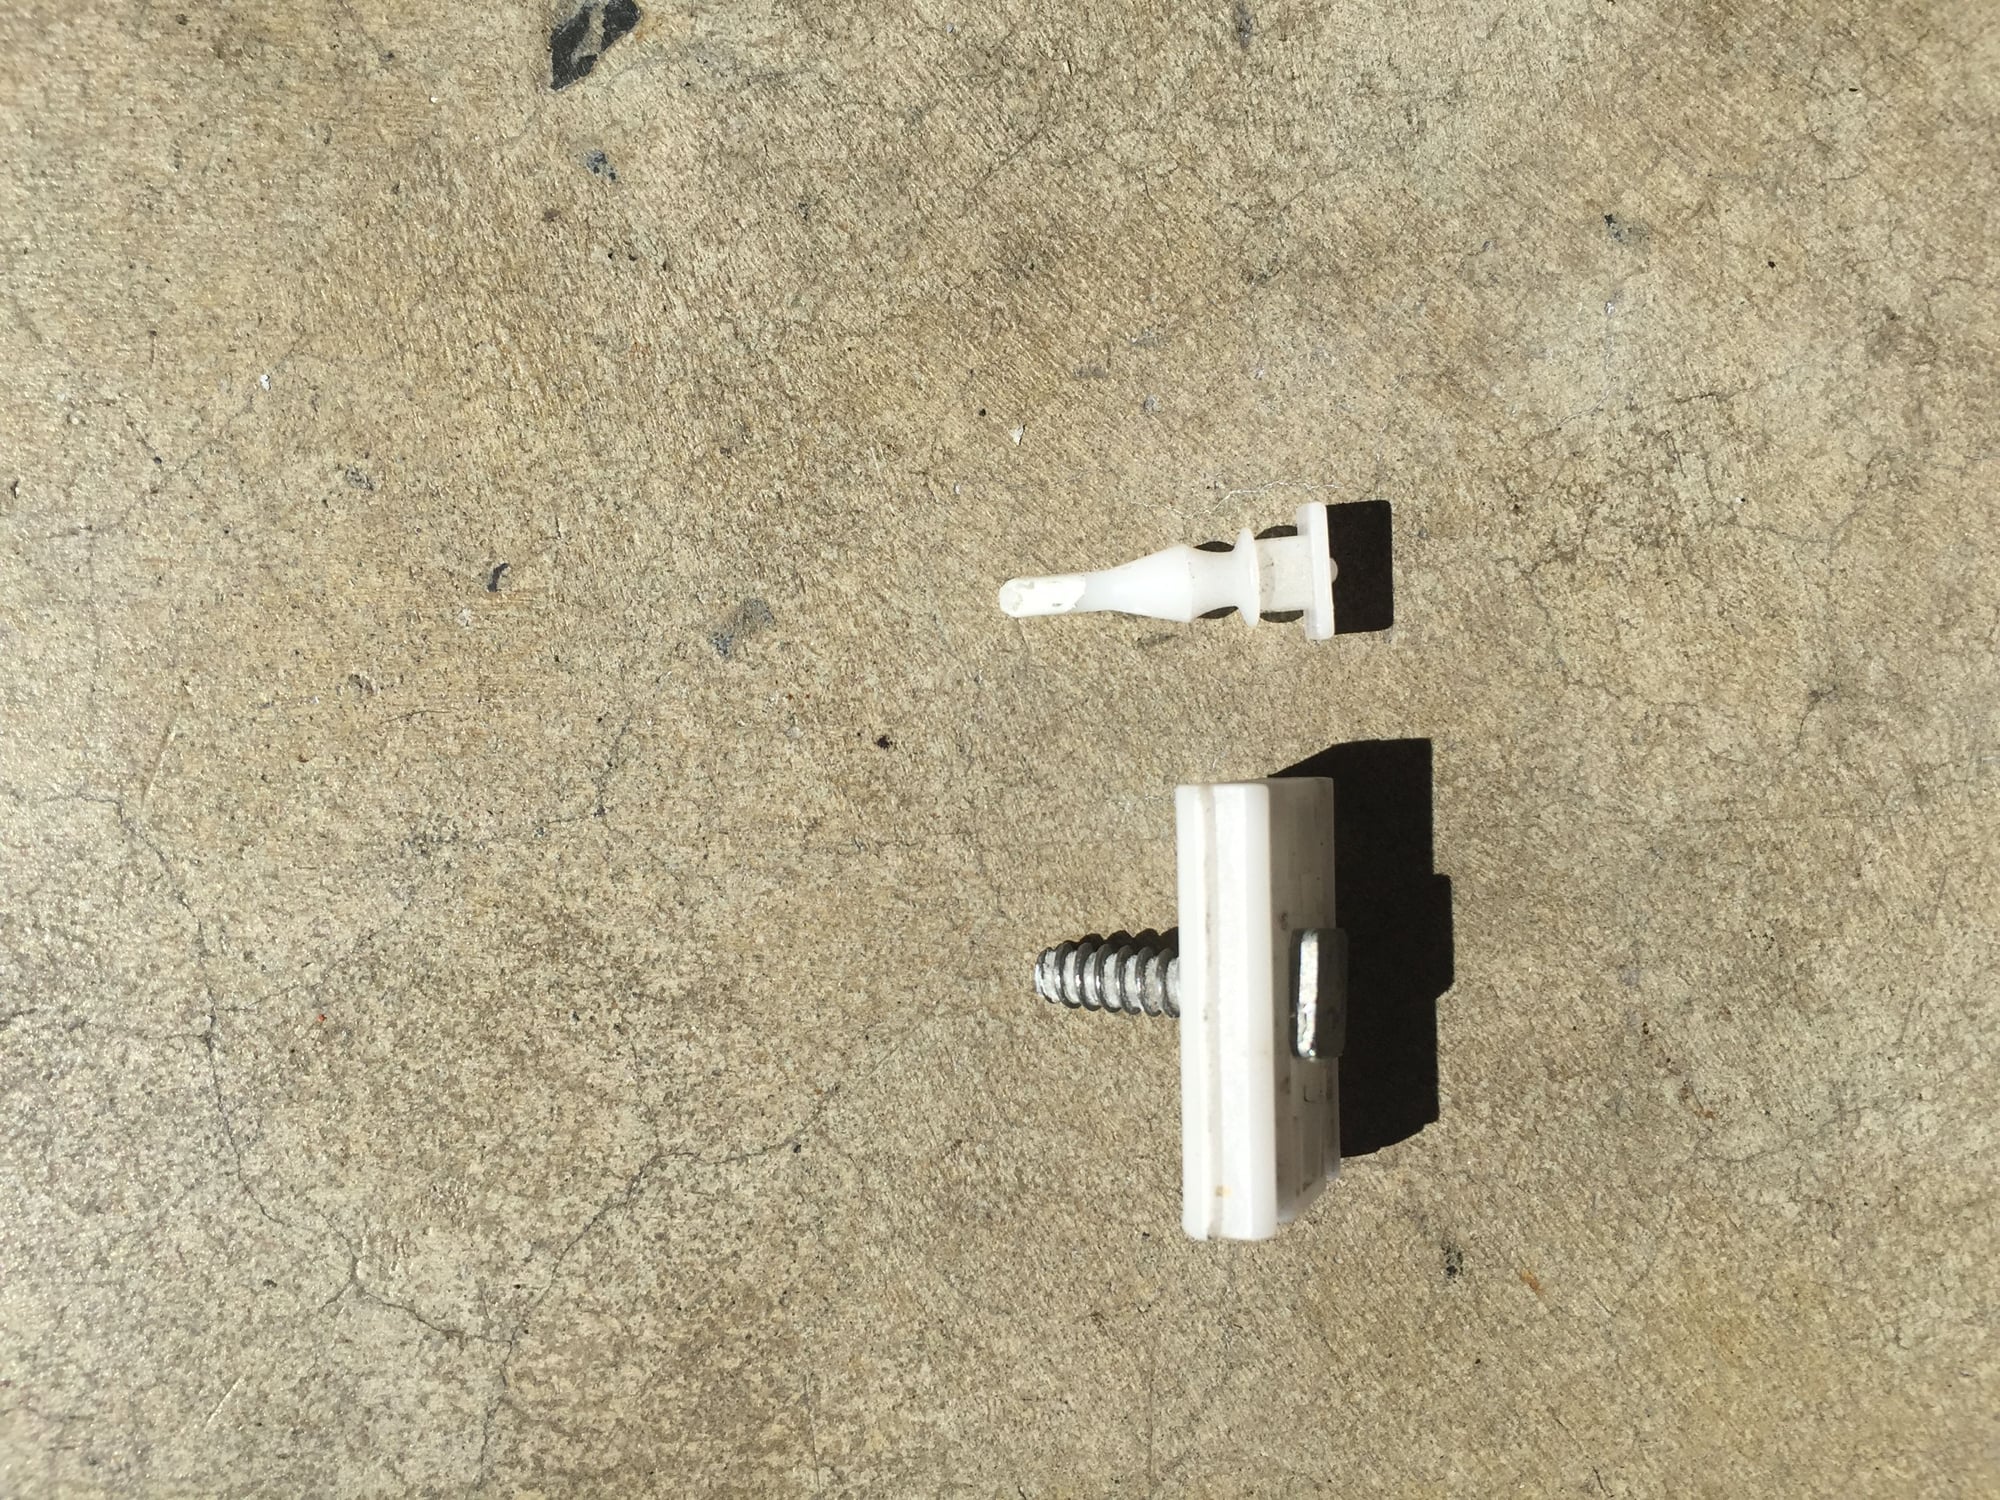
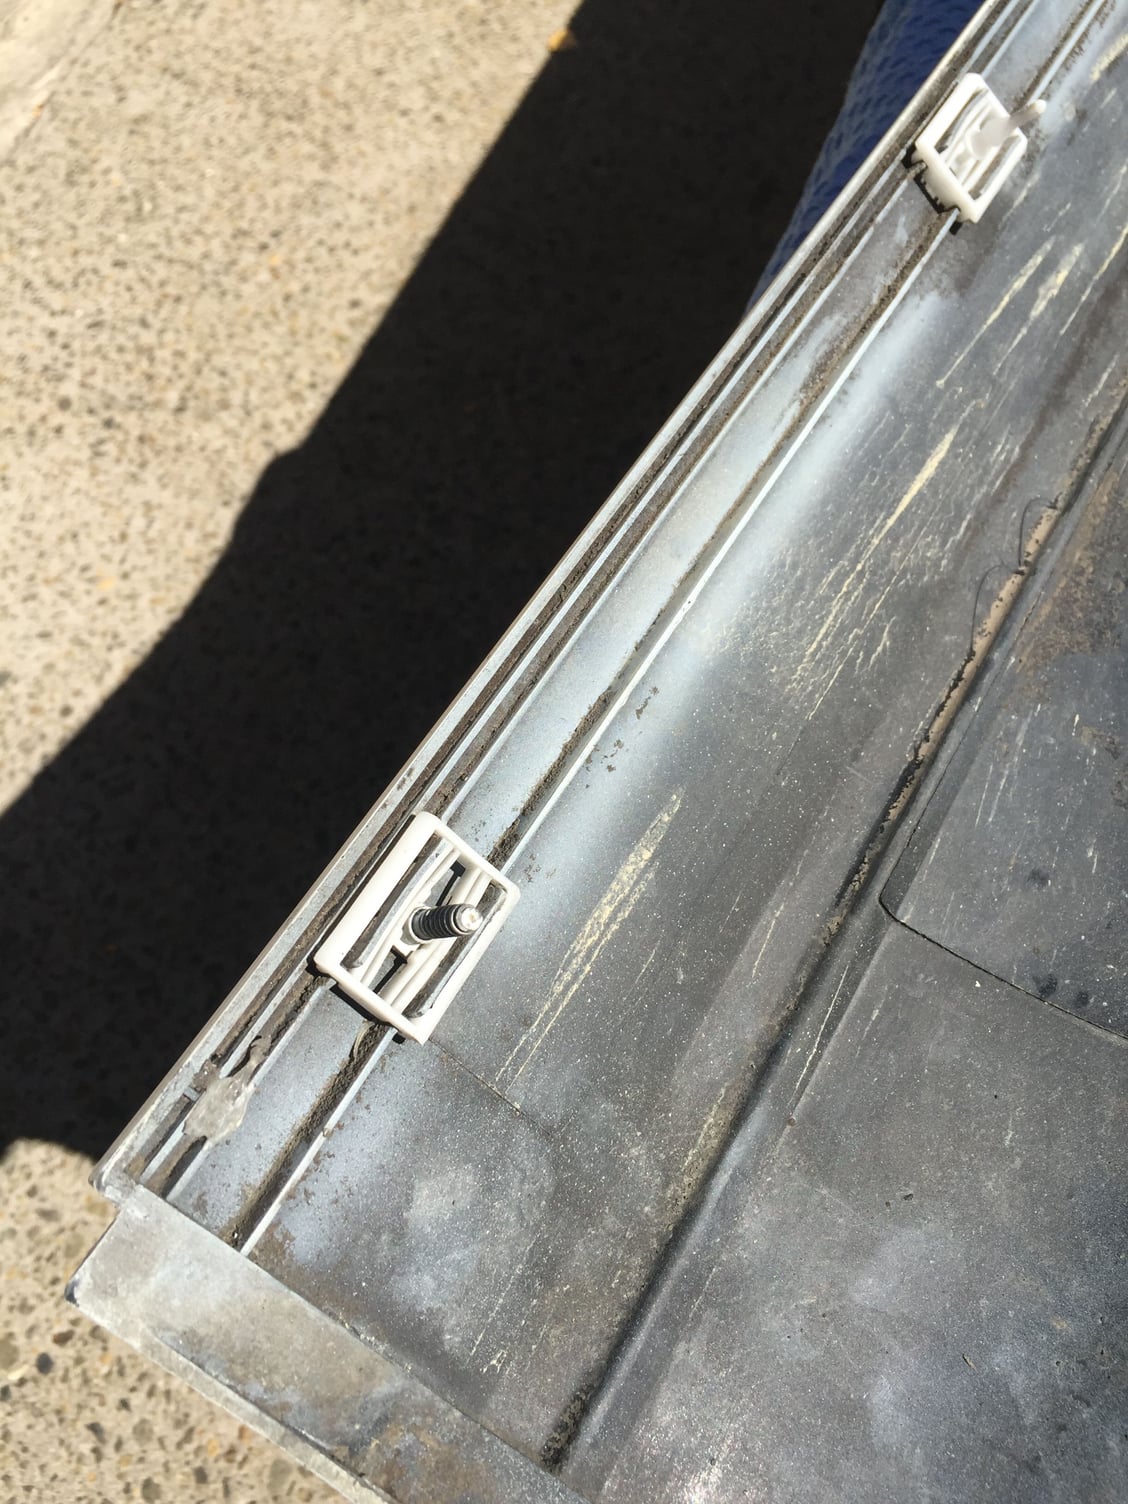
Replacing the sharks fin clip gave me a spare to sort out my slightly loose side sill. I previously noticed that the last clip on the rear end of the side sill doesn’t clip properly. This leaves a gap against the body. You can hold it in with the connection to the sharks fin, but that just puts pressure on the sharks fin clip. The following is how I fix that.
1. Use cutters to remove the plastic around a spare sharks fin clip, leaving just the metal threaded part.
2. Remove the side sill clip from the side sill
3. Remove the plastic pin from the clip and substitute with the metal threaded part
3a. New - ensure that the metal part can't rotate in the clip as if it can then the nut can't be fastened - I used epoxy to hold it in place.
4. Refit the clip to the side sill
5. Remove the grommet from the body where the new clip will fit
6. Fit the side sill as usual however use a plastic nut on the threaded clip to bring the side sill tightly up to the body.
Last edited by John McM; 04-04-2018 at 05:17 PM. Reason: Added an improvement to the steps
The following users liked this post:
nabfa1 (03-14-2024)
The following users liked this post:
nabfa1 (03-14-2024)
#1075
Rennlist Member
Thread Starter
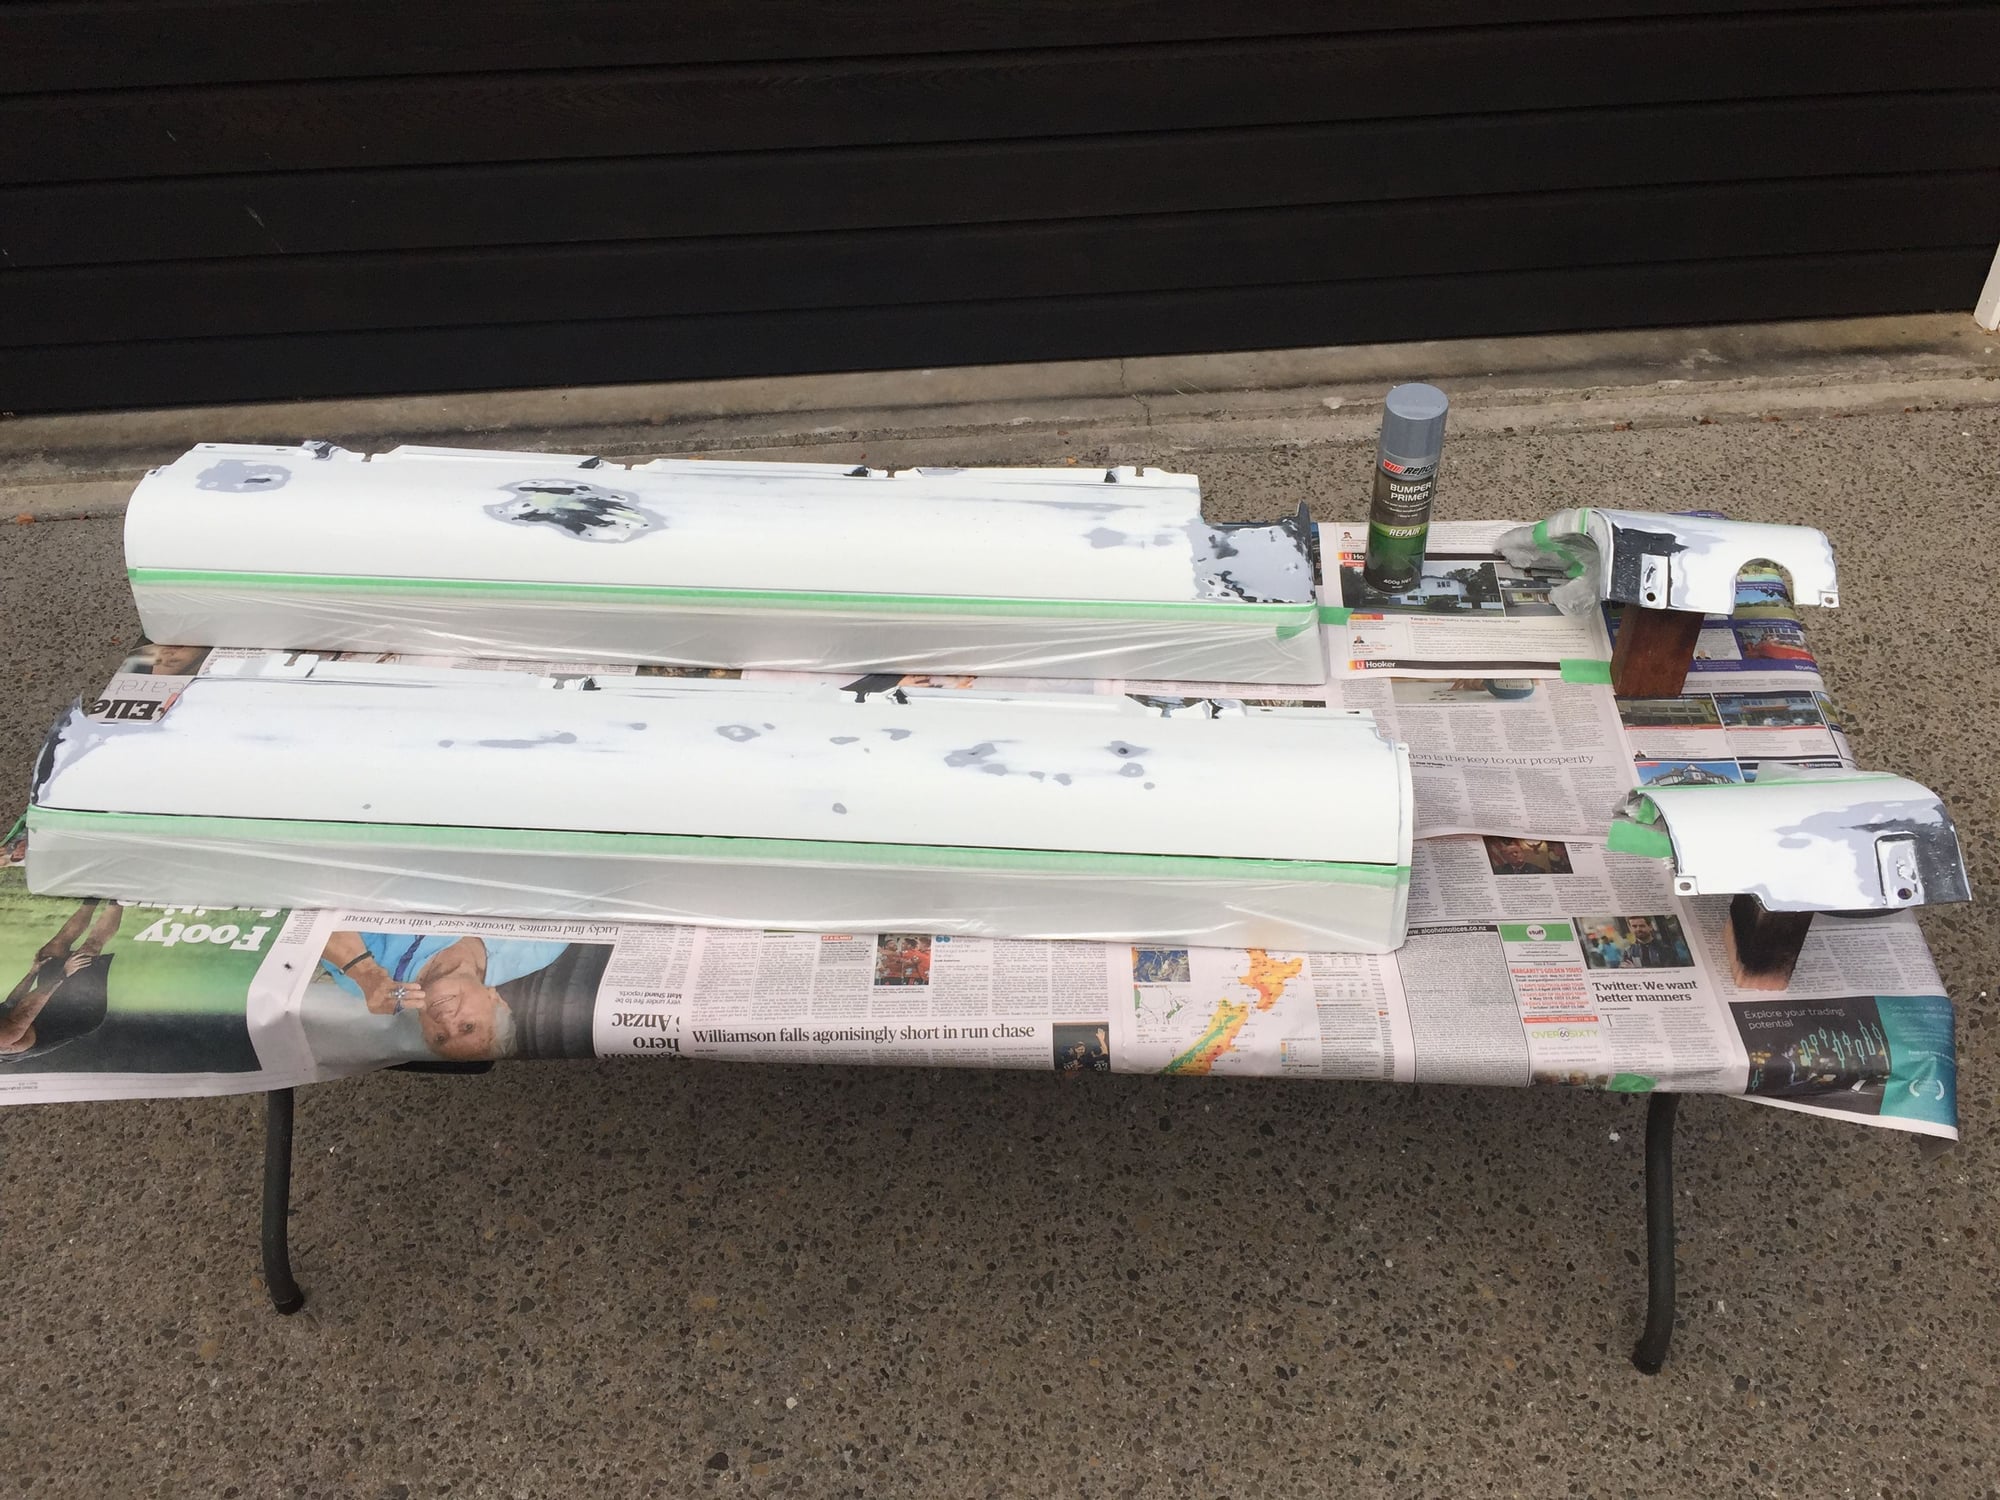
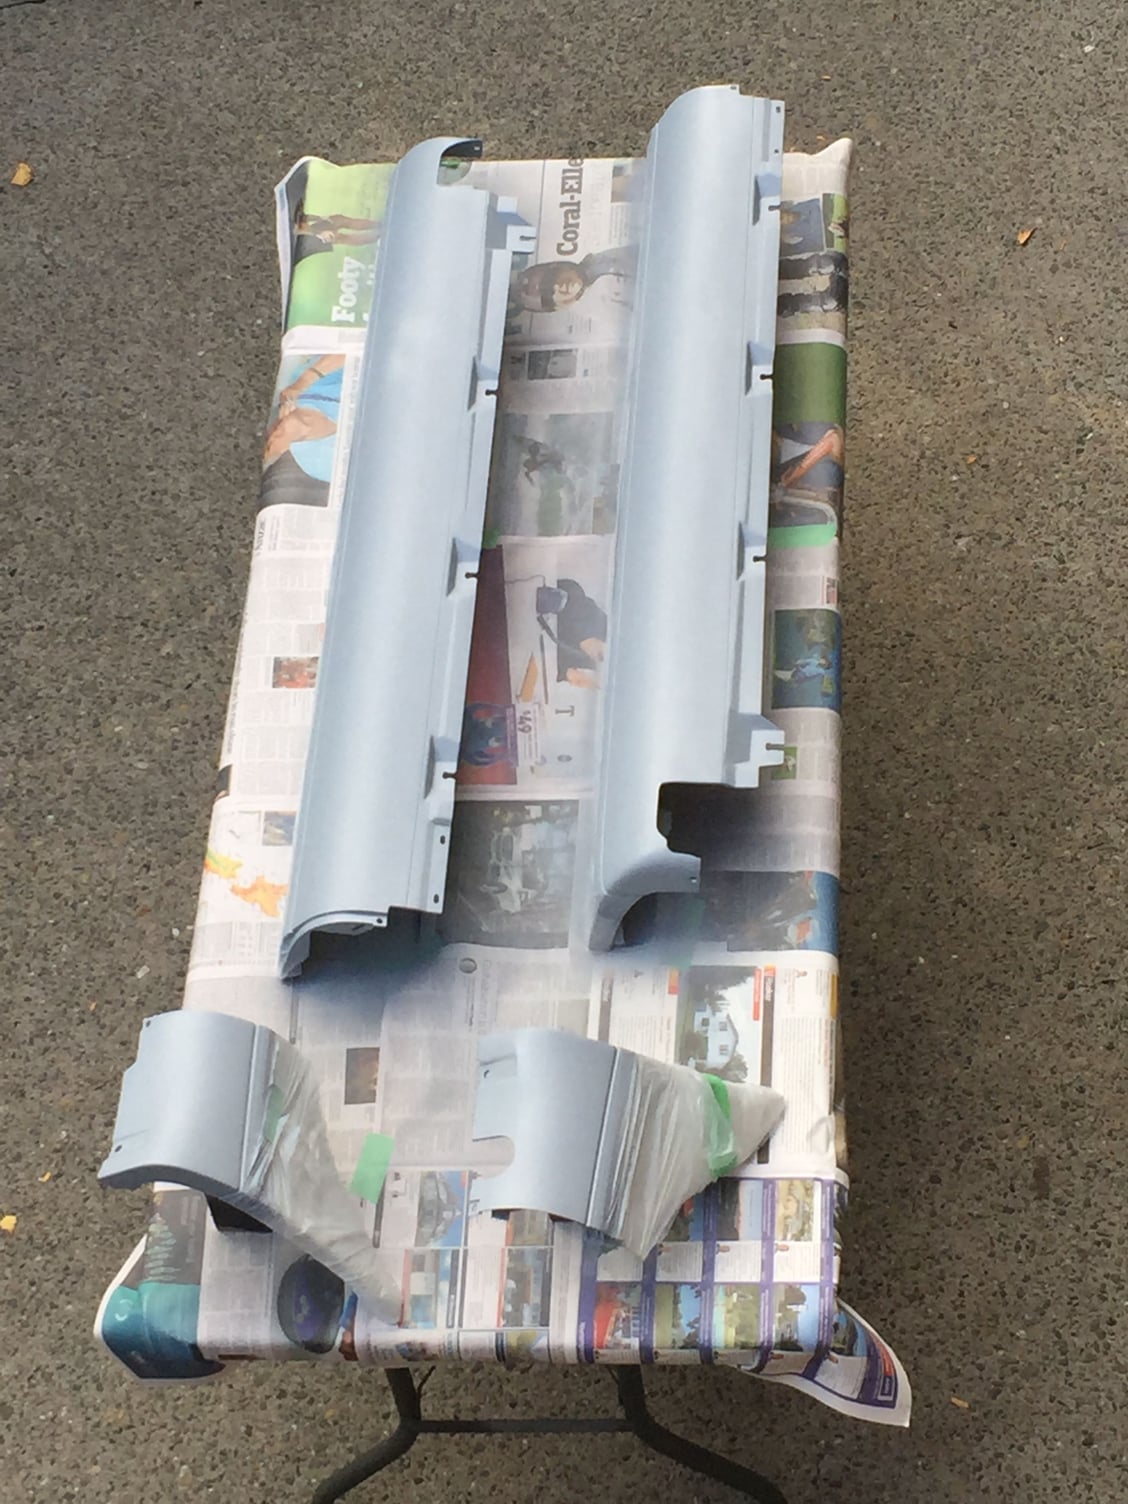
Thanks Bill. Itís a generic bumper paint from a local auto parts shop. Being flexible will help keep it in place, however I note that the body colour paint had no issues holding on with the flex. I suspect Iíll be touching it up each season unless I change the back road driving antics.
The following users liked this post:
nabfa1 (03-14-2024)
#1076
Rennlist Member
Thread Starter
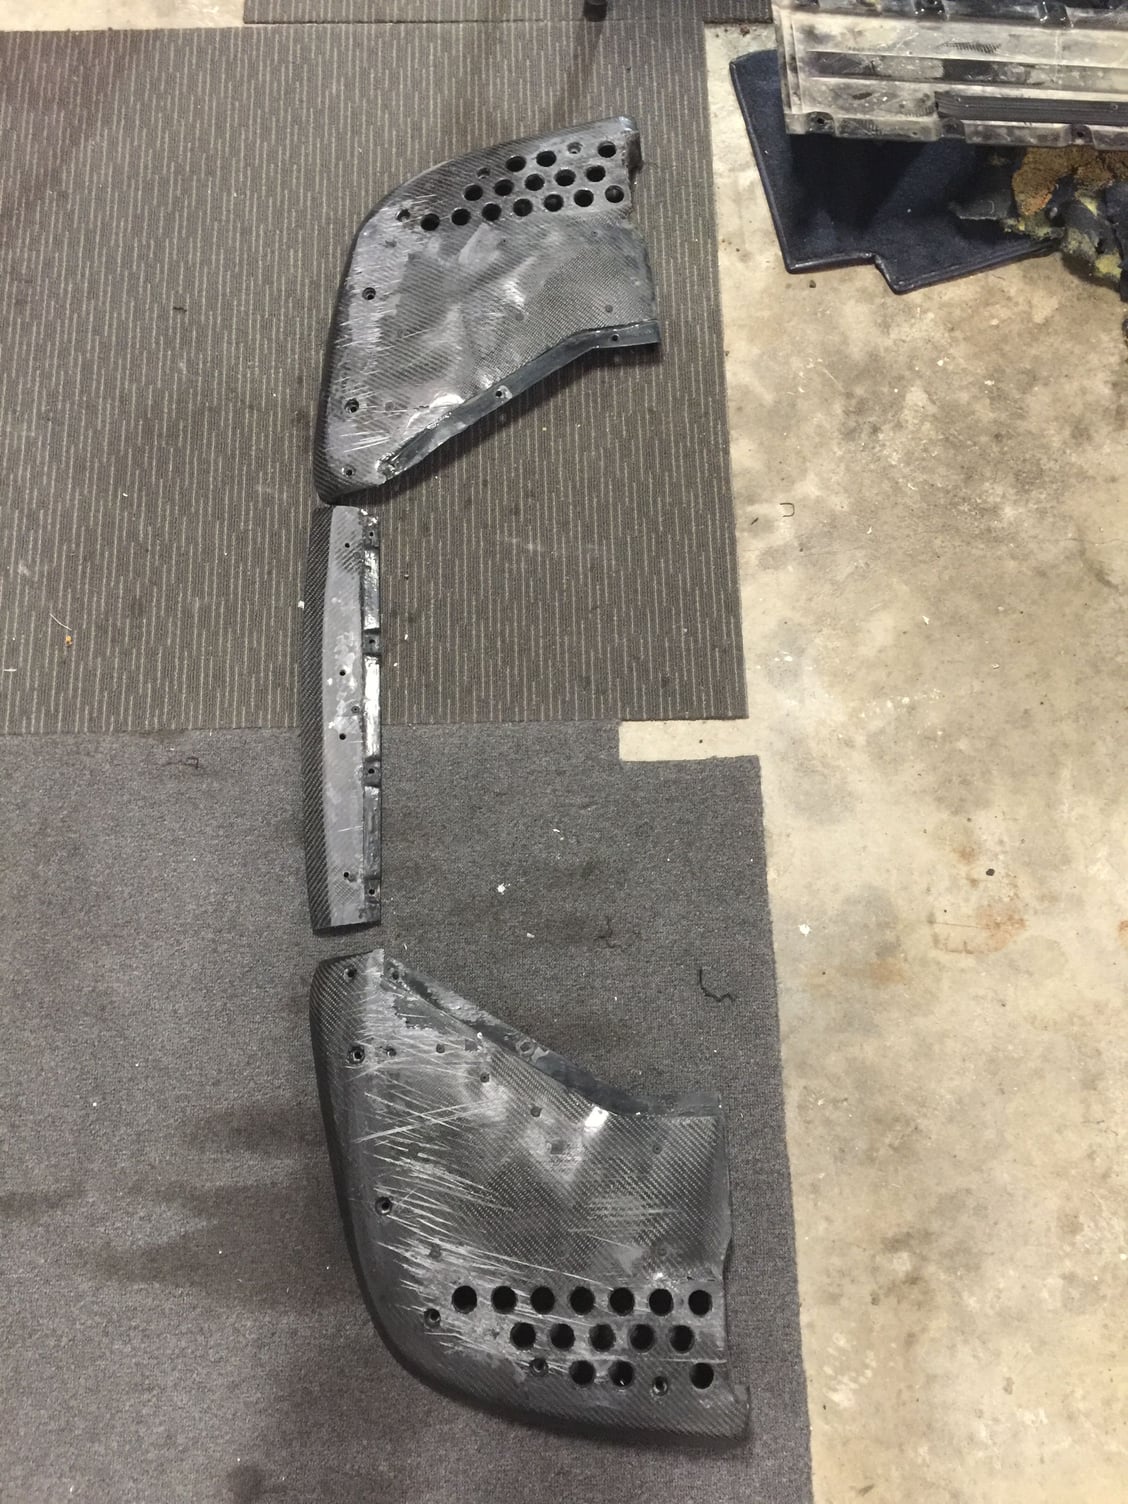
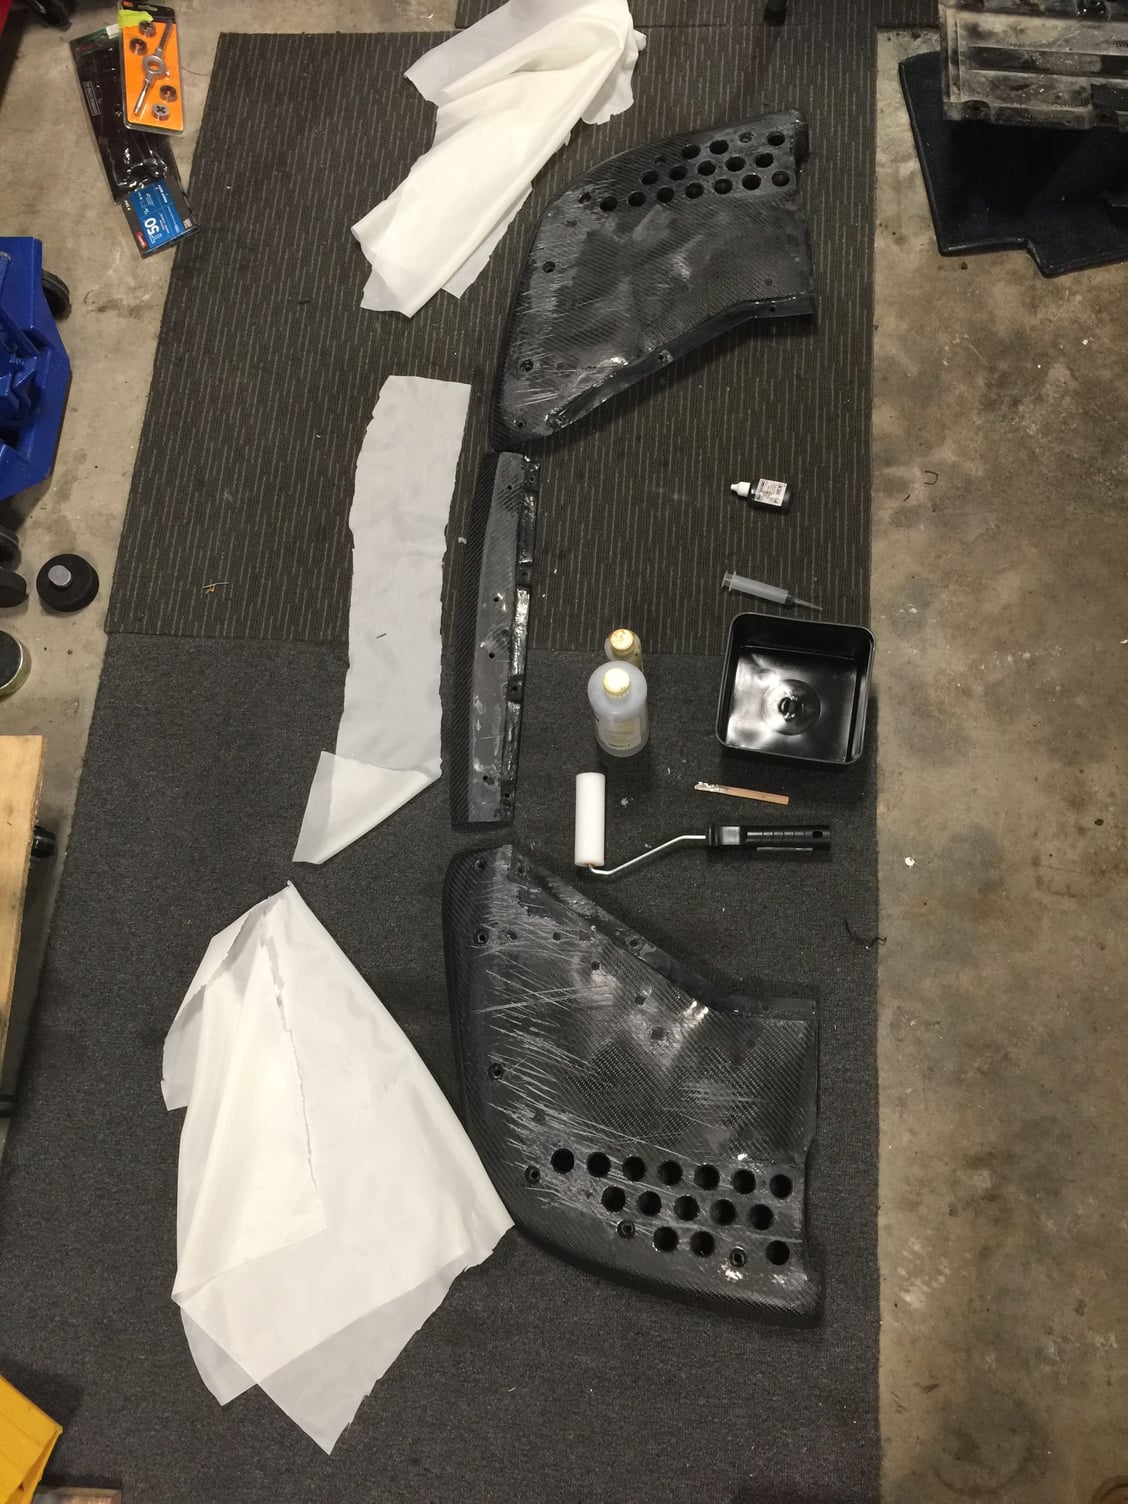
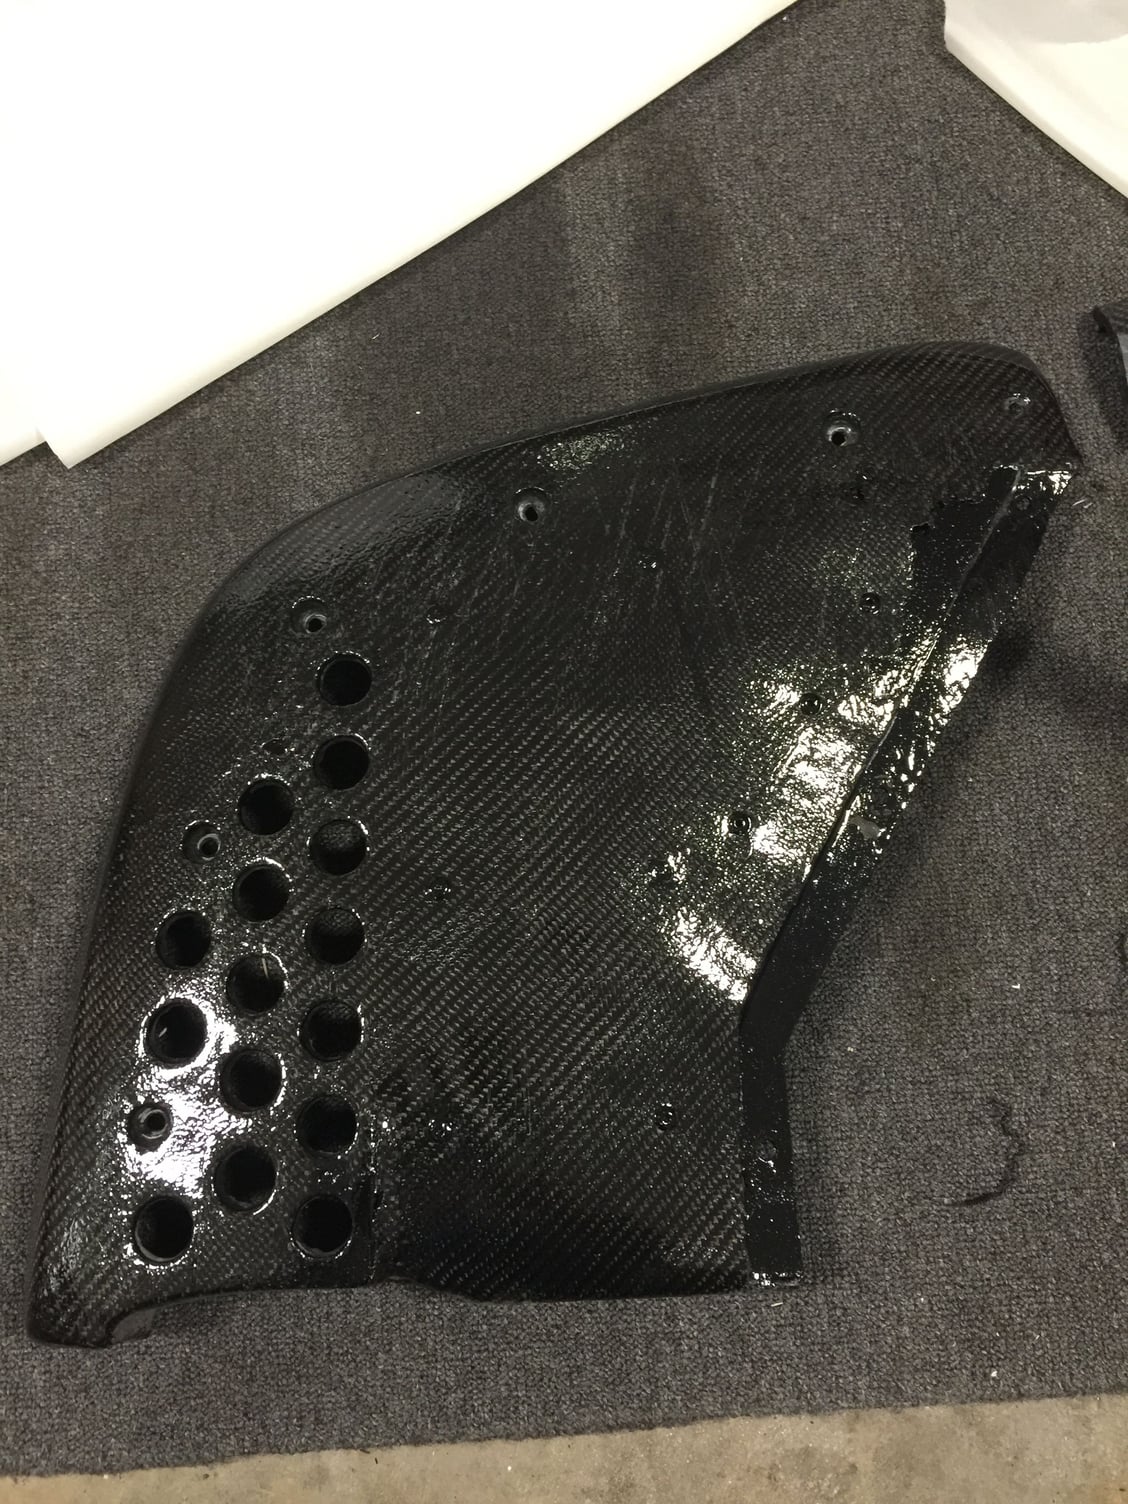
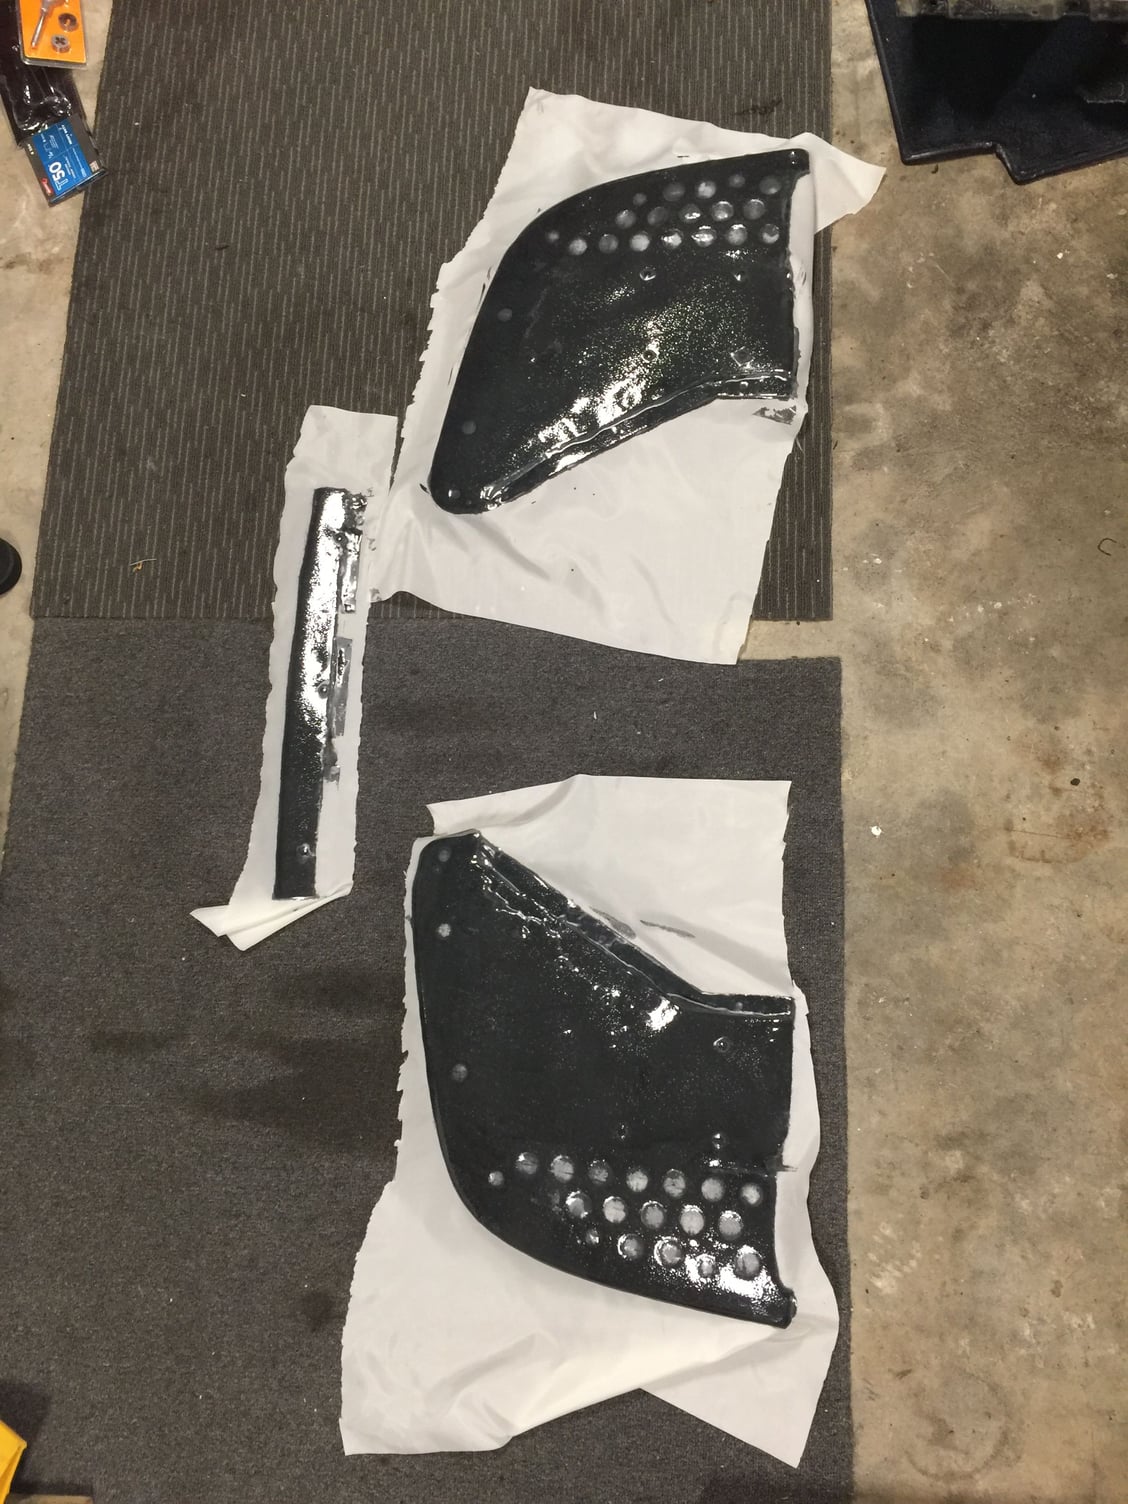
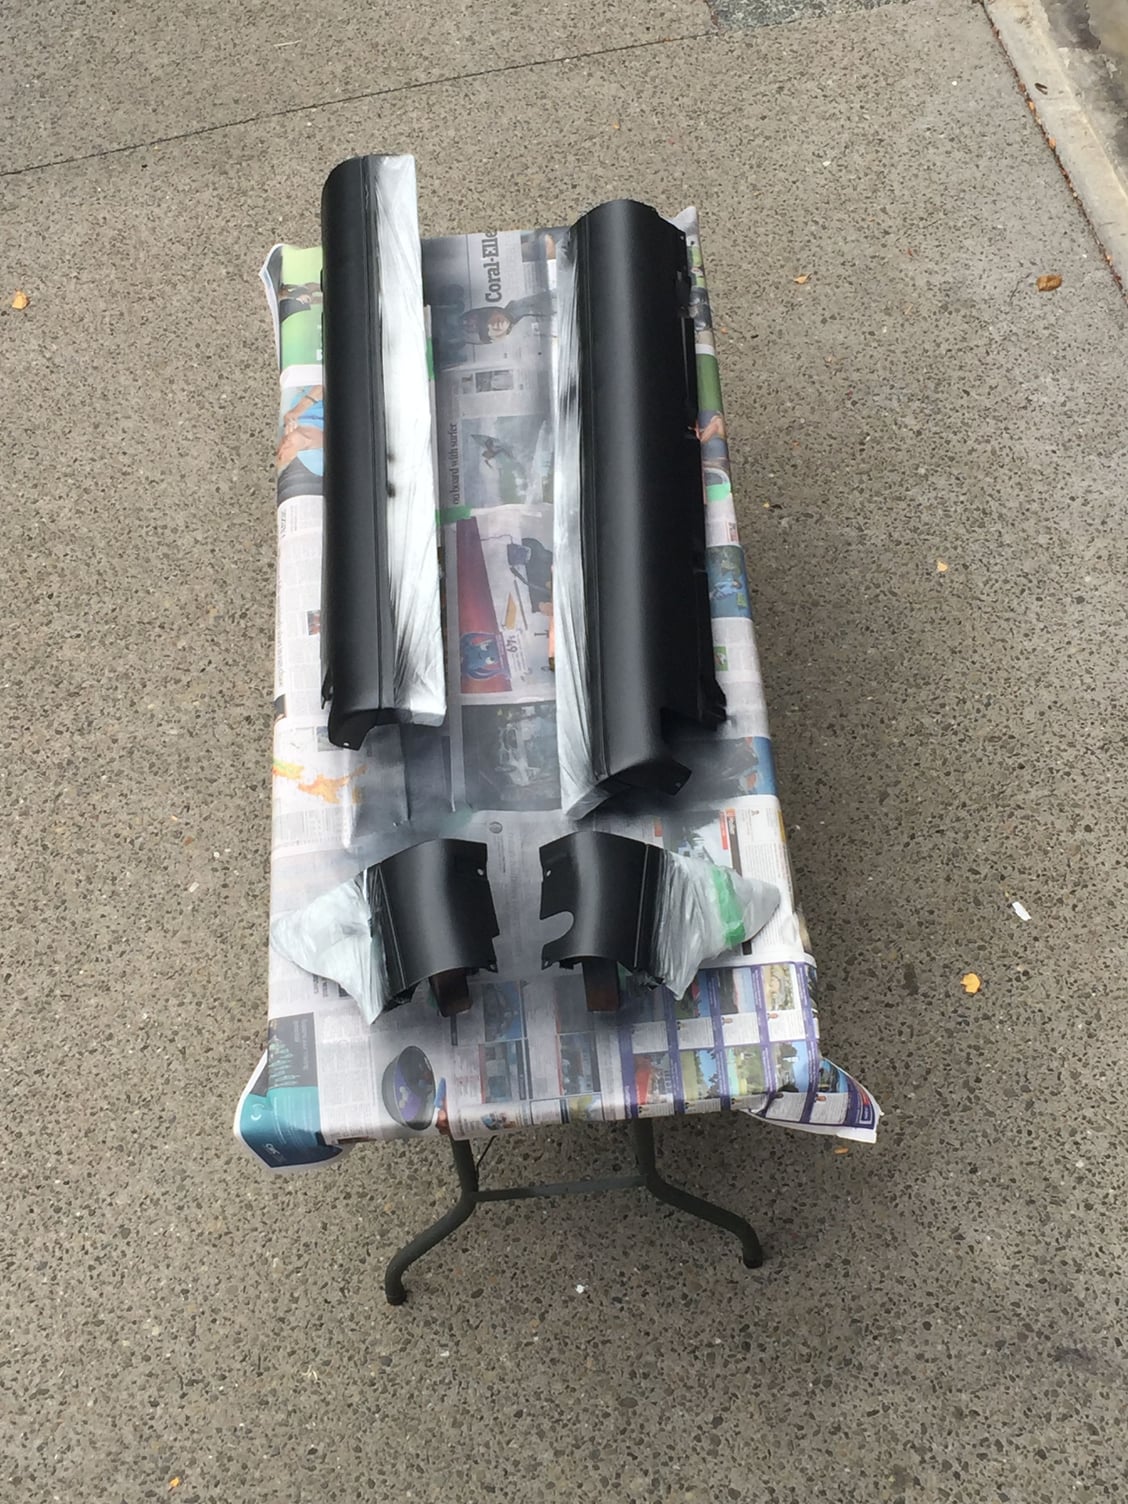
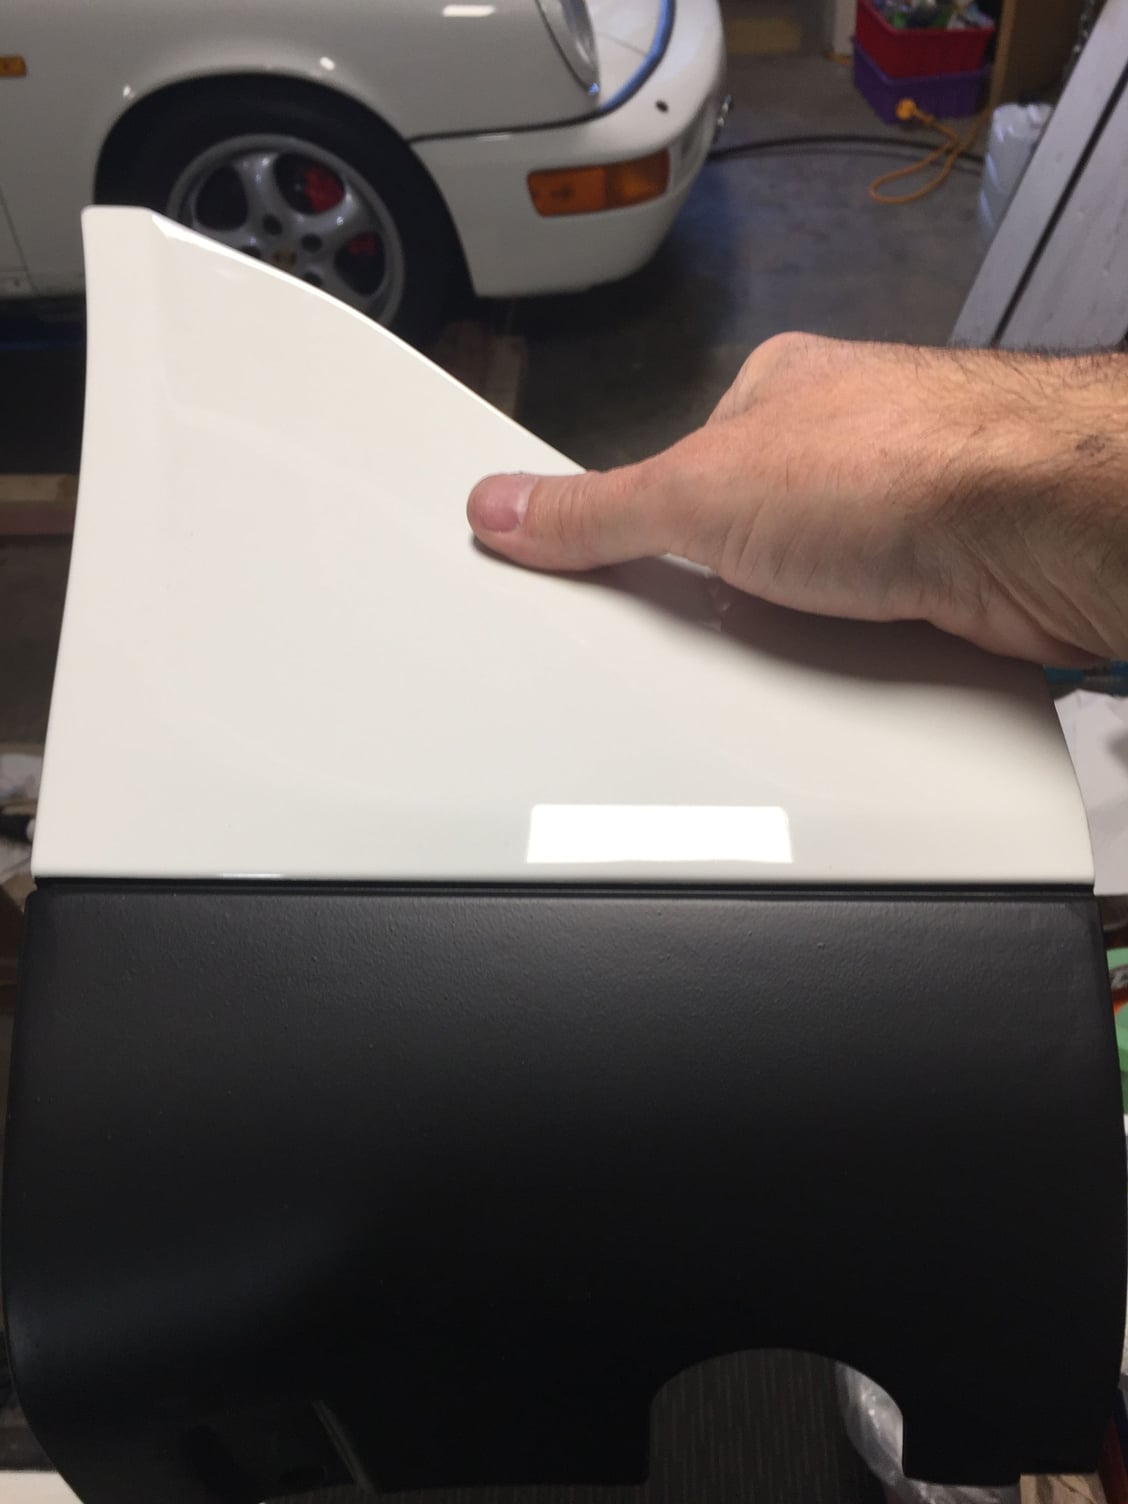
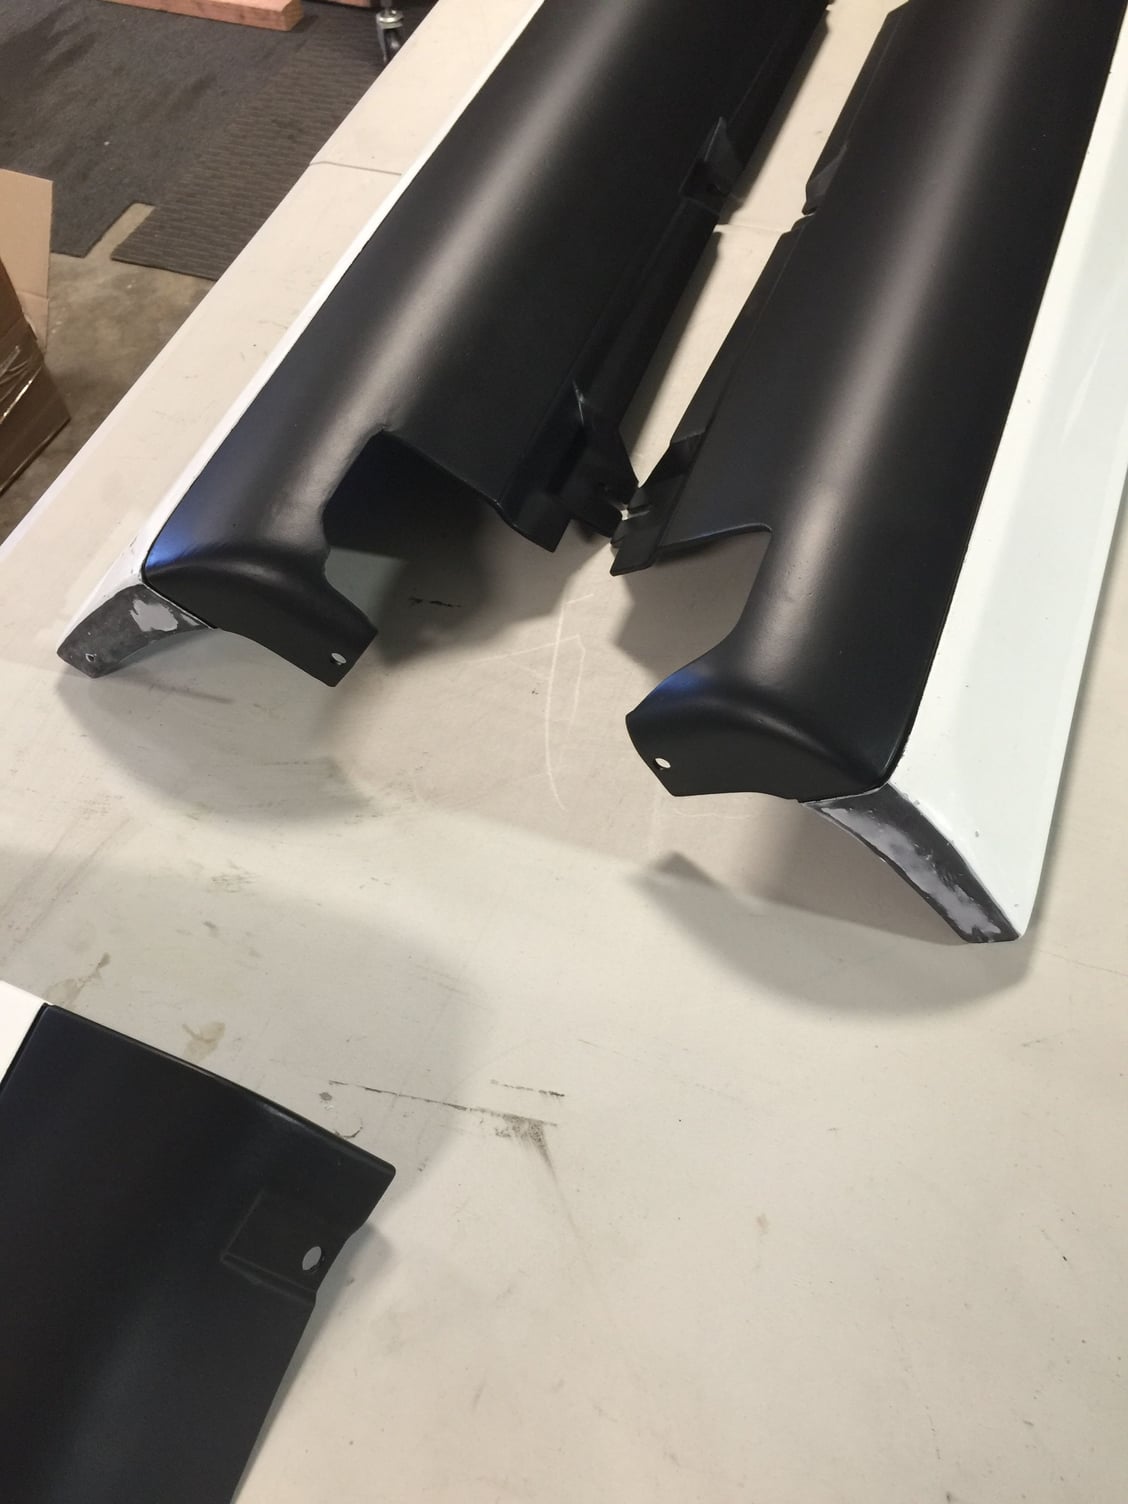
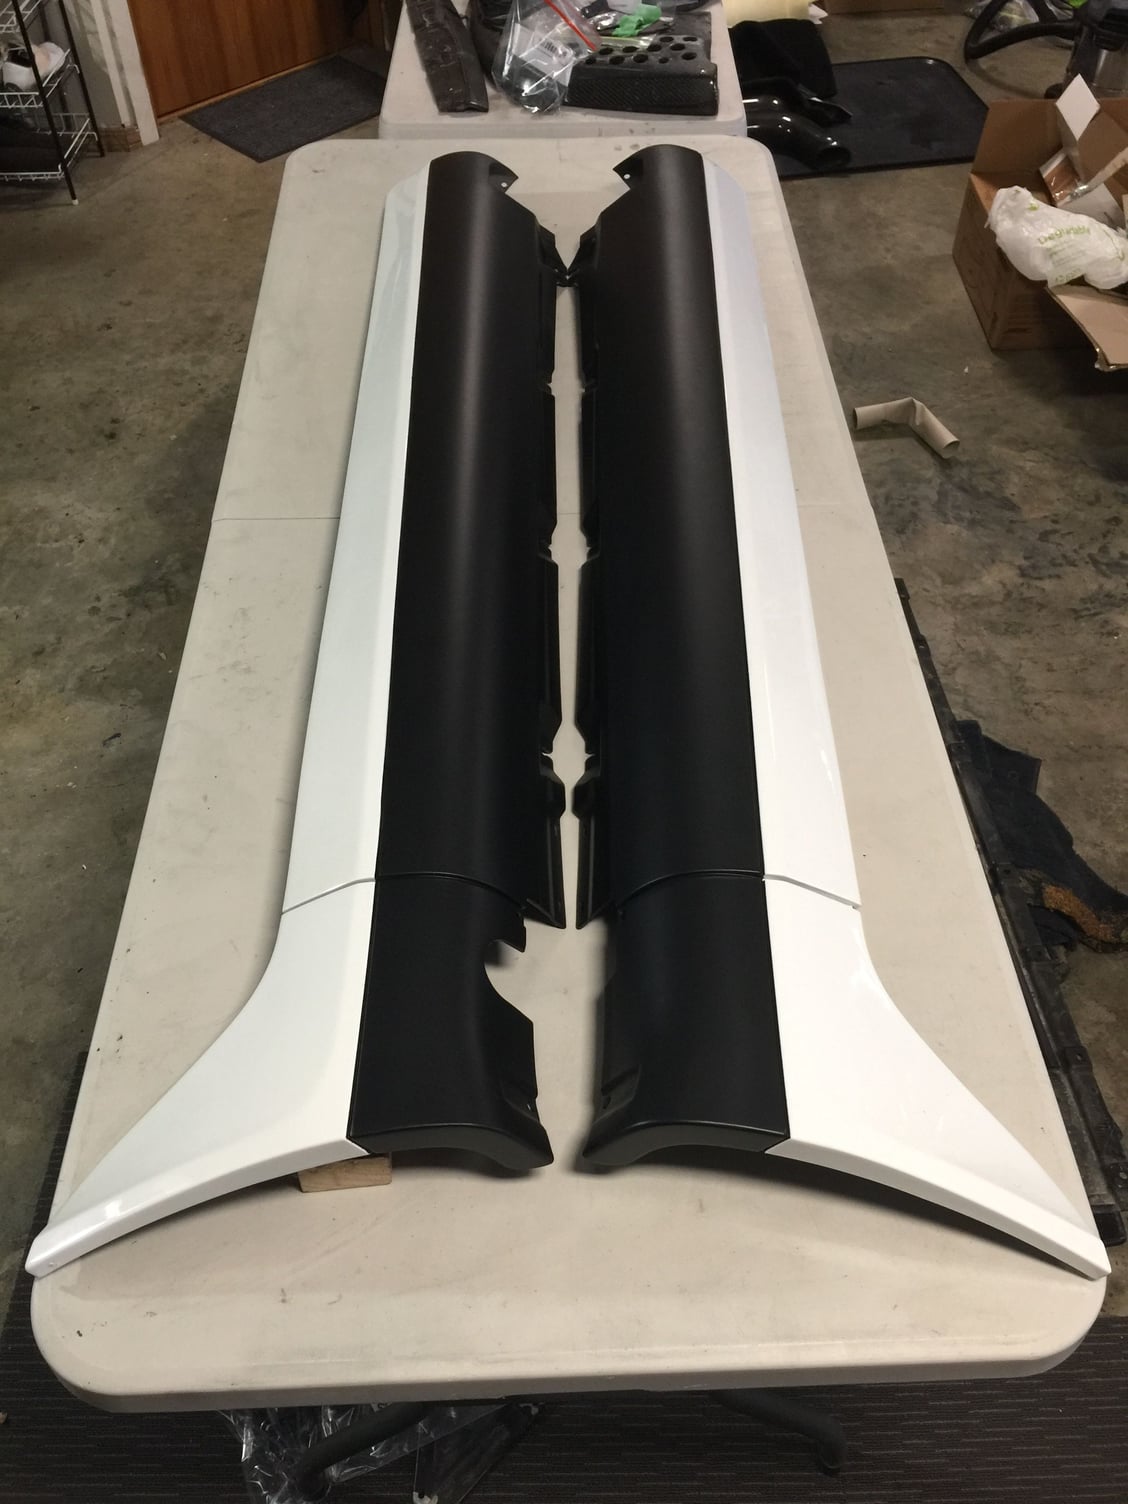
I haven't played with resin for a while. The layup on the Techart splitters was truely hammered by the various low hanging objects on my driveway and road trips so I had to refurbish them. I gave away the idea of more carbon fibre as it's not visible unless you are under the car. In the end I decided to lay a layer of black pigmented resin on the underside and use a special sacrificial cloth that leaves a matte surface when removed. I'm suspicious of this as I can't see how it detaches from the cured resin, but all will be revealed in 24 hours! Go cars not show cars.
#1077
Rennlist Member
Thread Starter
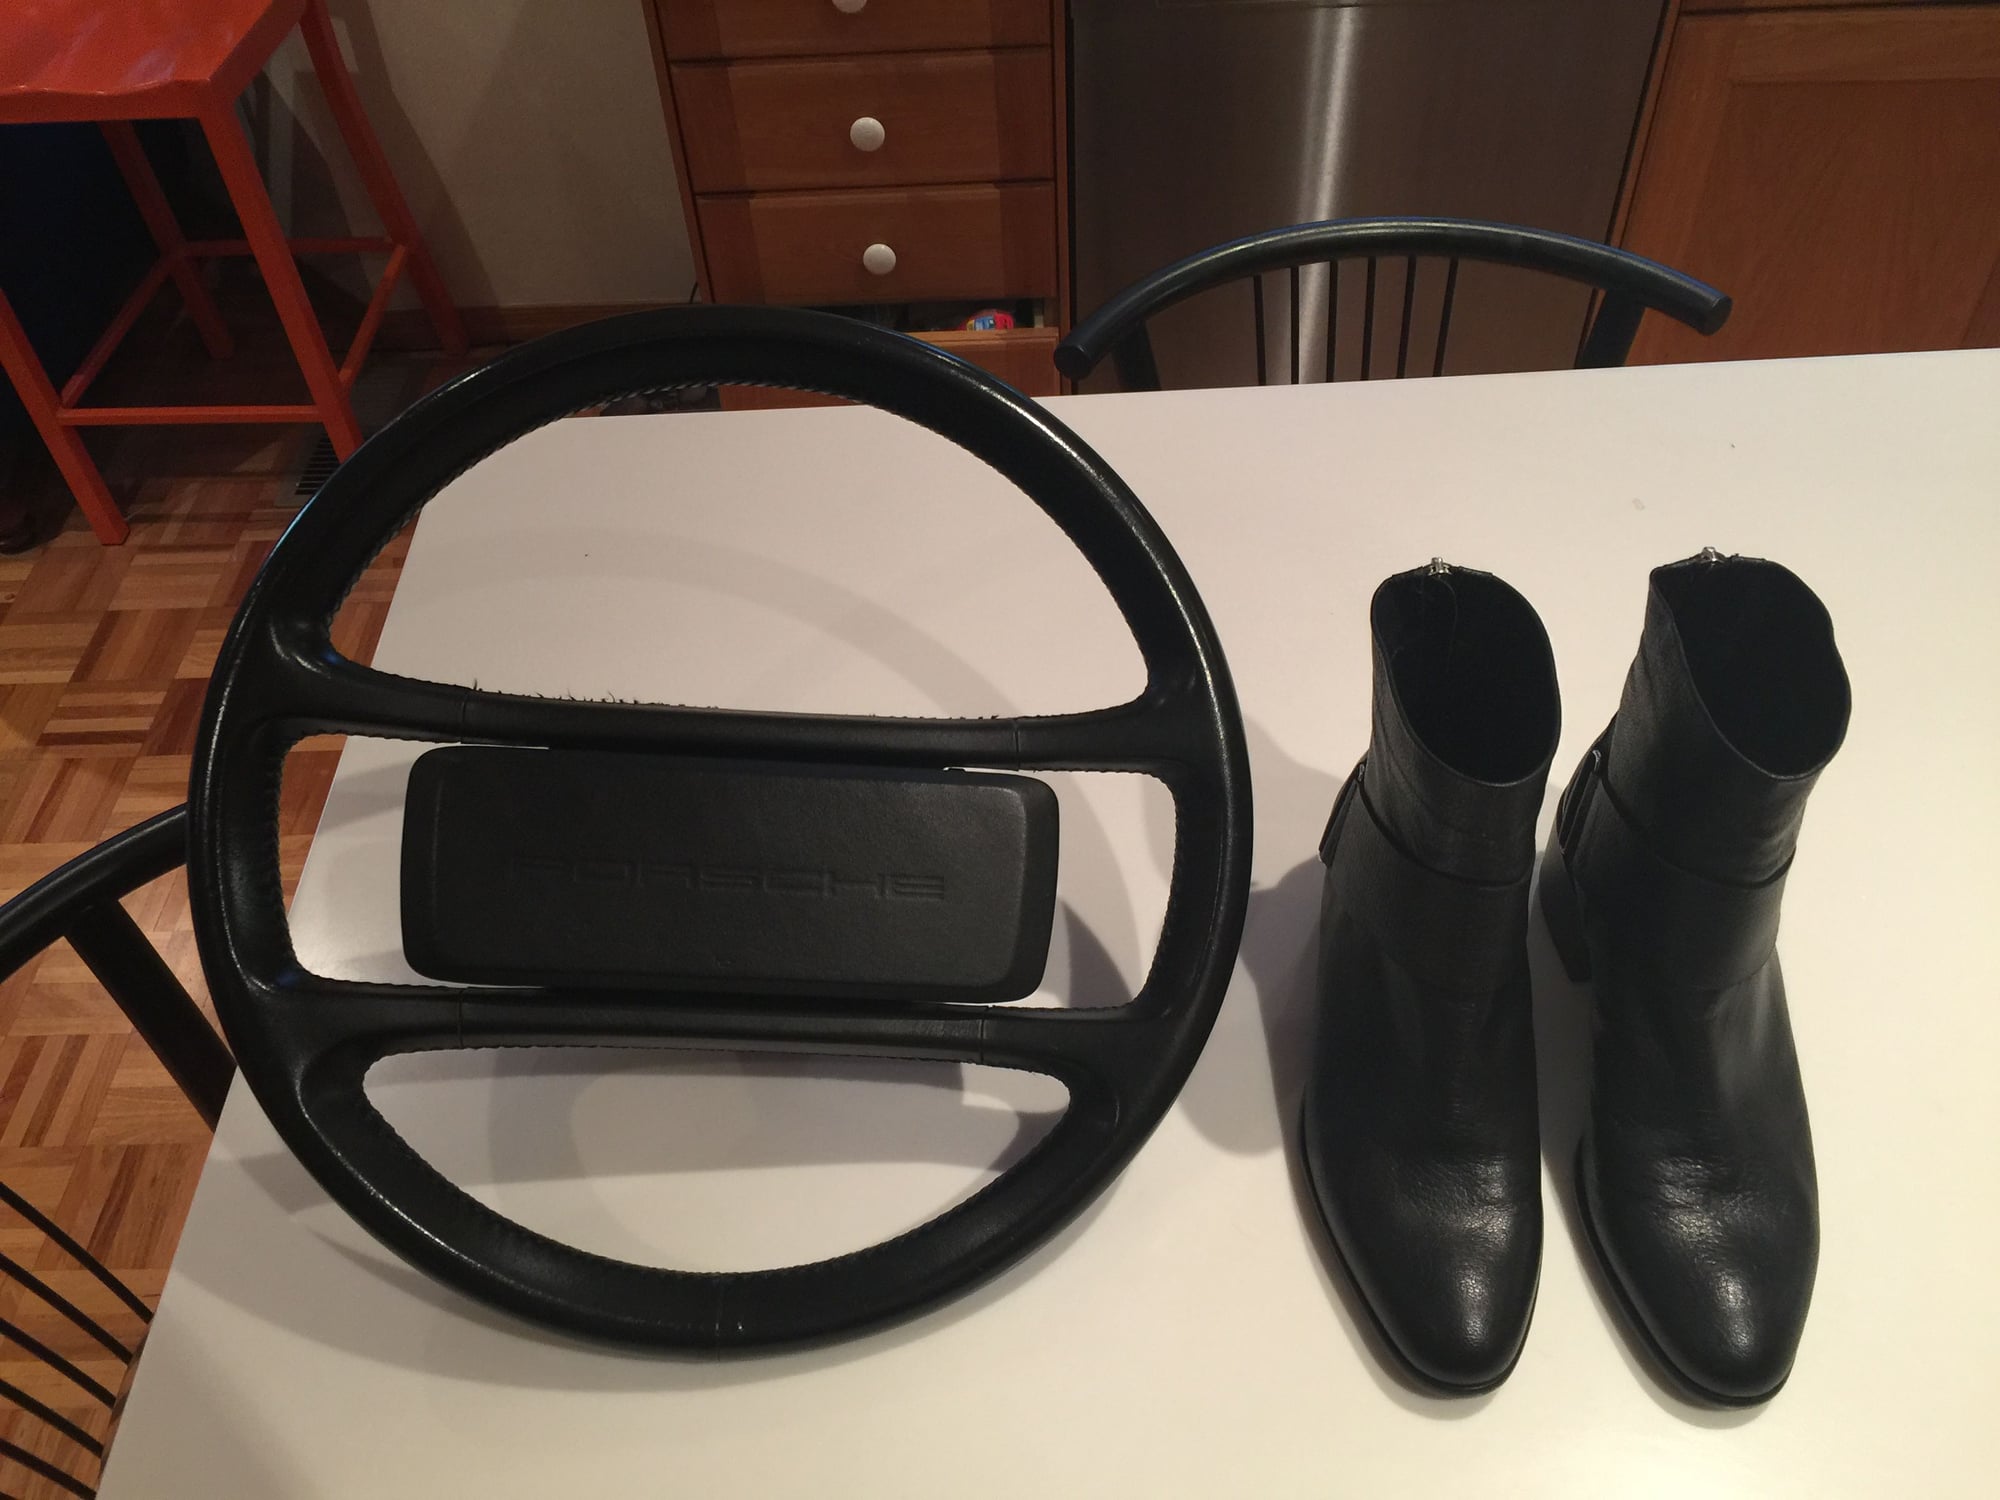
Thanks Altex121. The Steering Wheel arrived from Oregon today in perfect condition. Unfortunately my wife opened the package and spent $ for $ on work shoes. I still think I got the best deal.
#1078
Burning Brakes


Replacing the sharks fin clip gave me a spare to sort out my slightly loose side sill. I previously noticed that the last clip on the rear end of the side sill doesnít clip properly. This leaves a gap against the body. You can hold it in with the connection to the sharks fin, but that just puts pressure on the sharks fin clip. The following is how I fix that.
1. Use cutters to remove the plastic around a spare sharks fin clip, leaving just the metal threaded part.
2. Remove the side sill clip from the side sill
3. Remove the plastic pin from the clip and substitute with the metal threaded part
4. Refit the clip to the side sill
5. Remove the grommet from the body where the new clip will fit
6. Fit the side sill as usual however use a plastic nut on the threaded clip to bring the side sill tightly up to the body.
#1079

While in the shop I noticed R134a recharge kits. Iím getting my first charge done professionally but am wondering what the downside is of topping it up myself later on. Does anyone know or do it themselves? This is the instruction video https://www.crc.co.nz/AC-Charge/6813...a-s16/#alltabs
As I design refrigeration systems I have to say that it's not a good practice long term.....I would say that you can use it once or twice and then you should have the system correctly refilled.
- R134a is a mixture of different refrigerants, each one with molecules of a different size. So the thinner gas leaks out first leaving you with a mixture which is no longer R134a. When you top up the system the mixture still isn't correct so the performance is not as good as with a complete new charge of refrigerant. This (and the Kyoto protocol) is why a professional uses a 'Charging station' which sucks all the gas out, weighs it and puts it aside for recycling, vacuums the system to check for leaks and then recharges with new gas.
- Some stuff to think about :
- Flexible refrigerant hoses have an end date printed on them...generally only about 10 years. After that they become permeable. If you restore your system don't just replace the o-rings replace the hoses too.
- Over time the oil becomes very acidic and should be changed too.
- Never let a garage put the flourescent leak detector gunge in your system.
- It often isn't compatible with the oil and can create an emusion that destroys the compressor
- It can create a hydraulic lock in the compressor (just like pouring water in your engine)
- It can flush the oil out of the compressor...and it doesn't lubricate well resulting in a broken compressor
- It coats the inside of the heat exchangers reducing their efficiency
- A professional will pressurise the system with Helium or Hydrogen and then use a 'sniffer' to detect the leaks - expensive tools and time consuming which is why garages use the flourescent muck.
- If gas is getting out humidity can probably get in
- The air and water alters the properties of the refrigerant so that it is less efficient
- The water combines with the oil turning it acidic which wrecks your compressor
- This is why there is a filter-drier that should be replaced often
- Automotive compressors are an 'open' design with a shaft seal.
- Shaft seals are designed to leak so that the refrigerant oil lubricates the seal...which is also a good reason why you should do a complete flush and oil change from time to time.
- The compressor needs to be used often so that the seal stays swollen. If you don't use it for several weeks it shrinks and leaks. A lot of modern cars actually run the compressor for a few minutes every time you start the car, if you look in the manual of older vehicles it often says to use the air con daily even if you don't need it.
- Depending on where you are in the world some of these recharge kits use a form of Butane instead of R134a. Potential compatability issues with the oil and with the rubber seals and hoses.
The following users liked this post:
nabfa1 (03-14-2024)
#1080
Rennlist Member
Thread Starter
Que a long rambling post to answer a simple question !
As I design refrigeration systems I have to say that it's not a good practice long term.....I would say that you can use it once or twice and then you should have the system correctly refilled.
As I design refrigeration systems I have to say that it's not a good practice long term.....I would say that you can use it once or twice and then you should have the system correctly refilled.
- R134a is a mixture of different refrigerants, each one with molecules of a different size. So the thinner gas leaks out first leaving you with a mixture which is no longer R134a. When you top up the system the mixture still isn't correct so the performance is not as good as with a complete new charge of refrigerant. This (and the Kyoto protocol) is why a professional uses a 'Charging station' which sucks all the gas out, weighs it and puts it aside for recycling, vacuums the system to check for leaks and then recharges with new gas.
- Some stuff to think about :
- Flexible refrigerant hoses have an end date printed on them...generally only about 10 years. After that they become permeable. If you restore your system don't just replace the o-rings replace the hoses too.
- Over time the oil becomes very acidic and should be changed too.
- Never let a garage put the flourescent leak detector gunge in your system.
- It often isn't compatible with the oil and can create an emusion that destroys the compressor
- It can create a hydraulic lock in the compressor (just like pouring water in your engine)
- It can flush the oil out of the compressor...and it doesn't lubricate well resulting in a broken compressor
- It coats the inside of the heat exchangers reducing their efficiency
- A professional will pressurise the system with Helium or Hydrogen and then use a 'sniffer' to detect the leaks - expensive tools and time consuming which is why garages use the flourescent muck.
- If gas is getting out humidity can probably get in
- The air and water alters the properties of the refrigerant so that it is less efficient
- The water combines with the oil turning it acidic which wrecks your compressor
- This is why there is a filter-drier that should be replaced often
- Automotive compressors are an 'open' design with a shaft seal.
- Shaft seals are designed to leak so that the refrigerant oil lubricates the seal...which is also a good reason why you should do a complete flush and oil change from time to time.
- The compressor needs to be used often so that the seal stays swollen. If you don't use it for several weeks it shrinks and leaks. A lot of modern cars actually run the compressor for a few minutes every time you start the car, if you look in the manual of older vehicles it often says to use the air con daily even if you don't need it.
- Depending on where you are in the world some of these recharge kits use a form of Butane instead of R134a. Potential compatability issues with the oil and with the rubber seals and hoses.


