964 C4 light refurb
#961
Rennlist Member
Thread Starter

Last pic with the car.
A sad day but I knew it was coming eventually. With the White car engine rebuild finished I had two working 964s and one had to be sold. The Silver car went to a new owner today. Hopefully it will be driven and well looked after.
Last edited by John McM; 01-25-2018 at 12:12 PM.
#962
Rennlist Member
Thread Starter
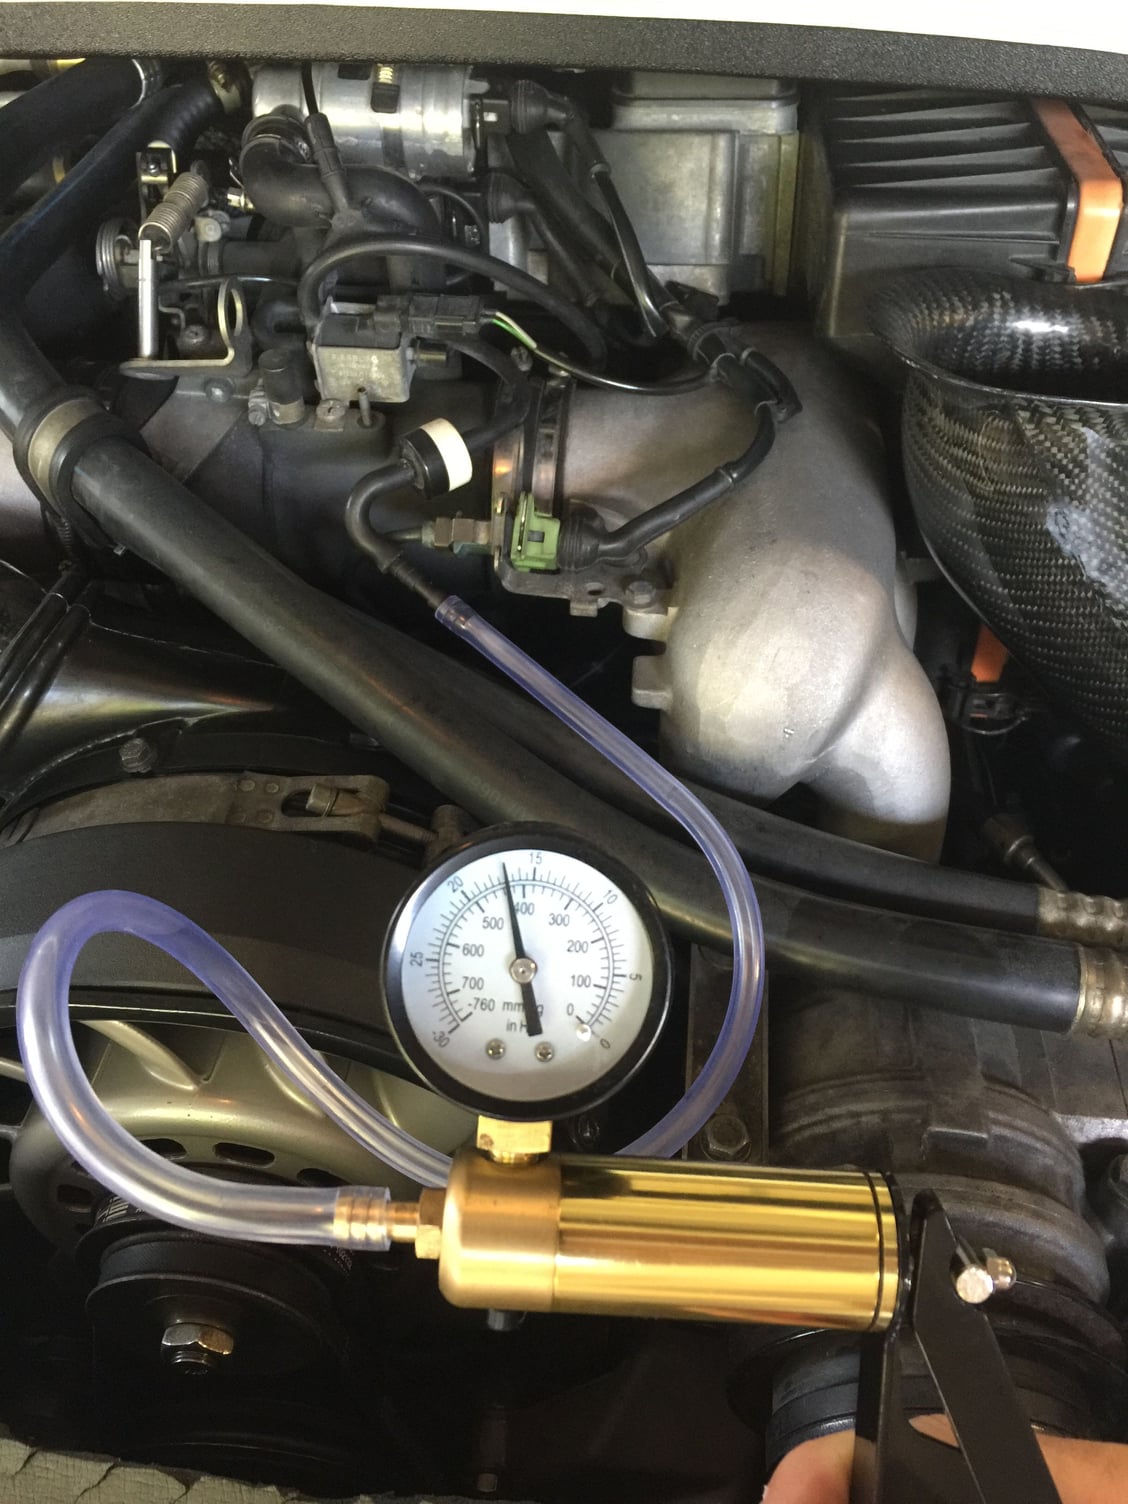
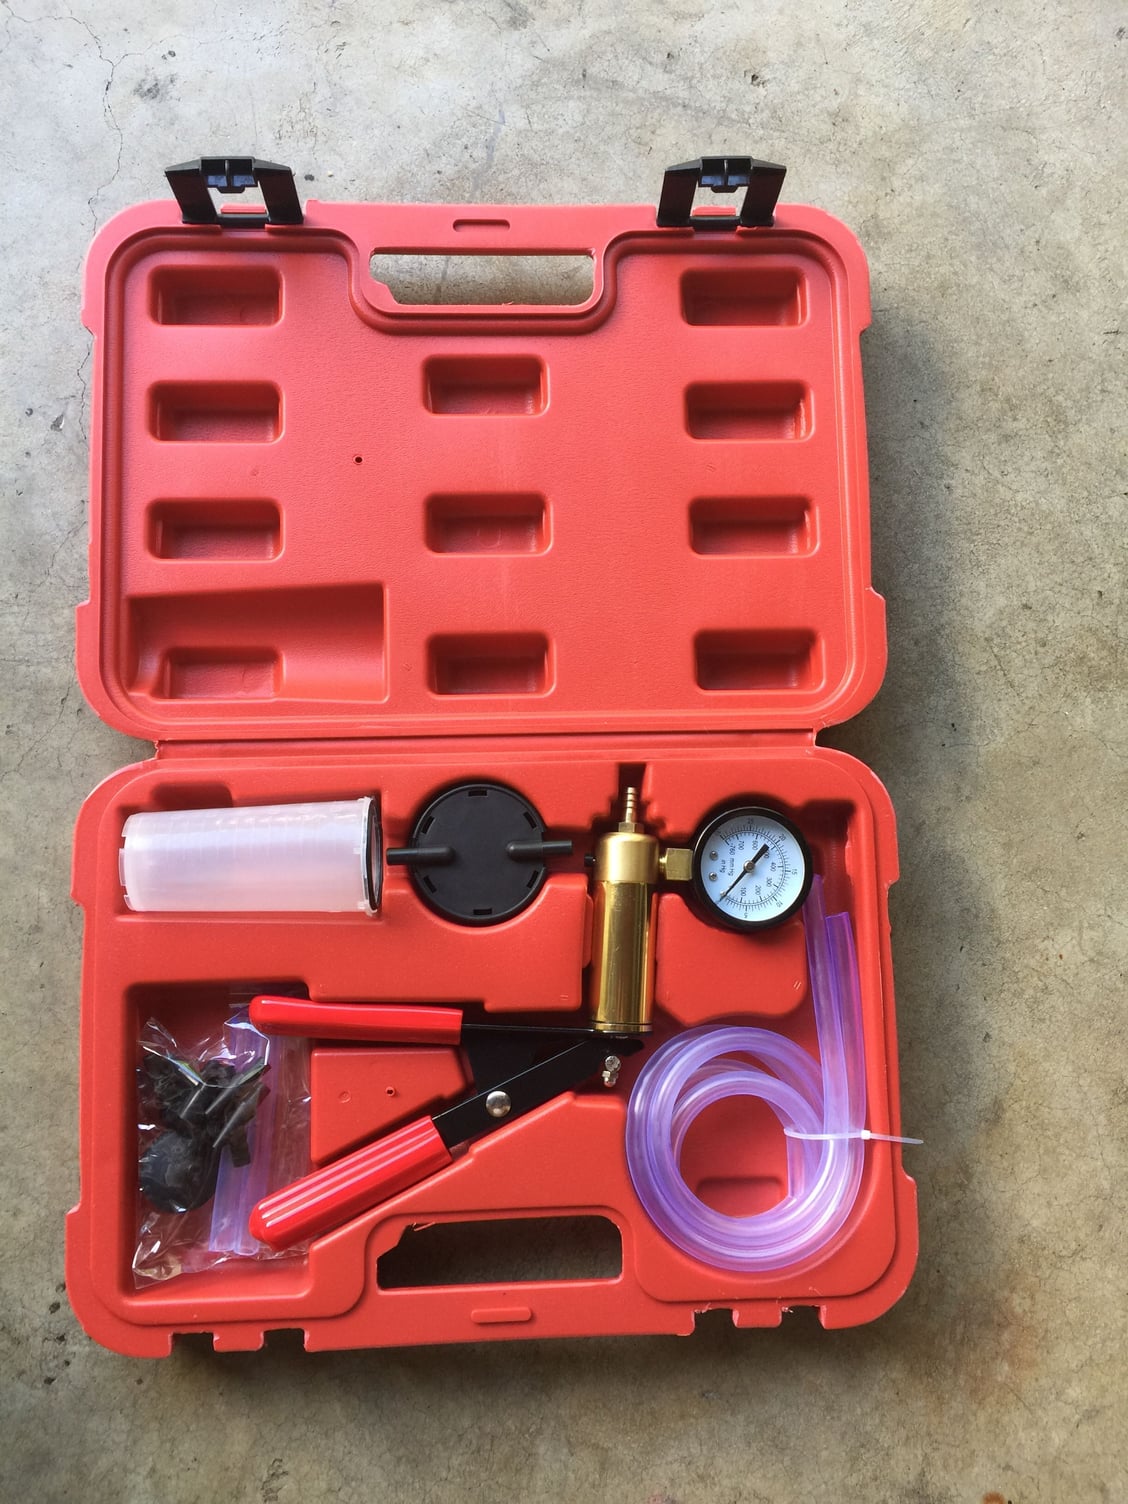
The recently rebuilt car went into the local inspection station, where they found its headlight adjustment was way off. They also noted that the vacuum headlight adjuster didn't operate.
The latter worried me as the resonance flap is also vacuum operated and controls top end power, so a vacuum leak would impact that as well.
To test the vacuum I bought a tester and connected it to the intake connection. The system held a vacuum.
I then turned the ignition on to see if the solenoid worked and if vacuum was operating the resonance flap. Yes to everything. Now to test the headlight adjuster.
Last edited by John McM; 01-26-2018 at 05:25 PM.
#963
Rennlist Member
Thread Starter
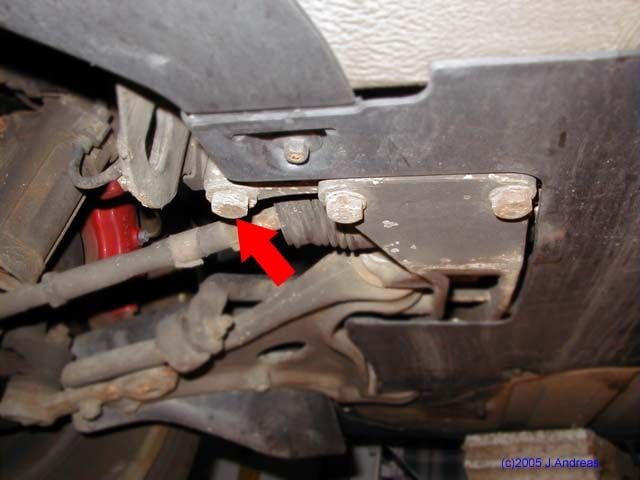
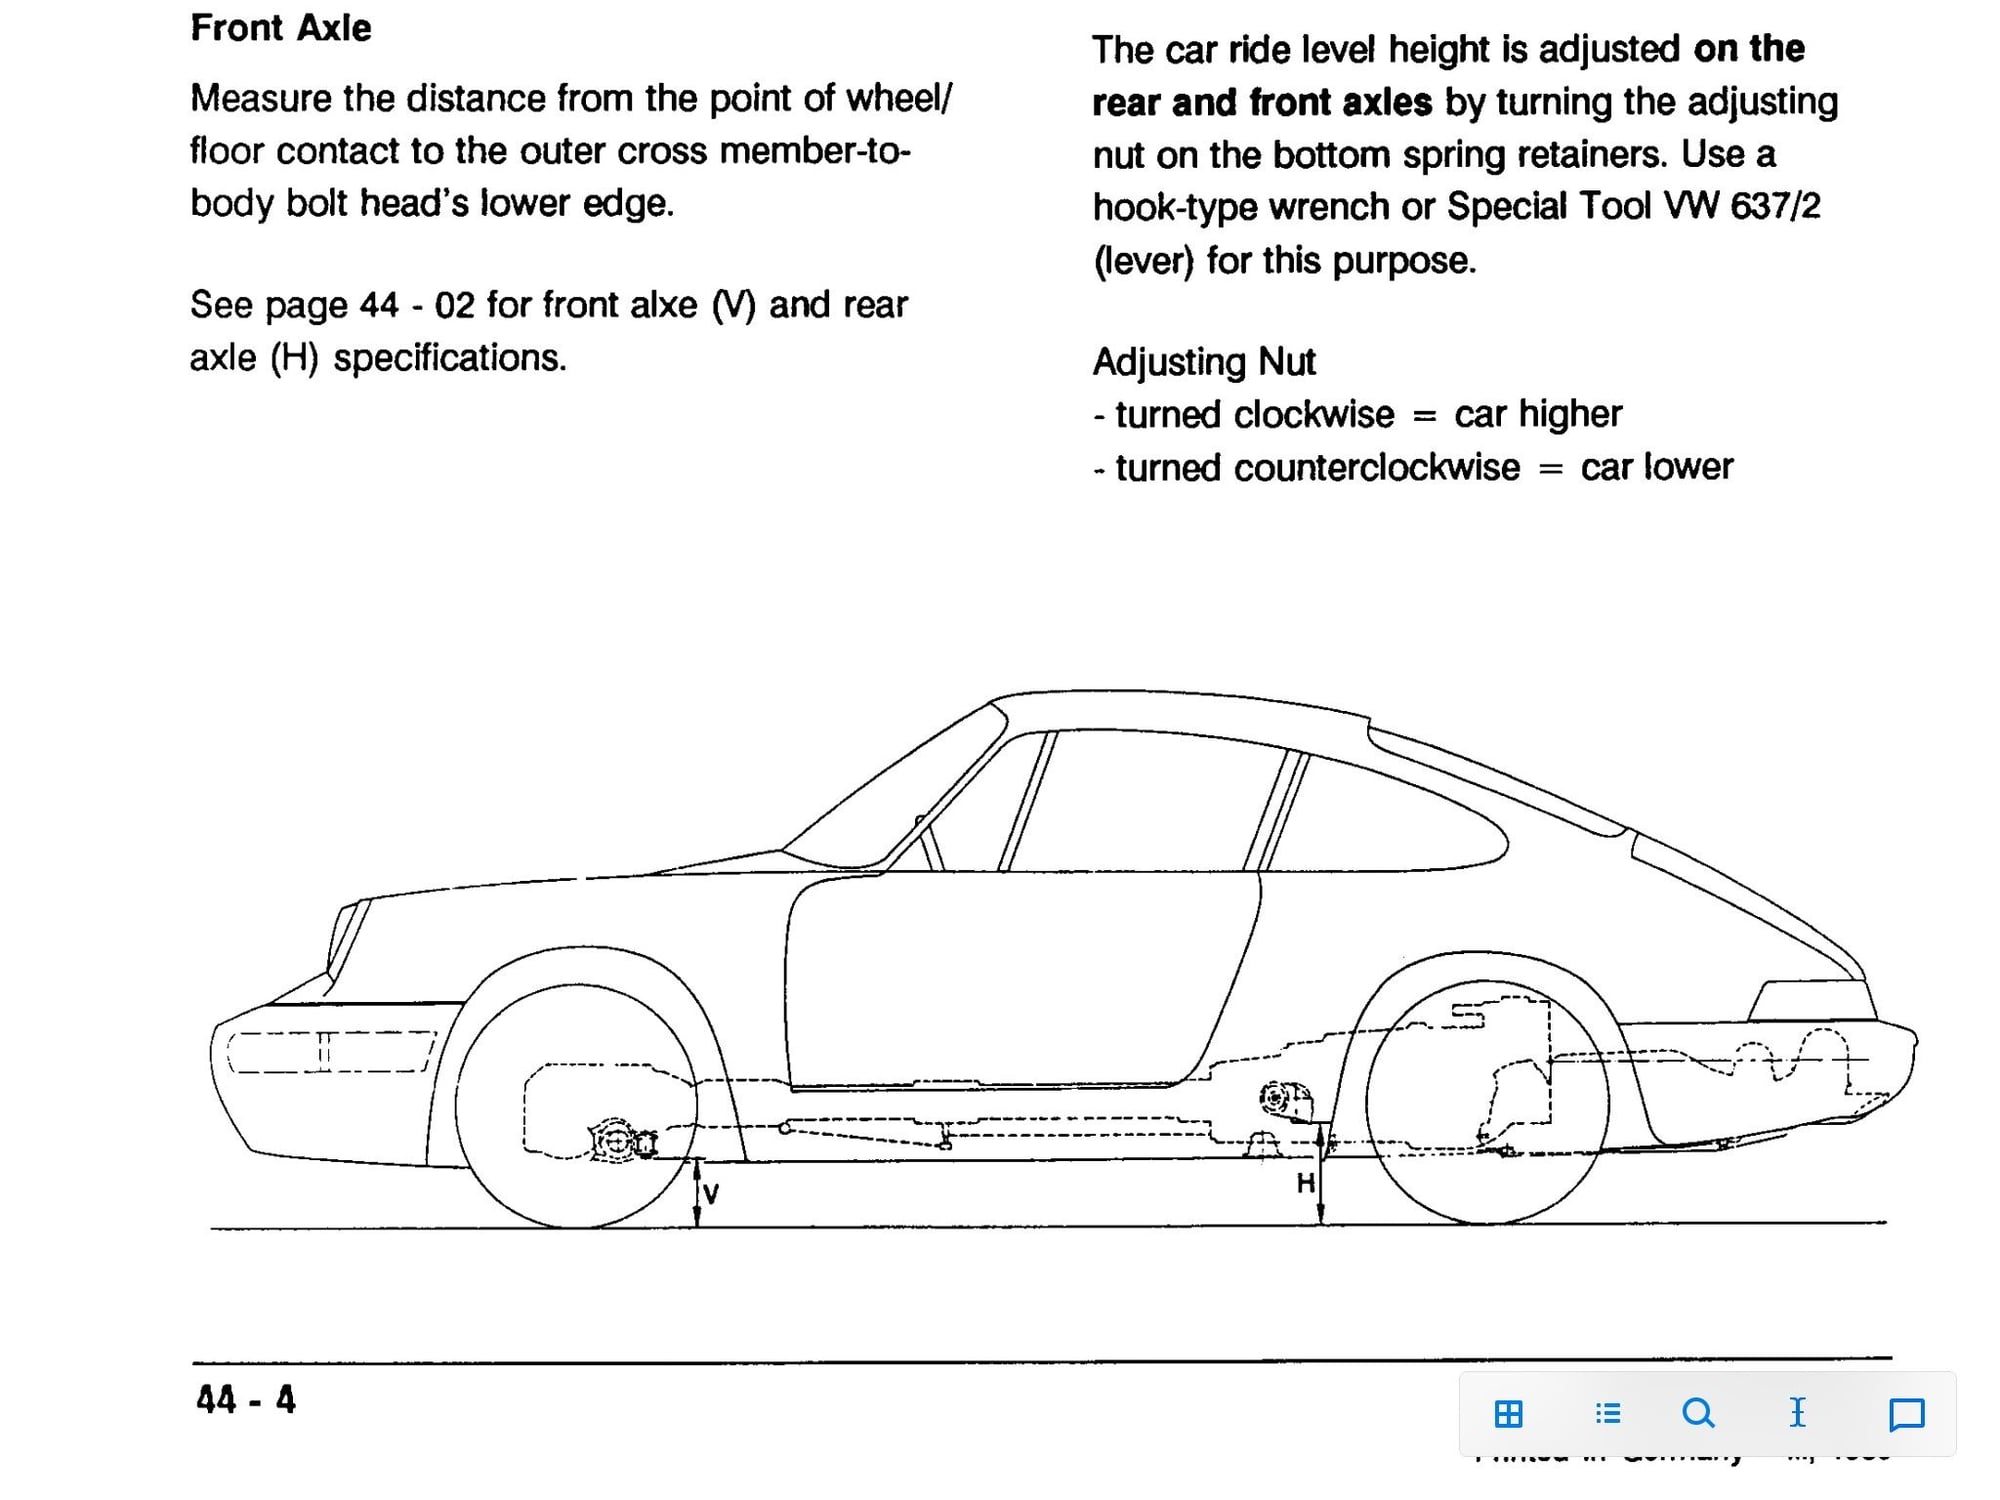
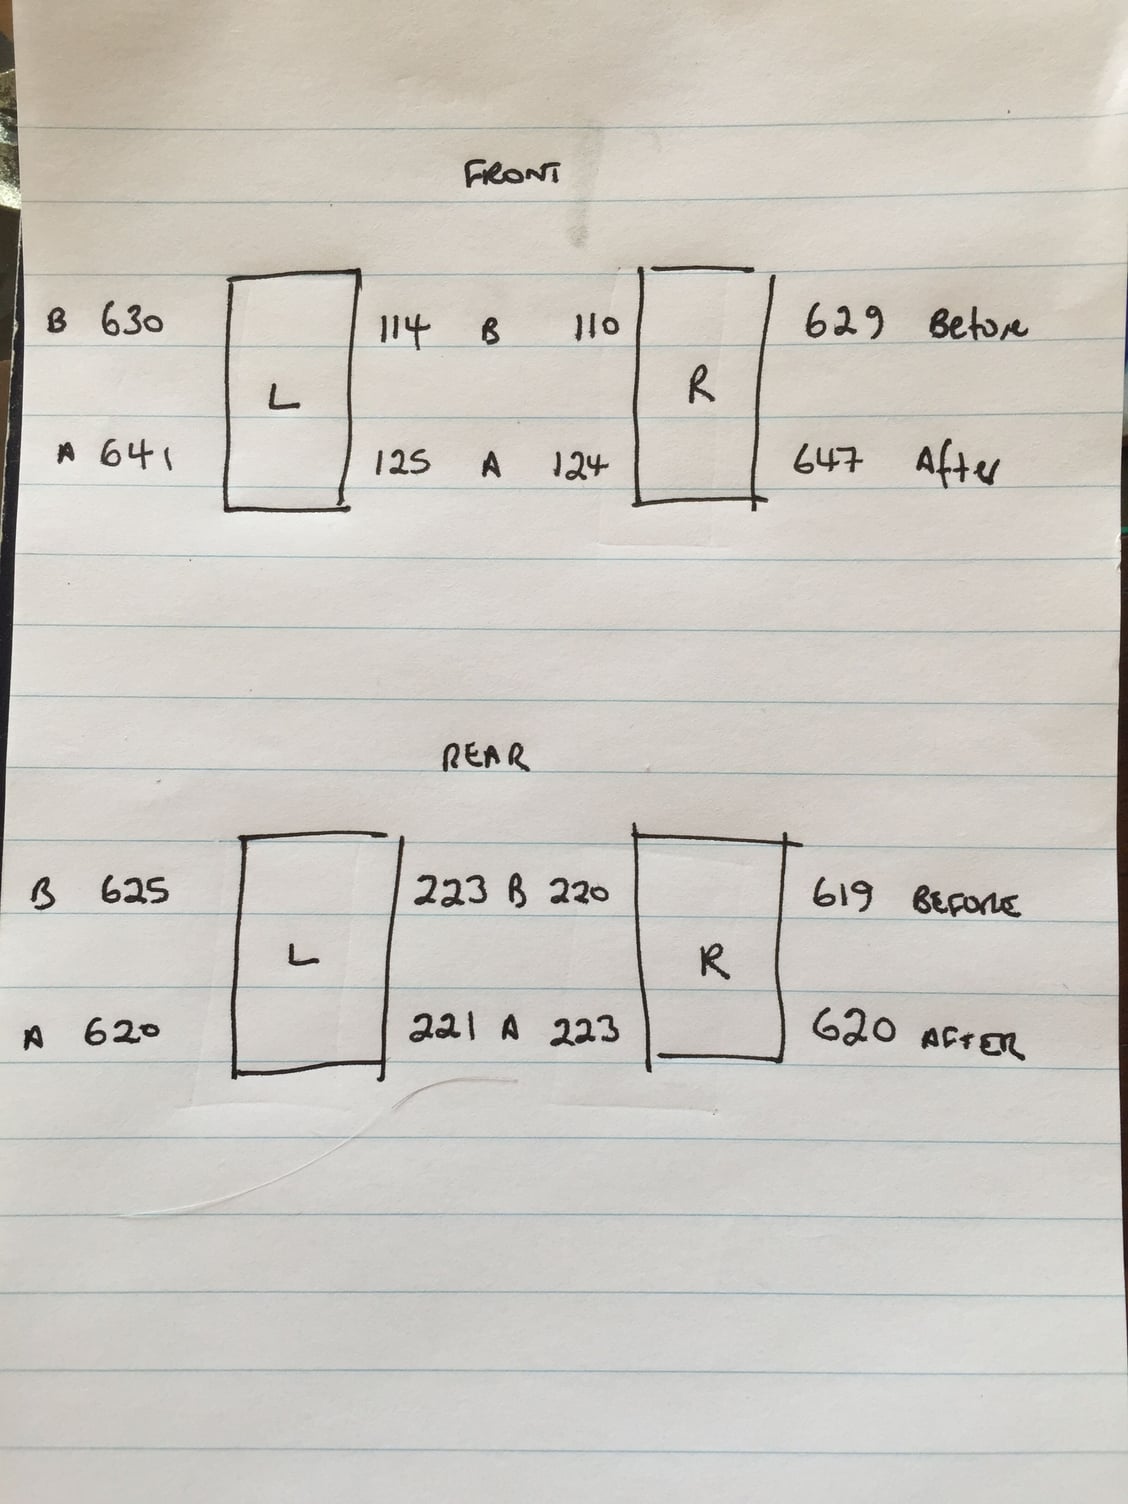
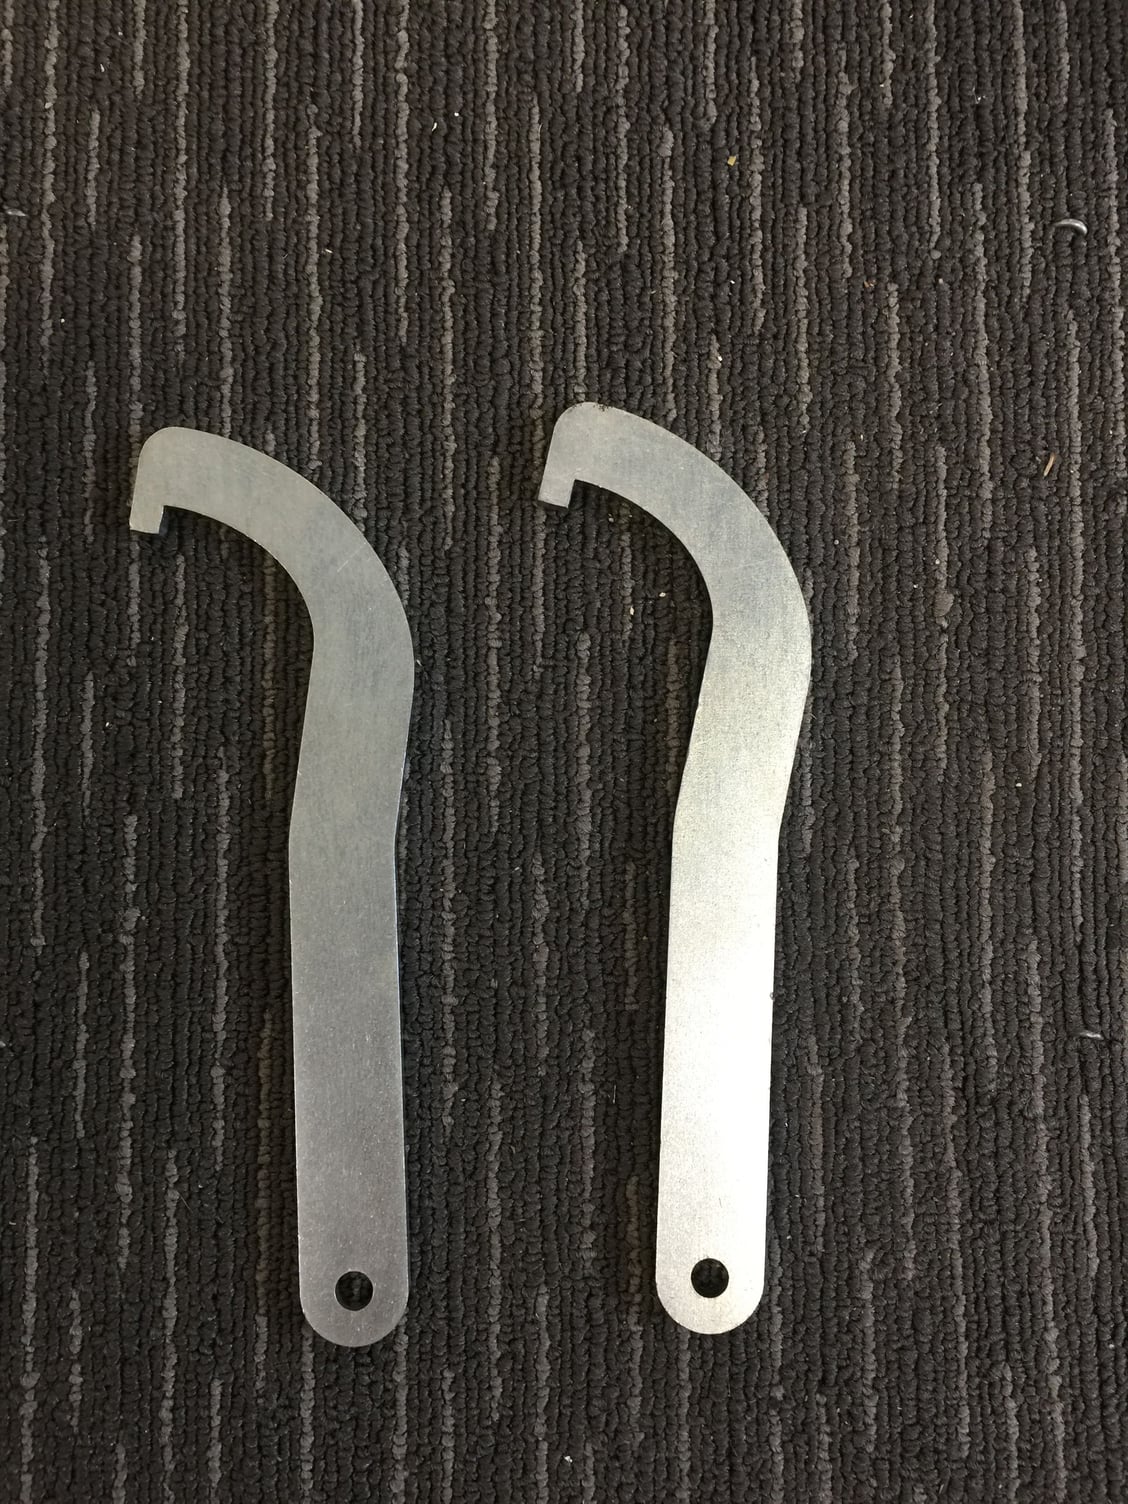
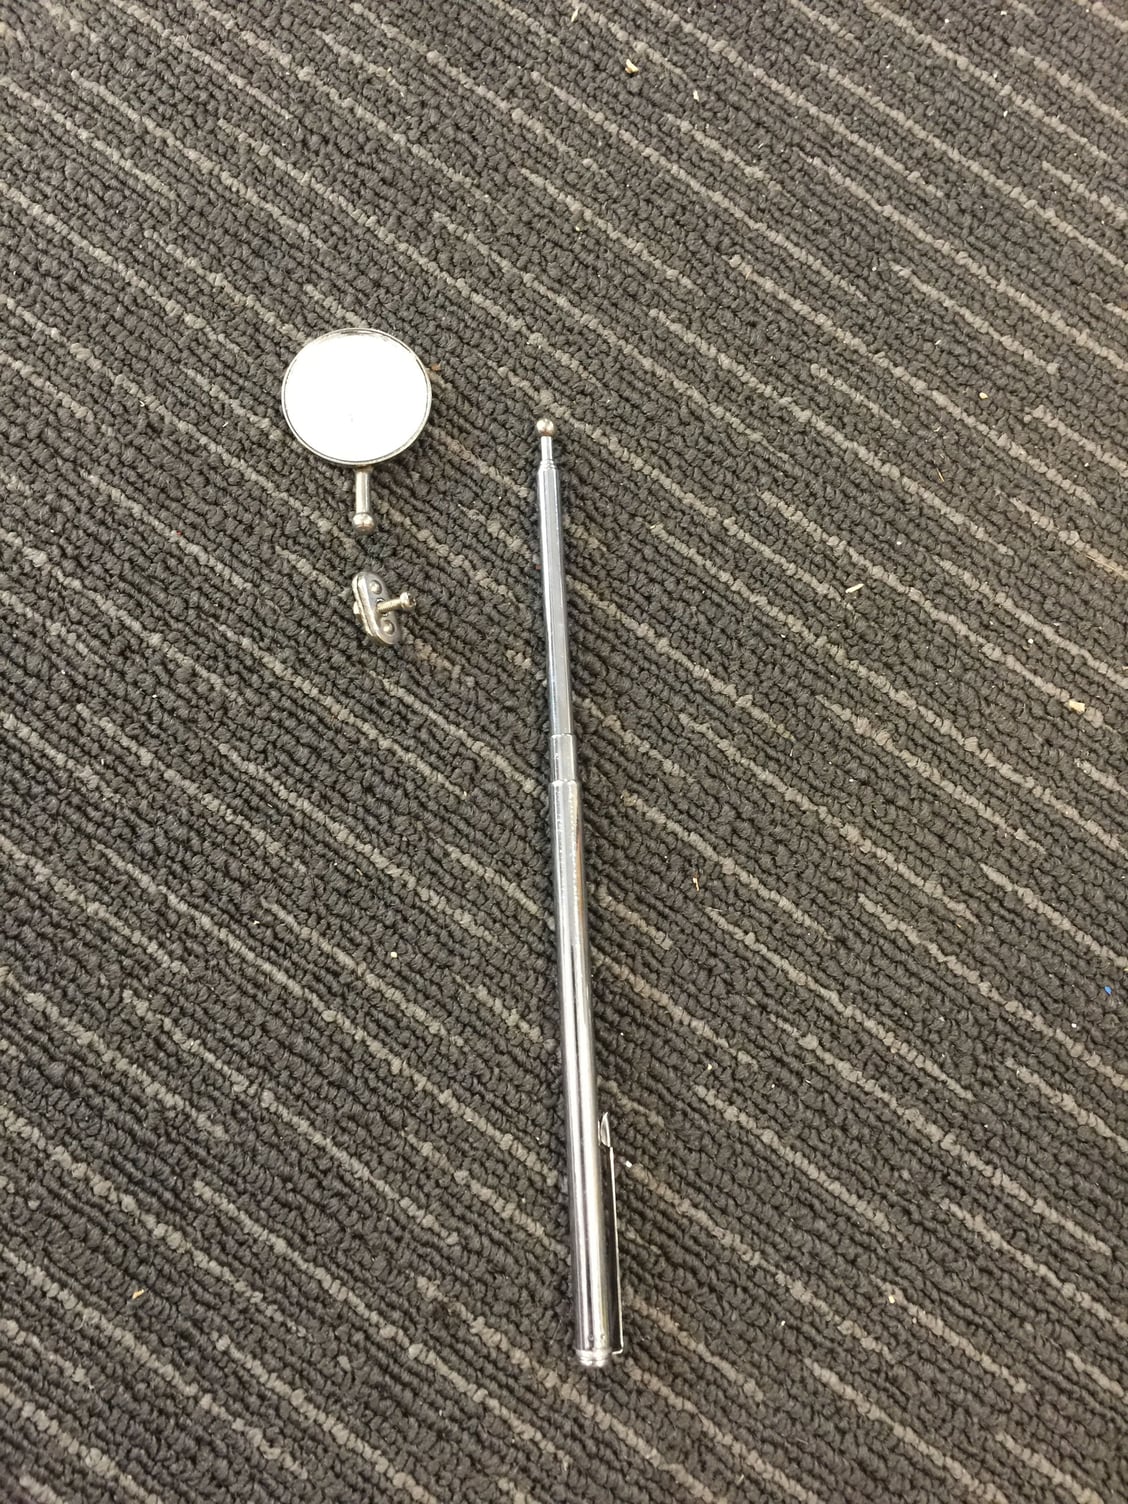

One of the many things I liked about the Silver C4 was that it had a real life ride height. I never worried about driveways etc as it had the clearance to drive anywhere.
The White car on the other hand has scraped my driveway each time. It needed more height.
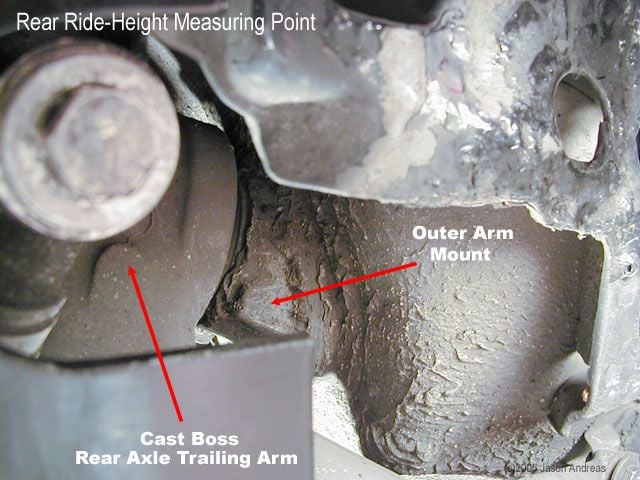
The first thing to do was measure its current height. Based on the manual the car was RS - 11 and - 15 at the front and RS - 3 on the rear. So the rear was fine but the front was ridiculous low. Time to adjust.
Fellow Rennlister, Spokes, lent me his C spanner tools, plus gave me a tip on measuring the points, use a telescopic mirror. I temporarily removed the mirror to make it easier to get in the tight measuring spots.
#964
Rennlist Member
Thread Starter
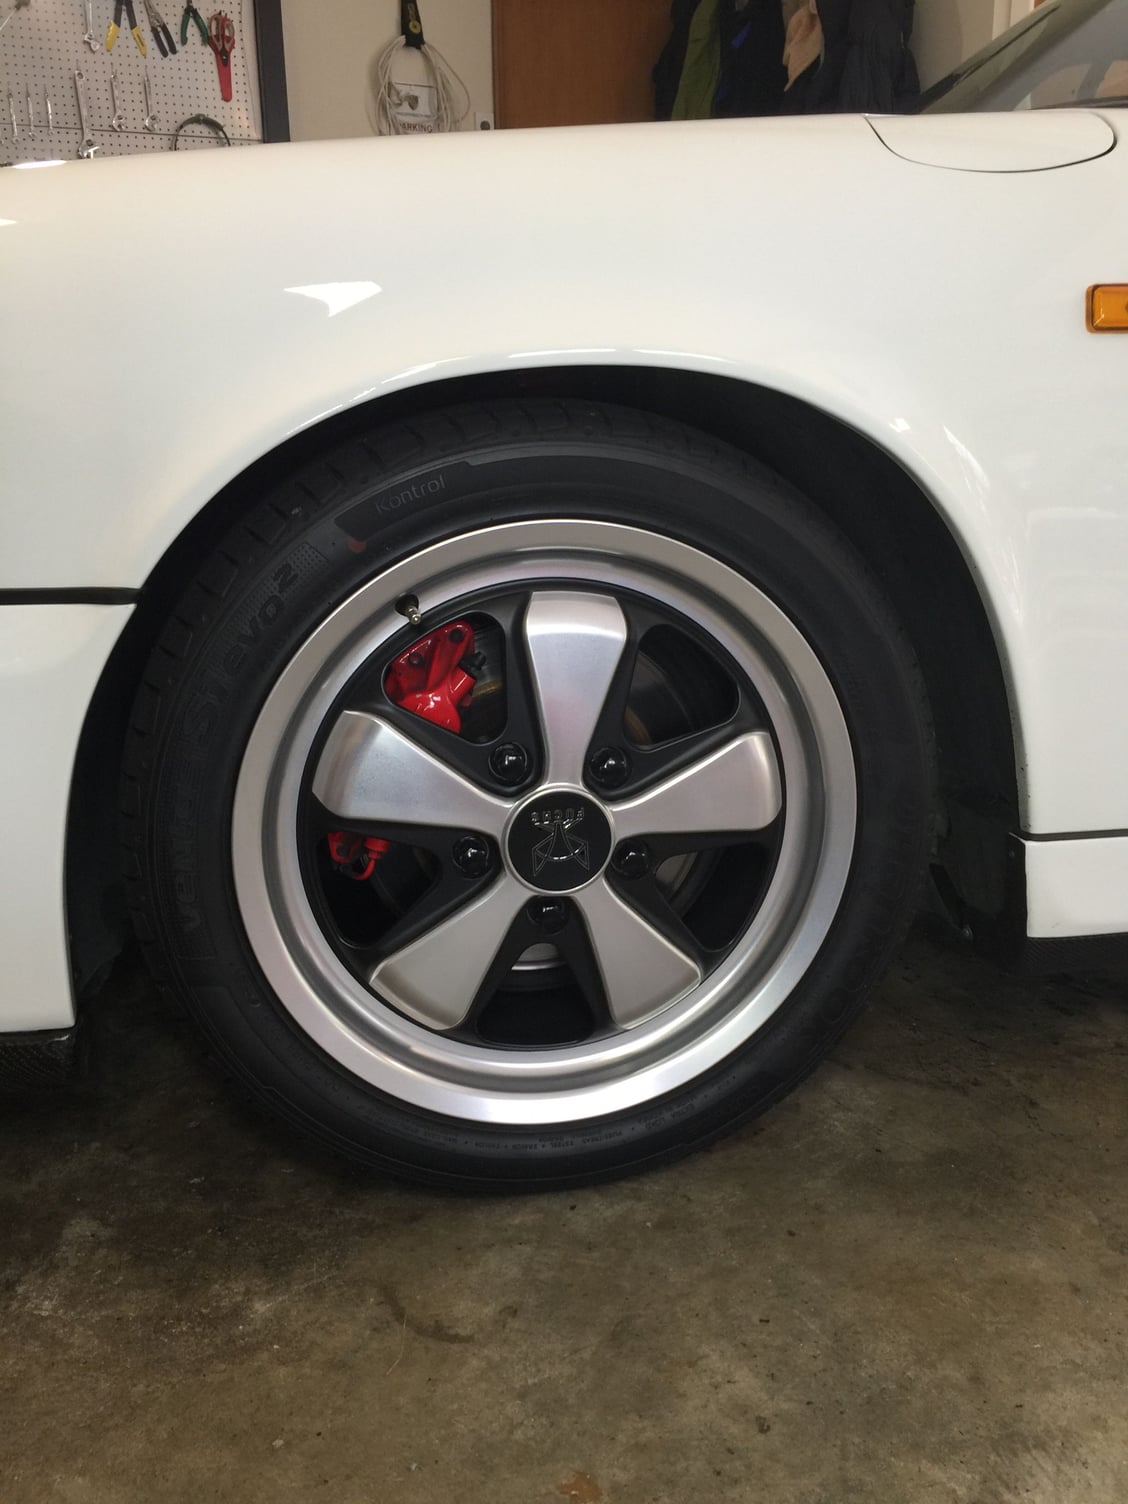
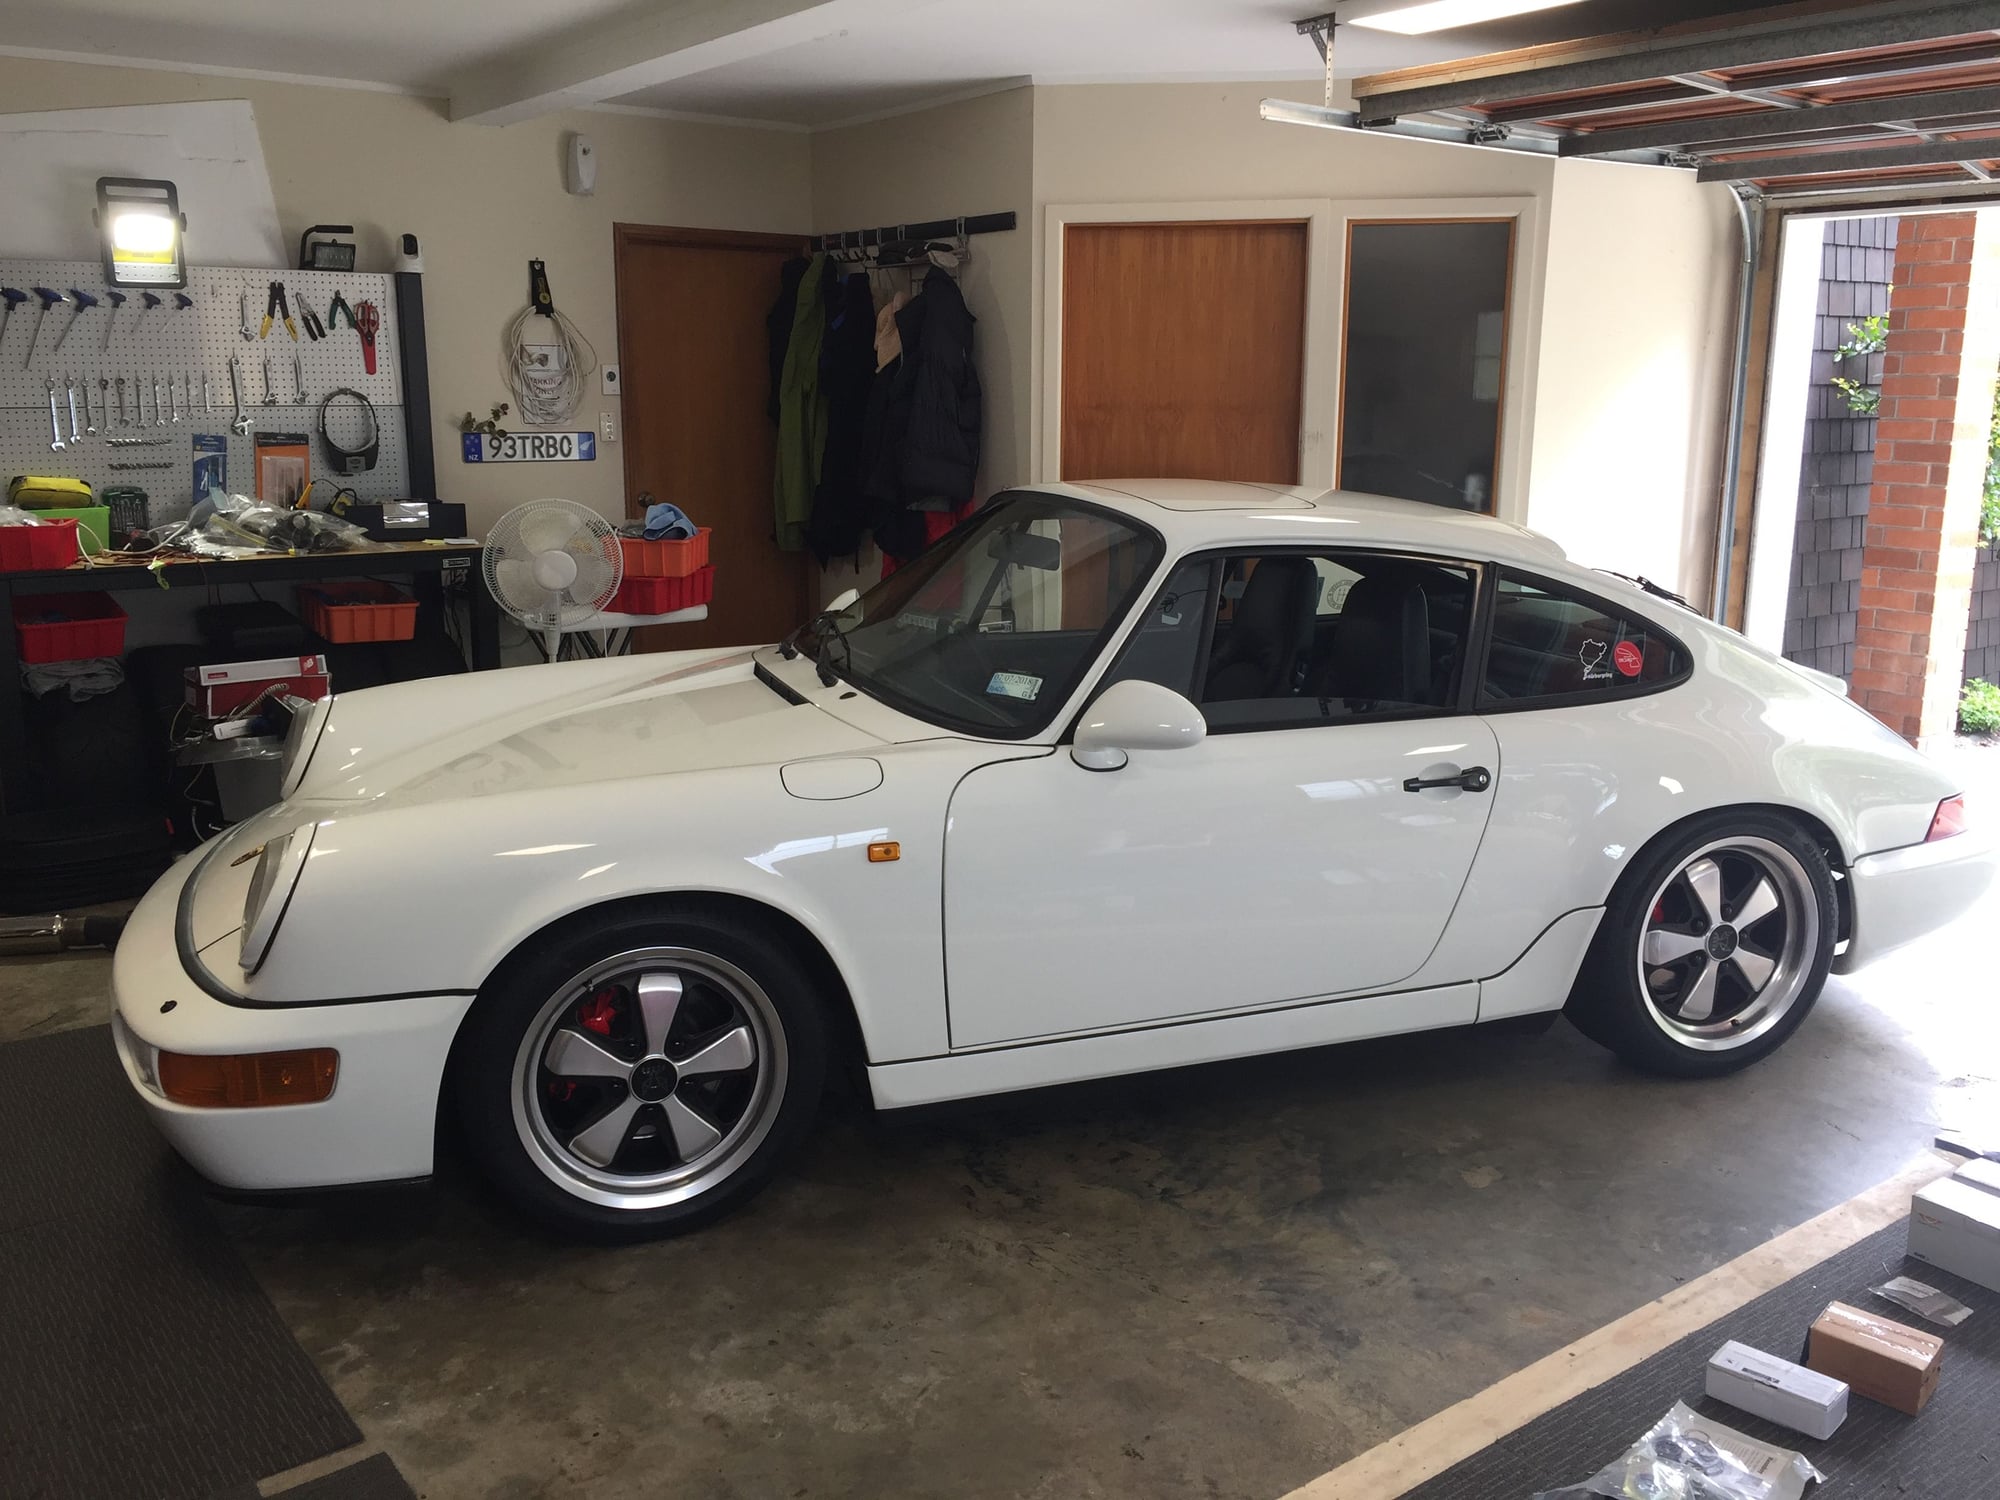
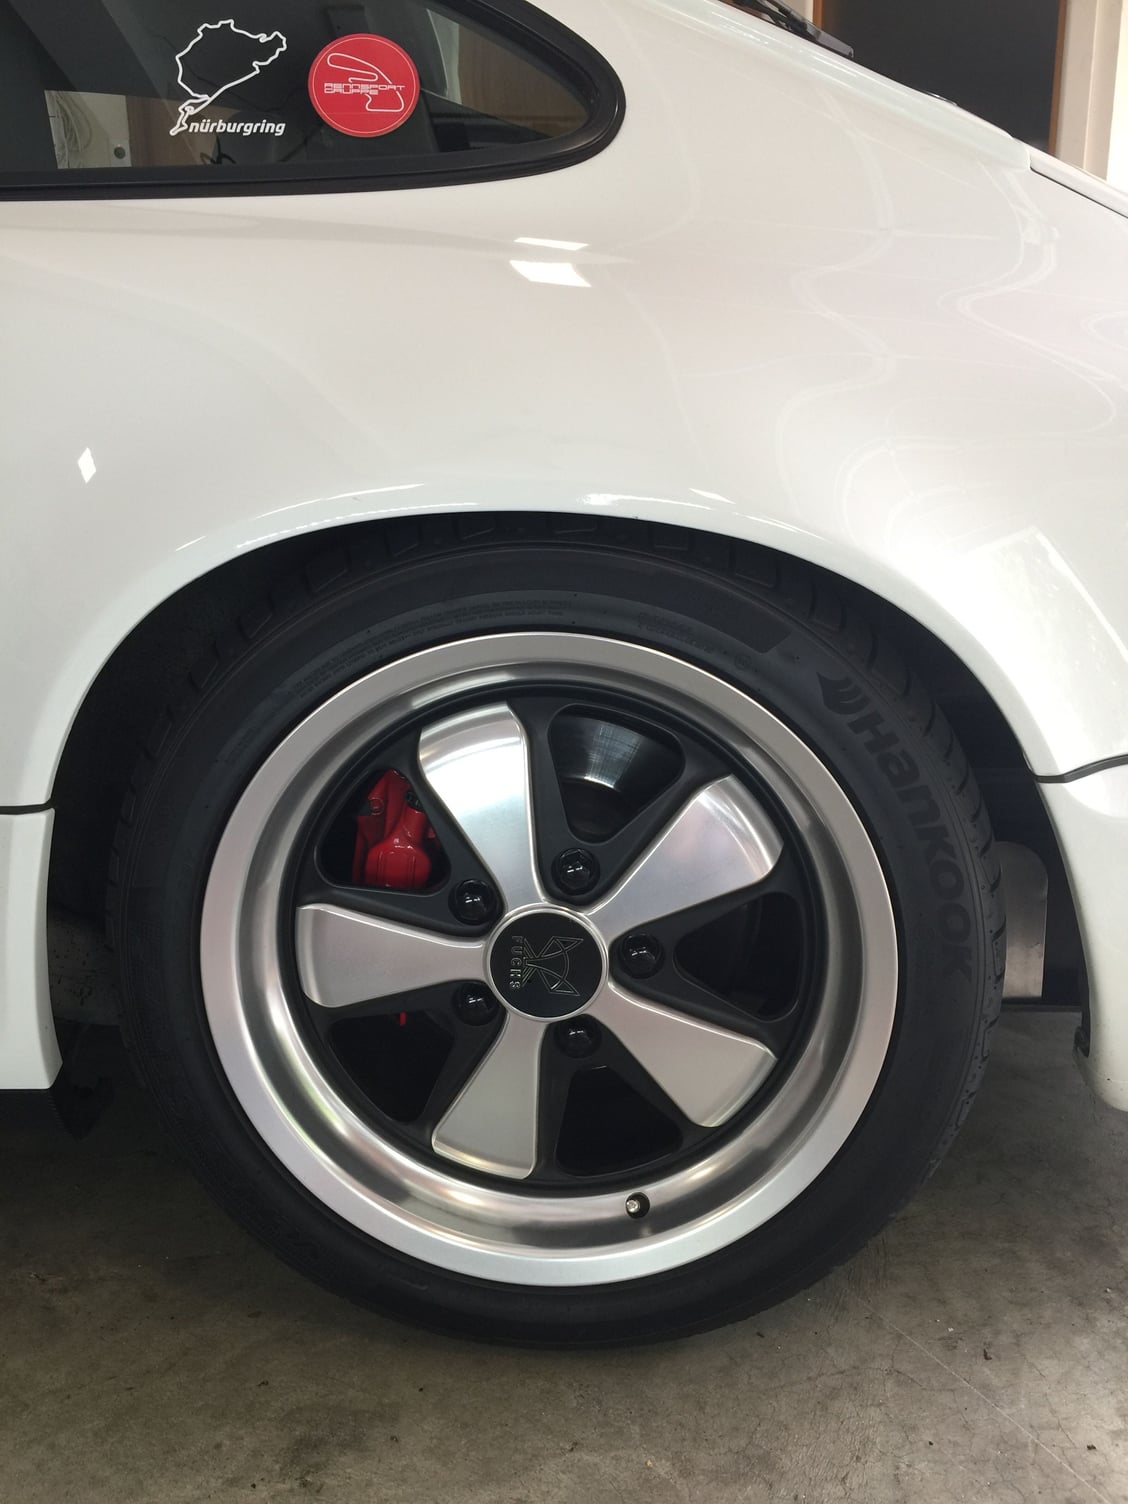
The front measuring point is very easy to locate. The rear is almost as easy if you use the rear arm boss however you must remove the Left hand shark fin to measure it correctly. I was able to use the oil drain area on the right hand side to measure the height there without removing the shark fin on that side. Make absolutely sure that you reference the correct rear point as the manual has different height settings based on the one you chose.
Once you know the height difference, then the aim is to change the strut effective height by adjusting the lower spring perch. I simply noted the current position and moved it by the height difference I wanted. Please note this is not wholly accurate as the spring load is what changes the height.
Another thing to note is that increasing spring pre load increases the height and the inverse. The manual describes it differently, it says that turning the adjuster clockwise raises the height and anti clockwise lowers the car. I canít see how this is correct. Beware.
With the height reset I took the car for a drive to settle it, then measured it again. The measurements were all good. I also took the measurement from the top of the arch through the wheel centre. The pics here are RS height. Itís a nice drive and doesnít hit the driveway anymore. A win.
#965
Rennlist Member
Good job John. I used my telescopic pickup magnet pen not my mirror to measure the height. But both obviously work.
#966
Rennlist Member
Thread Starter
Originally Posted by Spokes
Good job John. I used my telescopic pickup magnet pen not my mirror to measure the height. But both obviously work.

#967
Three Wheelin'
Hi John, did you recheck the rear height following adjustment of the front? A corner adjustment will also affect the opposite corner ie raising/lowering a corner will also effect the opposite corner at the other end of the car.
Granted with the weight distribution and rake of these cars, a front adjustment only has a small effect on the rear however I was surprised just how much of a difference adjusting the rear makes to the opposing front.
Granted with the weight distribution and rake of these cars, a front adjustment only has a small effect on the rear however I was surprised just how much of a difference adjusting the rear makes to the opposing front.
#968
Rennlist Member
Thread Starter
Hi John, did you recheck the rear height following adjustment of the front? A corner adjustment will also affect the opposite corner ie raising/lowering a corner will also effect the opposite corner at the other end of the car.
Granted with the weight distribution and rake of these cars, a front adjustment only has a small effect on the rear however I was surprised just how much of a difference adjusting the rear makes to the opposing front.
Granted with the weight distribution and rake of these cars, a front adjustment only has a small effect on the rear however I was surprised just how much of a difference adjusting the rear makes to the opposing front.

#969
Rennlist Member
Thread Starter
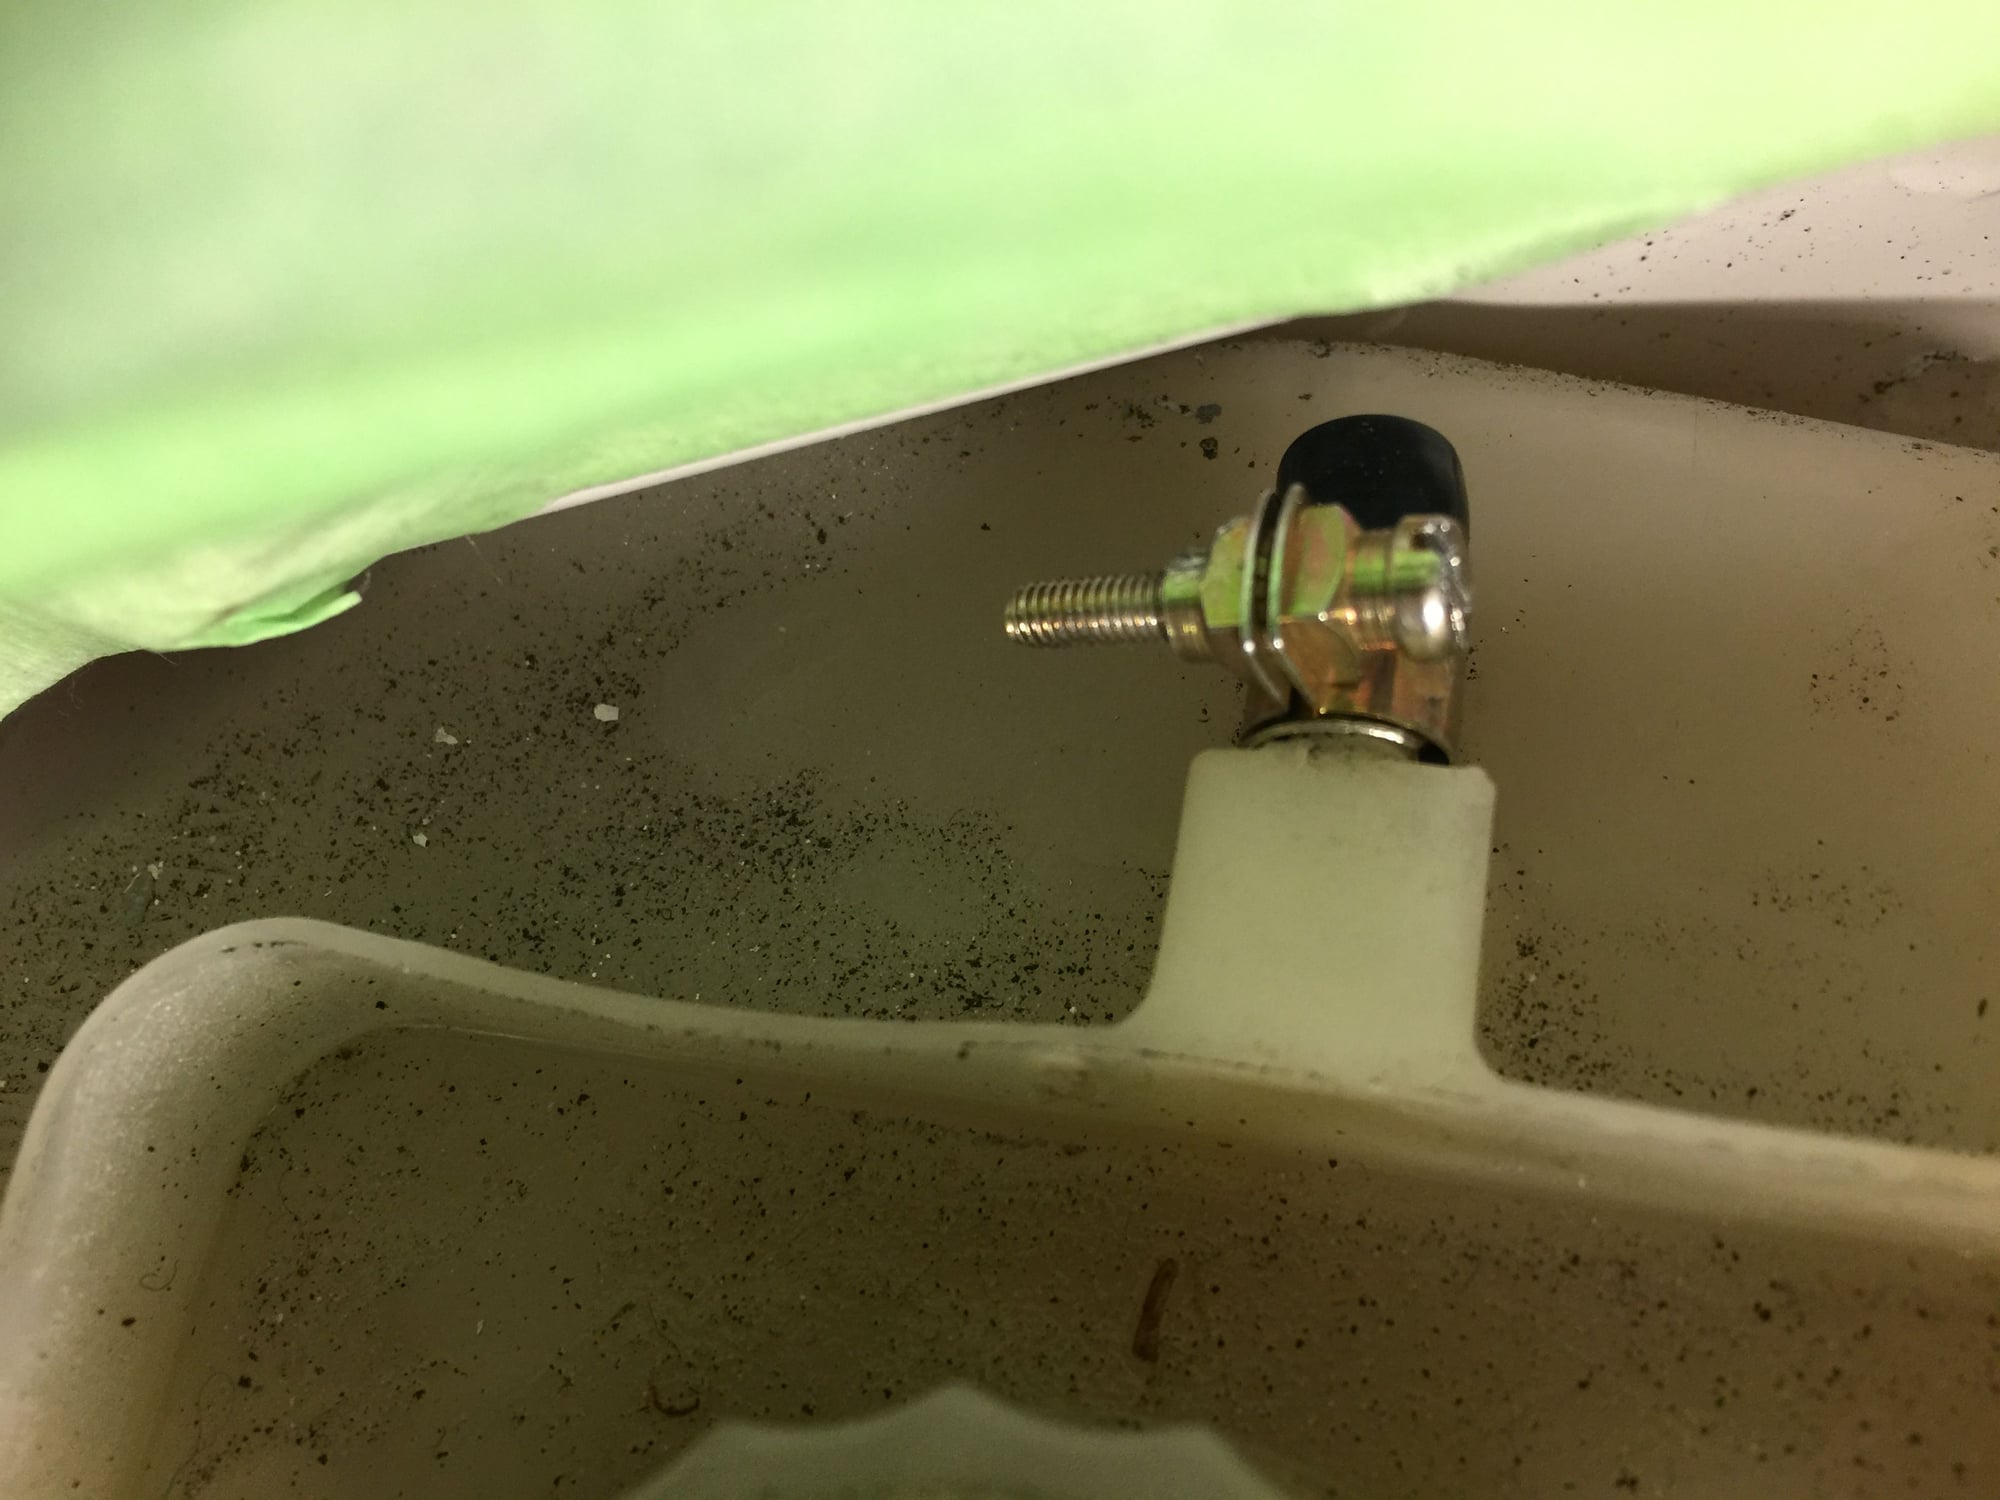
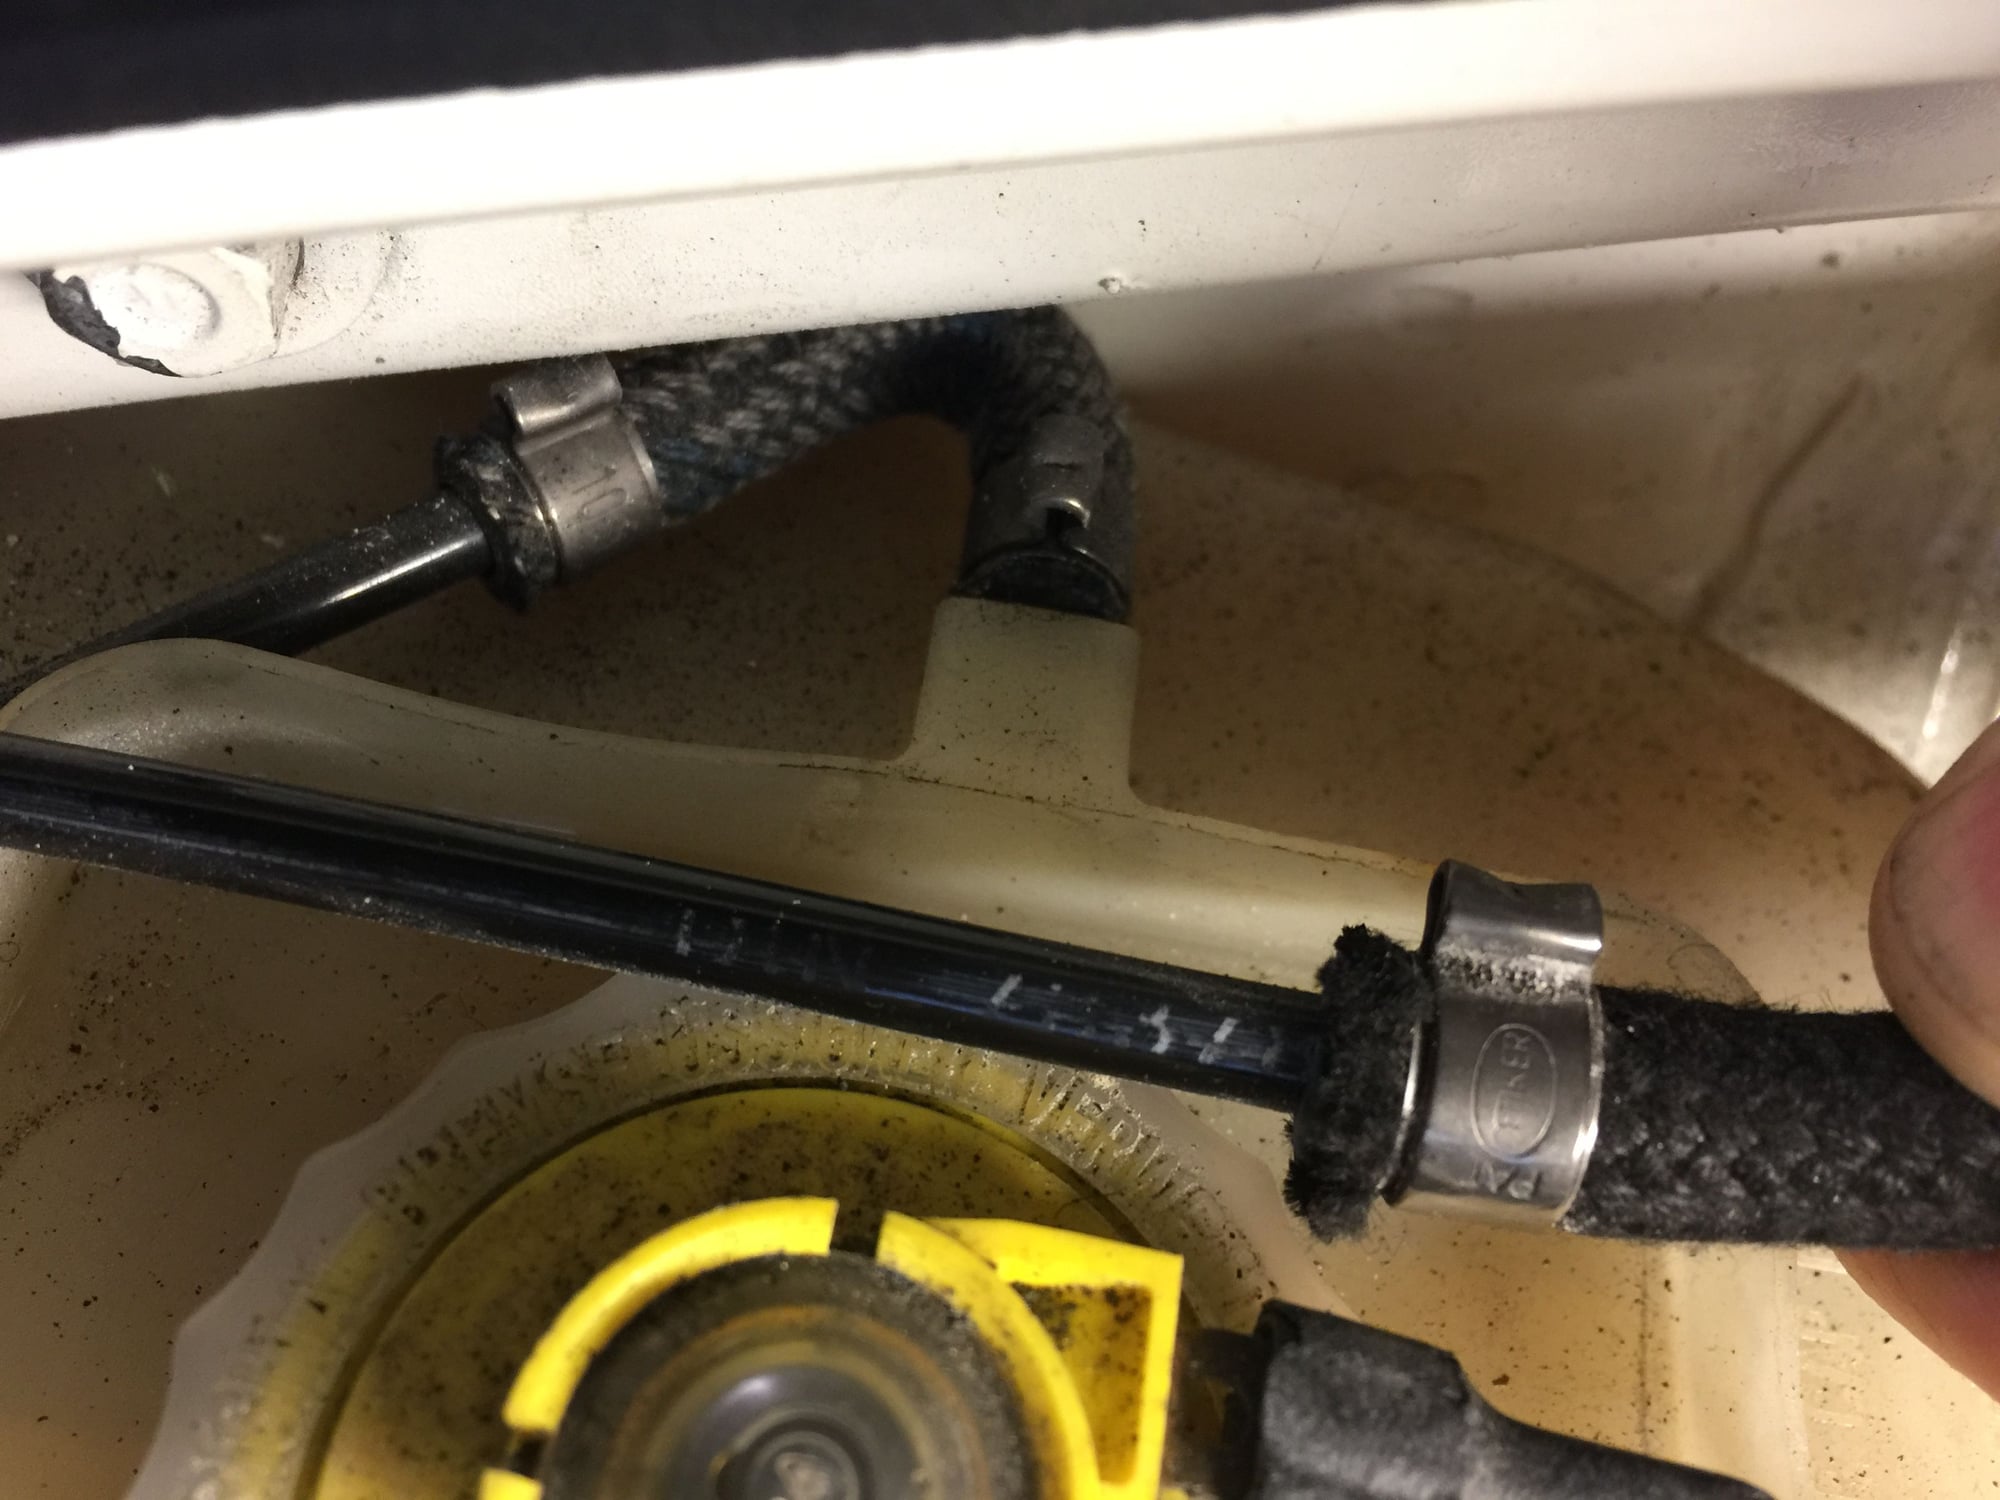
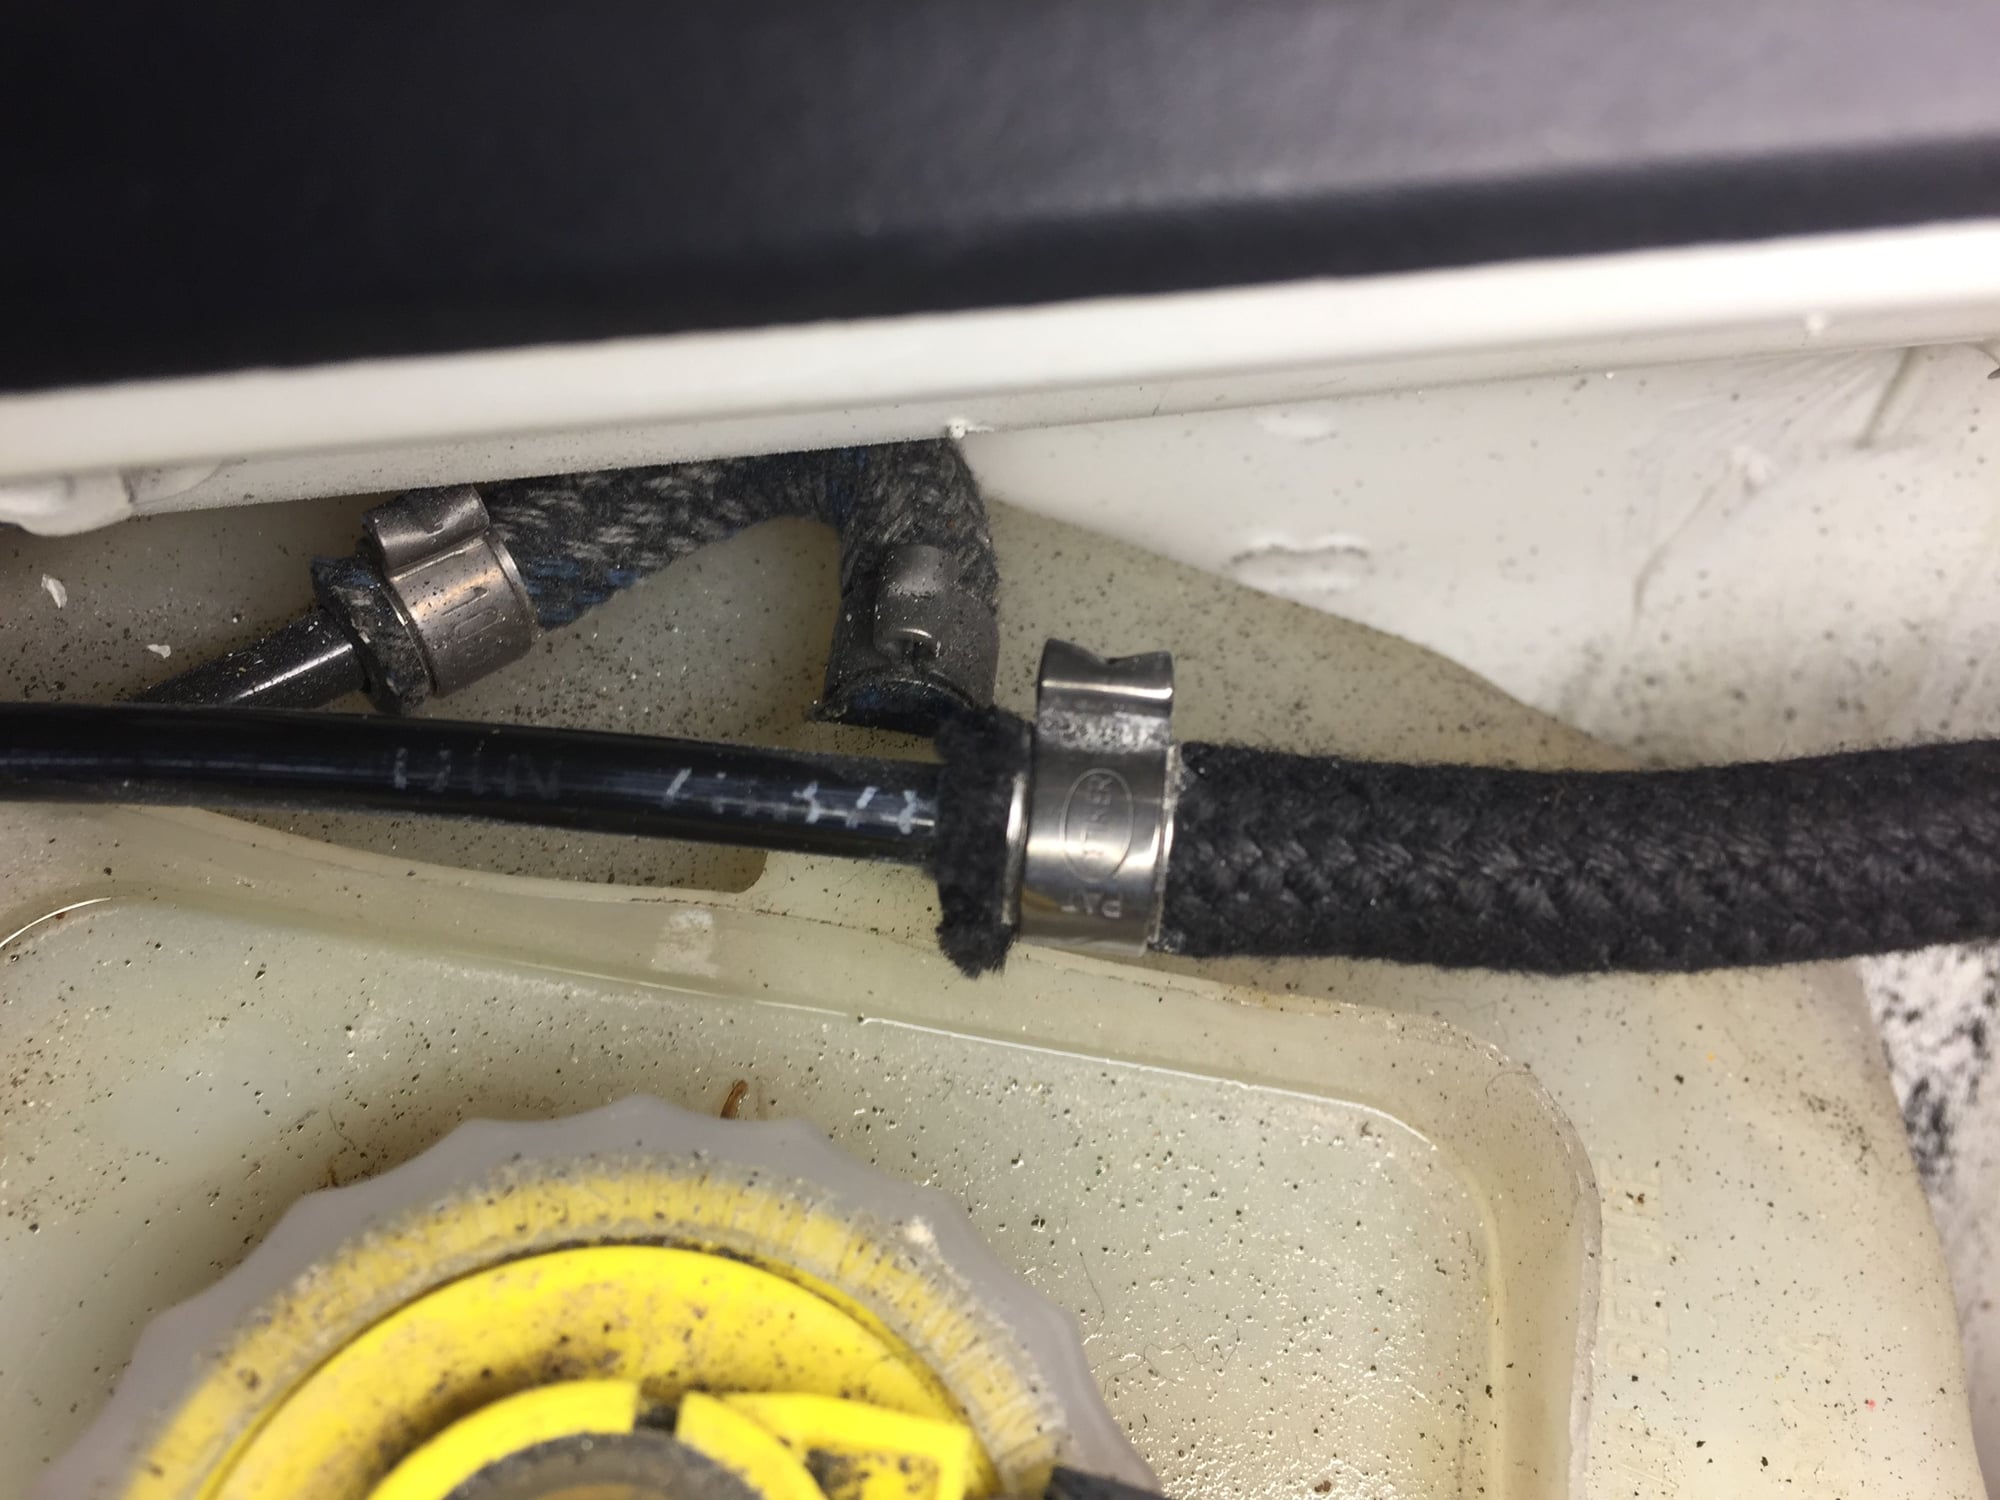
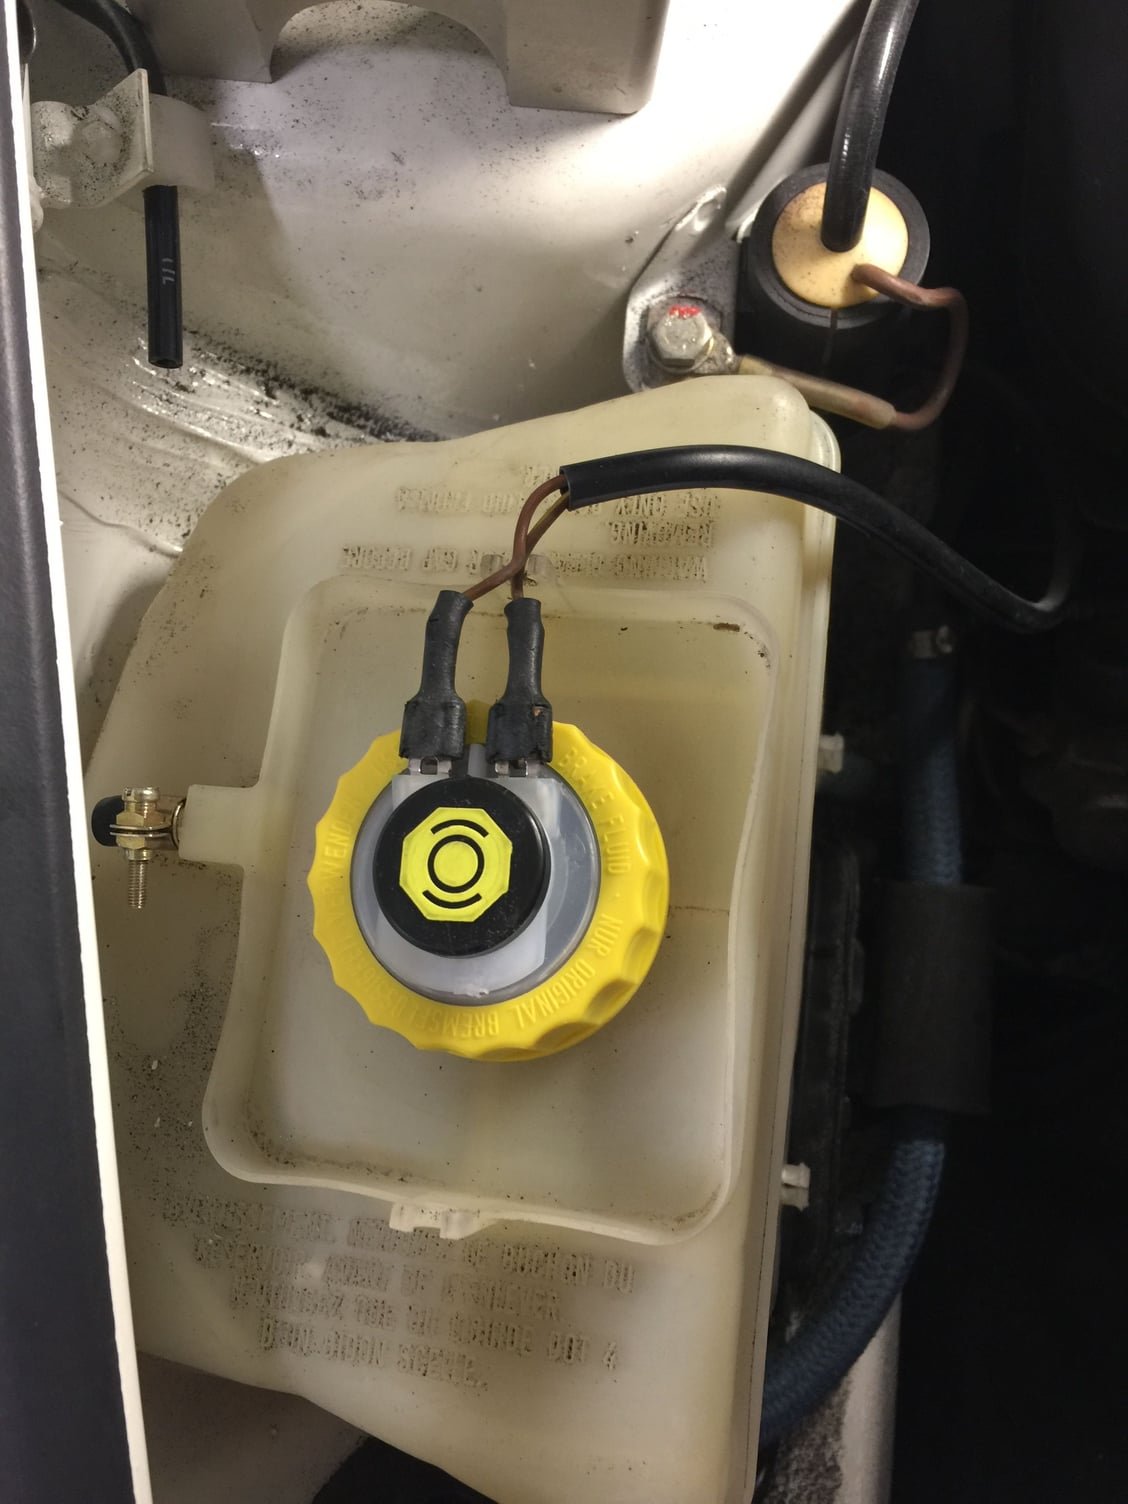
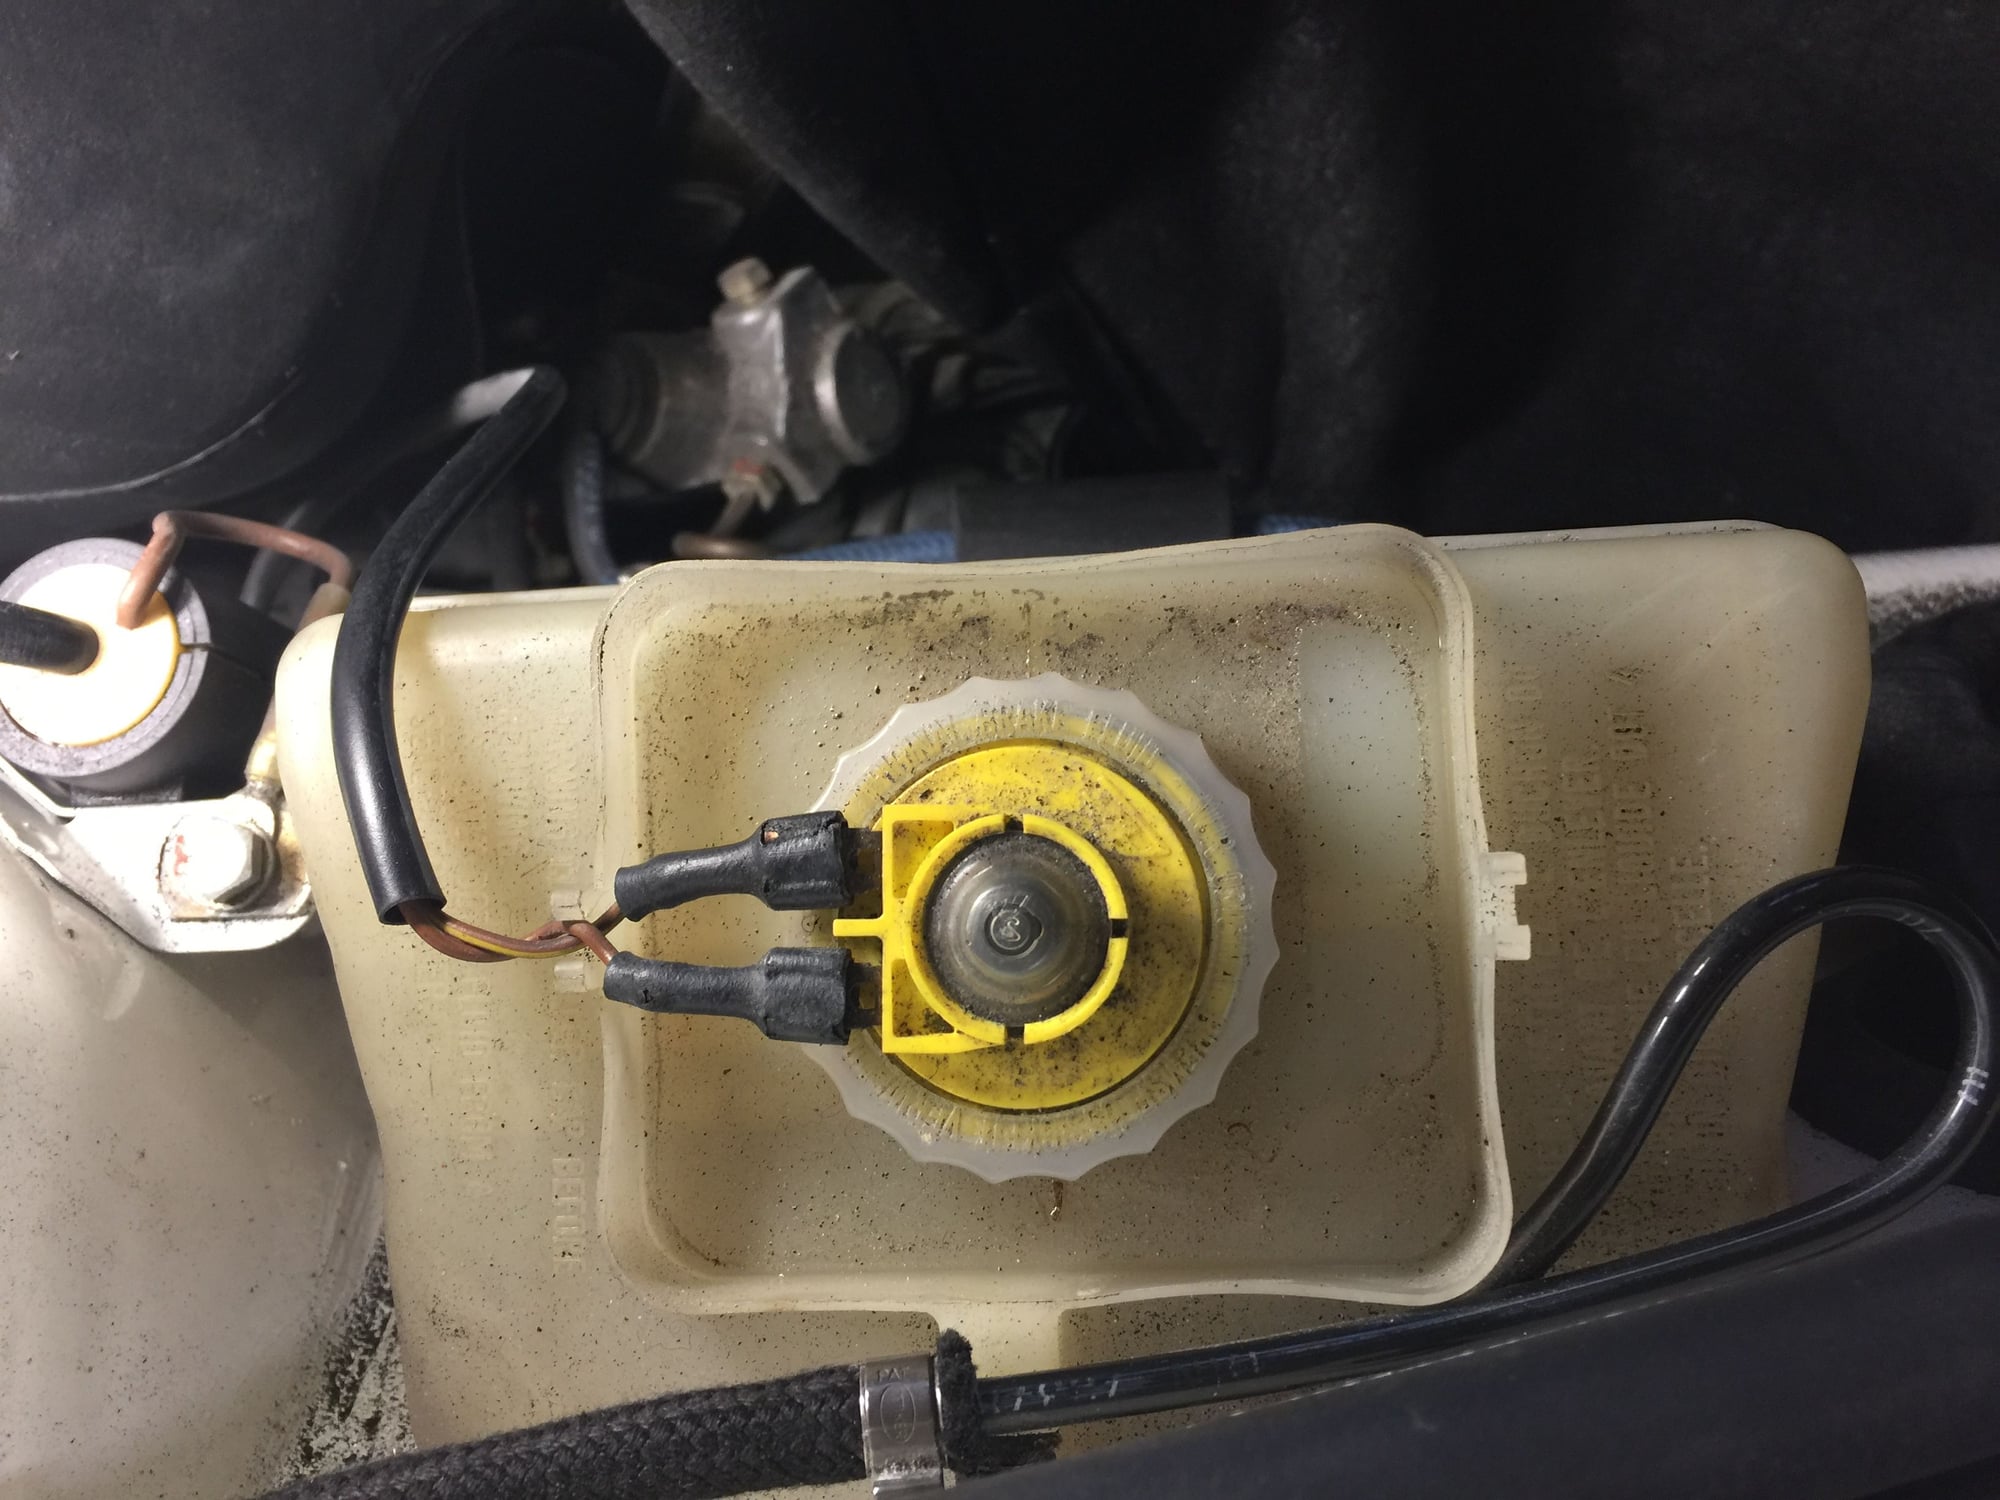
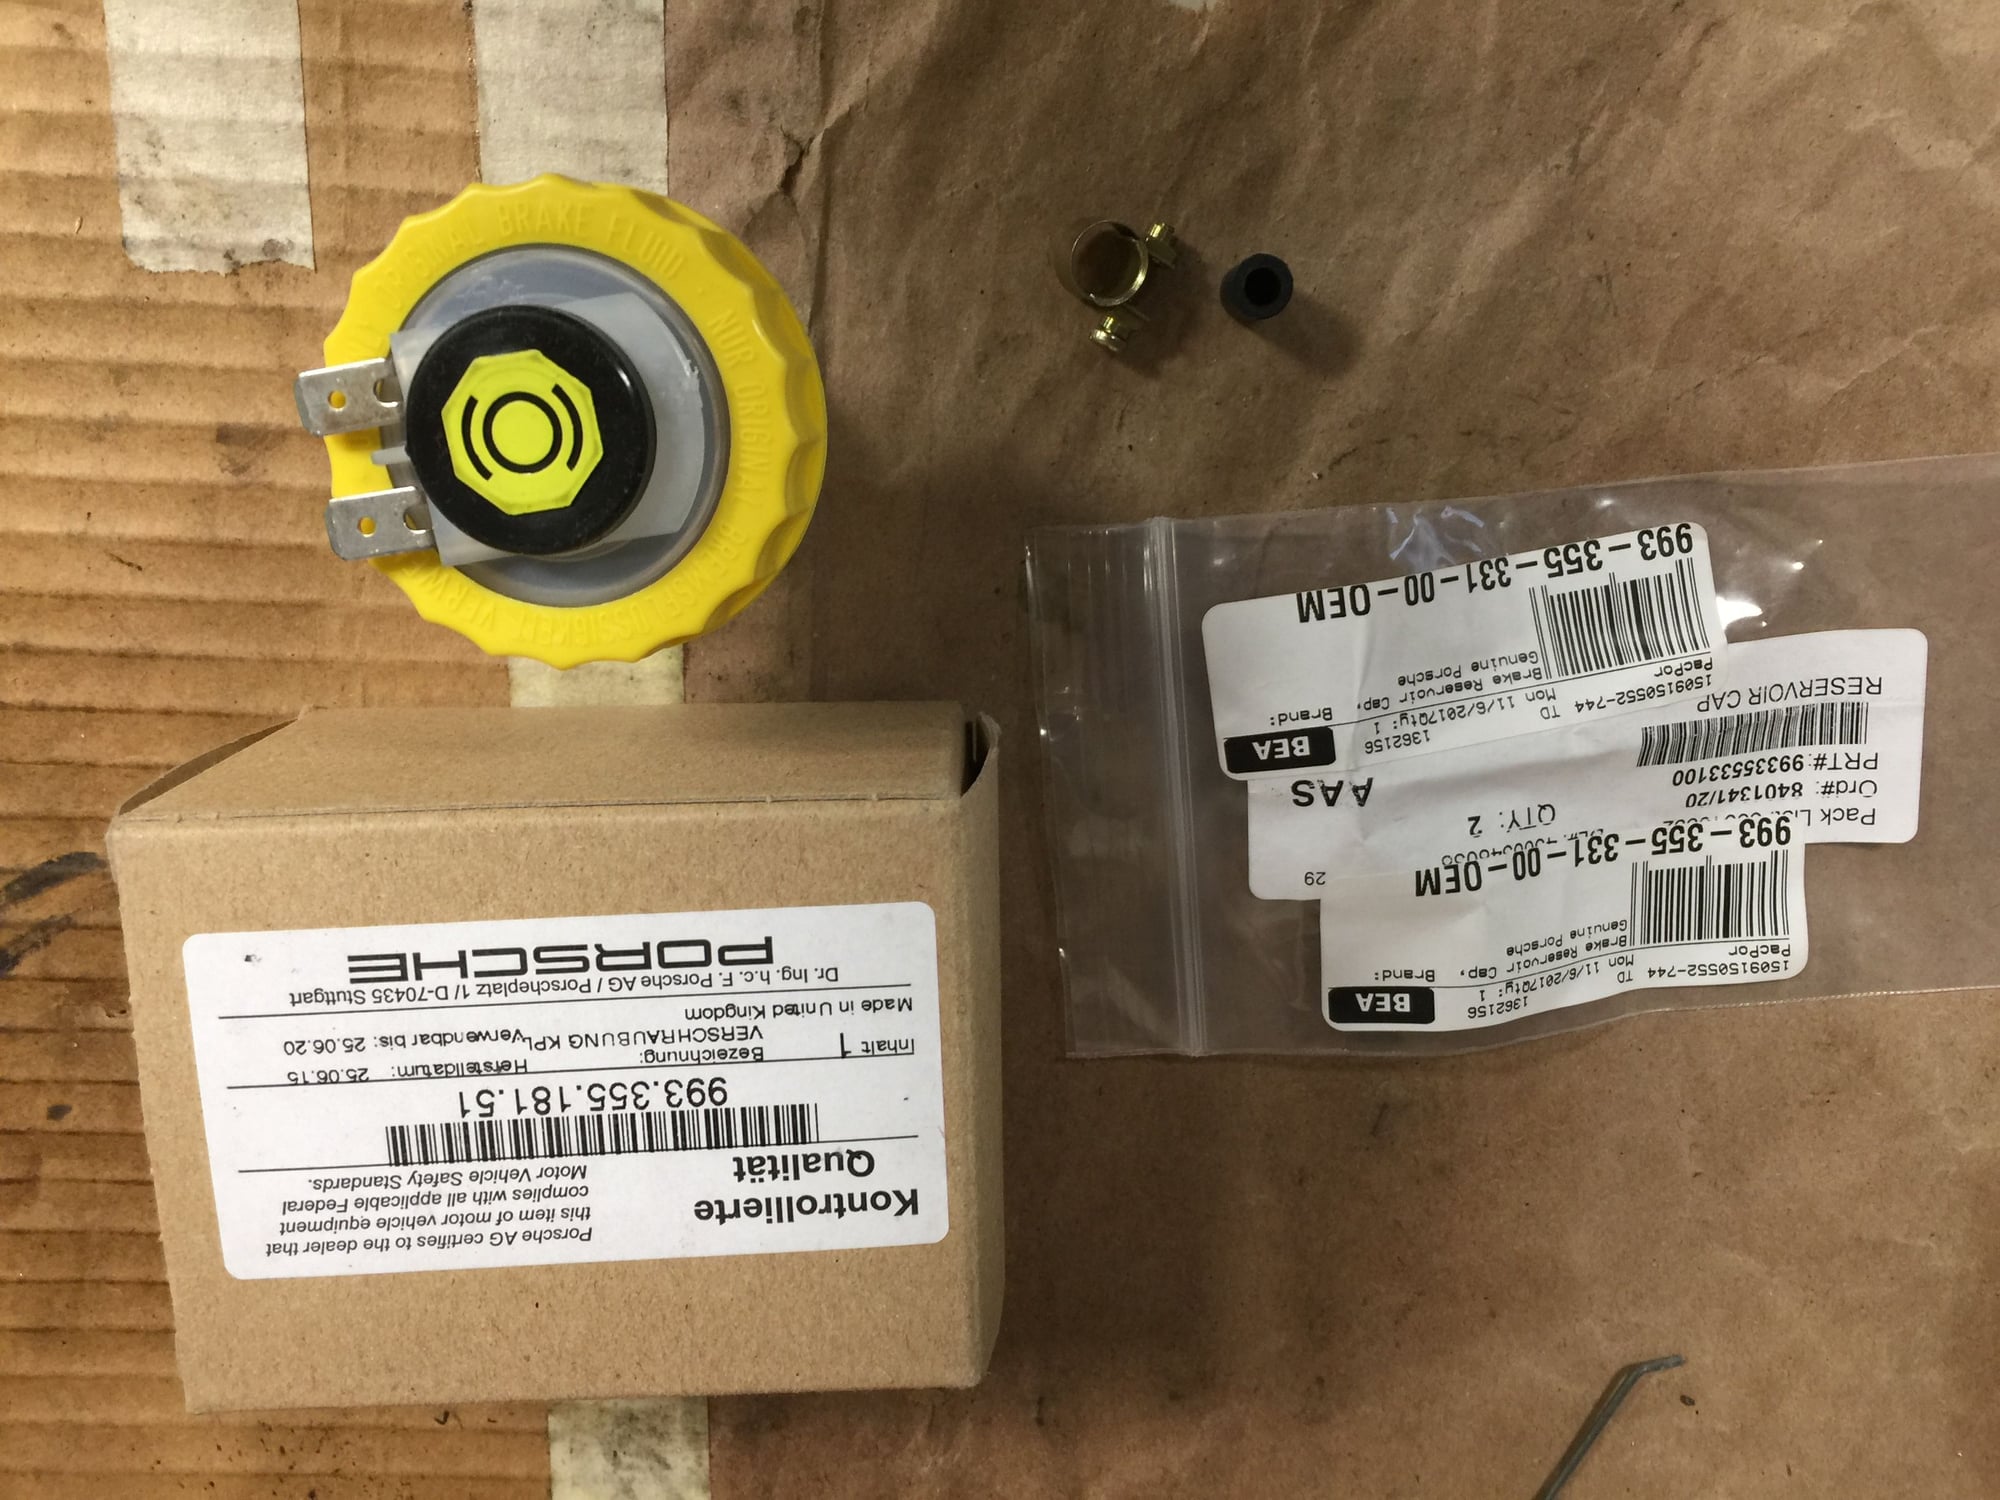
I love improving my car but I'm not so sure this one was smart or worth it. It converts the brake reservoir to a vented cap and no longer requires a clamp on the overflow pipe when using a Motive pressure bleeder.
The real concern I have about this mod is the reservoir overflow blanking method. The rubber plug isn't overly tight and the (expensive) fastener doesn't seem to clamp tightly. I think I'll remove it and use a brake fluid friendly sealant with the cap and fastener to make sure it won't leak fluid over my paint.
Aside from a sexy new cap, I'd say leave this alone, in hindsight.
btw sorry about the pics. The usually reliable garage talk app is giving Internal Server 500 errors and the alternate method is doing something strange to my pics.
#970
Rennlist Member


I love improving my car but I'm not so sure this one was smart or worth it. It converts the brake reservoir to a vented cap and no longer requires a clamp on the overflow pipe when using a Motive pressure bleeder.
The real concern I have about this mod is the reservoir overflow blanking method. The rubber plug isn't overly tight and the (expensive) fastener doesn't seem to clamp tightly. I think I'll remove it and use a brake fluid friendly sealant with the cap and fastener to make sure it won't leak fluid over my paint.
Aside from a sexy new cap, I'd say leave this alone, in hindsight.
btw sorry about the pics. The usually reliable garage talk app is giving Internal Server 500 errors and the alternate method is doing something strange to my pics.
#971
Rennlist Member
Thread Starter
#973
Rennlist Member
Thread Starter
Those clips were difficult to remove so I can see thatís the best solution. In fact if I hadnít destroyed one removing it I probably would have refitted the original system. Iíve kept all of the parts just in case.
#975
Rennlist Member
Thread Starter
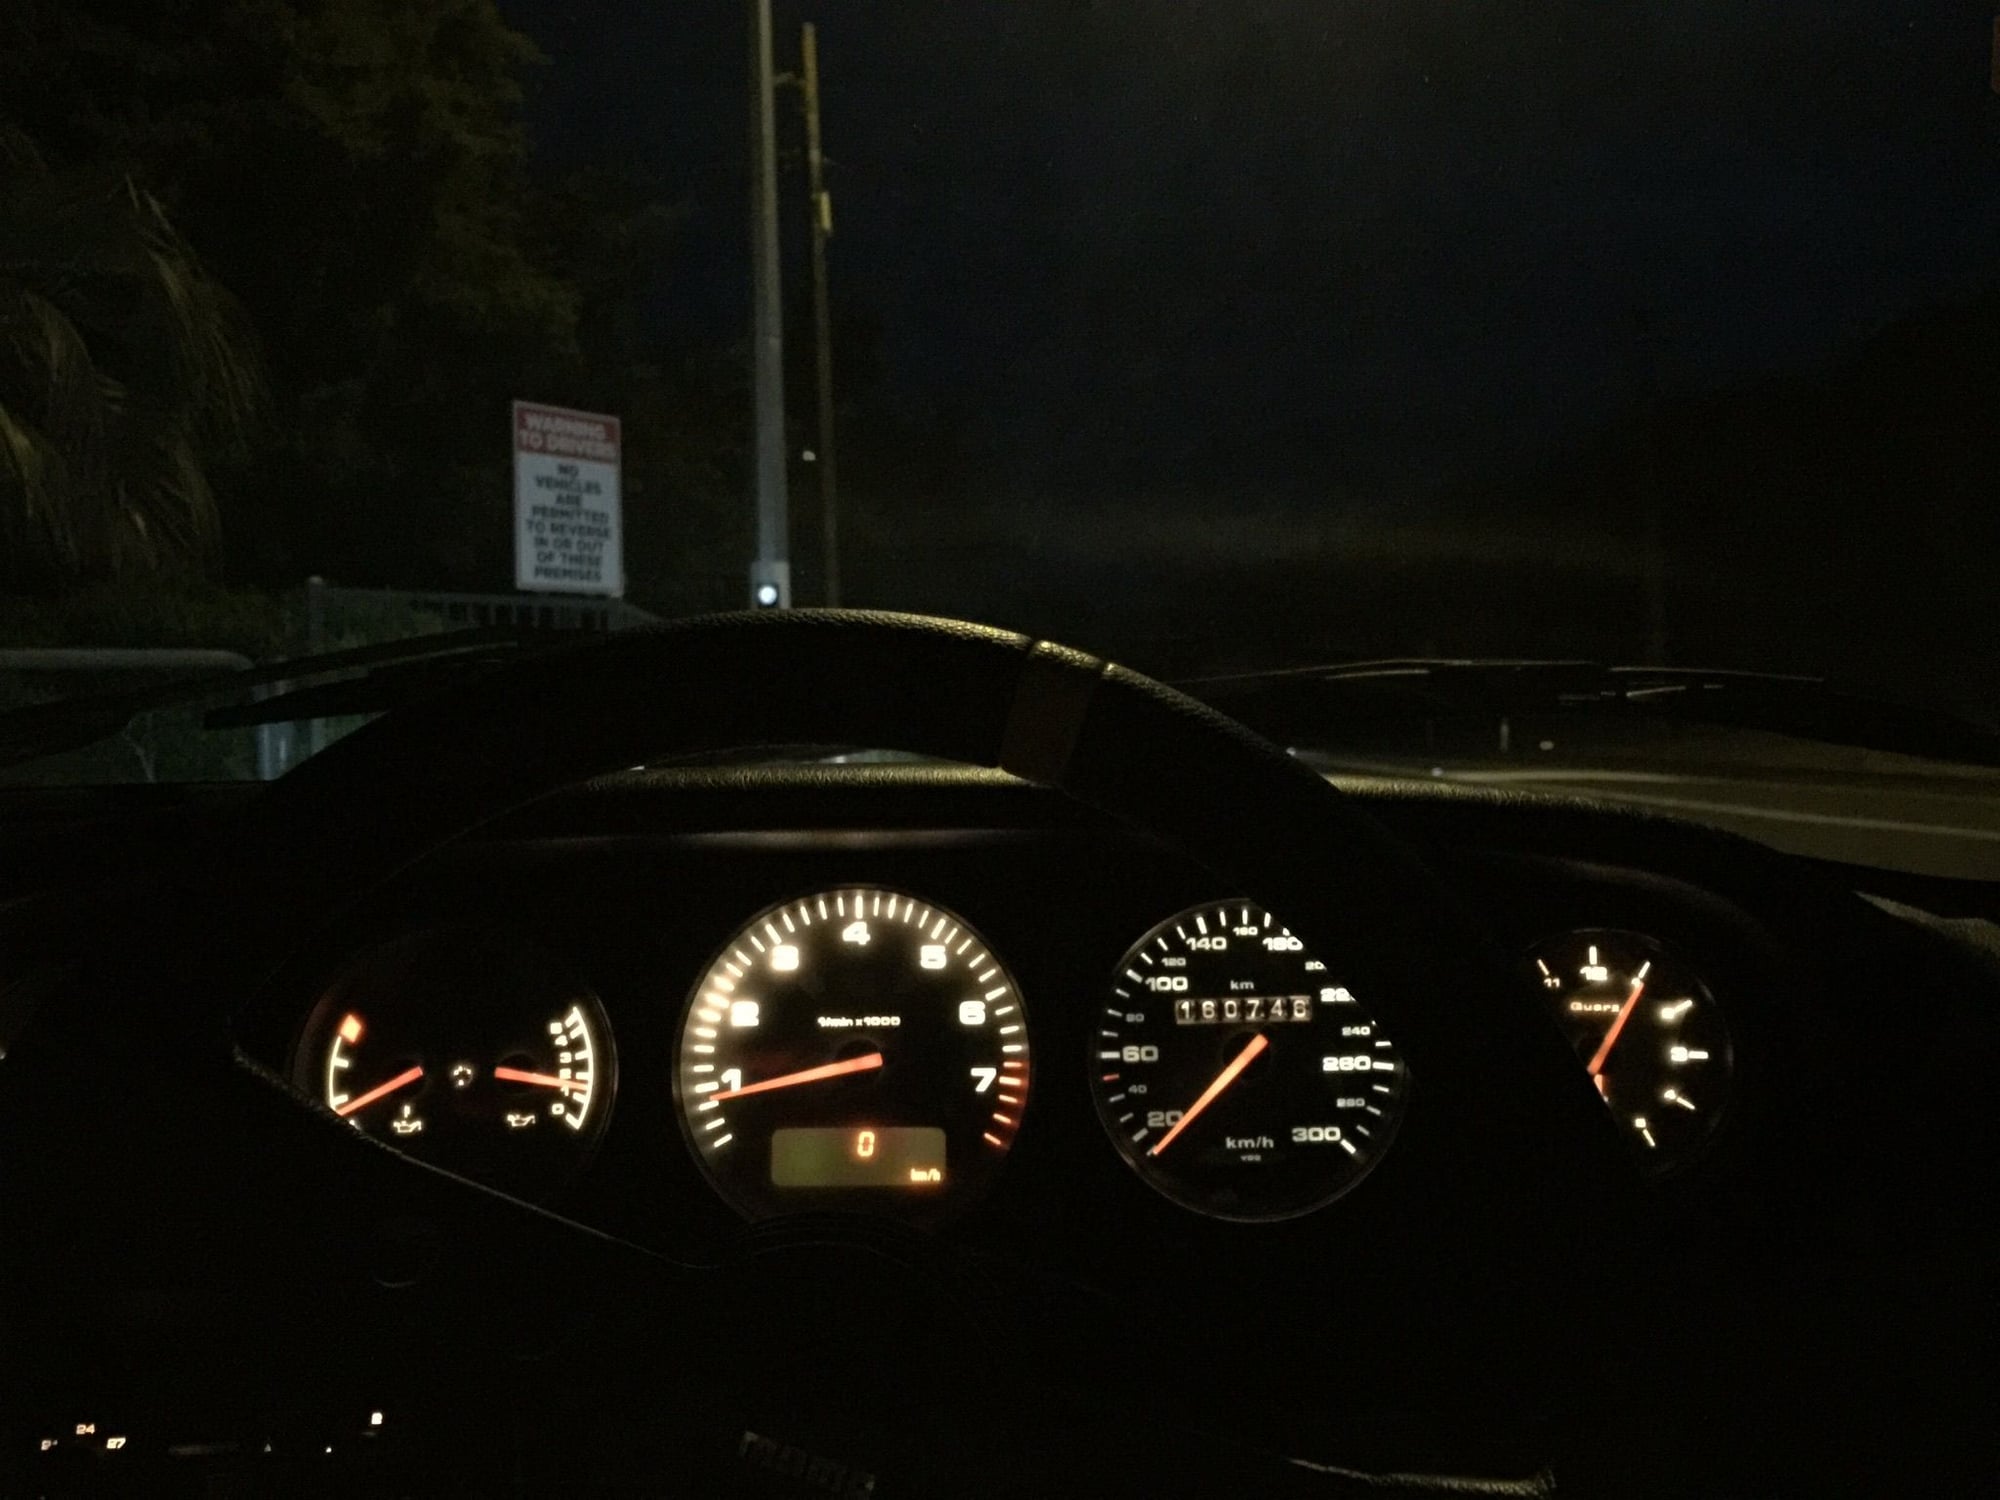
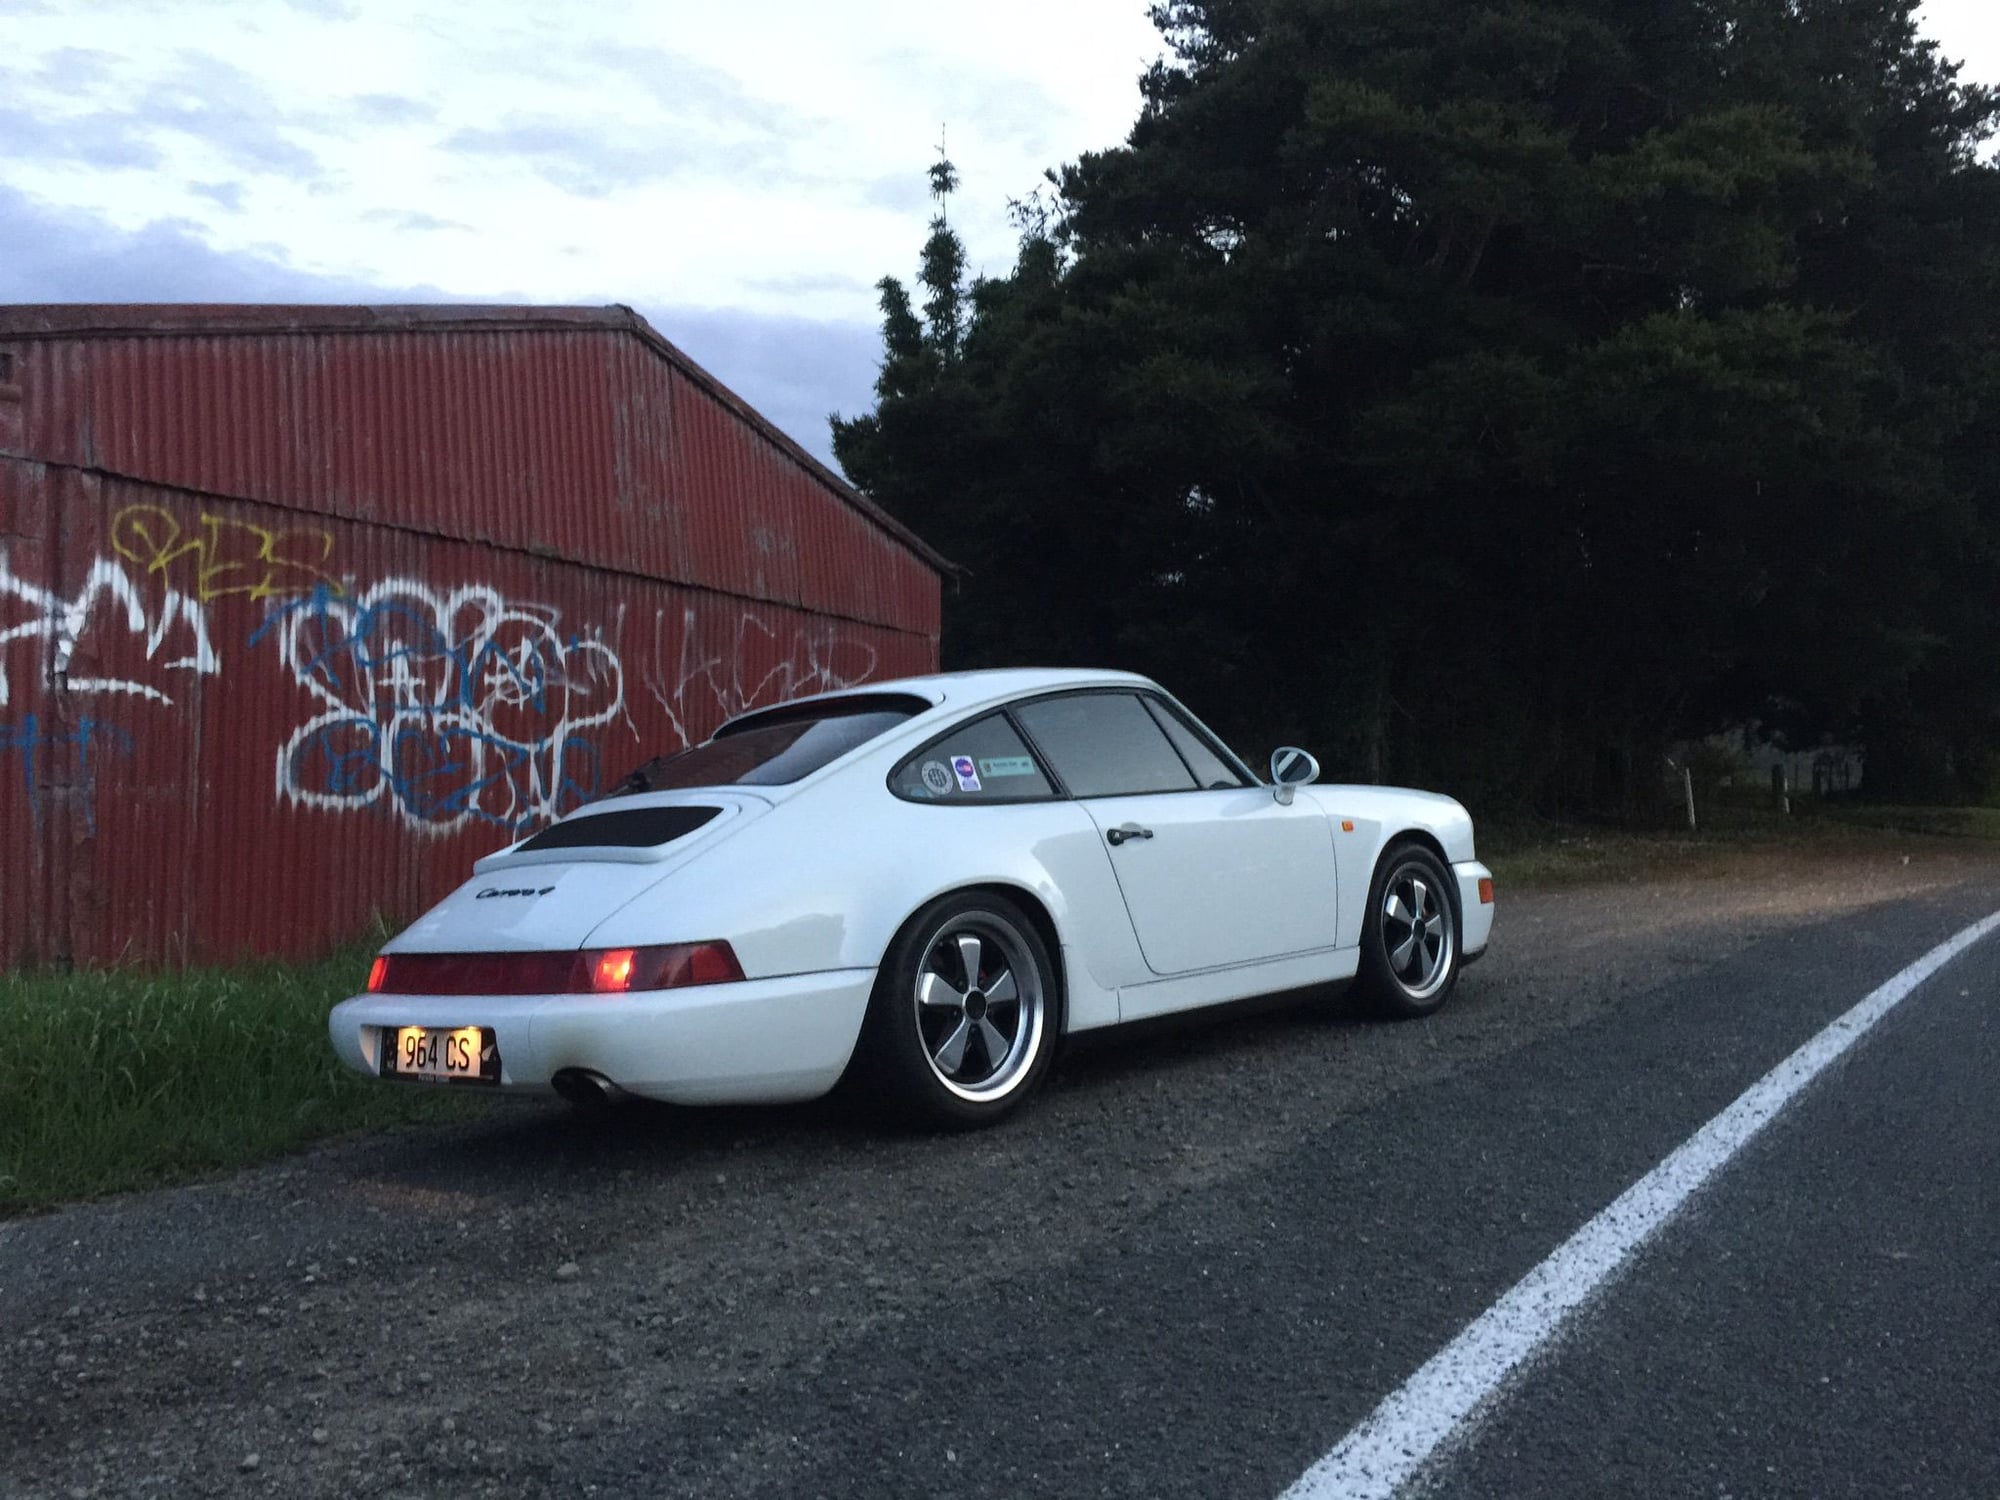
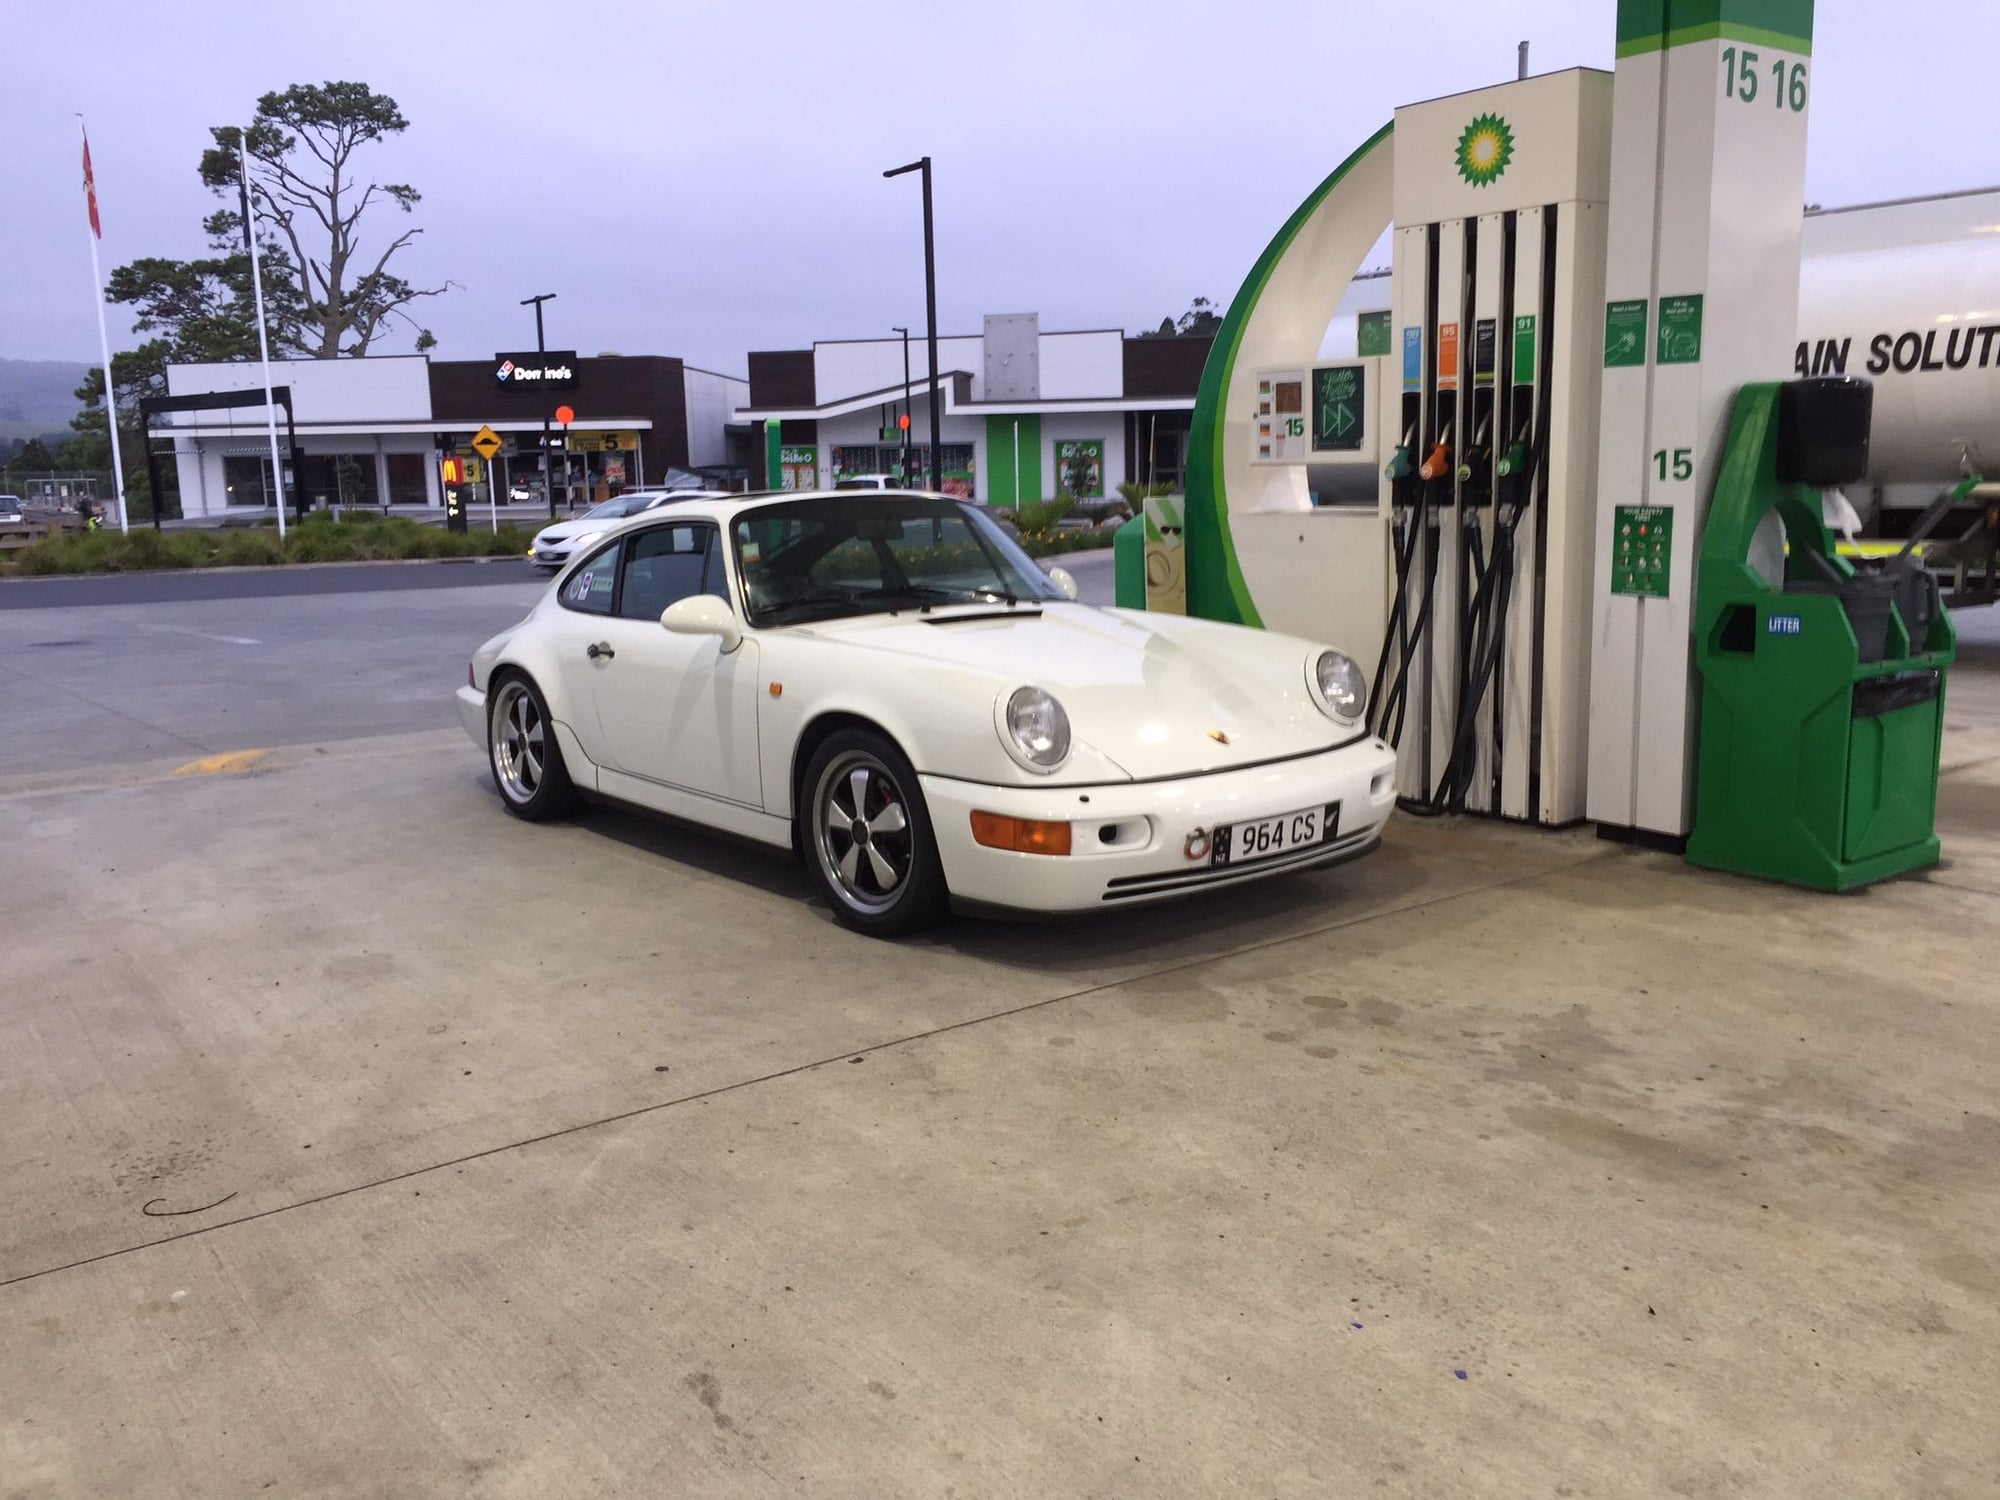


I prefer to only post when I need help or have finished a task so posts have been few and far between. Today I closed off one item though.
I became sick of driving short tentative runs for the running in period and decided to finish it off by running one of my local back road drives and push that growling flat six through the corners for 200km. I started out before Dawn so I had the road to myself. I did a similar run in the afternoon as well so 400km in total. After that, I replaced the running in oil with a high zinc 15w 50. The oil pressure rose noticeably. The old oil condition was uneventful. No shavings. All good.

