964 C4 light refurb
#1141
Rennlist Member
Thread Starter
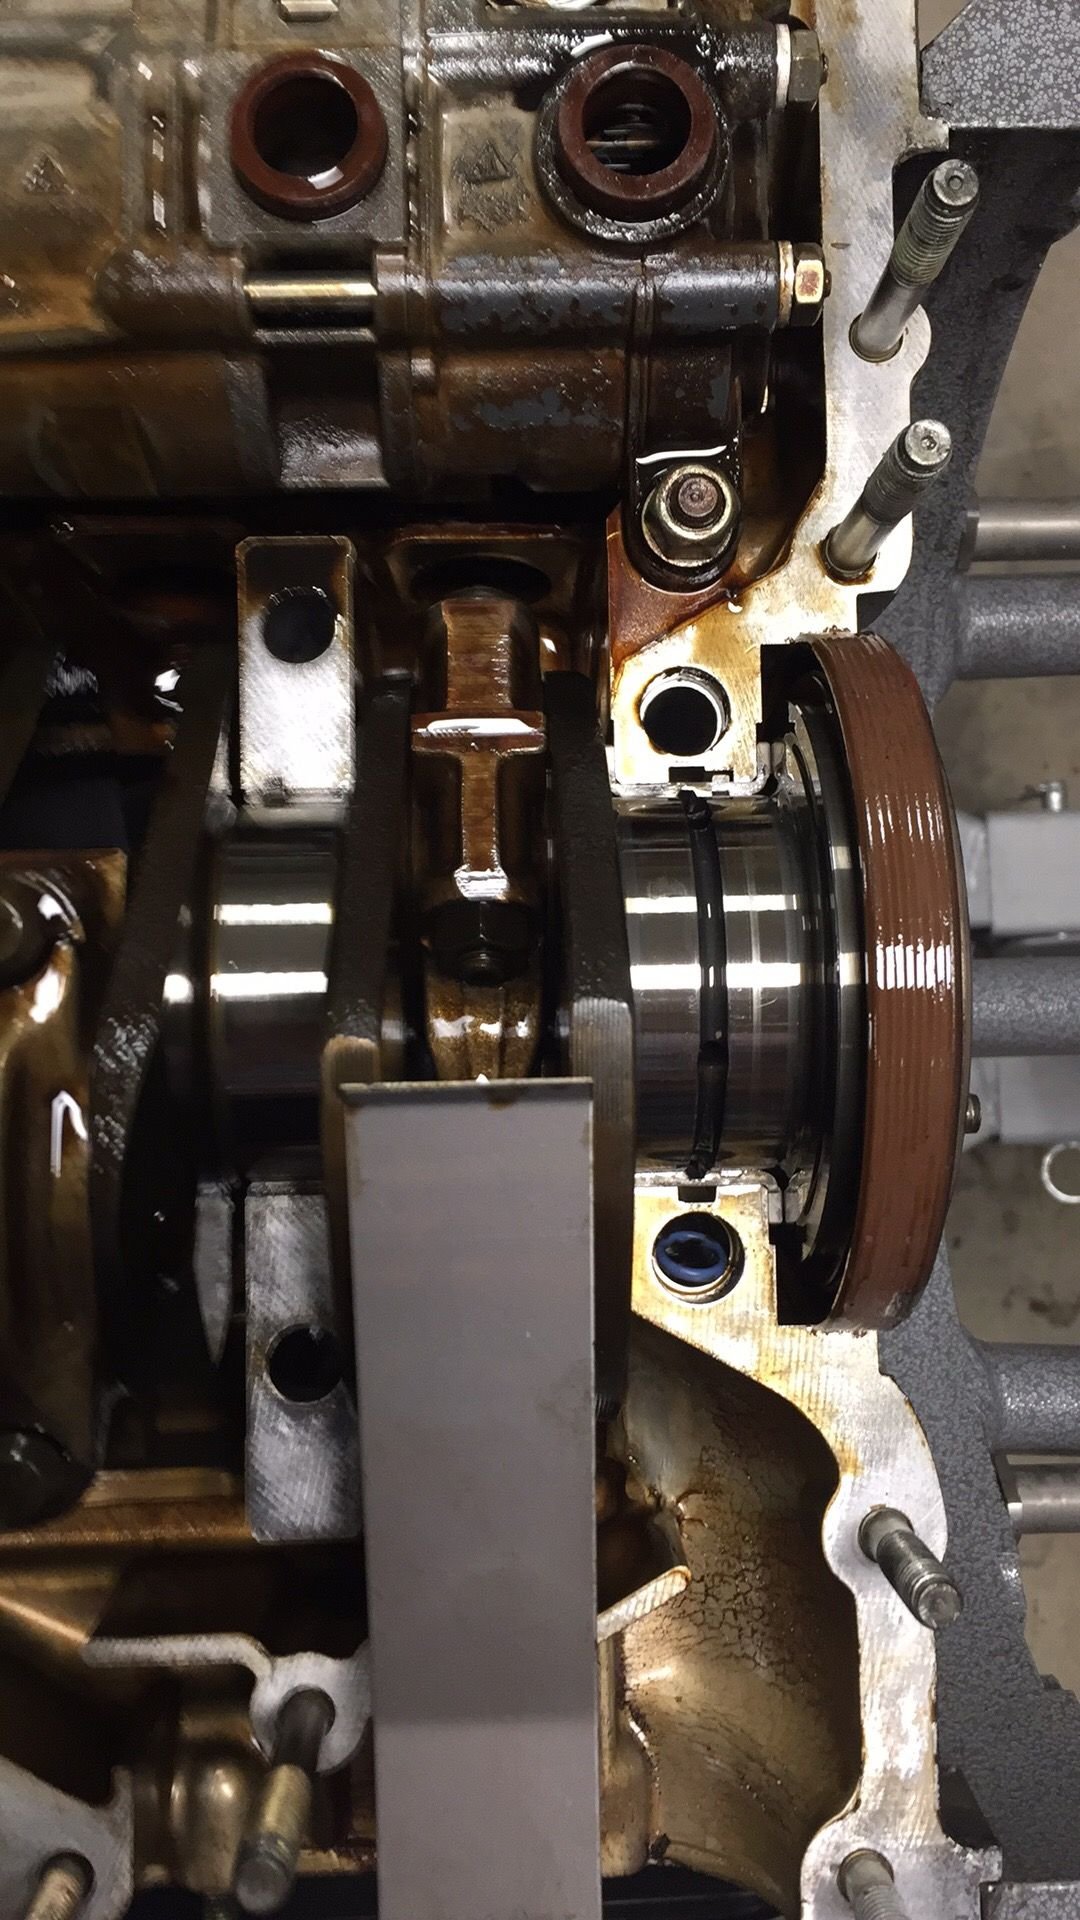
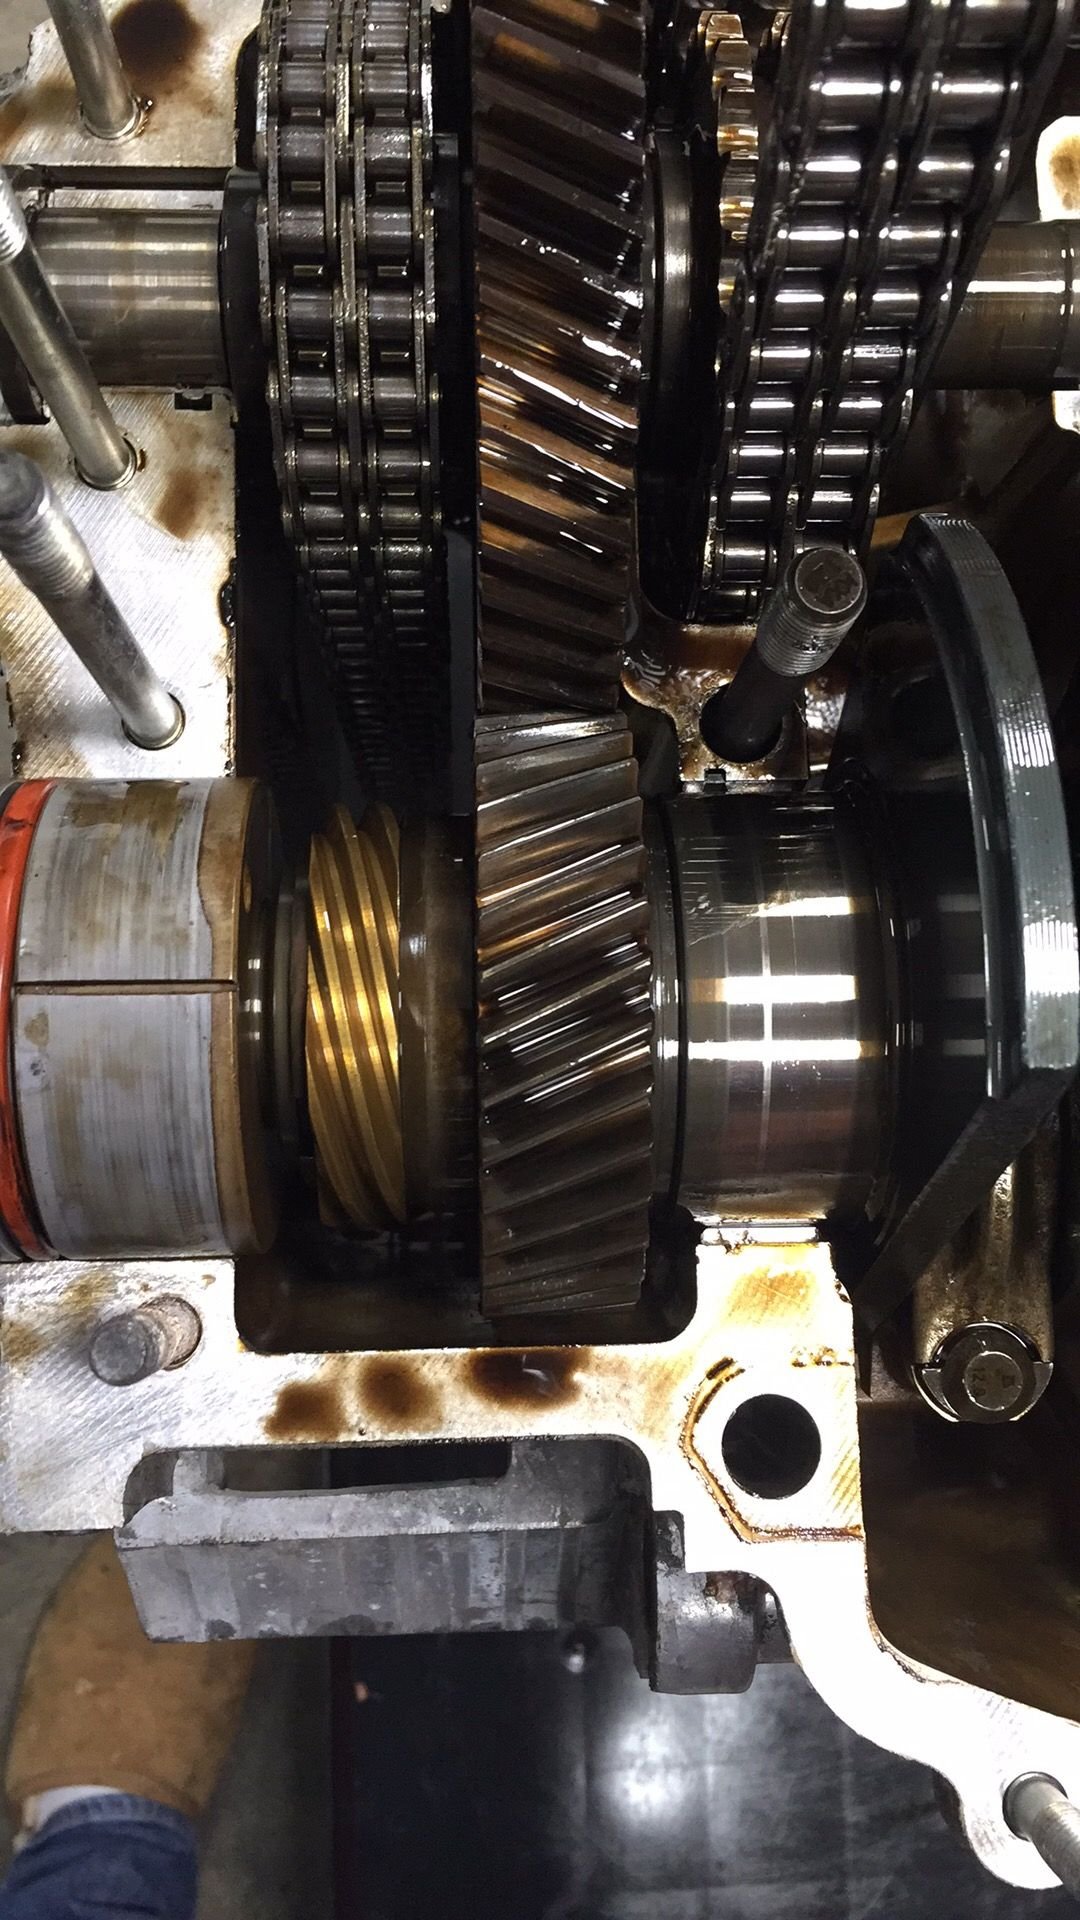
Now that the case is apart, the engine owner is going to take it away for vapour blasting and measurement. The crankshaft will be measured, new rod bushes and bolts fitted, plus new bearings and chains. I have a good feeling based on the condition Iím seeing e.g. the crankshaft journals look absolutely fine.
#1142
The studs are on the other side of the case. Weíre undecided whether we will replace them or not. Iím hoping we will as Iíve never done that part of a rebuild.
As for speed, the figures I have seen indicate that an engine rebuild is 60 hours labour when the engine needs to be removed and refitted in the car. So itís between 42 and 45 hours of labour to dismantle, clean and reassemble an engine.
My first rebuild was slow because I wasnít sure how things came apart and was constantly off to the tool shop looking for items e.g. 10mm sockets with a thin wall to take the chain retainer cover off. This time I knew what the sequence was, I had the tools and the various bolts, nuts and connectors didnít put up a fight. It also helped that the engine owner had removed the exhaust system and headers as that can be time consuming, requiring heat to remove nuts.
Given that the time component of a rebuild is fairly constant, Iím going to document the parts cost with this rebuild so that there is a data point for others to view. I have a degree of sympathy for mechanics where someone goes in and says I wonít pay any more than $X because thatís what is reasonable based on what it cost Y. No two rebuilds are exactly the same and there are ways to save money e.g. donít replace rod bolts, bearings, chain guides and chains, which are crazy in the long term but you could get away with it if just flicking the car after the build.
#1143
Rennlist Member
Thread Starter
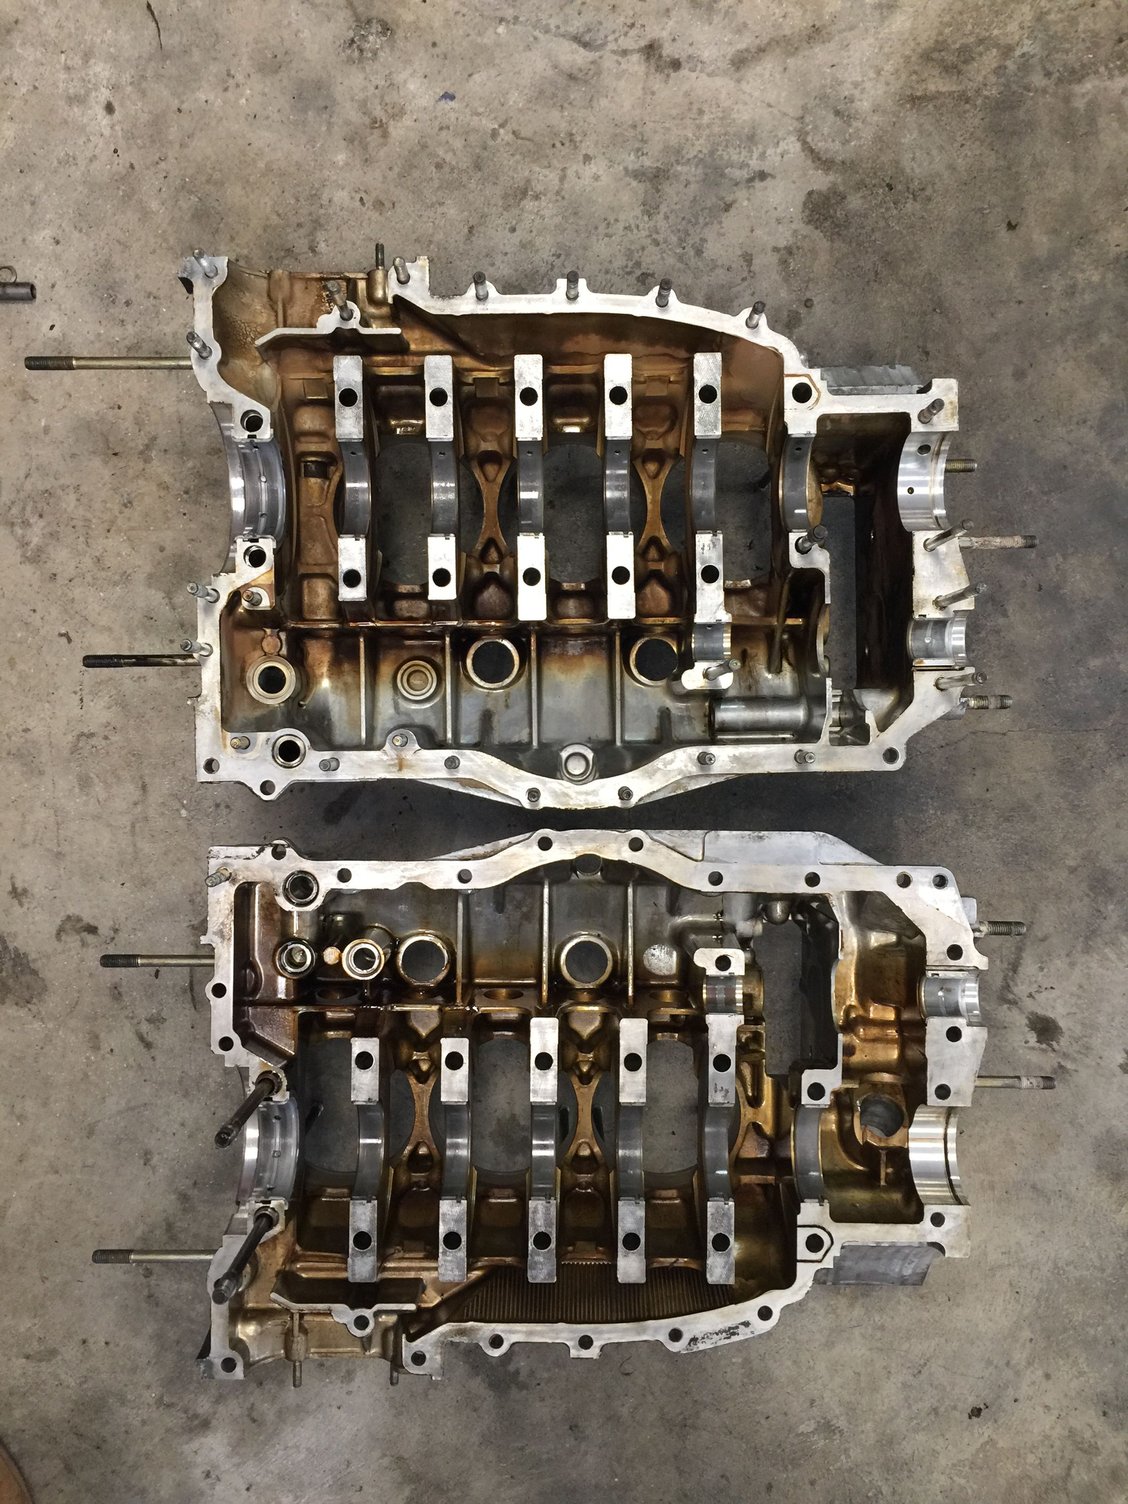
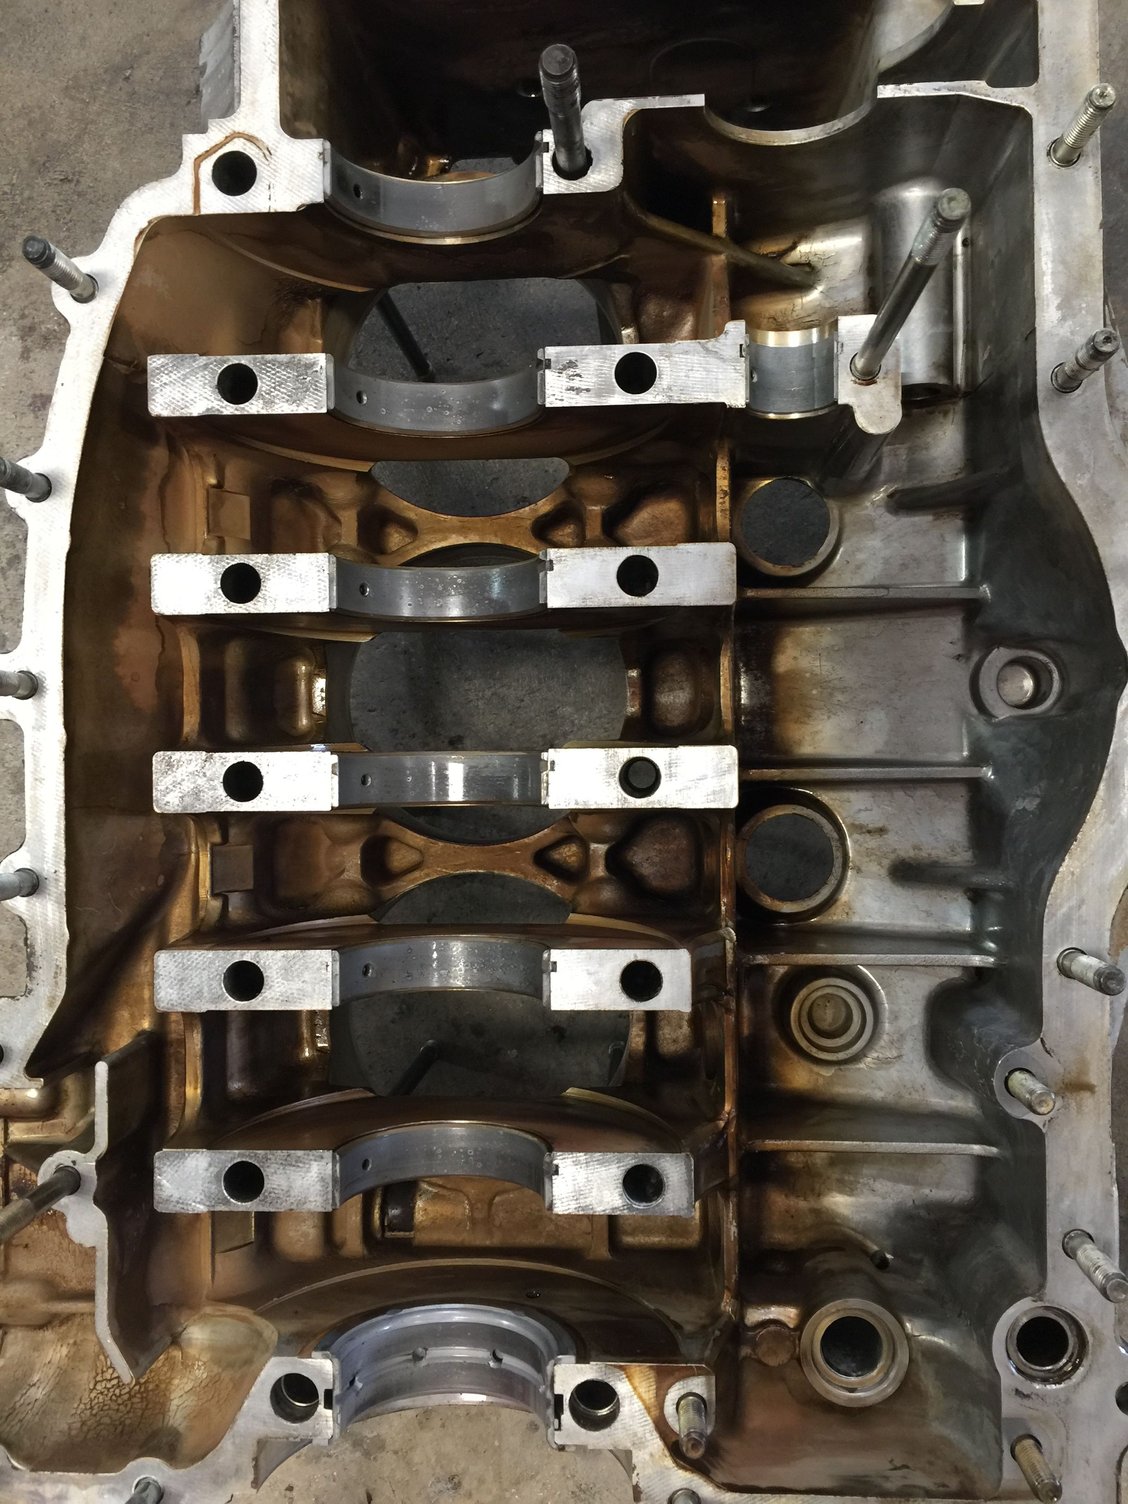
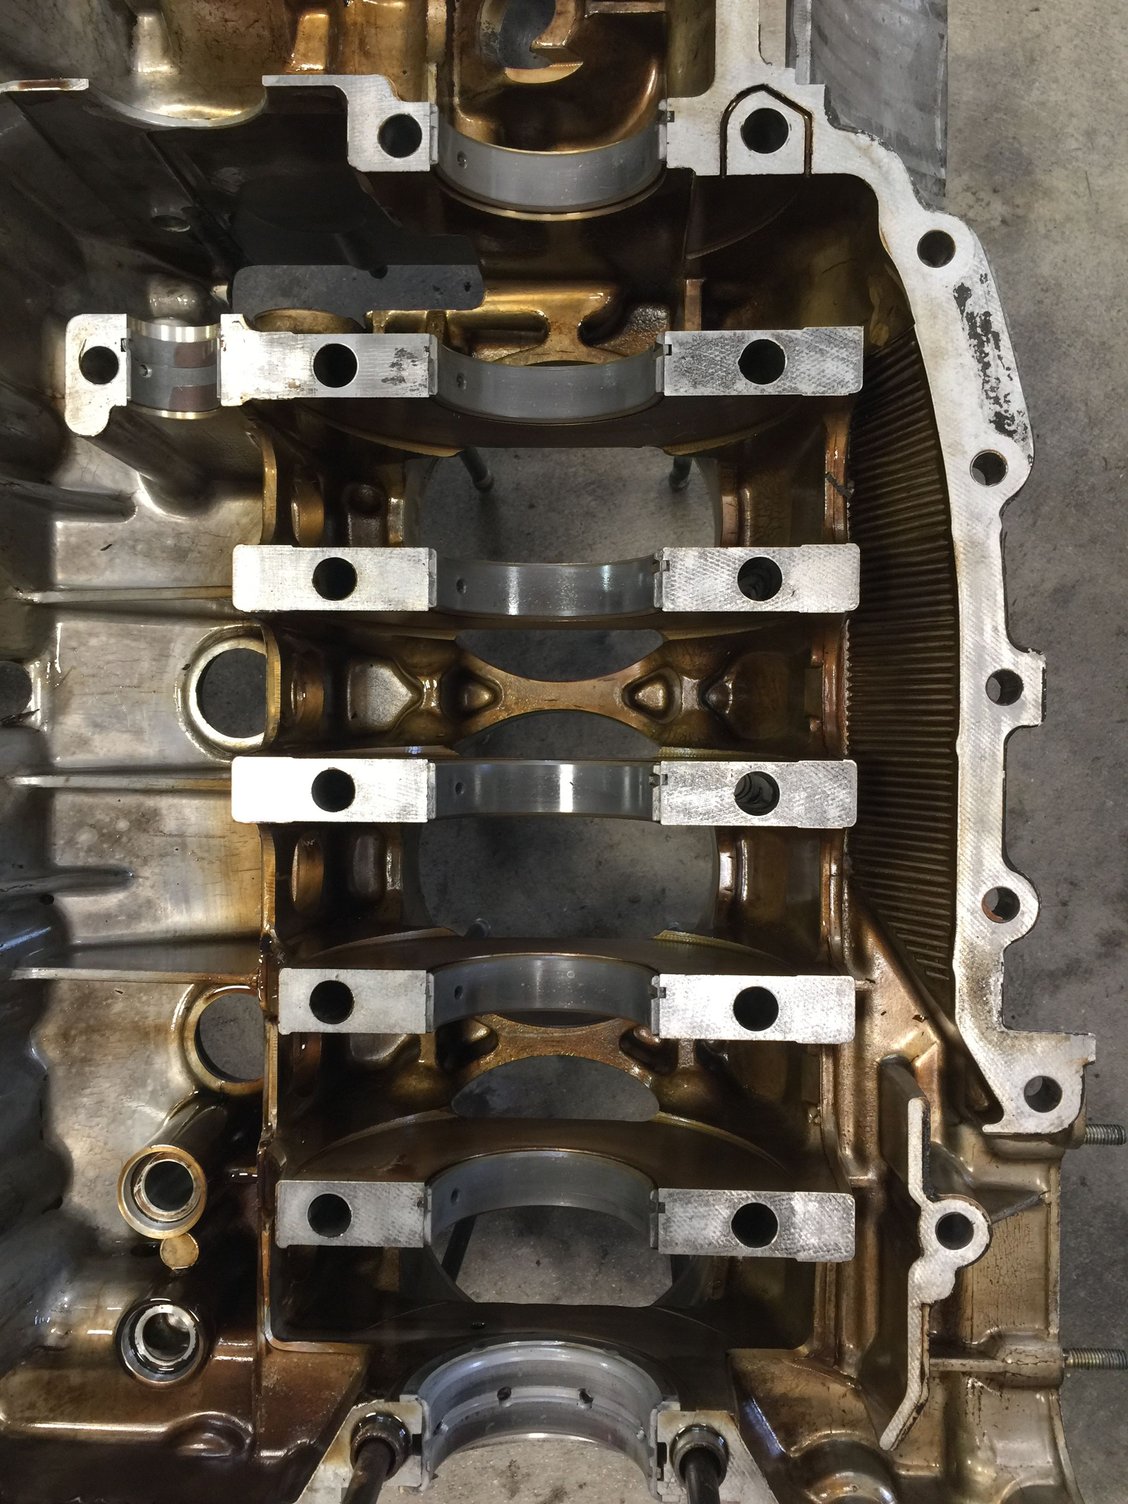
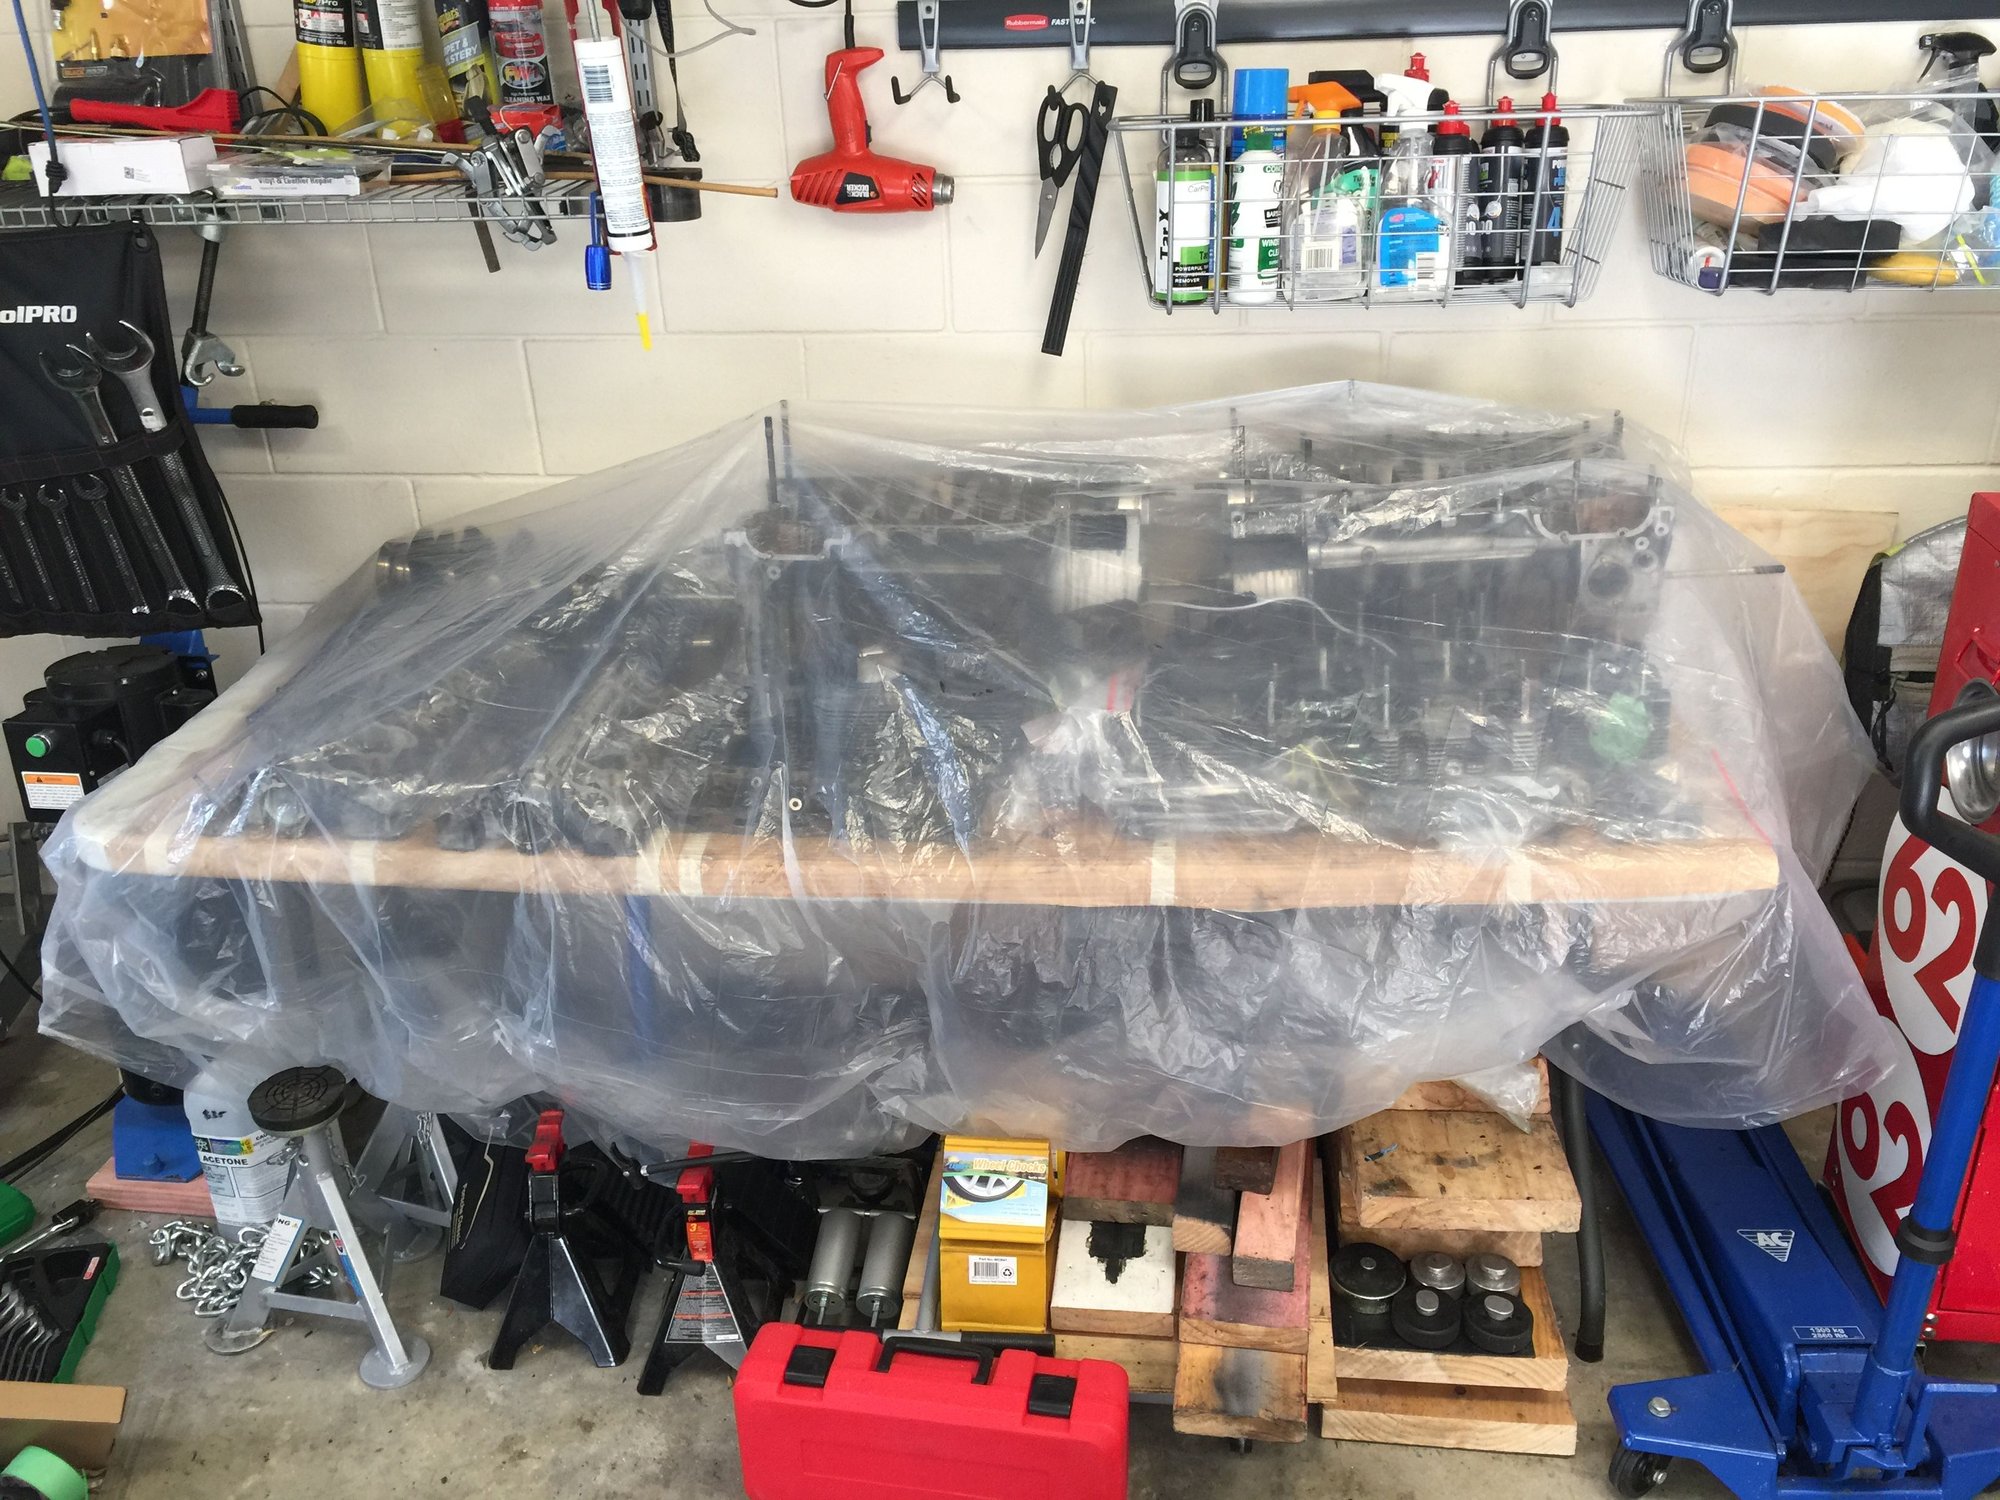
The engine owner is overwhelmed with the other engine items he wants to clean so I pulled the crank, ims and oil pump and put everything under cover.
I expect it will be months until the next move. In the meantime I can go and take an occasional peek. Those bearings look very good for 28 years of wear, so I expect the crank will measure up ok.
#1144
Rennlist Member
Thread Starter
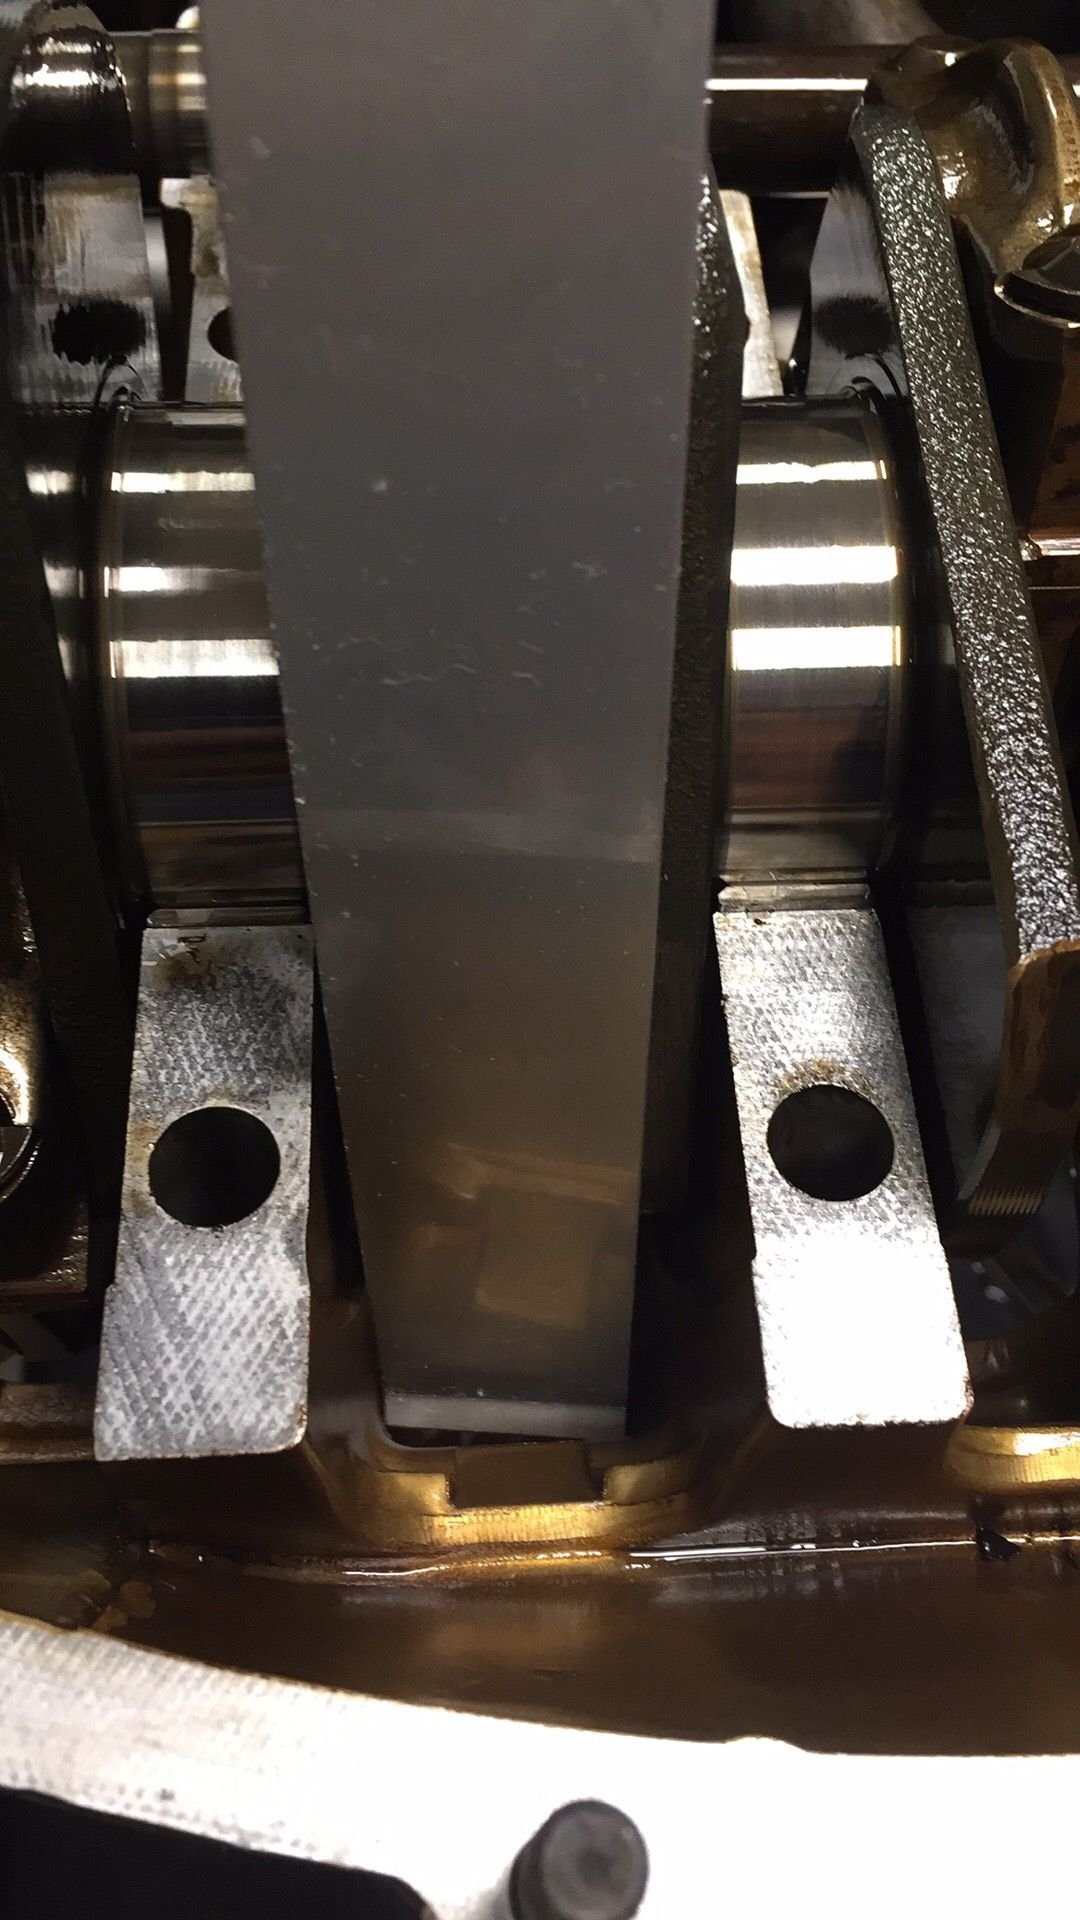
Just a point I noticed when cleaning the case with parts cleaner, the coat of 574 on what I expect is a factory build is very light. Evidently there is no need to overdo the 574 when resealing
#1145
This information is golden for a newbie like me. If you have the time to post up a summarization of the tools required as well as consumables to have on hand before starting it would be very much appreciated.
I find New Zealand to be quite fascinating and if I ever do make it over Iíd be privileged to buy you a beverage of your choice! Likewise if youíre ever in JapanÖÖ
I find New Zealand to be quite fascinating and if I ever do make it over Iíd be privileged to buy you a beverage of your choice! Likewise if youíre ever in JapanÖÖ
Pete
#1146
Rennlist Member
Thread Starter
This information is golden for a newbie like me. If you have the time to post up a summarization of the tools required as well as consumables to have on hand before starting it would be very much appreciated.
I find New Zealand to be quite fascinating and if I ever do make it over Iíd be privileged to buy you a beverage of your choice! Likewise if youíre ever in JapanÖÖ
I find New Zealand to be quite fascinating and if I ever do make it over Iíd be privileged to buy you a beverage of your choice! Likewise if youíre ever in JapanÖÖ
Pete
#1147
Rennlist Member
Thread Starter
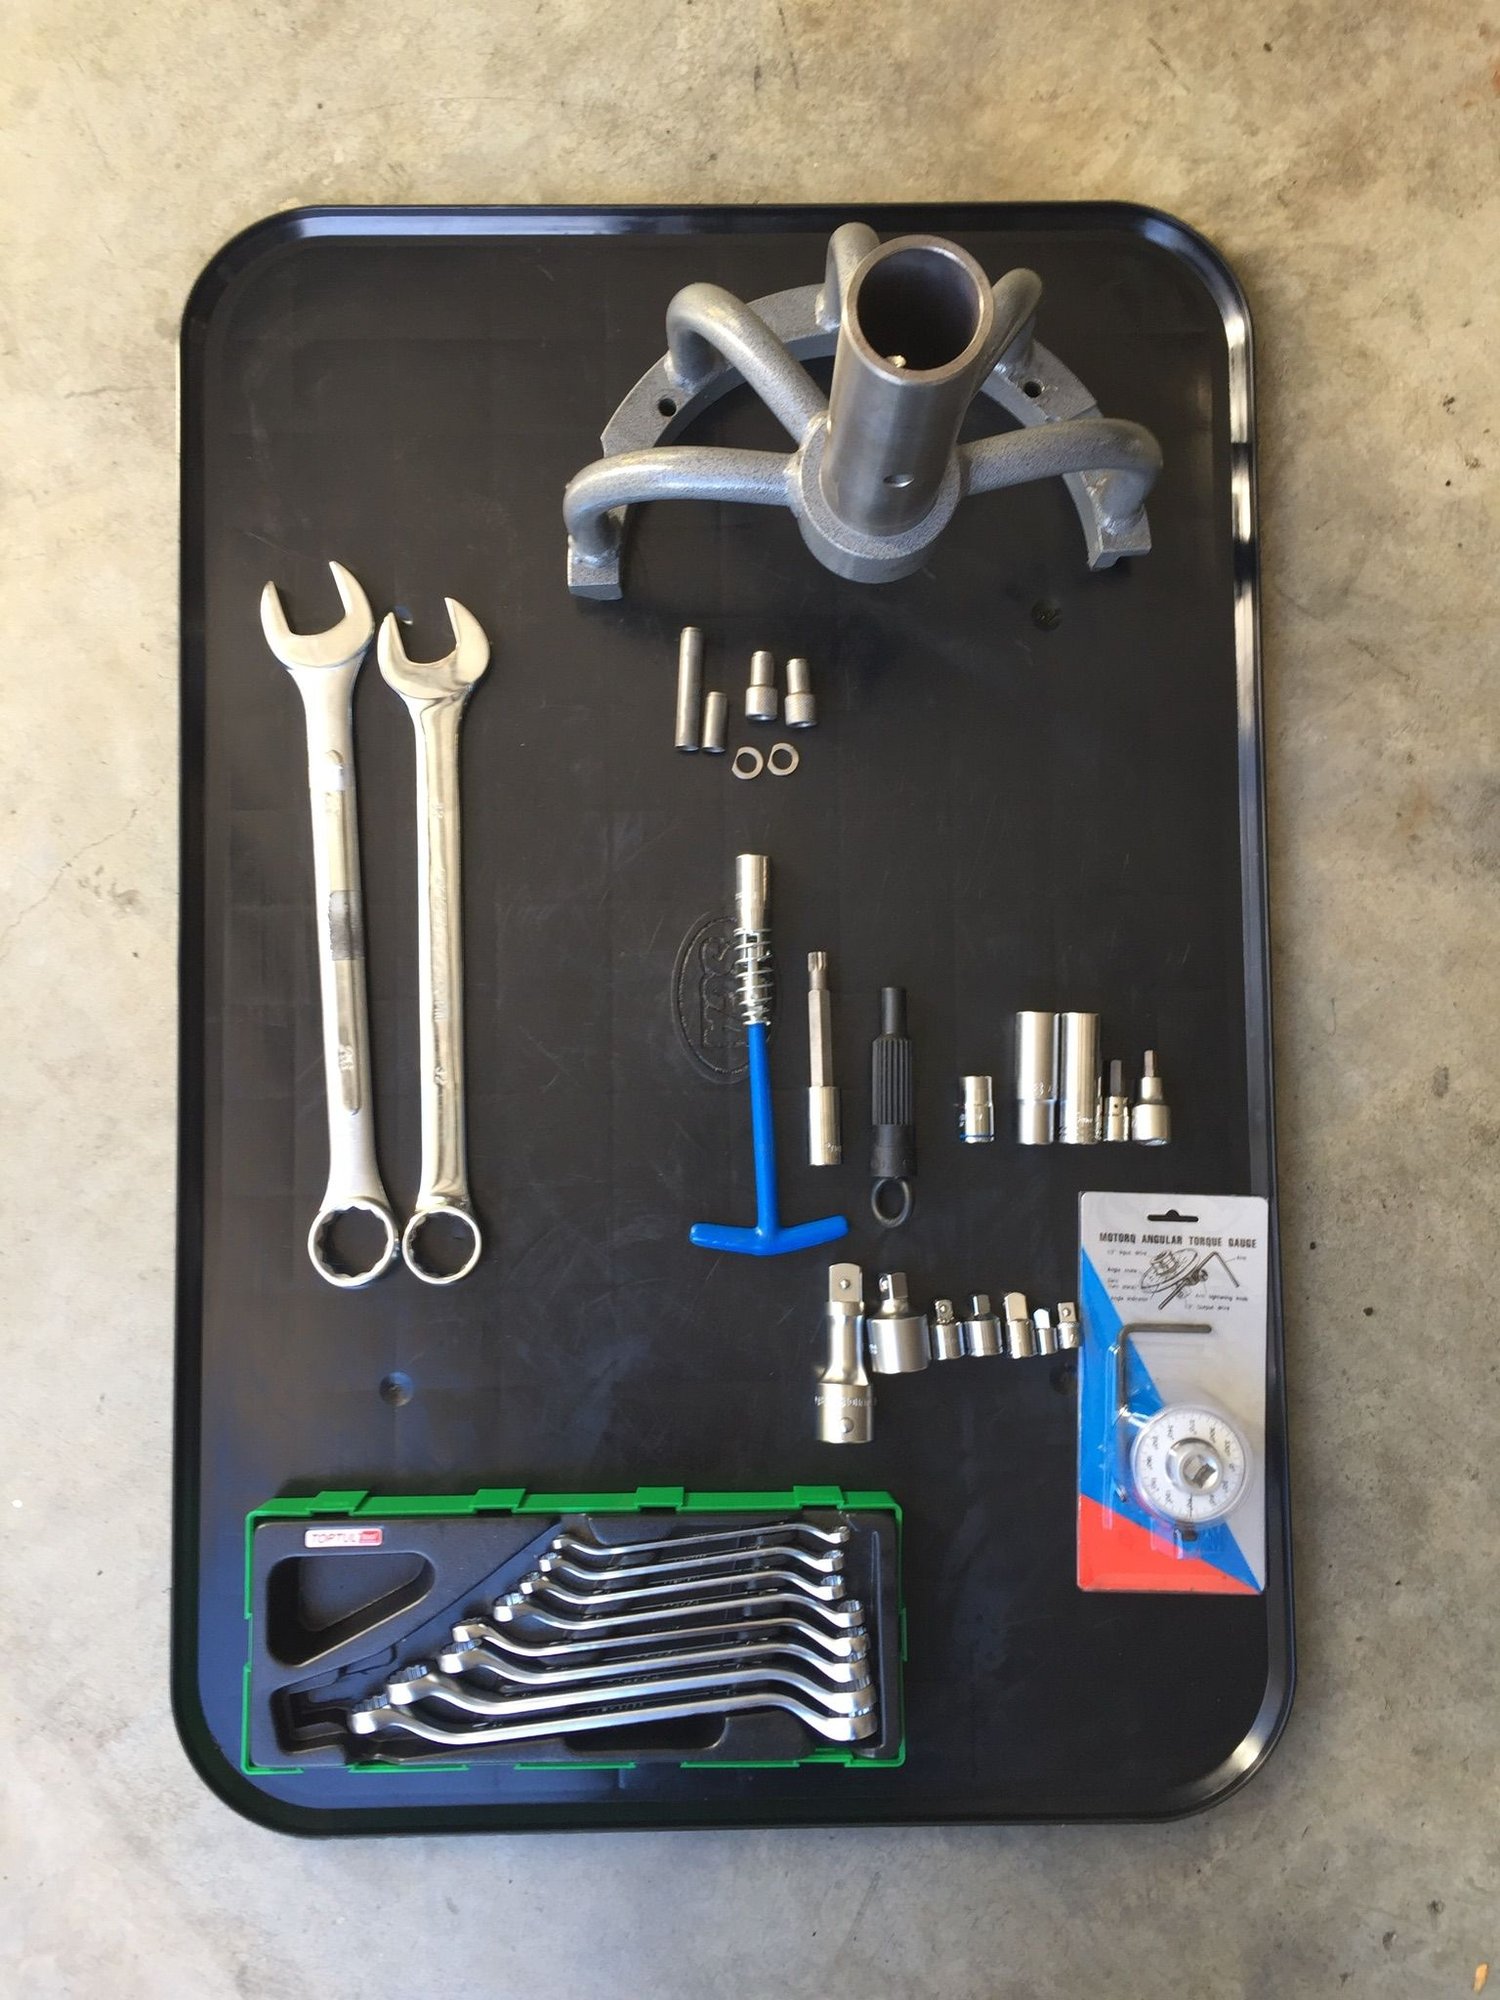
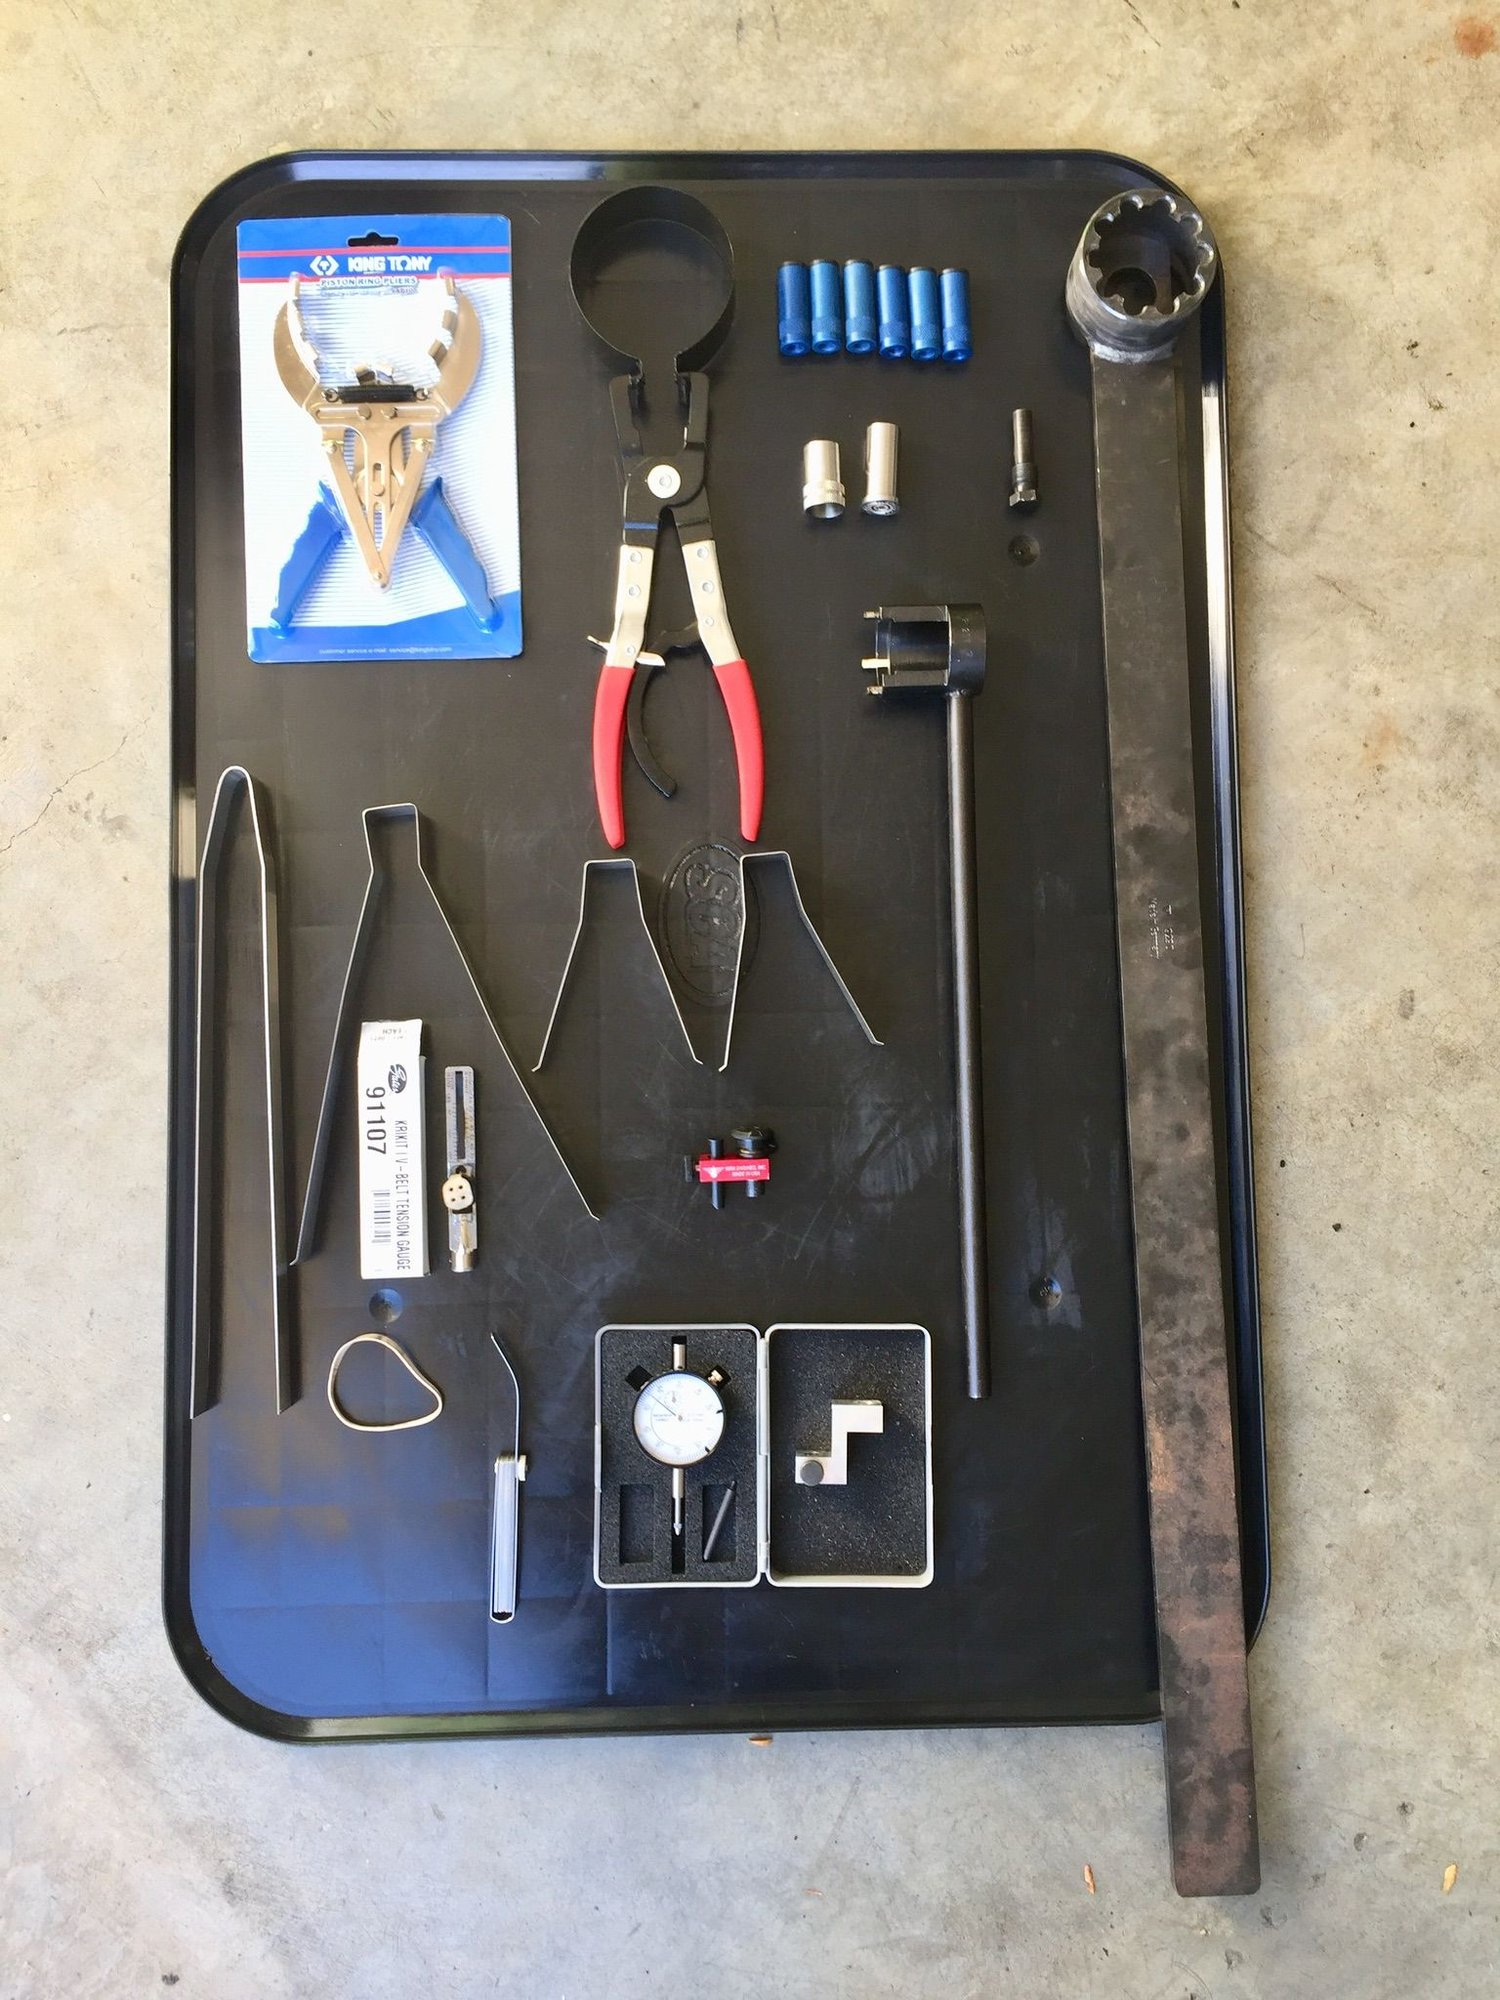
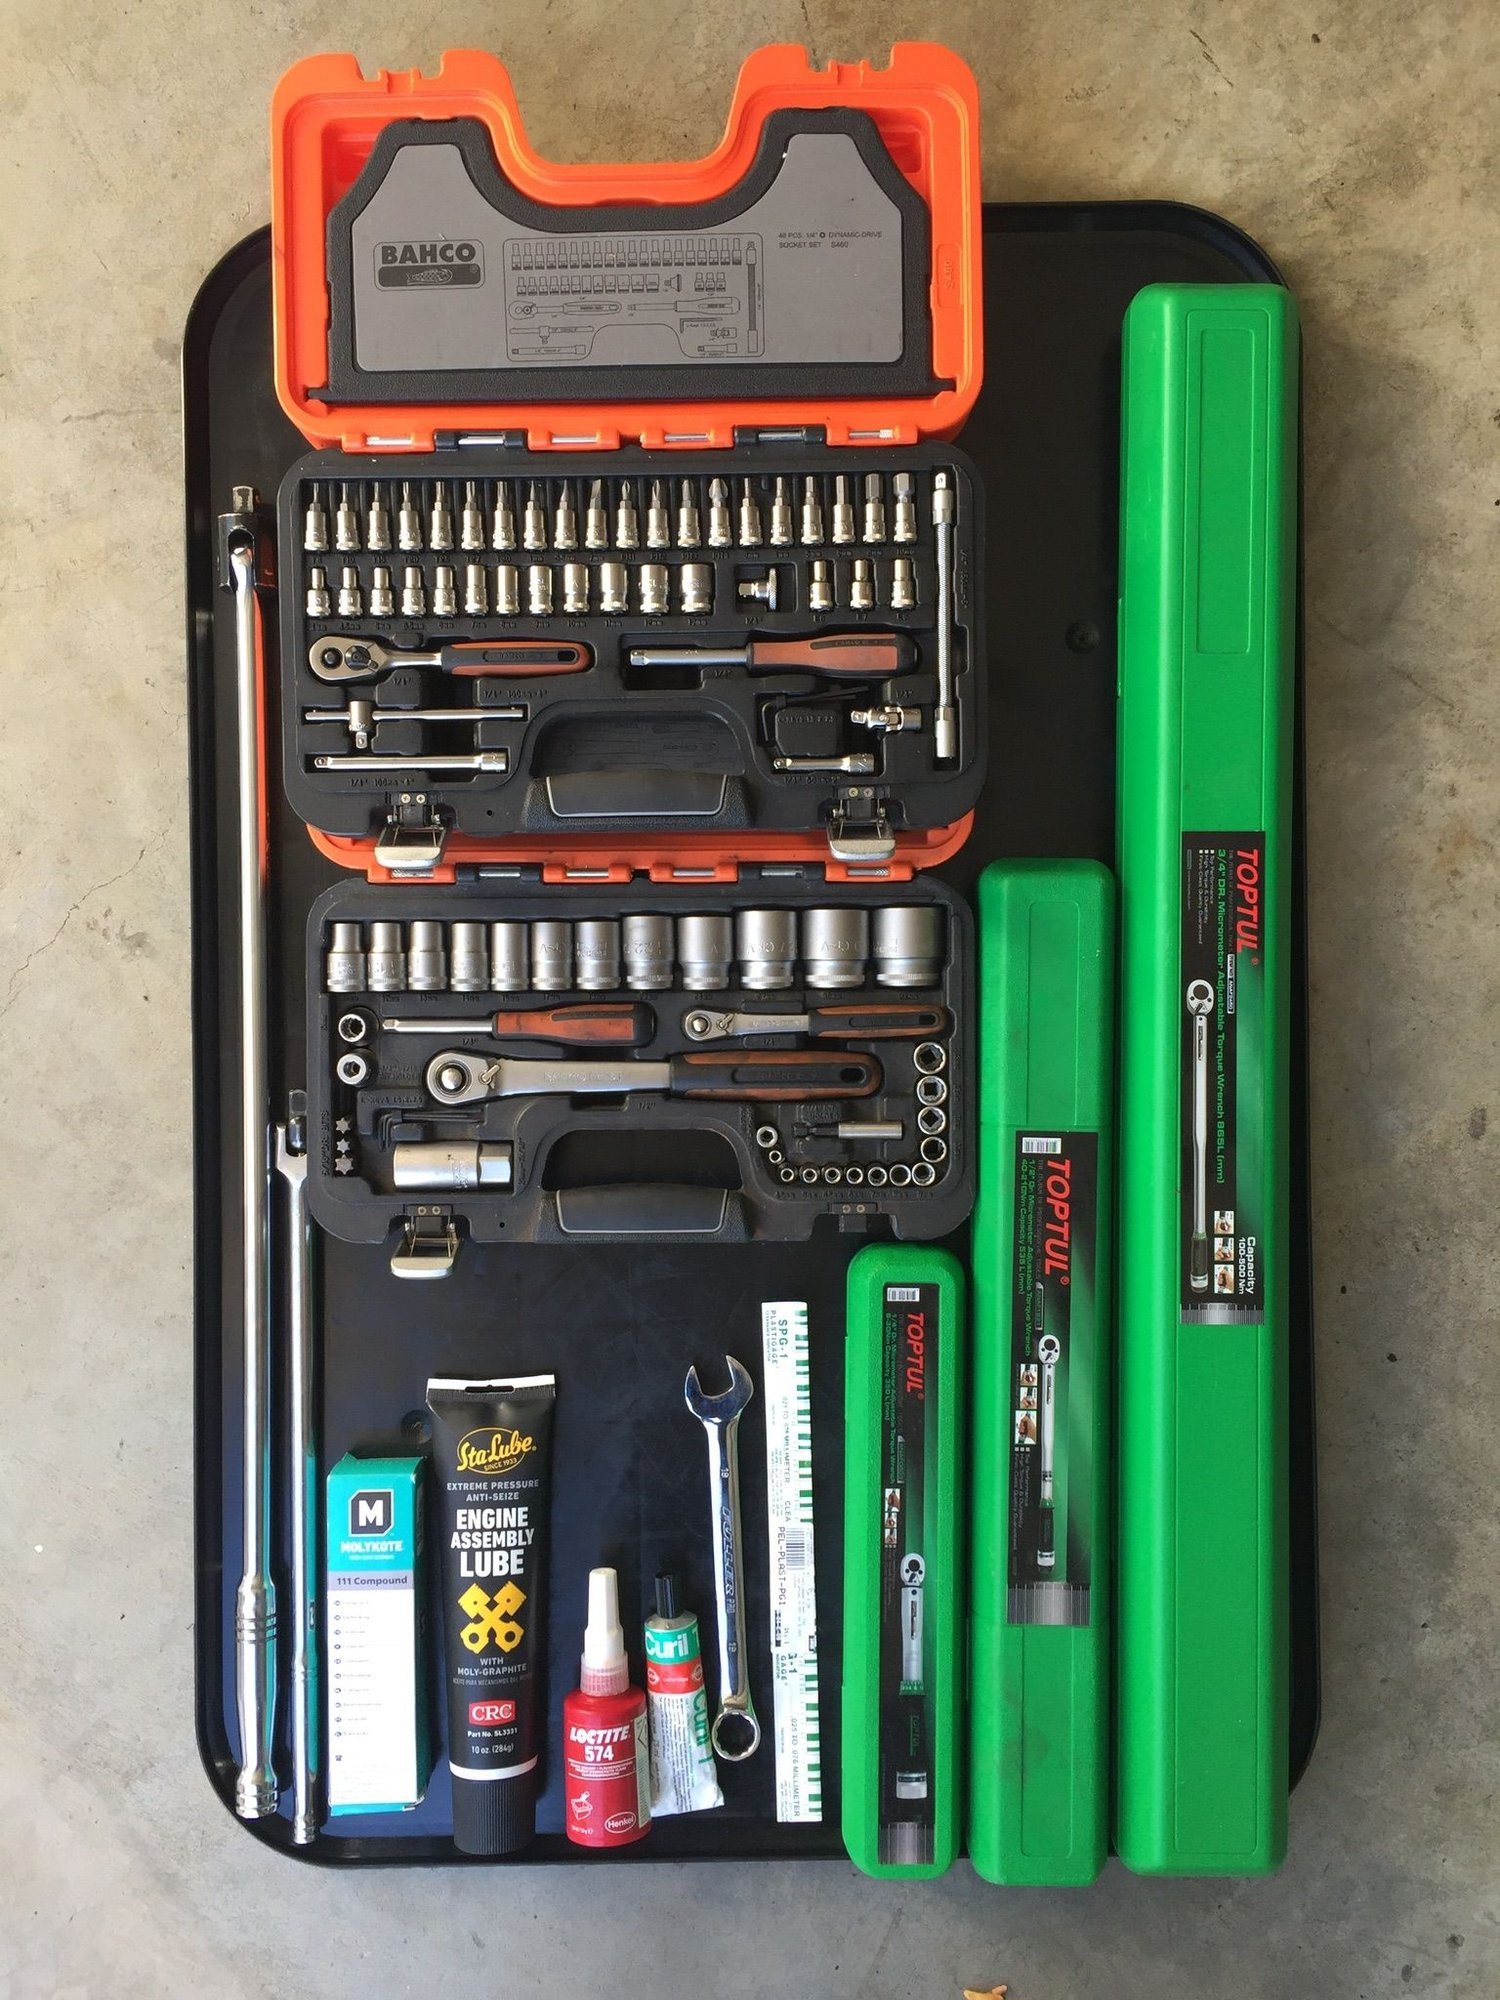
Here are some pics of the main items I use.
The special tools are:
P9290 000-721-929-00 Crankshaft Pulley Wrench USD 204
and 9285/1 pulley removal bolt USD 40
P237 Camshaft holding tool USD 120
P201 yoke USD 300
Stomski yoke securing nuts USD 49
P207 Z block dial gauge holder USD 42
Dial gauge USD 85
Stomski Racing 23mm circlip injector tool USD 89
Krikit belt tension gauge USD 23
Stomski Cylinder hold down set (6) USD 44
Fluids are simple
Loctite 574
Molykote 111 Oring grease
Curil T
Engine Assembly Grease
Last edited by John McM; 05-20-2018 at 04:02 AM.
#1148
Rennlist Member
Thread Starter
Adding to the above list:
10 mm socket with a thin wall (chain retainer cover has small clearance around the bolts)
14mm socket (case through bolts need two 14mm sockets so you need a spare)
19mm spanner
32mm spanner (oil line)
36mm spanner (oil line)
1/4 inch torque wrench, 1/2 inch torque wrench and 3/4 inch torque wrench cover the full range.
Adapters to allow different size sockets to be used with the tool wrenches
1/2 inch and 3/4 inch breaker bars
12mm XZN triple square socket bit (flywheel bolts and head stud nuts)
Spark plug wrench
Angular torque gauge (tightening head stud nuts)
Clutch alignment tool
Offset ring spanner set (good for getting to the exhaust bolts hiding under the heat exchangers)
Bent 1mm feeler gauge (for setting crank sensor gap)
GOOD quality Allen key set
Plastigauge (checking bearing tolerances)
Kirk valve adjustment tool
Piston ring compressor
Piston ring expander (fingers are actually easier, when used with care)
Allen key sockets (so you can torque the Allen head nuts/bolts)
Rod and chain retainers (formed sheet steel - you could make your own)
#1149
Man I need to spend a weekend with you! I have a few screwdrivers and a socket set!
#1150
Rennlist Member
Thread Starter
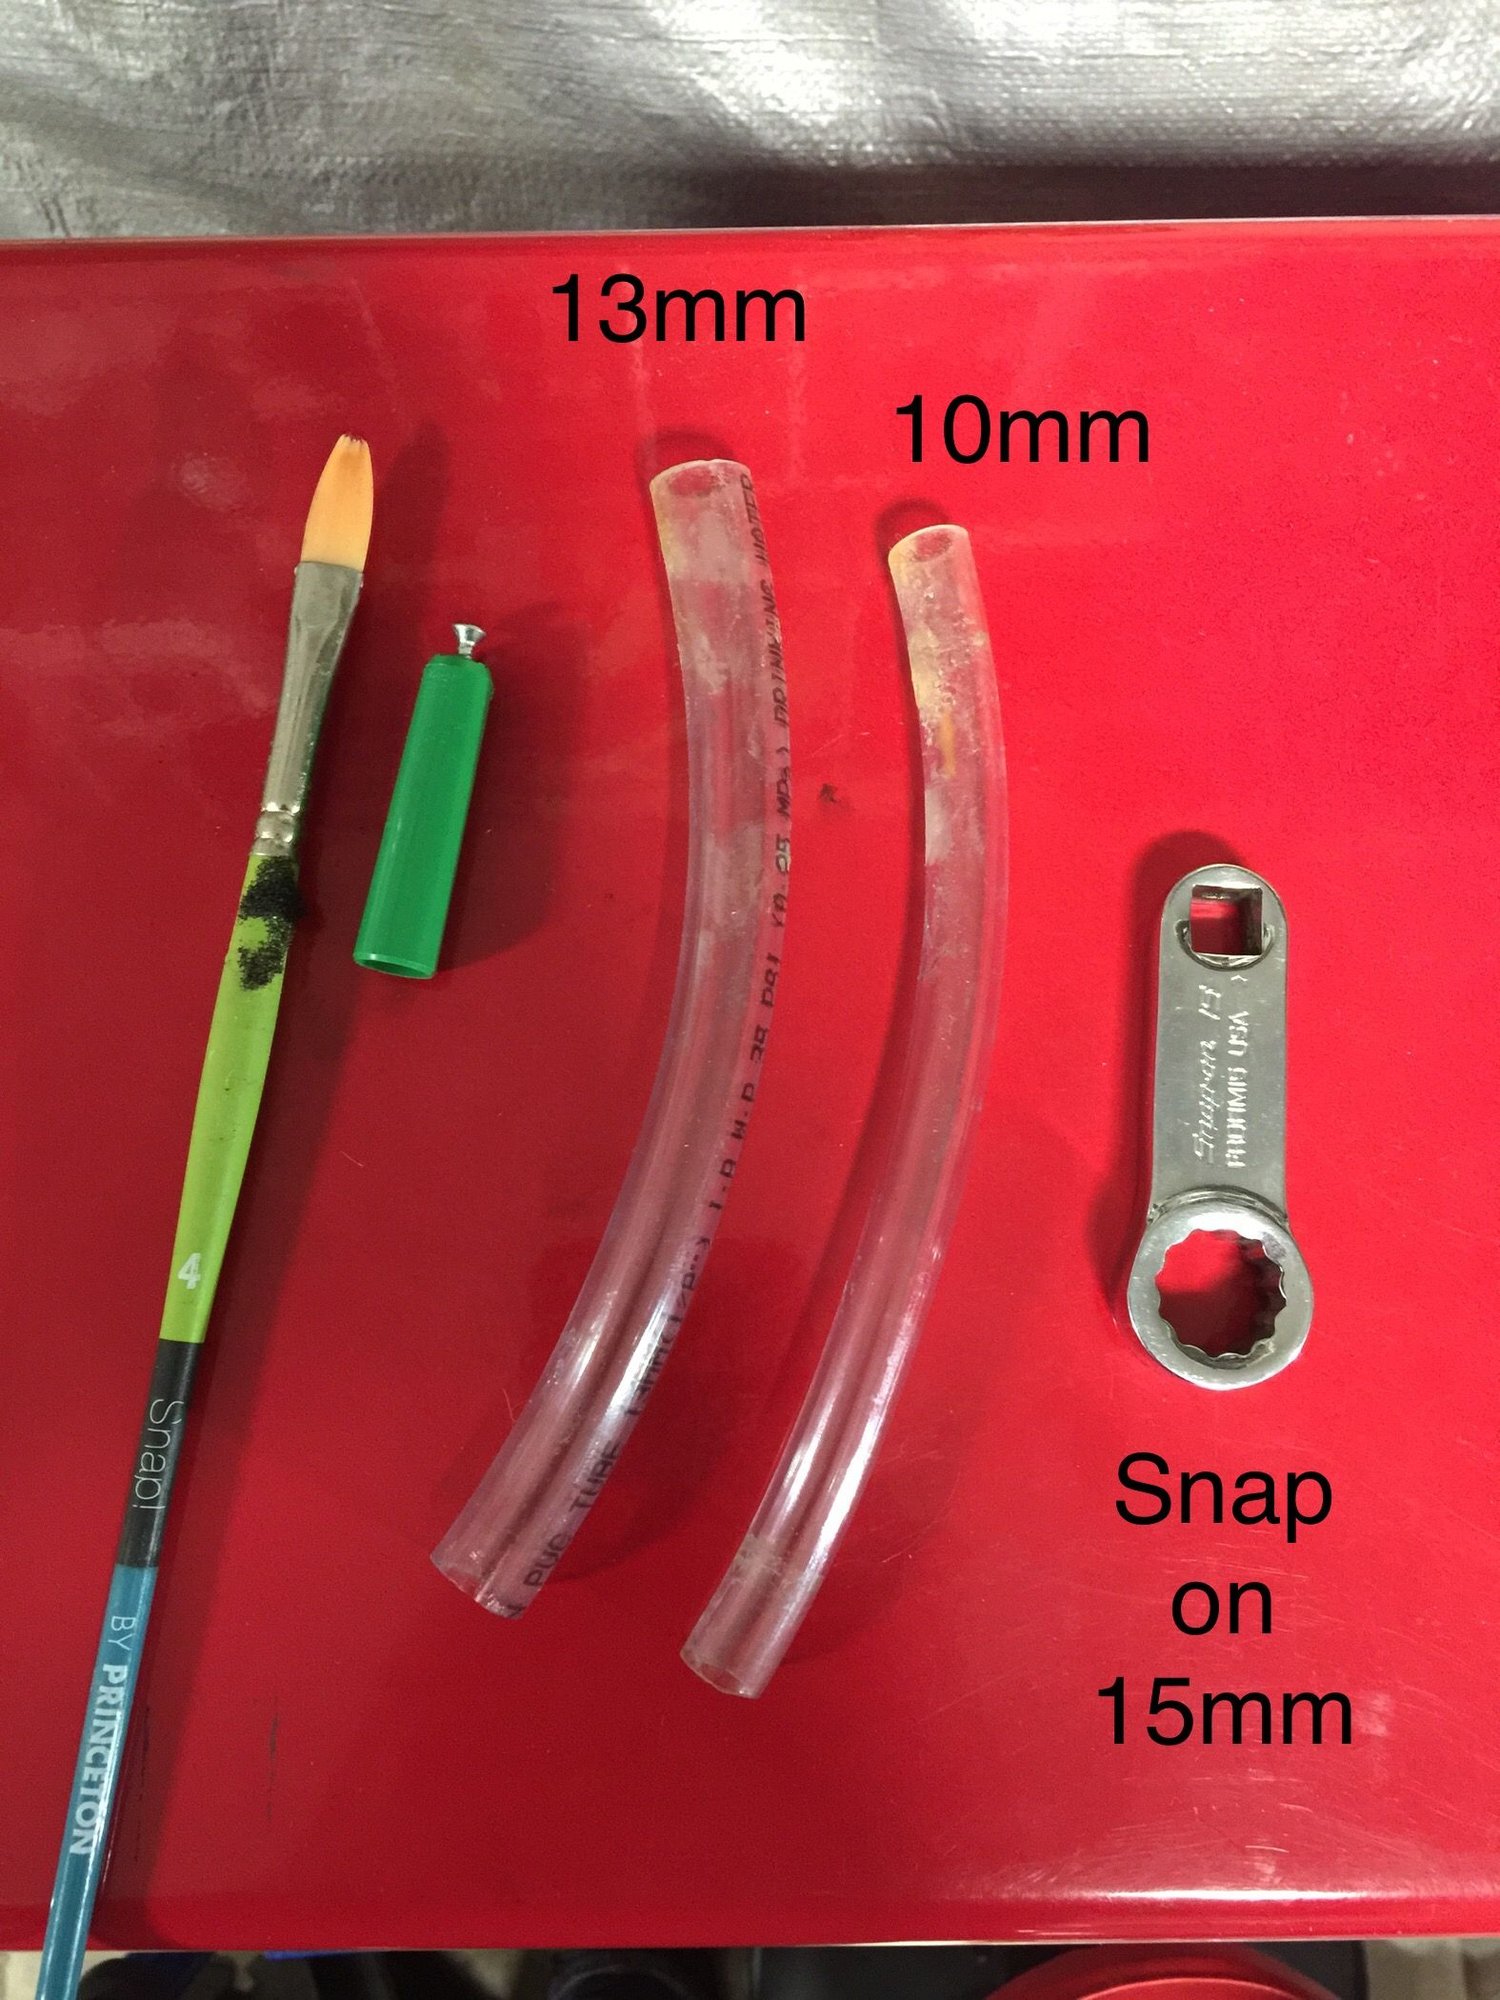
More tools:
Snap on 15mm extender (to torque the oil drain plug when the heat exchanger is in the way)
Paint brush (for applying Loctite 574)
13mm and 10mm pipes for the case through bolts o ring seating
sharpie pen lid with an embedded screw (applying case through bolt o rings)
#1151
Rennlist Member
Thread Starter
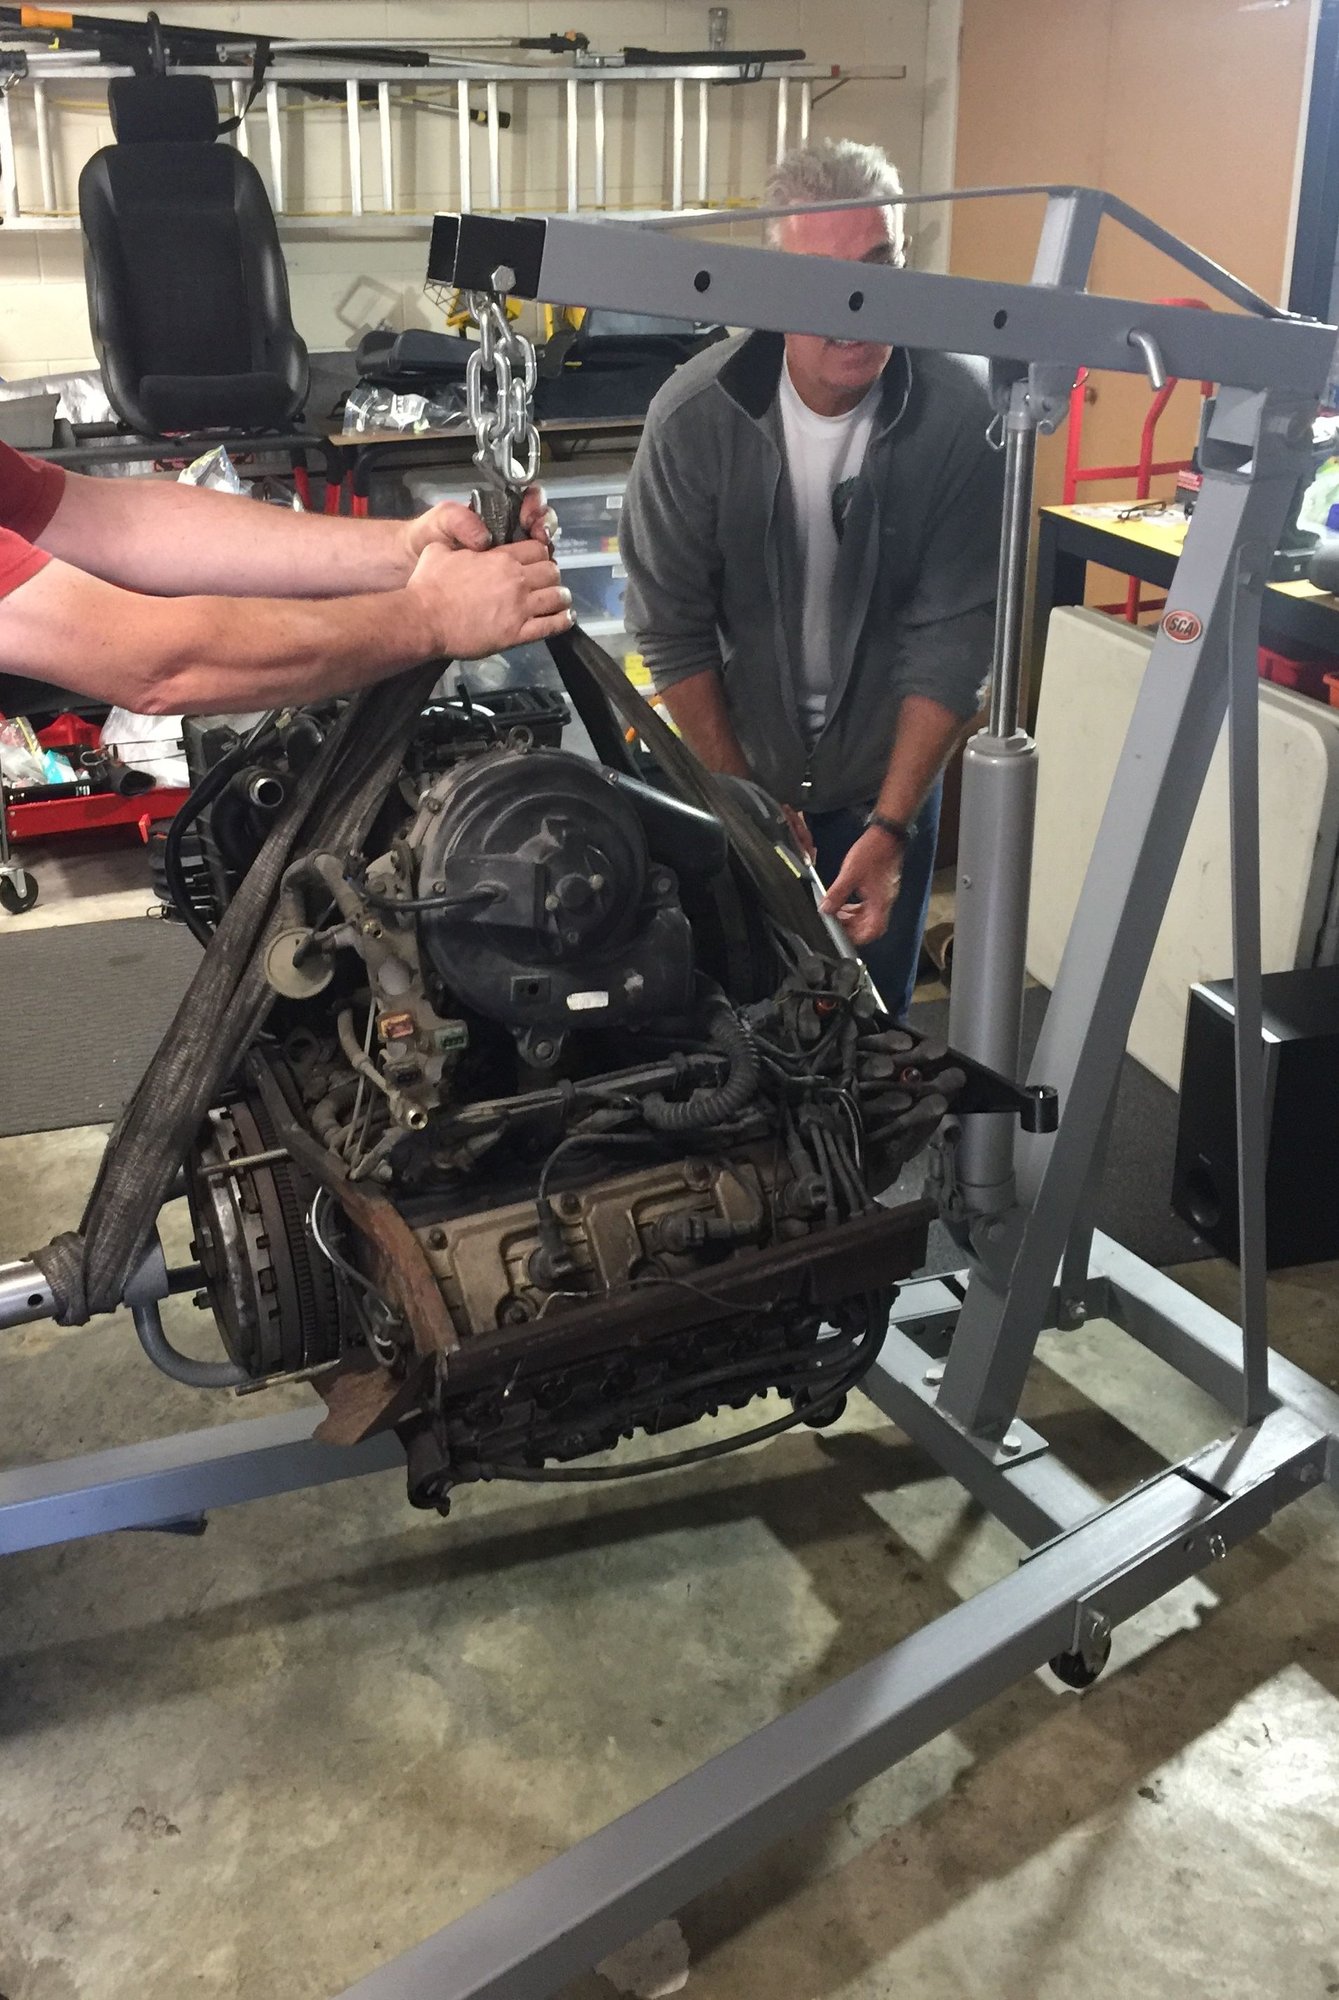
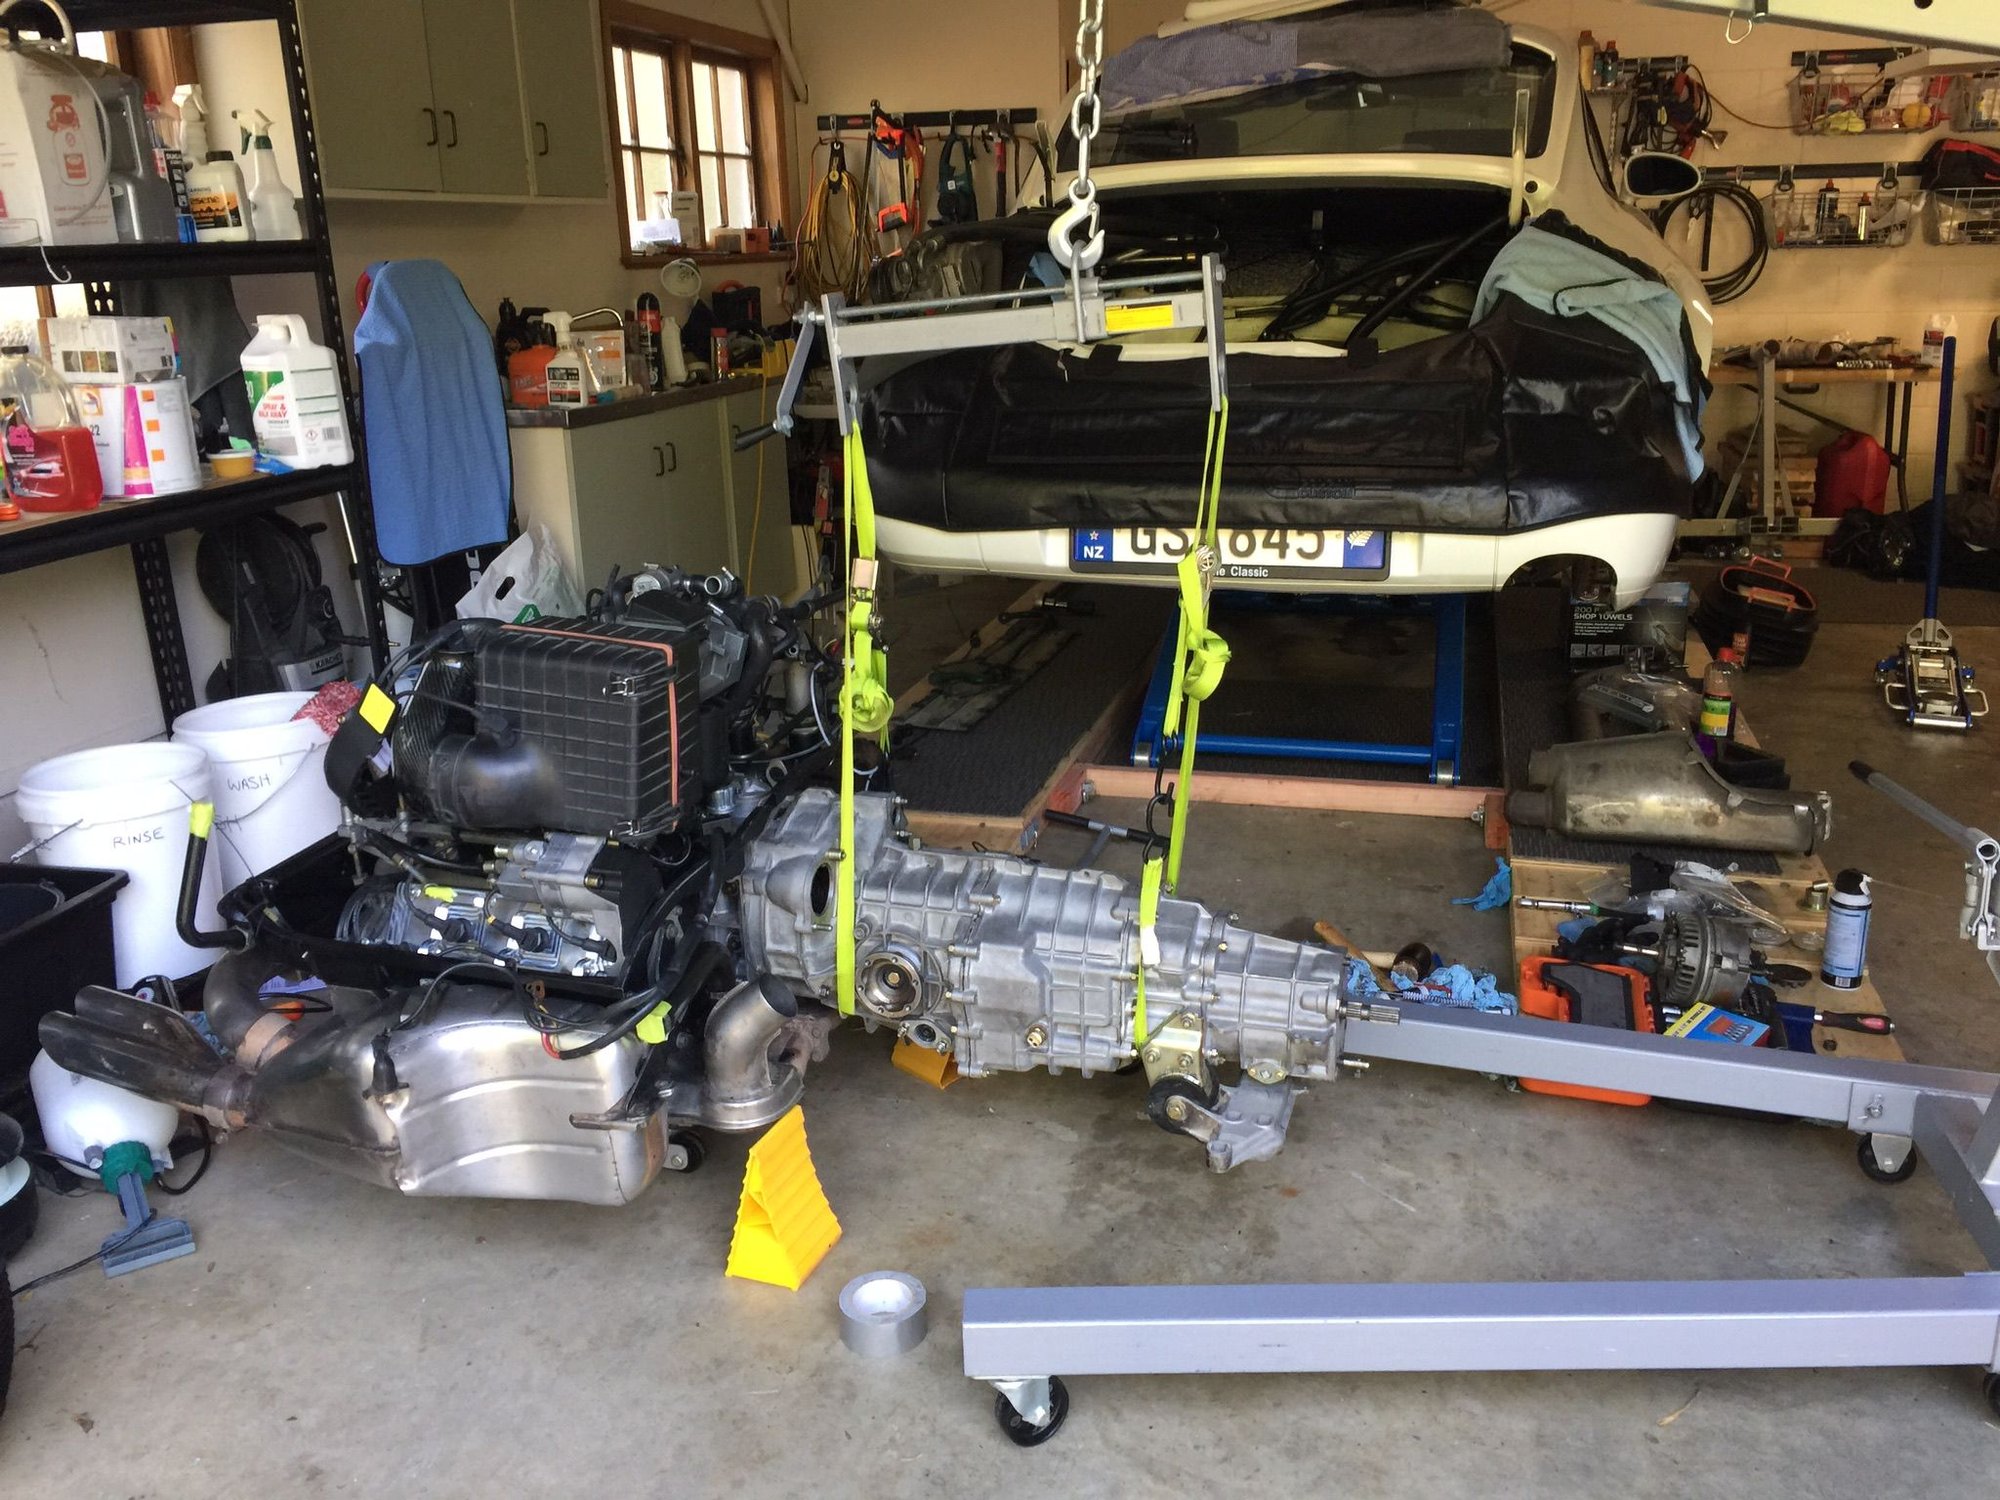
Iíve been asked how I lift the engine. This photo is the latest version, where the engine owner used a one piece tow strap.
The strap uses the engine carrier on one end and the yoke on the other end. The only thing Iíve changed since is that I put the strap through a yoke arm and not through the shaft as otherwise it canít go on the engine stand. I also wrap a loop around the hook area to make sure none of the straps fall out of the hook. The engine is stable doing this and doesnít need a balance bar.
#1153
Rennlist Member
Nice work John. Appreciate you elaborating as I'll be doing this tomorrow.
Renting the hoist & bought a load leveler (t-bar) just to make sure it stays balanced.
Will use heavy duty straps as well (don't fully trust the chains). This is a great thread. Carry on.....
Renting the hoist & bought a load leveler (t-bar) just to make sure it stays balanced.
Will use heavy duty straps as well (don't fully trust the chains). This is a great thread. Carry on.....
#1155
Rennlist Member
Thread Starter

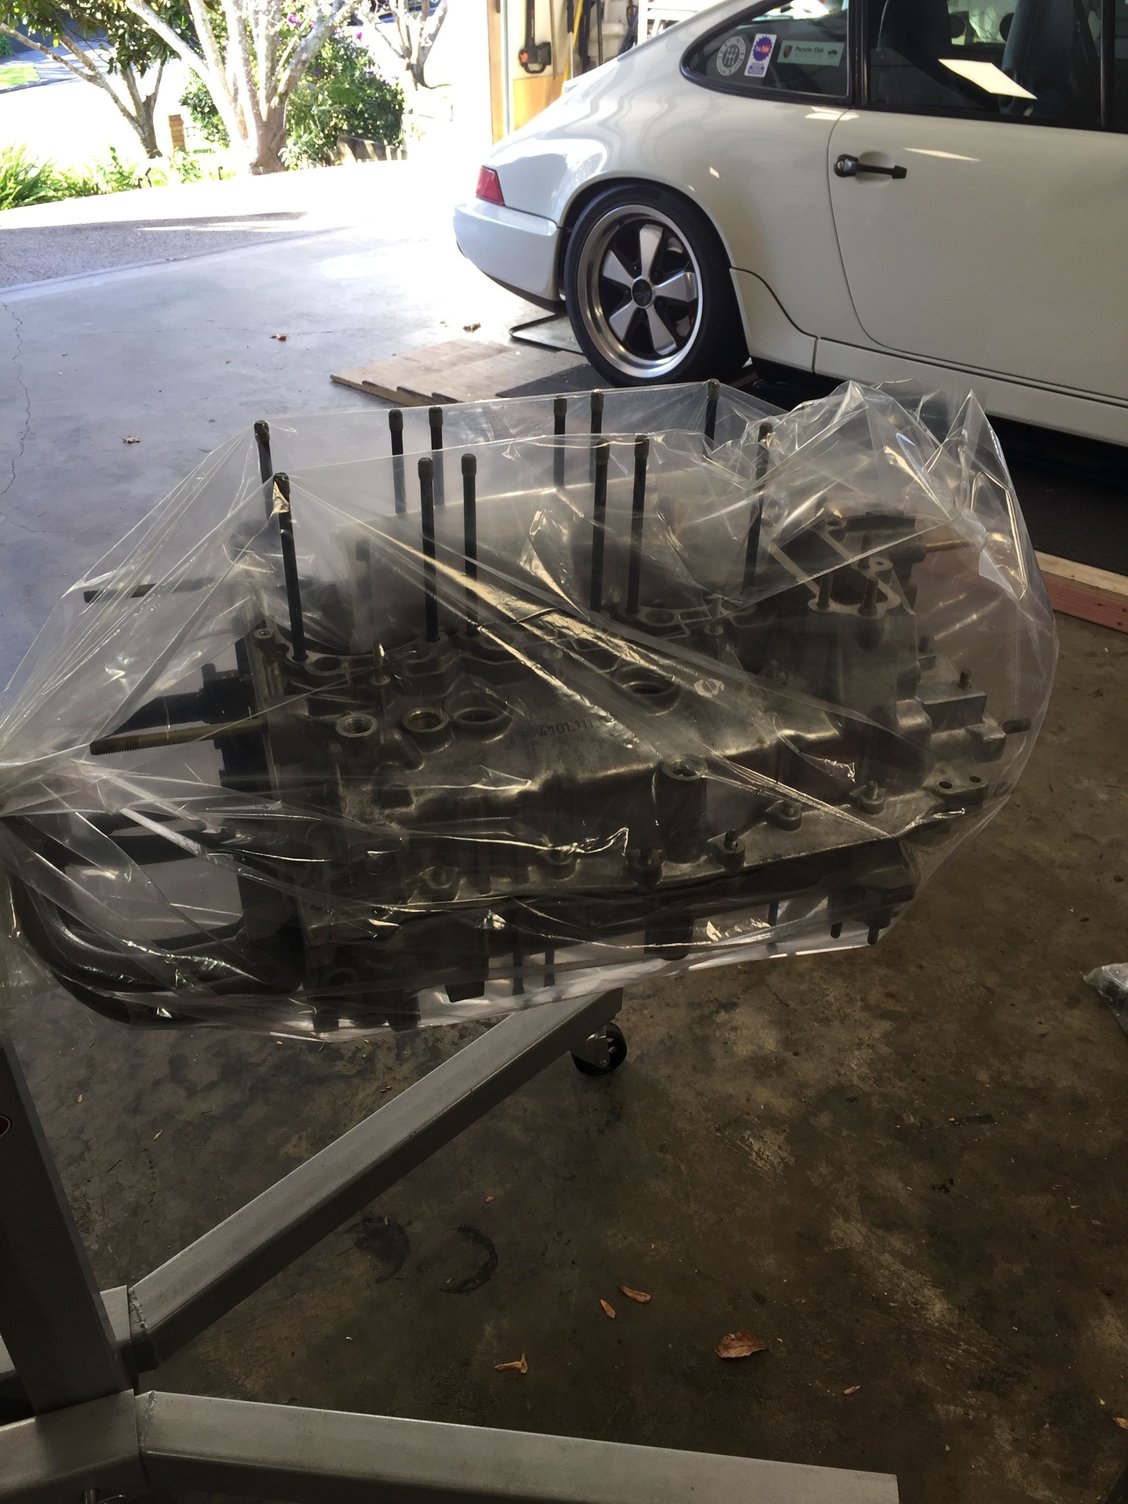
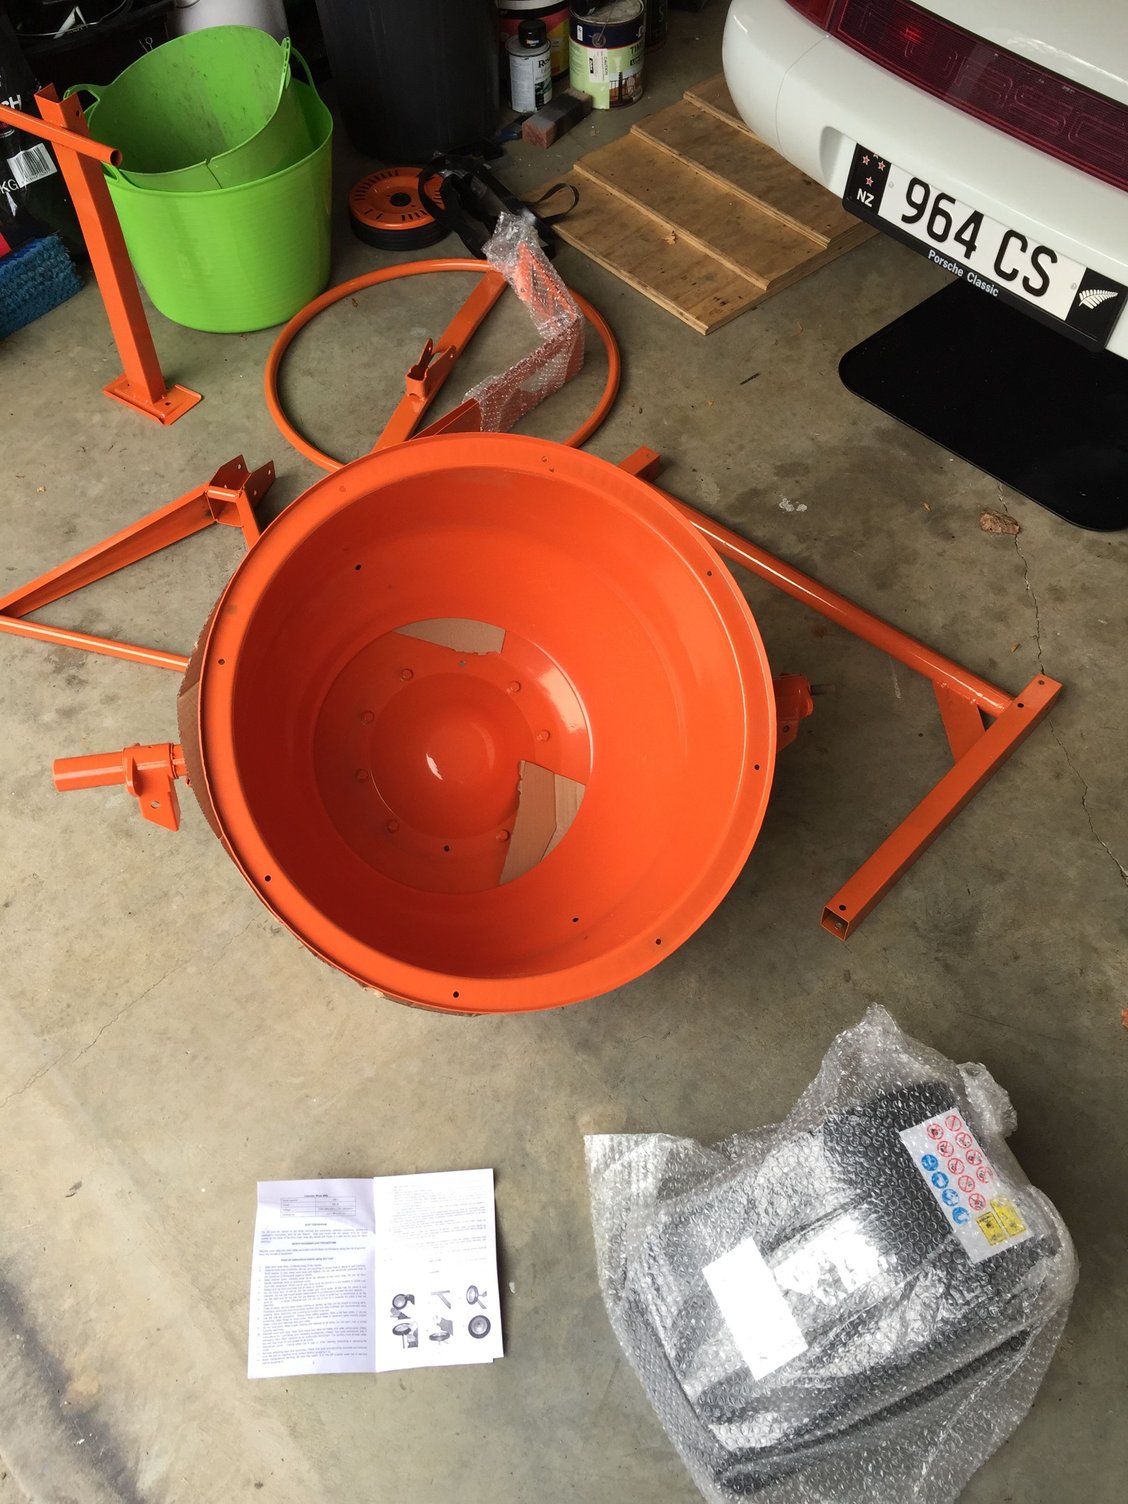
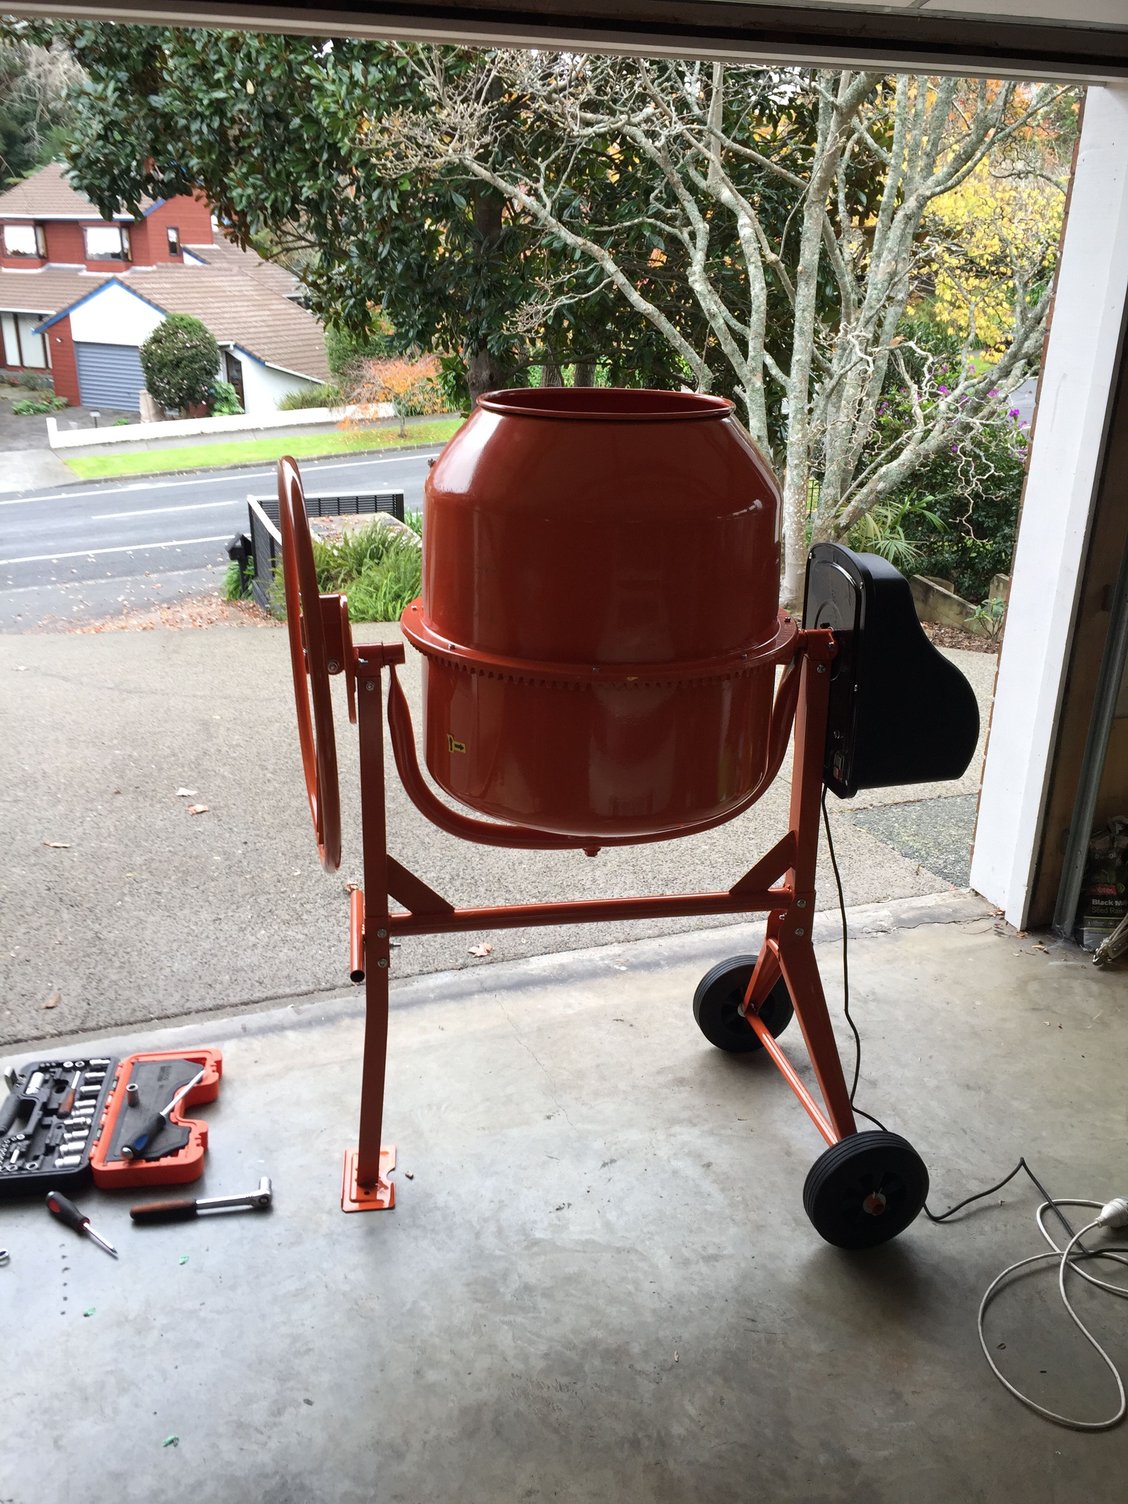
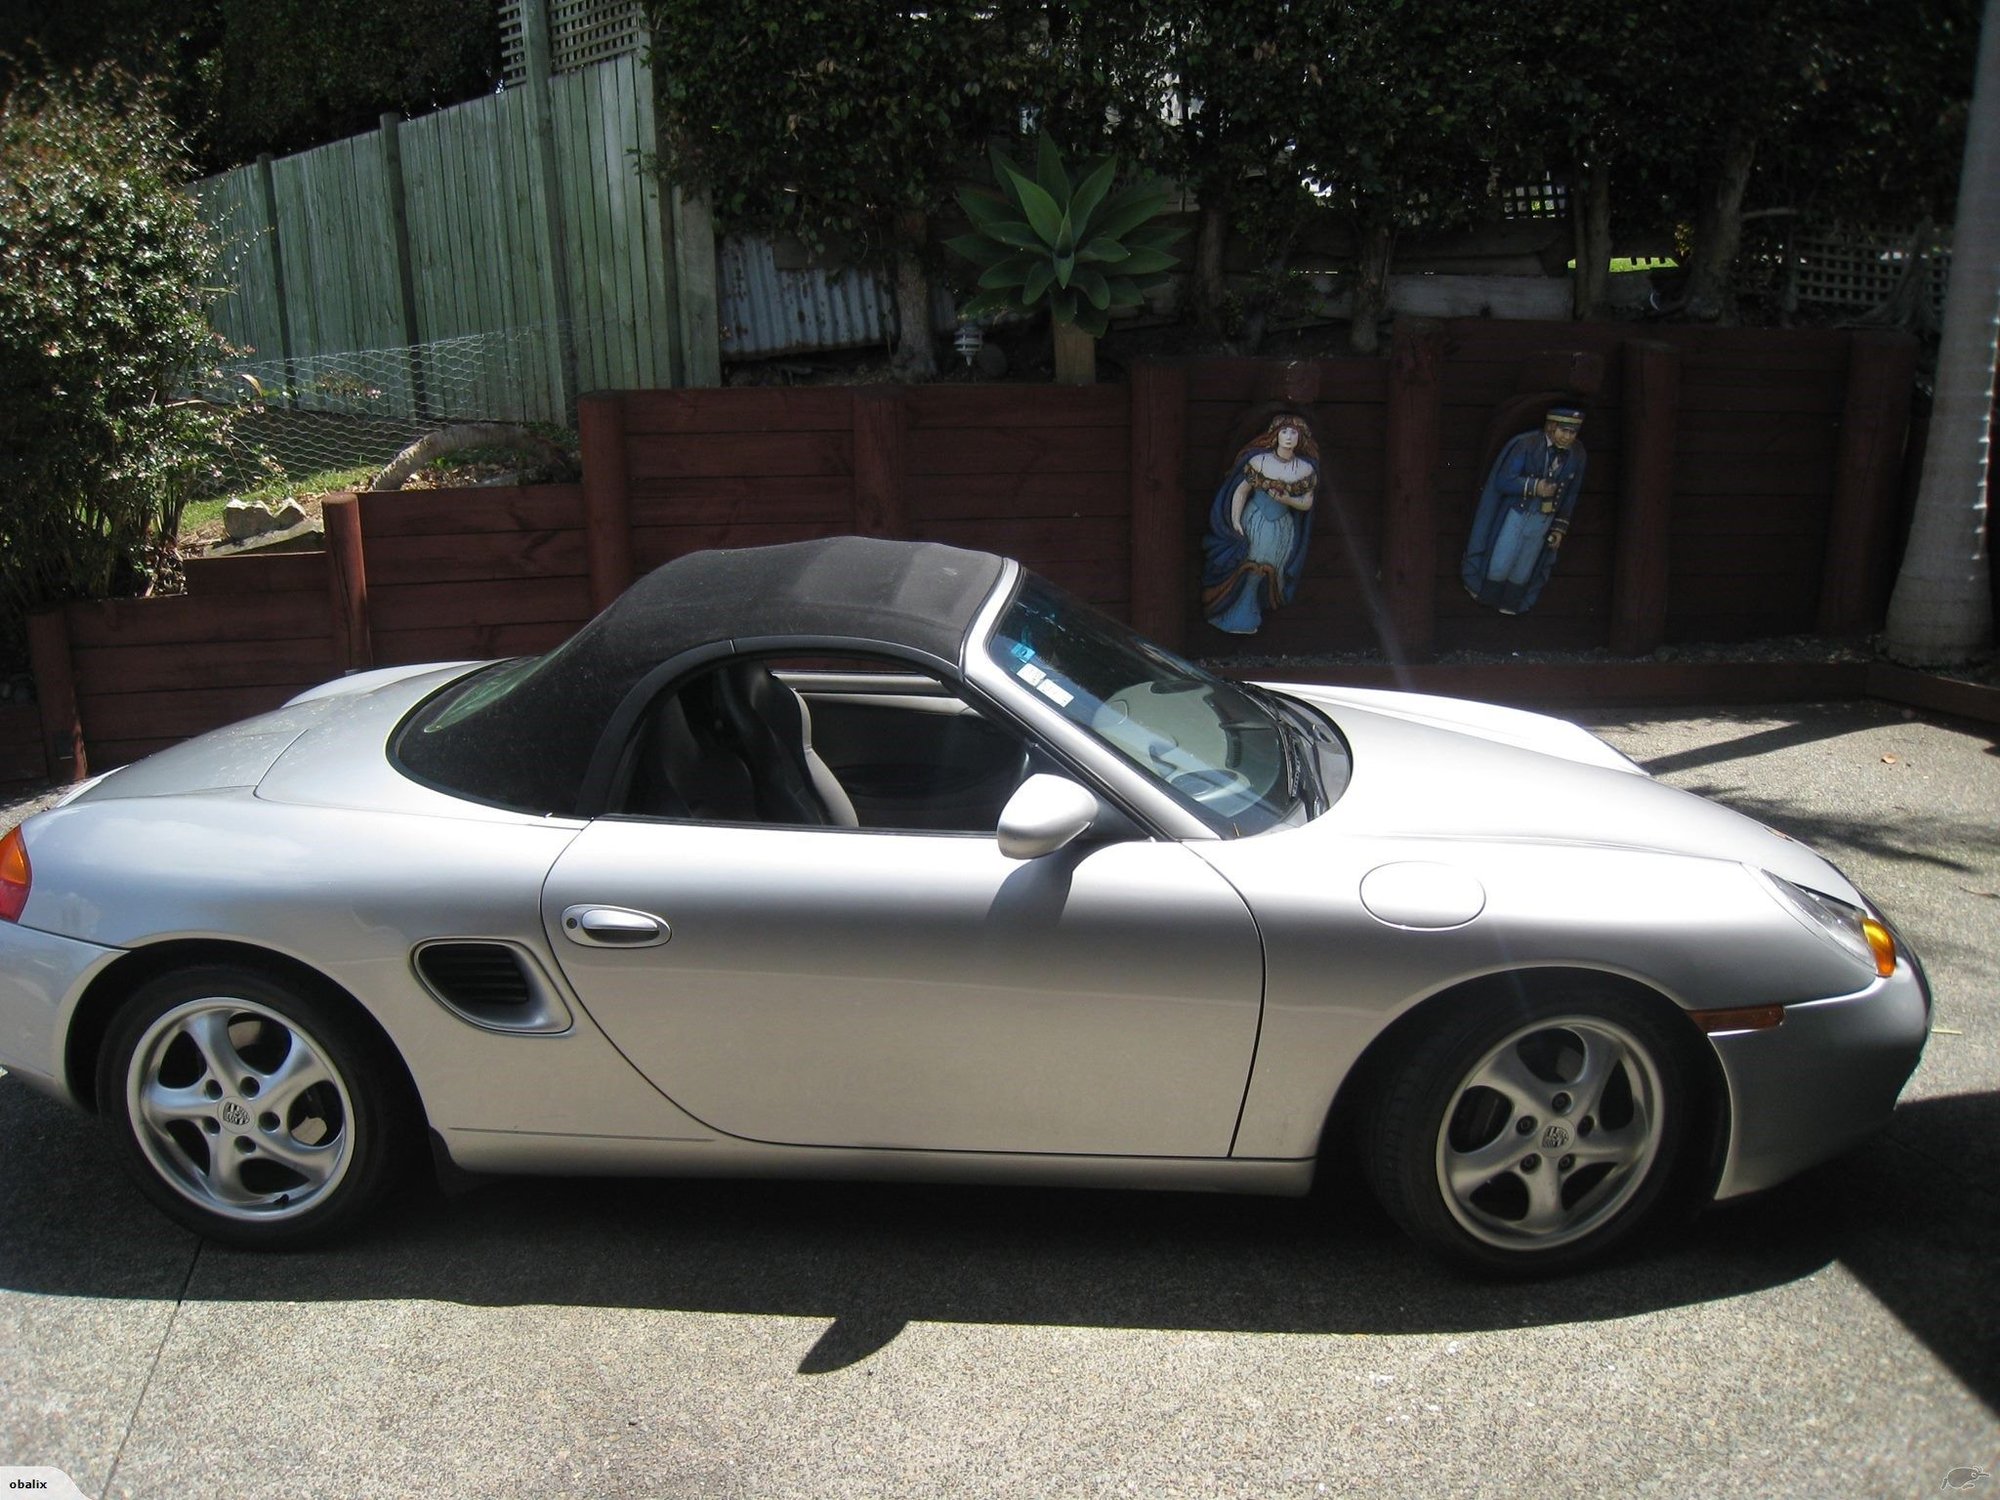
My wife took the Cayenne away for the weekend (is there an easier long distance driver out there?) then when she returned asked me to detail my weekend
My recollection, ďI went to the local 70th Anniversary celebrations with my son (he helped seal the case halves on the rebuild), then the latest rebuild owner delivered the clean cases back, then the concrete mixer was delivered so I had to assemble that, then I went to the hardware store and bought a Boxster on the way home. Predictably the last bit of news caused more reaction than the rest, but I pulled it off. Boxster Spec build here I come


