When you click on links to various merchants on this site and make a purchase, this can result in this site earning a commission. Affiliate programs and affiliations include, but are not limited to, the eBay Partner Network.
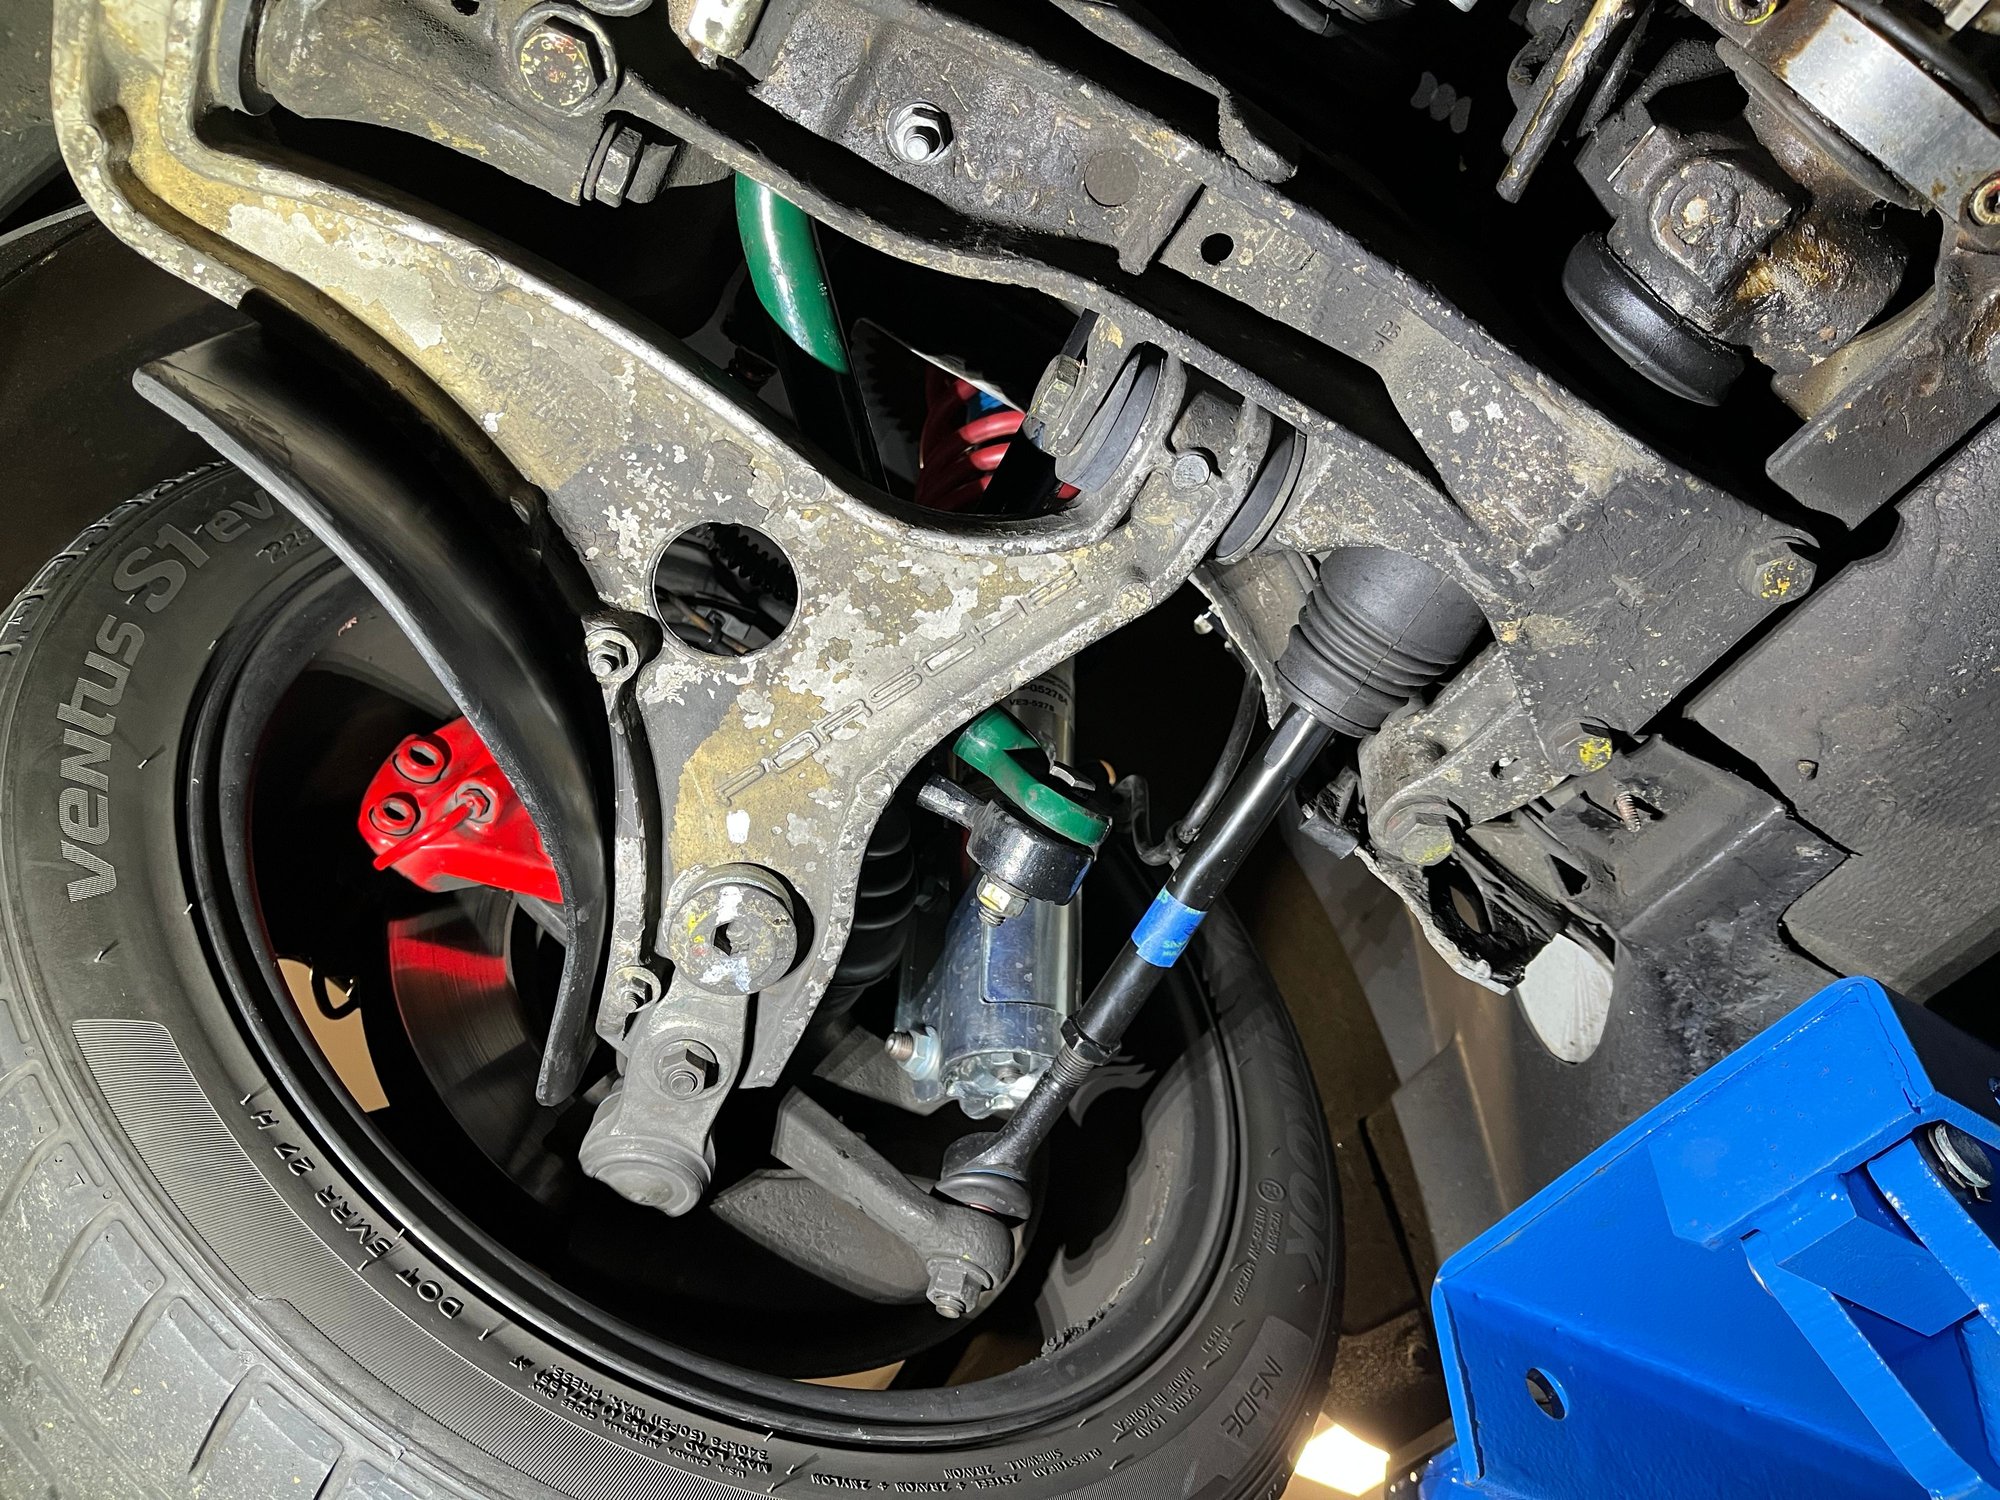
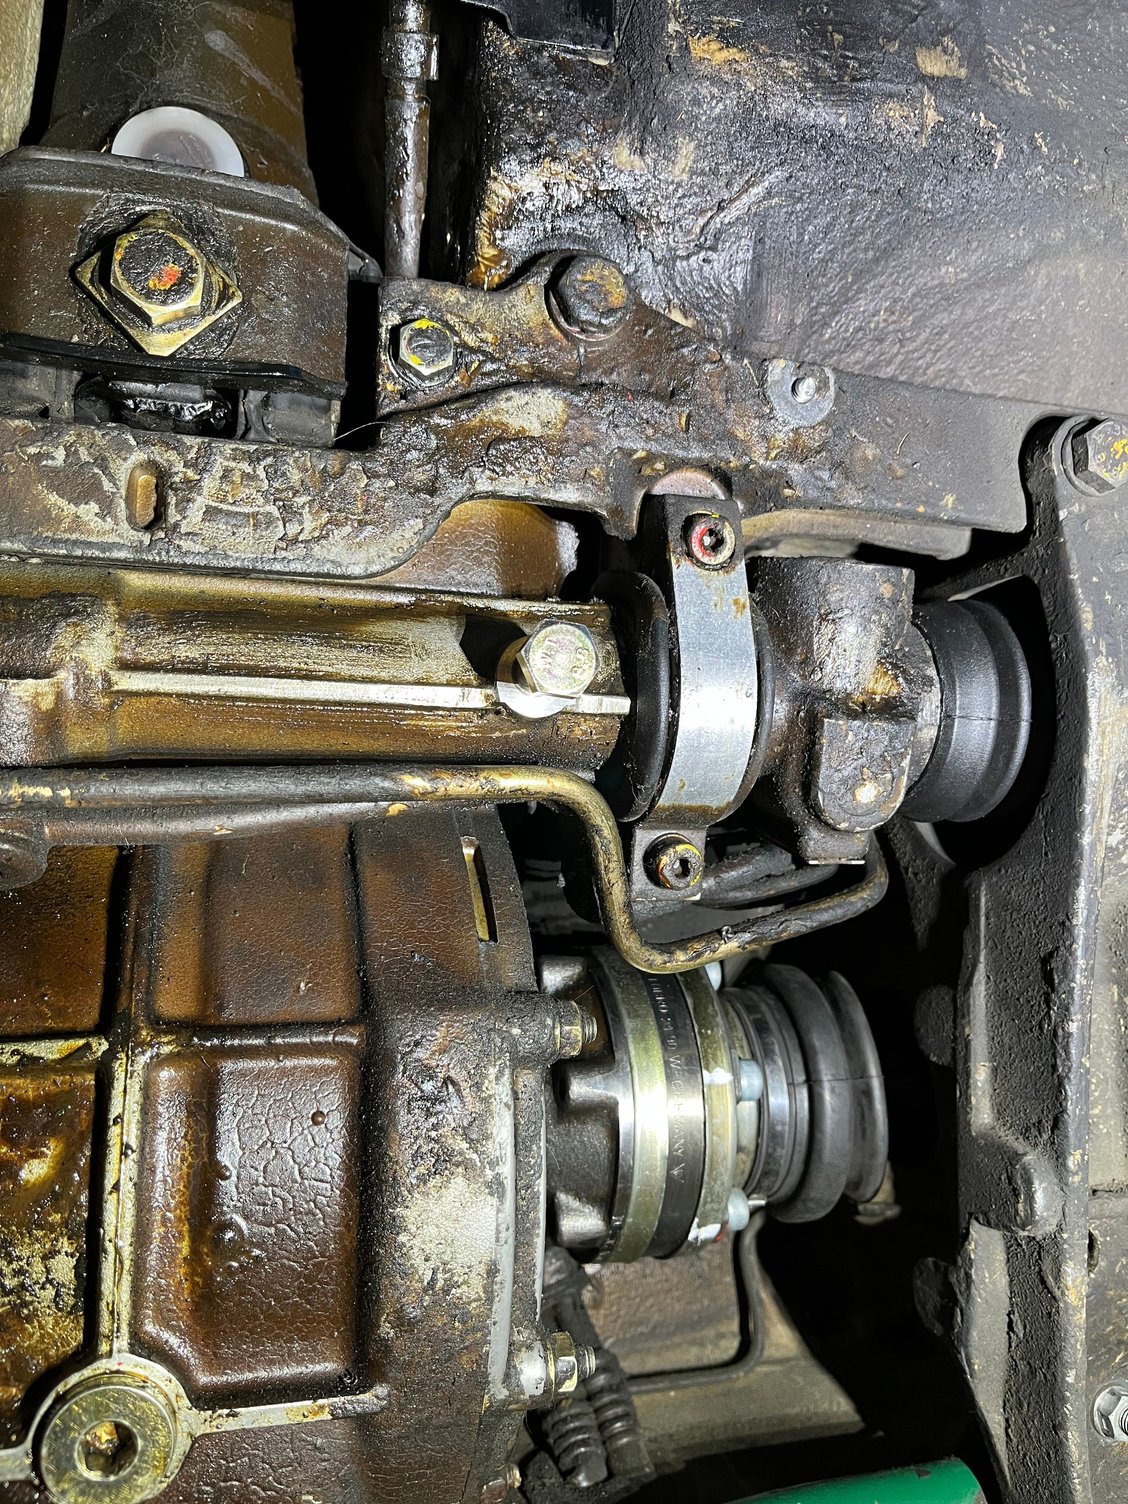
Monoball ends I see. Nice. I did this job a few months ago. The bellows were a pita to get back on but I found the curved part (ie not the pointy bit) of a set of 90 degree cirlip pliers were really effective aid in gripping the rubber safely.
Monoball ends I see. Nice. I did this job a few months ago. The bellows were a pita to get back on but I found the curved part (ie not the pointy bit) of a set of 90 degree cirlip pliers were really effective aid in gripping the rubber safely.
Well spotted. They are FVD sourced monoballs. I�m kicking myself for not doing this when I fitted those. You live and learn. I want to have wheel wells without gouges in the paint and undercoat.
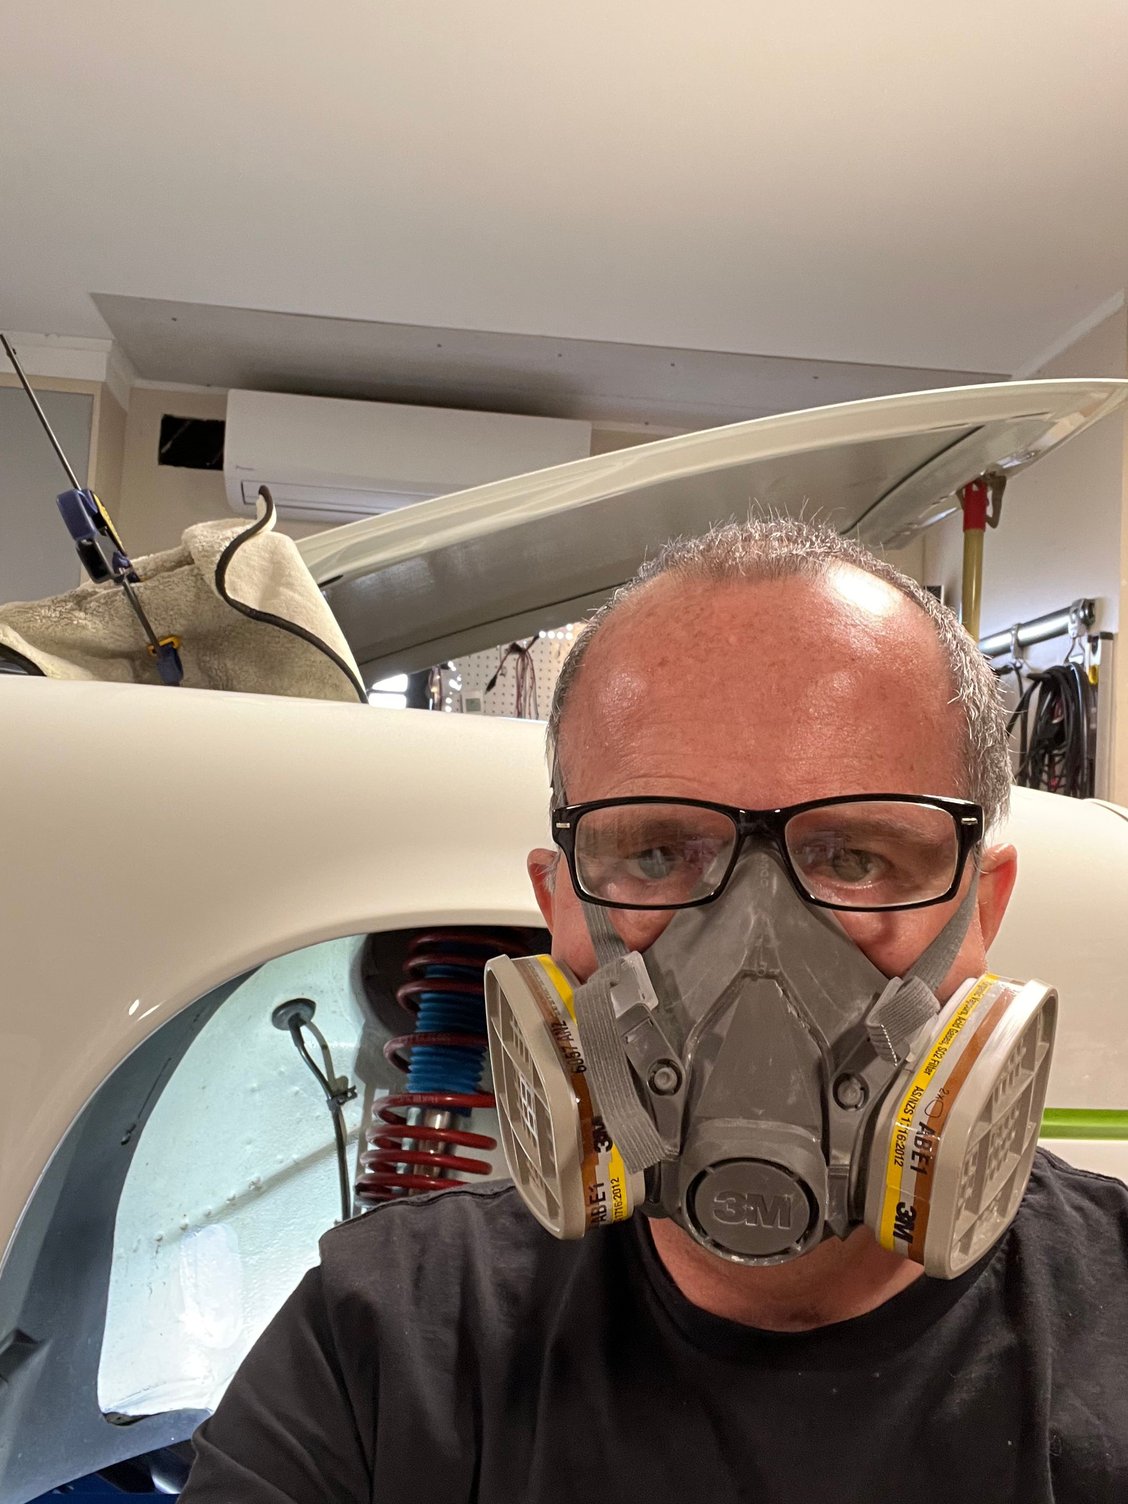
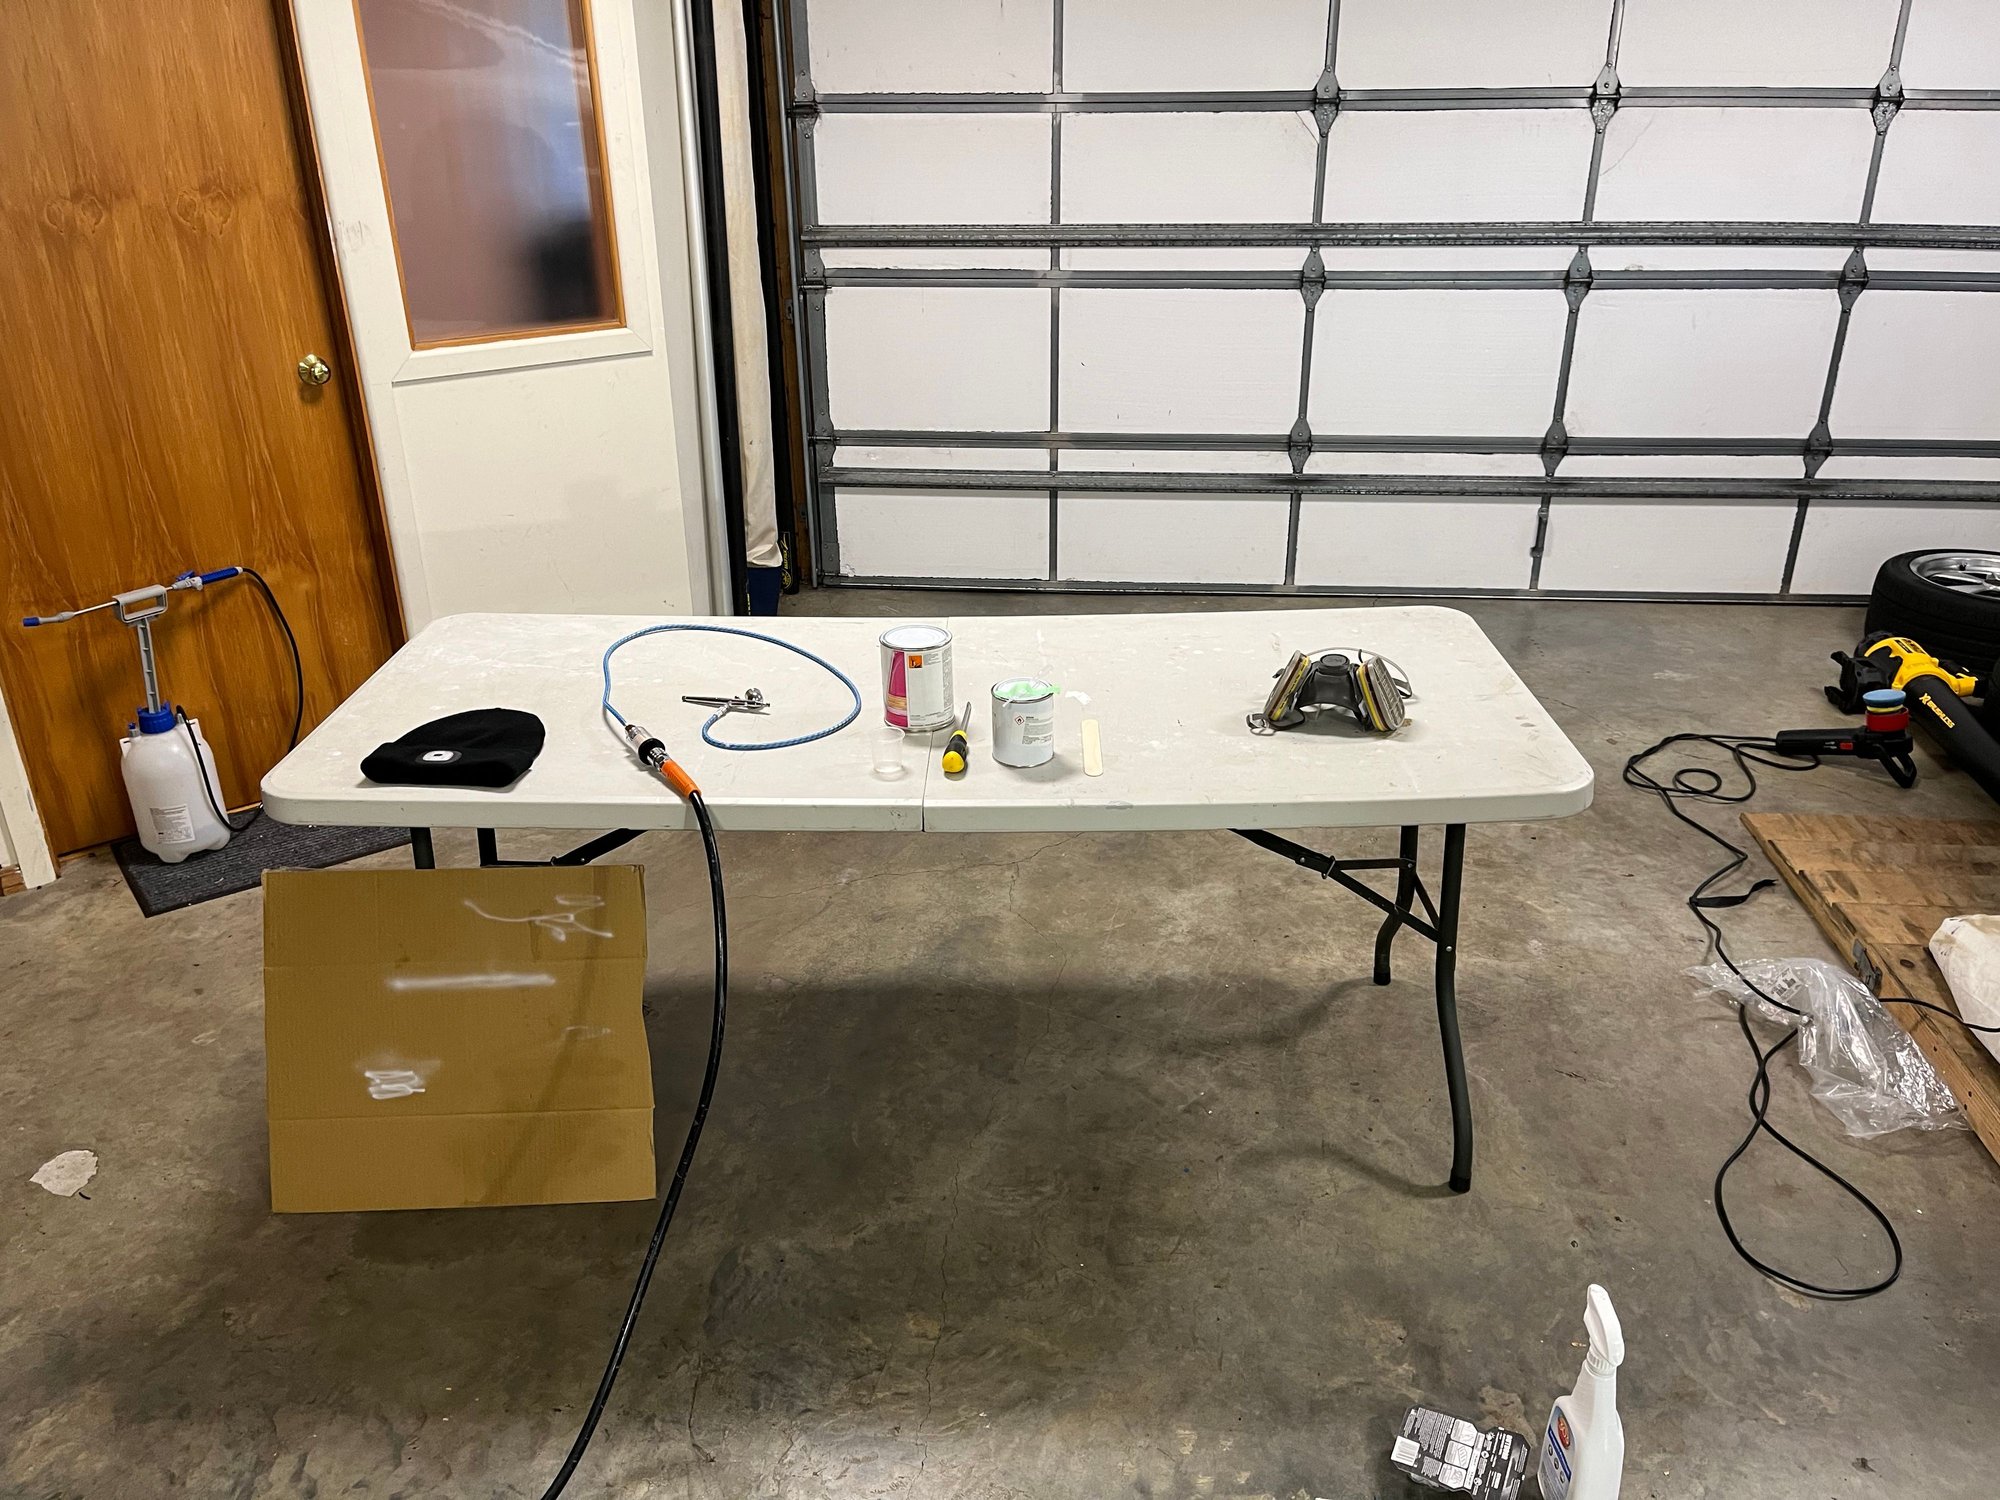
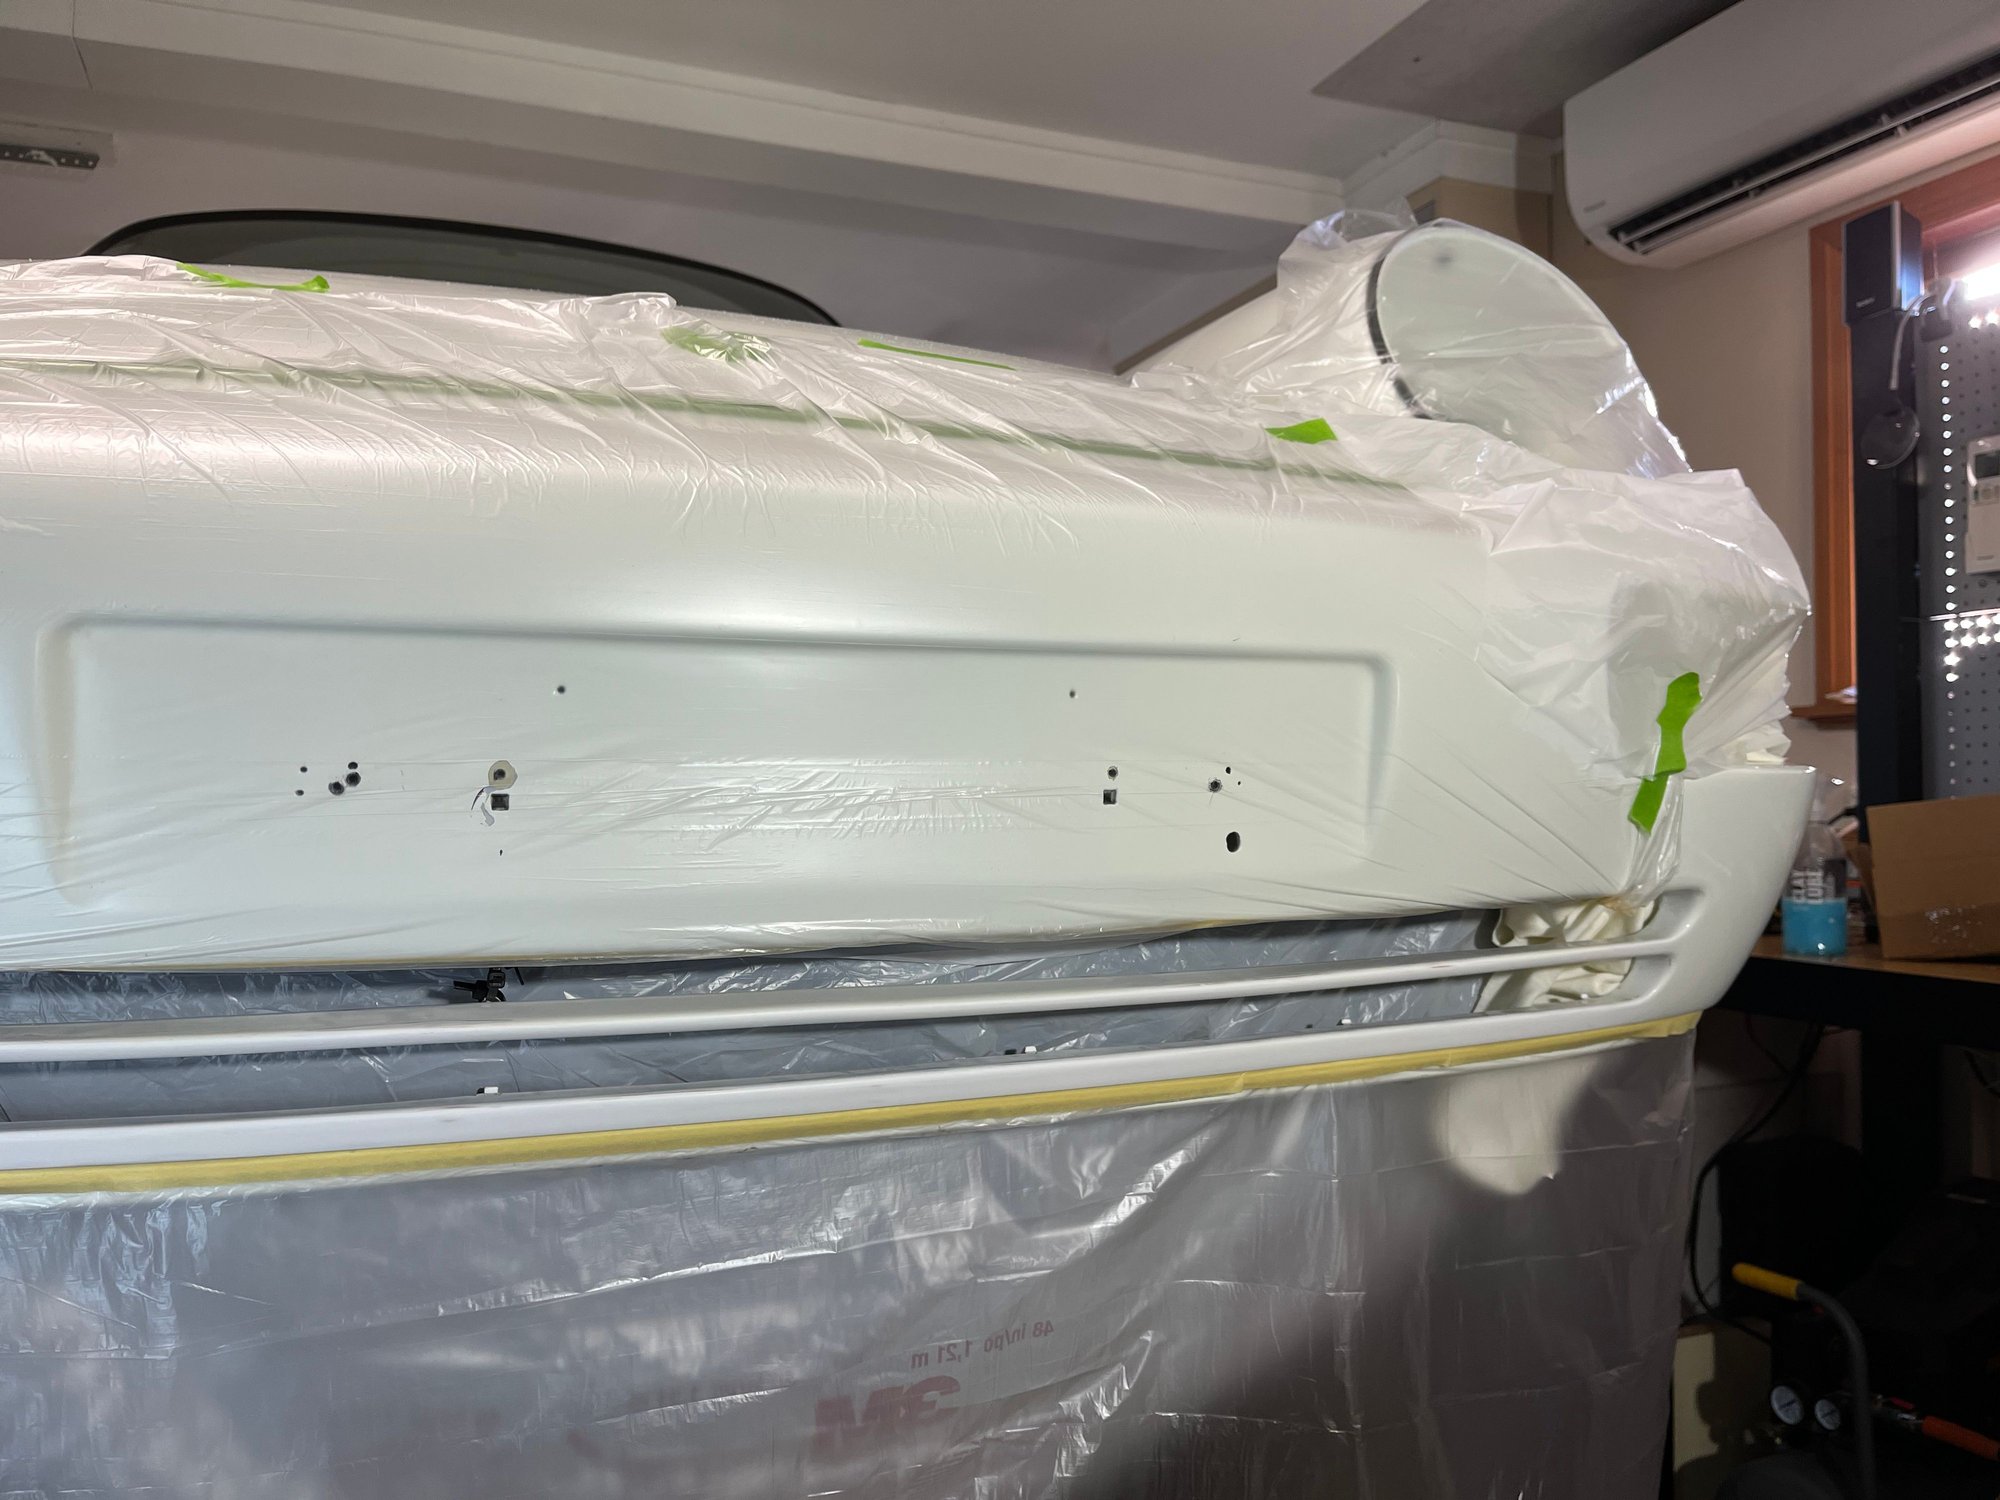
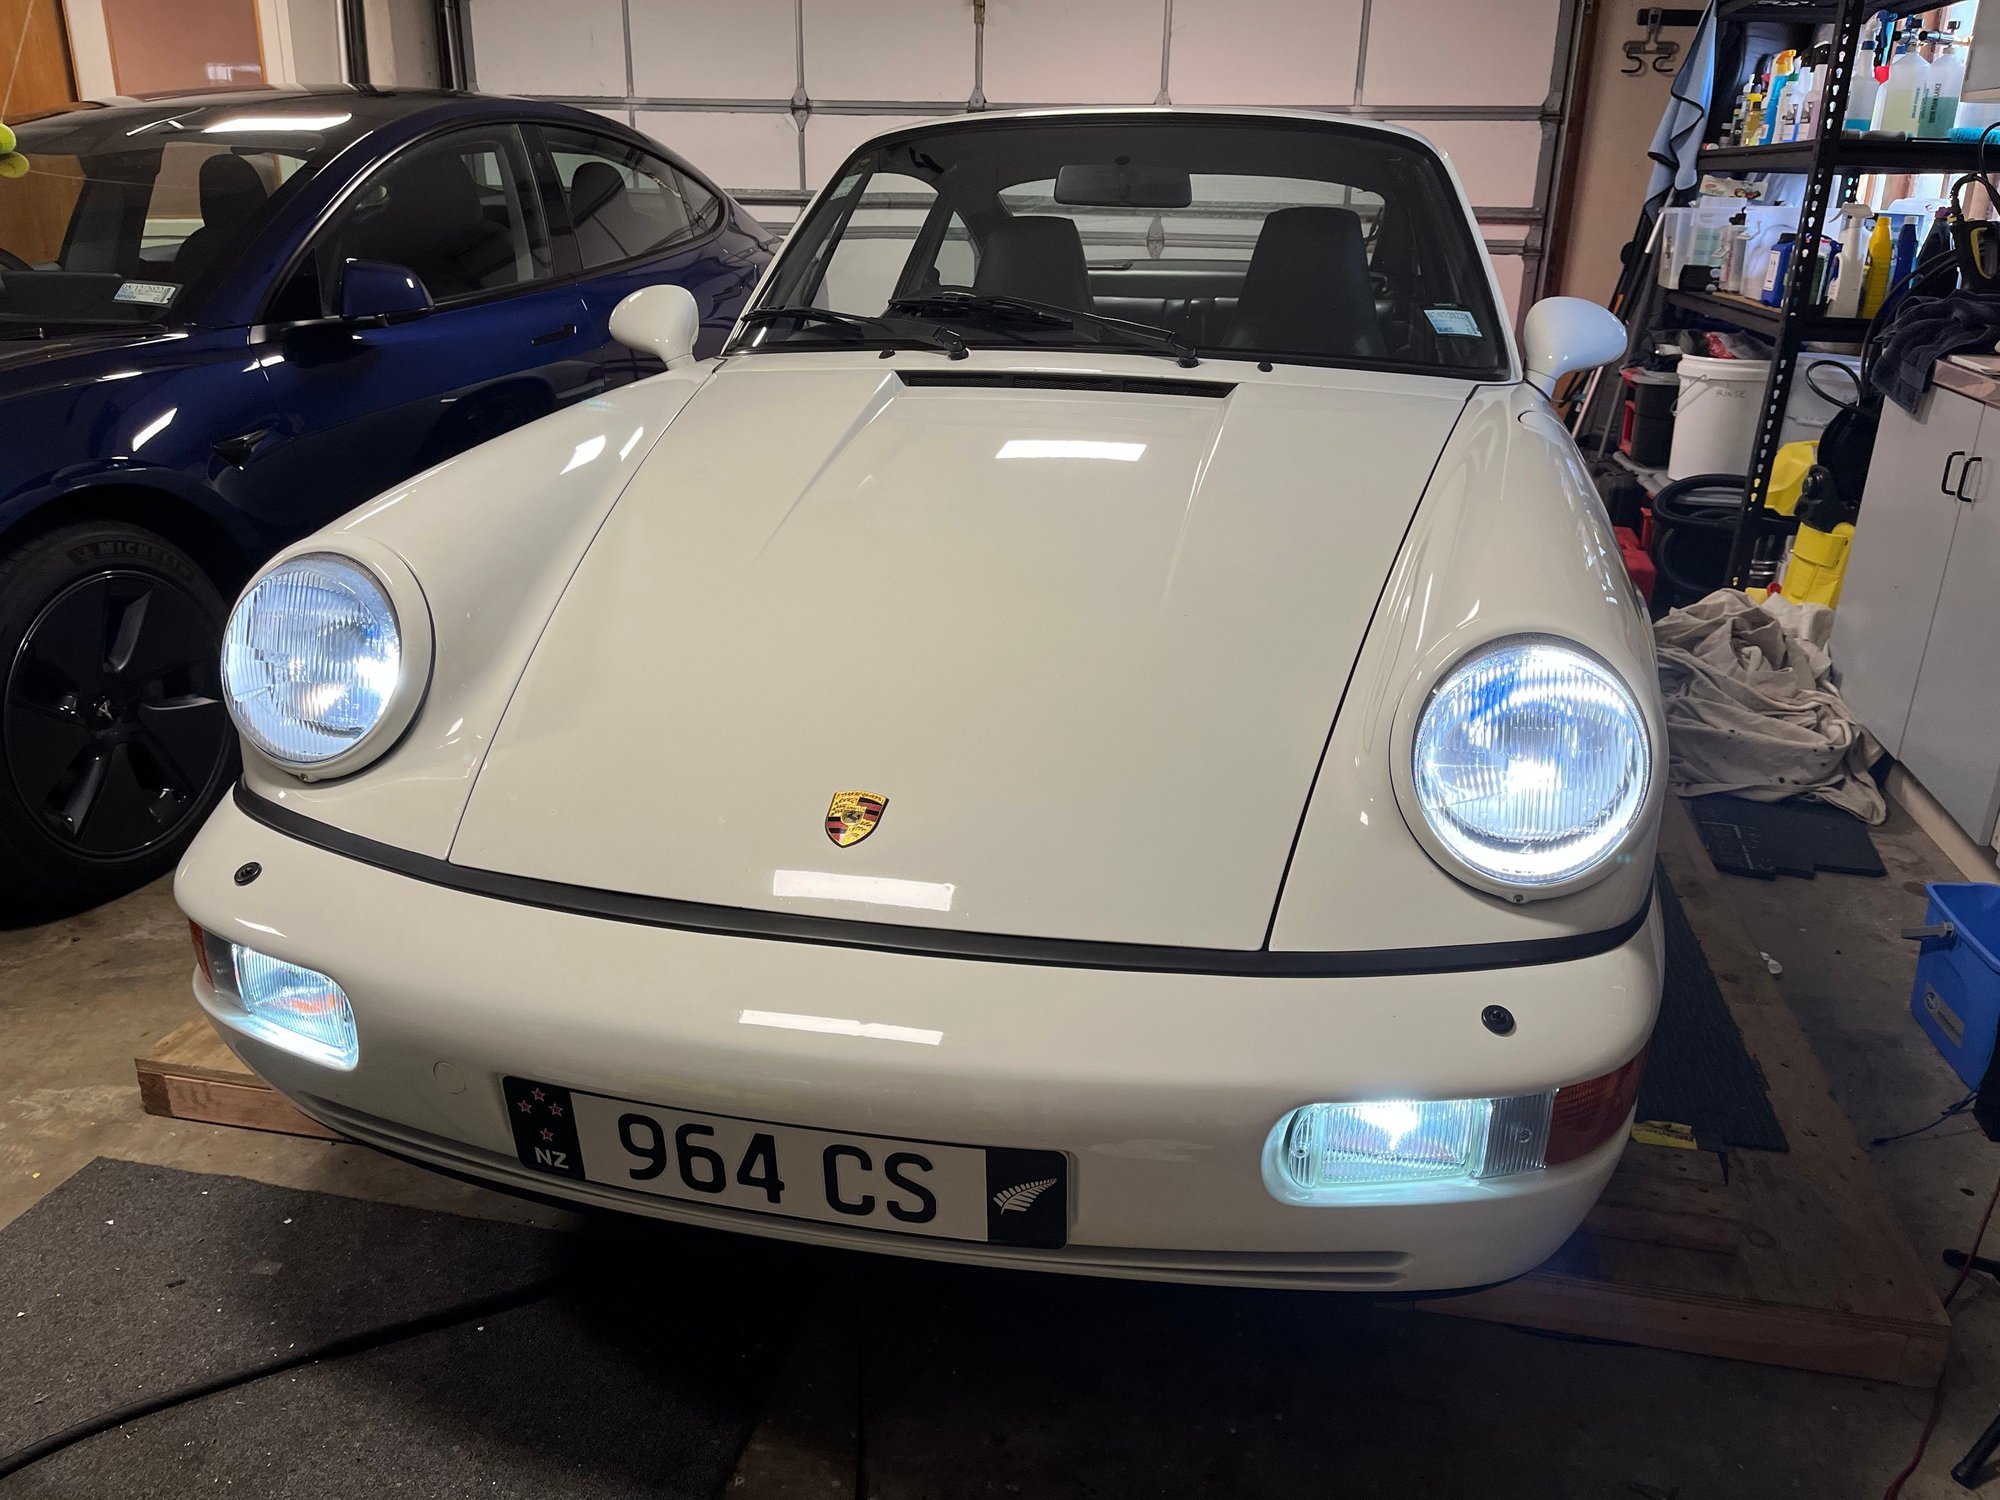
Now that the steering limit spacers are installed, it�s time to fix the wheel well. 2k primer followed by 2k Glasurit in Grand Prix White. Respirator on, it�s nasty stuff.
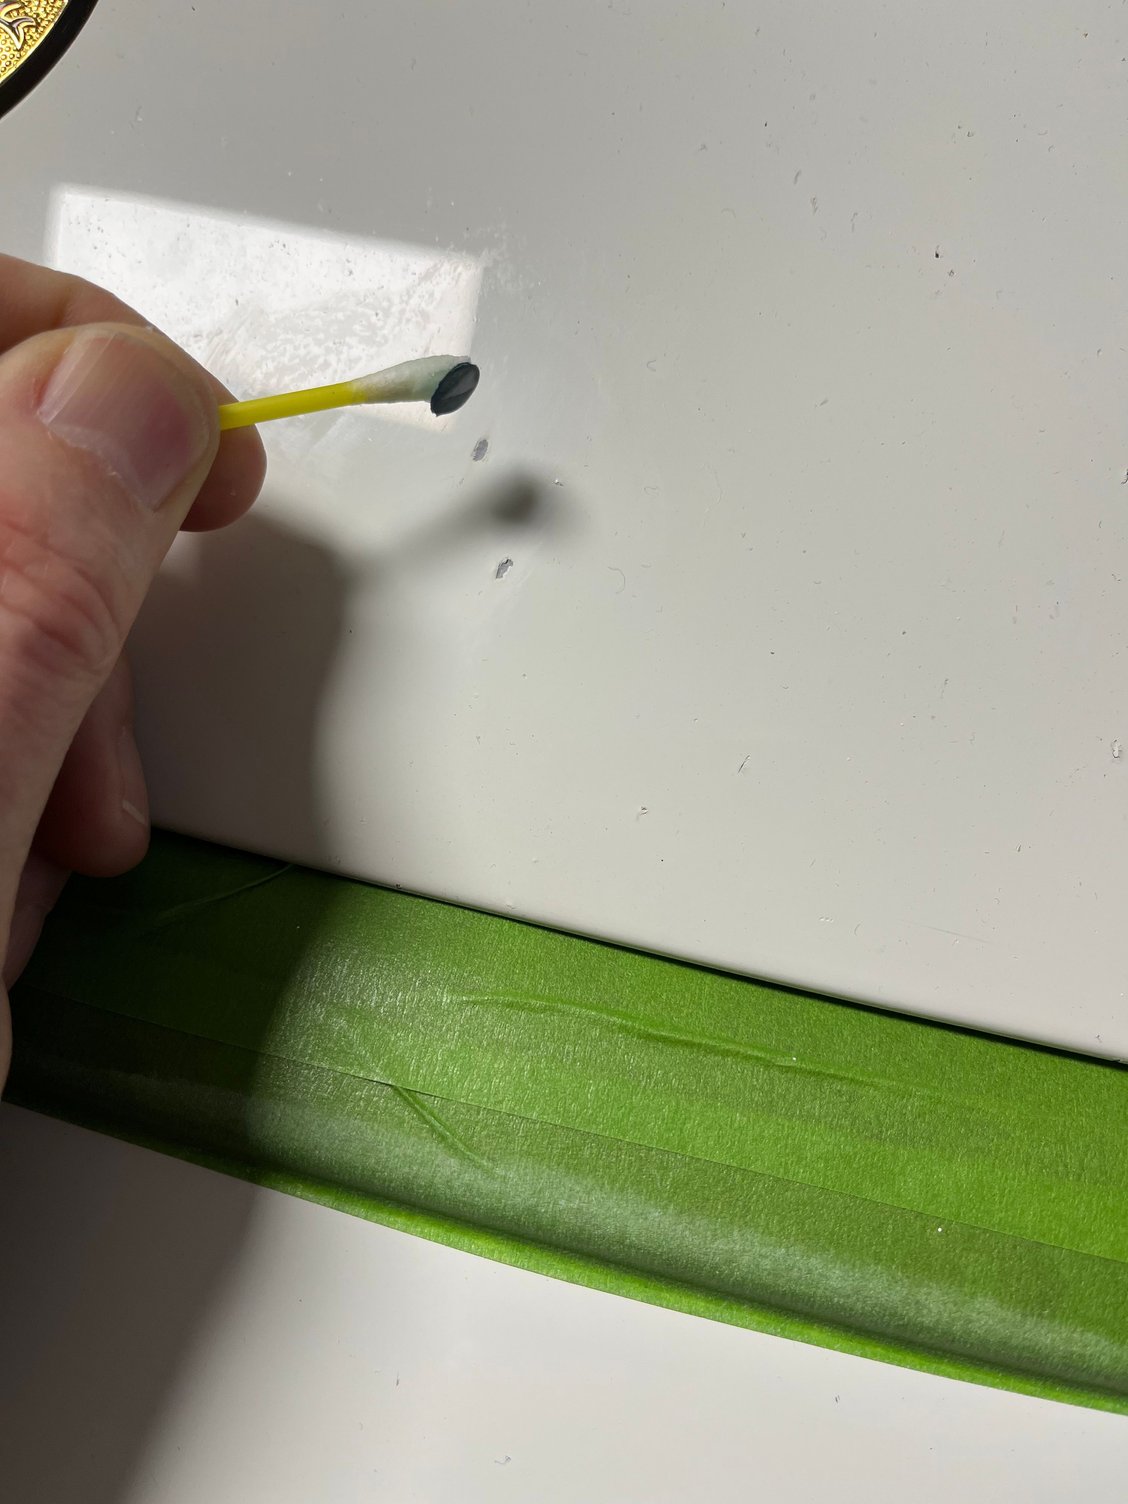
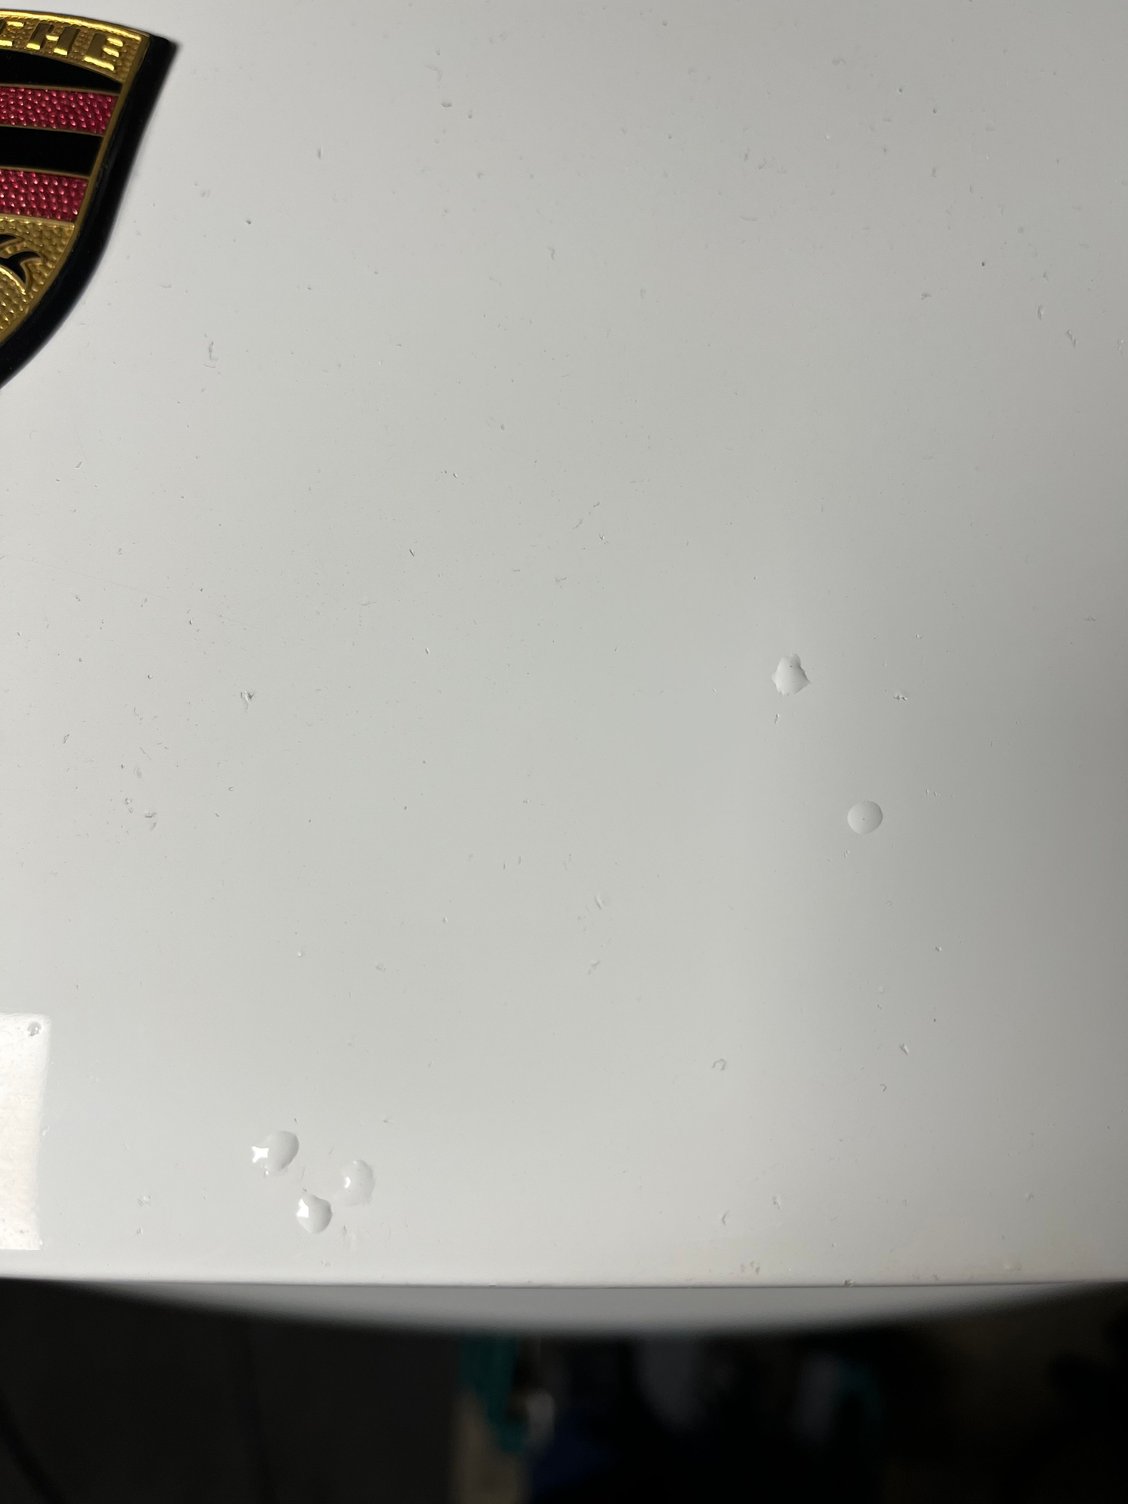
Working on the stone chips. Removed the lacquer touch up paint and filled with 2k Grand Prix White. It�s a different process to lacquer. I have to sand down the resultant bubble rather than build up as you do with lacquer
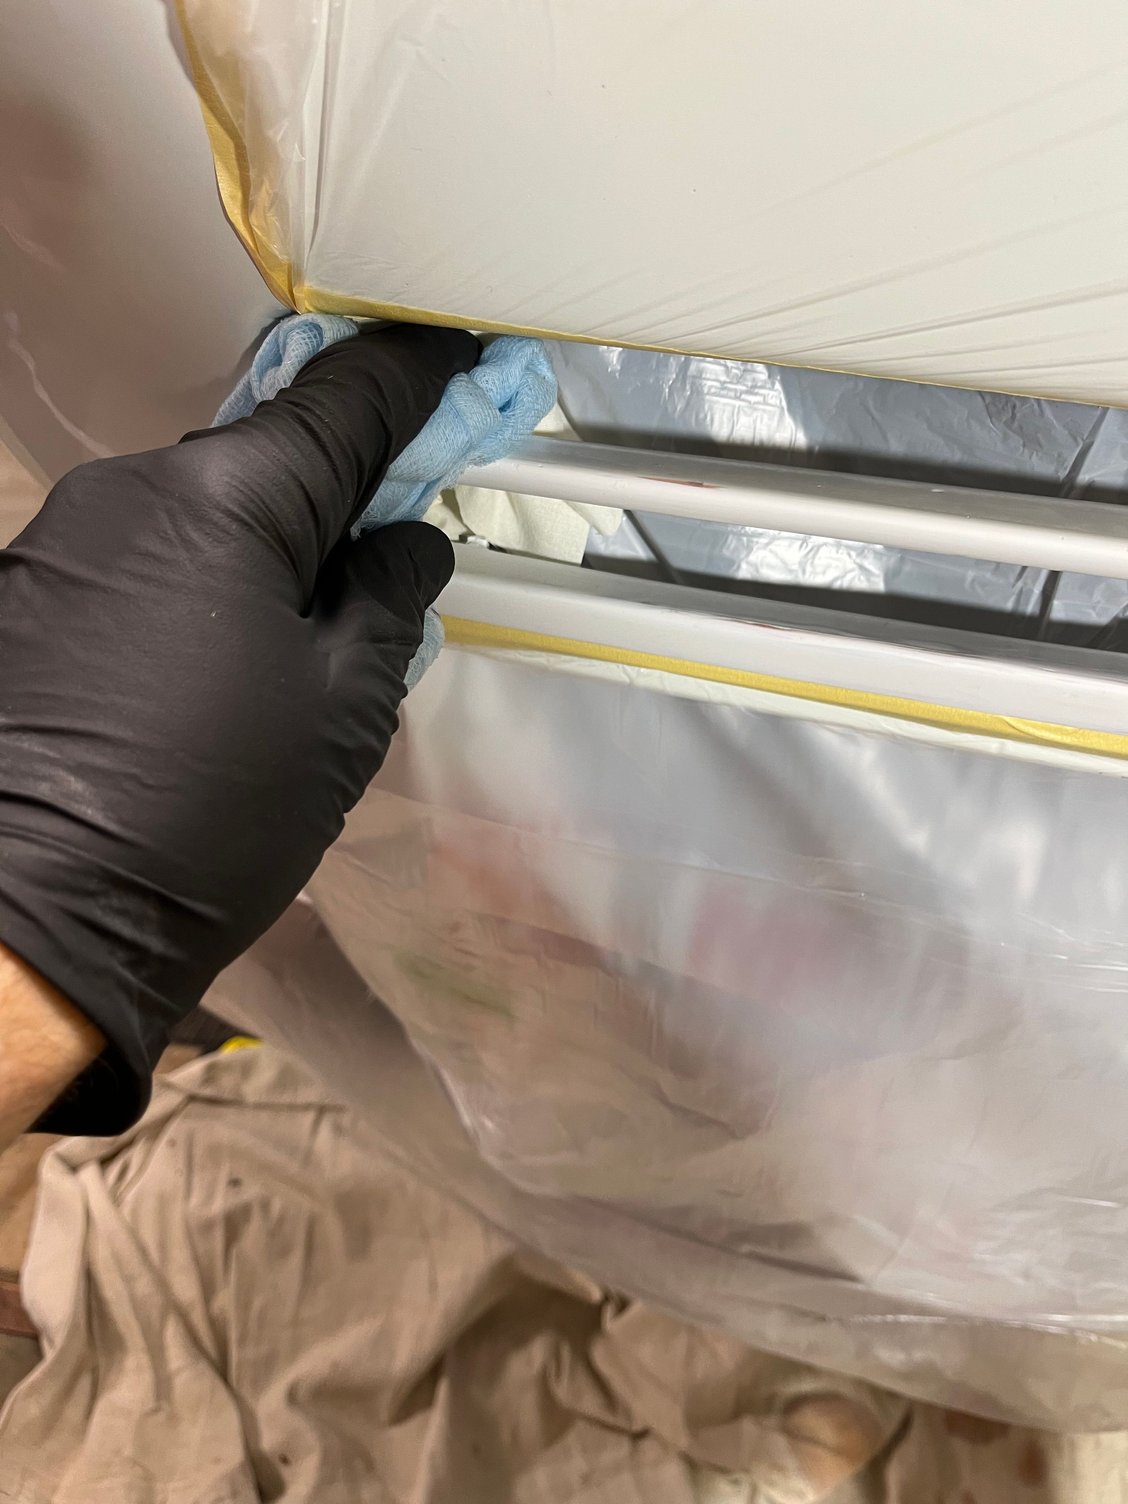
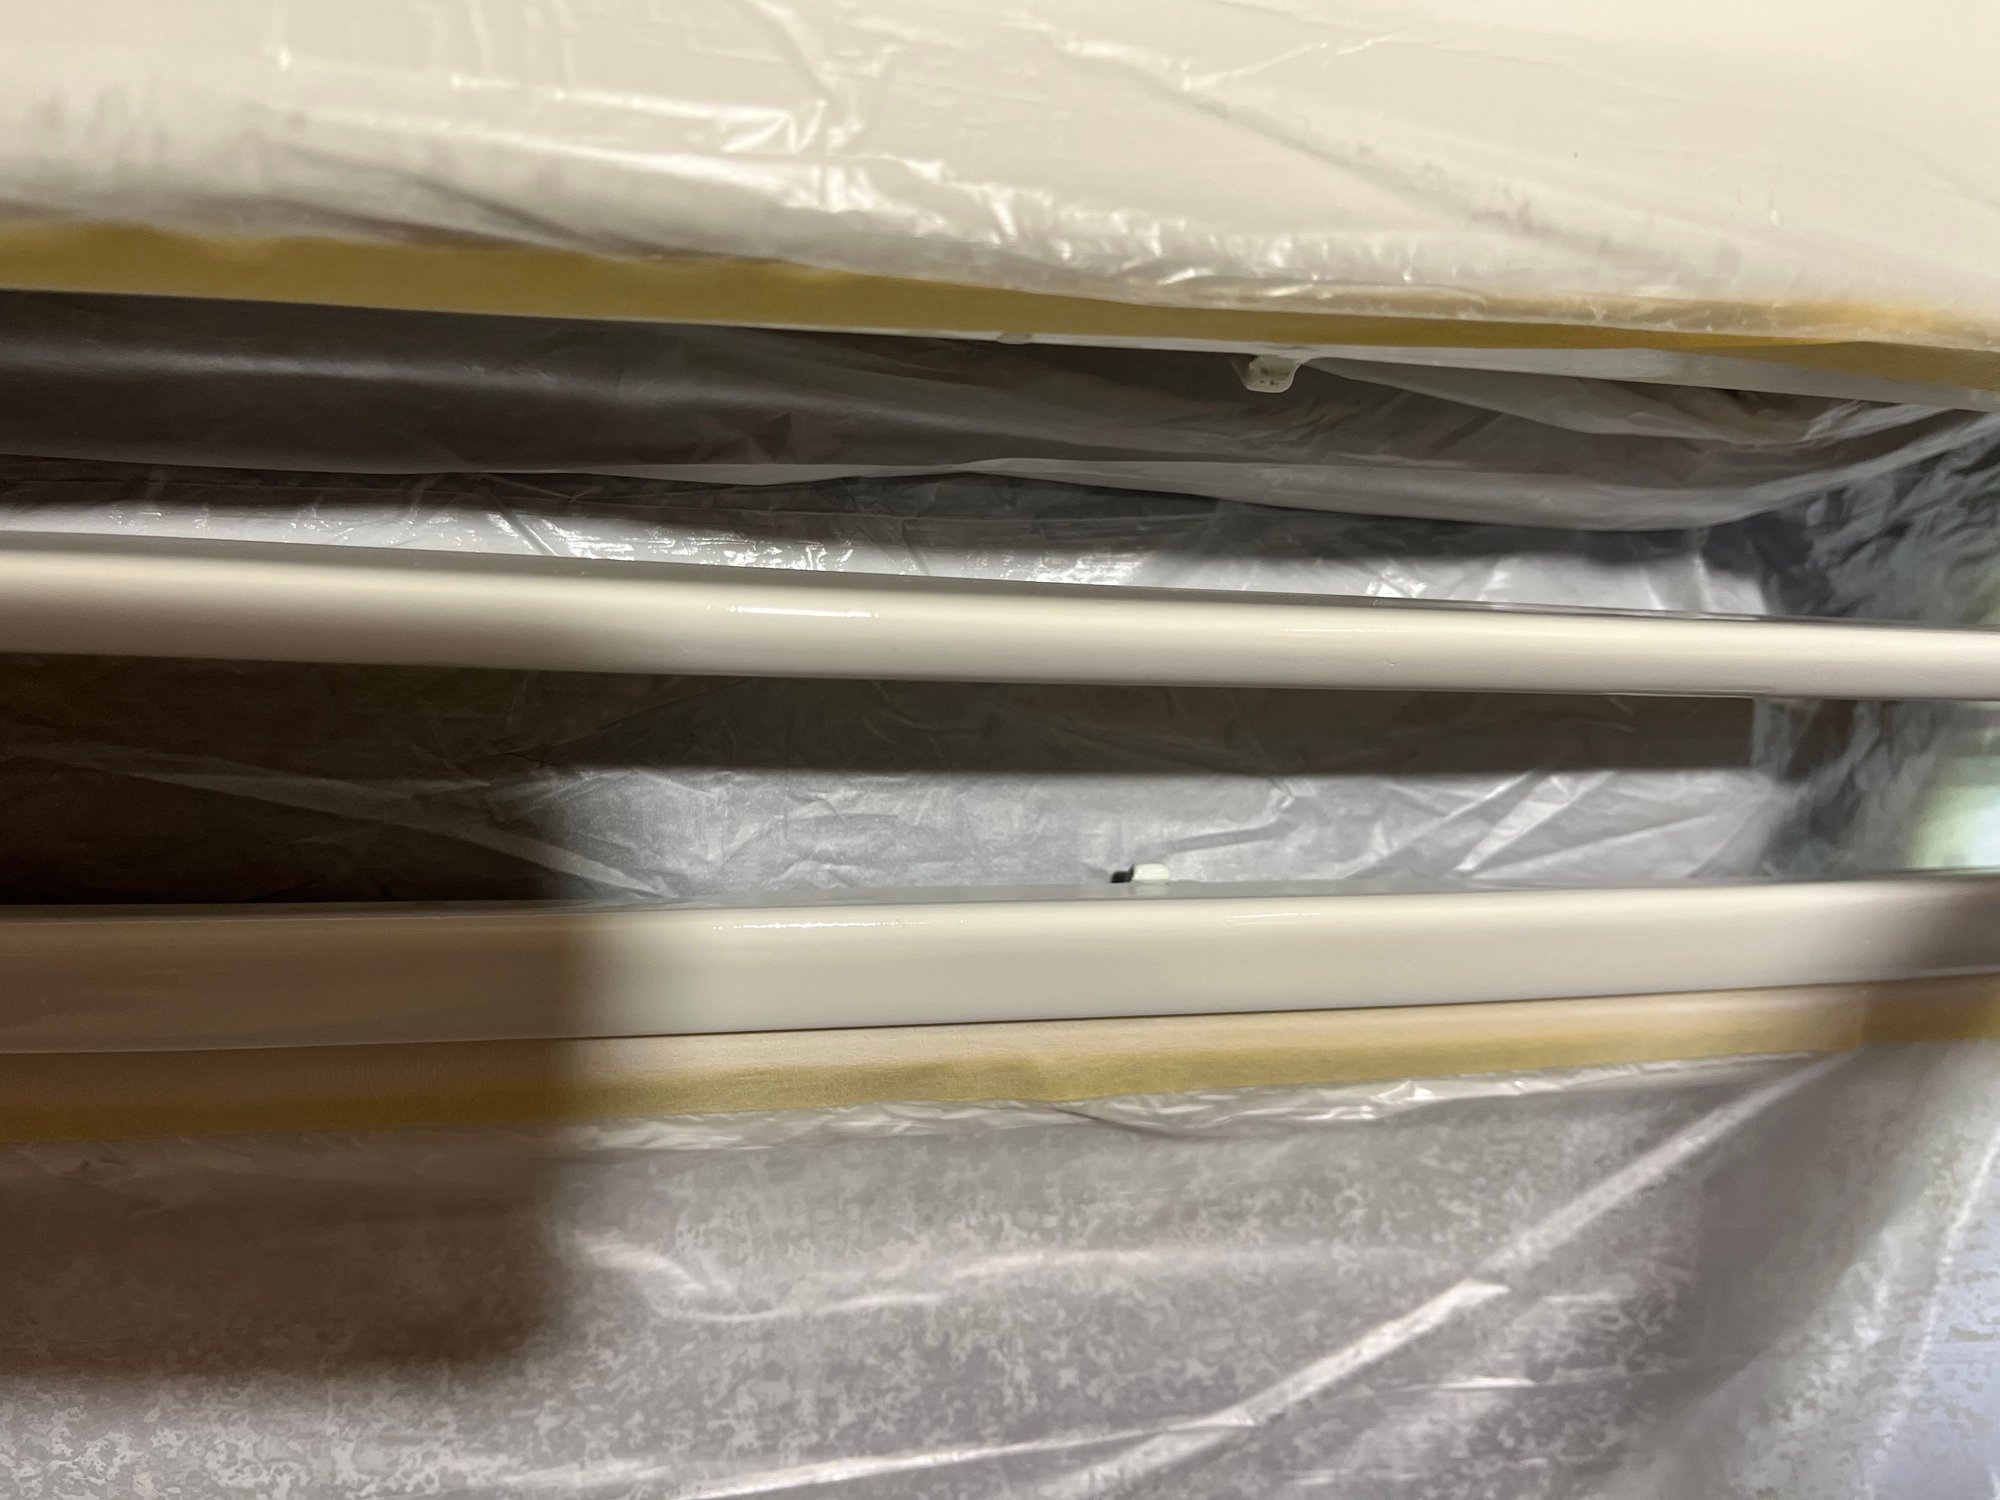
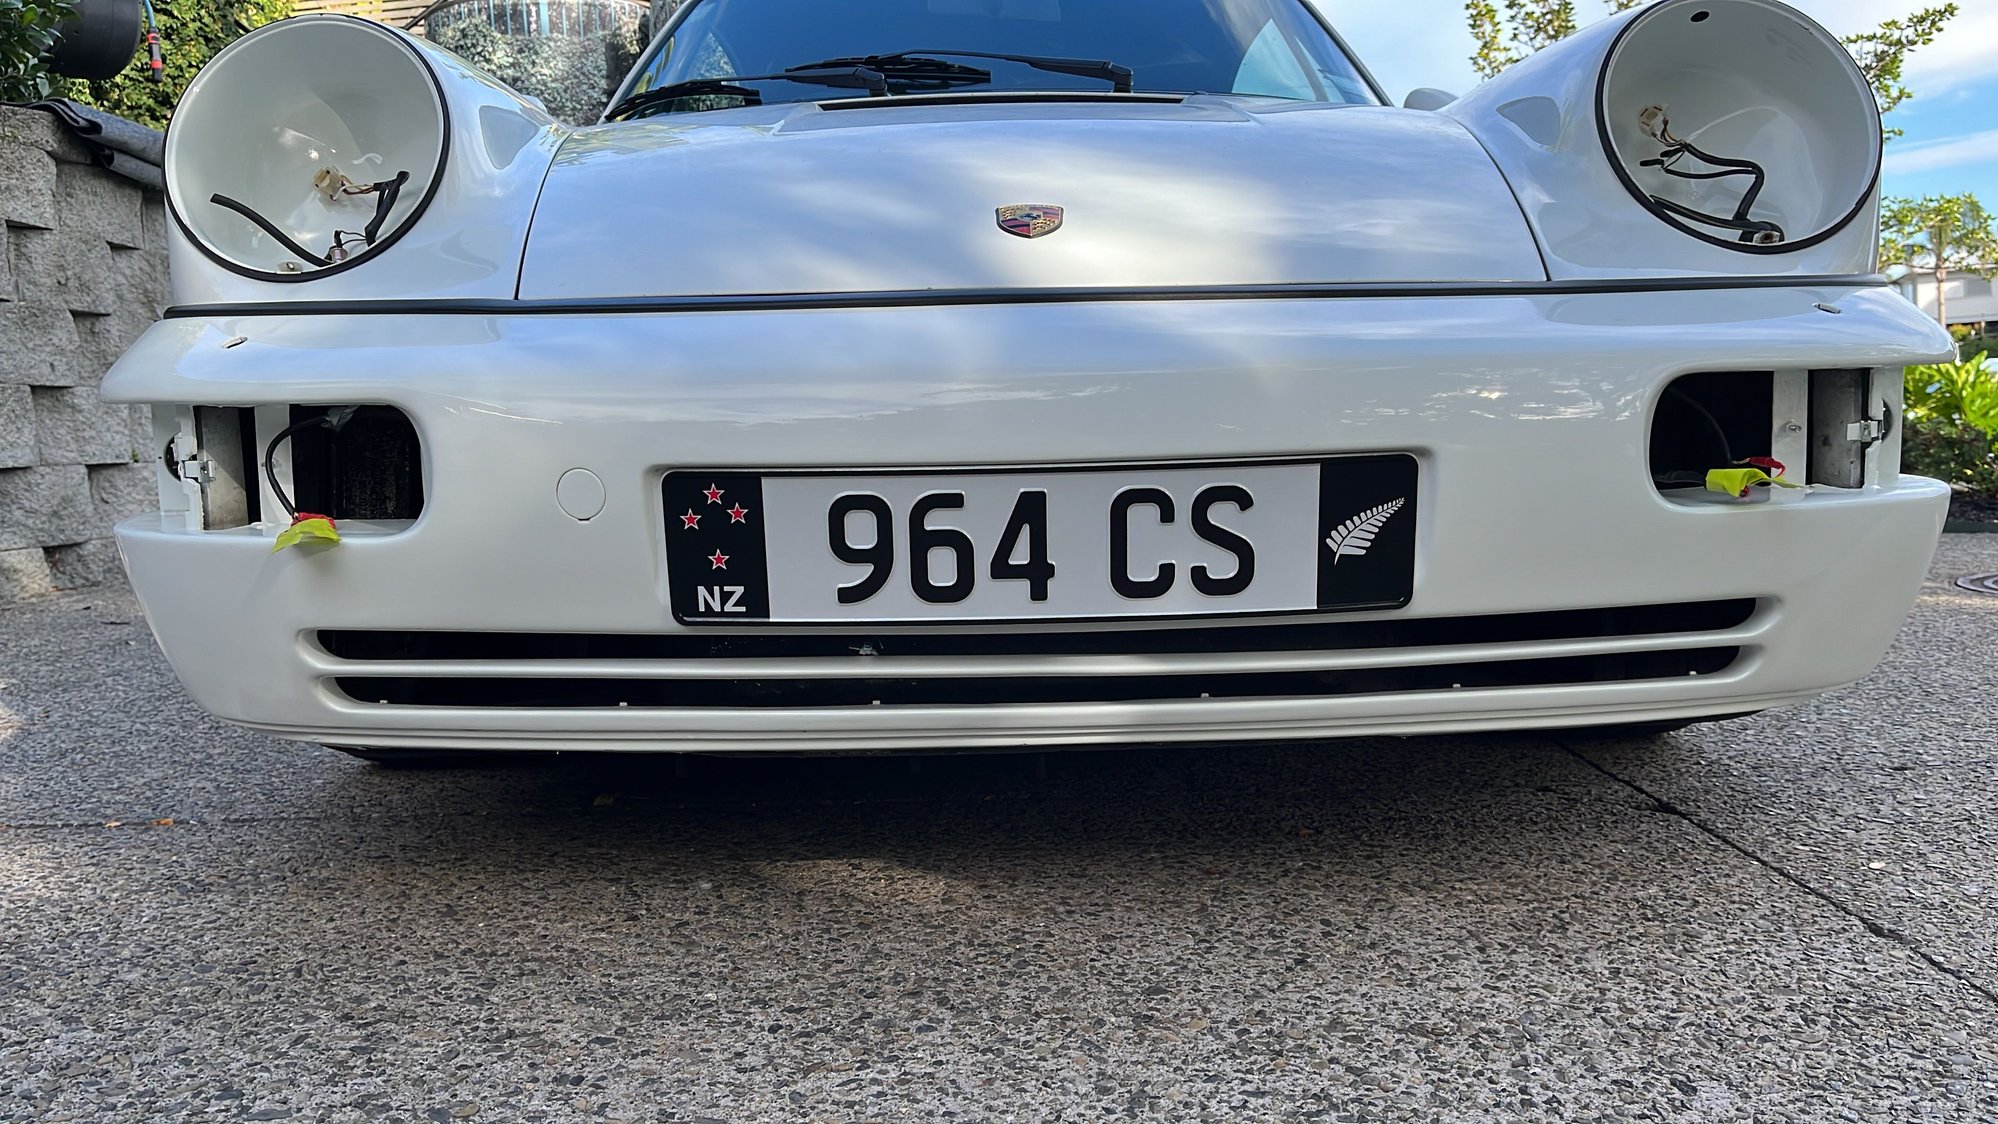
The front grille takes a hammering on road trips. There was no option but to fill, sand, prime and respray. Given the rest of the bumper paint was very good, I opted to use an air brush with Glasurit 2k Grand Prix White paint. A bit like painting your house with a 1� brush but I got there in the end. I don�t have a paint booth so I let it cure overnight then put it out in the hot sun.
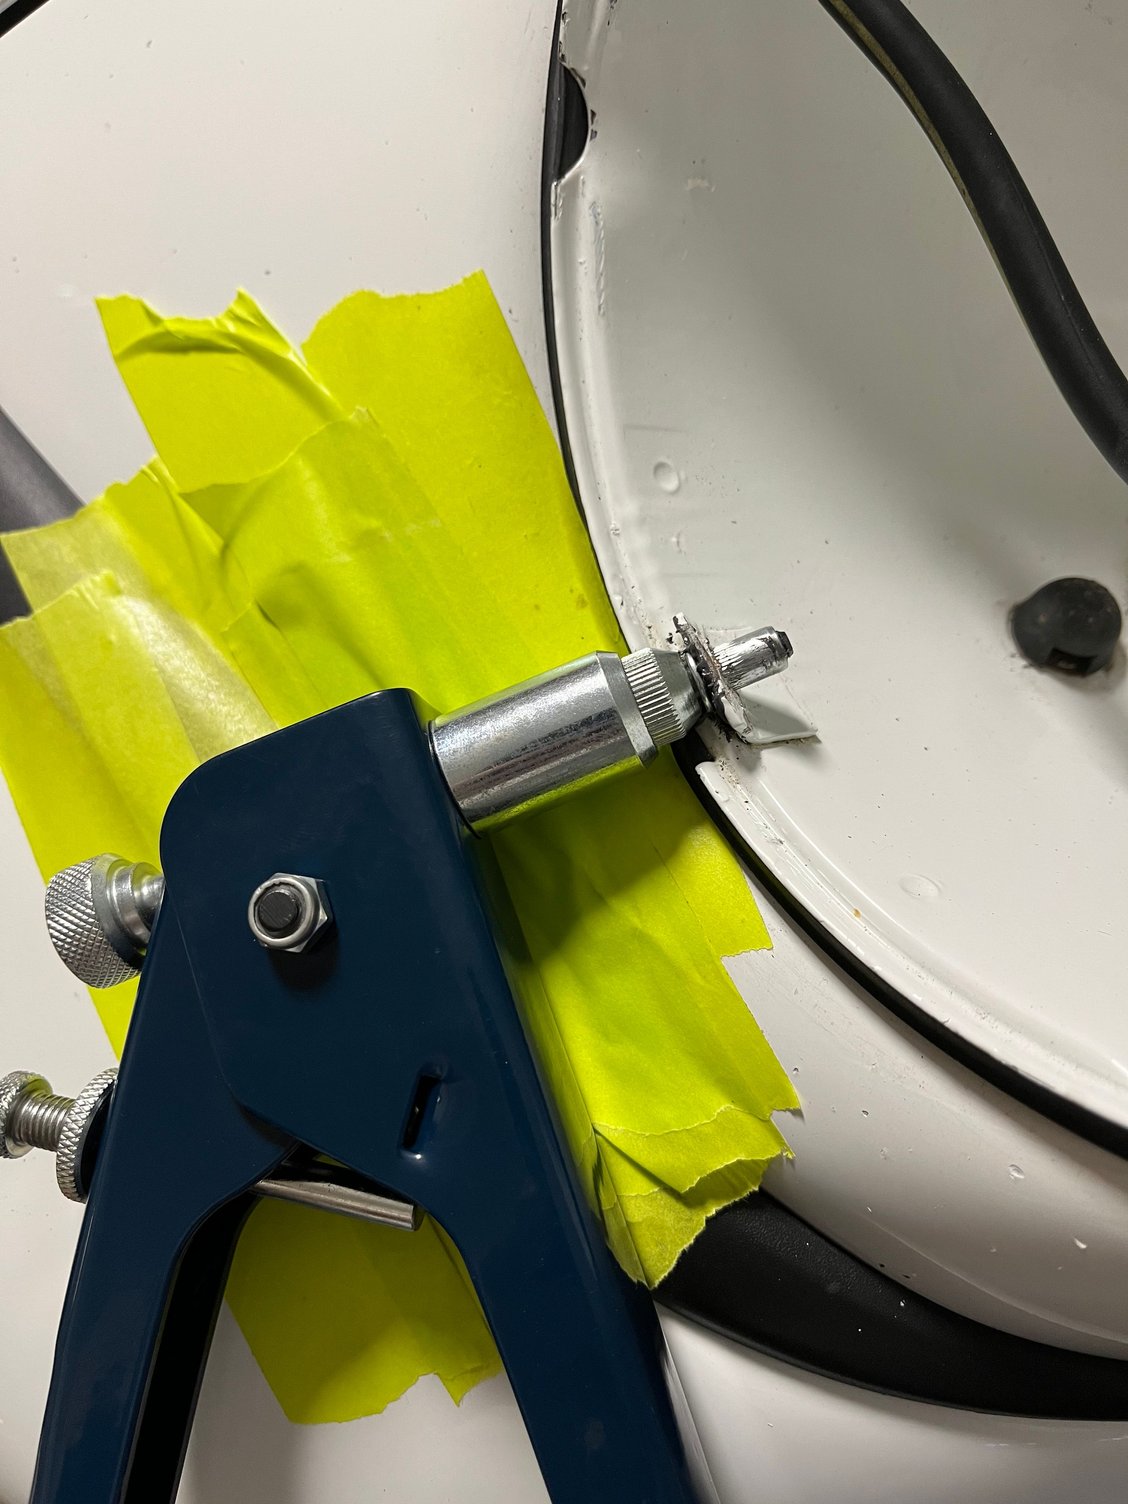
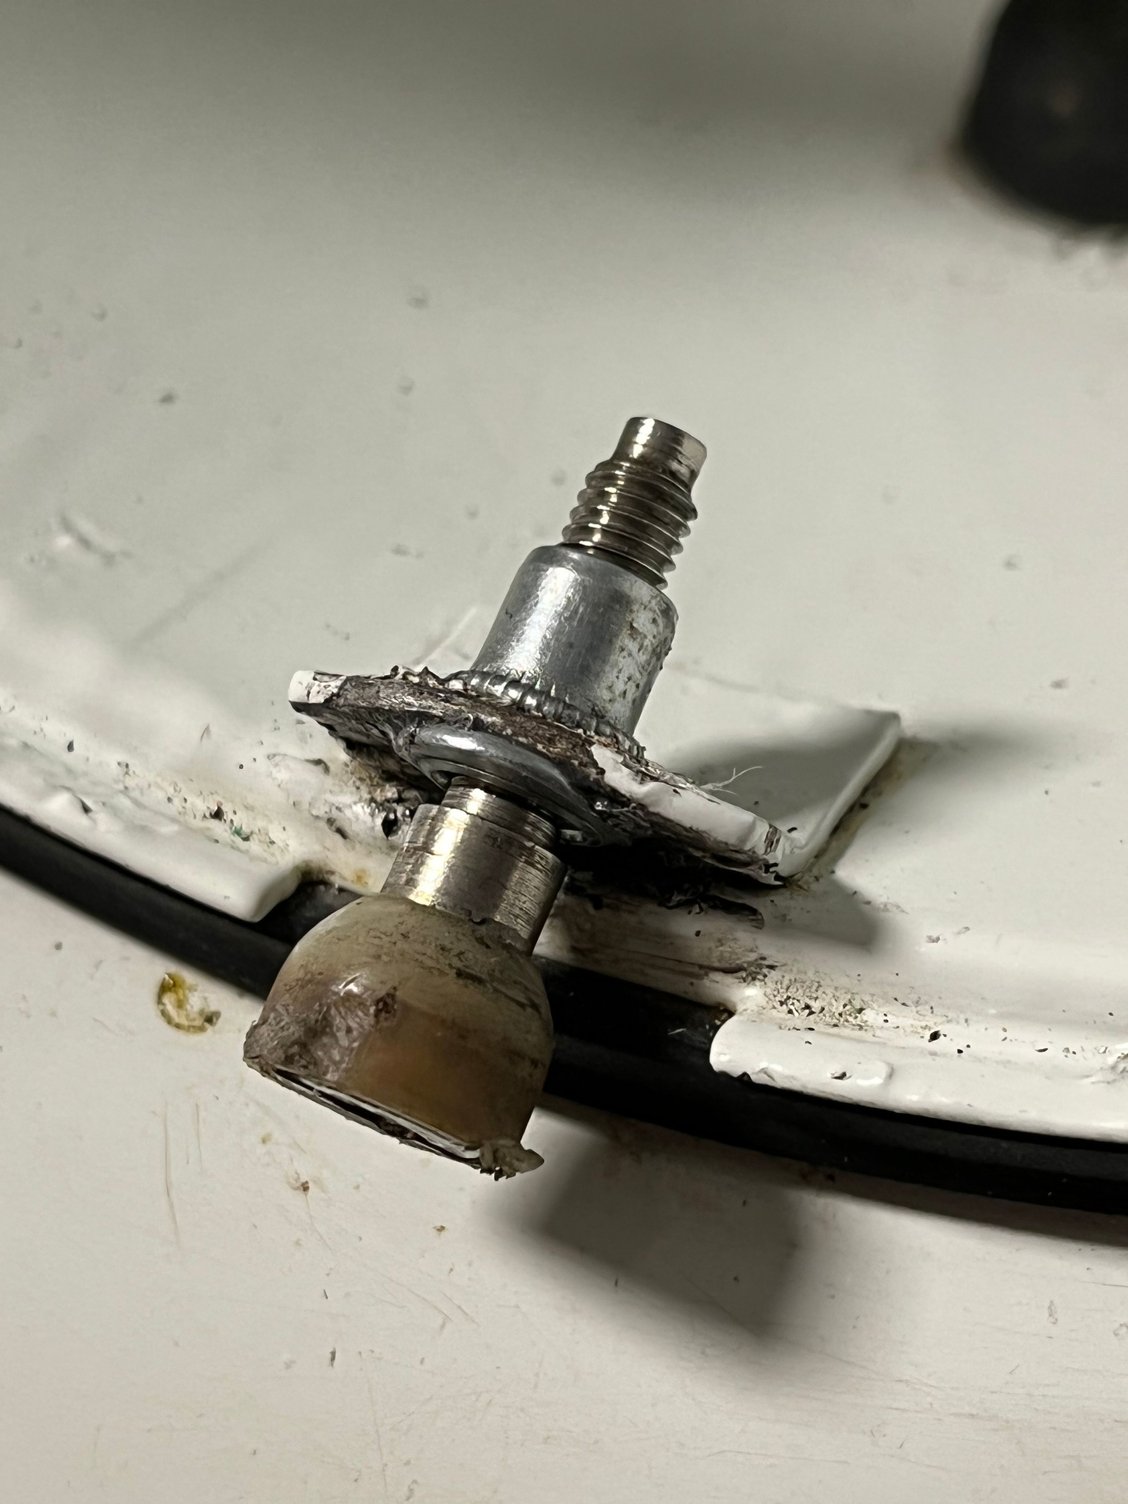
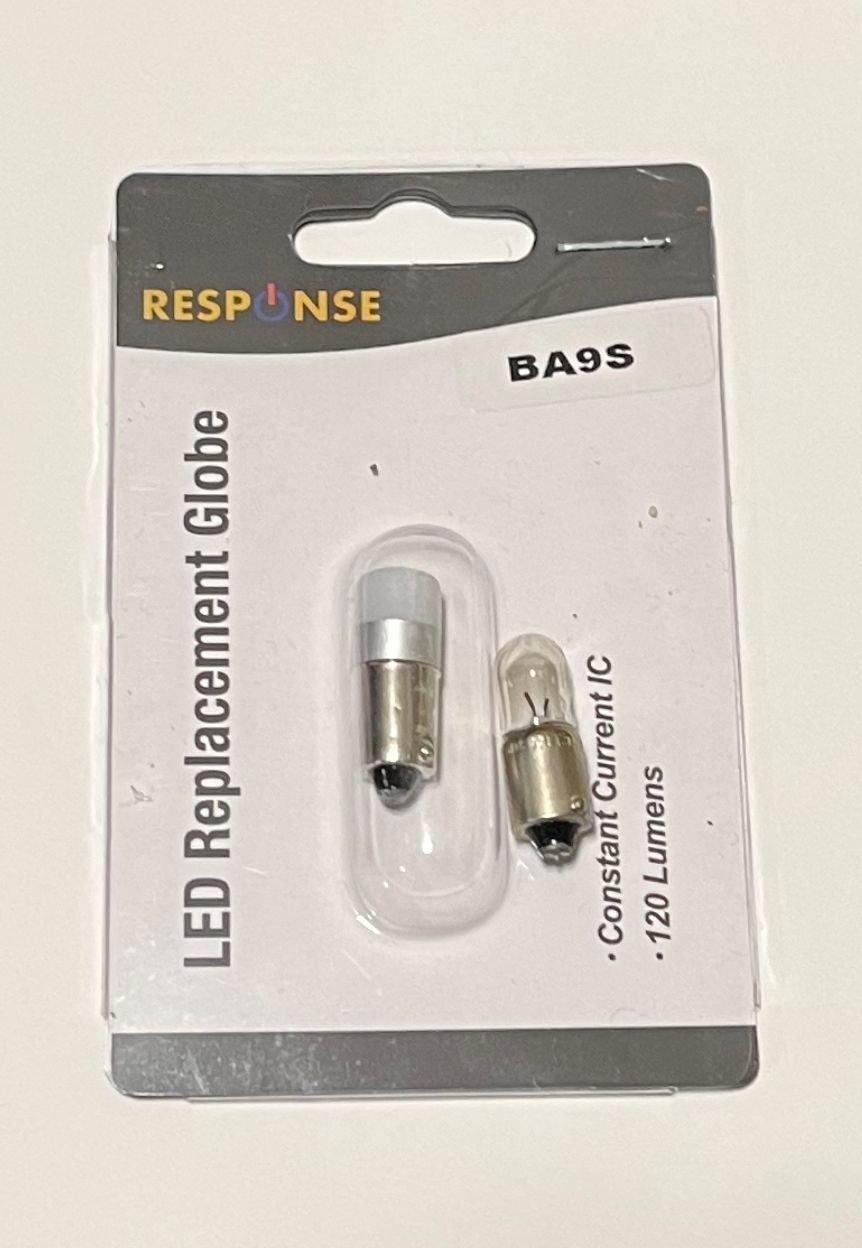
Another item needing attention was the Rivnut I used to fix a stripped tab in the headlight. It had come loose. It�s M5. I used a bit of JB Weld on the flange to help it hold.
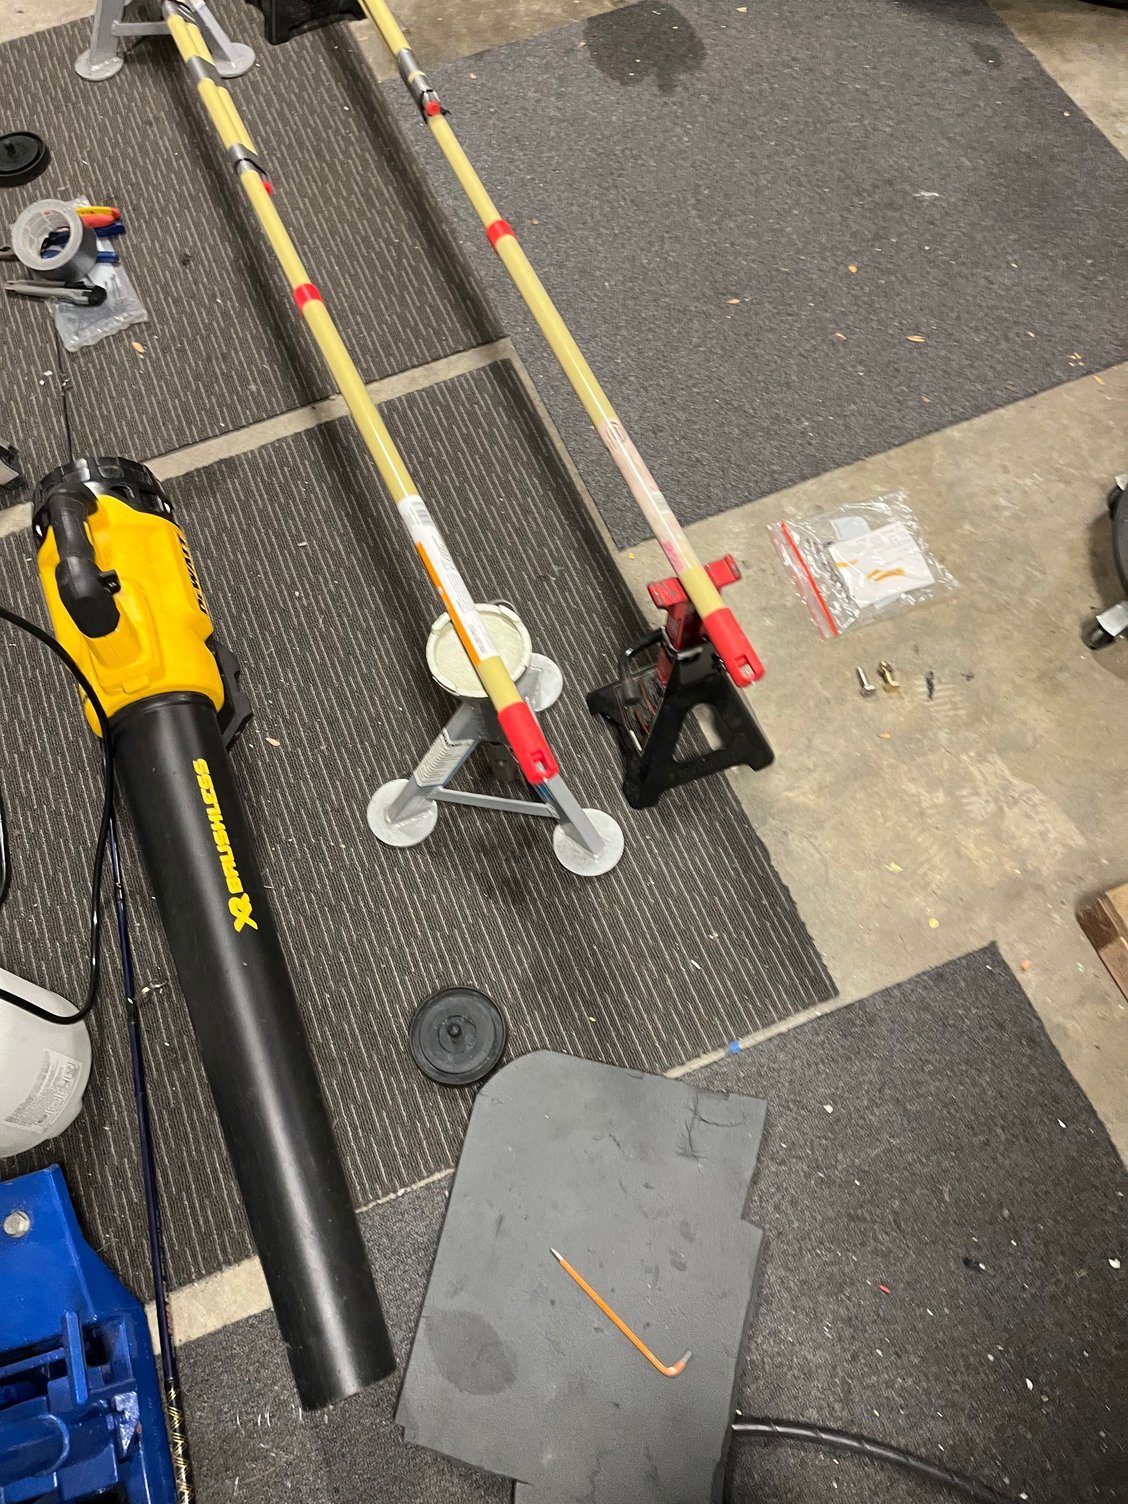
After fitting the steering angle limiters I noted that the alignment was off, more particularly the toe angle. I used this YouTube video for the method
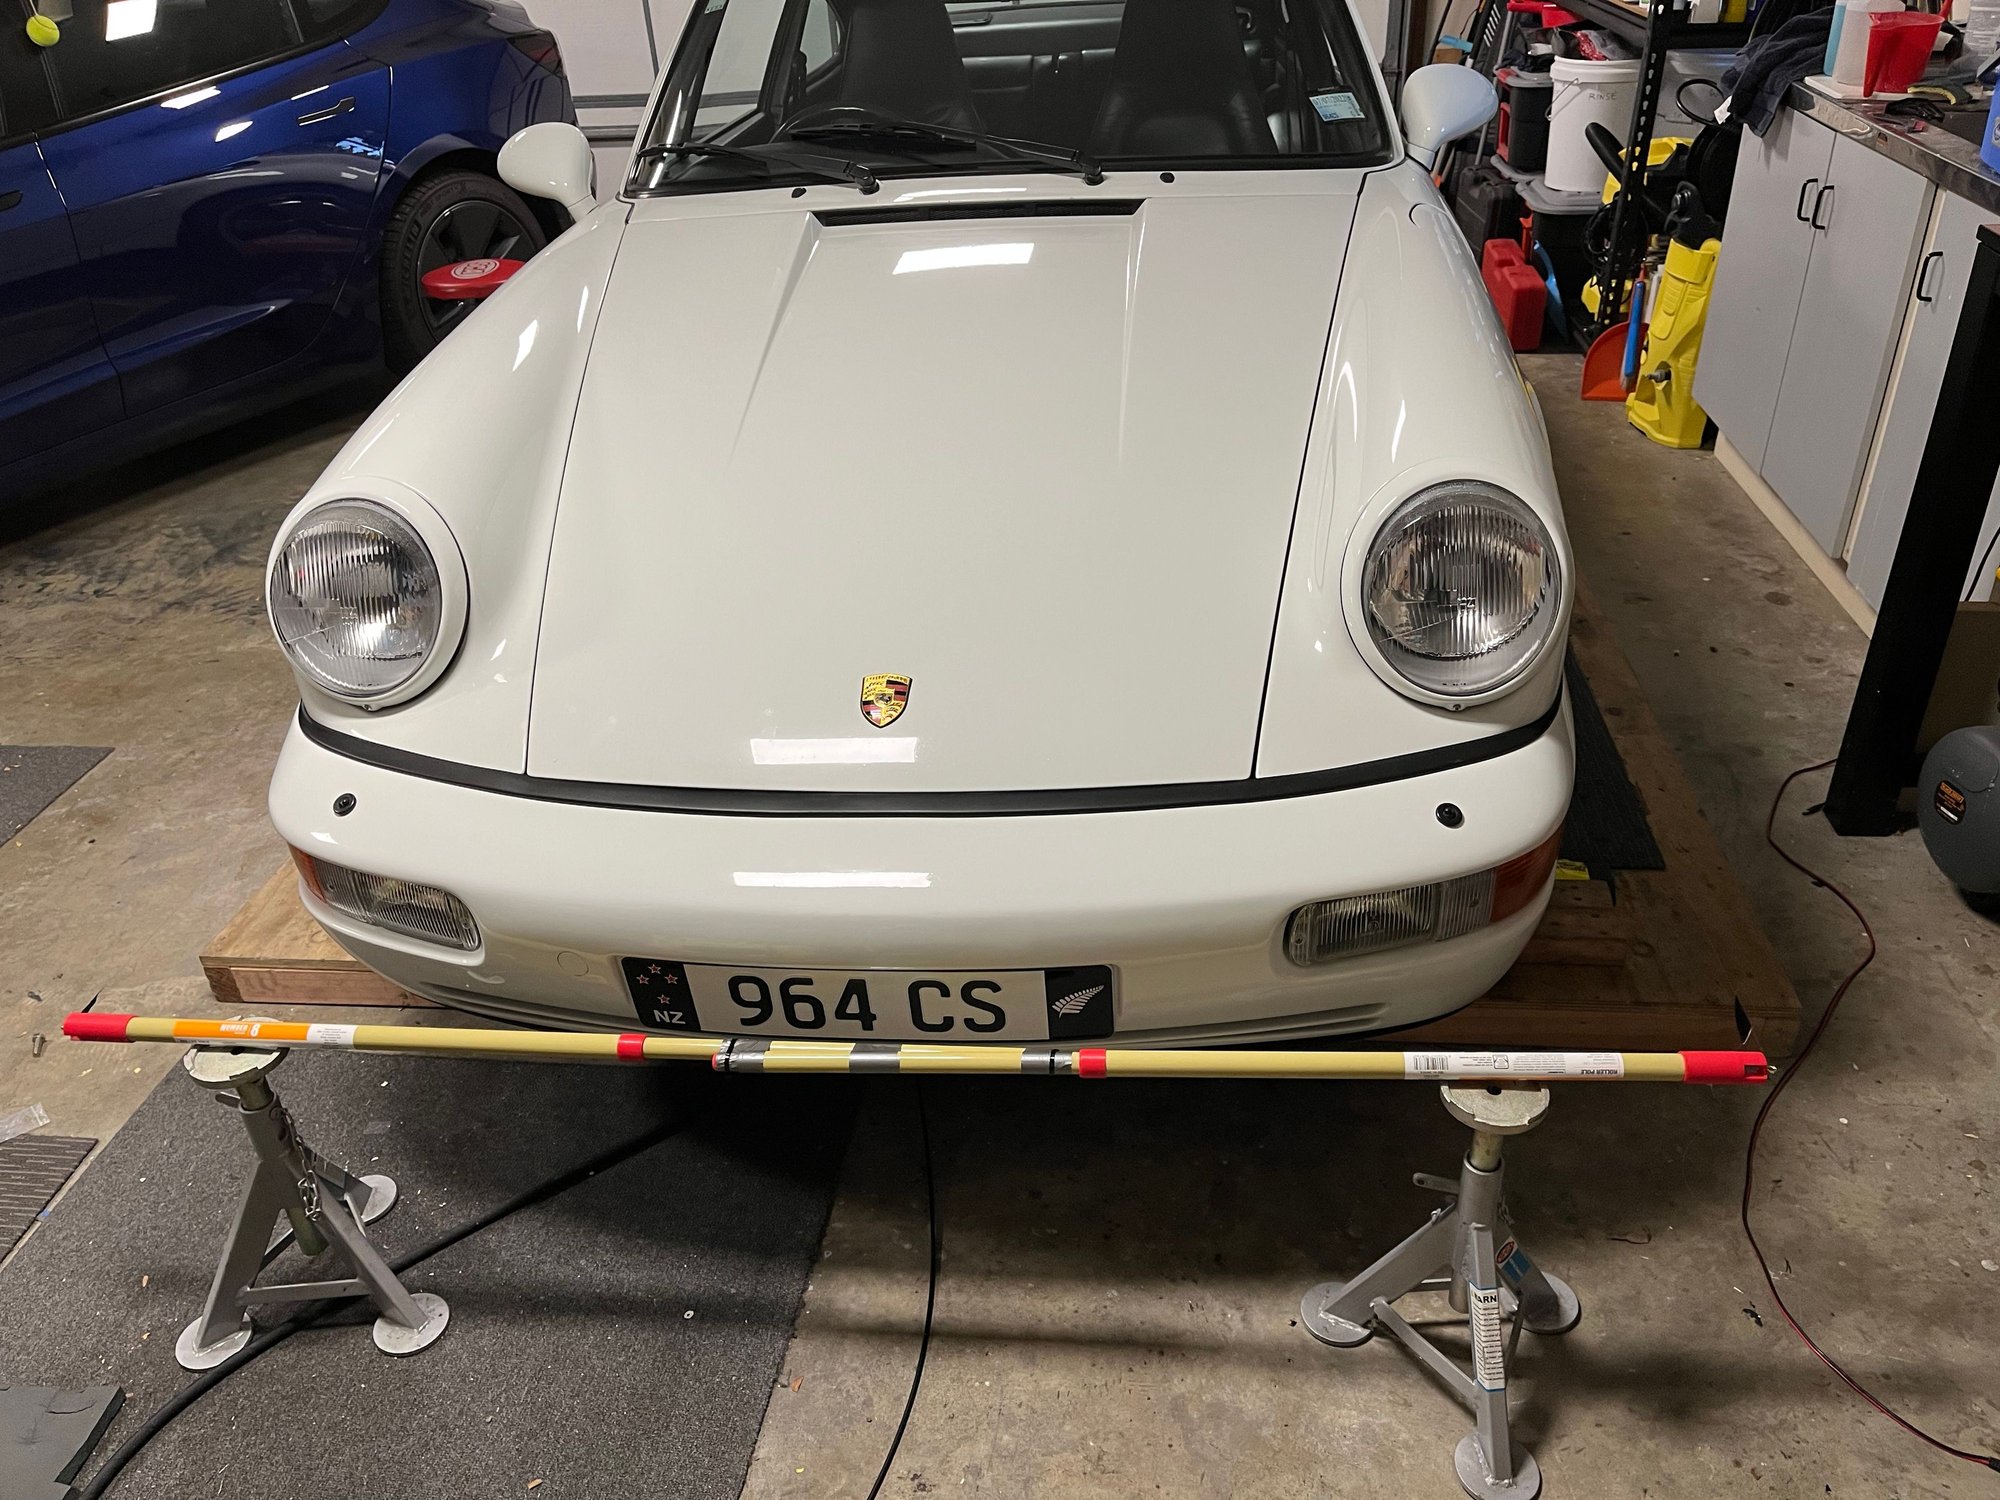
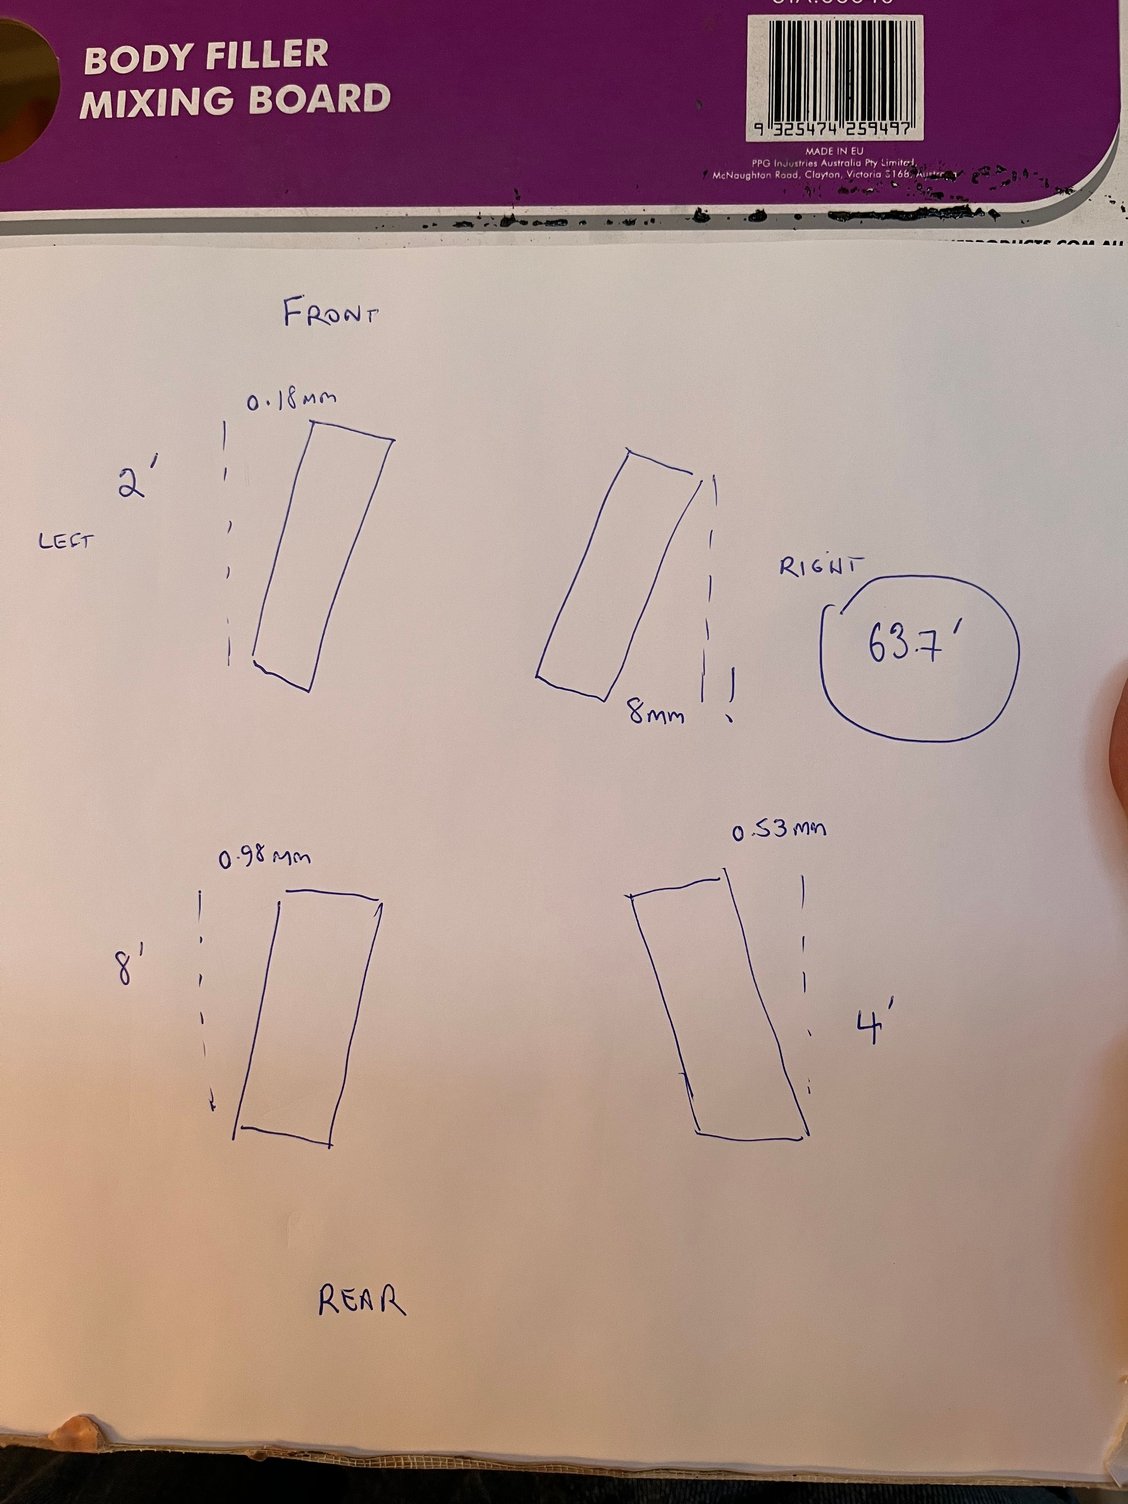
I built the alignment box out of extendable decorator poles with picture eye hooks on the end of each. The extenders allowed me to make each pole exactly the same. I used fishing line and digital calipers for measuring.
Measurements told me my right front wheel was 8mm toe out (enormous - due to my fitting of the steering angle limiters). The others were in spec. The goal was to get the right either zero toe or very slight toe in.
To bring the wheel back to zero toe I needed to bring the rear out by 4mm and front in by the same.
The tie rod thread pitch is 1.5mm and the leverage is ~2x because the tie rod fixing point is half way to the measurement point so each turn of the buckle moves the wheel ~3.0mm. 1.5 turns gave me ~4mm with slight toe in. It was perfect first time.
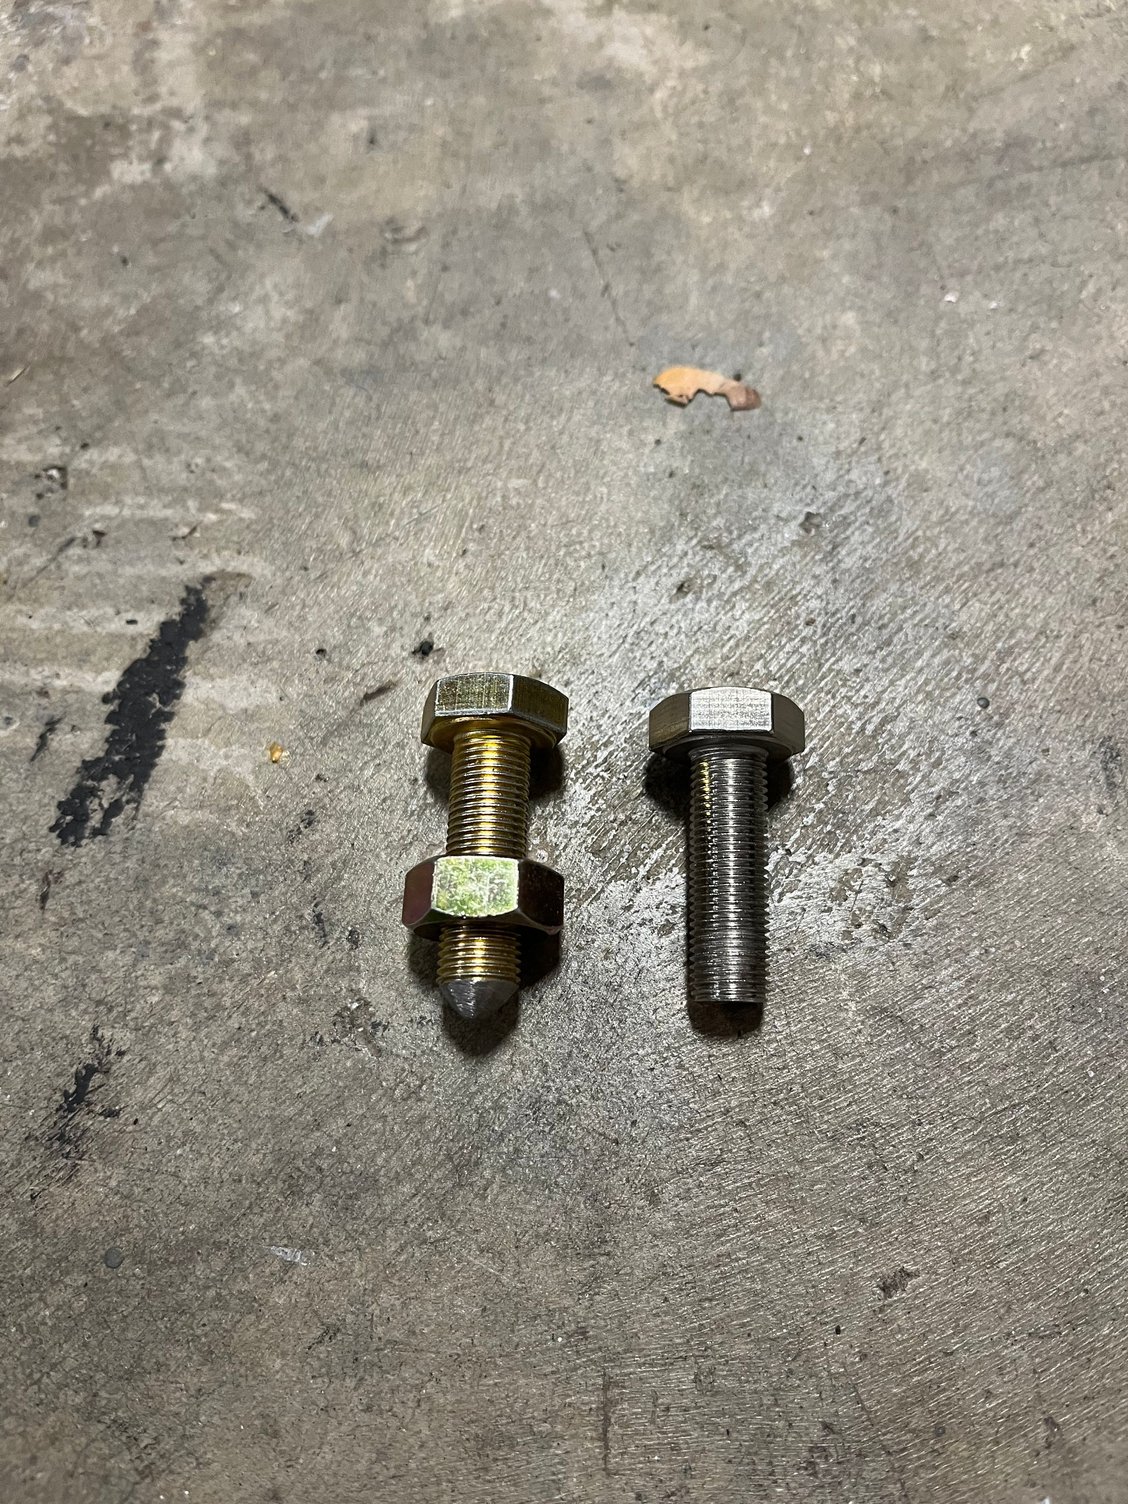
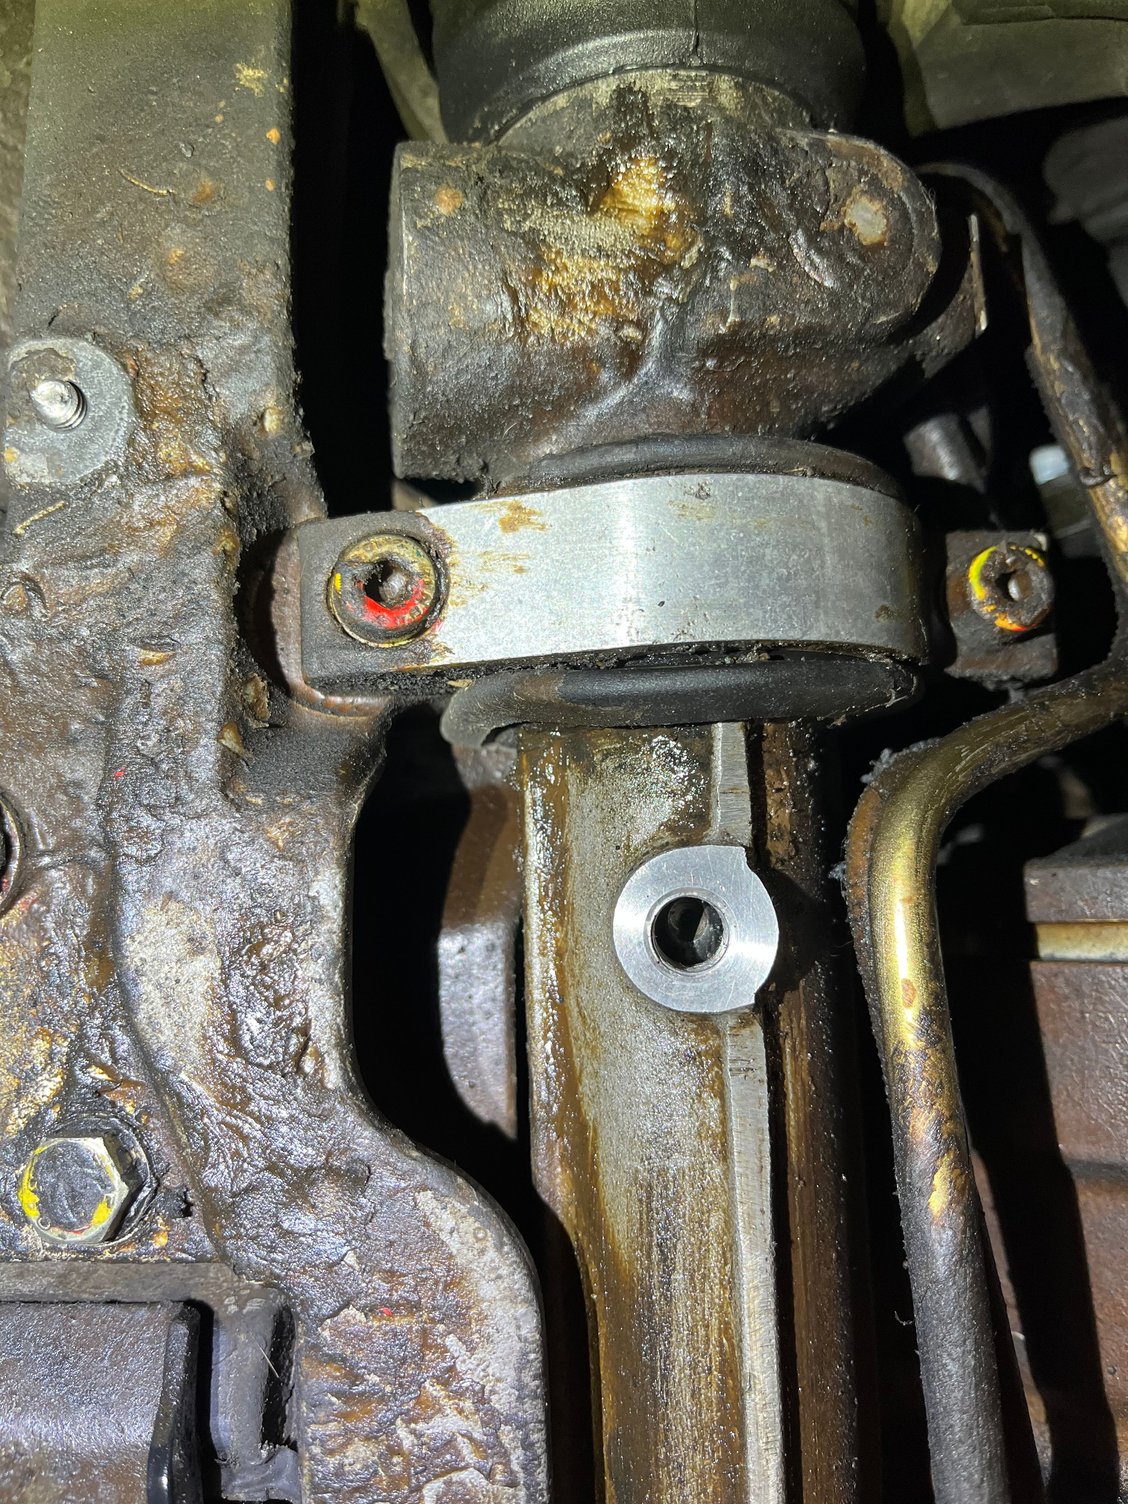
One thing I forgot to put up first is that I fixed the rack at its centre by using a bolt with an angled end. Spokes made it. It fits into a dimple in the rack.
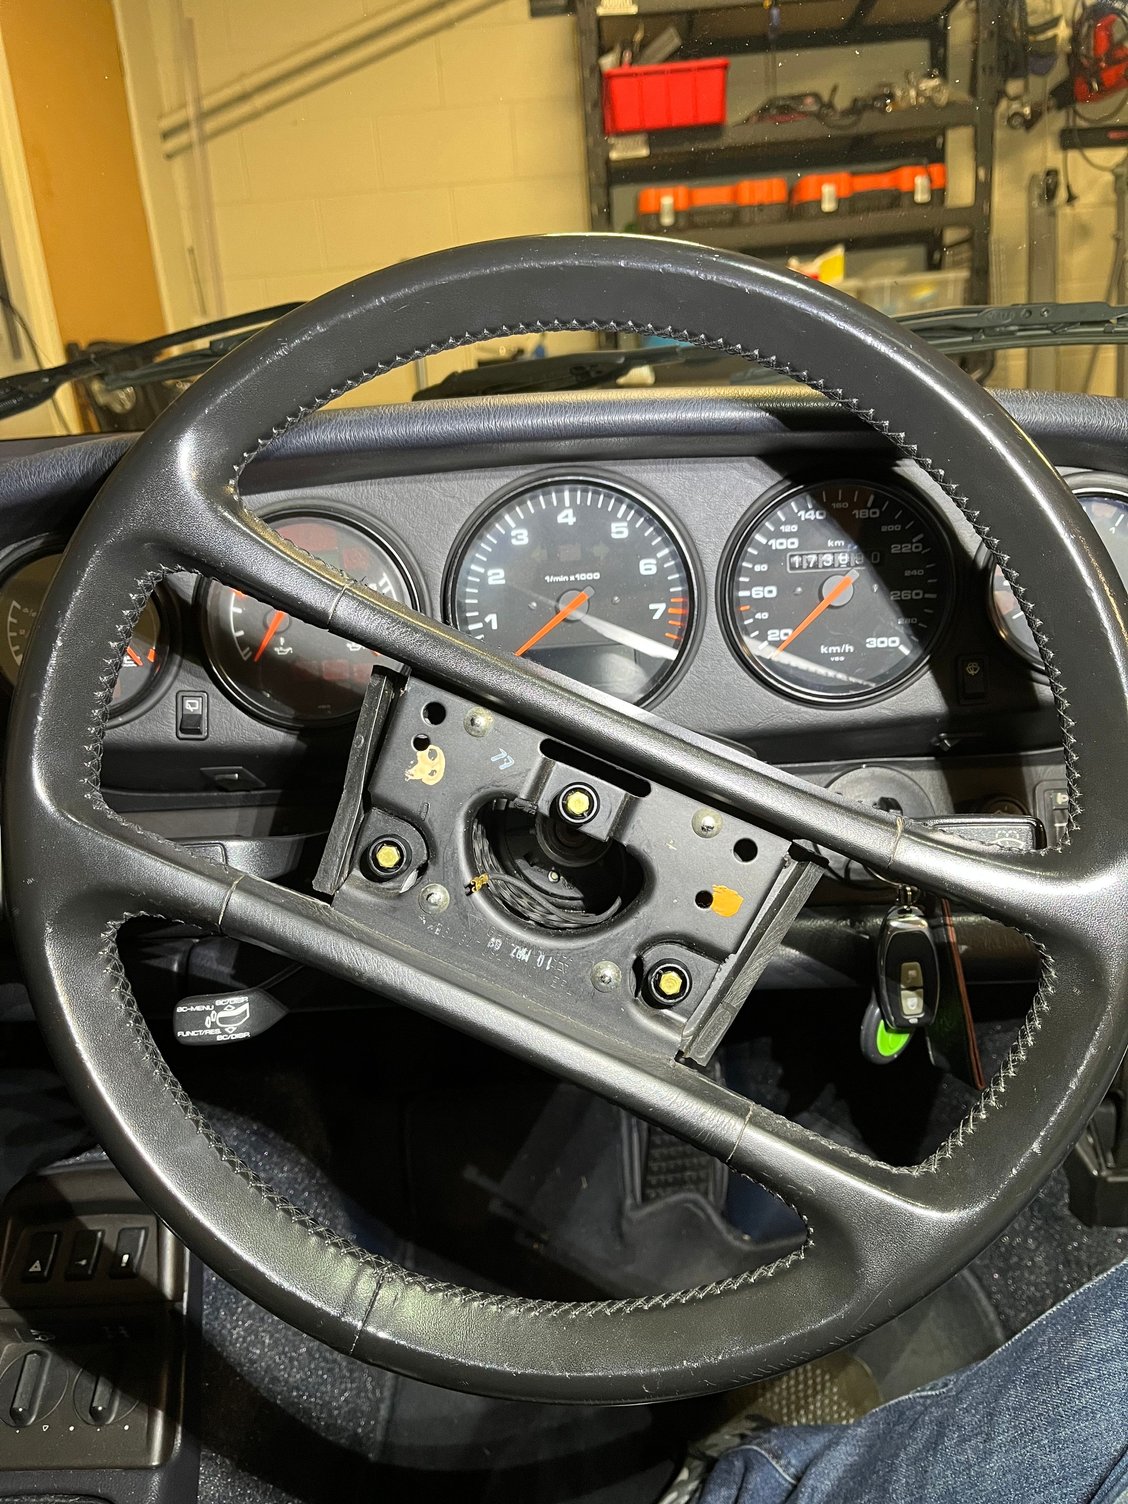
Before removing it, I reset the steering wheel to its centre as well.


 03-18-2022, 06:21 PM