Notices
964 Forum 1989-1994
Sponsored by:
Sponsored by:

964 RSR Inspired Replica

Thread Tools
 
Search this Thread
 
Old 01-18-2015, 06:17 PM
  #61  
lverheul
Advanced
 
lverheul's Avatar
 
Join Date: Apr 2013
Location: The Netherlands
Posts: 61
Likes: 0
Received 4 Likes on 1 Post
Default

What a ride! Truly impressive
Old 01-19-2015, 10:23 AM
  #62  
Callahan993
AutoX
 
Callahan993's Avatar
 
Join Date: Sep 2014
Location: Norway
Posts: 10
Likes: 0
Received 0 Likes on 0 Posts
Default

Love it! Great work!
Old 01-21-2015, 05:25 PM
  #63  
breljohn
Burning Brakes
 
breljohn's Avatar
 
Join Date: May 2014
Location: Montreal, Canada
Posts: 776
Received 19 Likes on 14 Posts
Default

Would you mind sharing pics and/or comments about the central console? (especially around the shifter are)
I would like to fully remove mine but can't figure an elegant way of doing so.

Thanks a lot!
Old 01-22-2015, 06:09 PM
  #64  
Cosmos99
Pro
 
Cosmos99's Avatar
 
Join Date: Aug 2009
Location: Baltimore
Posts: 554
Likes: 0
Received 0 Likes on 0 Posts
Default

Looks great! Nice build.
Old 01-25-2015, 03:42 AM
  #65  
mark my words
Instructor
Thread Starter
 
mark my words's Avatar
 
Join Date: Sep 2014
Posts: 113
Likes: 0
Received 2 Likes on 2 Posts
Default

Hello, there are no pictures regarding the change of the center console. what I can tell is that all wires all long enough to get everything where the radio used to be. the acceleration sensors have been mounted to an alloy rack that it screwed solid to where the ashtray used to be. if you take the center console away, you will have to remove some metal holders to make it look that clean. anyways, you will have to be careful with the acceleration sensors!!!
Old 01-25-2015, 11:19 AM
  #66  
breljohn
Burning Brakes
 
breljohn's Avatar
 
Join Date: May 2014
Location: Montreal, Canada
Posts: 776
Received 19 Likes on 14 Posts
Default

Good info. Thanks a lot!
Old 02-01-2015, 10:48 AM
  #67  
mark my words
Instructor
Thread Starter
 
mark my words's Avatar
 
Join Date: Sep 2014
Posts: 113
Likes: 0
Received 2 Likes on 2 Posts
Default

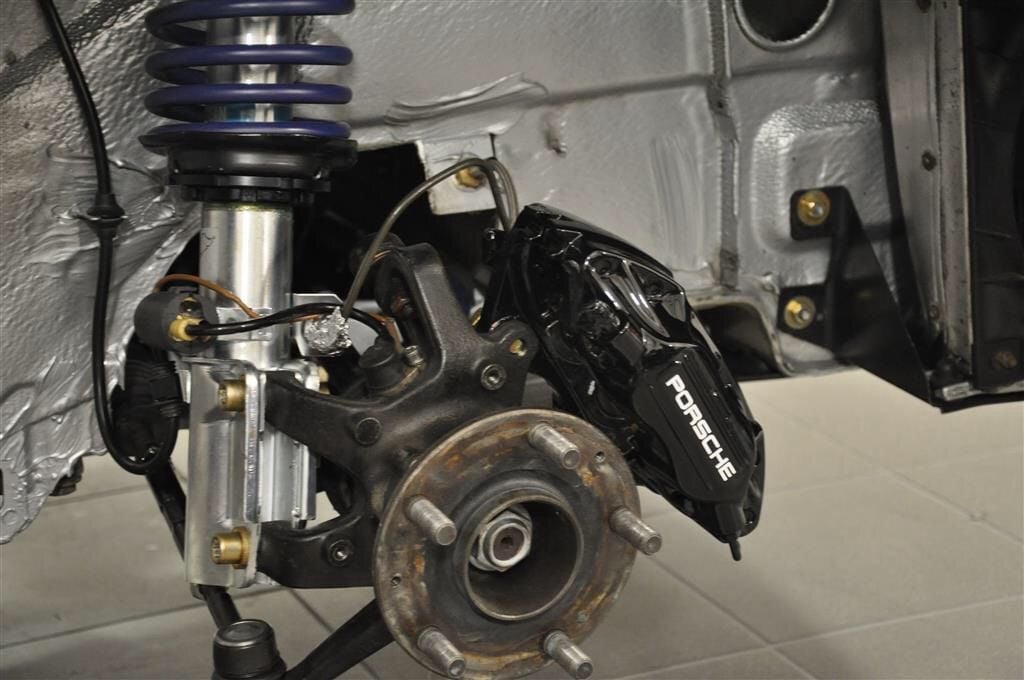
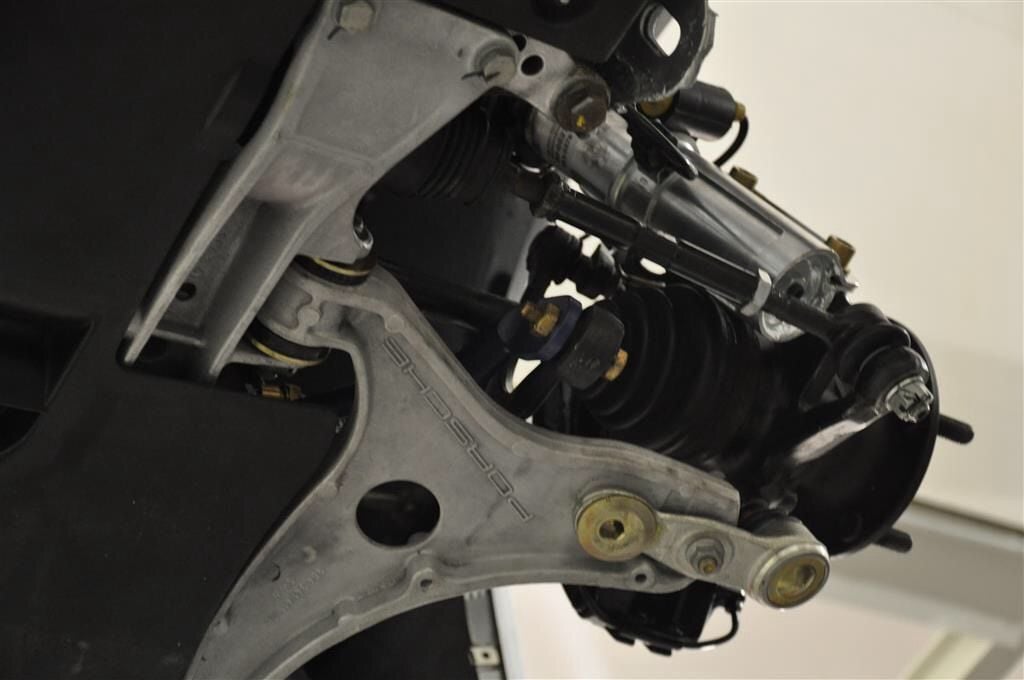
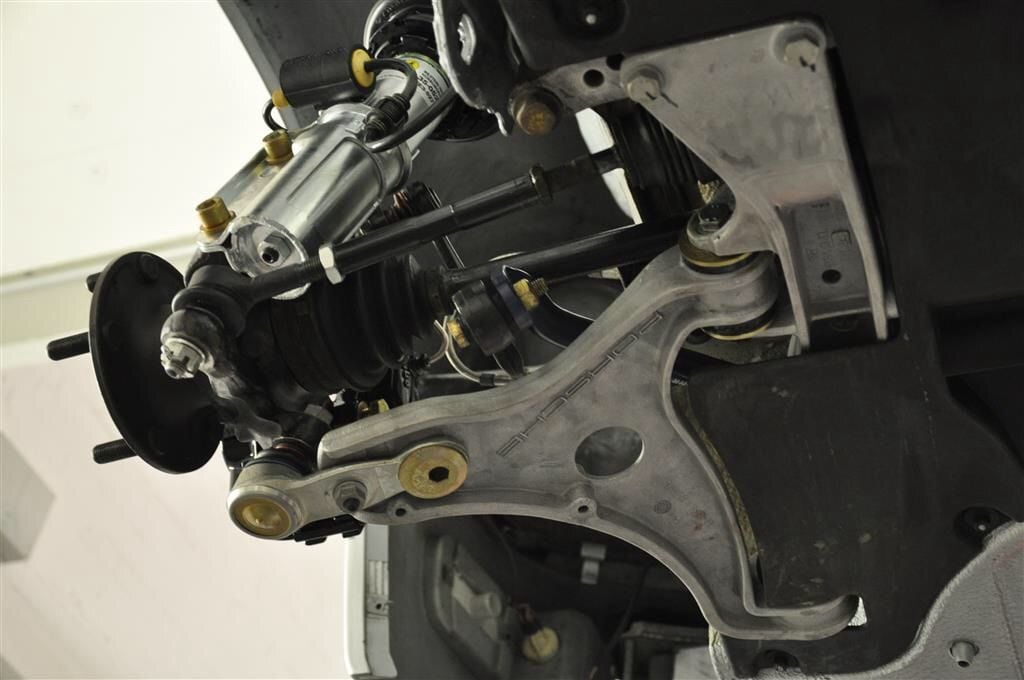
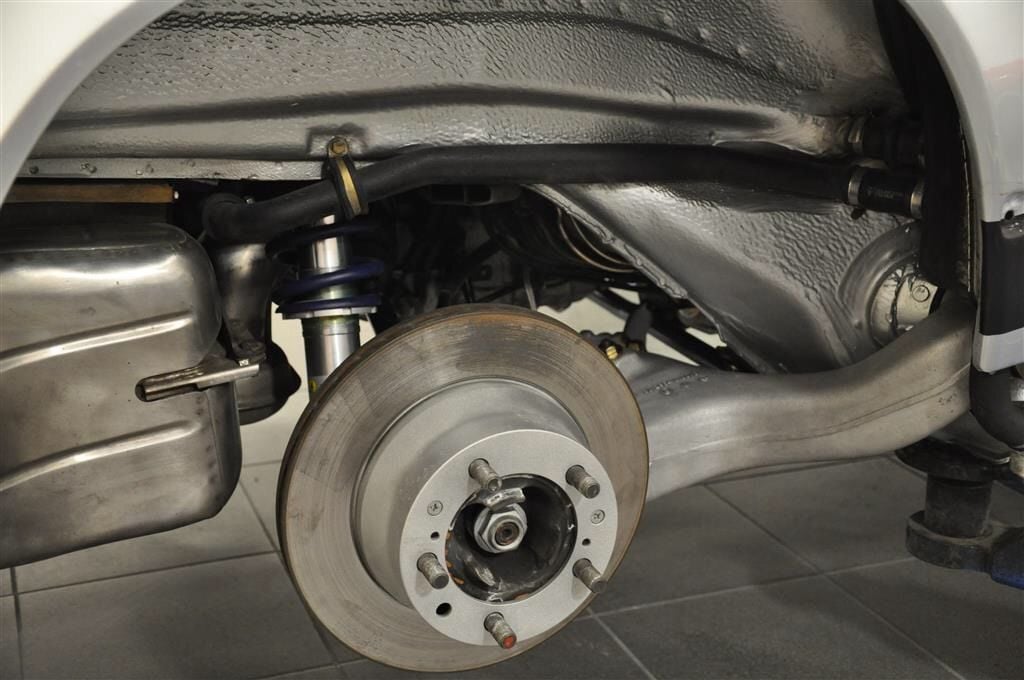
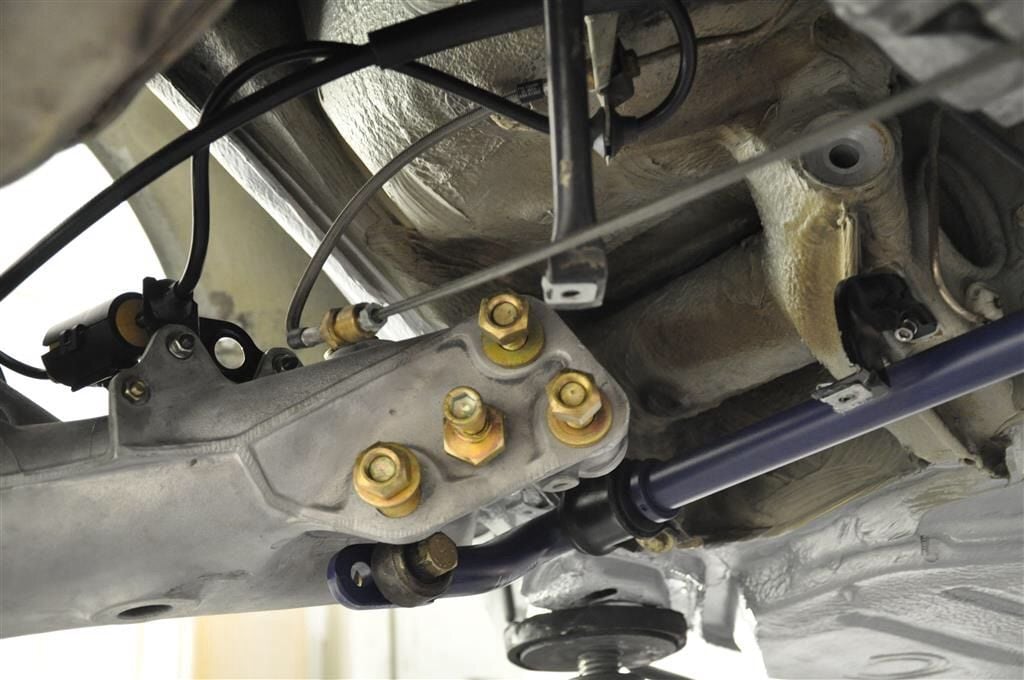
All the little things are gettin in place...


Old 02-04-2015, 03:12 PM
  #68  
mark my words
Instructor
Thread Starter
 
mark my words's Avatar
 
Join Date: Sep 2014
Posts: 113
Likes: 0
Received 2 Likes on 2 Posts
Default

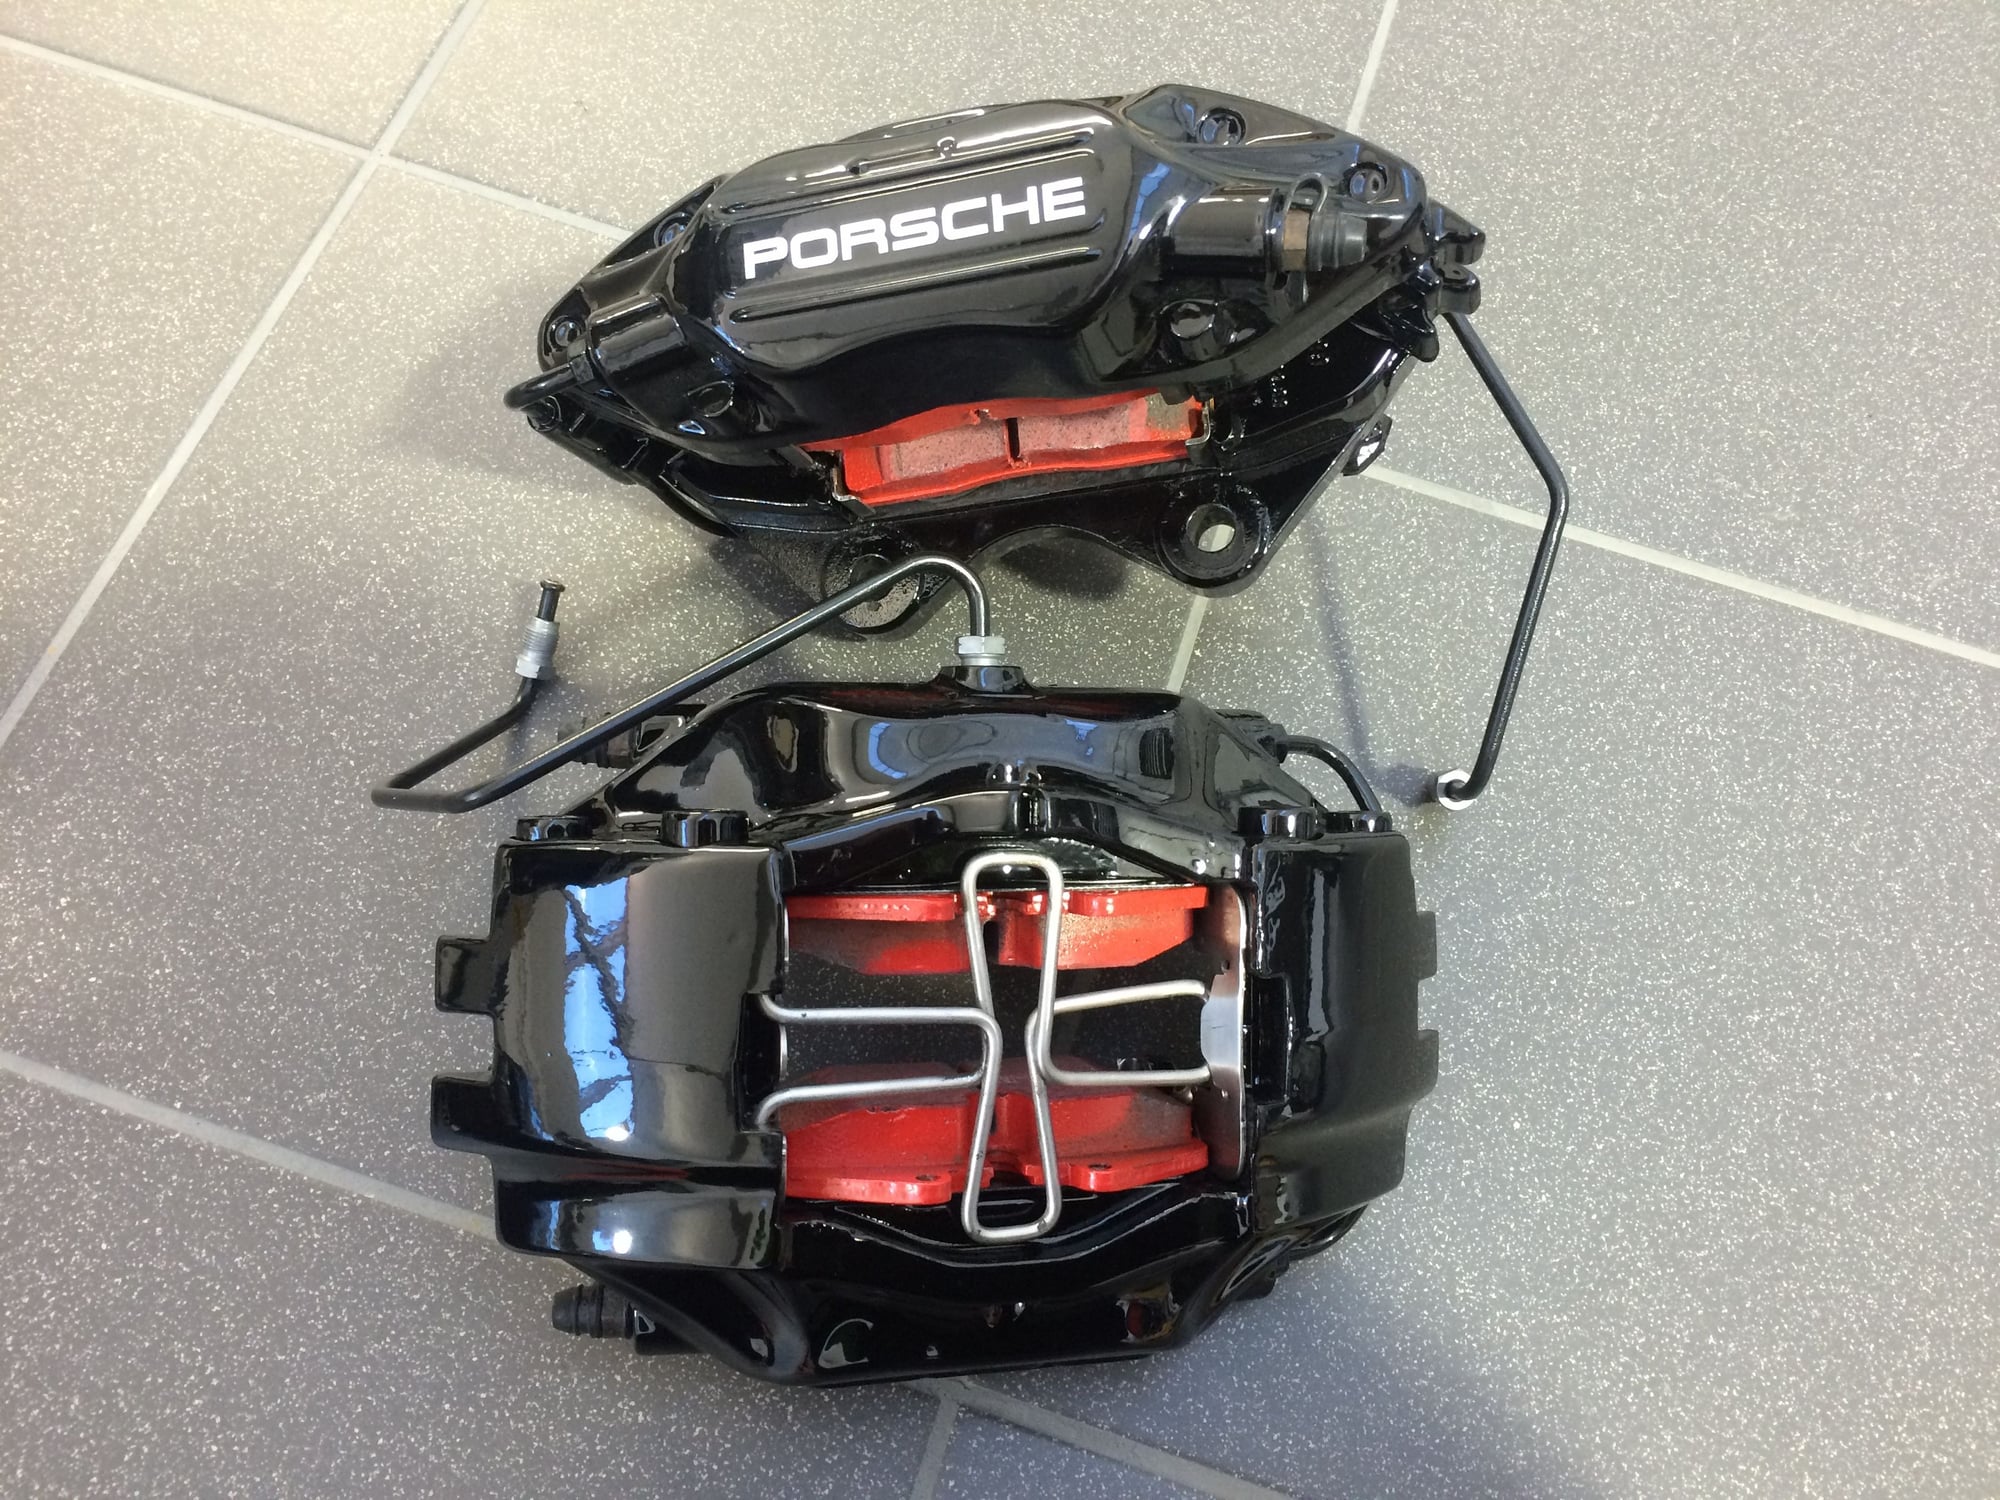
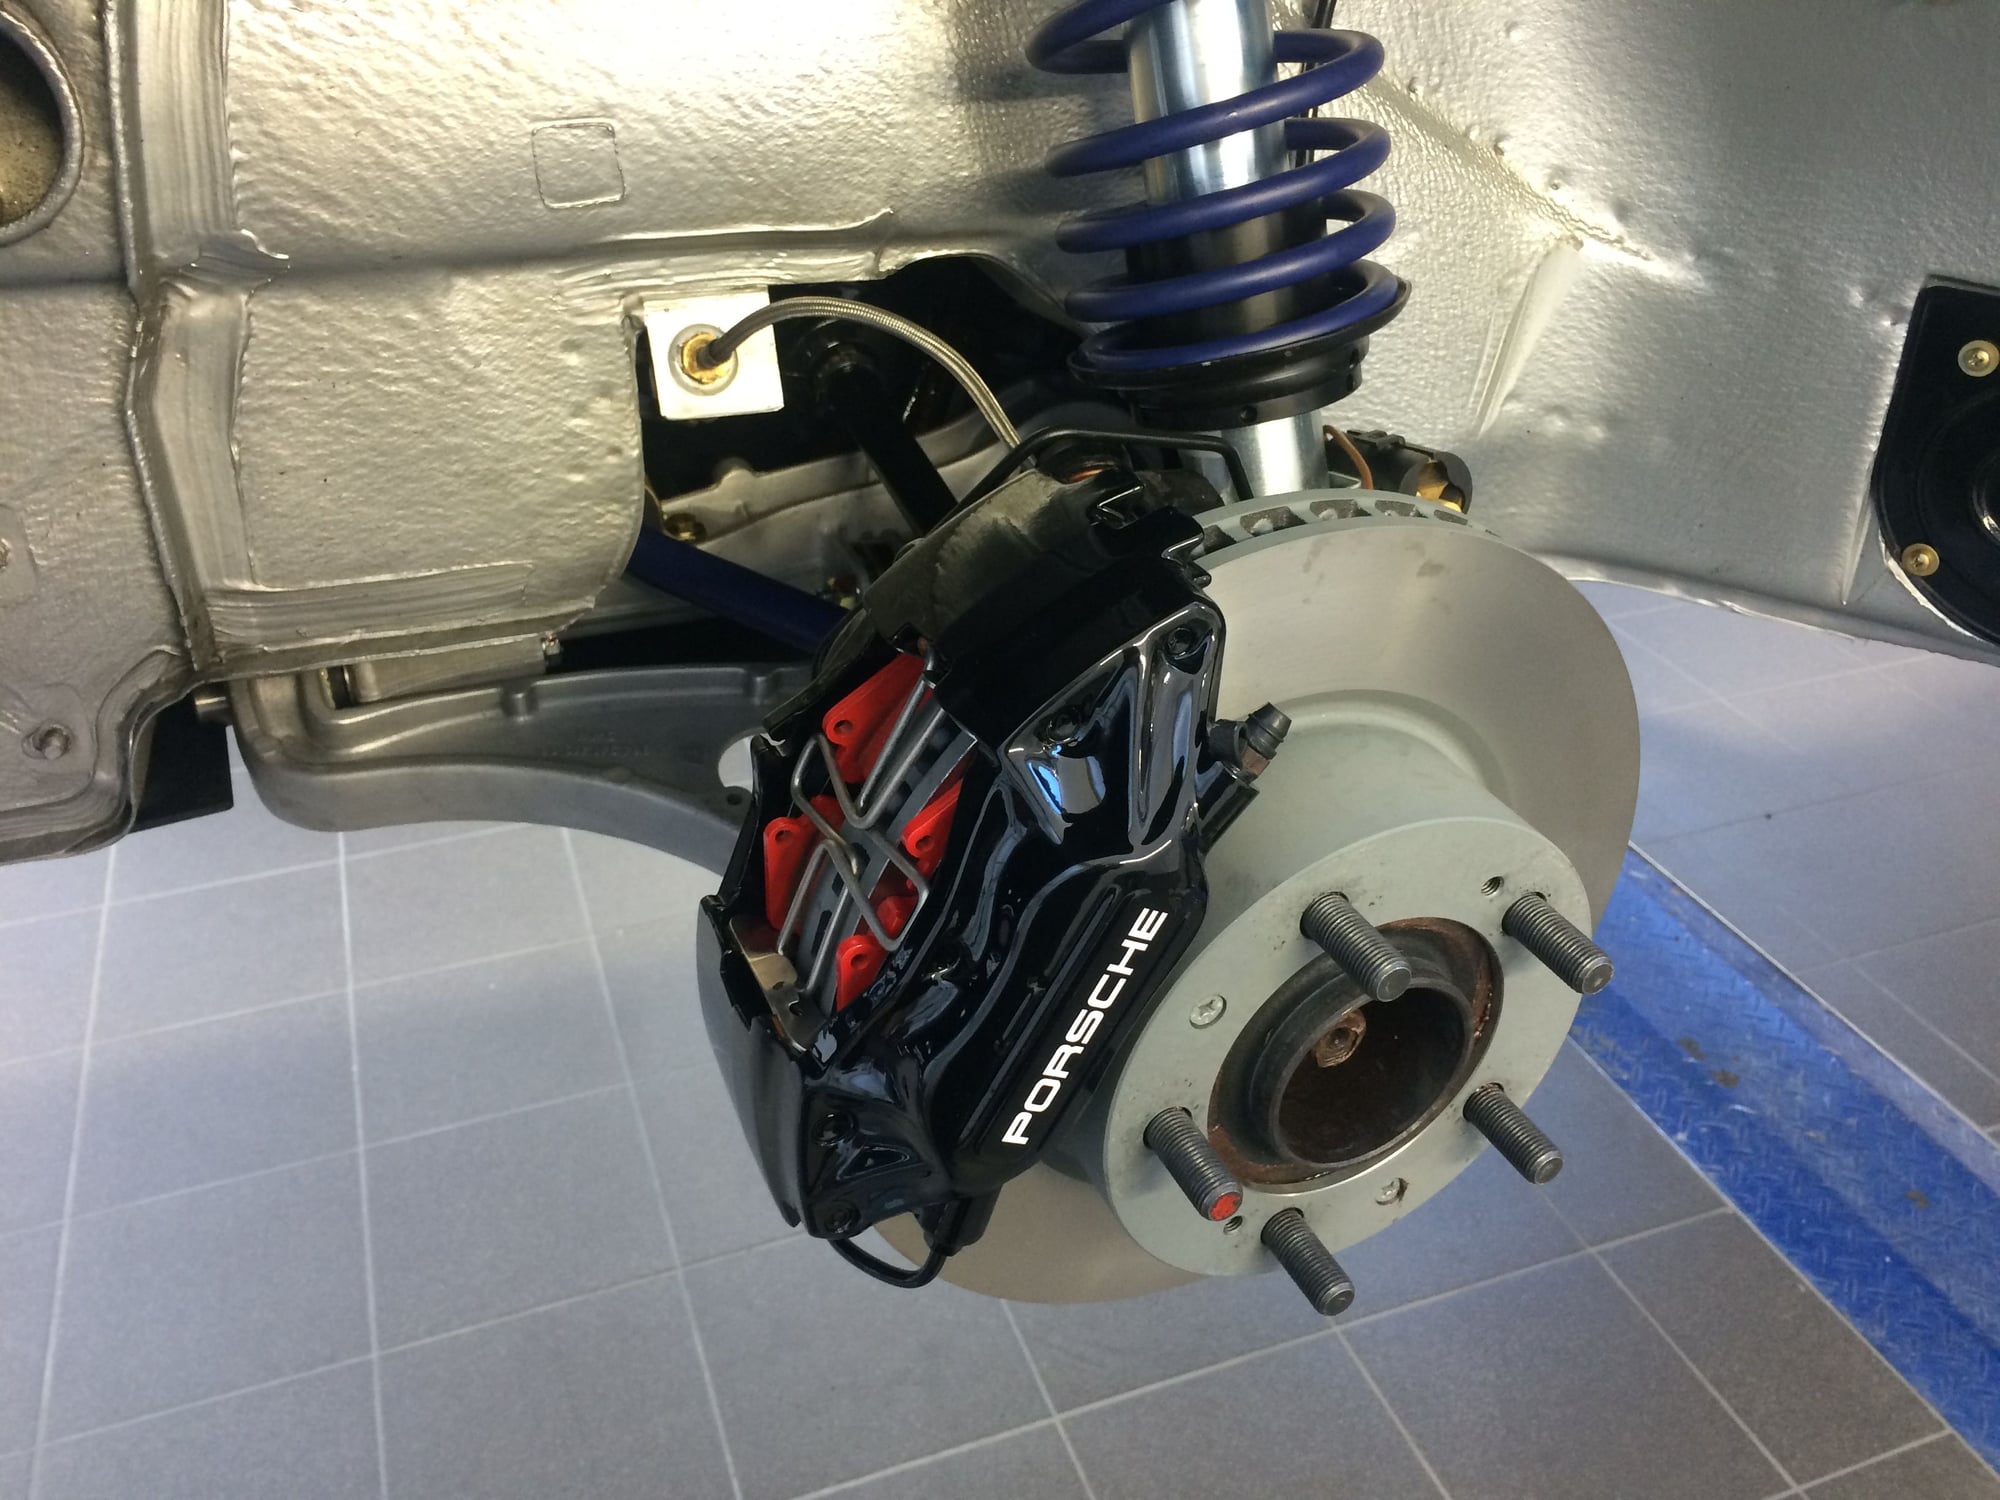
more stuff finished...


Old 02-04-2015, 03:48 PM
  #69  
cobalt
Rennlist Member
 
cobalt's Avatar
 
Join Date: Oct 2003
Location: New Jersey
Posts: 22,302
Received 2,017 Likes on 1,207 Posts
Default

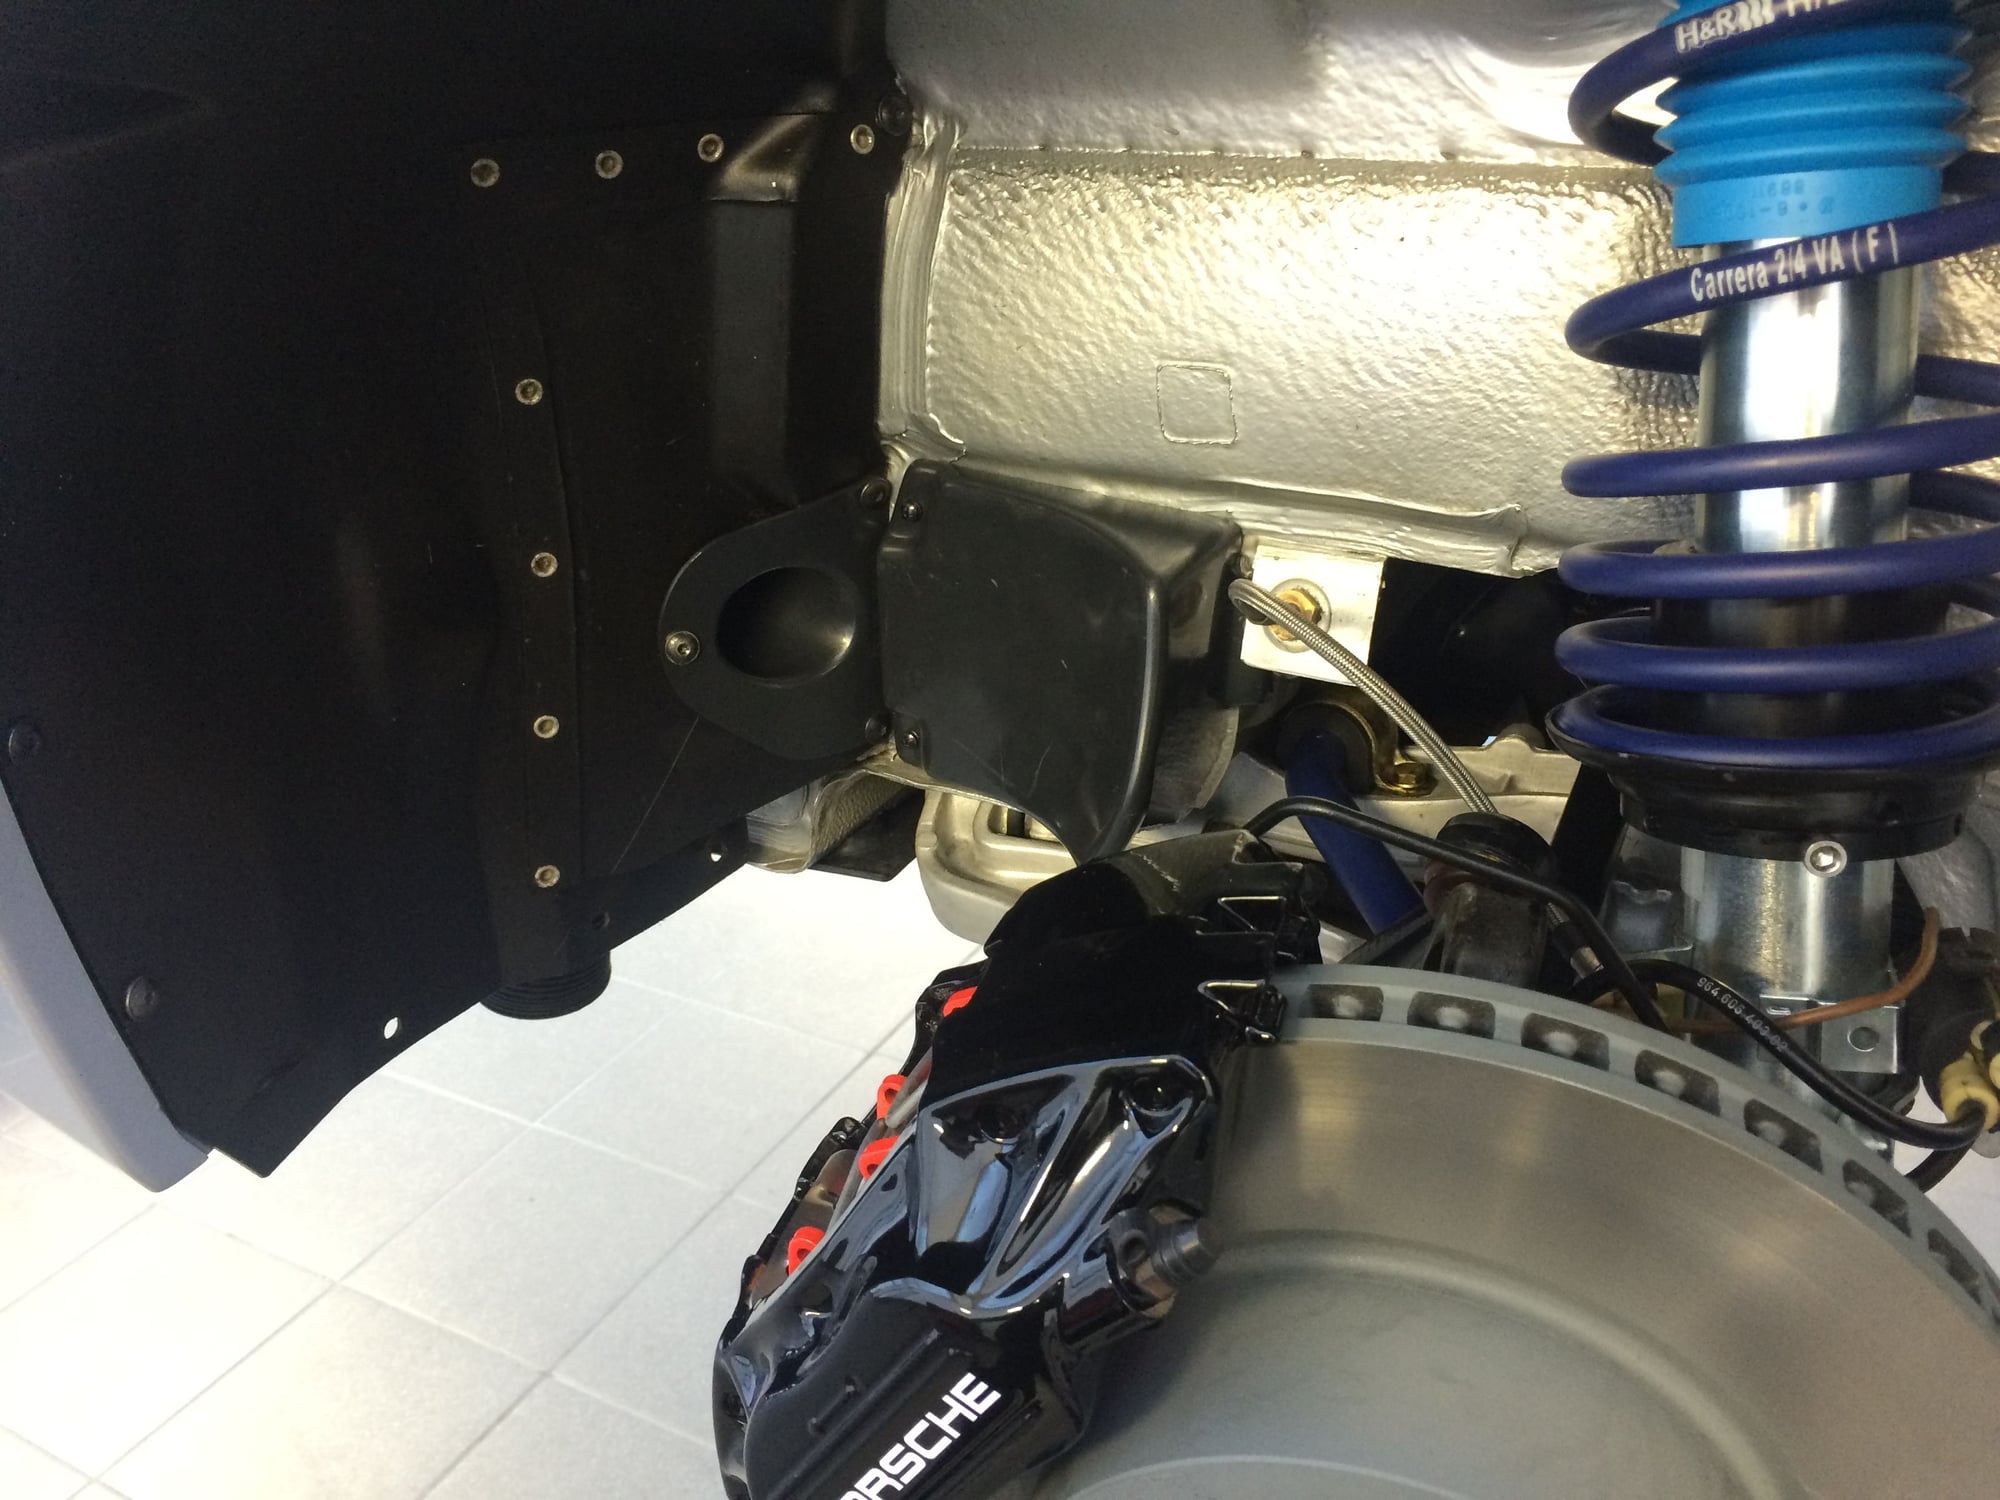
I see you are using the FVD/TechArt cooling parts I am doing the same. I noticed you did not install the lower air flow director pieces on the A arms do you plan on leaving them off or you haven't gotten to installing them yet? They do work together and i have had decent results on the track with them.
Old 02-04-2015, 05:21 PM
  #70  
mark my words
Instructor
Thread Starter
 
mark my words's Avatar
 
Join Date: Sep 2014
Posts: 113
Likes: 0
Received 2 Likes on 2 Posts
Default

The air flow things just have not been installed by now - had no screw that would fit...
Old 02-04-2015, 07:15 PM
  #71  
cobalt
Rennlist Member
 
cobalt's Avatar
 
Join Date: Oct 2003
Location: New Jersey
Posts: 22,302
Received 2,017 Likes on 1,207 Posts
Default

Originally Posted by mark my words
The air flow things just have not been installed by now - had no screw that would fit...
It looks great far cleaner than my track build but mine won't look great for long.

BTW I see your tub has a square box marking that is the first I have seen. Most are the triangles or circles. Still trying to figure out what they mean I am assuming it is an inspectors stamp or approval.
Old 02-25-2015, 05:00 PM
  #72  
mark my words
Instructor
Thread Starter
 
mark my words's Avatar
 
Join Date: Sep 2014
Posts: 113
Likes: 0
Received 2 Likes on 2 Posts
Default

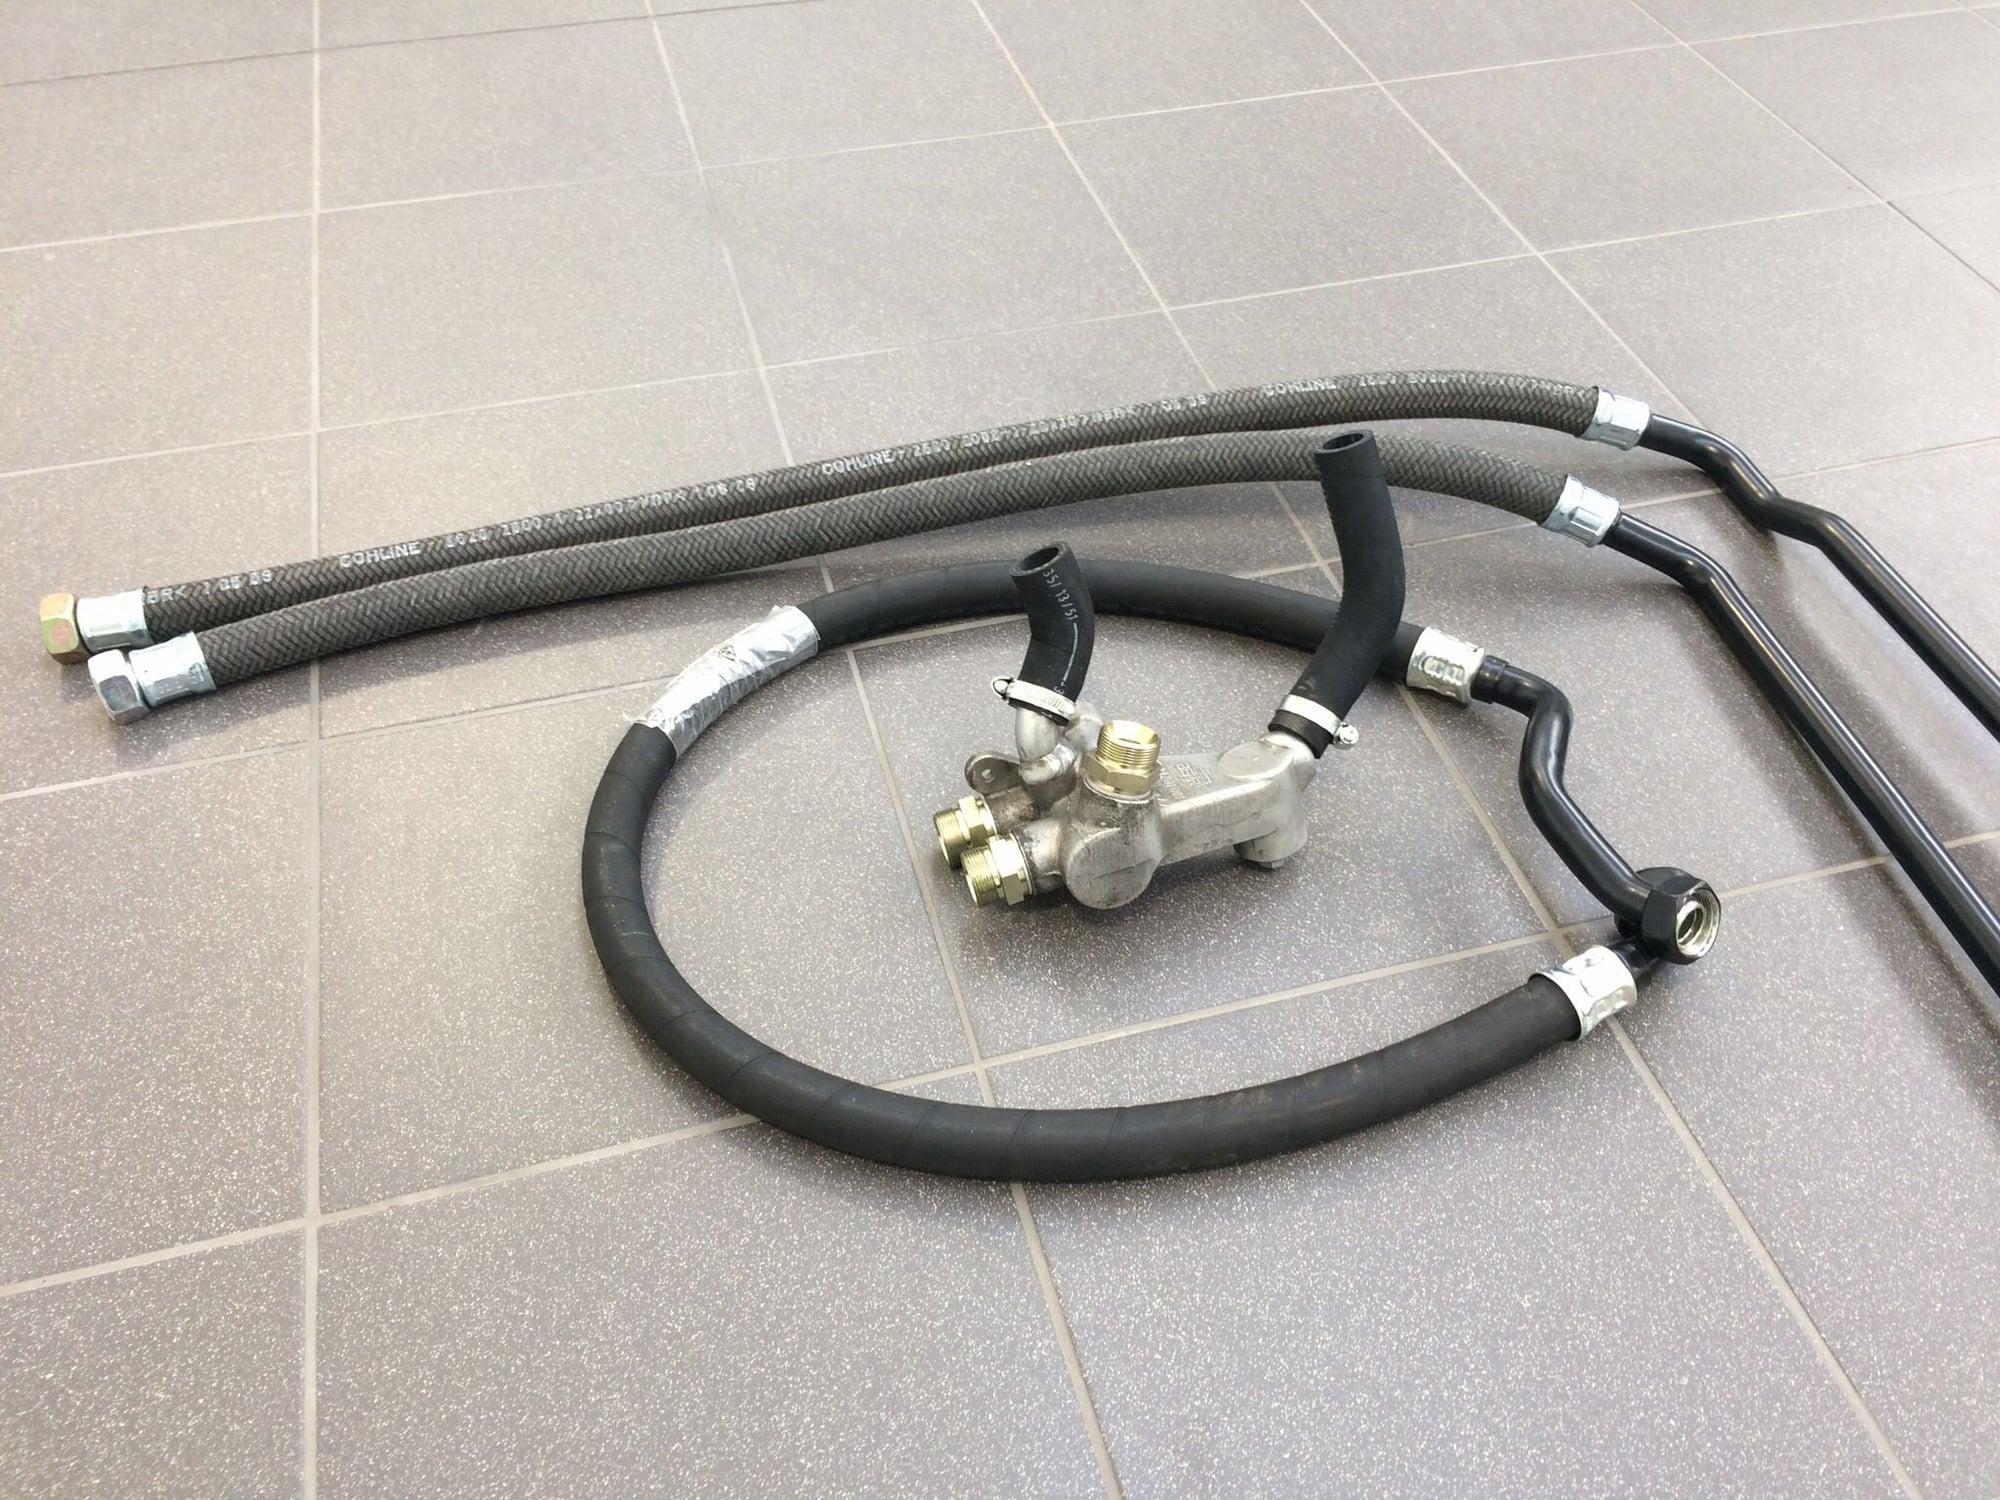
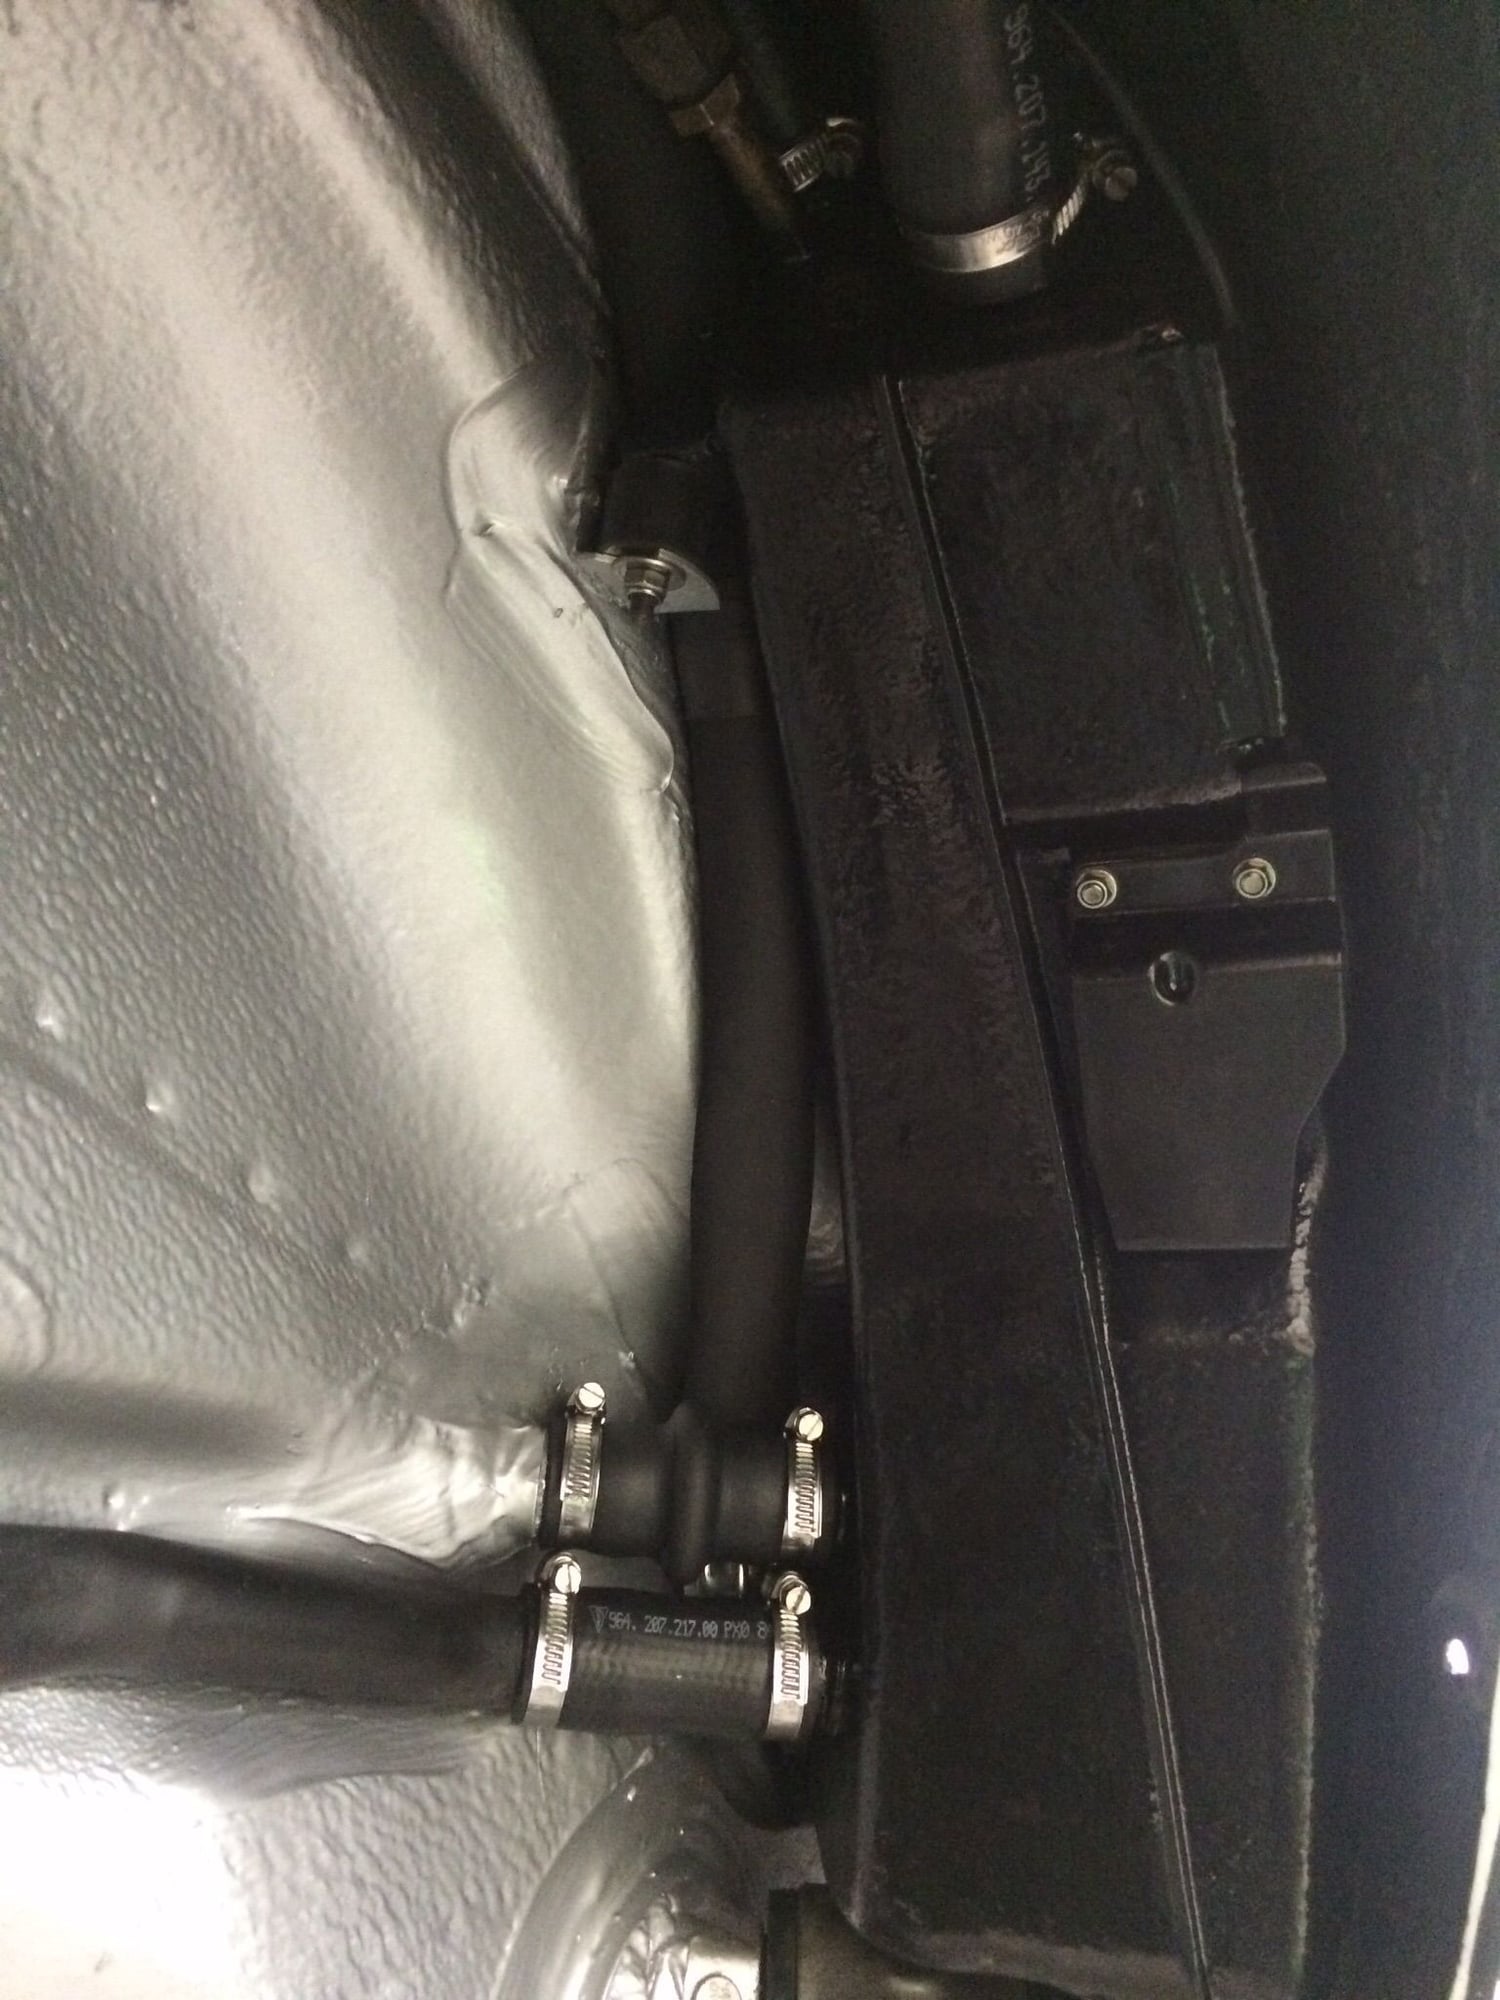
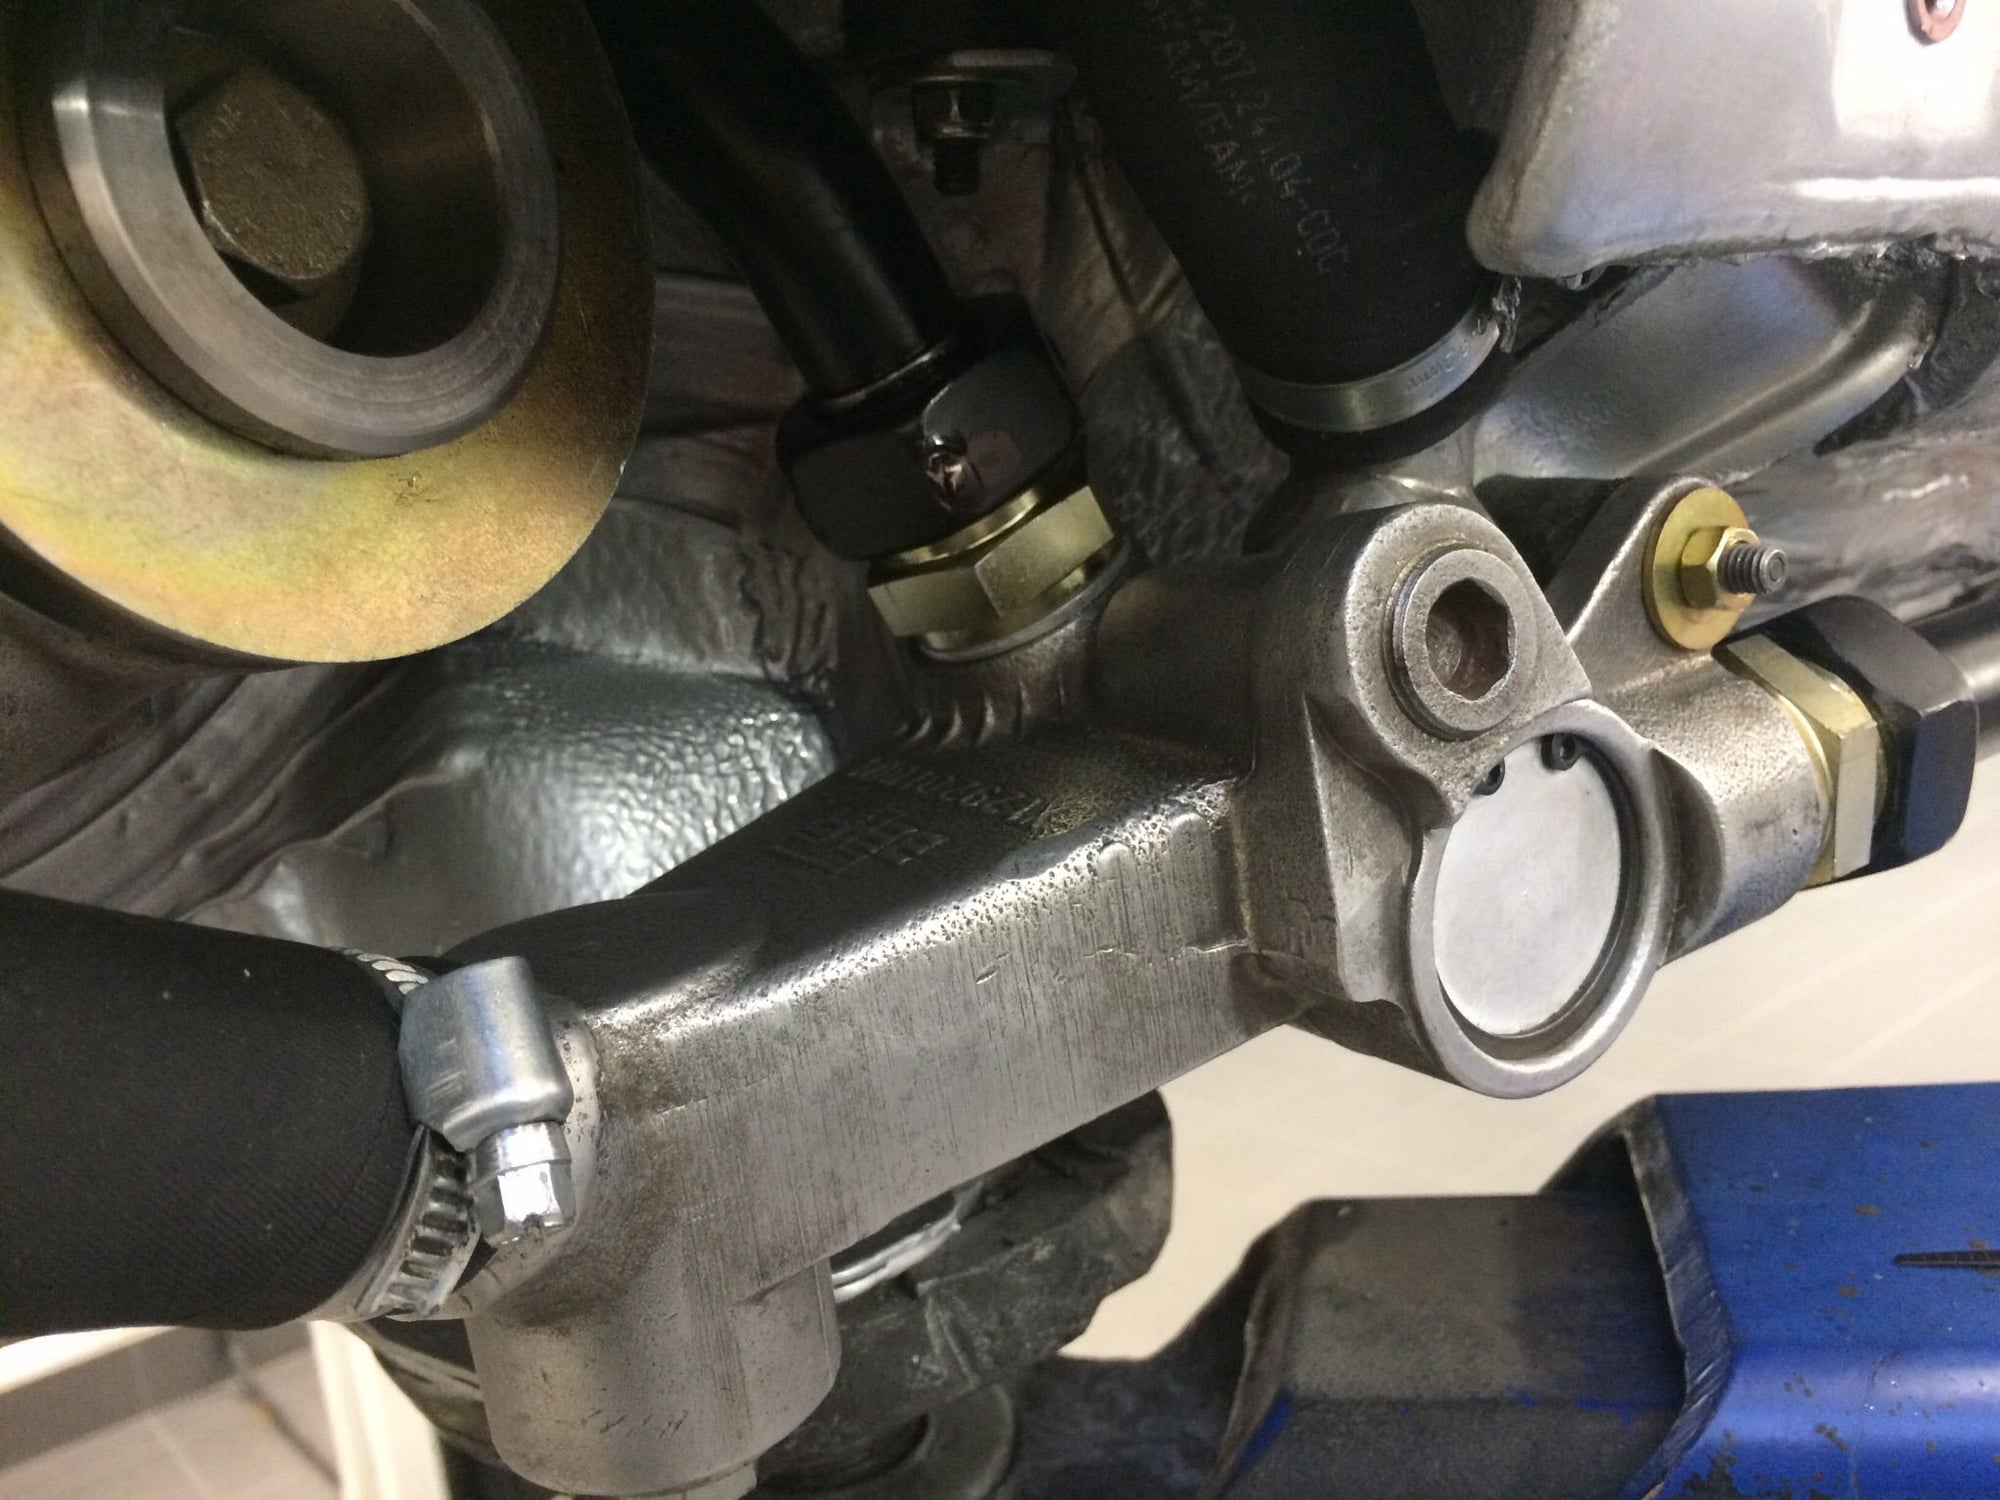
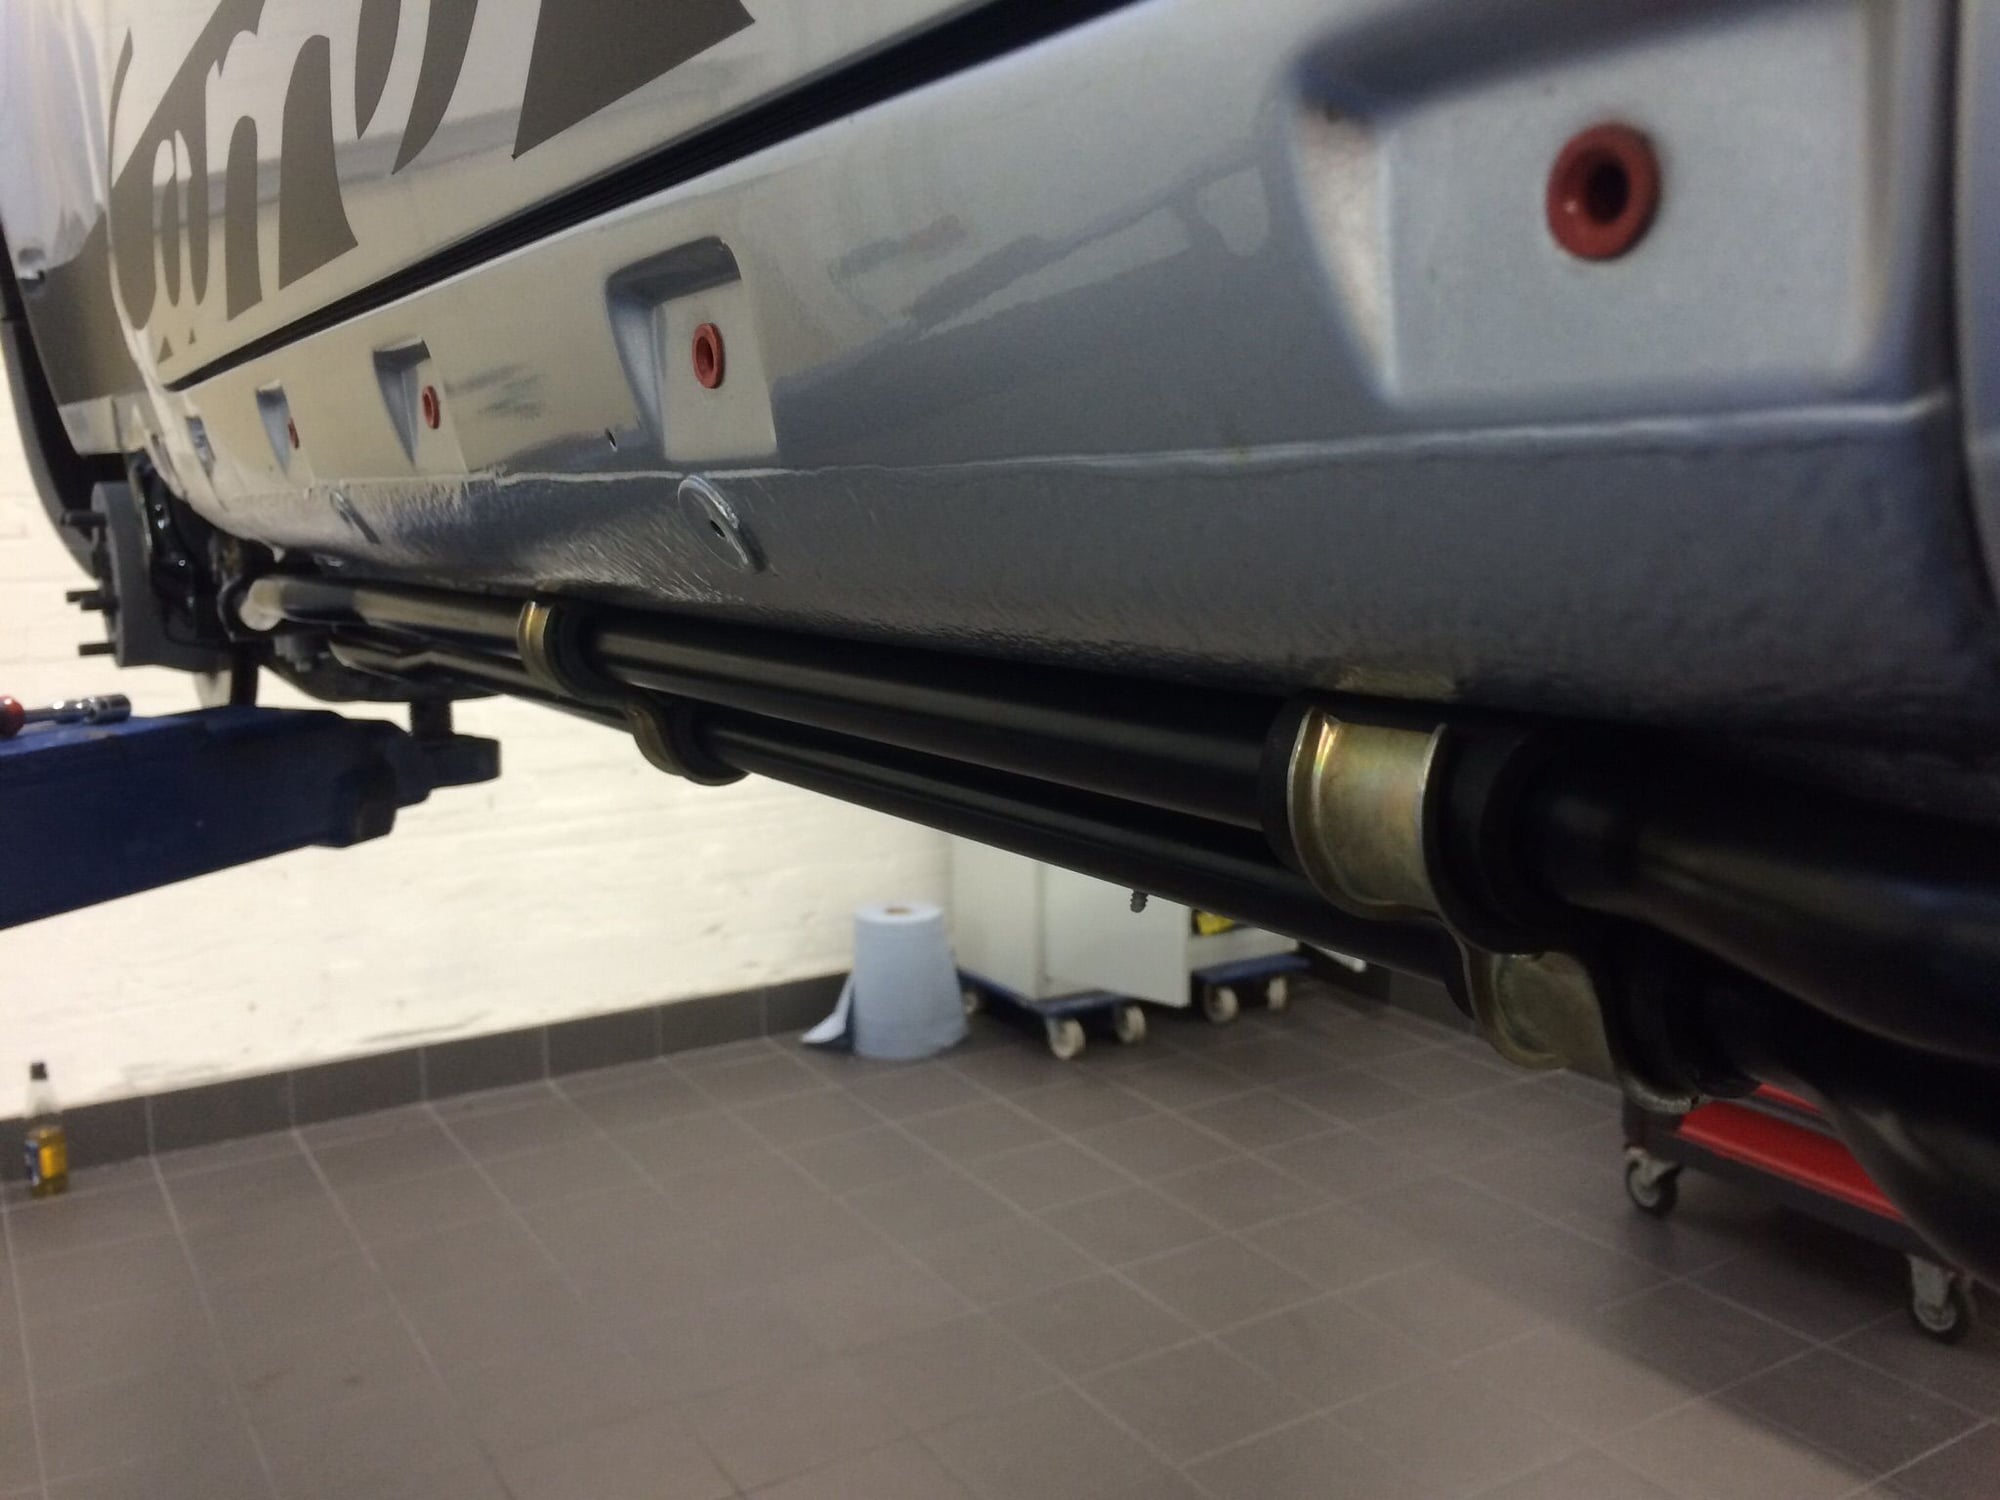
...all new oil lines!


Old 02-25-2015, 09:52 PM
  #73  
kgorman
Drifting
 
kgorman's Avatar
 
Join Date: Sep 2005
Location: Austin, TX
Posts: 2,482
Received 41 Likes on 22 Posts
Default

Coming along nicely!

No crank window conversion?

Love that switch panel.
Old 02-26-2015, 02:41 AM
  #74  
mark my words
Instructor
Thread Starter
 
mark my words's Avatar
 
Join Date: Sep 2014
Posts: 113
Likes: 0
Received 2 Likes on 2 Posts
Default

Originally Posted by kgorman

No crank window conversion?

Window crank conversion will cost about 900€ - i think thats is not worth the saved weight?!?! (A cfk bonnet would save 9kg and is about 900€ too.)
Does anyone know the exact amount of saved weight when swapping to window crank and going from power locking so manual locking as well?
Old 02-26-2015, 03:54 AM
  #75  
ThomasC2
Drifting
 
ThomasC2's Avatar
 
Join Date: Aug 2002
Location: Stockholm, Sweden
Posts: 2,133
Received 41 Likes on 20 Posts
Default

window crank. The mechanism is more or less the same. The difference is the motor, maybe 3 hg a side.
Then the wires. So not much compared to the cost.

Thomas


Quick Reply: 964 RSR Inspired Replica


All times are GMT -3. The time now is 08:43 PM.