
Bitter-Sweet Beginning
 10-05-2015, 03:32 PM
#181
Drifting
Quick progress update in chronological order. Some things like the seat-belts and interior trim are changing... again.
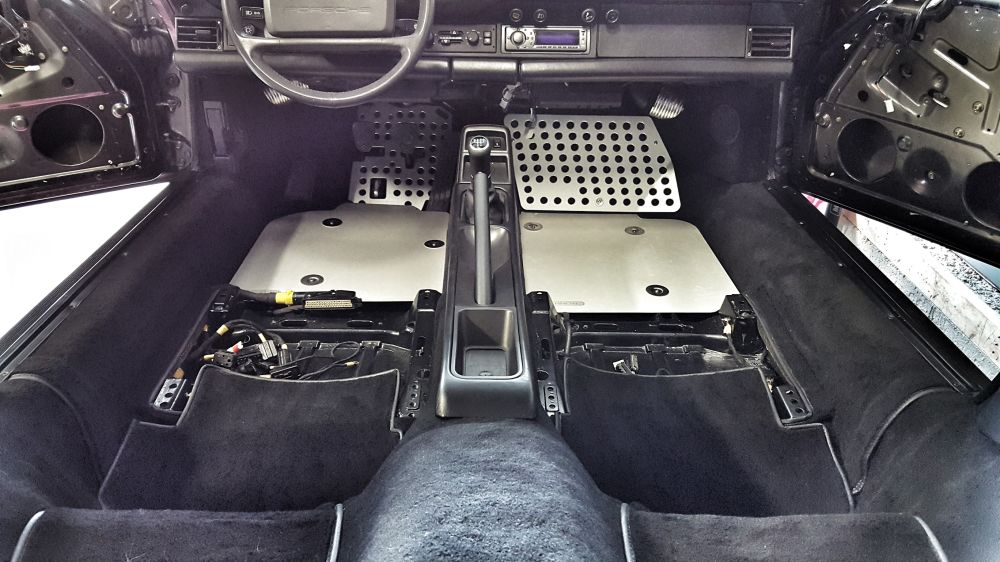
Out with the old, in with the... never mind it will change again.
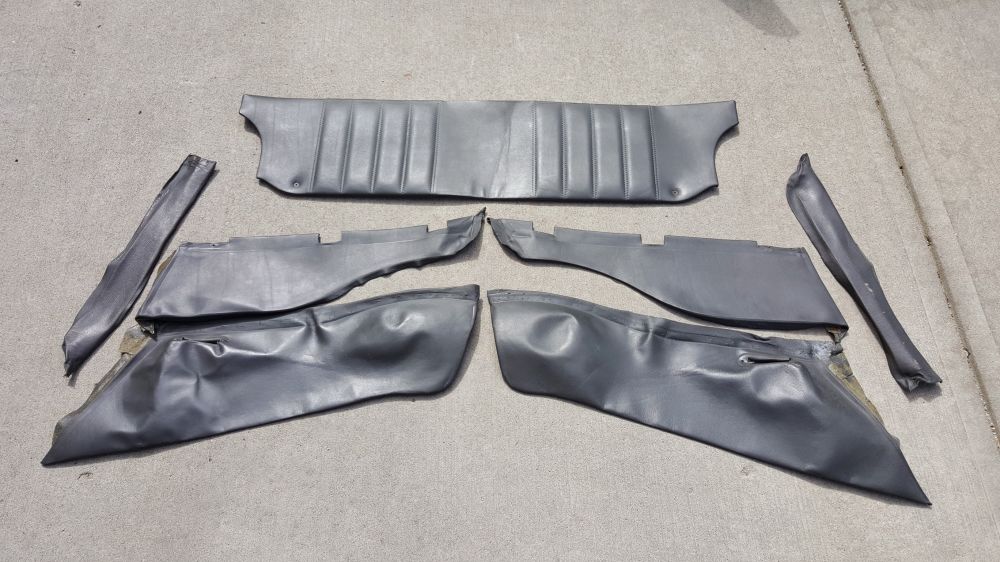

Originally I made some of the floorboards from plywood and with the kind help of robt964 mounted with large conical washers. But then, I got these as a birthday present.
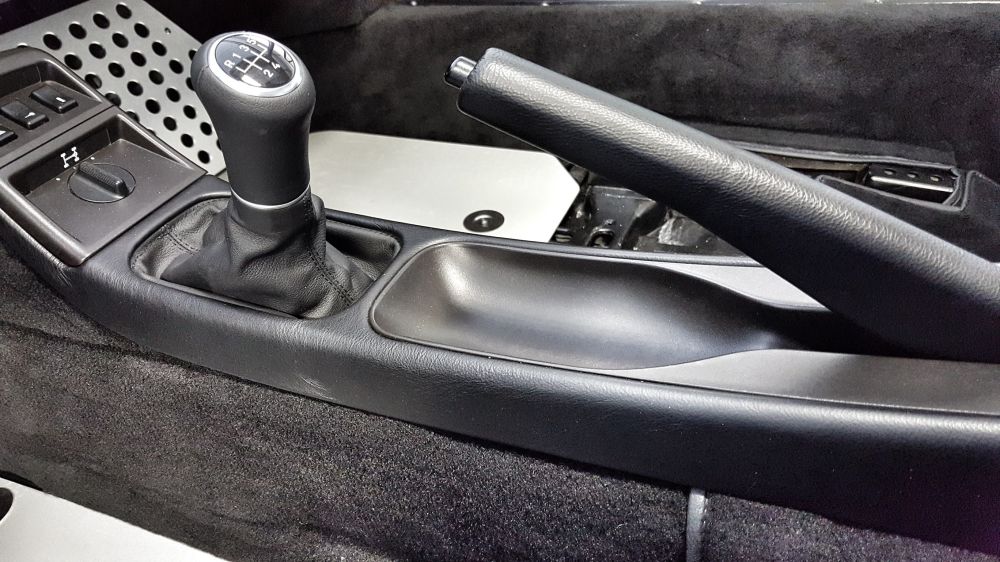
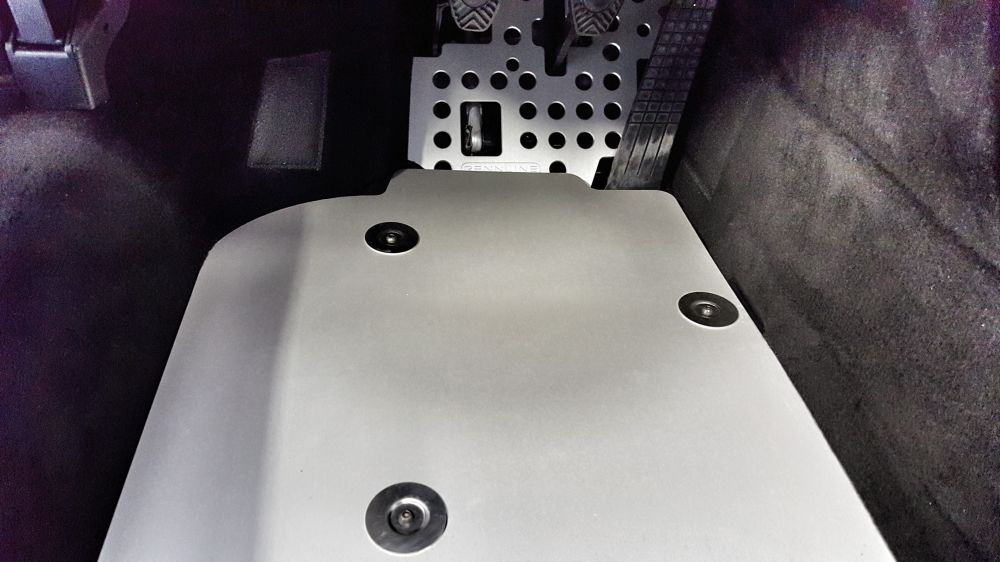
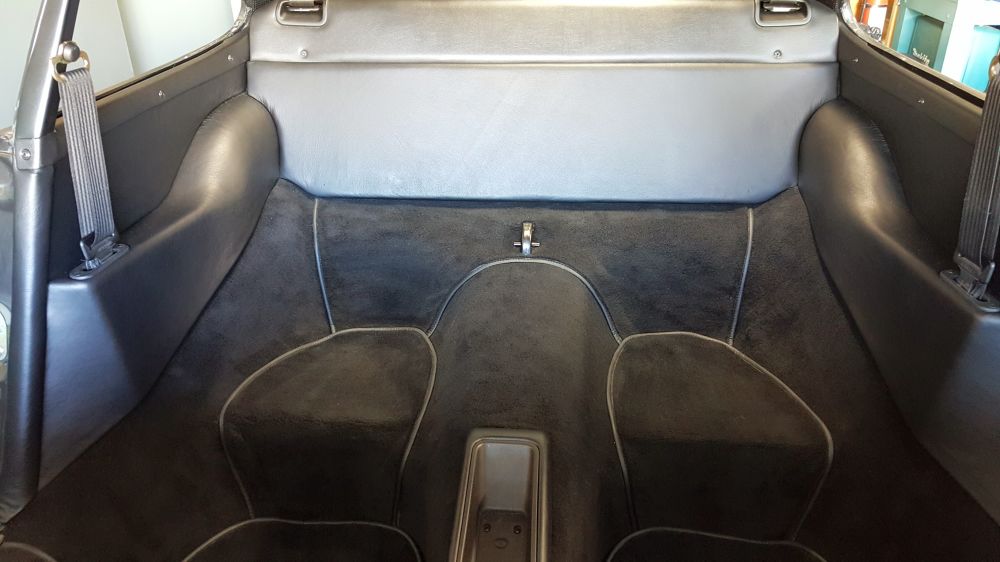
I'm very happy with the carpet work I did, the fit and shape is very close to OEM.
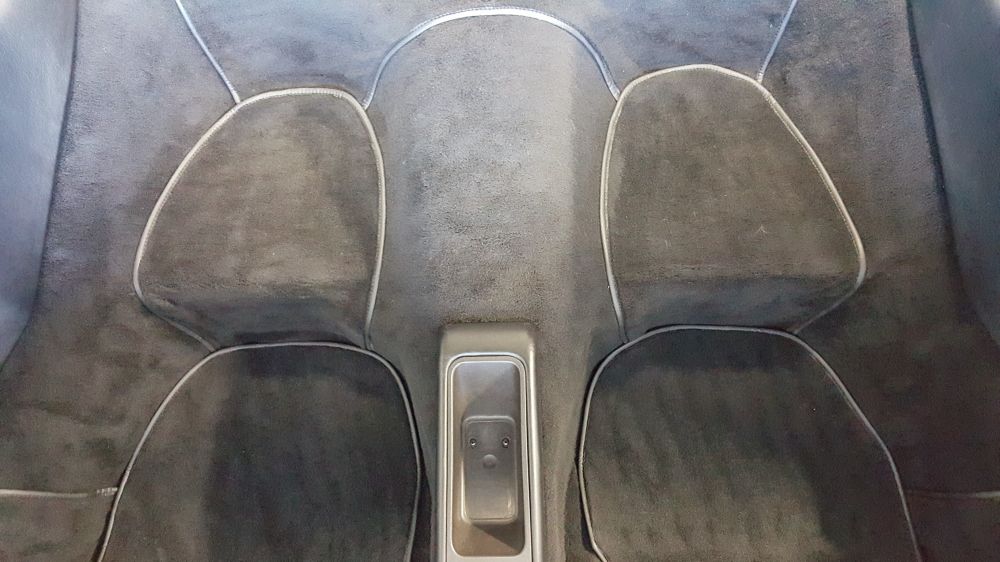
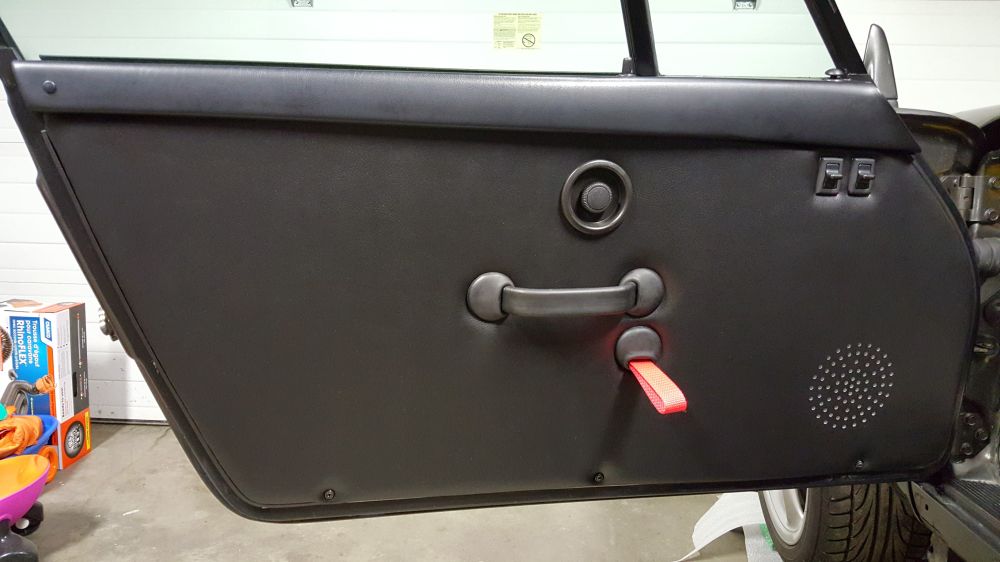
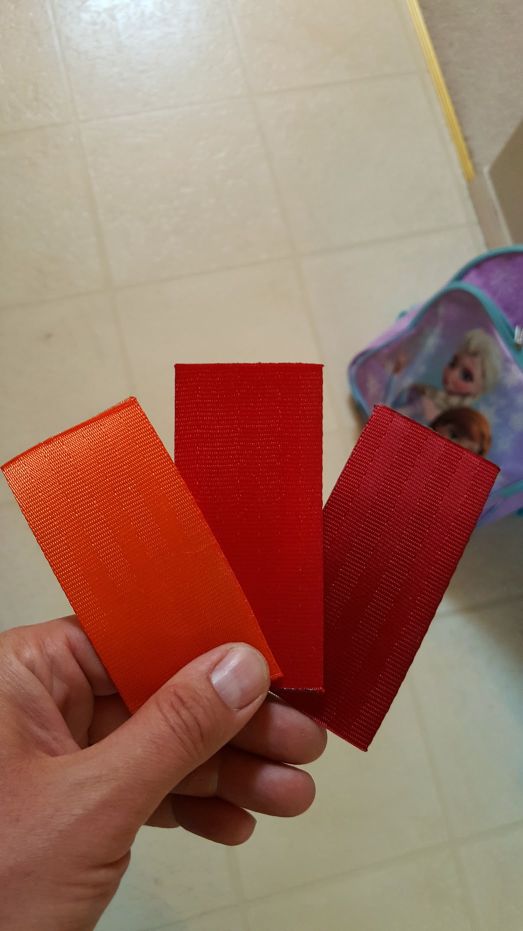
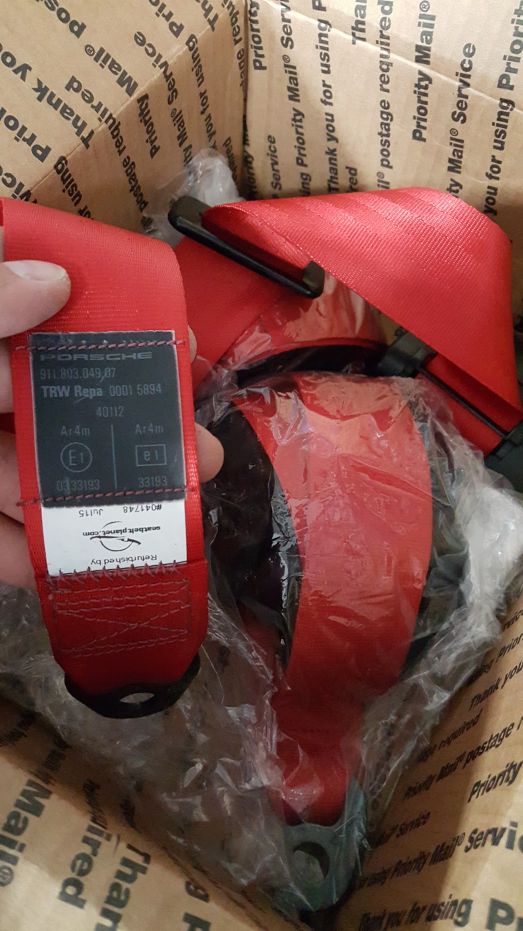
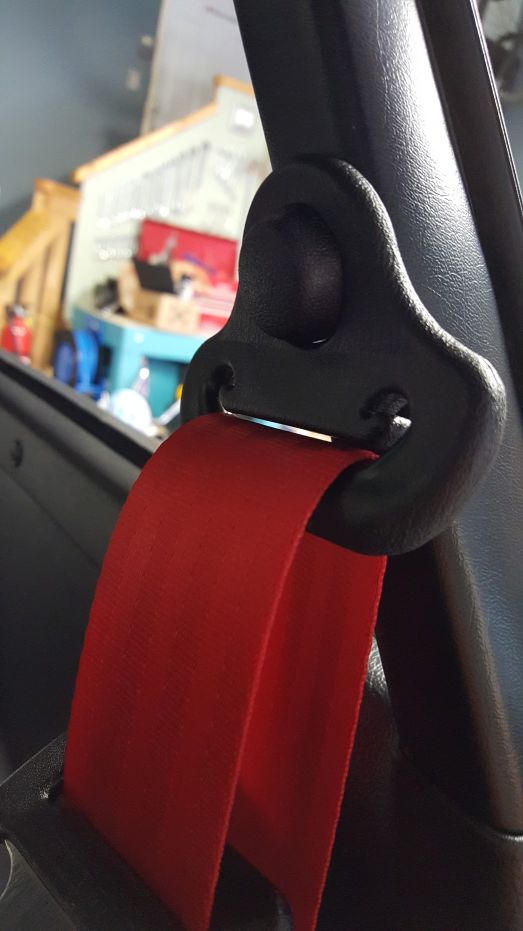
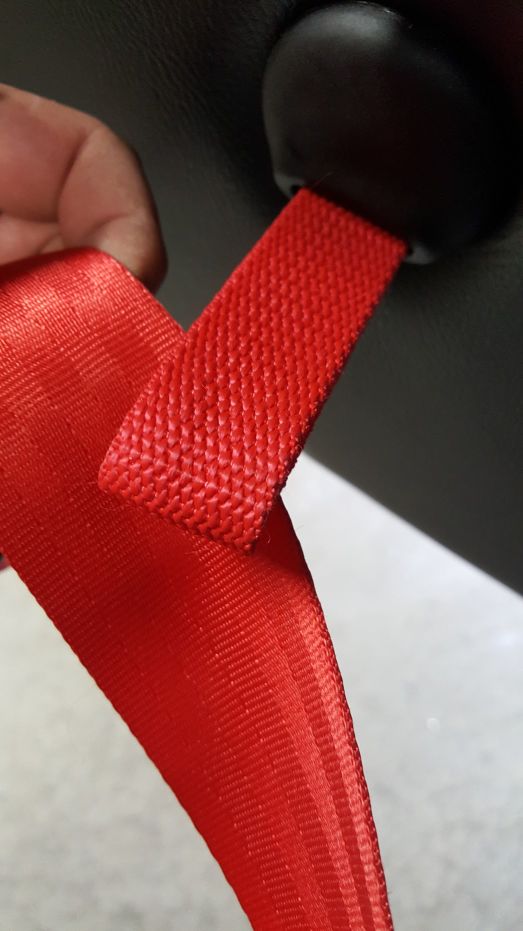
RS door cards. Soon after I decided to send out the seat-belts for re-webbing to match the red strap.
Decided to put the wing on. Forgot to shave 3rd brake light. Will 3d print the plugs and paint to match the lid. Im hoping it will look somewhat acceptable.
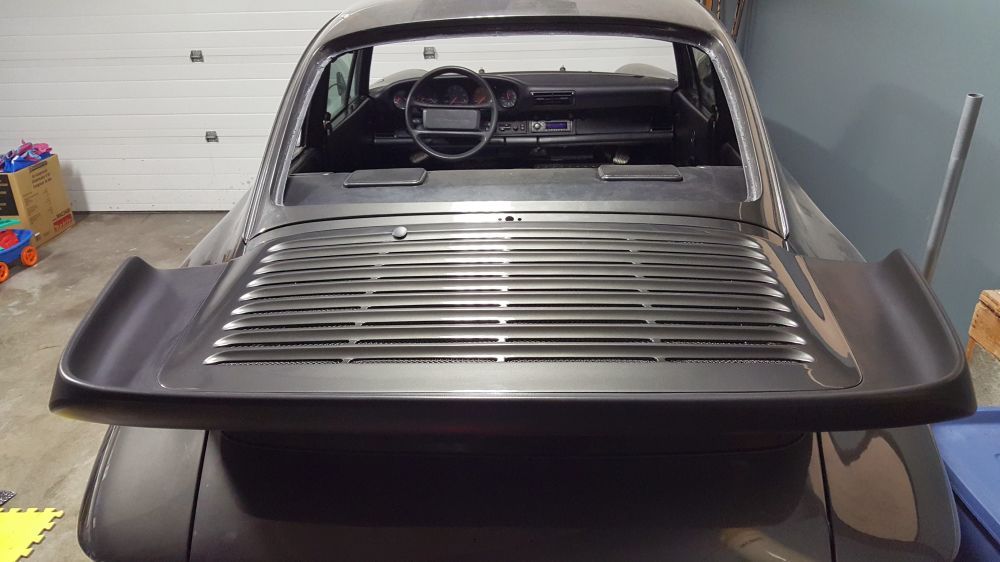
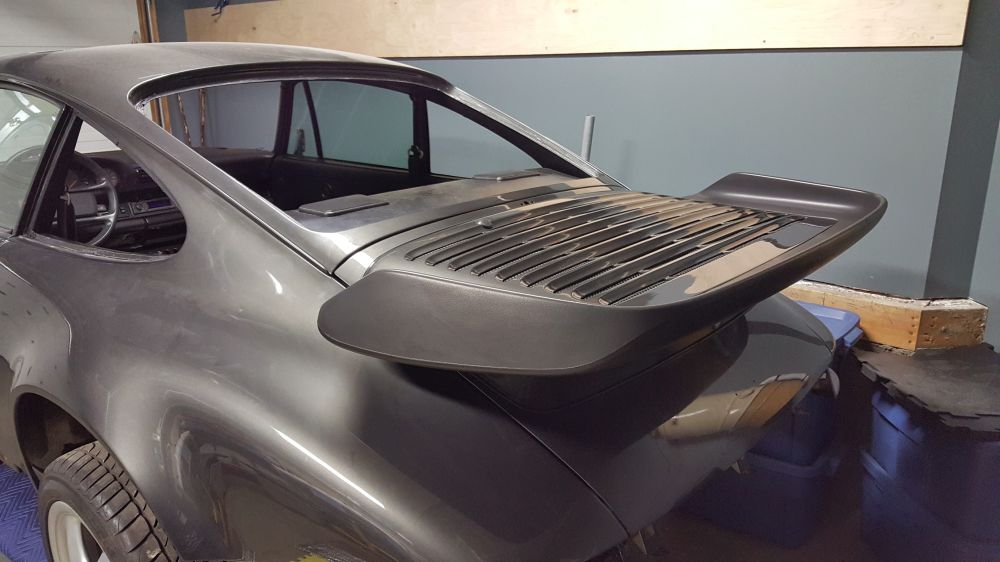
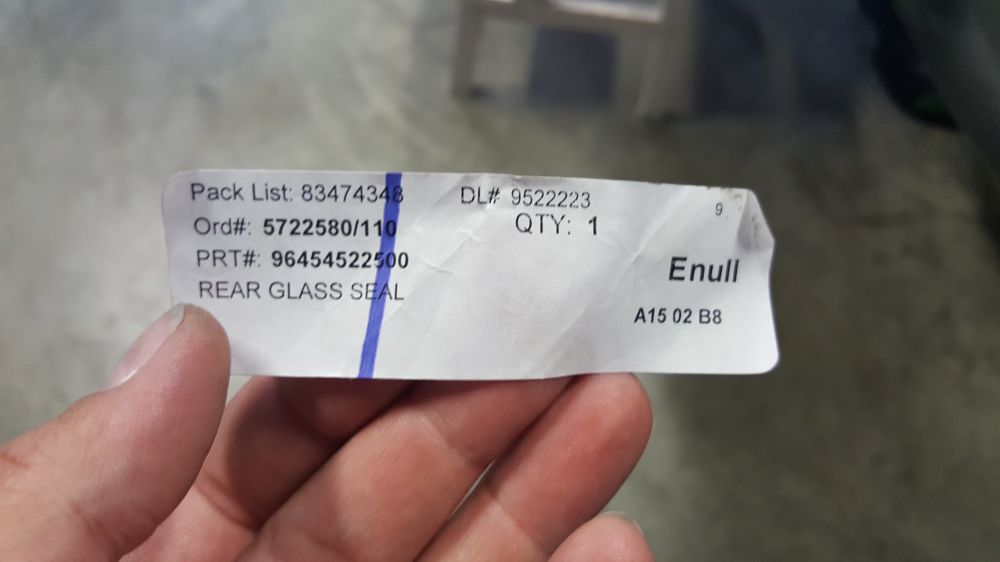
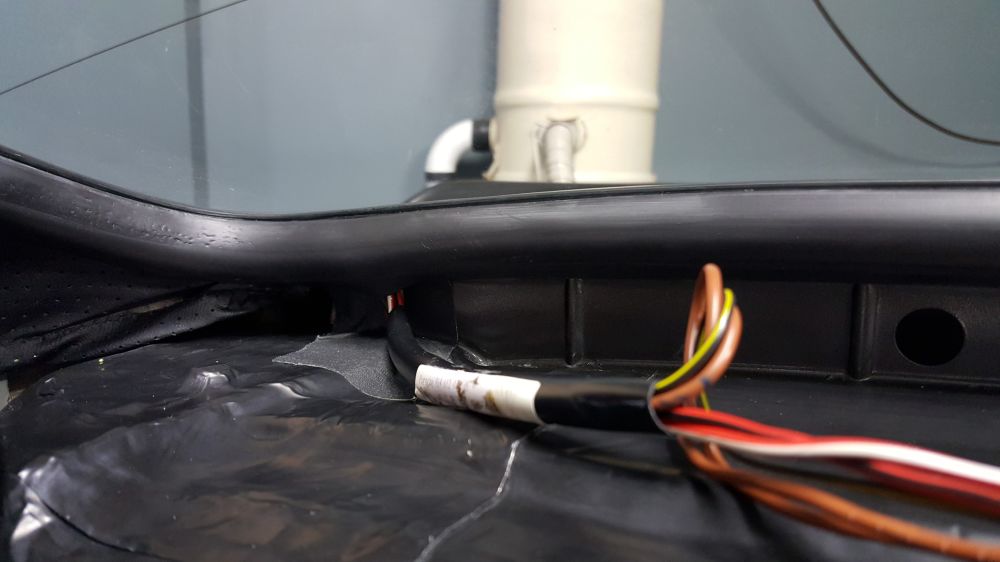
New seal and rear window is in. Sealed, fitted... all by the book. Not a hard thing to do by yourself at all.

Front oil lines rebuild.


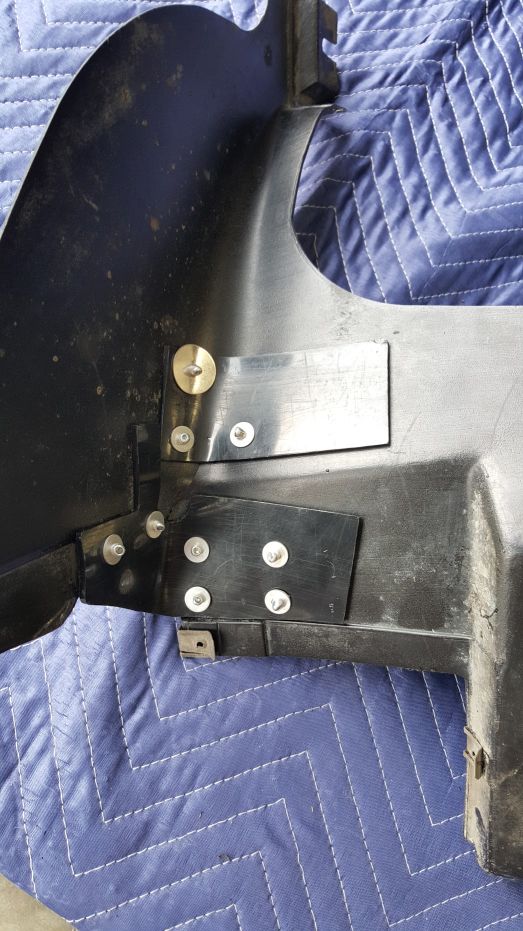
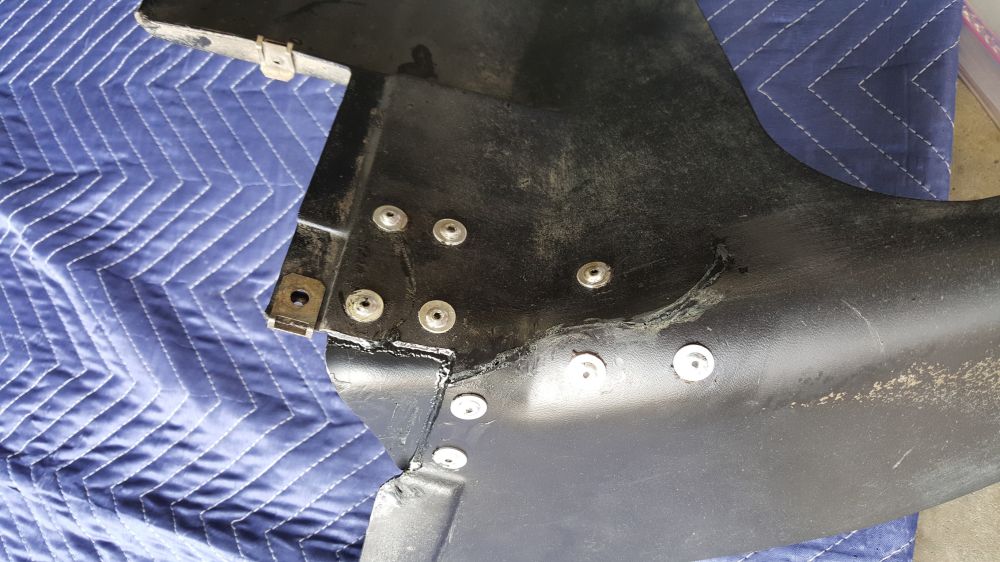
Patched up fender liners.
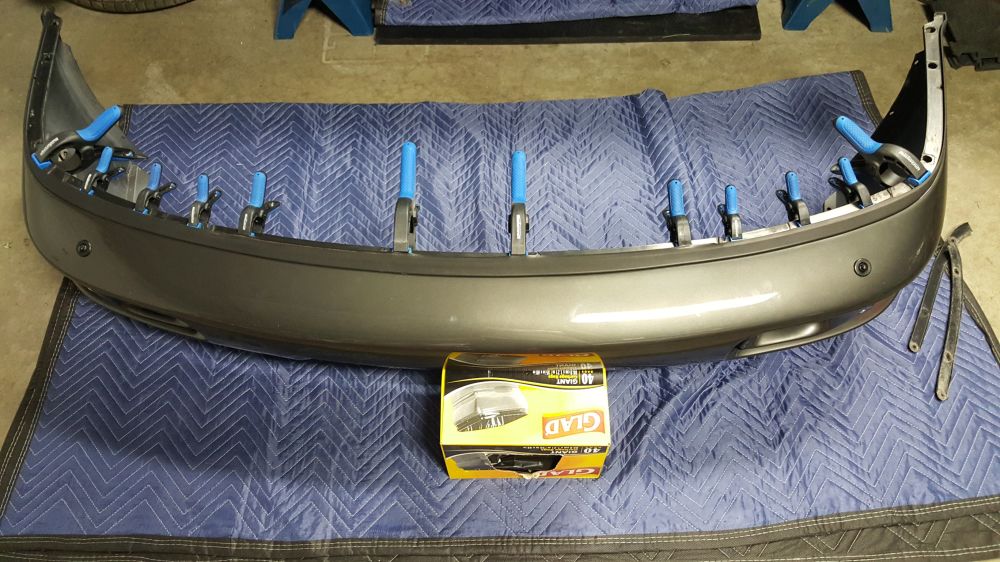
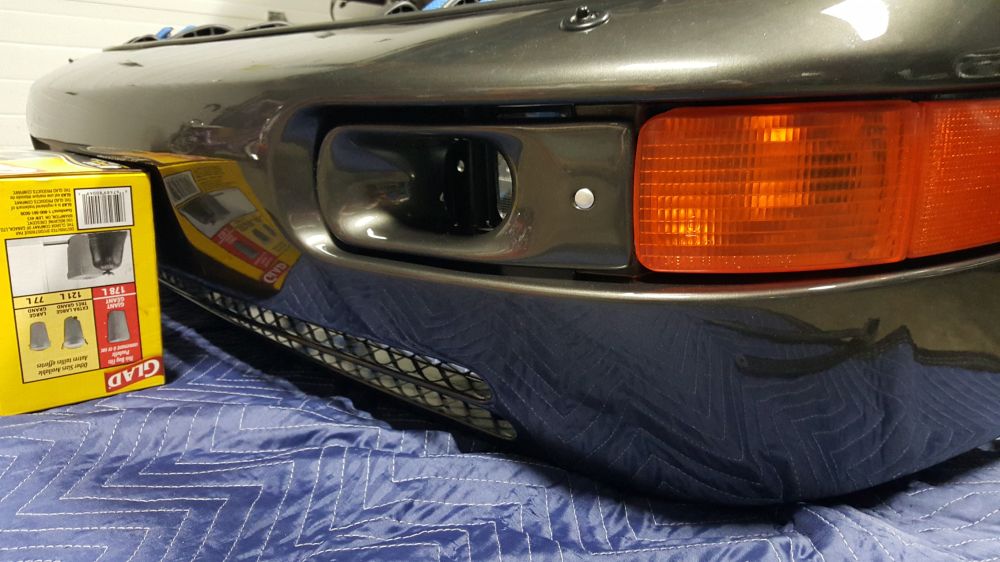
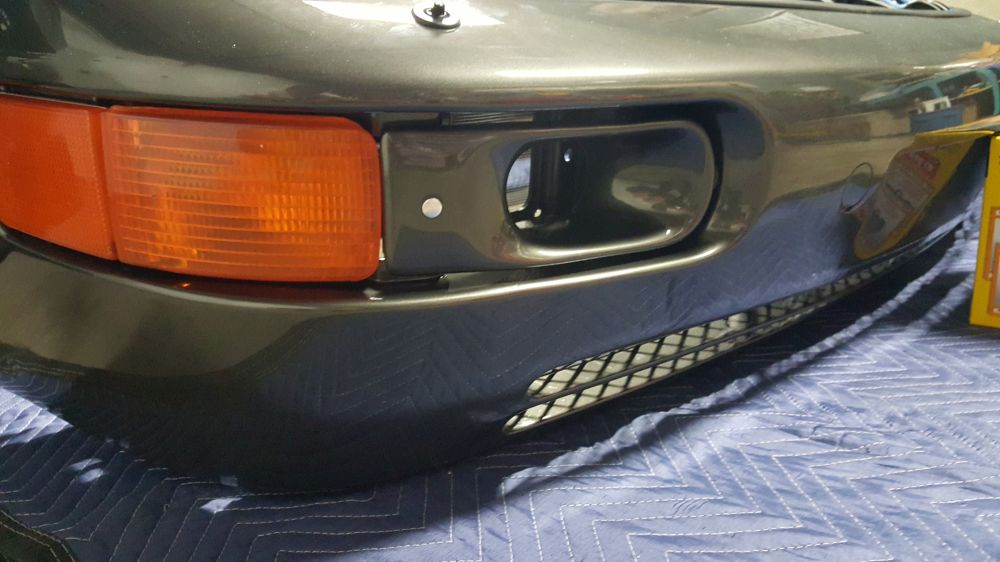
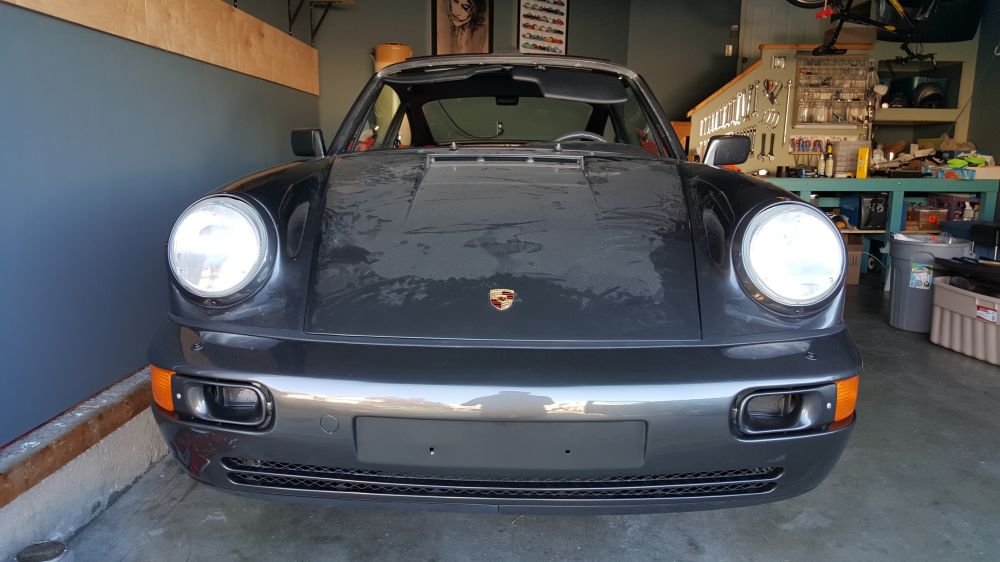
Front bumper work and air ducts with homemade mesh.


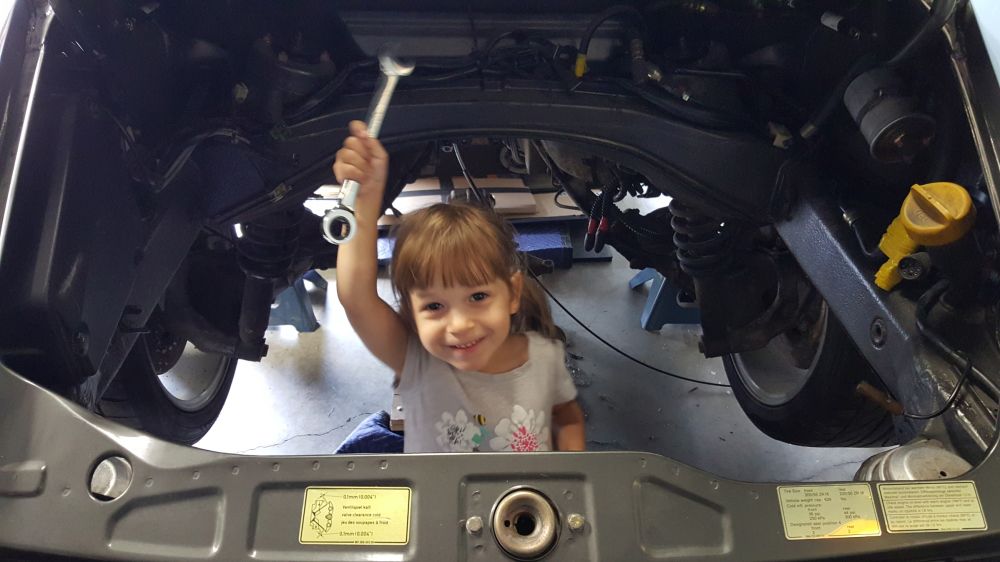
Little helper hard at work.
Thanks!
Andrew
Out with the old, in with the... never mind it will change again.
Originally I made some of the floorboards from plywood and with the kind help of robt964 mounted with large conical washers. But then, I got these as a birthday present.
I'm very happy with the carpet work I did, the fit and shape is very close to OEM.
RS door cards. Soon after I decided to send out the seat-belts for re-webbing to match the red strap.
Decided to put the wing on. Forgot to shave 3rd brake light. Will 3d print the plugs and paint to match the lid. Im hoping it will look somewhat acceptable.
New seal and rear window is in. Sealed, fitted... all by the book. Not a hard thing to do by yourself at all.
Front oil lines rebuild.
Patched up fender liners.
Front bumper work and air ducts with homemade mesh.
Little helper hard at work.
Thanks!
Andrew
 10-06-2015, 10:38 AM
#182
-Jump terminals 3(30) and 7(87c) for slow speed. Fan should run, even with the ignition off. If the fan runs in slow speed, your ballast resister should be okay.
-Jump terminals 3(30) and 5(87) for fast speed. Fan should run, even with the ignition off.
 10-12-2015, 11:56 PM
#185
Rennlist Member
Thread Starter
Cotton gaffer tape. I use it a lot at work and over the years found it quite amazing. You can get it in any pro photo store. I used it to connect the foam corners and smooth out the transition edges.
Thanks!
Andrew
Thanks!
Andrew
10-28-2015, 03:29 AM
#186
Rennlist Member
Thread Starter
Made some progress on the PS pump.
Bracket revision: Added another leg of support to already existing tie in point for the fuel tank brace. Measurements included.


Located suitable pass-through points for PS pressure and return lines.


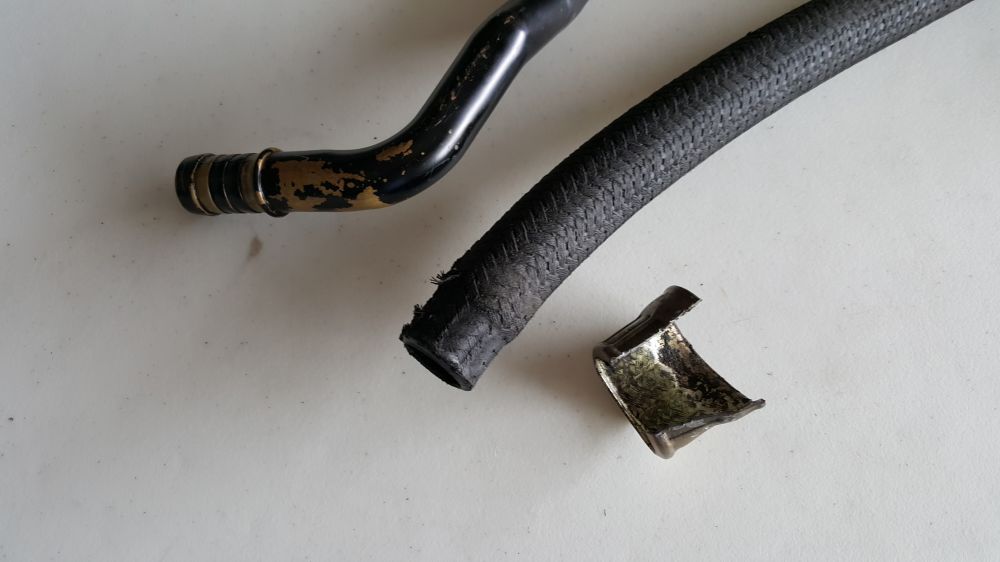
Disconnected the old lines. I wanted to see if I can get to it without removing the rack or subframe. Success! All I needed to do is to pop the axle at the differential and lightly compress the cv joint to move it out of the way.

To avoid any accidental damage to the lines and to be able to lay the lines in a way to avoid any contact with the axle, I need 4 strong connecting points. 2 of them are on the rack itself the other two are on the body channel. The AN -6 straight bulkhead SS connectors fit in the provided holes perfectly. Might need to use smaller washers but they will definitely work. BTW: when fitted with a 90 degree elbow and braided hose inside the front axle channel there is no contact with the brake line (it just looks like it's close in the photo).

Frunk side return hose. Still enough space for braided pressure line.


Thanks!
Andrew
Bracket revision: Added another leg of support to already existing tie in point for the fuel tank brace. Measurements included.
Located suitable pass-through points for PS pressure and return lines.
Disconnected the old lines. I wanted to see if I can get to it without removing the rack or subframe. Success! All I needed to do is to pop the axle at the differential and lightly compress the cv joint to move it out of the way.
To avoid any accidental damage to the lines and to be able to lay the lines in a way to avoid any contact with the axle, I need 4 strong connecting points. 2 of them are on the rack itself the other two are on the body channel. The AN -6 straight bulkhead SS connectors fit in the provided holes perfectly. Might need to use smaller washers but they will definitely work. BTW: when fitted with a 90 degree elbow and braided hose inside the front axle channel there is no contact with the brake line (it just looks like it's close in the photo).
Frunk side return hose. Still enough space for braided pressure line.
Thanks!
Andrew
10-29-2015, 03:26 AM
#188
Rennlist Member
Thread Starter
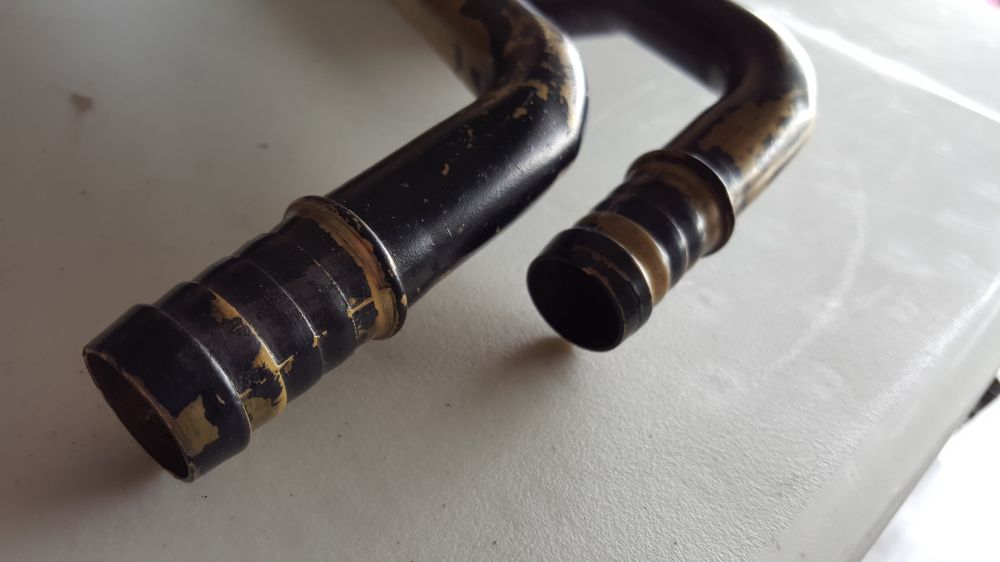
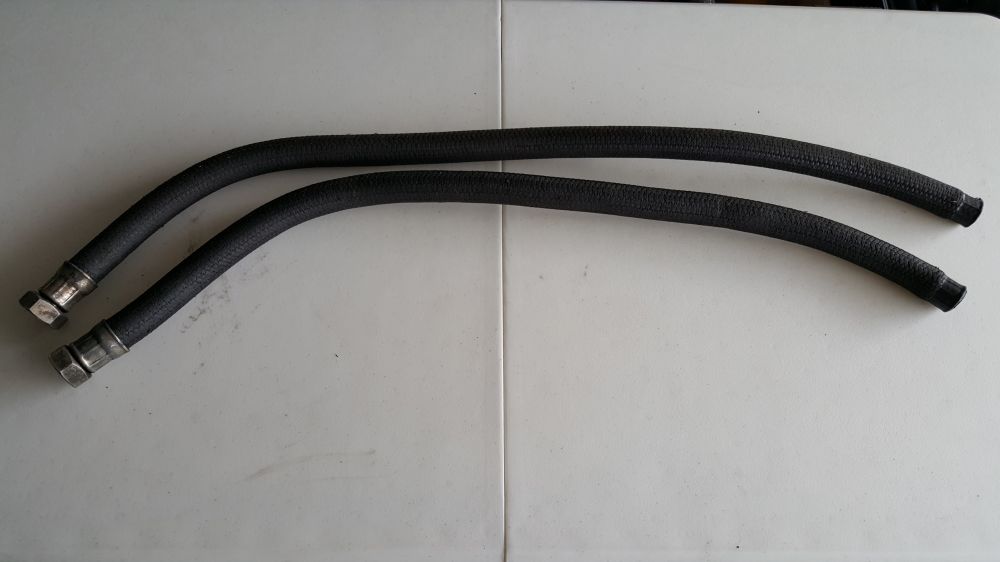
Annnnd done!... well almost, just need to order 16mm 1.5 to AN-6 90degree banjo for the pump.
From the top: Frunk portion of the pressure line with bulkhead already fitted, Axle channel portion of the pressure line with banjo, Axle channel return line with banjo.

After couple of hour trying to route the lines at the above and below the axle I have decided to go below the axle. More room there and no chance of the axle hitting the lines.


Frunk portion of the lines.


Thanks!
Andrew
From the top: Frunk portion of the pressure line with bulkhead already fitted, Axle channel portion of the pressure line with banjo, Axle channel return line with banjo.
After couple of hour trying to route the lines at the above and below the axle I have decided to go below the axle. More room there and no chance of the axle hitting the lines.
Frunk portion of the lines.
Thanks!
Andrew
11-06-2015, 12:04 AM
#190
Rennlist Member
Thread Starter
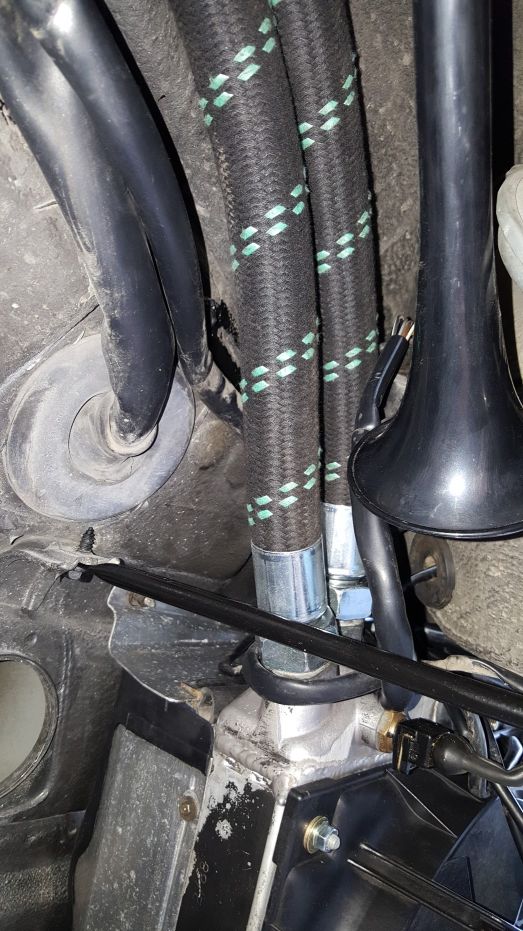
Cleaned up the Power Steering install a bit. Trimmed and switched the lines so they don't cross under the axle. It made it possible to route the pressure line on the other side and made the whole frunk part of the install looking cleaner. Fitted 16 mm to an6 banjo and 90degree return line as well. Wiring will be next.


Thanks!
Andrew
Thanks!
Andrew


