When you click on links to various merchants on this site and make a purchase, this can result in this site earning a commission. Affiliate programs and affiliations include, but are not limited to, the eBay Partner Network.
A question I am not sure the answer to is how specific the Cohline collars are to crimping tool. The actual Cohline tool is $2k. I know Len can do these hoses, I contacted him but didn't end up using his services this time round. I don't know if a local hydro hose co can crimp Cohlines or if they are extremely specific.
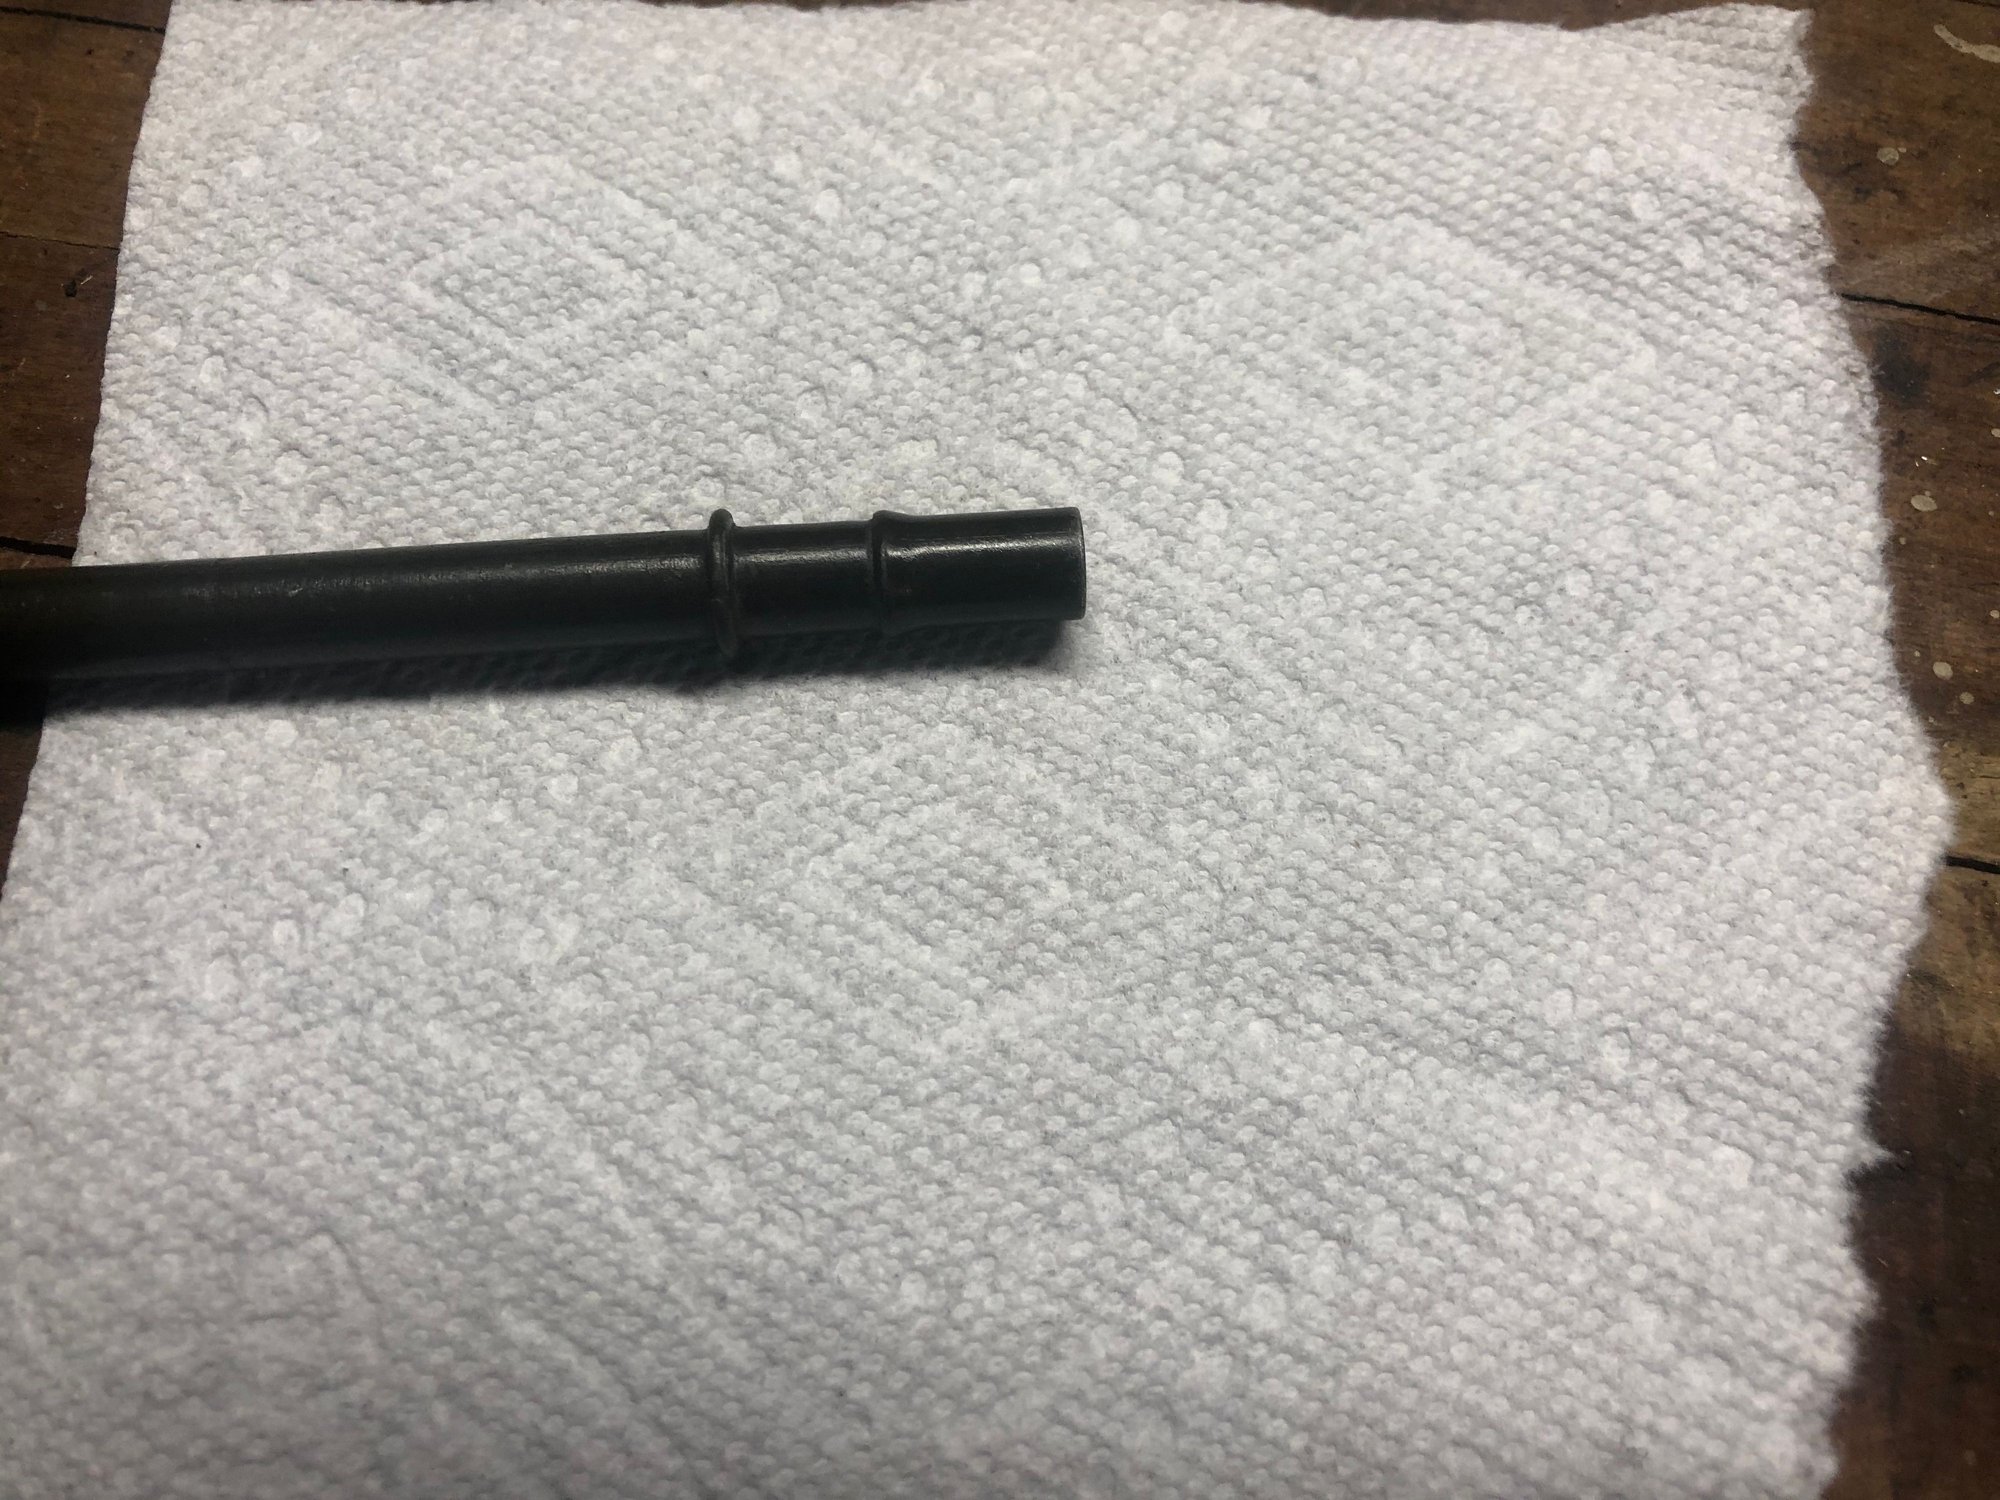
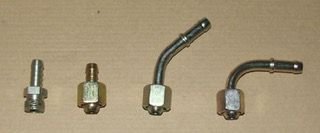
The double is for a different fitting type (pic below), clamp/compression before and after barb. Press fit, I believe, requires a specific type of hose (polyamide) and no compression/clamp.. the collar is only there to protect the end.
Credit to J Andres for posting this on another thread -
So, per that I'd need to replace the entire part. However, there have been plenty of people that have had a hydraulic shop just press/crimp on new rubber fuel lines.
I wonder if it's one of those, the proper Porsche way in the late 80s/early 90s was this way, but using modern FI hose and sufficient clamping techniques works just as well?
I.E. my entire oil system is now braided lines with AN fittings and works great. Even though it's not the OEM hard lines.
it�s related to the fitting types as mentioned above. If they are press fit fittings, you�d need to replace with polyamide hose (rubber insulated) and have it pressed on. Otherwise, buy new fittings for compression collars and have new hoses made. Hopefully, I�m helping 😊... I spent a bit of time looking into this and only hoping I�m passing it on.
No one tell my wife... Sachs recommended to put the starter ring in the oven and the pressure plate in the freezer for 20 minutes. Who am I to argue with Sachs?
As noted above, the nuts I was using as spacers wouldn't allow me to install the clutch/flywheel/pressure plate on the engine. Luckily I had some lengths of aluminum tubing that were perfect laying around the garage. Cut those to length, bingo bango I can now install the assembly.
Then it was on to installing my new exhaust studs and exhaust/heat exchangers. I swear, I'll never buy a car from the north again. It has been so nice working on the engine without rusted junk everywhere. I know bolts still get dirty/seized/etc. but there's nothing like MN salt rust! I'll have to address body rust at some point in the next few years. The stuff is relentless!
Now I'm pretty much ready to put everything back in. We'll have to finish the steering on my buddy's crazy turbo bodied 911 first so we can free the lift up. Almost there, too bad there's no track time available for the foreseeable future.
This is really great stuff. Funny you mentioned sachs recommended procedure although the tolerances are not that tight. I used a torch and heated it. Did not cool the pressure plate and it went together without a hitch. Sat perfectly and had ample time to assure alignment.
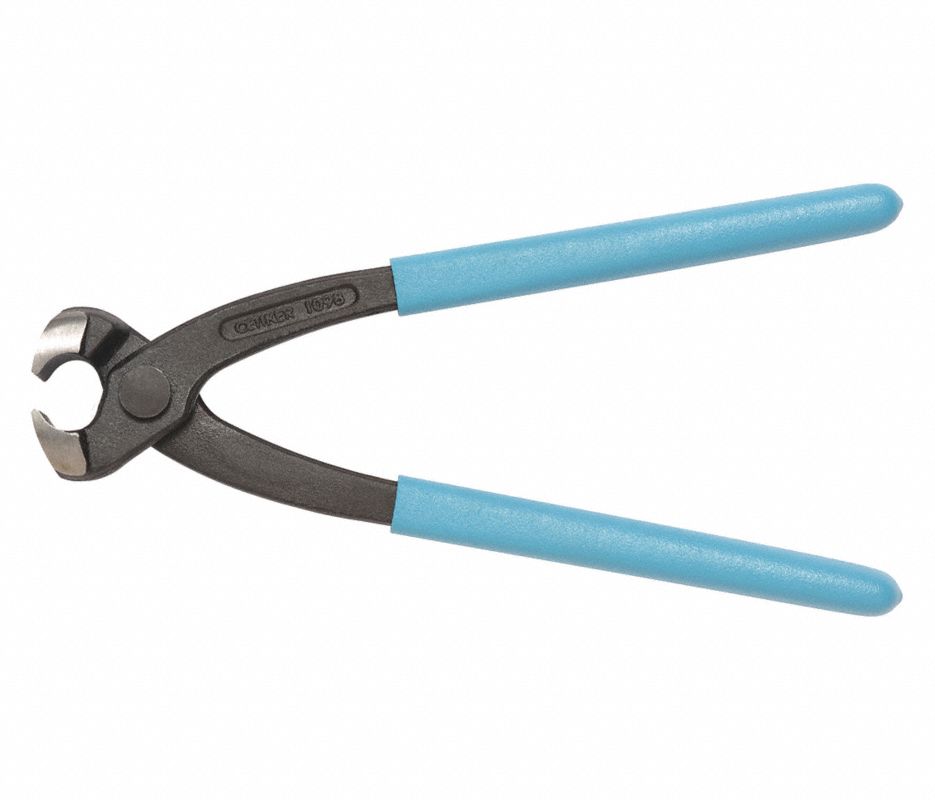
I prefer using the Oetiker style clamps in these applications although I just replaced everything with new it wasn't all that expensive under $500 for all the lines new. My original lines are almost like new although I figured it was cheap insurance.
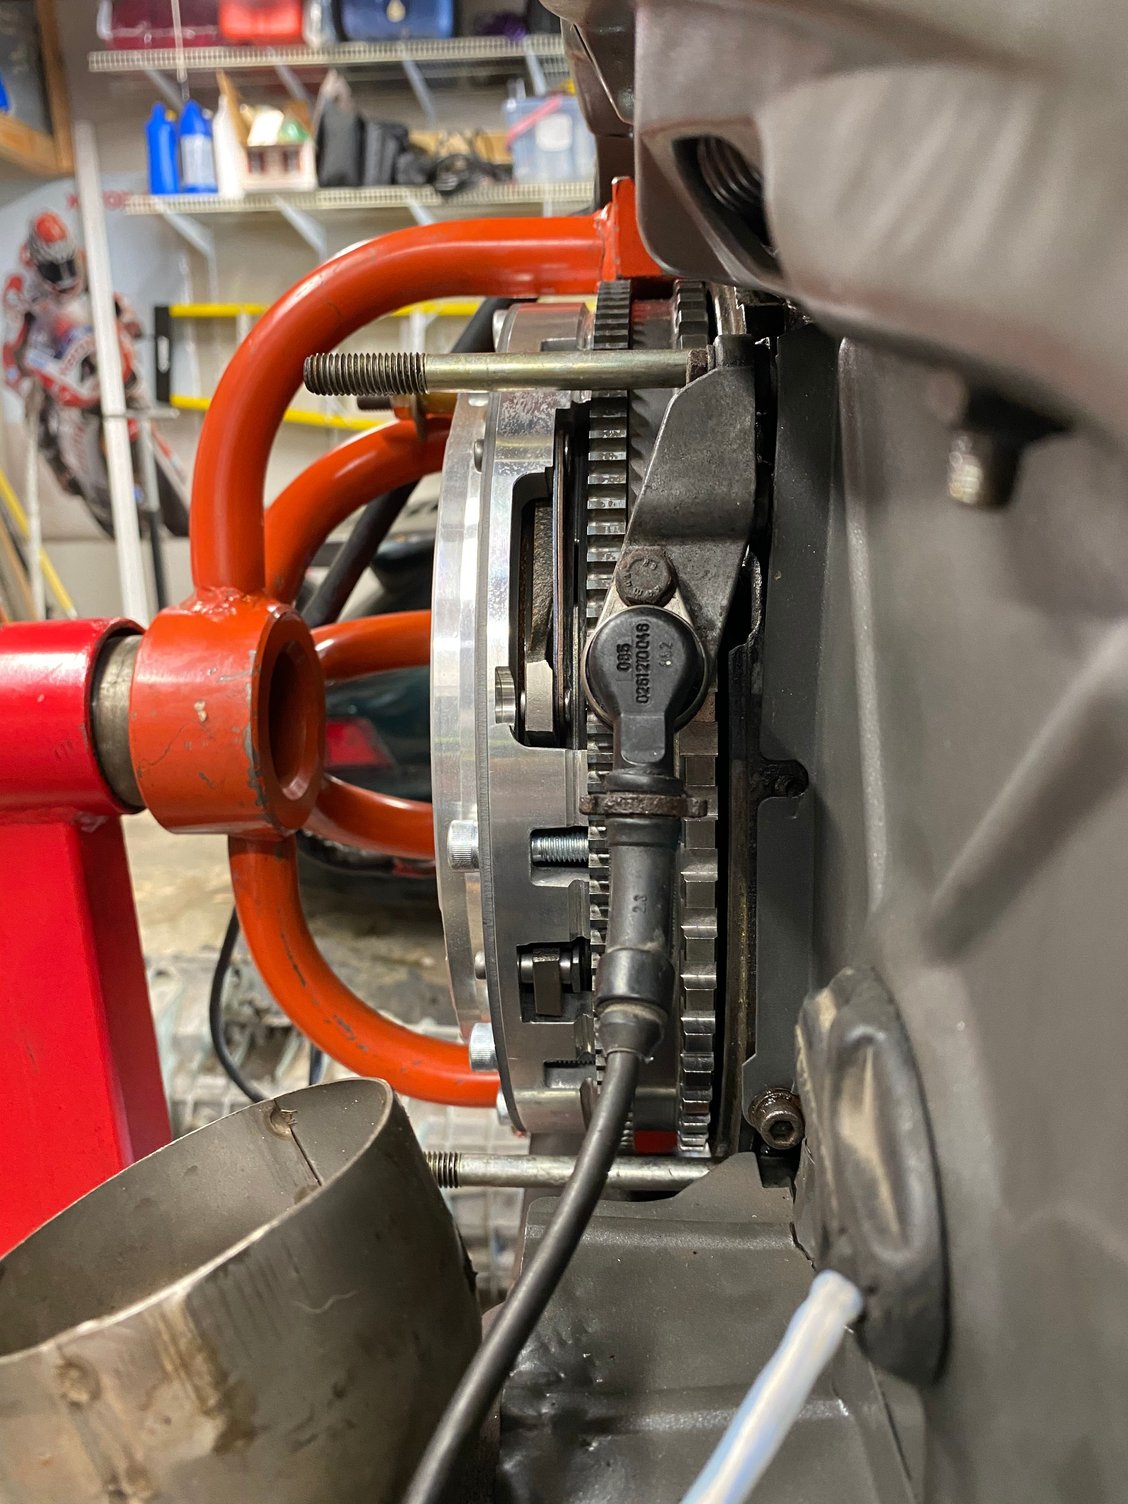
What year is your car the flywheel sensor bracket I am accustomed to seeing is cast aluminum yours seems to be stamped metal.
The procedure seemed a bit overkill, but I had some other things to work through while the parts were heating/cooling so wasn't a big deal there.
For my fuel lines that's what I did; I got some Oetiker clamps and double clamped each hose end; the fuel pressure isn't that high, but like you said it's cheap insurance.
My car's an '89, so I'll just have to pull the bracket off and shim it out with a couple washers. I noticed it didn't line up perfectly with the ring gear, but was pretty done mentally last night so it didn't quite register that I needed to fix that.
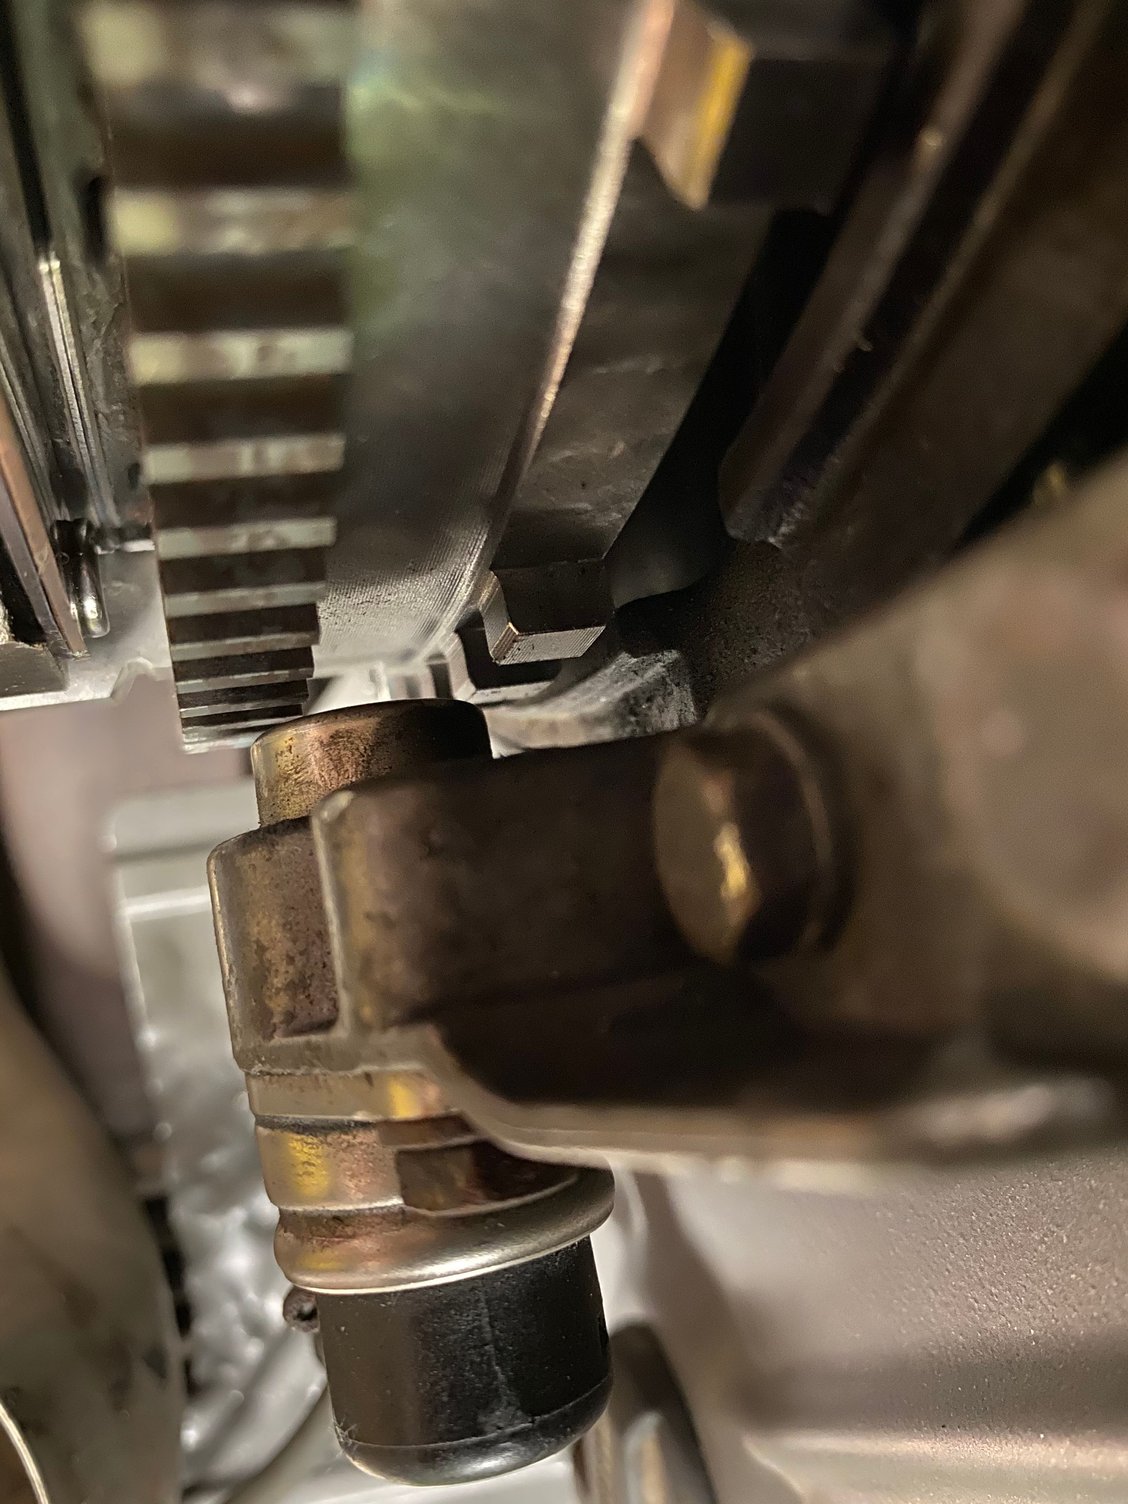
Hey guys, as I was looking at the crank sensor more it doesn�t seem to line up with a darn thing. Am I going to have to make a custom bracket for this? It�s in between the flywheel teeth and the starter ring gear teeth.
Everything assembled just fine, not really a way to install backwards (other than the clutch, which I installed prominent springs towards engine).
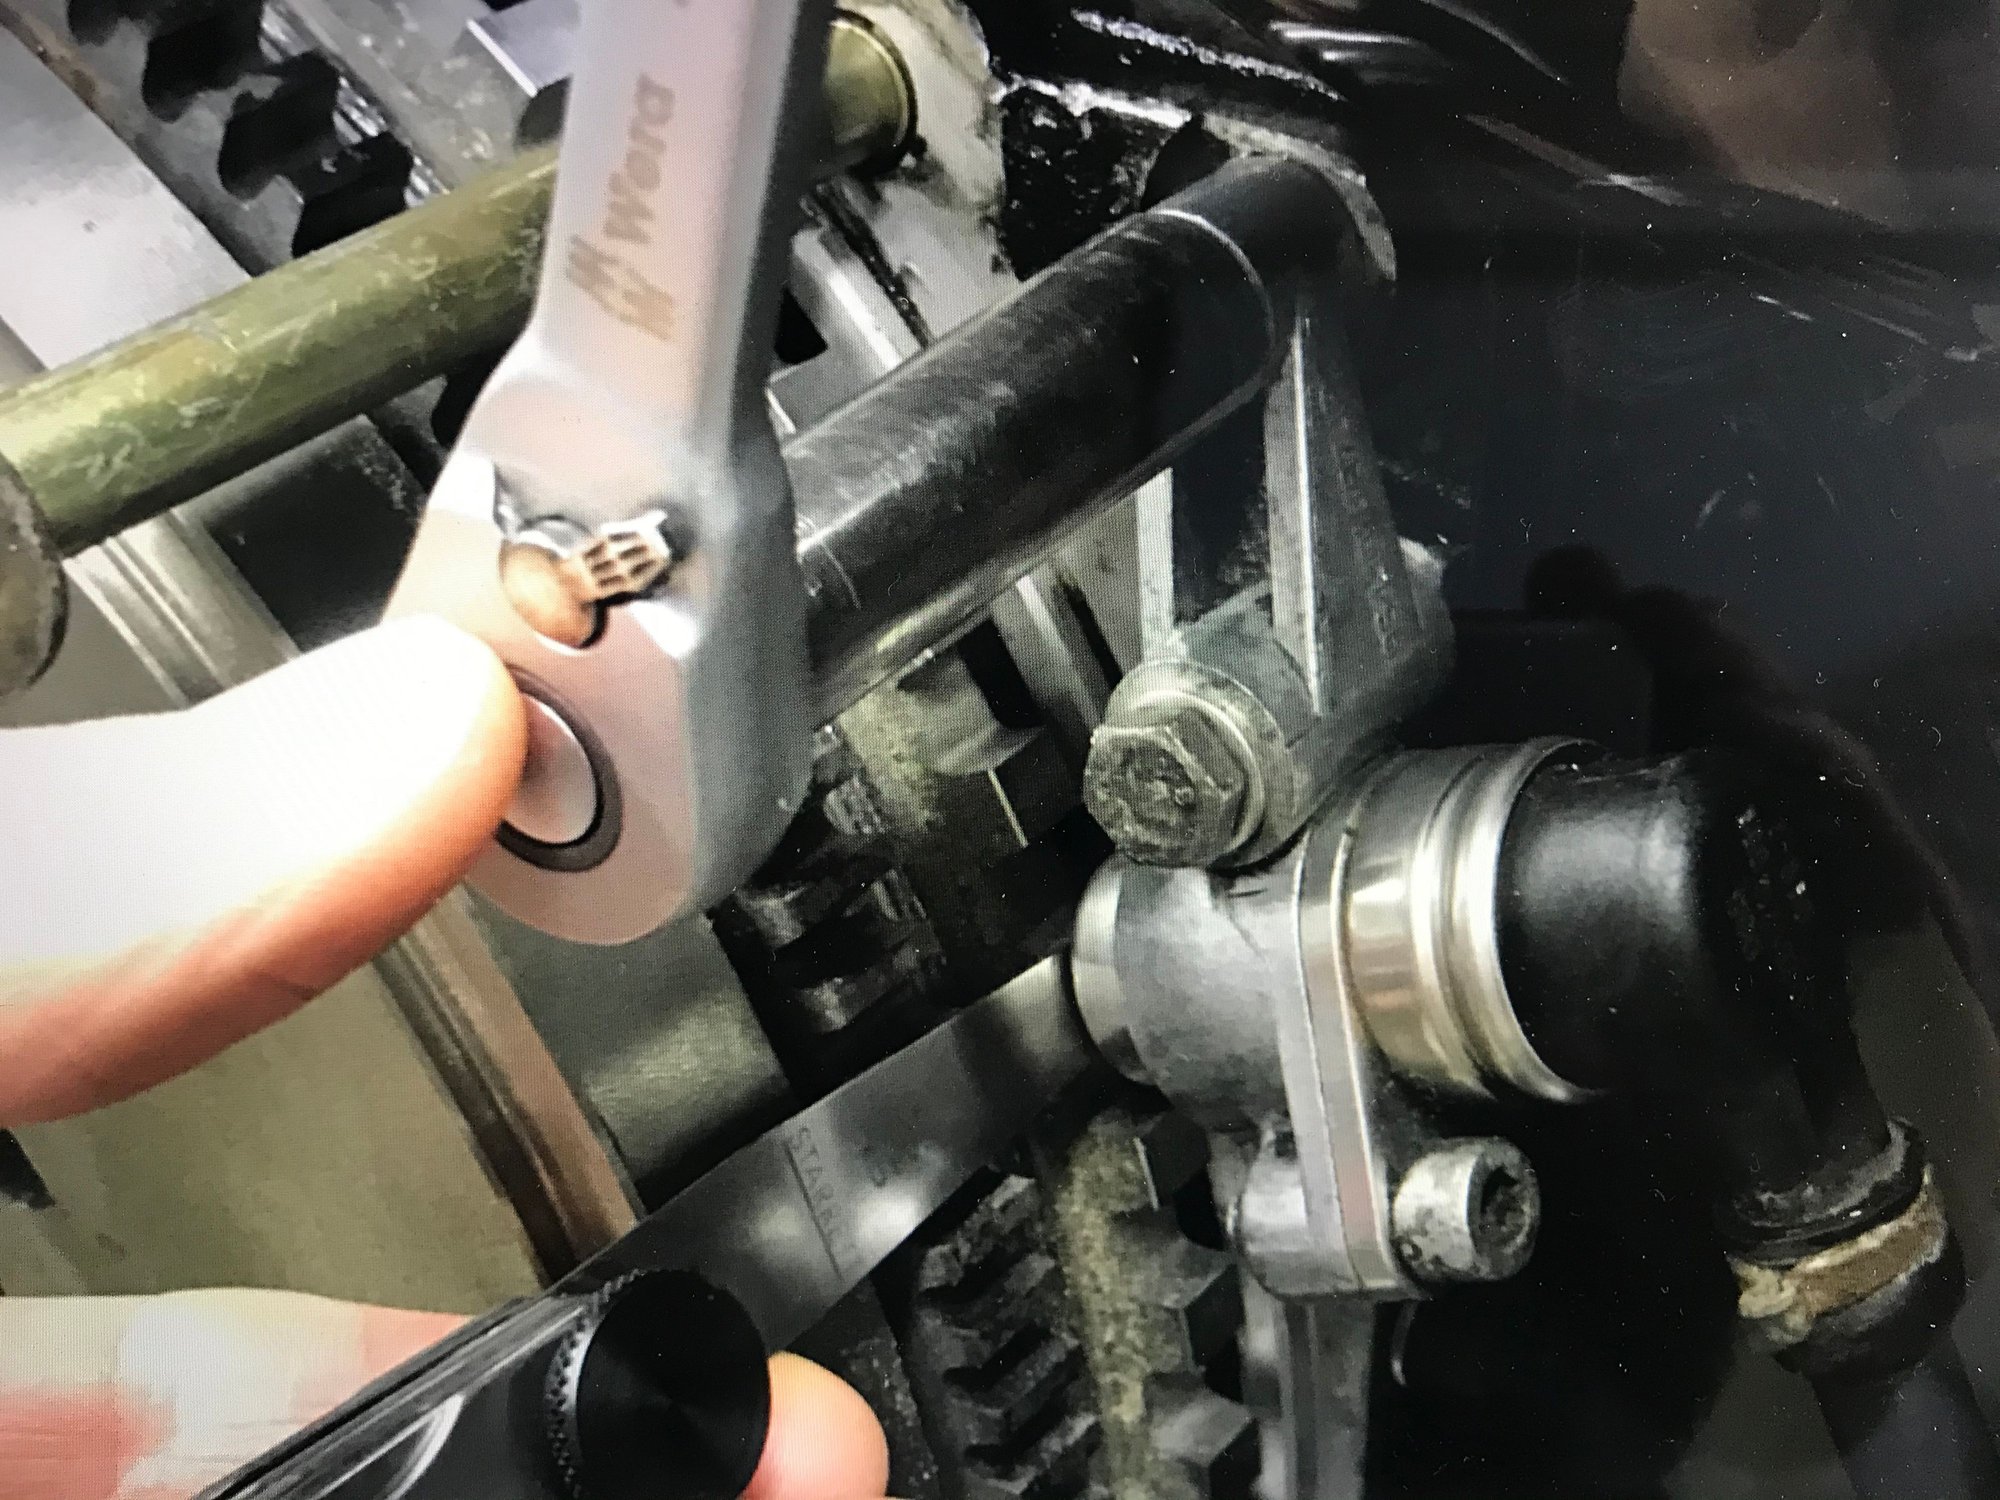
Your bracket does not look like mine. I am not in front of the parts catalog did this sensor change or do you have some non-stock set up here is what I just in clearance look like on mine
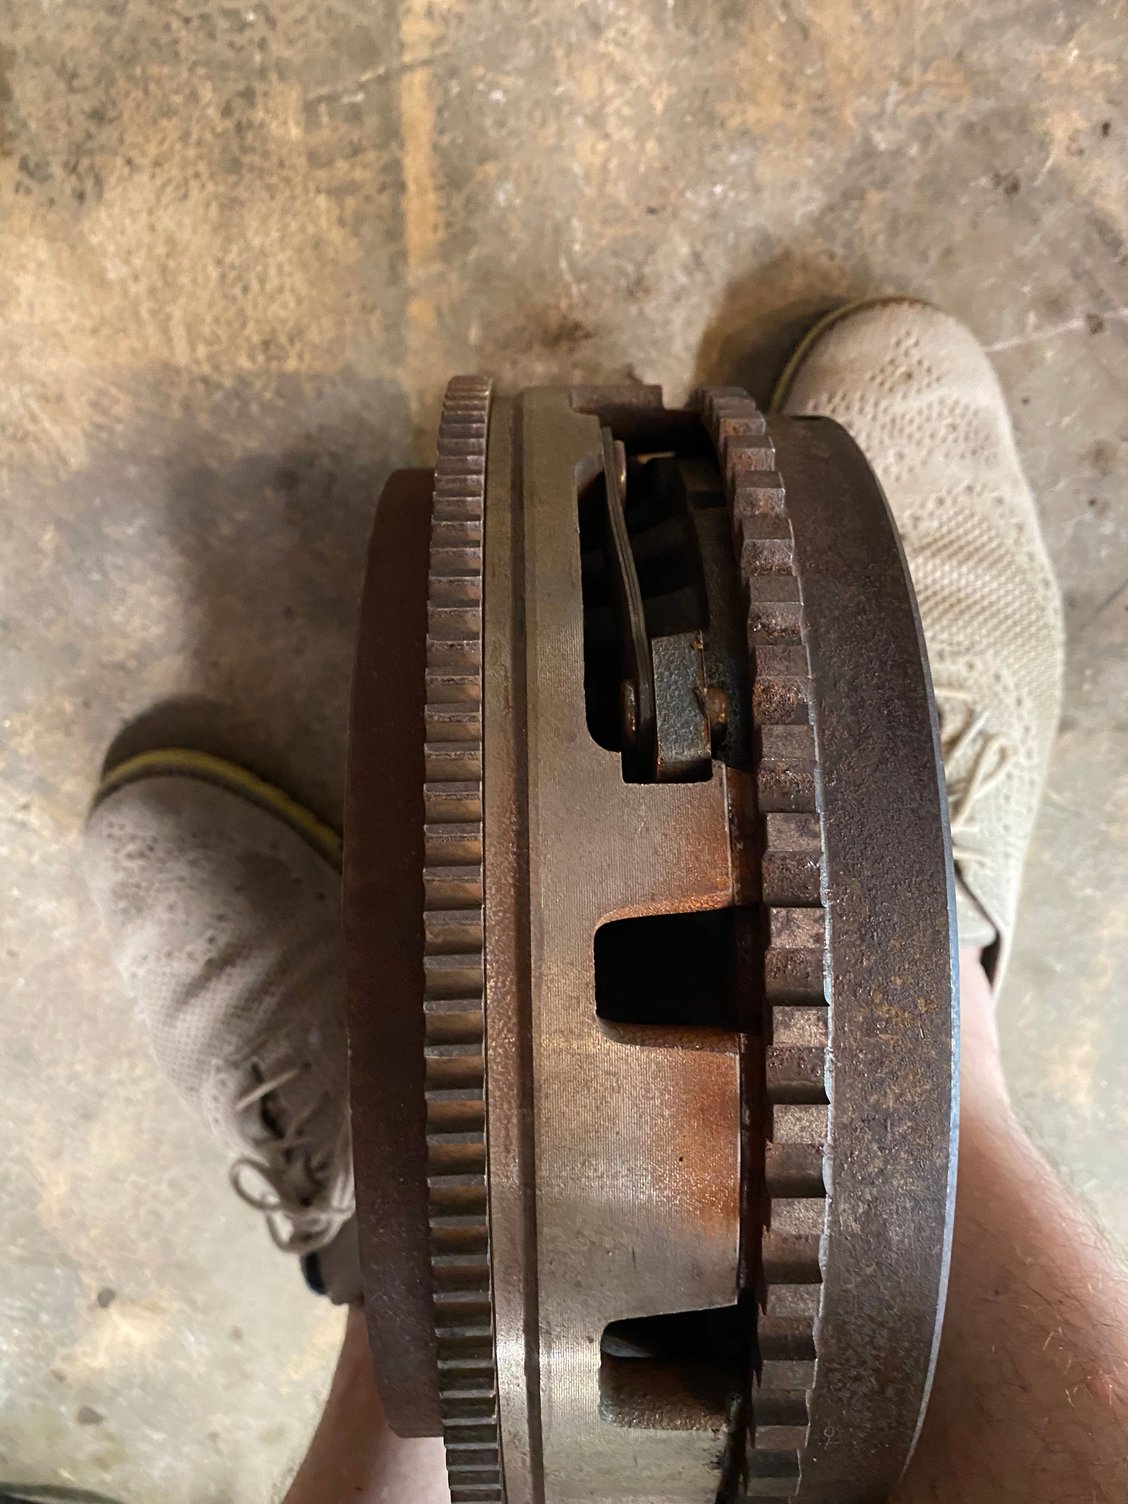
It might help if I pay attention to my old assembly. It looks like the starter ring gear should get bolted to the outside of the pressure plate...Makes me wonder if in my infinite wisdom I installed the flywheel backwards...


 04-30-2020, 10:37 AM


 No one tell my wife... Sachs recommended to put the starter ring in the oven and the pressure plate in the freezer for 20 minutes. Who am I to argue with Sachs?