Porsche 964 - 200kg challenge
The following users liked this post:
kos11-12 (11-24-2020)
#167
That is just bananas, can not stop looking at the films and its so fun to follow. Wish I had the guts to do it.
Go Islandworks sweden!
https://www.youtube.com/watch?v=MWo6mGlUsuU
Go Islandworks sweden!
https://www.youtube.com/watch?v=MWo6mGlUsuU
This is awesome! I love what you are doing here. Keep cutting it up!
Whats your timetable through to completion? Or even to get it painted?
#168
Iím really happy about it myself. Iíll use the same in my 986 competition car! Iíve experiemented with some carbon fiber infused pieces and it might be what I use on the side pieces instead of aluminum. Some more testing needed first!
#169
#171
Instructor
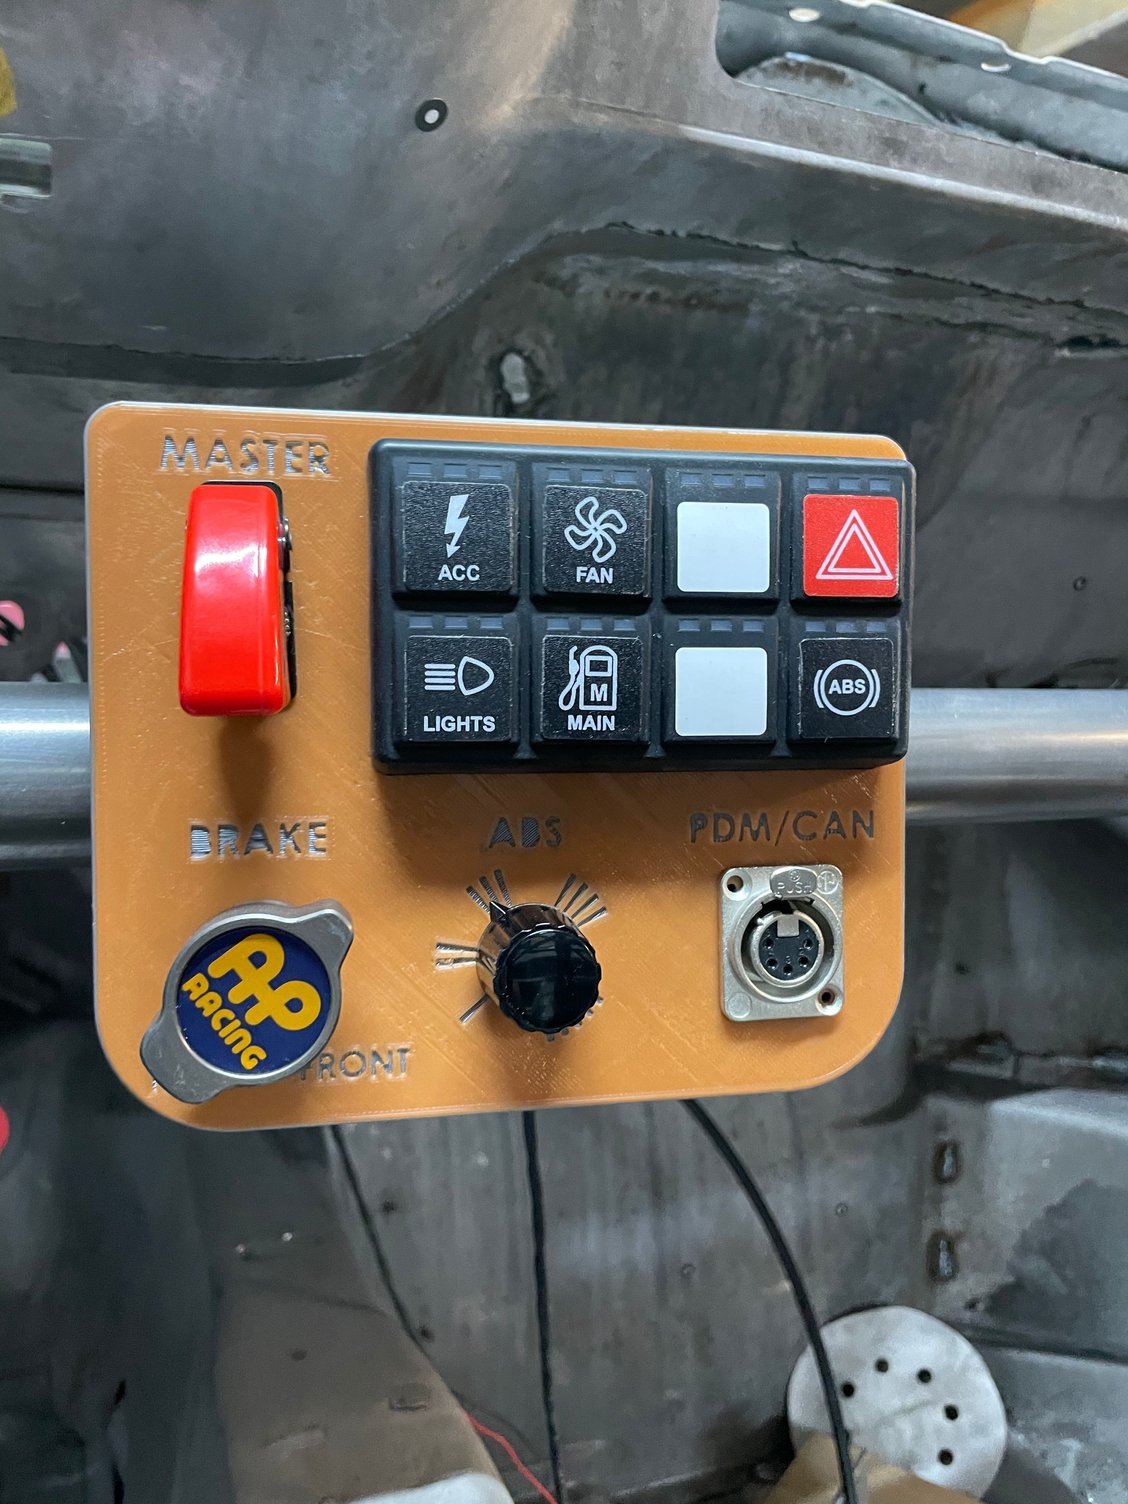
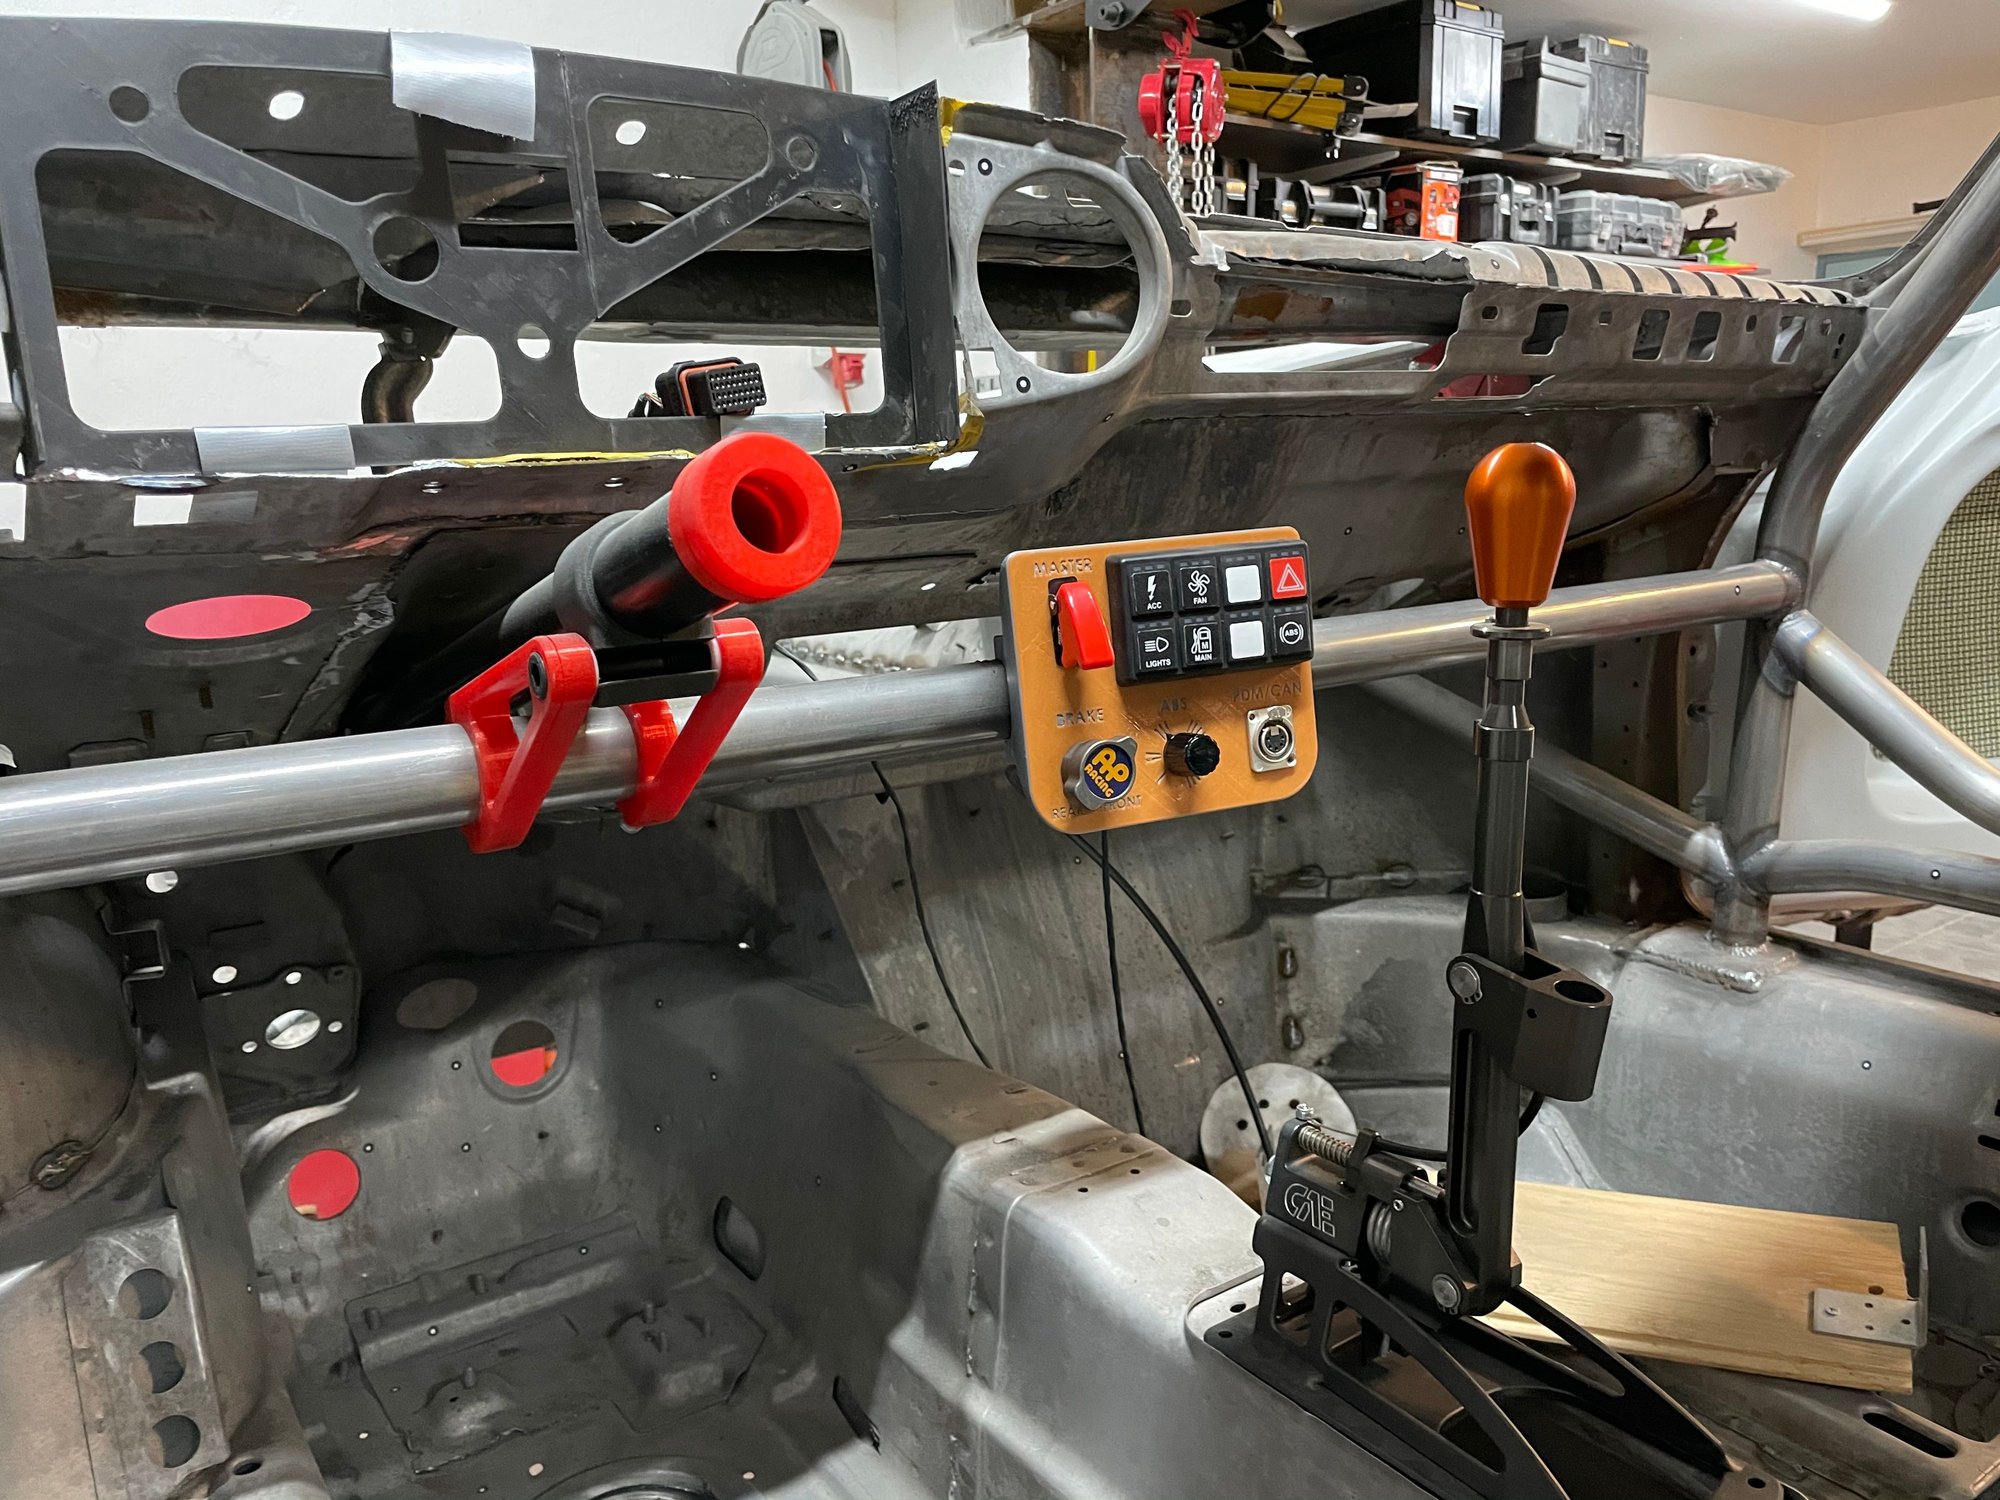
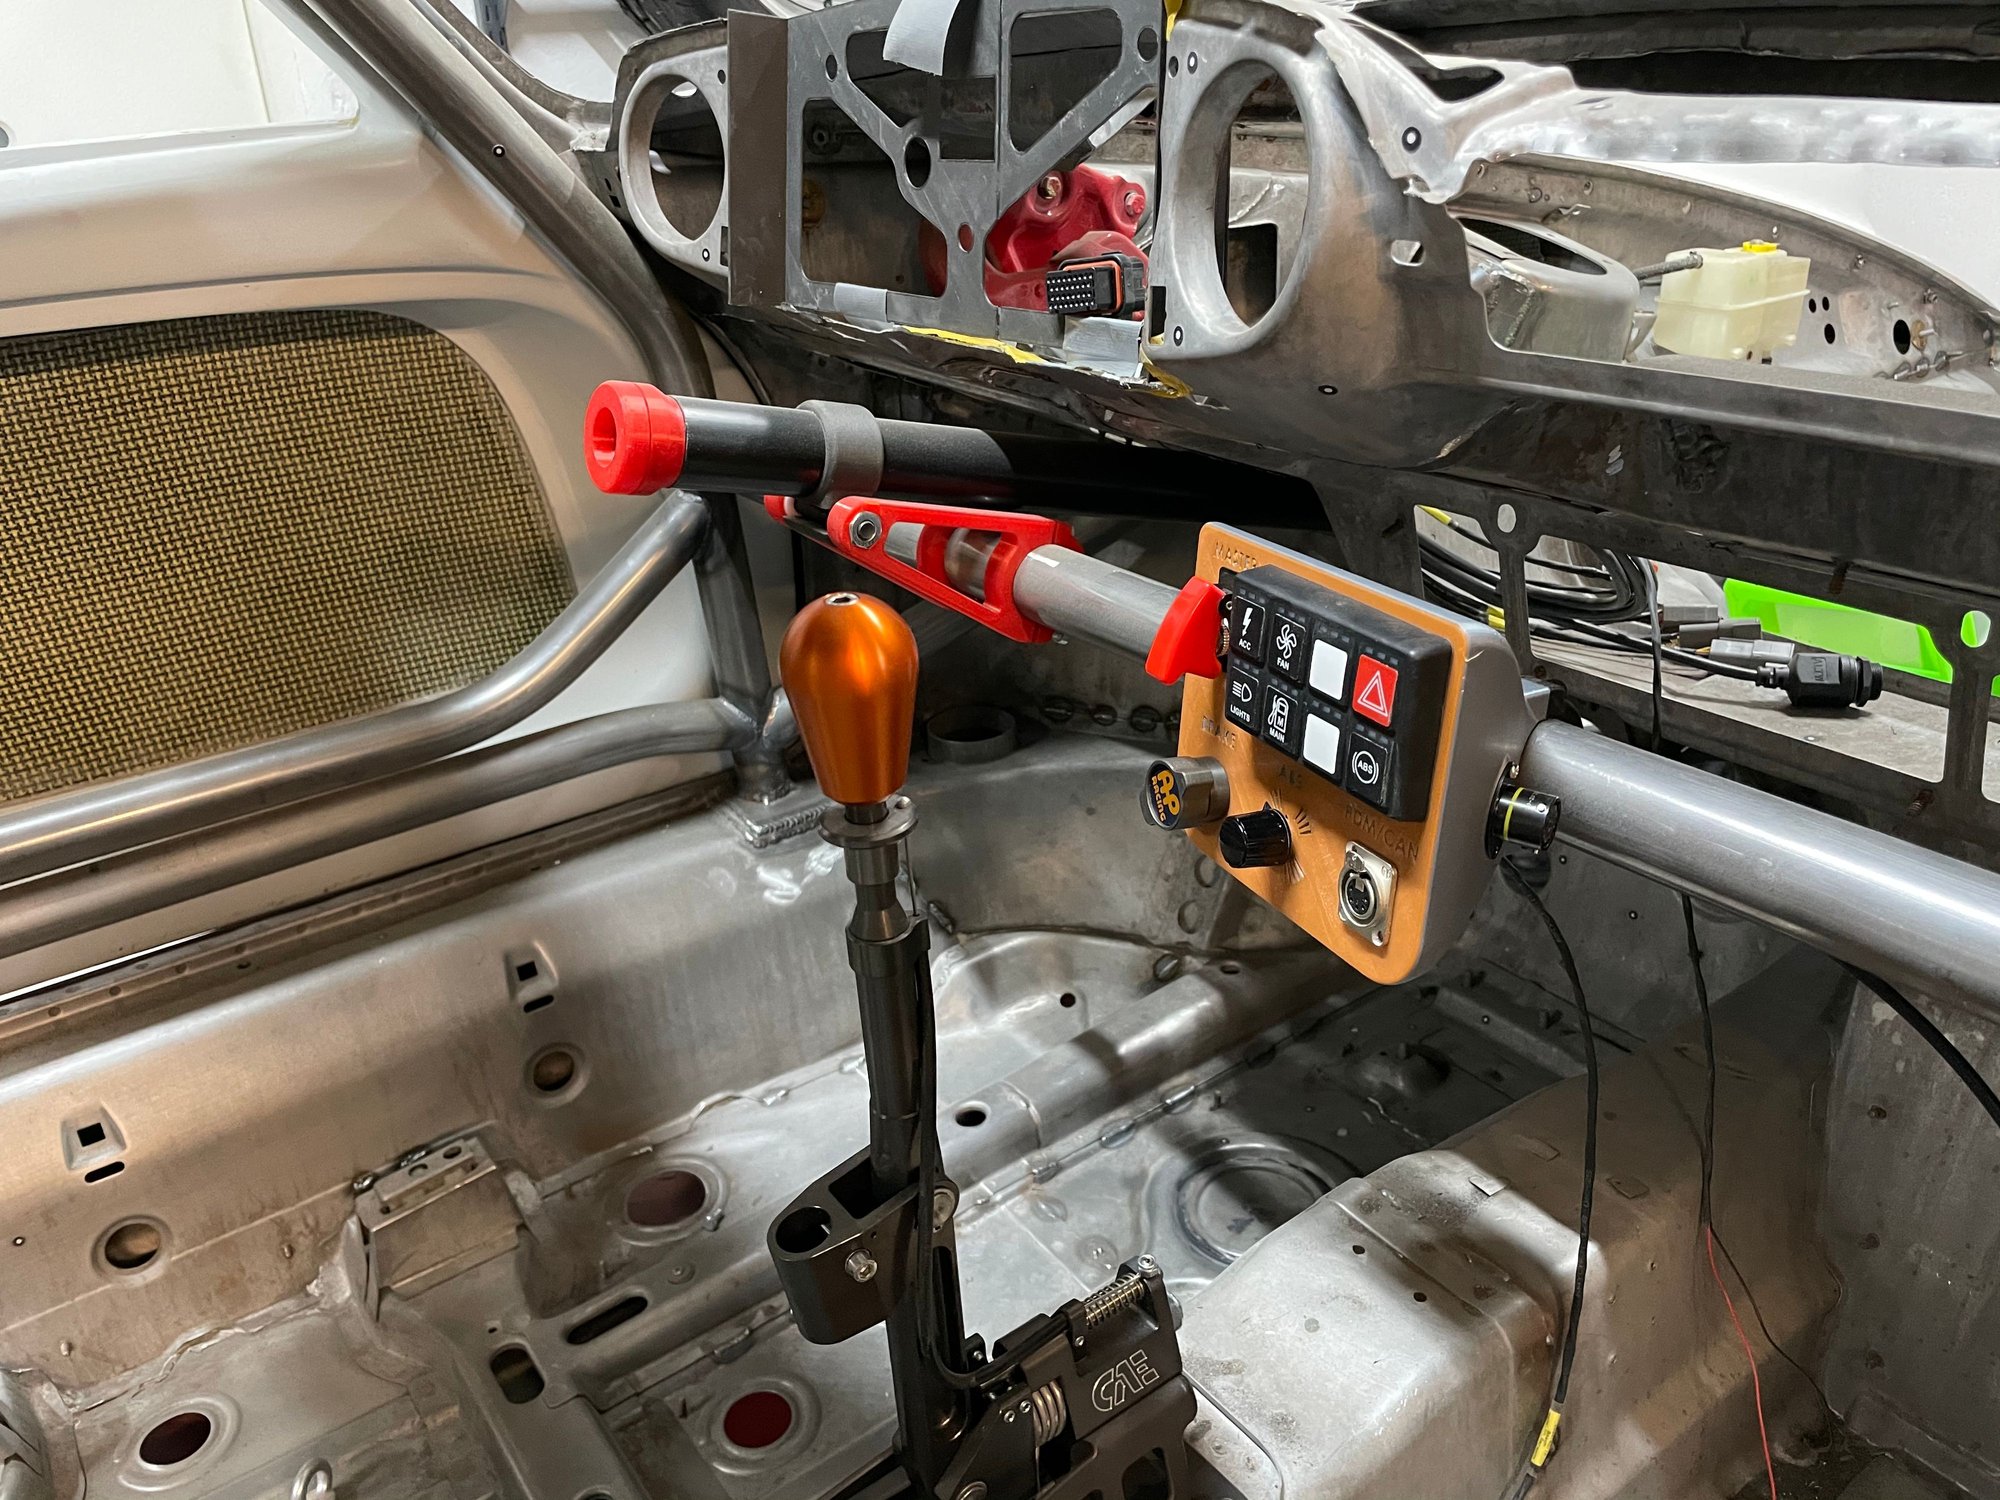
I'm enjoying following your journey. I would be concerned on the switch arrangement. In the heat of battle, with gloves on, and you need the lights but right beside the light switch is the fuel pump and mistakenly gets pressed.
It is easy being an arm chair quarterback, so I'm sure you have already thought of this.
Be safe.
It is easy being an arm chair quarterback, so I'm sure you have already thought of this.
Be safe.
#173
I'm enjoying following your journey. I would be concerned on the switch arrangement. In the heat of battle, with gloves on, and you need the lights but right beside the light switch is the fuel pump and mistakenly gets pressed.
It is easy being an arm chair quarterback, so I'm sure you have already thought of this.
Be safe.
It is easy being an arm chair quarterback, so I'm sure you have already thought of this.
Be safe.
I know some of the button stickers indicate differently, and itís only a mock-up right now.
I will also have one more smaller keypad in between the seats that I will be able to feel the buttons easier.
The following users liked this post:
timtim (11-21-2020)
#174
Rennlist Member
Really cool build
#175
Got another one together this weekend. Unfortunately there was a classic Pandoraís box occasion with cylinder 1!
Open Sesame - Porsche 964 engine disassembly
Open Sesame - Porsche 964 engine disassembly
The following 5 users liked this post by Jonte:
964Lovac (01-10-2021),
kos11-12 (12-14-2020),
P356GT (12-14-2020),
Sirenty (12-14-2020),
weekndr.porsche (12-13-2020)
#176
Nice work as usual. Just a thought on the timing box covers- I read somewhere that the idea behind the rubber mounting method for the covers was to help reduce noise. In that case and with your ability to develop (draw) and source new parts you might consider making new covers that could use standard paper gaskets. Might even be a few of us the would buy a set as well!
Pete
Pete
#177
Rennlist Member
Not sure if this helps. The 964 received the new design timing chain covers and seals. The reason for this was Porsche was trying to quiet down (I know???) the engine noise which is what makes the air-cooled engines so great. They actually went further with the 993 and the hydraulic lifters which removed most of the mechanical sound. The design is fine vs the prior paper gaskets. The seals do shrink over time but the biggest issue is people think by tightening the nuts past the 7 ft pounds of torque required they can get them to stop leaking. This only makes the leak worse. If you get a nut stuck on the washer and the stud comes apart as one piece clamping the stud in a vice with aluminum or brass jaws and using a high impact driver will make quick work of it. I always replace the gaskets and Grommets no matter how new as they will distort and it is cheap insurance. Cleaning the mag parts is critical to a good seal and lock tight on the housing side of the stud threads will keep them in place for future disassembly.
I did not see you add air to the leak down tester. You should attach the hose at 0 PSI and increase pressure to 100PSI to get an accurate reading. What you might not want to hear is odds are if the one cylinder is that bad the rest need to be checked. I have opened engines with similar issues that ran with damage for less than 30 seconds and metal bits made their way through the intake and damaged all 6 cylinders and heads plus scoring of the cylinder walls. So IMO a full top end inspection is in order. Scoping each cylinder at a minimum is advisable. The leak down won't tell you if you have piston or head damage which can cause hot spots in the combustion chamber which you don't want. Lastly I see you are using a clewett pulley which is similar to the one Porsche used on the 993 RSR race cars. If you did not balance the crank I would not consider using it as you risk crank failure especially if you are using a LWF. The 993 engine was better balanced and did not require a harmonic balancer as the 964 engine does.
Sorry to hear of your plight. Rebuilding a clean engine is one thing the costs add up quickly when they have damage. BTW Audobahn in CA has a lot of parts on hand from all the singer builds. You might source a used set of pistons and cylinders but heads are stupid expensive. I have weld repaired damage like that before but getting them perfect is tough.
Last edited by cobalt; 12-14-2020 at 09:01 AM.
The following users liked this post:
BLACK3.2 (12-14-2020)
#179
Nice work as usual. Just a thought on the timing box covers- I read somewhere that the idea behind the rubber mounting method for the covers was to help reduce noise. In that case and with your ability to develop (draw) and source new parts you might consider making new covers that could use standard paper gaskets. Might even be a few of us the would buy a set as well!
Pete
Pete
#180
Not sure if this helps. The 964 received the new design timing chain covers and seals. The reason for this was Porsche was trying to quiet down (I know???) the engine noise which is what makes the air-cooled engines so great. They actually went further with the 993 and the hydraulic lifters which removed most of the mechanical sound. The design is fine vs the prior paper gaskets. The seals do shrink over time but the biggest issue is people think by tightening the nuts past the 7 ft pounds of torque required they can get them to stop leaking. This only makes the leak worse. If you get a nut stuck on the washer and the stud comes apart as one piece clamping the stud in a vice with aluminum or brass jaws and using a high impact driver will make quick work of it. I always replace the gaskets and Grommets no matter how new as they will distort and it is cheap insurance. Cleaning the mag parts is critical to a good seal and lock tight on the housing side of the stud threads will keep them in place for future disassembly.
I did not see you add air to the leak down tester. You should attach the hose at 0 PSI and increase pressure to 100PSI to get an accurate reading. What you might not want to hear is odds are if the one cylinder is that bad the rest need to be checked. I have opened engines with similar issues that ran with damage for less than 30 seconds and metal bits made their way through the intake and damaged all 6 cylinders and heads plus scoring of the cylinder walls. So IMO a full top end inspection is in order. Scoping each cylinder at a minimum is advisable. The leak down won't tell you if you have piston or head damage which can cause hot spots in the combustion chamber which you don't want. Lastly I see you are using a clewett pulley which is similar to the one Porsche used on the 993 RSR race cars. If you did not balance the crank I would not consider using it as you risk crank failure especially if you are using a LWF. The 993 engine was better balanced and did not require a harmonic balancer as the 964 engine does.
Sorry to hear of your plight. Rebuilding a clean engine is one thing the costs add up quickly when they have damage. BTW Audobahn in CA has a lot of parts on hand from all the singer builds. You might source a used set of pistons and cylinders but heads are stupid expensive. I have weld repaired damage like that before but getting them perfect is tough.
I did not see you add air to the leak down tester. You should attach the hose at 0 PSI and increase pressure to 100PSI to get an accurate reading. What you might not want to hear is odds are if the one cylinder is that bad the rest need to be checked. I have opened engines with similar issues that ran with damage for less than 30 seconds and metal bits made their way through the intake and damaged all 6 cylinders and heads plus scoring of the cylinder walls. So IMO a full top end inspection is in order. Scoping each cylinder at a minimum is advisable. The leak down won't tell you if you have piston or head damage which can cause hot spots in the combustion chamber which you don't want. Lastly I see you are using a clewett pulley which is similar to the one Porsche used on the 993 RSR race cars. If you did not balance the crank I would not consider using it as you risk crank failure especially if you are using a LWF. The 993 engine was better balanced and did not require a harmonic balancer as the 964 engine does.
Sorry to hear of your plight. Rebuilding a clean engine is one thing the costs add up quickly when they have damage. BTW Audobahn in CA has a lot of parts on hand from all the singer builds. You might source a used set of pistons and cylinders but heads are stupid expensive. I have weld repaired damage like that before but getting them perfect is tough.
I'll be taking all cylinders apart and change all pistons, assemble a new spare head with the same CNC porting I have on the others. I'll also have to change one of the cylinders as there are marks on the side through the coating. I believe I've been able to trace back to when this happened and it was a few track events back before the car went into the rebuild....
For the belt drive I've heard the same thing about the 964 crank being dependent on the external damper to not have any resonances. In my engine I have a 997 GT3 crank which is fully balanced by itself and does not have the external balancer.
Cheers!


