When you click on links to various merchants on this site and make a purchase, this can result in this site earning a commission. Affiliate programs and affiliations include, but are not limited to, the eBay Partner Network.
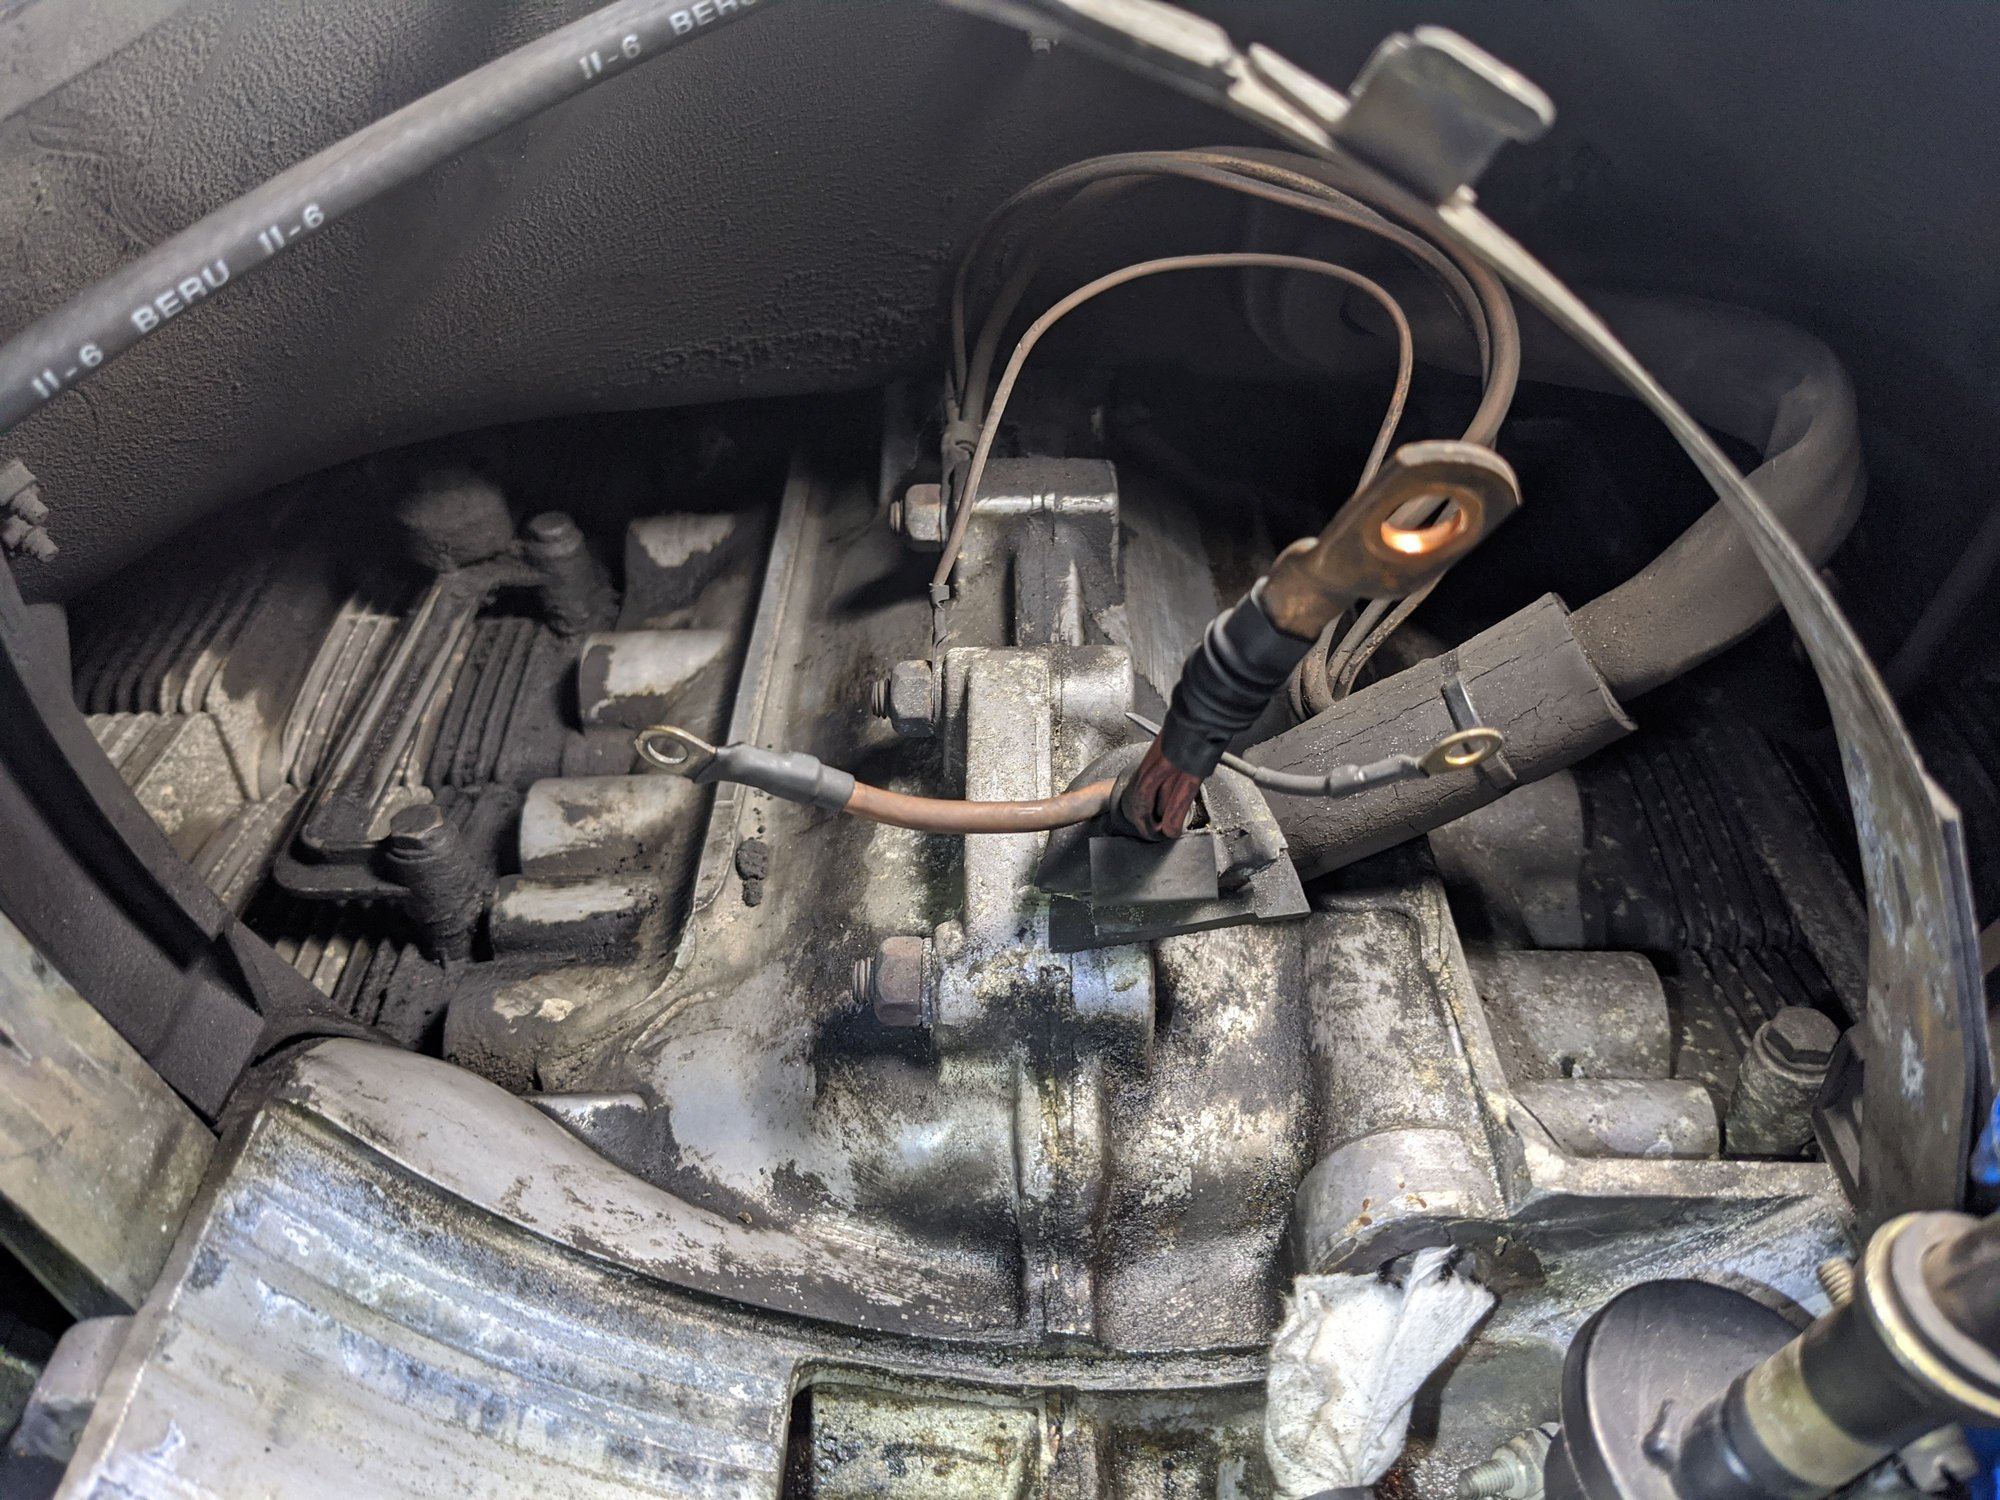
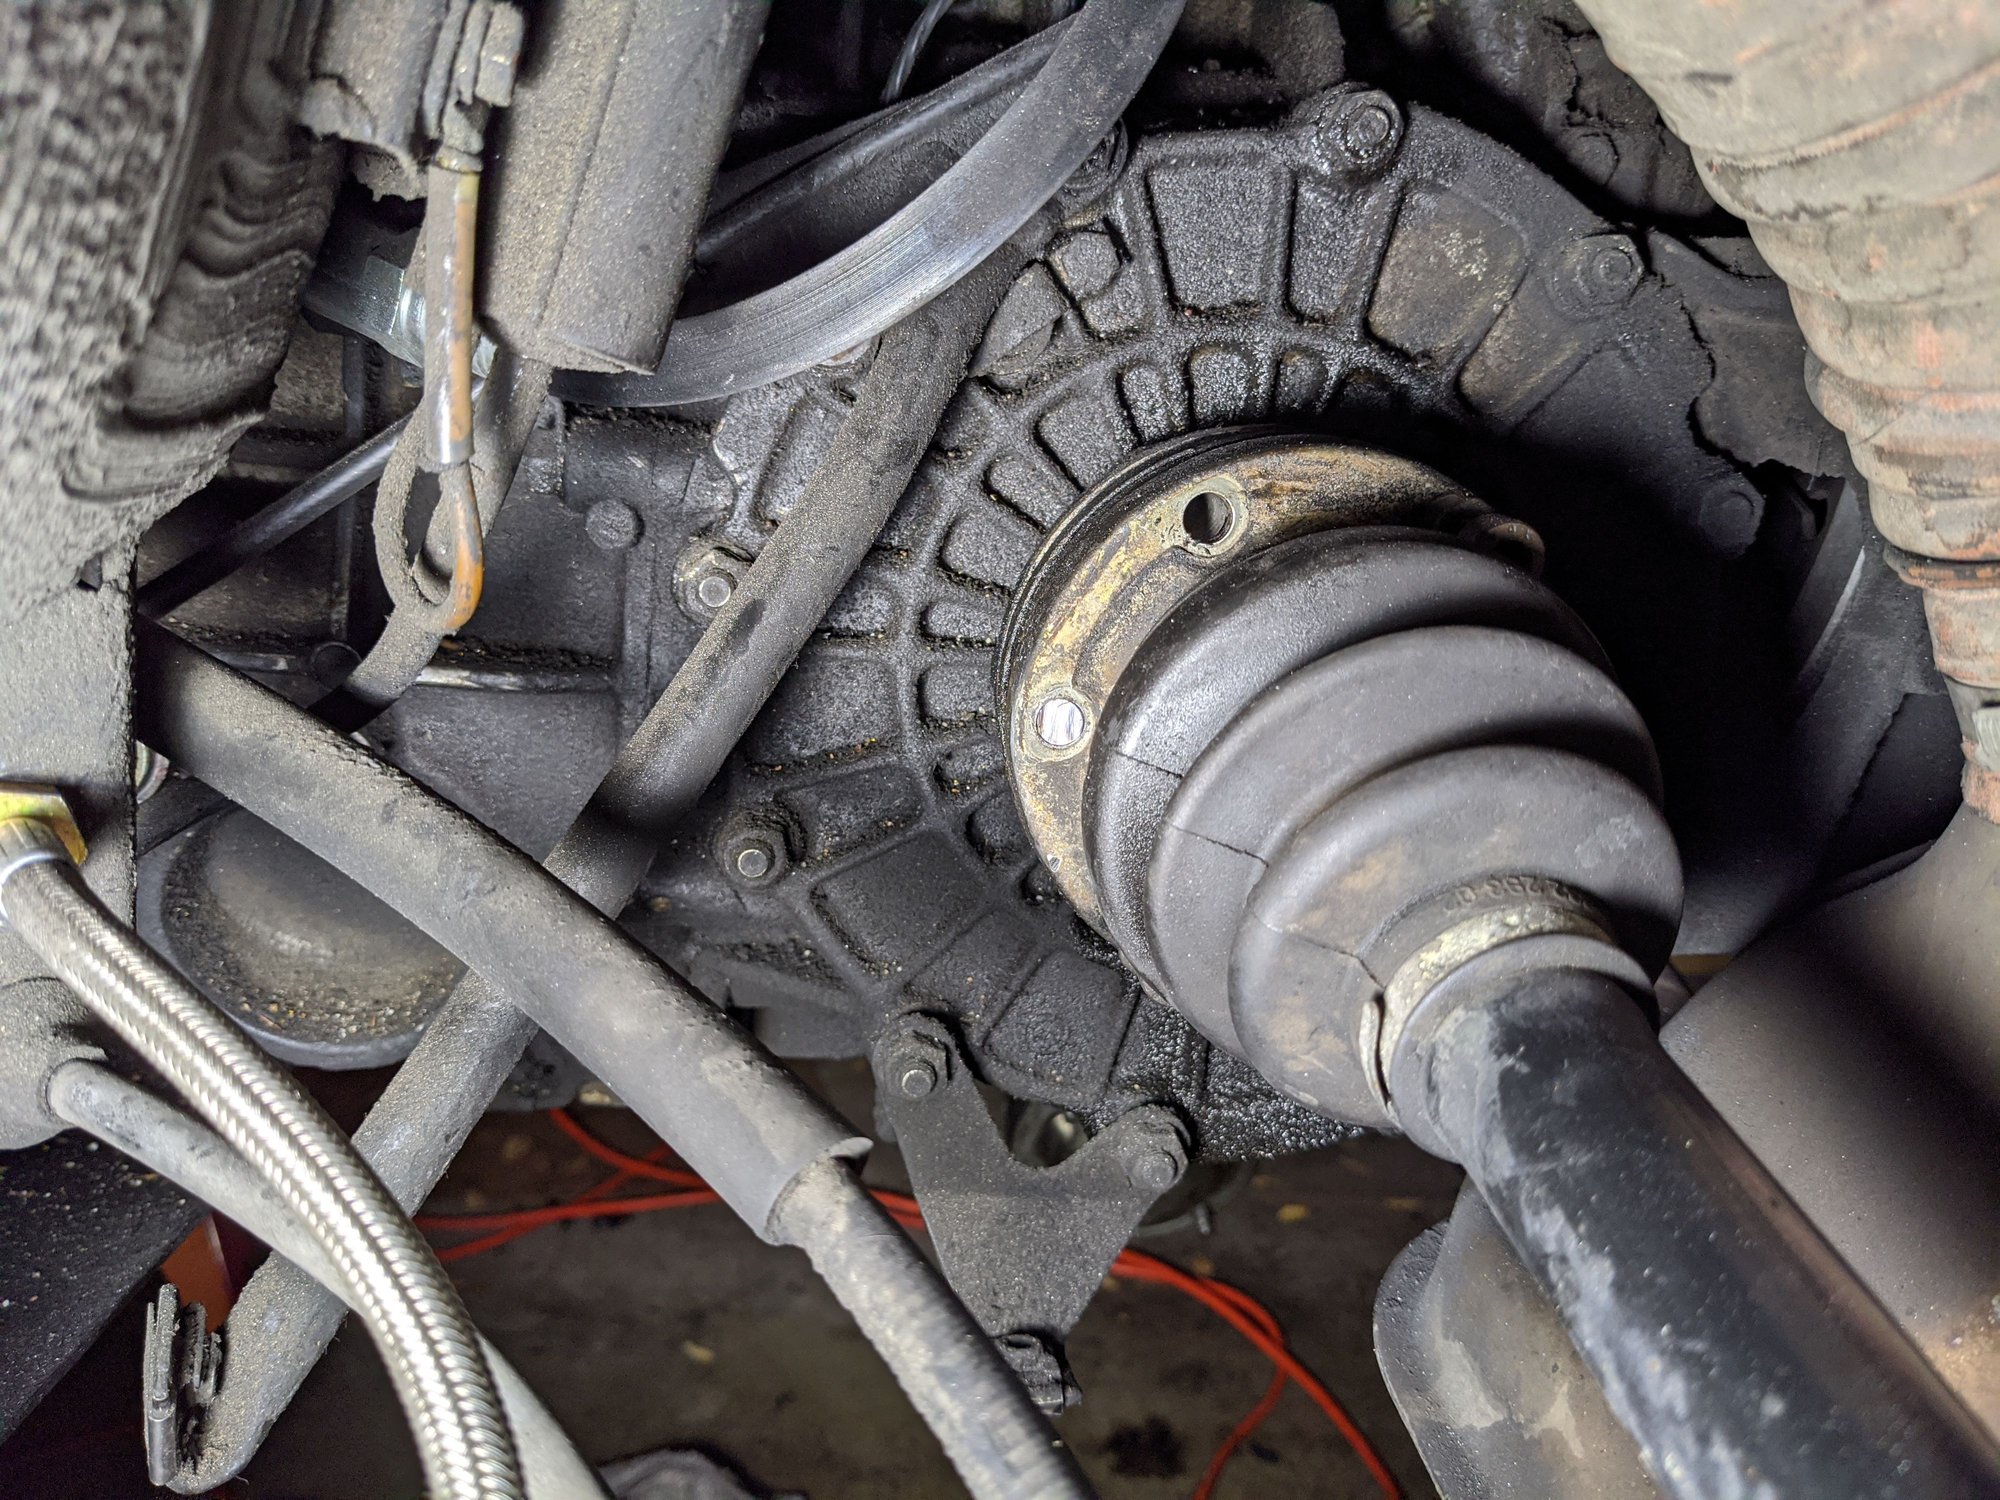
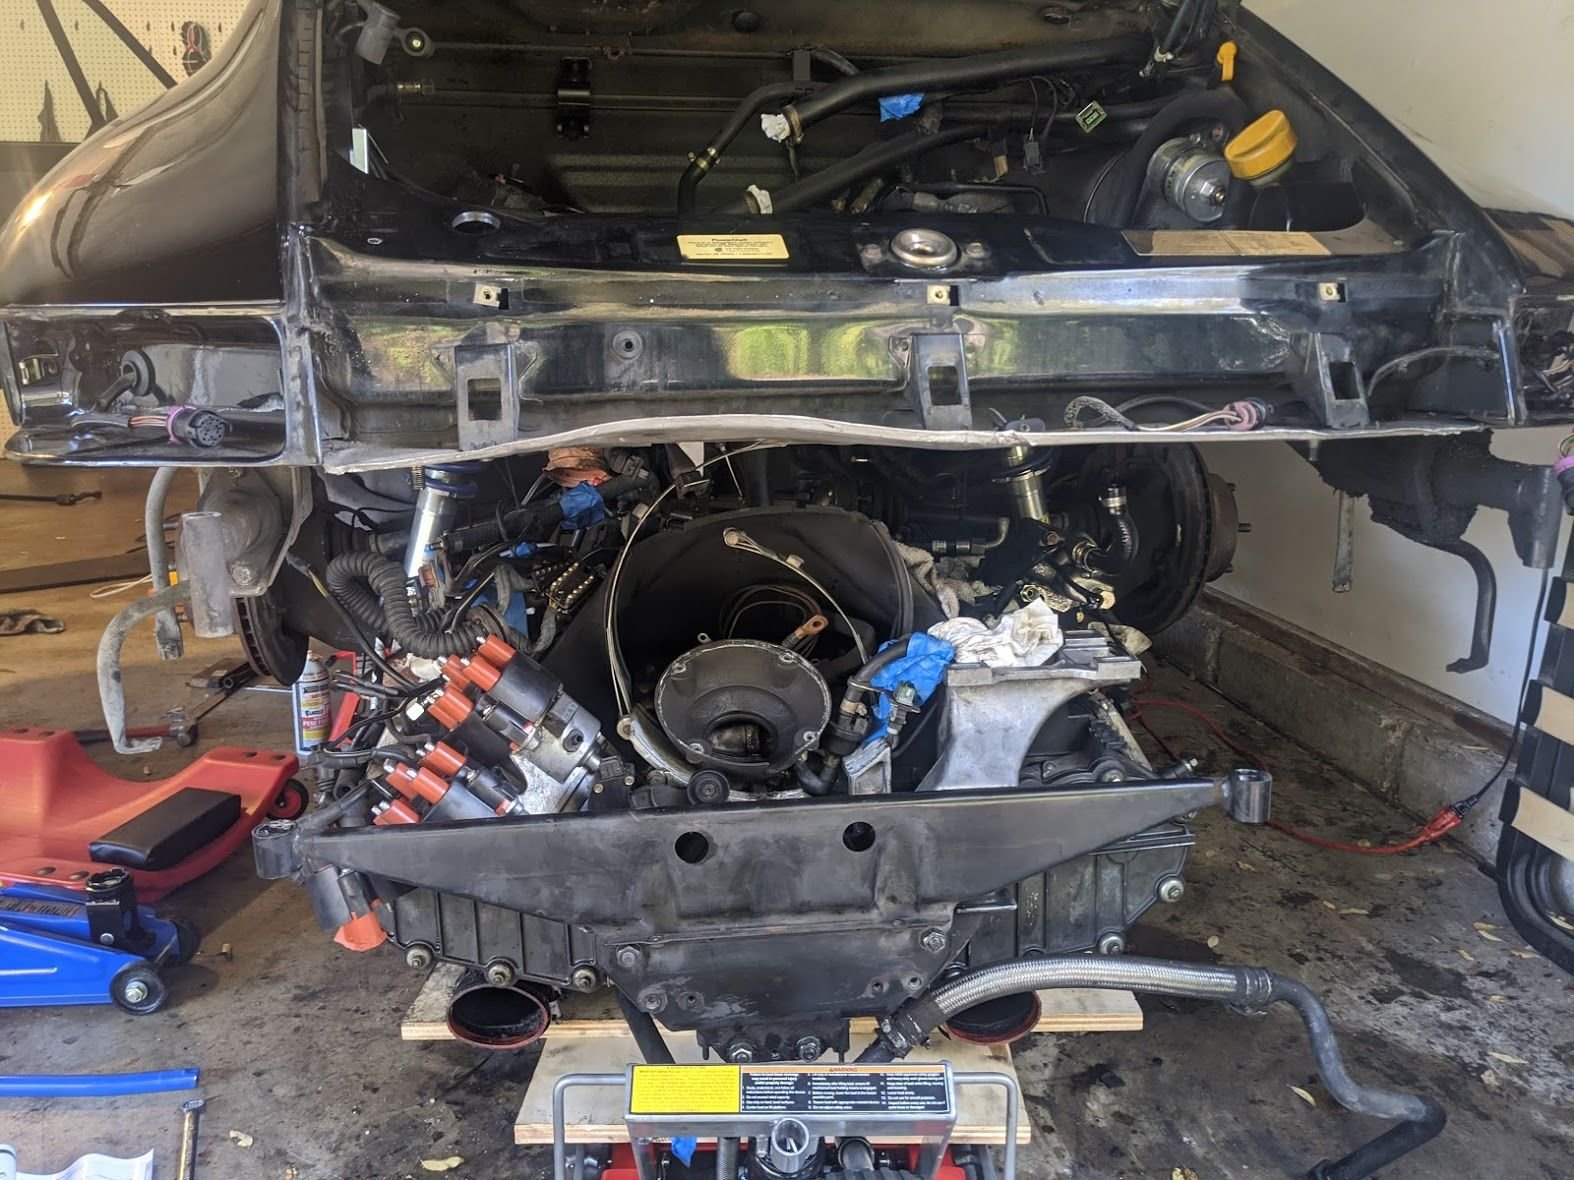
I need to stop looking at stuff but while I'm in there, I noticed the driver side of the engine was caked with grease. I cleaned some of it off on the case but it looks like where the P&C meet the case there's caked on grease as well as grease coming form the intake stack on cylinder 2.
Bump for an answer to the above. Just started looking at the same / similar this afternoon and was wondering myself. Everything looks more or less dry for me so thinking whatever is there is quite old.
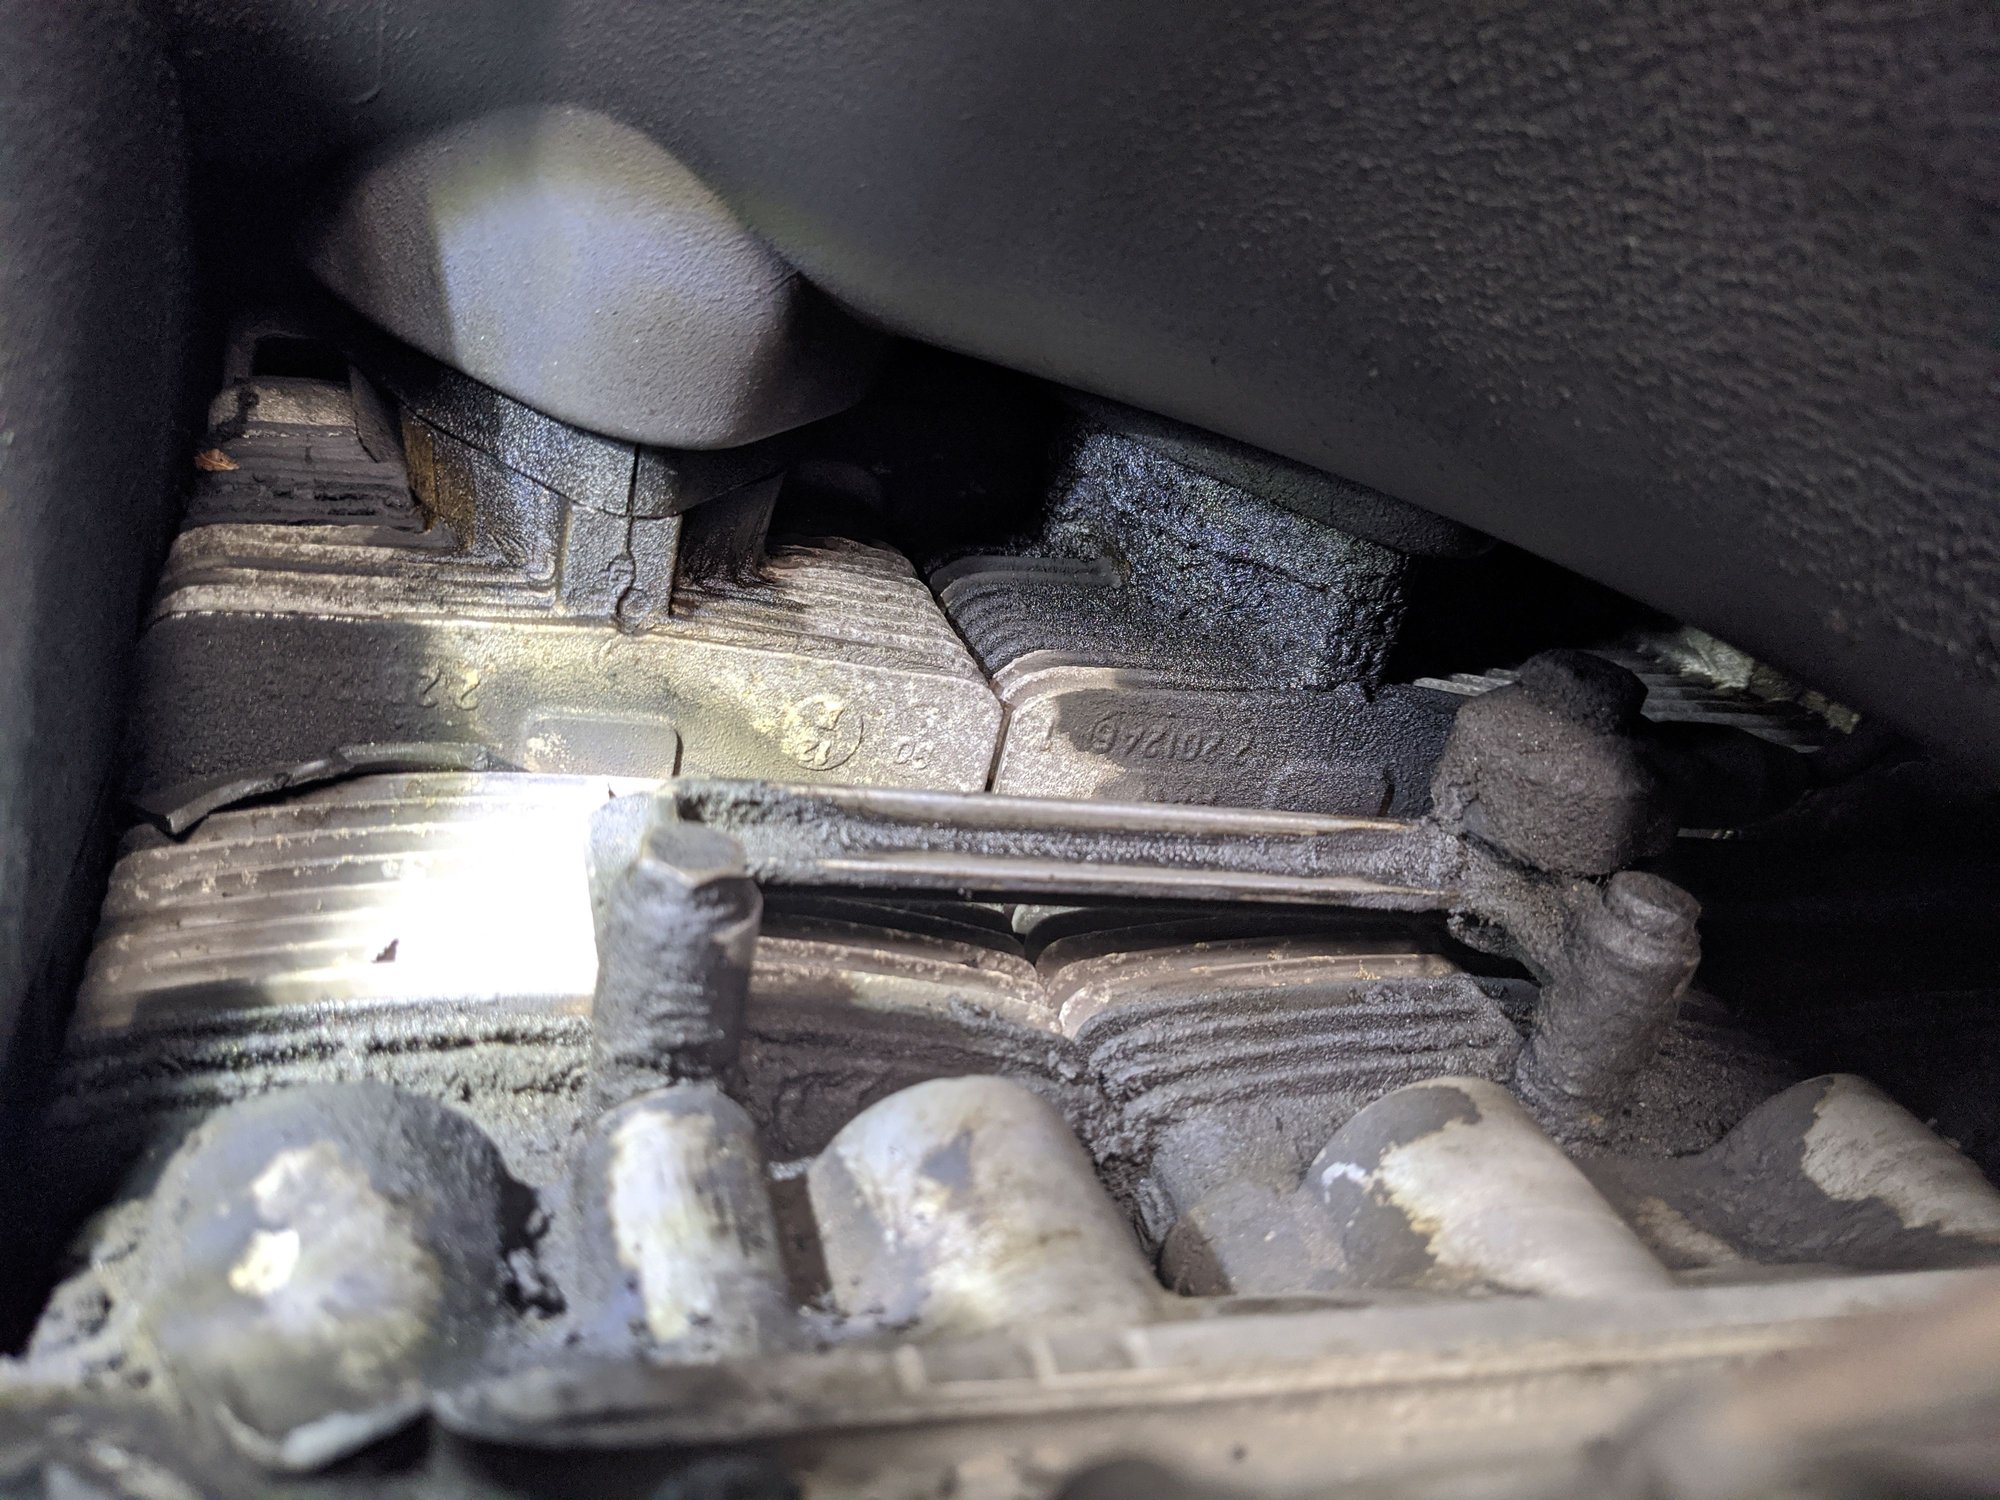
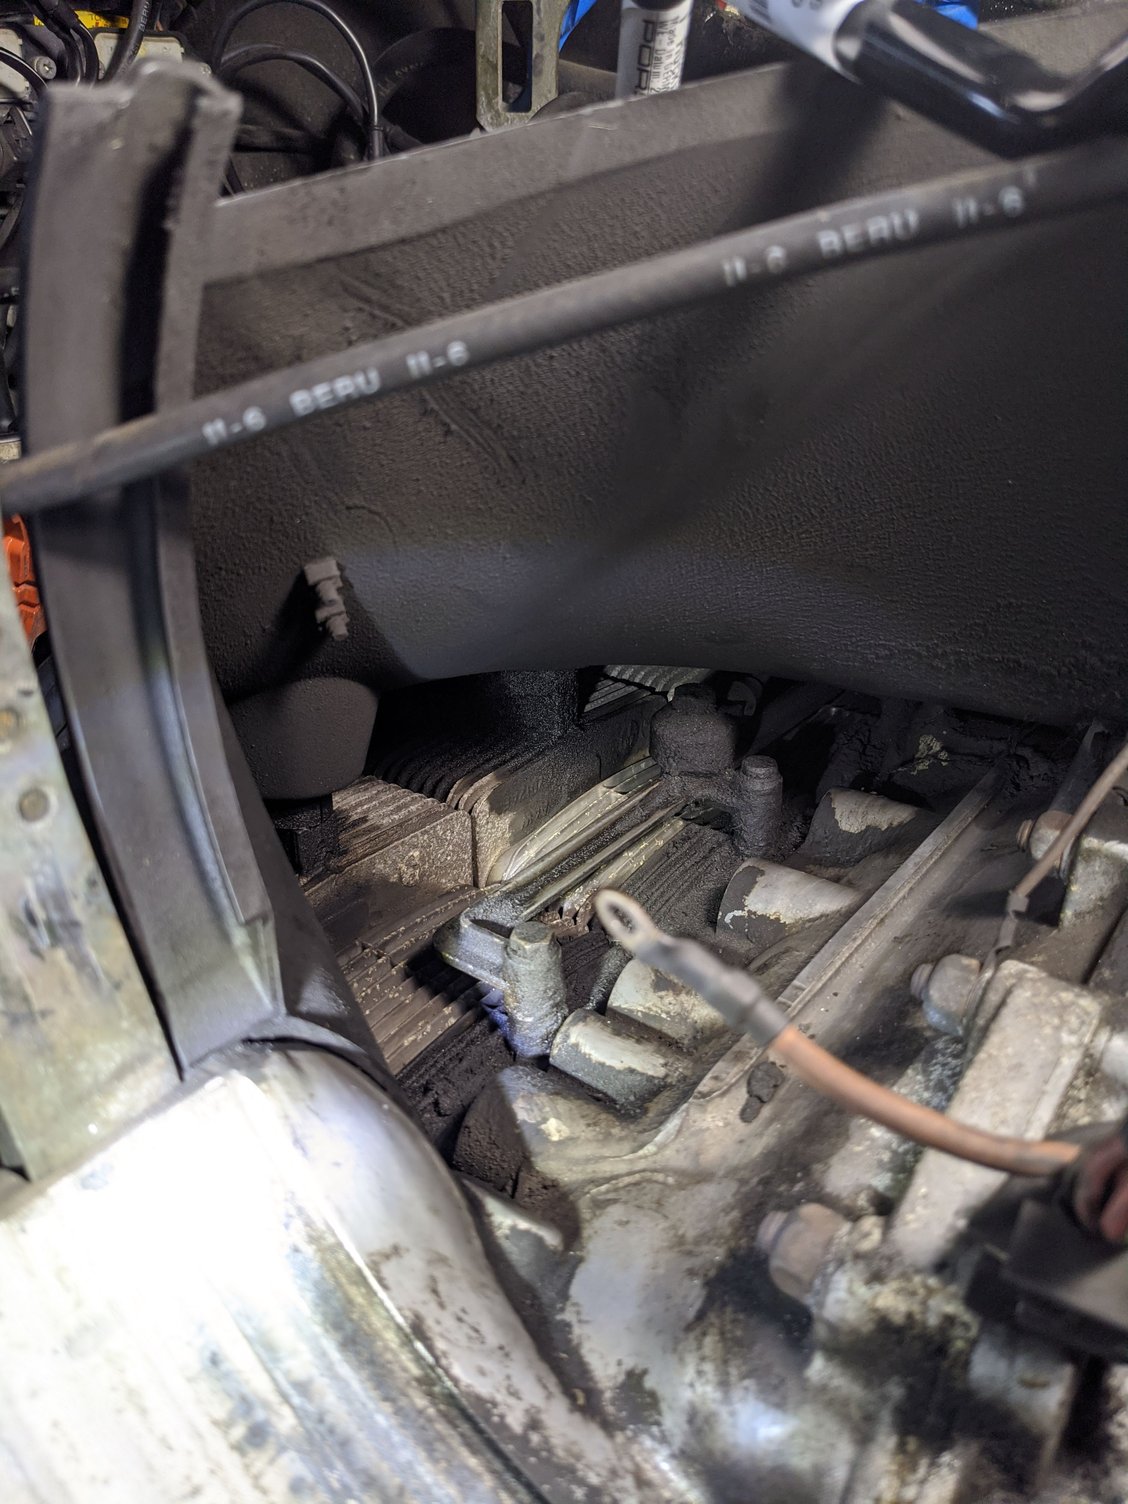
edit: here�s what mine looks lIke. Drivers side much worse / passenger side relatively clean.
That schmutz looks pretty old. Also, oil gets blown all around the engine bay so it's not always obvious where it comes from. On the top there, you'd be guessing it's from the oil pressure sender or the crank-case ventilation.
Hmm, Auto Atlanta is saying that the fuel line from the filter to the 3 way piece is NLA (for OEM). It was $48 for OEM vs almost $400 for Porsche. Anyone have a source for PN 96411041500? I really do not want to spend several hundred for a 12" hose.
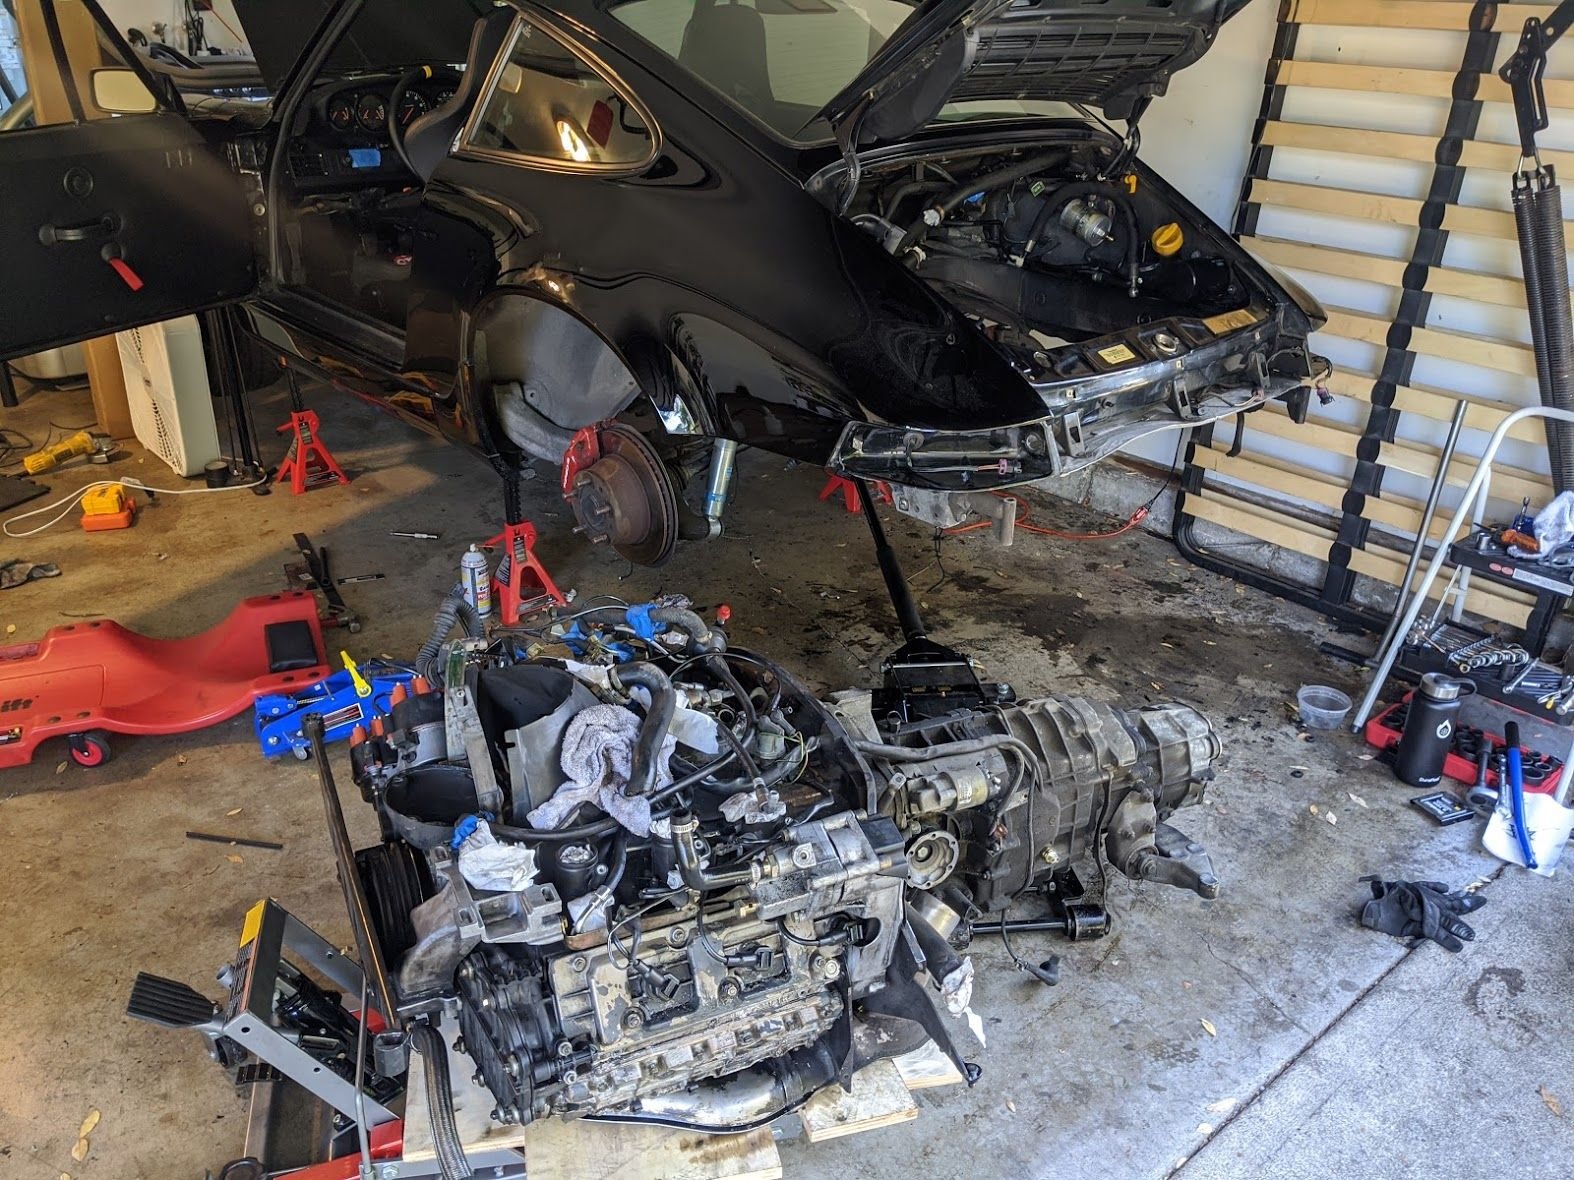
So, plan is for a 3 day weekend to start the overhaul and fingers crossed, not much beyond that as I'd like to drive the friggen thing again someday soon. I only have a handful of things to disconnect, so I think the plan is:
At the moment, nearly everything accessible from the engine bay is disconnected. So...
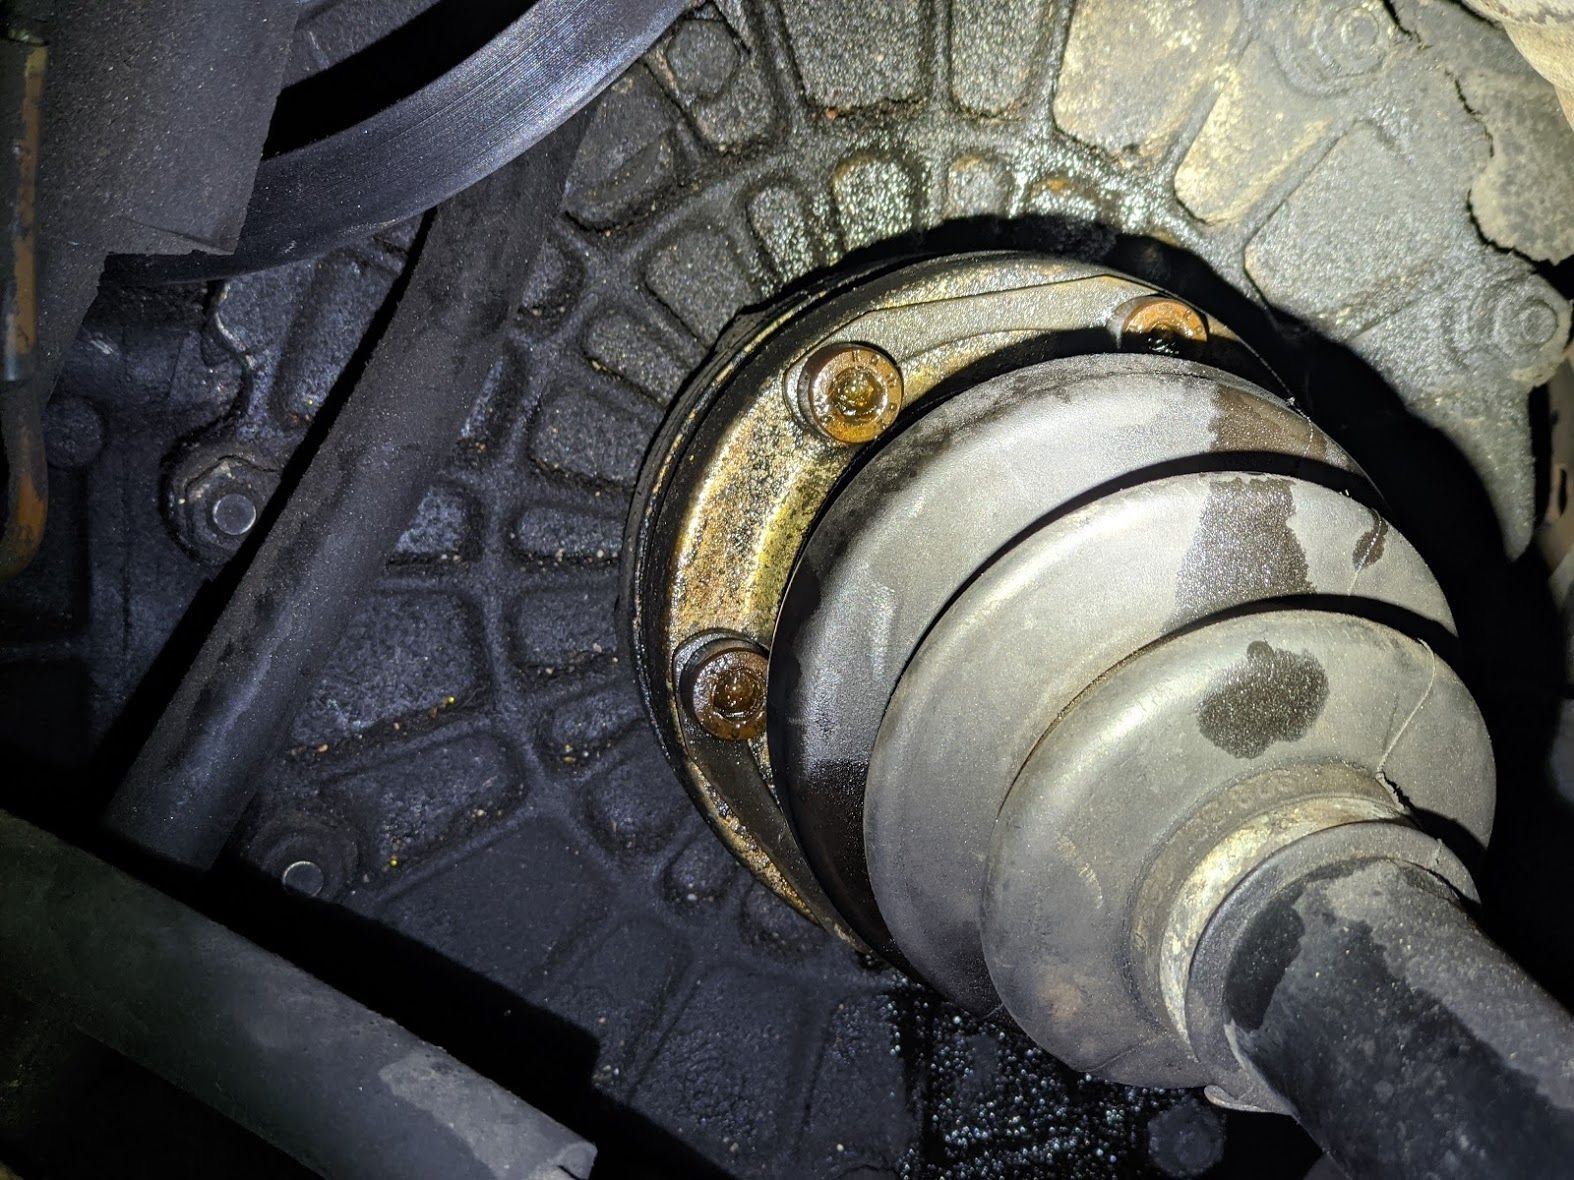
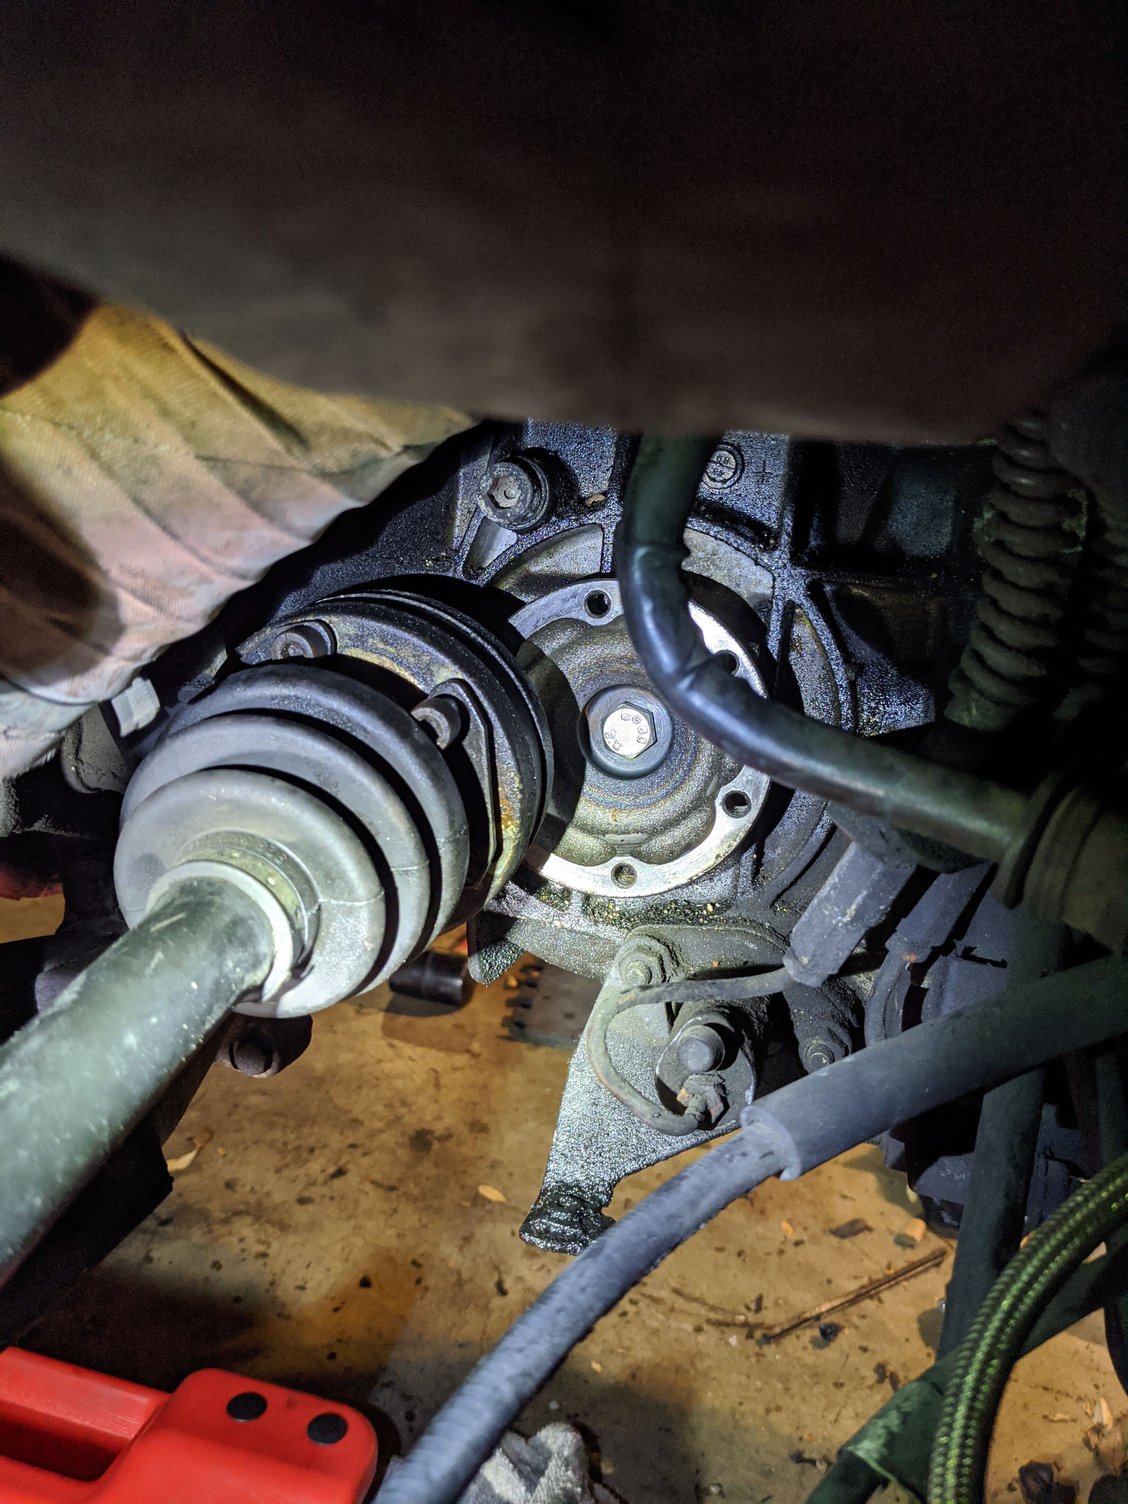
Tonight: disconnect CV joints and inspect in case I need to order new boots
Tomorrow night: disconnect transmission tunnel items
Thursday night: disconnect oil line and drain oil from case, remaining electrical connectors, stabilizer bars and remaining items and drop engine.
Friday-Sunday: Reseal, valve job, power steering overhaul, finish connecting fuel/PS lines, clean....and clean...and clean...and reassemble.
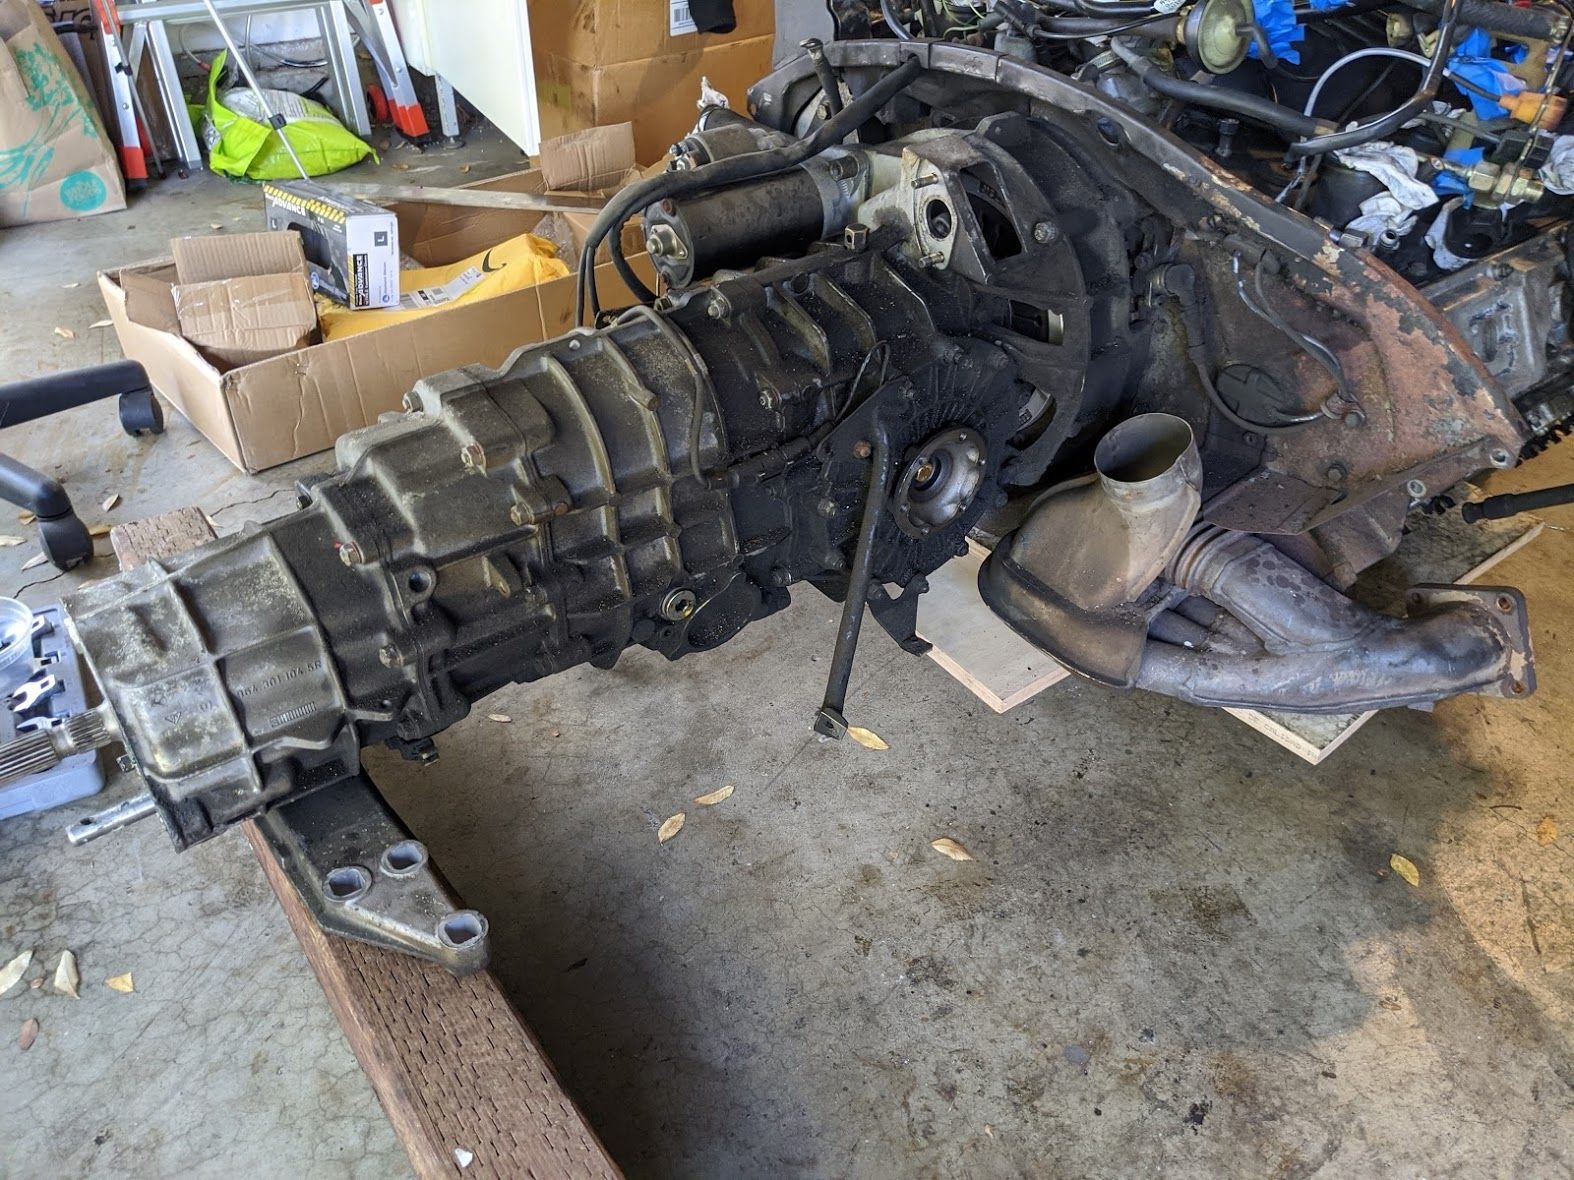
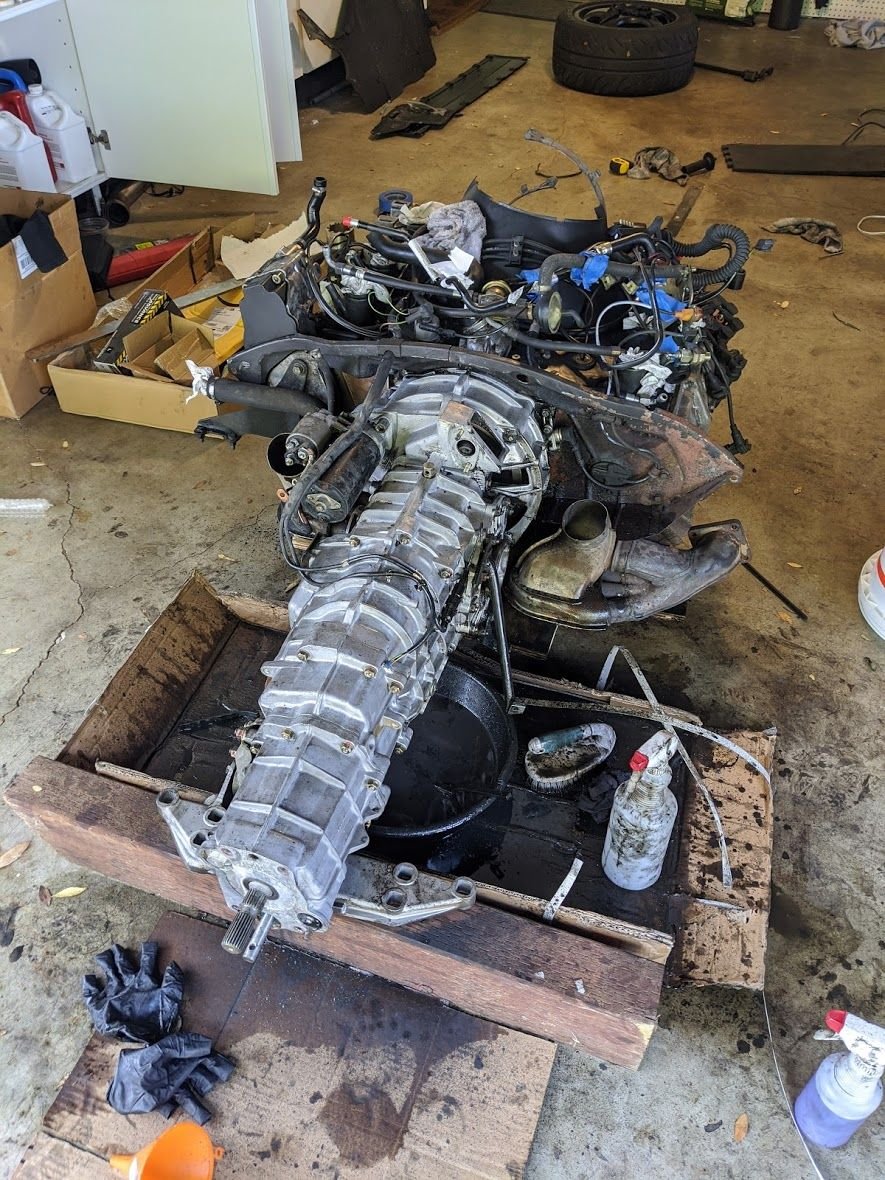
So, I ordered the RMS seal but I don't know if I want to tackle that now. My clutch is currently fine, it's not slipping but it is stiff. However, as this project has gone way way over budget, I'm going to wait until the clutch actually needs to be replaced to do that. So, should I split the transmission to do the RMS seal now or just wait?
When to stop eh? The RMS seal is an easy swap out, however, if it is not leaking and you are reluctant to split the engine and transmission I would leave it. Arguably if you do spilt the engine and transmission you should replace the flywheel bolts etc. And you will then debate to upgrade the clutch components, replace the rear transmission seal, gear selector seal.........
I've seem to hit a snag. Even after a night of soaking with PB Blaster, I can't get the CV Joint bolts to budge. I have new ones coming this week. Workshop manual has these as 31 ft lb torque spec which these are definitely not. Also, I believe they are supposed to be XZN but mine look like hex. My impact drive goes to 1500 in/lbs and these still aren't budging. Suggestions? Grind them off (that sounds like a effing mess)?
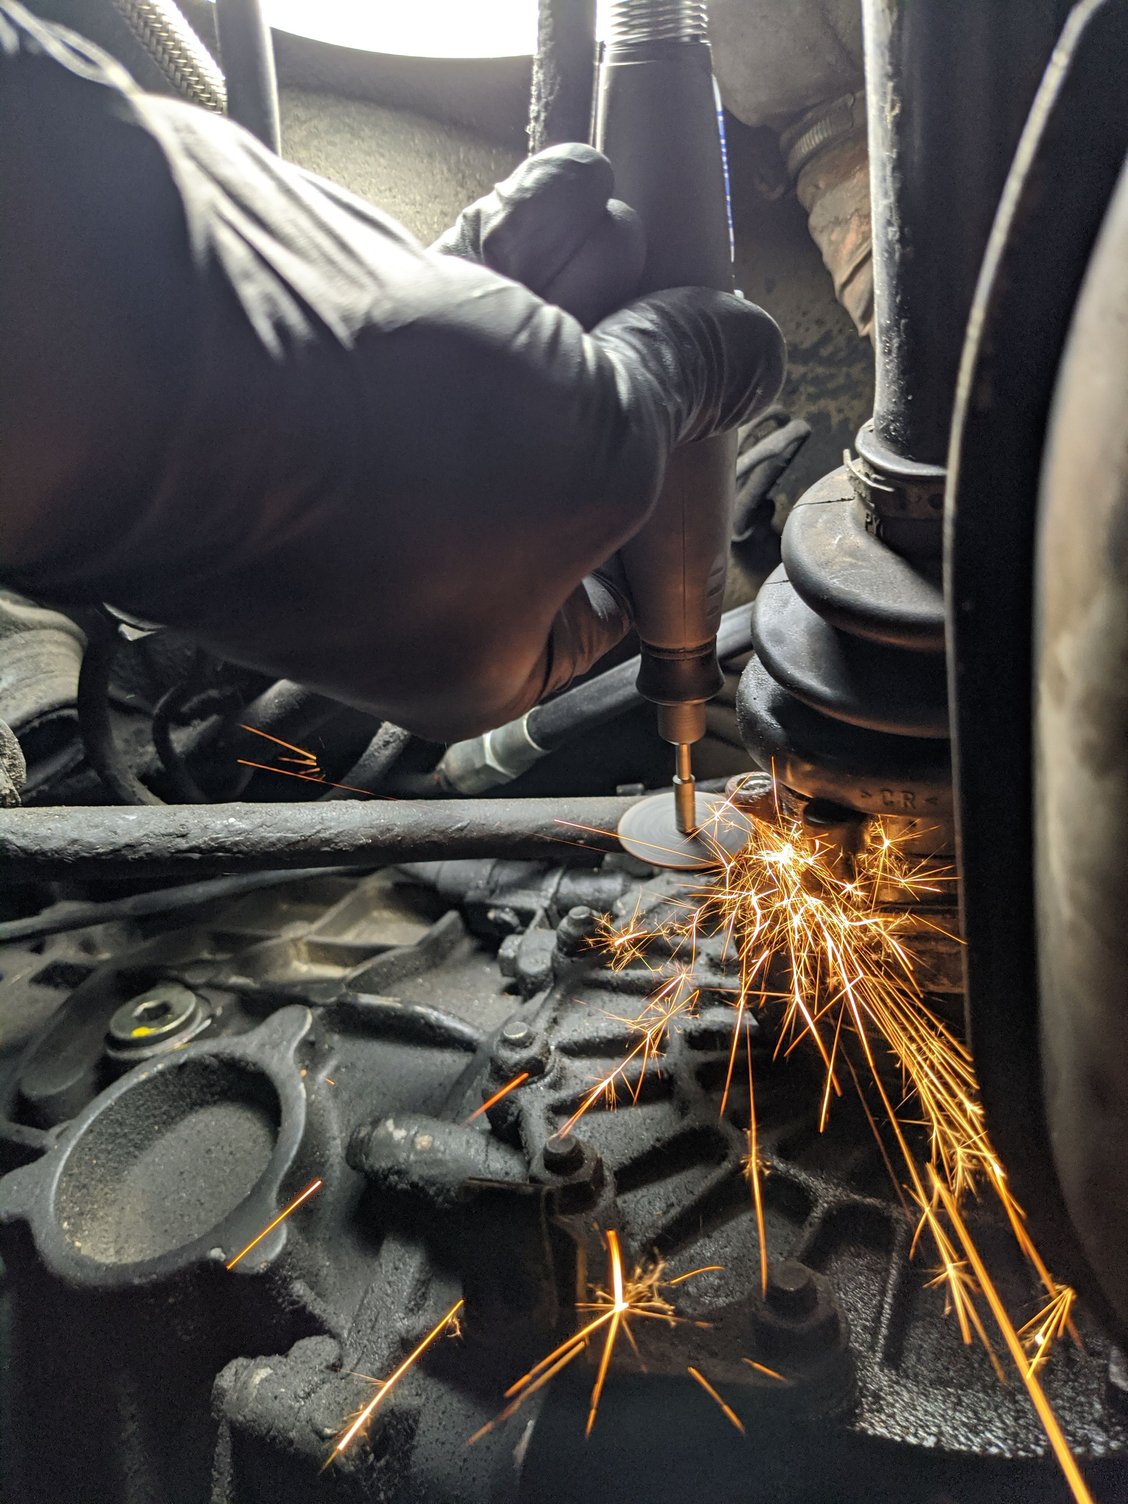
Managed to get all except one off. Tried to drill the head off, turns out these bolts are made out of some seriously hard steel. Gave up on that and dremeled the top off and the finished with the angle grinder. I was amazed how long it took to grind down 2mm of bolt head. Definitely glad I didn't have to do more than one.
This line for the 993 looks like it could be a fit to go from fuel filter to the 3 way line. Is the fuel filter in the same location on 993s? I know the rails/line setup is much simpler in the 993 but the connecting points should be close enough.


 12-10-2019, 08:05 PM