

Intake madness. Teardown begins....

 09-05-2018, 08:31 PM
#197
Race Car
Thread Starter
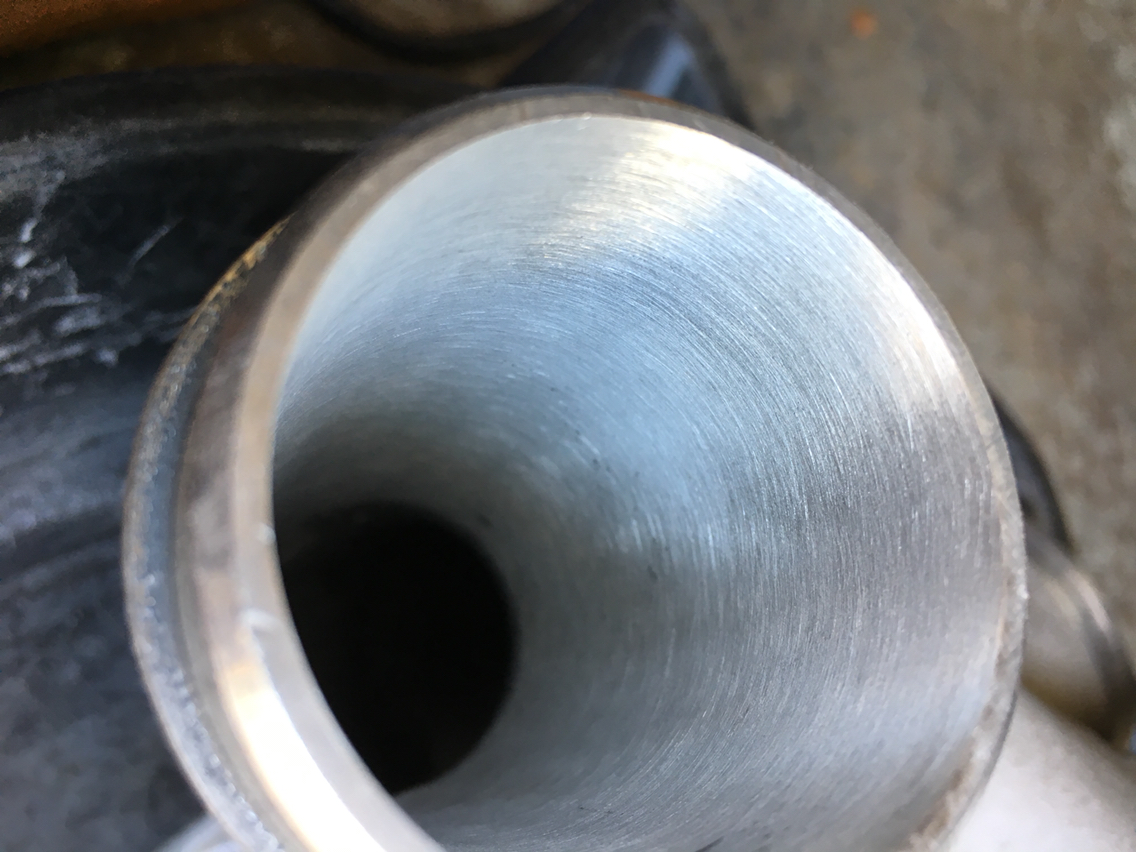
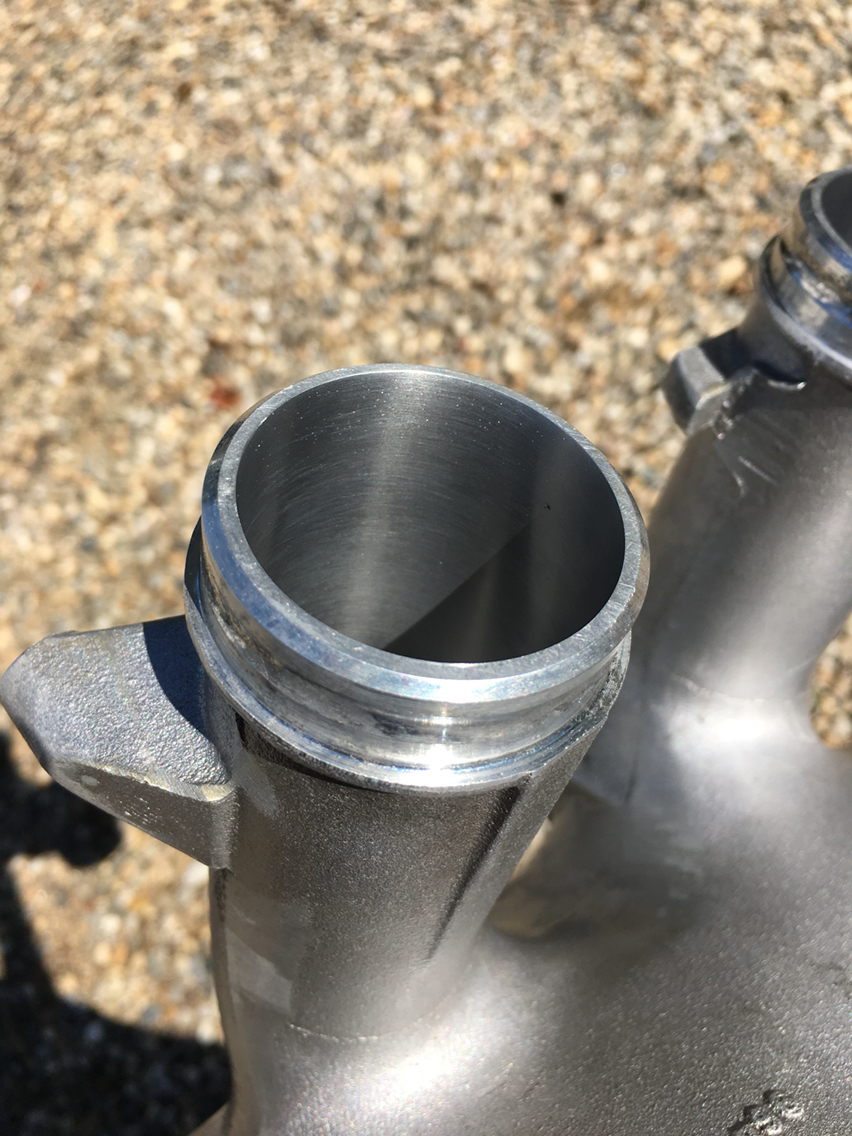
ISV side note. I was having a problem pressing the parts in far enough. And i found out an important tid bit. Heat the housing prior to installing the steel cylinder- This will allow you to press it in with less pressure- if you do it cold, you will likely bend the housing.
Anyway. Aside from destroying good parts...somehow i wasn't getting the pieces back in by around 2mm. Very strange.
Also now having taken it apart 100 times...when you put it back together, the way to line up the shaft is to set it up so the "door" in the front is closed. Then drop the part, with the spring attached, in, so the spring sits in the correct orientation at rest, with the door closed. This will make sense when you try it.
Then pull the spring and press the gear looking thing down- lightly. Into place.
Install the spring, the spacers, then e clip and the cap. Done.
09-12-2018, 09:10 PM
#198
Race Car
Thread Starter
On the ISV...
Here's a tidbit...i took the unit apart again to get the internals to seat properly. And over-pressed it and the center shaft moved slightly off center and that just kinda sucks. So i put it aside and thought maybe to buy another to have another to rebuild, as it would be nice to have a fresh one in the car when all this goes in.
None of this is necessary- as cleaning your isv the old fashioned way clearly works. I'm just having fun making old stuff new again. So don't go crazy thinking you have to take apart your isv.
Anyway. Turns out....you can buy an isv for a bunch of other cars, 944, bmw, Volvo etc...for next to nothing all made by Bosch. Just not the one for our car. For our car, you are screwed. As with everything for a 964. You can buy a used 944 isv for 20 dollars all day long. For us, it's 100 dollars all day long. What gives?
But. Many isv were made for many cars. And guess which one is virtually identical to ours, minus the two pin connector? Our friend the mercedes 190e. They should rename that the Mercedes 964...cuz dammmm.
That isv seems to use the exact same housing. And you can buy them all day long for....20 dollars. Soooooo, i bought one, and will swap my internals to the Mercedes housing and get that thing done and out of the way.
We learn here about the Porsche tax. And the "I'm a heavy handed dum dum" tax.
Onward then to other things. I bought a bunch of hammer handles- i have a few heads for ball peen hammers that i need to have in use...and could have been useful for this job. Various sizes. All extremely old, of course. Cuz if it ain't old i tend to dislike. So, since they are pertinent to the job at hand, if anyone wants to know how to restore a hammer....I'll post the process here. It's kinda fascinating. Gotta love wood.
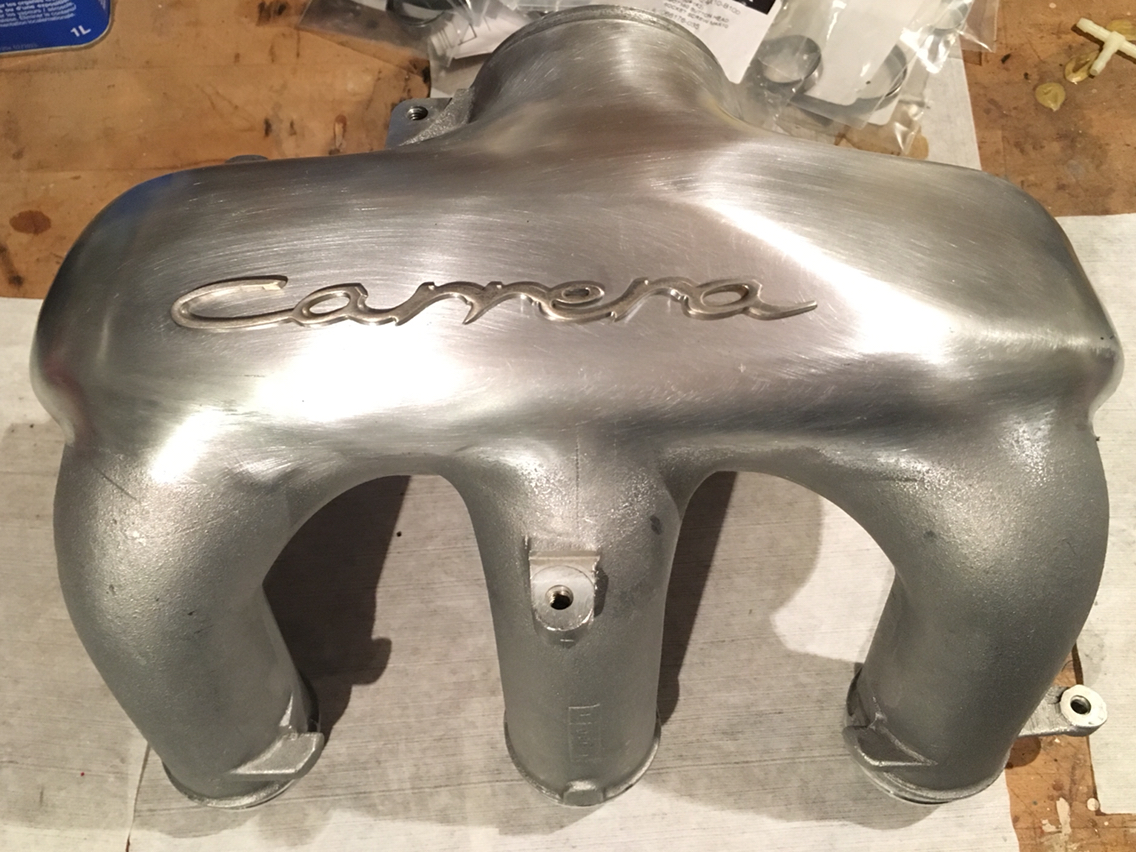
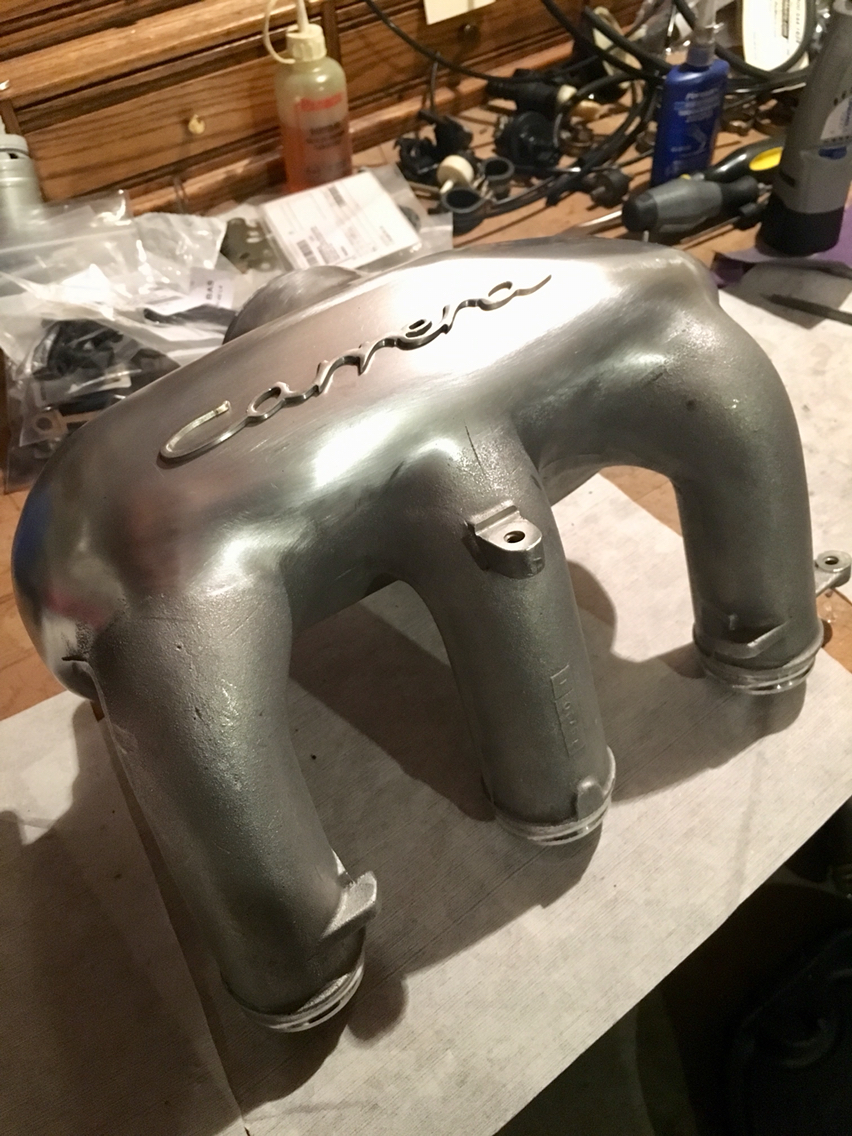
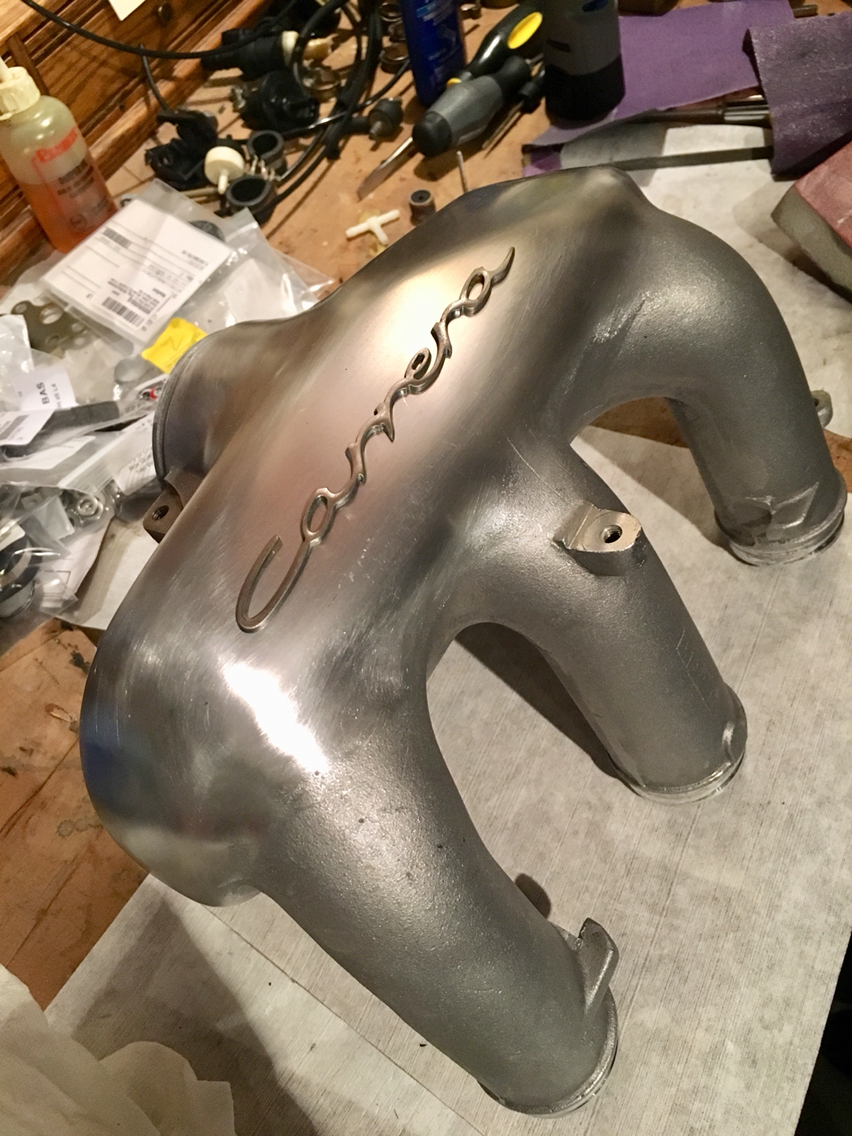
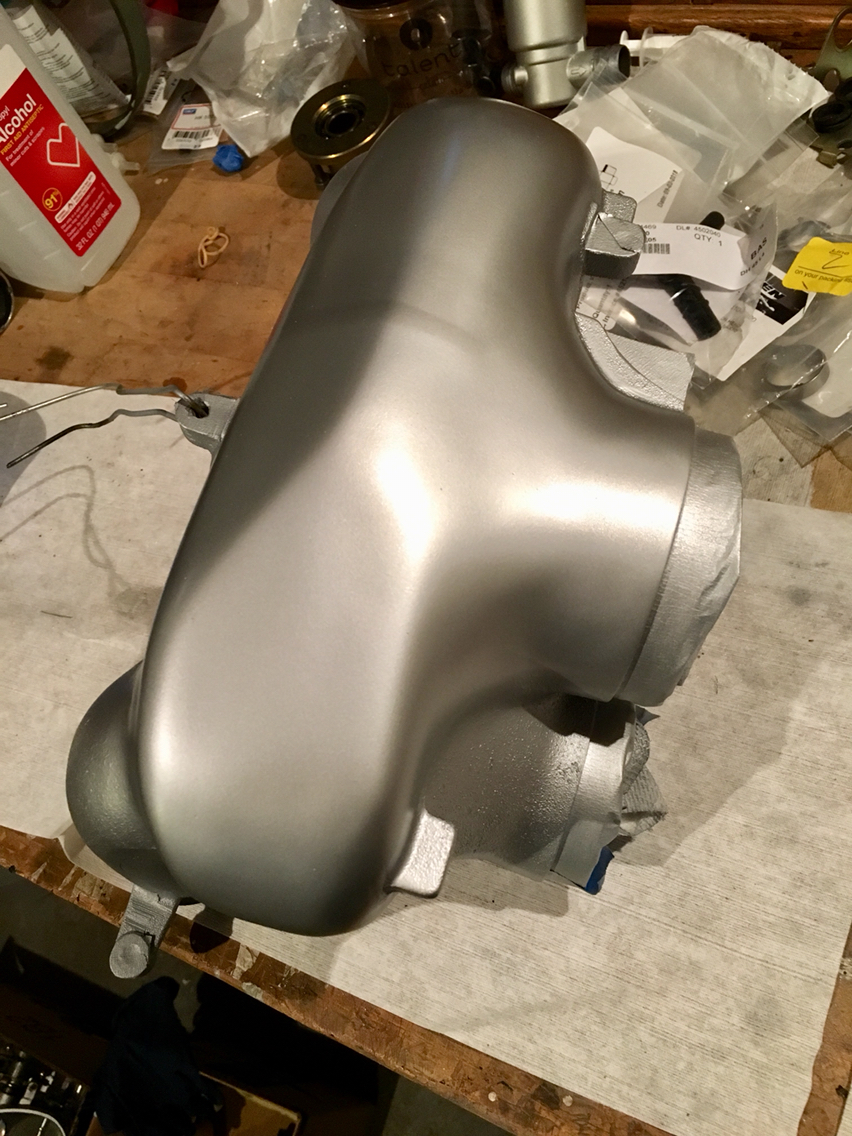
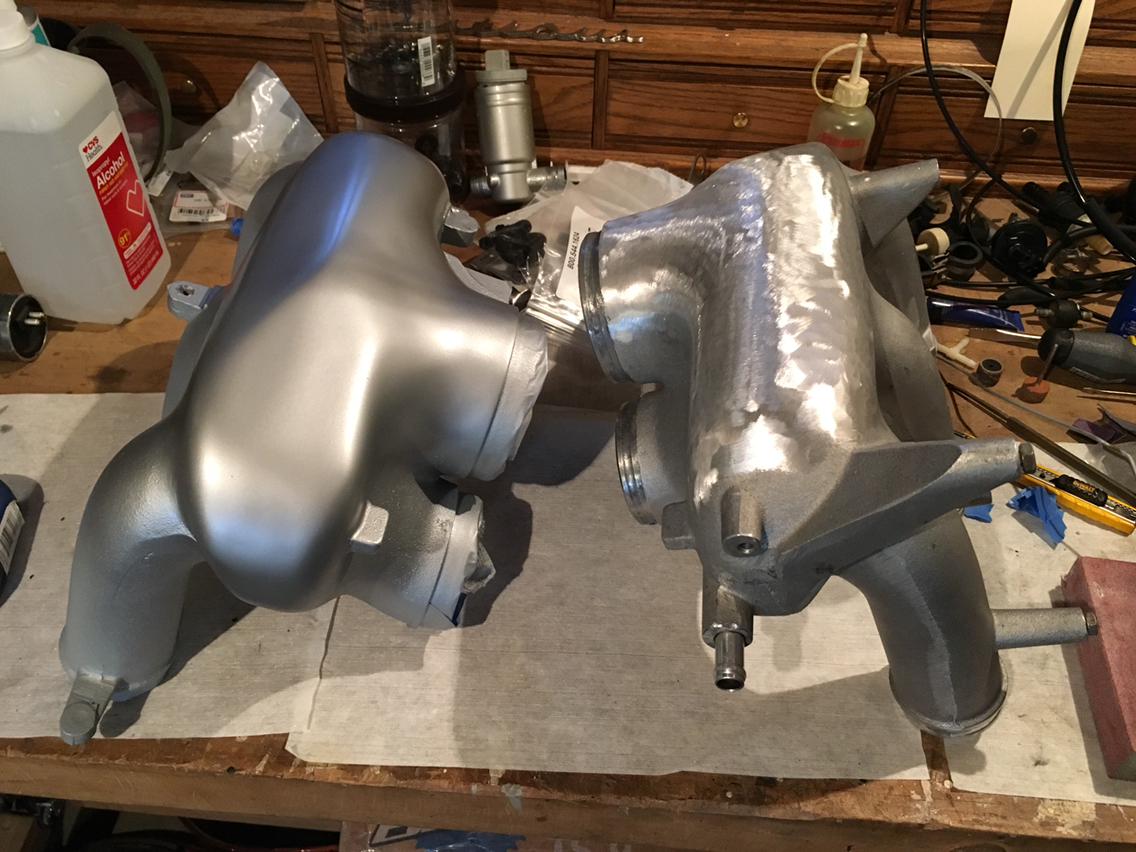
In other news...I've been spending my 15 min shots doing a little sanding and shaping on the one intake manifold I've been working on. It's coming along slowly but surely. I think I'm ready to throw a coat of primer on the manifold. It's not perfect, but the paint and a little more sanding will inevitably cover some imperfection.
Carrera badge is not mounted, but i was trying to figure out exact placement - here are some pics. The manifold will be two tone - i think black up the legs and silver for the top. We will see.
That's all for now. Leather tools arrived, so at some point I'll be making some leather goods for the car as well. And maybe a watch bandit this guy:
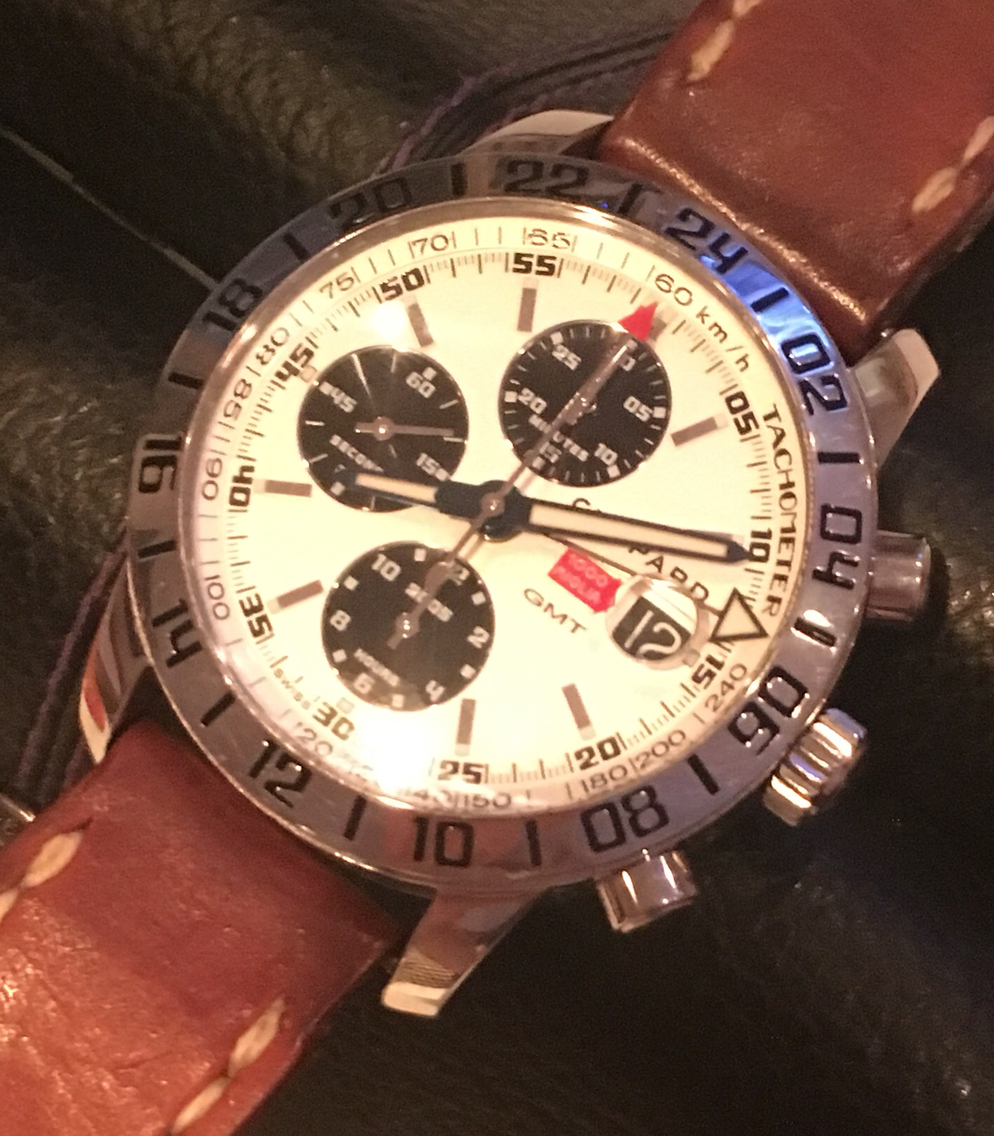
Because apparently a watch needs to match the interior of the car...
Here's a tidbit...i took the unit apart again to get the internals to seat properly. And over-pressed it and the center shaft moved slightly off center and that just kinda sucks. So i put it aside and thought maybe to buy another to have another to rebuild, as it would be nice to have a fresh one in the car when all this goes in.
None of this is necessary- as cleaning your isv the old fashioned way clearly works. I'm just having fun making old stuff new again. So don't go crazy thinking you have to take apart your isv.
Anyway. Turns out....you can buy an isv for a bunch of other cars, 944, bmw, Volvo etc...for next to nothing all made by Bosch. Just not the one for our car. For our car, you are screwed. As with everything for a 964. You can buy a used 944 isv for 20 dollars all day long. For us, it's 100 dollars all day long. What gives?
But. Many isv were made for many cars. And guess which one is virtually identical to ours, minus the two pin connector? Our friend the mercedes 190e. They should rename that the Mercedes 964...cuz dammmm.
That isv seems to use the exact same housing. And you can buy them all day long for....20 dollars. Soooooo, i bought one, and will swap my internals to the Mercedes housing and get that thing done and out of the way.
We learn here about the Porsche tax. And the "I'm a heavy handed dum dum" tax.
Onward then to other things. I bought a bunch of hammer handles- i have a few heads for ball peen hammers that i need to have in use...and could have been useful for this job. Various sizes. All extremely old, of course. Cuz if it ain't old i tend to dislike. So, since they are pertinent to the job at hand, if anyone wants to know how to restore a hammer....I'll post the process here. It's kinda fascinating. Gotta love wood.
In other news...I've been spending my 15 min shots doing a little sanding and shaping on the one intake manifold I've been working on. It's coming along slowly but surely. I think I'm ready to throw a coat of primer on the manifold. It's not perfect, but the paint and a little more sanding will inevitably cover some imperfection.
Carrera badge is not mounted, but i was trying to figure out exact placement - here are some pics. The manifold will be two tone - i think black up the legs and silver for the top. We will see.
That's all for now. Leather tools arrived, so at some point I'll be making some leather goods for the car as well. And maybe a watch bandit this guy:
Because apparently a watch needs to match the interior of the car...
09-12-2018, 10:13 PM
#199
Technical Guru
Rennlist Member
Rennlist Member

 09-15-2018, 06:26 PM
#202
Rennlist Member
Wife just asked me what I was reading and I answered "some dude refurbishing an intake manifold." Got the rolled eyes and some comment I ignored. Great thread, great read. Thanks.
09-15-2018, 06:46 PM
#203
Race Car
Thread Starter
Best thing about women...is if they didn't roll their eyes, they'd be more like a dude...sooooo thank god for eye rolling...

I did the first coats of paint on the right hand manifold today. More to come once i can tape it off and do the other color...
I did the first coats of paint on the right hand manifold today. More to come once i can tape it off and do the other color...
09-15-2018, 08:06 PM
#204
Race Car
Thread Starter
And here are some mid paint pics...
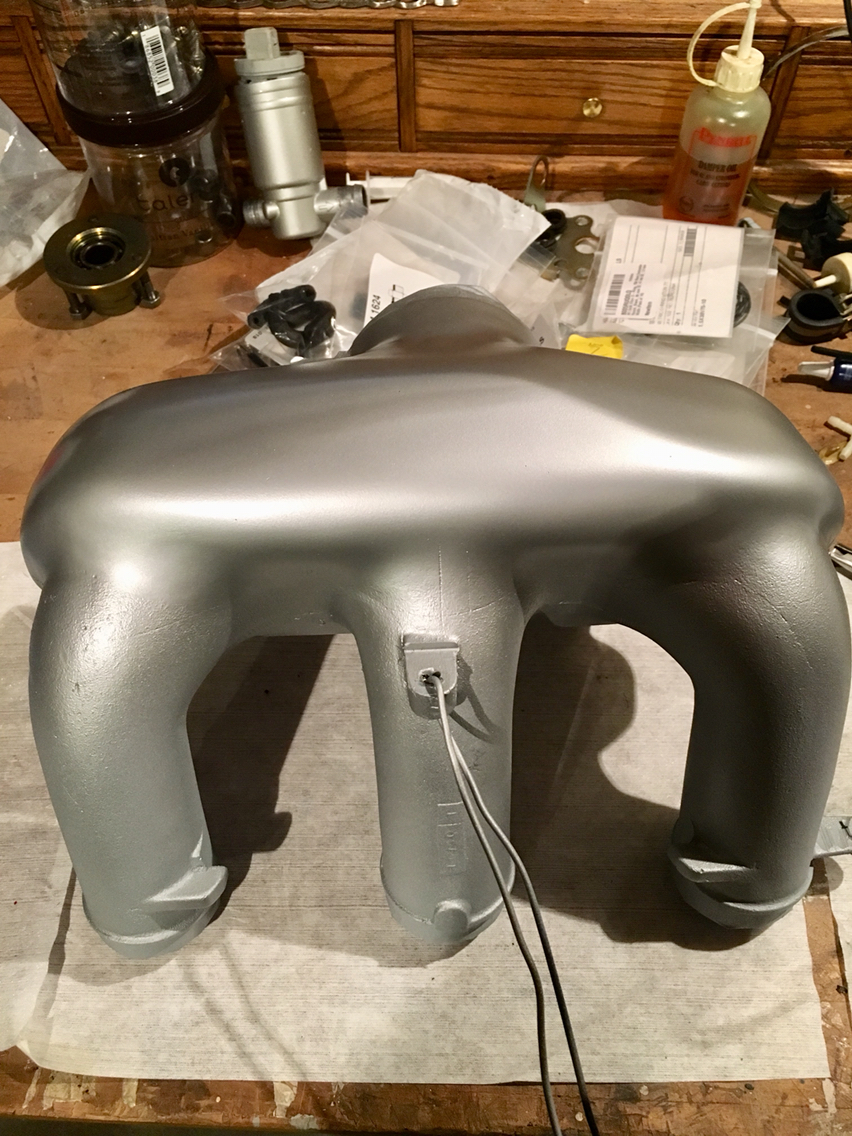
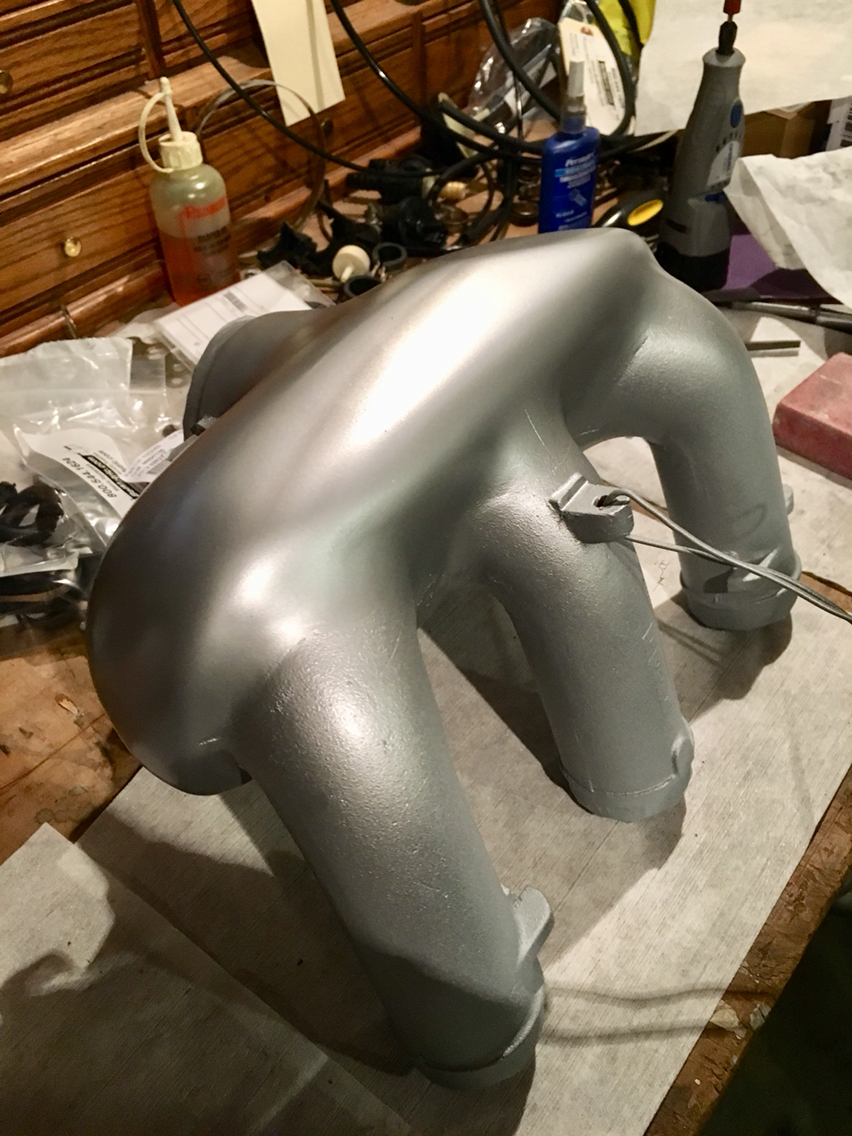
Next up is to tape it off and hit the lower part with a darker paint. I'm going to give flat black a try and see how that looks. Should be nice.
Next up is to tape it off and hit the lower part with a darker paint. I'm going to give flat black a try and see how that looks. Should be nice.
09-16-2018, 05:45 PM
#206
Race Car
Thread Starter
Started on the left side manifold today...
From this:
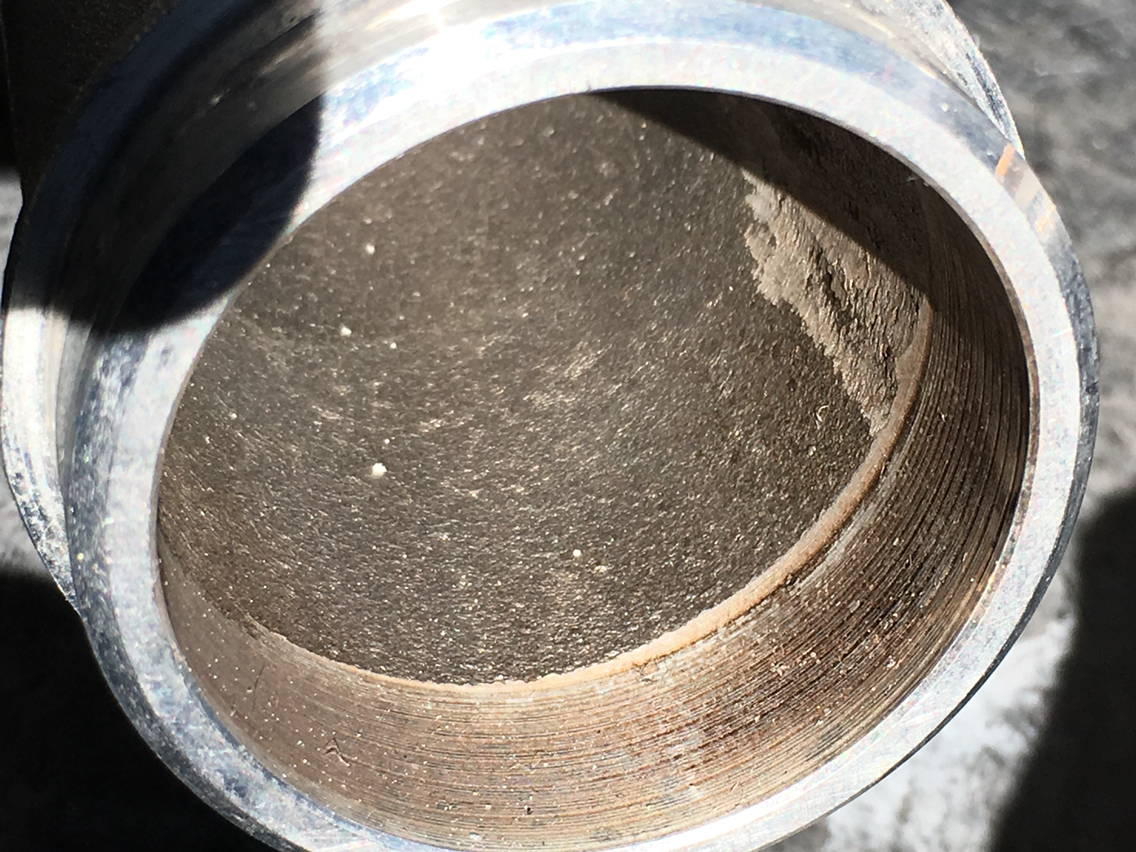
To this:
To this:
And then gave the top. Quick once over with the sanding wheel. So the big part is done. Now to shape and smooth that out...
From this:
To this:
To this:
And then gave the top. Quick once over with the sanding wheel. So the big part is done. Now to shape and smooth that out...
09-16-2018, 09:32 PM
#207
Rennlist Member
Are there different color Kevlar sleeves?
09-16-2018, 09:48 PM
#208
Race Car
Thread Starter
Not sure Ricardo. I just went with the natural color - yellow.
Keep in mind that the Kevlar and the shrink tubing increase the od of the lines- so new clamps will be needed that are larger than stock. For some of them. Most of the normal hose clamps open wider. But the high pressure clamps and oetiker clamps need to be purchased in a larger size.
Keep in mind that the Kevlar and the shrink tubing increase the od of the lines- so new clamps will be needed that are larger than stock. For some of them. Most of the normal hose clamps open wider. But the high pressure clamps and oetiker clamps need to be purchased in a larger size.
09-19-2018, 04:36 PM
#209
Race Car
Thread Starter
Anyone trying to PM me - i just cleaned out my pm box - - which means I have no previous msgs - so please expect that I have forgotten any previous communication and forgive me...lol
I do everything on reenlist over my phone - I happen to be home today w access to a computer - and on the phone for some reason I couldn't clean those boxes out.
Further - I have gotten "visiter" msgs on rennlist- which I won't see on my phone - So use the PM and not "visiter" messaging pls if you need to get in touch - And for those of you that have me on fb or have my phone....text is always quicker and best.
Thanks - now back to our regularly scheduled program.
09-20-2018, 02:19 PM
#210
Burning Brakes

Interesting project - satisfying to clean up years of oily smudge.
Sorry if I missed these answers in prior posts....
Obviously it can only help - we know that even if we'll never know "how much".
There's the obvious question if you will notice any increase in power (or increases sharpness in response) - or more scientifically if you did you dyno the car before the project?
Or did you install a vacuum/boost gauge and see what kind of vacuum you were pulling on decel, or at 3000 rpm or something. Would be interesting to see if there's a difference.
Anyway - good job.
Brandon
'91 964 Turbo