When you click on links to various merchants on this site and make a purchase, this can result in this site earning a commission. Affiliate programs and affiliations include, but are not limited to, the eBay Partner Network.
This is getting painted in the end. But needs to be sanded and shaped prior. Almost there.
Then the real question. Do i add a logo? Do i use decales or a raised letter type thing? No decisions yet.
I think I would go with powder coating instead of paint it is much more durable and fills a lot of the small imperfections. Just a thought. It would be interesting to see how much better they flow and what increase in HP there will be as you basically porting and polishing the inside. Very interesting that�s for sure
Honestly...without making any real changes to the entire motor and tuning it...there won't be any hp gain from the polishing .
If you make a motor breath in more air, all you do is make it more lean. Then if you add more fuel...and help it breath out better w exhaust...well, it's time to break out the computer and match all that stuff up!
So idk...I'm just goin on the assumption that it'll work "as best it can, given the design"
Outside that- i used to look at all the hoses and crap in there and shudder. I had no real clue how all this stuff functioned. Basic idea, sure....but each piece, and all the details - it's amazing how something that seemed so complicated yesterday is becoming so clear now.
I'm intrigued by the crank case breather up above. I have no intention of ventilating the case while I'm doing this, since repacking the rear main seal isn't going to happen just yet...but it has been on my mind for a while. So need to look further into that.
If you can/want, since you sanded down the intake plenums, I would suggest getting them powdercoated chrome or black chrome. It looks nothing like chrome plating rather a very nice OEM-ish silver. I did this to a fuel rail - on an Audi - and really liked how it turned out.
Can those of you that ordered an aluminum wot dingle pm me and let me know how they arrive. Val's was torn open twice...so i may need to adjust the ship method...seems paper tears...whodathunk...
I know it's not the most professional presentation - but if it makes it to the car, we are good!
Mine arrived ok but the envelope had multiple tears. I would suggest using either a padded envelope or putting a 3x5 card stock on both sides of the cams to protect them
This is happening - and it's surely going to slow my progress on the intake...
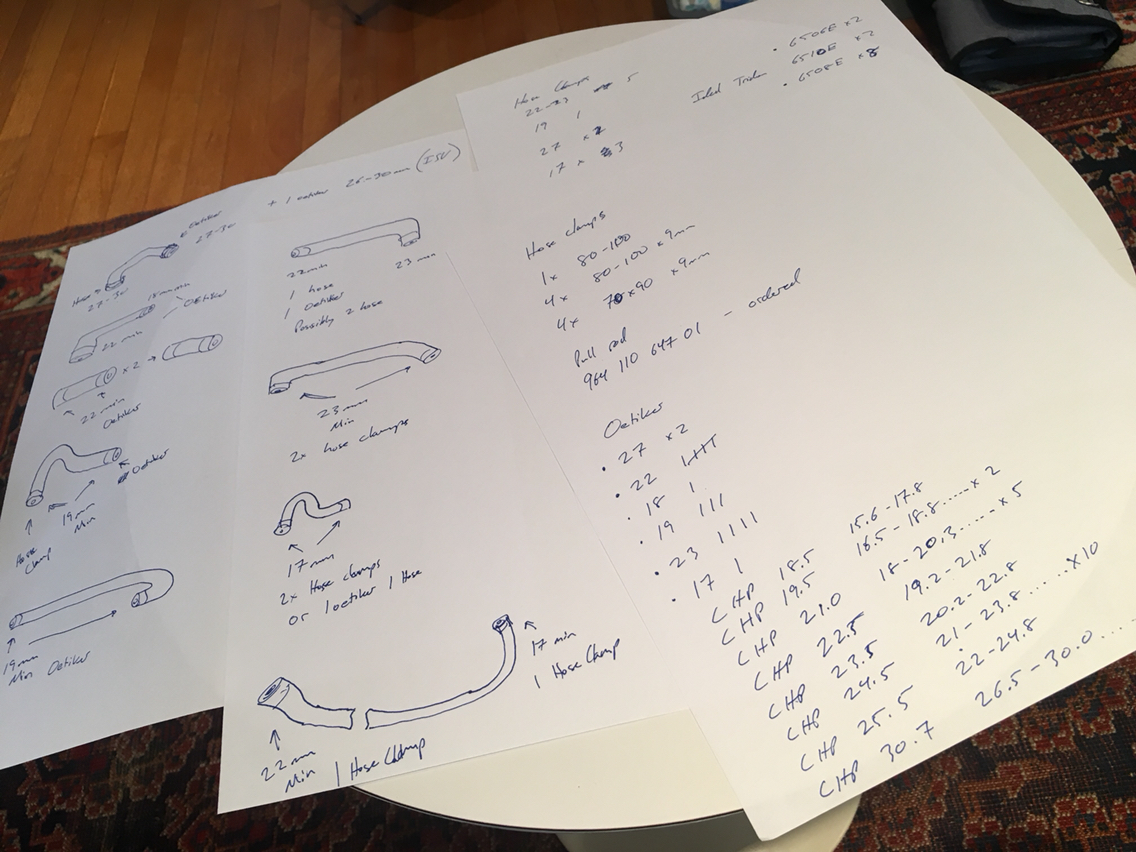
I think i figured out my vacuum hose conundrum. I'm going to use the oem hard lines, but sleeve them with rubber. And fuse the elbow ends on to the hose prior to Kevlar.
I think i figured out my vacuum hose conundrum. I'm going to use the oem hard lines, but sleeve them with rubber. And fuse the elbow ends on to the hose prior to Kevlar.
I think i figured out my vacuum hose conundrum. I'm going to use the oem hard lines, but sleeve them with rubber. And fuse the elbow ends on to the hose prior to Kevlar.
And this is me working out how many of each clamp to buy
I went with ideal tridon stainless steal lined 65e clamps for the things that needed to be replaced. And stainless lined high pressure oetiker clamps for the stuff that won't need to be pulled apart again.
I bought the oetiker clamps at belmetric.com and the ideal tridon clamps at kscdirect.com
It's getting fun now. The gathering stage. It's also becoming a very scattered project. I'm not being very organized. But it'll pull together.
These are my oh-so-neat-and-tidy notes on the lines as i went about ordering clamps. Note that my lines are now sleeved with Kevlar and the ends are dual wall adhesive lined shrink wrap. So the oem sizes no longer apply.
The bearings came for the throttle body. The puller arrives tomorrow. So that is up next i think. Although i kinda need to finish all the stuff that would cause me to use any chemicals on the body. So maybe I'll pull the bearings, finished sanding polishing and prepping and press the new bearings in after it's all done.
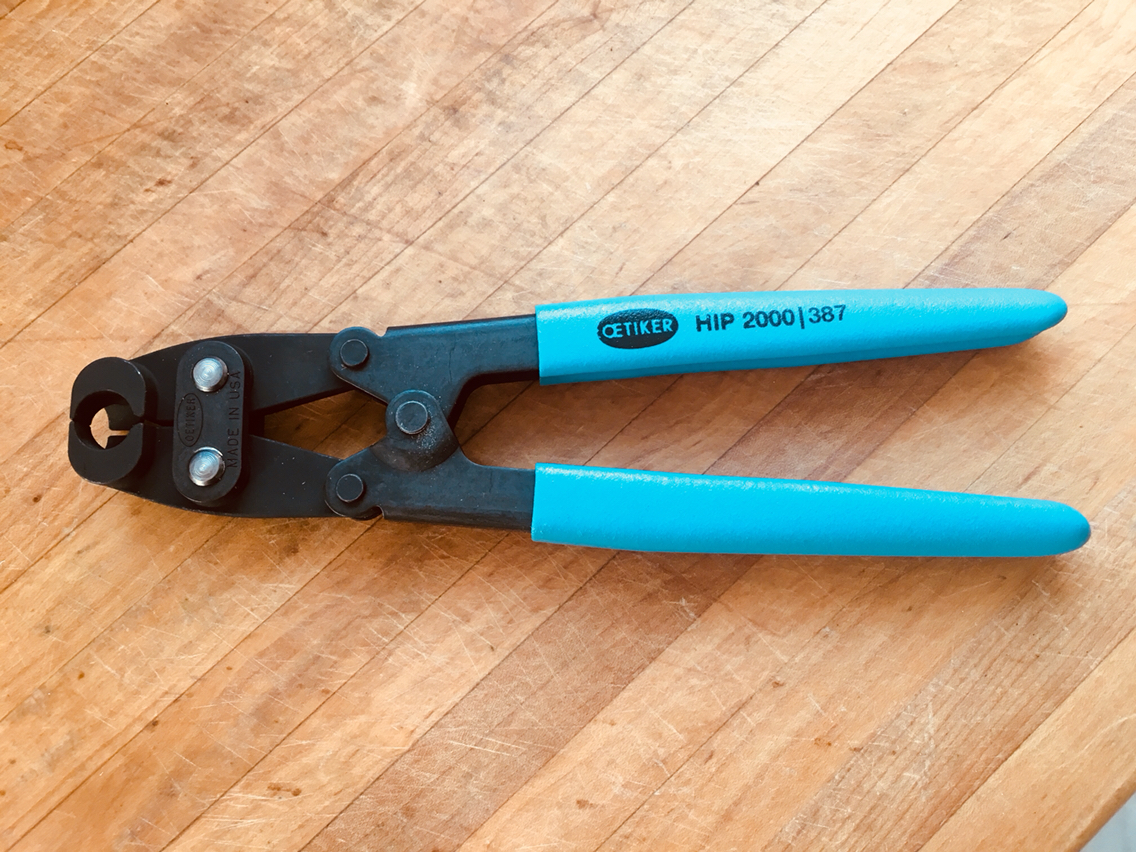
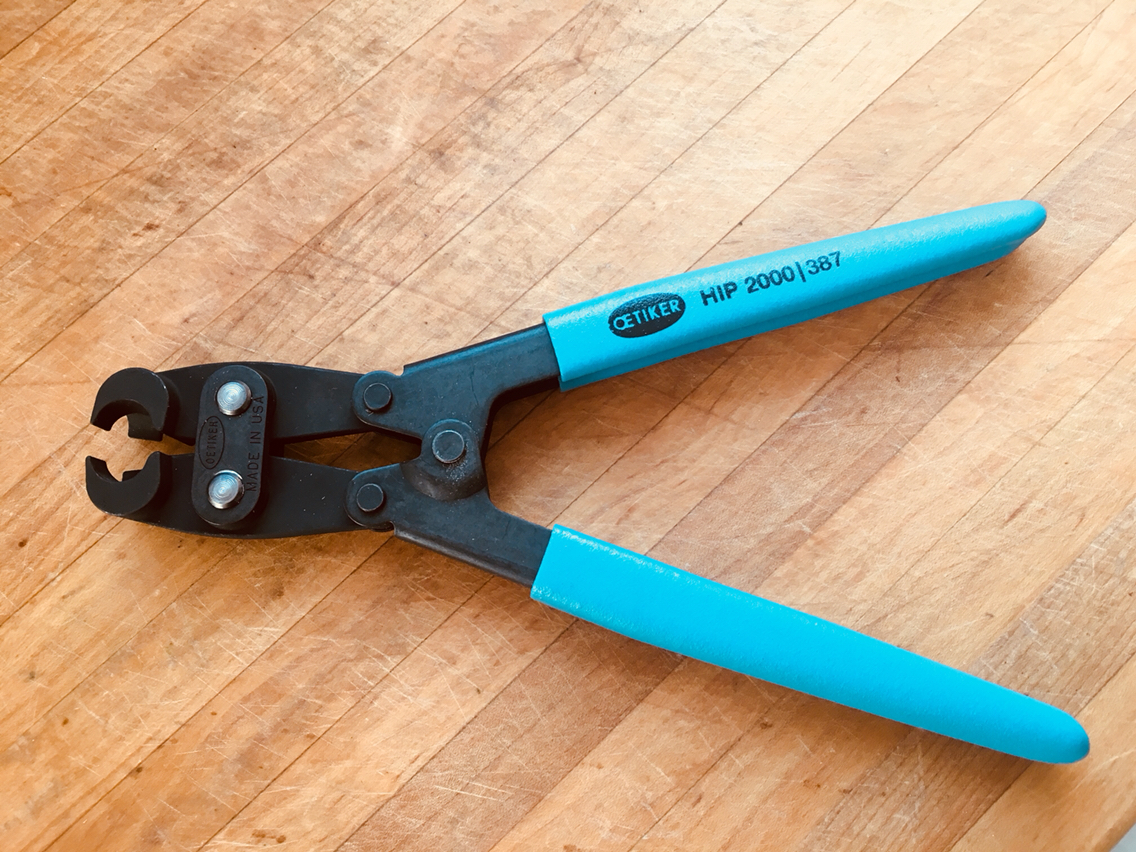
And in preparation for the new oetiker clamps...i had a cheep set of oetiker pliers. But I've never been happy with them. I think i forwent paying the extra 20 dollars on the better set at the time...but seriously, pay up for the better pliers...there is nothing worse than bad tools. Bad tools are ok for around the house- sometimes...but not for real work.
I know. It's just an oetiker clamp. So as long as it gets pinched, it's fine...but these are just awesome...
Update.
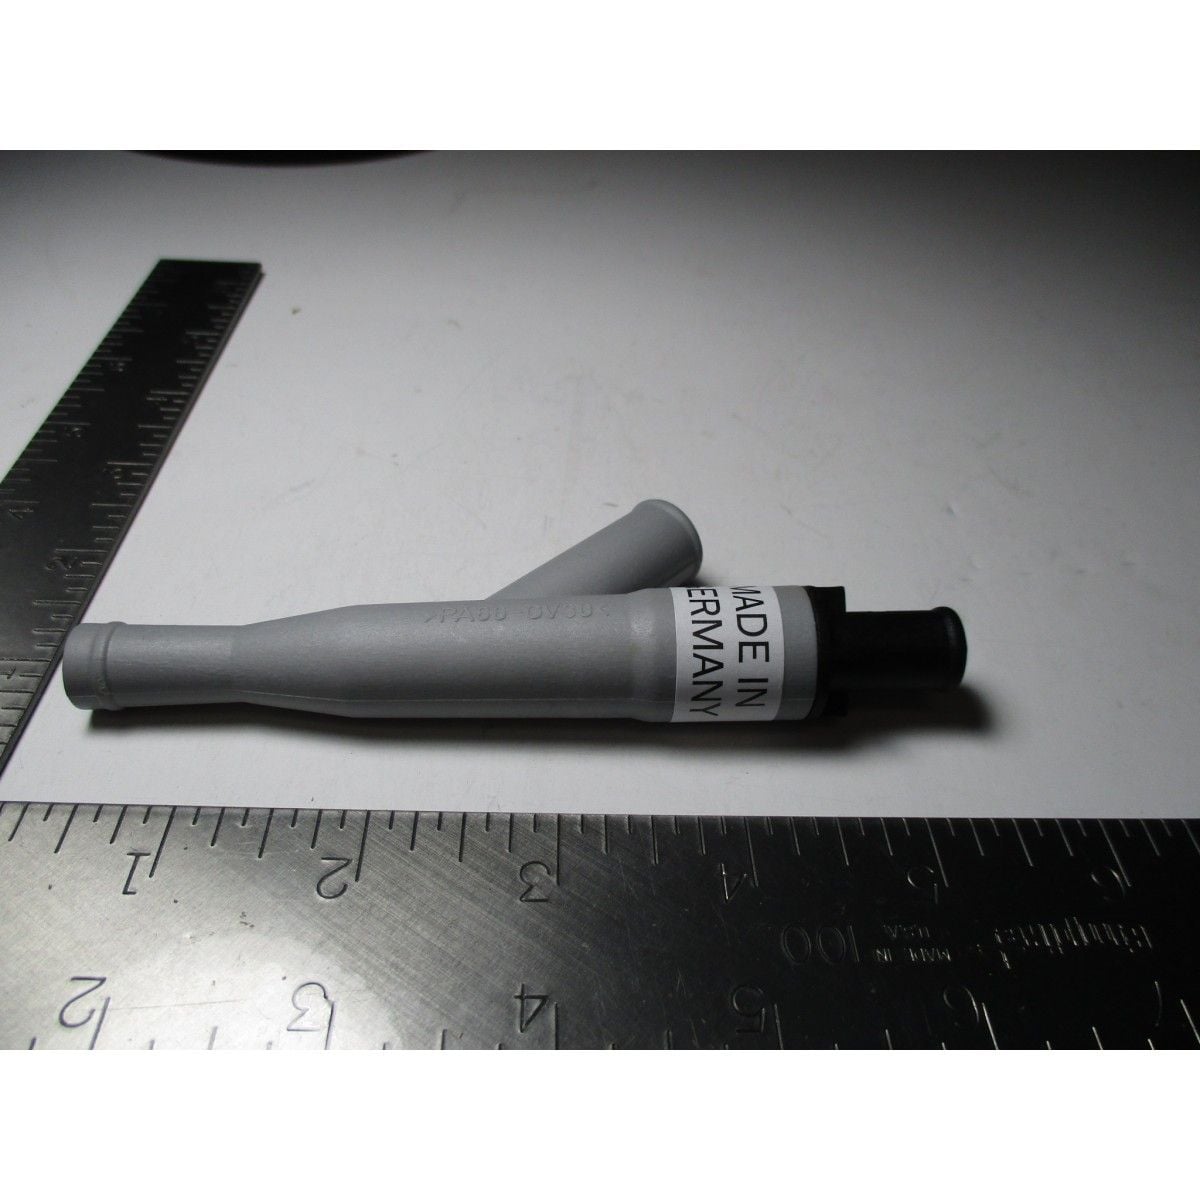
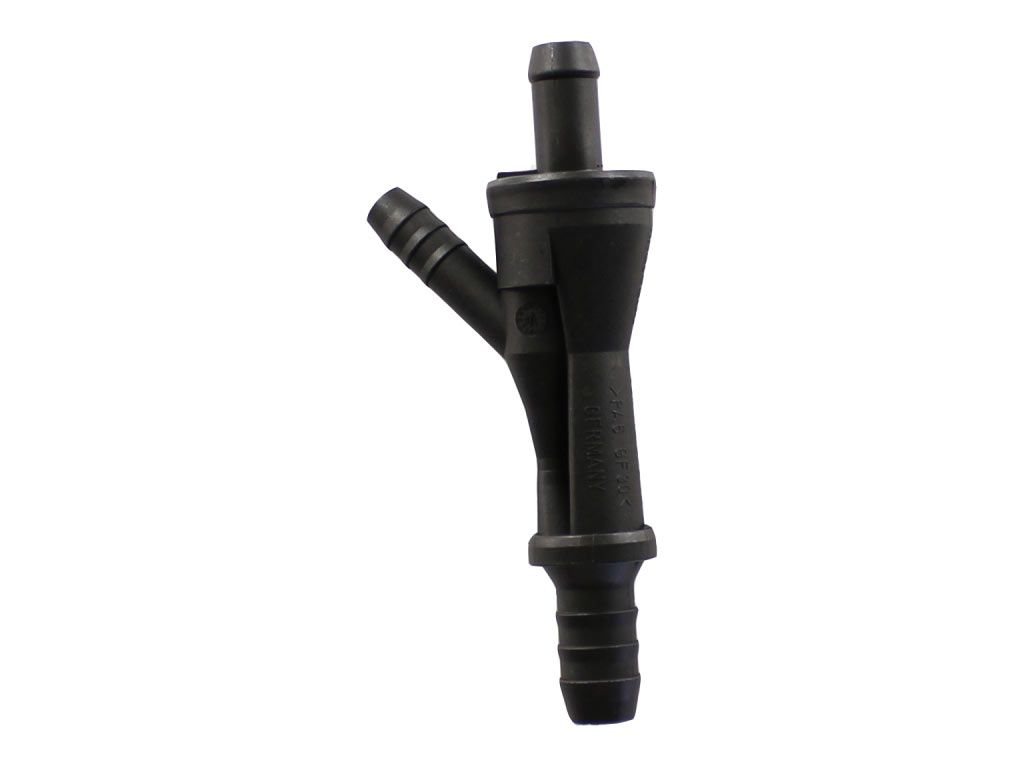
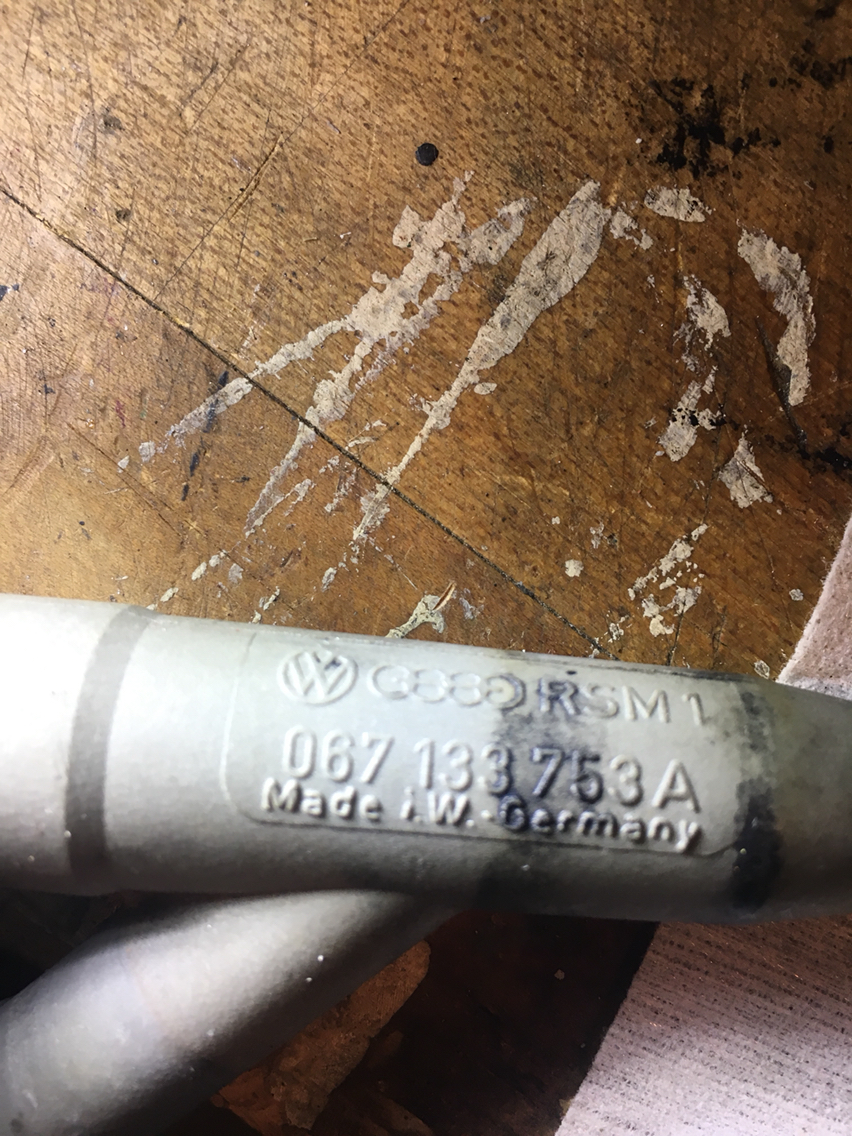
Porsche part is 100 dollars. But if you look for the same part number or the replacement updated part number, since it's a vw/audi part, you can find it for 20 dollars. Love it.
Hey don't seem to have a tendency to break. It has no internals as far as i can see. But they sometimes crack and then you have a vacuum leak. So inspect yours for cracks if you have it out...may as well.


 07-22-2018, 10:02 PM