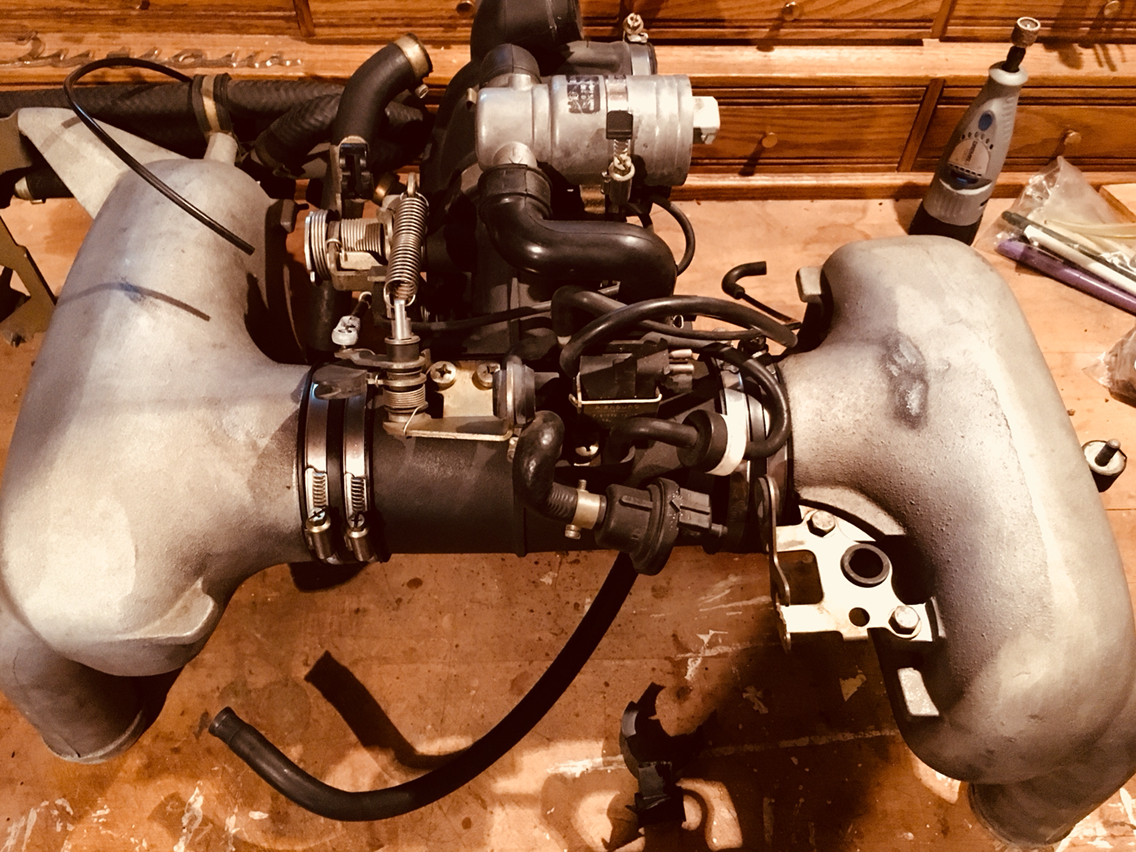
Intake madness. Teardown begins....
 07-10-2018, 08:34 PM
#61
Race Car
Thread Starter
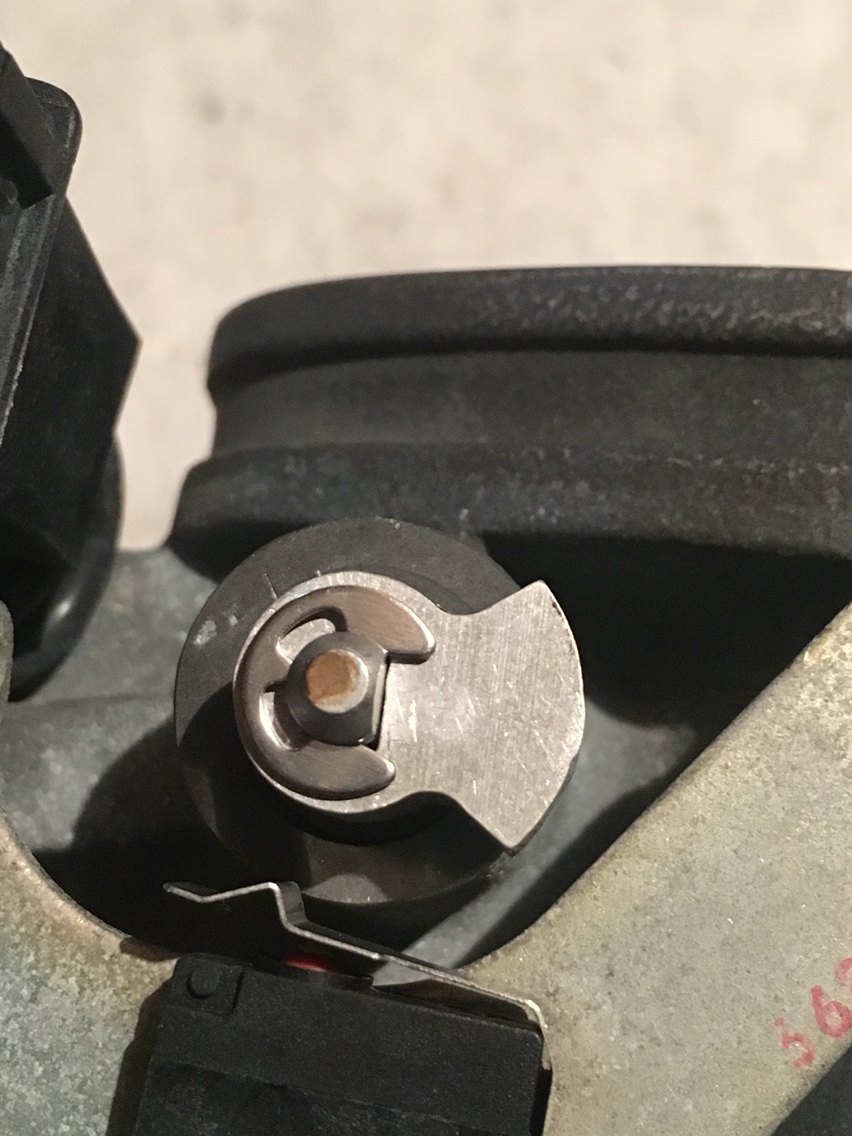
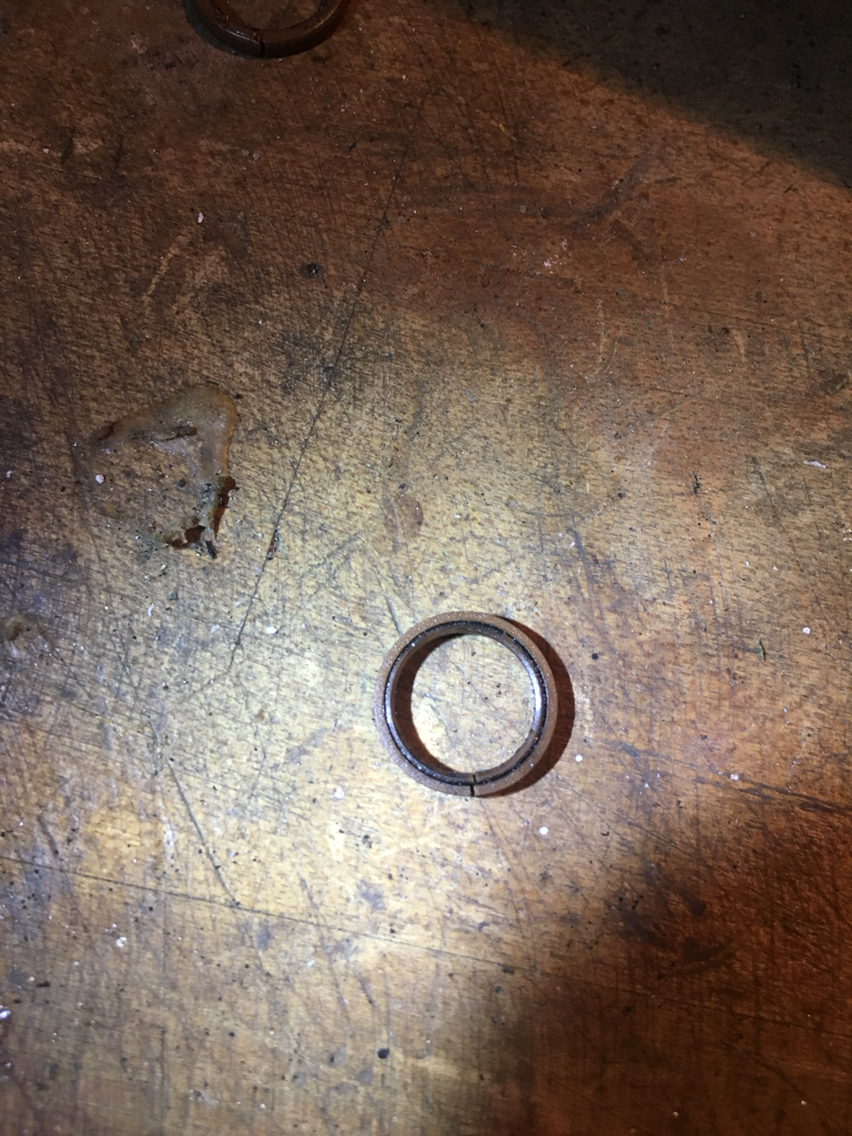
I went in and poked around, and sure enough, there is a lipped seal at the bottom of the bearing. Which is good and bad. Good cuz there is a seal and it now all makes sense. Bad because it's not a simple 10mm id by 2mm wide viton o-ring, though that would work in its place.
Thanks for the push Pete!
Now off to find the replacements. In the meantime I'm going to continue disassembly so i can get to the others.
This is good.
Thanks for the push Pete!
Now off to find the replacements. In the meantime I'm going to continue disassembly so i can get to the others.
This is good.
 07-10-2018, 09:45 PM
#62

If you don’t want to pull the bearings you might experiment with an o-ring of similar dimension to the seal. Otherwise how will you get the new seal in without pulling the bearing?
Either way his is looks like a good place to start:
https://www.theoringstore.com/index....ndex&cPath=700
Also googling “throttle shaft seal” produces some leads.
Pete
07-10-2018, 10:04 PM
#63
Race Car
Thread Starter
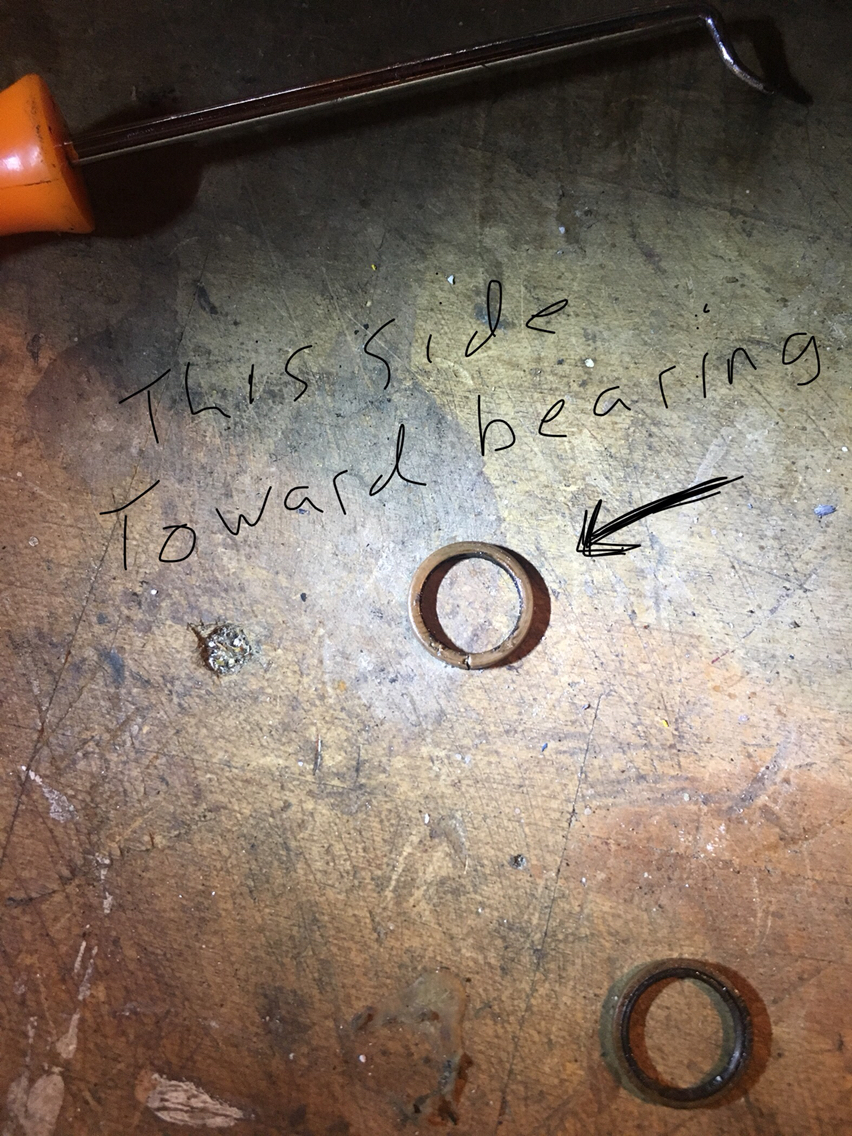
I have a seal source. The seals are in an envelope and will be mailed to him tomorrow. I'll know in a week if i can get the exact seal. If not I'll get something better...lol.
I'm thinking these seals were never meant to encounter ethanol. So maybe they break down so much due to the vapors. Regardless materials have come a long way since then, so if there is an upgrade, why not.
I can see how the 928 guys used orings and got away with it- the spring on the main plenum is very heavy. But the movement on the resonance flap is very light and the return spring is very light, so if possible i want to get as close to oem as i can...cuz that's the right way round.
I'll likely buy a bunch of these seals...to have on hand. So if i do, and you all want some. I'll make some kits up.
Keep in mind I'm doing the same with a plastic throttle body when I'm done here. (Aluminum for the main part but plastic around the res flap.)
But. Jumping the gun. I still need to finish the disassembly. And i have a lot of stuff going on...sooooo we are all going to have to wait.
If anyone has an intake lying around and want to jump in...feel free. Thread is open. Aka it's not just me here...even if I'm the only one nutty enough to spend all my time and money on a basically fruitless venture "just to see".
07-10-2018, 10:44 PM
#64
Rennlist Member
So about all the oily mess inside all the intake components...
When I had my 1989 C4 an un-named party might have added an extra quart (or two) of oil after a change, and then went for a spiried drive. The result was a complete oiling of the intake (and everything else).
When I had my 1989 C4 an un-named party might have added an extra quart (or two) of oil after a change, and then went for a spiried drive. The result was a complete oiling of the intake (and everything else).
07-10-2018, 10:48 PM
#65
Race Car
Thread Starter
Yep that's what happens . If you don't want to super clean the whole thing...at minimum you can pull the manifolds and wipe it out. Blowing seafoam through the intake or vac system can help clean it as well.
Or. Just lots of wide open throttle driving. But to help the injectors after they get gummed up. Techron or seafoam in the gas can help as well.
Or. Just lots of wide open throttle driving. But to help the injectors after they get gummed up. Techron or seafoam in the gas can help as well.
07-11-2018, 12:26 PM
#70
Race Car
Thread Starter
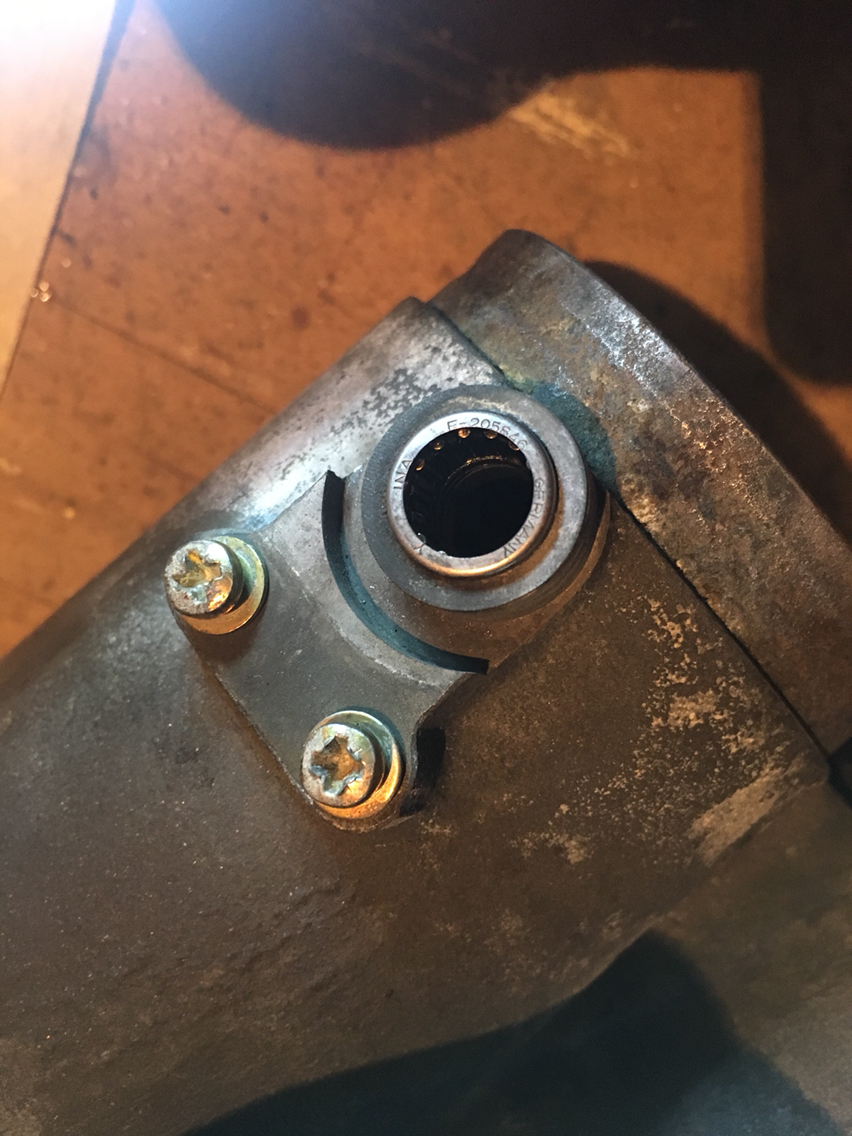
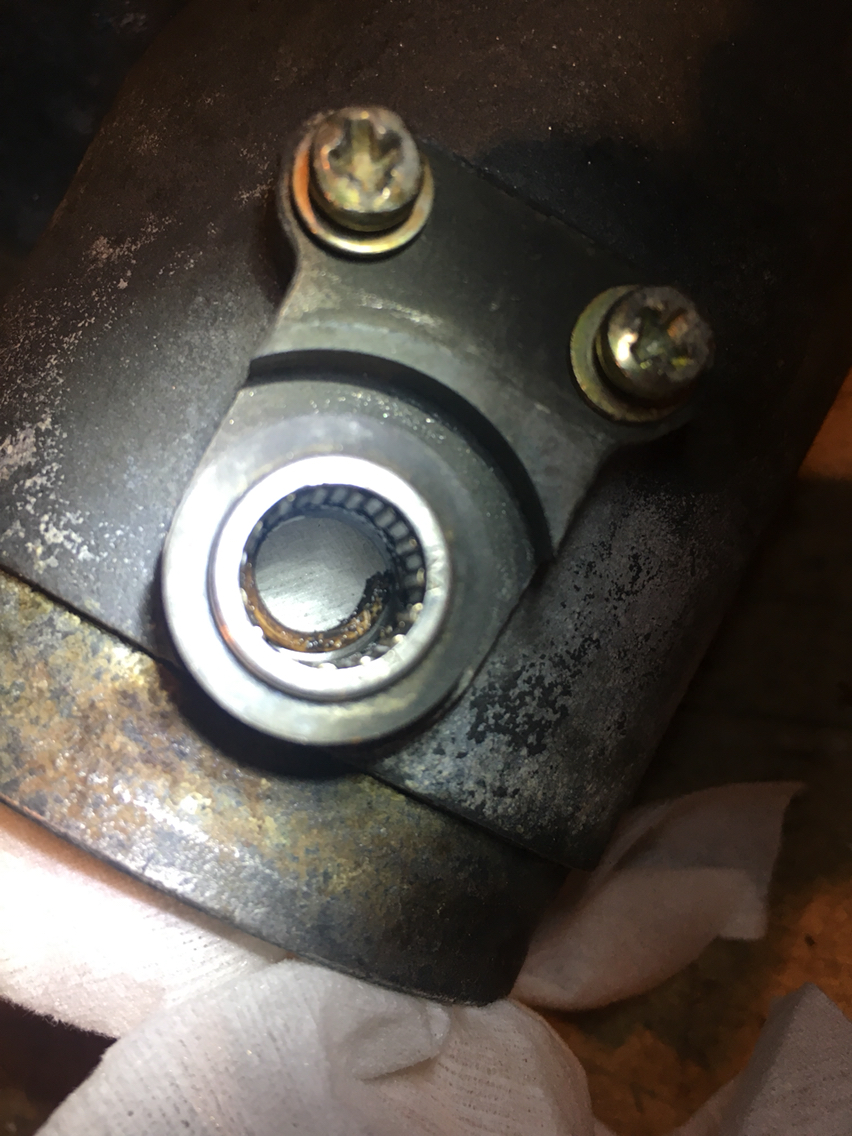
I never pressurized this one. I had a leak in mine years ago, but we replaced it with new, cuz everyone says these are not serviceable. This one was clearly loose and not sealed though...which for age and mileage should be normal.
07-11-2018, 02:32 PM
#71

 07-11-2018, 08:50 PM
#74
Race Car
Thread Starter
Seals were shipped off to my seal guy today. I'll discuss that w him next week.
I'm also putting together a seal kit for the diff locks, and next up I'll be putting together a seal kit for the clutch slave btw...so those will be available.
And...i have a pdas solendoid on my bench that I'll be taking apart. And if that can be serviced - I'll make up a kit for that, and then on to the abs pump. Those are the ideas. I don't like not having these things around. So we may as well all benefit from my rather insane needs to make these cars inexpensive to own.
But, since i now have to wait, i haven't gone any further yet in disassembly - i only have short bursts at the moment...so on to the fun stuff...
I love when "the right tool for the job" shows up. I think i only do this to fill my tool boxes. Someday I'll do a thread on those as well. I have a 1948 snapon box set in my basement - the indoor shop, that needs to be restored/conserved and upgraded a bit with some liner. That space used to be for vintage bicycle restoration, and now it's just a ton of bikes, and a bench with a mess of an intake on it...so let's get moving!
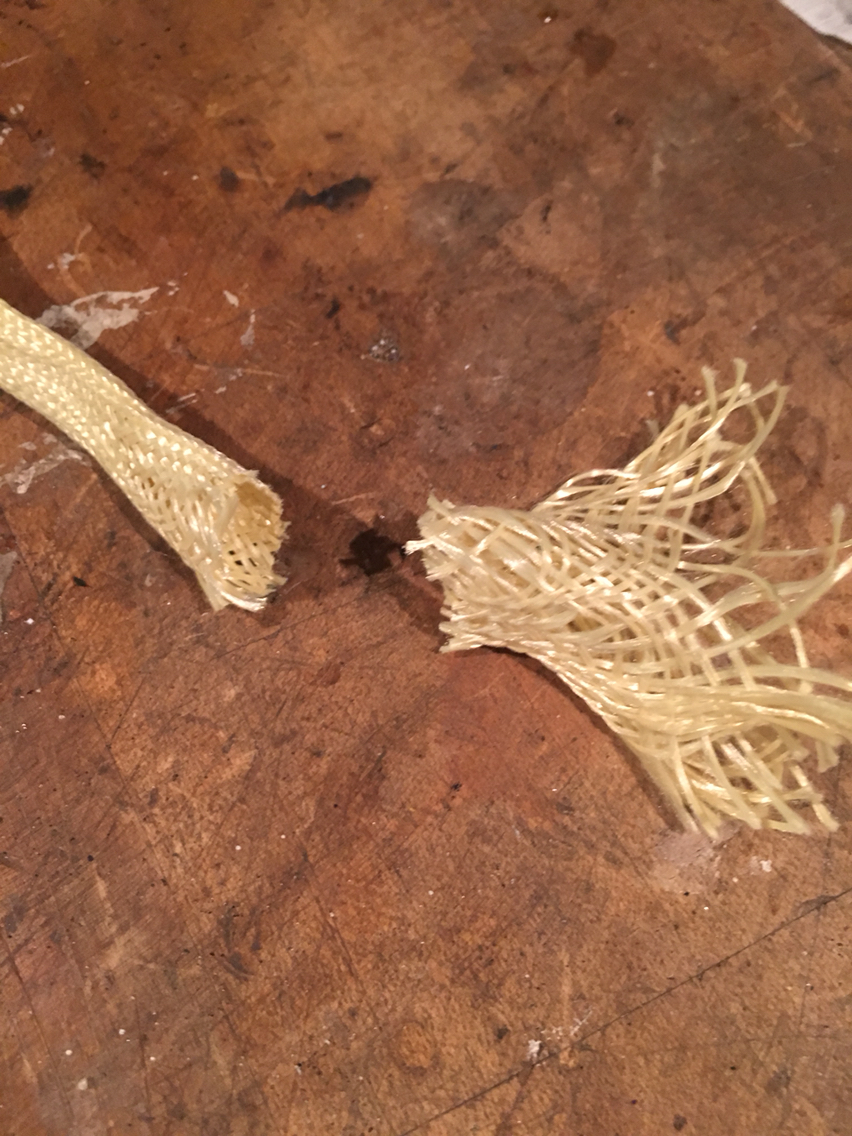
You all remember my failed hose wrap- so the main thing there was trying to cut the Kevlar. My heavy duty kitchen shears were no match for the bullet proof craziness of the Kevlar....so, right tool for the job?
Kretzer 10" shears
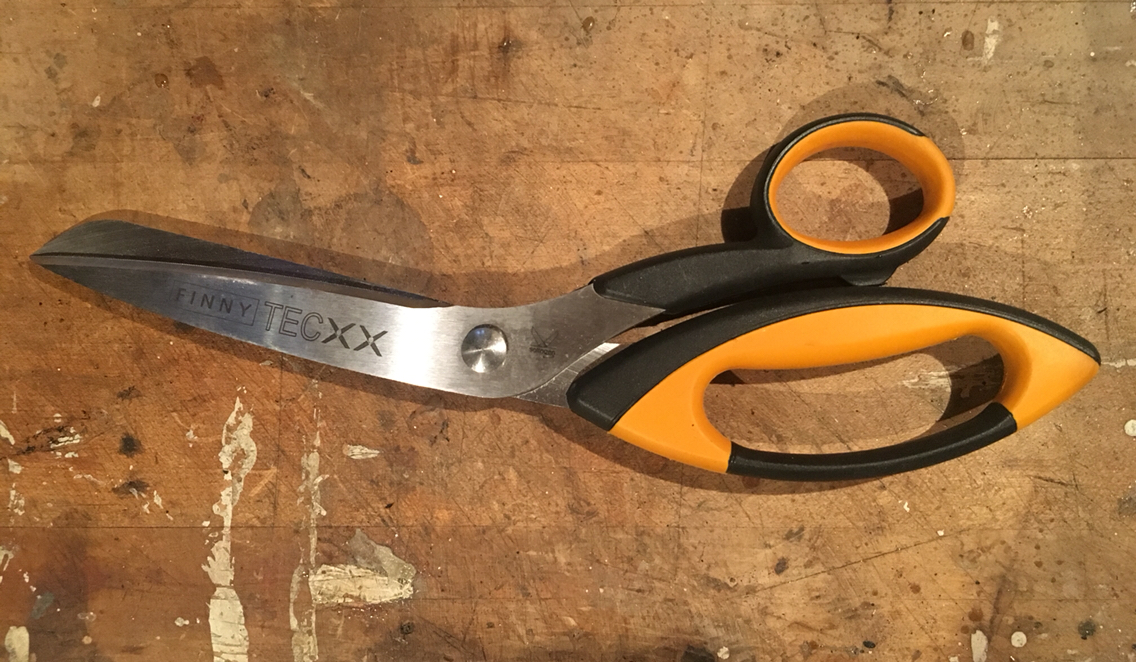
It took five mins plus to cut through the Kevlar with the others...
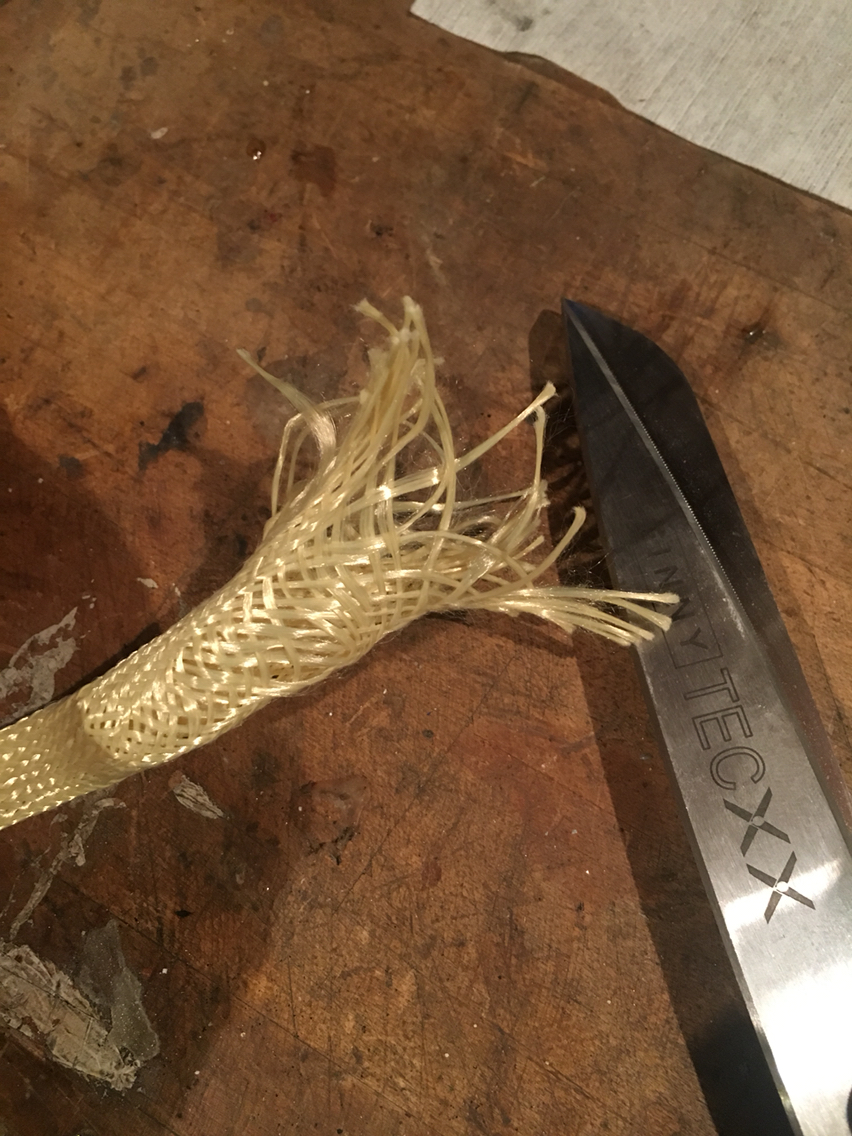
With these, it was like cutting paper...
Make
Awesome
Happen
I'm also putting together a seal kit for the diff locks, and next up I'll be putting together a seal kit for the clutch slave btw...so those will be available.
And...i have a pdas solendoid on my bench that I'll be taking apart. And if that can be serviced - I'll make up a kit for that, and then on to the abs pump. Those are the ideas. I don't like not having these things around. So we may as well all benefit from my rather insane needs to make these cars inexpensive to own.
But, since i now have to wait, i haven't gone any further yet in disassembly - i only have short bursts at the moment...so on to the fun stuff...
I love when "the right tool for the job" shows up. I think i only do this to fill my tool boxes. Someday I'll do a thread on those as well. I have a 1948 snapon box set in my basement - the indoor shop, that needs to be restored/conserved and upgraded a bit with some liner. That space used to be for vintage bicycle restoration, and now it's just a ton of bikes, and a bench with a mess of an intake on it...so let's get moving!
You all remember my failed hose wrap- so the main thing there was trying to cut the Kevlar. My heavy duty kitchen shears were no match for the bullet proof craziness of the Kevlar....so, right tool for the job?
Kretzer 10" shears
It took five mins plus to cut through the Kevlar with the others...
With these, it was like cutting paper...
Make
Awesome
Happen