

Intake madness. Teardown begins....
 07-12-2018, 10:12 PM
#76
Race Car
Thread Starter
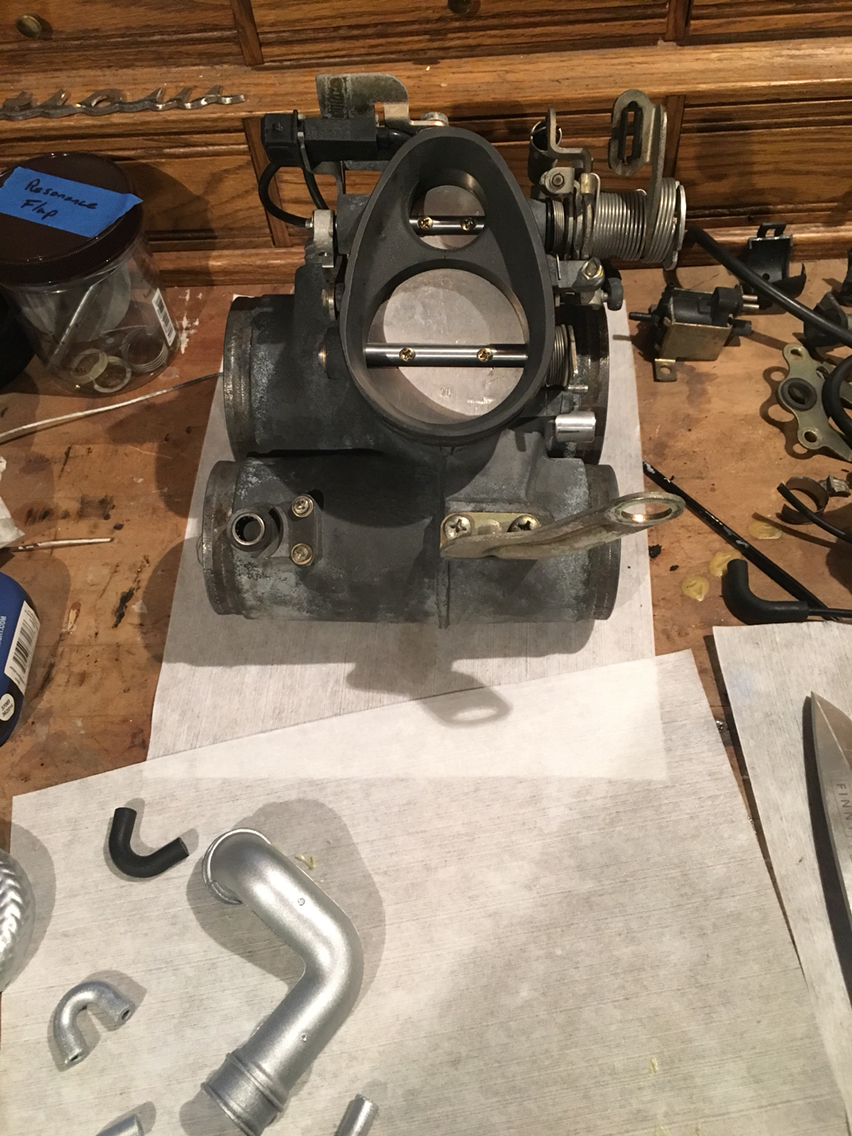
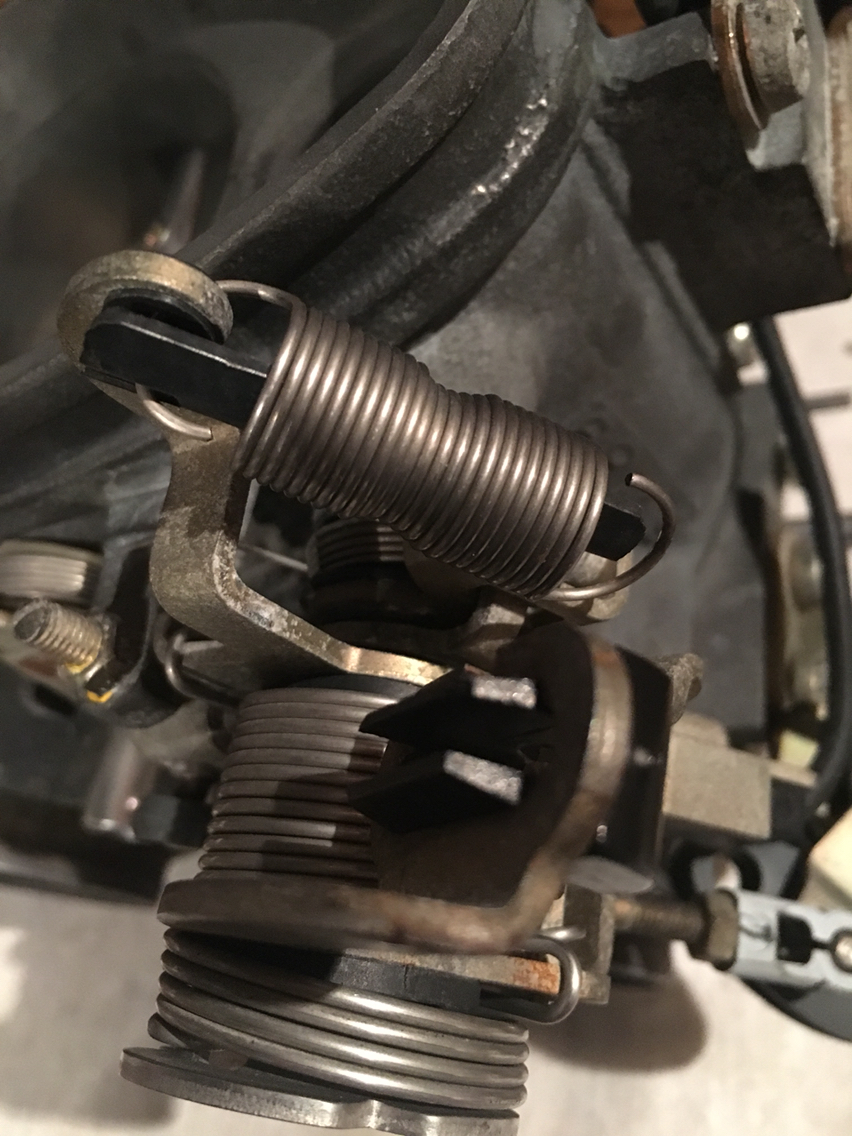
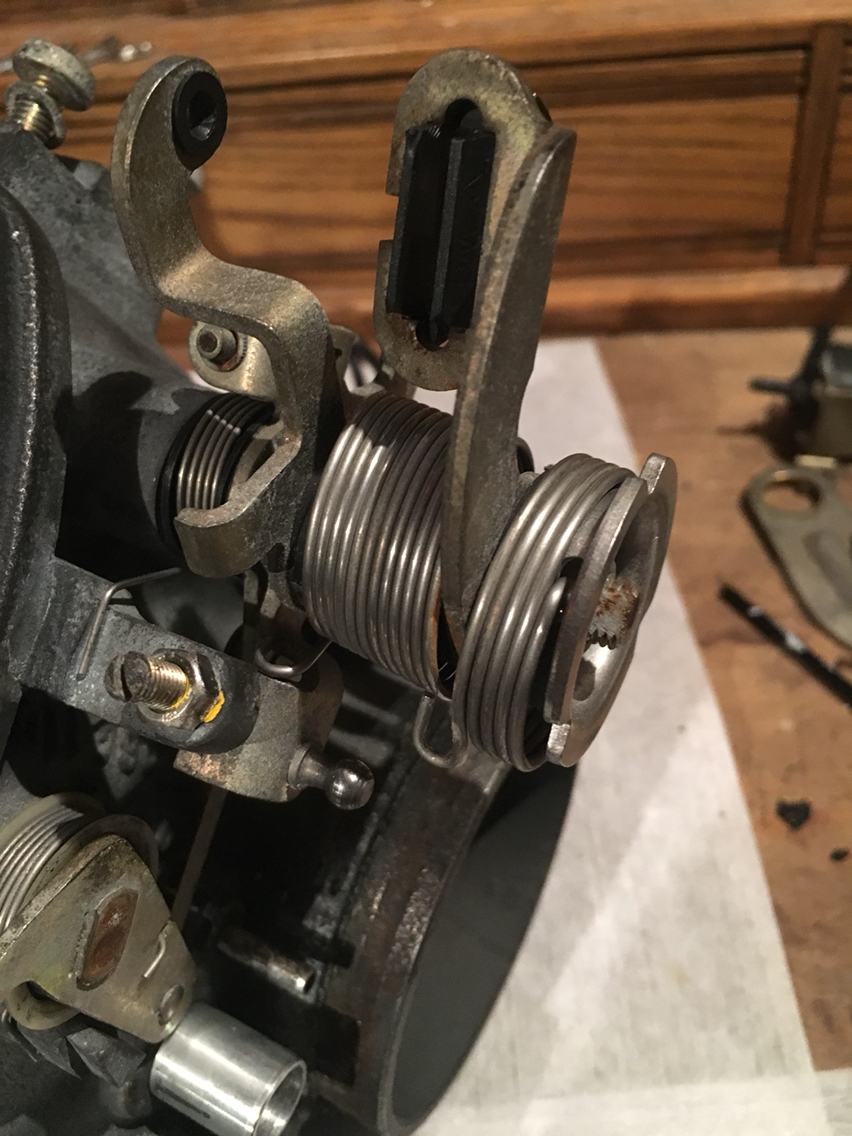
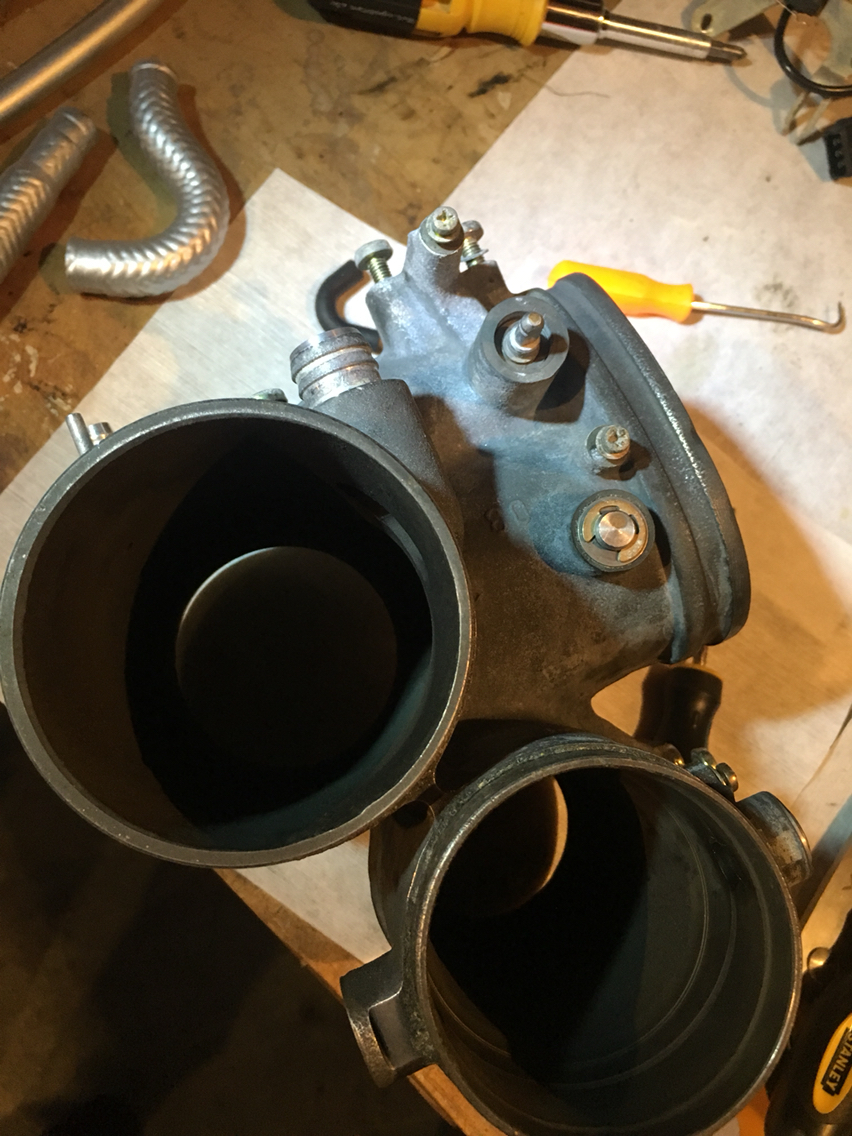
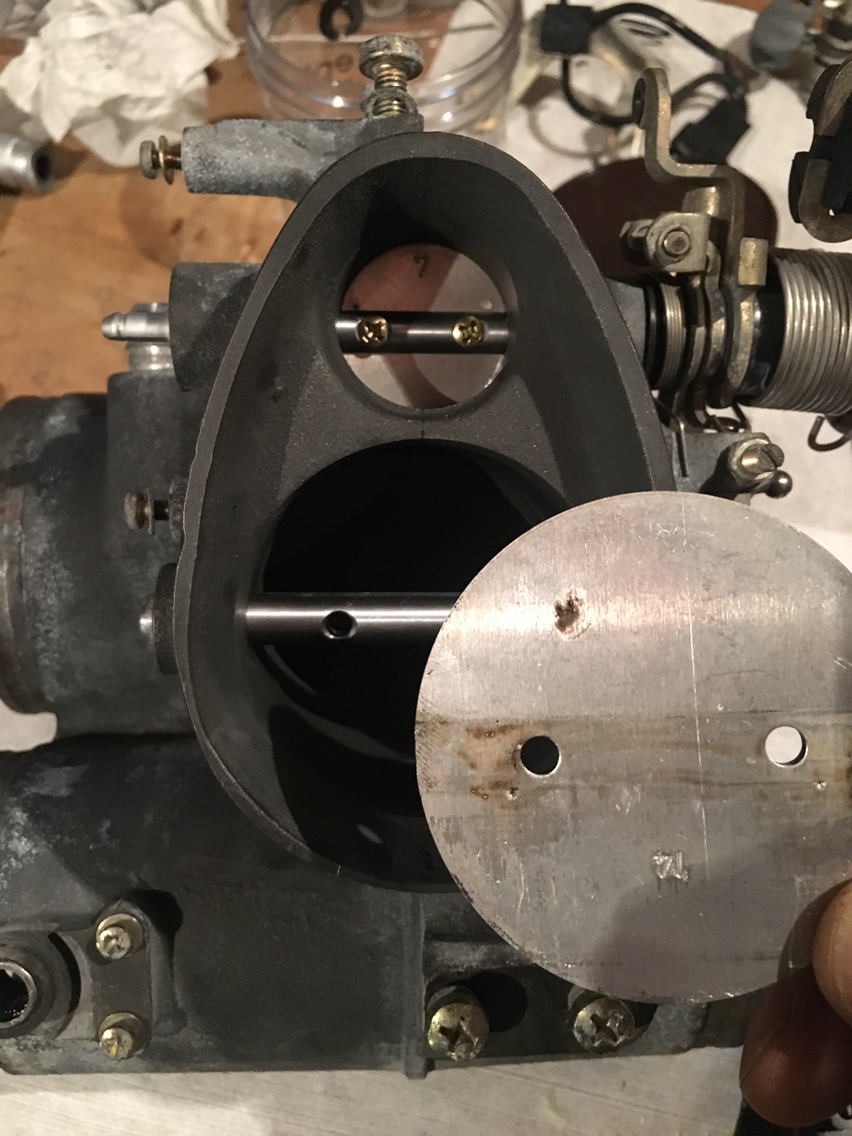
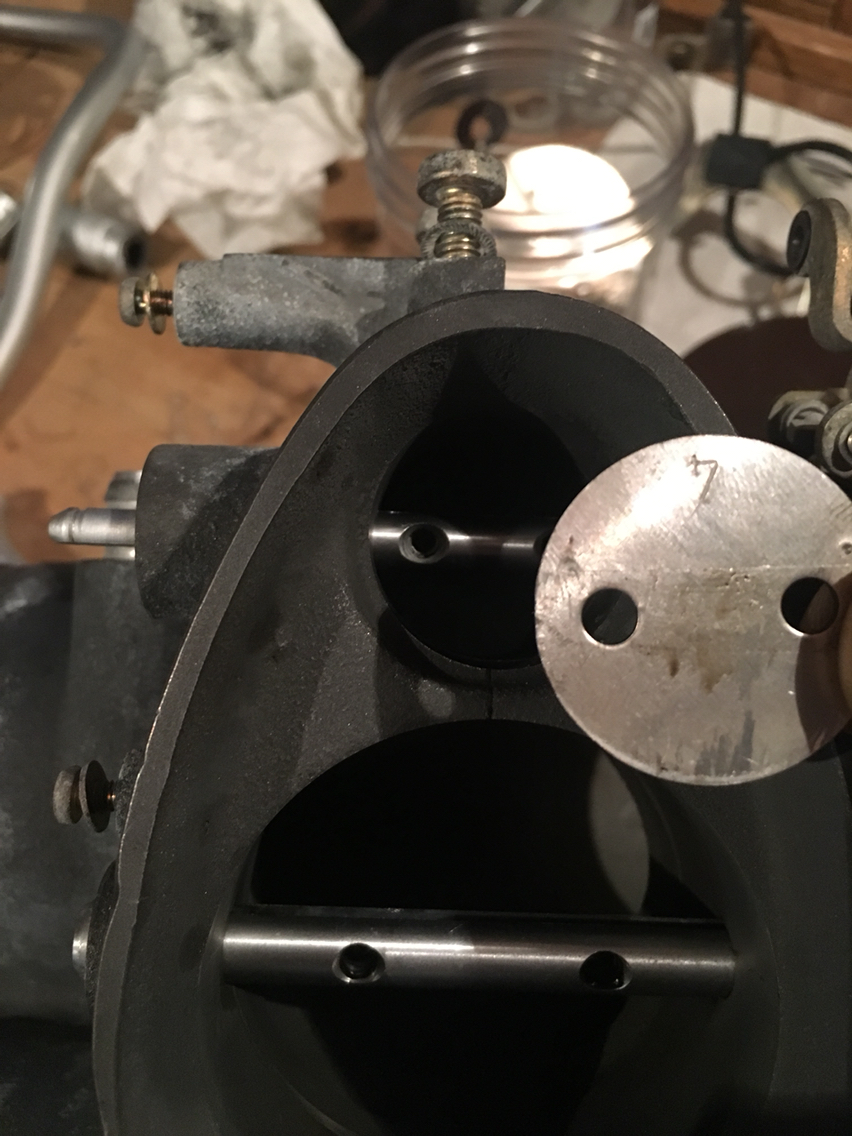
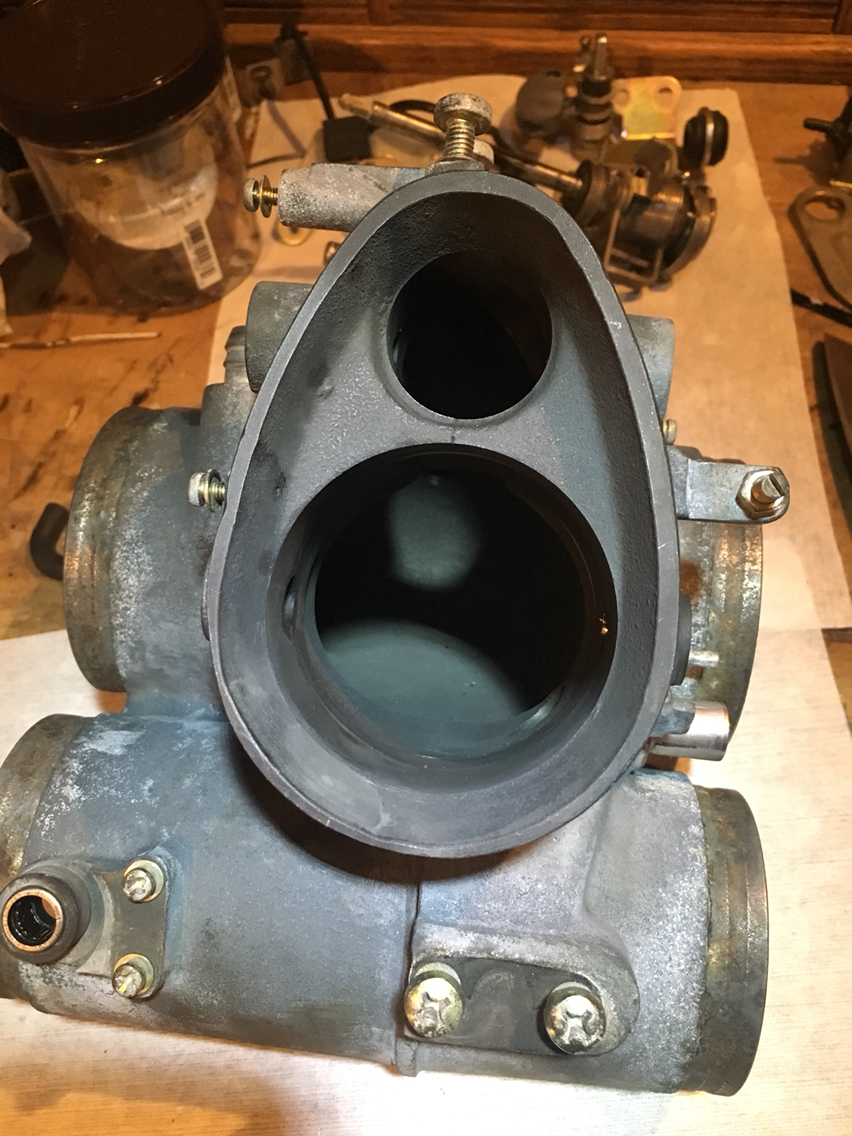
I did some more disassembly tonight.
I'm going to spare you the step by step, and just post the pics. So if you need explanation, chime in. I'm considering biting the bullet and removing the bearings, but I'm going to wait until i talk to my seal guy and then make a determination. The slide hammer set i would need is 100 dollars. And then the bearing cost would be x...so I'd be increasing my cost by a couple hundred dollars. And if i can just reseal them, likely a better choice since the bearings themselves are fine.
Here we go...


 07-12-2018, 10:18 PM
#79
Race Car
Thread Starter
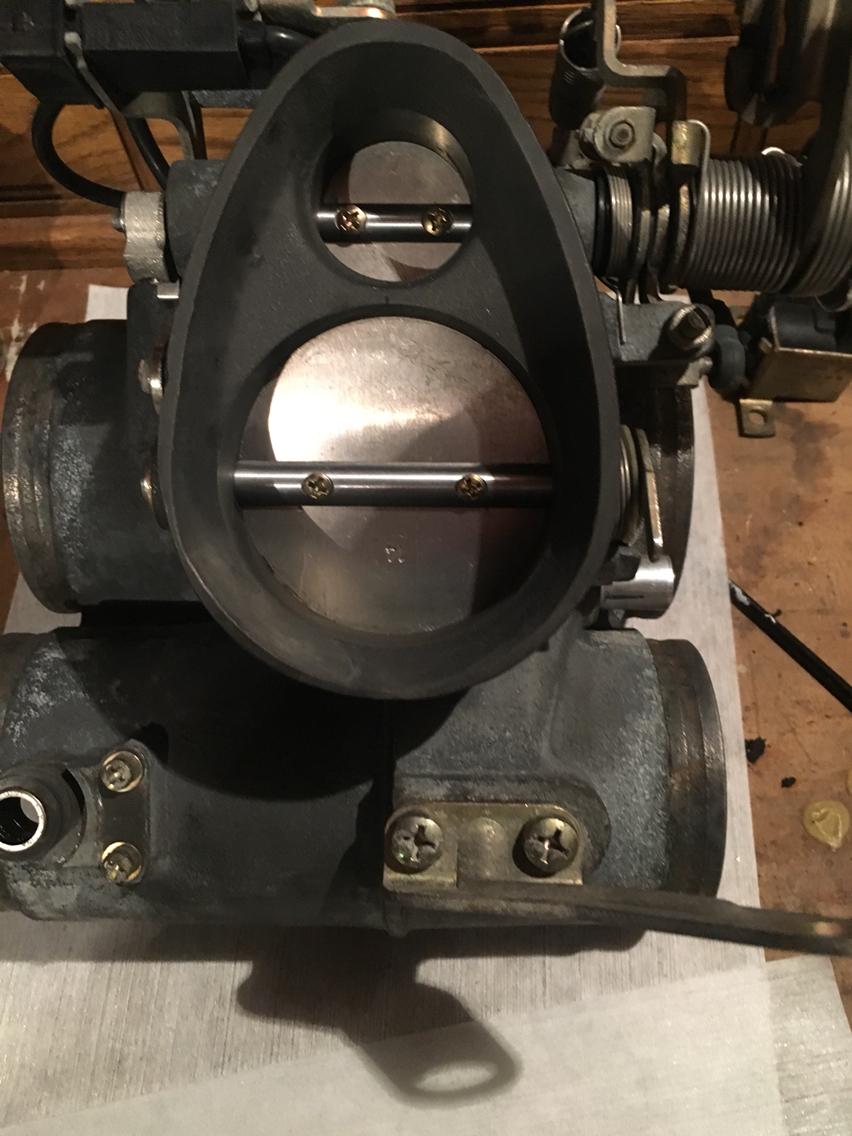
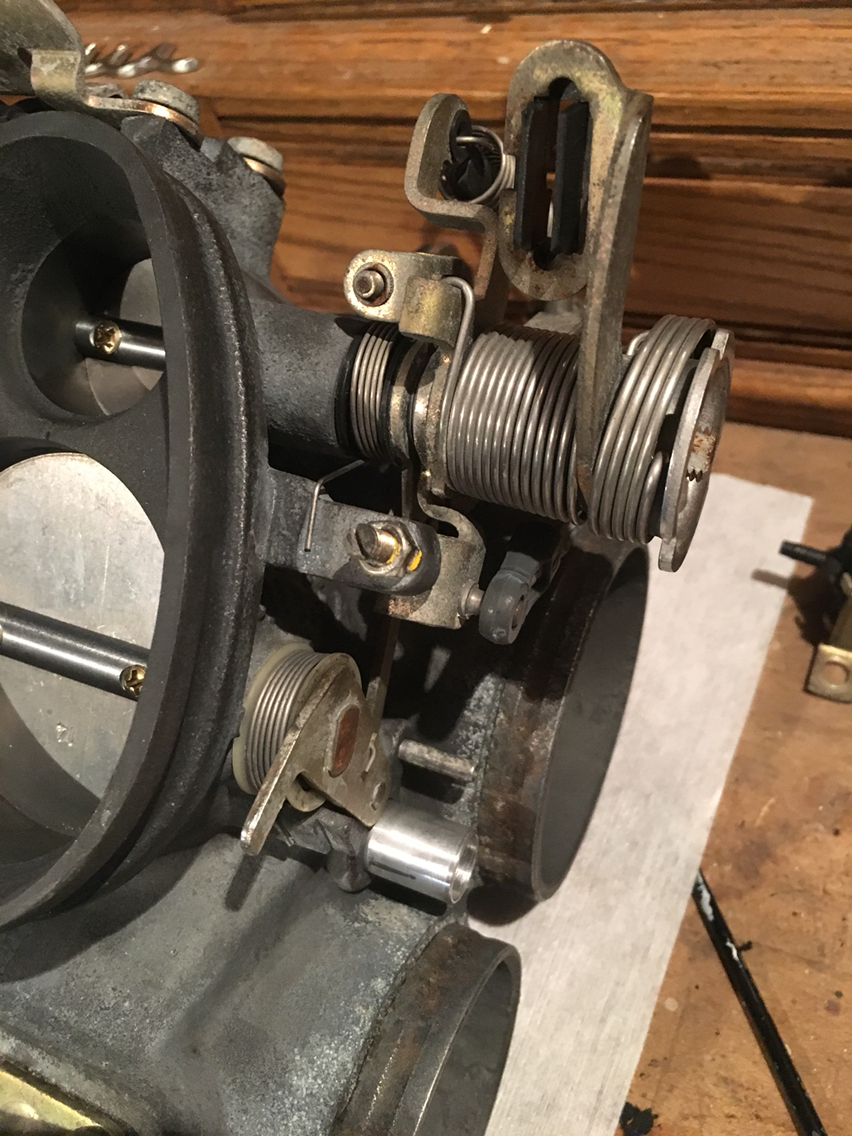
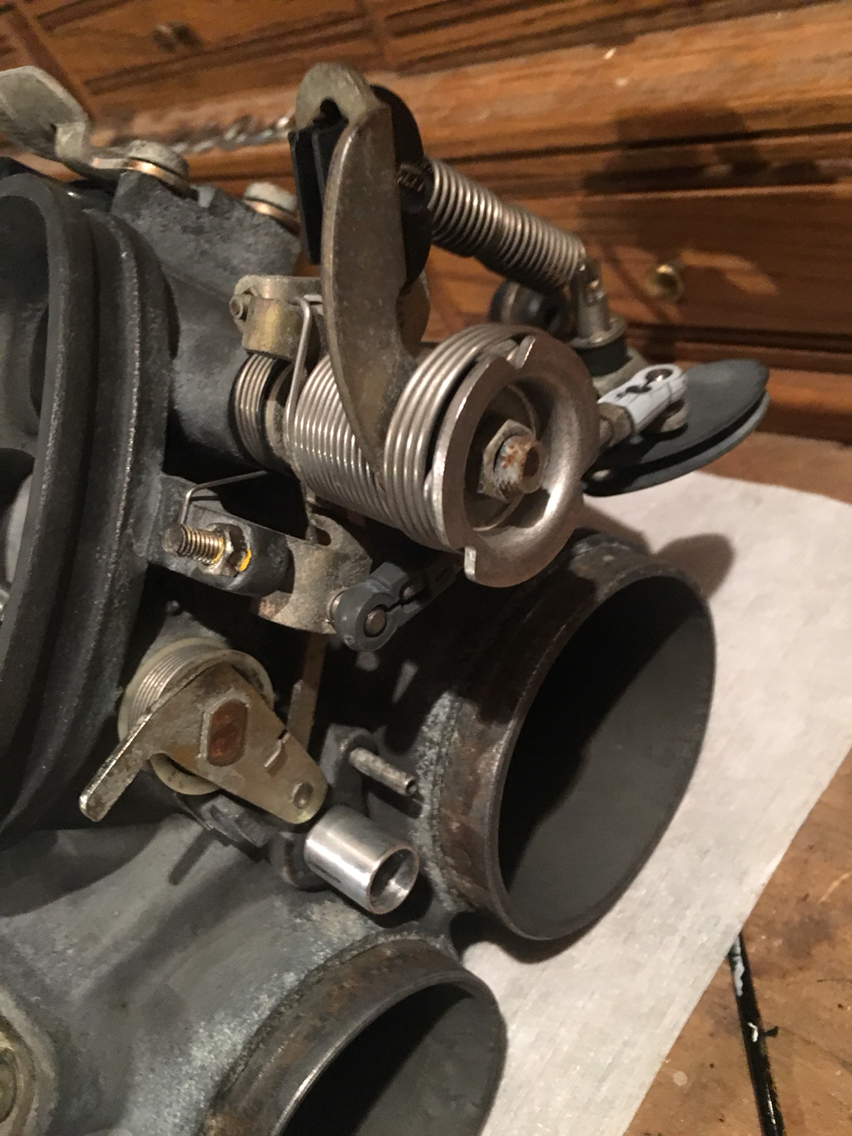
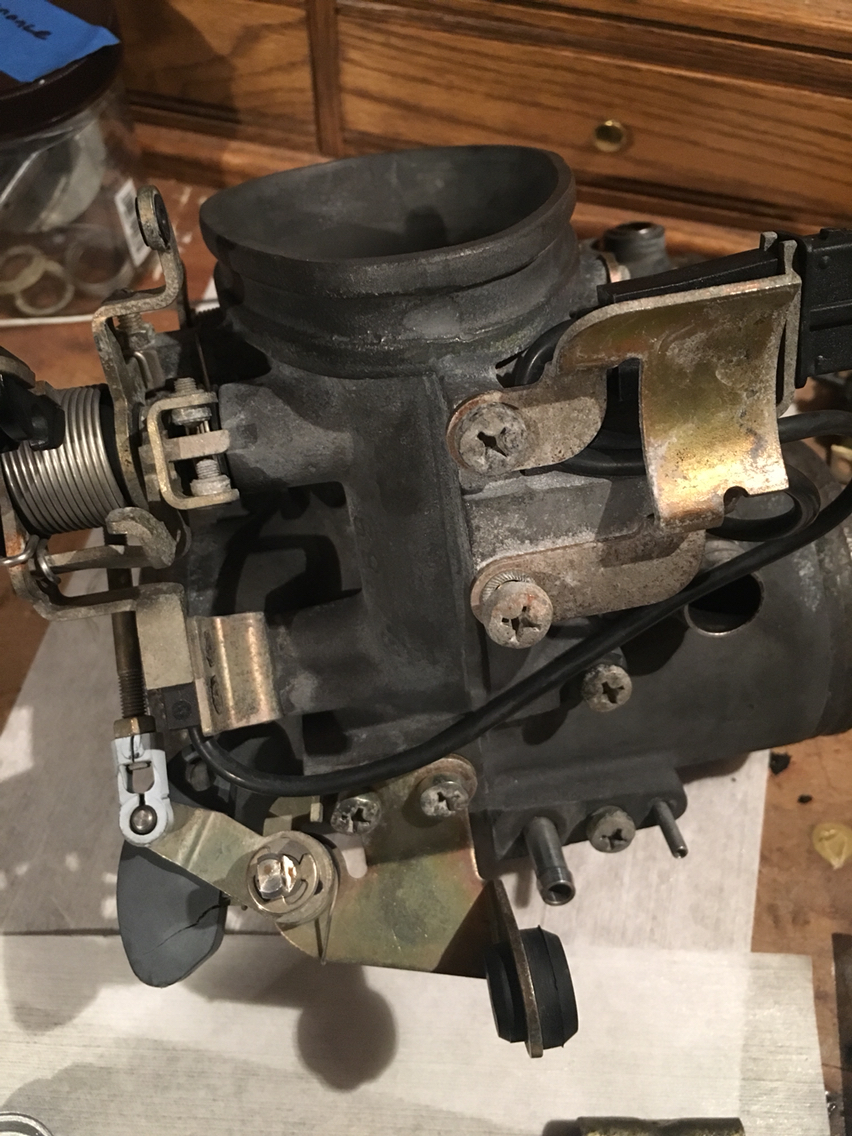
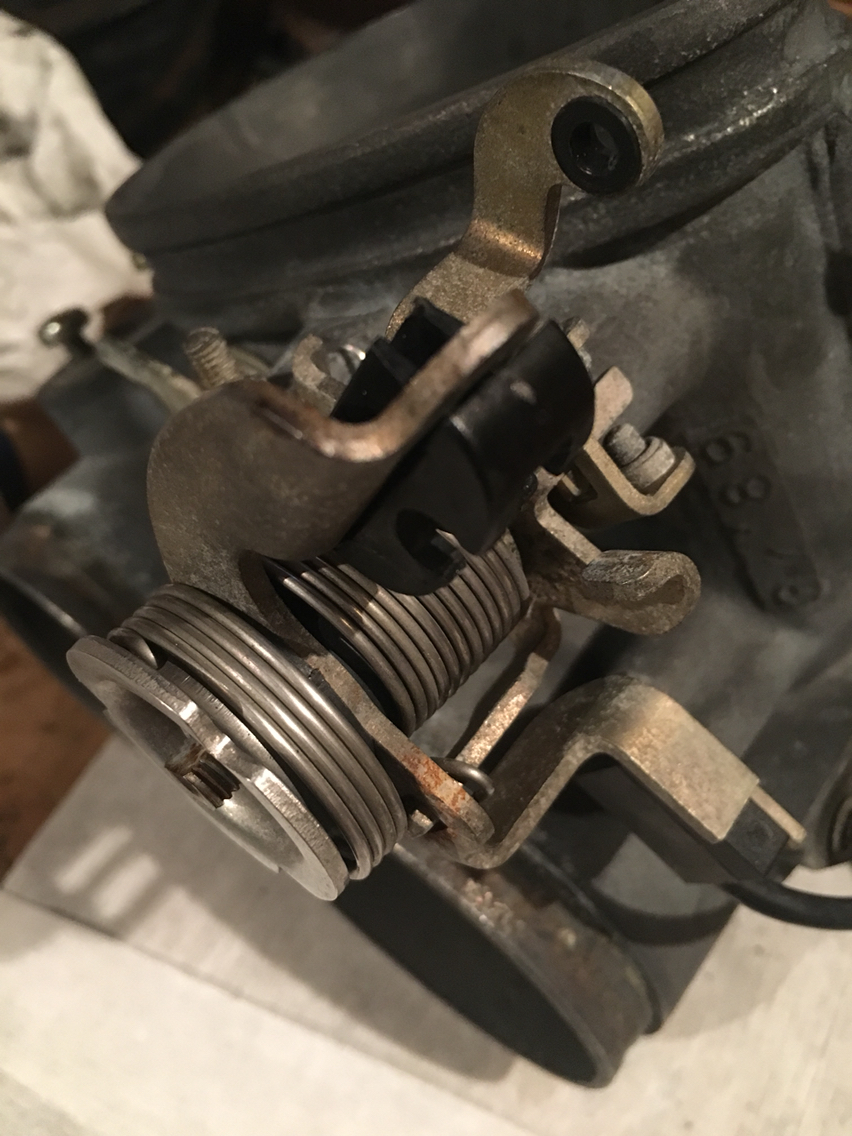
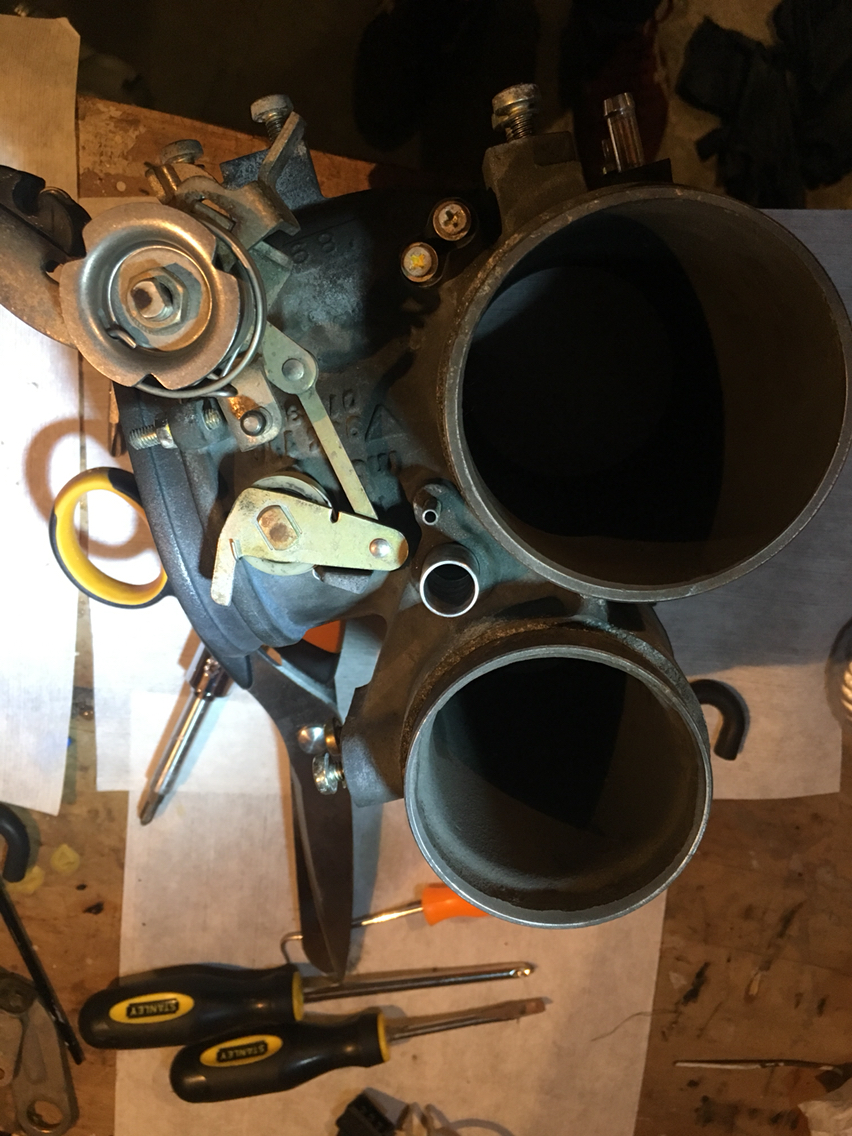
And that's it for now. I'm on the fence about new bearings or reuse these. Lots more to do regardless and decisions to be made. The zinc is corroded, and I'm thinking to paint those. Not sure yet. I could send them out for plating, but plating may not be as good as paint in the end.
On to hoses for a bit. Still waiting for the shrink tubes.
On to hoses for a bit. Still waiting for the shrink tubes.
 07-12-2018, 10:44 PM
#81
Race Car
Thread Starter
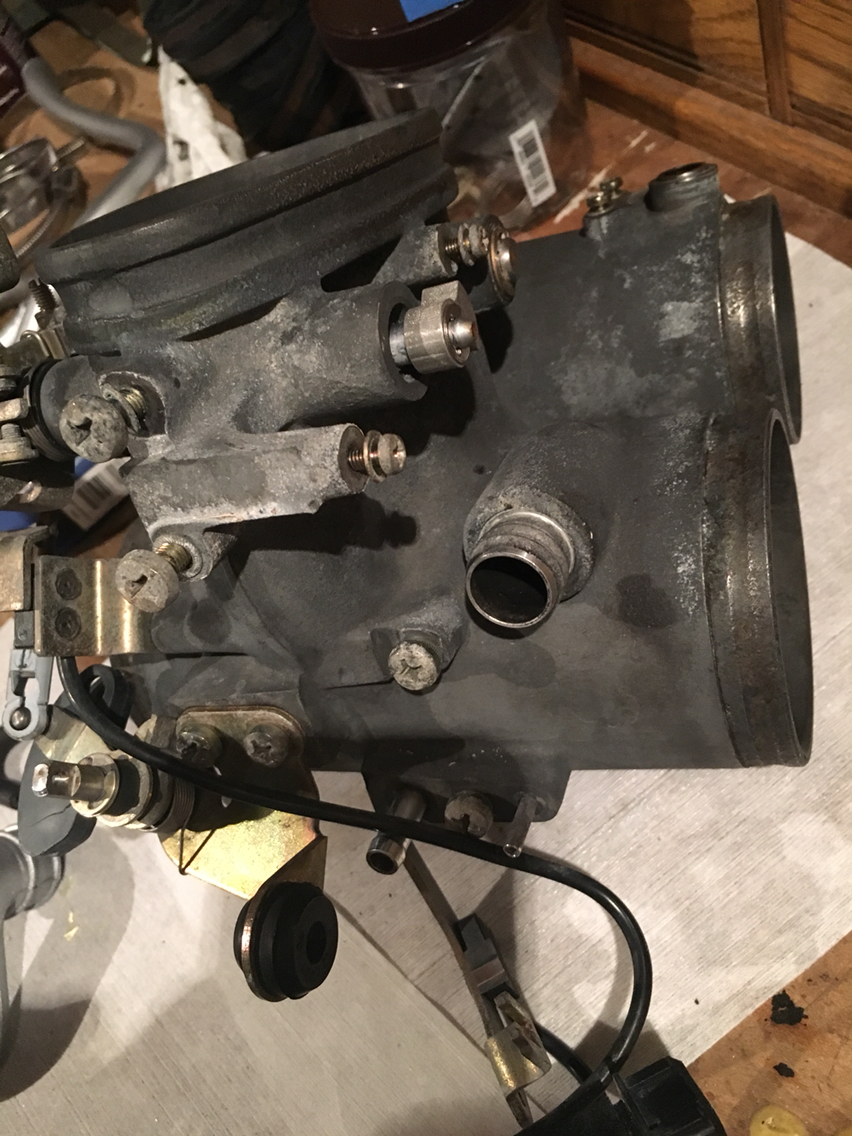
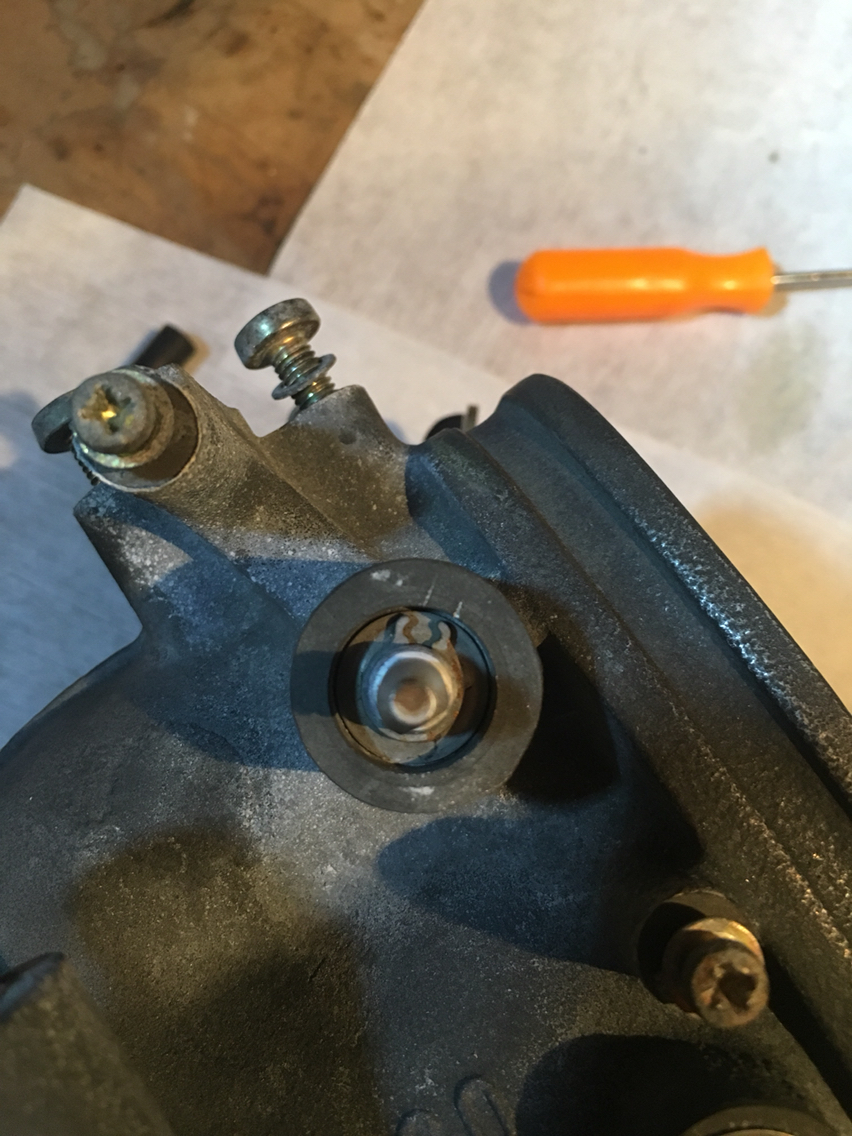
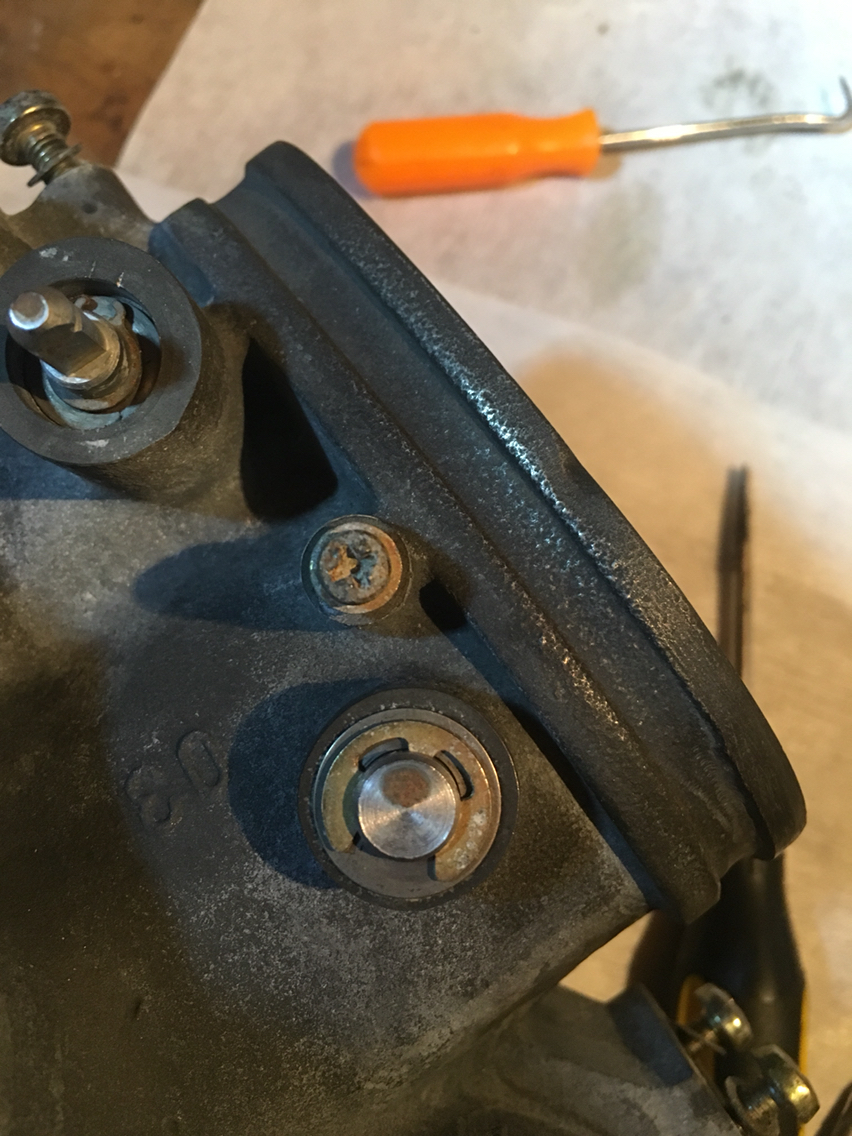
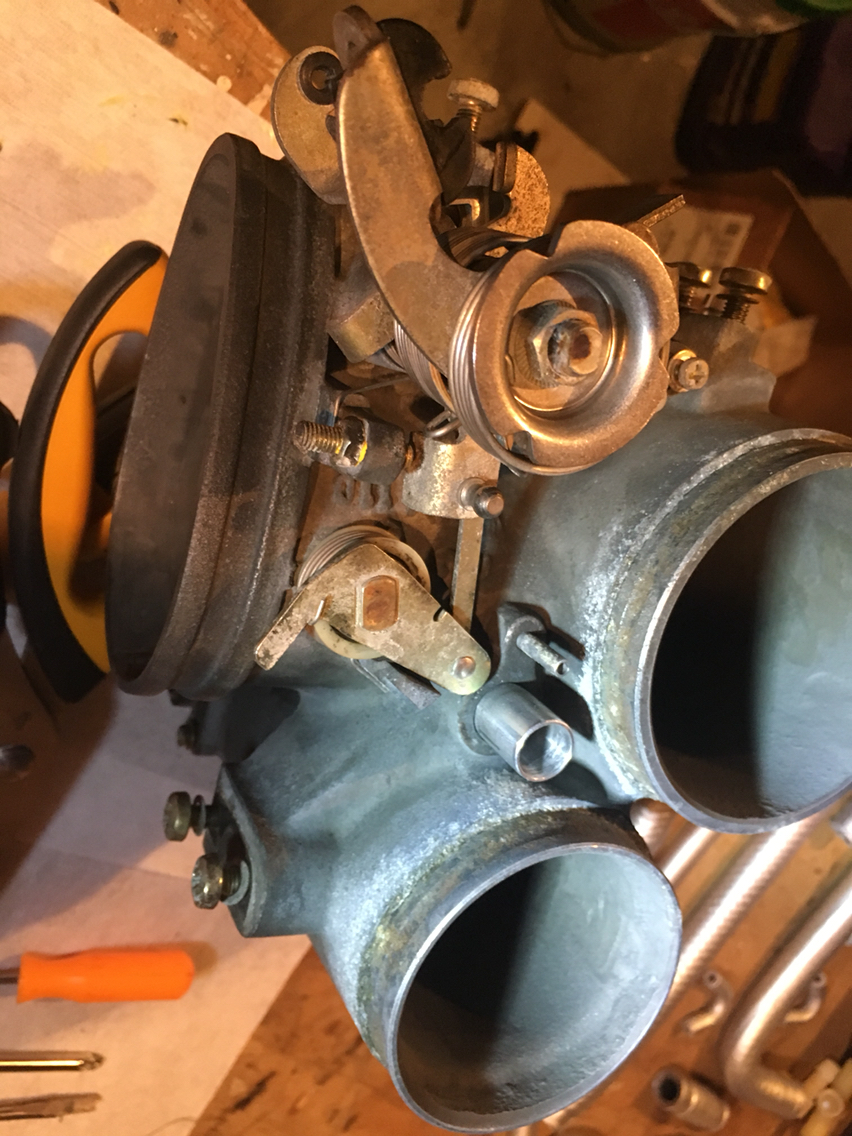
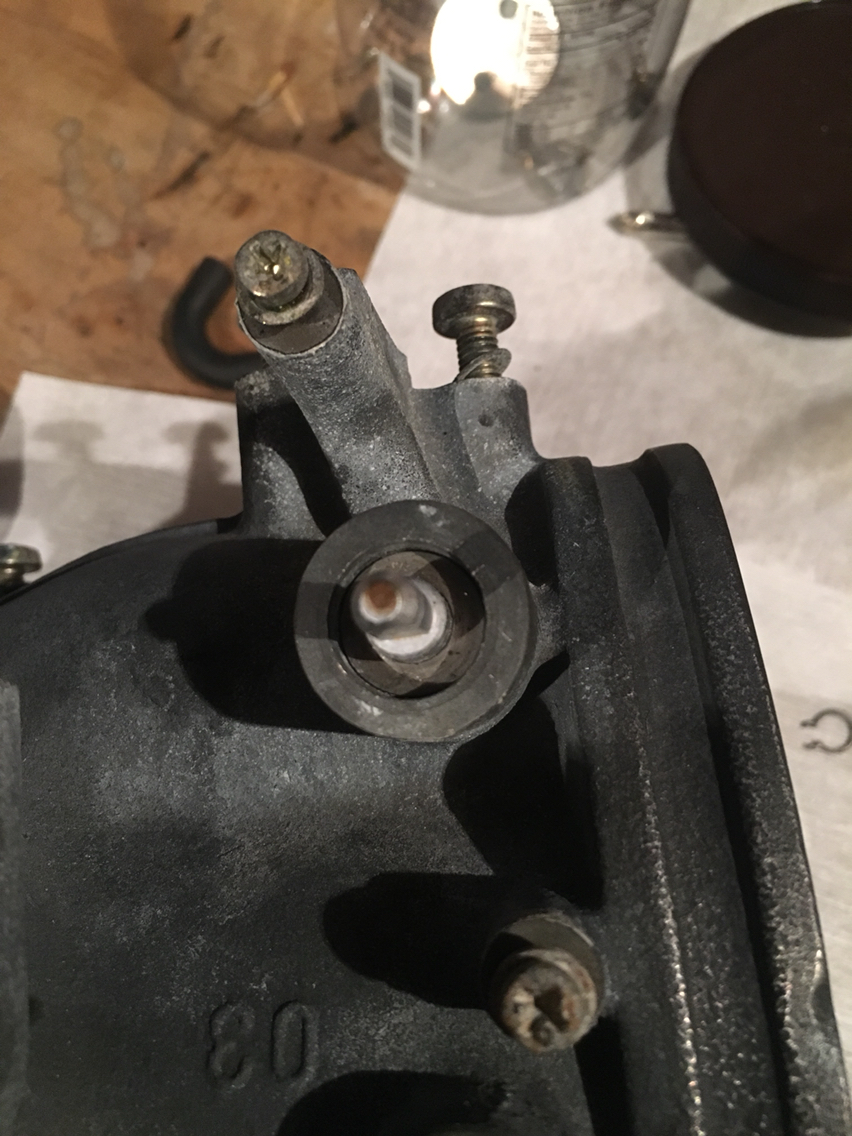
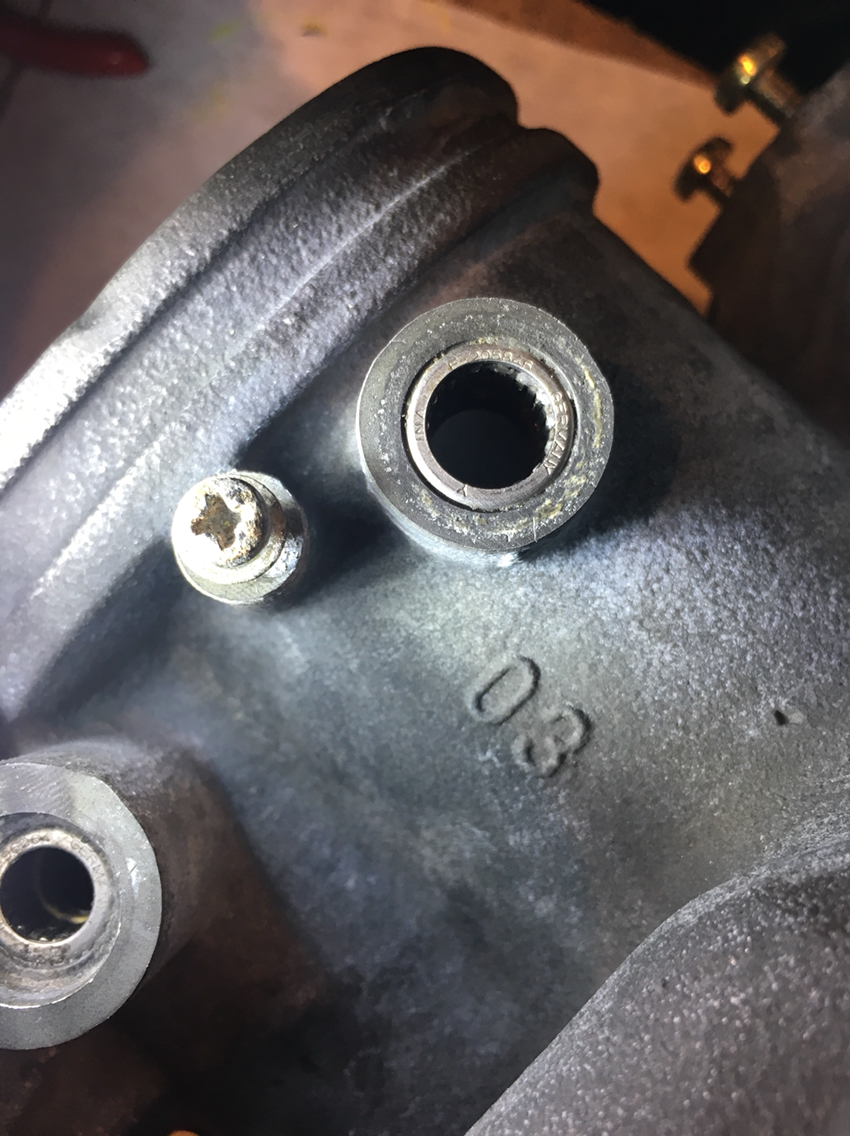
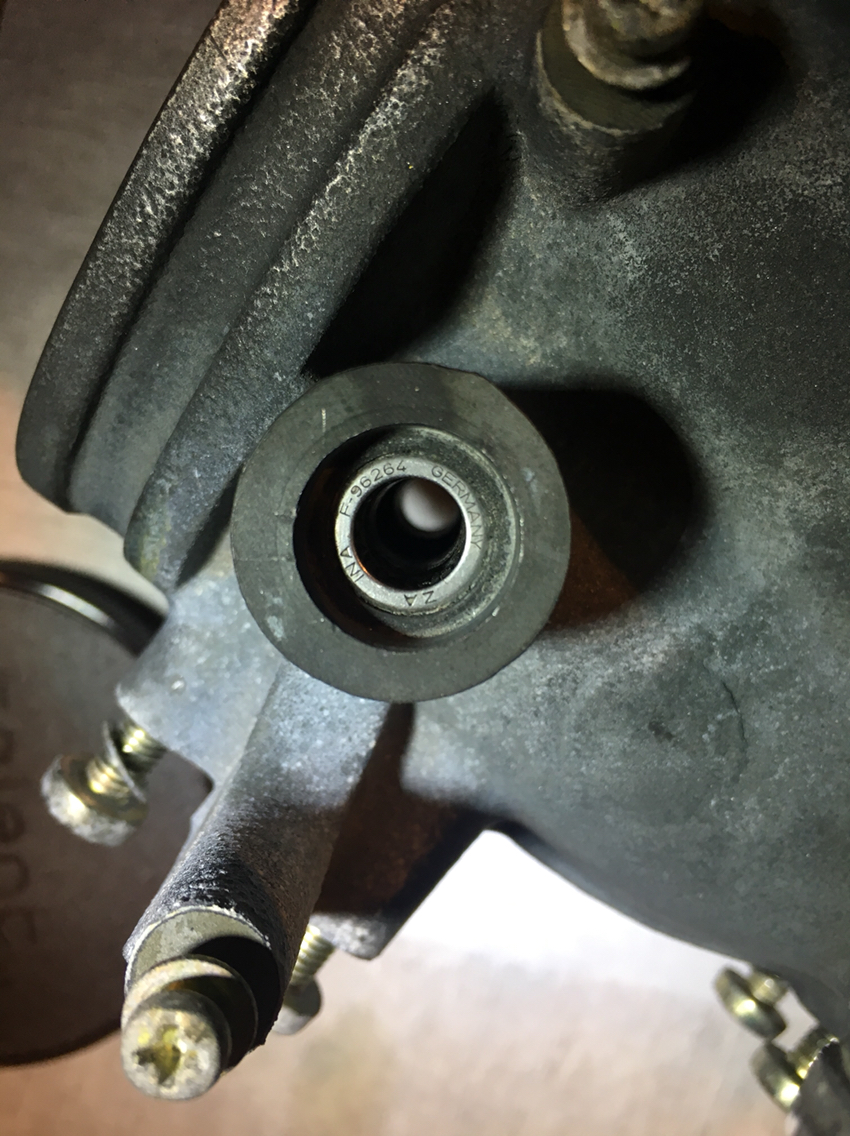
The seal is square and has a lip on the inside... i know the seal, just need to nail down the size and material.
The larger has a 10mm ID and the smaller has an 8mm ID
The thing about pulling the bearings, is that i hate when i can't do something- so it makes me want to go ahead and go all the way...lol.
But there are two truisms in life one should live by-
1. You can't have everything you want
2. You can't dance with all the girls
So for now, I'll stay on the seal track. And if i decide to dance with another girl...well, she'll have to wait while i attempt to have everything i want.
07-13-2018, 11:54 AM
#82

I have a set of small slide hammer bearing pullers I'll let you use. If you don't want to buy them for this one time use just let me know I'll bring them to you. It's a good snap on set I think I paid 450 for it.
07-13-2018, 10:13 PM
#84
I have even a better way to remove the bearings so you don't hurt them. you get a washer or a small socket that will push on the outer race and a bigger socket on the other side the bearing will fit in then you put a bolt through the sockets and tighten the bearing comes right out with no damage and you reinstall the same way. works really good.
07-13-2018, 11:05 PM
#85
Race Car
Thread Starter
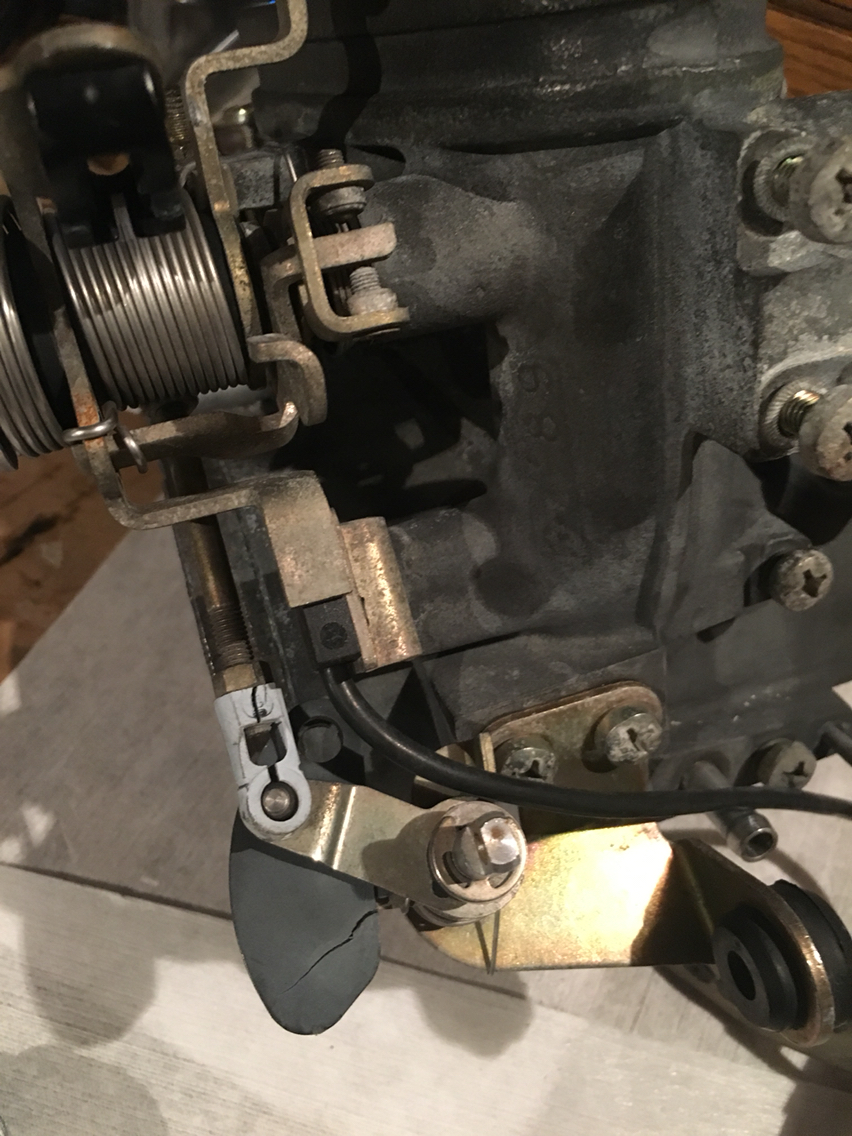
The bearing fits into a a lot that is the width of the bearing on one side and the width of the id of the bearing on the other. So there is no way to get to the backside of the bearing.
So the only way is the expansion fitting on the end of a slide hammer...
Heat the throttle body, insert the expansion end of the slide hammer, add a little more heat and bang bang bang...
So the only way is the expansion fitting on the end of a slide hammer...
Heat the throttle body, insert the expansion end of the slide hammer, add a little more heat and bang bang bang...
07-14-2018, 08:40 PM
#86
Race Car
Thread Starter
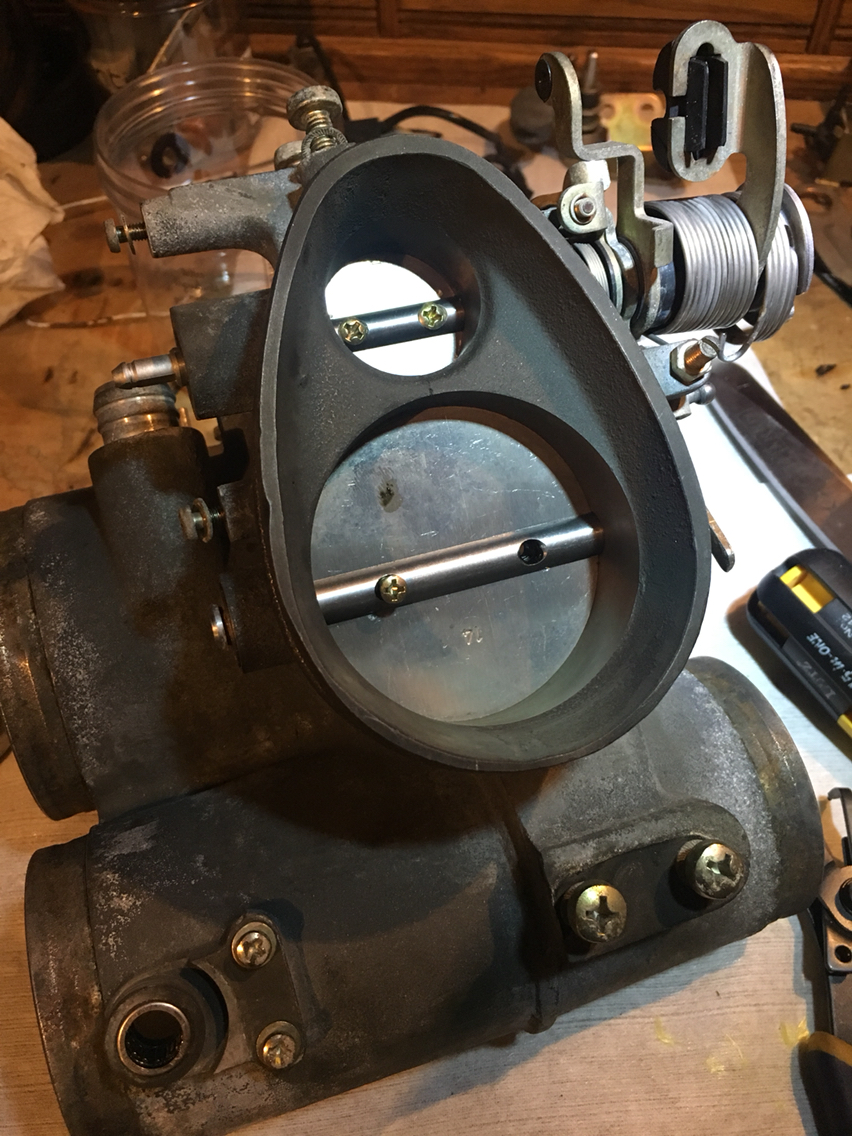
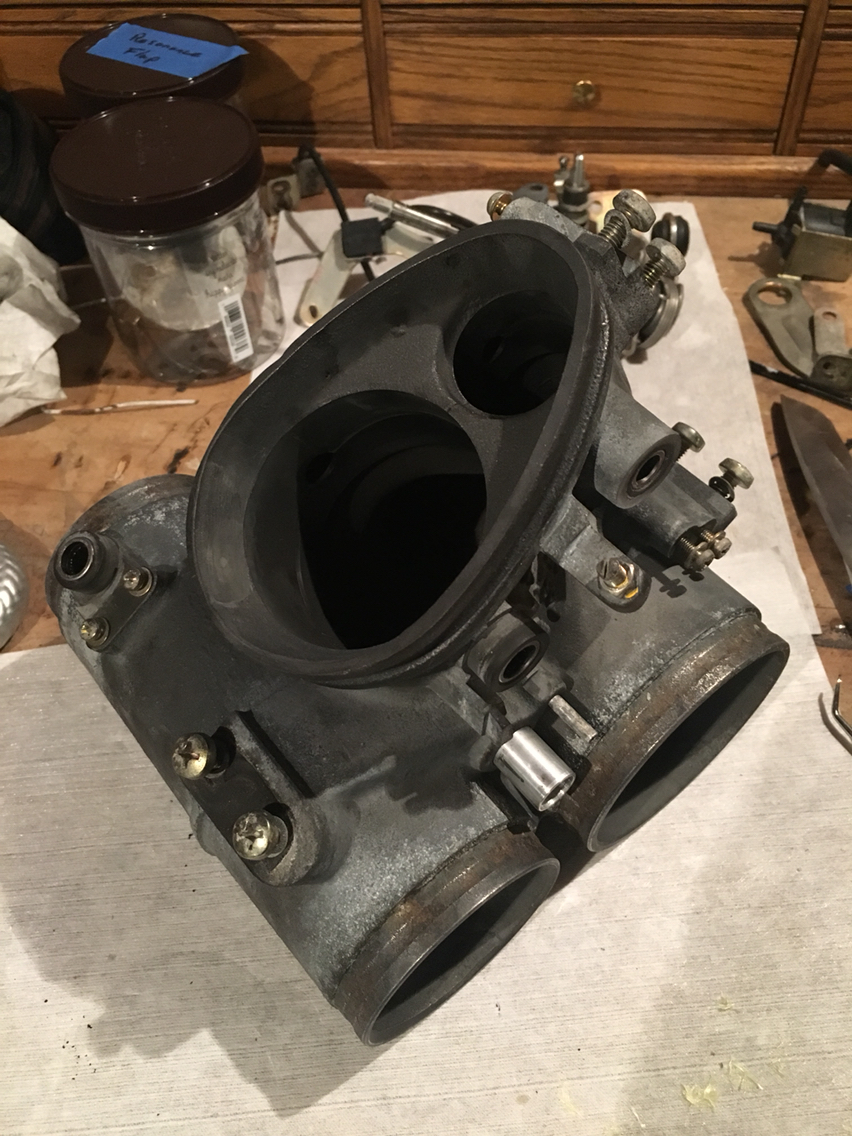
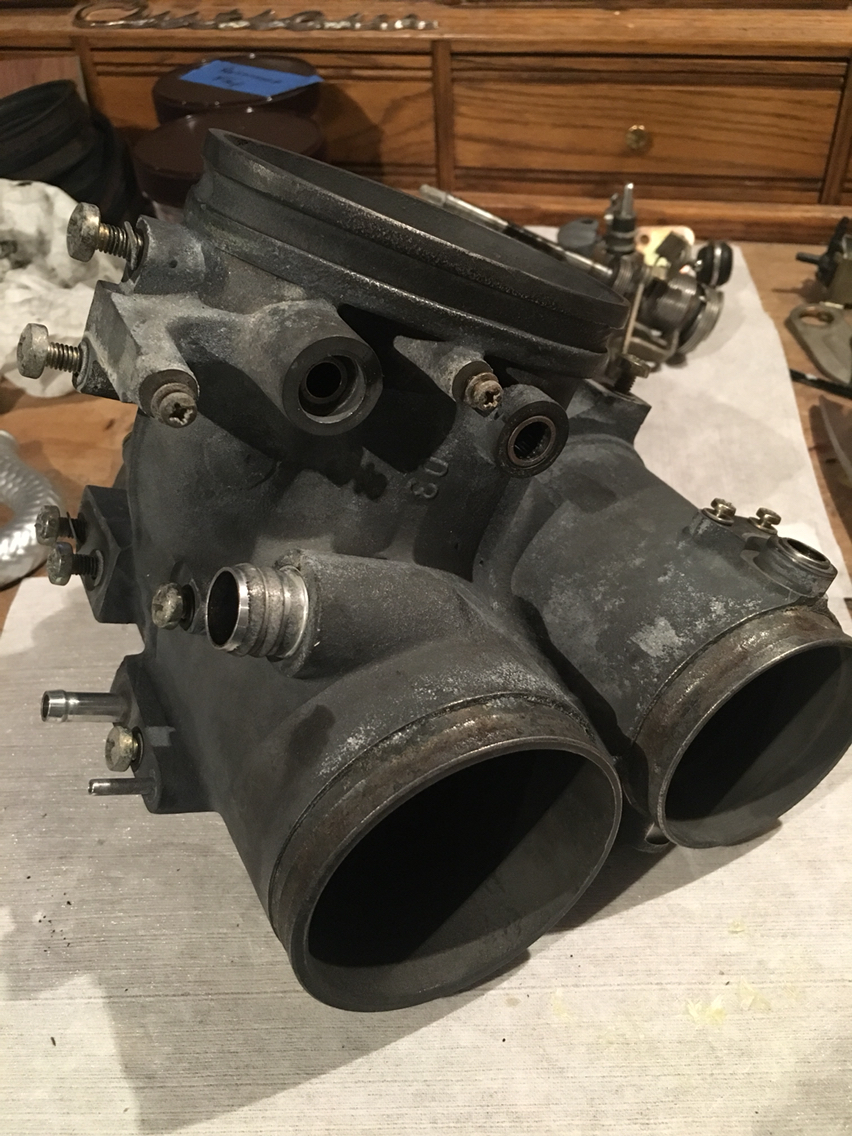
Did a little cleaning today...
This is just a first pass. Porsche leaves these rough on the inside, which is fine. But the issue is that lots of gunk catches and builds up on the ridges and we don't want that...so I'm sanding, honing, and later polishing a bit. I won't go crazy, but it'll be more well finished.
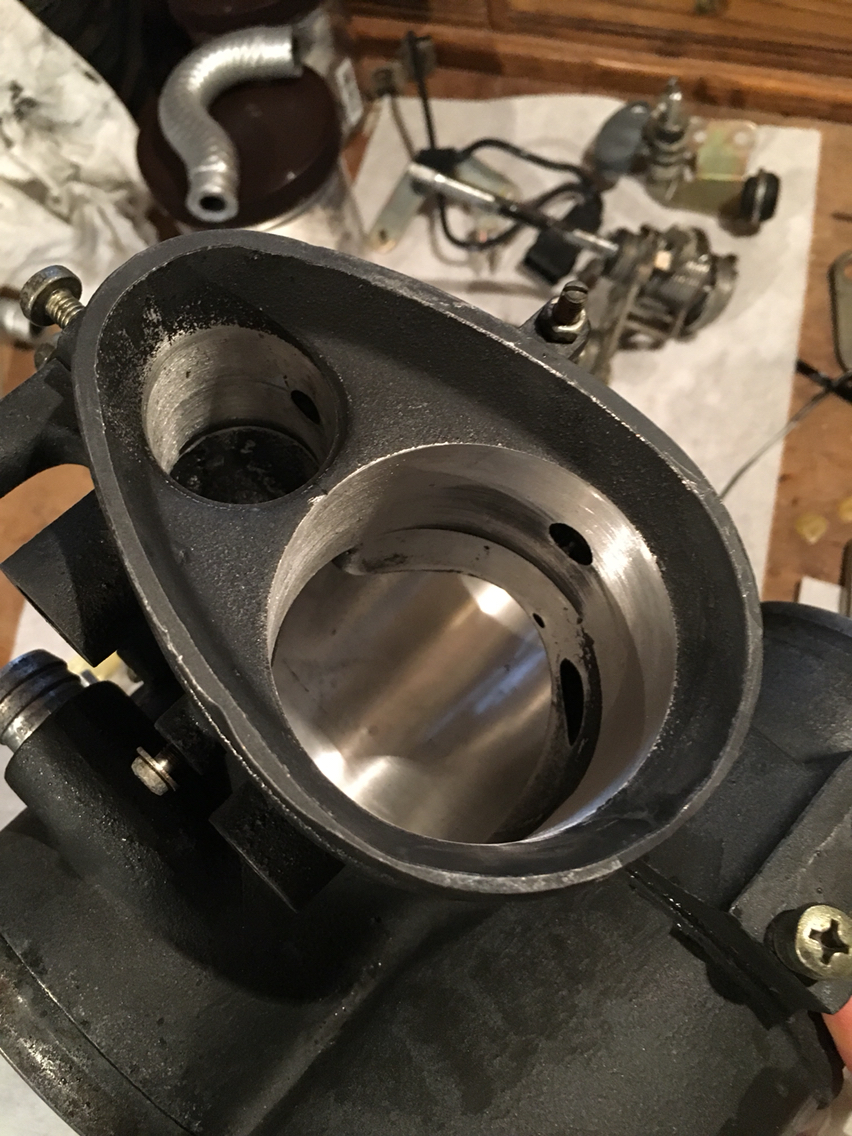

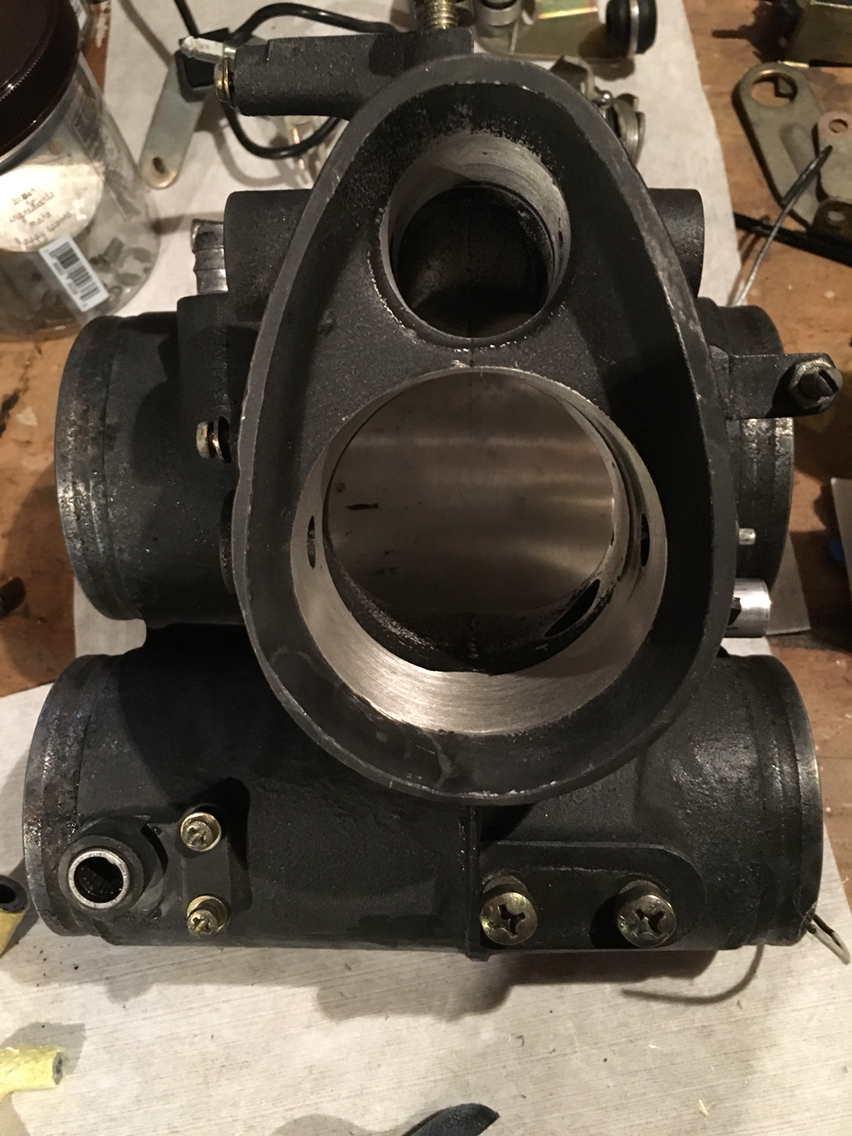
Still waiting on some other things to arrive. So in the meantime, i have to hone out the manifolds, and continue with this throttle body.
This is just a first pass. Porsche leaves these rough on the inside, which is fine. But the issue is that lots of gunk catches and builds up on the ridges and we don't want that...so I'm sanding, honing, and later polishing a bit. I won't go crazy, but it'll be more well finished.
Still waiting on some other things to arrive. So in the meantime, i have to hone out the manifolds, and continue with this throttle body.
07-15-2018, 08:53 PM
#87
Race Car
Thread Starter
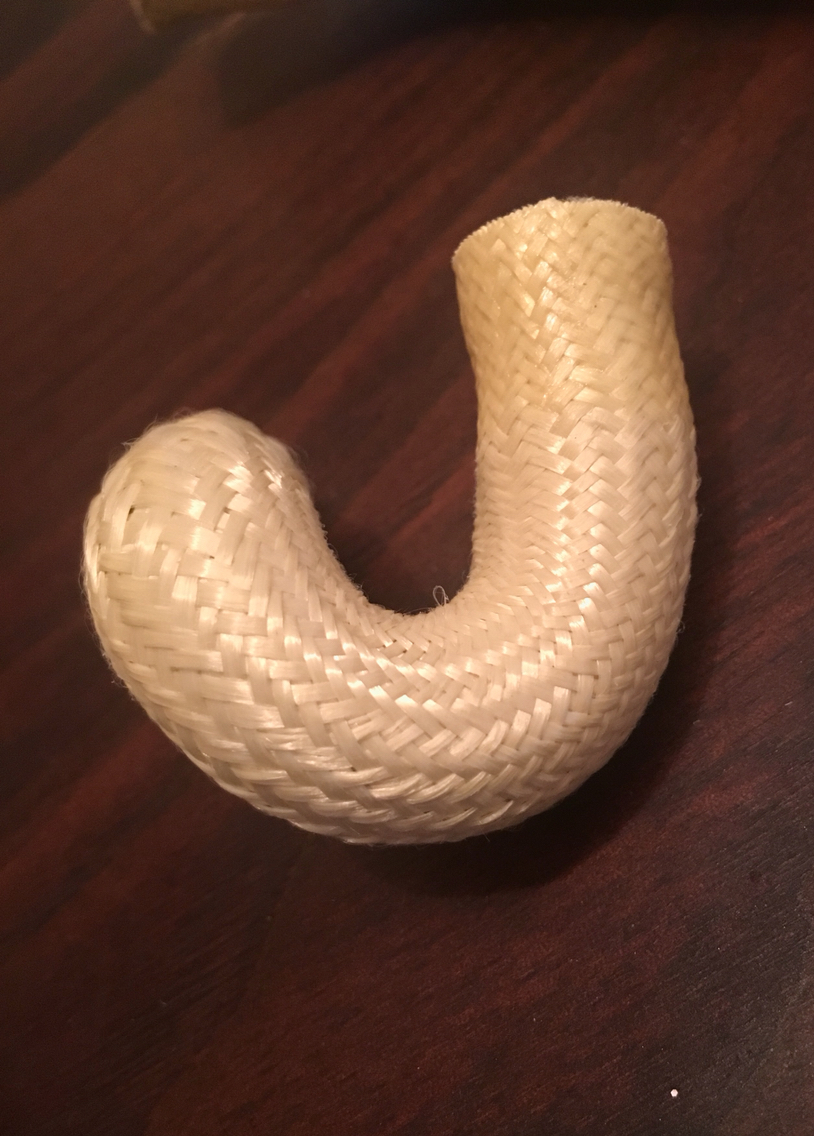
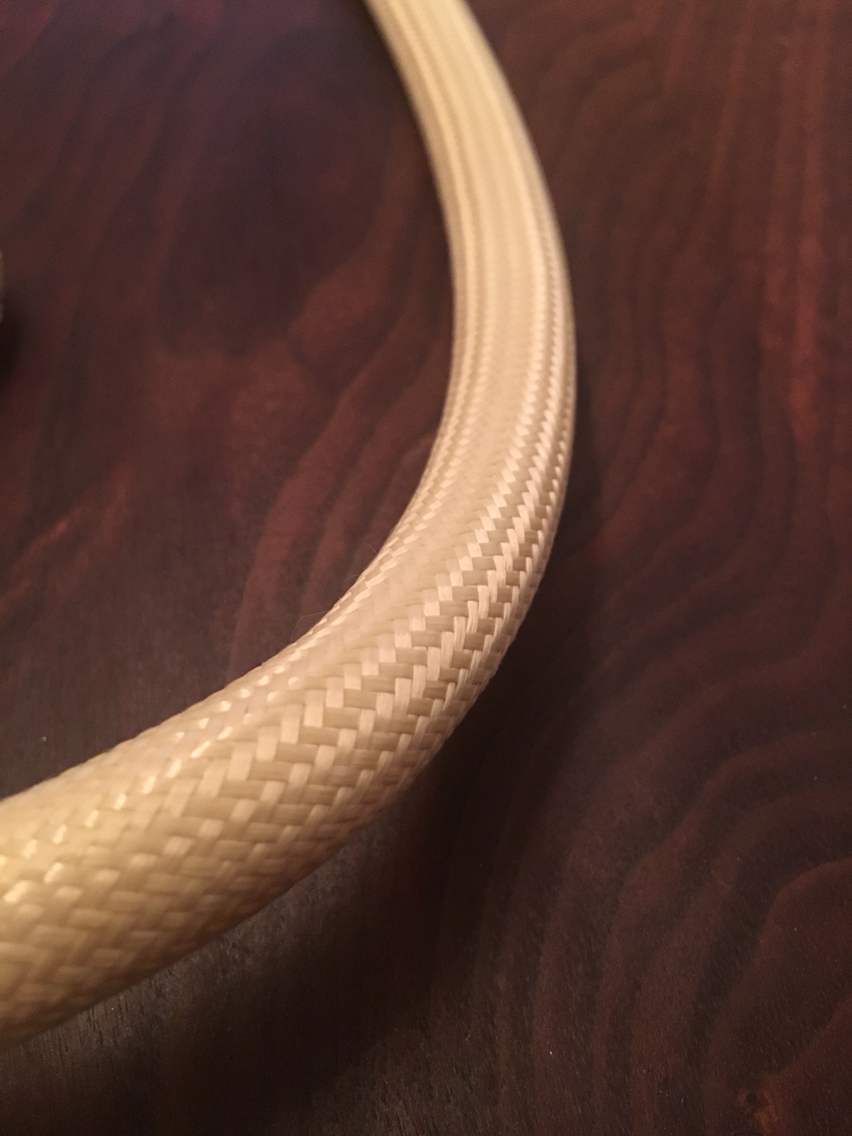
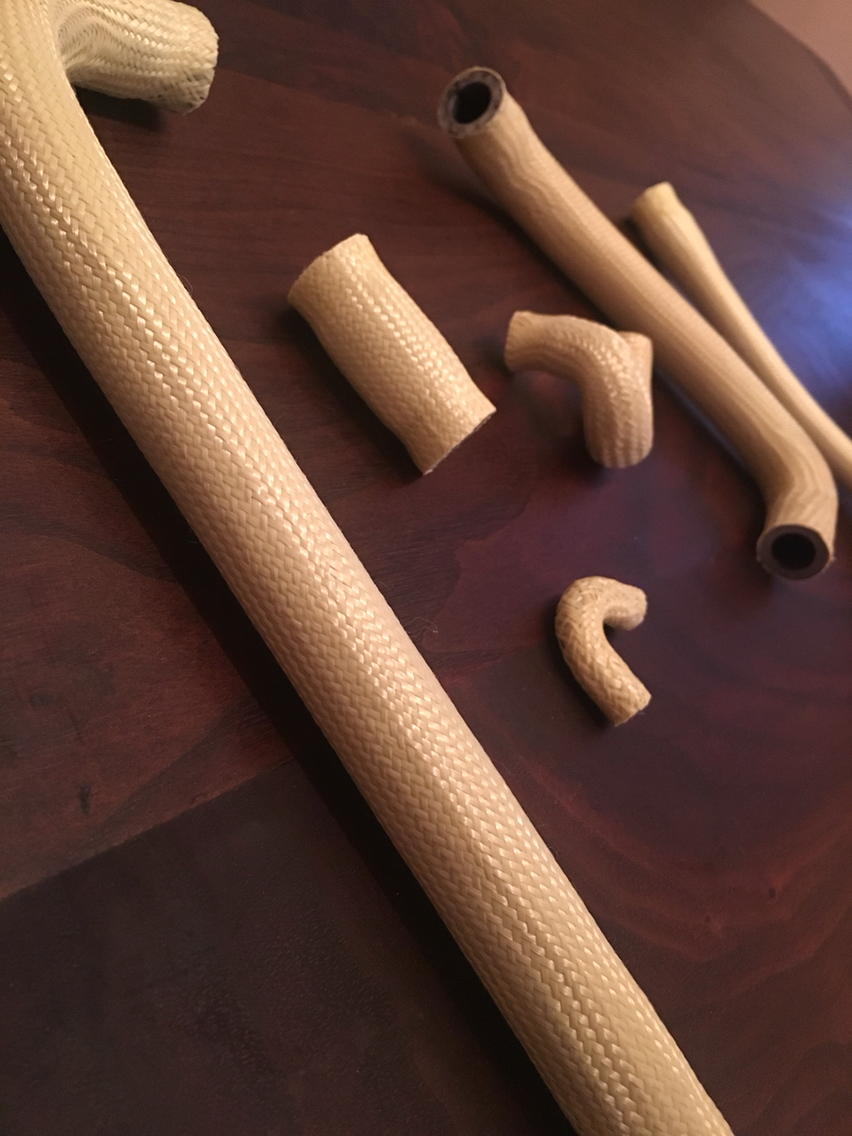
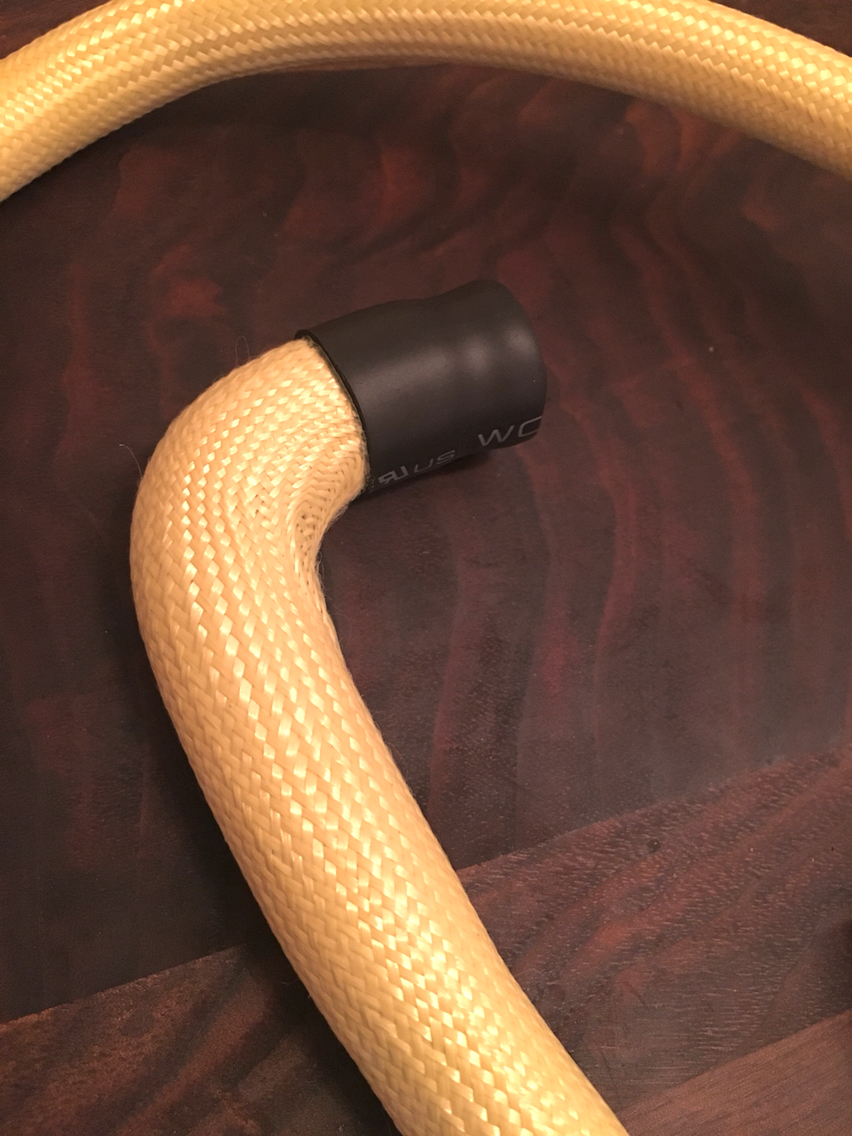
Progress on the hoses...
I haven't received my shrink tubes for the ends yet, but that's what you get for buying through anyone else but amazon these days. So of course, i went on amazon and bought some double walled 3:1 black adhesive lined shrink tube to use as a backup. That way, tomorrow, my original order will arrive.
Keep in mind this is all an experiment, I've never used any kind of liner like this...so I'm learning as i go. Some of these will be better than others, and I'm sure that by the end, the last ones will look pretty good. (These already look good)...
But- practice makes perfect.
Reality is, most of these lines will never show.
07-17-2018, 09:52 PM
#89
Race Car
Thread Starter
Slow moving over here. One thing at a time. Baby is due in a couple weeks and i have work stuff, exams etc happening all at once...sooooo
One thing at a time.
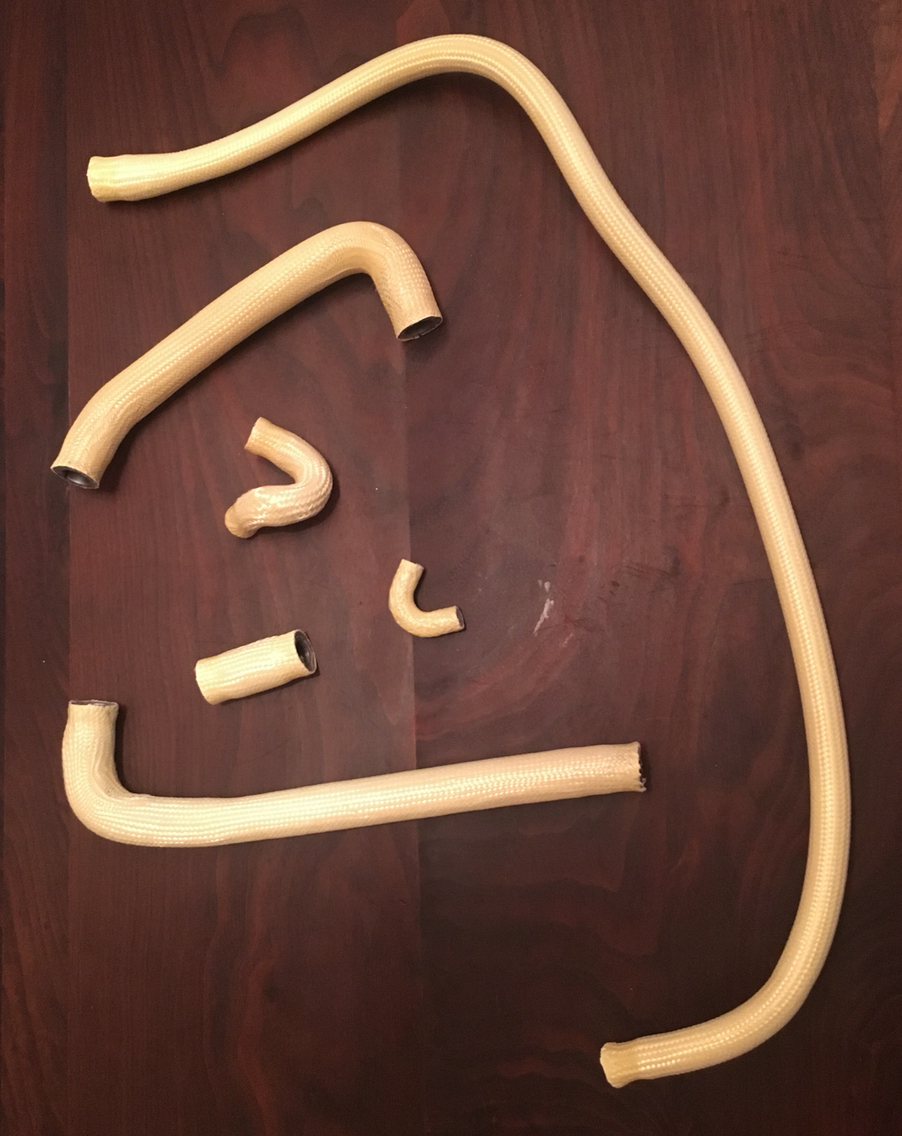
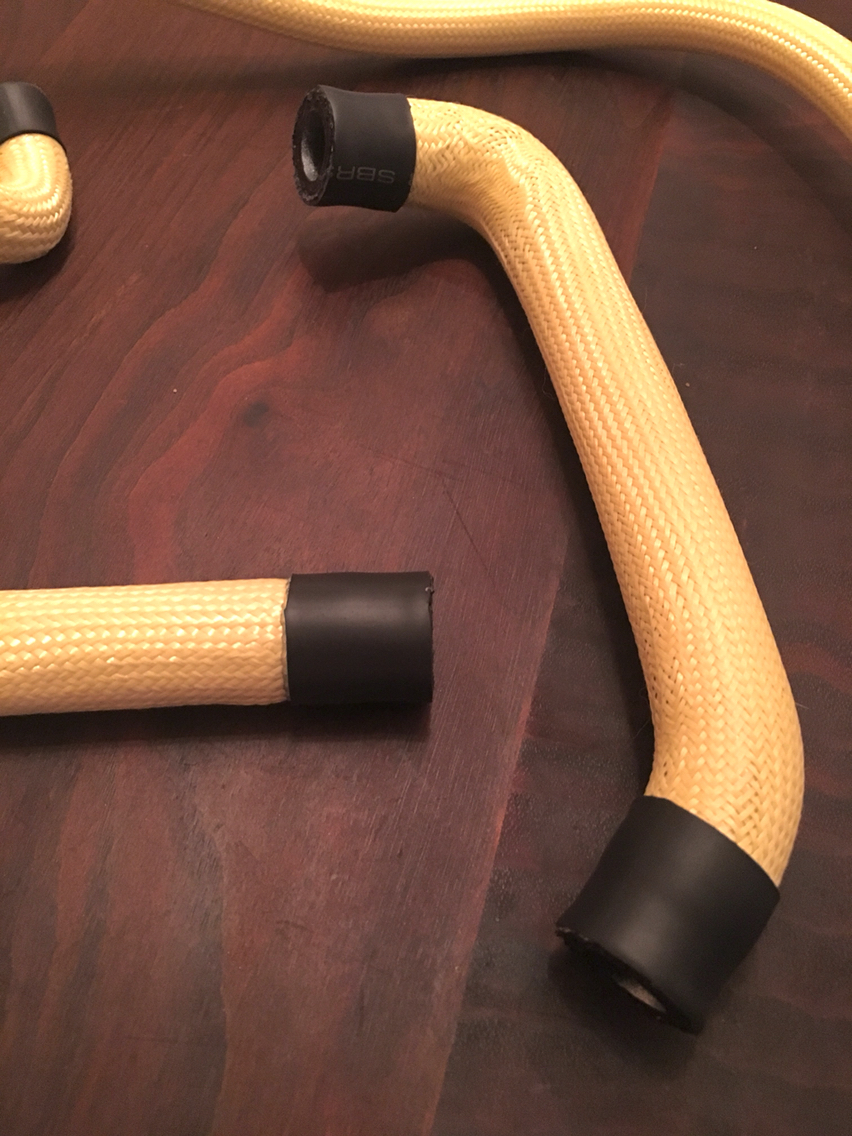
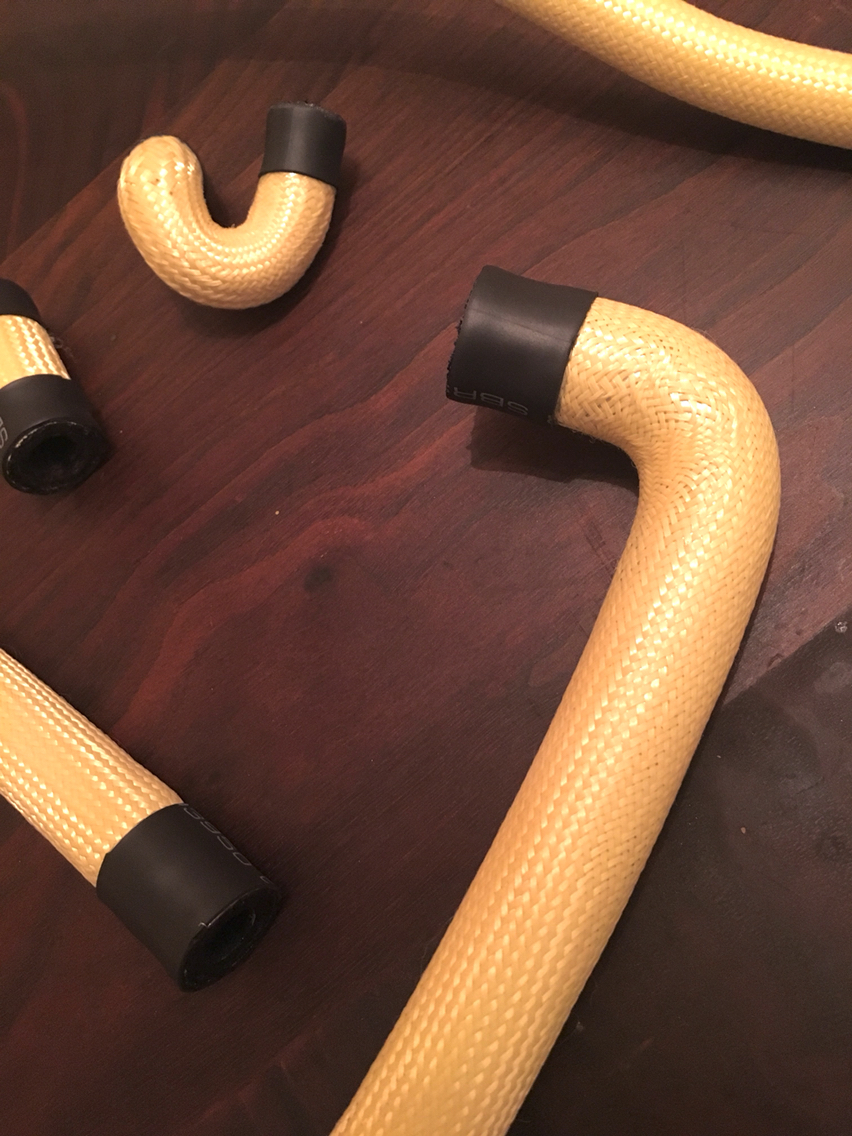
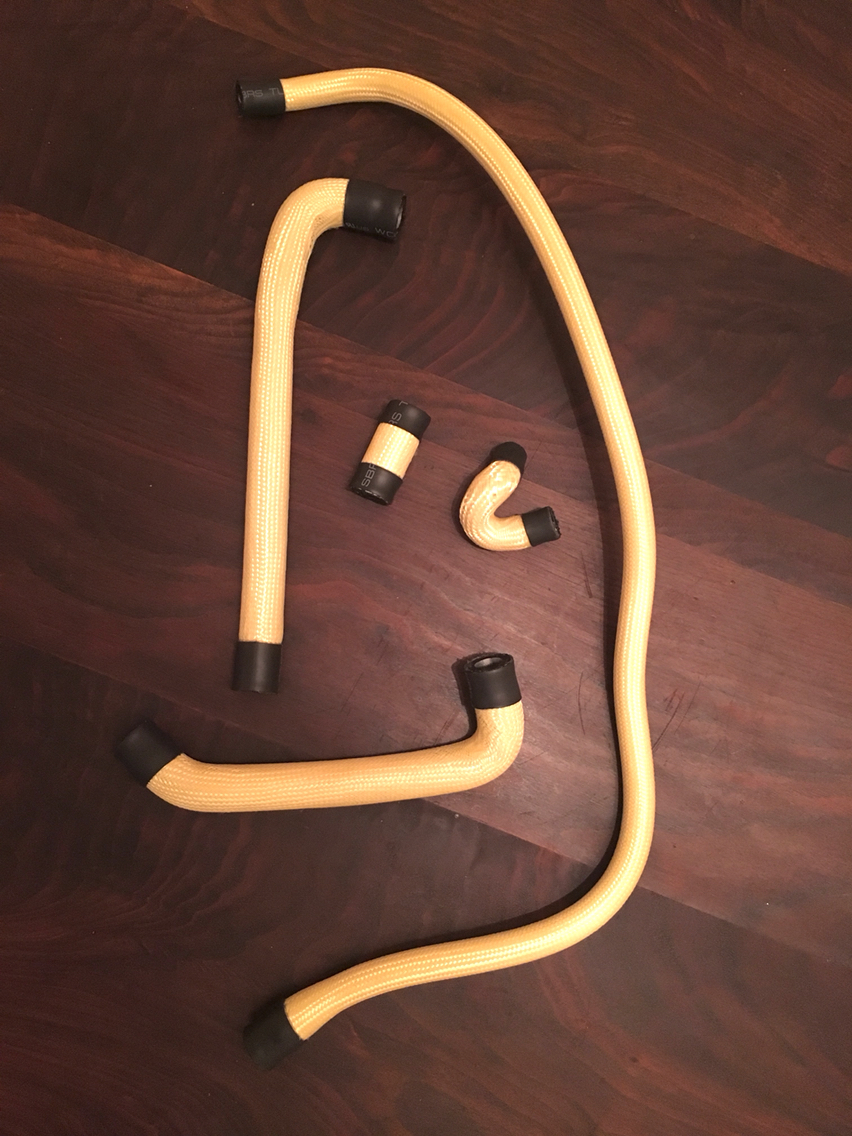
3:1 dual wall adhesive lined shrink tubing arrived today. So i banged out the remainder of the work on a few of these hoses. Have a few hoses i haven't even started yet, and I'm trying to find the right 4mm id hoses to replace the hardlines. Everything i have experimented with is too soft.
But I'm getting better at the Kevlar wrap. Next up is to figure out how to keep them clean- or cleanable...
I think it's possible this intake might actually be installed in my car by the time the baby is old enough to take a ride!
One thing at a time.
3:1 dual wall adhesive lined shrink tubing arrived today. So i banged out the remainder of the work on a few of these hoses. Have a few hoses i haven't even started yet, and I'm trying to find the right 4mm id hoses to replace the hardlines. Everything i have experimented with is too soft.
But I'm getting better at the Kevlar wrap. Next up is to figure out how to keep them clean- or cleanable...
I think it's possible this intake might actually be installed in my car by the time the baby is old enough to take a ride!
07-17-2018, 10:41 PM
#90
Pro
Absolutely loving your work and attention to detail. I'm tackling this job come the New Zealand summer and this will go a long way to helping me.
Would you mind sharing details on sourcing the kevlar wrap and the sizes you used?
Regards and thanks,
Neil
Would you mind sharing details on sourcing the kevlar wrap and the sizes you used?
Regards and thanks,
Neil
Last edited by rotorheadcase; 07-31-2018 at 12:10 AM.