
3 Liter 16v Turbo build
 10-02-2013, 09:12 AM
#181
Three Wheelin'
Thread Starter
I painted them very well.. ;-)
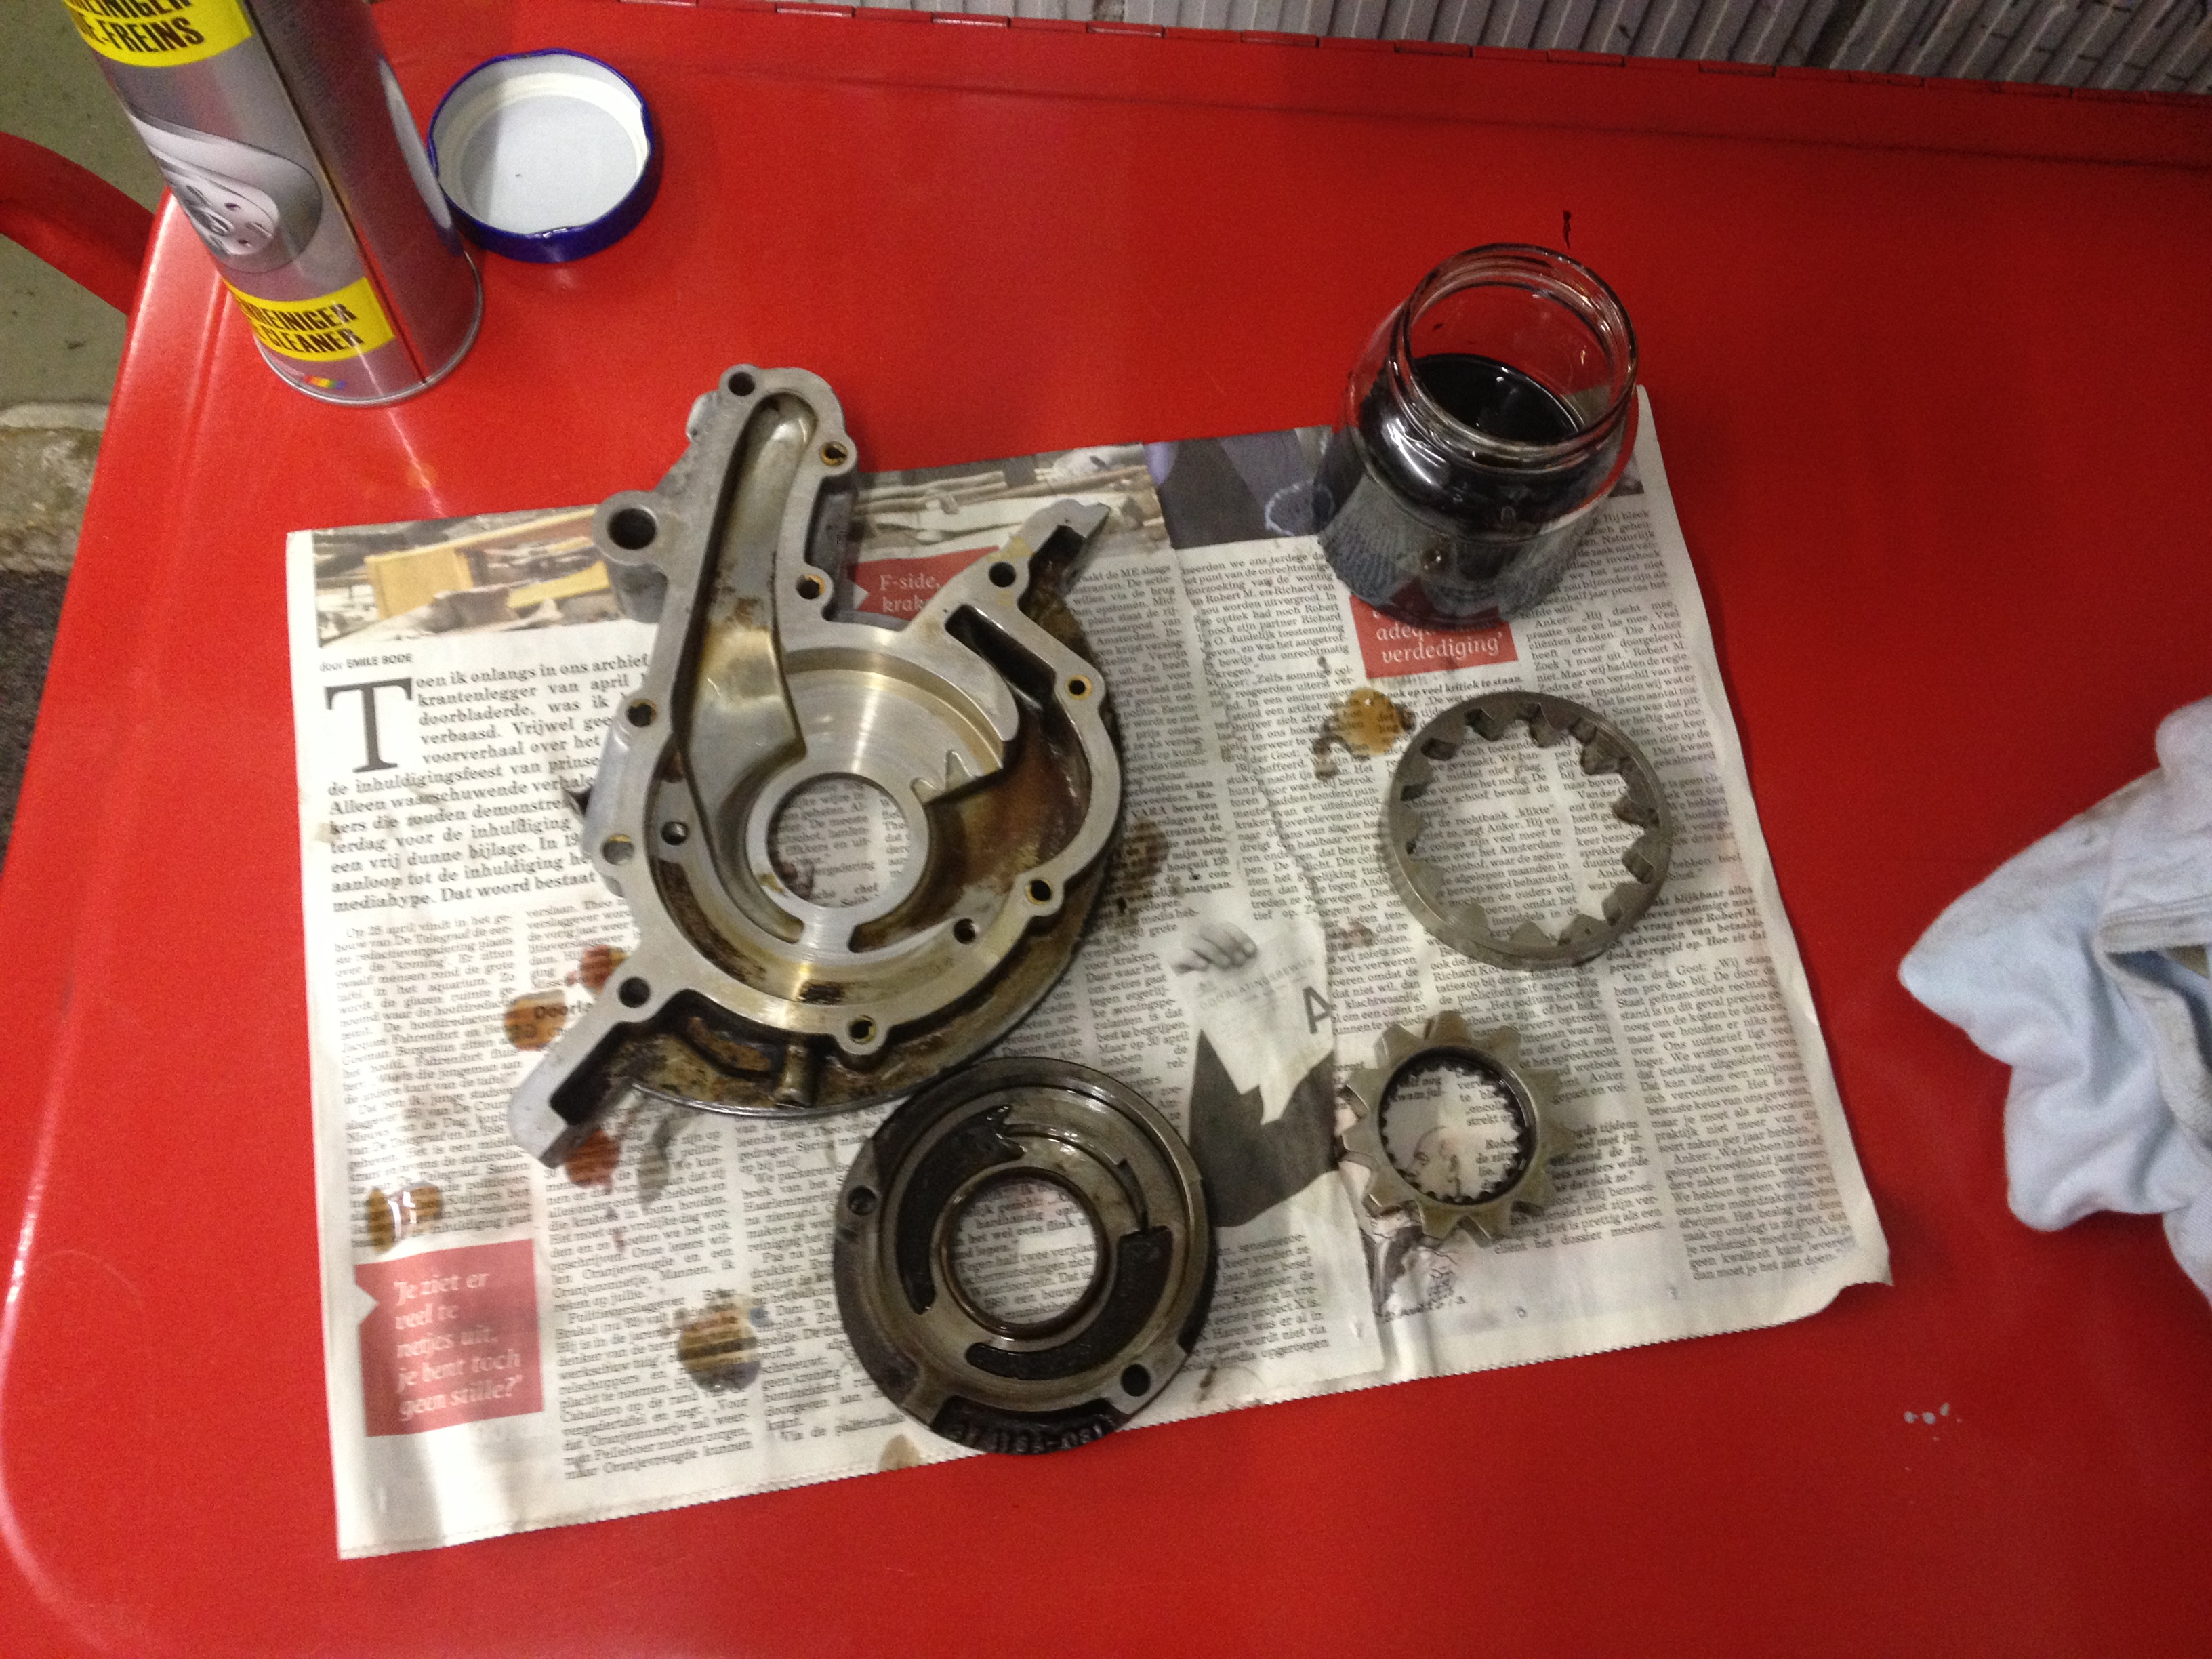
No but seriously, took them apart completely, all of the bolts out, so they were parted. Sandblasted them and painted them several times with heat resistant red paint. Put them in the oven to harden and than applied the stickers. Put the pistons and rubbers back in and put some clear heat resisting paint on them.
I've had several people here who said the same thing. Some even told me; sell me your calipers, i'll give you mine as well! But the amount of time spend on these is too much
 10-02-2013, 09:22 AM
#182
Addict
Rennlist Member
Rennlist Member
I was told that taking te clipers apart is a big no-no. Did you loctited them back together?
10-02-2013, 09:39 AM
#183
Three Wheelin'
Thread Starter
They are not loctited.. And taking them apart is as easy as it get's, putting them back together as well! Just beware that the bolts are very well tightened, i had a view of with the hex head was busted. Got new bolts all around! Also made some new brake lines from the left to the right side of the caliper (or right to left..)
10-02-2013, 10:16 AM
#184
Rennlist Member
10-02-2013, 11:41 AM
#185
Three Wheelin'
Thread Starter
On some Brembo's (not ours) the sides are connected through each other by a tube which if fitted between them, taking them apart will most likely brake the tube.
Also, the bolts are for 1 time use by some, but that's only when you have the bolts which are the "stretch-bolts". The the ones in our calipers are not those.
So that's why it's save to take these calipers apart!
Also, the bolts are for 1 time use by some, but that's only when you have the bolts which are the "stretch-bolts". The the ones in our calipers are not those.
So that's why it's save to take these calipers apart!
10-02-2013, 12:01 PM
#186
Rennlist Member
On some Brembo's (not ours) the sides are connected through each other by a tube which if fitted between them, taking them apart will most likely brake the tube.
Also, the bolts are for 1 time use by some, but that's only when you have the bolts which are the "stretch-bolts". The the ones in our calipers are not those.
So that's why it's save to take these calipers apart!
Also, the bolts are for 1 time use by some, but that's only when you have the bolts which are the "stretch-bolts". The the ones in our calipers are not those.
So that's why it's save to take these calipers apart!
 10-02-2013, 06:16 PM
#188
Addict
Rennlist Member
Rennlist Member
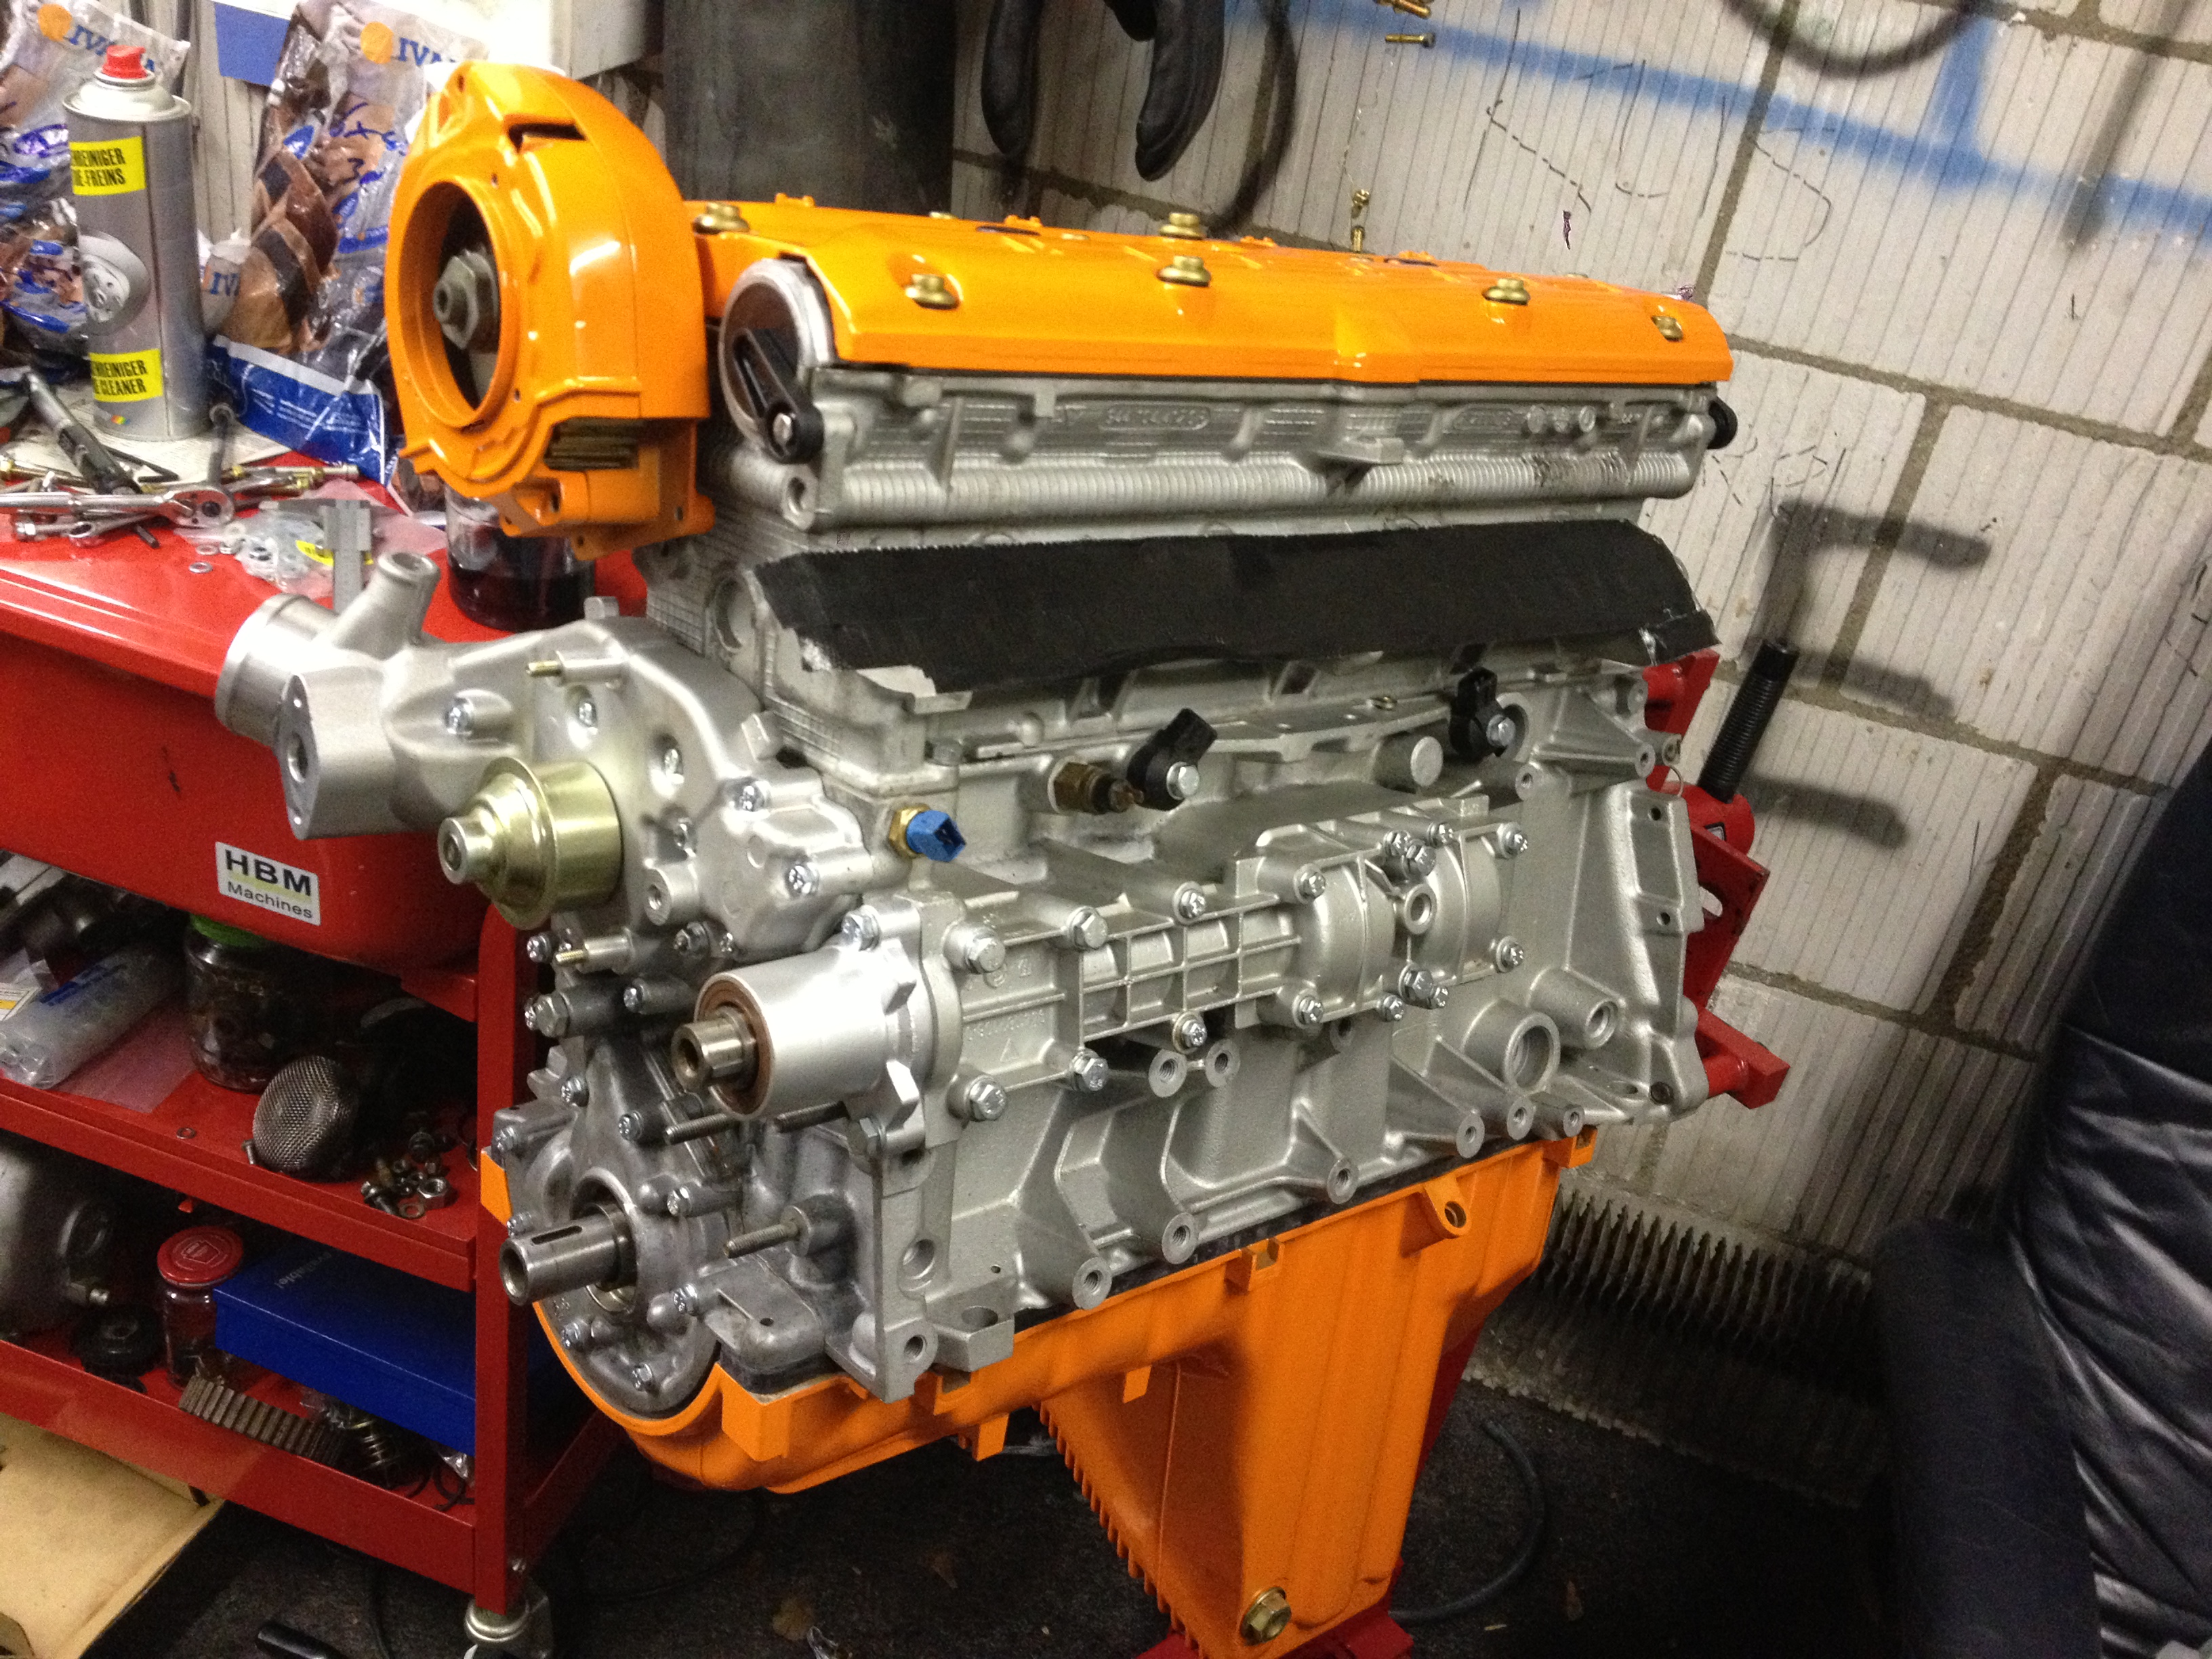
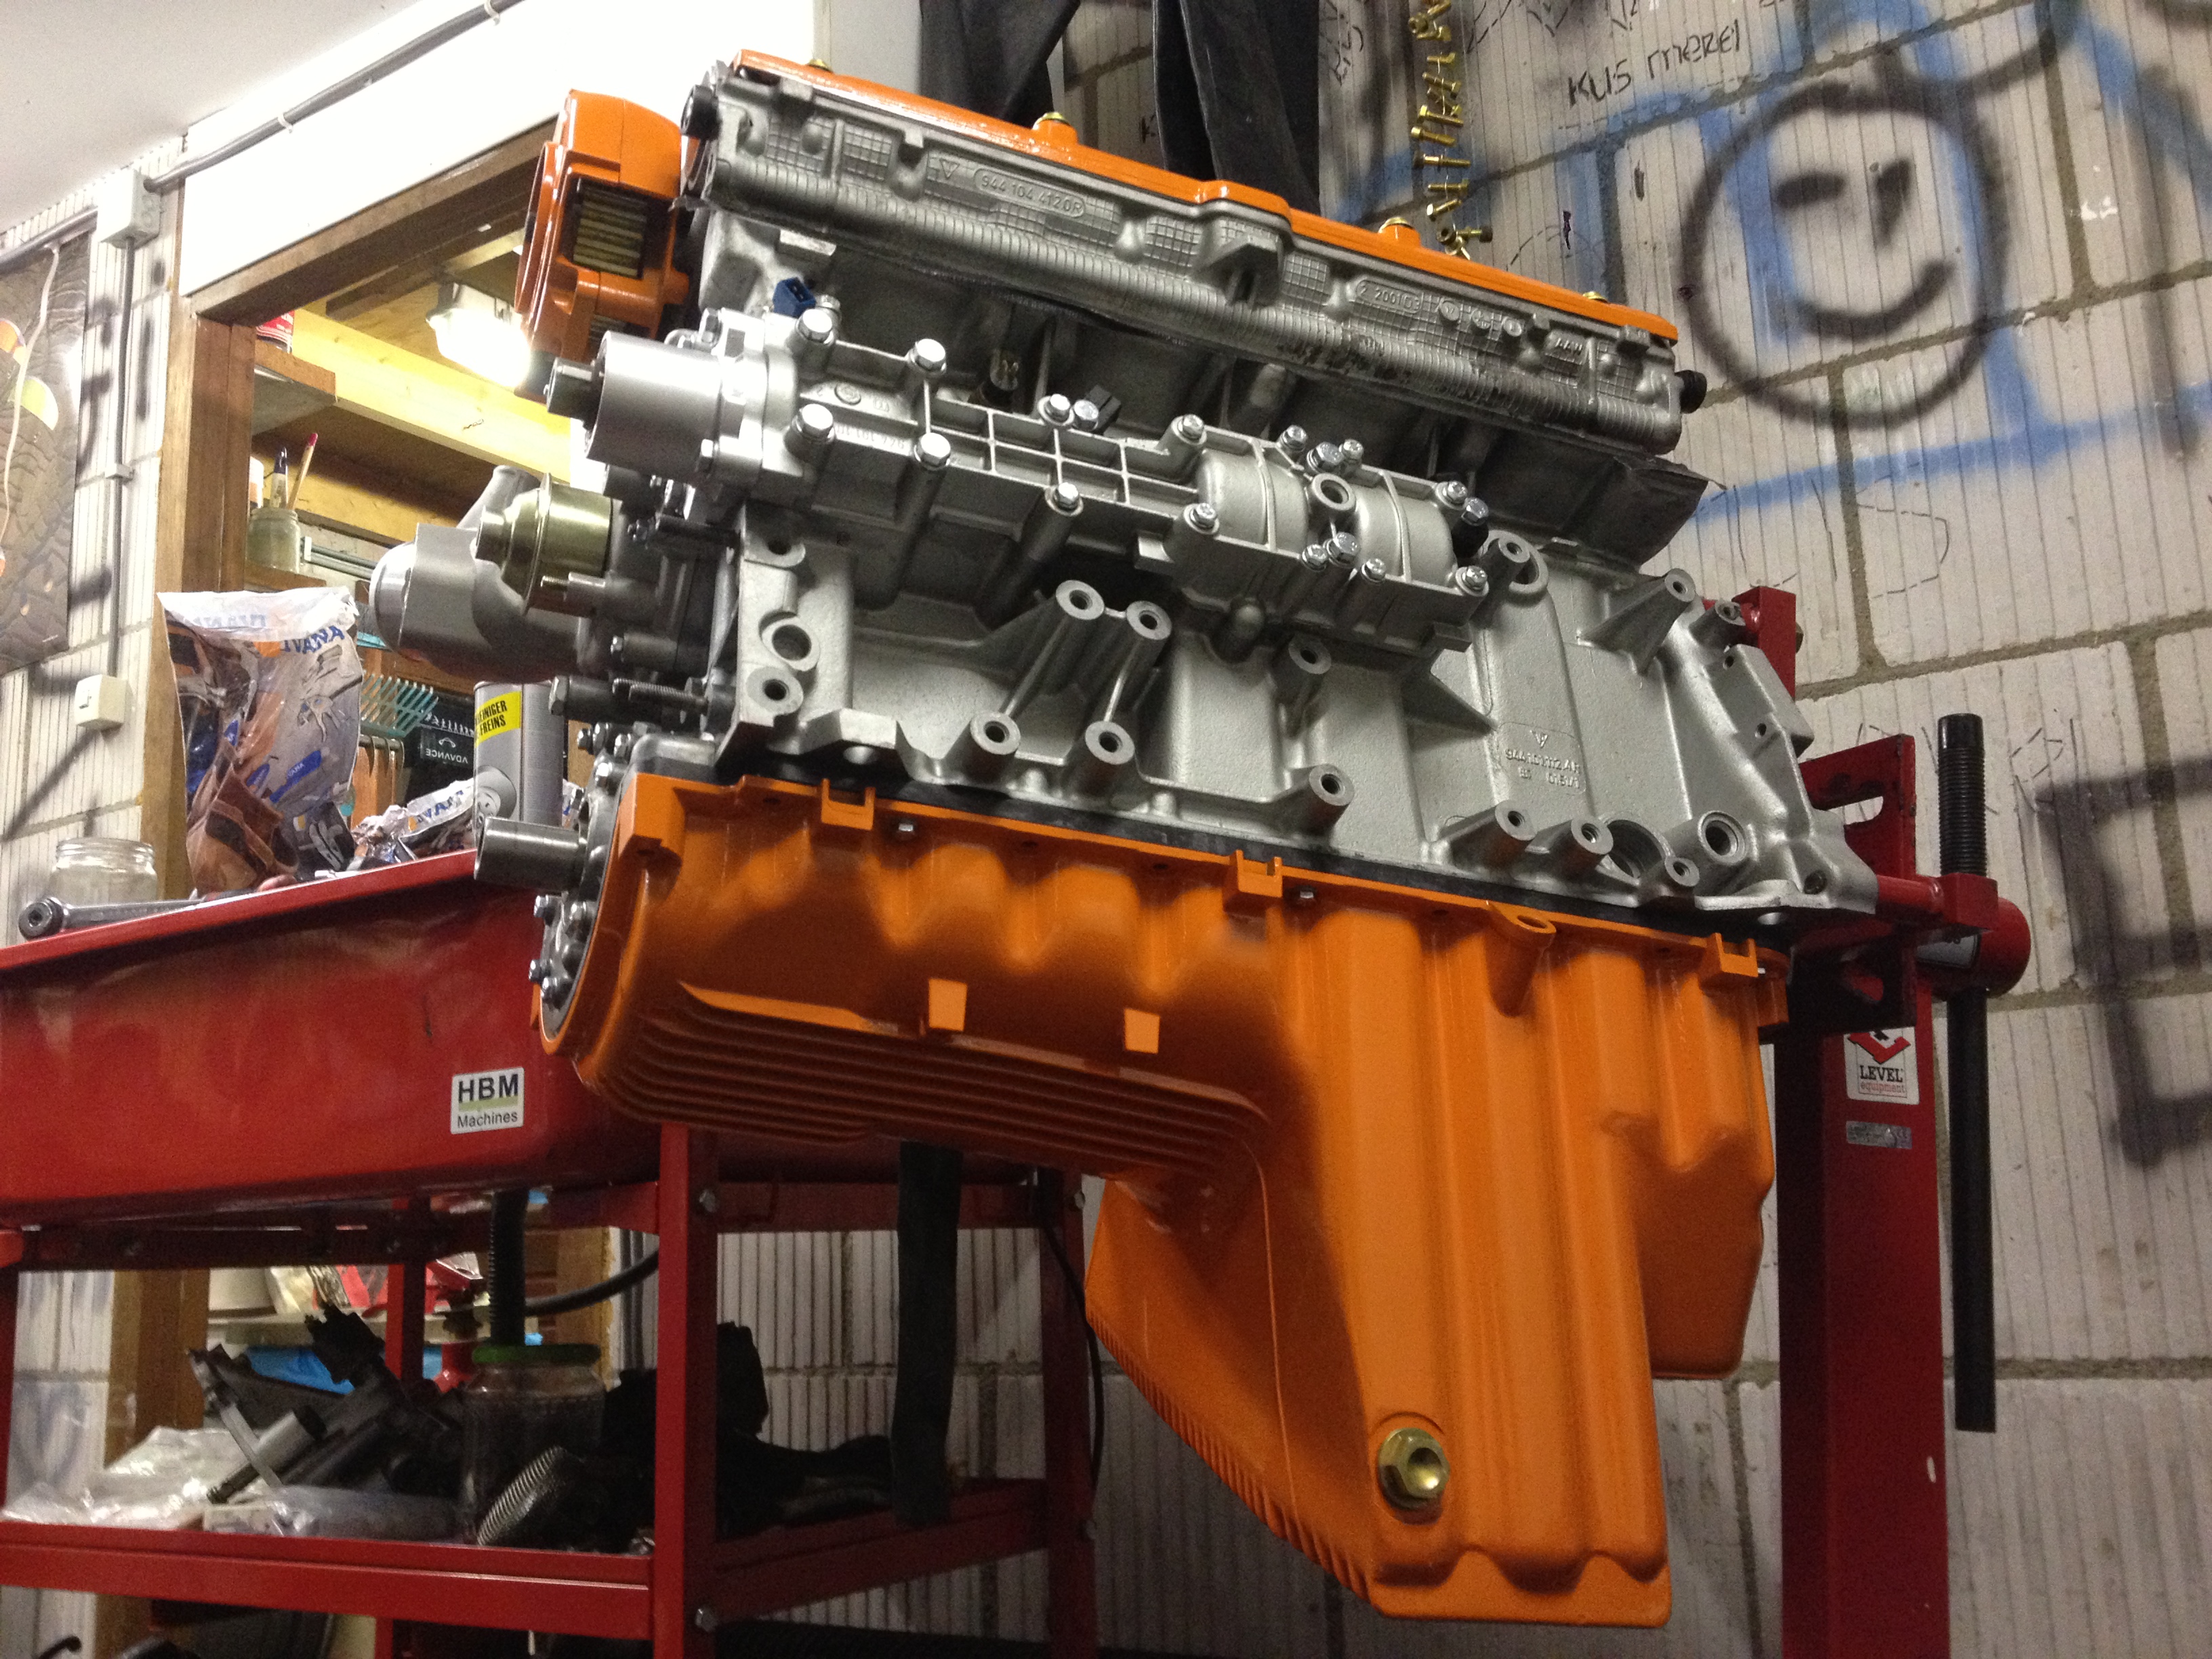
Beautiful engine.
How did you make the block shine so much? Mine looks dirty whatever I do to it..
How did you make the block shine so much? Mine looks dirty whatever I do to it..
10-03-2013, 05:03 AM
#190

 10-03-2013, 05:25 AM
#191
Three Wheelin'
Thread Starter
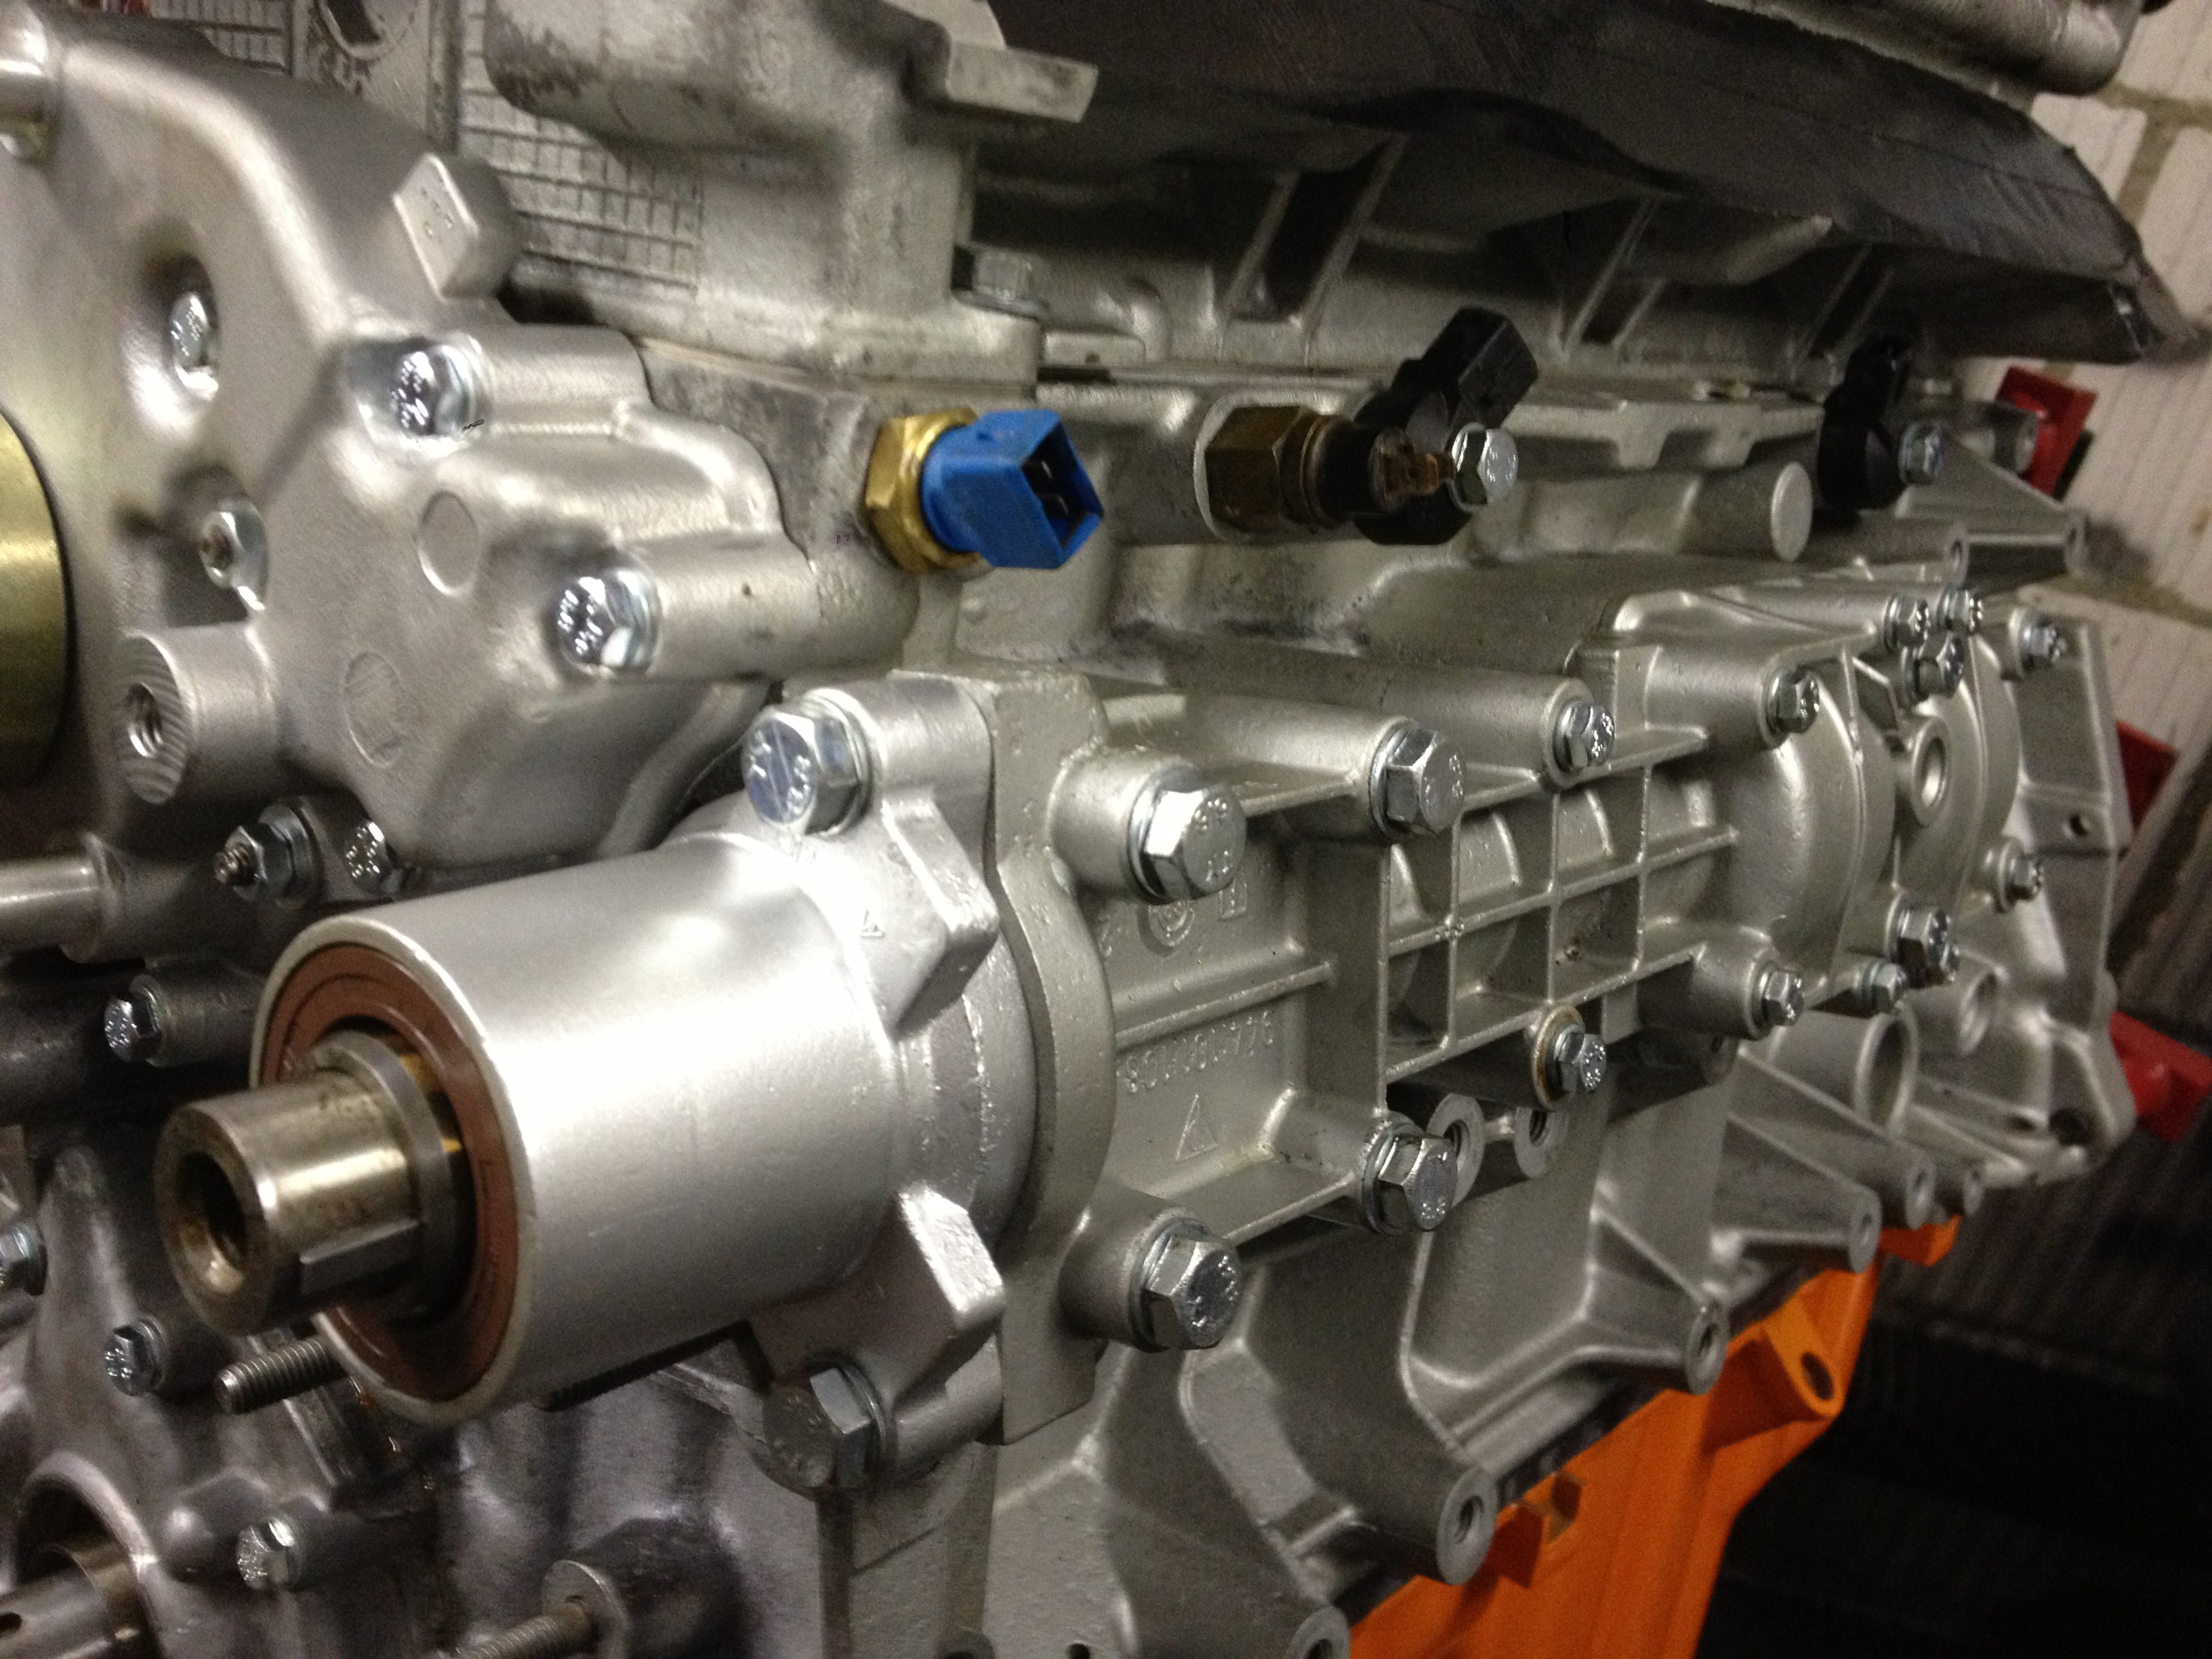
Well, the guy that did al the work for me had the engine in a special cleaningbath for several nights.. And it might also help that it had been completely refurbished recently.. They saltblasted it that time.. :-) Saltblasting is safe as you can get the engine in a boiling bath aftwards to get all the salt out!
10-03-2013, 08:19 AM
#192
Addict
Rennlist Member
Rennlist Small
Business Sponsor
Rennlist Member
Rennlist Small
Business Sponsor
Well, the guy that did al the work for me had the engine in a special cleaningbath for several nights.. And it might also help that it had been completely refurbished recently.. They saltblasted it that time.. :-) Saltblasting is safe as you can get the engine in a boiling bath aftwards to get all the salt out!
BTW - if you want your alusil block to shine then out a wire wheel on a drill and run it over the block with some pressure. The Ausil will take on a very nice dark silver shine in no time!
10-03-2013, 08:21 AM
#193
Addict
Rennlist Member
Rennlist Small
Business Sponsor
Rennlist Member
Rennlist Small
Business Sponsor
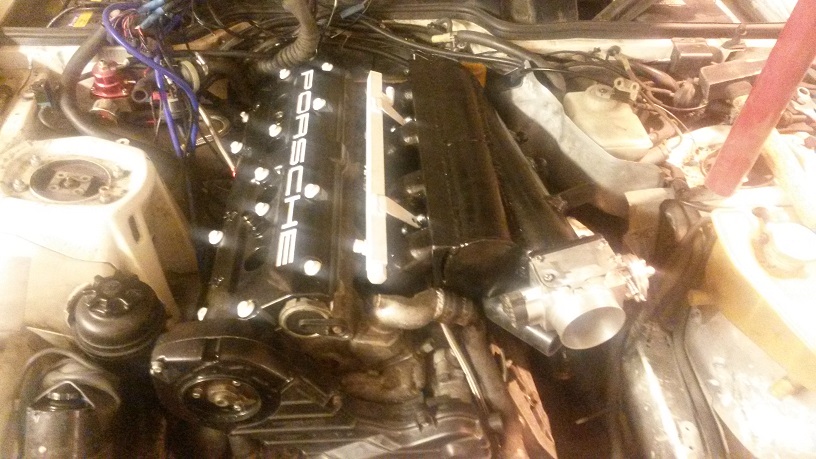
Same with mine. Before sending it to the engine builder i spent a lot of time trying to clean it. Tried gasket remover, degrasing etc, but still it looks dirty!
Attachment 767019
Attachment 767020
Attachment 767021
Attachment 767019
Attachment 767020
Attachment 767021
10-03-2013, 08:30 AM
#194
Addict
Rennlist Member
Rennlist Small
Business Sponsor
Rennlist Member
Rennlist Small
Business Sponsor
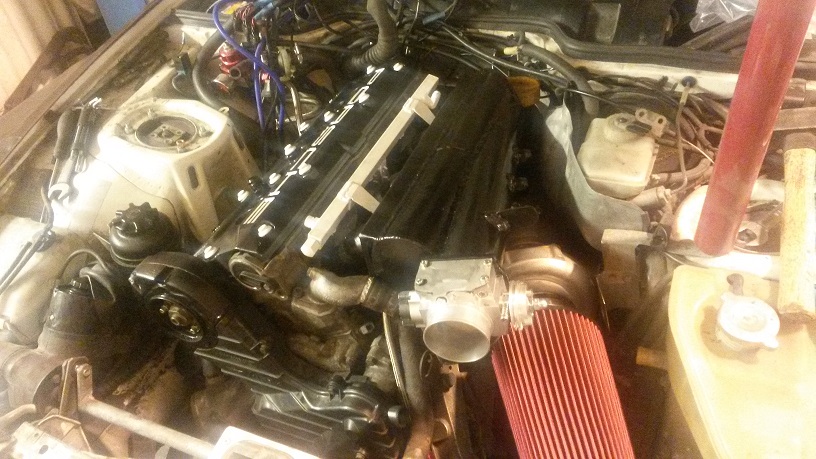
You should think about converting the oil pan to studs and locking nuts - it makes life easier and looks a lot better! I use stainless studs with an allen key drive in one end and stainless nylon locking nuts.
10-03-2013, 09:15 AM
#195
Three Wheelin'
Thread Starter
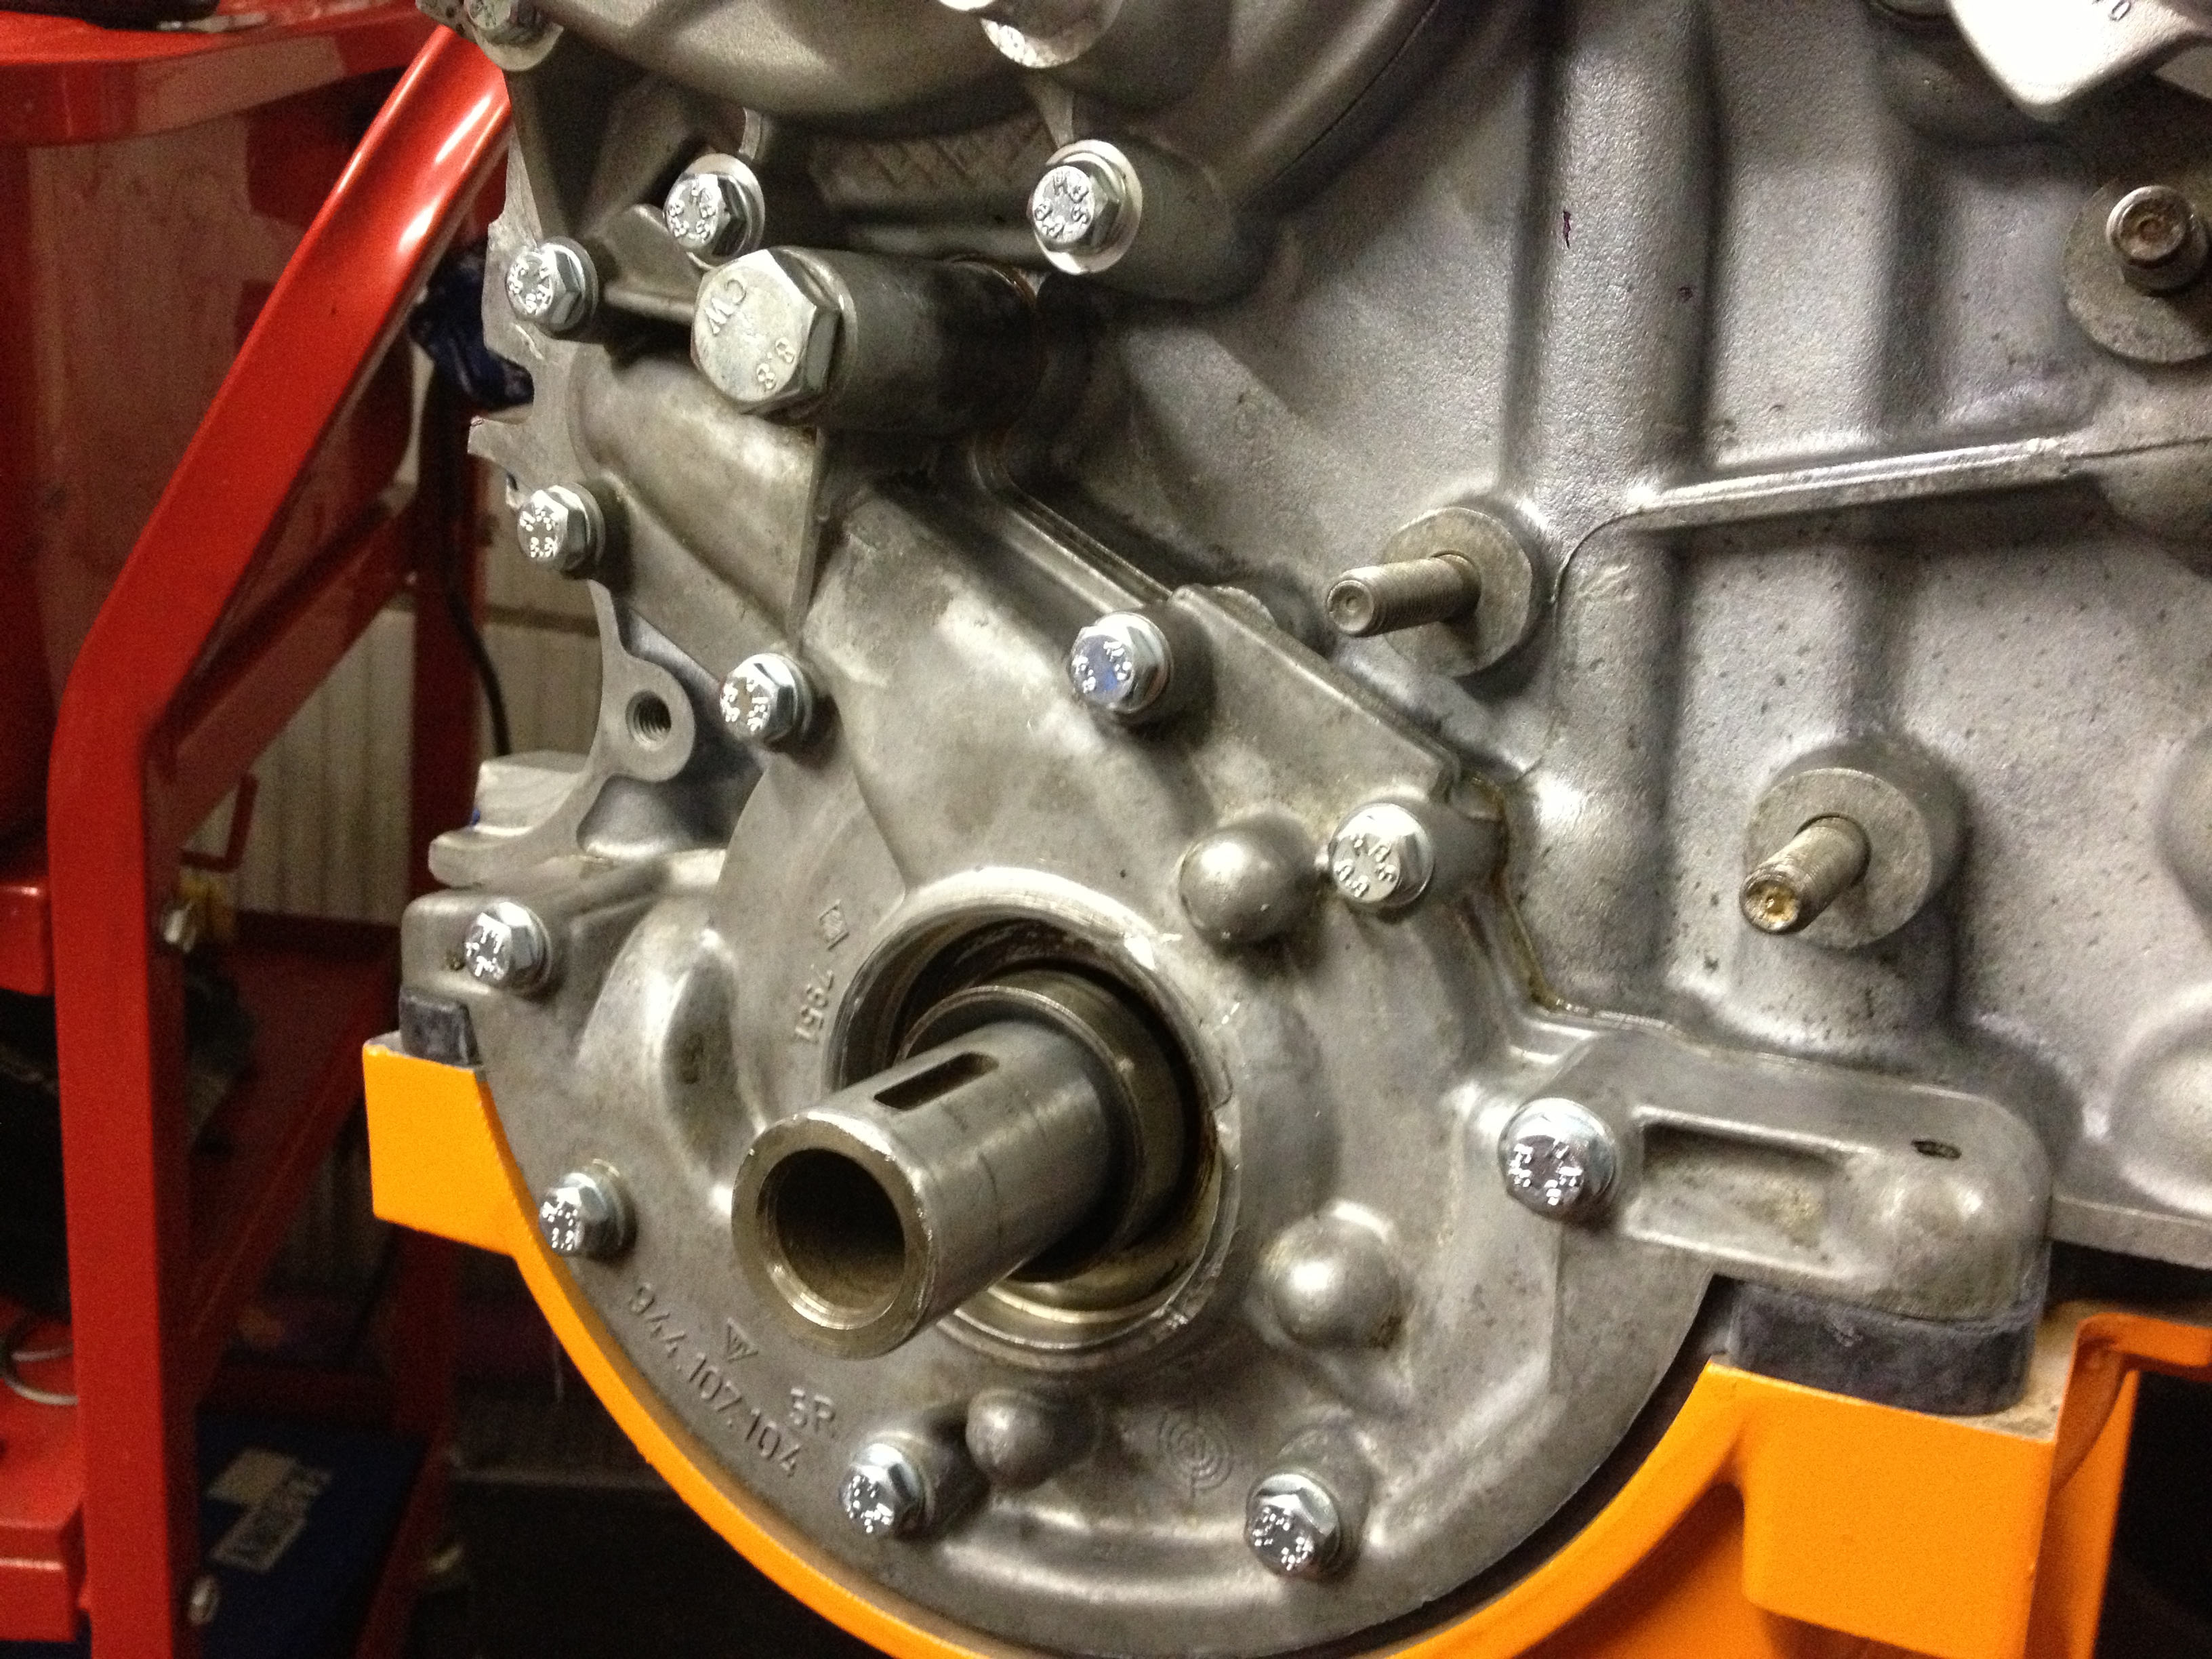
Looks like the lip outside the crank seal on the oil pump got damaged in a previous life. Shouldn't be a problem - just wondering what happened.
You should think about converting the oil pan to studs and locking nuts - it makes life easier and looks a lot better! I use stainless studs with an allen key drive in one end and stainless nylon locking nuts.
You should think about converting the oil pan to studs and locking nuts - it makes life easier and looks a lot better! I use stainless studs with an allen key drive in one end and stainless nylon locking nuts.
About the studs; not really sure if it would look better, but it would really be easier! And about the stainless; did you put some serious lube on them? As stainless tends to eat up the aluminium!
Maybe i'll get a brush on a drill to clean it up even more but for this moment i'm already very happy!!