
New Motor Mount Design: adjustable and rebuildable
 03-15-2013, 11:26 PM
#46
Nordschleife Master
 78.67mm top to bottom surface.
I hunted it down recently so I could shim my solid rubber mounts (from Roger years ago before the quality issues) to the correct height in one of my S4's.
From memory Rob posted it in the Random Picture thread.. I recalled seeing it but it took a while to find when I wanted the info, so I saved a copy.
(Rob - if you want me to remove the attachment and change to a link to your picture store I'm happy to, I'm just too lazy to go find the actual post and make a link
 03-15-2013, 11:42 PM
#47

Well, there you go.
03-16-2013, 08:41 AM
#48
Nordschleife Master
Join Date: Dec 2004
Location: Guelph, Ontario, Canada
Posts: 6,164
Likes: 0
Received 5 Likes
on
5 Posts
Here you go.. a picture taken by the usual "pics of new factory bits" guy.. Rob Edwards 78.67mm top to bottom surface.
I hunted it down recently so I could shim my solid rubber mounts (from Roger years ago before the quality issues) to the correct height in one of my S4's.
From memory Rob posted it in the Random Picture thread.. I recalled seeing it but it took a while to find when I wanted the info, so I saved a copy.
(Rob - if you want me to remove the attachment and change to a link to your picture store I'm happy to, I'm just too lazy to go find the actual post and make a link
78.67mm top to bottom surface.I hunted it down recently so I could shim my solid rubber mounts (from Roger years ago before the quality issues) to the correct height in one of my S4's.
From memory Rob posted it in the Random Picture thread.. I recalled seeing it but it took a while to find when I wanted the info, so I saved a copy.
(Rob - if you want me to remove the attachment and change to a link to your picture store I'm happy to, I'm just too lazy to go find the actual post and make a link
03-16-2013, 11:58 AM
#49
Rennlist Member
Thread Starter
Rod,
When I was researching the mount, I found that over the past several years when people have posted measurements, they verried from 78.5-79.1mm I used 79mm in my drawings with the idea that it would setttle a bit (and I like the even number for the drafting purposes.
Hans
When I was researching the mount, I found that over the past several years when people have posted measurements, they verried from 78.5-79.1mm I used 79mm in my drawings with the idea that it would setttle a bit (and I like the even number for the drafting purposes.
Hans
03-16-2013, 03:10 PM
#50
Nordschleife Master
Join Date: Dec 2004
Location: Guelph, Ontario, Canada
Posts: 6,164
Likes: 0
Received 5 Likes
on
5 Posts
Rod,
When I was researching the mount, I found that over the past several years when people have posted measurements, they verried from 78.5-79.1mm I used 79mm in my drawings with the idea that it would setttle a bit (and I like the even number for the drafting purposes.
Hans
When I was researching the mount, I found that over the past several years when people have posted measurements, they verried from 78.5-79.1mm I used 79mm in my drawings with the idea that it would setttle a bit (and I like the even number for the drafting purposes.
Hans
03-27-2013, 06:29 PM
#51
Rennlist Member
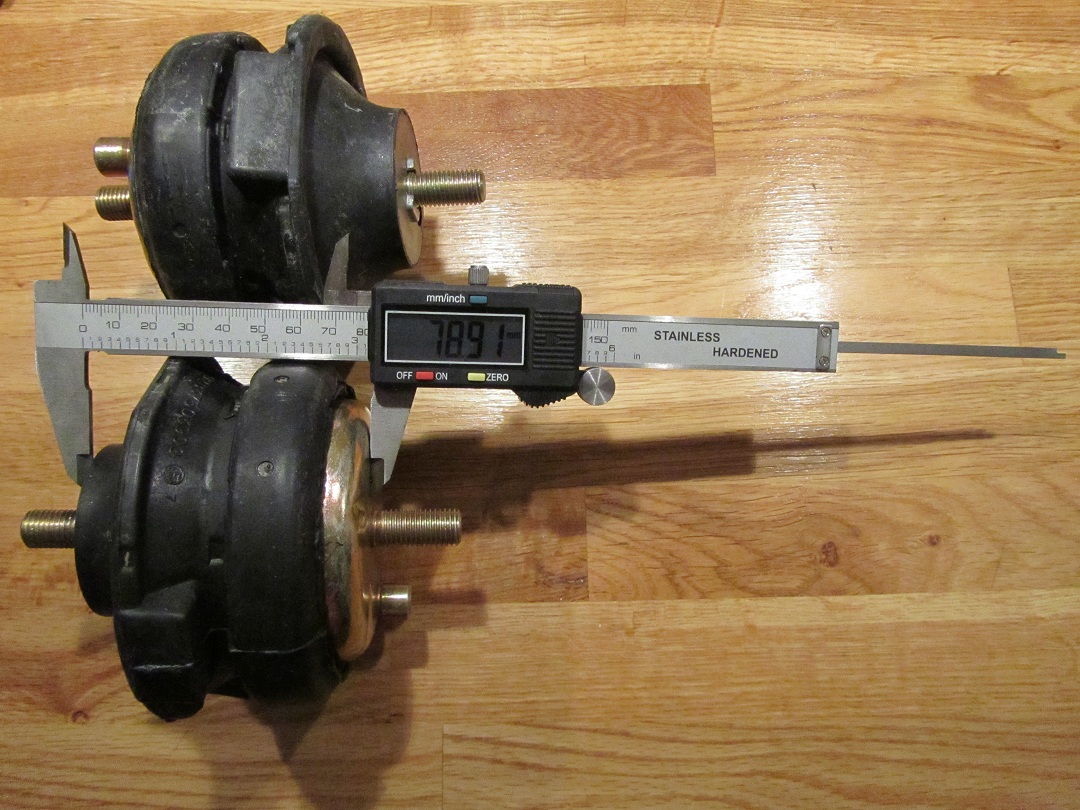
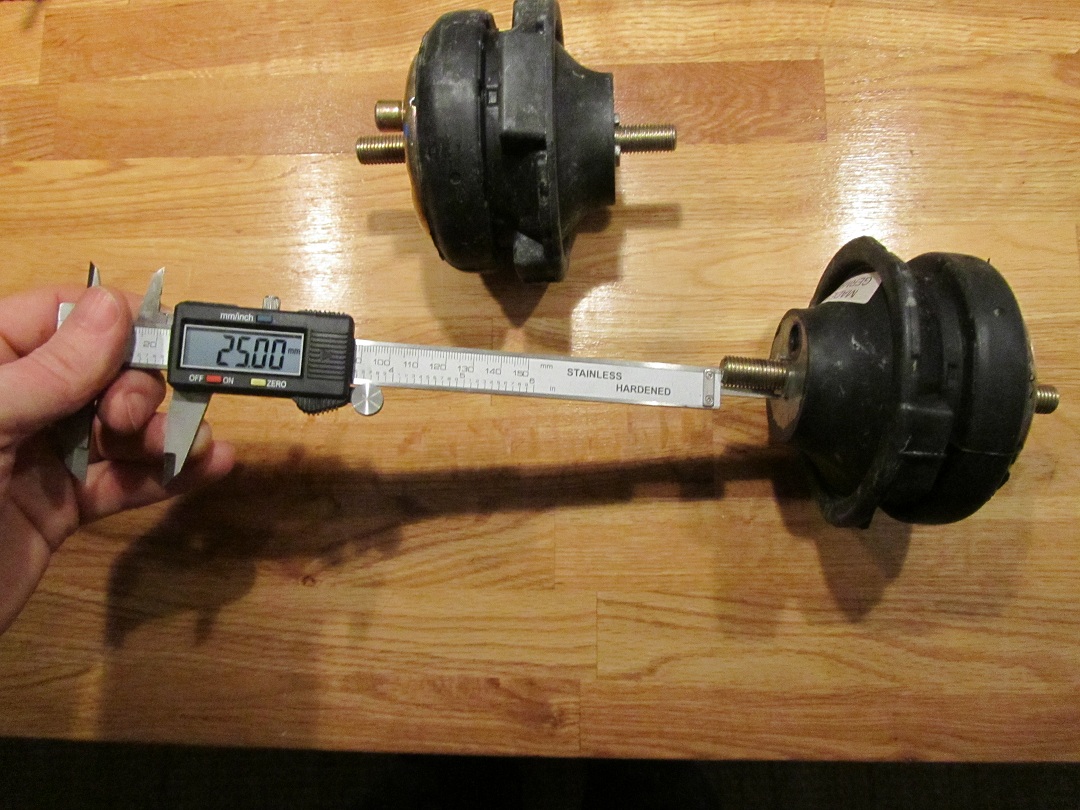
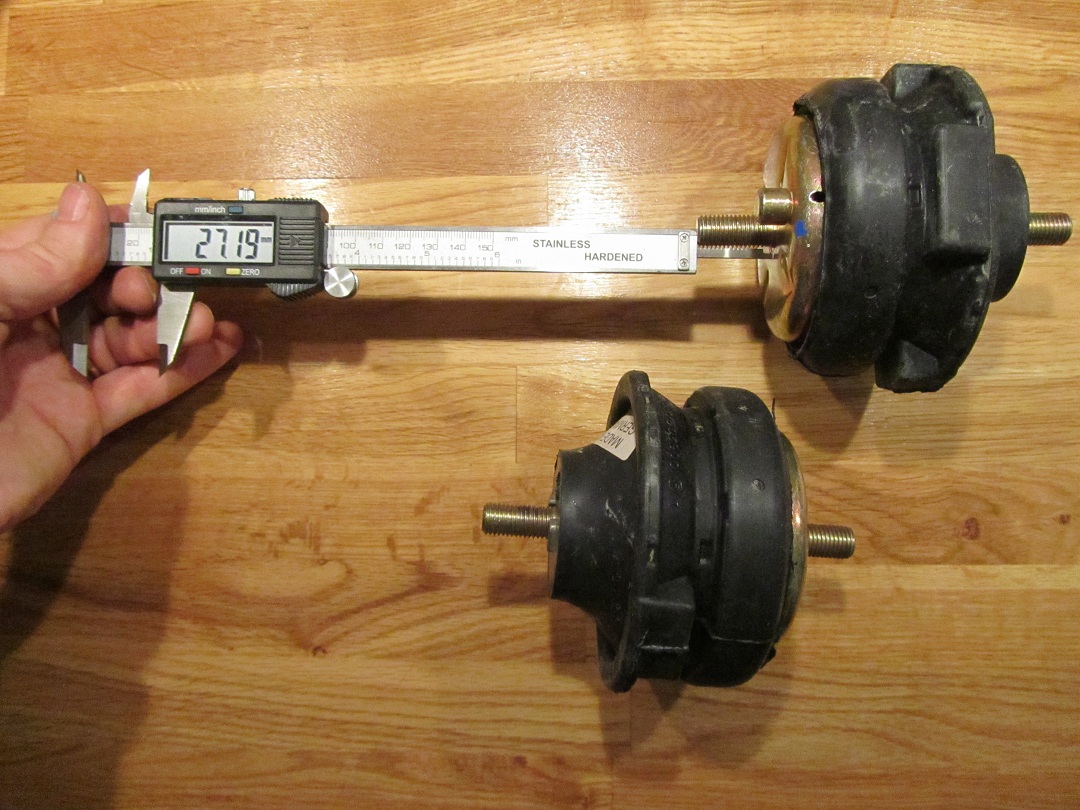
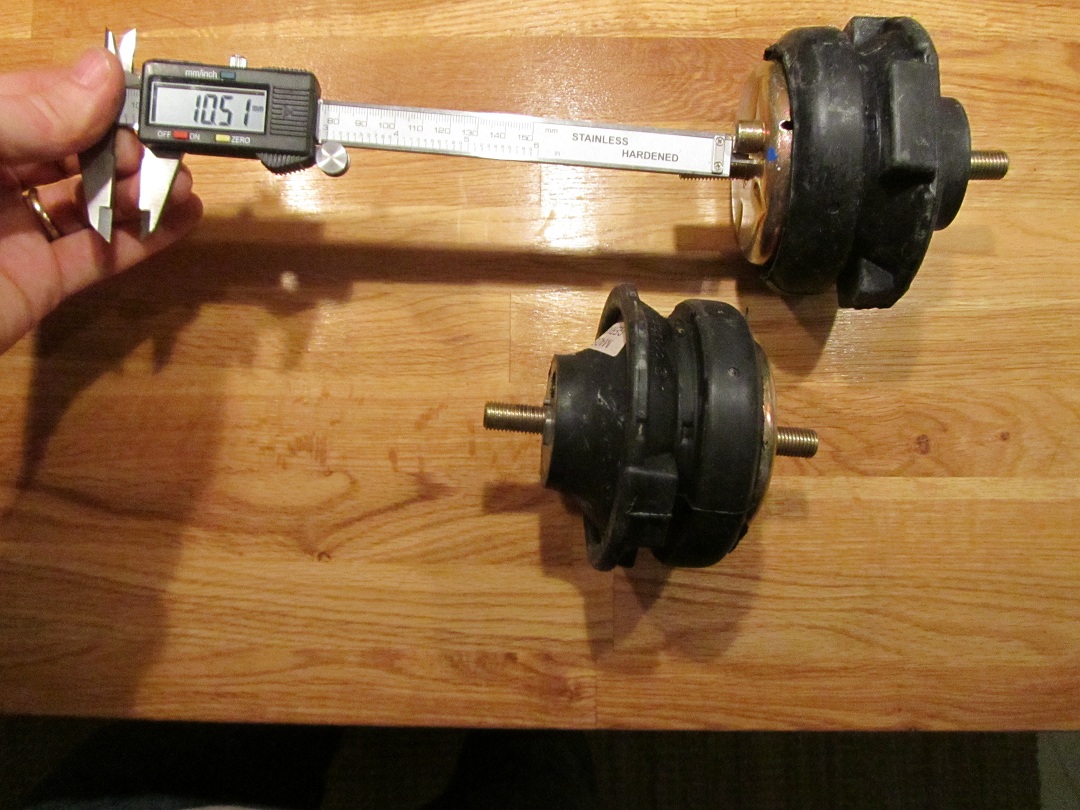
Although this might be (too ?) late for you, hereby measurement in millimeters from my two (2) brand new original Porsche motor mounts (scheduled to be installed in the weeks to come as part of my ongoing winter maintenance). Part number is: 928 375 039 00.

03-29-2013, 05:54 PM
#52
Rennlist Member
Thread Starter
I was able to get my first batch of the poly inserts last week. They are 62shor durometer poly. I had them in the truck with me today when I stopped by the machinists, and we decided to go ahead with a test pair of the original design. He is going to order the bar stock today, so hopeful we will have test mounts mid next week.
There may be a lower cost version available at some point, but discussions with the machinist (who has a lot of experience from working ALMS and Indy teams) encouraged me to move forward with the original design for its ease of adjustment and rebuild (if necessary).
I hope to have an update for your guys soon.
Thanks
Hans
04-18-2013, 11:36 AM
#53
Rennlist Member
Thread Starter
It took a bit longer than I wanted, but the first prototype set of mounts will be ready to pick up tomorrow afternoon. The machinist had a tool crash, and also needed to purchase a new tap for the locating stud.
I will get picture up tomorrow of the mounts for you guys to see. I have a test candidate lined up, so hopefully these will get installed shortly and we can see how they stack up to the current offerings.
Thanks
Hans
I will get picture up tomorrow of the mounts for you guys to see. I have a test candidate lined up, so hopefully these will get installed shortly and we can see how they stack up to the current offerings.
Thanks
Hans
04-18-2013, 12:18 PM
#54
Great stuff Hans.
04-18-2013, 12:20 PM
#55
Team Owner
Chompin at the bit, thanks
04-18-2013, 12:55 PM
#56
Rennlist Member
Thread Starter
I forgot to update the thread, but I did make a couple tweaks before sending the mount out. Attached is a revised cross-section and 3D PDF.
The major difference is that I added another void for the top isolator to fill under compression. This should help "soften" the mount up a bit more. I did not provide any venting for this new void, so it will have an air-spring quality. The larger voids are vented and allow free deformation of the lower isolator, and also free travel of the "piston" inside the canister.
Hans
04-29-2013, 04:56 PM
#57
Rennlist Member
Thread Starter
I finally was able to get over to the machinists place and pick up the mounts today.
The prototypes came out very nicely. I will make a couple initial changes, and probably a couple more after the first test install. The ID for the canister is a bit tight. The bushings press in, but without proper lube, I don't think they would really want to come back out. I plan on opening this up a bit, maybe .25-.5mm
Also, the anti-rotation lug was tapped at M12-1.5 and the setscrews I found were M12-1.75, so for the prototype, the head off a M12 bolt will have to be removed for use a stud, or a piece of M12 rod cut down. The lug is optional, and will be left uninstalled on the retail versions, but its a simple problem to fix on the next set.
Here are pictures of the prototypes.
Please note that on the assembled picture, the mount is not compressed as I did not have lube here for assembly, and didn't want to get the upper isolator stuck in the canister. In this picture the lower is not installed, and the upper is only threaded in a couple threads for mockup assembly.
Thanks
Hans
04-29-2013, 05:17 PM
#59
Rennlist Member
Thread Starter
I just dont happen to have any here at the office... may sneak back to maintenance and see if they have any. Would love to get an assembled shot.