When you click on links to various merchants on this site and make a purchase, this can result in this site earning a commission. Affiliate programs and affiliations include, but are not limited to, the eBay Partner Network.
Continuing on the "Fix things" route, I repaired the grill and the mounts. One slat replaced, the plastic supports didn't quite line up but were close enough. Had to clean out and oil the threads because reasons.
Next up will be the top end rubber refresh and spark plug compression checks, then the brake line. Then maybe the spoiler.
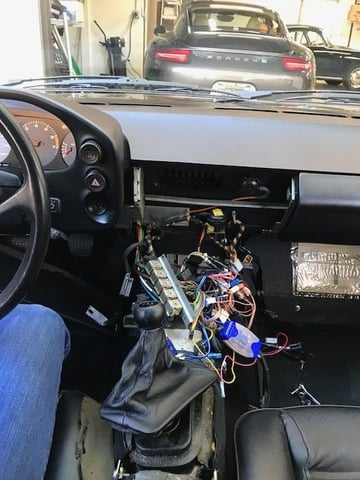
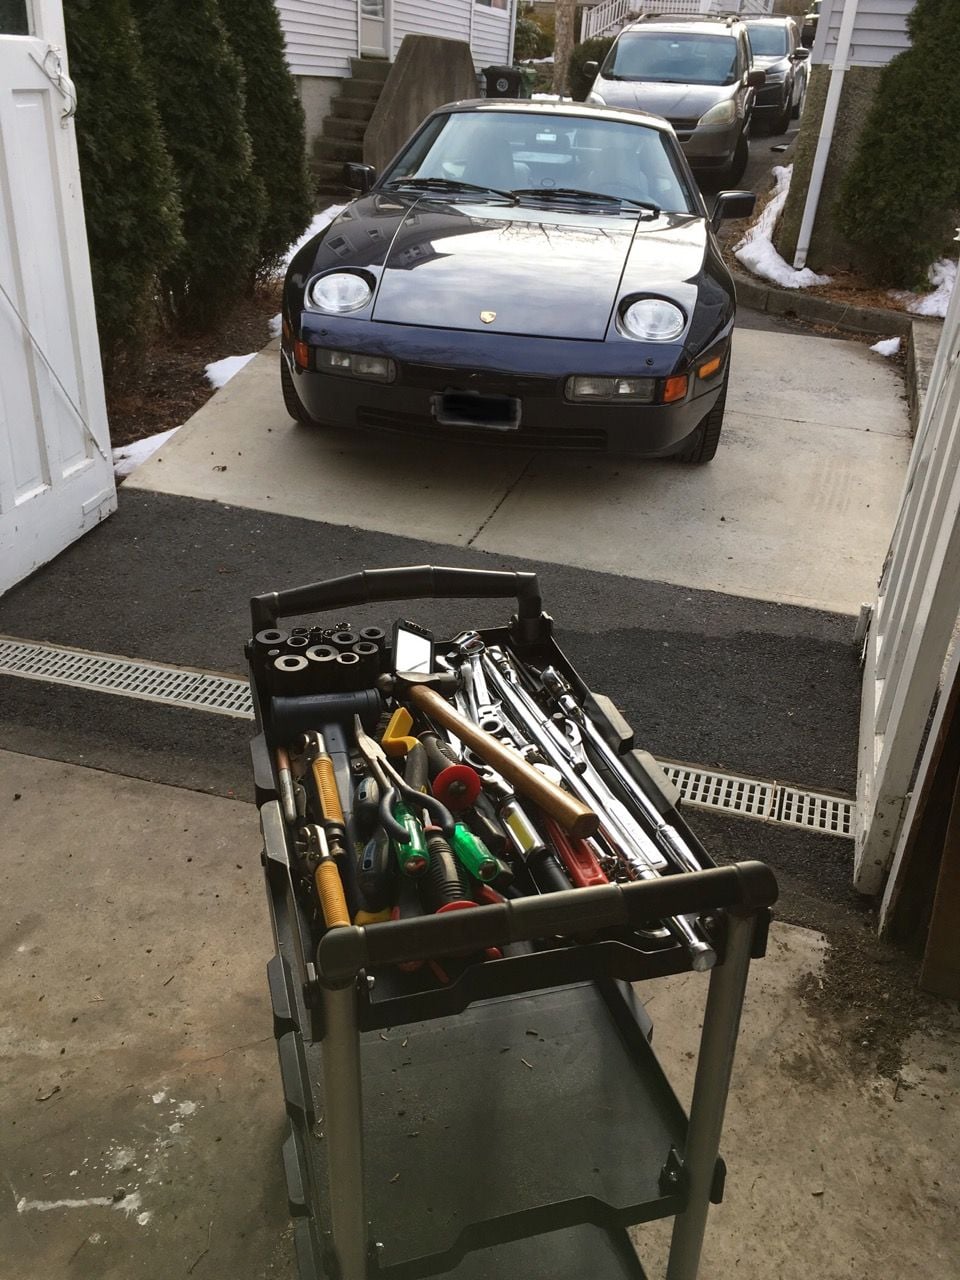
First start of the year and ritual backing up into the driveway. She fired right up, no smoke or anything. Also cleaned out the garage and gave all the tools from the last job a spring bath. Unfortunately it's too soon for a drive in salty Massachusetts, as you can see, so back in she went.
I changed out my Fuel lines on my 88'. The back U fuel line ,and the one from FPR to Cooler wasn't in bad shape compared to others I've seen on here. The front line from Dampner to FPR was too bad, but was worse of the bunch. They weren't brittle, cracked or hard. Anyway, it was a piece of mine to get them replaced. Greg Browns line looks like it should go inside a F-16...great quality (Thanks Roger for fast Shipping)...to pretty to wrench on. lol. This weekend, a Brad Penn oil change, Flex Plate check and wire set, cap and rotor change.
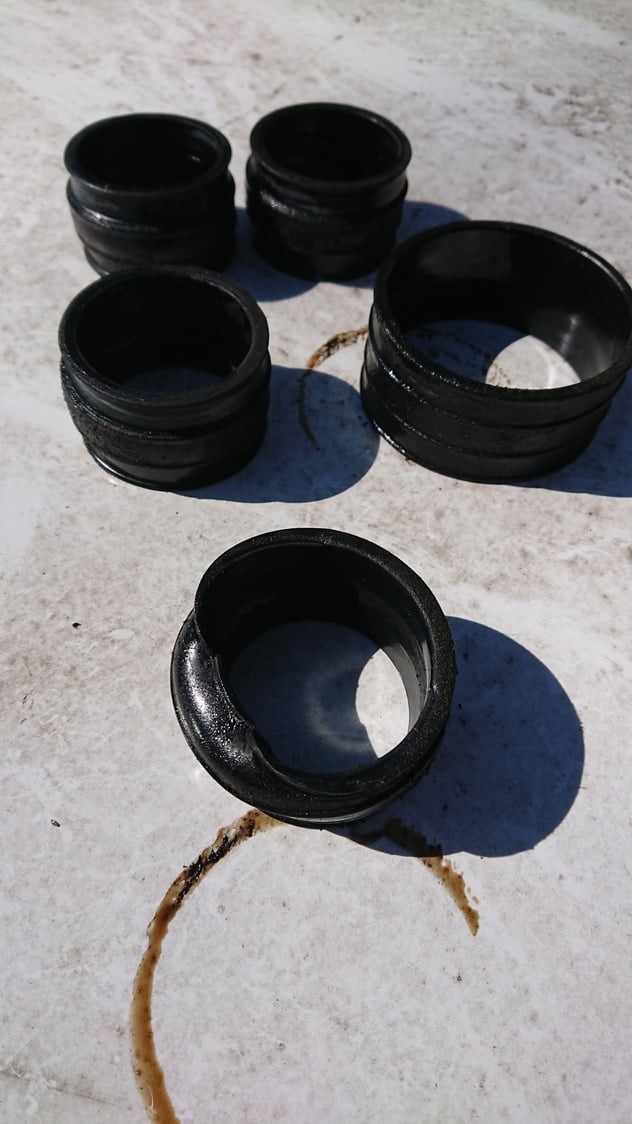
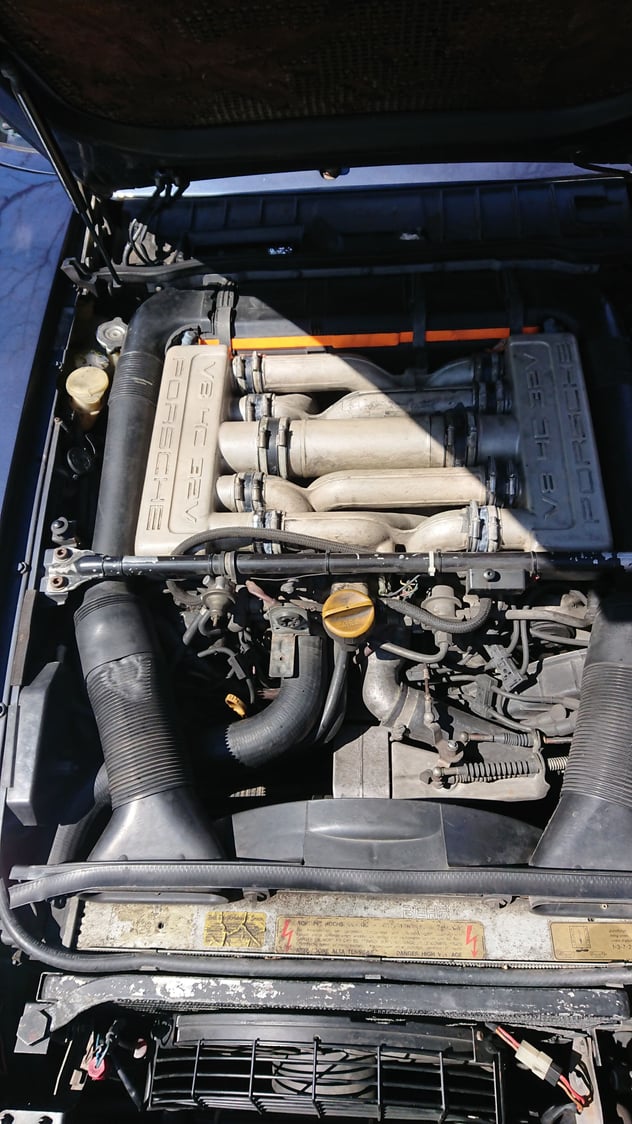
Refreshed the upper intake boots and checked the plugs/compression. The boots were starting to get cracked and oil swollen so I figured it was time to replace the 8 small and two large ones. While in there I pulled all the plugs, checked the gaps (all .8mm) and put them back in torqued to a more gentle 15ft/lbs.
Plugs were interesting. On the passenger side all were "finger tight" in that I could remove them with my fingers on the socket extension. Hm. Compression was a good 190 when cranked for 2-3 seconds, and all held pressure for 2 minutes. On the driver's side some were tight, some were loose, all were removed with another 190 compression. Torqued down to snug, then 1/8 turn, then torqued to about 15ft/lbs.
Intake was more so. Passenger side boots were ok, but the driver's rear boot had been folded under on the engine side and was probably leaking.
That front one don't look right....
Replaced all of them, re-aligned the intake ends, snugged everything down properly, and took for a test drive. My butt dynometer noticed a significant improvement, far less hesitation at midrange, more stable coming off idle, and the car is pulling better. Seems to be shifting a bit smoother, I wonder if the shift sensor pulls its vacuum from the driver's rear intake manifold. Anyway, another project done with a minimum of effort, probably about 4 hours of time. Next up, the rear emergency brake cable, then hooking it up to the passenger rear brake drums.
Figured out how to adjust the hood latch height to properly set the gap at the front. It's been bothering me since the engine went back in last year but I never knew it could be adjusted. (You can see it in the in a previous post above.) Rennlist of course had the answer and it appeared in a 2002 post by @Thom1 and @WallyP. Now the gap is perfect. Thanks guys, if you're still participating.
Got the rear emergency brake line out of the car. Lots of crud to fall on one's head in there, real pain in the rear. It's too cold and windy today to put the new cable in, so I'll wait till next weekend to do that.
Meantime and oddity: I've noticed that the new rear brake shoes are about .1mm wider than the old ones in terms of their metal frames. This means that the star adjuster slots are a fraction too tight. Debating if I should file down the star slots a bit, file down the brake shoes, or just replace the car with a new one :-)
I followed Stan's instructions for adjusting hood position/alignment/latch adjustment/ etc. Still ended up adjusting...and adjusting...and adjusting...went to bed...woke up...adjusted it some more...moved a shim to the other side...adjusted some more...thought I was done...lost track of what adjustments I was making...and got lucky when suddenly it looked better than when I started so I decided to not test the rule that says if you mess with it again you'll have to start over.
charged the batteries for the GTS and S4, shall install this week, do some other routine fluid checks then fire them up for an installation lap of 2019.
Geza, I really like the full size spare tire and cover, I may have to use one of my old wheels and do the same.
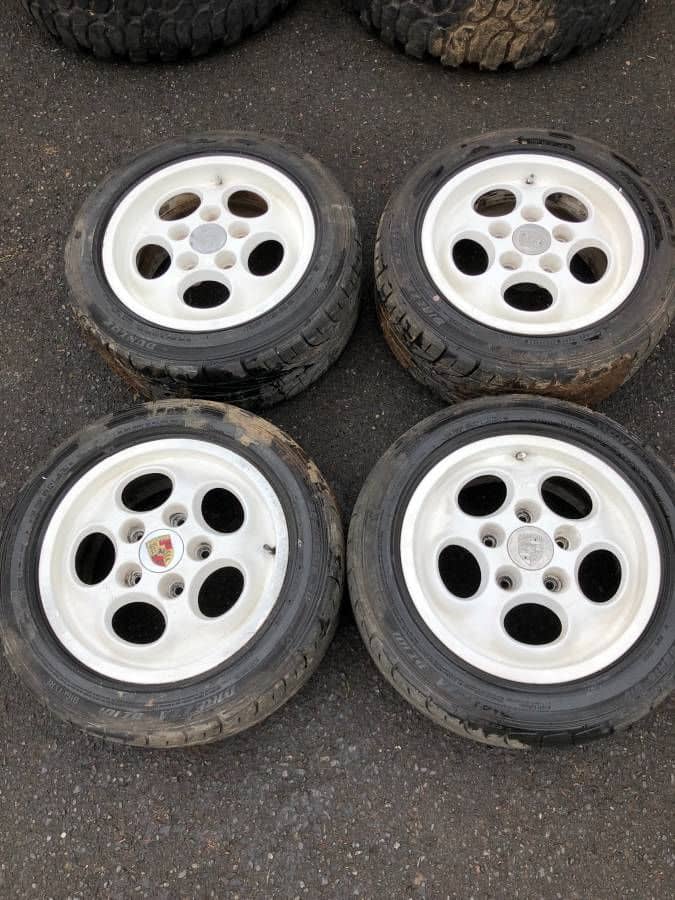
I picked up a set of 16" phone dial wheels and tires off of CL, slowly getting the car in better shape.
One of the rear wheels is supposed to have a bend, and vibration over 40mph, so I'll be checking balance and for damage.
I don't see anything obvious other than some scuffs in the somewhat rough white paint that someone sprayed them with, and a large set of weights stuck inside both of the wheels.
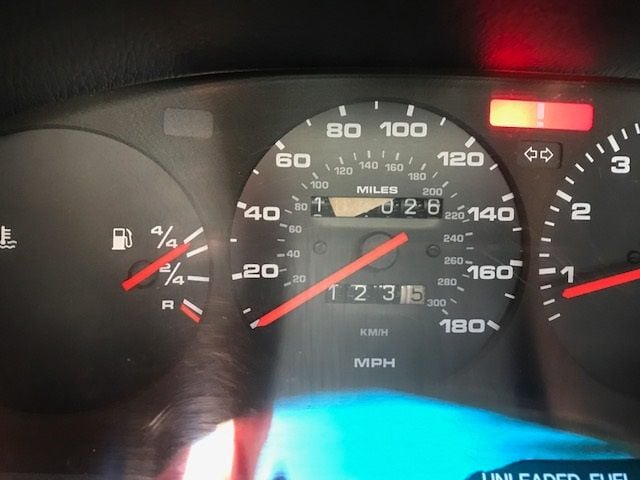
What DIDN'T I do today would be more like it. Removed the piece of paper covering the odometer. There were SIX of these little labels at the bottom of the instrument panel!
Then I had to test the vacuum lines for leaks...found two, the blue and the orange.
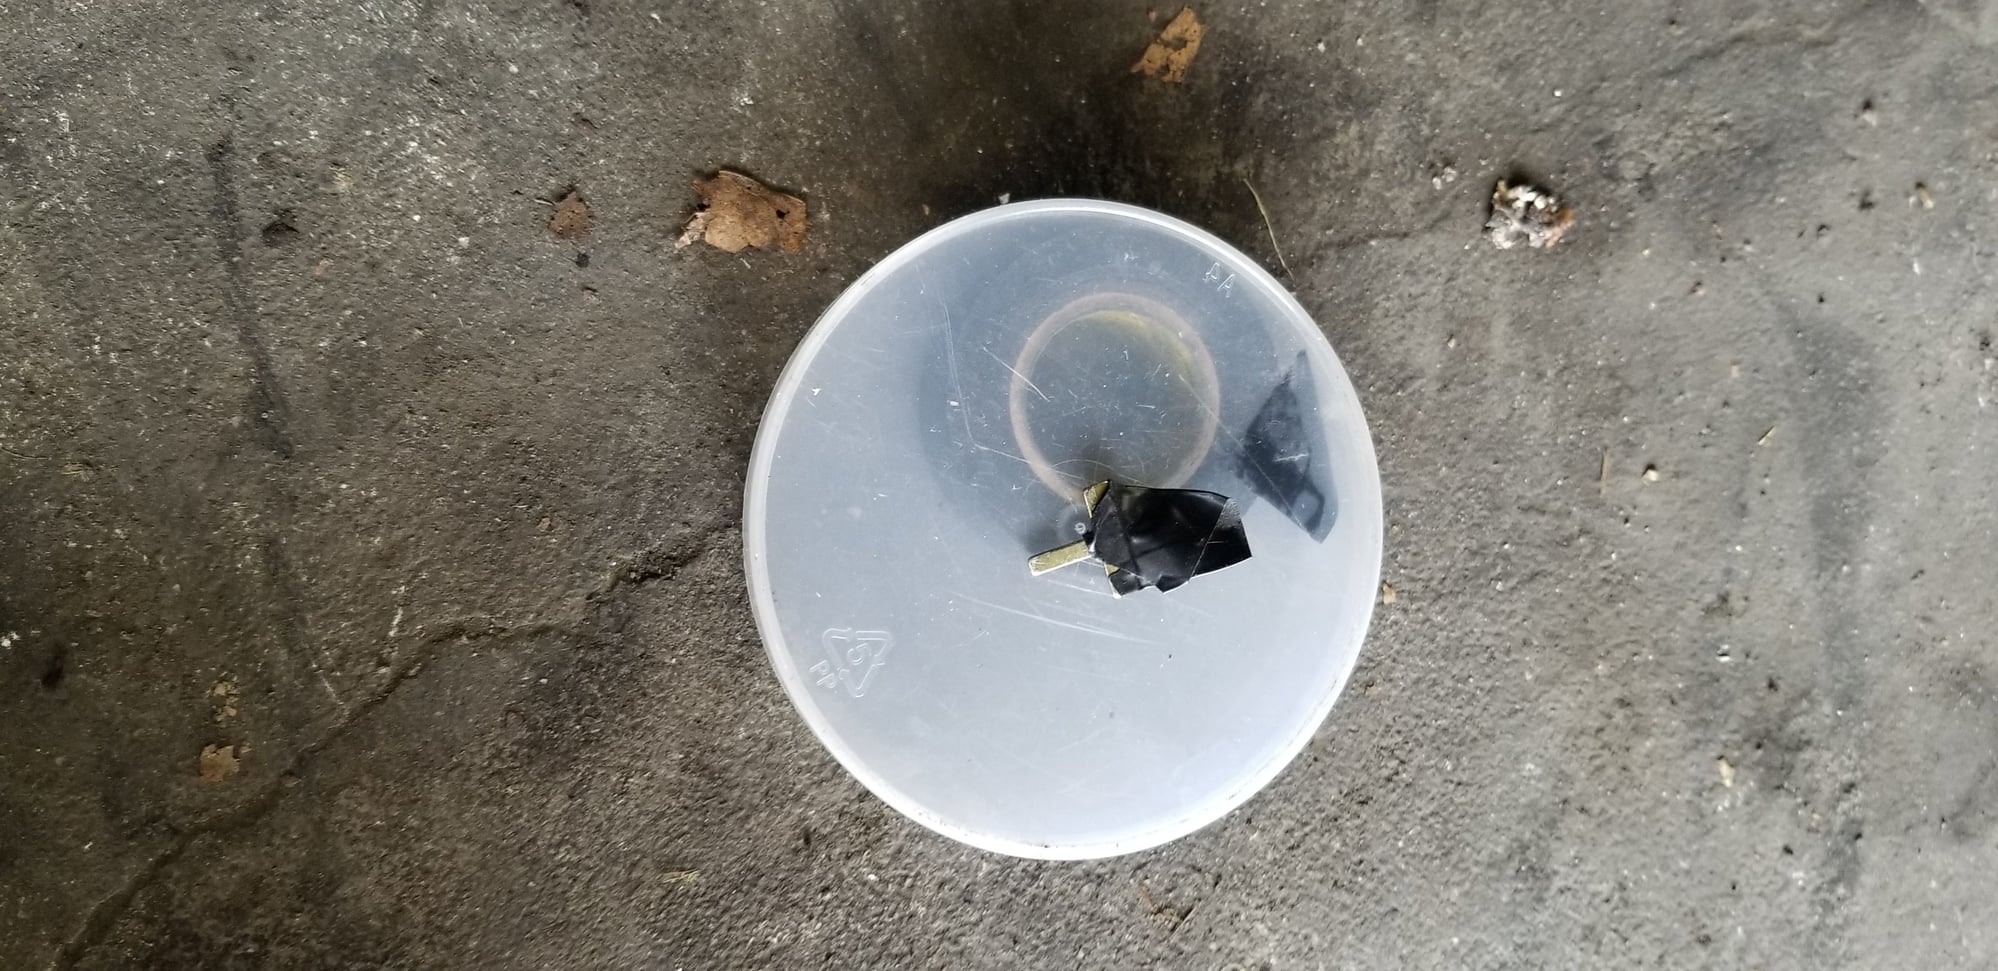
Put in a short shifter from 928Intl while I was there. Fun weekend! Now off to find the actuator cups/bladders.
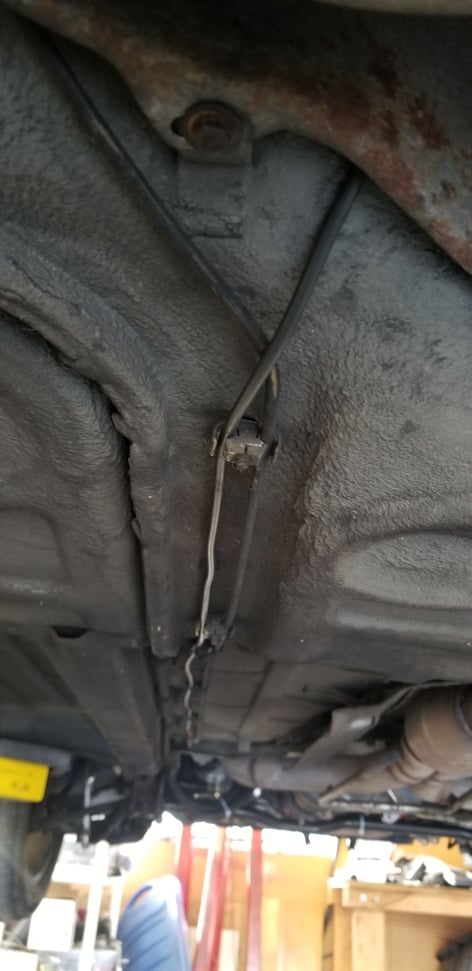
Yesterday I replaced the shift modulator after finding the one in the car would not hold vacuum. The vacuum line also did not hold vacuum. So, I moved the vacuum line that runs from the rubber splitter to the shift modulator to run along the brake line to the DS rear brakes.
Ran 5" length of metal brake line parallel to the DS rear brake line - snaps in nicely. Another Rennlister did this and I followed suite.
Connected the new vacuum line to the front end of the brake line
Ran the brake line behind the DS exhaust shield, ran vacuum line to the modulator
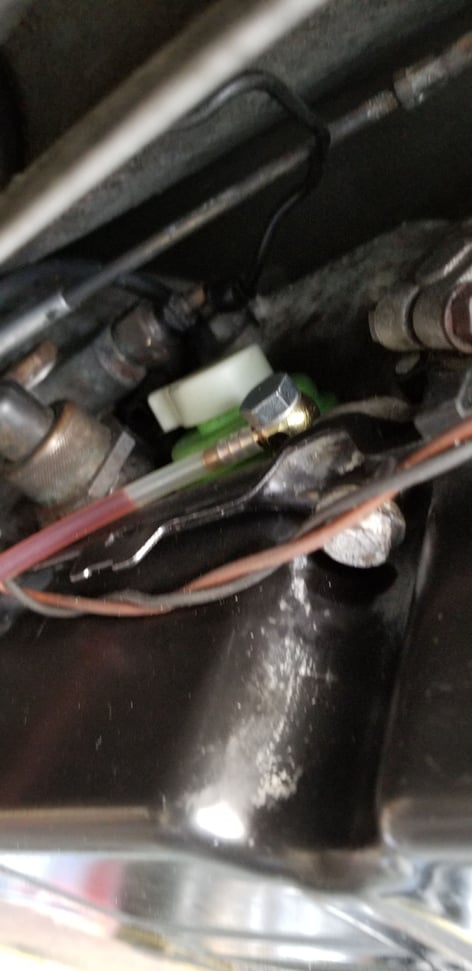
Today I broke out a gauge kit to measure and help me set the correct modulator pressure. Modulator cap back in place and ready to disconnect the gauge.
Used tape to avoid digging for the T handle when it slipped into the modulator.
I just changed all of my spark plug wiring (German Engineering-I've never changed wires with so much complexity...do I get a Join the Club card. lol), distributor, rotor caps, new air filter.
I made a Switch Relay (Pic 1) with a 20Amp fuse to test my fuel lines. I know it is over kill but hey this thing will be in the car at all times (it worked like a charm) and there were NO leaks. I bought this Relay Puller from Amazon (recommendation on the forum) and it worked like a charm...I disconnected the ground first and whilst the FP relay was pulled, I Deoxit'd.

 03-14-2019, 09:12 PM


 ) and then discovered a power steering leak.