When you click on links to various merchants on this site and make a purchase, this can result in this site earning a commission. Affiliate programs and affiliations include, but are not limited to, the eBay Partner Network.
I pulled all the interior lights to bits for a once in a lifetime clean , plus the door switches; my son asked what I had been up to and when I told him "now when you open the door , the interior lights come on" he goes "Wow! Advanced feature , dad".
Some people have excessive expectations in life!
Fixed lines from harness to fuel injector connector that were cracked in the same area at the very sharp bend the lines had. Caused an engine miss. I potentially see this as a problem for just about all the injector lines have this sharp bend even when injector is rotated to the optimal position. I will fab something to address this prophylactically.
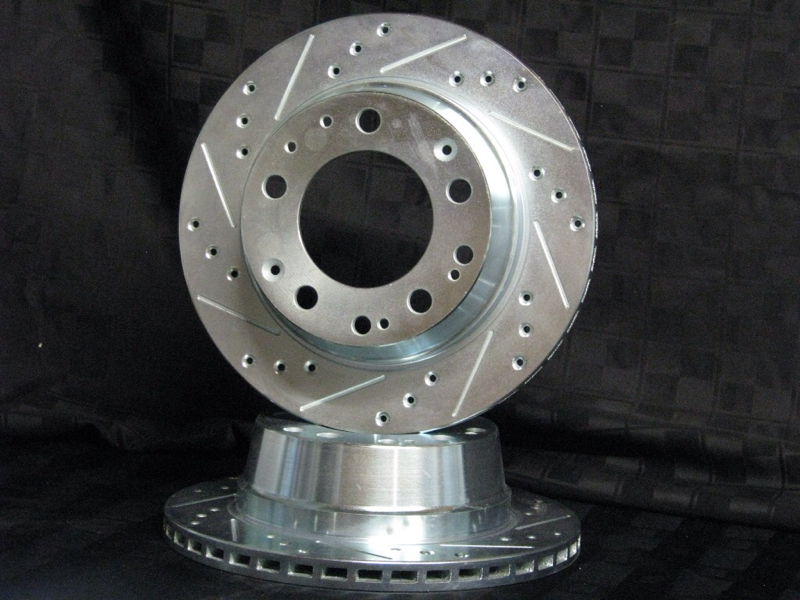
Ordered slotted and drilled Zimmermans for Ele's rear, a rear set of EBC Redstuff and Goodridge G-stop all around to replace 30 year old stock lines... Looking forward to not hearing a sound one does not want to hear when stopping or pulling away from a stop! (And no, I don't mean sirens!)
Removed my air cleaner for the umpteenth time to reconnect the vacuum to the auto box which I keep disconnecting whenever I fiddle in that area. Very frustrating but relieved it was an easy fix.
Small things.
Removed a bracket that I installed on passenger footwell shelf to secure amplifier - it caused a problem by hitting the coaxial cable when the amplifier shifted slightly - replaced the cable - secured amplifier with velcro - no more R channel cut outs - (I built a cover and hides the amplifier neatly).
Did a permanent surgery on the R window switch - used my Dremel this time - don't envision issue again.
Much better, but still just starting the long rescue process.
The parts car I purchased included two sets of Euro 8" H4 headlights. The first set is now in my car. I'm considering selling the second set. What is the going rate for a used pair of 8" H4 lights with the rings and bulbs?
Finally got to blow the dust of her again(she's in storage), and install the spare wheel cover I got from Jerry Feather.....so much nicer than that brittle, yellowing bit of plastic that was there. Thanks Jerry!
Started working on a side skirt project to match the splitter project I completed a couple of years ago. Jay Kempf and I mocked it up out of 1/4" blue foam. The foam is perfect for doing mockups, it is cheap, light, easy to cut, bends easily, and can be applied with tape. My car has an aggressive wheel and tire package with 255's on the front and 285's on the rear mounted on 60 mm offset rims, as a result the tires are well out past the body line at the lower trailing edge of the front fender and the leading lower edge of the rear fender. To address it we moved the leading edge of the front of the skirt to match the tire line and then gently tapered it to flush with 4" in front of the door cut at the lower edge of the door. The skirt runs along the lower edge of the door and then flares out to the outside edge of the rear tire to to direct the air past the leading edge of the tire. We intend to use the lower body seam, the fastner for front fender support that is behind the front wheel, and the inside of the door frame. I used .125 aluminum for the splitter but will use a lighter material for the skirts, they do nit need that much strength. The mockup has 6.5 inches of clearance to the ground but we are still deciding what looks best and the distance may change. The intent is to powder coat to match the splitter/spoiler combo, but we have given thought to some combination of body color for a couple of inches and black below the color, to lower the visual impact of the skirt.
Have a 700 mile trip tomorrow for son's hockey with the Varsity team he will be skating with as we are relocating. Picked him up from a friend's house and the Belt Tension Warning went on - it was at 2130 hrs - ****.
Got home and went through the motions - tension was a little low - was barely making it to the front edge of the window - I usually set it midway - tightened up to far edge of window for my cam gear is showing wear signs and I want a little extra tension - will have 10 k to belt change after this trip, but actually may do it earlier in light of the gear(s).
Also broke the plastic at the jump post when removing the post bolt - must have already been cracked - plastic was still present to insulate from the bracket, but I added a good size piece of rubber and put a nut on the back end of the bolt to secure the cable connectors - secured entire unit to bracket with nylon ties to eliminate motion due to road vibration - good enough for the trip tomorrow - will call Roger when I return.
Polished and waxed. Forgot what a chore that is but the payoff is great thanks to a quality paint job that has lasted 27 years.
Also put in GTS style side windshield seals. Noise at speed much abated. Never noticed my tire noise but now I do!
Washed and wiped mine tonight in preparation of a car show this Sunday.
Already did the engine bay yesterday.
Almost ready... Might put a coat of "glaze" if times permit tomorrow.
I made the effort to clear the sunroof drains, heavy rainfall always resulted in wet seats. I first used the bicycle brake cable tool, I soldered the leading end of the cable to keep it from snagging and fraying. I had some resistance on both passenger side drains, but eventually got through, then I followed with the trimmer line method to be sure of easy passage.
Got the A/C working perfectly and then had the heater core spring a massive leak
Also put some more of the new stereo I am installing in my 81, now I have to take out the front of the interior to figure out what in the heater core let go, I just hope it is the o-rings.

 Replaced the little blue and black check valve between the brake booster and the four-way hose connector. Then had a beer
 08-05-2014, 01:31 AM