When you click on links to various merchants on this site and make a purchase, this can result in this site earning a commission. Affiliate programs and affiliations include, but are not limited to, the eBay Partner Network.
Shawn, I have the rear glass for you if you want to pick it up.
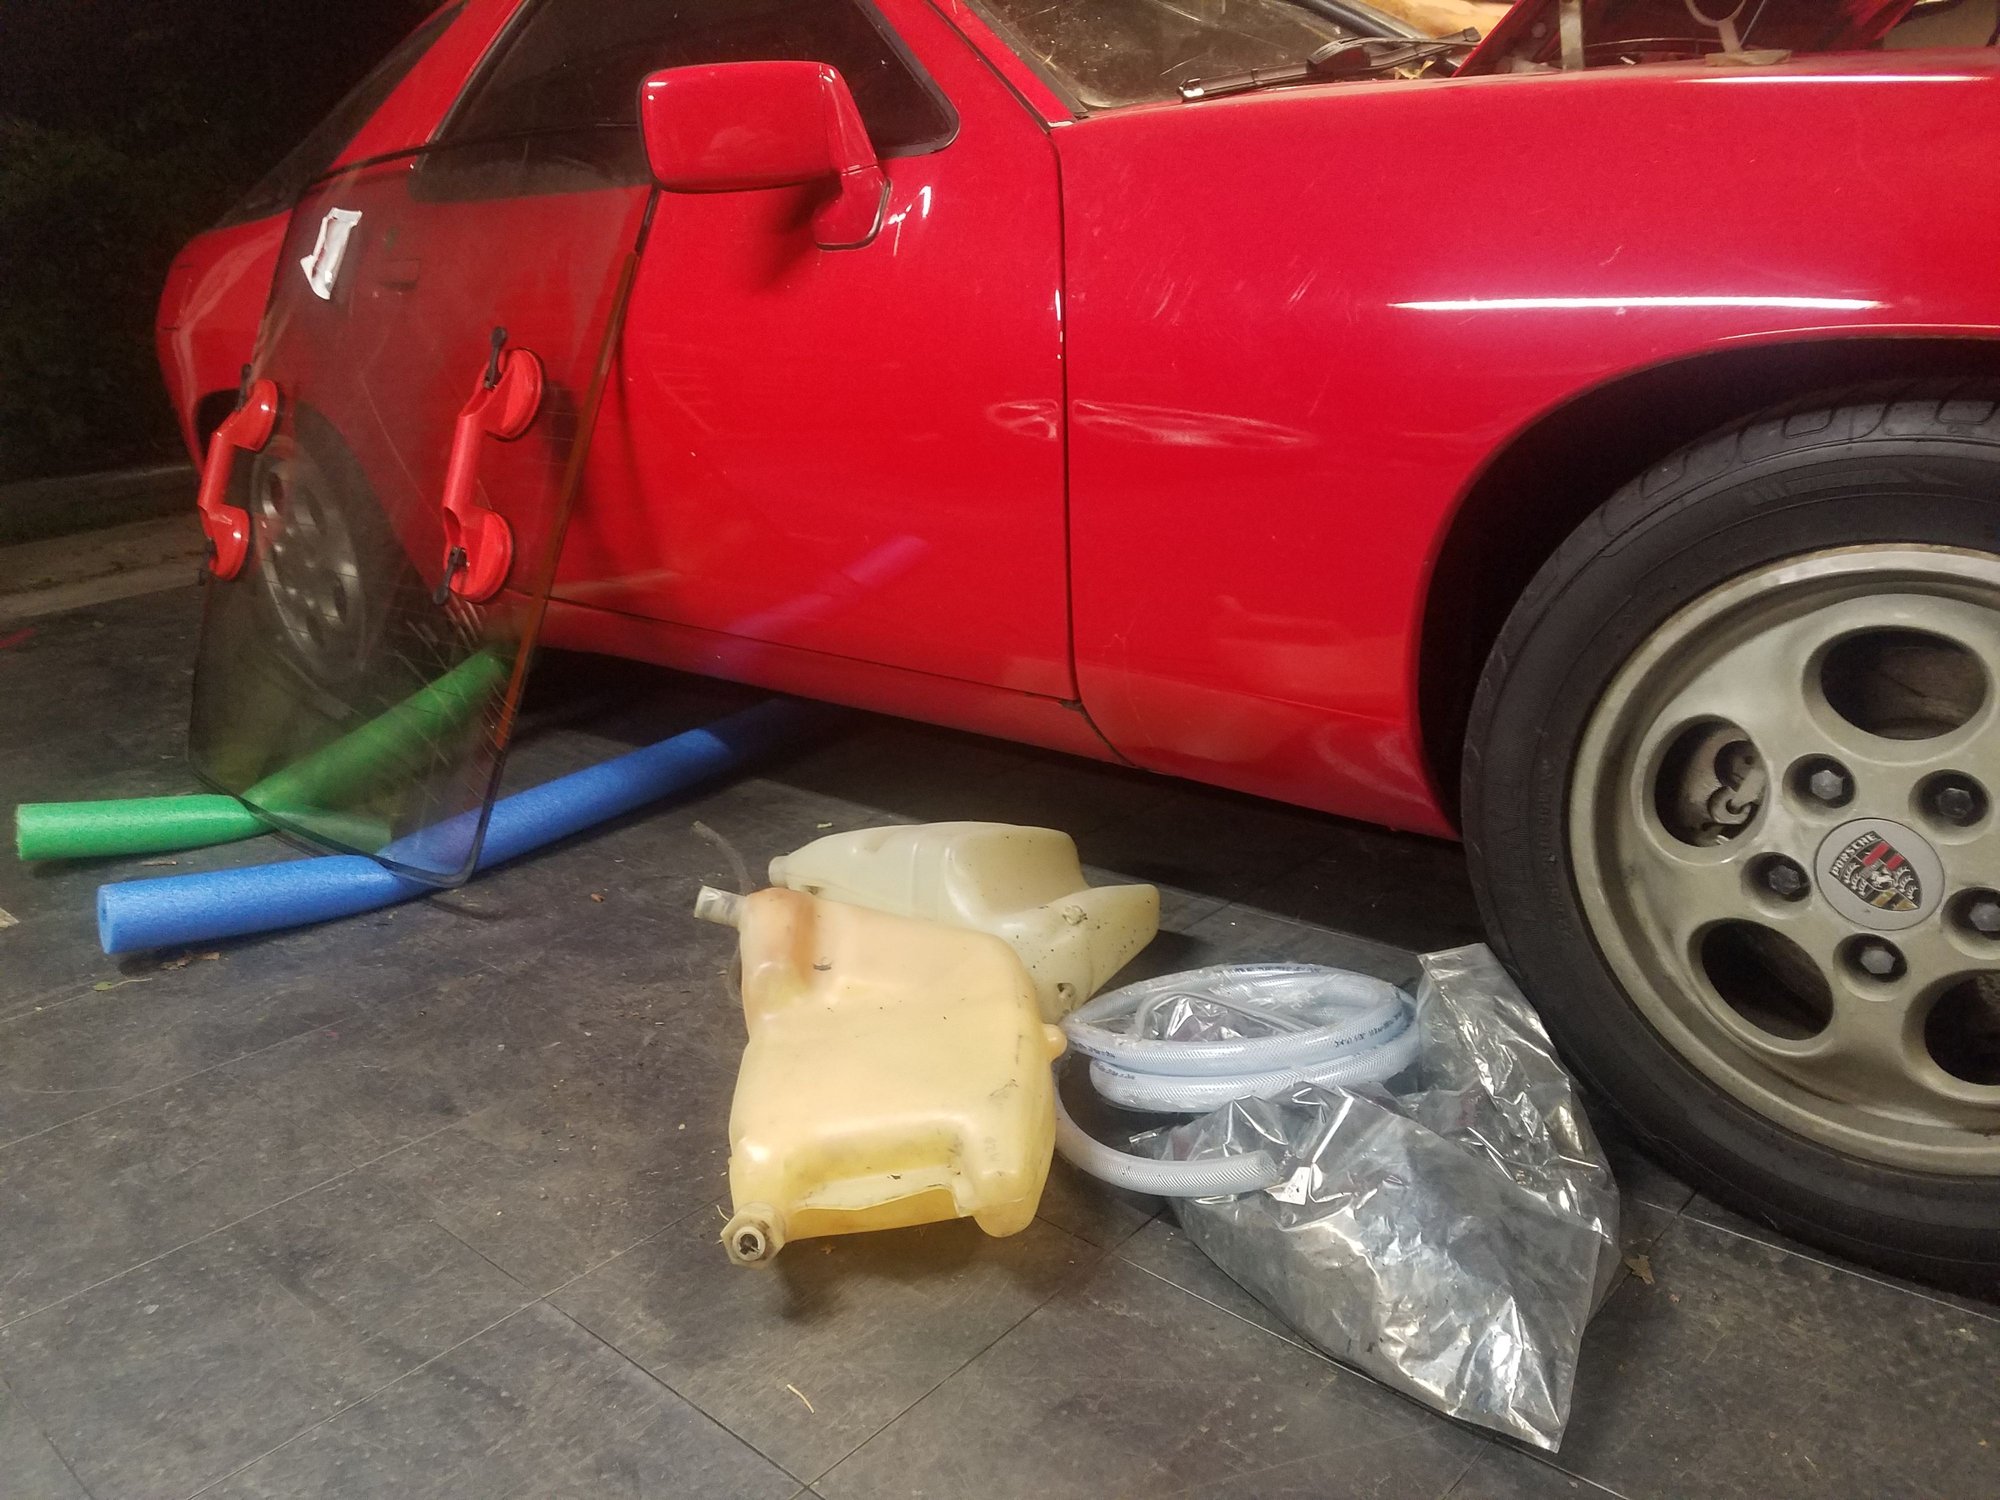
Guy has offered a hatch glass, and I found a guy on Facebook about 20 minutes from me parting a couple 928s who has a windshield. Stitch should be back on the road in early August.
I'm about to start a couple of projects with Stitch. Normally, I start some sort of new thread to talk about the trials and tribulations of my half-assed wrenching. But, since this thread is recent and I'm still working on repairing this damage, I figured I'd just continue this thread. Besides, "Poor Stitch!" seems like a good title for a thread about me working on him.
I'm about to put in the rear glass, as detailed in this thread: https://rennlist.com/forums/928-foru...tch-glass.html . I have a new windshield coming, but since I can't drive Stitch to the guy, he said it would be a couple weeks until he had time to get to me. That's fine, I'm taking Reuben to Frenzy, so since Stitch is in the garage for a while I might as well do some stuff.
One of the tasks will be to pull the pod and dash and put on the pre-formed covers from 928 Motorsports. I picked them up a couple years ago, and never put them on. I guess I was supposed to be a test case.
I also have a different cluster. Stitch's speedo died and was replaced several years ago with a GPS speedo. It fits just fine, and works okay, but it doesn't really match the rest of the instruments. I bought an entire cluster from a wreck, so I'm hoping that they'll give me better results than Stitch's instruments. Stitch's surround is in better shape, even if his foil is very rough. So my plan is to move the instruments. I'll also move all the LED bulbs from Stitch's cluster. Also: Stitch's gas gauge has never worked. I'm hoping that was because of the cluster (I seem to remember testing the sending unit with an Ohm meter a few years ago, and that it was working fine.). I'll figure that out.
I'd like to get the frozen cable on the throttle quadrant fixed, since I think that's the kick-down cable going to the transmission. Stitch has not had a WOT kick-down since I've owned him.
If fixing the cable prices challenging, adding the kickdown relay mod to the shifter button might be even better, then you can make it kickdown on your command instead of via the cable. Having both is ideal but having one that works is needed.
In the 84, it won't kickdown via the pedal running at 2,500 rpm at 90 mph, but there's plenty of tach left and being able to force the downshift is needed.
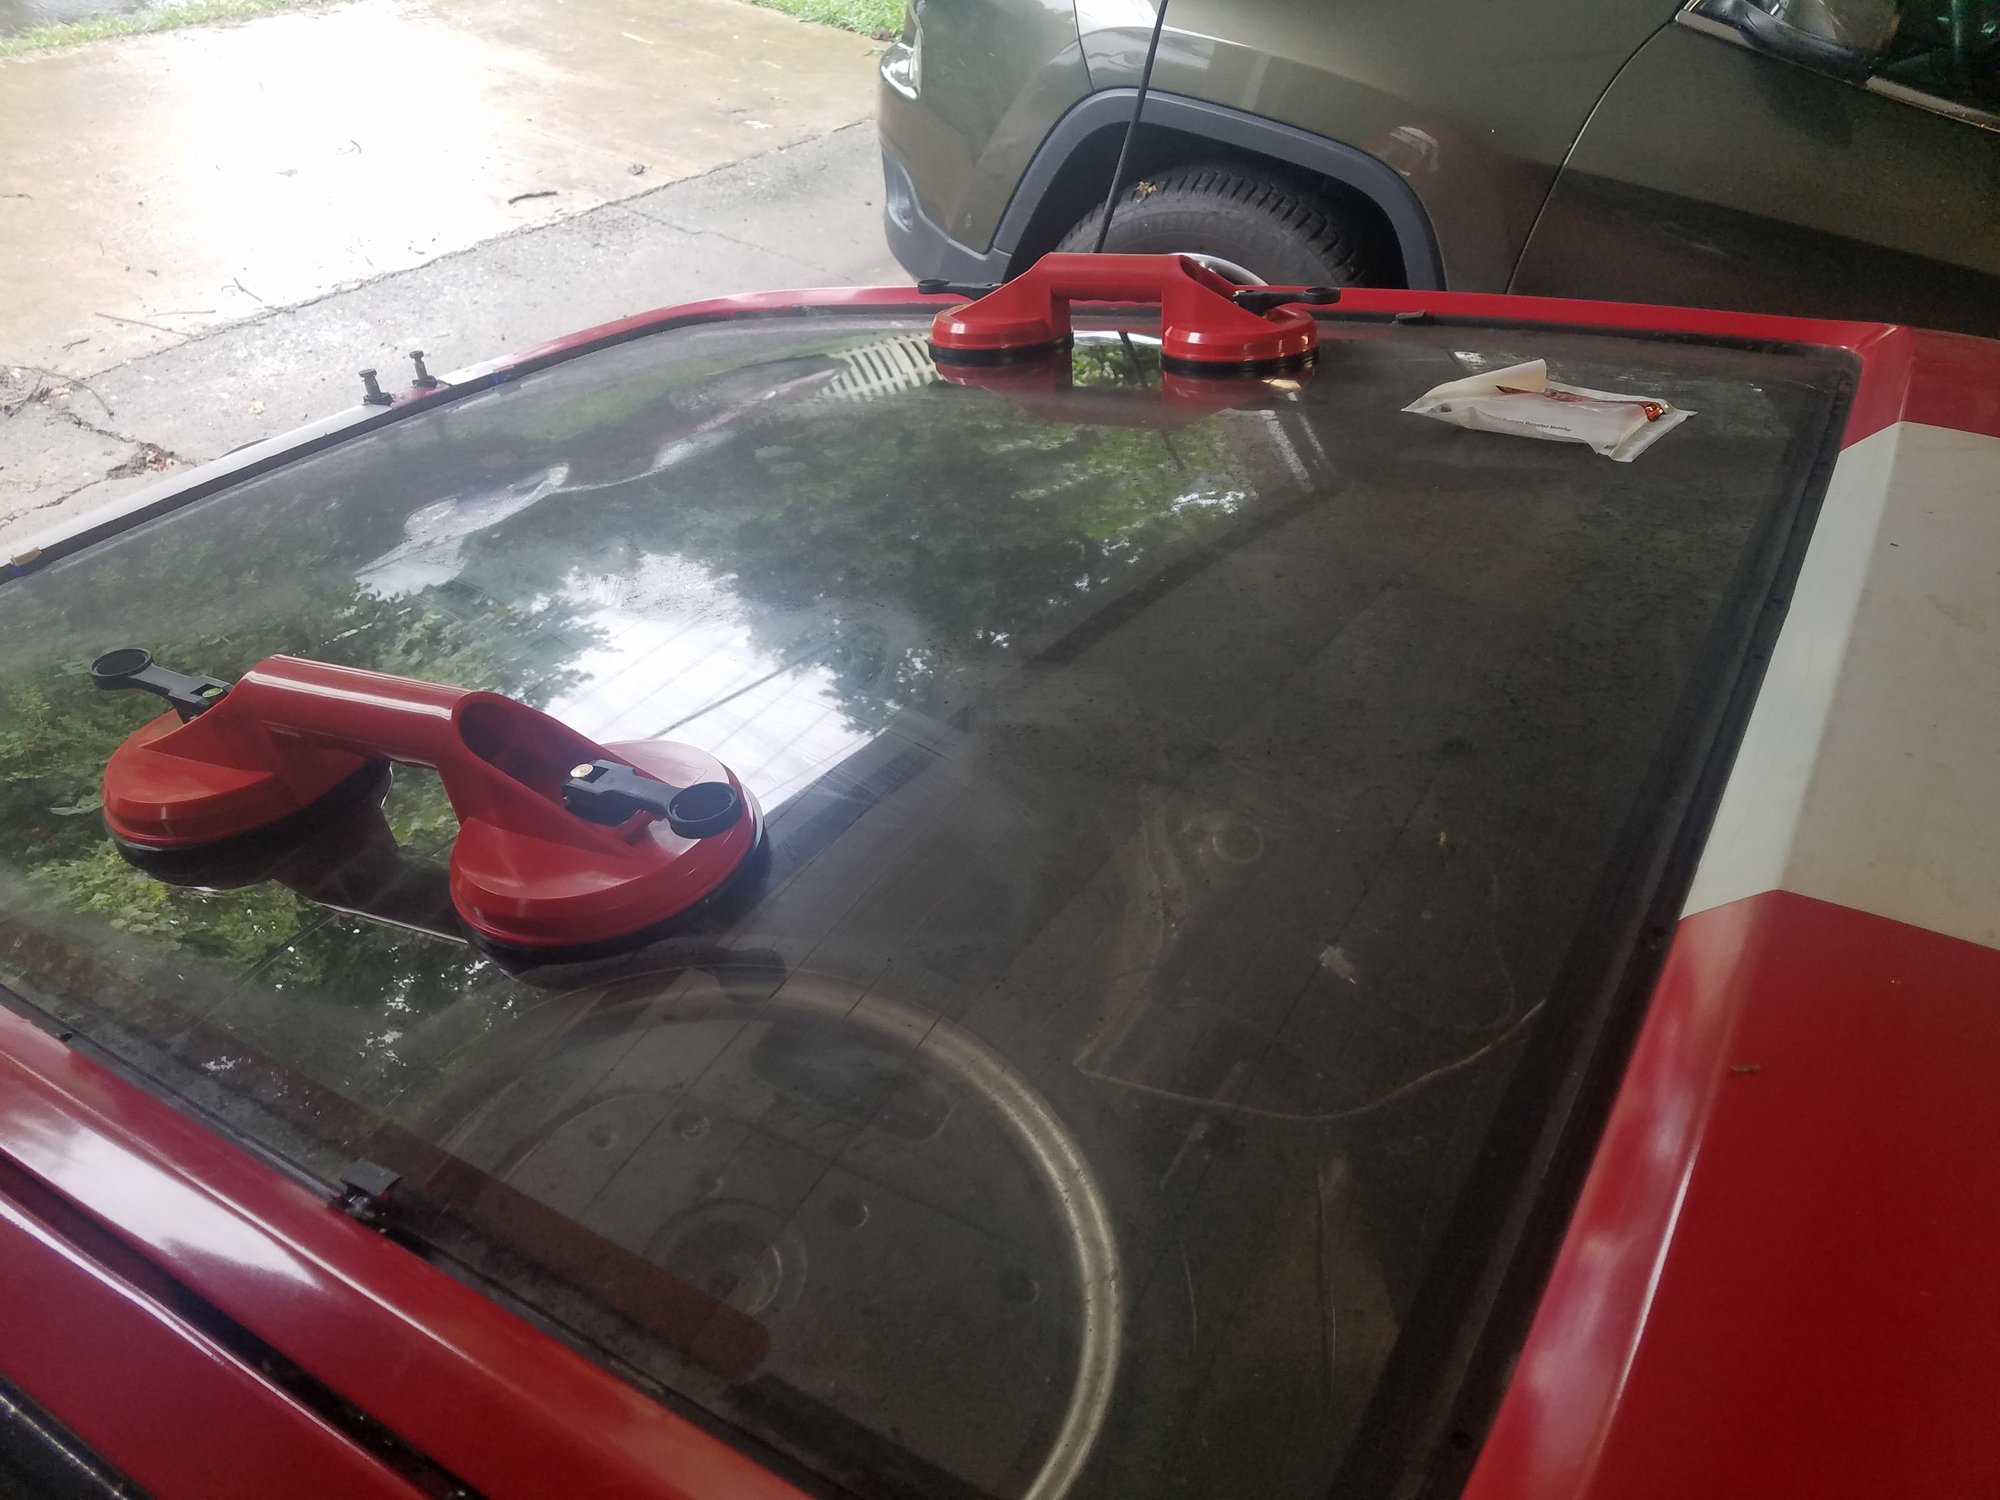
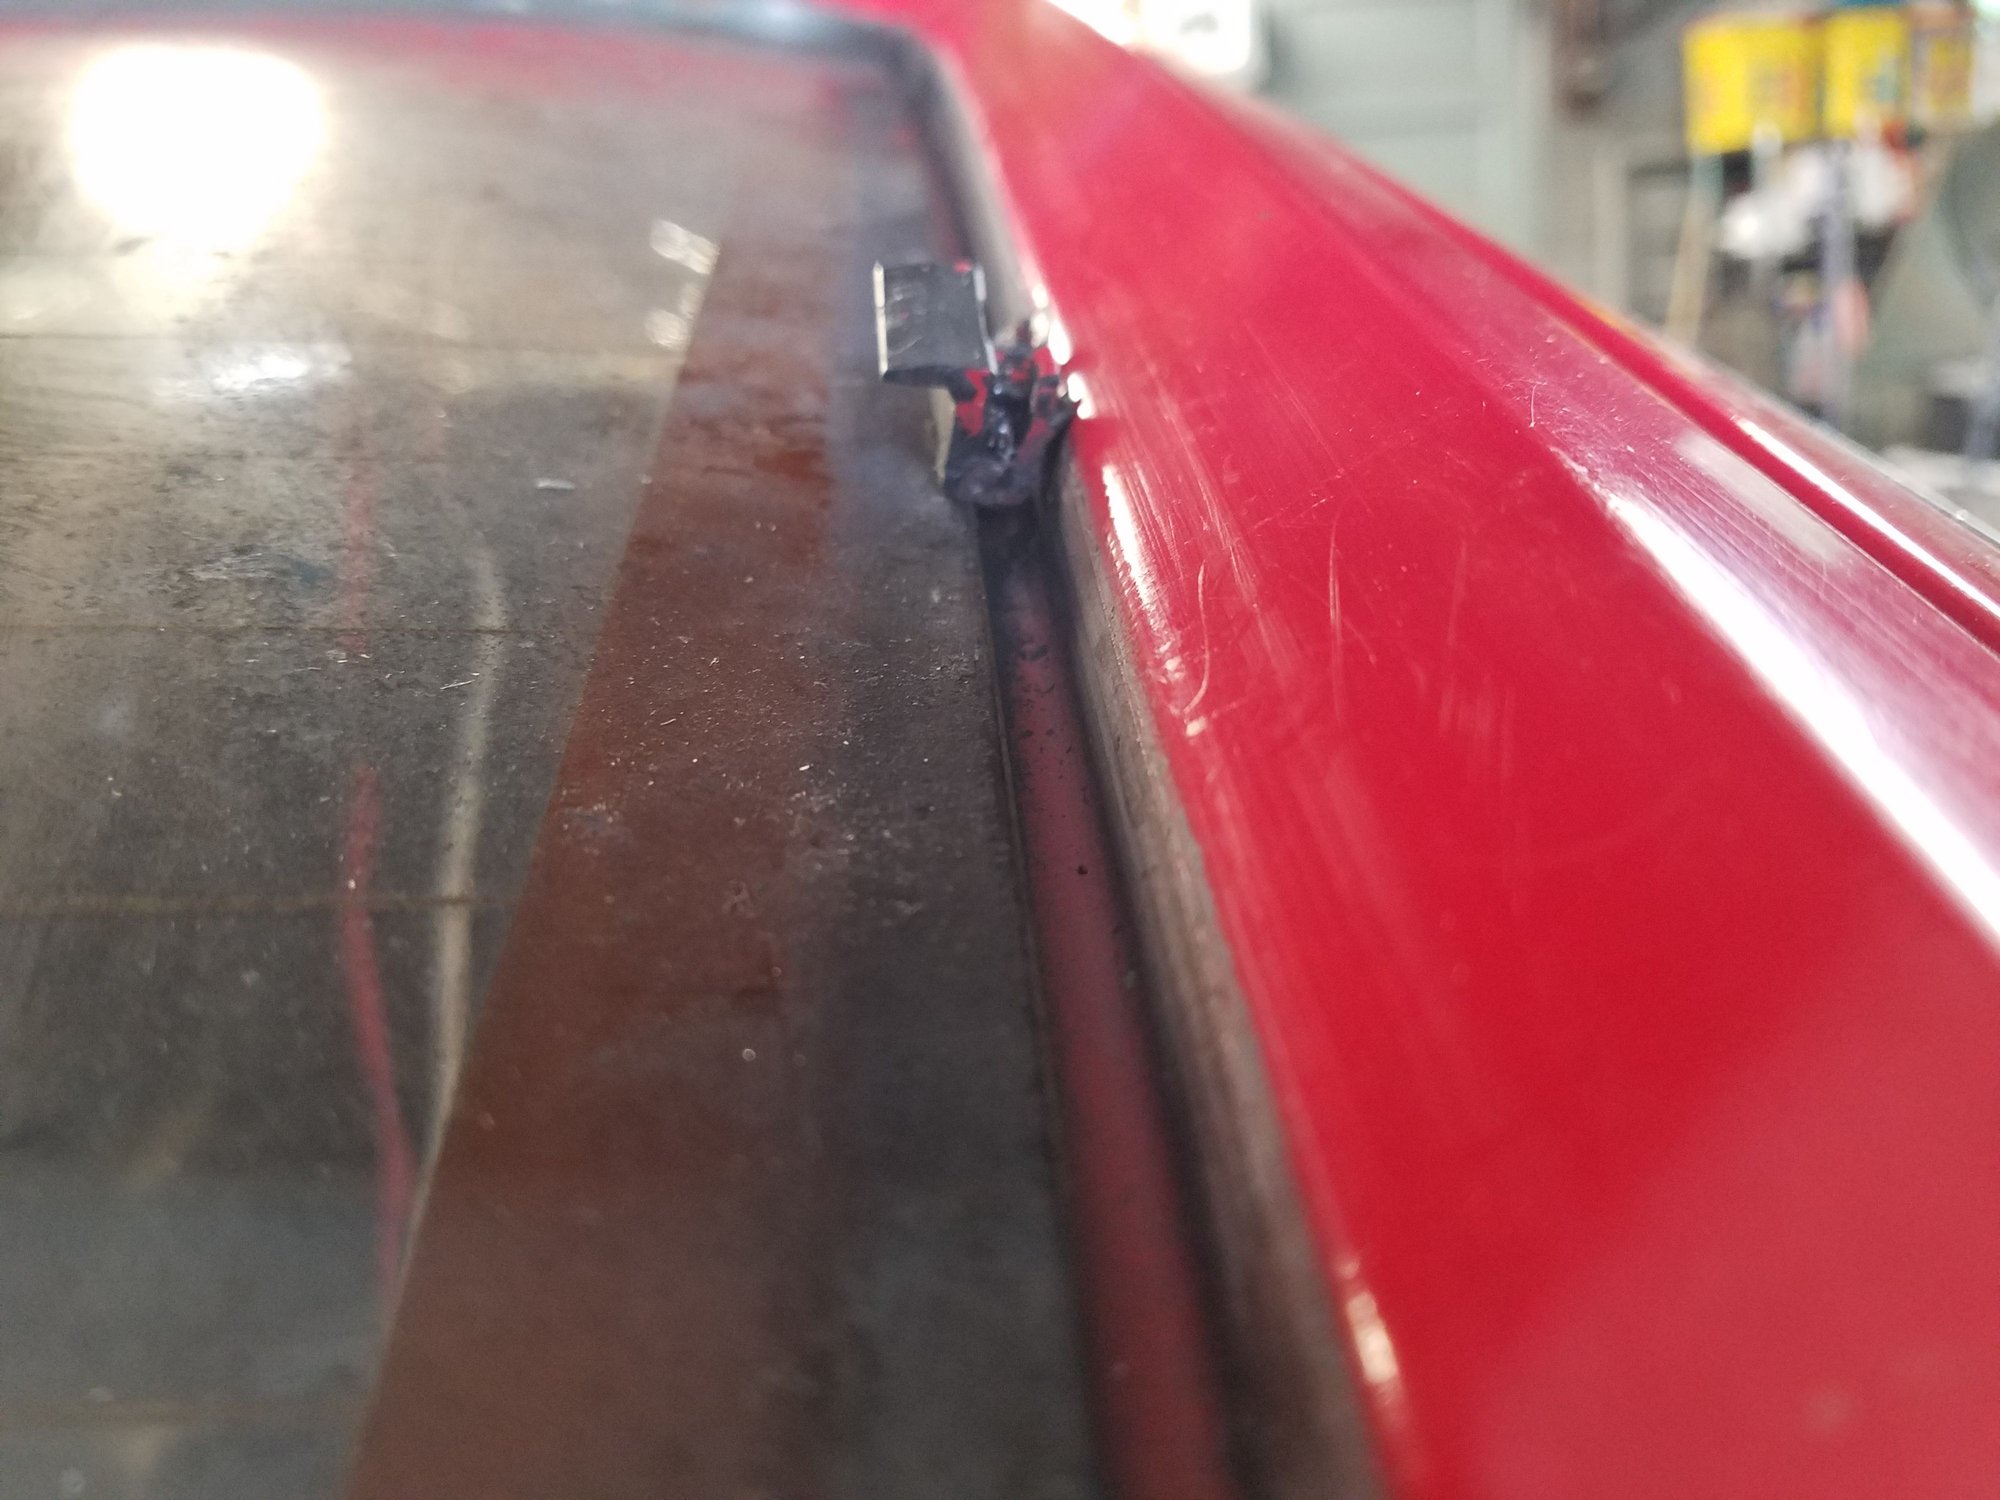
I'm test fitting the glass and it doesn't seem like I can get the clips in. I have two clips parallel on the sides. One side is seated in the channel, there's not enough room for the other to seat. I tried shimming the glass to get it to sit at the top of the clip, but that didn't solve the problem.
What am I missing?
Last edited by Shawn Stanford; 09-05-2022 at 09:22 PM.
Okay, well, while I try to figure out what's going on with the hatch glass clips, I started working on the other items.
I did some research on throttle quadrant cables, and I decided that there was 2 or 3 millimeters slack in my throttle pedal cable, which I took out. It looks like this might be why the kick down was not working properly, since the throttle quadrant would run out of travel too soon. However, I don't know how to test it without driving, so I can't be sure I actually helped. There's also a crazy 'bow' in the kick-down cable where it doesn't feed all the way back in. I tried putting some WD40 and working it, but it didn't seem to help. I have no idea if that's correct, or how to do it, but I guess I'll have to get underneath the car and see if I can free it from the transmission side.
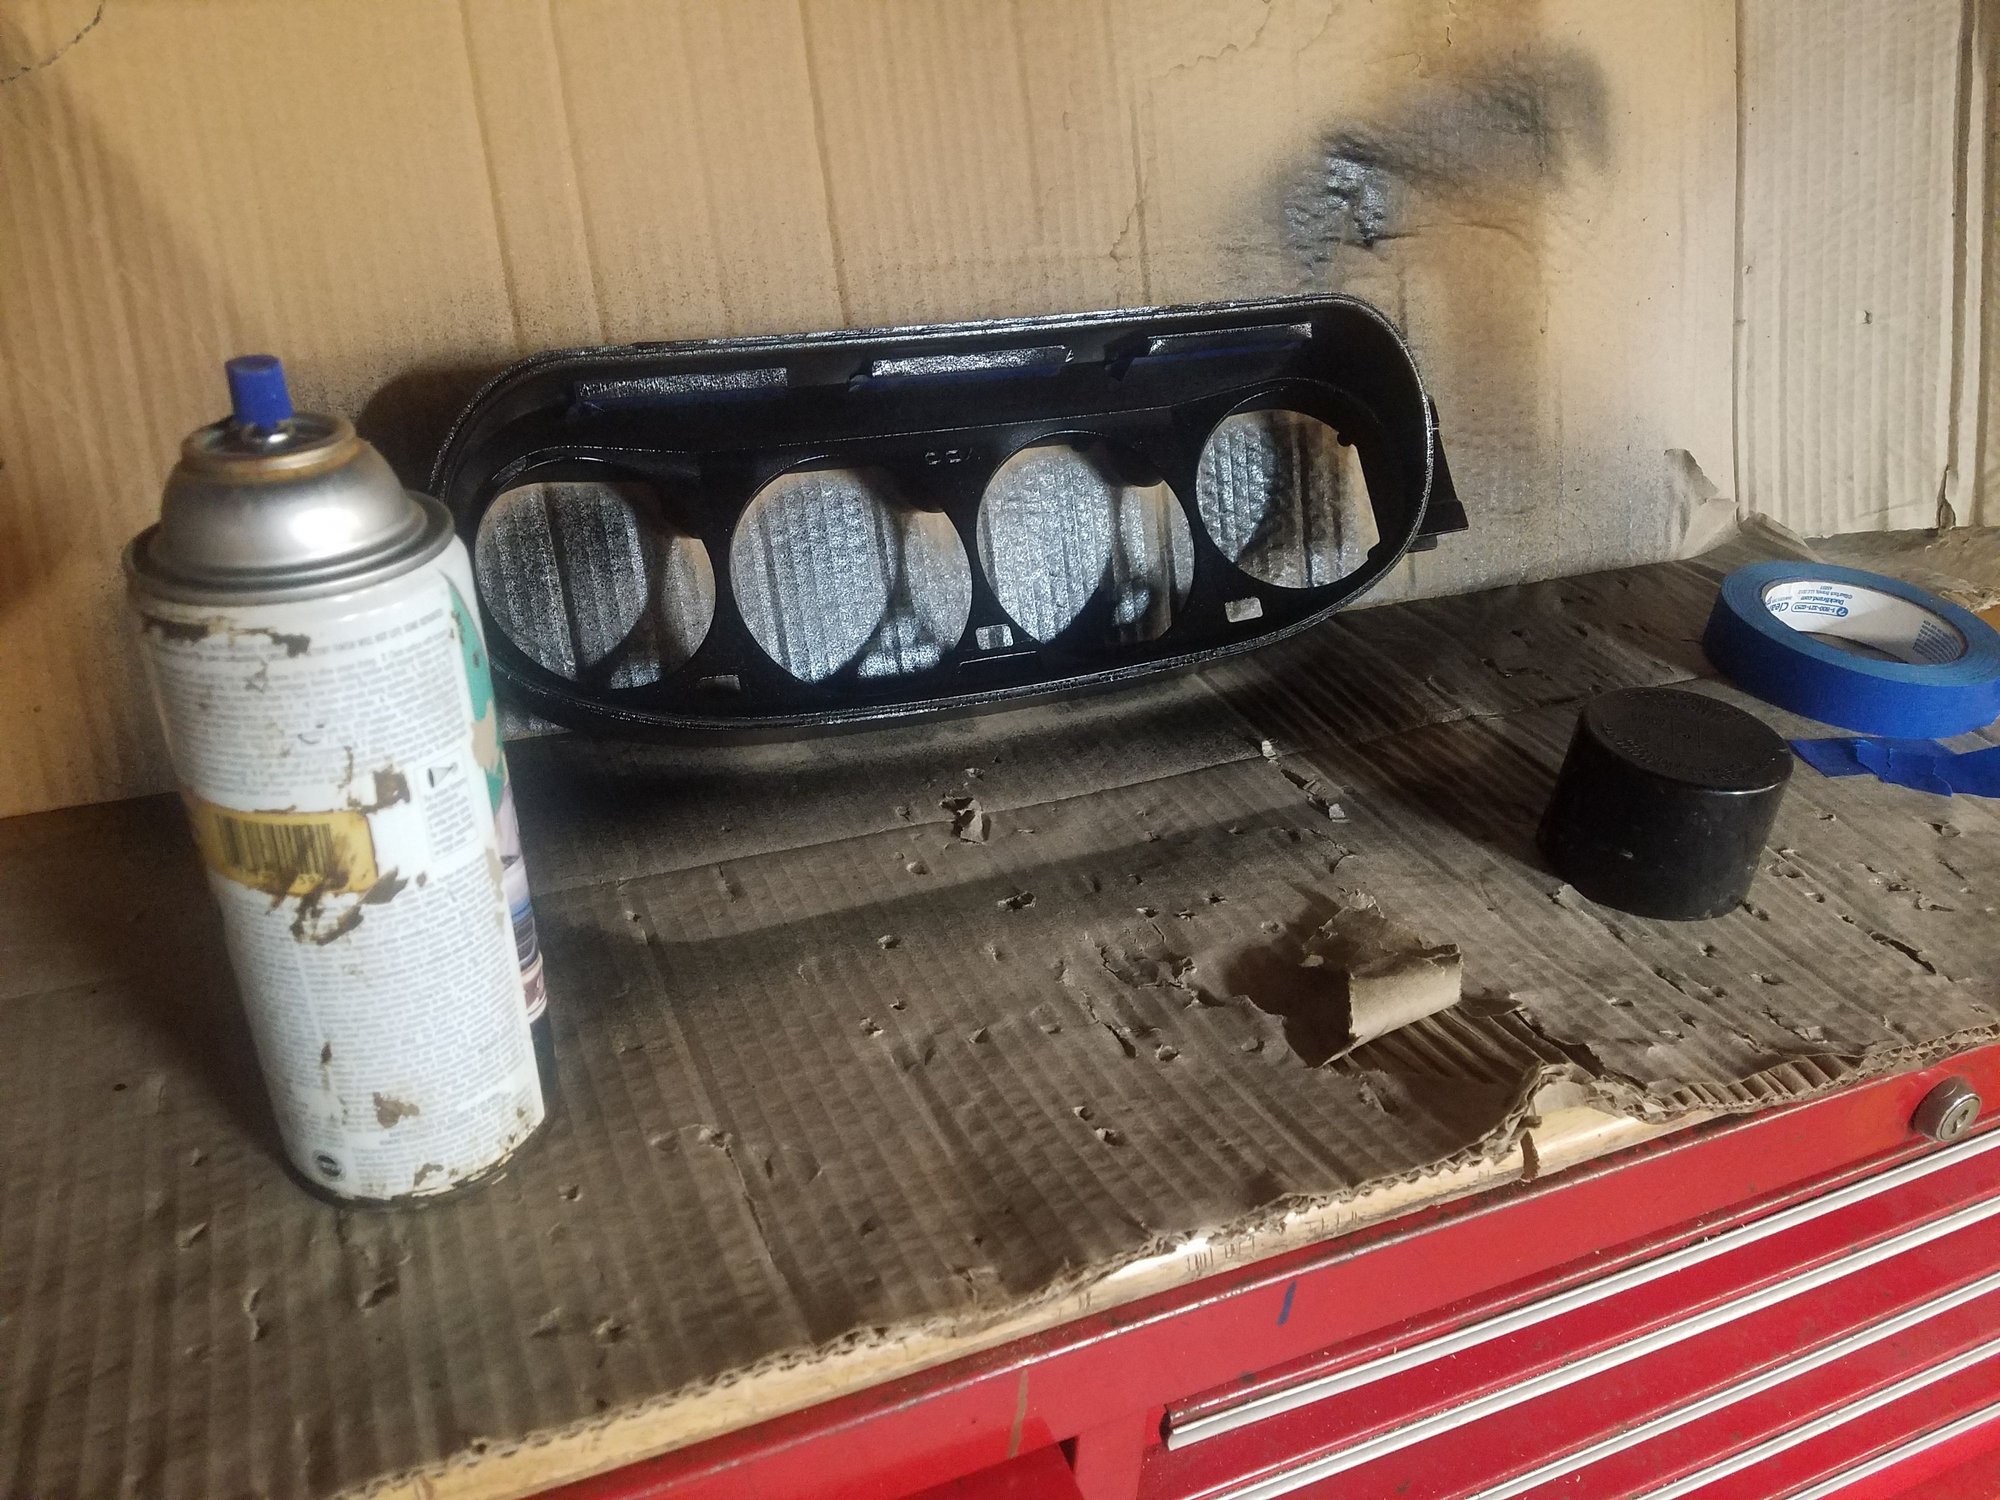
I then went after the pod and dash. The pod came out via the normal steps without too much difficulty. It's also nice to know that I'm still spry enough to get under there. I pulled the old instruments and plugged in the replacements cluster. The fuel gauge seems to work, but the oil pressure and voltmeter were reading zero. I have a digital voltmeter that plugs into the cigarette lighter and it was reading 11.5 volts with the car running. I remembered that the exciter wire won't function if the bulb is dead in the voltmeter, so I checked with the key at the first notch and, sure enough, dead bulb. I swapped the bulb over and cleaned all the contact with contact cleaner, and on the next attempt everything worked as it should. The oil pressure had a reading and the digital voltmeter showed 13.5 volts. I swapped the LED illumination bulbs from my cluster into the new cluster. I also pulled out the GPS speedo intact. I scrubbed the the black surround to get the white patina dots off it.
Pretty quick and simple stuff, really.
Last edited by Shawn Stanford; 09-05-2022 at 09:41 PM.
Since I'm replacing the cluster and the pod is out, I thought I would look into the lights again. A few years ago I replaced the three illumination bulbs with LEDs. It's been more than a year since I had Stitch out on a night drive, and the GPS speedo was self illuminated in a reddish color. So I really don't remember how well the bulbs I have now work. I've also found over the years that I prefer the interior illumination to be kind of low when I'm driving at night.
Looking at this thread, I figured out that the illumination bulbs are '194' bulbs, and that they're very common and very cheap. I ordered two packs -
Since I'm replacing the cluster and the pod is out, I thought I would look into the lights again. A few years ago I replaced the three illumination bulbs with LEDs. It's been more than a year since I had Stitch out on a night drive, and the GPS speedo was self illuminated in a reddish color. So I really don't remember how well the bulbs I have now work. I've also found over the years that I prefer the interior illumination to be kind of low when I'm driving at night.
Also prefer lower interior illumination for night driving. In anticipation of converting the three illumination bulbs and/or the pod **** lights to LED, I bought (and have stored somewhere) one of Hans' LED dimmer modules.
I am pretty sure the stock dimmer control on the 86.5 adjusts the brightness of the three illumination lights, but I don't recall if it also controls the brightness on the pod ***** or warning lights.
After an LED conversion, I believe the question becomes whether the dimmest setting is still too bright. If still too bright at the dimmest setting, I would hope alternate replacement LED bulbs could be sourced.
Since I'm replacing the cluster and the pod is out, I thought I would look into the lights again. A few years ago I replaced the three illumination bulbs with LEDs. It's been more than a year since I had Stitch out on a night drive, and the GPS speedo was self illuminated in a reddish color. So I really don't remember how well the bulbs I have now work. I've also found over the years that I prefer the interior illumination to be kind of low when I'm driving at night.
Looking at this thread, I figured out that the illumination bulbs are '194' bulbs, and that they're very common and very cheap. I ordered two packs - 10 white and 10 amber - from Amazon for $16 all up. I'll experiment to see which I like best.
Got it! I will...
I used these to illuminate my dash 194 COB LED Bulbs they worked out really well and dimmed properly using the existing dimming system.
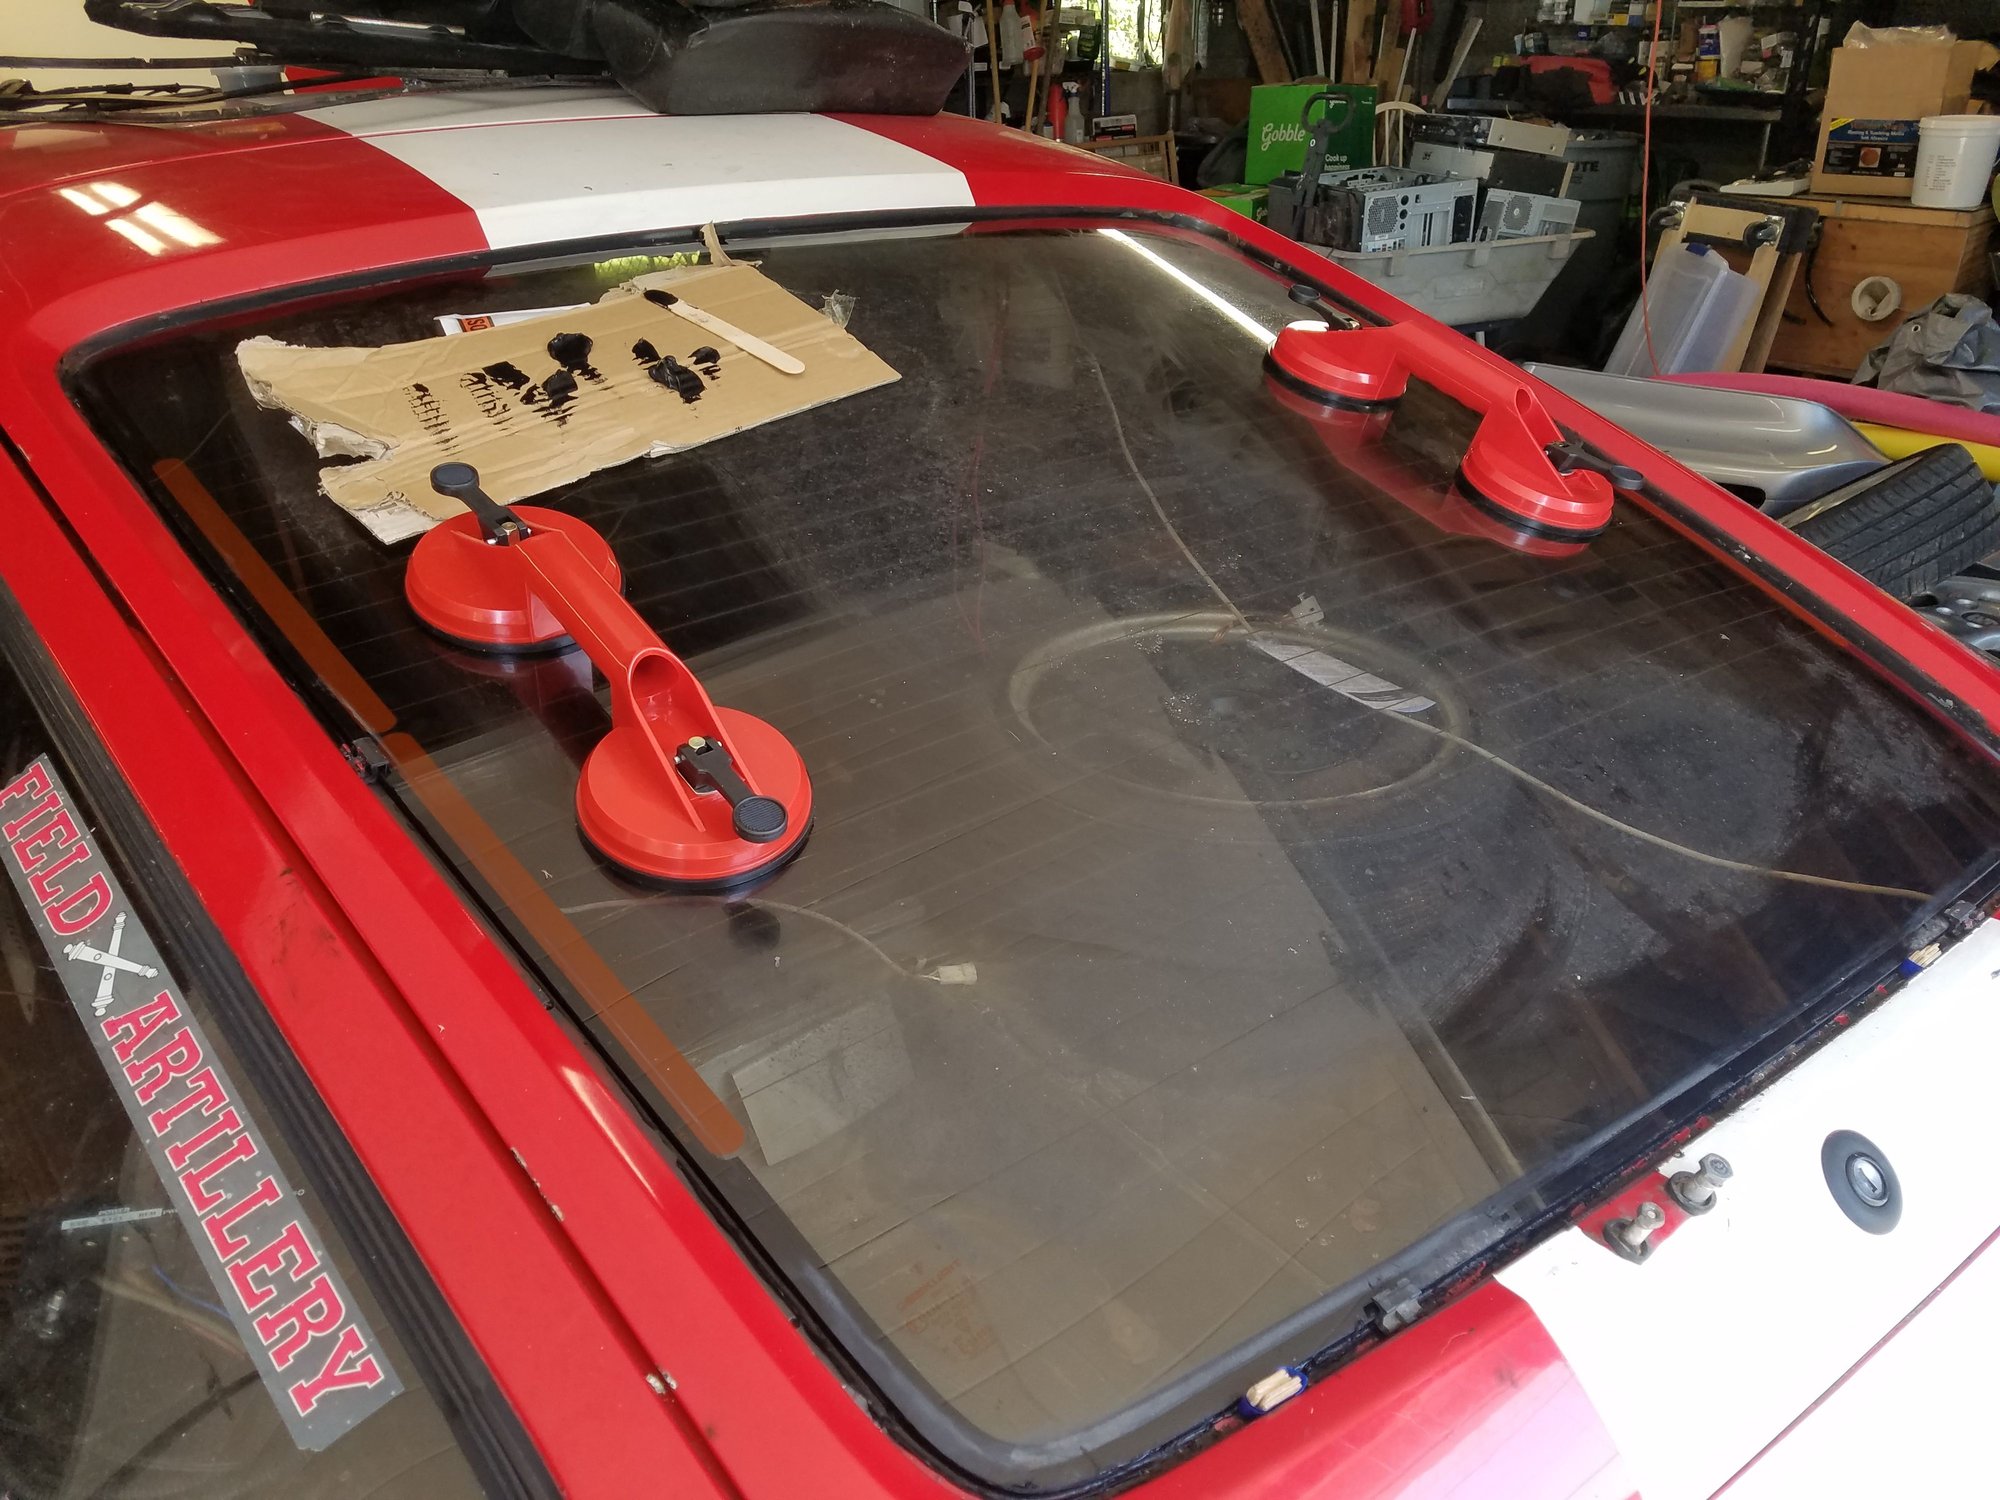
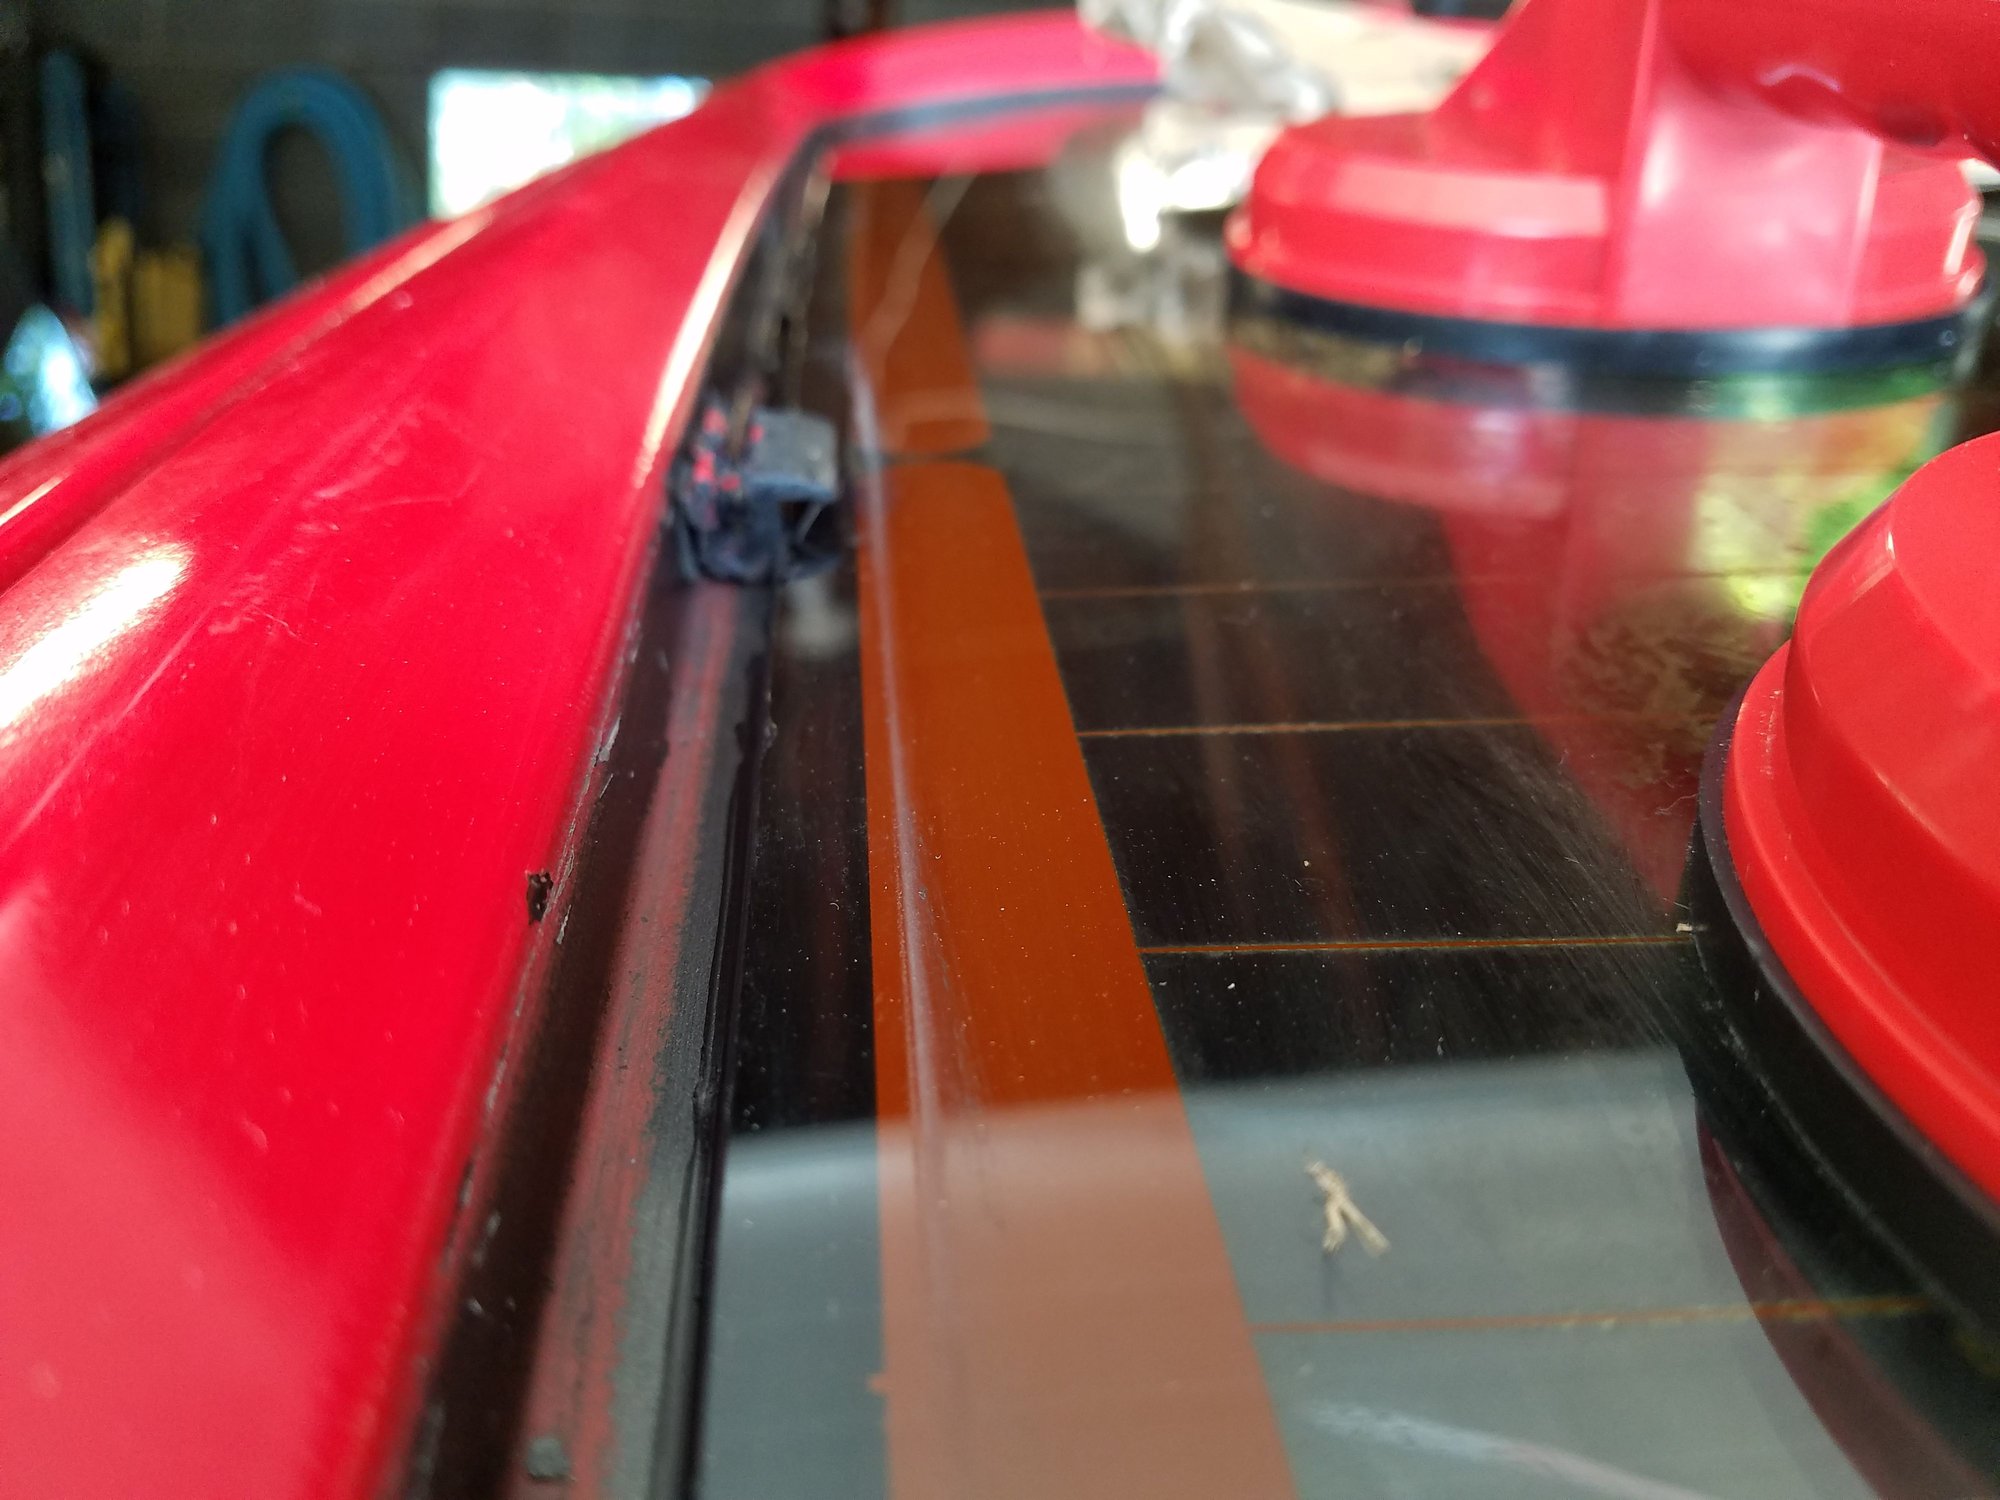
The glass is in. What a tough squeeze! I mean: Coming out of the tube. I think I read somewhere that someone recommended warming it up before use; I wish I'd done that. It took me five or more minutes just to get the bead around the frame. Oy! I put the glass in place and gave a gentle push down, watching the adhesive through the glass to make sure I had 100% coverage underneath. Then I cleaned up the squeeze out with a popsicle stick. The clips are sitting proud of the window, but I'm not sure if that's a problem or not, since the adhesive should do most of the work. I can always put in some sort of spacer to take fill the gaps.
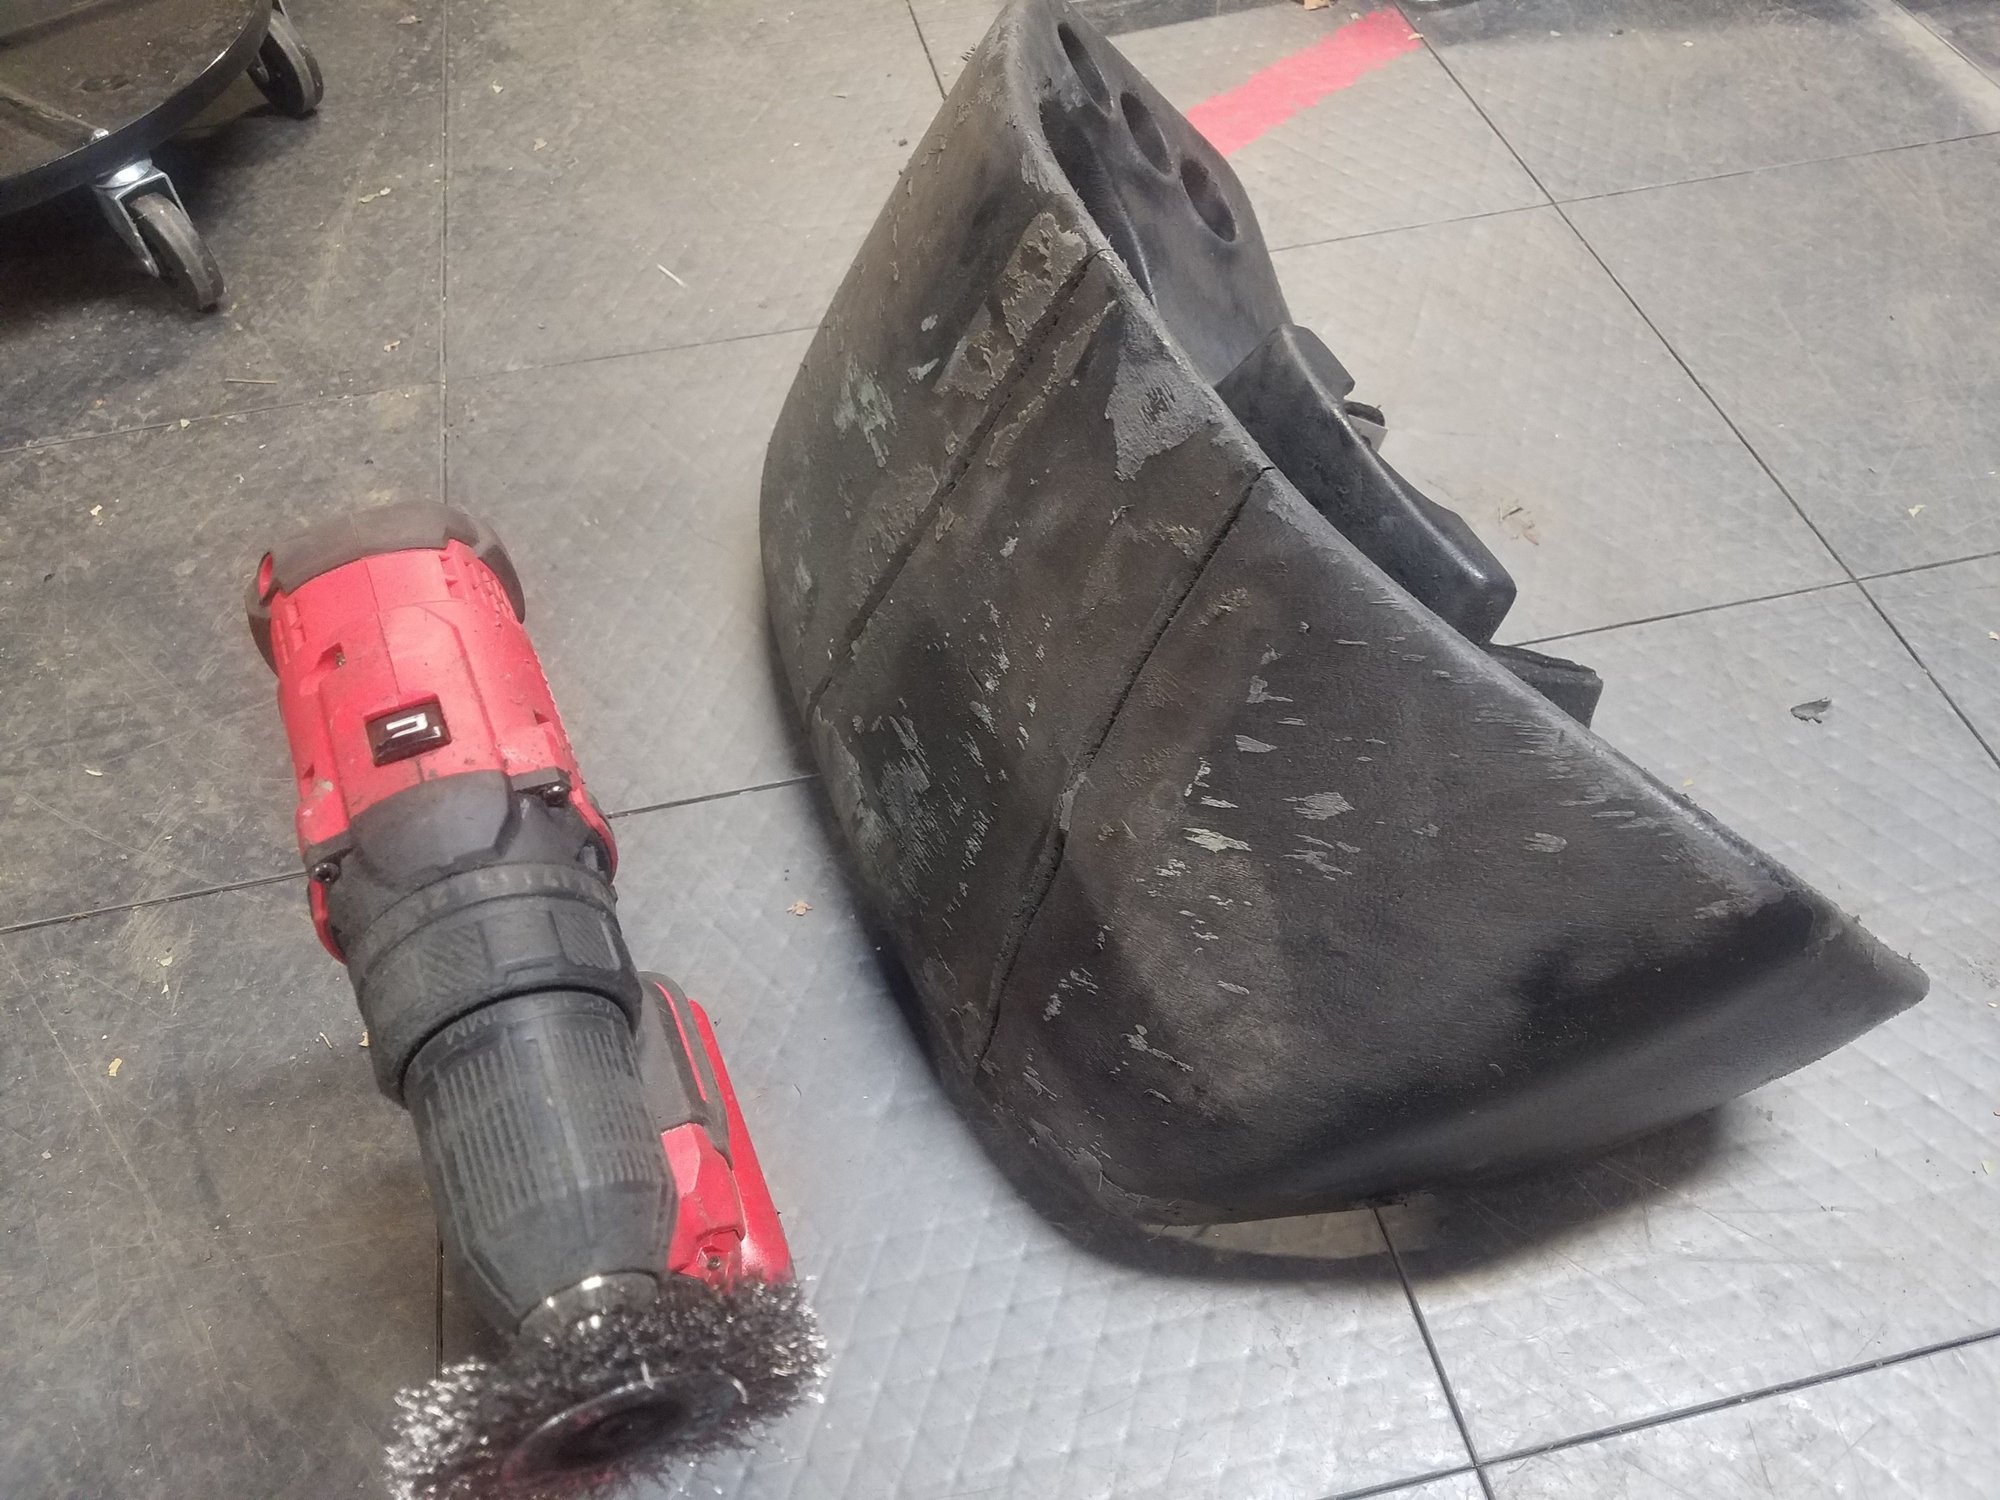
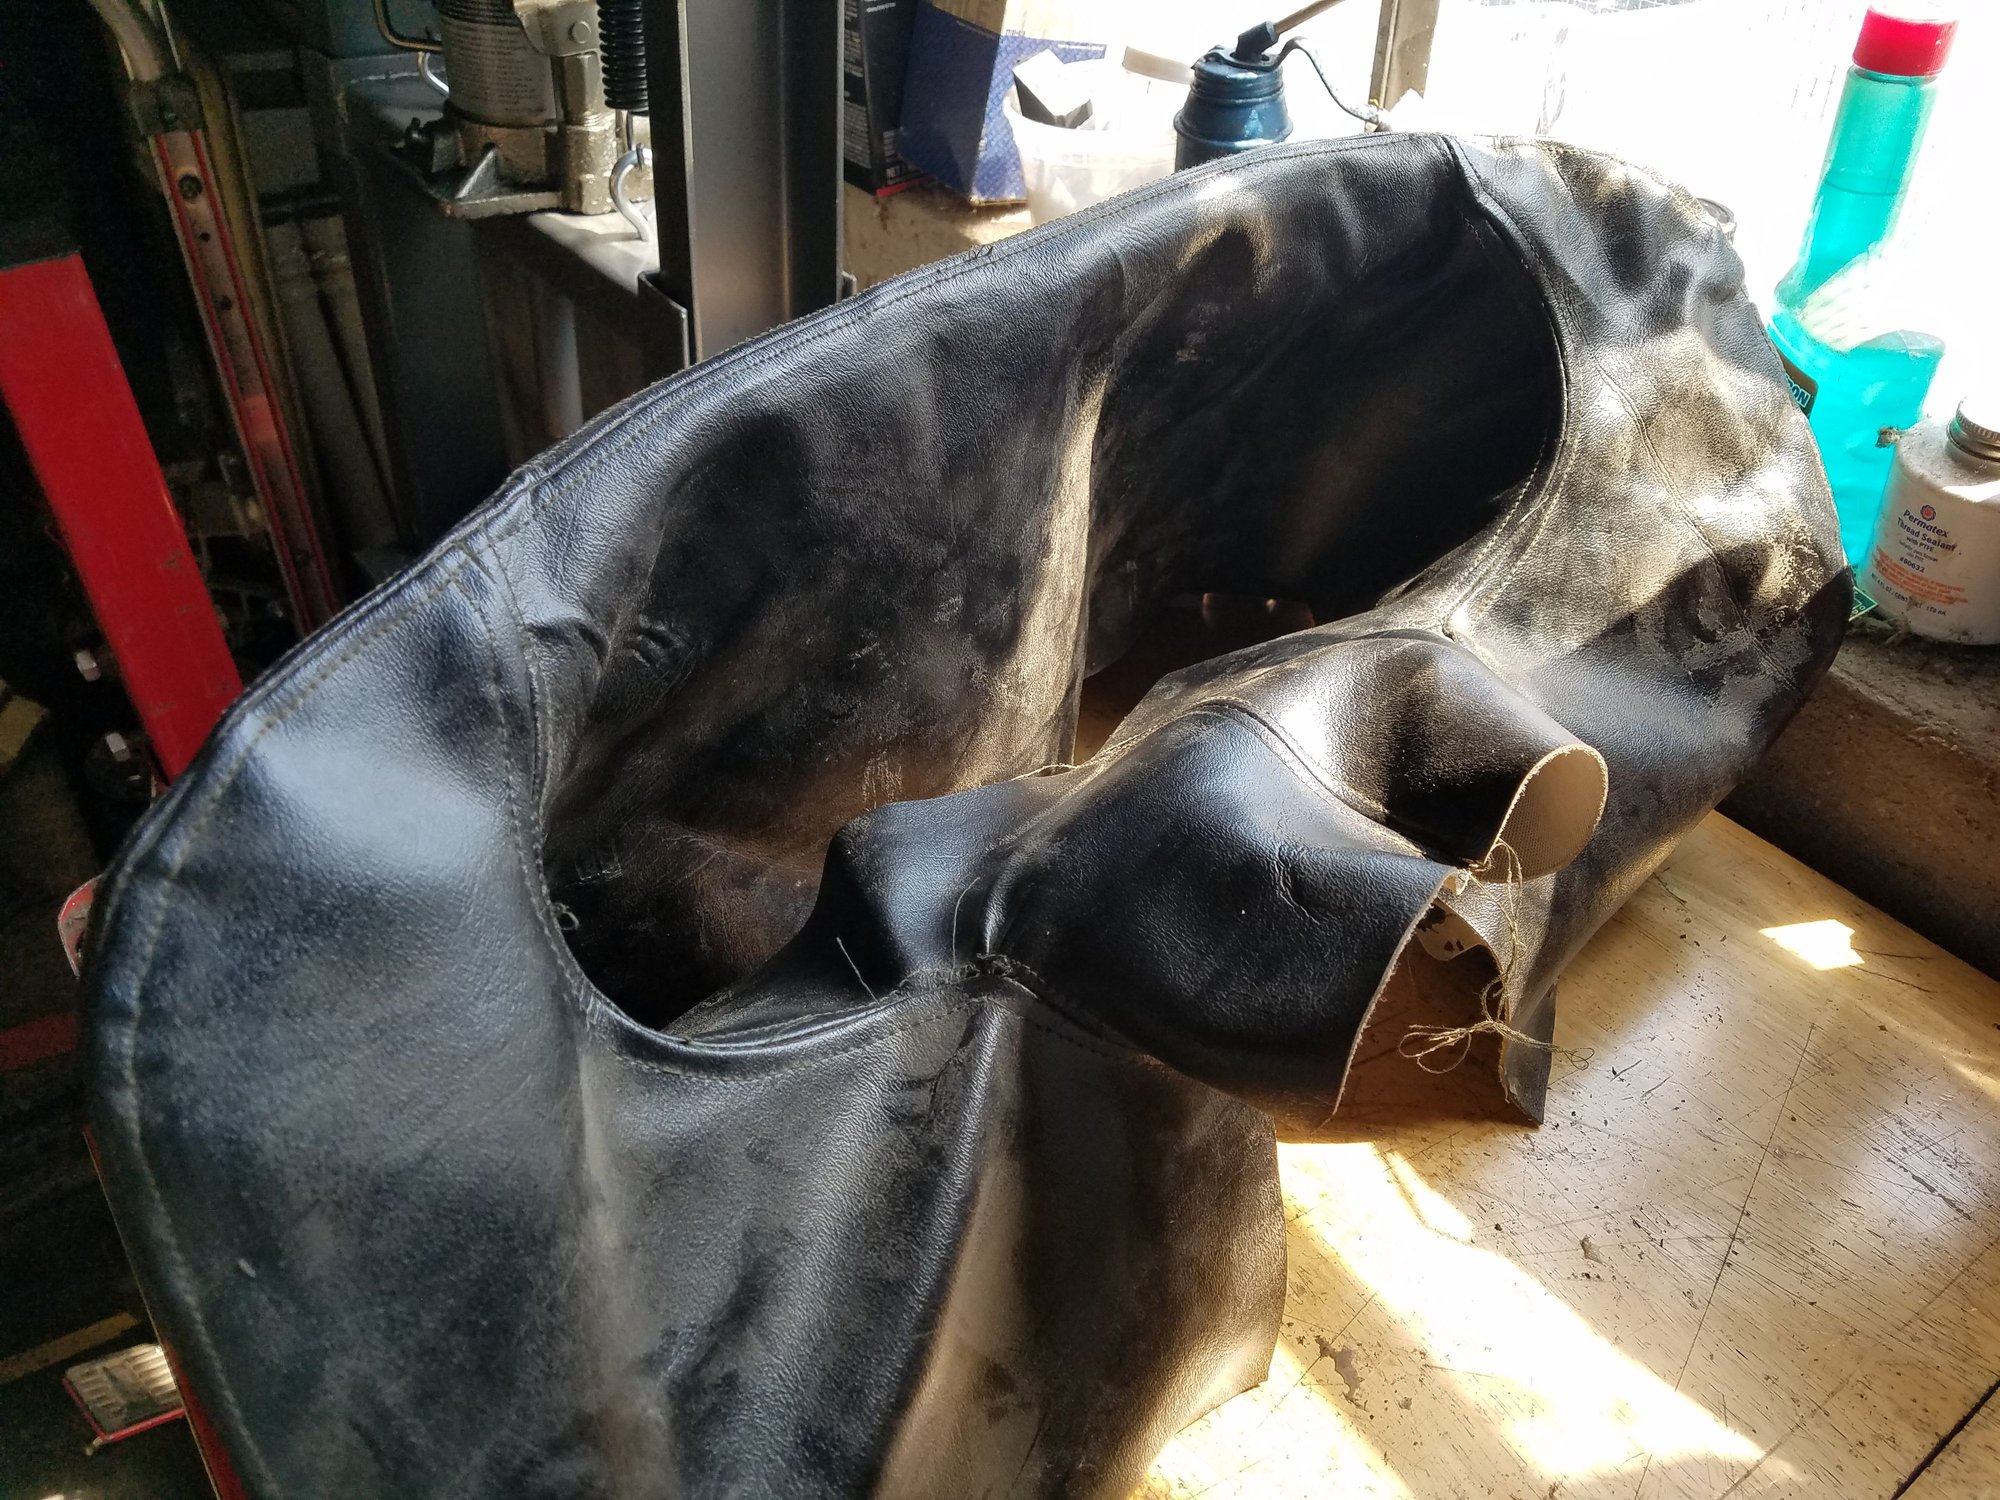
On the pod, a complete change in plans. I was test fitting the hard plastic cover and I realized that I'd scuffed the vinyl all the way into the tunnel. Unfortunately, the cover only goes about halfway down the tunnel. So, I had a couple inches of completely fragged vinyl to look at. I have or had another pod somewhere, so I went to dig it out. While searching, I found the vinyl pod cover I made several years ago. I didn't install it (and went with the Plasti-Dip) because I couldn't find adhesive that would hold it. I decided to give this another try, only using 3M headliner adhesive.
I still need to pull the dash...
Last edited by Shawn Stanford; 09-09-2022 at 01:40 PM.


 07-05-2022, 12:10 PM