When you click on links to various merchants on this site and make a purchase, this can result in this site earning a commission. Affiliate programs and affiliations include, but are not limited to, the eBay Partner Network.
I'm looking for details on replacing the rear hatch glass.
Stitch recently suffered an indignity, and I have a rear glass generously donated by Guy. Now what I need are instructions!
I have a digital copy of the WSM, but as far as I can tell, it oddly does not talk about the rear hatch glass. It doesn't even really talk about the rear hatch (which it calls a 'rear lid'). The section on 'Glasses' talks about the windshield and the side quarter glass, and the section on doors goes into the door glass. But I can't find anything about the hatch glass. I also searched the forum and I didn't find anything useful.
Before I just start yanking things, does anyone have a breakdown of the steps to replace the rear hatch glass? Preferably with pics, of course.
Last edited by Shawn Stanford; 08-27-2022 at 11:39 AM.
The rear hatch glass are on a none setting mastik sealing strip, the best way is to use the bonding method as used in modern vehicles but you have to put some rubber spacers in to stop the weight of the glass from compressing the sealant down so not to get a large gap between glass and the outer trim.
First you need to take off the rear hatch trim on top.
Then you need to take off the interior trim for the hatch and then undo all of the clips with a screwdriver. They are what actually hold the glass in place.
Take the clips out and then it is just held in with a sealing strip as stated above.
I personally had a glass shop redo mine as taking the glass pane out is a hassle without the right tools like suction cups and sealant cutters. But a wire can work well cutting the sealant!
If your glass is original to the car and has been outside in the heat a little, you can simply remove the trim, defrost grid wiring and push the glass outward. The original butyl will give way fairly easy. Install using 3m windoweld or similar. Have some shims handy to temporarily hold glass from sliding which the urethane bonds. Good luck !
The outer (metal) trim is in three pieces (bottom, left, right), and it's held together by three clips that bridge the gaps between the pieces. These clips come up from the out section and pop off toward the inner (window) section. I gently prised on them and the pipped off pretty easily.
The outer trim itself is held in place by a channel in the glass retaining clips. I used a plastic body tool to work my way around along the inside, prying up gently. They came out without too much trouble.
The inner trim is held in place by the usual assortment of brittle plastic pins and the four screws holding the sun visors, and some metal clips that sit in the hatch frame and grip the edges of the inner trim. Pulling this off exposes the screws holding the window clips in.
Once the screws are out, the retaining clips just lift up and out (depending on how much butyl the previous guy used).
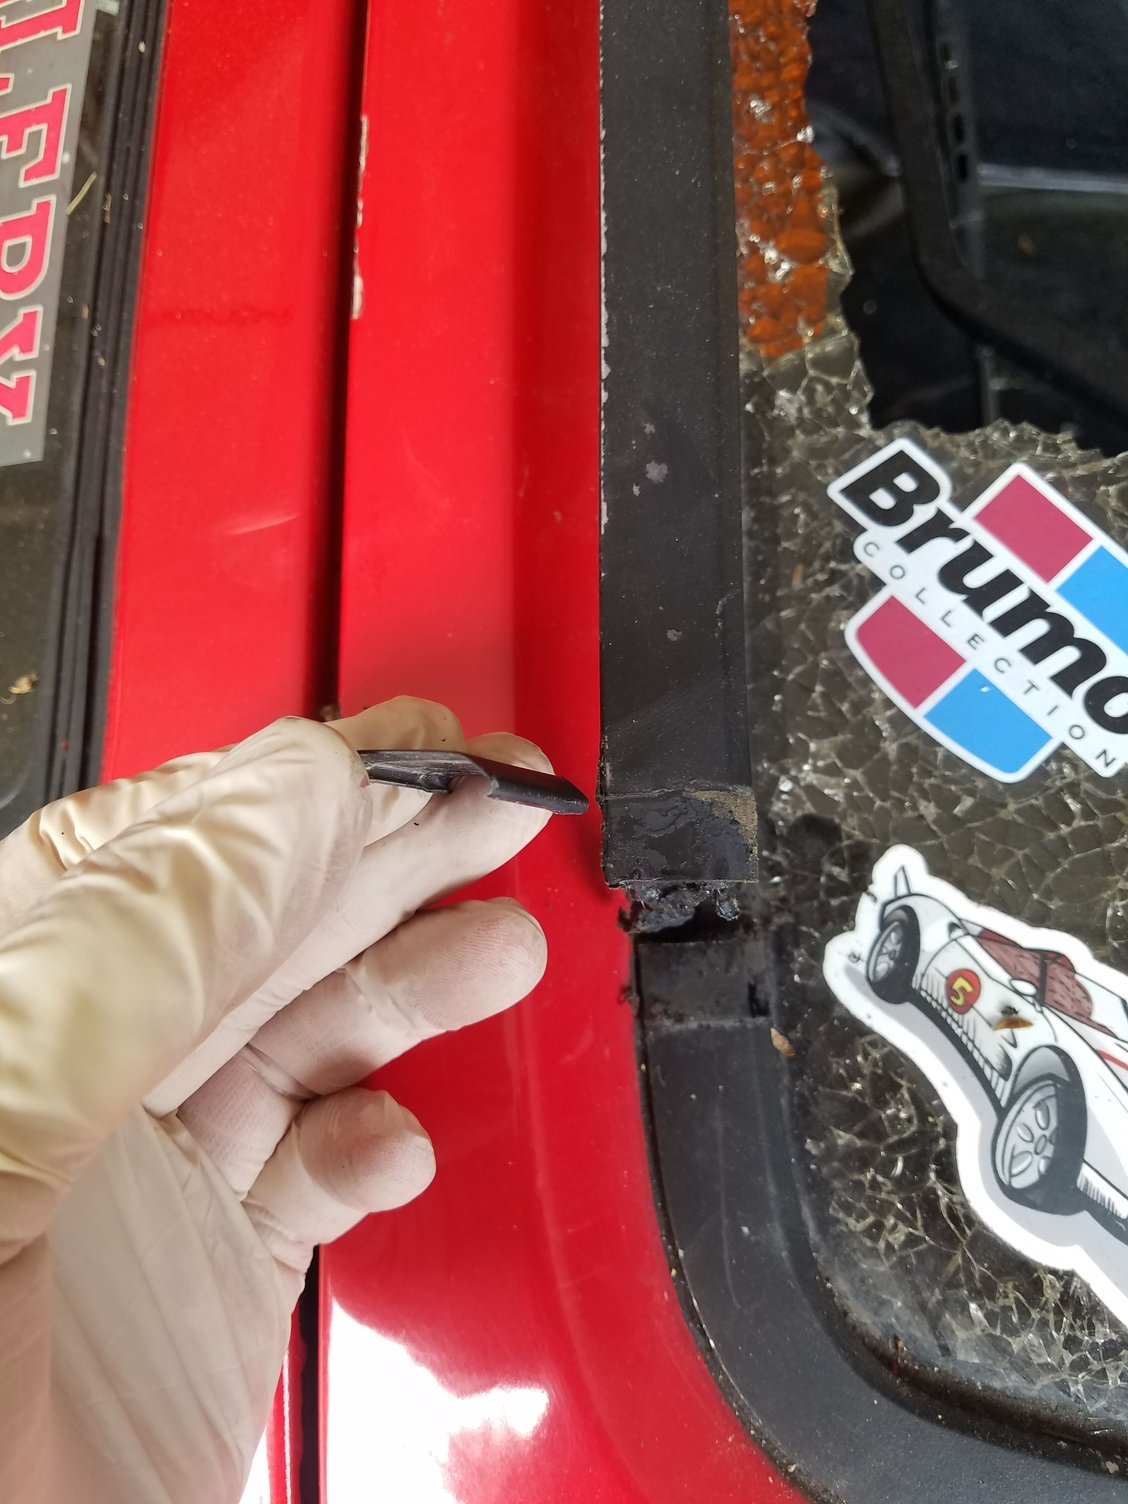
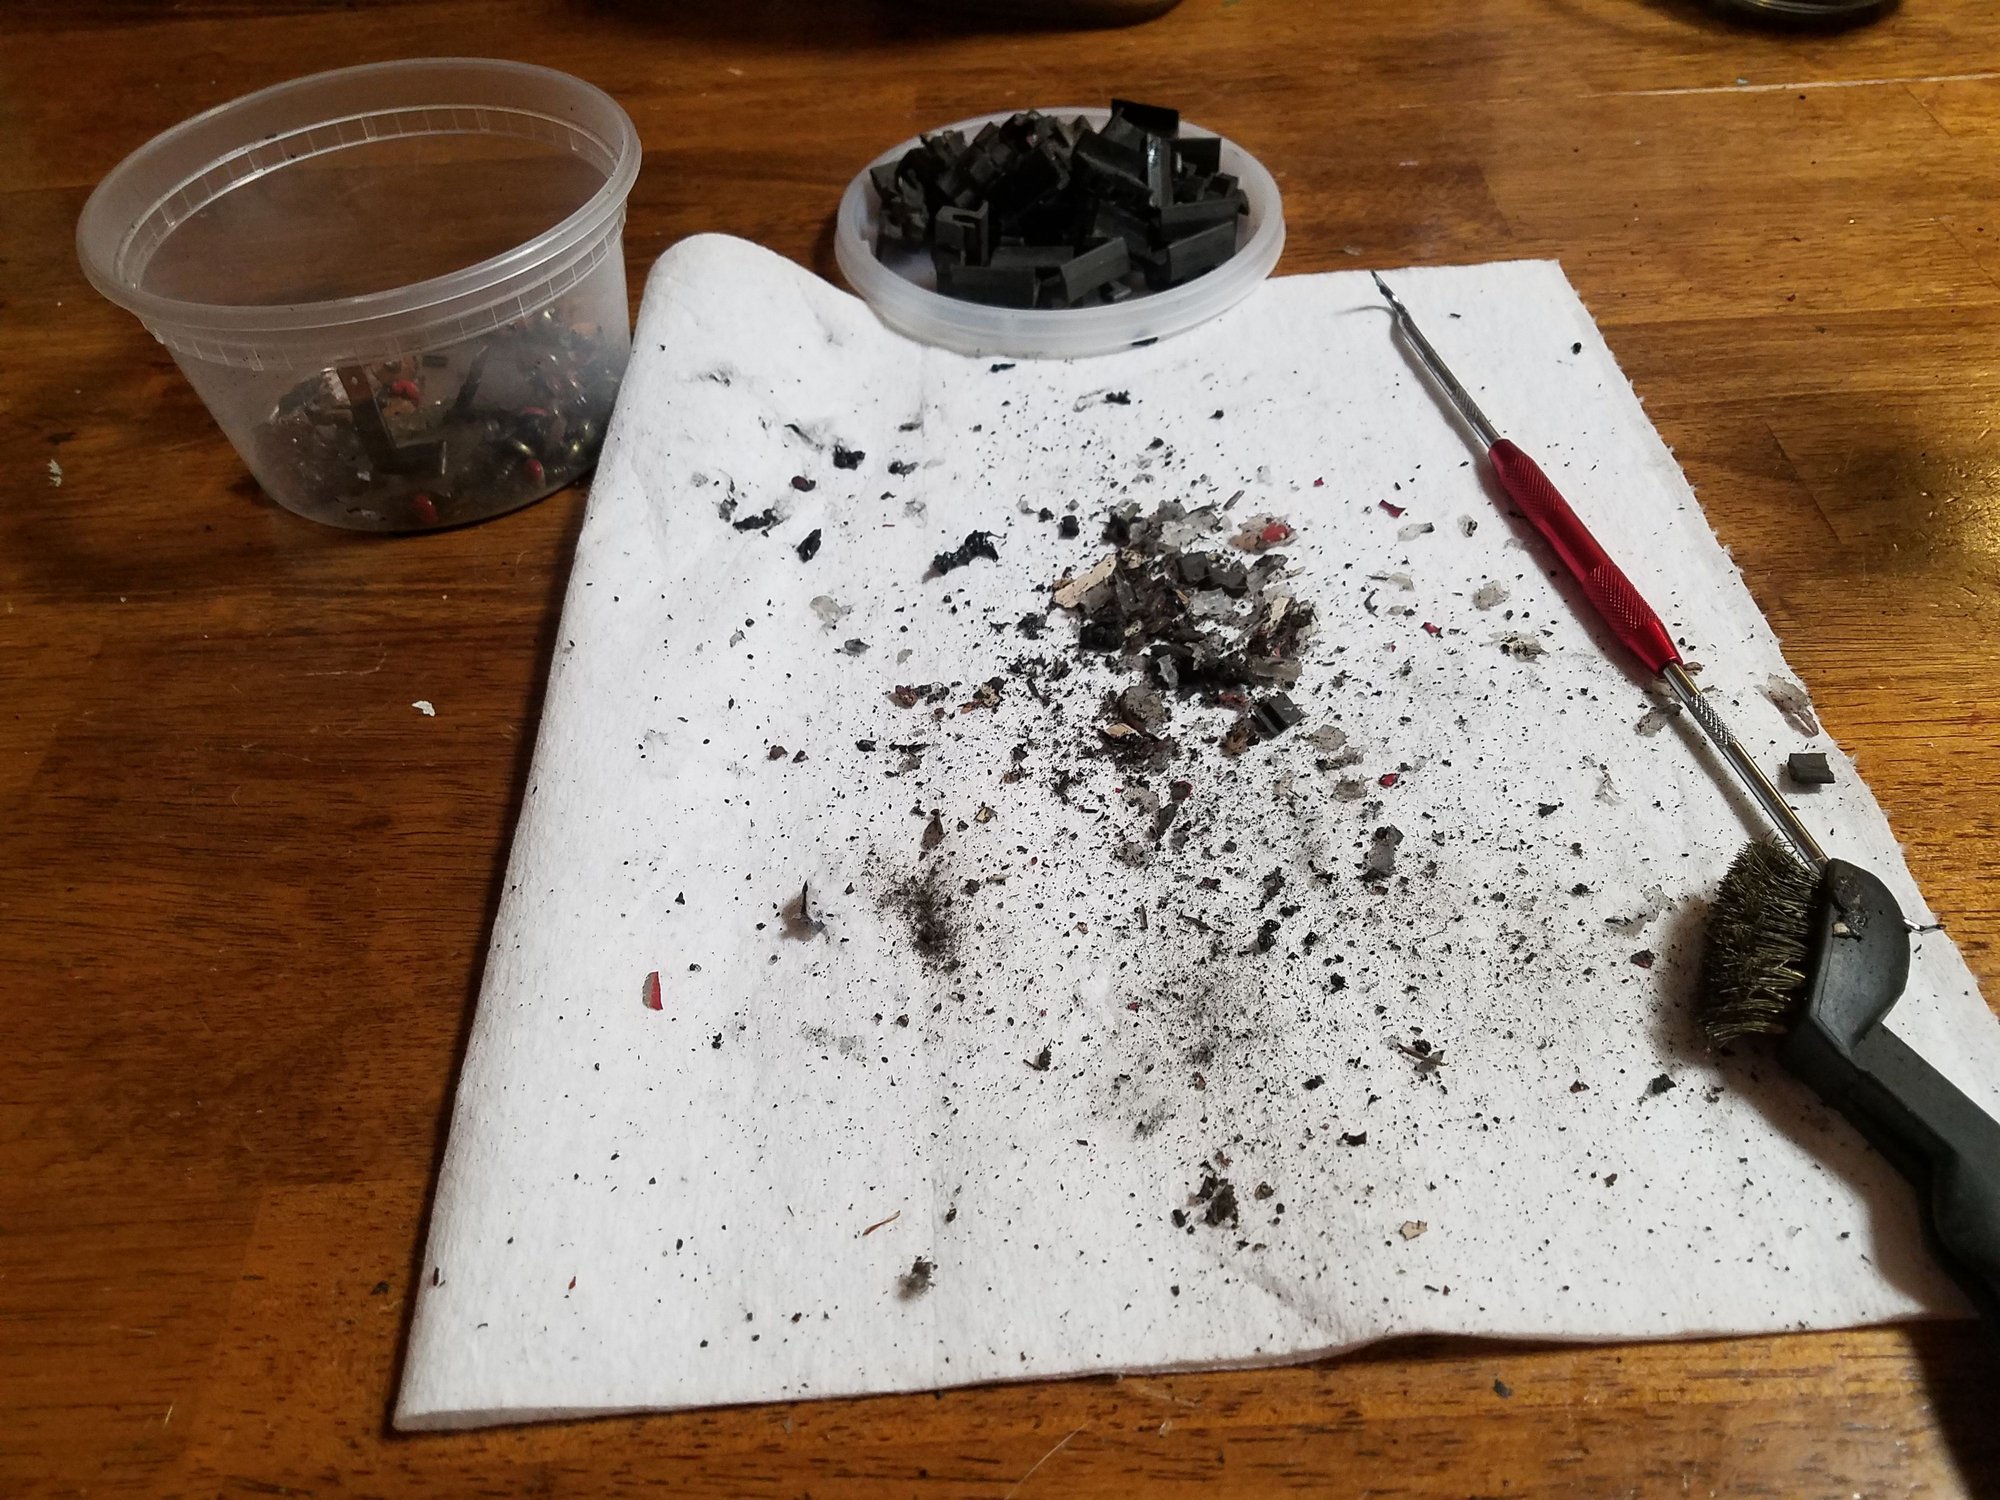
After I pulled all the retaining clips and their screws, I used a plastic chisel to scrape out the old butyl and what was left of the old glass. I cleaned the butyl out of the trim with a screwdriver. Then I vacuumed up the mess.
These three clips cover the gaps in the outer trim. The lift up from the outside of the hatch opening toward the inside.
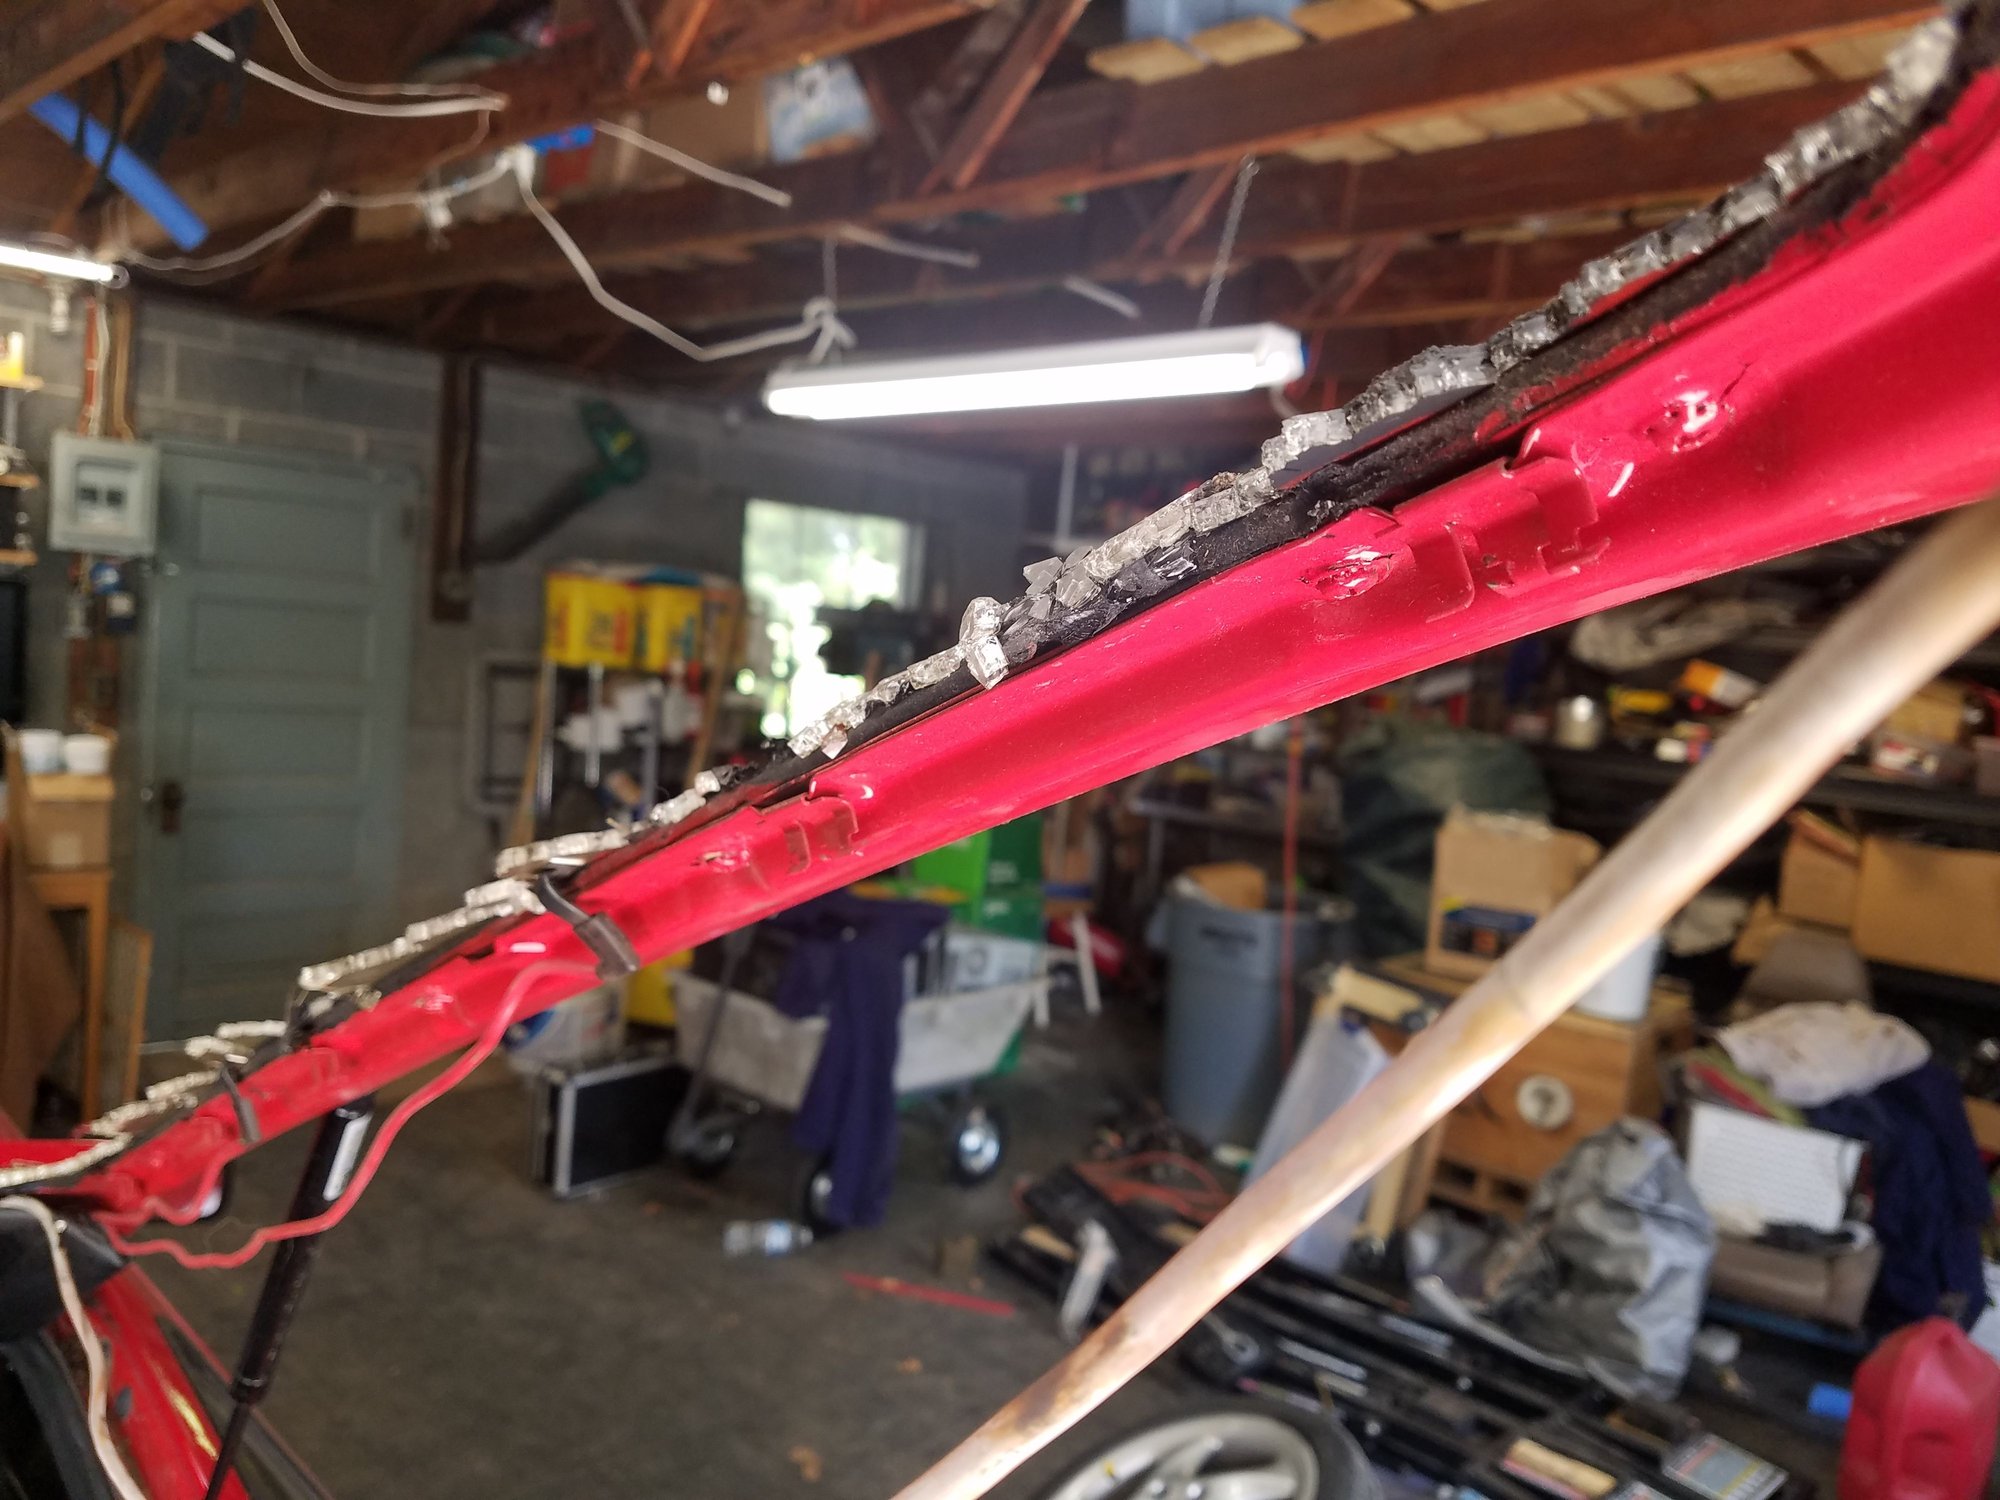
This is the outer trim lifting from the glass clips. It just comes straight up.
These clips hold the inner trim to the hatch.
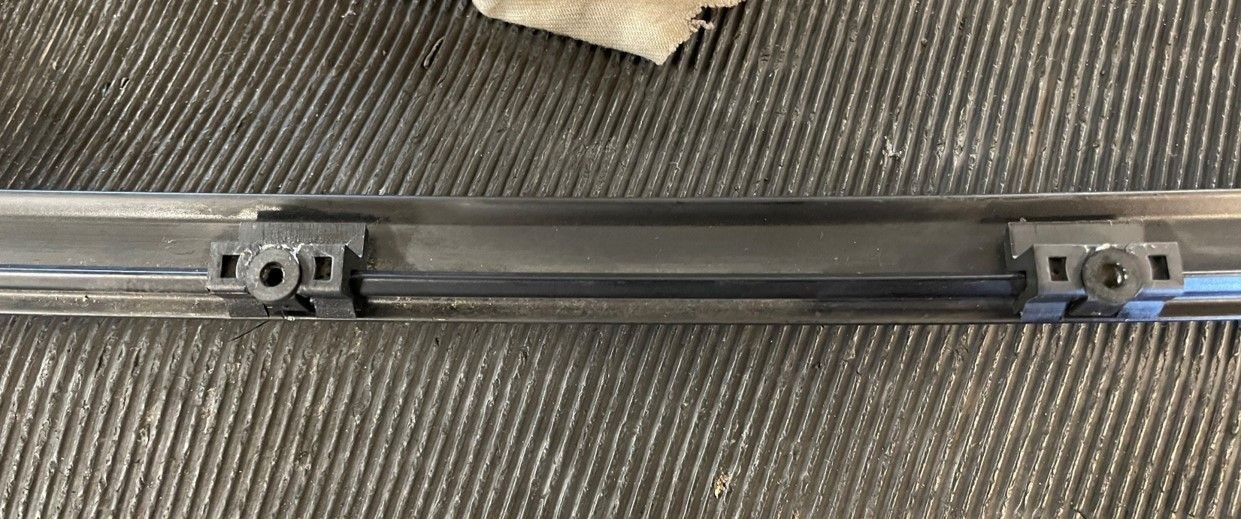
Detail of the hatch glass clips. The outer trim is held by the channel in the clip. You can see the 'inner' edge of the clip holding the remnant of the old glass.
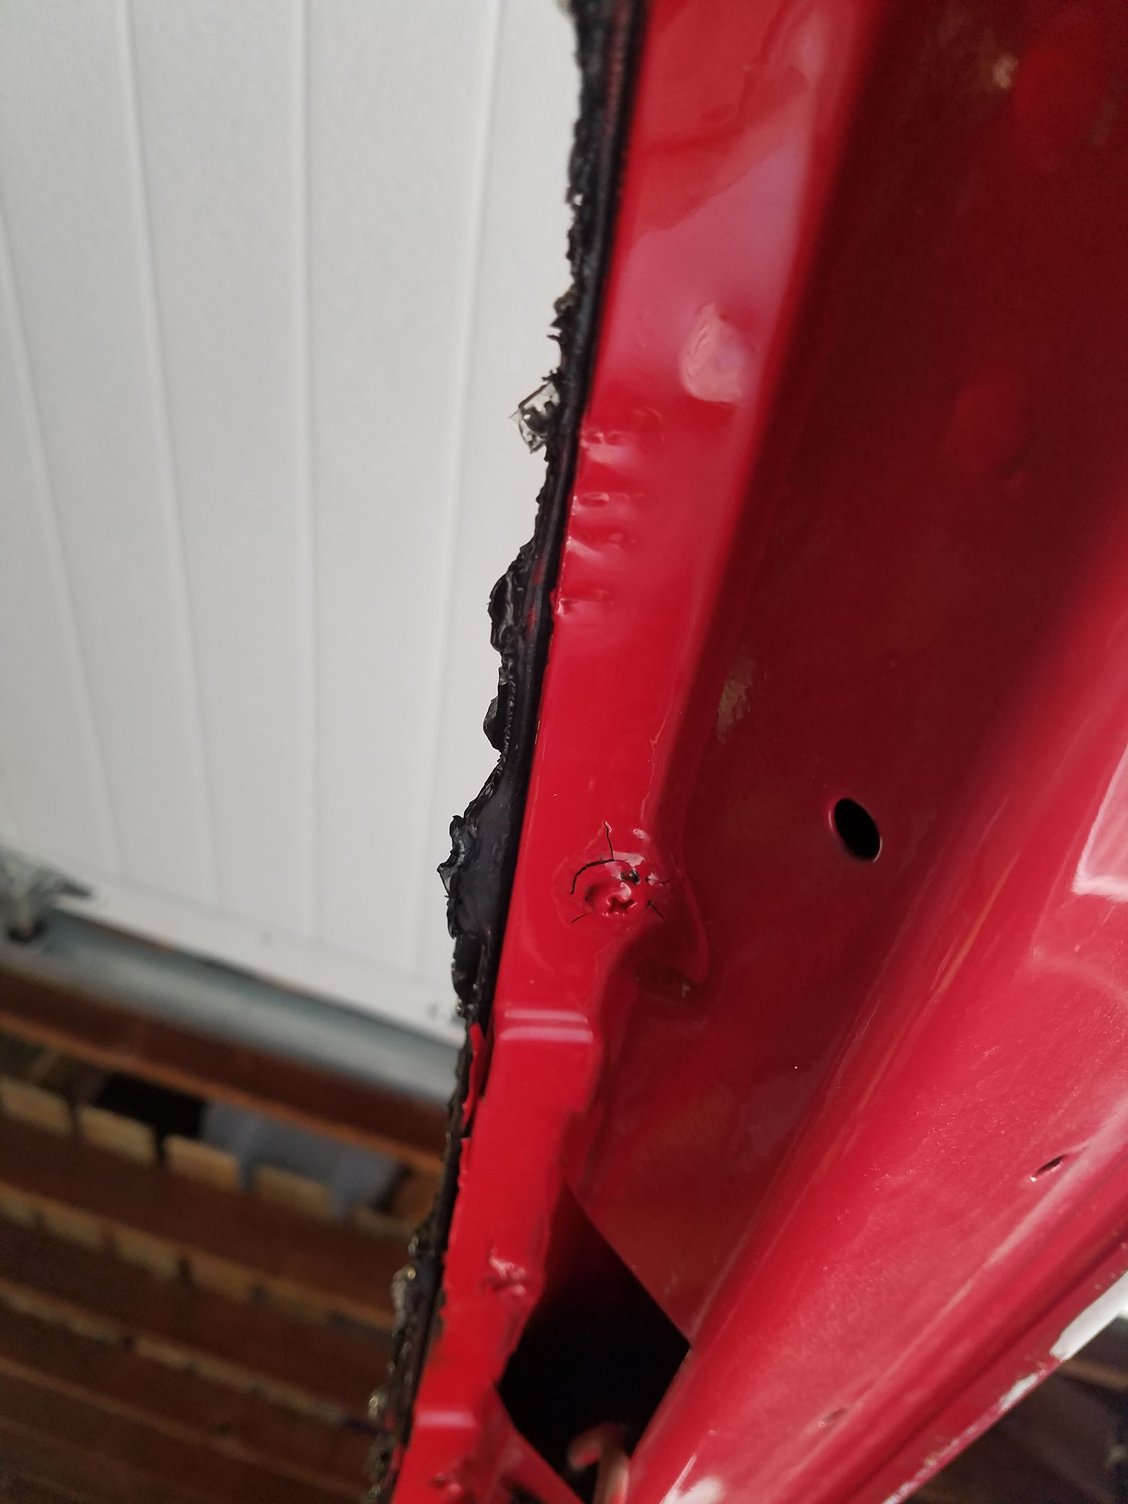
Here are the screws that hold in the hatch glass clips.
Last edited by Shawn Stanford; 08-28-2022 at 09:51 PM.
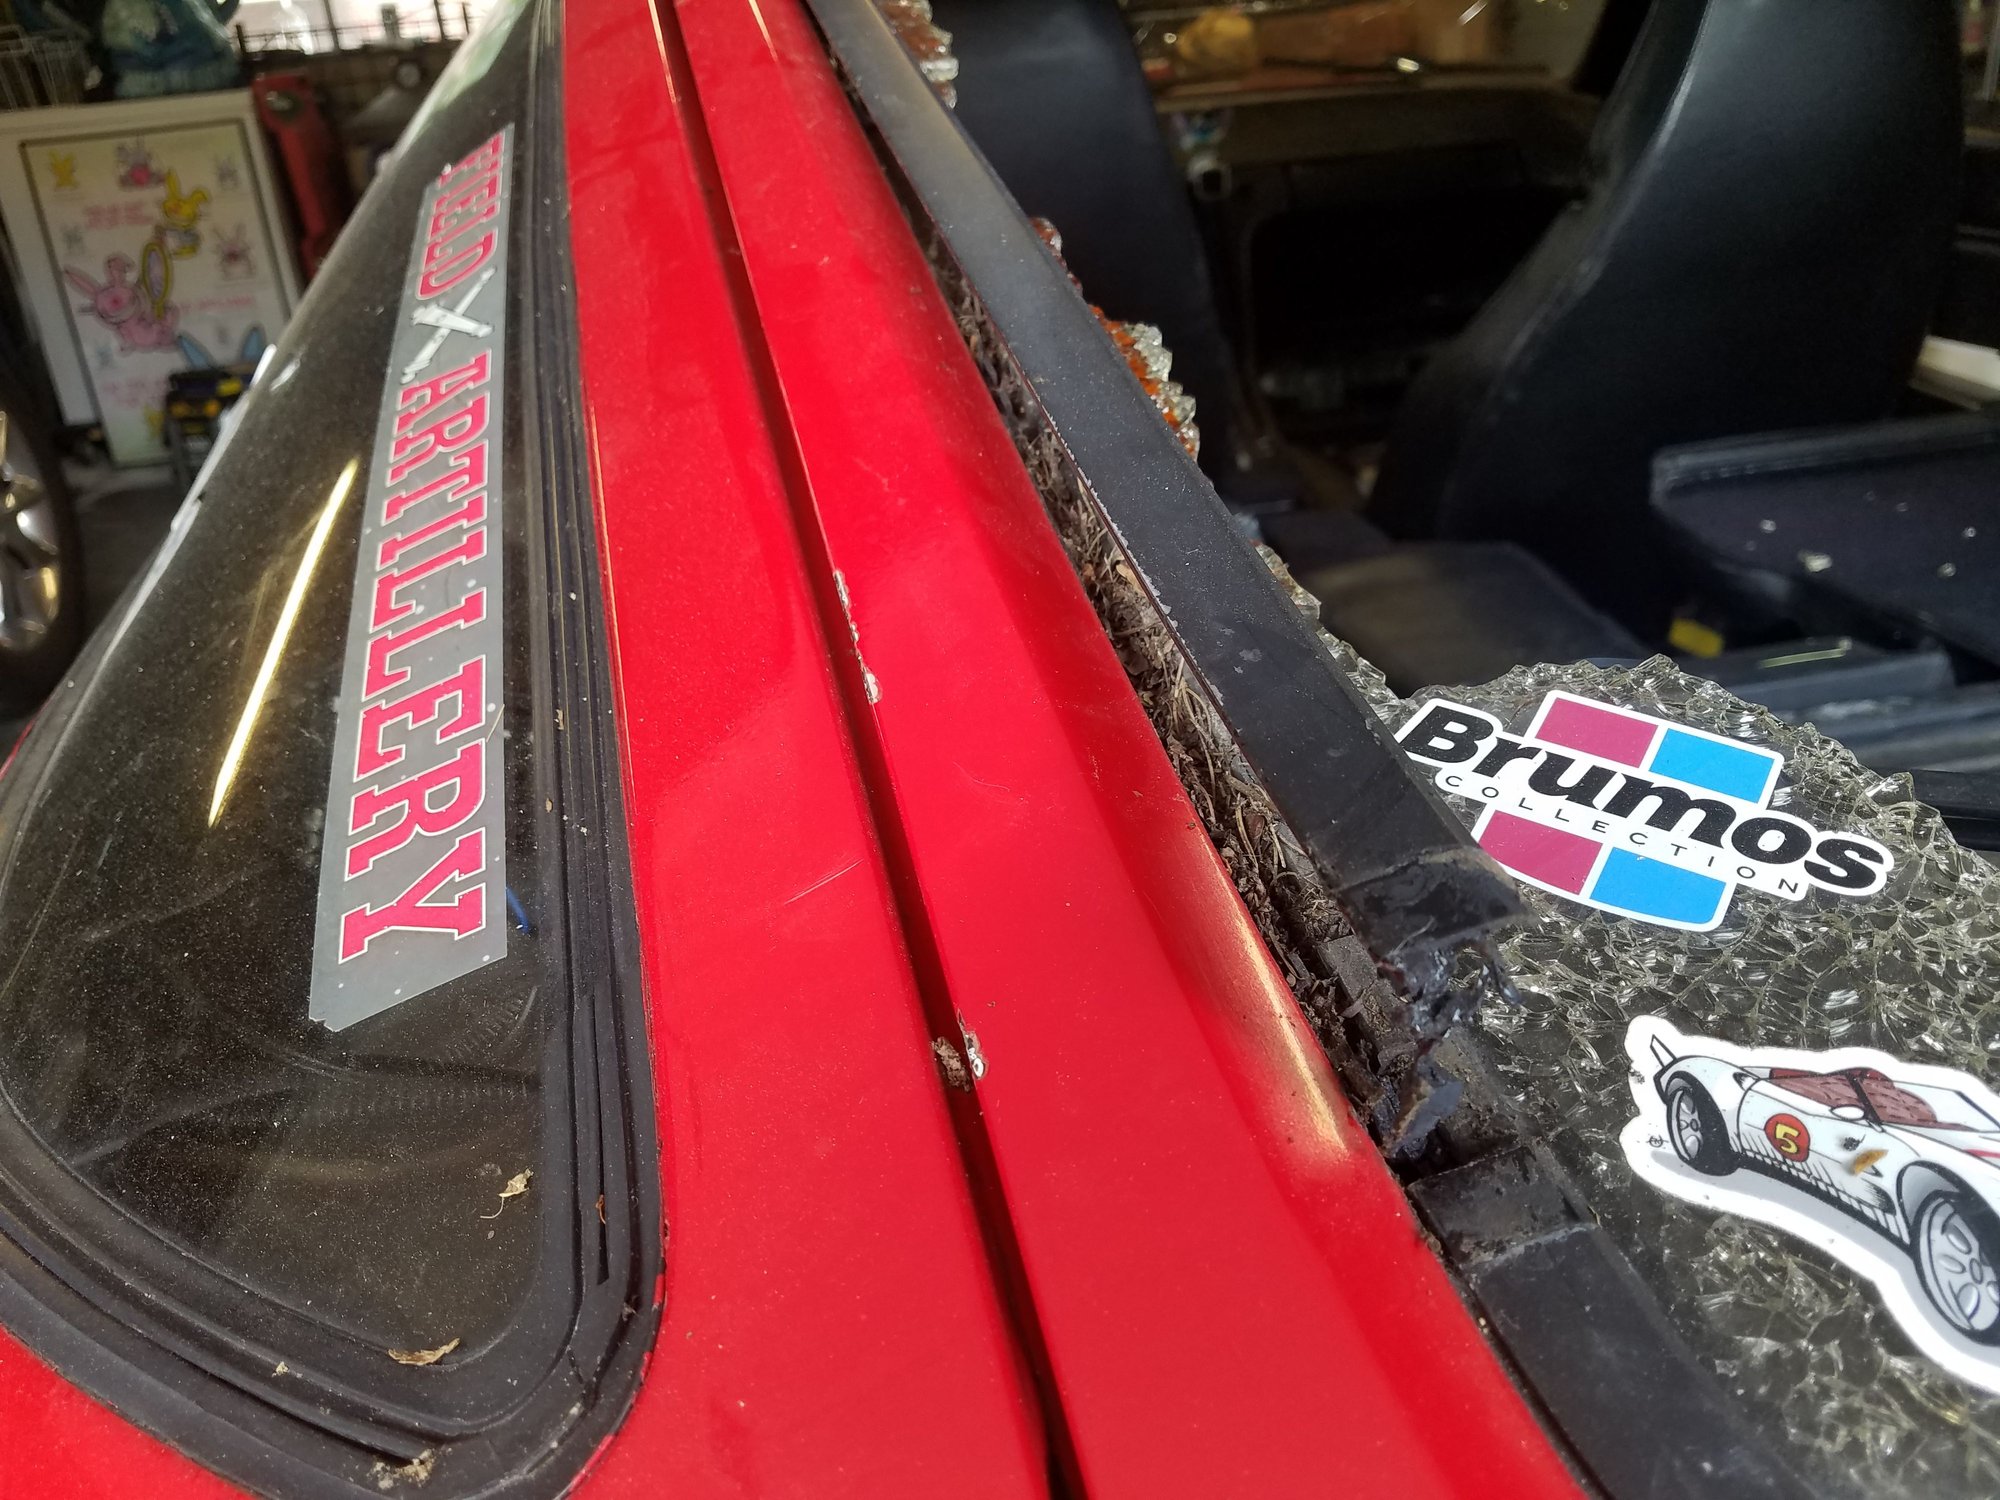
That sticker means a lot, actually. Stitch sat for two-and-a-half years after getting a wheel literally torn off in a wreck. He got straightened, put back together, and painted in a matter of a few weeks, then I drove him down to Florida and back with nary a glitch. That sticker is a remembrance of that adventure.
I set it to one side on what's left of the shattered glass. I'm intending to frame it.
Last edited by Shawn Stanford; 08-30-2022 at 10:33 PM.
I just finished doing the rear hatch on my '87 S4, so maybe these pics are somehow usefull.
Instead of cleaning them I bought new clips and rubber rings that are to go between the hatch and the trim piece.
To prevent the rubber ring from falling off when I installed them I used a little bit of glue to keep them in place:
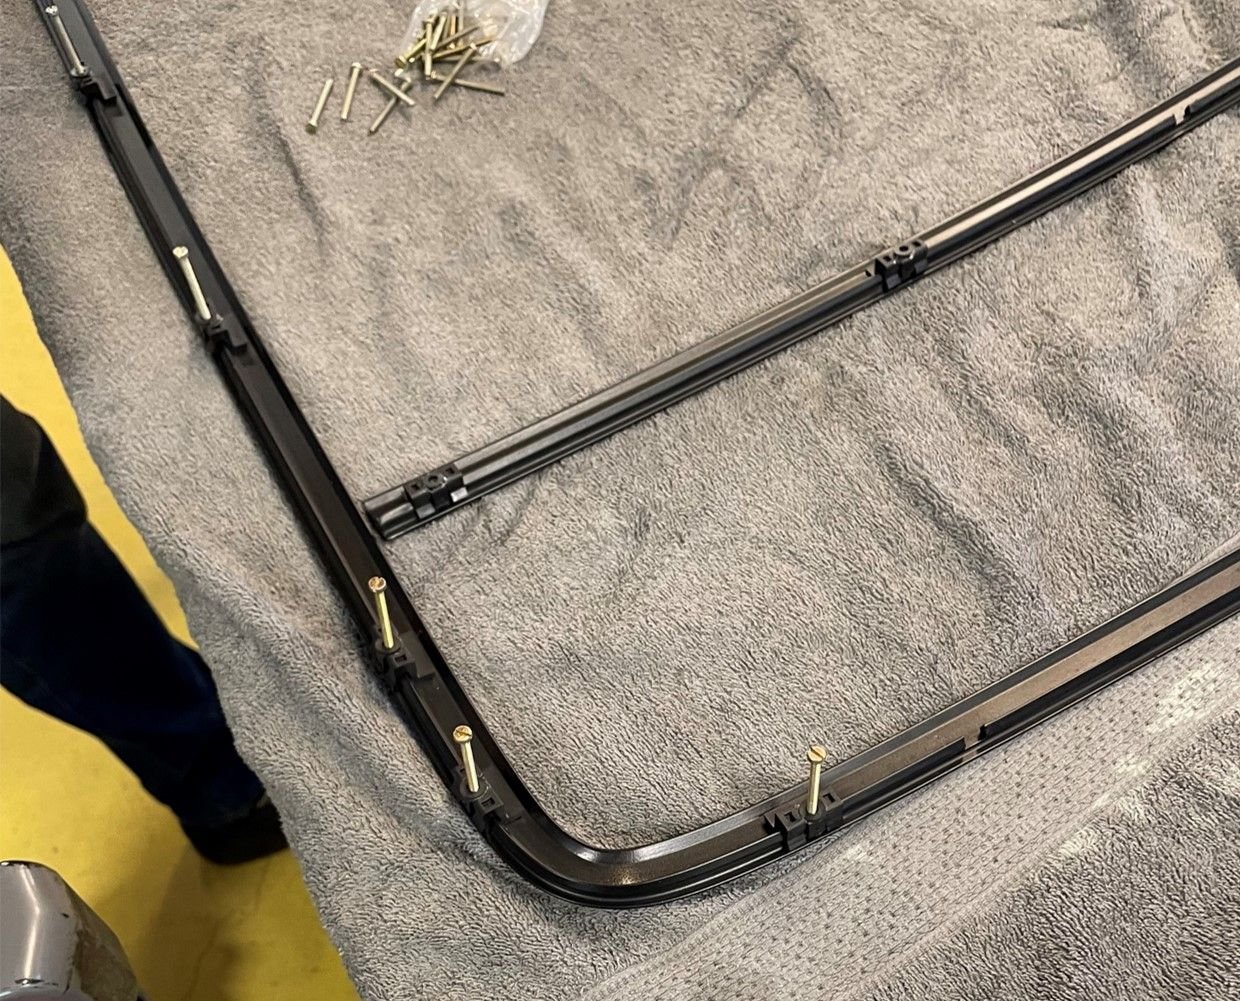
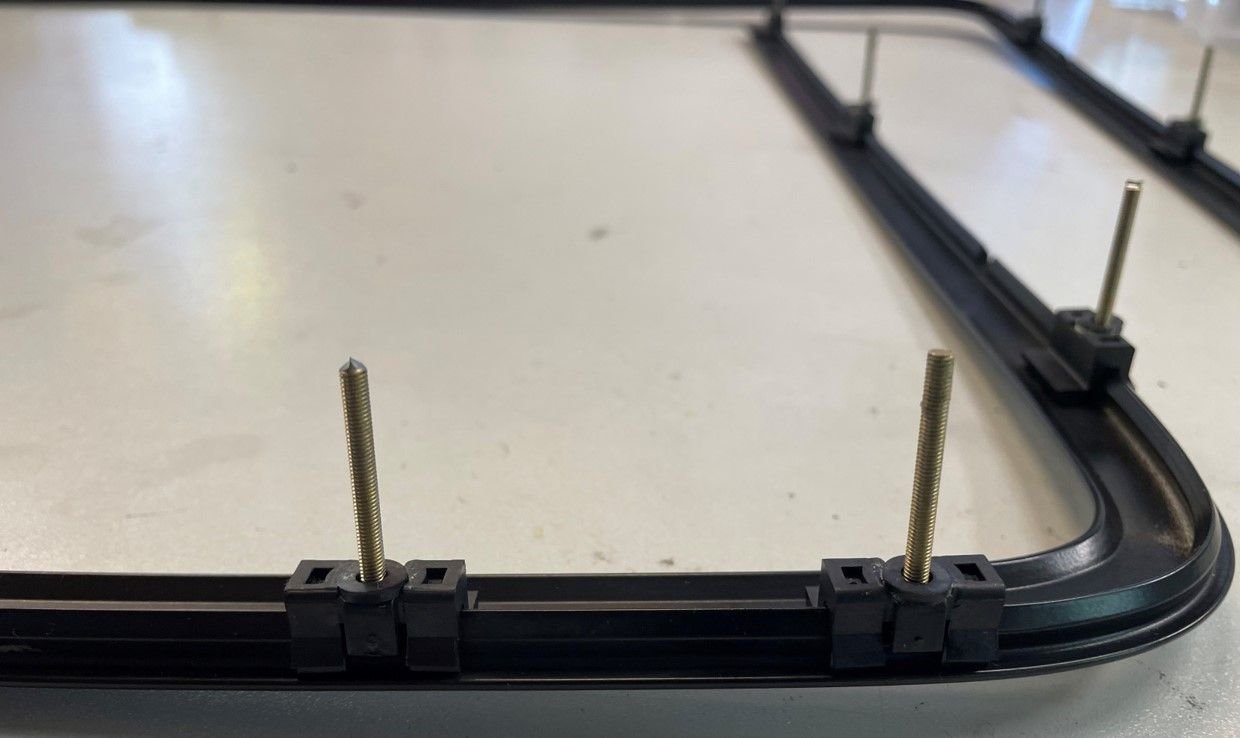
I then inserted a long M4 screw in each of the clips:
I cut the heads of the screws using a Dremel:
Then flipped the trim over and gently pushed the screw-ends through the holes.
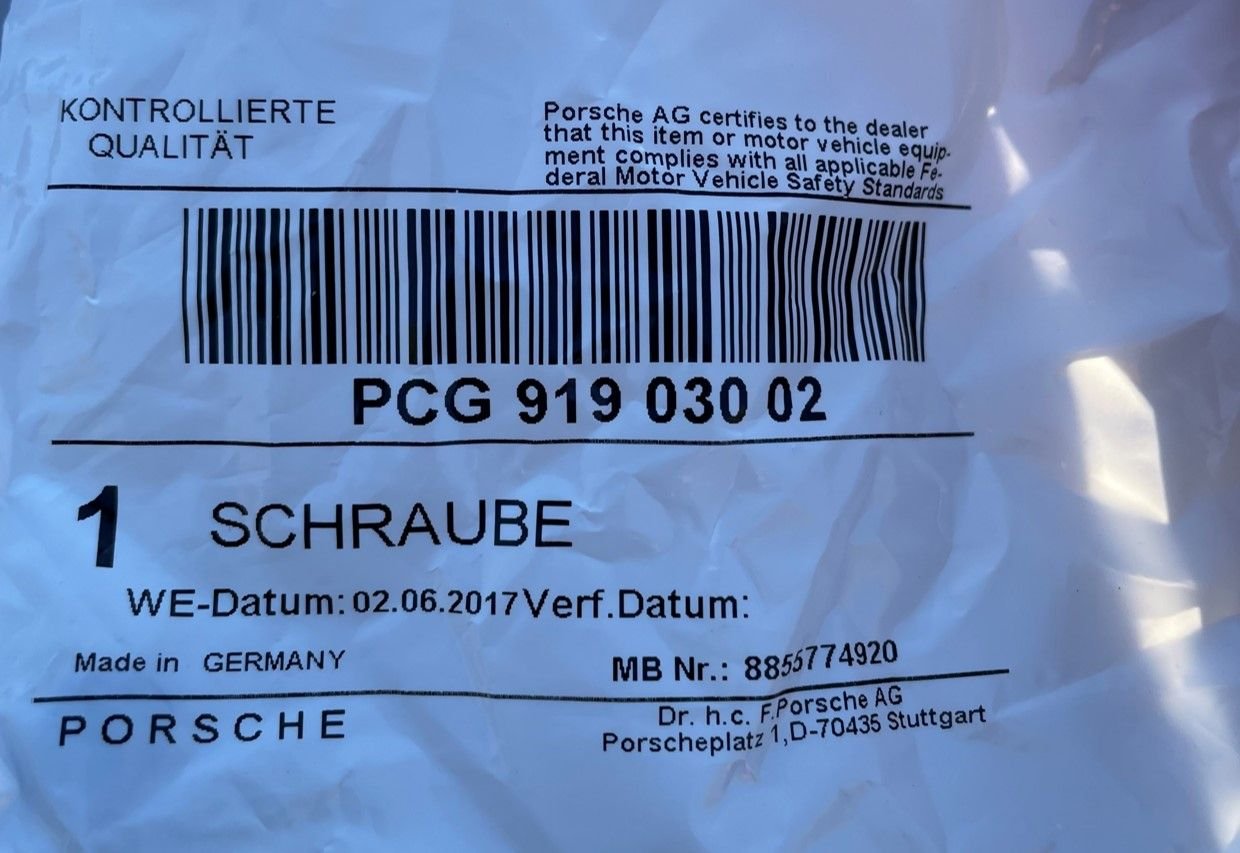
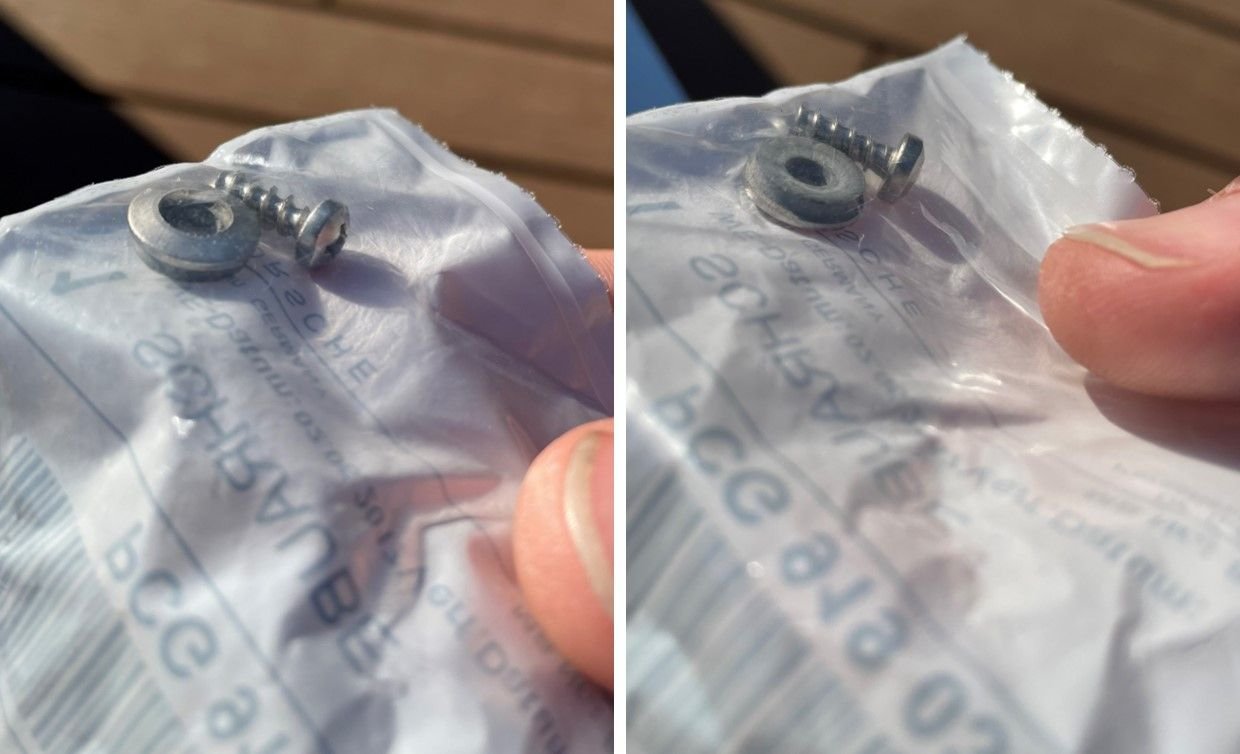
As for the screws from the inside, I ordered one as a check, as the part number is different than PET showed: it's now a screw �nd washer with a rubber ring inside of it:
I don't know if this screw and washer will fit your car. I noticed the screw for your car is still available, but the washer is NLA. Maybe this screw and washer will fit your car as well?
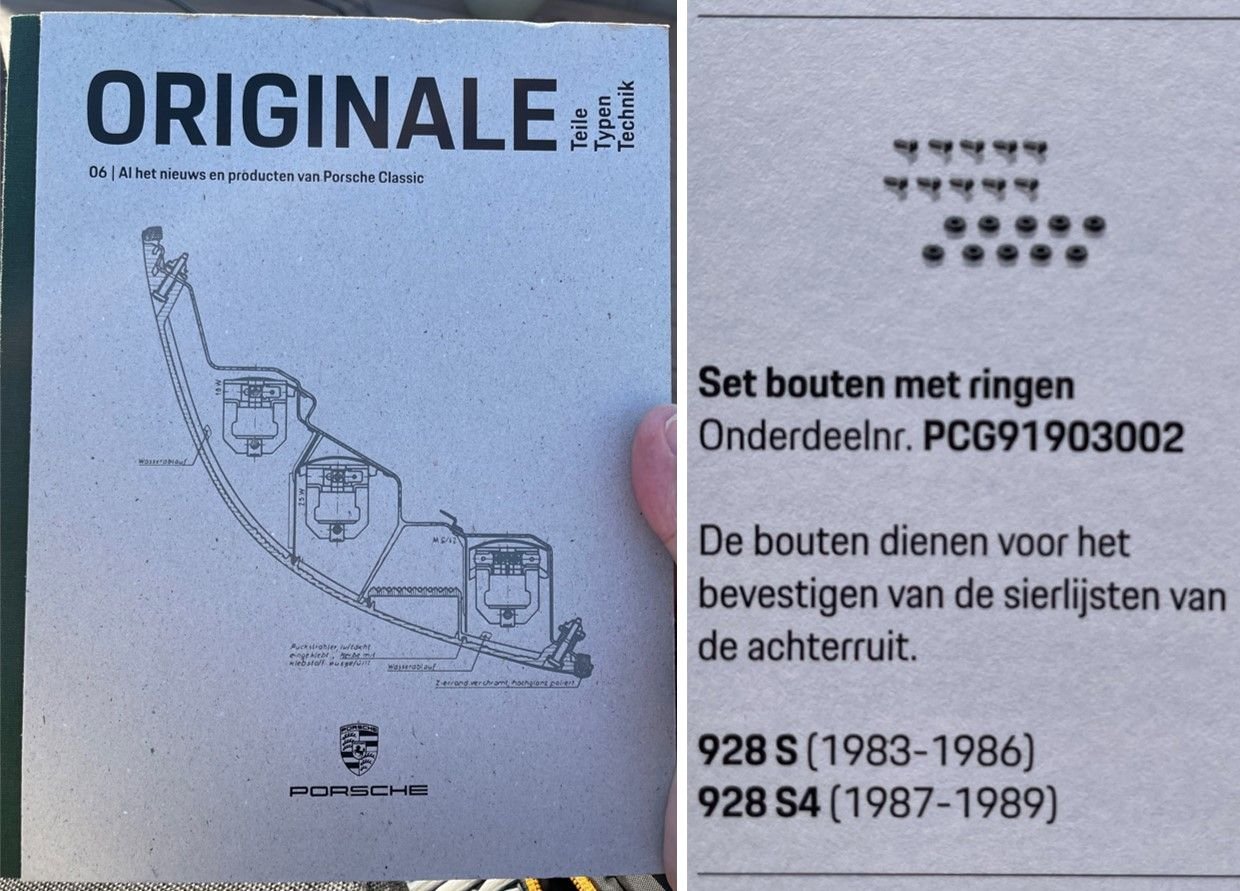
When I ordered the screw and washer they charged me $10 for 1 set!!!!! Luckily the next week I recieved the Porsche Classic latest edition part book....
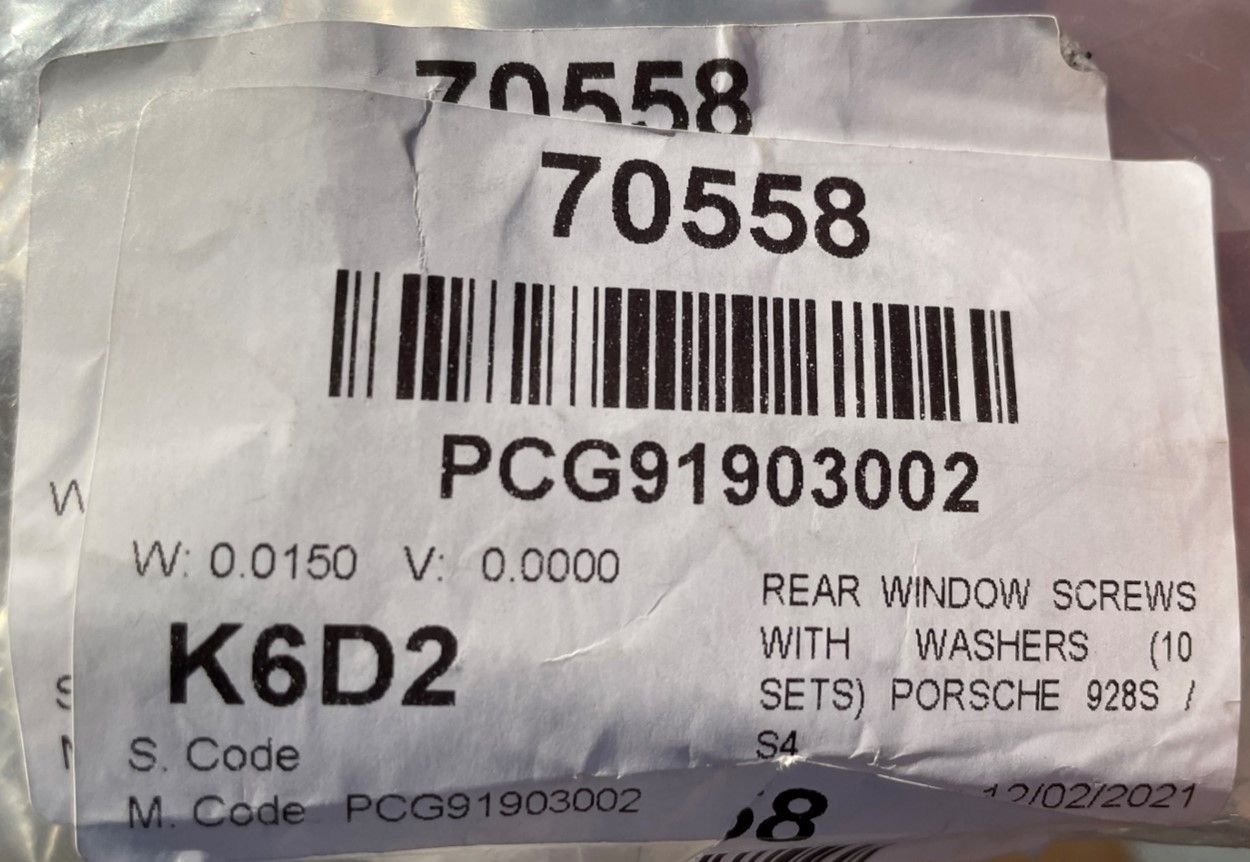
The screw and washer are mentioned in it, same part number, but as a set of 10! (sorry for the Dutch language, it says "for installing the trim on the rear window")
I went back to my parts shop and they went back and forth with Porsche on this but in the end I got 2 sets of 10 instead of just 2 screws and washers
Good luck on the hatch Shawn!
Cheers,
Manfred
Last edited by Smitje 928; 09-01-2022 at 03:42 PM.

 08-27-2022, 11:36 AM