When you click on links to various merchants on this site and make a purchase, this can result in this site earning a commission. Affiliate programs and affiliations include, but are not limited to, the eBay Partner Network.
Hi will this kit fix my tank the plastic swirl pot in my tank looks to be about 6mm from the outlet port do you put two seals on this one inside the tank and then one one the fuel thank strainer and do you have to take the top of the swirl pot in the tank.
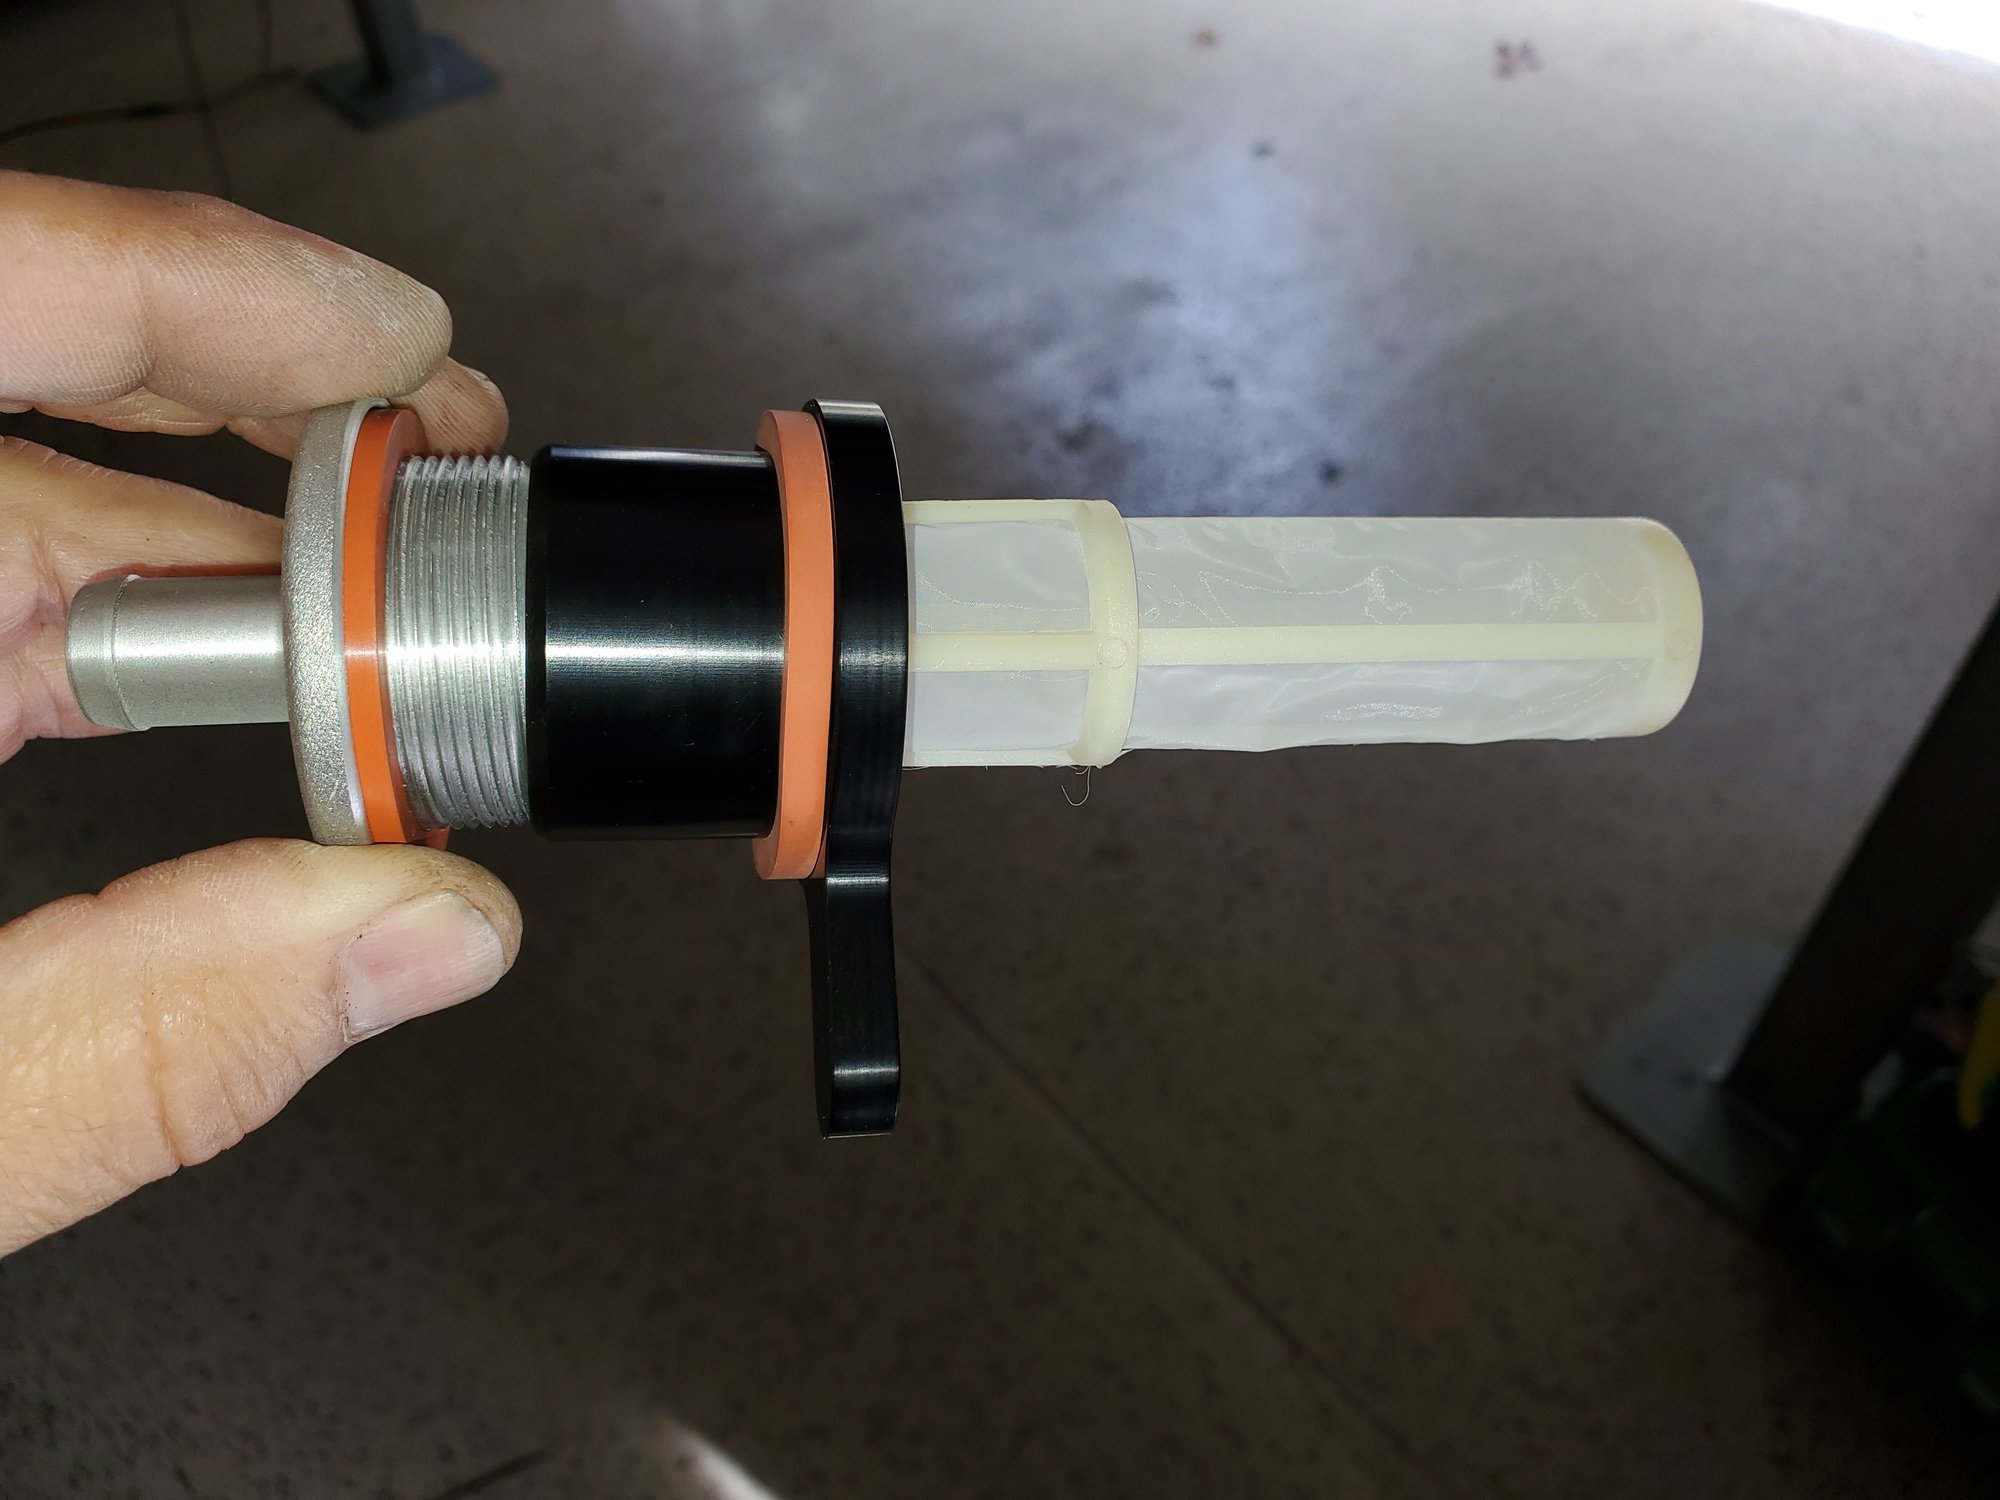
The inside piece has a gasket on it as does the outside piece, so they seal to their respective sides of the tank when threaded together and tightened.
If your hand doesn't fit through the sender opening you can guide the inside piece down a wire until you can line it up with the outside piece and get them threading together. My hand didn't fit, but.my wife's did.
Just to be clear - the seal on the strainer is what makes the seal, the seal on the boss is not needed if you require extra length of penetration of the boss so can be removed as needed.
__________________
Does it have the "Do It Yourself" manual transmission, or the superior "Fully Equipped by Porsche" Automatic Transmission? George Layton March 2014
928 Owners are ".....a secret sect of quietly assured Porsche pragmatists who in near anonymity appreciate the prodigious, easy going prowess of the 928."
Just to be clear - the seal on the strainer is what makes the seal, the seal on the boss is not needed if you require extra length of penetration of the boss so can be removed as needed.
For those that may find this thread - if using both the inside and outside pieces, you need the gasket on the inside one. If using just the outside piece, you need the gasket on that one.
Ahh I see,
so the outer filter seal is sealing against the plastic tank sealing flange.
What does the inner seal do?
Is the insert meant to fully occupy the old threaded insert?
if so does its inner edge press on the other side of the plastic sealing flange?
Has there ever been an instruction sheet for this insert?
If so could it be posted here for clarity.
if not,
I think it would be beneficial to include an installation sheet with the sale of this product,
as there can be different ways of installing this insert, as shown here.
I also don't see any reason why you couldn't use gaskets on both sides, unless the part is then not long enough to actually thread together. Using gaskets on both sides would still keep things dry even if fuel dripped past the inside seal as the outer seal would contain it in the plastic tank outlet.
When I did mine recently, I bought the complete assembly, but my threaded tank sleeve stayed secure, so was only able to use the new outer boss and seal. If the threaded tank insert doesn't come loose, there is no way to use the inner assembly, but you also shouldn't need to.
Pete I think the new inner collar is meant to replace a threaded collar that Has gotten loose in the tank molding process.
Thus the original threaded inner collar is removed before the new insert is installed.
I think that the inner collar is meant to press on the plastic flange inside and opposite of the tank flange,
and thus give the outer seal thats on the strainer housing or fuel pump housing a surface to press on,
NOTE without that happening the plastic flange could deform,
and a leak could be created after a few heat cycles.
But since you did not use the inner collar,
but you did post a picture of it with a seal on it,
This is not the original design intent.
Stan,
The inner metal sleeve sits adjacent to the thin lip of the tank casting as it left the fabricators but I concluded it is not necessary to seal the tank. Sealing the tank in reality is no more onerous than sealing the water in your bath tub and the rubber sealing ring will happily seat and seal on the wall of the tank boss with little in the way of sealing pressure.
The important thing is that the insert must be rigidly secured in the boss. When mine failed earlier this year [despite being inserted a year earlier to the correct torque] I figured it should be possible to secure theinstallation using an external jubilee clip. I acquired some data about the force such clamps could exert and compared that to some test data for the mechanical properties of the tank and concluded that the clamp could easily exert sufficient force to lock the insert back in place. When trying to remove the in-tank pump I felt the sleeve "give" and from thereon nothing was coming out and the sleeve was rotating with the applied wrench movement. At that point I fitted a jubilee clamp and tightened but I could see it was not applying force evenly and the clamp was crabbing. Nontheless the force applied locked the sleeve and out came the pump. The sleeve had pulled out slightly and I used an old in tank pump flange I had lying around as a drift to push the insert back into place. I then studied the boss and concluded that if I was to get a result I would have to use a bit of deft application. In this regard I made some stainless packers from a narrow clamp until I could get the worm gear positioned such that it did not bind on the boss and thus prevent the clamp from skewing when tightening it. I also had to do a bit of trimming on the boss. I then progressively tightened and undid the strainer i was fitting until I had ramped the torque up to the stock setting. Tested the joint with fuel- never leaked a drop. Once the insert is secure within the boss sealing it is easy.
The insert kit that Roger offers is a clever piece of kit- that requires removal of the original insert and the tab acts as a lock on the curved inner surface to stop it rotating. As to whether the inner rubber ring does anything other than act as a spacer I could not fathom- from a sealing point of view it is academic as the threads on the strainer [or in-tank pump] will not seal thus the strainer to tank boss is the one and only seal.
I can understand some folks might feel uncomfortable relying on an external clamp to lock the insert - I reckon it is only really needed whilst tightening or releasing the strainer as the tank plastic will likely take a new permanent set against the knurled surface of the insert. For good measure I gave the boss a blow with my heat gun to soften it a bit just before tightening the external clamp I fitted. To date it has worked just fine.
I took the point of view that if it failed I would get Roger to send me one of those inserts- so far not needed.
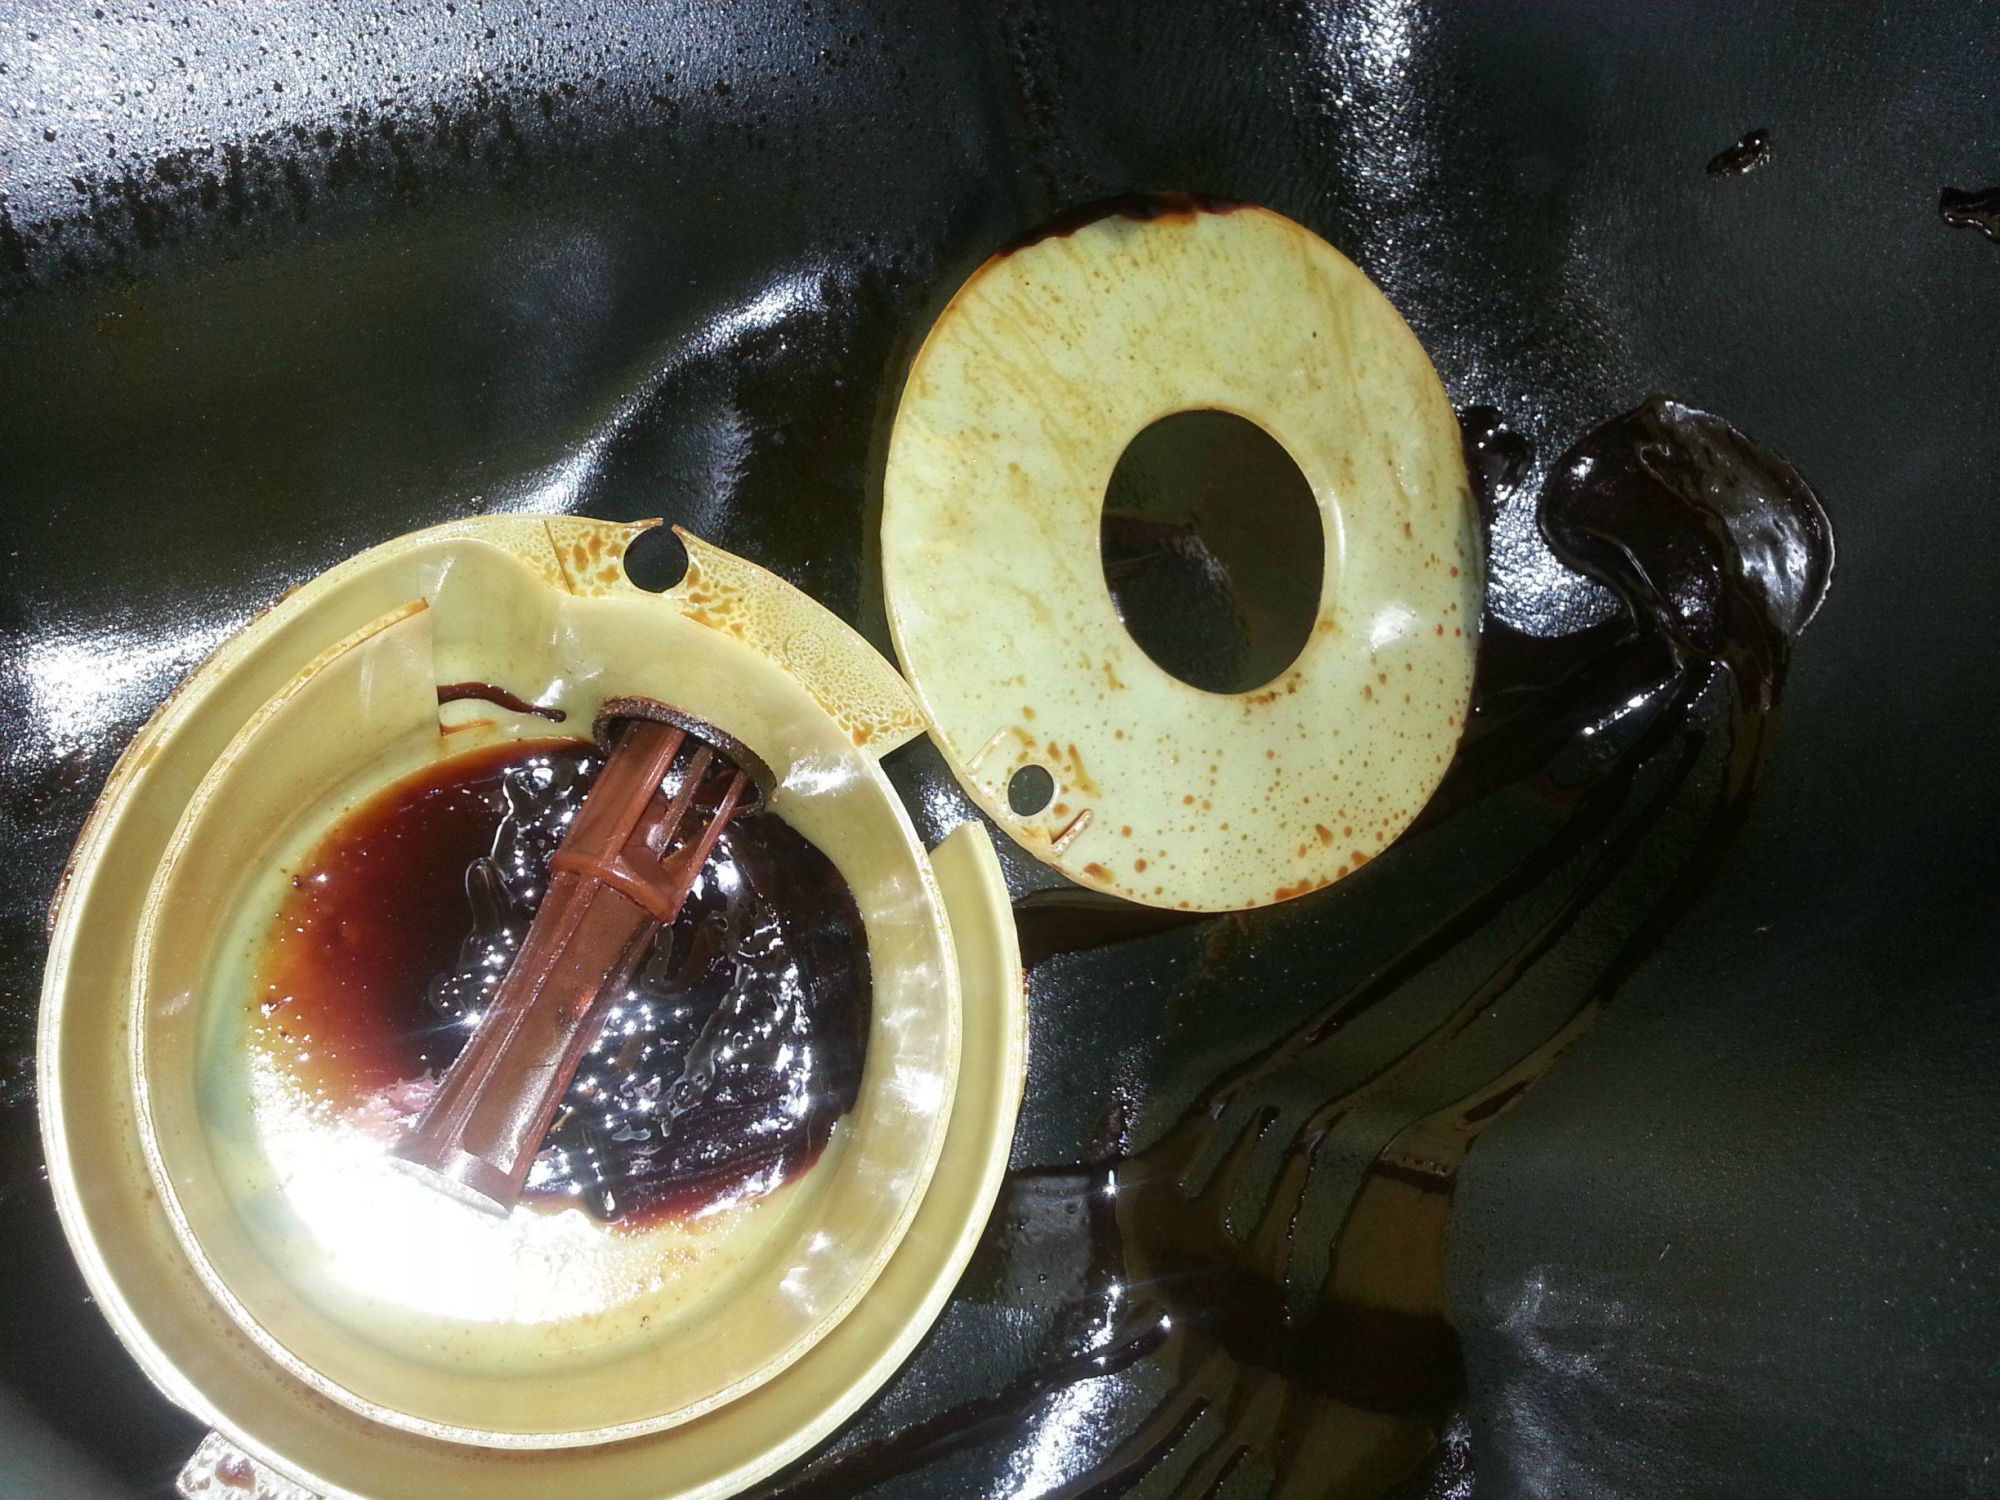
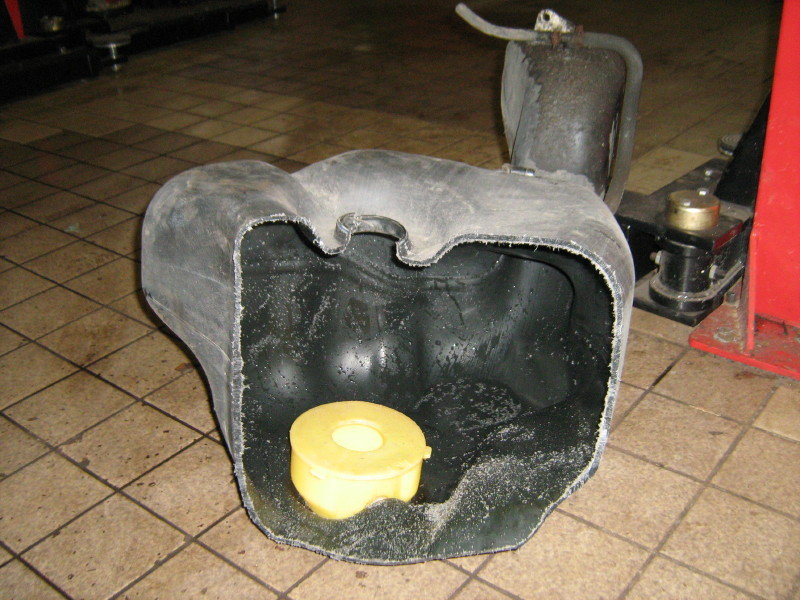
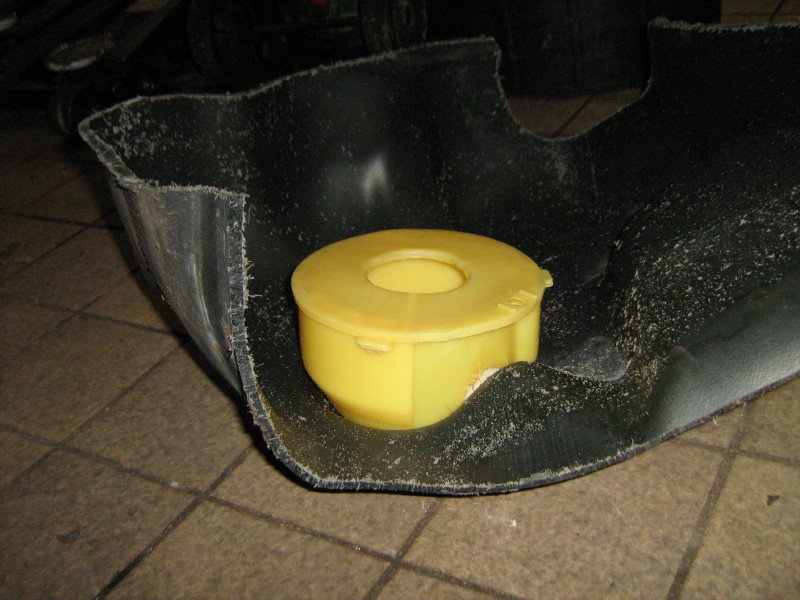
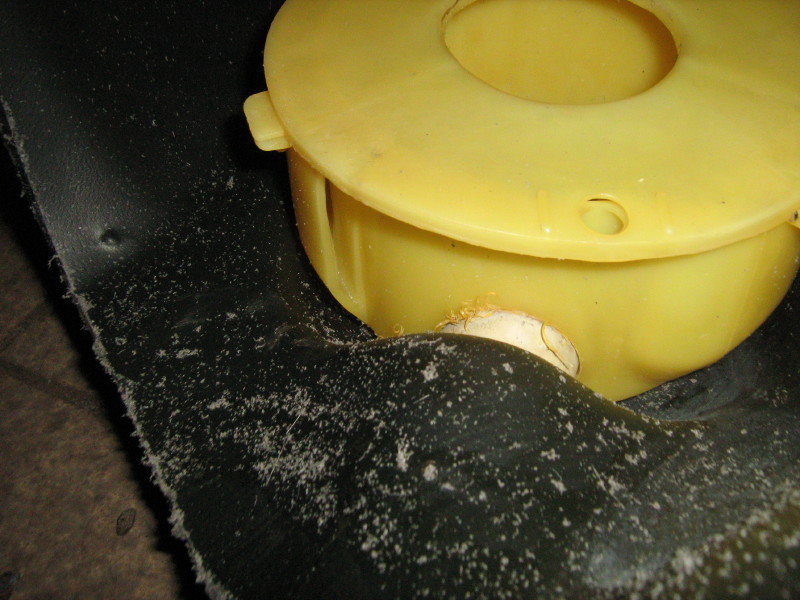
Insert protruding Insert reseated Clamp with shims Strainer fitted
Having installed the “Roger kit” about 3 months ago, to answer your original questions,
Yes, this will fix your problem
The inner “seal” is actually more of a cushion that rides against the inside of the inner pot
Yes, you need to remove the lid to install and it is almost impossible to put it back on, as the sleeve, as it tightens, will distort the pot
And no, I have not experienced fuel starvation with this lid off.
I needed a puller, made with sockets, washers and a bolt, to pull the sleeve far enough out to get the strainer threads to engage.
The hole for the fuel sender is way too small for my arm, but I got it in easily using wire to feed it into position.
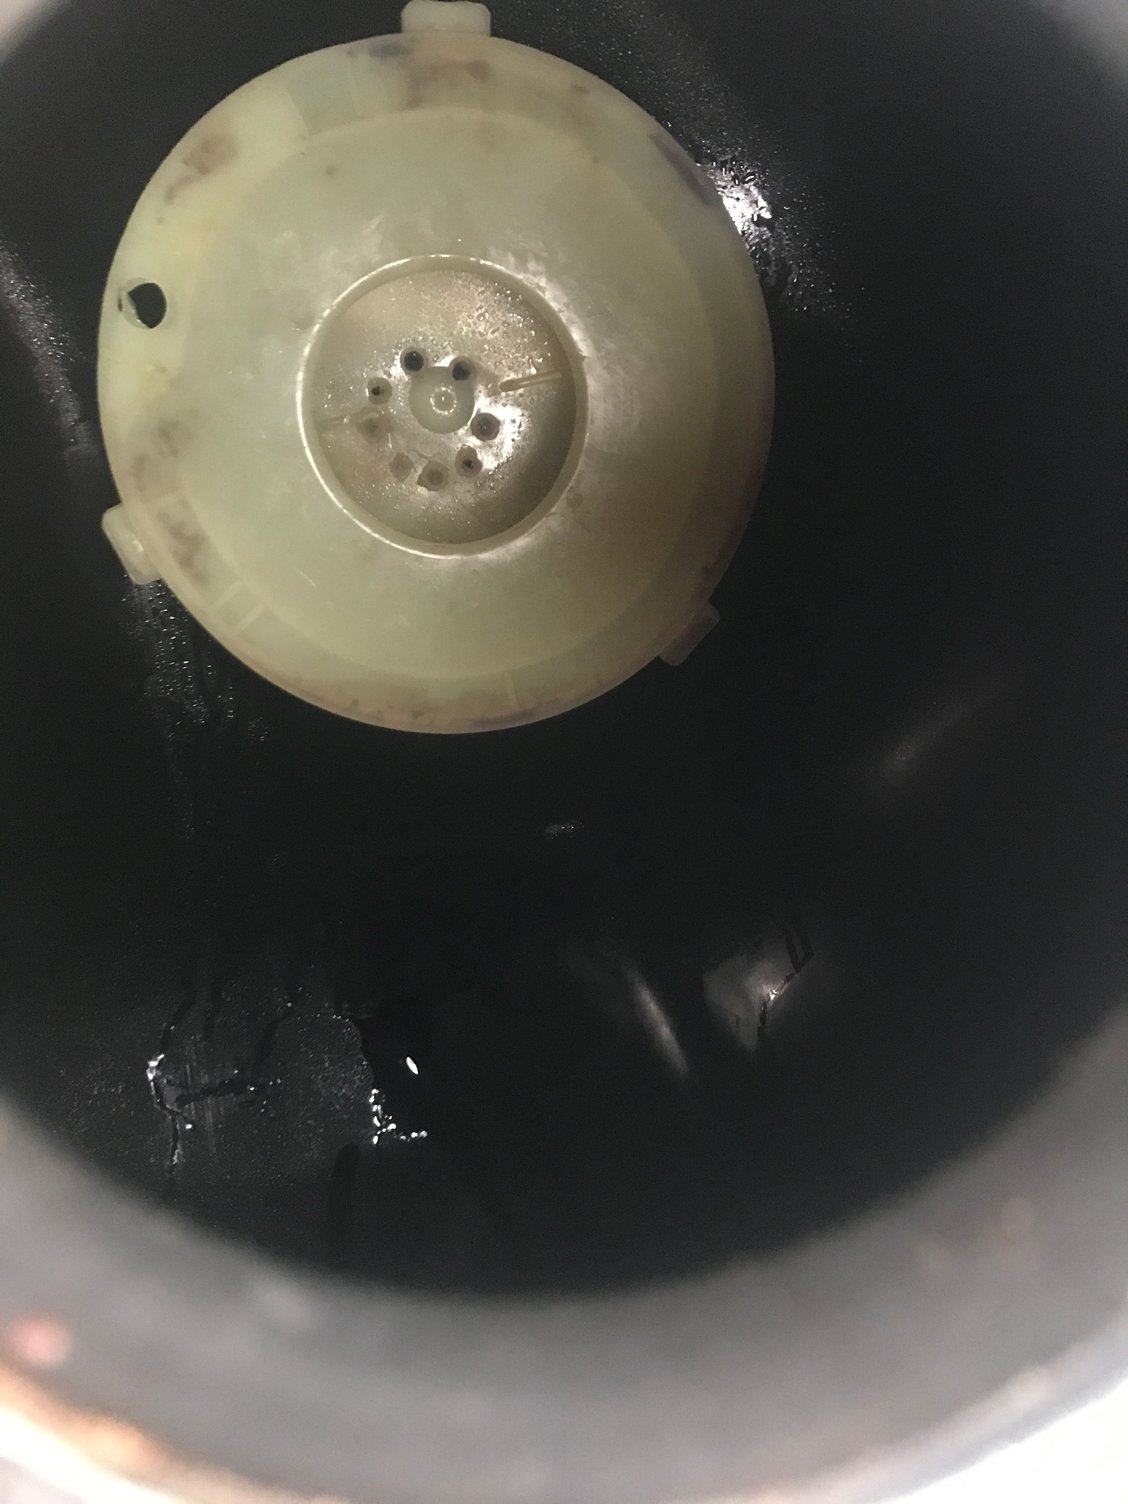
It seems like there is still confusion on installing this part,
and the white drum inside the tank makes installation more difficult.
I thought it was supposed to fully insert into the original outlet of the tank and press on the other side of the flange
That said it looks like the collar must fit past the white anti slosh drum to fully seat/fit.
Would it be possible for whomever devised this part to please describe exactly how they devised it to fit inside the tank,
and any hints for installing it,
as well as where the seals are to be placed and workarounds for what if the drum edge prevents fully fitting the collar into the outlet.
Thanks
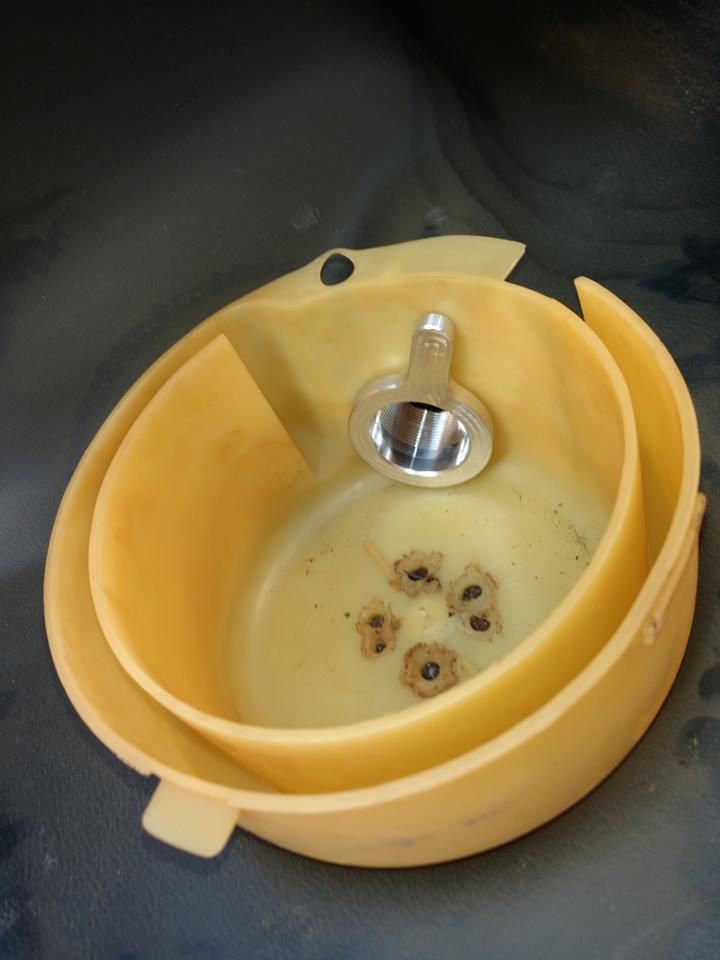
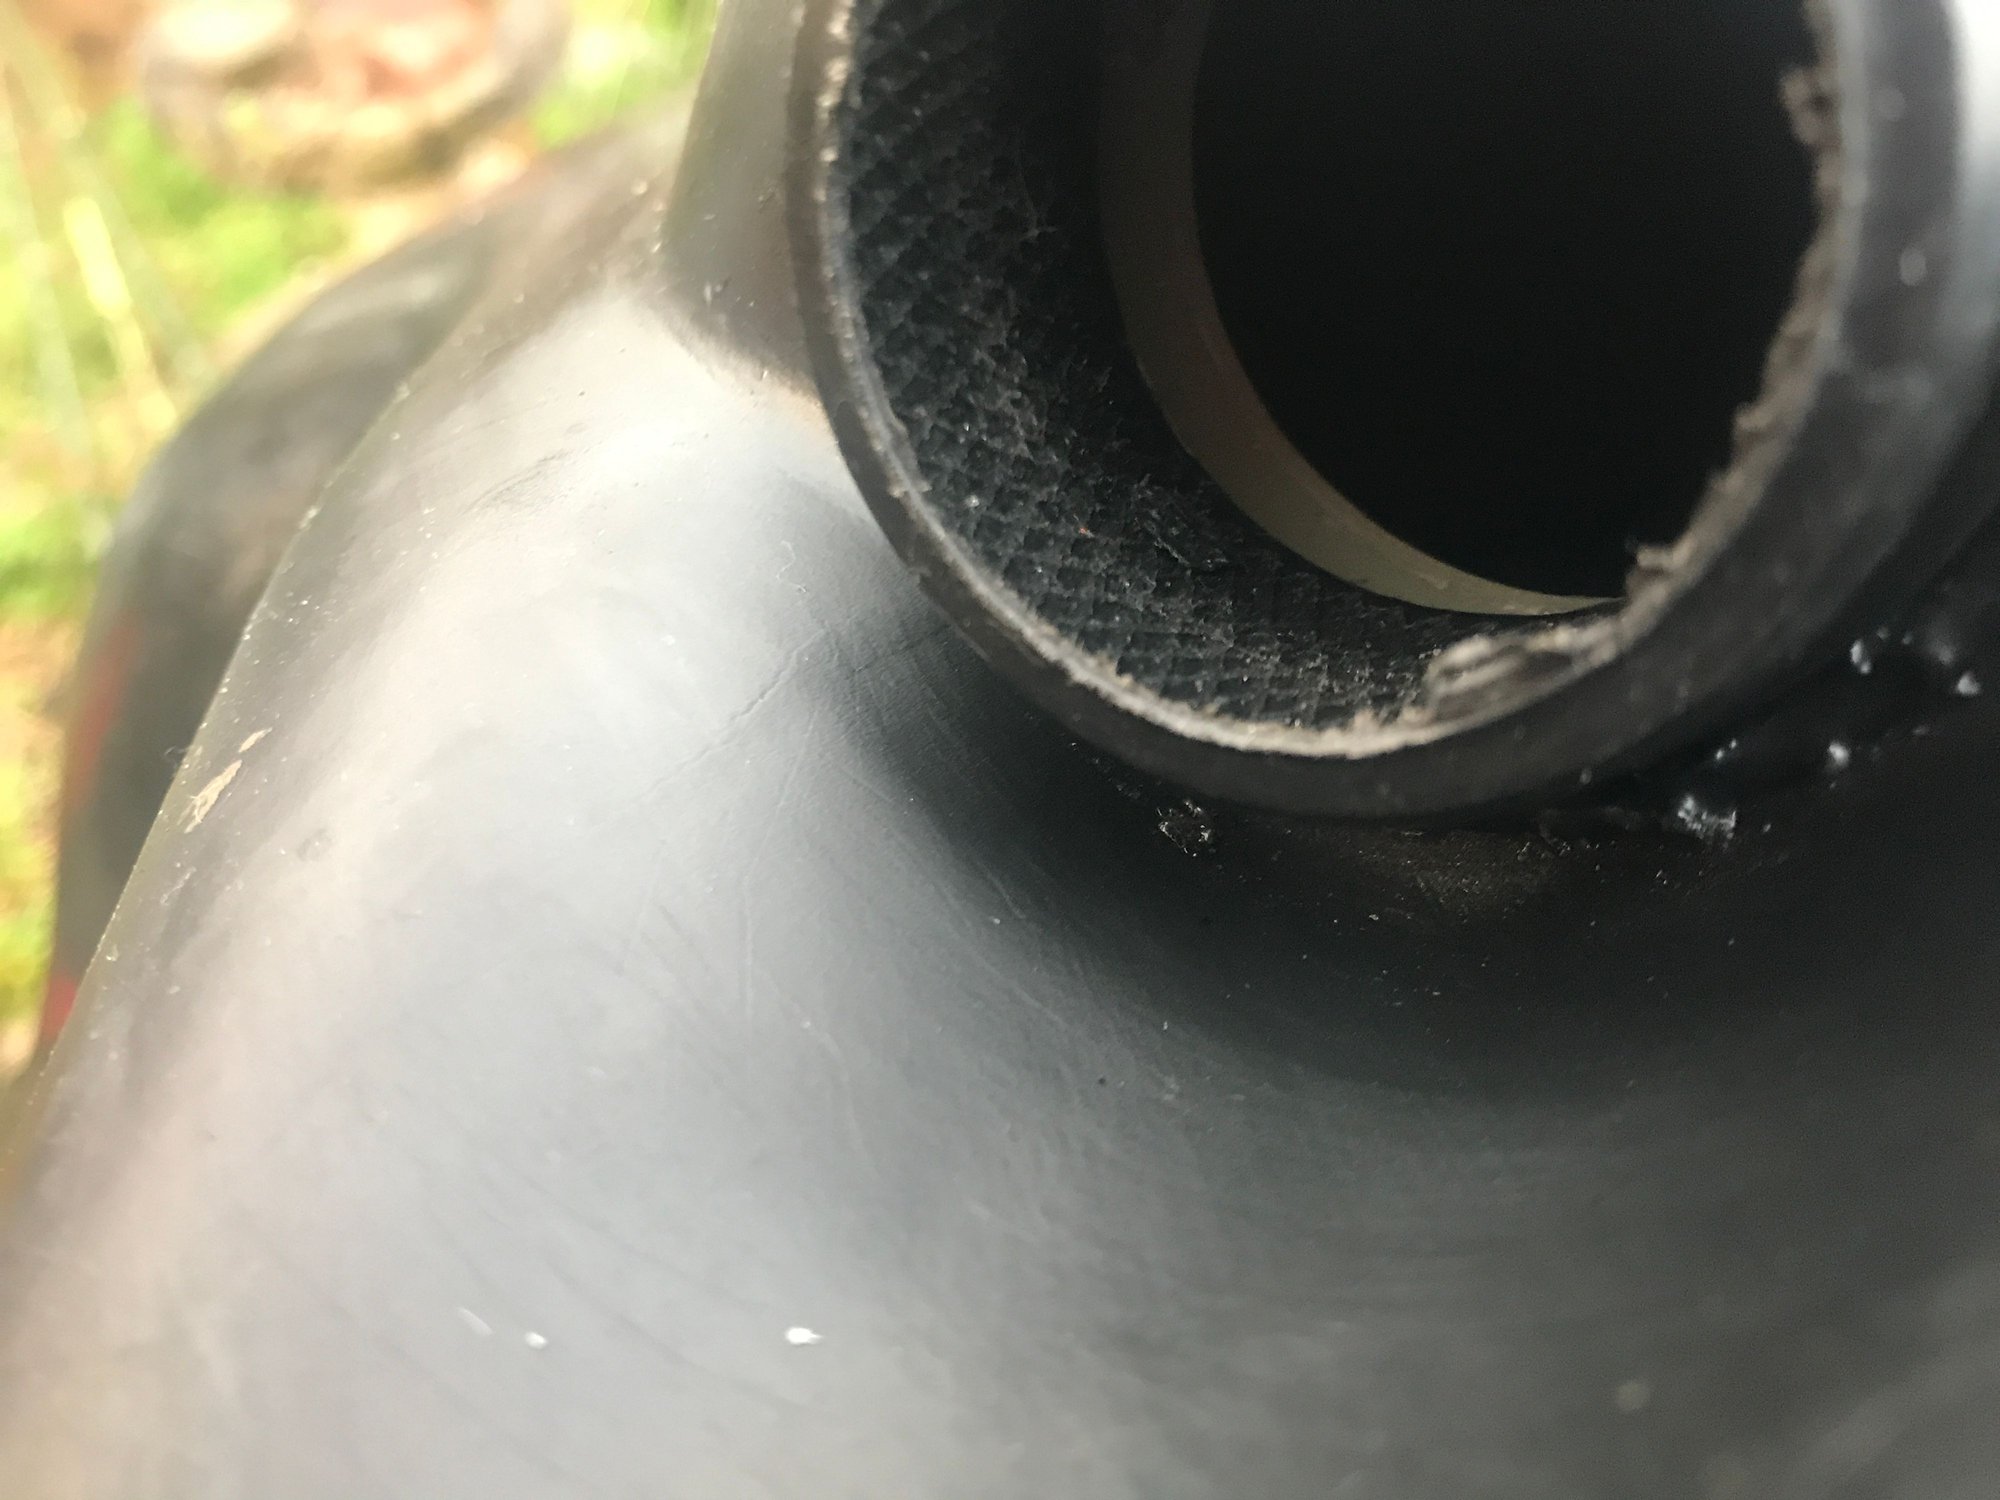
This is very straightforward job for any competent mechanic. Remember that the tank is blow molded "rota-mold", and tolerances are not that tight, especially in relation the the depth of the orifice that accepted the original threaded sleeve.
Once located by hand, or dropped into place by a guiding wire, the fit can be assessed by the depth of penetration of the collar so as to mate with the strainer threads. Remember that the seal is made by the gasket on the strainer against the outside tank face and NOT on the inside of the tank.
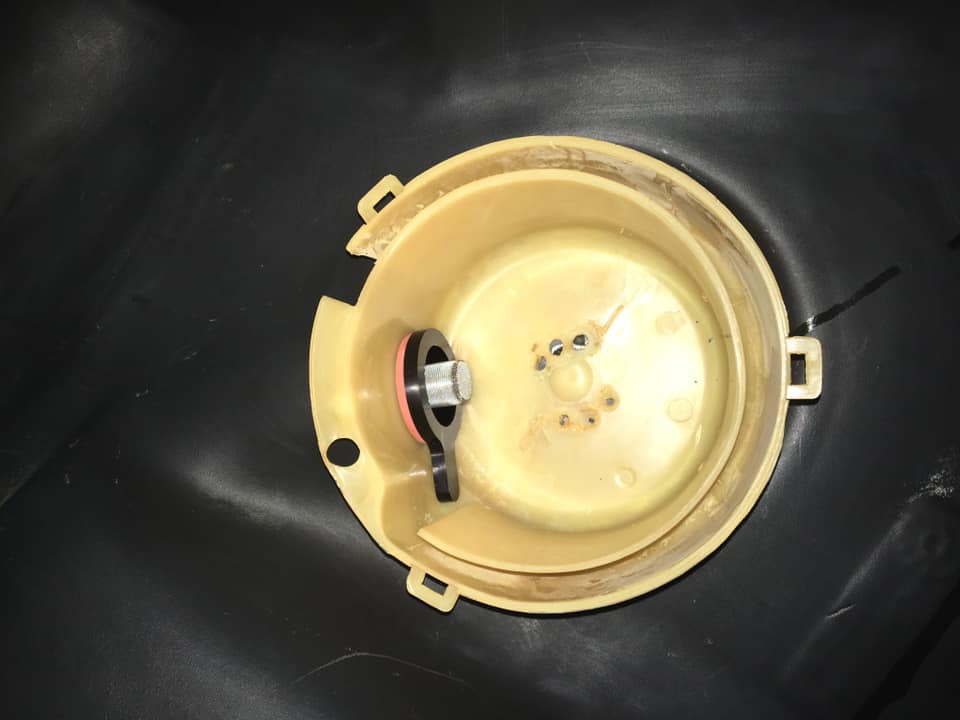
The yellow donut also gives an extra dimension to the fit of the repair sleeve. Quite often the donut is loose in the bottom of the tank and the lid can be removed. If this is the case just move the donut out of the way and insert the sleeve directly into the outlet orifice. Use the gasket on the sleeve as needed as a spacer.
If the donut is in place then locate the sleeve through the hole in the donut and into the outlet. Again use the gasket as needed as a spacer. Once the strainer starts to screw into the sleeve the wall of the donut will deform slightly as the sleeve is tightened. The arm on the sleeve stops the sleeve spinning while the strainer is being tightened. This is not rocket science 8>.
Some pictures below.

 11-17-2021, 04:23 AM


 George Layton March 2014


 .
.