When you click on links to various merchants on this site and make a purchase, this can result in this site earning a commission. Affiliate programs and affiliations include, but are not limited to, the eBay Partner Network.
20 years ago, tired of getting leaks from the tensioner tightening bolt/nut and having to redo that, I started installing a new bolt/nut...regardless of what the "blue" gummy sealant looked like.
That was the end of any leaks, from there.
The stock gasket has a bead of silicone (on both sides made around the area that has oil. The block and the tensioner itself need to be reasonable flat (with-in .010".)
If either of those 4 square inch flat areas are warped beyond that, there's more than just the tensioner leaking oil going to be a problem.
The boots have ridges to keep them from leaking around the pin that goes through the middle. Past 1987, there's an additional piston pin circlip on the inside of the boot to make it "pinch" even tighter.
Never leak.
The boots have a special clamp that crimps down. Impossible to get too tight or leave too loose.
Never leak.
All of the early tensioners had a small boot. Unavailable for years. Now remade, but of very poor quality and no "ridge" for the middle pin. I made aluminum adapters (20 years ago) which allowed people to use the '83-'86 boot, clamp, and pin (with the leakproof ridges).
Never leak.
What's left?
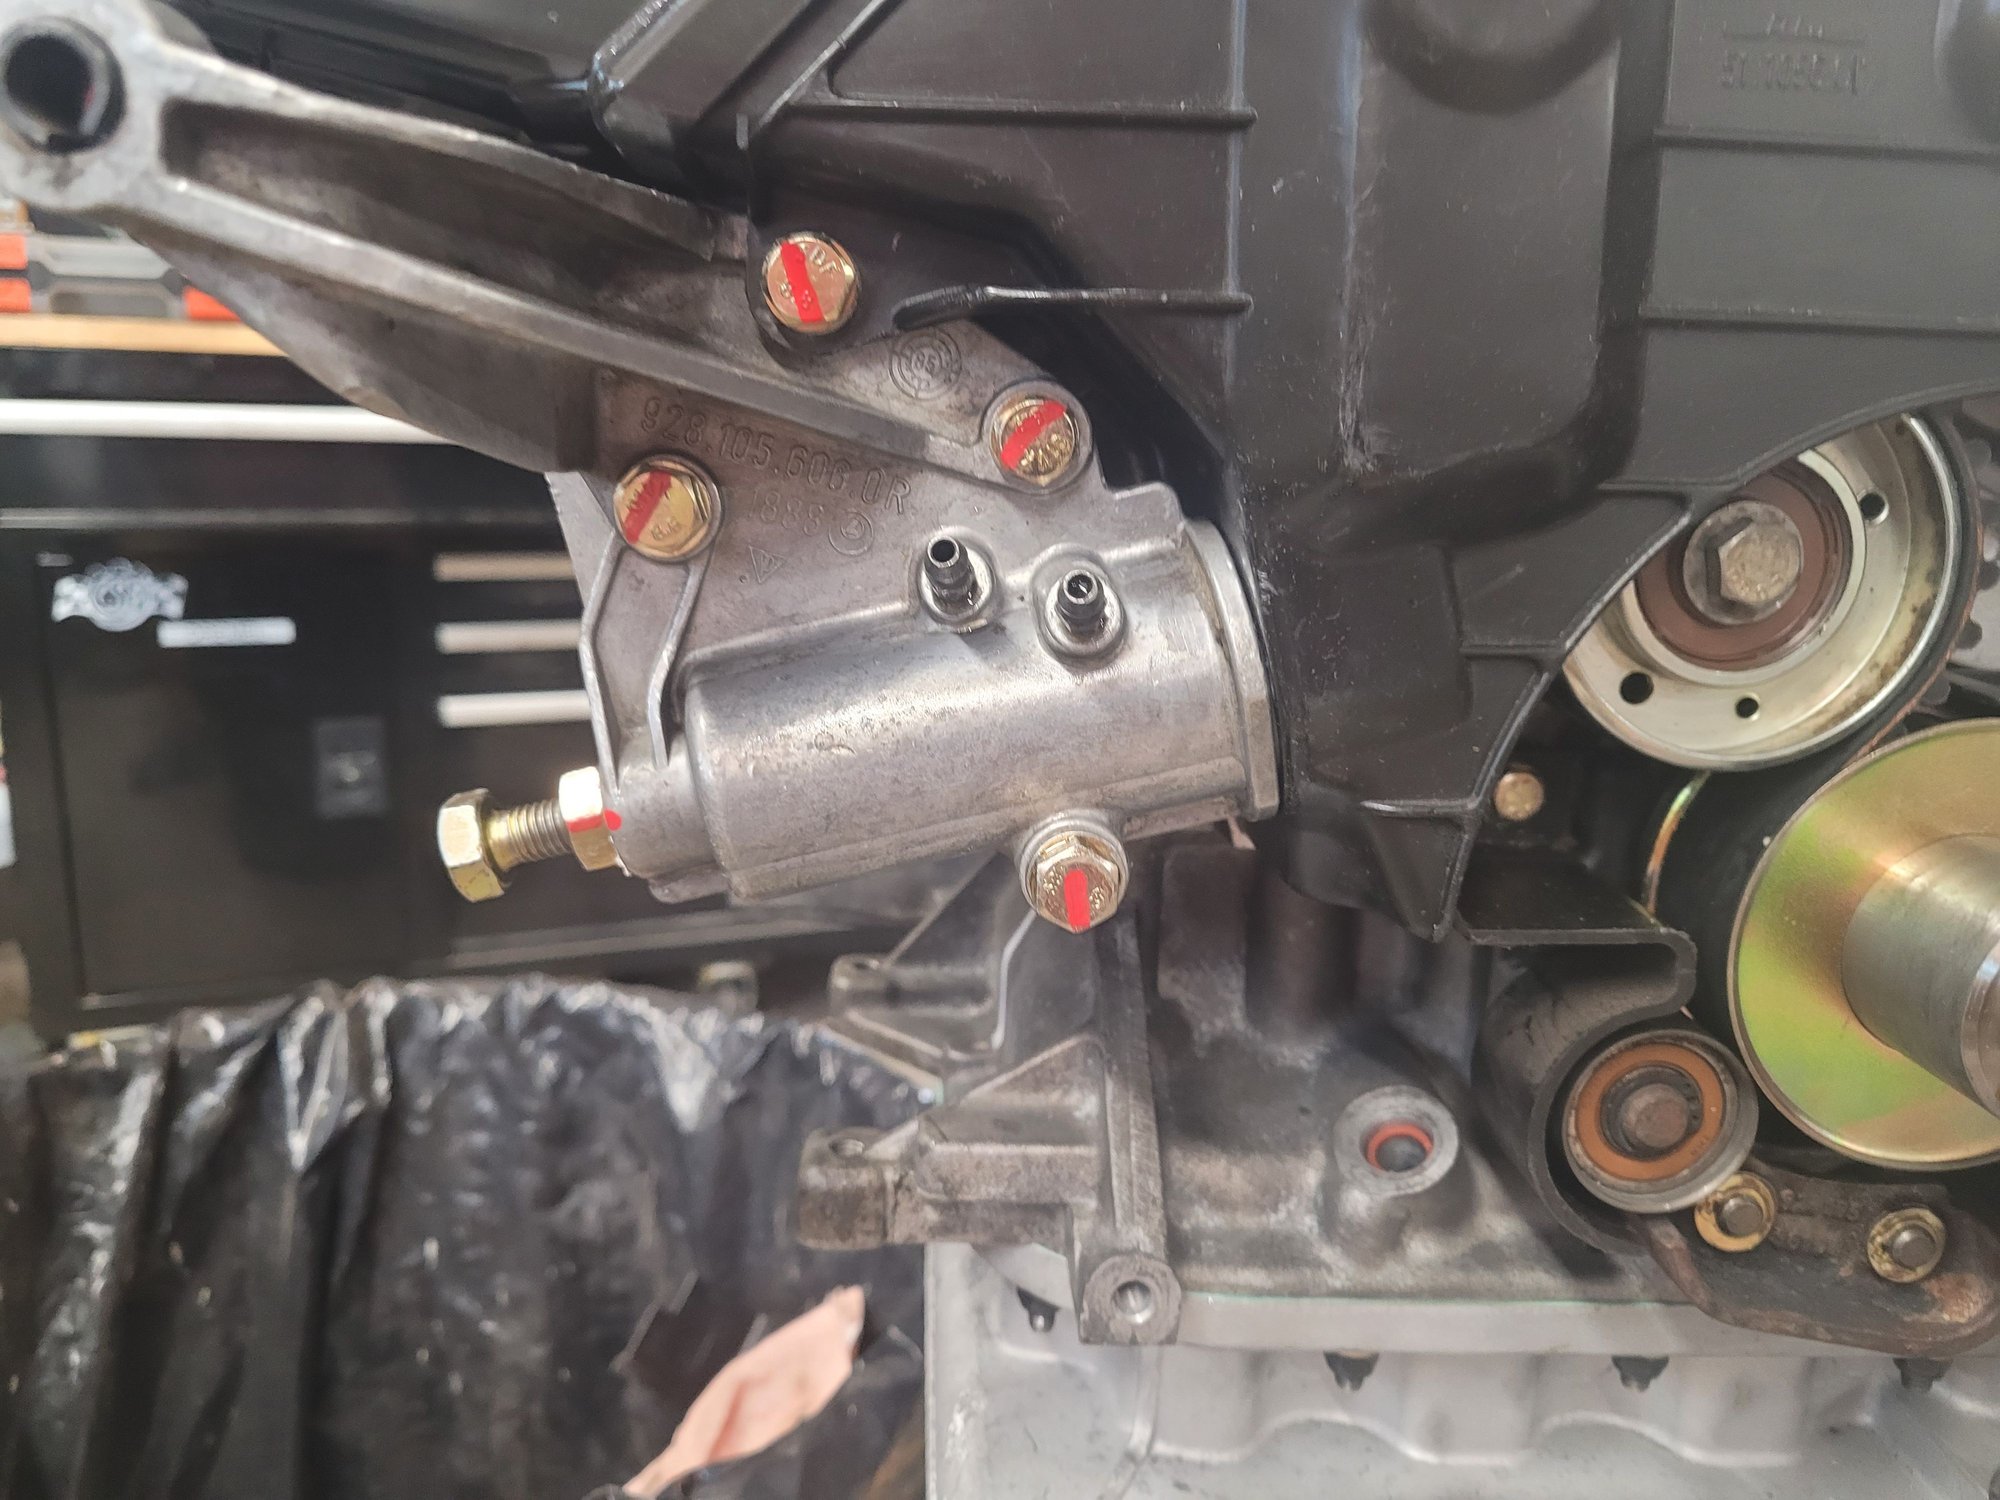
Can't figure out how to tighten the bleeders and put rubber caps on the '87 style ones?
You need to work at making the stock tensioners leak.
Well the thought of using a mity-vac to suck the STP into the tensioner.... well it sucked.
So, this is what I did instead:
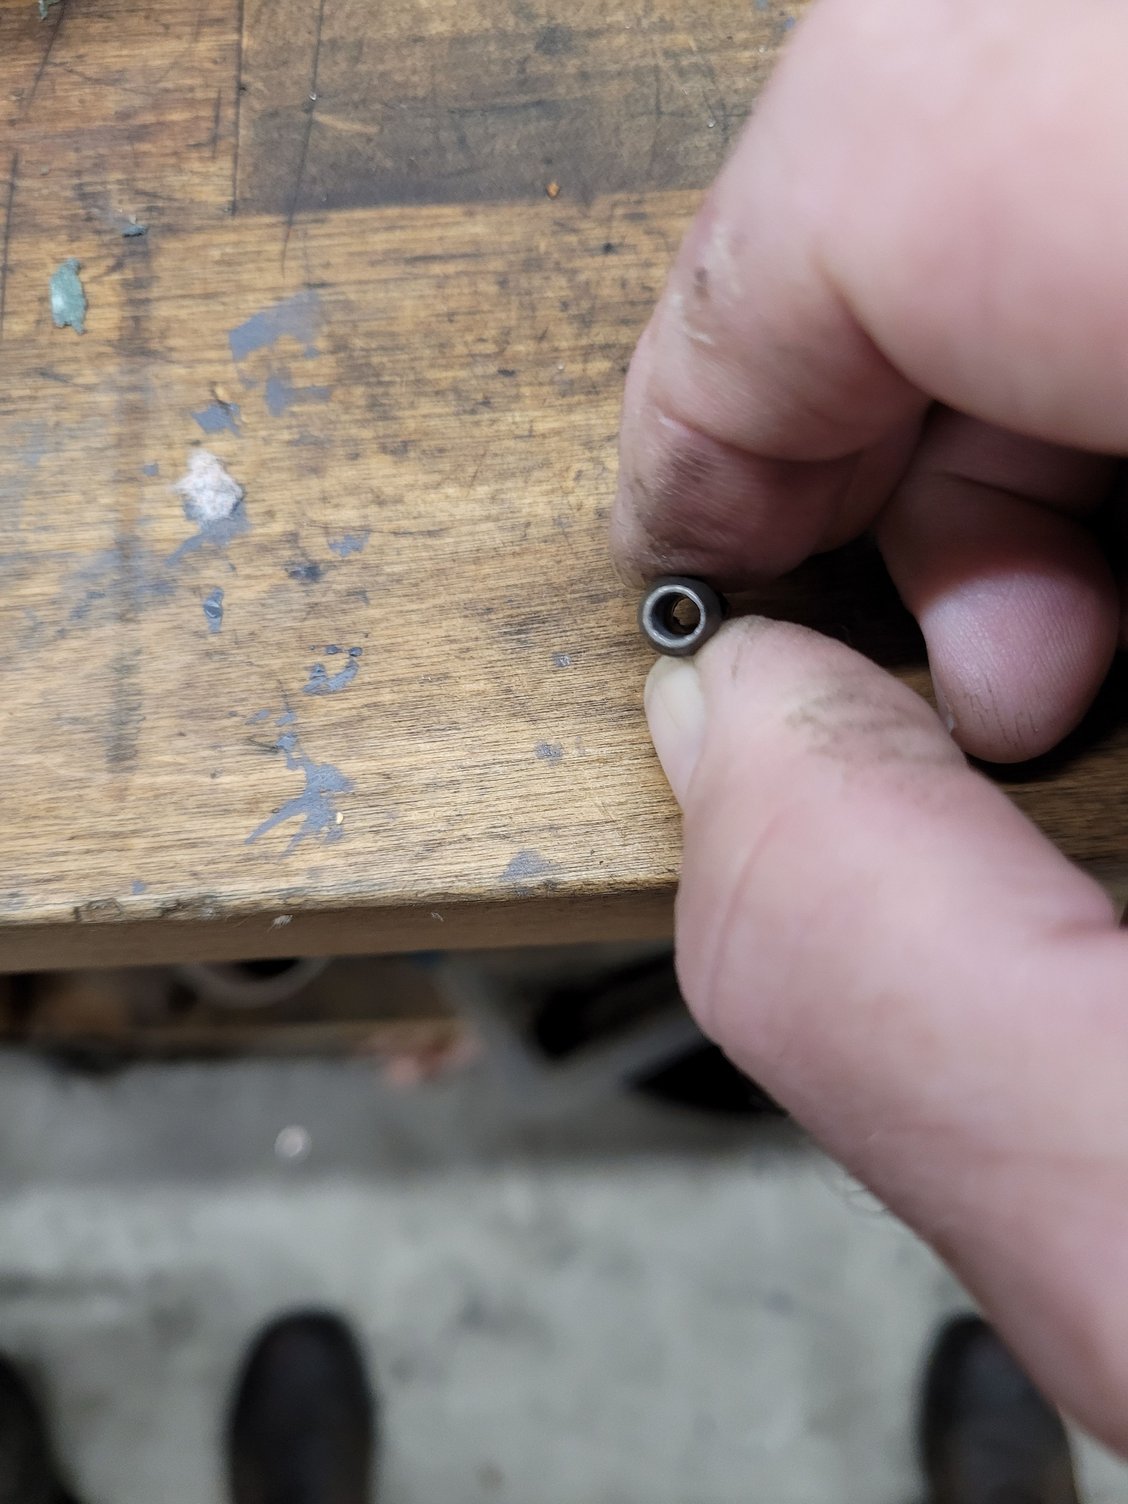
Drill through a brake bleeder.
Attach the brake bleeder to a clear length (12+ inches) of plastic hose with an oetiker clamp.
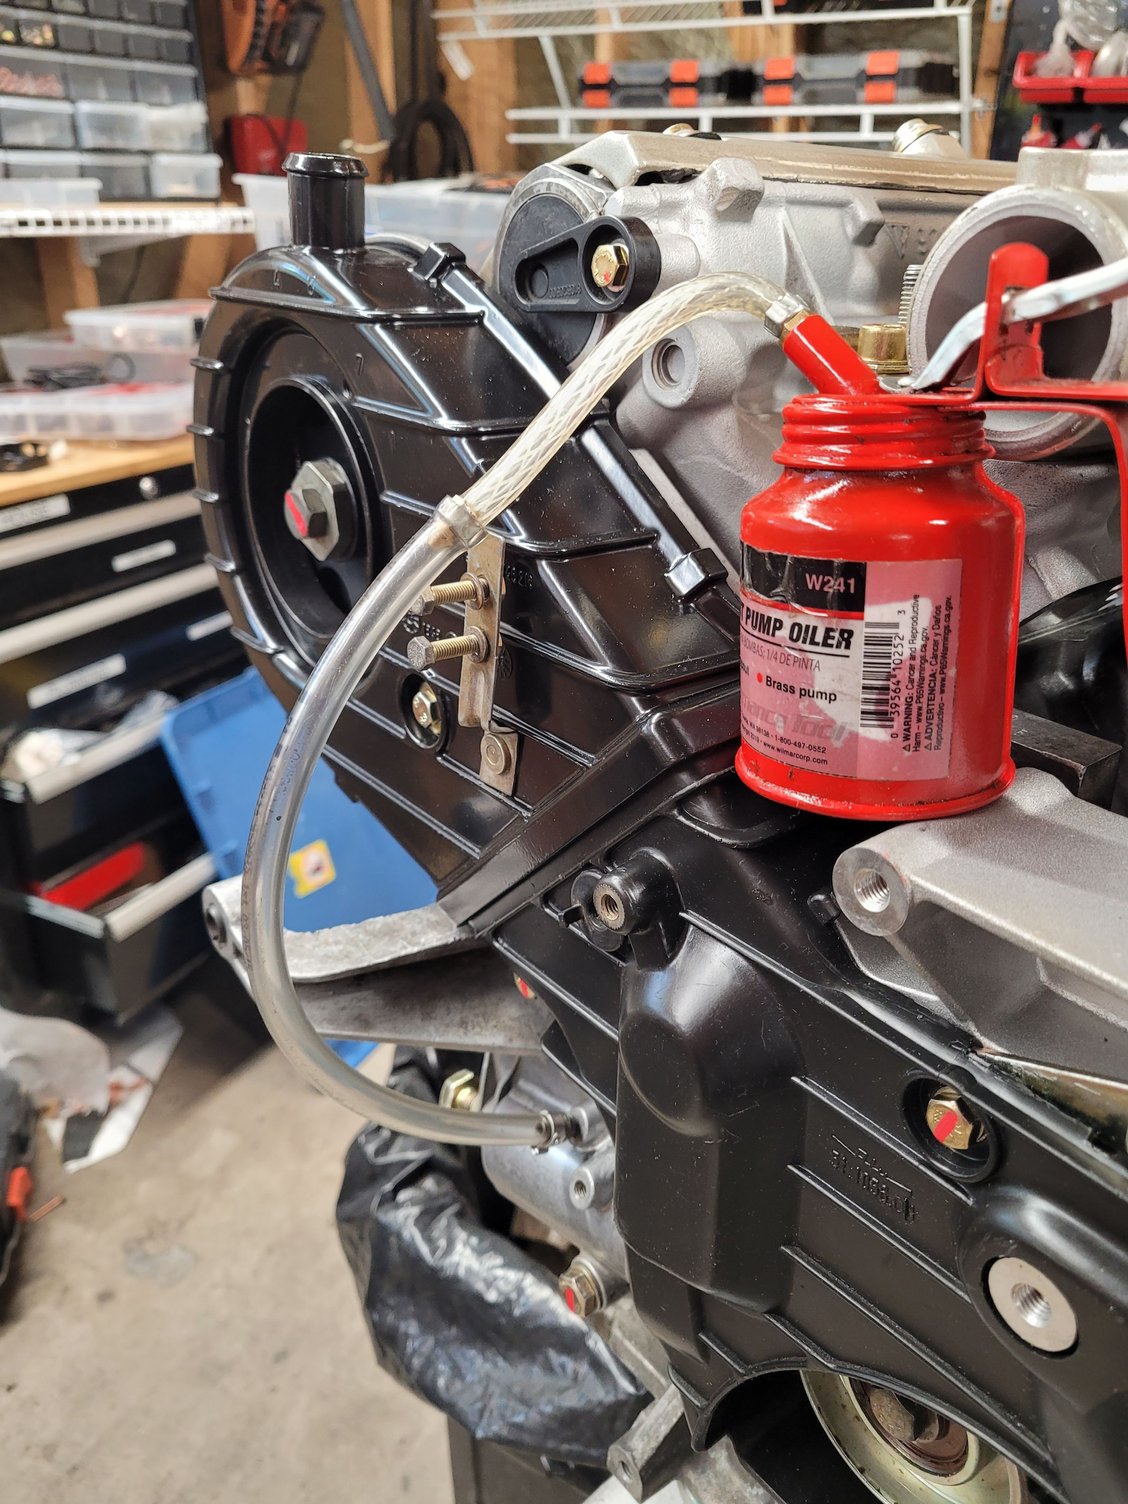
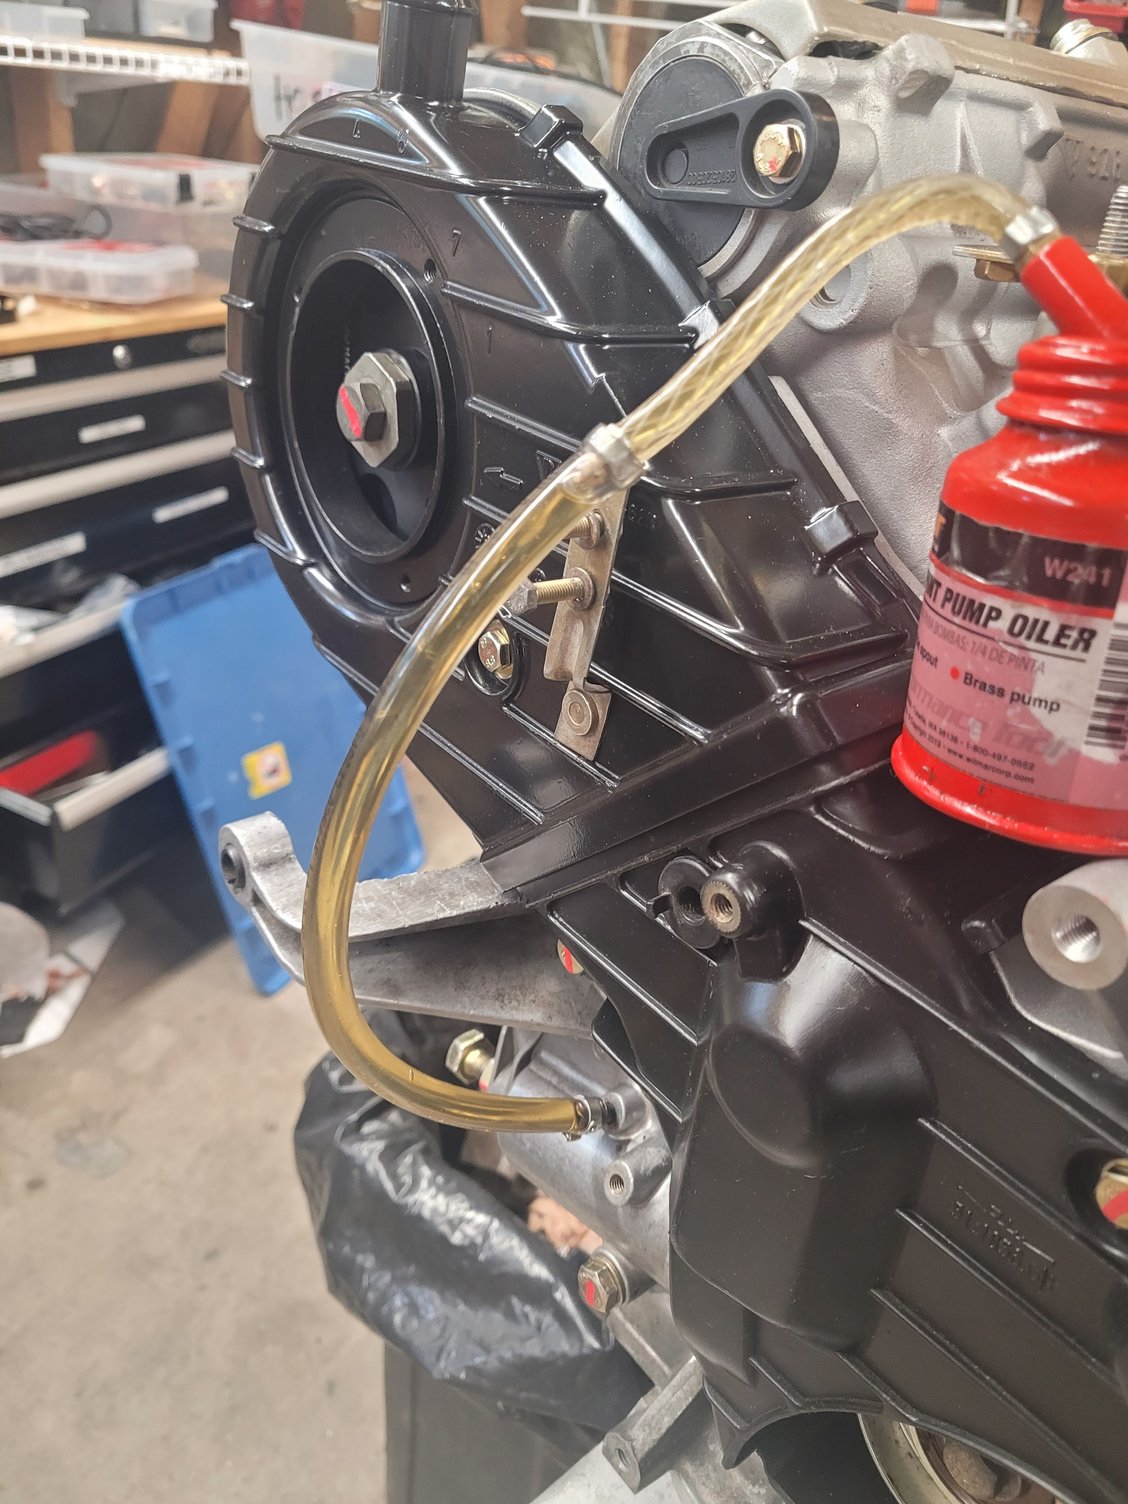
Screw it into the left fill hole.
Push the hose onto the oil pump can hose.
Perch the pump can on top of the waterpump.
Slowly pump the STP into the hose. I used a 5 count to slowly push the STP down the hose into the tensioner body.
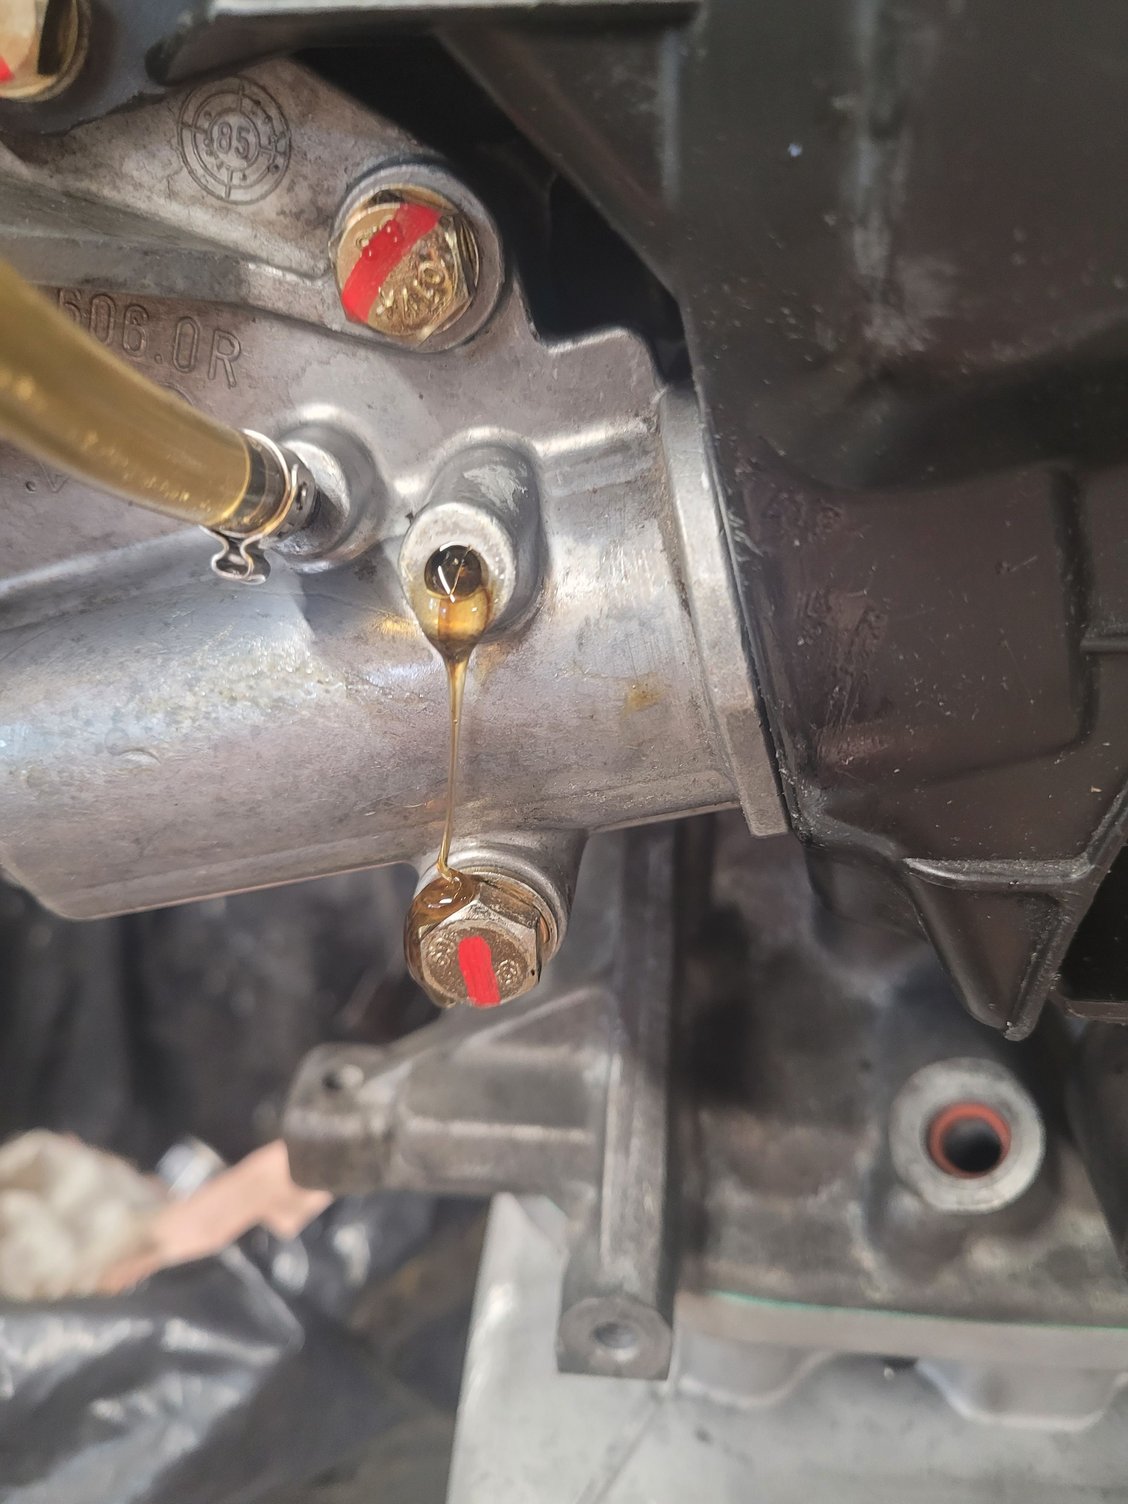
I paused between pumps after about 25 pumps as I waited for the STP bubbles to appear in the right fill hole.
When is saw the STP coming out I put the bleeder valve back in and tightened it.
Then I removed the my filler tube from the oil pumping can and my filler tube and hollowed out bleeder valve from the left filler hole.
So, getting a good flat tensioner to block fit, no sealant and new bolts and no leaks?
Have I got that right?
I rarely bother with new hardware....it's isolated far enough from all the sources of water leaks that it is rarely deteriorated.
I only replace it, when the previous idiot installed the wrong length bolts.
I've never used STP.......for anything.
Where in the Workshop Manual is that recommended?
For me, the stock tensioner is one of those "KISS" areas.
I've been working on 928's for so long, that I'm certain I've done hundreds (if not thousands) of "first" belt changes.
I don't think I've ever seen a leaking/seeping tensioner, that the Factory installed.
I rarely bother with new hardware....it's isolated far enough from all the sources of water leaks that it is rarely deteriorated.
I only replace it, when the previous idiot installed the wrong length bolts.
Just repeat what they did...
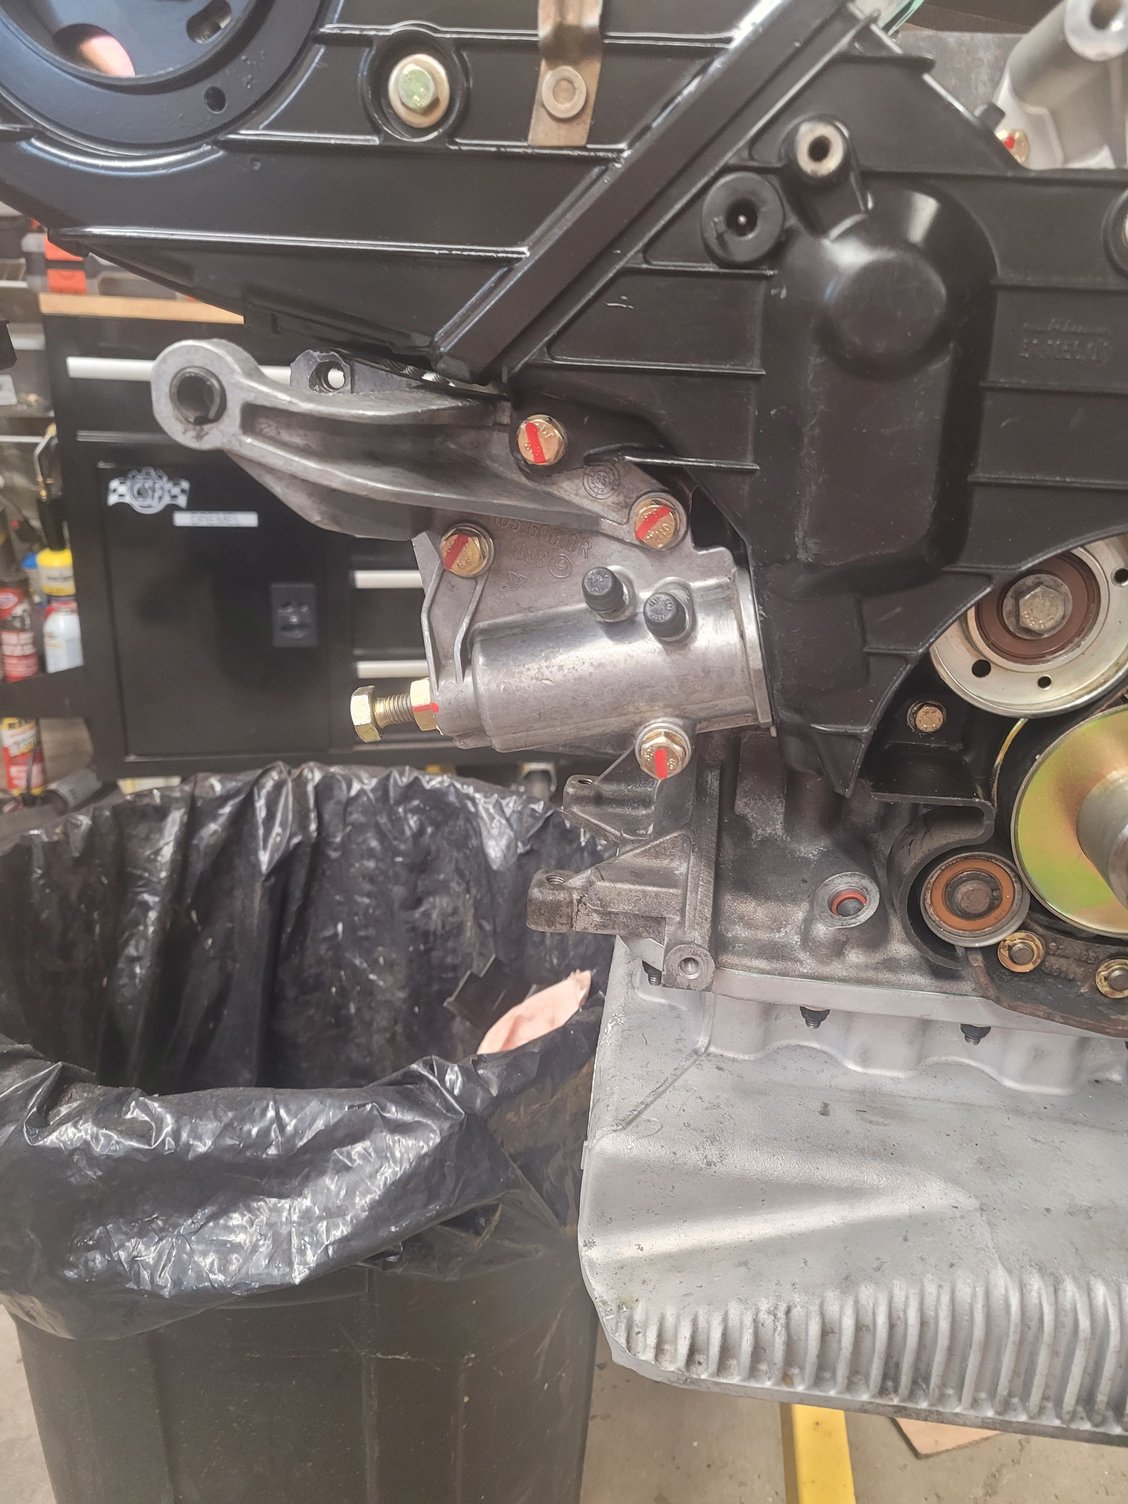
Interesting point about the bolt lengths. I'm not an engineer, but I don't think 45mm bolts with a washer allow for enough thread to go into the block to support the tensioner.
I always use new bolts 5mm longer than what Porsche called for on most of the bolt holes on the front of the engine ( except the waterpump bolts ) after I chase the threads.
Previous mechanics tended to over torque the bolts leading to buggered threads that I have to address with timecerts or helicoils.
Off the yamabond hondabond topic. Although I don't find much difference between the Curil T vs the new Curil T2. Not that it makes much difference the old Curil T is NLA.
Kevin I see in some places you had the hardware yellow cad plated. I am considering redoing my intake and rocker covers on my 93 and will do the hardware at the same time. Mine appear to be black from the factory in some locations. Most all my cap screws appear to be black oxide or black cad plated. Were yours yellow when you started? I know the round cover/caps are the same as used on the 964 timing chain covers which are yellow cad.
BTW enjoying following your progress. Nice work.
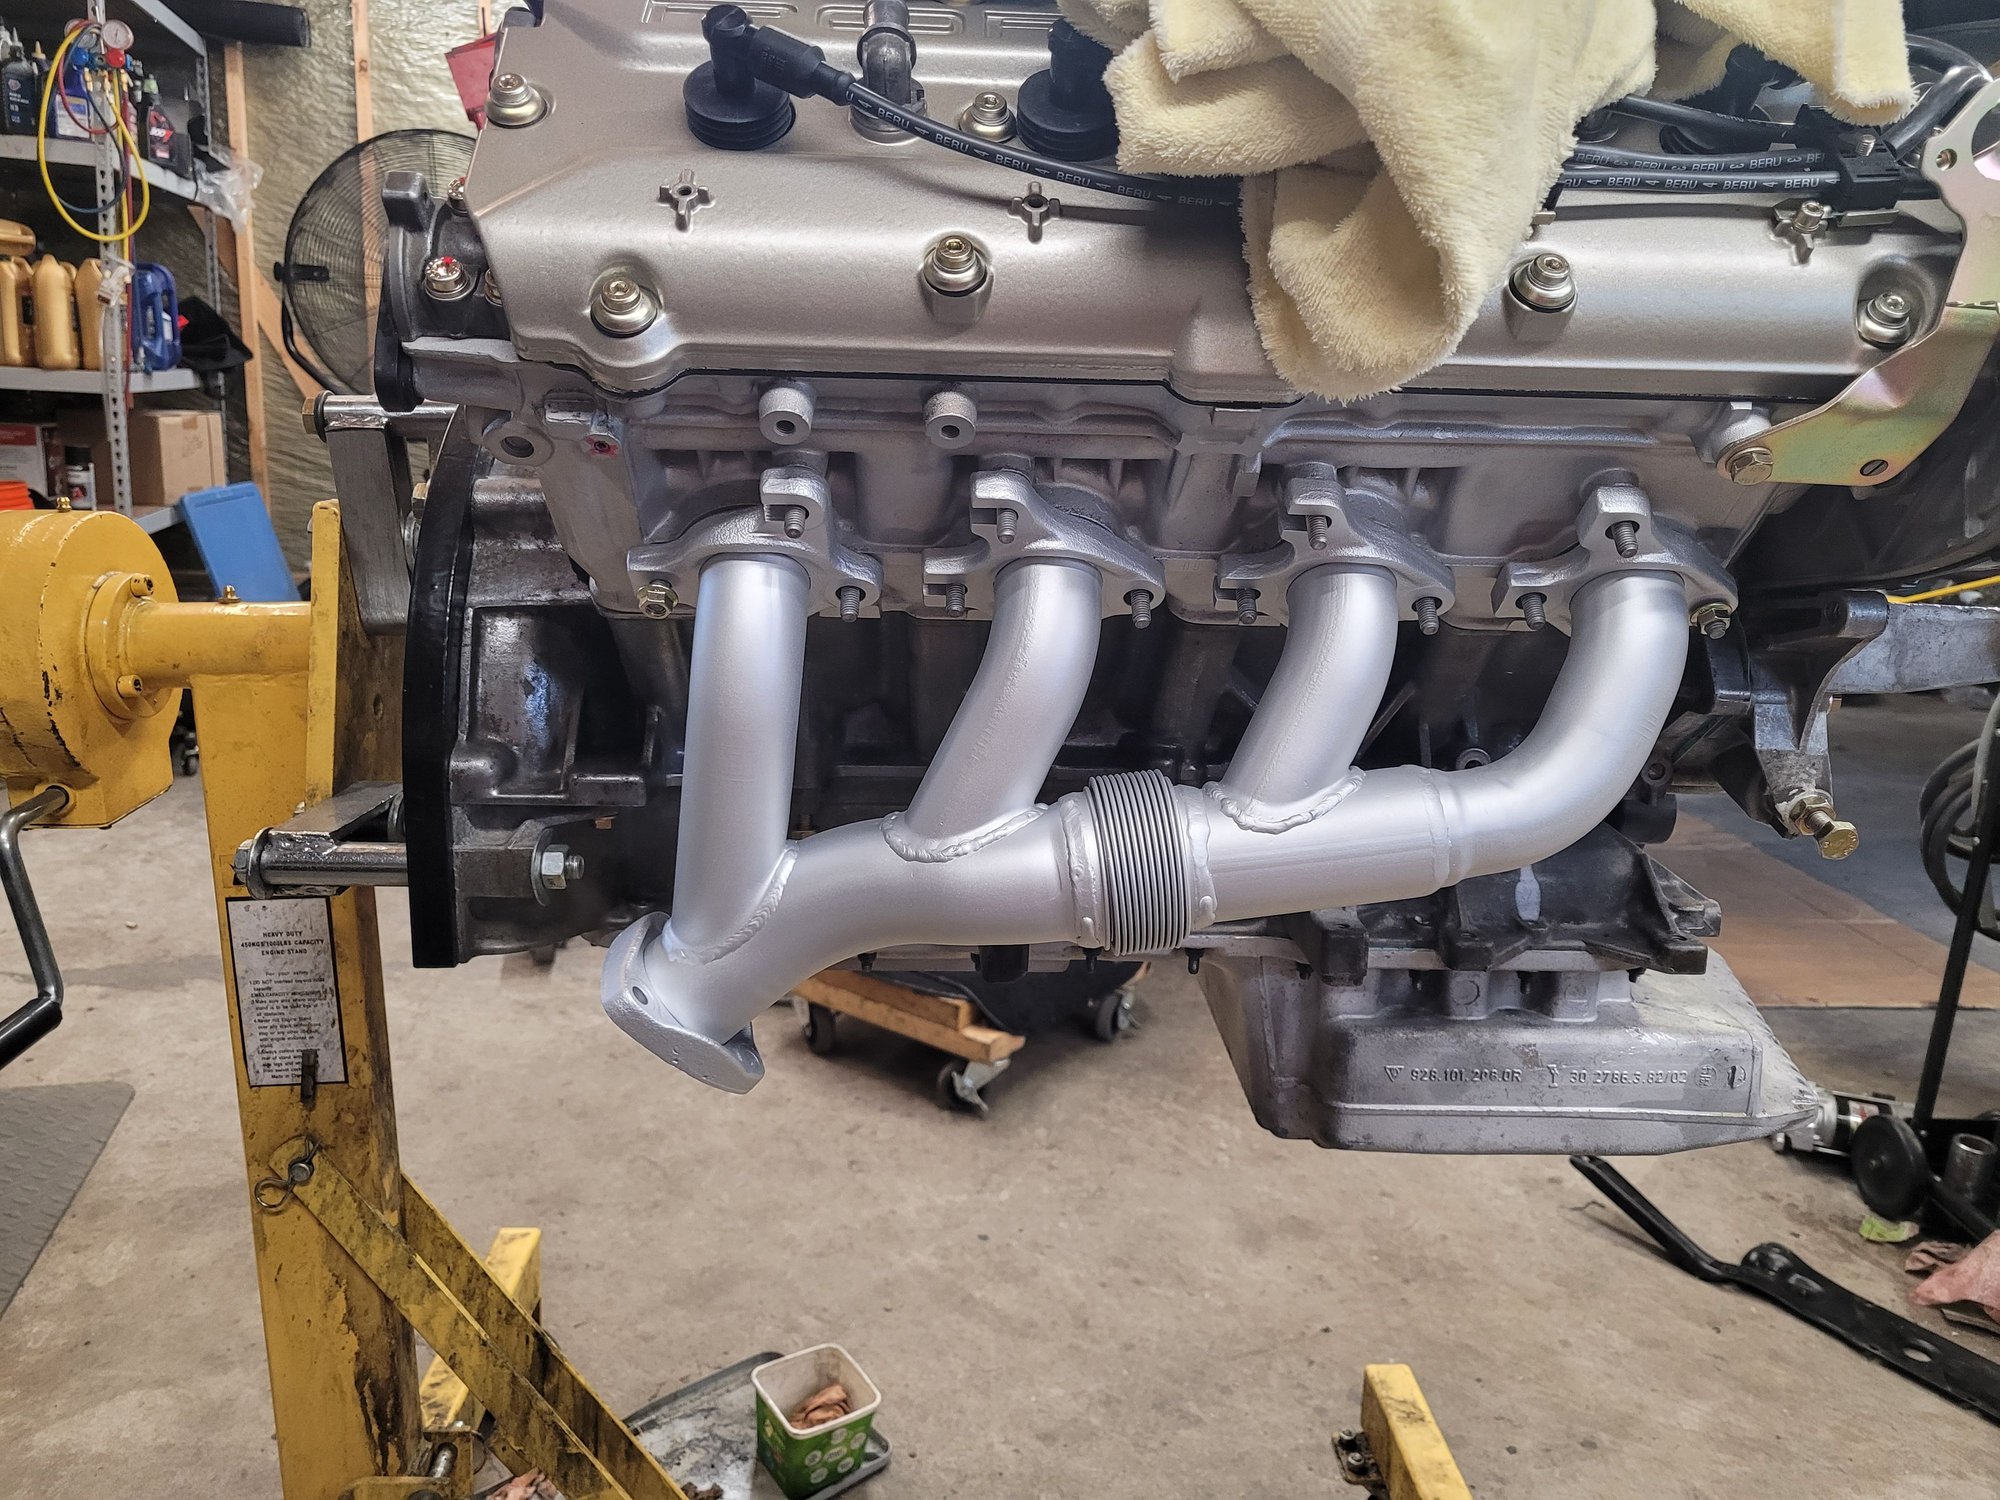
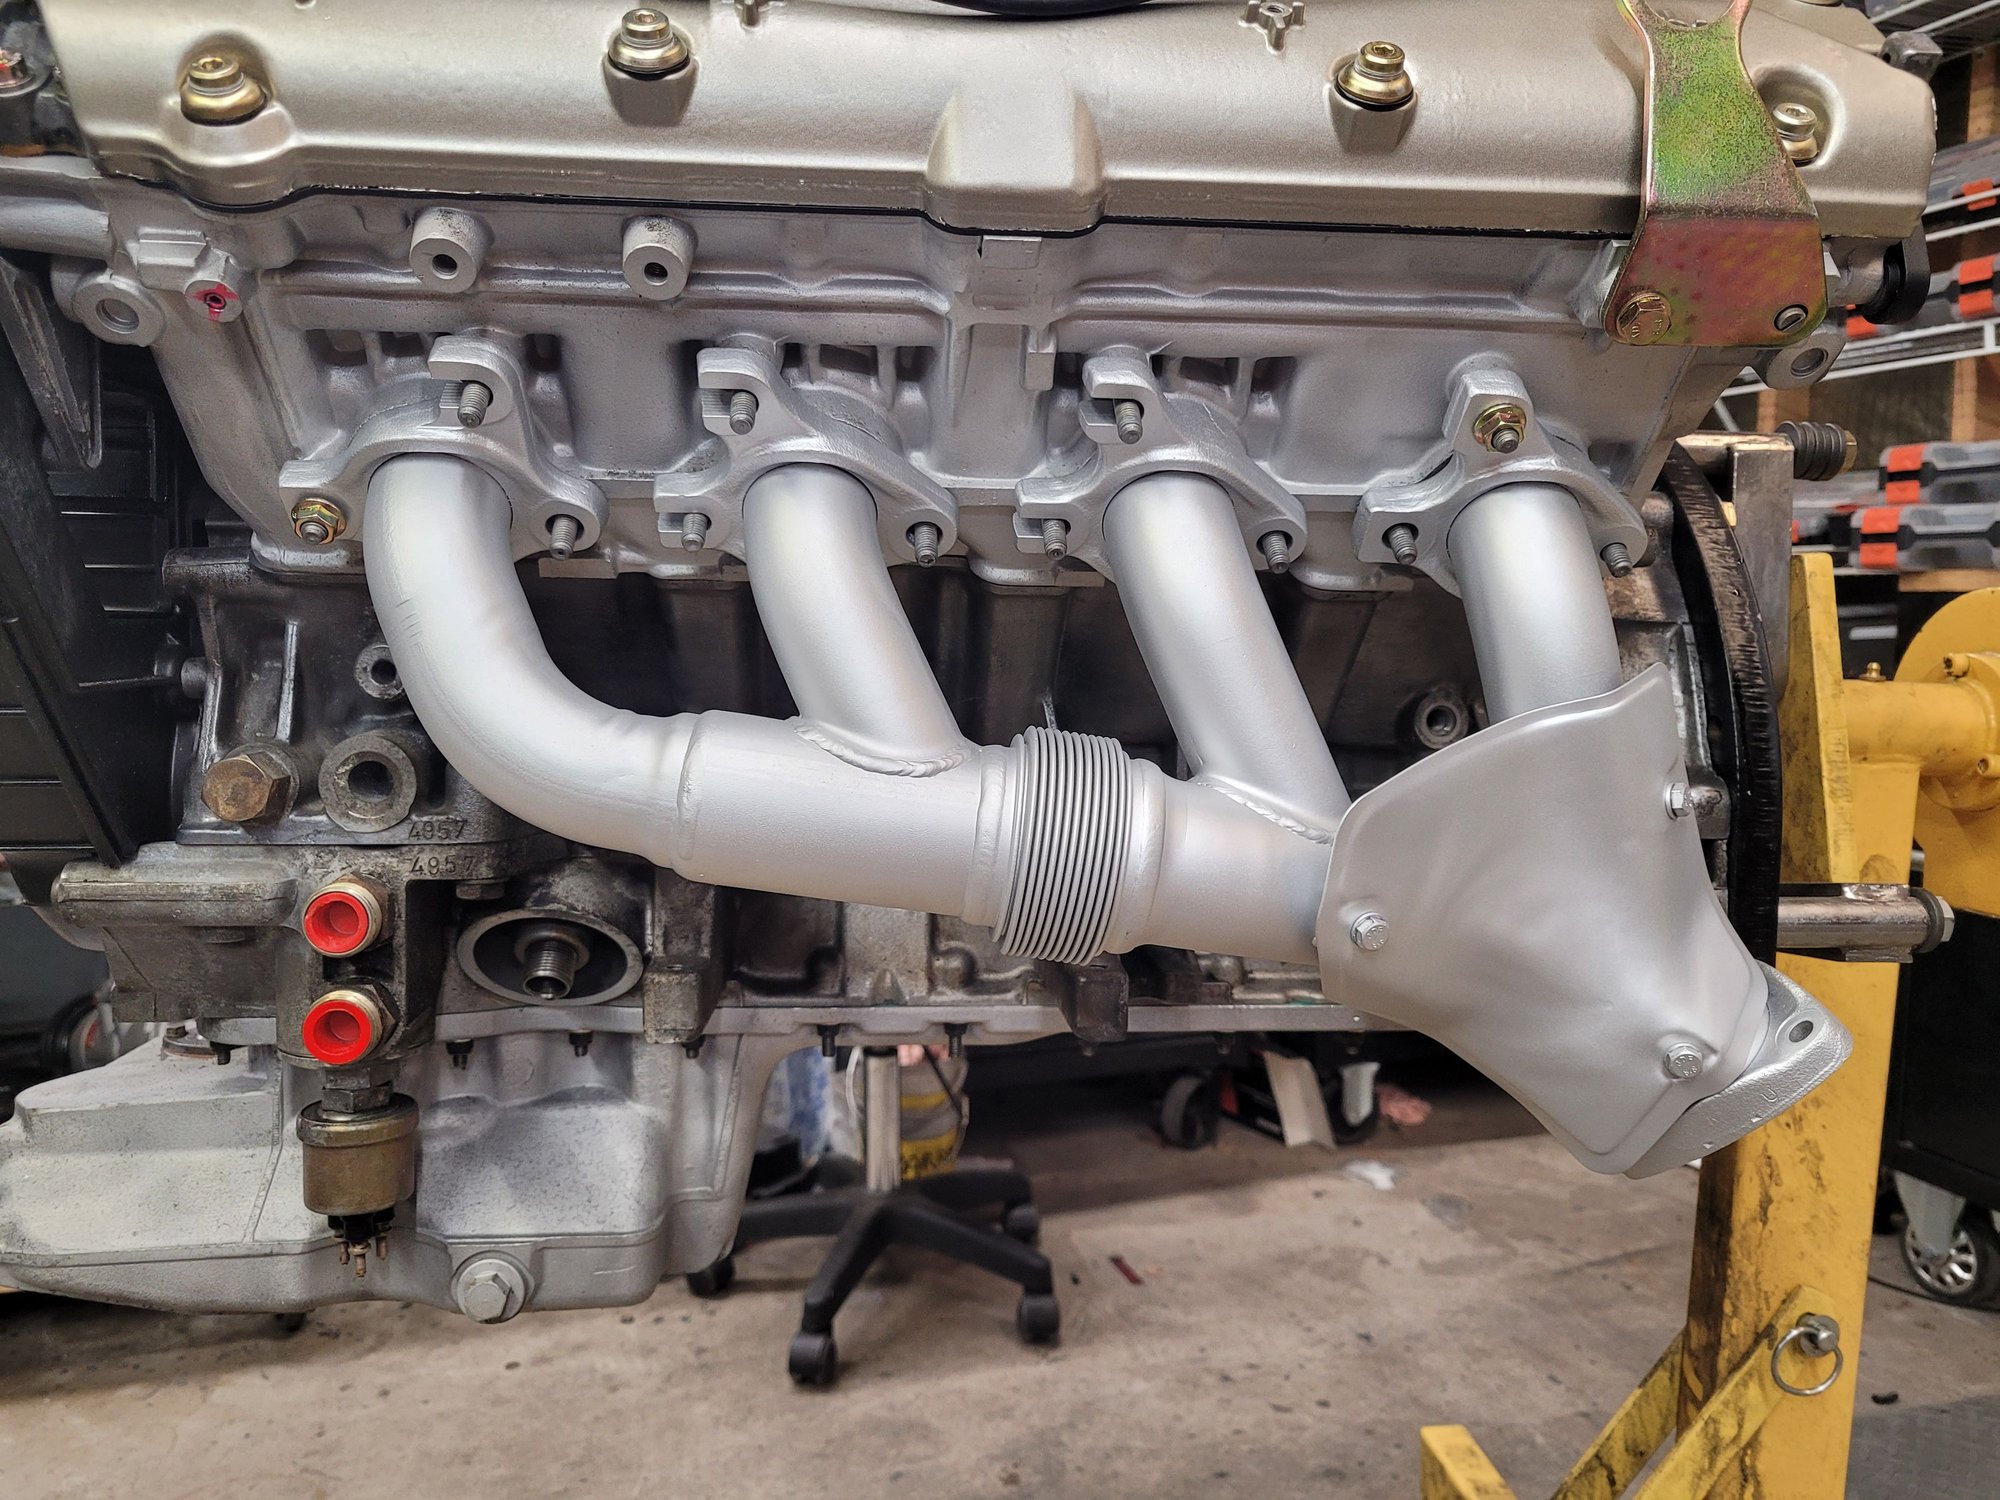
Couple of things - my dirty little secret - all my hardware is yellow zink'd. I shoot all my hardware with clear matte finish and I get a cadmium looking finish. All my hardware, except the allens used to attach the manifold side covers start out as cadmium, are glass bead blasted to safely remove the plating before going off to be zink'd. I have yet to find a plating in gloss black for the manifold side plate screws.
I plan on using a small paint brush to apply a second and third coat of matte finish prior to dropping the engine in. OCD much? Back in the day folks applied petroleum jelly to protect the yellow cadmium finish.
That works. I am lucky enough to have a good friend who does cad plating in yellow and other colors. He does mostly defense contract work but helps me out. Coating the zinc is a good idea as it doesn't hold up as well.
I normally use a tumbler and soak the hardware in 30% vinegar for a while then dump the solution into the tumbler with polishing stones for a few hours clean with prep sol then walnut shells and polish overnight. The end result is like new.
So your manifold side screws were gloss back originally. Good to know. I couldn't tell if they were gloss or matt.
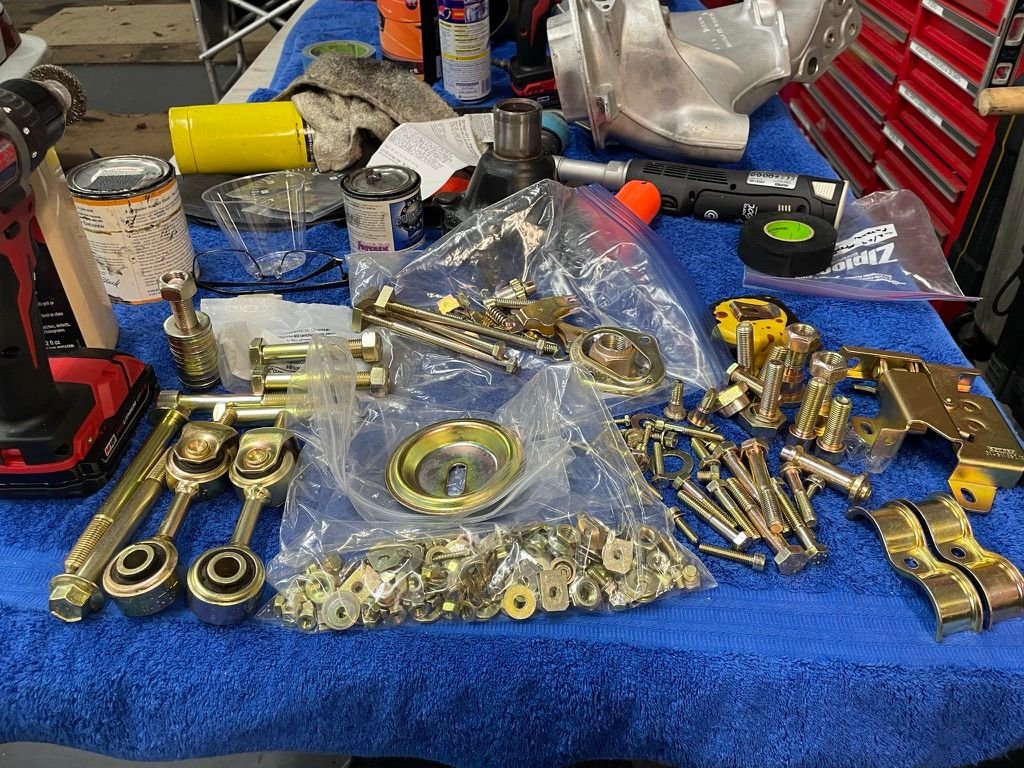
Here are some of the thousands of pieces I have done over the years and keep in inventory. These used to be cheap but the prices today are crazy, especially for the specialty hardware and some of the hardware I can go down to HD and buy for less. These were done in Yellow cad. If I don't polish them he media blasts them and they never look right a bit too dull.
That works. I am lucky enough to have a good friend who does cad plating in yellow and other colors. He does mostly defense contract work but helps me out. Coating the zinc is a good idea as it doesn't hold up as well.
I normally use a tumbler and soak the hardware in 30% vinegar for a while then dump the solution into the tumbler with polishing stones for a few hours clean with prep sol then walnut shells and polish overnight. The end result is like new.
So your manifold side screws were gloss back originally. Good to know. I couldn't tell if they were gloss or matt.
Here are some of the thousands of pieces I have done over the years and keep in inventory. These used to be cheap but the prices today are crazy, especially for the specialty hardware and some of the hardware I can go down to HD and buy for less. These were done in Yellow cad. If I don't polish them he media blasts them and they never look right a bit too dull.
I can help with some but I am limited myself. he fits them in occasionally when I gather a large lot but I can only ask occasionally as he is swamped with deadlines.
Most all my cap screws appear to be black oxide or black cad plated.
If you're talking about the intake side cover cap screws- they're unique, I think, in terms of finish. To me they're not exactly black, it's more of a greenish sort of finish. I know this is angels and heads of pins sort of stuff, but just to keep us honest.....
Can't find my good picture of these, will keep looking.

 08-05-2022, 09:07 PM