When you click on links to various merchants on this site and make a purchase, this can result in this site earning a commission. Affiliate programs and affiliations include, but are not limited to, the eBay Partner Network.
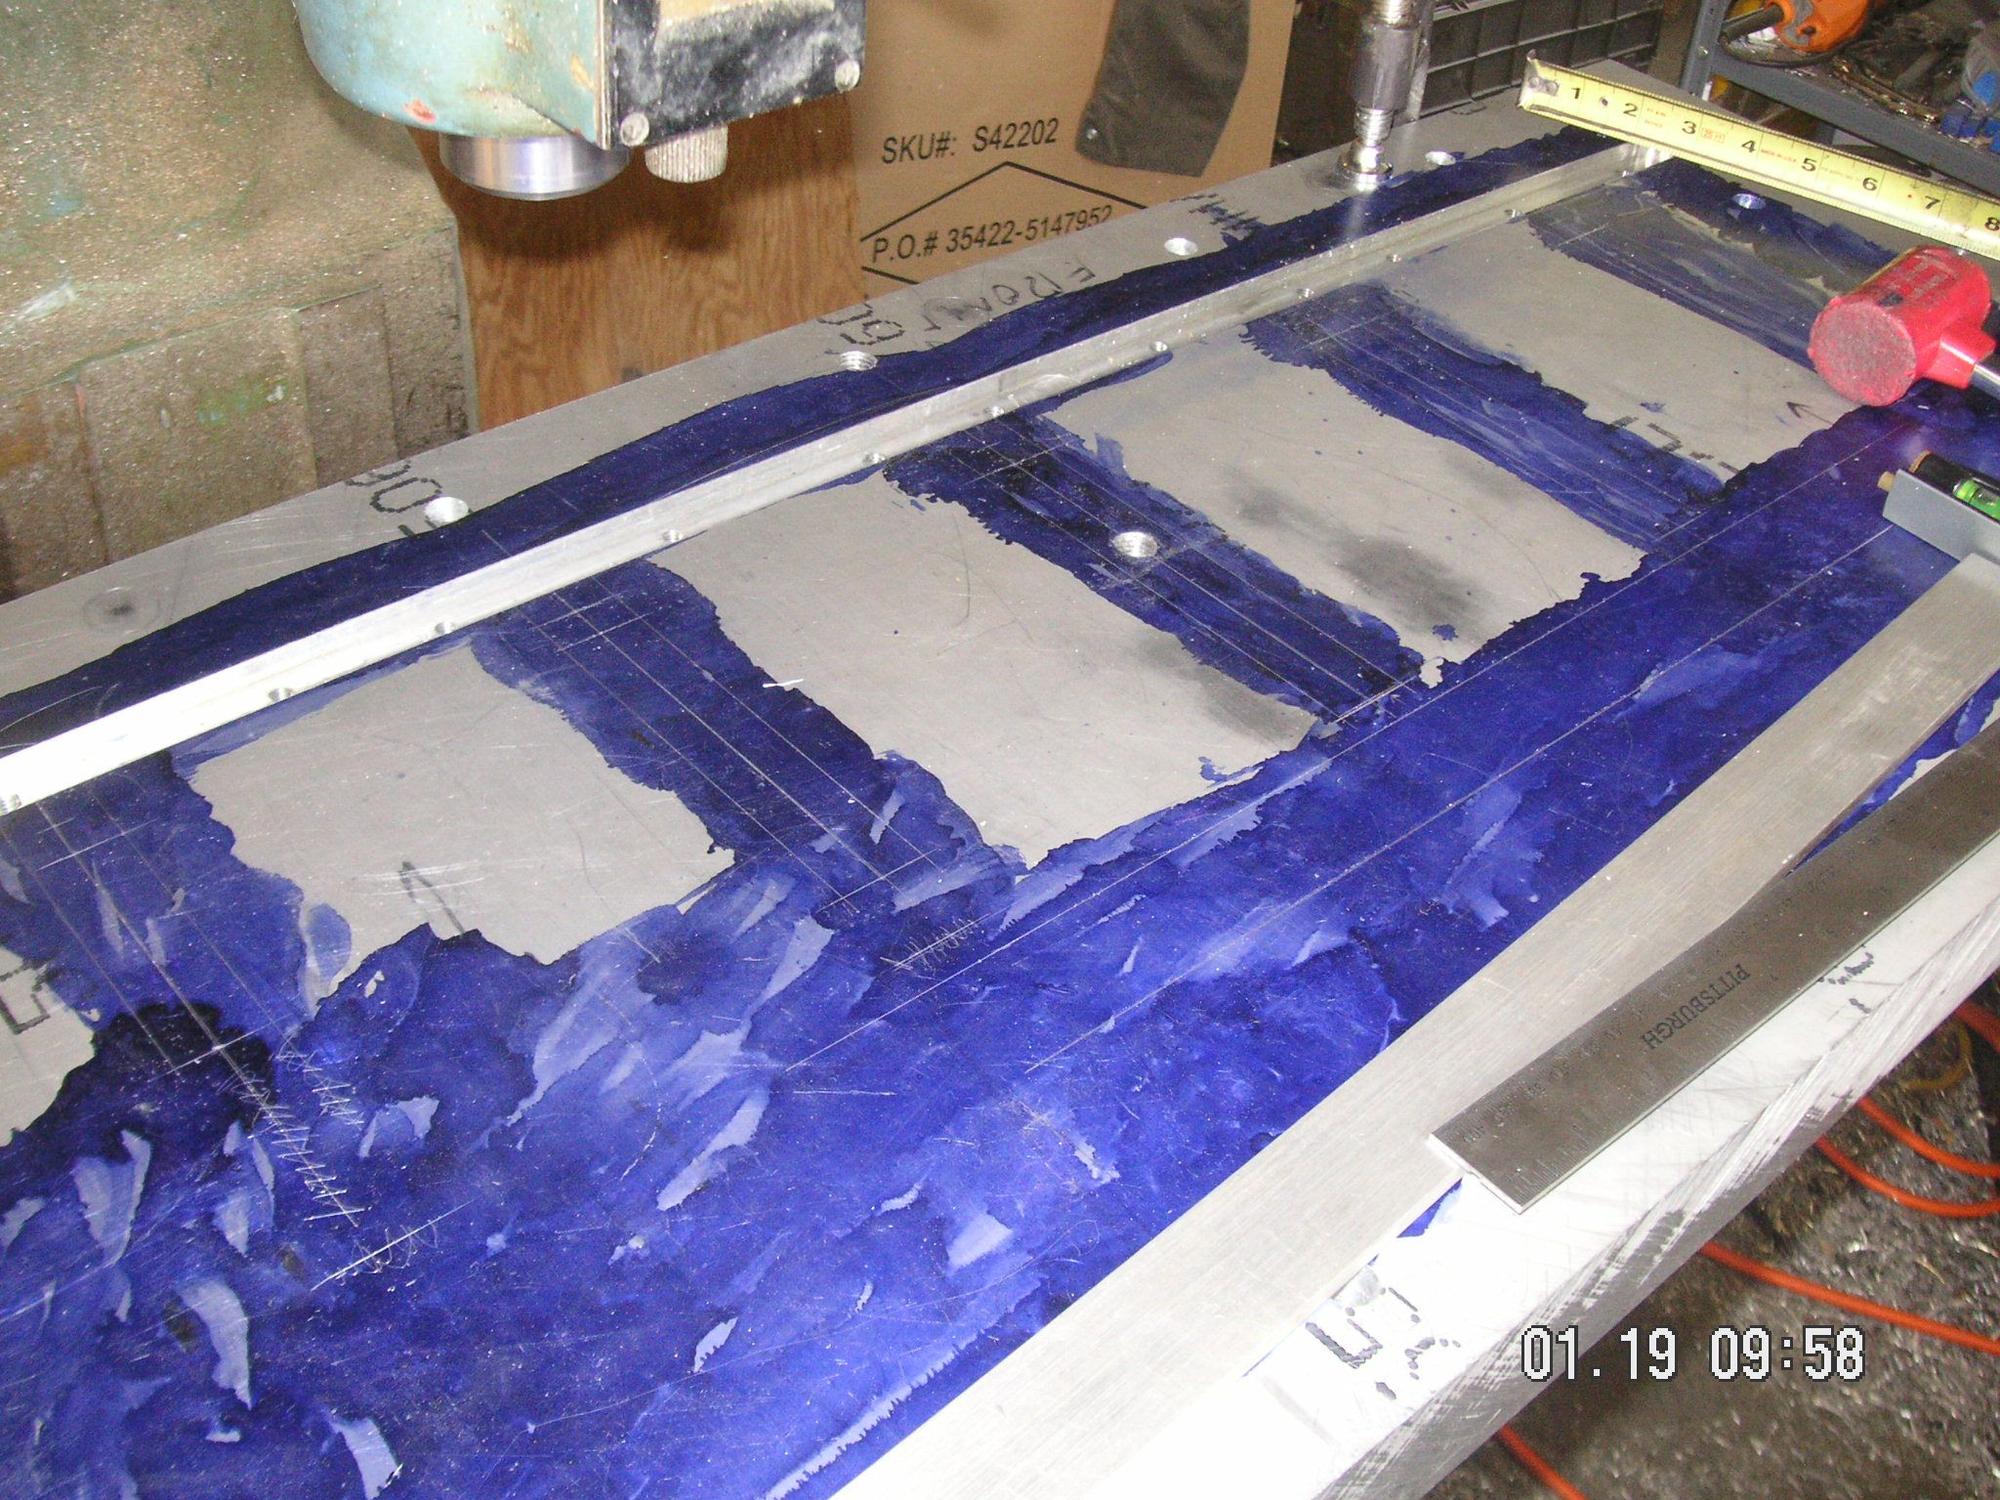
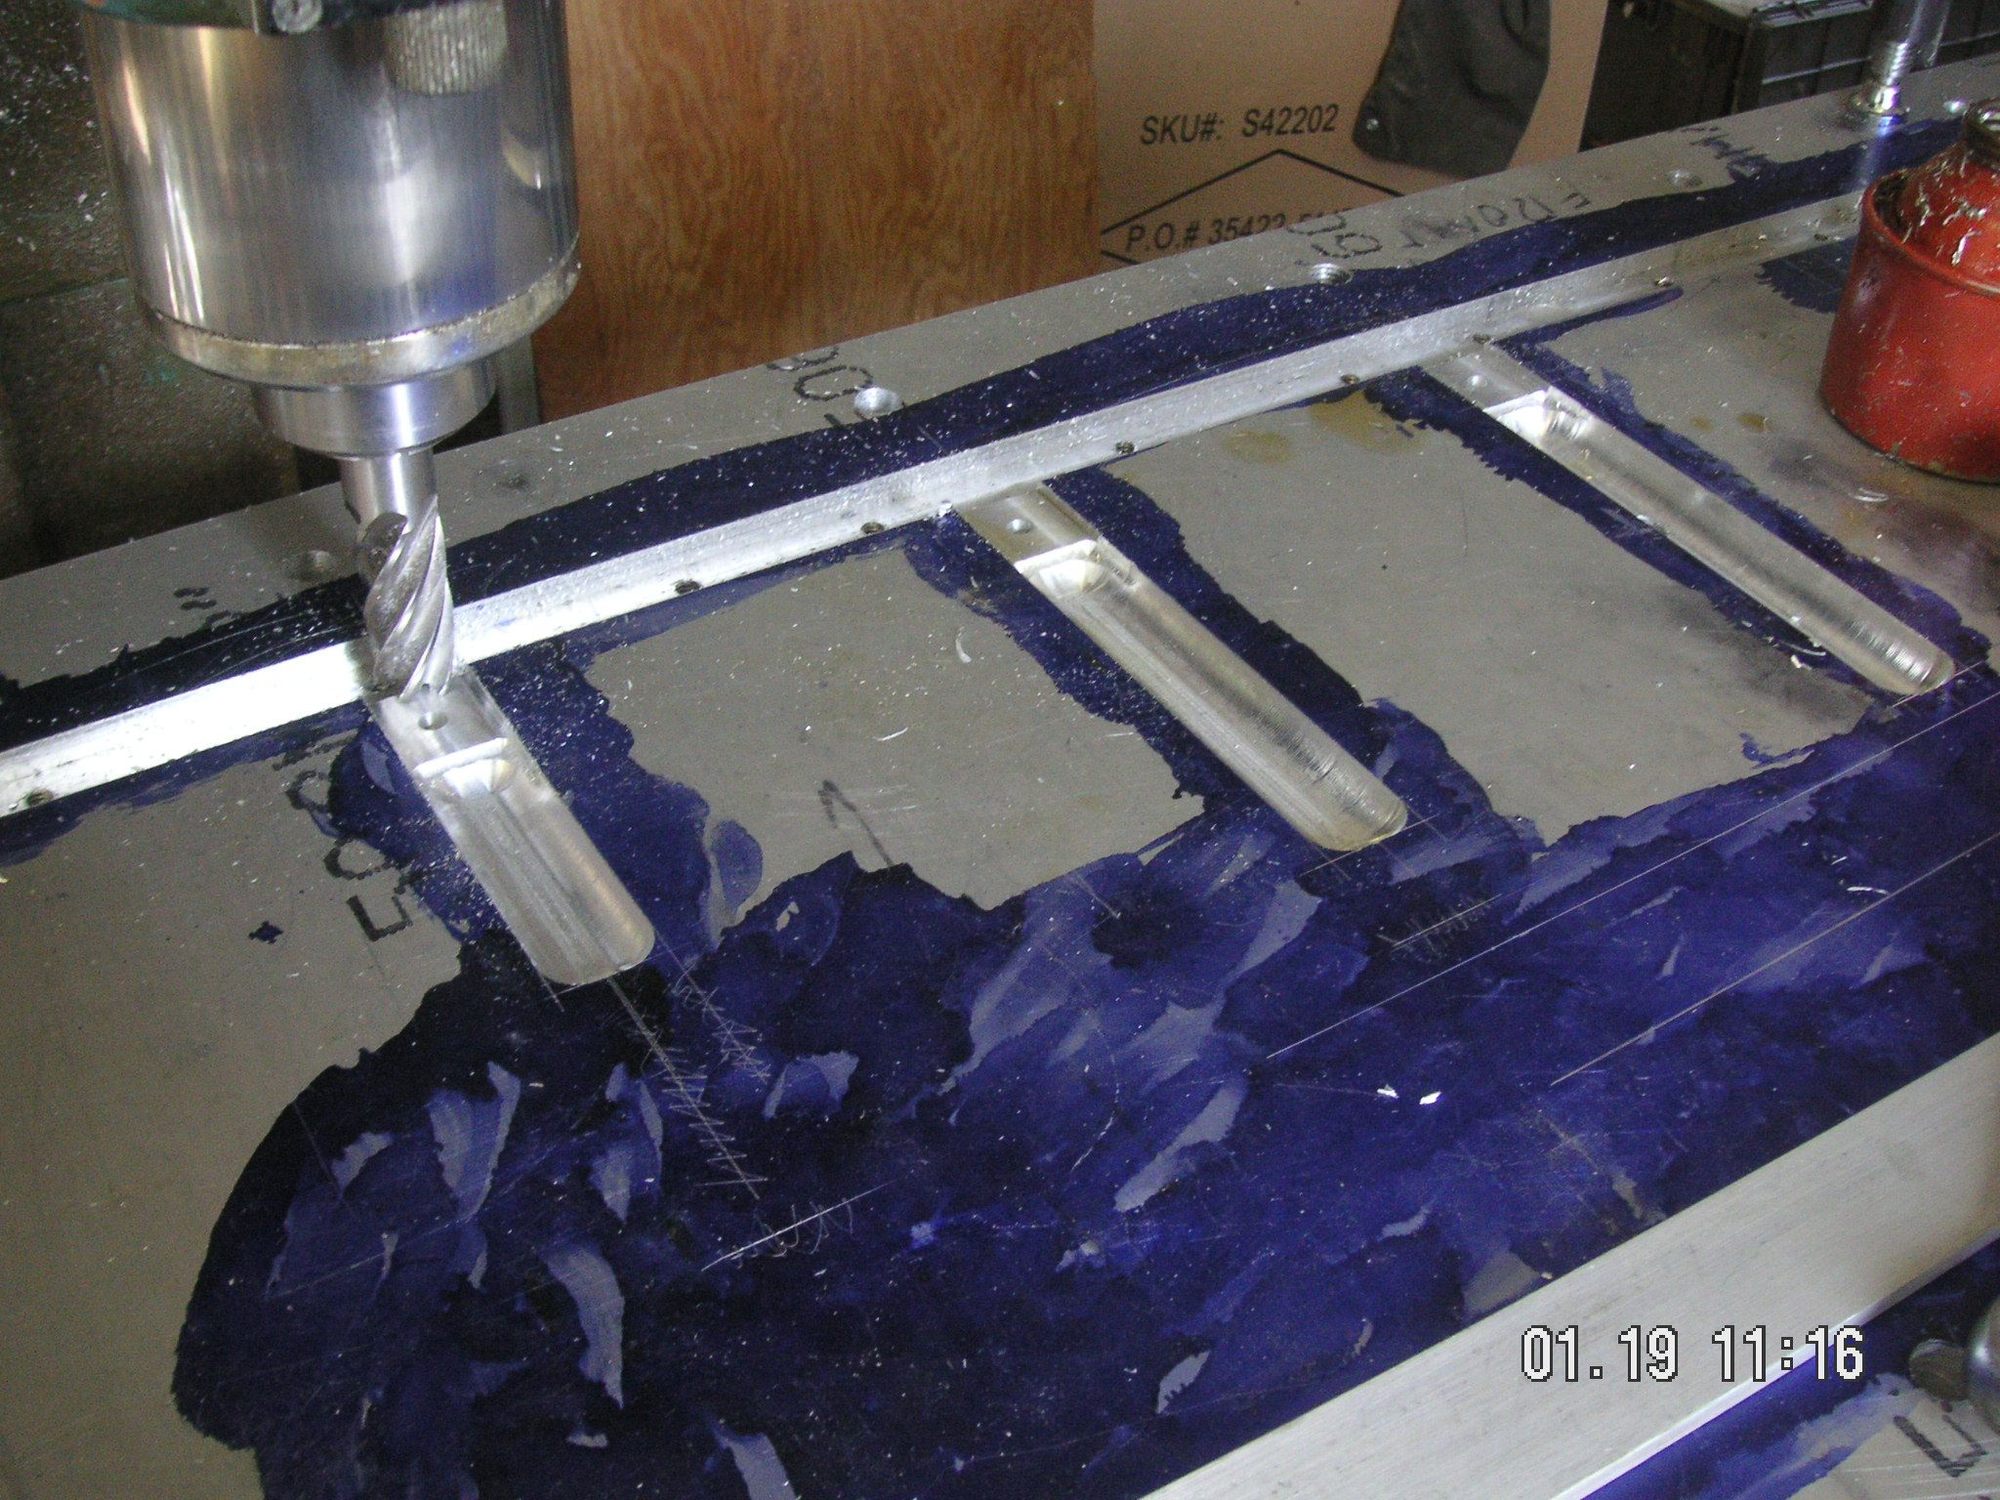
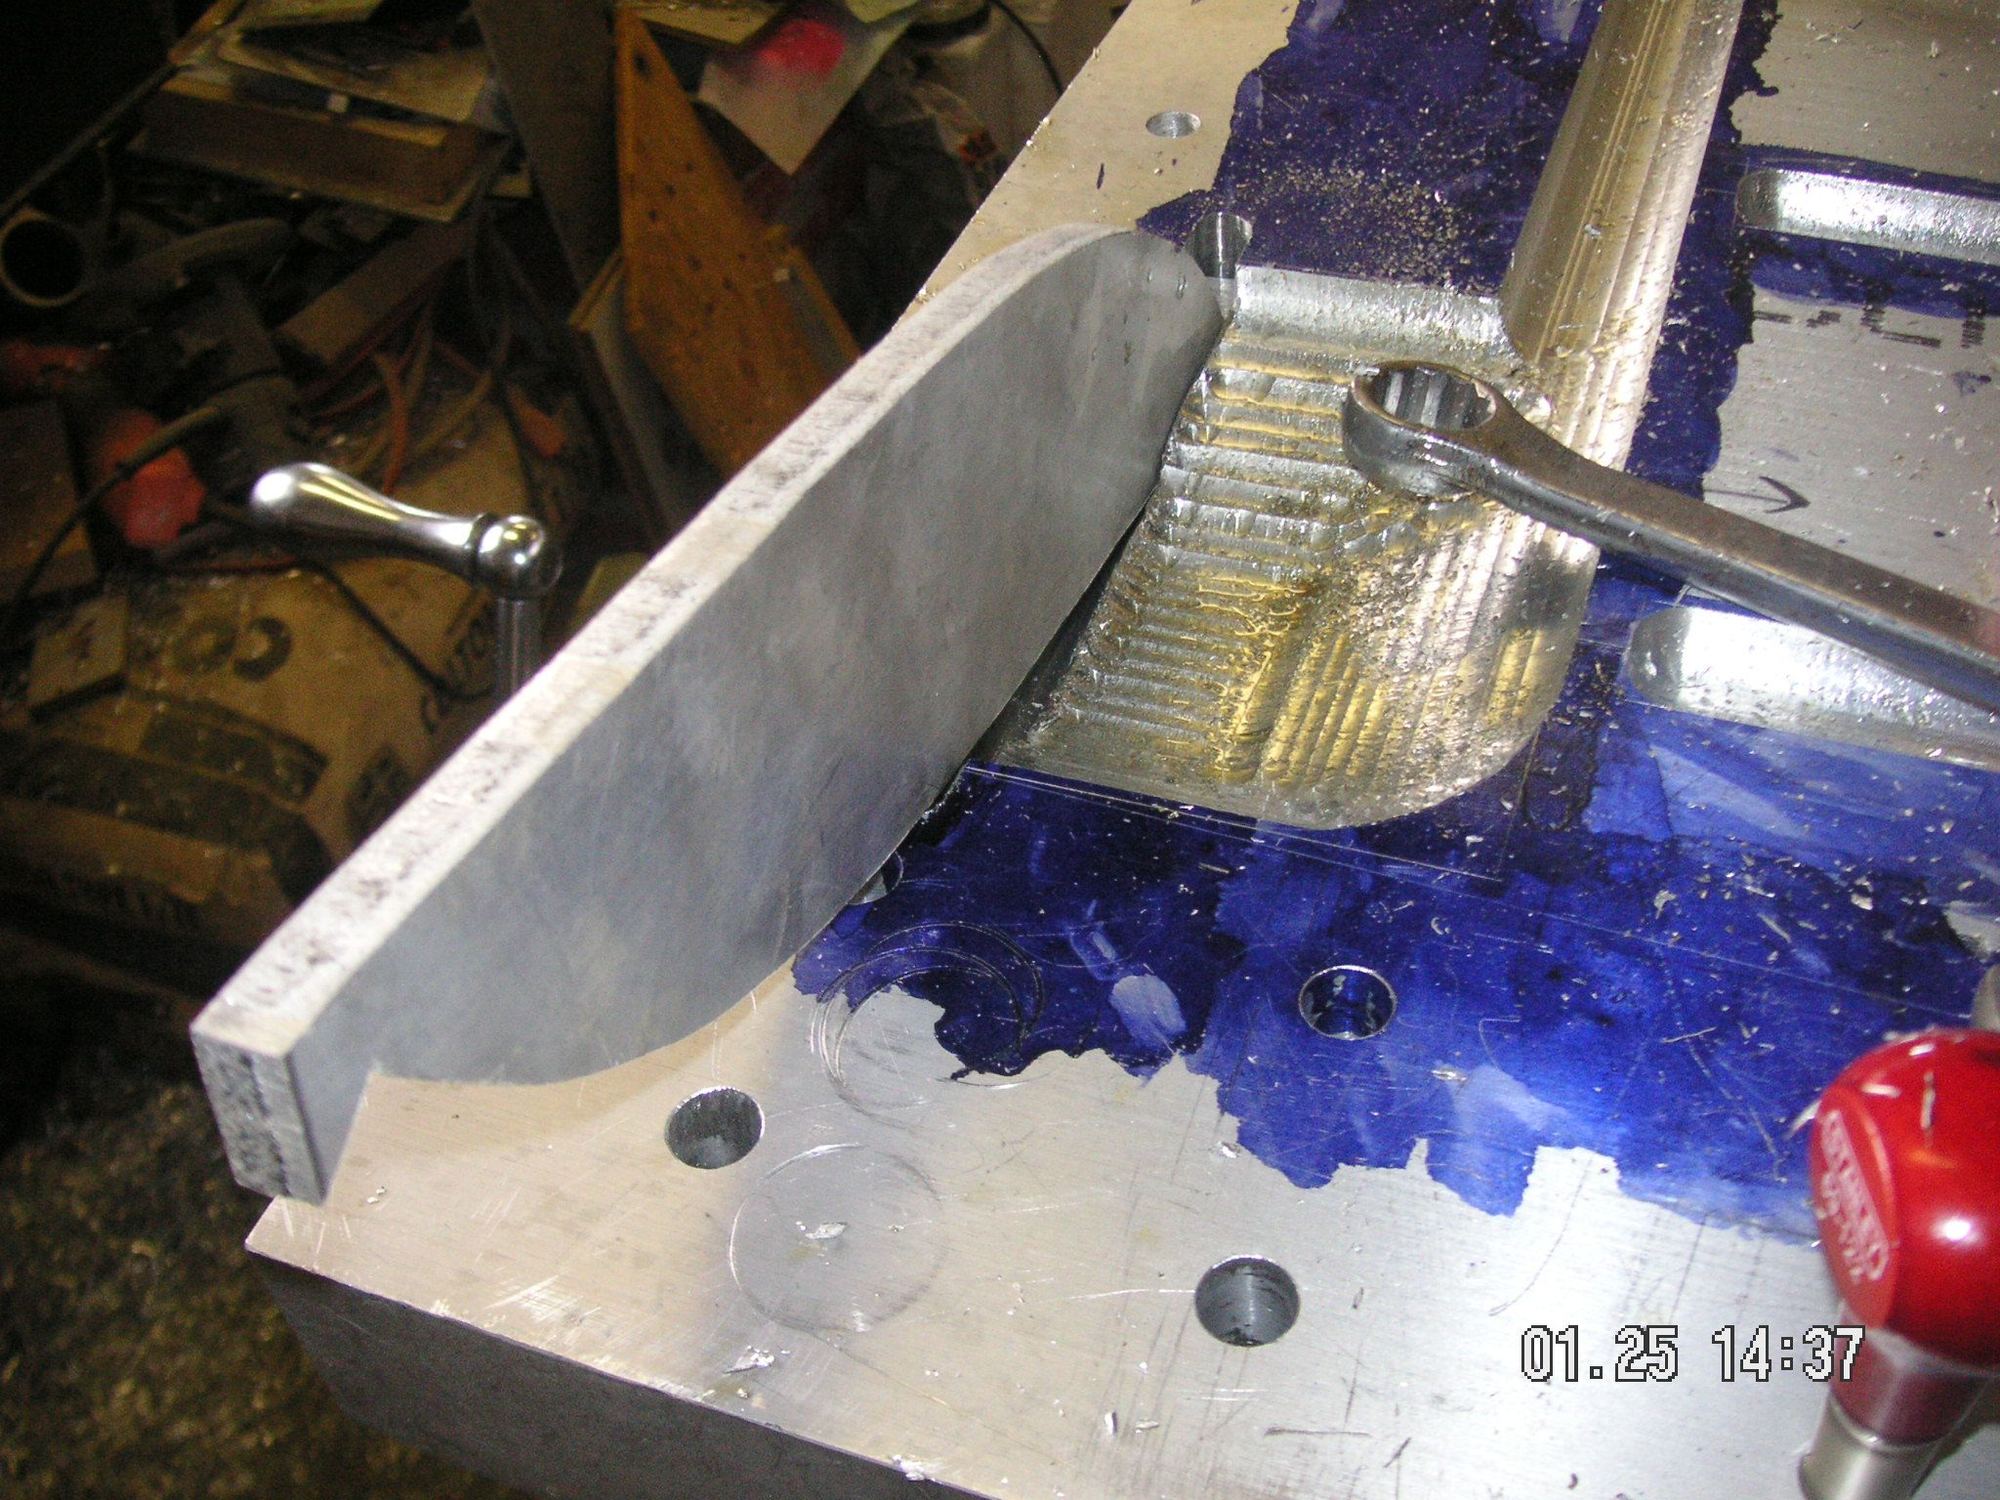
I did some of the layout on the base form and then milled in the slots that will define the outer edges of the front to back ribs that I'm putting in the pan. As I mentioned before, the original has three but I am putting in five, although two of them are relatively short. I'm not sure just how deeply I'm gong to form the ribs. I think the originals are aobut a quarter inch. I was thinking aobut 3/8 inch, but that is a bit much so I am about to decide on abouit 5/16 or rounding it to .300 inch.
One of the advantages to forming things in the pan is that the process also results in some work hardness. The more forming I put into this pan the harder it will be, at least in the places where the forming takes place. That is also one of the reasons I am planning to do some extra forming at most of the edges of the pan.
Thje slots I made for the ribs are 1 inch wide and the male rib forms to fit onto and slightly into the upper form will be made out of 3/4 inch stock. The metal being formed will pull and stretch some from the edges shown here to the top edges of the rib forms.
Last edited by Jerry Feather; 01-20-2020 at 09:39 AM.
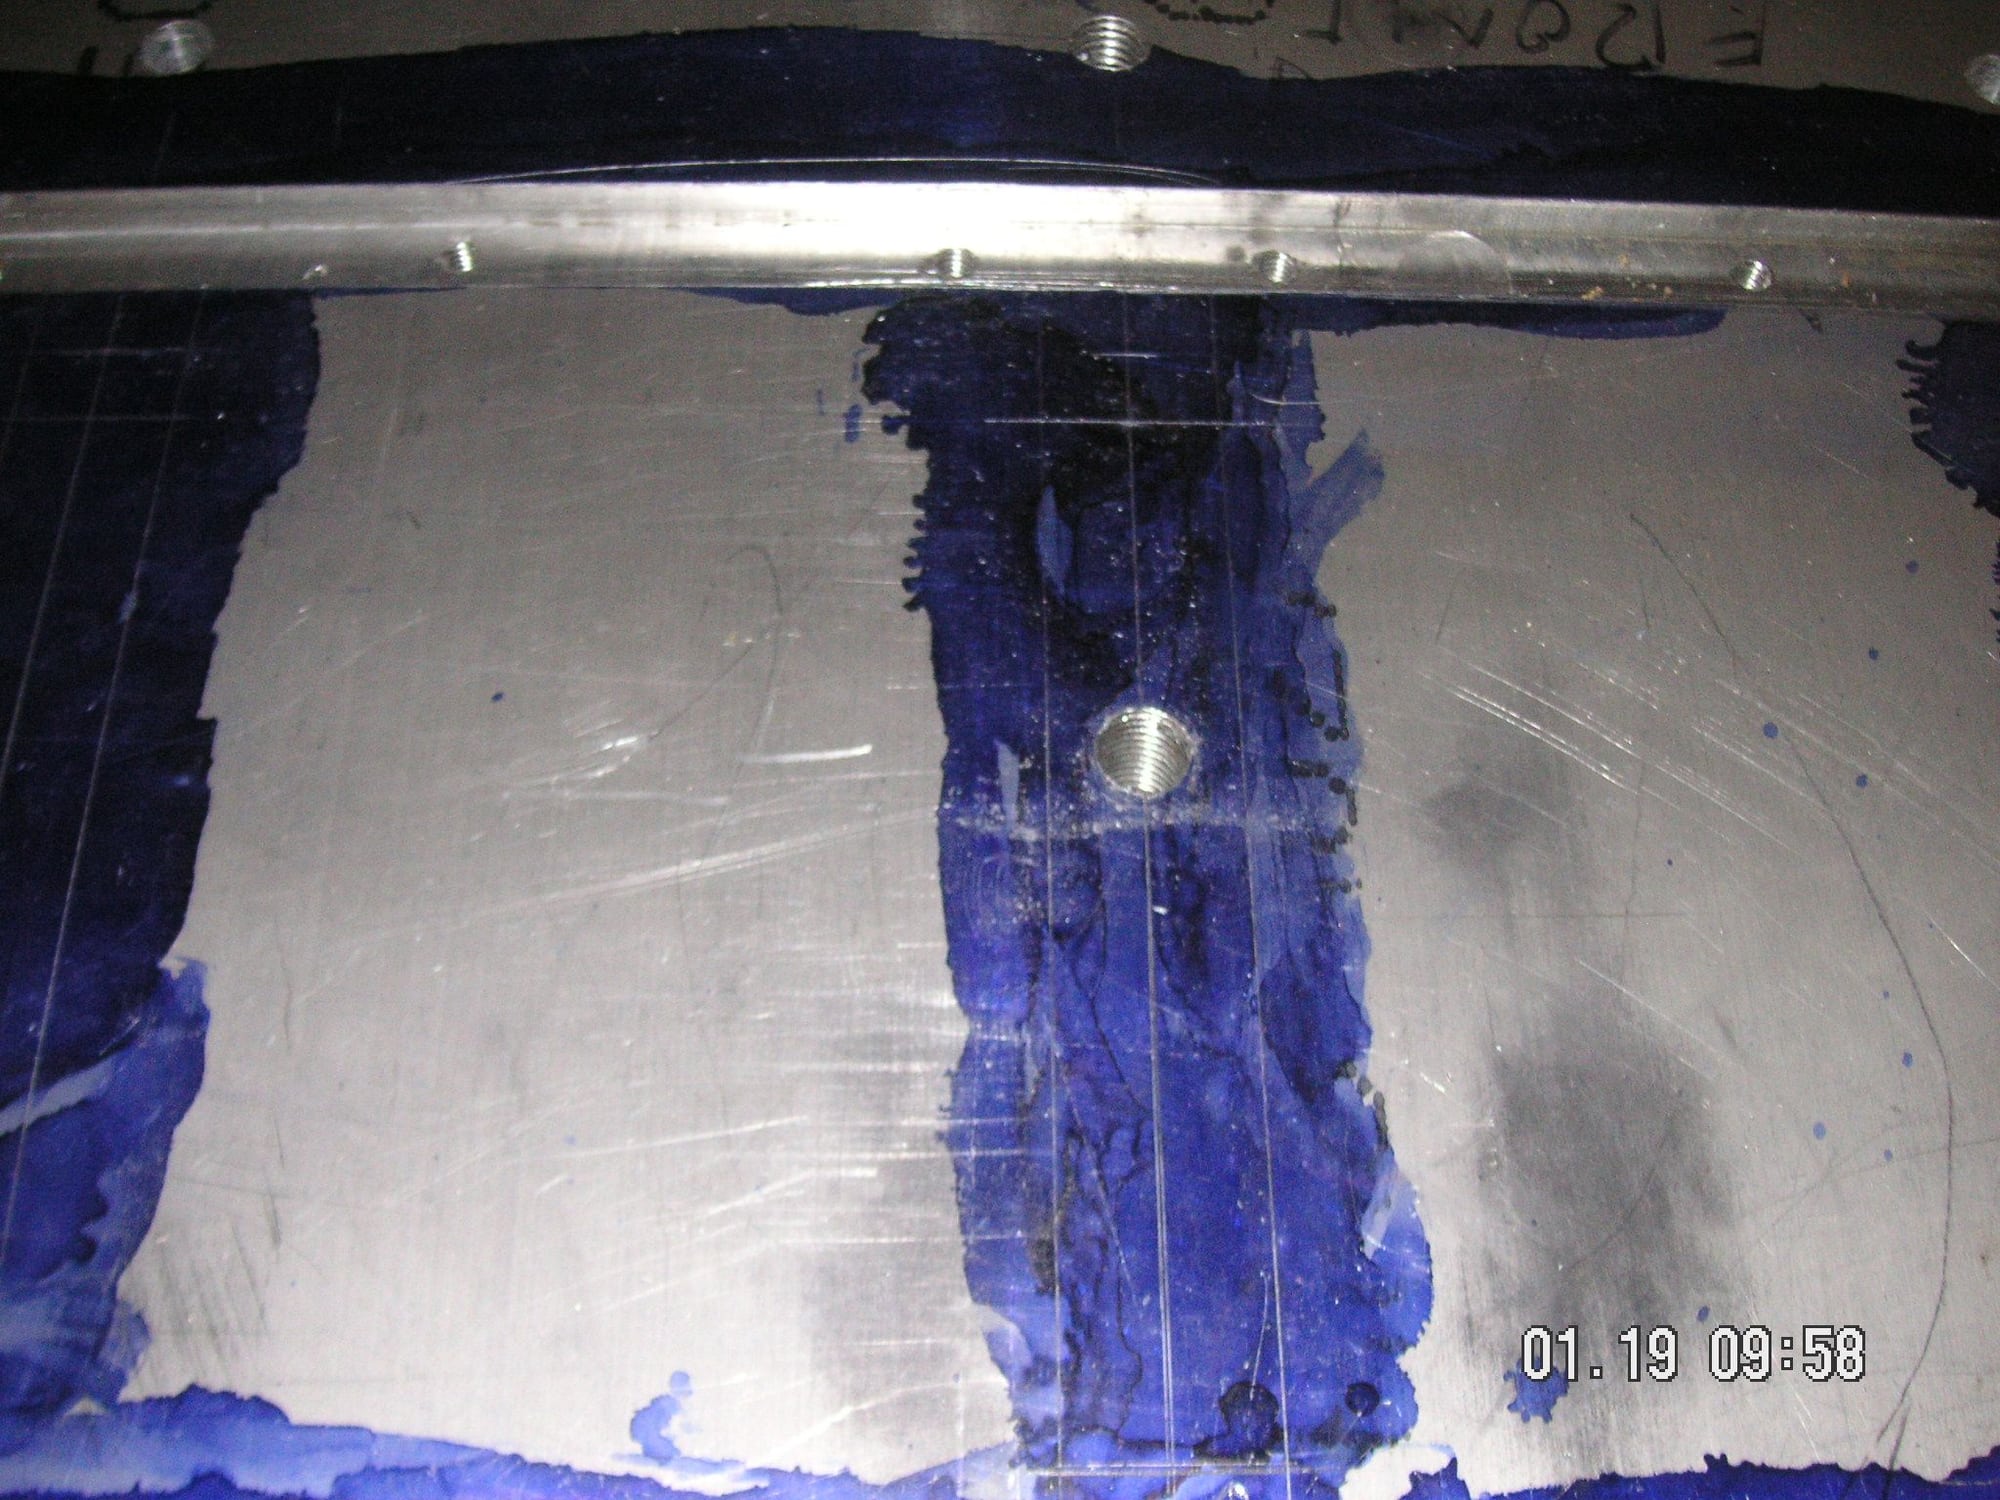
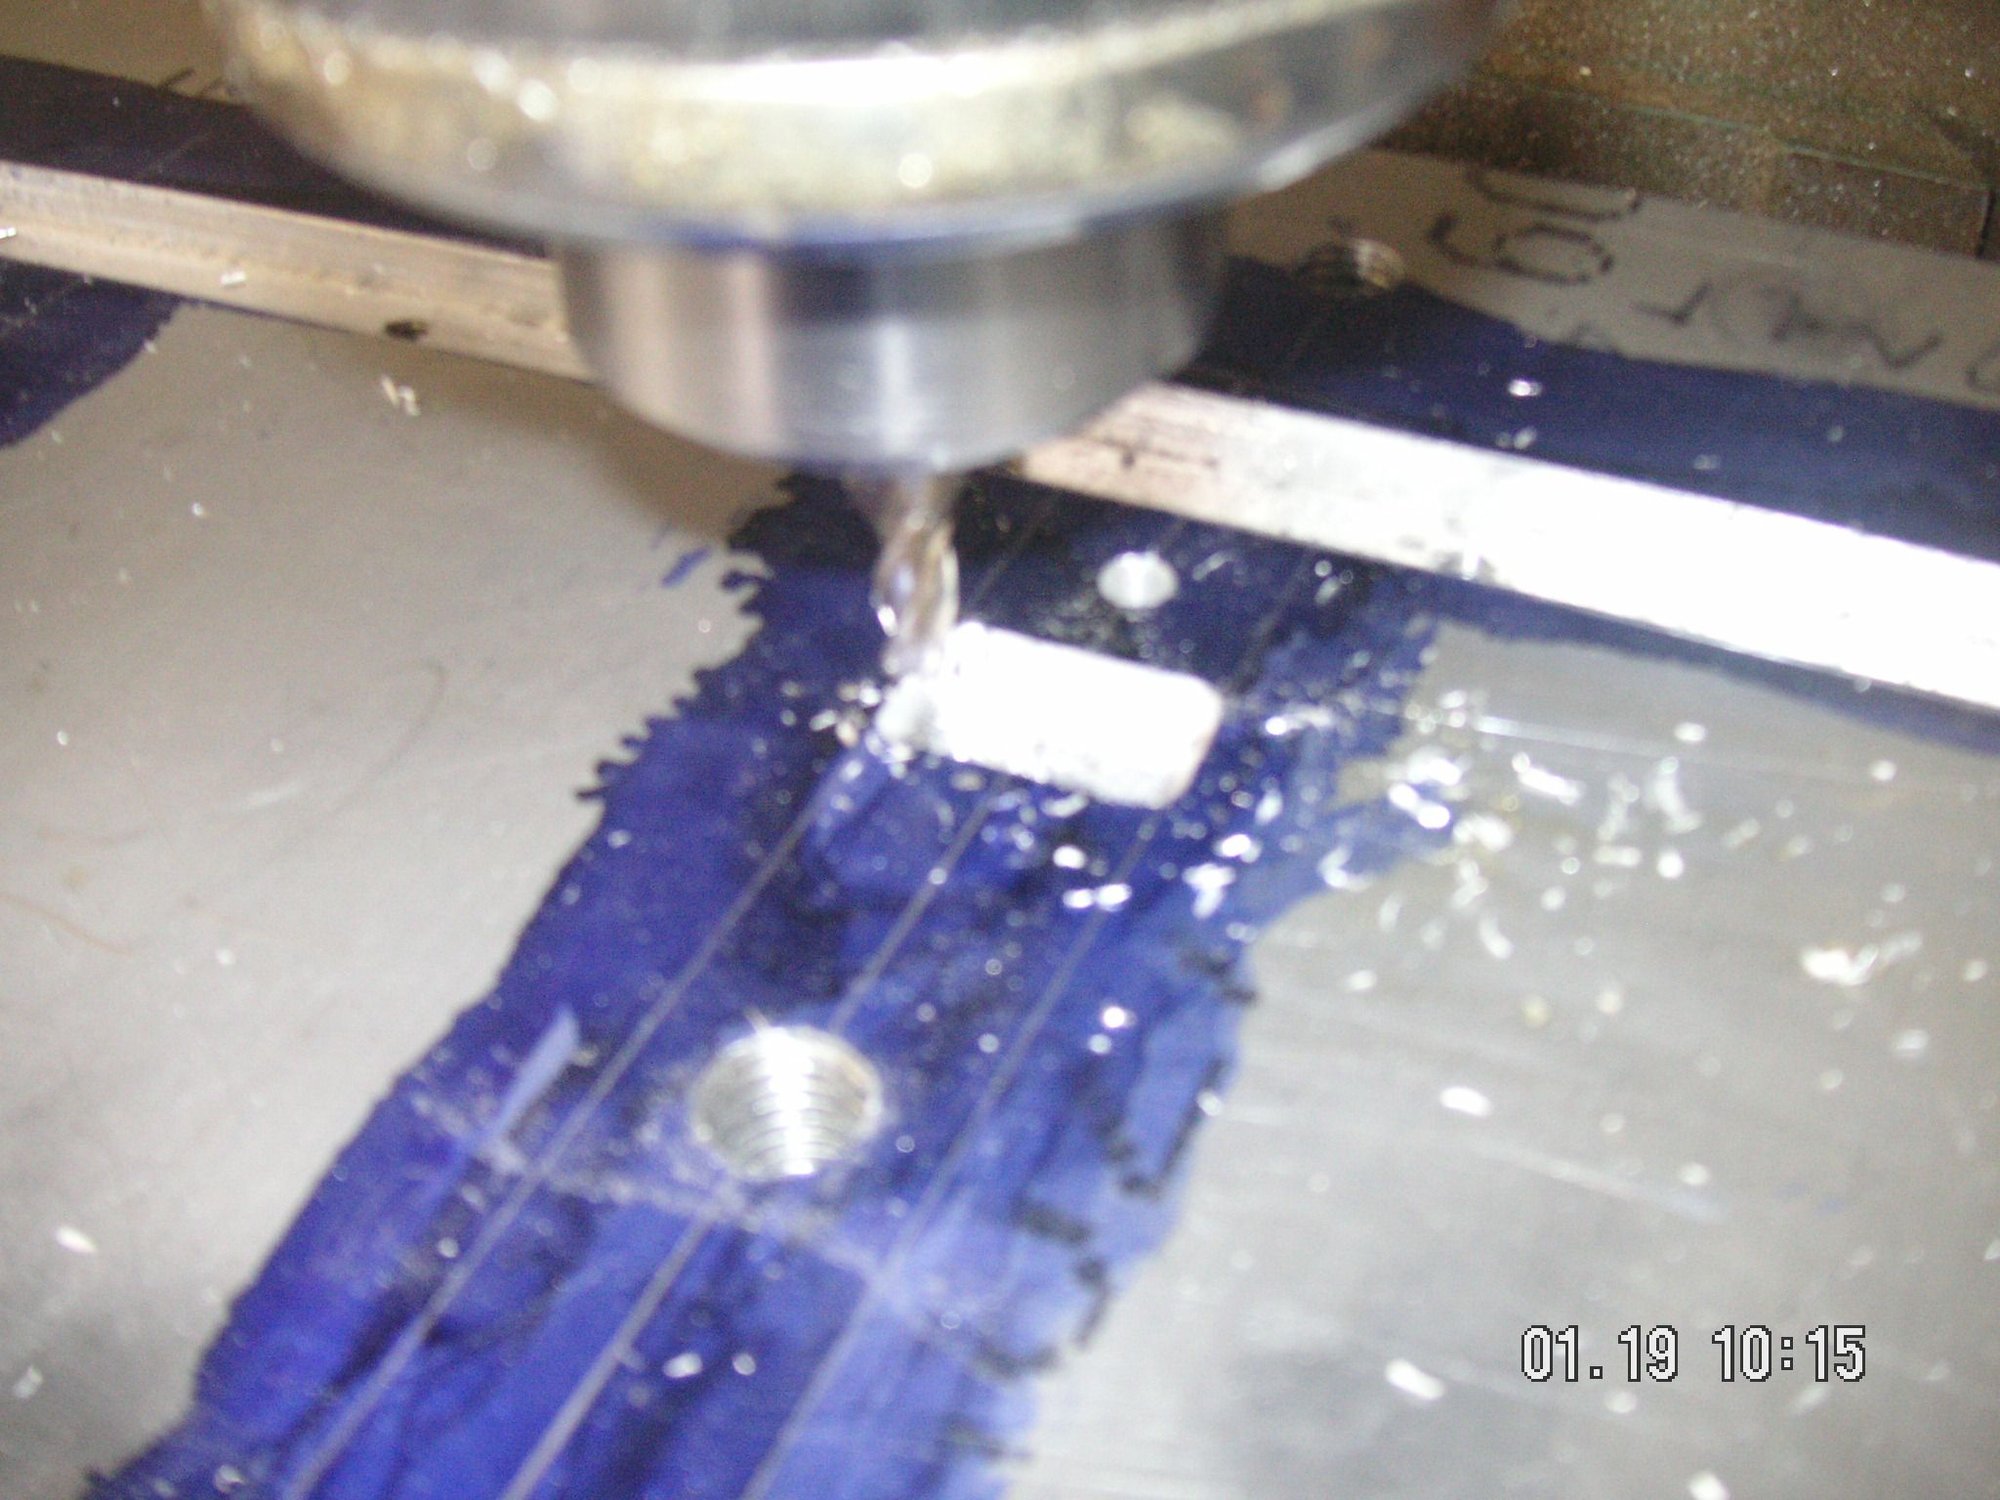
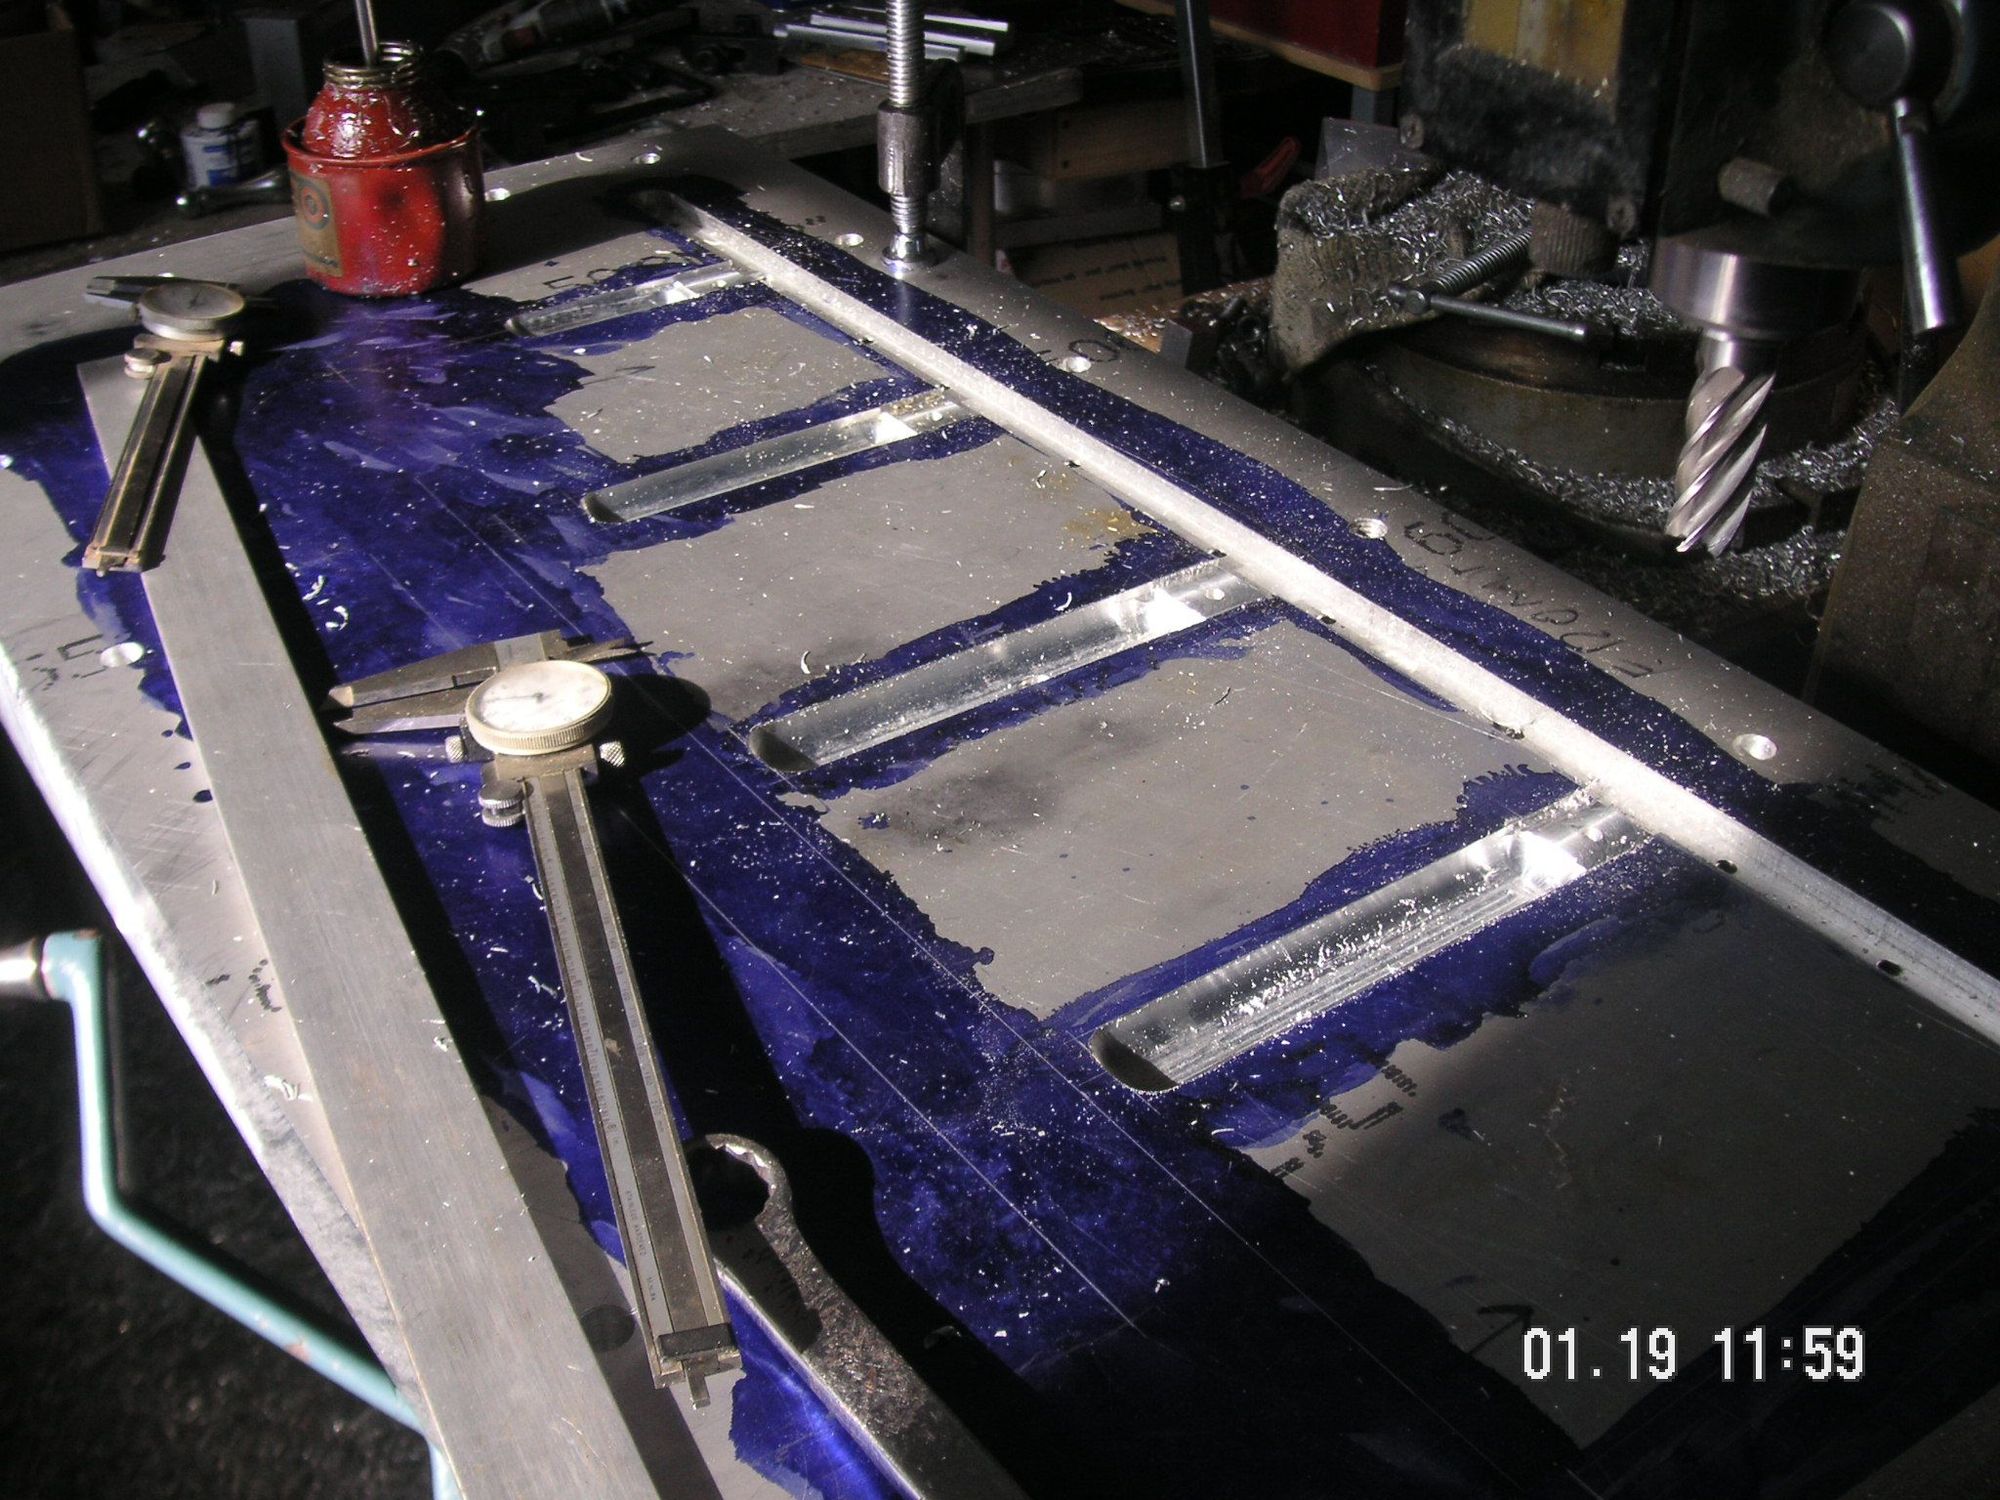
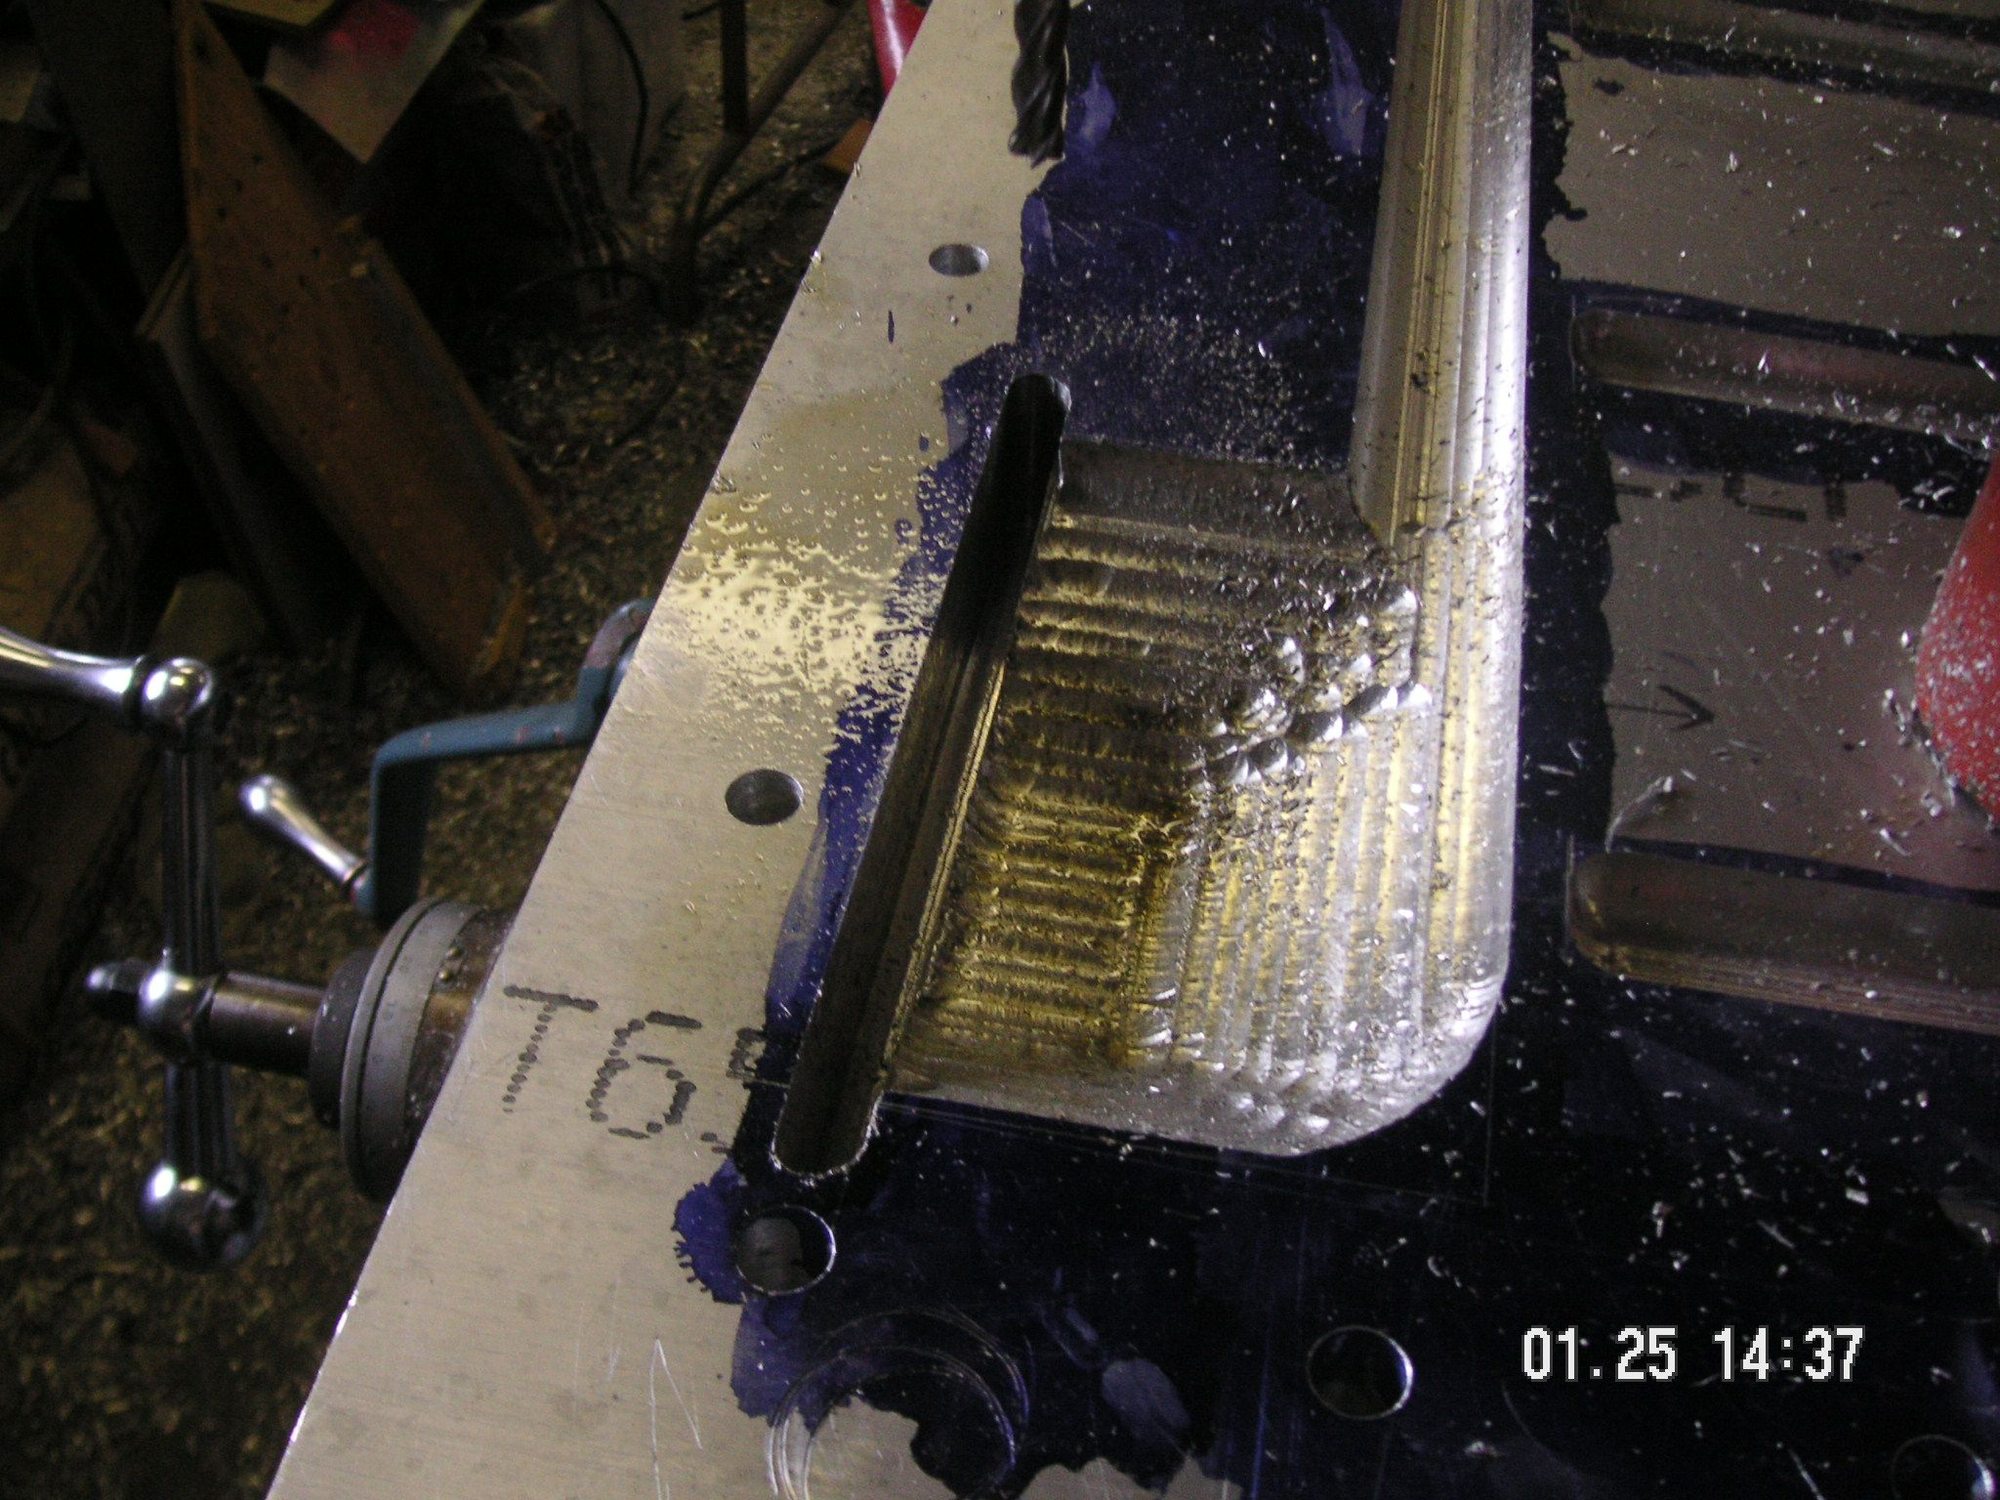
The reason for the little rectangular recess I milled at the front of each rib slot is so that I could use a smaller mill bit to get closer to square corners for the front of the rib slot. The reason for the hole at the front of each rib slot is so that I can have a marked place in the formed pieces to see where to drill the front 5 mounting holes. What I'll do with the rib forms is put a tiny round head screw at the mounting hole location that will press into the holes shown here. Then all I have to do is drill the indent. This is one (or 5) places where the male and female forms will actually be forming the metal from each side inbetween them.
Last edited by Jerry Feather; 01-20-2020 at 10:06 AM.
You might notice if you look closely at the first few of the next previous pictures, the ones with the layout in the blue Dykem, that the center lines in the layout of the rib slots are kind of doubled. That is because after I drew the center lines I had the thought to check the tri-square I was using to be sure it was square. It was not. Then I checked another one I have and it appears to be true, so I used it to redo the center lines and then draw the outer lines. Whoda thunk?
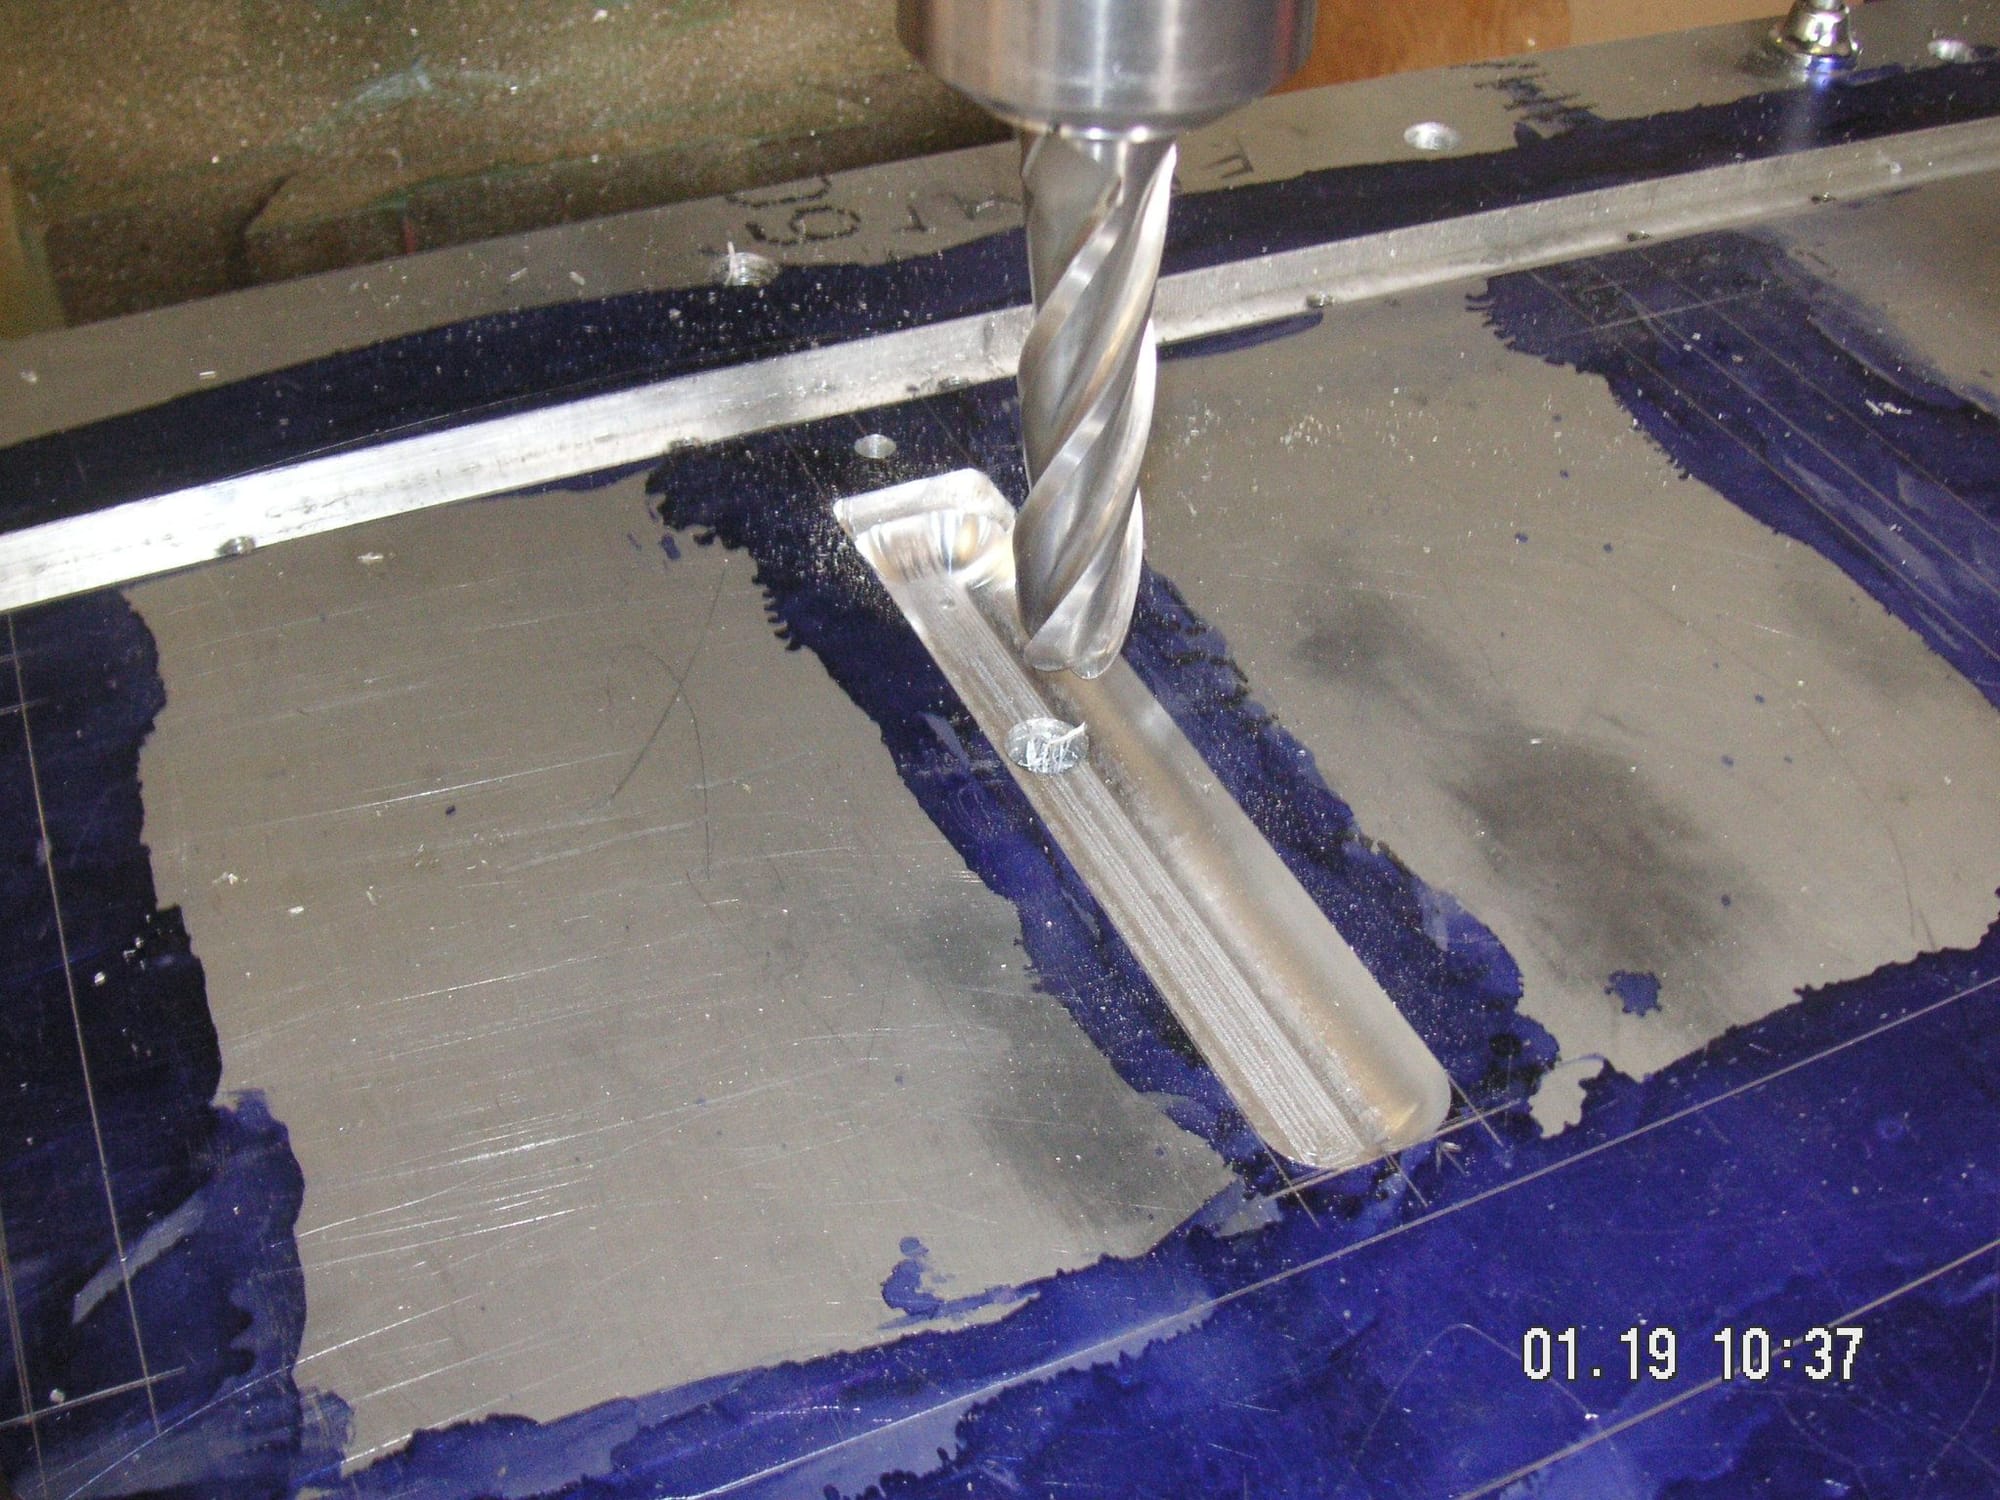
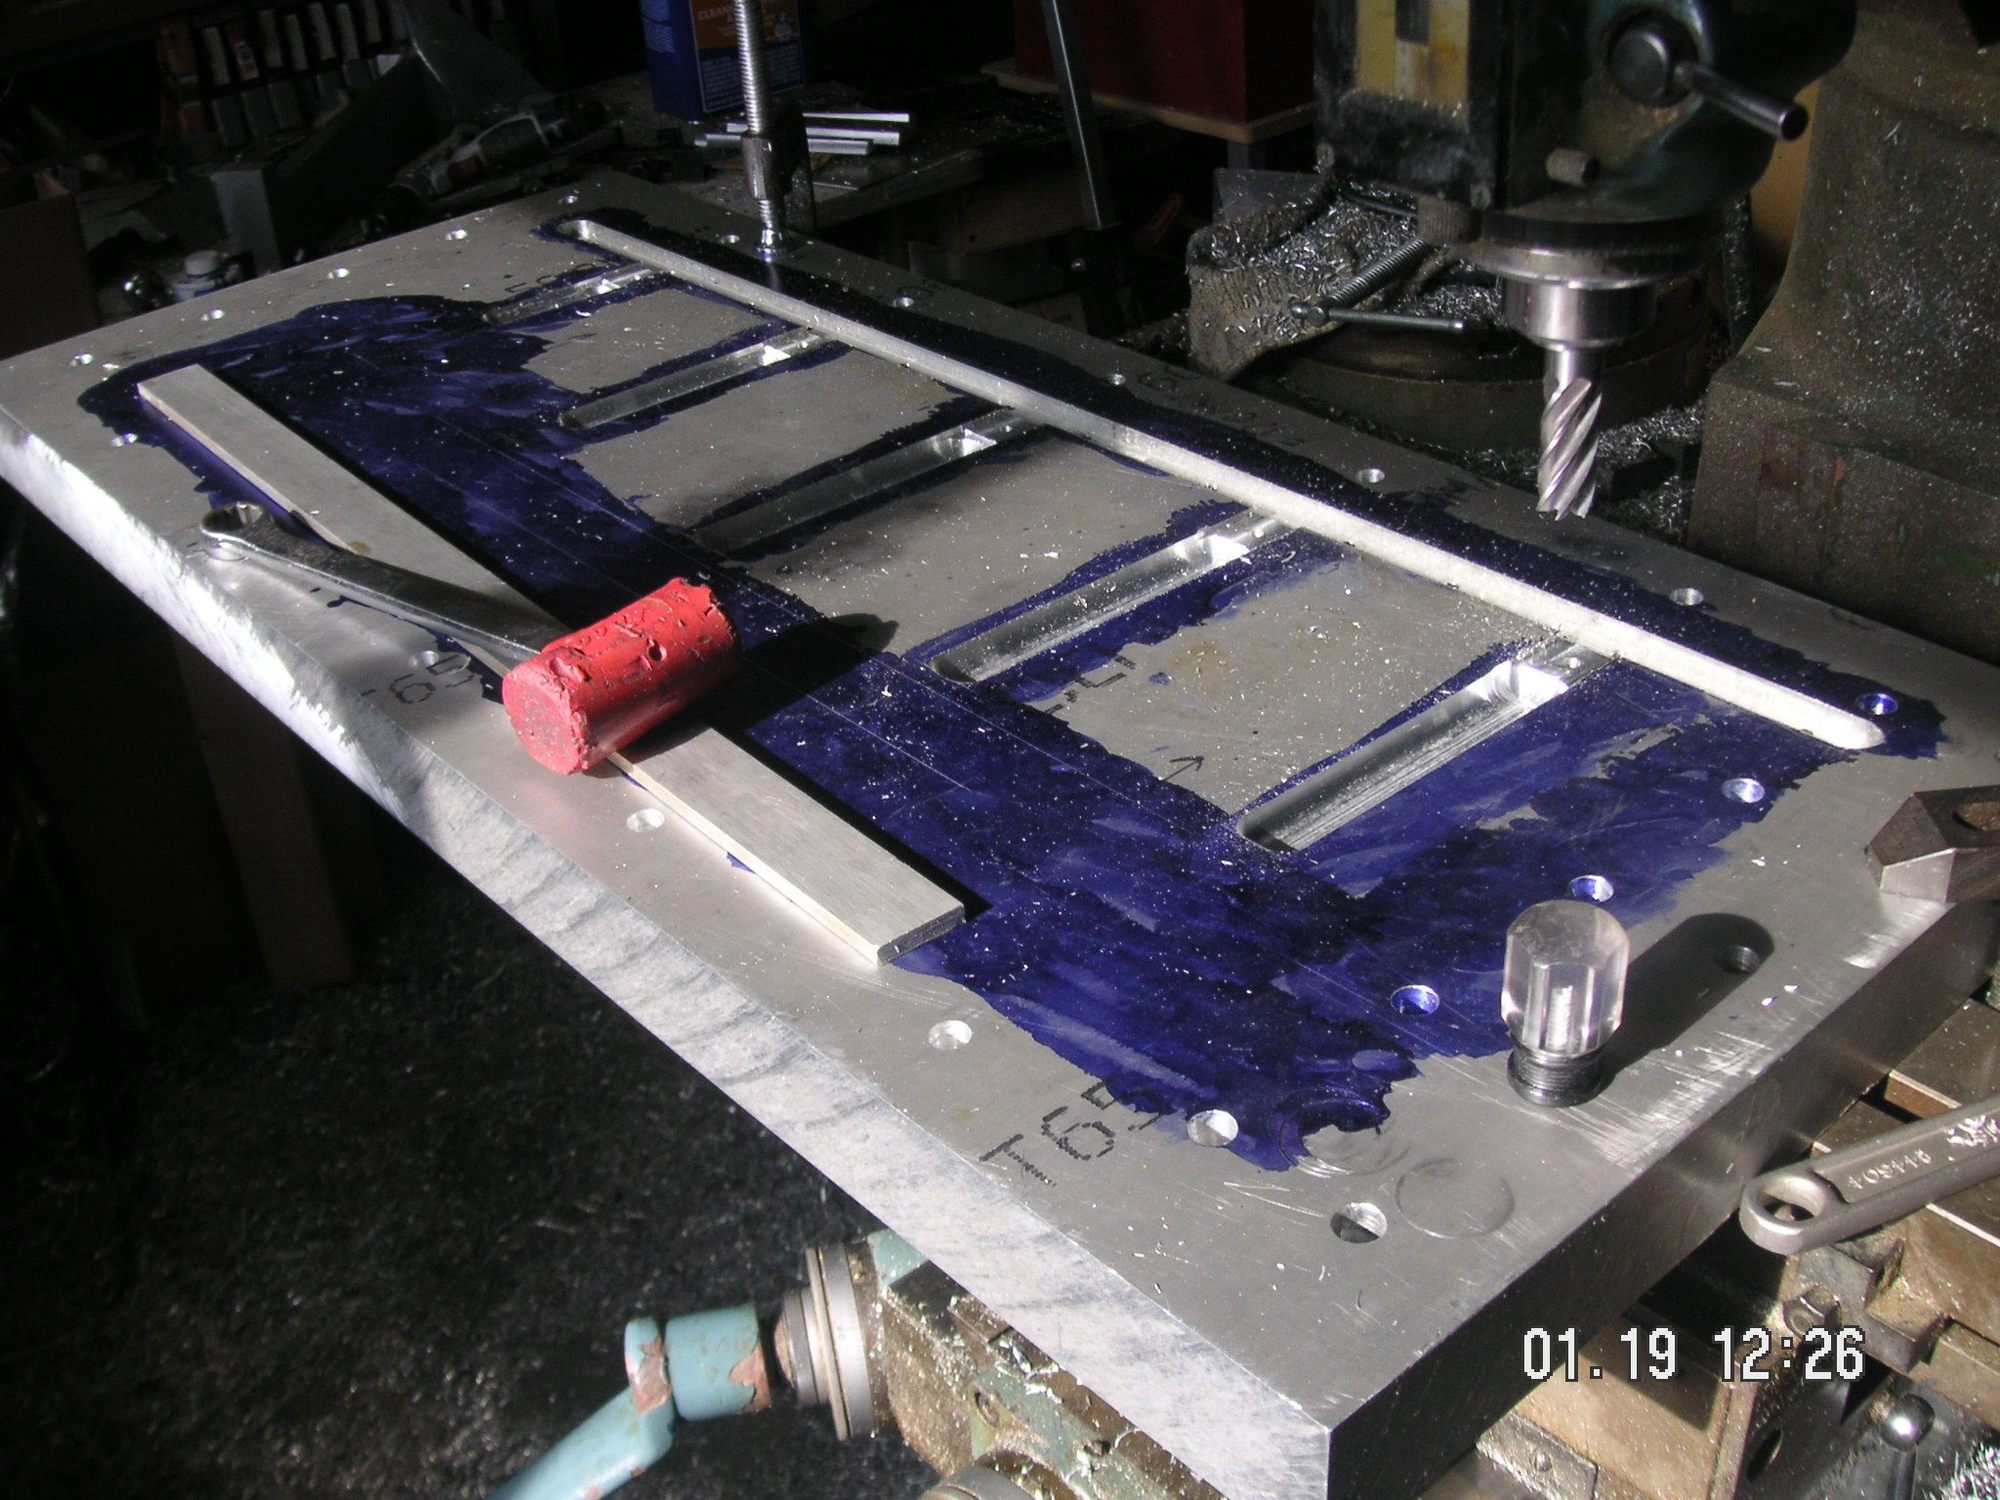
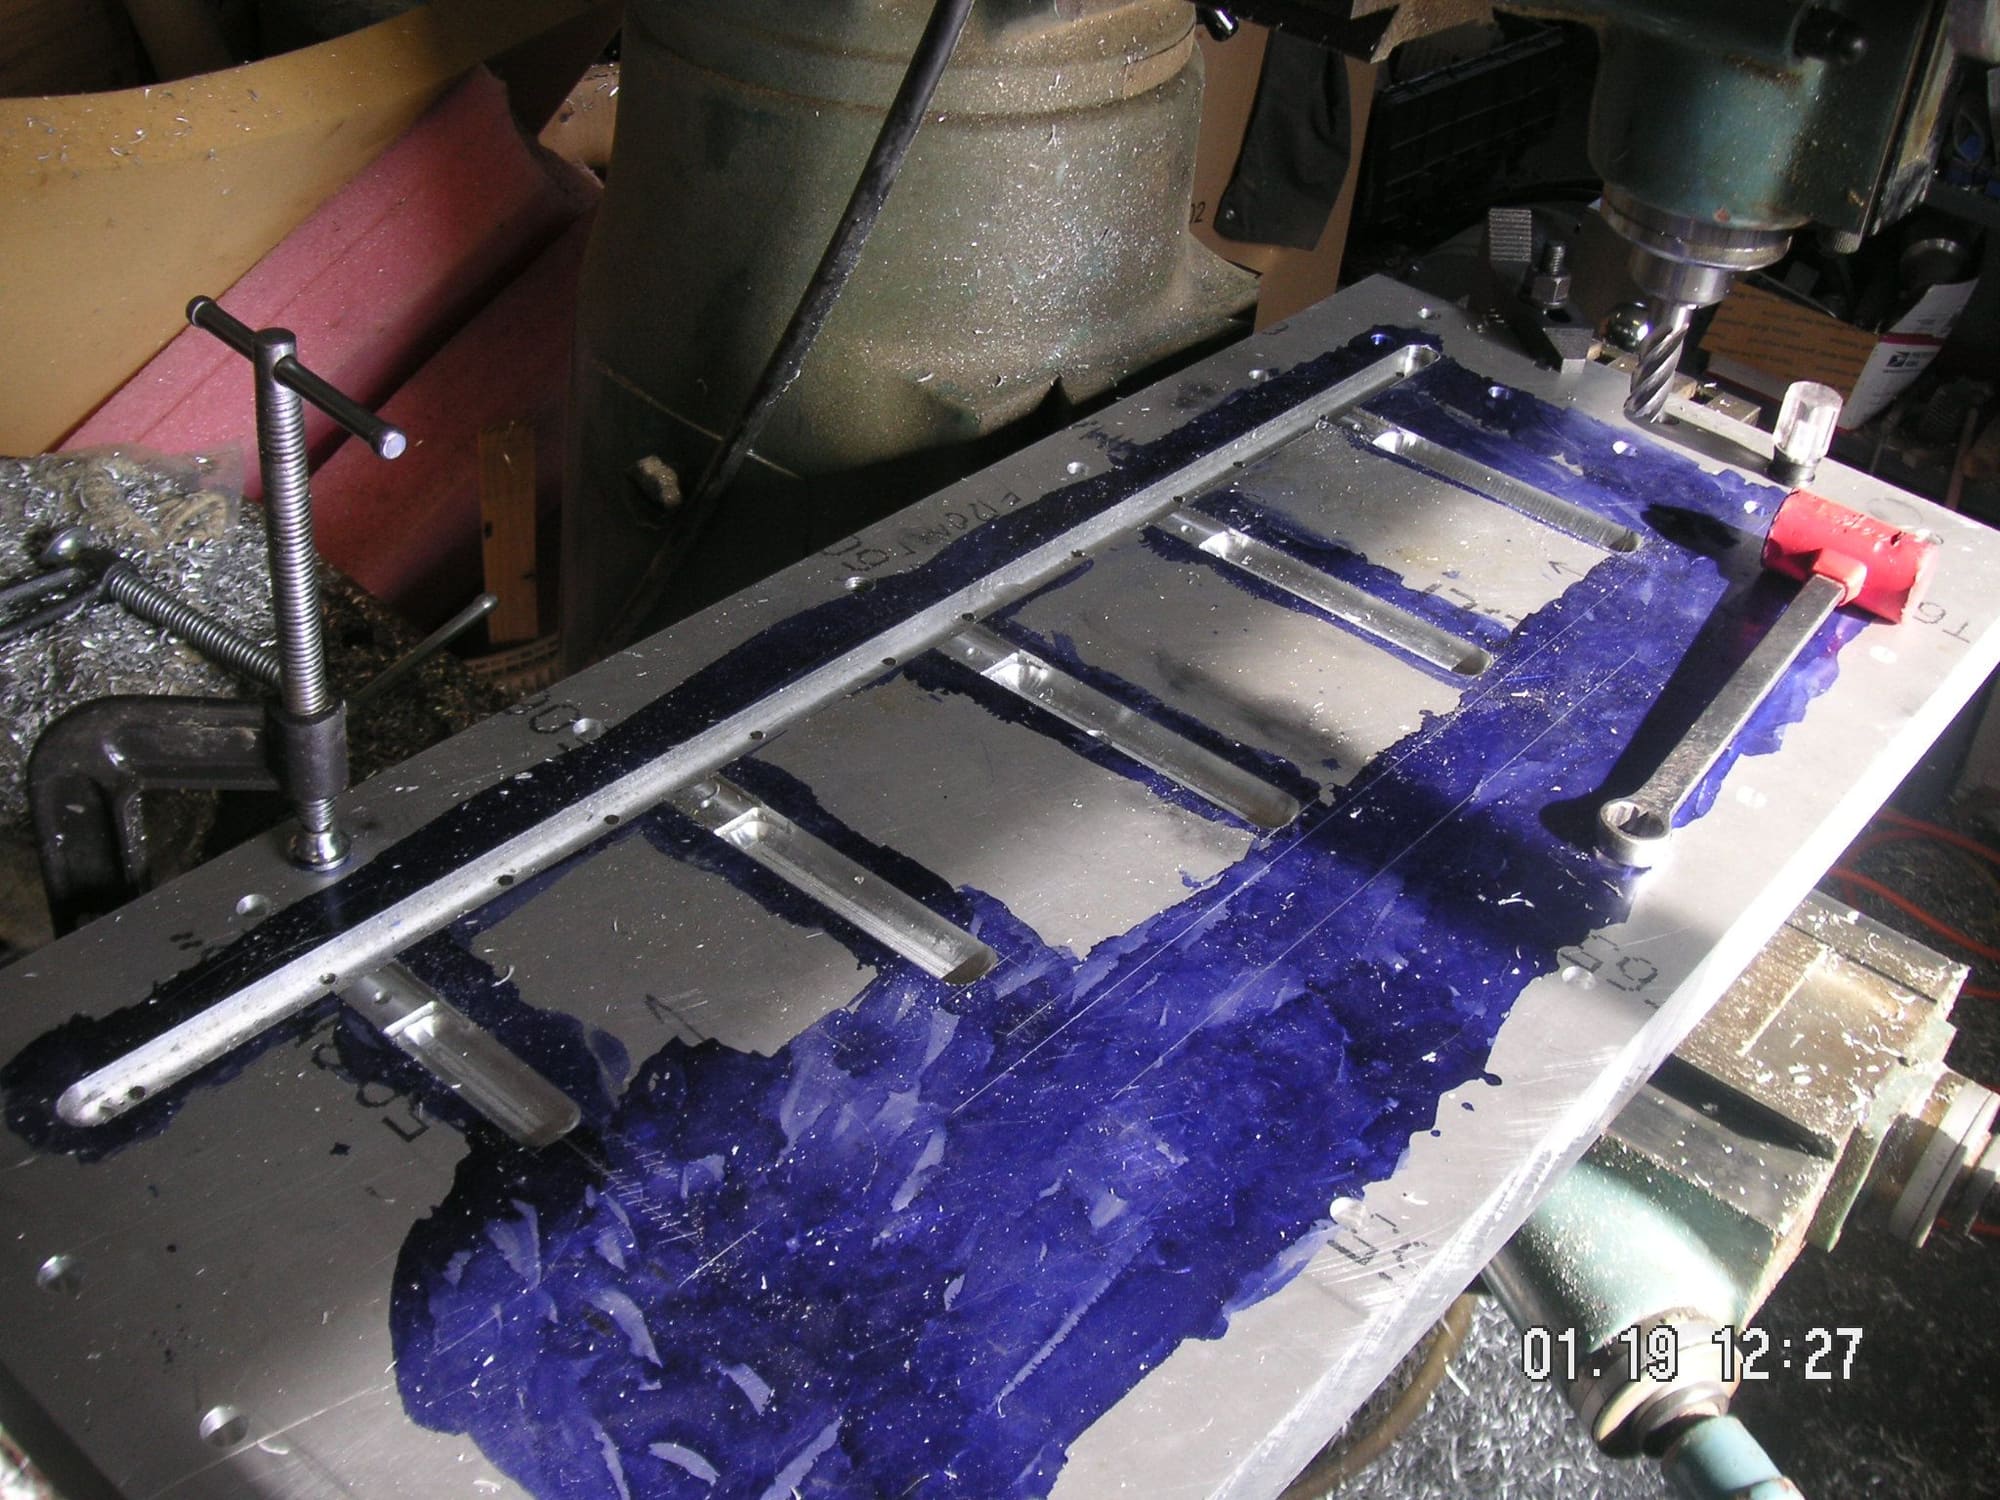
I milled most of the slot for the rear crossways stiffening channel. I have to move the base plate on the mill table to do the other end of it. Then I also milled out most of the void in the base plate for the bulge for the AC belt and clutch. I still have to cut a narrow slot along the rear edge of that void which will house a piece to be fabricated to help with the bends along the rear edge of the pan.
When I get mostly done with these I'll move the plate in the mill and finish the slot and then mill the void for the bulge for the alternator and its components, the adjusting bracket and the fresh air ducting.
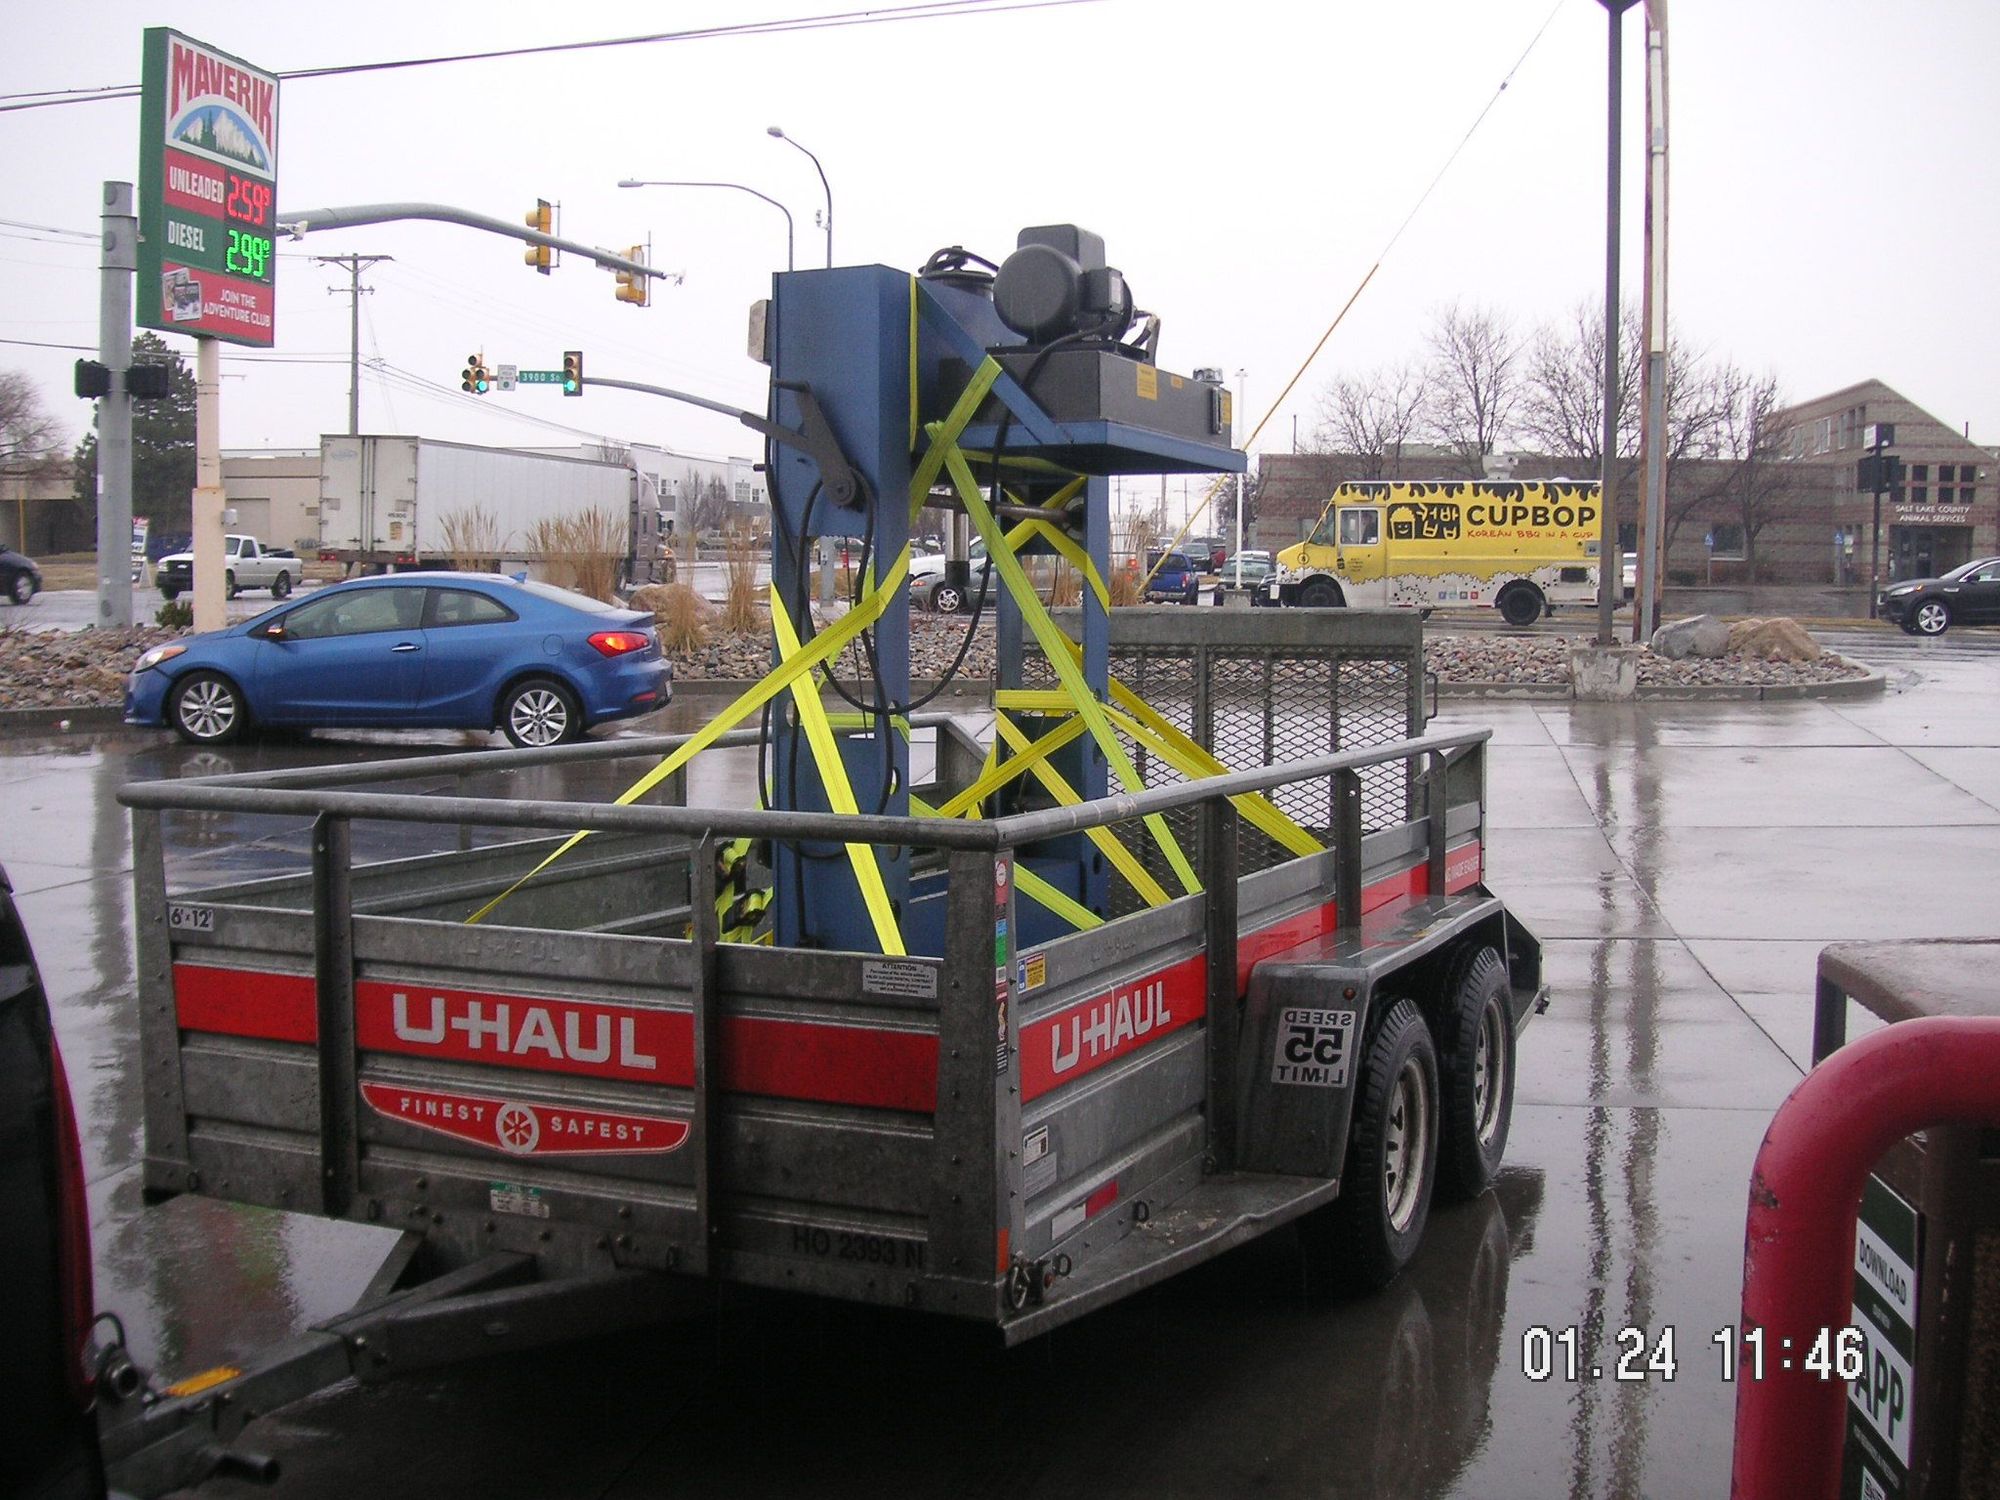
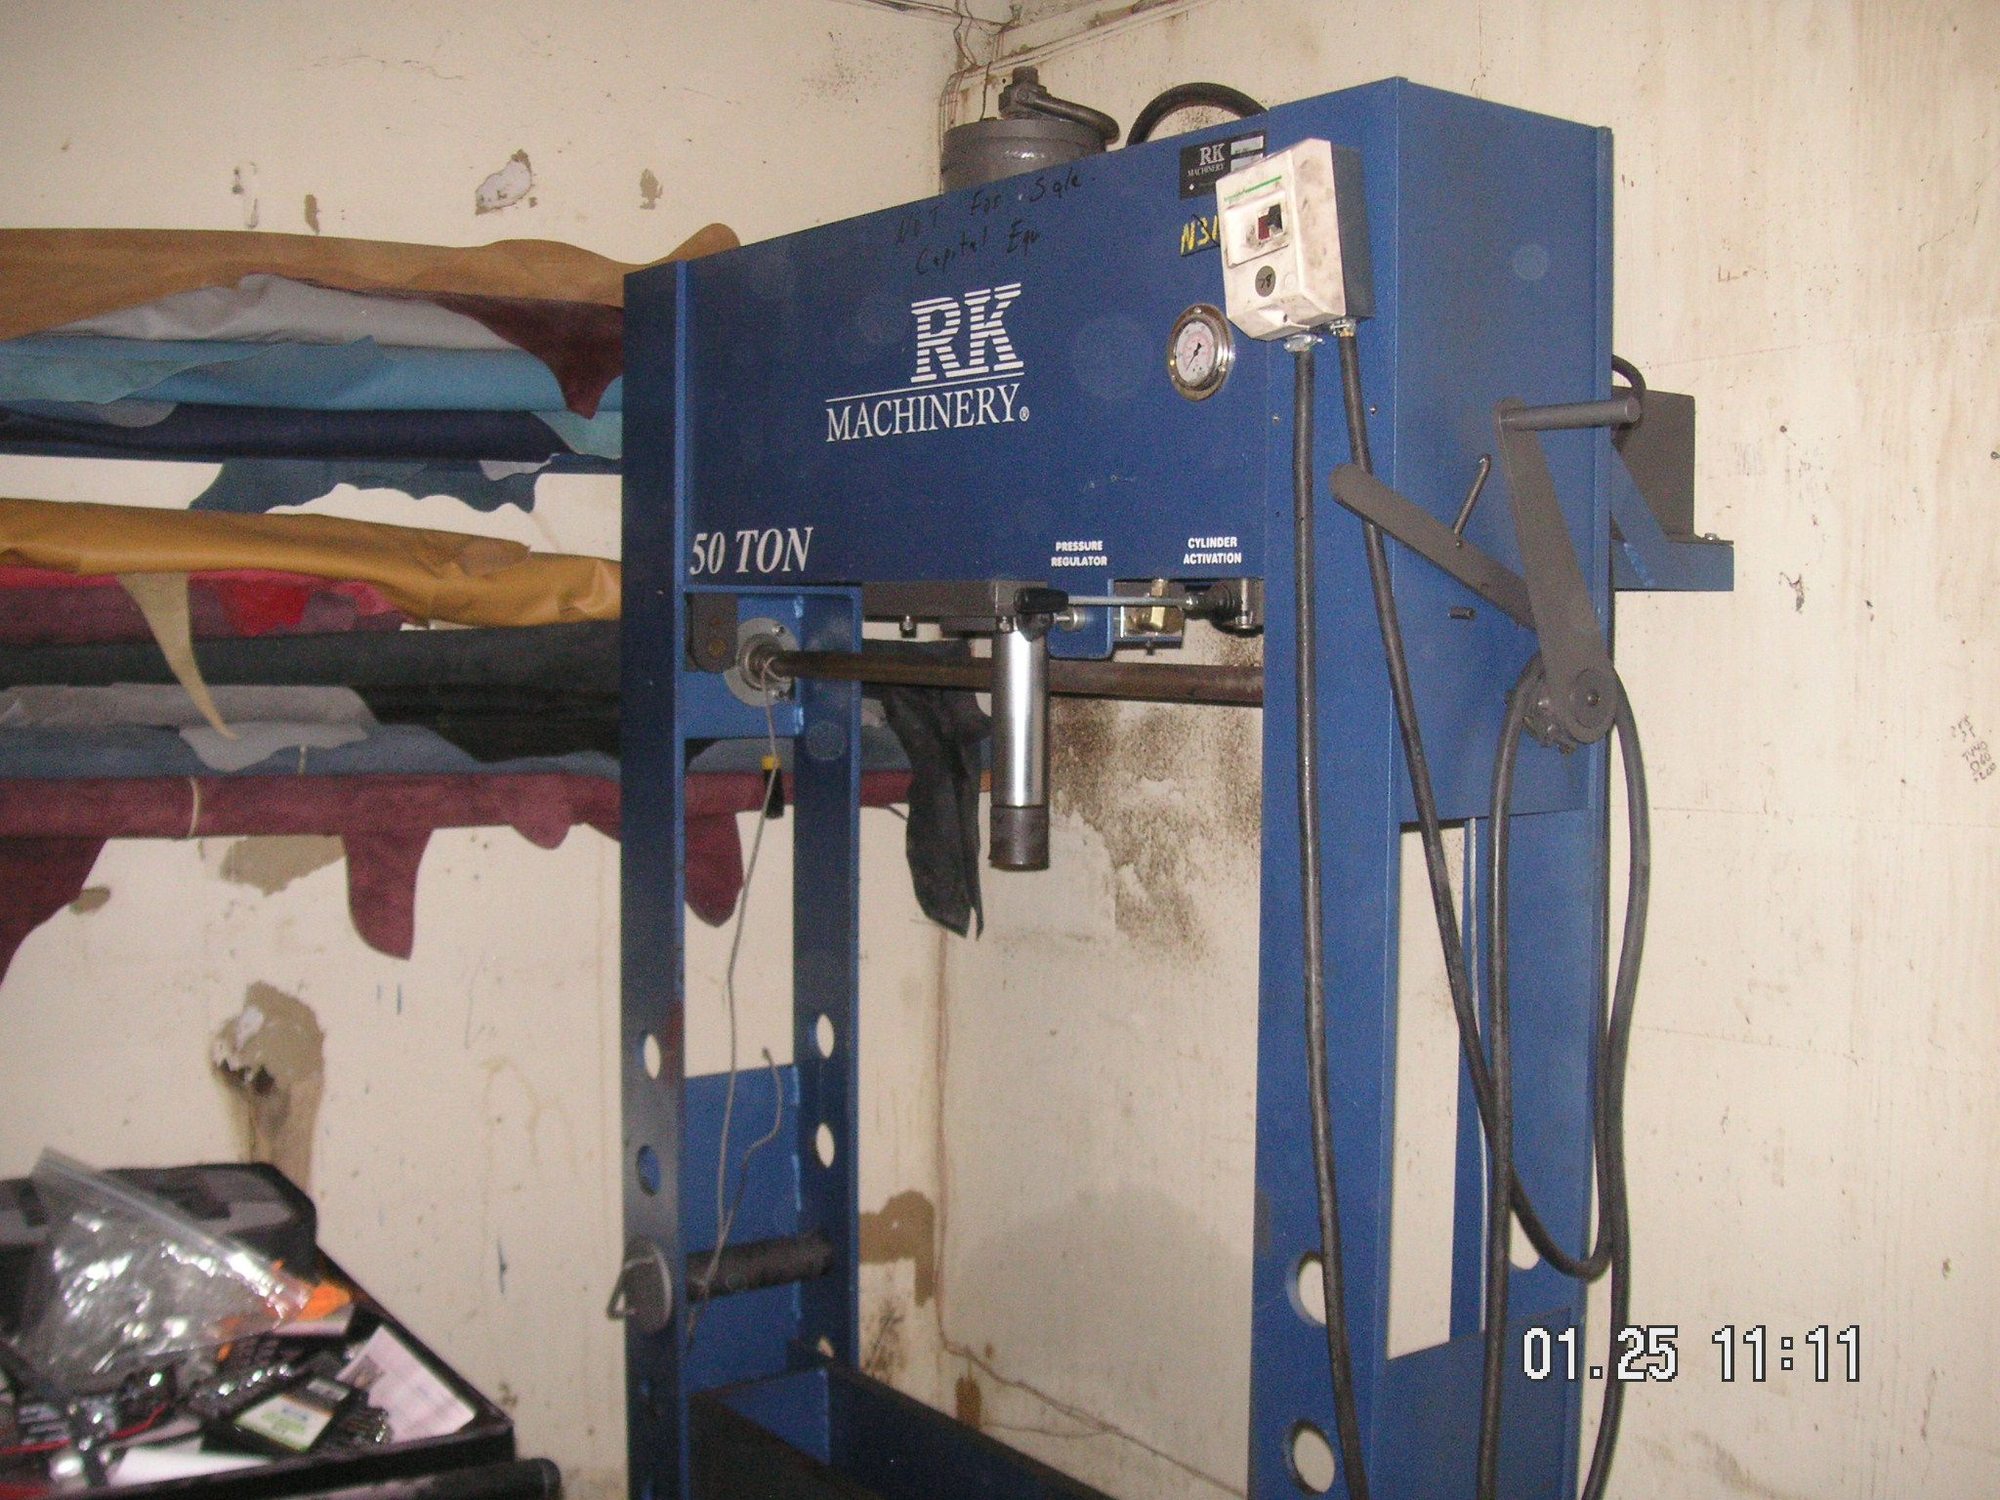
I'm getting set up to try again to go to Utah to pick up the 50 ton press I have been dealing on. I hope it works this time. Last Friday it turned out that I was driving on the batteries since the alternator in my Ford F250 had at some point taken a dump. I had made it to the state line where I turned around and got about 5 or 6 miles back before the engine totally quit. I was pulling a borrowed auto hauler trailer last time, but it does not have a license plate. The owner said it was lost somewhere in NM on a recent trip. I'm going to give it back to him later today and rent a UHaul for the trip. When I get back my tow truck guy says he thinks he can help me unload the press with one of his tow trucks, the one with the crane on the back.
Last edited by Jerry Feather; 01-25-2020 at 11:14 AM.
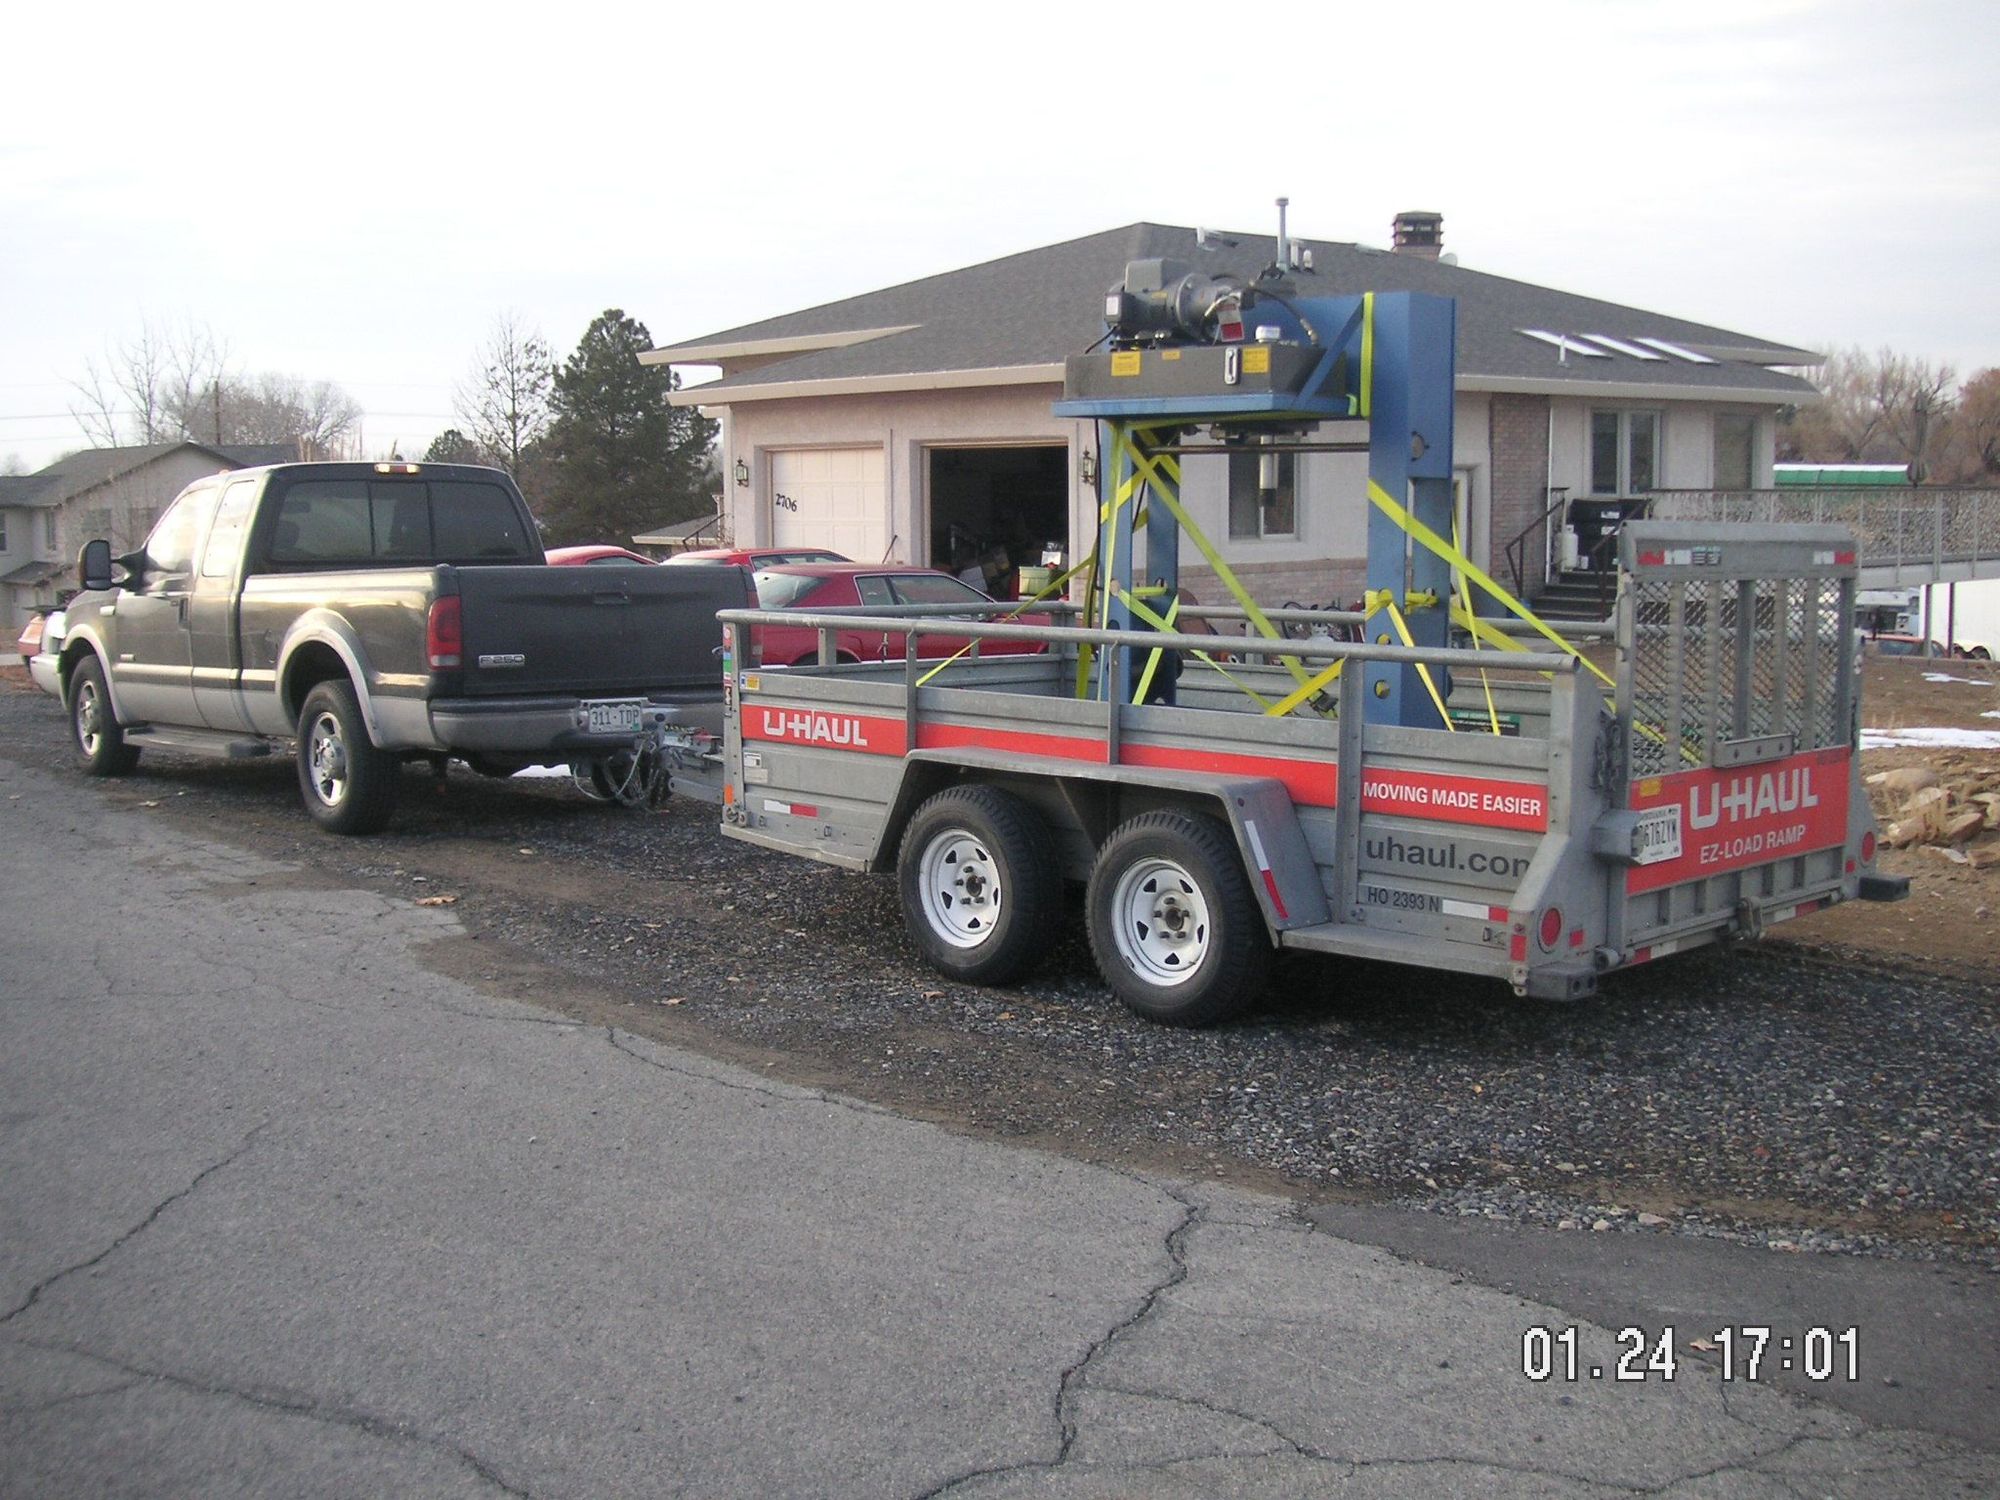
Well, that went pretty well. I didn't think to take any pictures while we were loading the press or while I was tieing it down, but I did take a picture of it where I next stopped to fill up with fuel and then here at home. The trip is 280 miles each way and took me 11 hours from start to finish. I didn't get some of the plates and fixtures and misc blocking that had apparently been used with the press, but they gave me some substitute stuff. I guess I can make up the difference as needed for this project
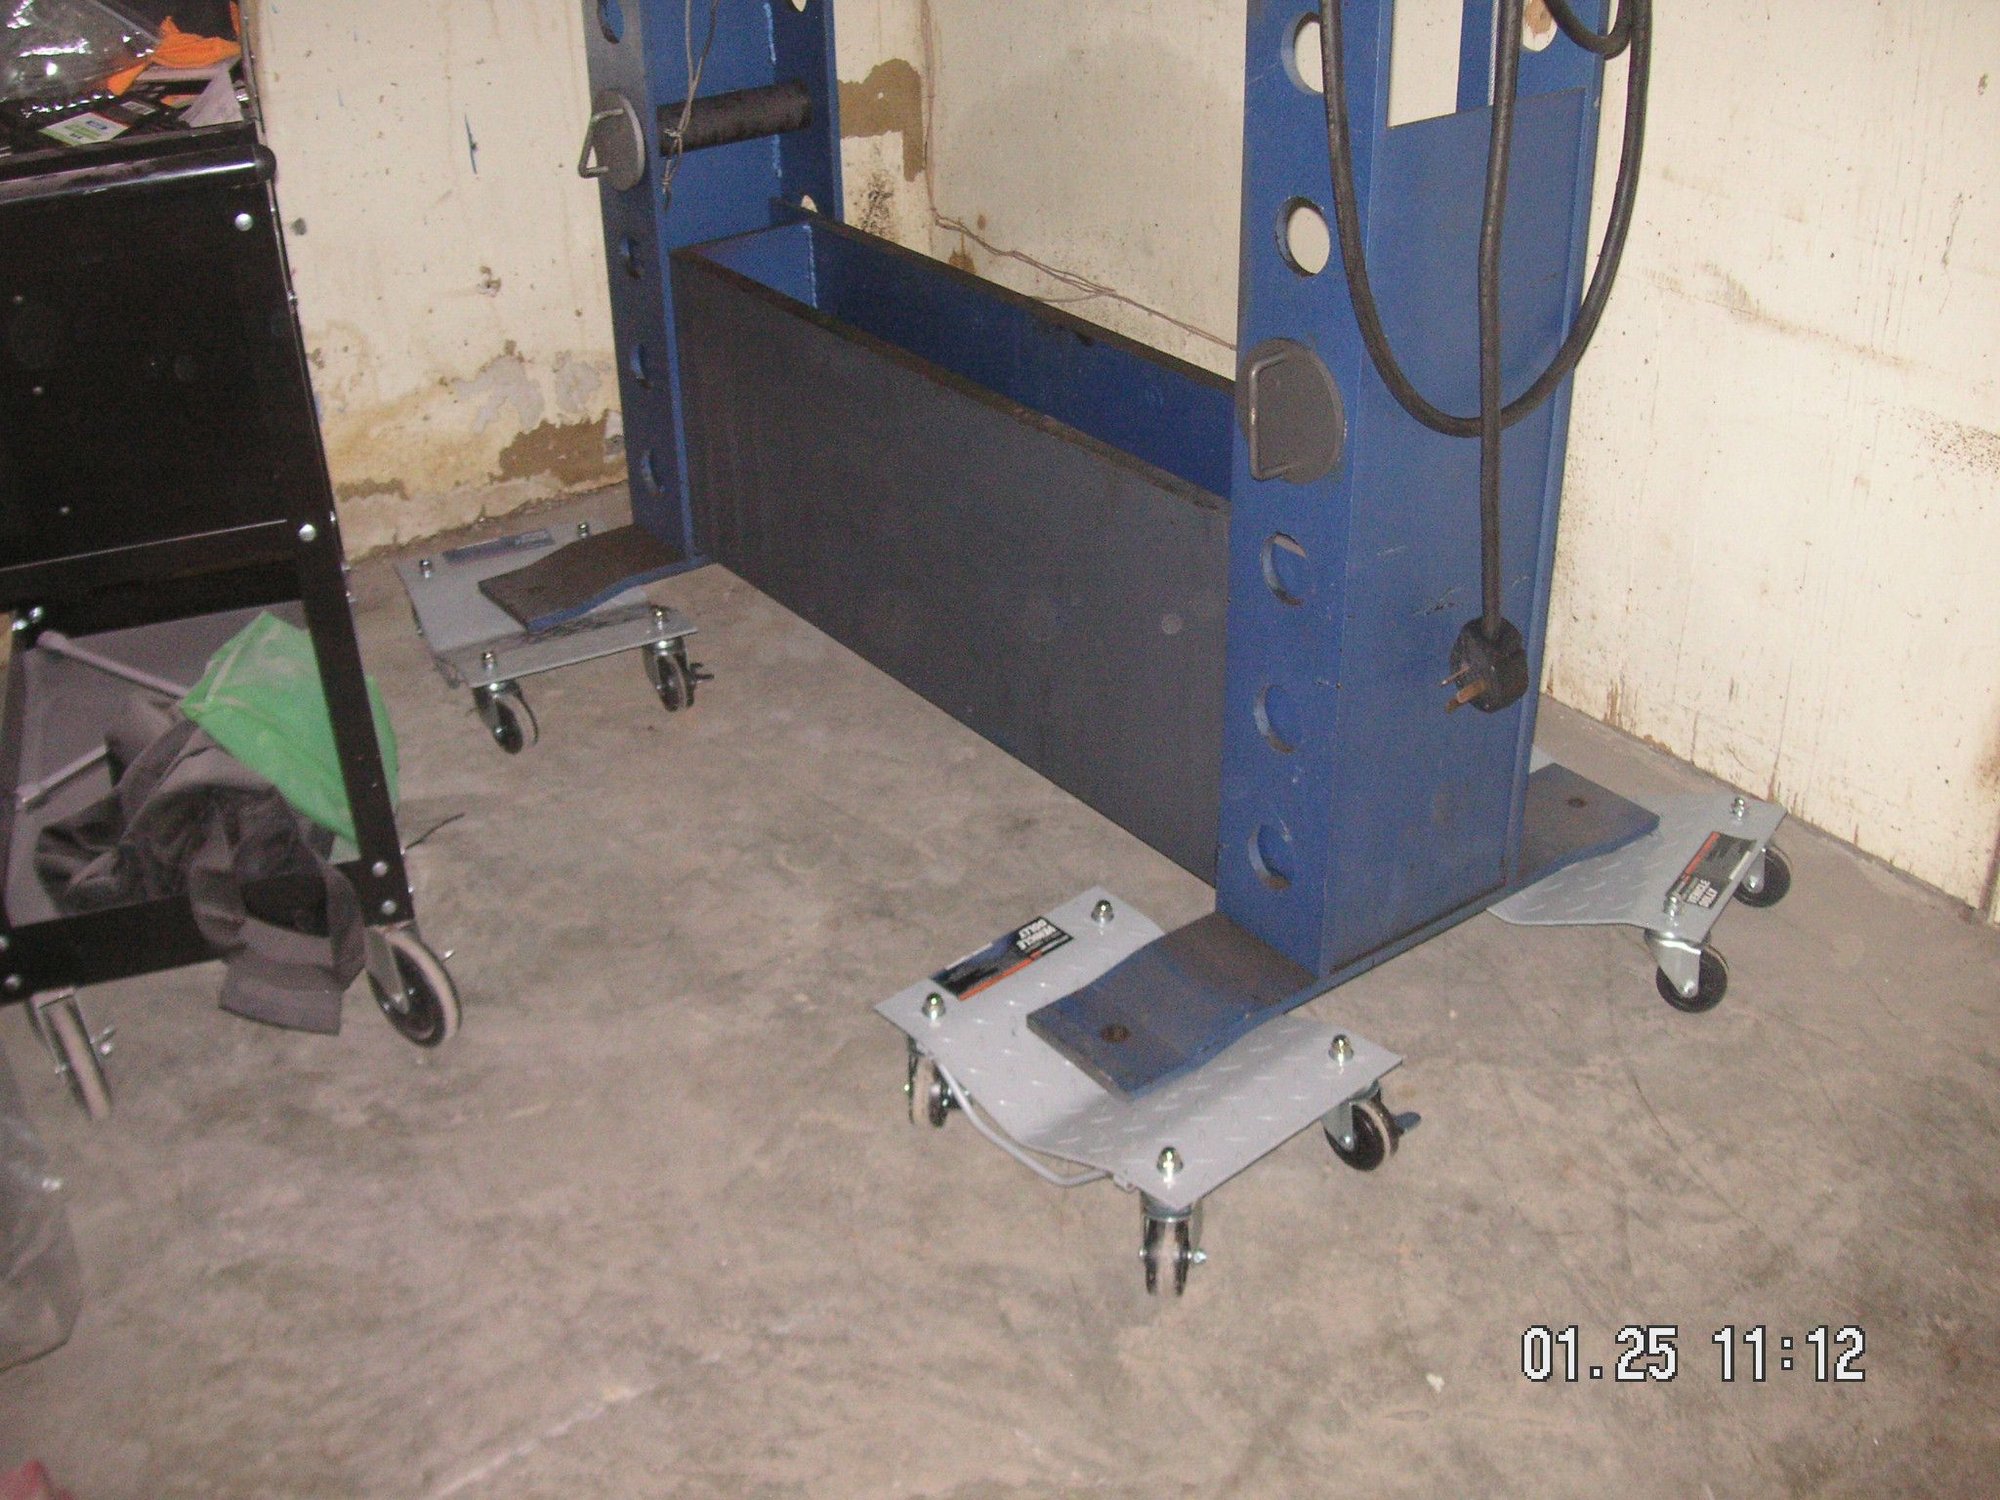
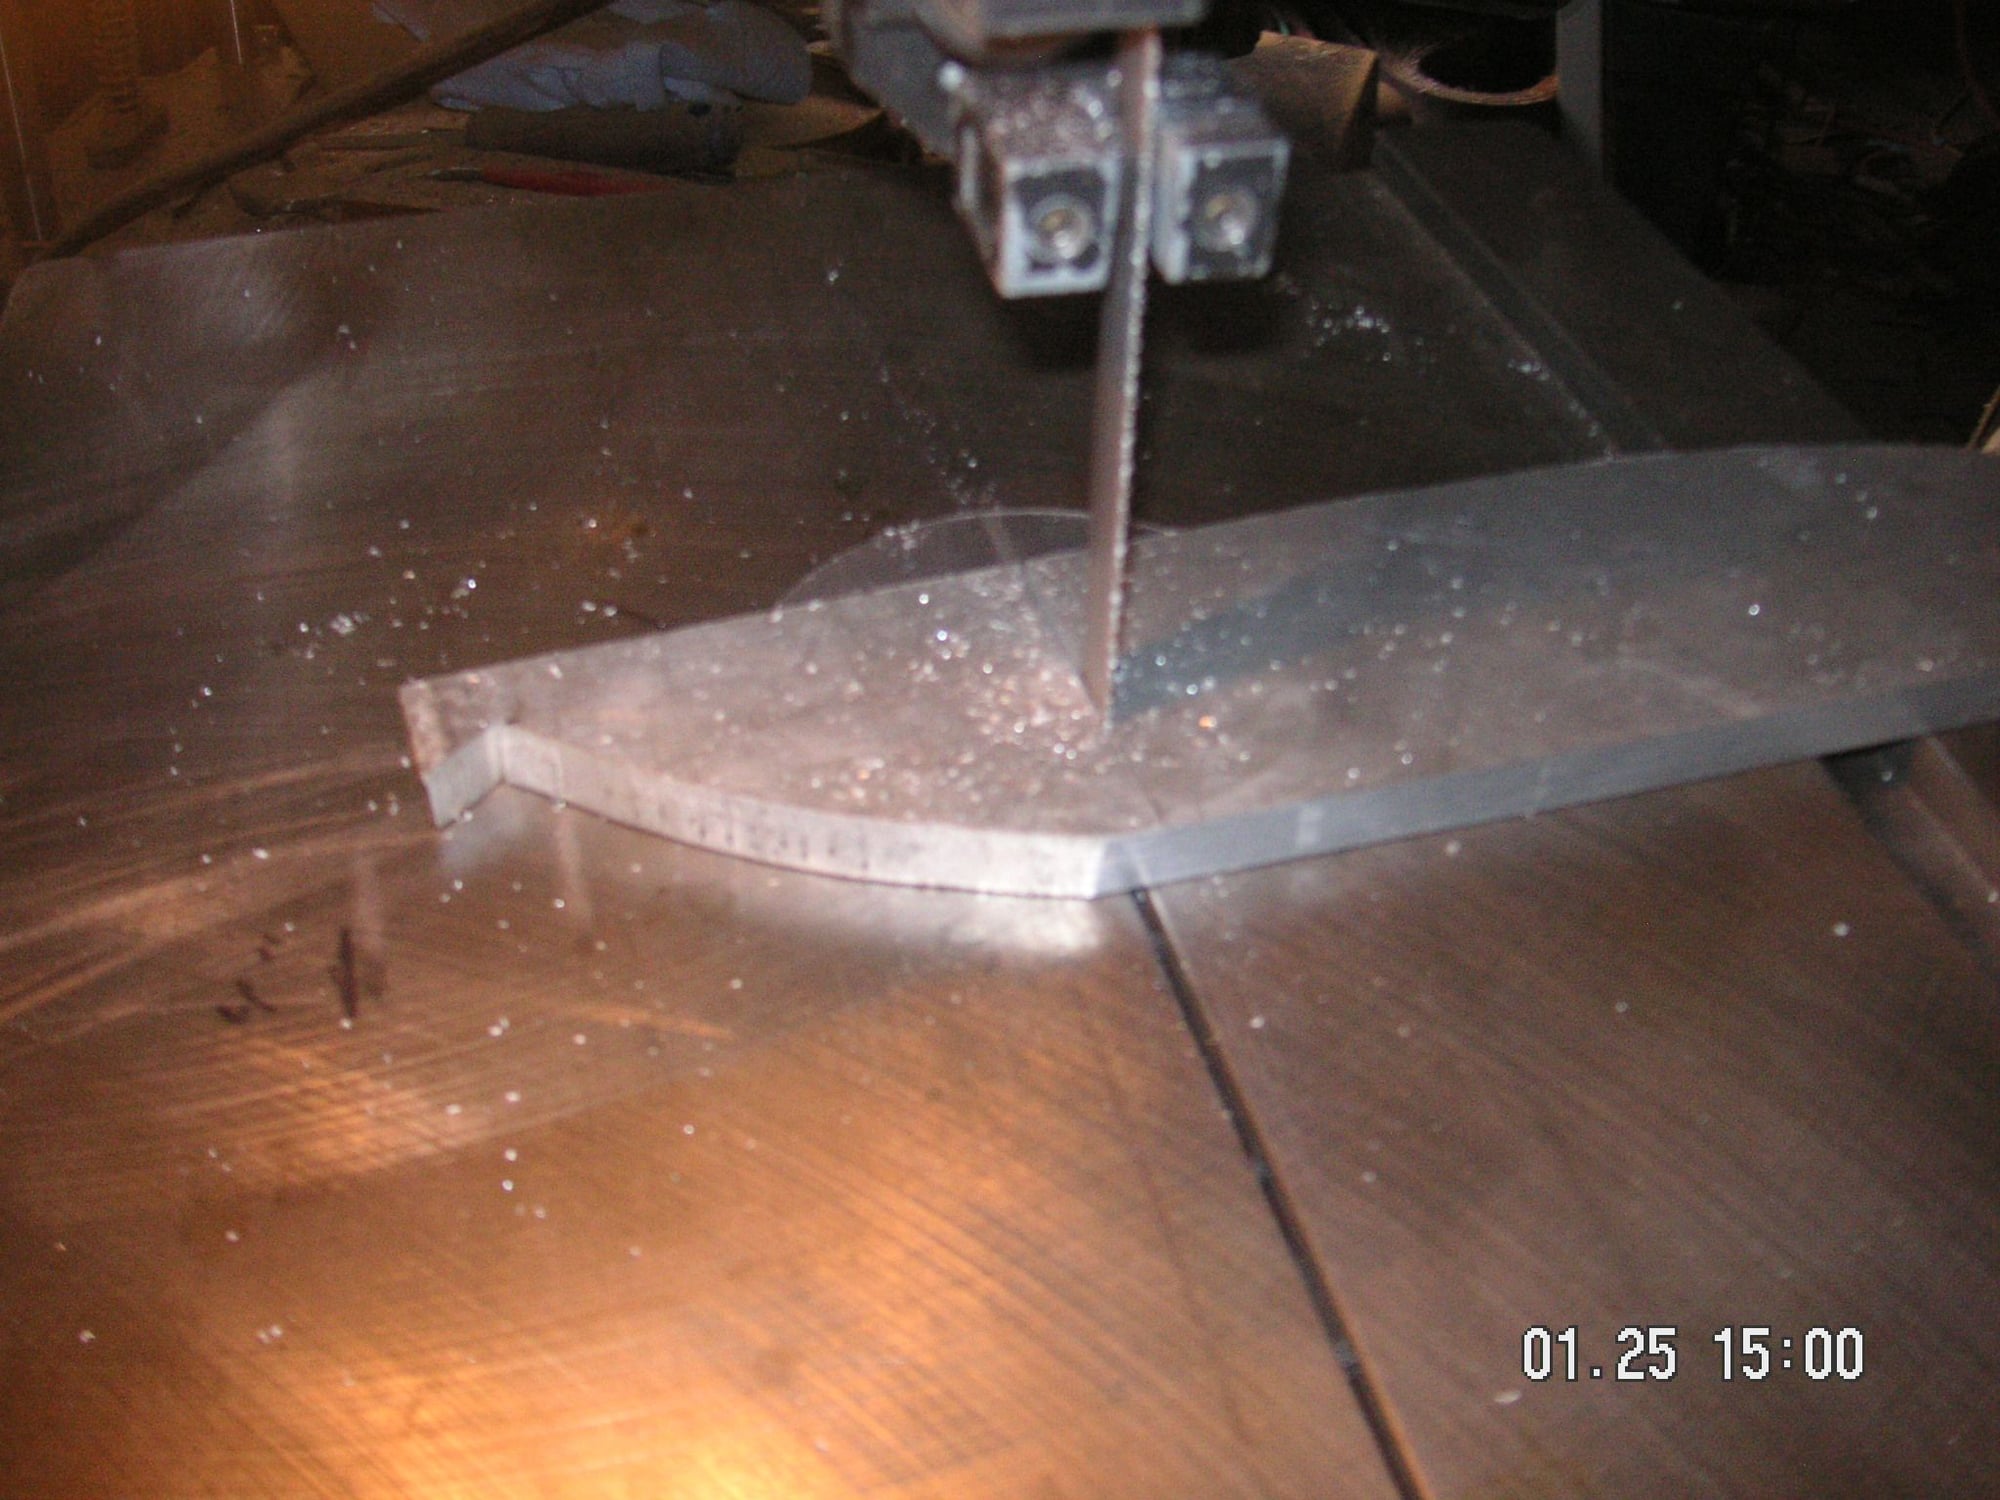
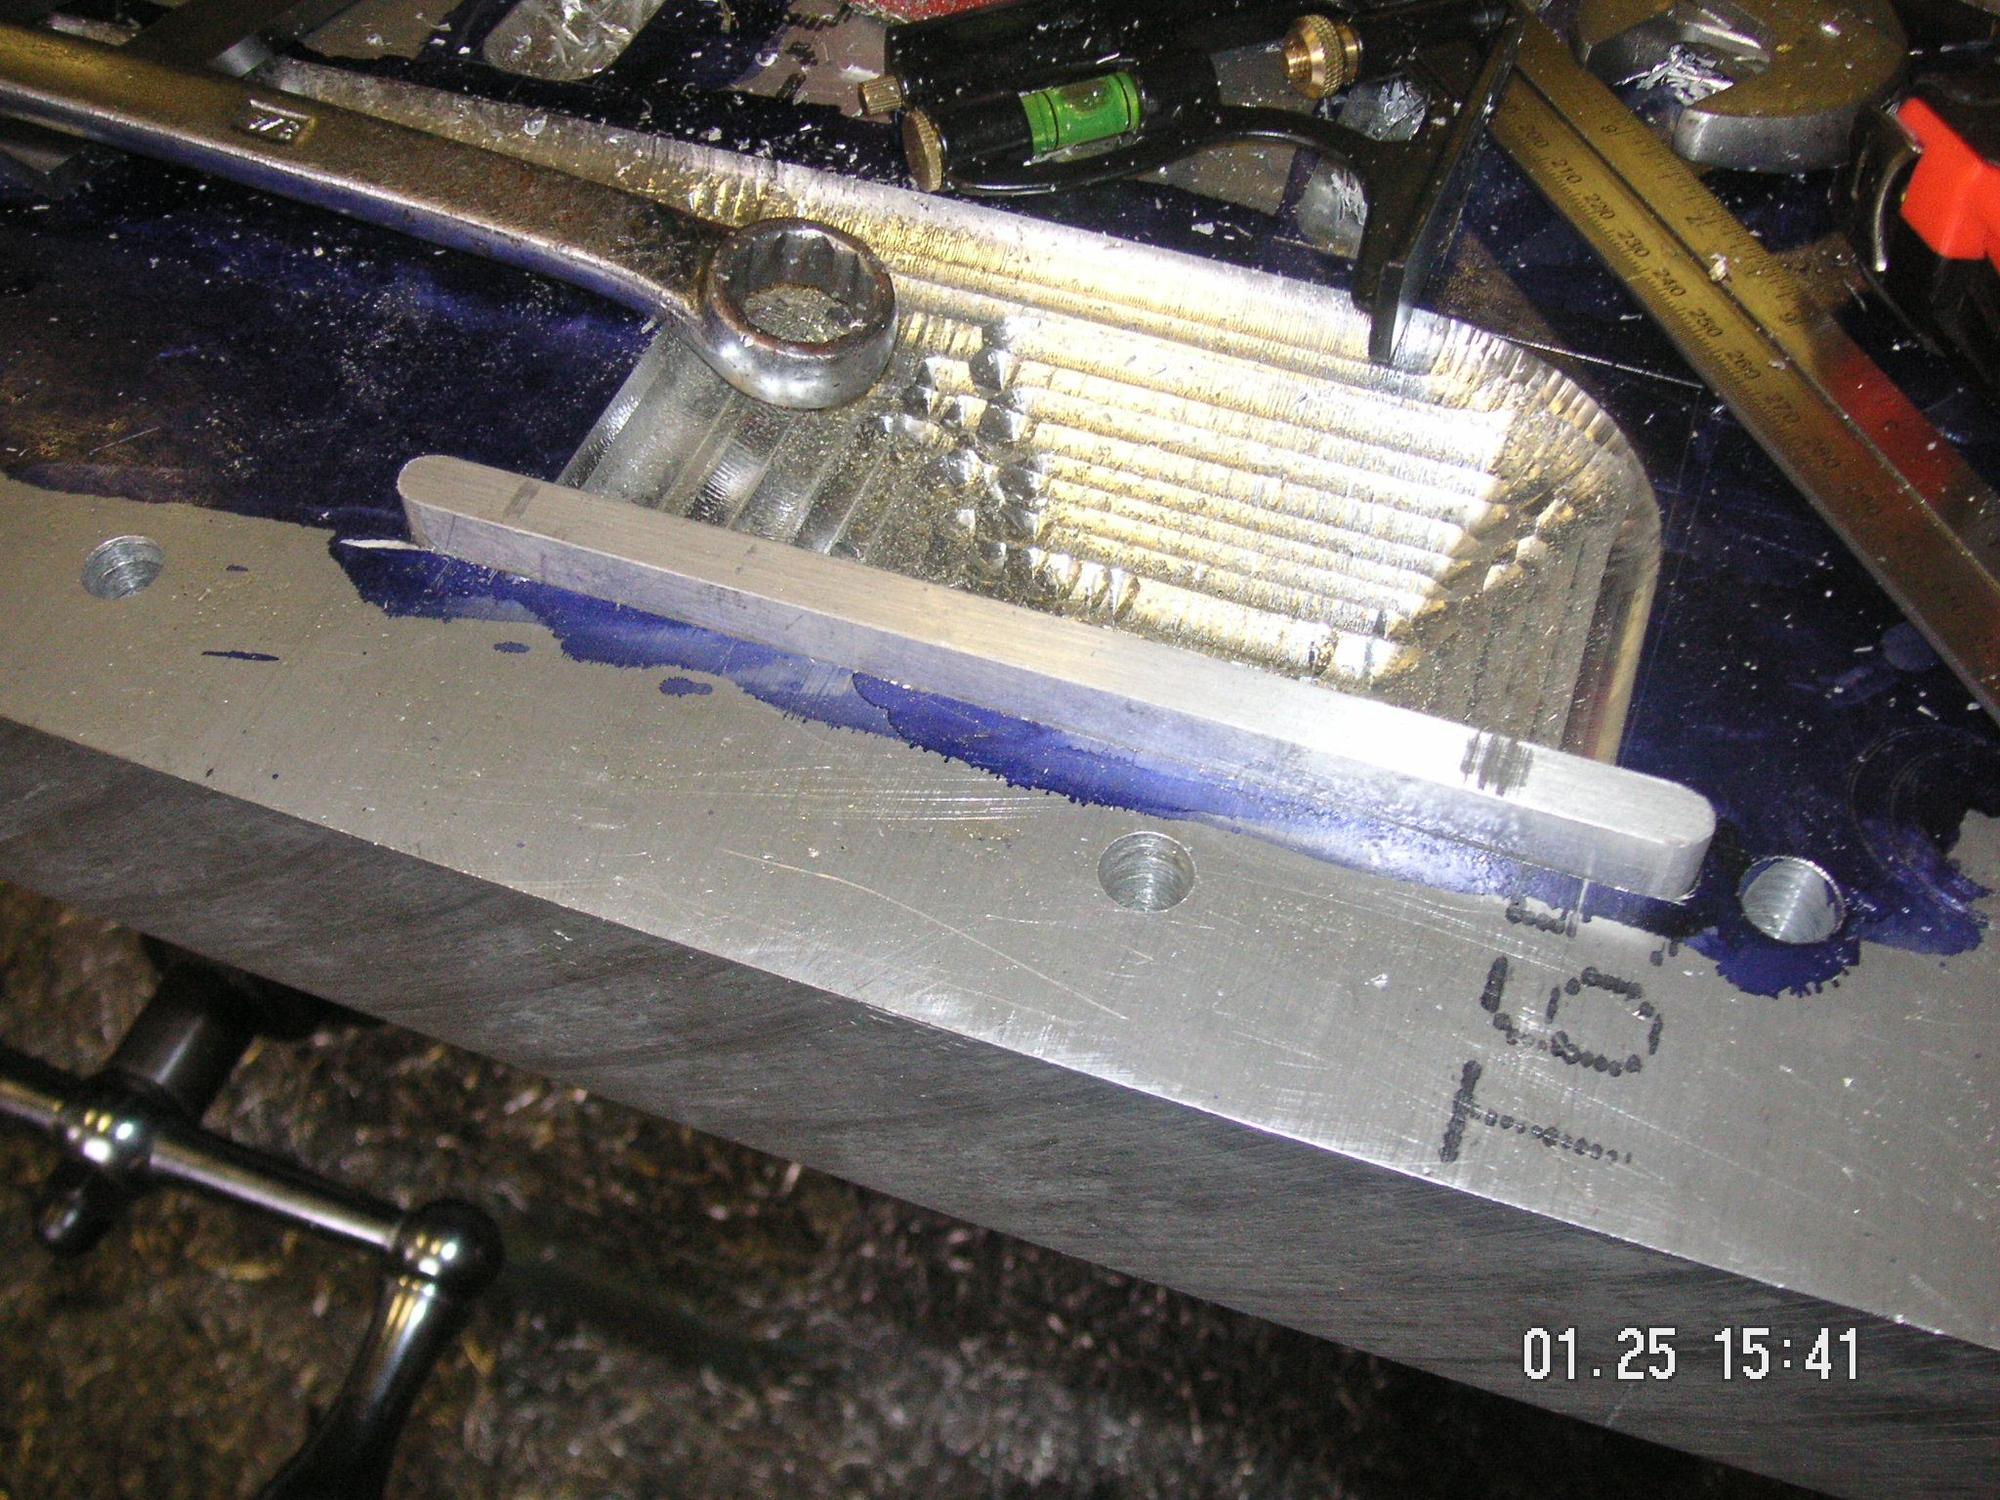
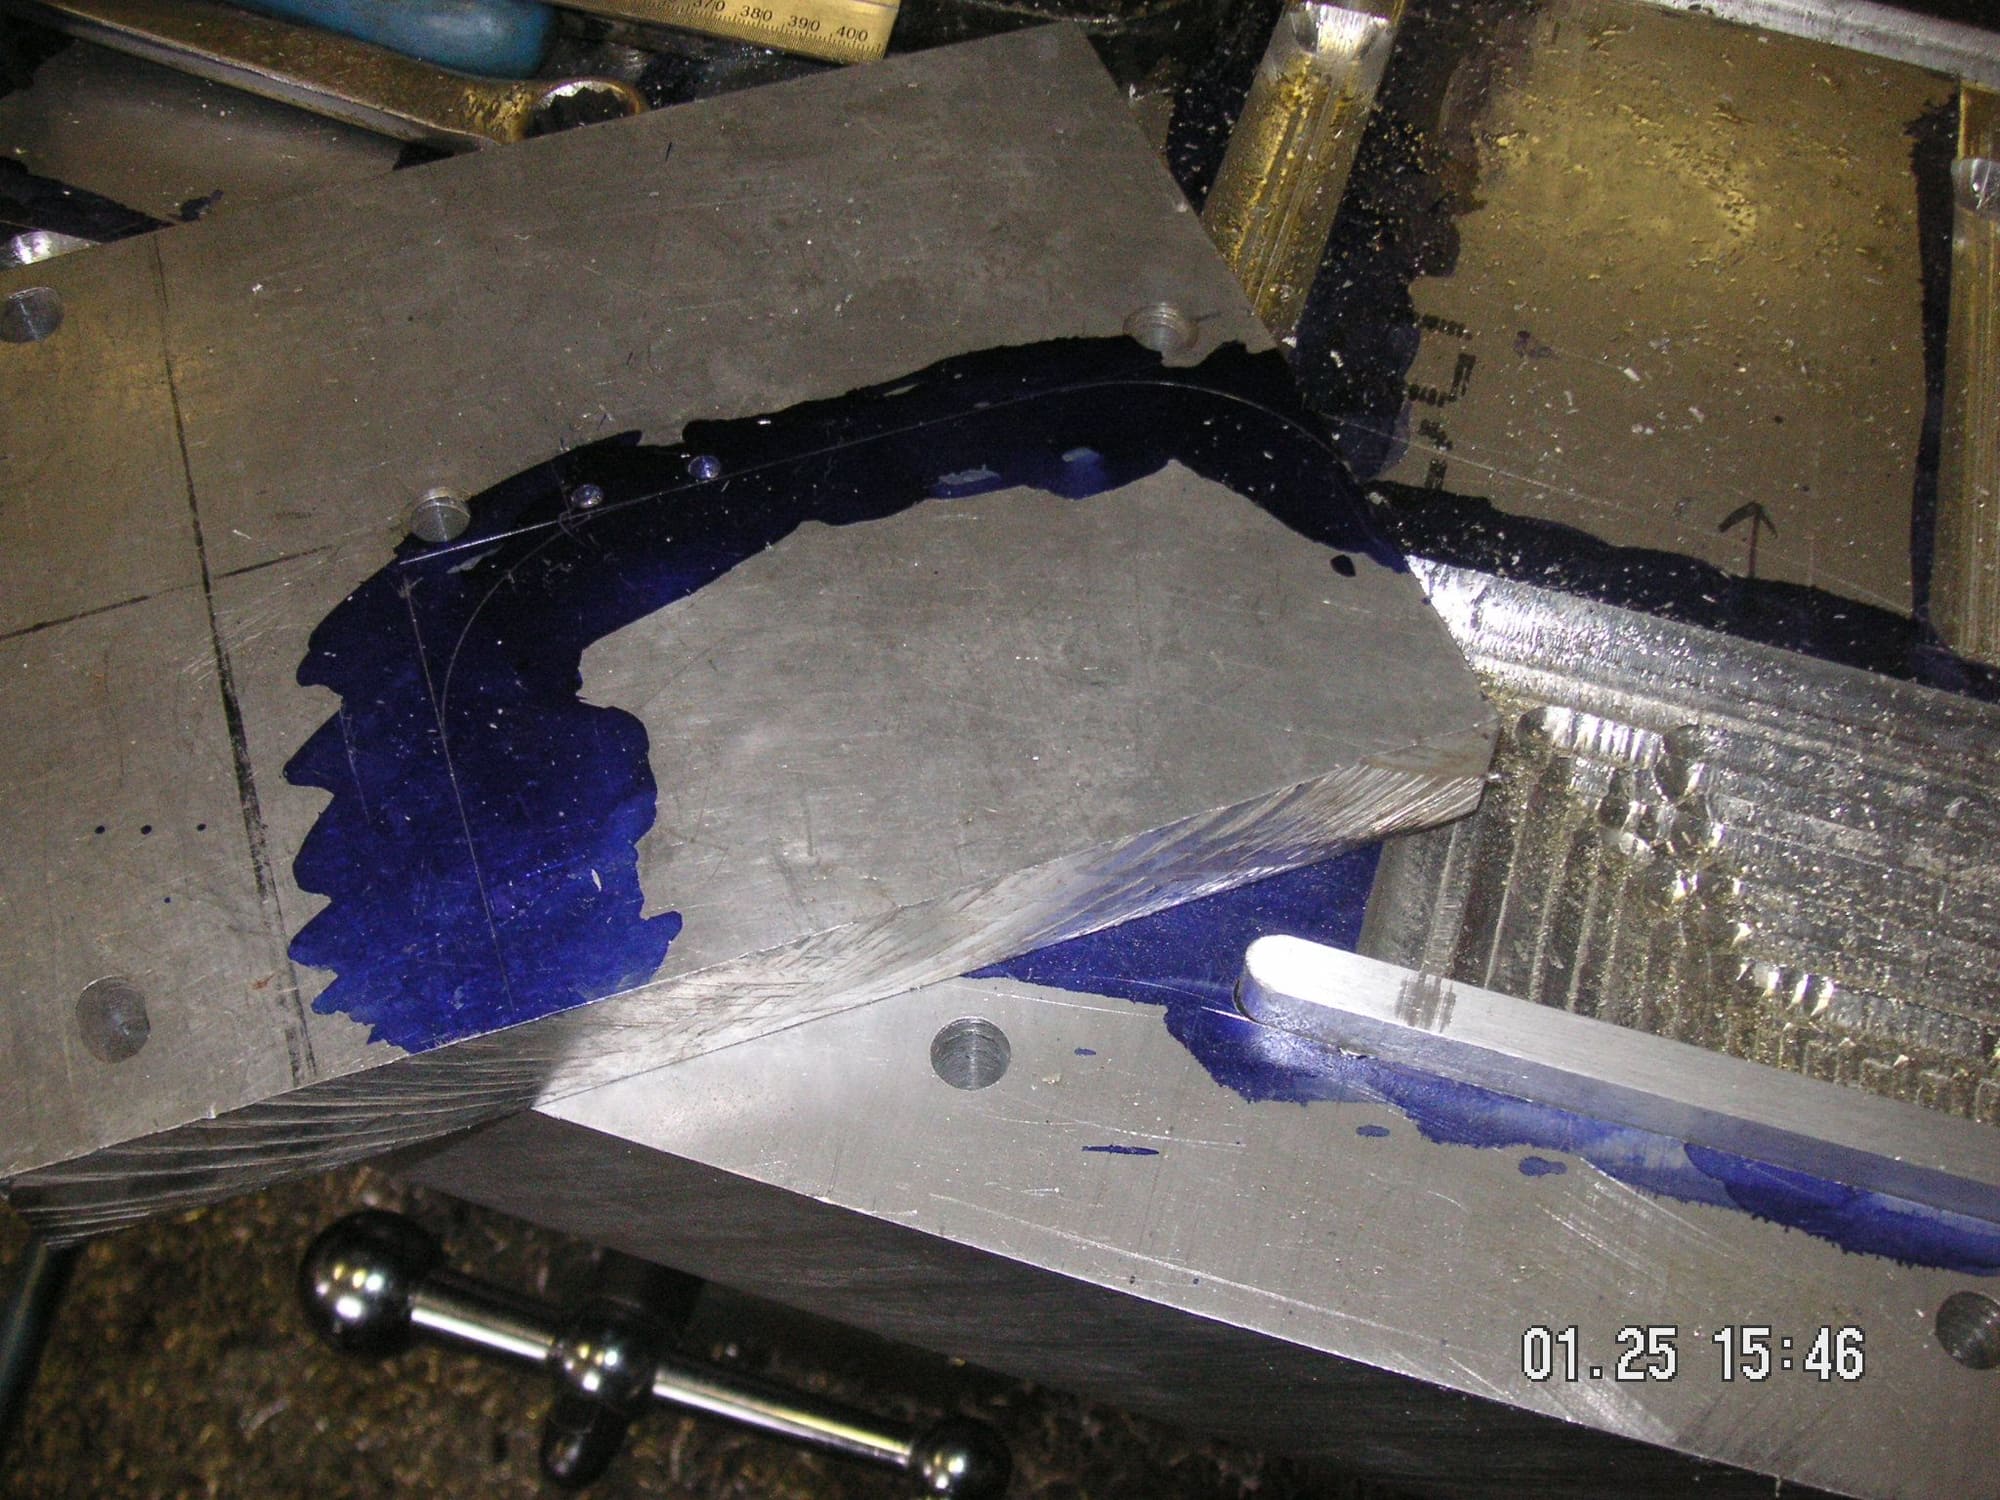
I unloaded the trailer and put the Press where I think I'll be using it, out at one of my other shops. That was about mid day yeaterday, then I returned the U-haul trailer. After that I got to put in a little time on the base form. I finished the slot at the rear of the AC bulge and made the piece that will fit in it to help form the rear edge of the pan in that area. That piece will later be cut to fit the rear edge closely, but that will have to wait until I get the piece made for the bulge. That piece too I got stared and will be trying to cut the outer edge of it in my band saw, but that is likely to take quite a while. Just cutting two edged of the piece for the slot out of 3/8 aluminum took probably 20 minutes or more.
I didn't have a corner rounding end mill bit for the ends of the 3/8 inch piece for the slot, so I just did it by eye in my belt sander. Came out pretty close, don't you think?
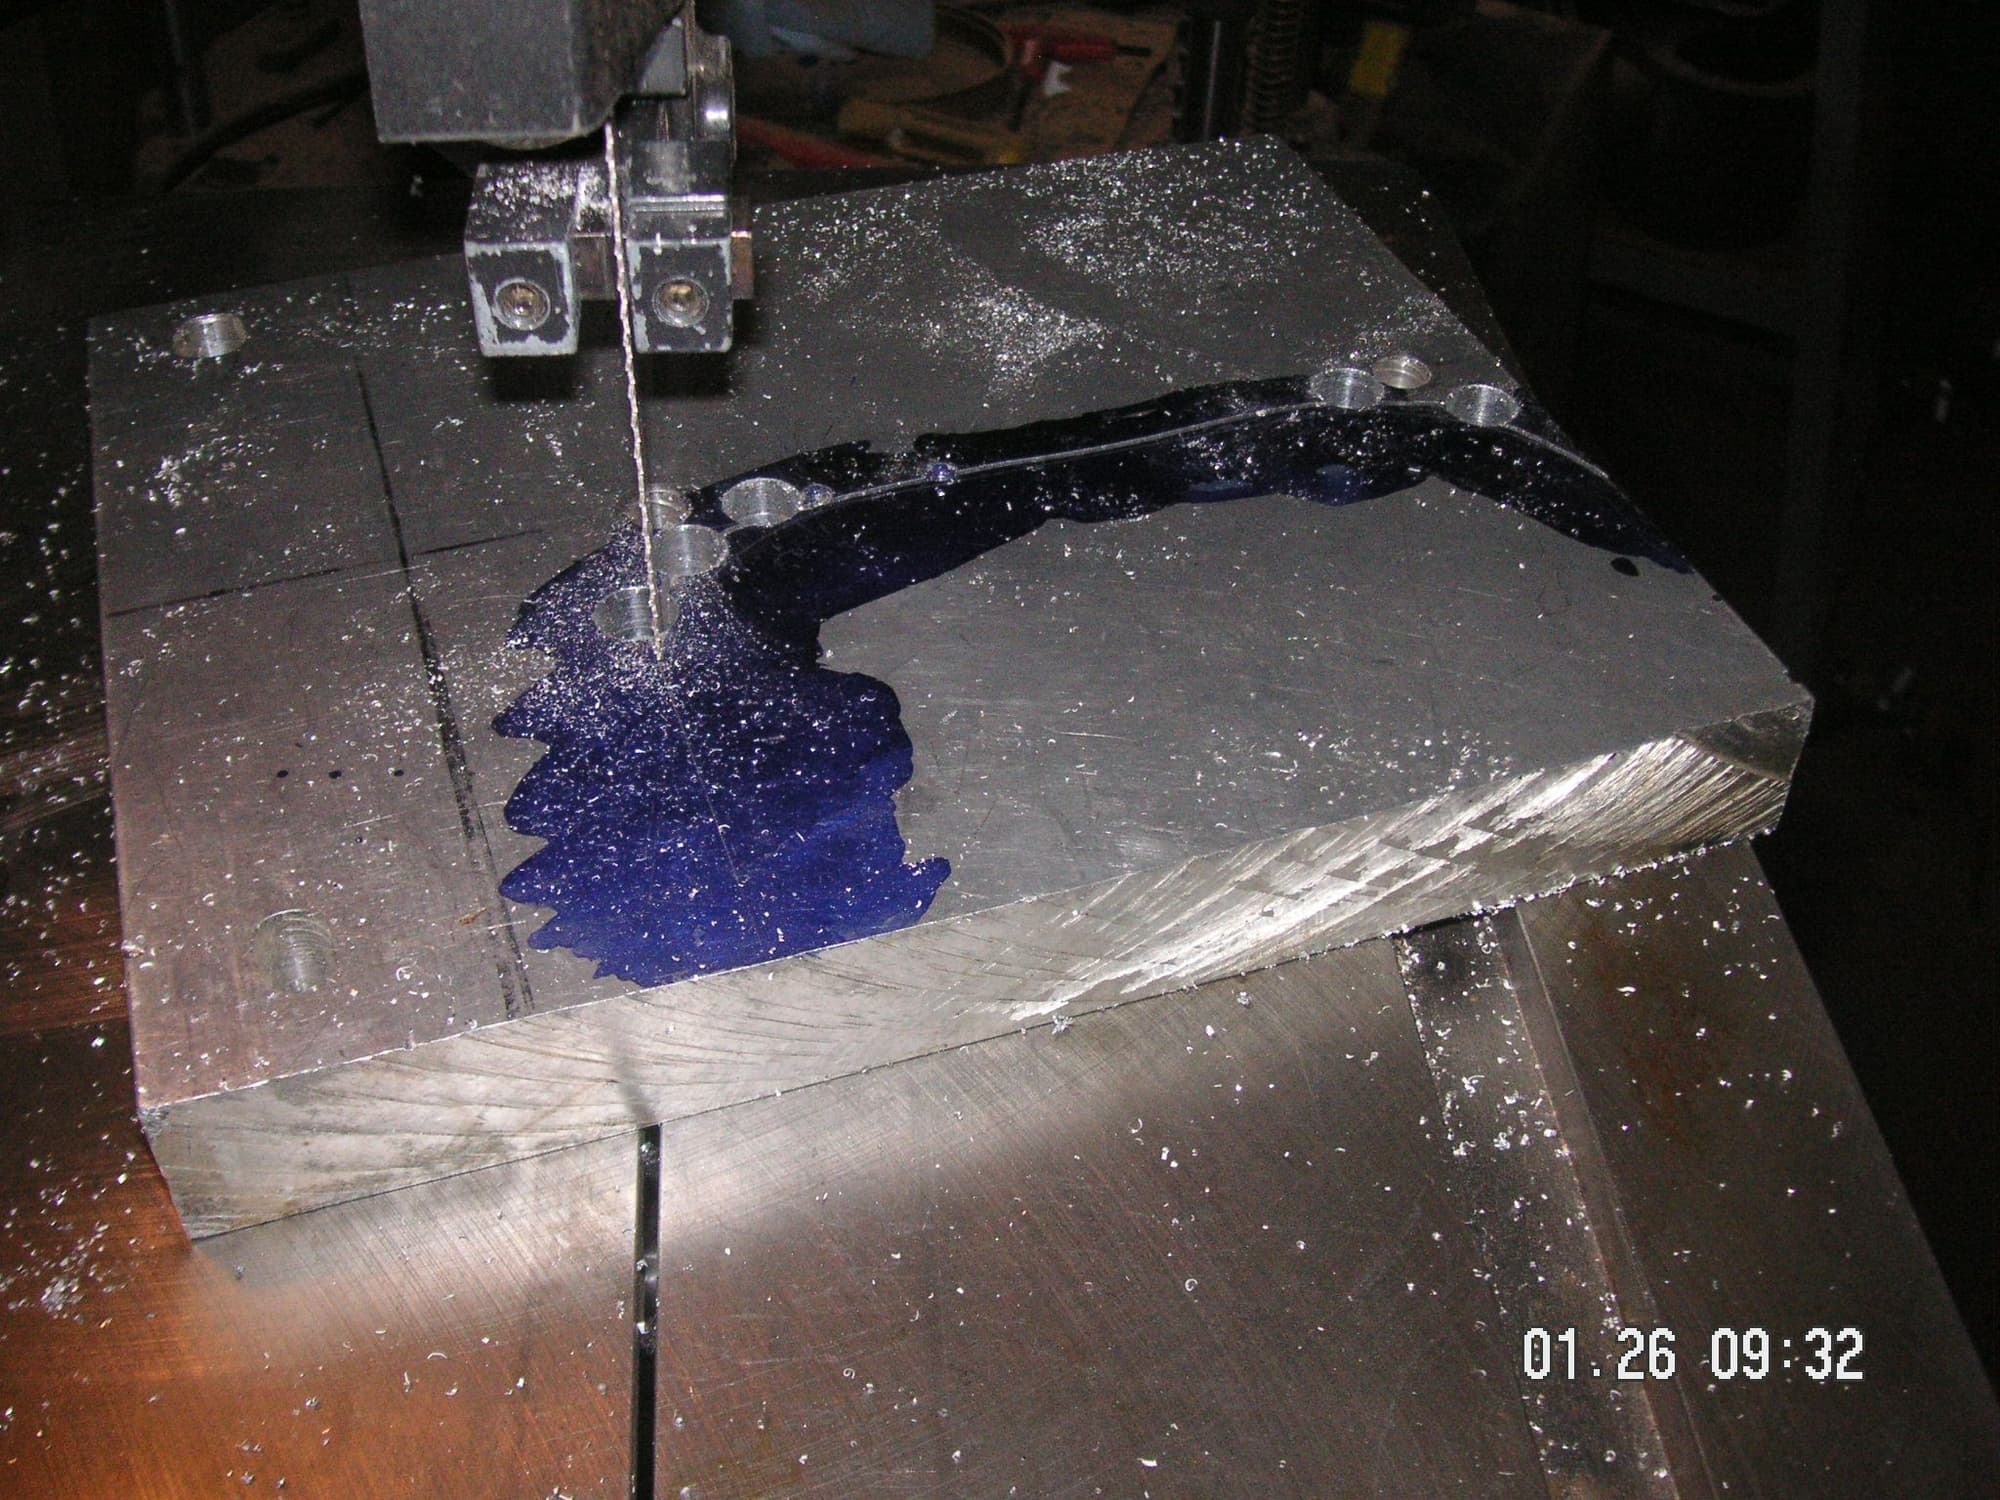
Here are a few pictures of the progress on the AC bulge male form. It actually took less time to roughly cut it out in the band saw that I thought. Look at the time on the pictures. I ahd to take a break now to study the angles that I'll be milling the rounded surface at to get it to rough shape. That is going to take quite a bit of time. Then I think I'll be finishing it out by hand in my belt sander. I bolgted the pieces of quarter inch plate to the rear surface of the form so that I can shape it along with the block. Then I'll be taking it off and refining its edge for the trailing edge finish I have in mind.
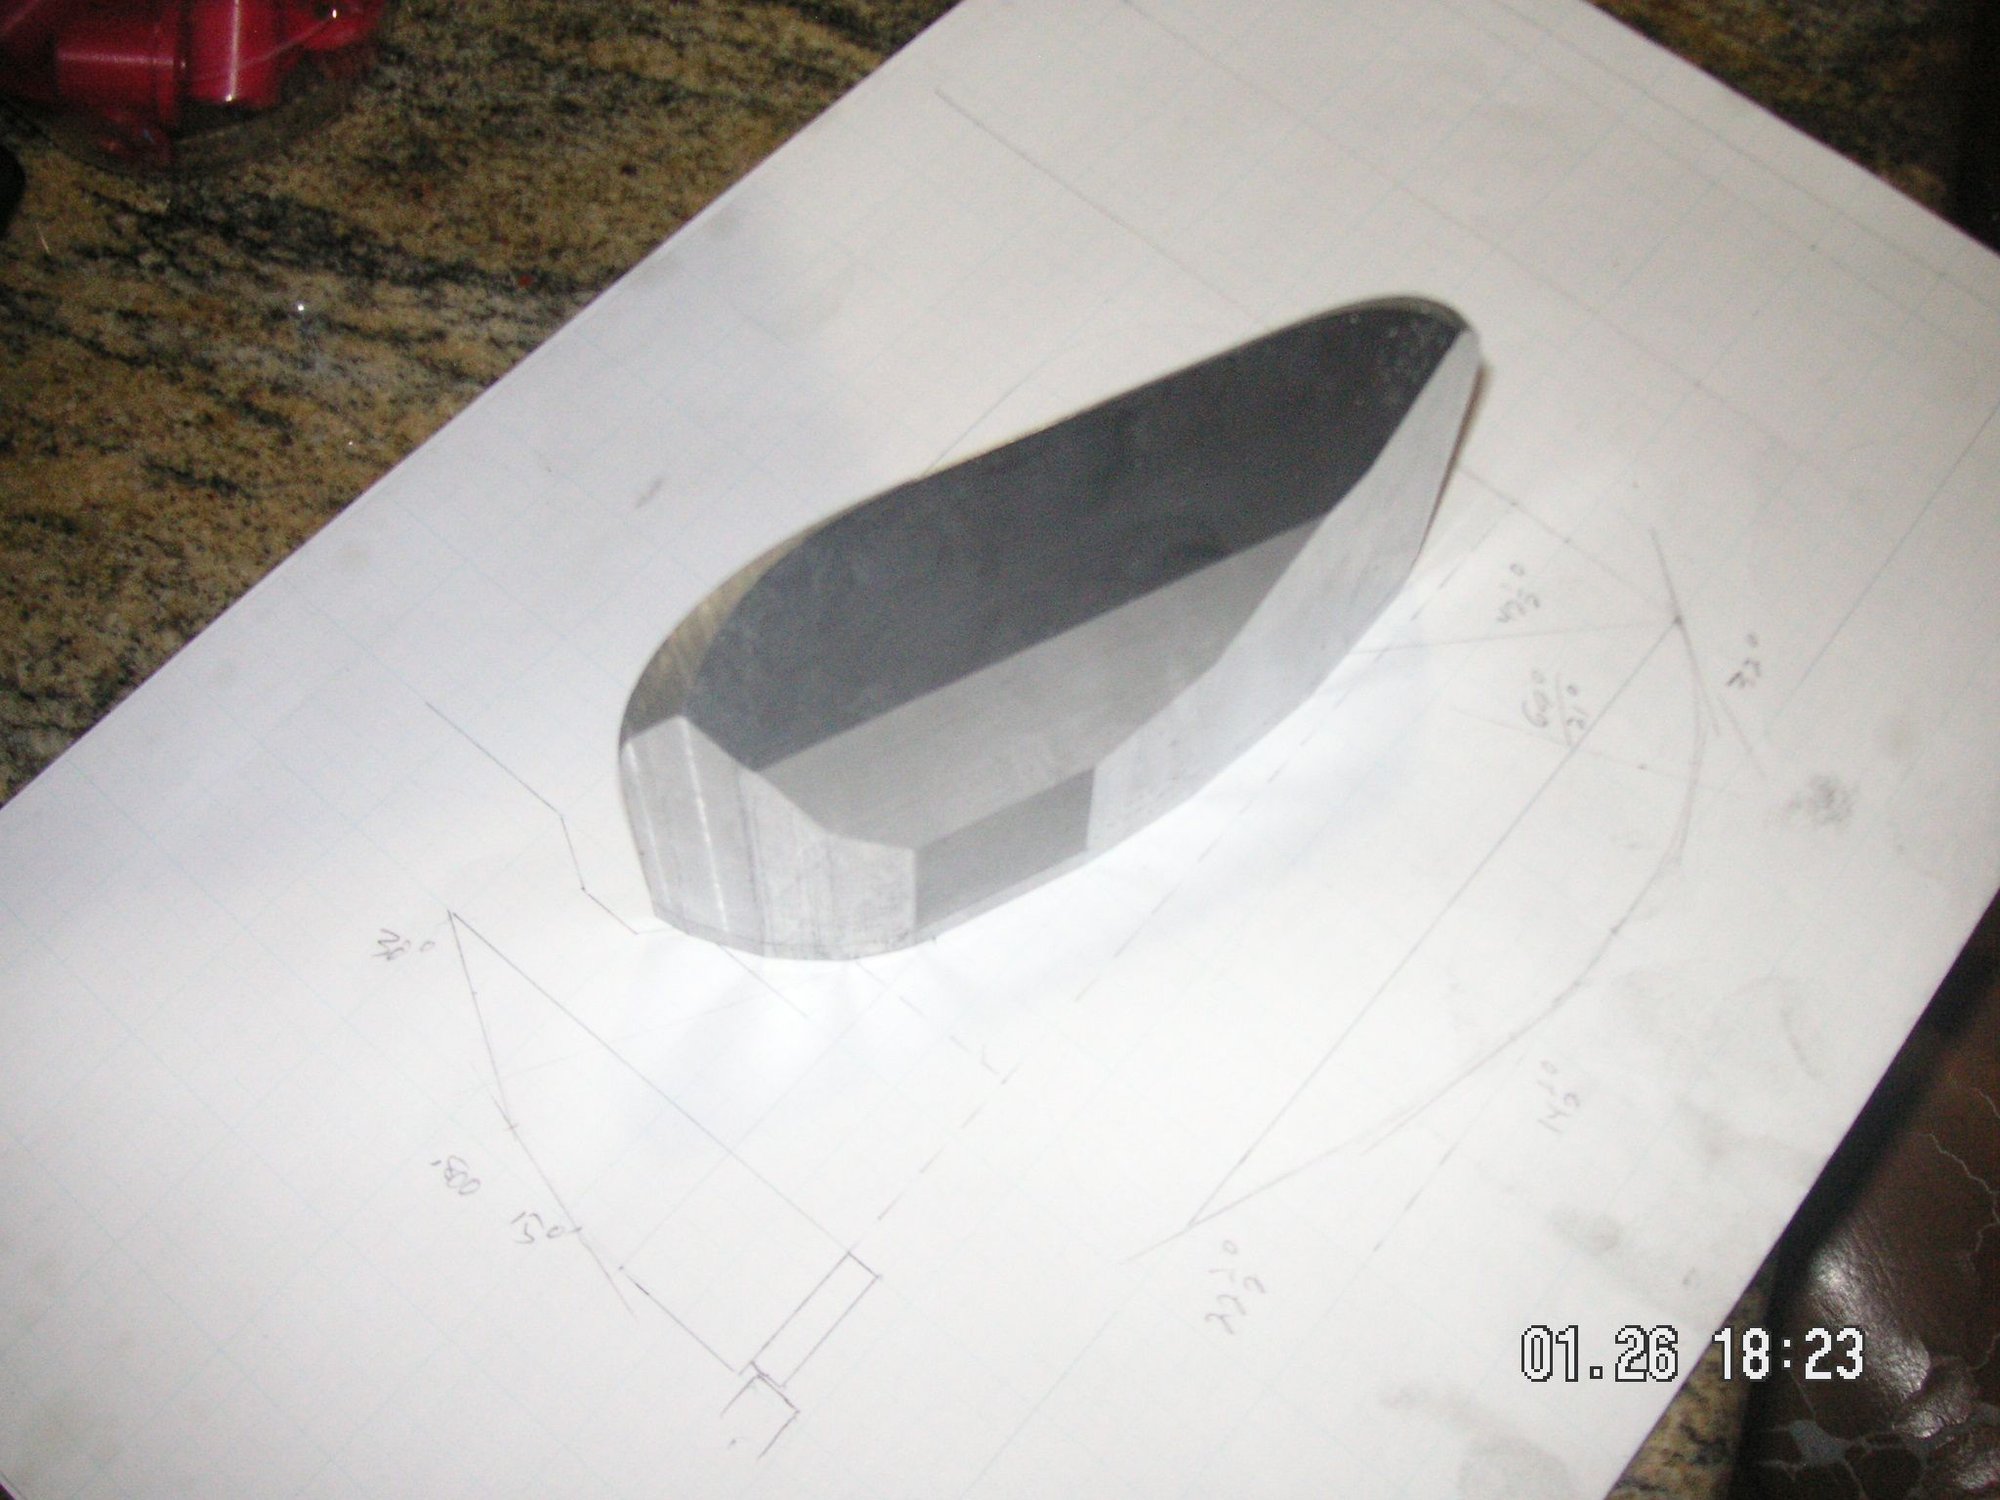
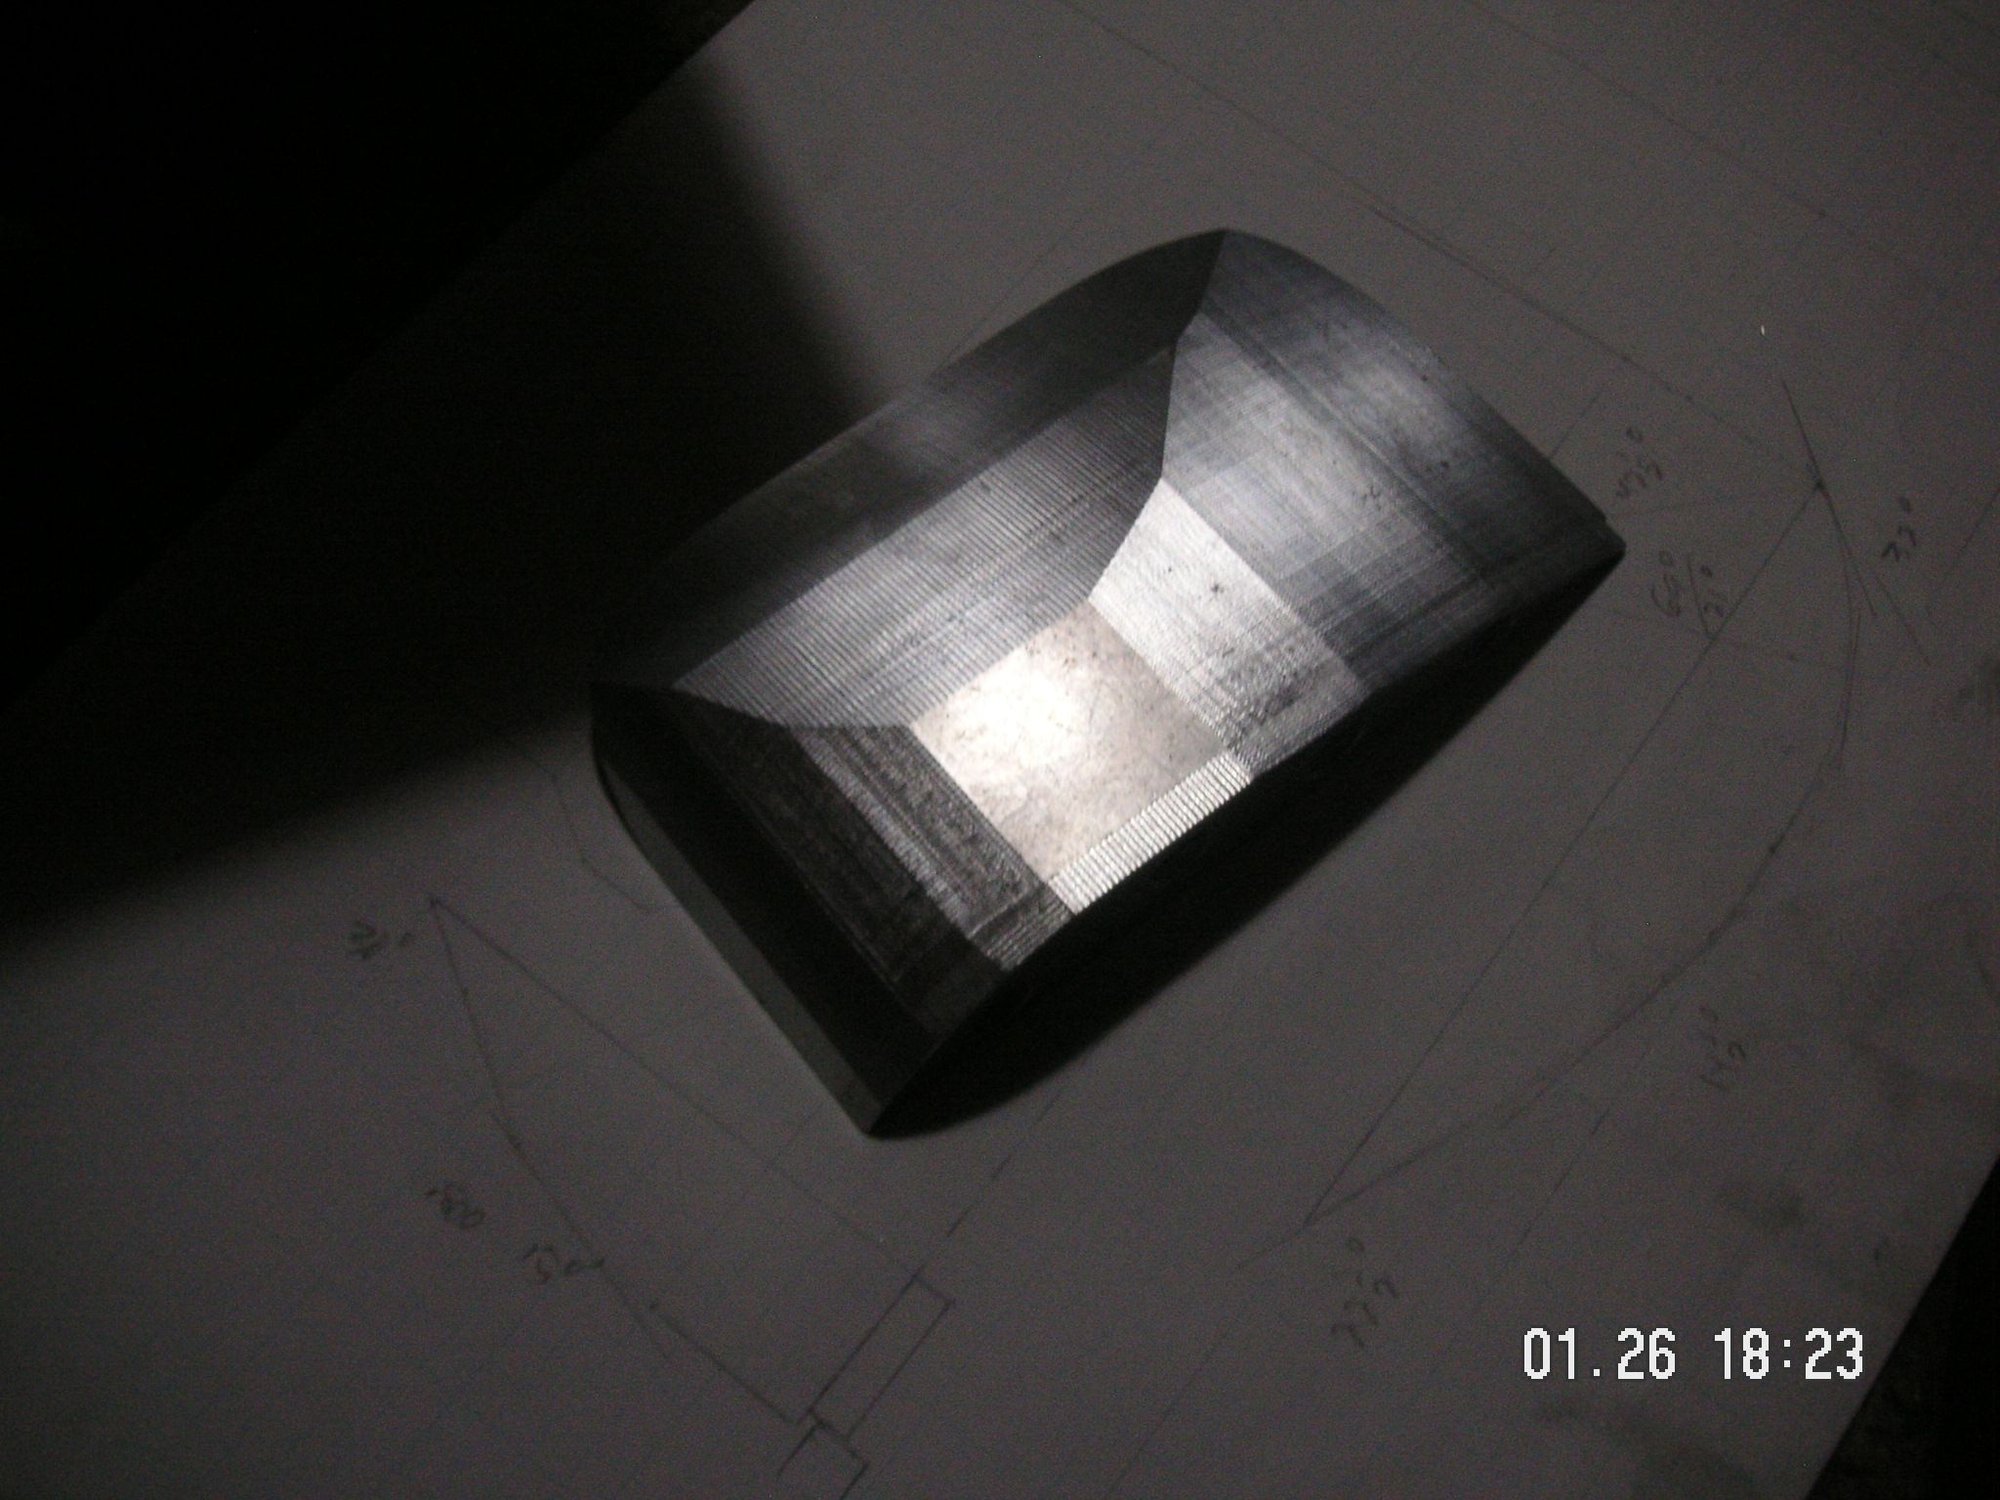
Somewhere, about the middle of the last picture above, my camera has decided not to realase the last dozen or so pictures I have taken. I tried a new SD card in my camera and will see it I can get ny pictures out of it with that. If so. here are a couple of the AC bulge form as I have it sculpted so far. I srill have the corners to bevel off and then I'll try to knock all the corners off of it with my belt sander. That ought to be a real trick.
I appreciate your form of occupational therapy! Wish I had those machining tools at my disposal. Here, for my contribution, is my version of a belly pan. Mine runs from the chin spoiler to the pan and is fragile enough to be sacrificial in the event of a encounter with something solid. The engine runs slightly cooler at speed as a by product.
Jerry - I might have missed some reference to CAD software and NC machine tools, but it seems to me that in addition to many tedious hours of wrestling with, properly setting up, and clamping very large and heavy chunks of metal for milling, you have been using a manual mill to do the work. I can't estimate the number of hours you must have spent so far.
Incredible patience and dedication have to be added to your impressive list of skills.

 01-19-2020, 01:39 PM