When you click on links to various merchants on this site and make a purchase, this can result in this site earning a commission. Affiliate programs and affiliations include, but are not limited to, the eBay Partner Network.
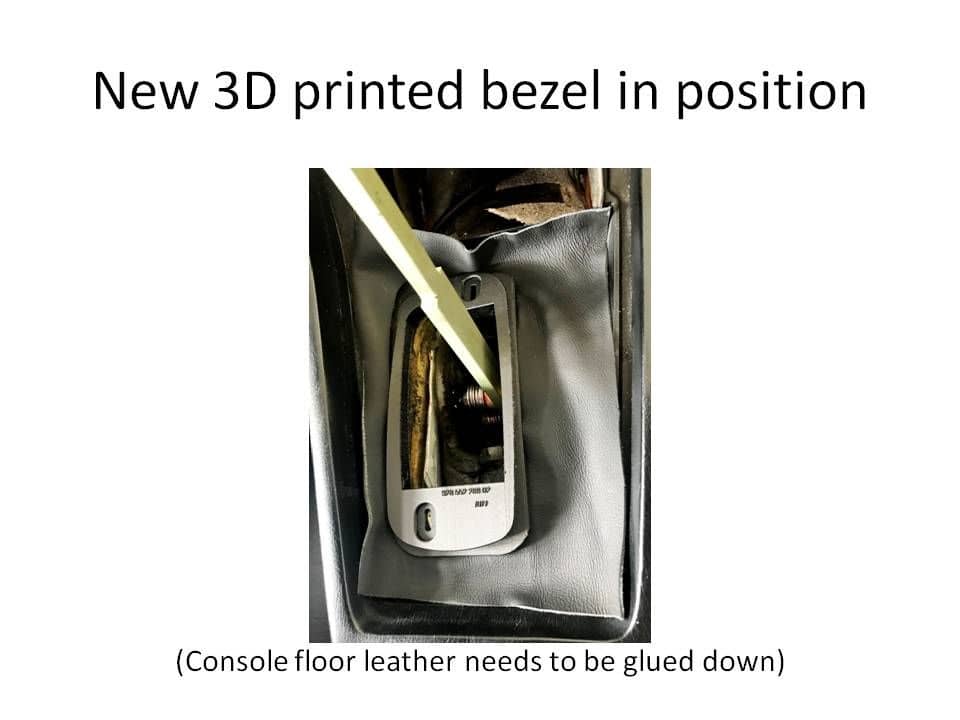
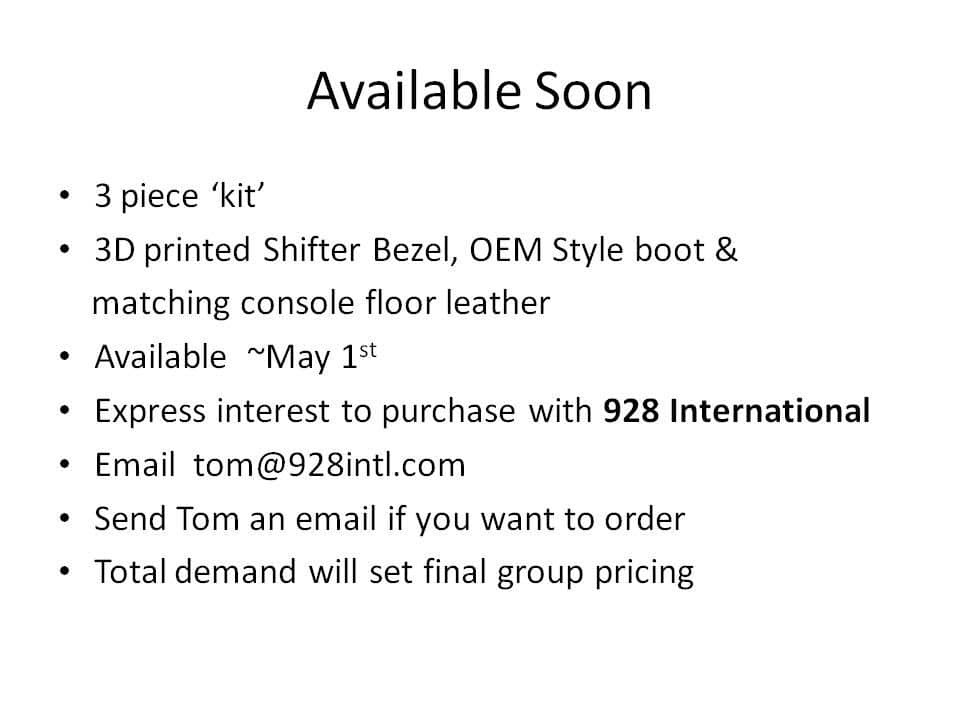
New: 3D printed Shifter Console Bezels / Kit / Soon
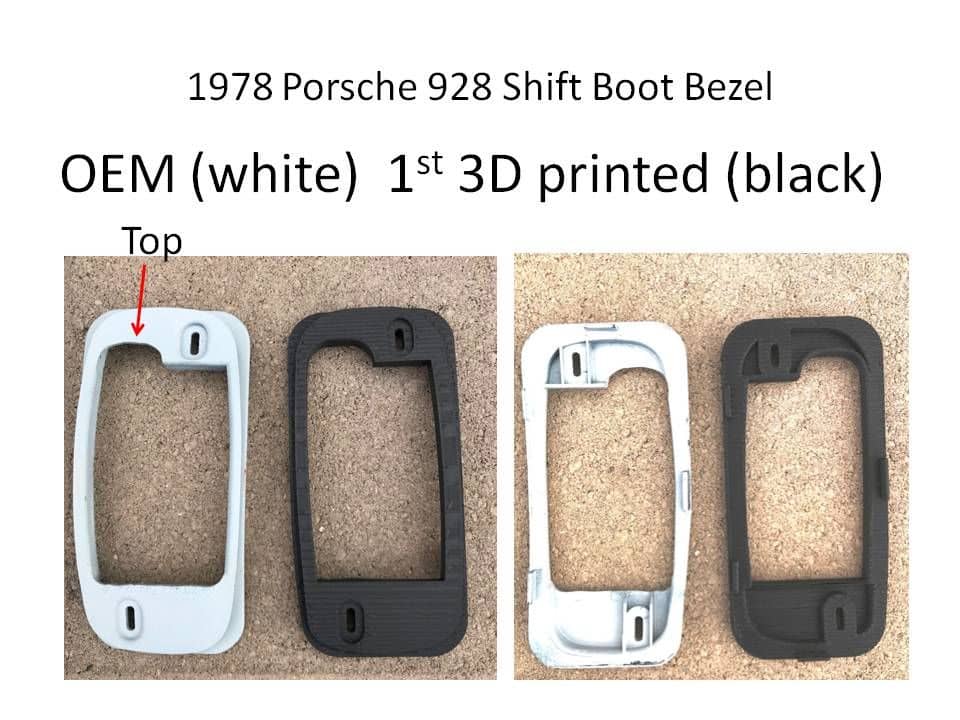
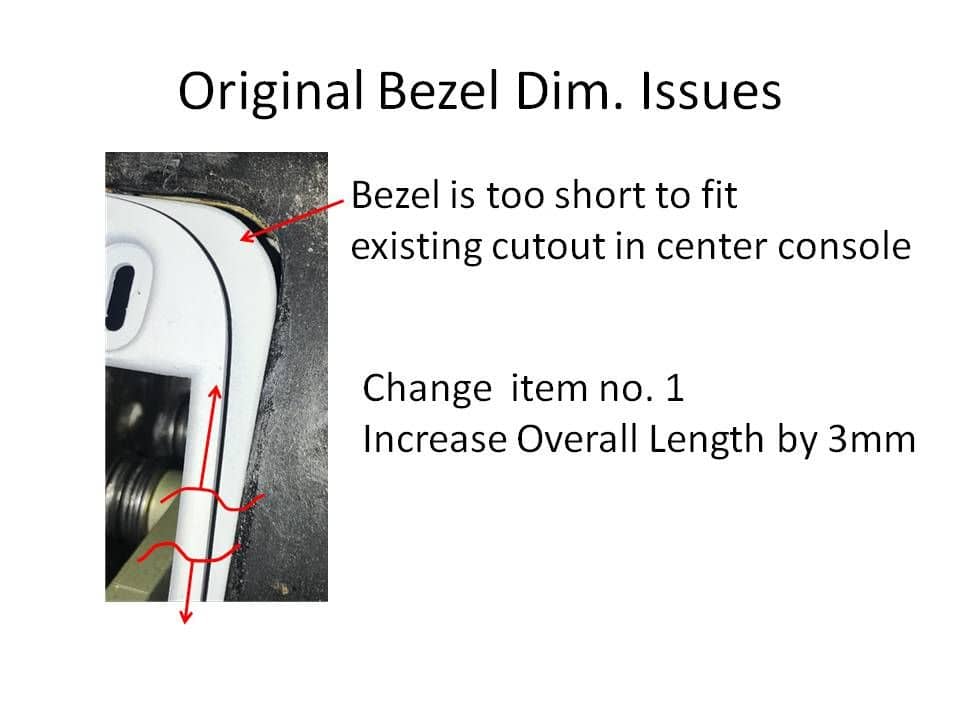
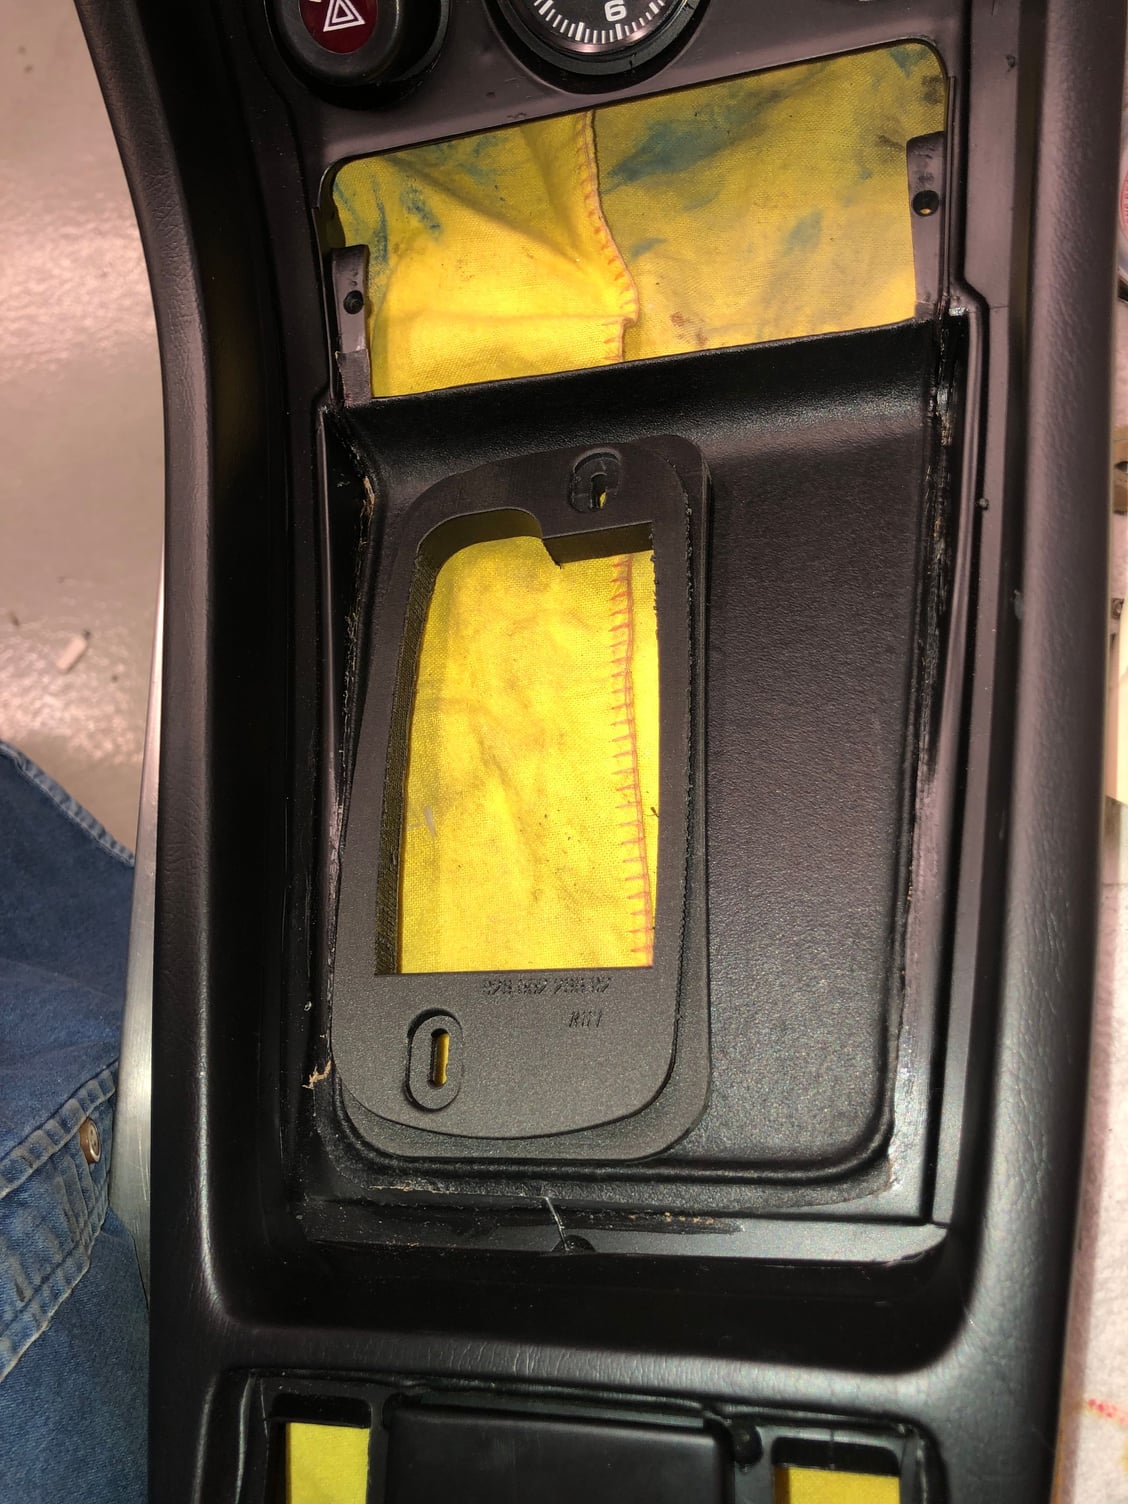
The first week after purchasing 01117 Rob Edwards drove the car and noted, among other items, it still had the original shifter bezel. He noted they were a '78 model year only and that they rarely survived. I could see why with shifter linkage getting worn bushings and causing the shift lever to crash into the bezel. Rob offered to scan the bezel and we were off on a journey to recreate the bezel with 3D printing. What an education. Its been a long road in finding the right modeling software, materials and the most appropriate printer. We are nearly there now, and want to offer 1978 owners the ability to reinstall a correct bezel and shifter boot. Here goes.......
Hello Hoi,
First item, Thank you for the above words of encouragement. Minerva was my inspiration and the 'gateway' drug that started the crack cocaine spending on 01117.
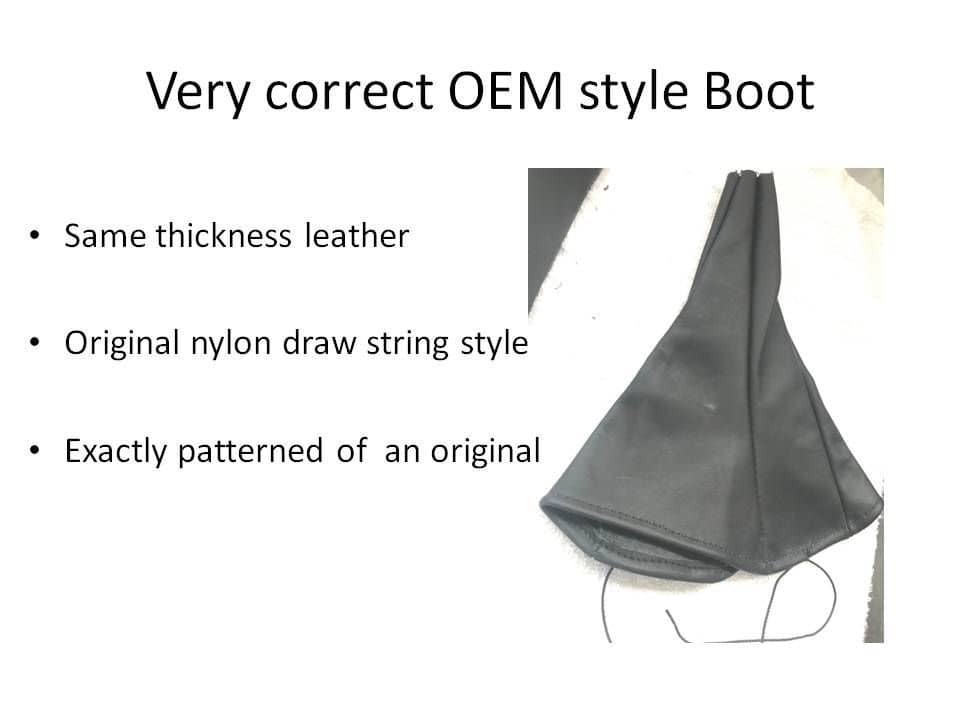
Regarding the shifter boot. Absolutely, this is not a difficult install. The most difficult part is pulling the shift **** off the shift lever.
We can put together some installation instructions and include them in the shipment.
You are officially customer no. 1 for this product. Thank you.
Phase II was the drivetrain and suspension and all that mechanical work is now finished. Phase III has been slightly postponed to continue the sorting out of all functional electronics on the dash and making the HVAC system fully functional.
We decided to wait on Phase III for a bit longer to continue the restoration work on instrument panel, dash and center console. This will become much clearer when Phase III starts. The gauges, cruise control module, clock, all all currently out for repair, restoration etc.
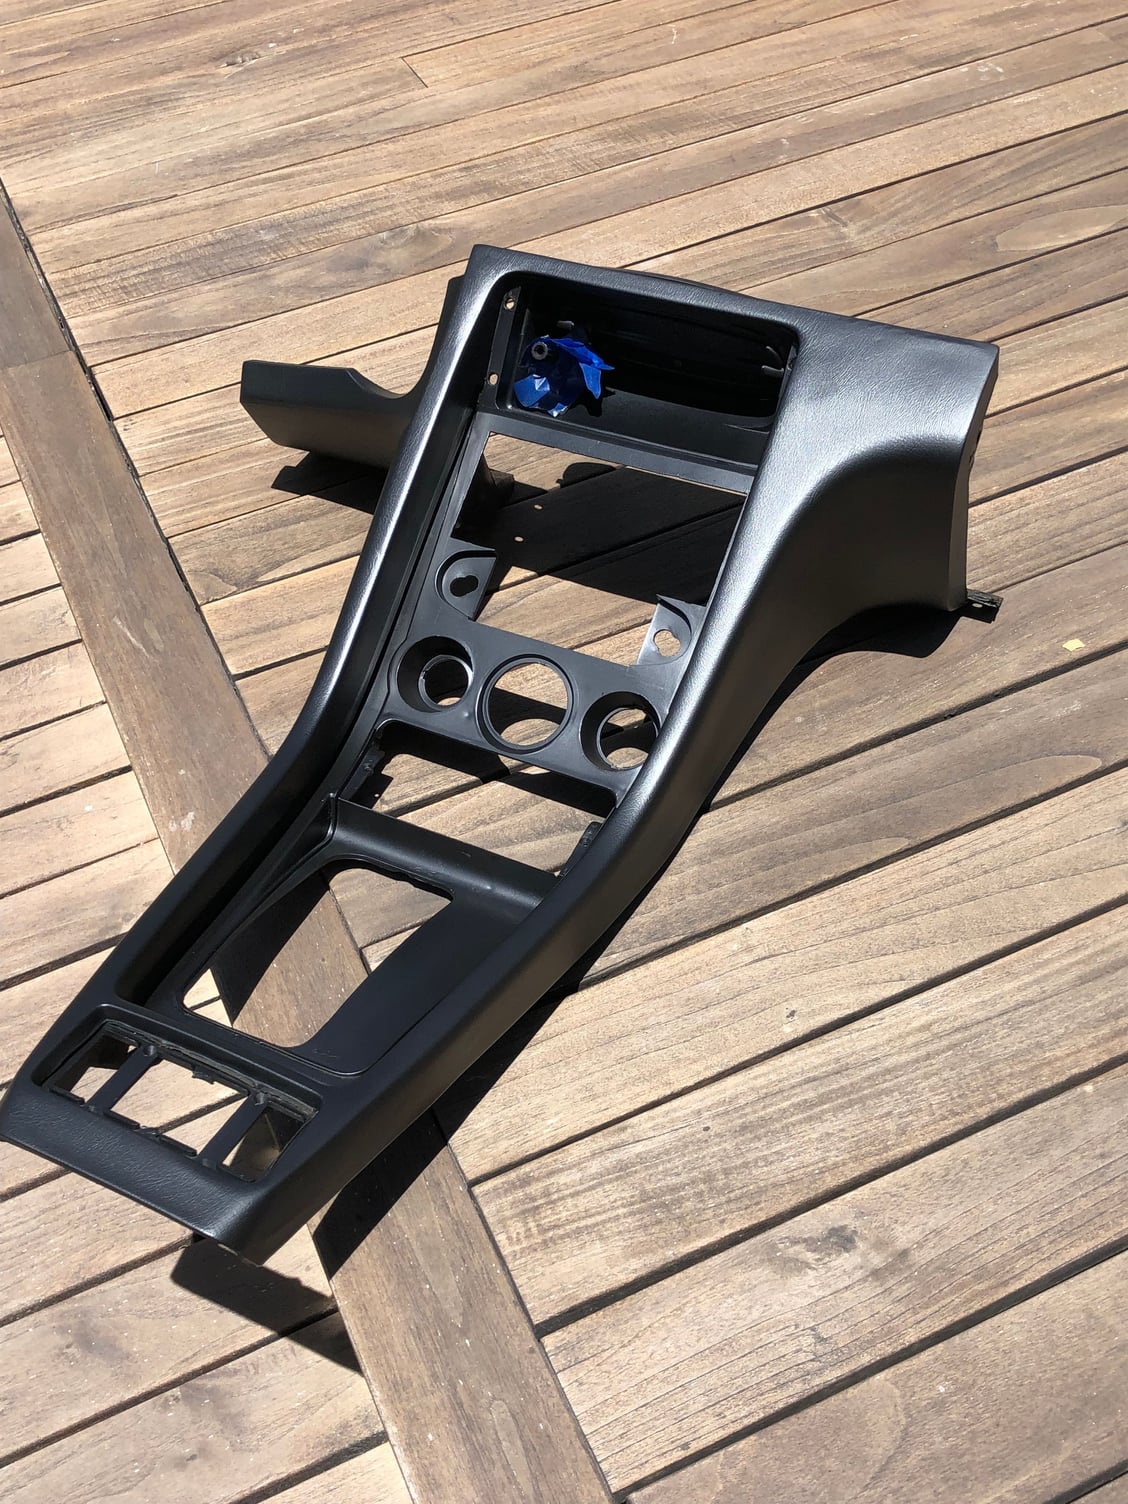
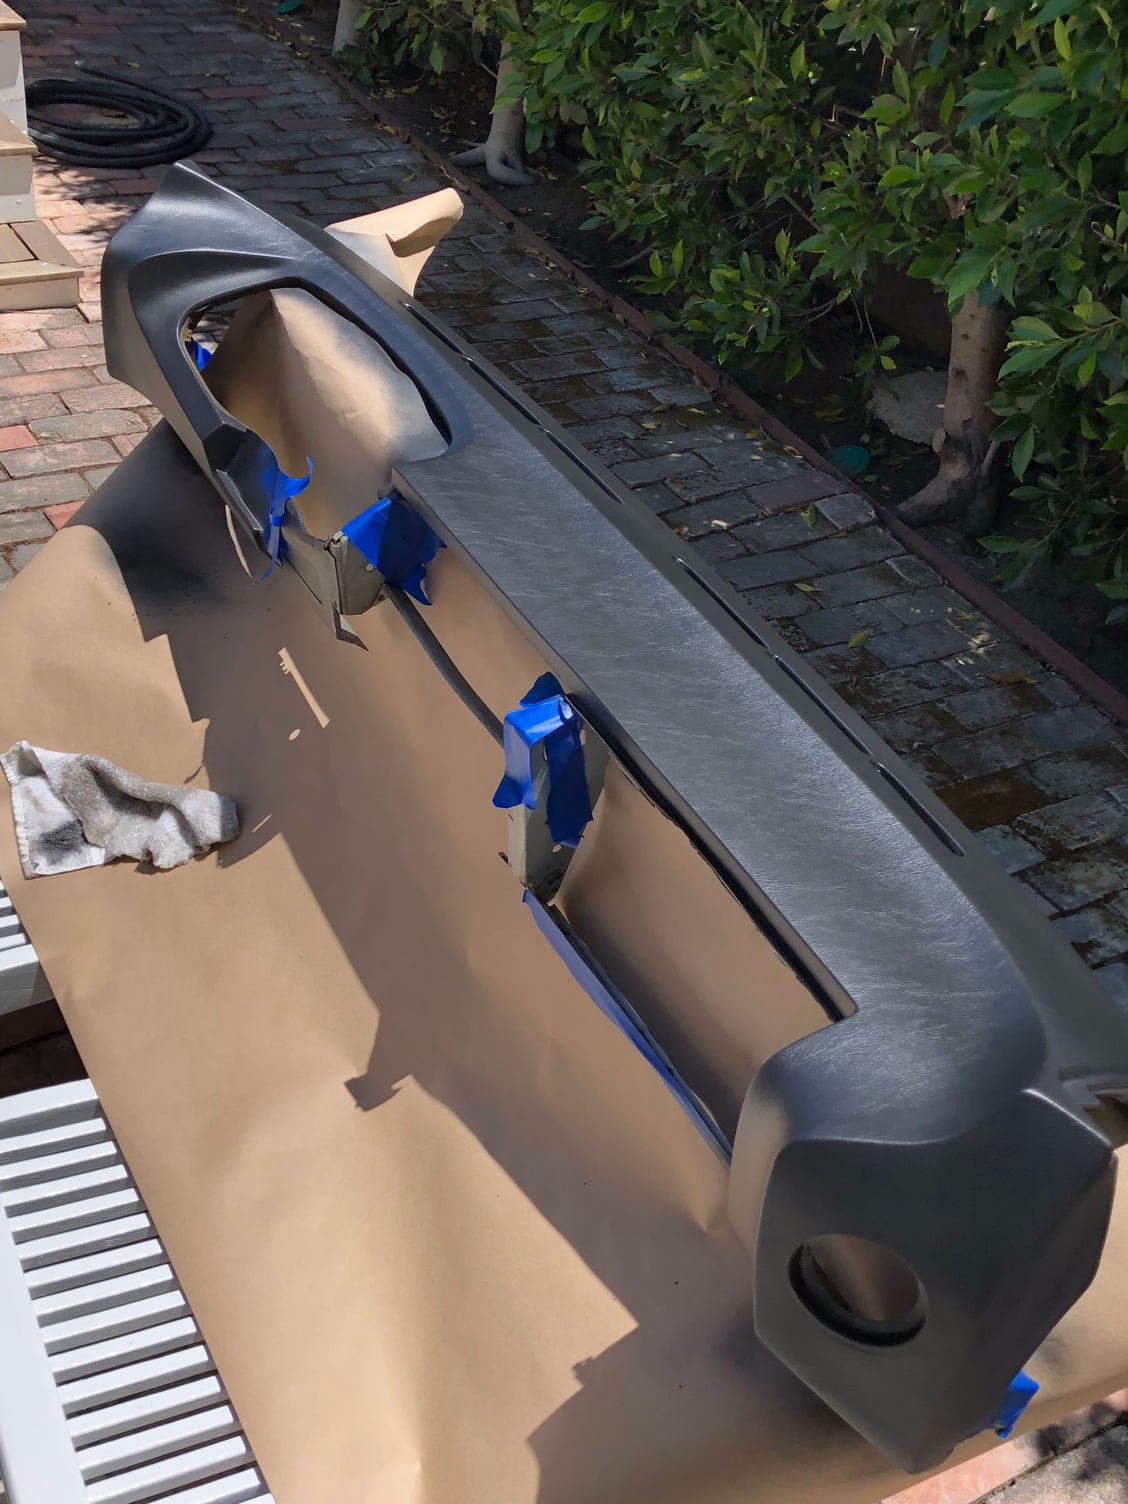
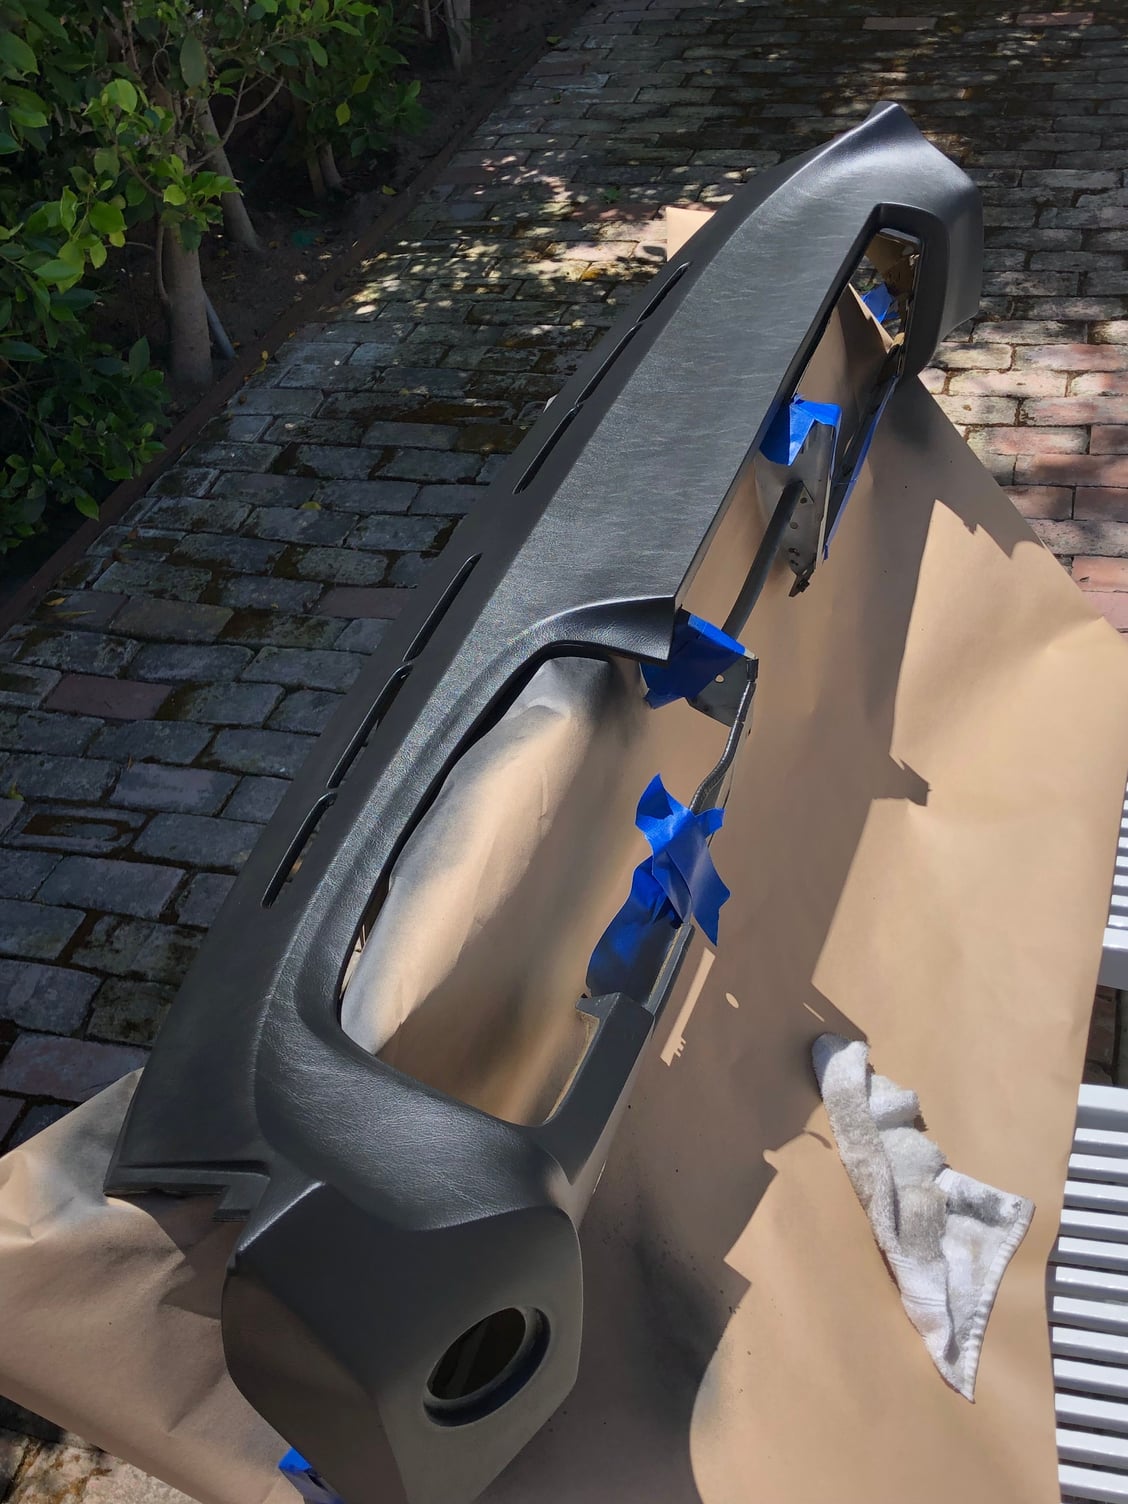
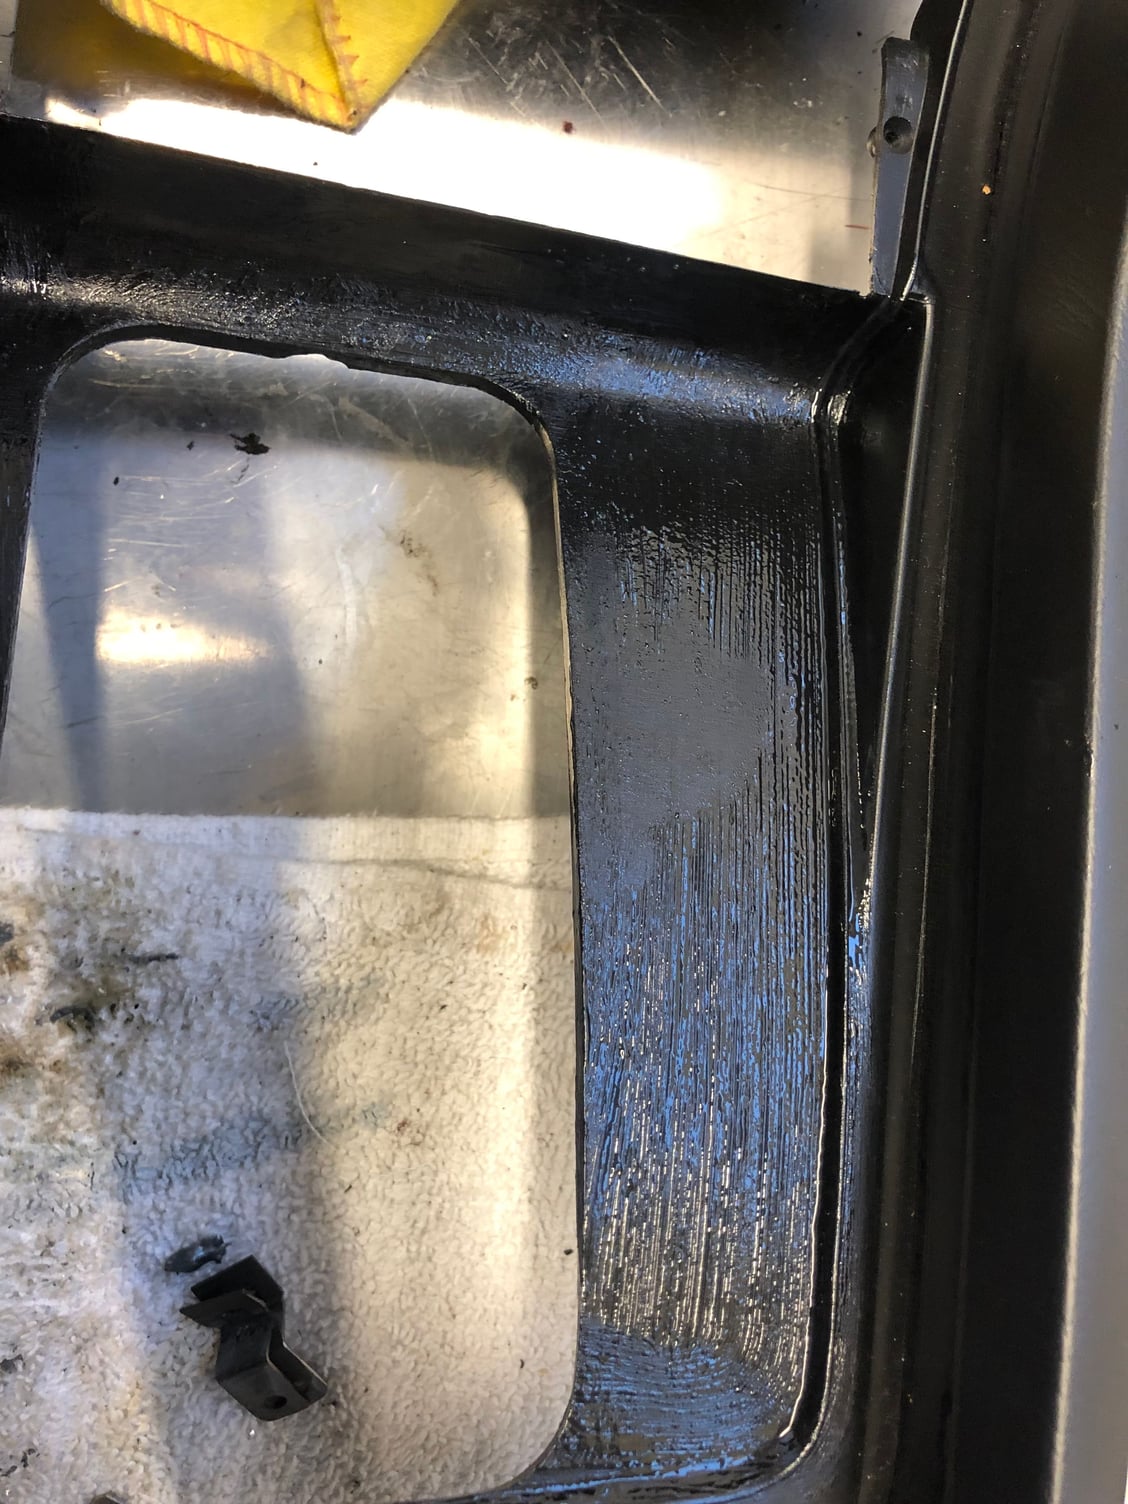
A good dash board core was sourced and crack repair work was competed on the few small cracks. The finish is SEM vinyl satin black. A perfect instrument binnacle was sourced from Ebay and the original center console only needed a massive cleaning and vinyl dye.
After having done BMW 3.0 CS dash restorations I was extremely pleased with ease or removal on the cluster and dash. This is enough harness length to extract the binnacle, well engineered fasteners that are accessible. An the stalk controls module is light years ahead of the competition. A pleasure to work on.
The goal is to have everything functioning correctly (A/C, blinkers, all gauge warning lamps, vacuum locks, etc) before we begin Phase III. Here are a few progress photos
Sharp eye -Obe Wan. I had to remove the grommet to extract the pod. I had just reinstalled it before this photo on the ignition (so as not to loose it).
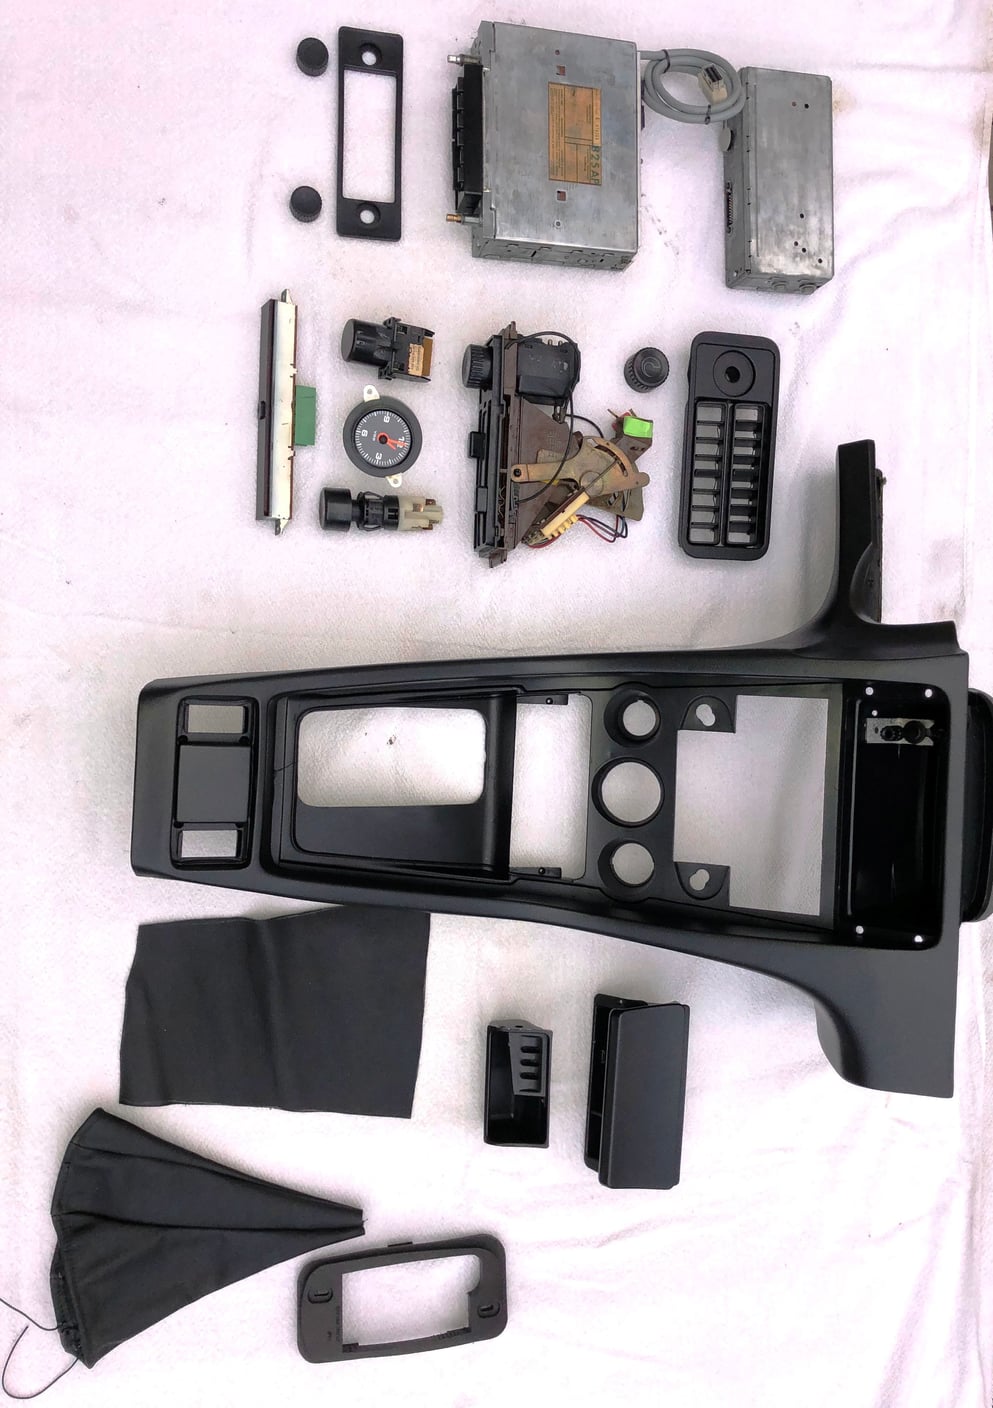
For those old enough to remember 1/24th scale Revell model cars..... this is the 1:1 equivalent in interior reassembly for the 928. Creative Audio (Brea Calif) just finished the repair and cosmetic refurbishment of the original Blaupunkt radio. This was the last item needed before reassembly. HVAC control unit got a good cleaning and reapplication of the grease, new *****, new microswitch and the sourcing of the critical gear that drives the fan speed no. display. Clock was rebuilt by North Hollywood $peedometer. Shifter console bezel is the new rev III 3D printed part.
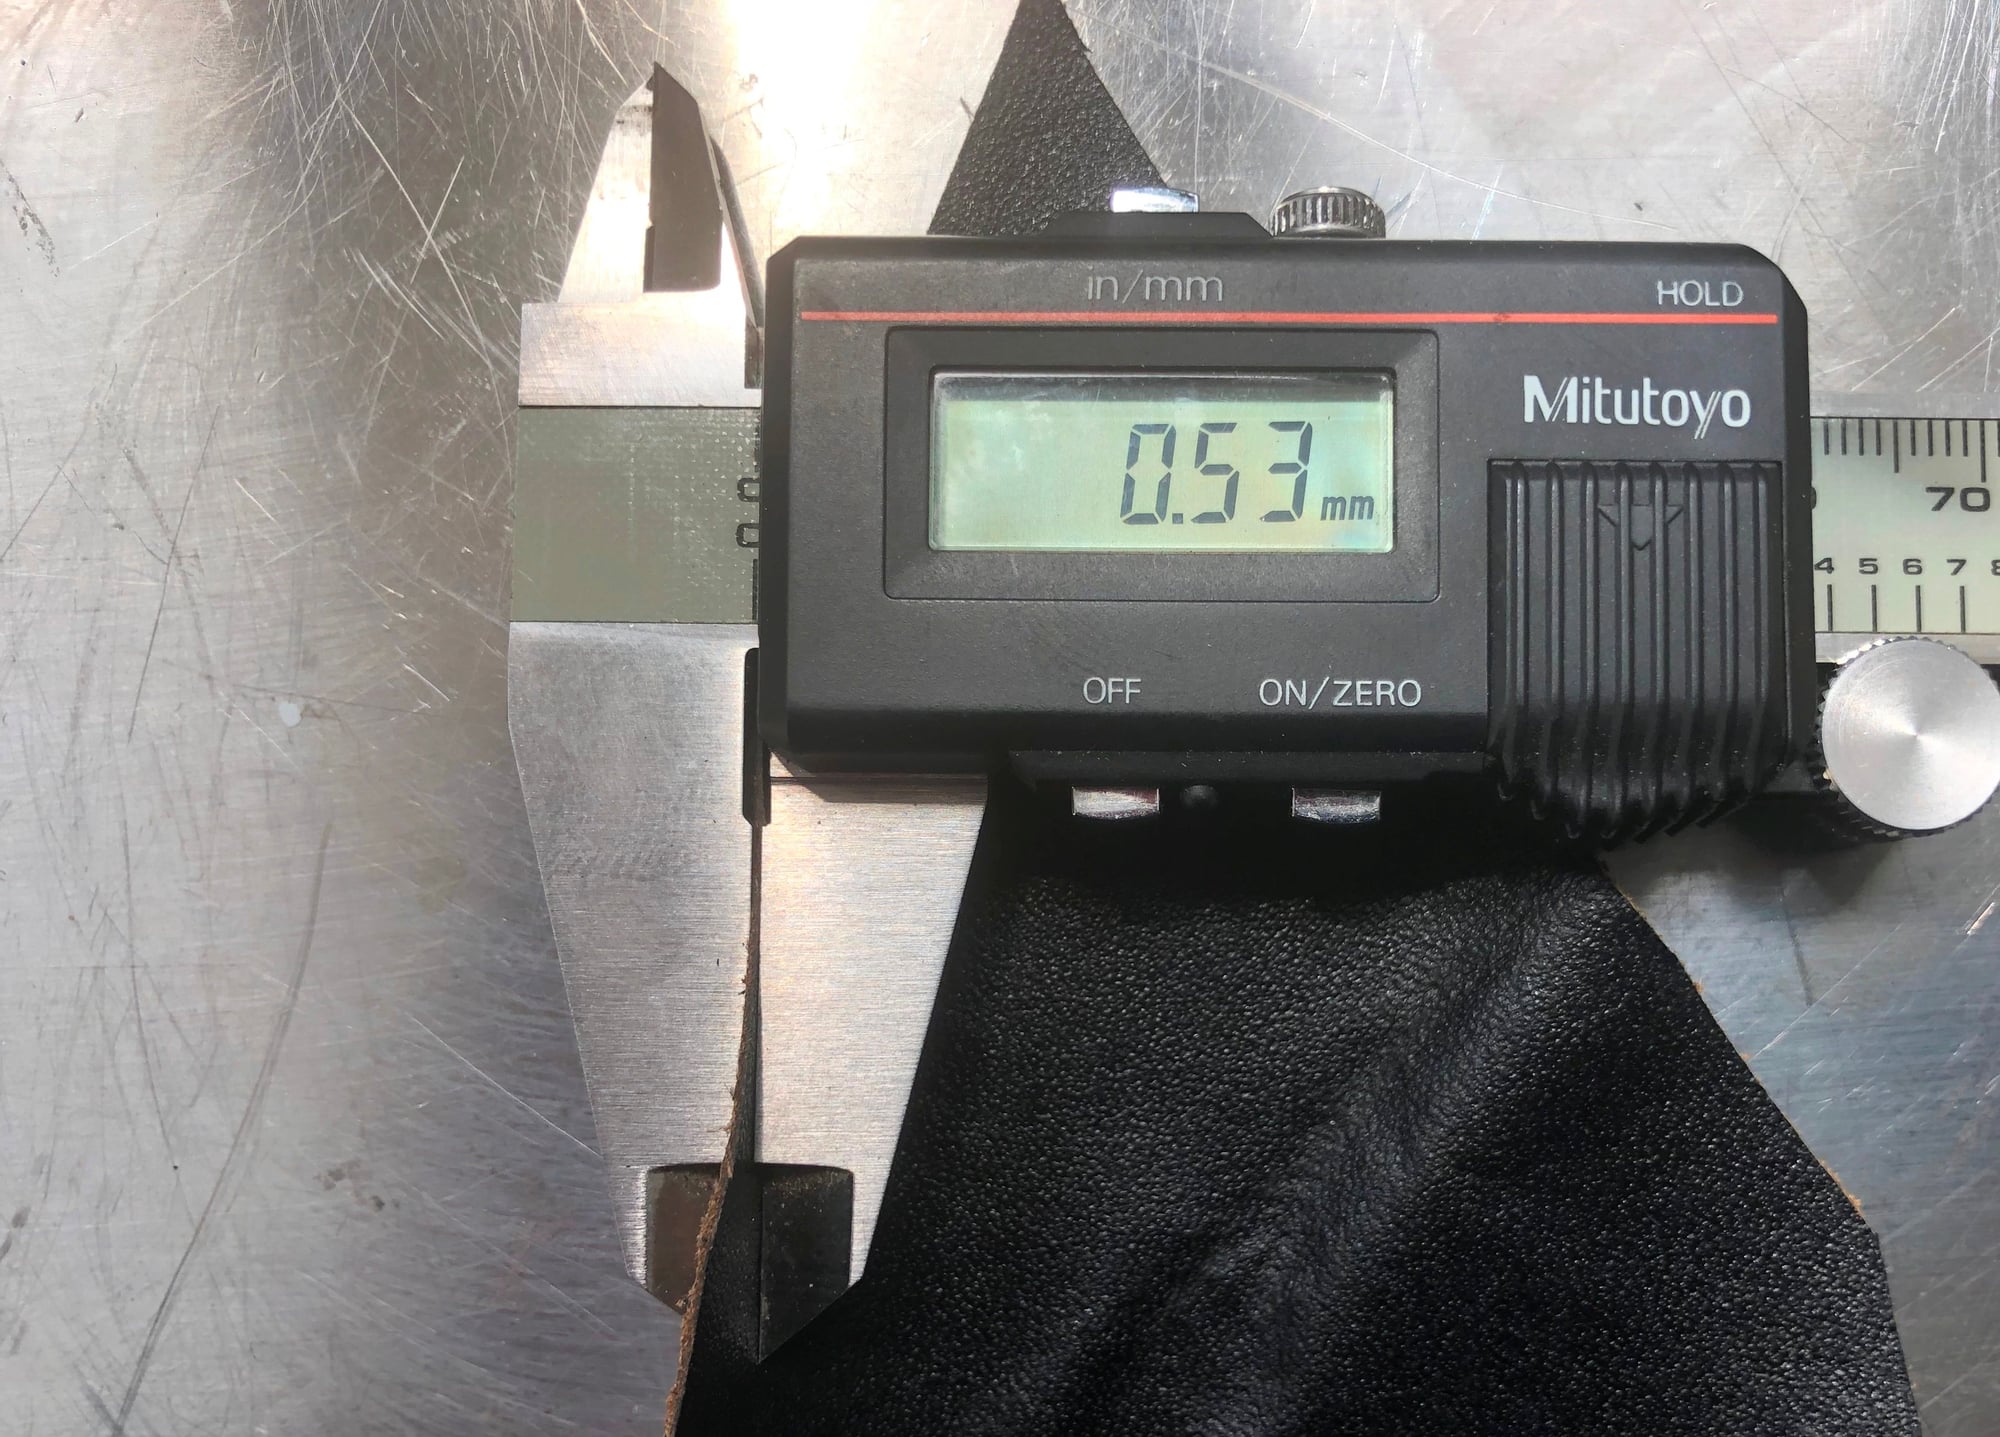
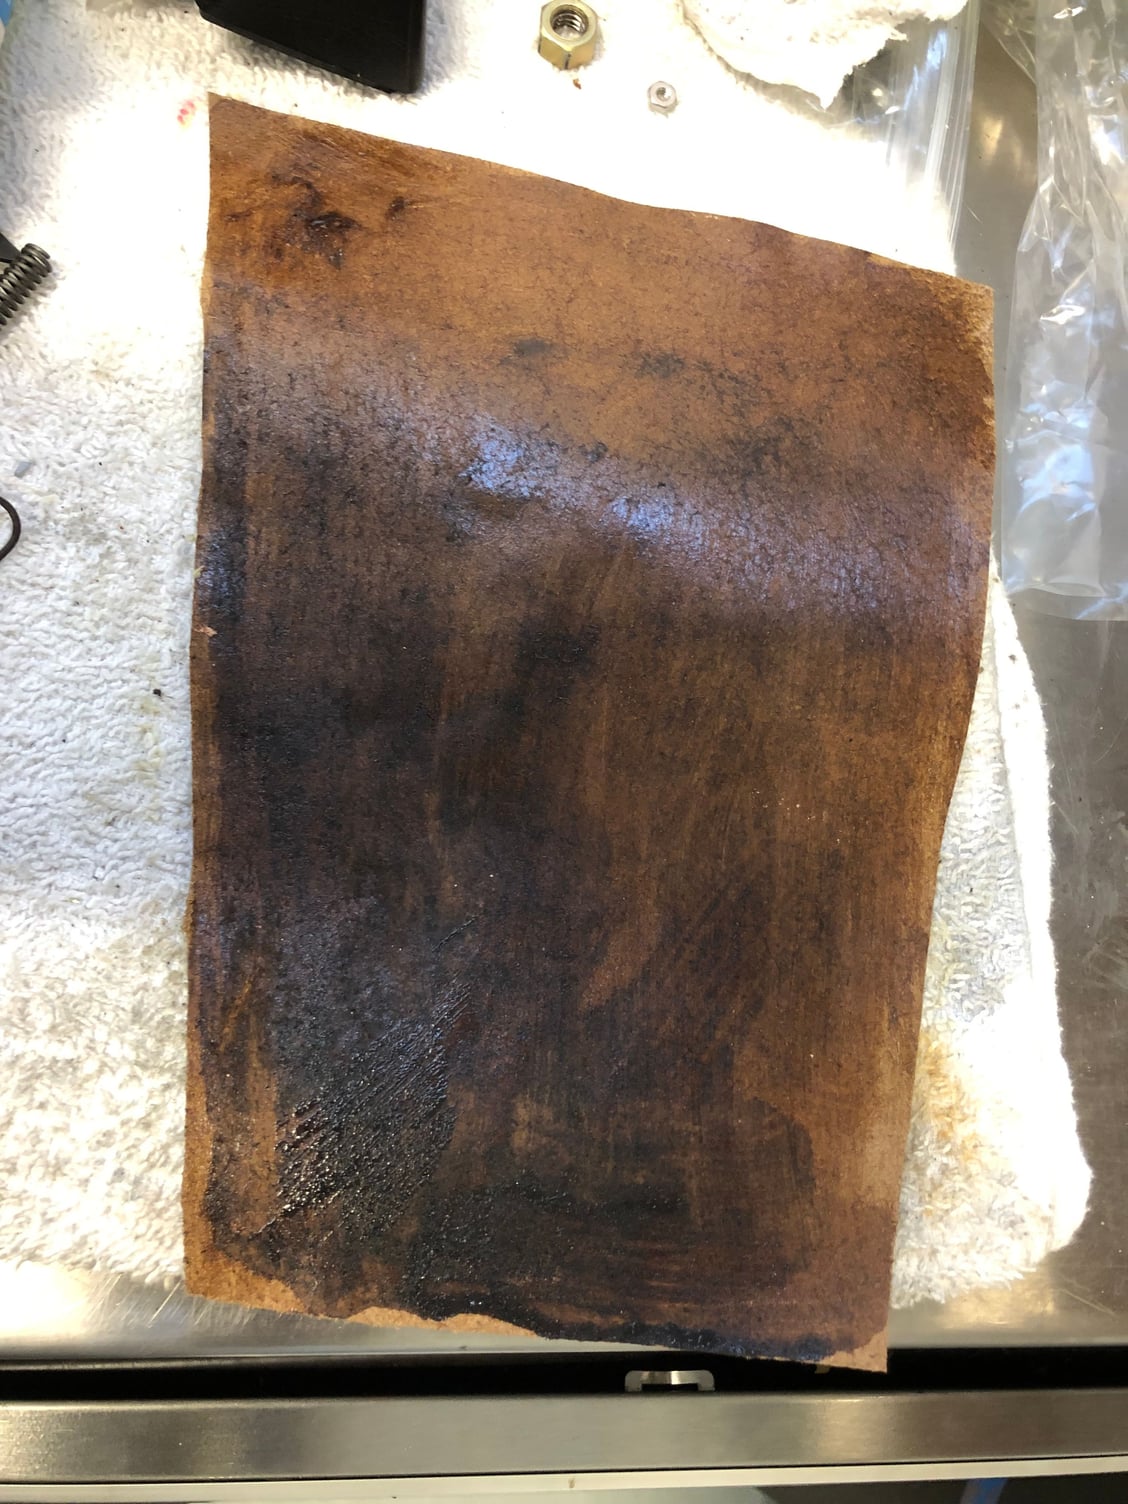
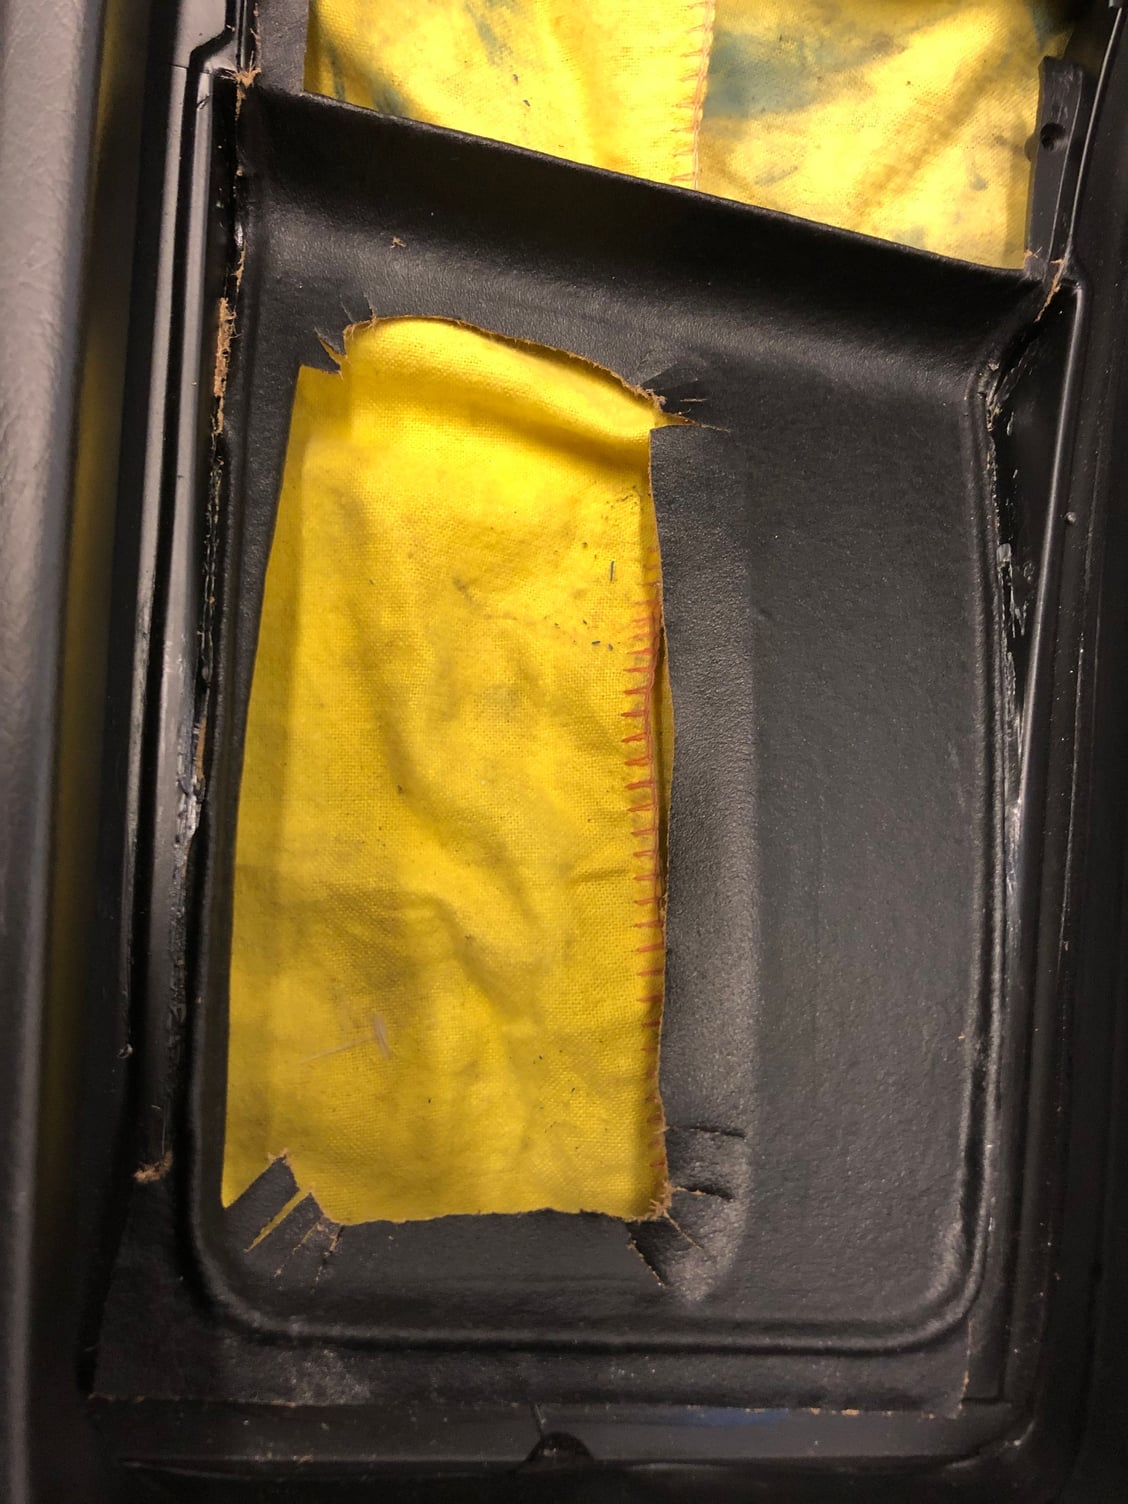
The 1978 only console has the narrow shifter bezel. The remaining area on the 'floor' of the console was covered in leather. Really, really thin leather -dyed black. After an extensive search I found the correct stuff in Canada. I have a lifetime supply as I had to buy the whole cow. If you are restoring a 1978 and need some. I can set you up for the cost of packaging and shipping. Here are the details.
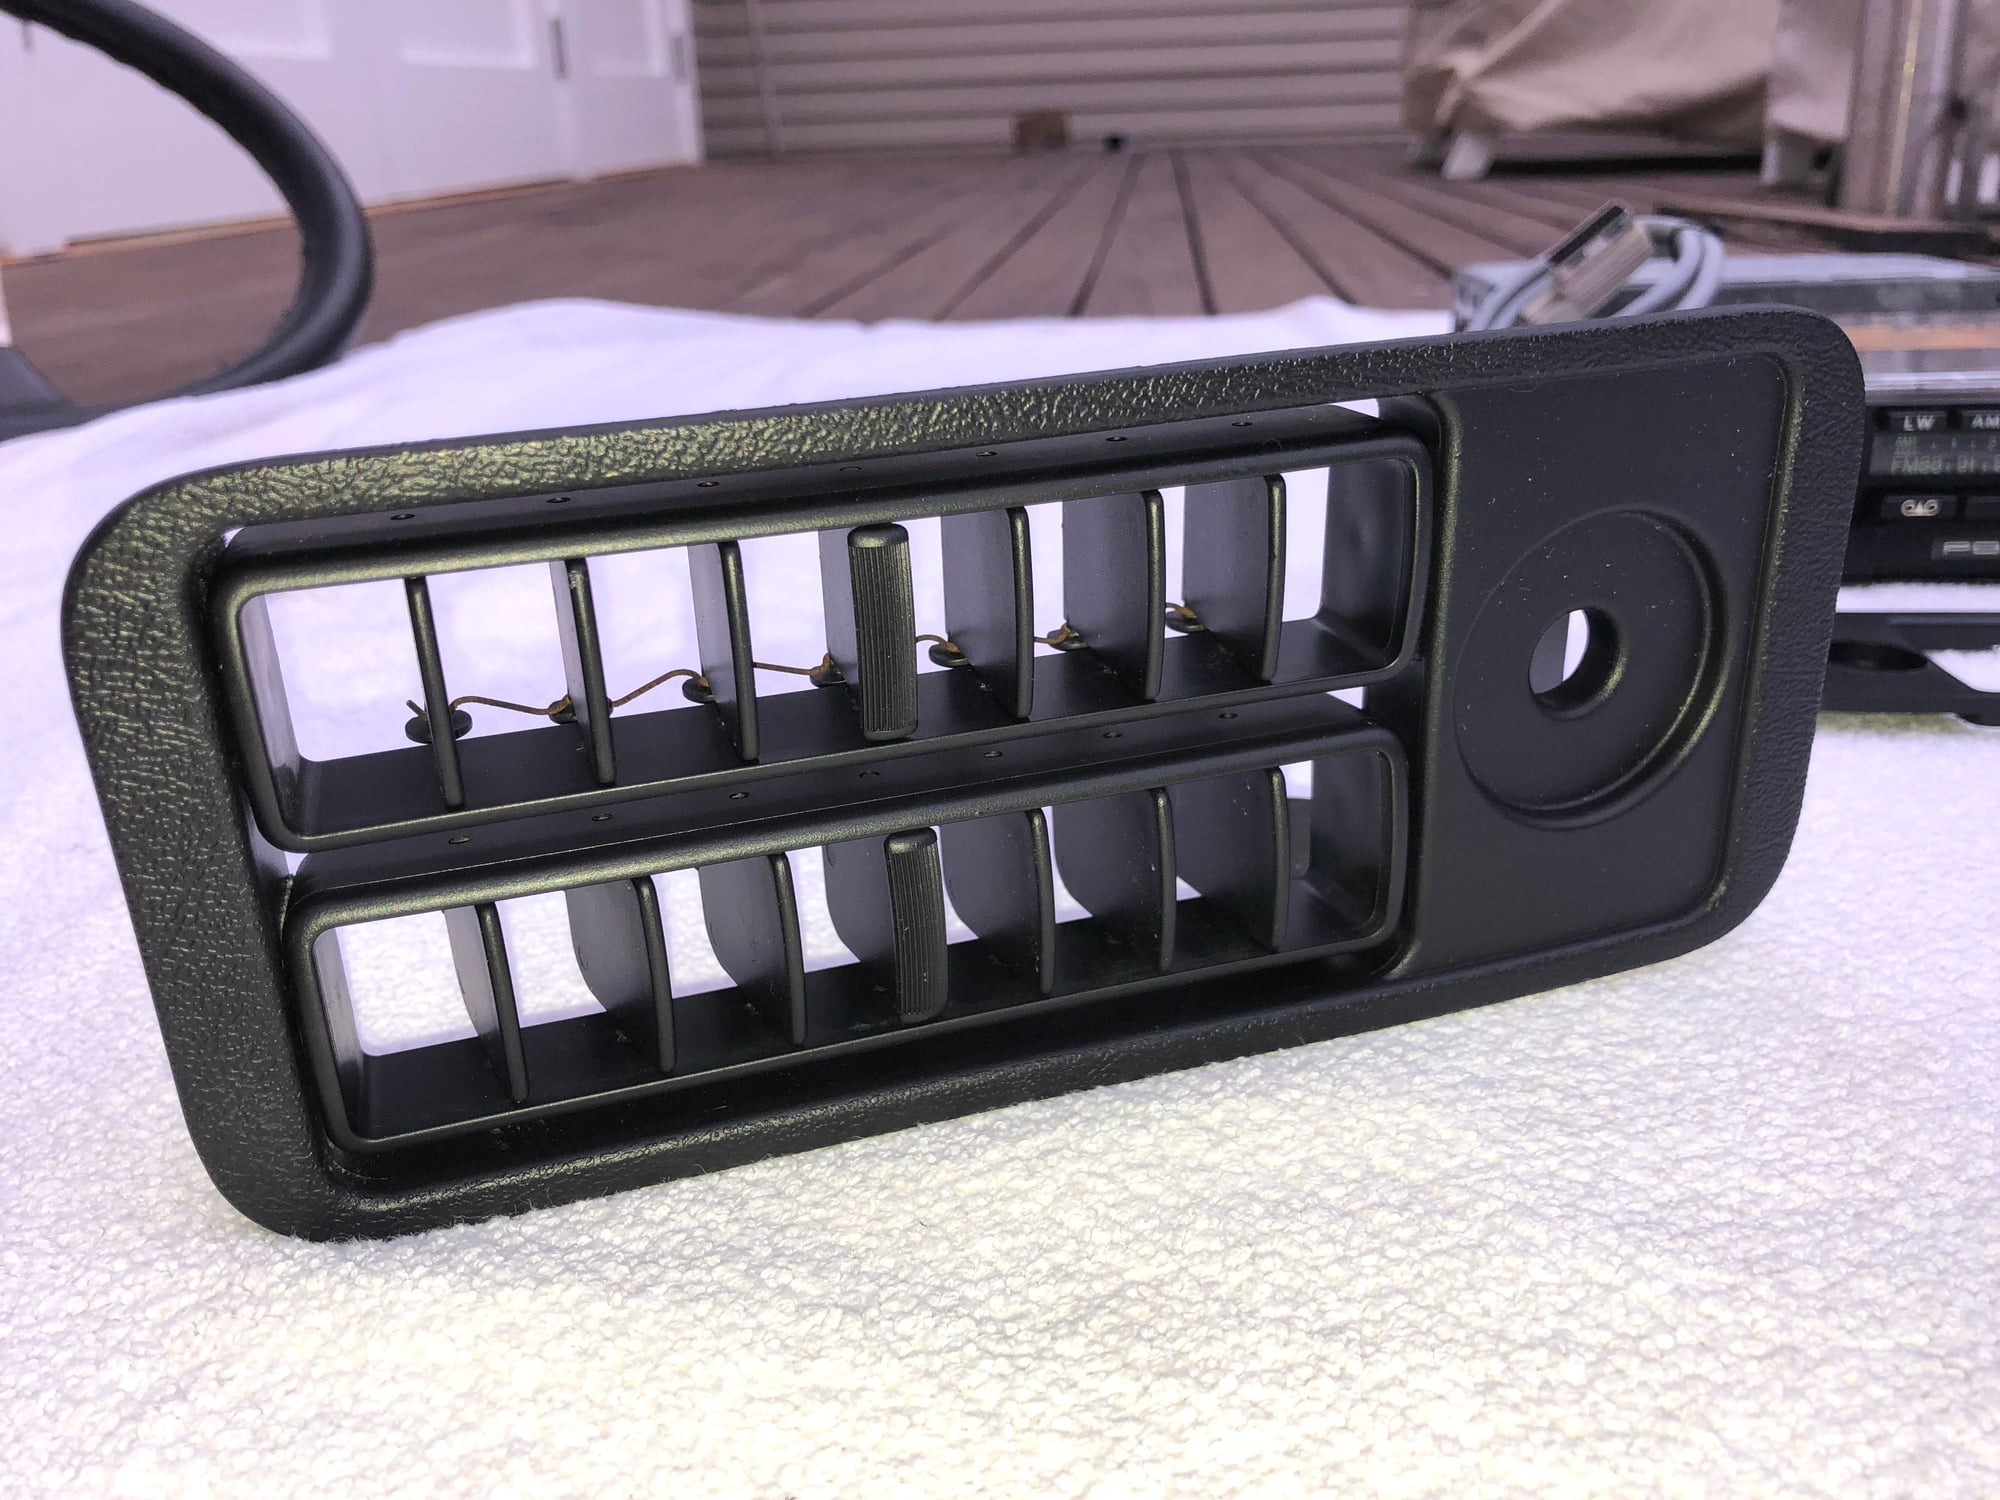
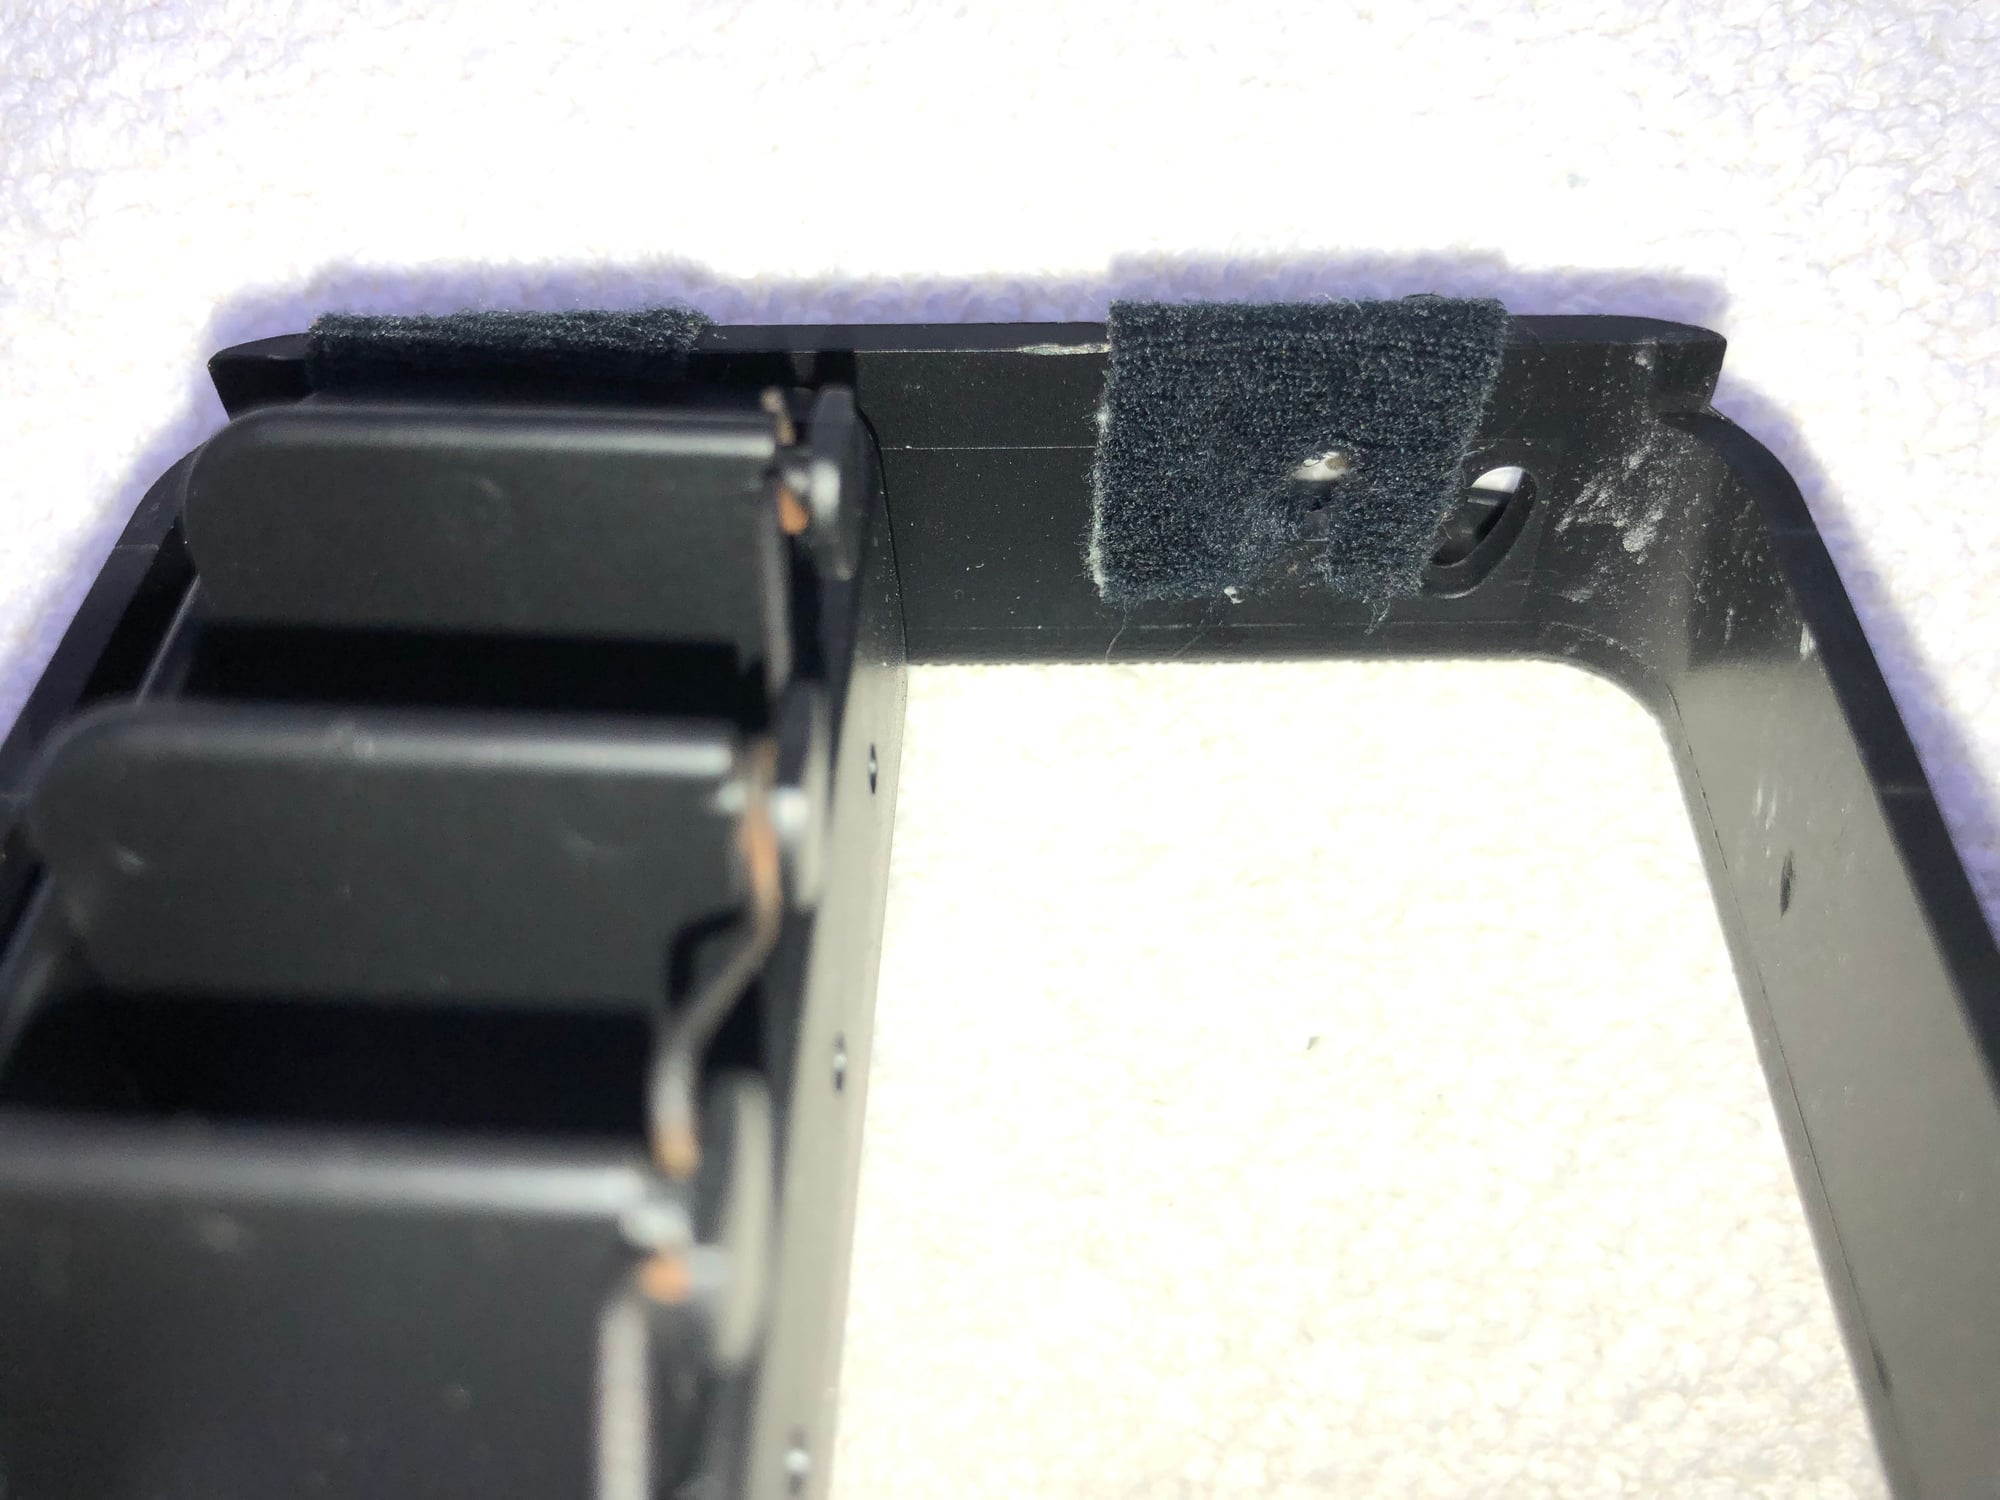
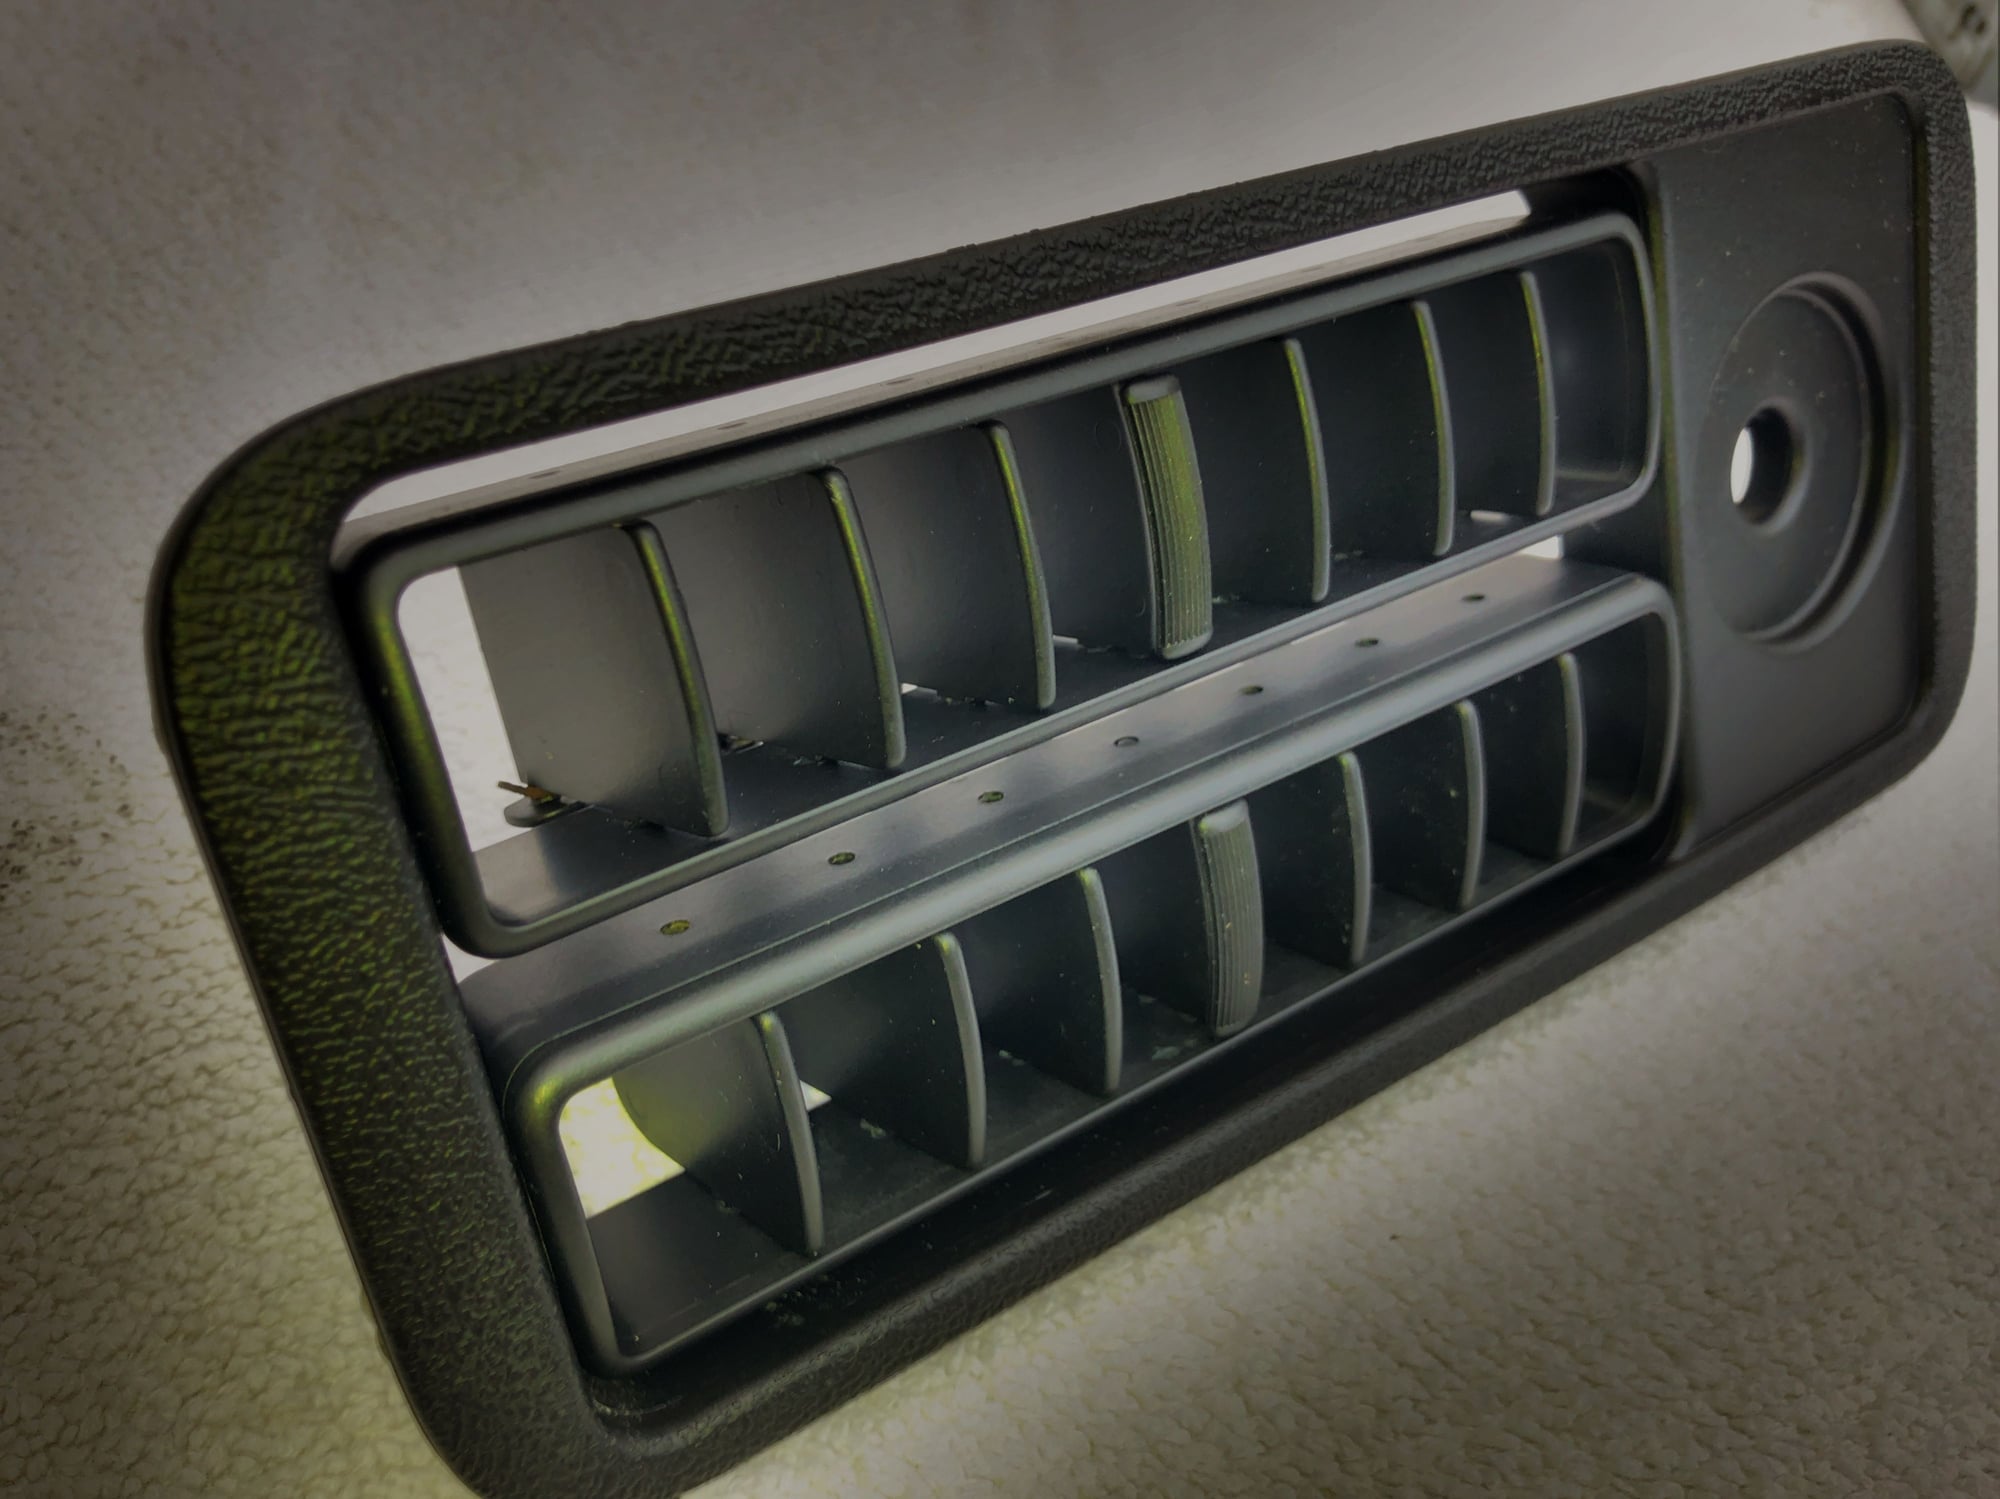
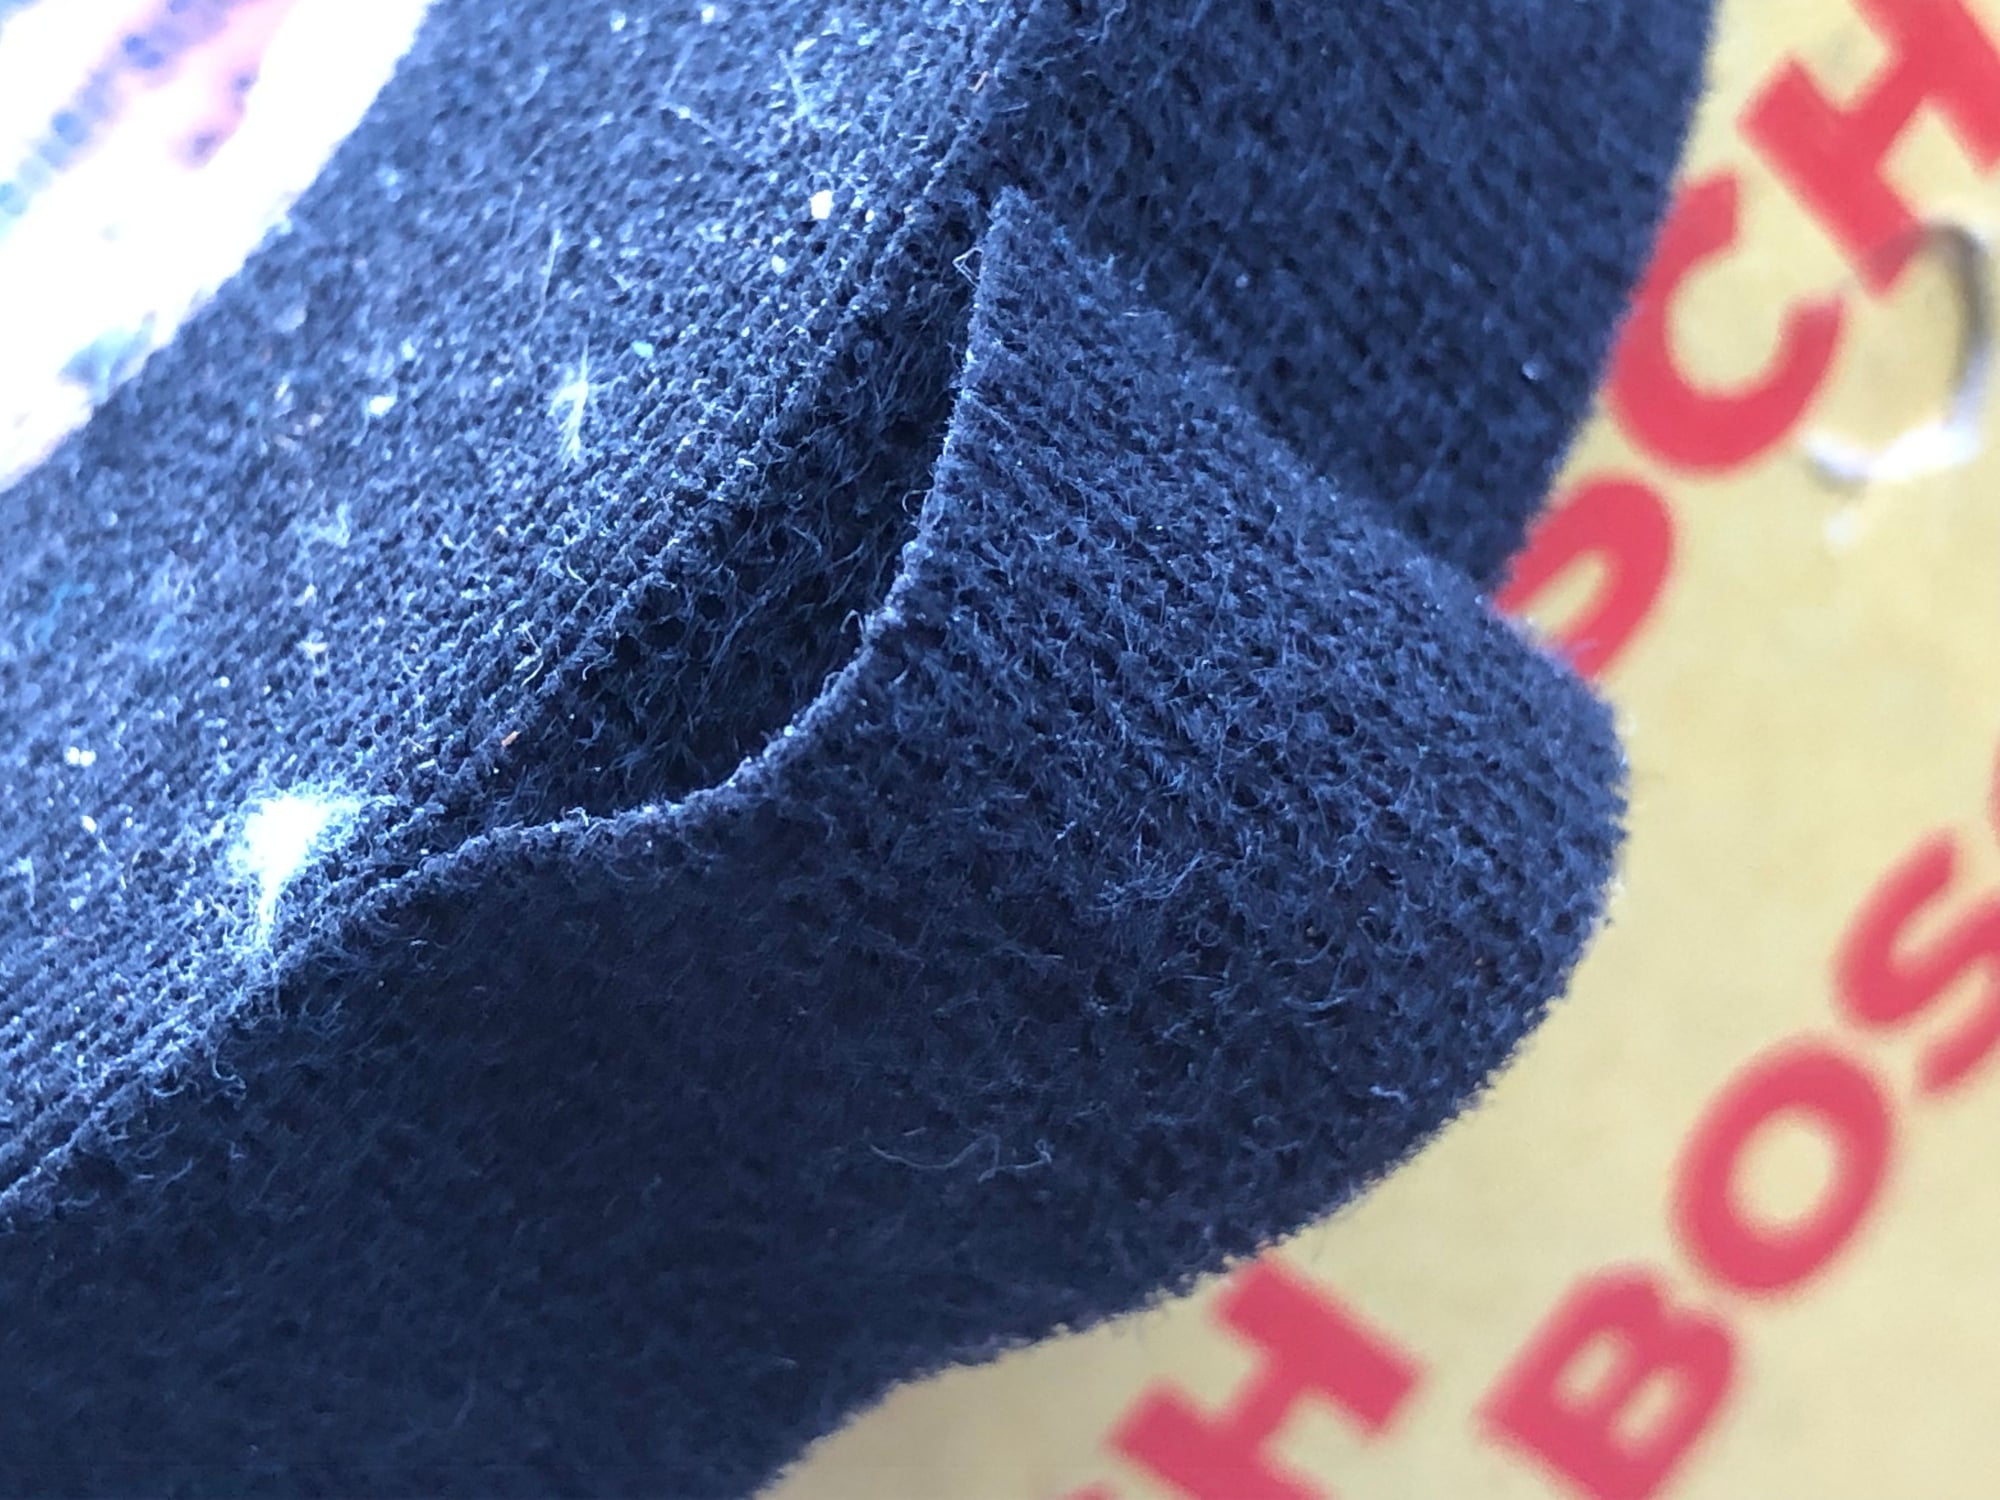
The HVAC registers on 928s get droopy and will not hold a position. There is a solution. BMW makes a great NVH tape that kills interior squeaks between metal and plastic parts. A small piece was placed on both sides of the rotational center on each register. The results are quiet and smooth action while holding any position.


 04-10-2019, 02:28 AM