When you click on links to various merchants on this site and make a purchase, this can result in this site earning a commission. Affiliate programs and affiliations include, but are not limited to, the eBay Partner Network.
Finalizing the battery position at the lumber yard
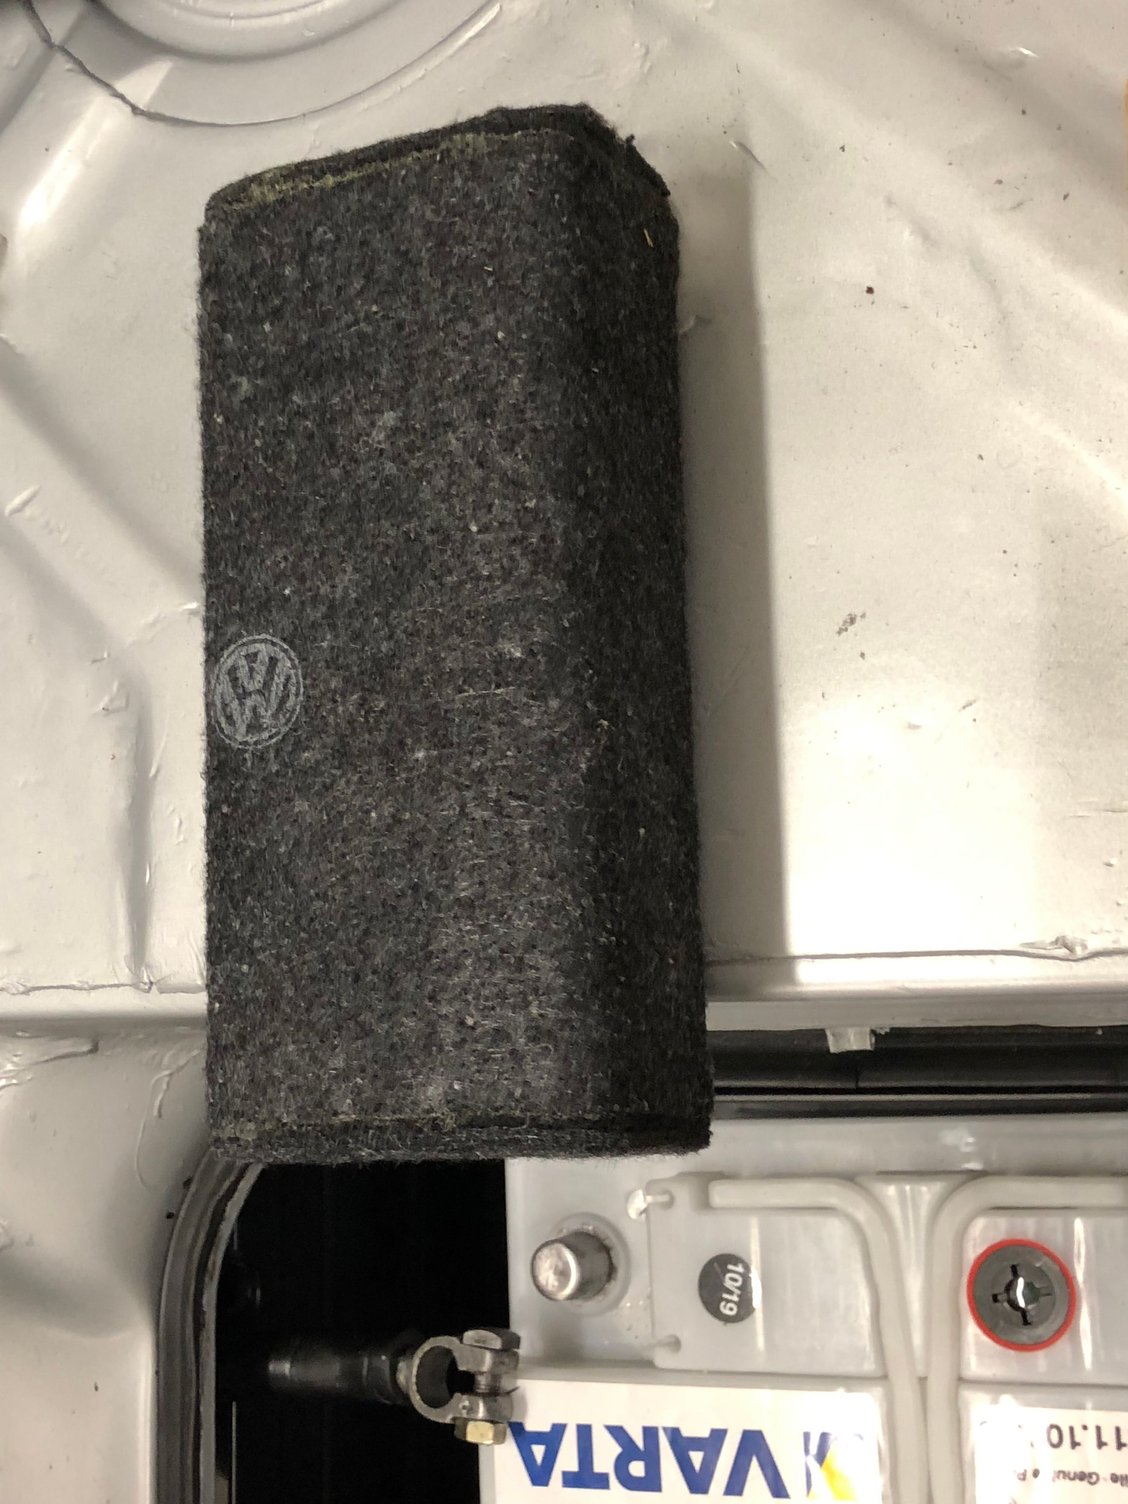
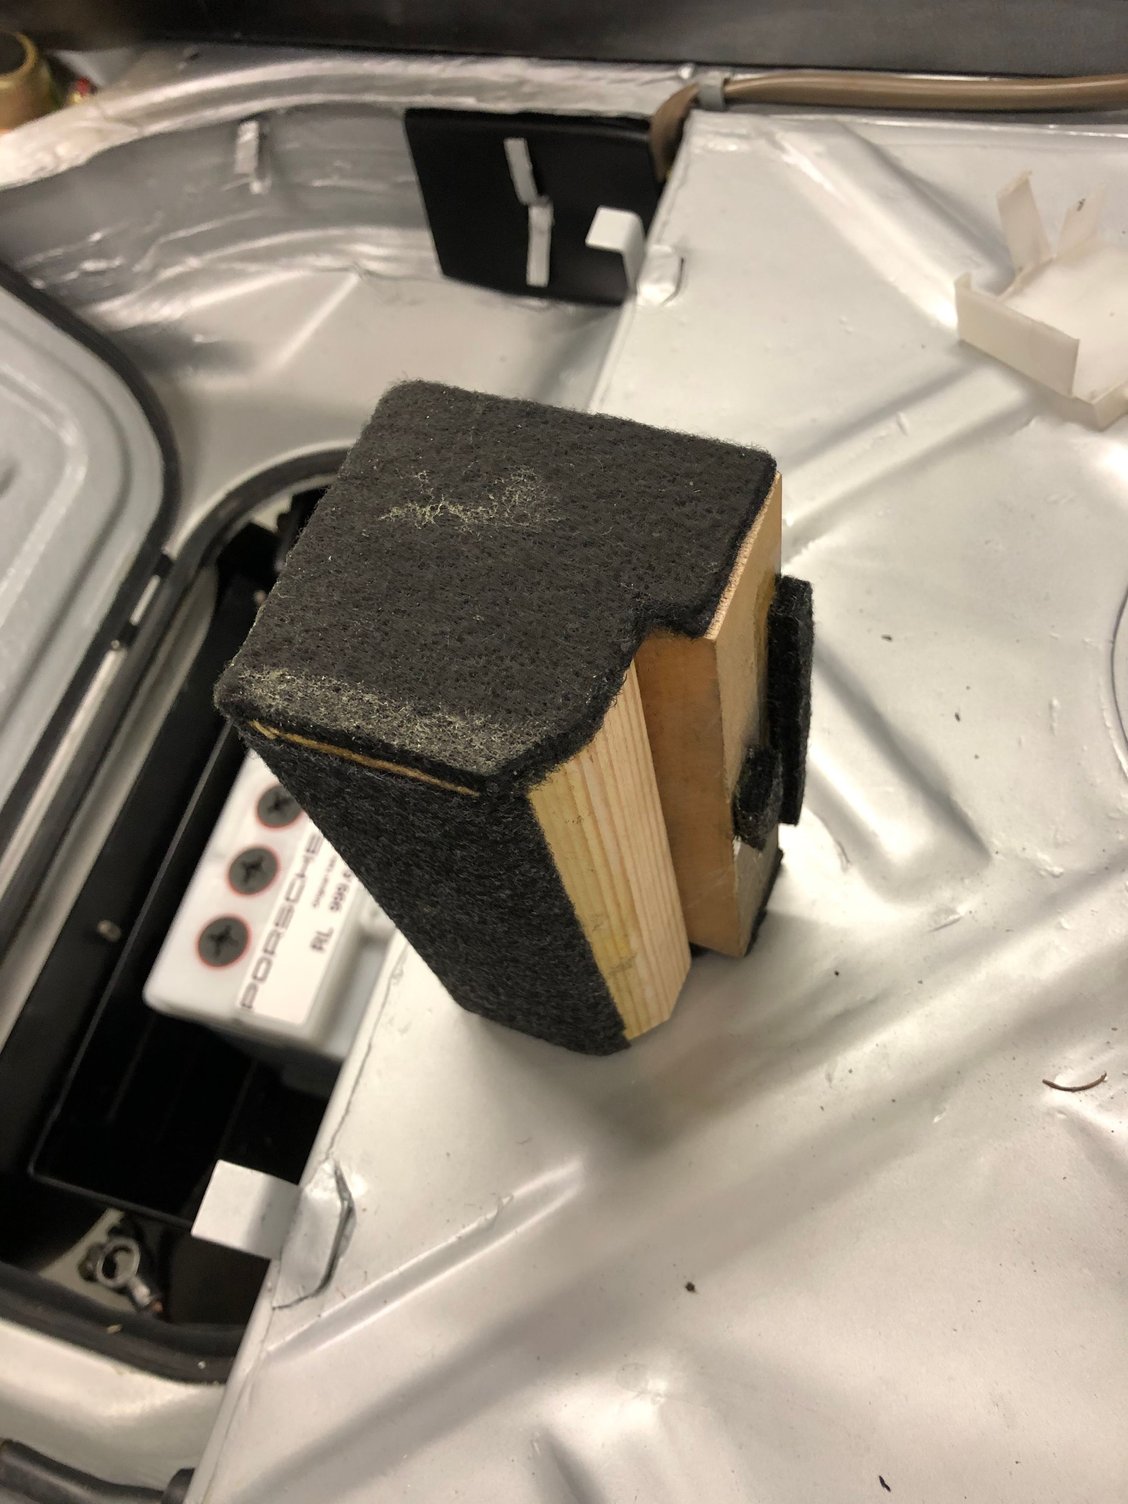
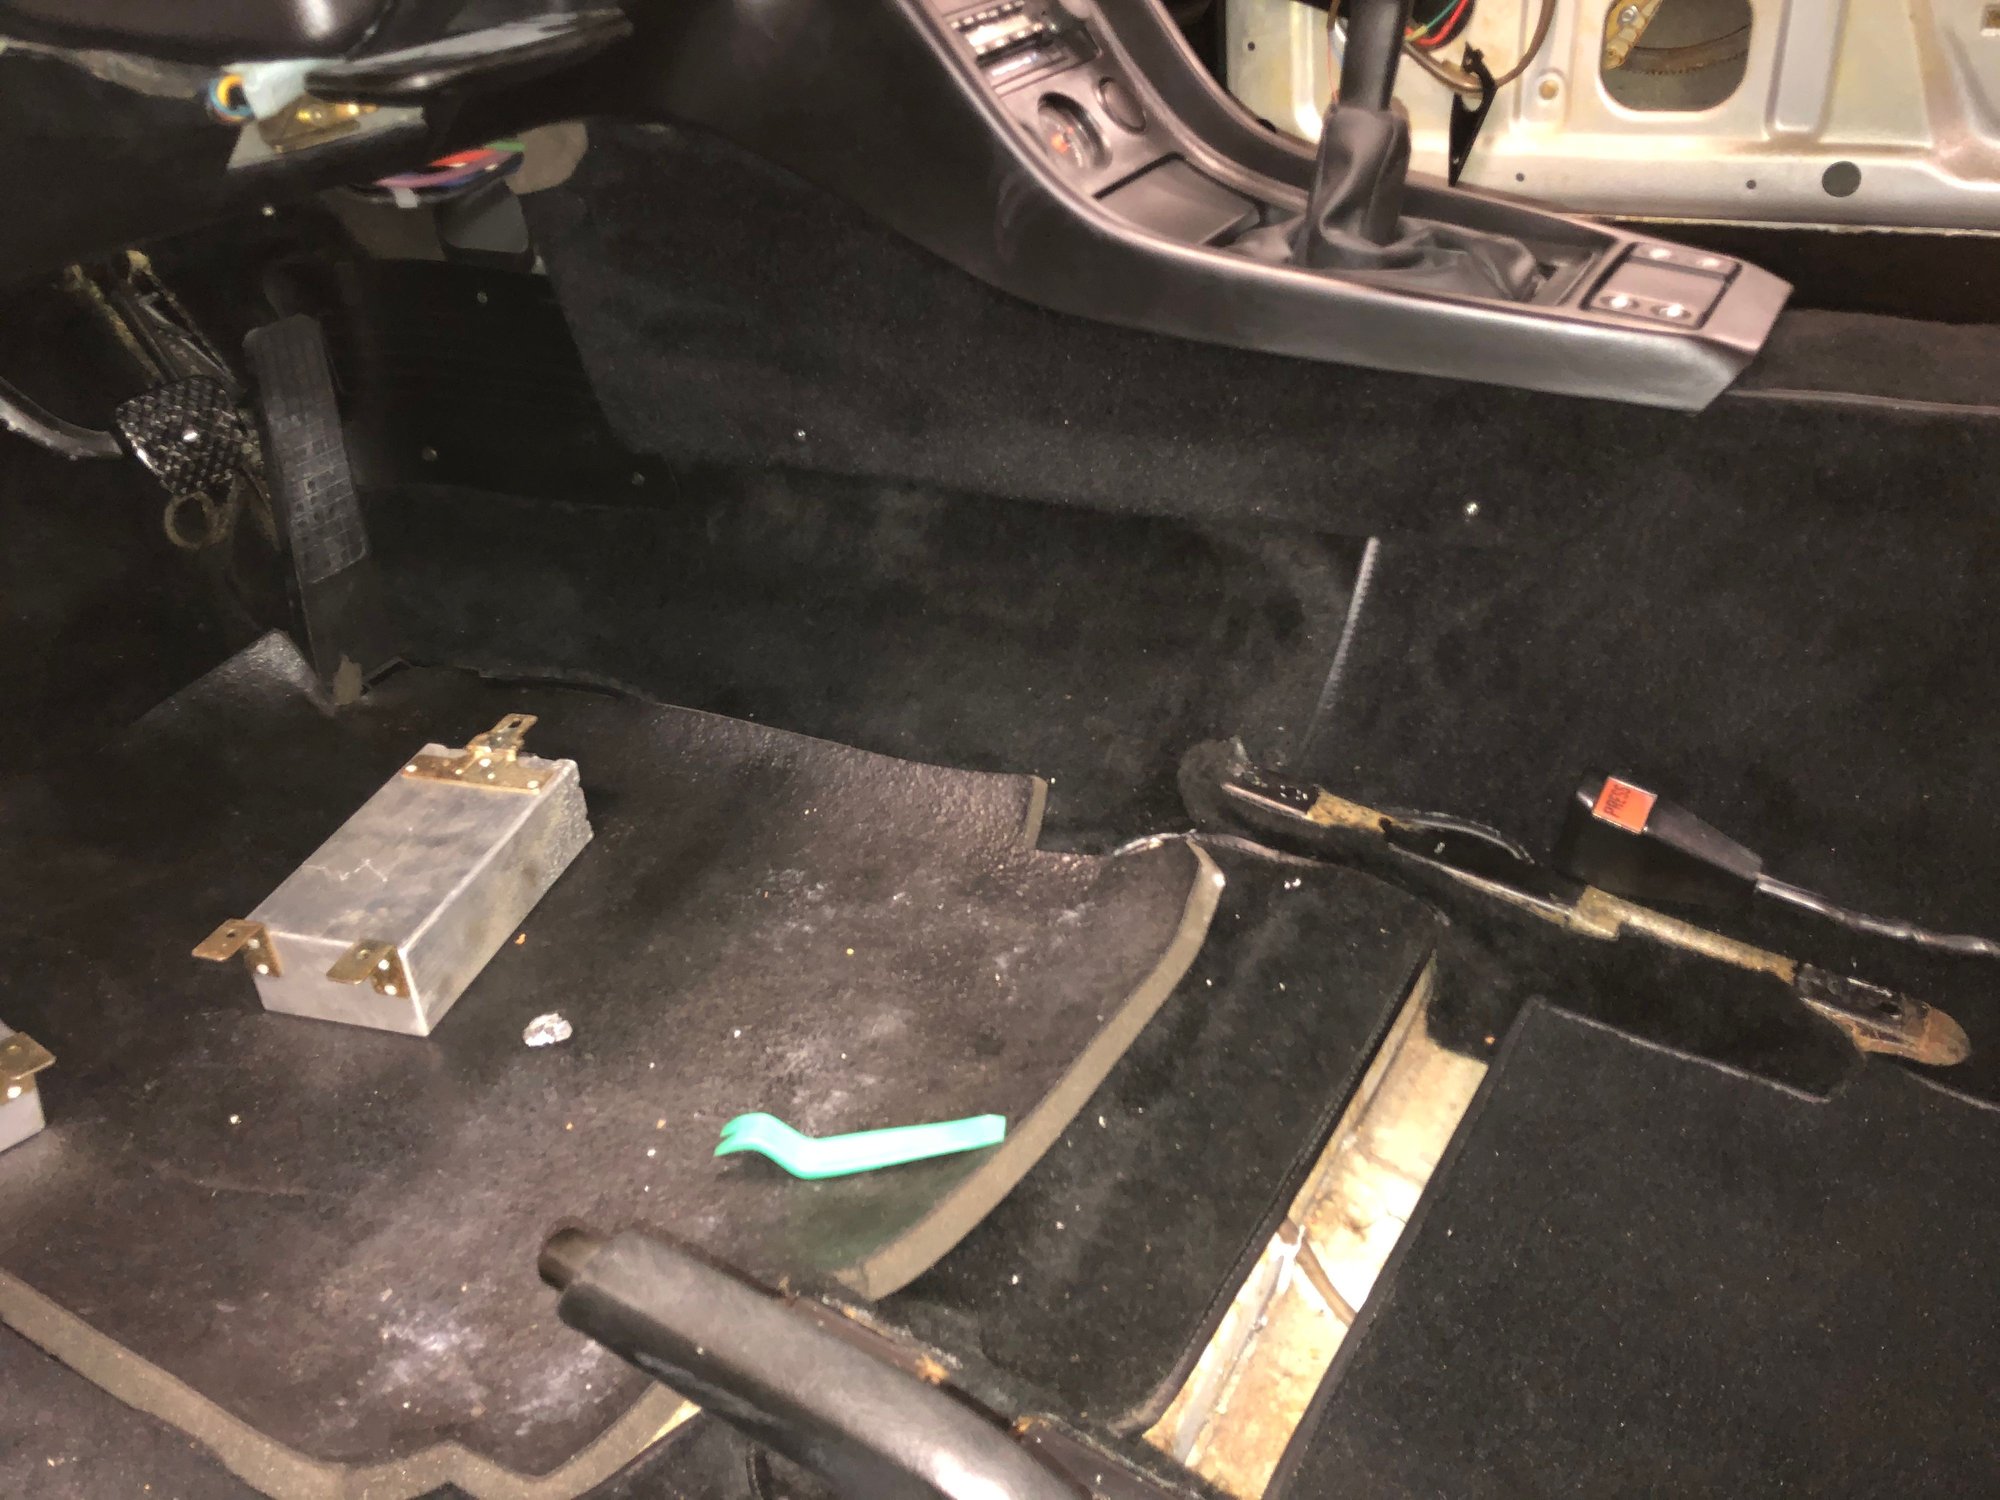
The battery was loose for and aft. Here are two custom wood blocks fabricated to the same with as the battery box. These two wood blocks slide down in front of and behind the battery to keep it from moving during accel / decel. They are covered in an automotive grade felt insulation. The aft one has a 45 degree angle in it to match the floor of the battery box. Pine 2 x 2 cut to the same width at the battery box with enough room for the felt material Material is in the family of approved sources. Funky angle on the aft spacer to fit the mating feature in the floor of the battery box. buttoned up and finished.
If it is not apparent yet, one of the final goals on completing 01117 is the 'as delivered' experience. i.e. where every function on the car works as the day it was driven off the new car lot. We are pounding through the punch list to get every electrical function on the car up and working. Correctly. Some systems are easier than others.
One of the last is the triple squirter systems on the 1978 model. The earlier clip show showed the intensive headlamp spray nozzles up and working. We thought the dual system with the windscreen would be easier. No so fast. After a replacing the pumps and diagnosing the electrical systems we discovered the highly specific relays have to used in both applications. Superseded relay part numbers don't work. Then more issue with pinched lines. Then -finally- success. Note the different sound from each pump. The second squirter is the intensive washer fluid. I know it seems small, but this was a big success.
I'm more or less working toward the same goal on my '83, and recently installed three (!) new washer pumps and all new valves. I had the opposite experience: The main washer and intensive washers worked great off the bat, but when I tried the headlight squirters... lots of noise but no water at the headlights. But a lot of water from inside the bumper cover. I'm going to have to remove the bumper cover to fix a burst or disconnected hose. Grrrr!!
I feel your pain / a few steps before you remove the FBC
First I would push some small wire through the nozzle hose tips to ensure they are flowing water. You don't want to continue to have the high internal pressures. Before removing the bumper cover you might be able to access the nozzle barb with the headlamp in the 'up' position. You should be able to at least see the disconnect. Using a long pair of needle nose plyers, possibly pushing the hose back on. Apply lots of P-80 to the ID of the hose will really help. Anything before you go to the effort to remove the entire cover.
Good luck.
Originally Posted by rjtw
I'm more or less working toward the same goal on my '83, and recently installed three (!) new washer pumps and all new valves. I had the opposite experience: The main washer and intensive washers worked great off the bat, but when I tried the headlight squirters... lots of noise but no water at the headlights. But a lot of water from inside the bumper cover. I'm going to have to remove the bumper cover to fix a burst or disconnected hose. Grrrr!!
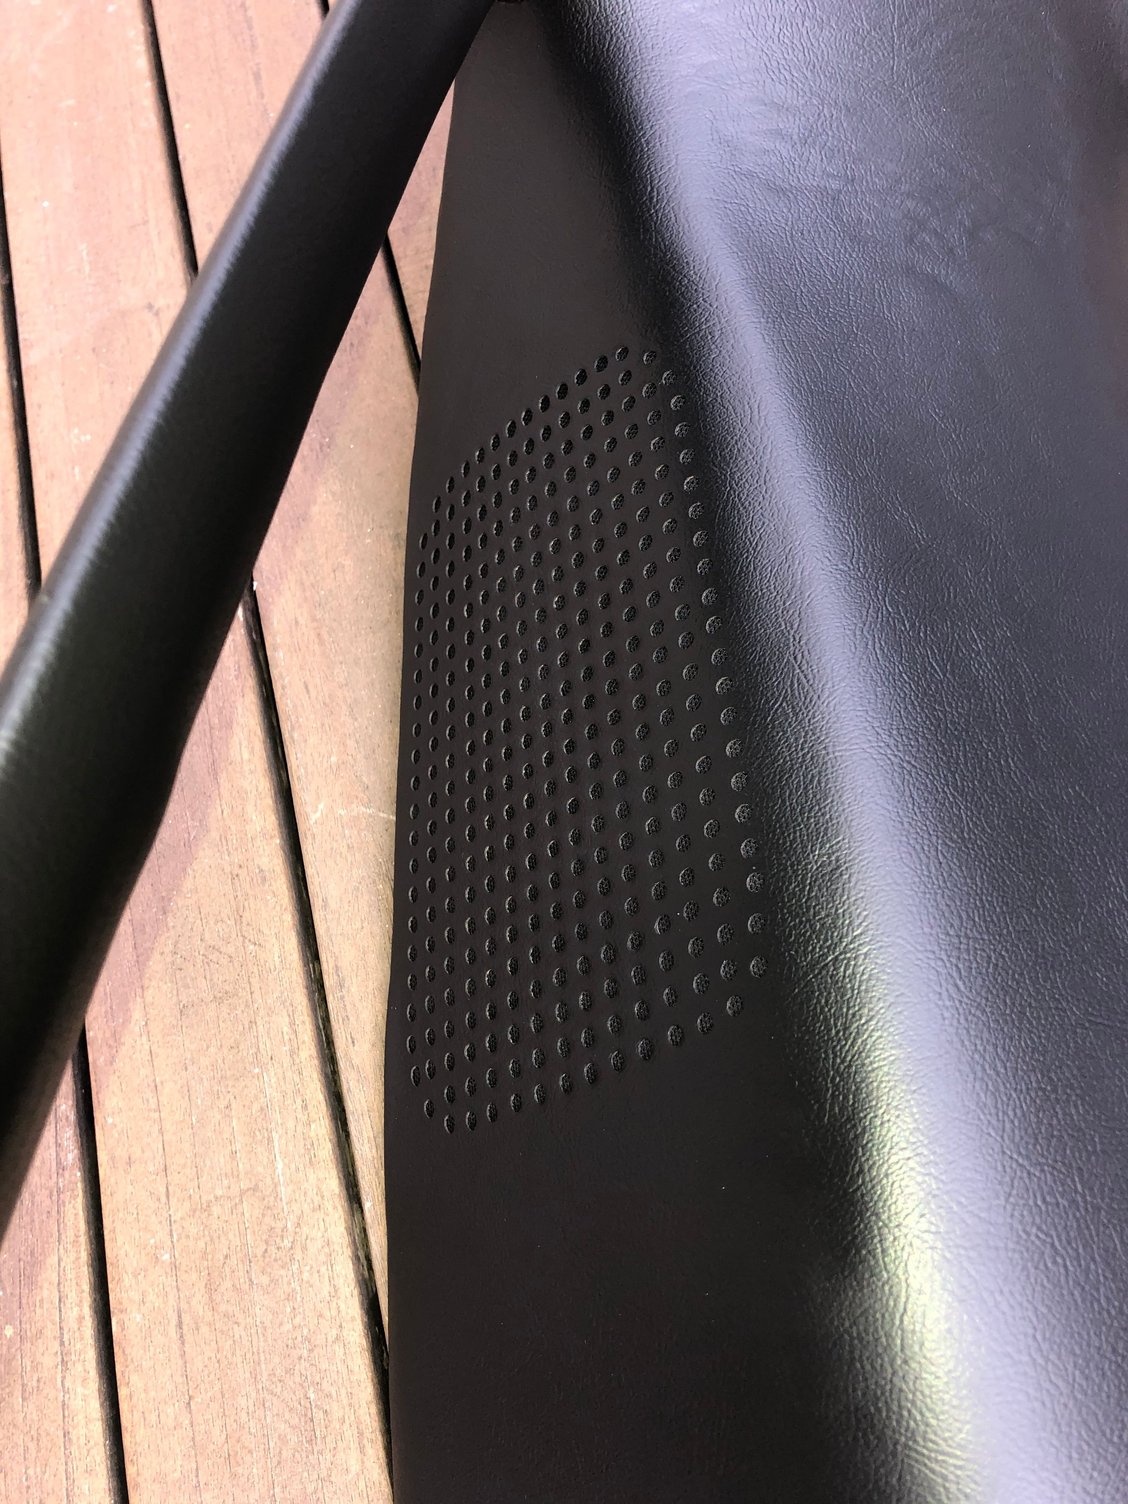
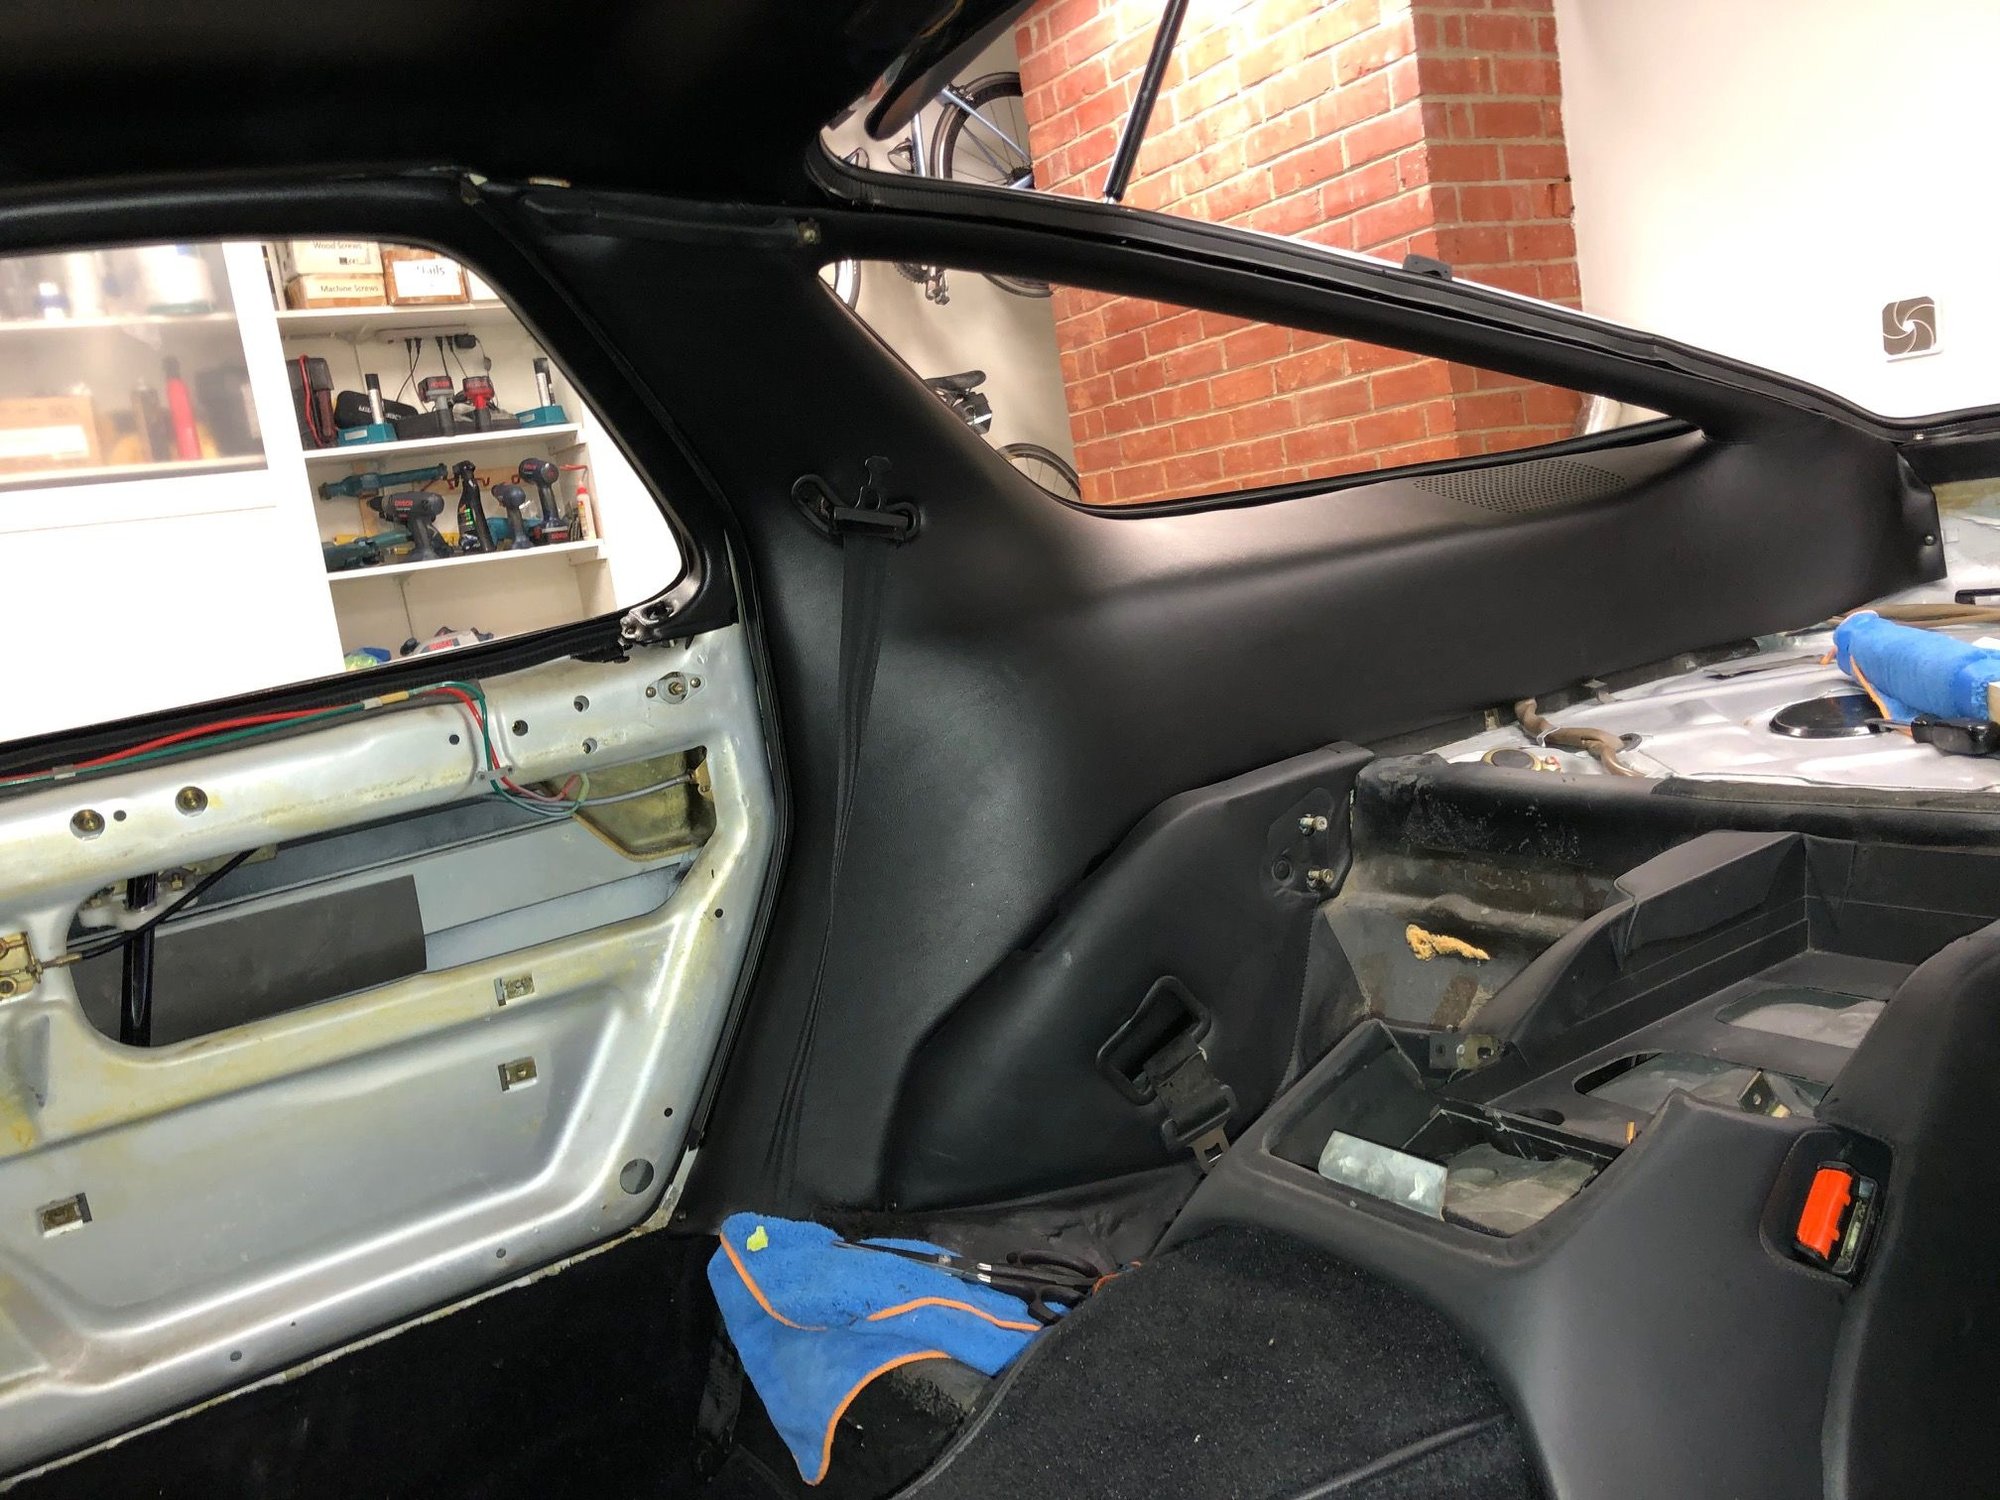
Definitely can taste the finish line. Rear quarter windows are back from the upholsterer and went in without a struggle. Even remembered to hook up the speakers. This is the original vinyl just restretched and redyed and reglued back on the plastic molded panels. Rear speakers got new speaker cloth and new foam padding before reassembly Snap snap and click click, and it was back in. The brackets lined up perfectly to the original holes. Some nights things just click and this was a productive evening
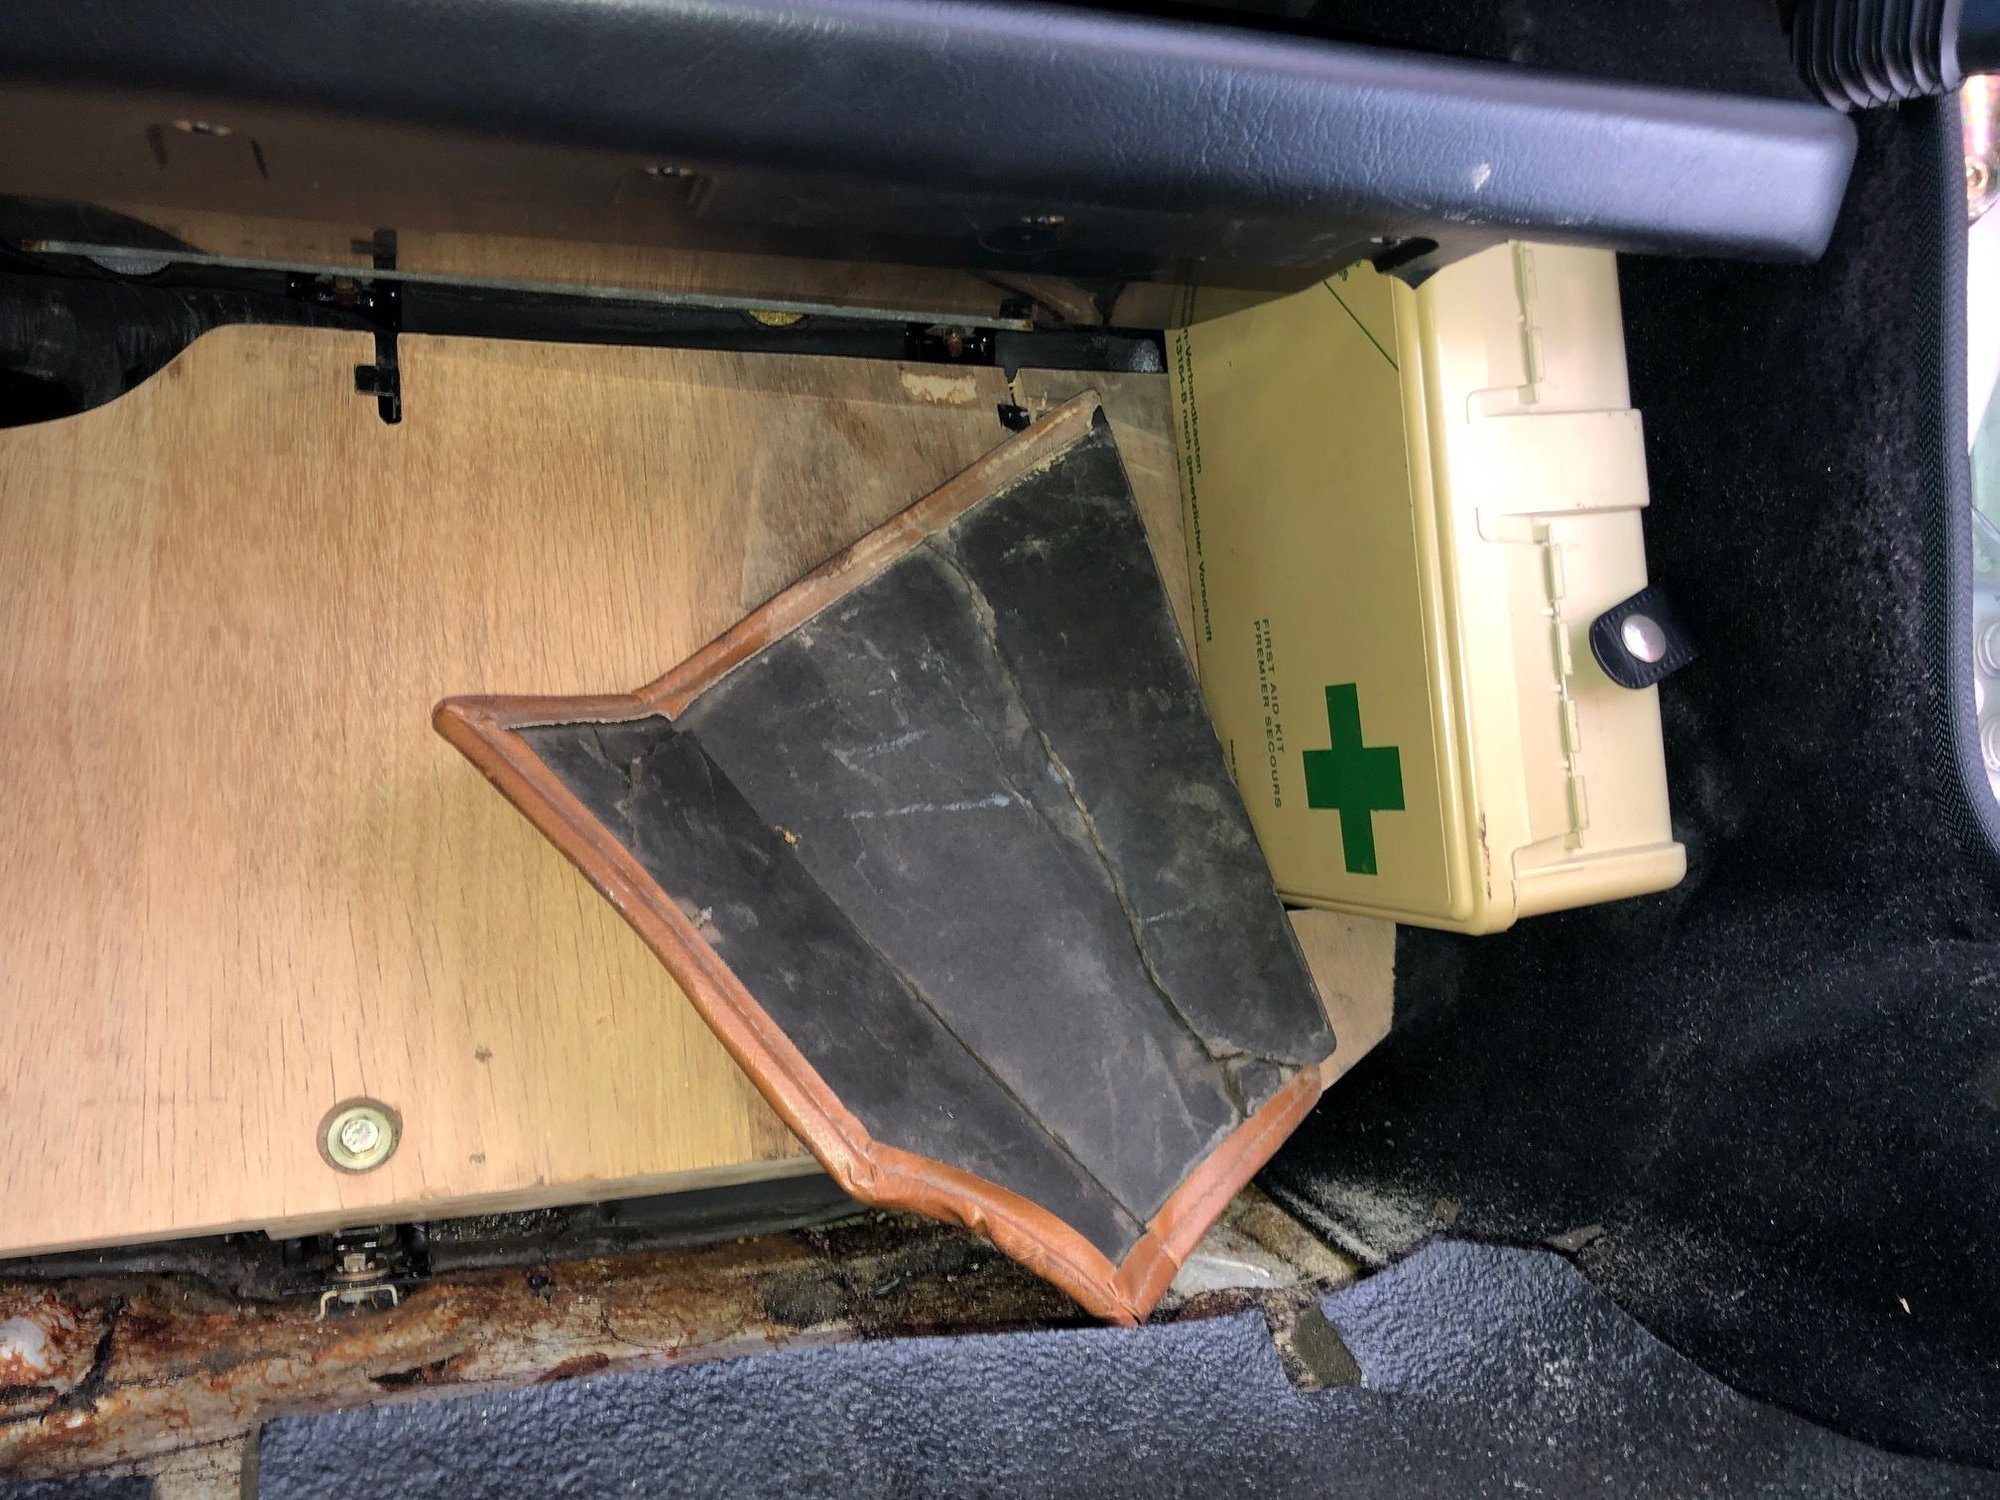
Ebay has its advantages. Found two of the original German first aid kits. Box size is highly specific to an 928 footwell packaging. The small deteriorated carpeting is backed with fiber board and holds the First aid kit in the upper right hand corner of the passenger footwell.
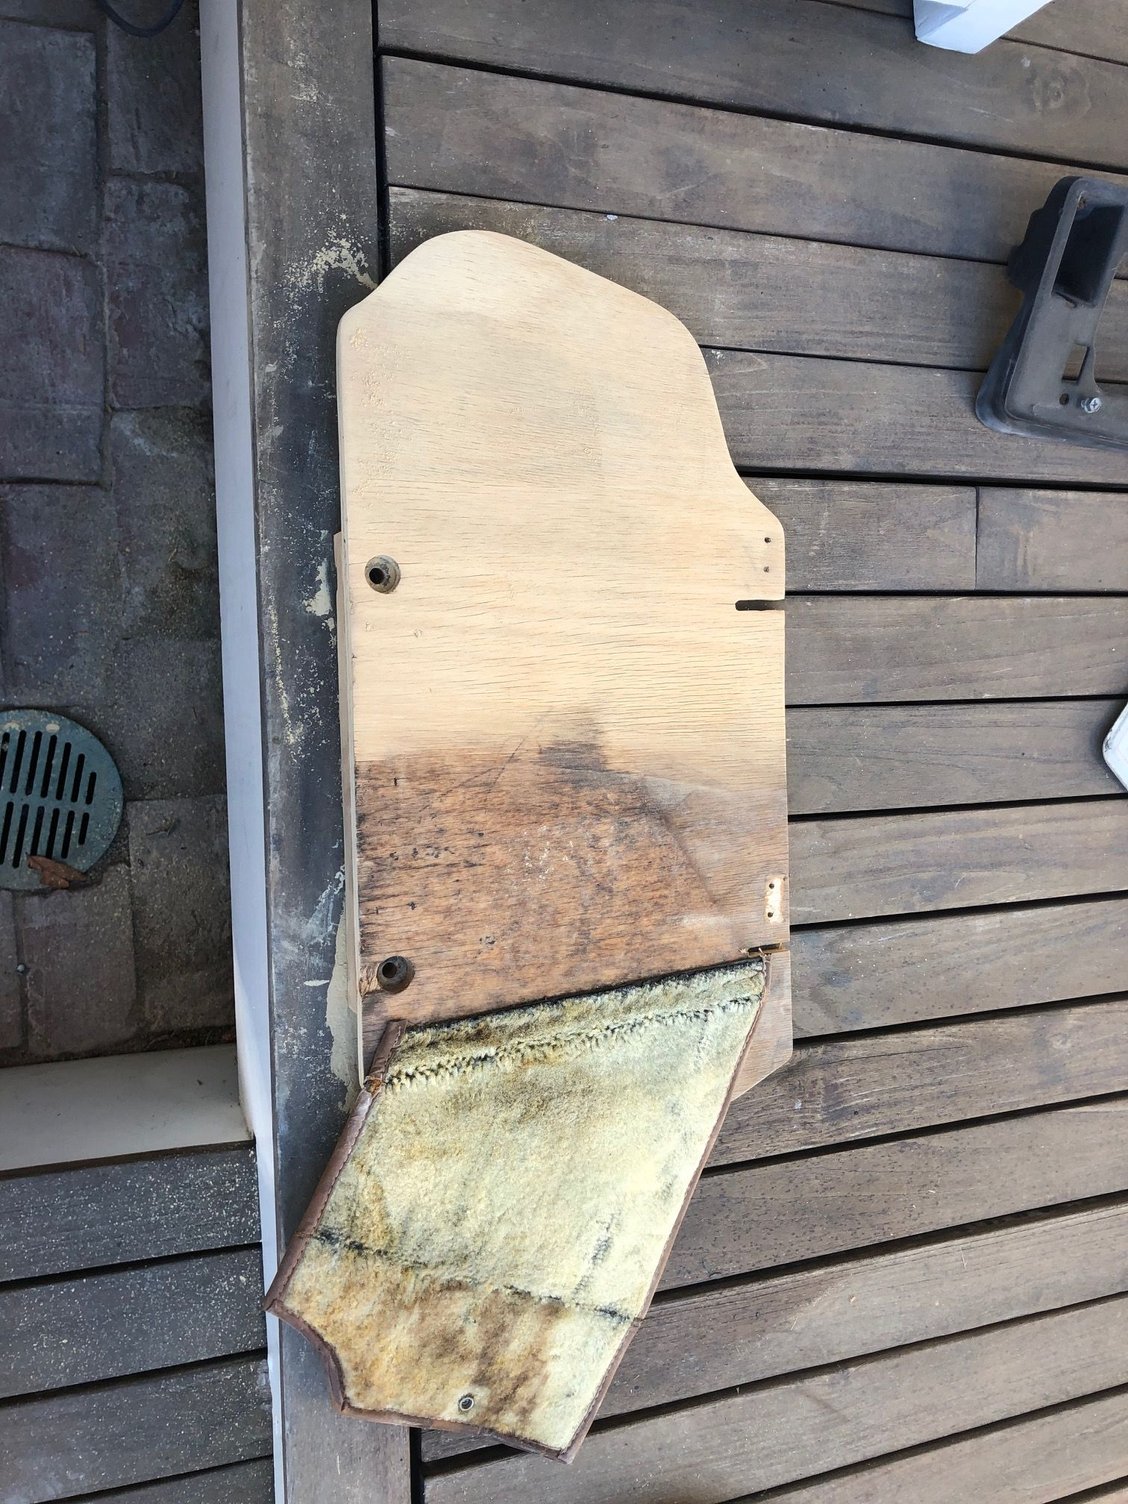
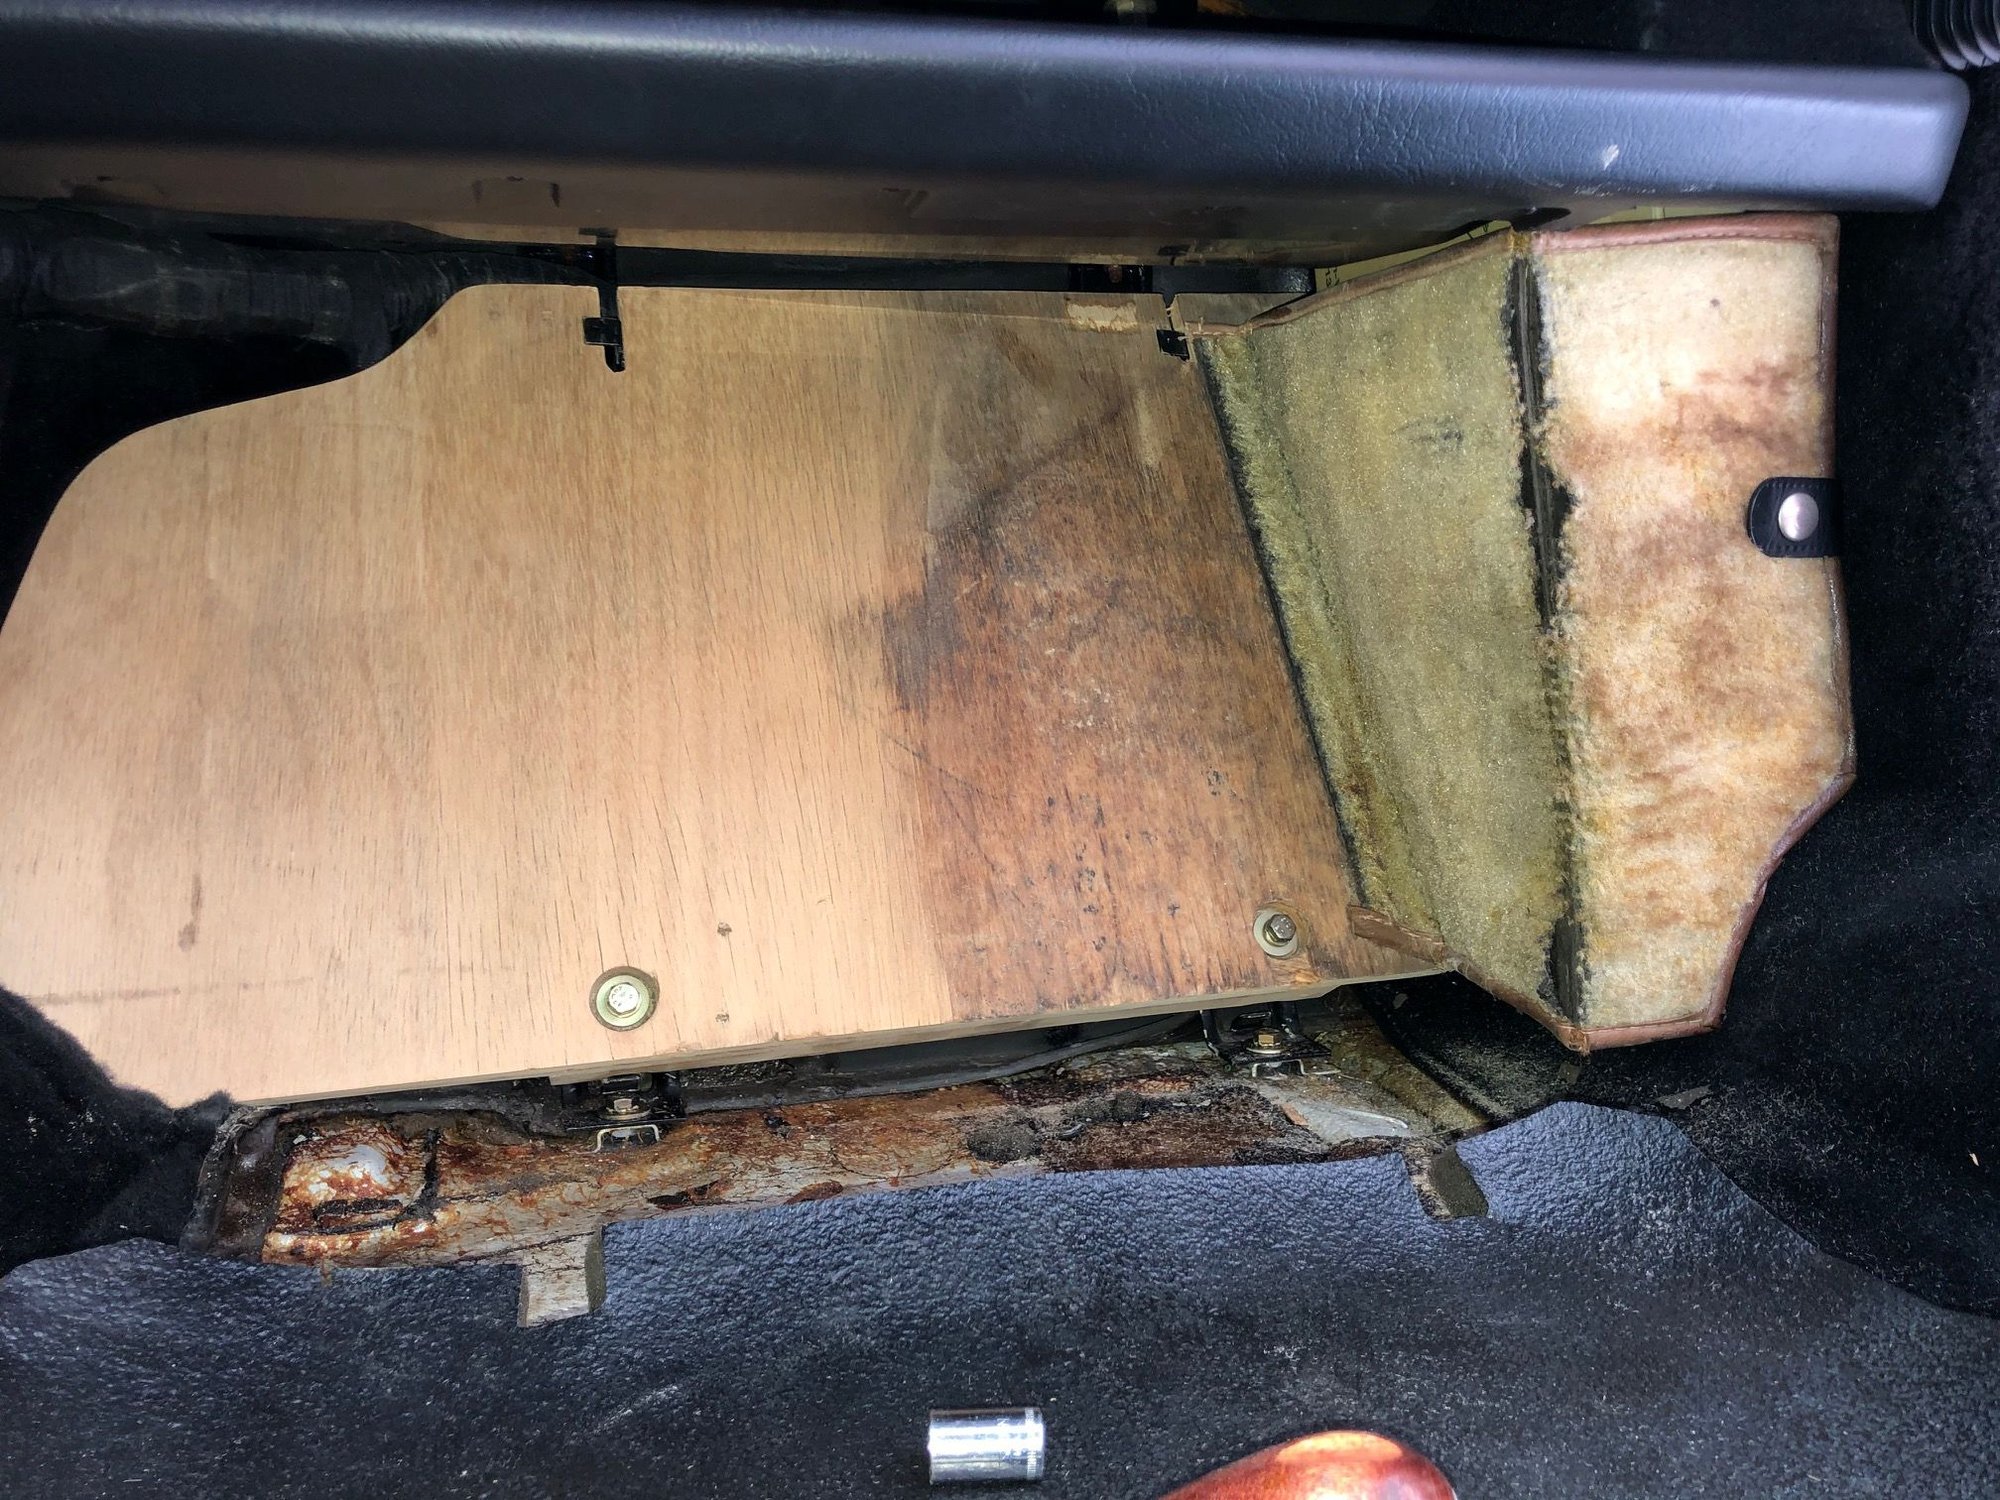
Early OB style CE board clearly spent some time outdoors. Super lucky to find this at 928 Int'l. With some quick sanding the board is looking much better. A test fit over the CE panel. Right side deteriorated cover is the First Aid kit pocket. The tan carpet and vinyl will be used to make a new cover in the original black carpeting. First aid kit exposed with fully fastened CE board in place
Mercury switch with a replated canister now working with headlamps on.
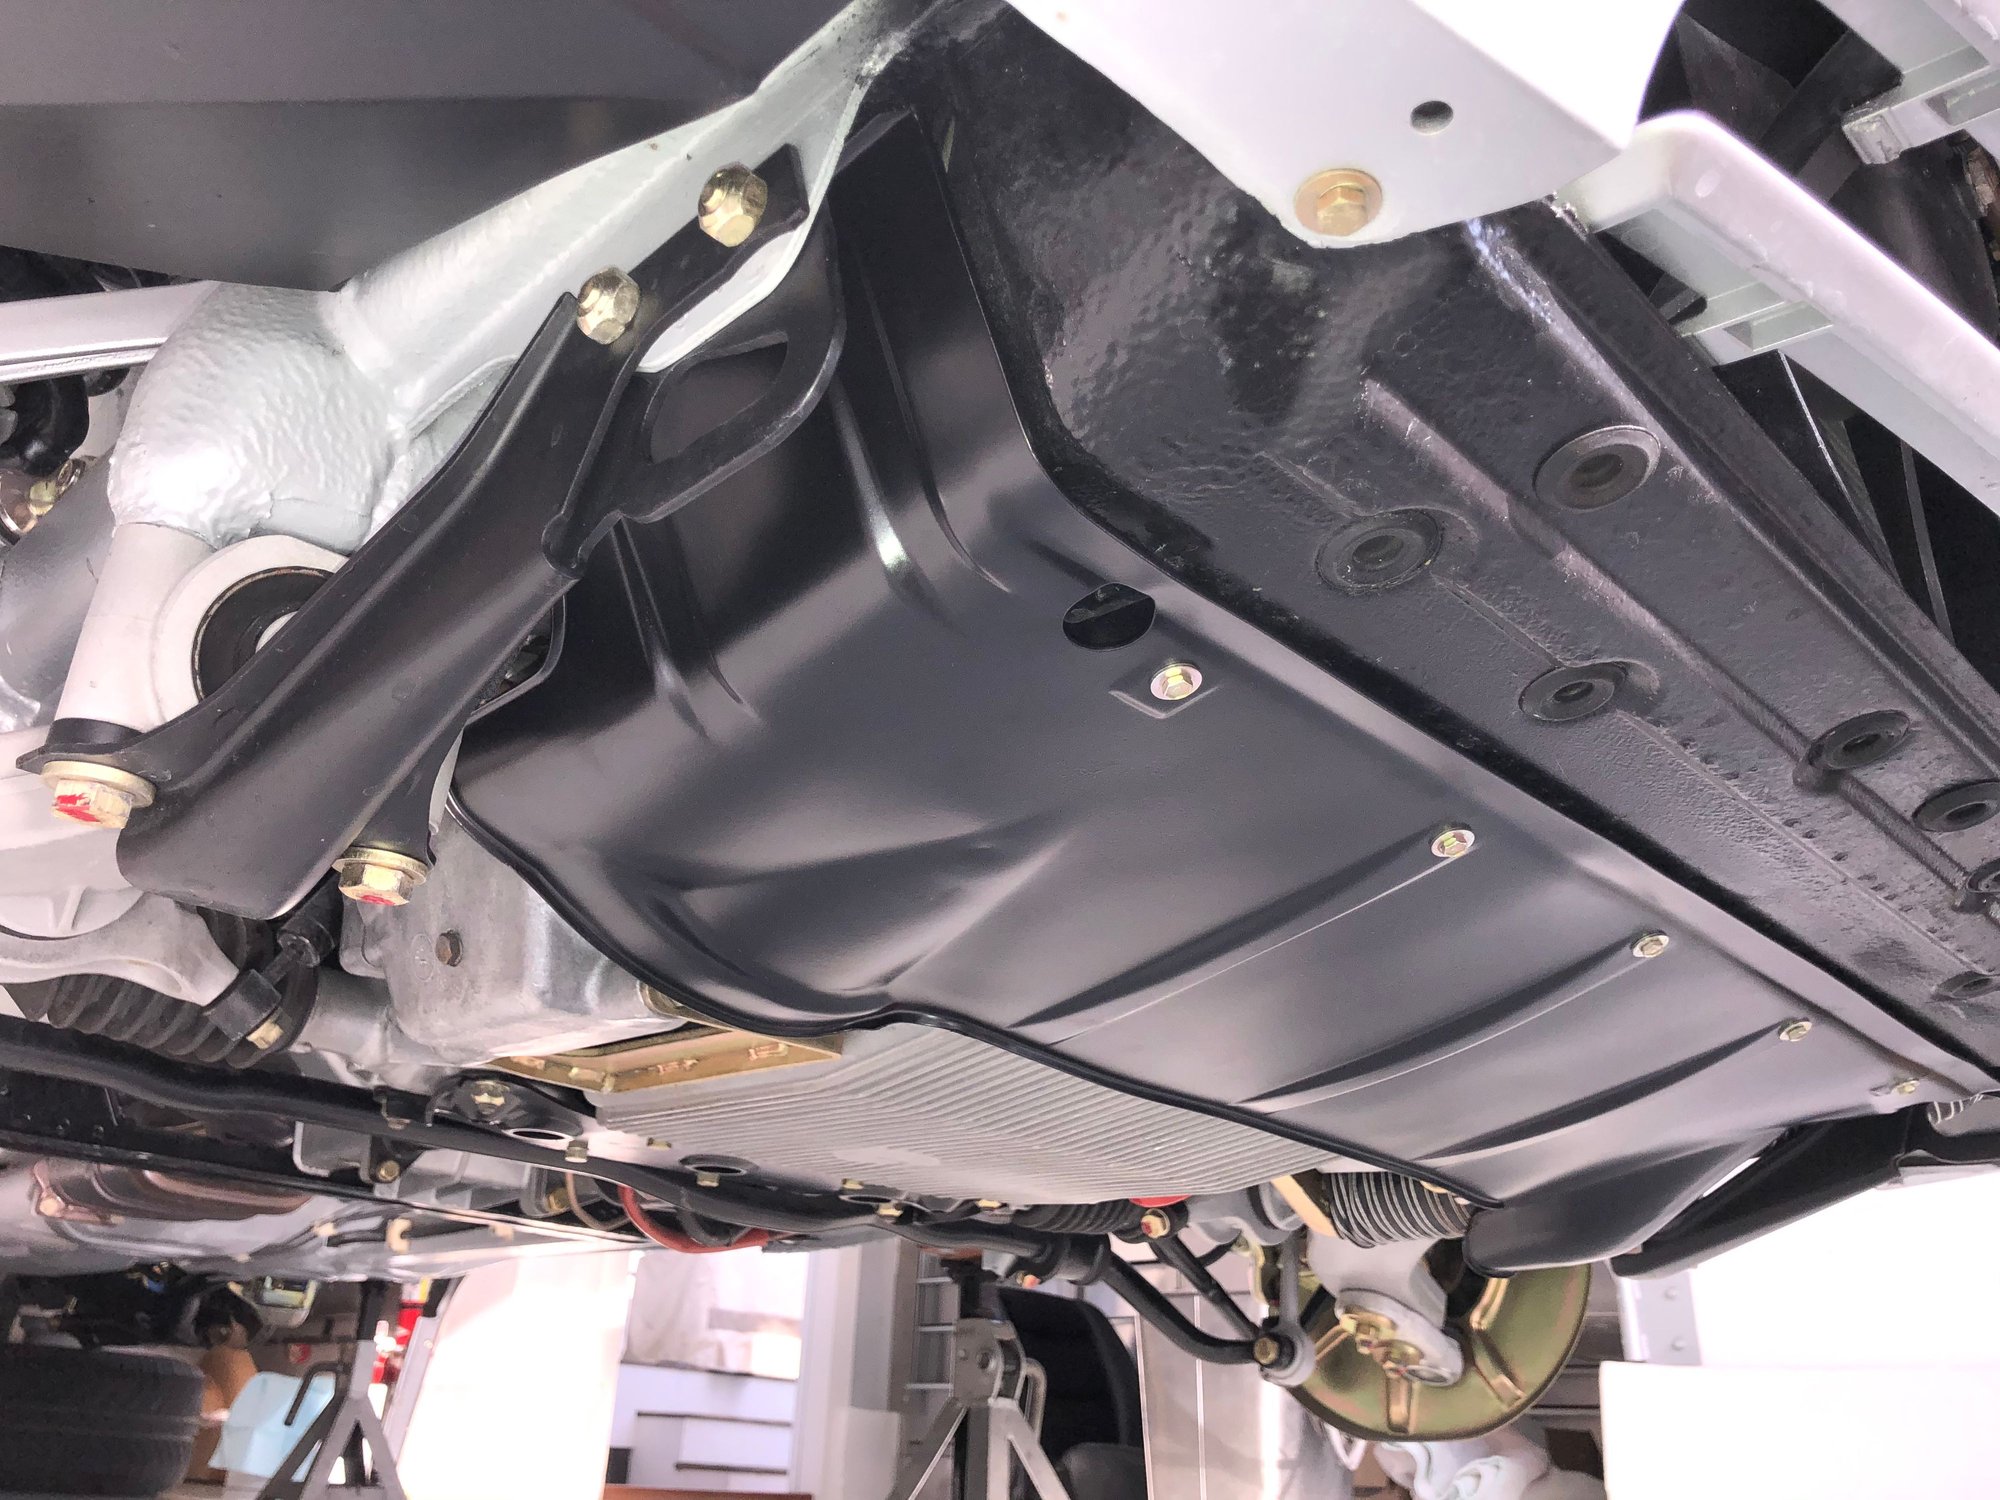
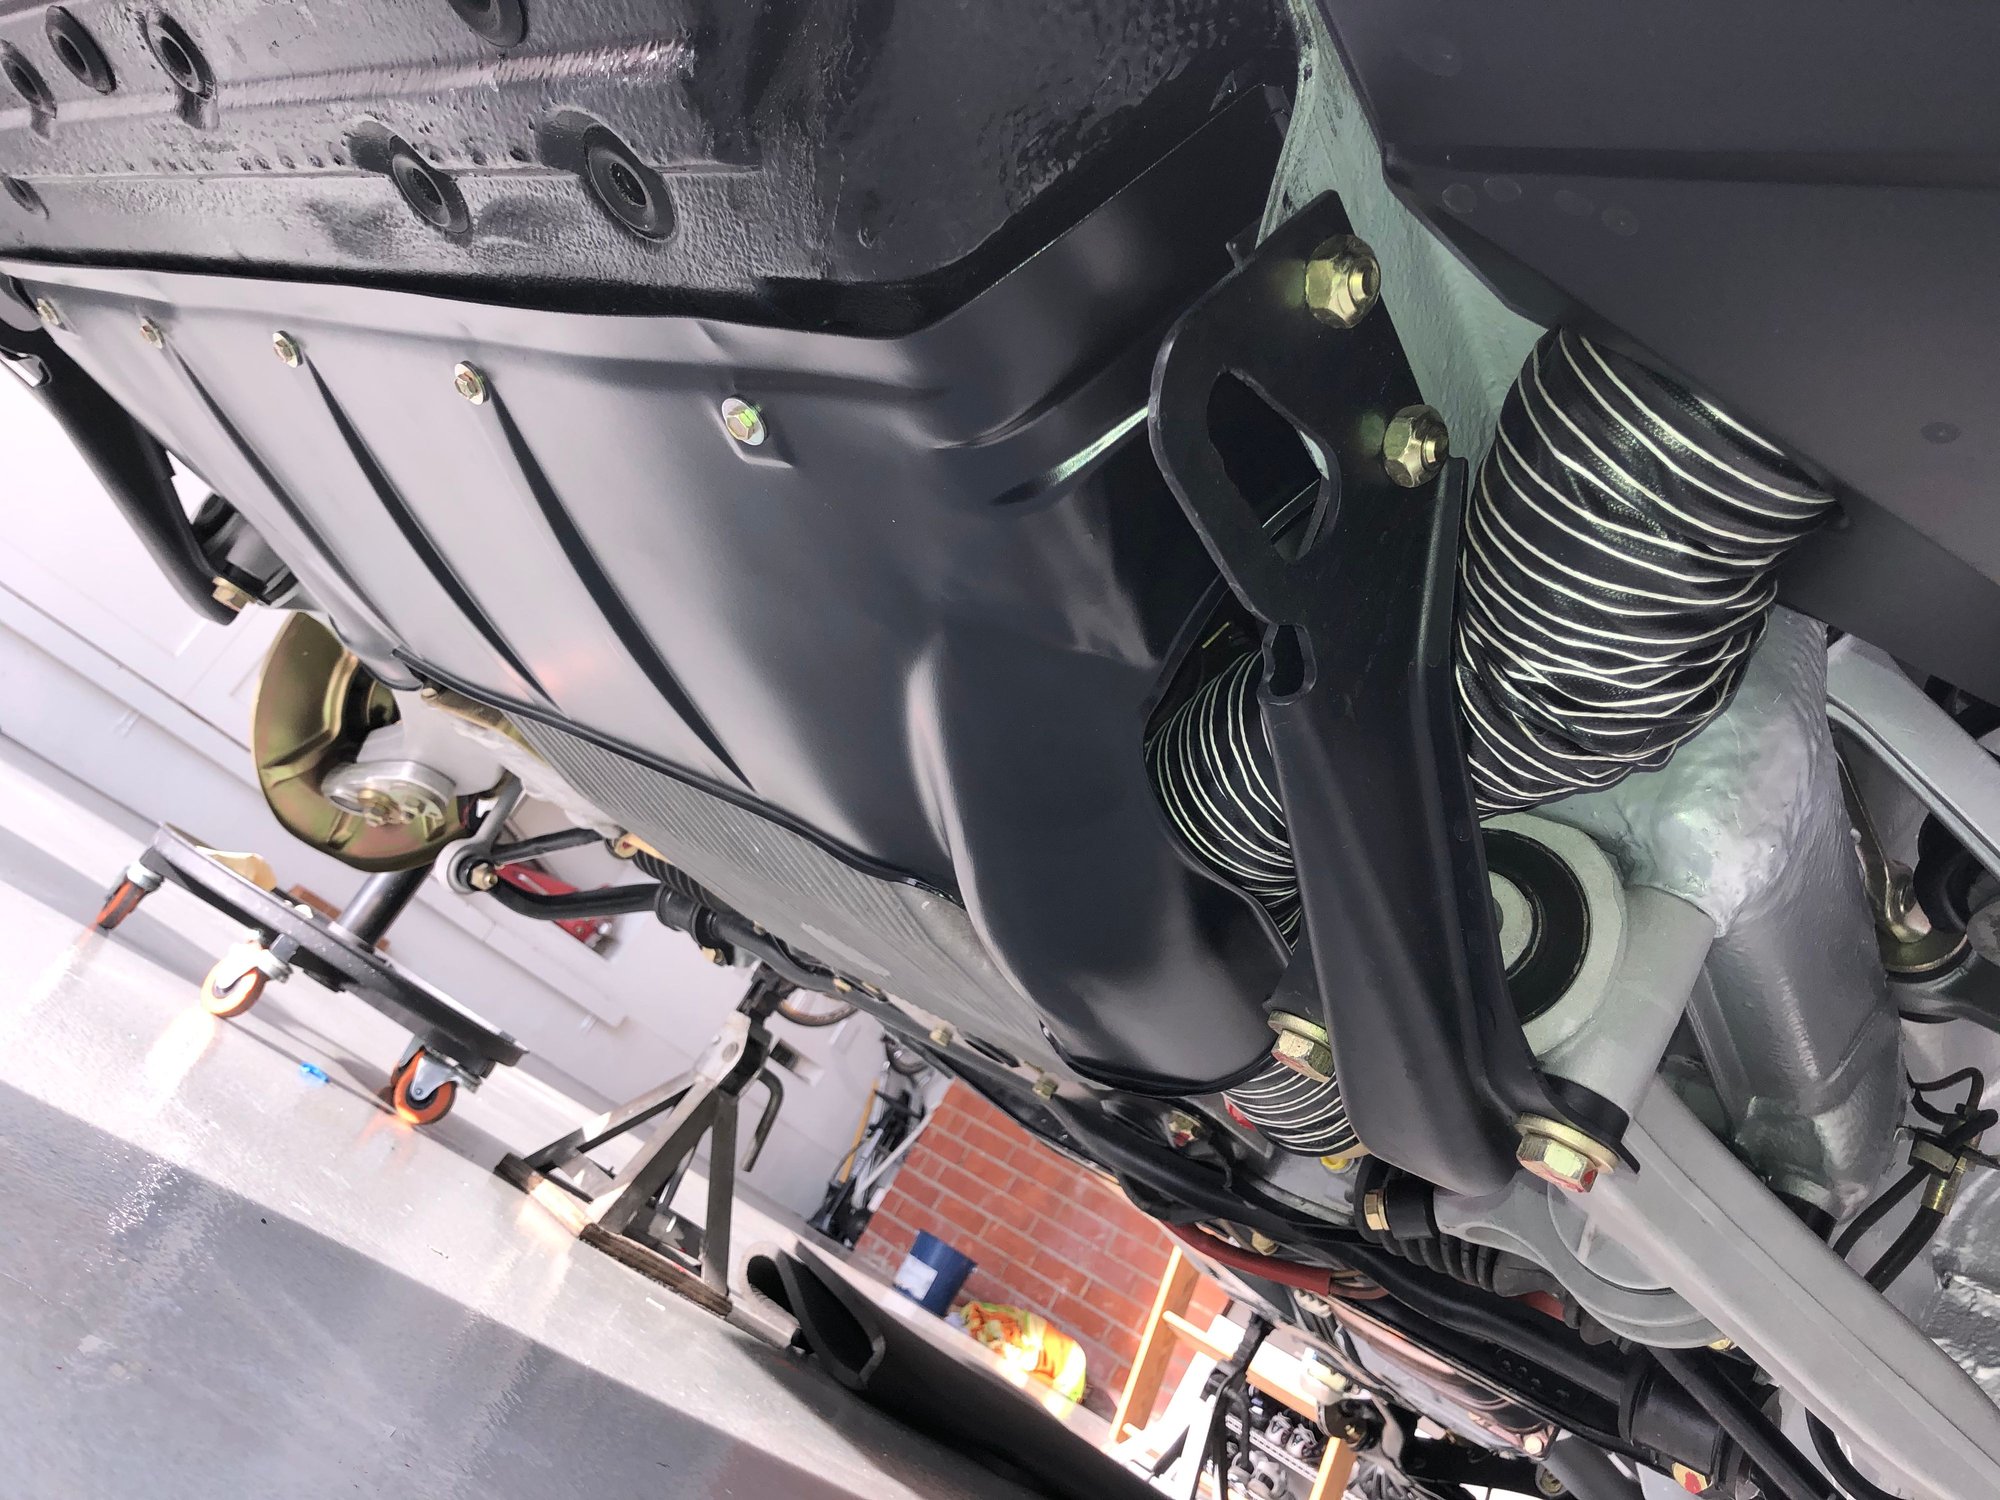
Lower front valence under the alternator now back from the powder coater. This is the later style made in Aluminum. The really early ones were stamped in galvanized steel.
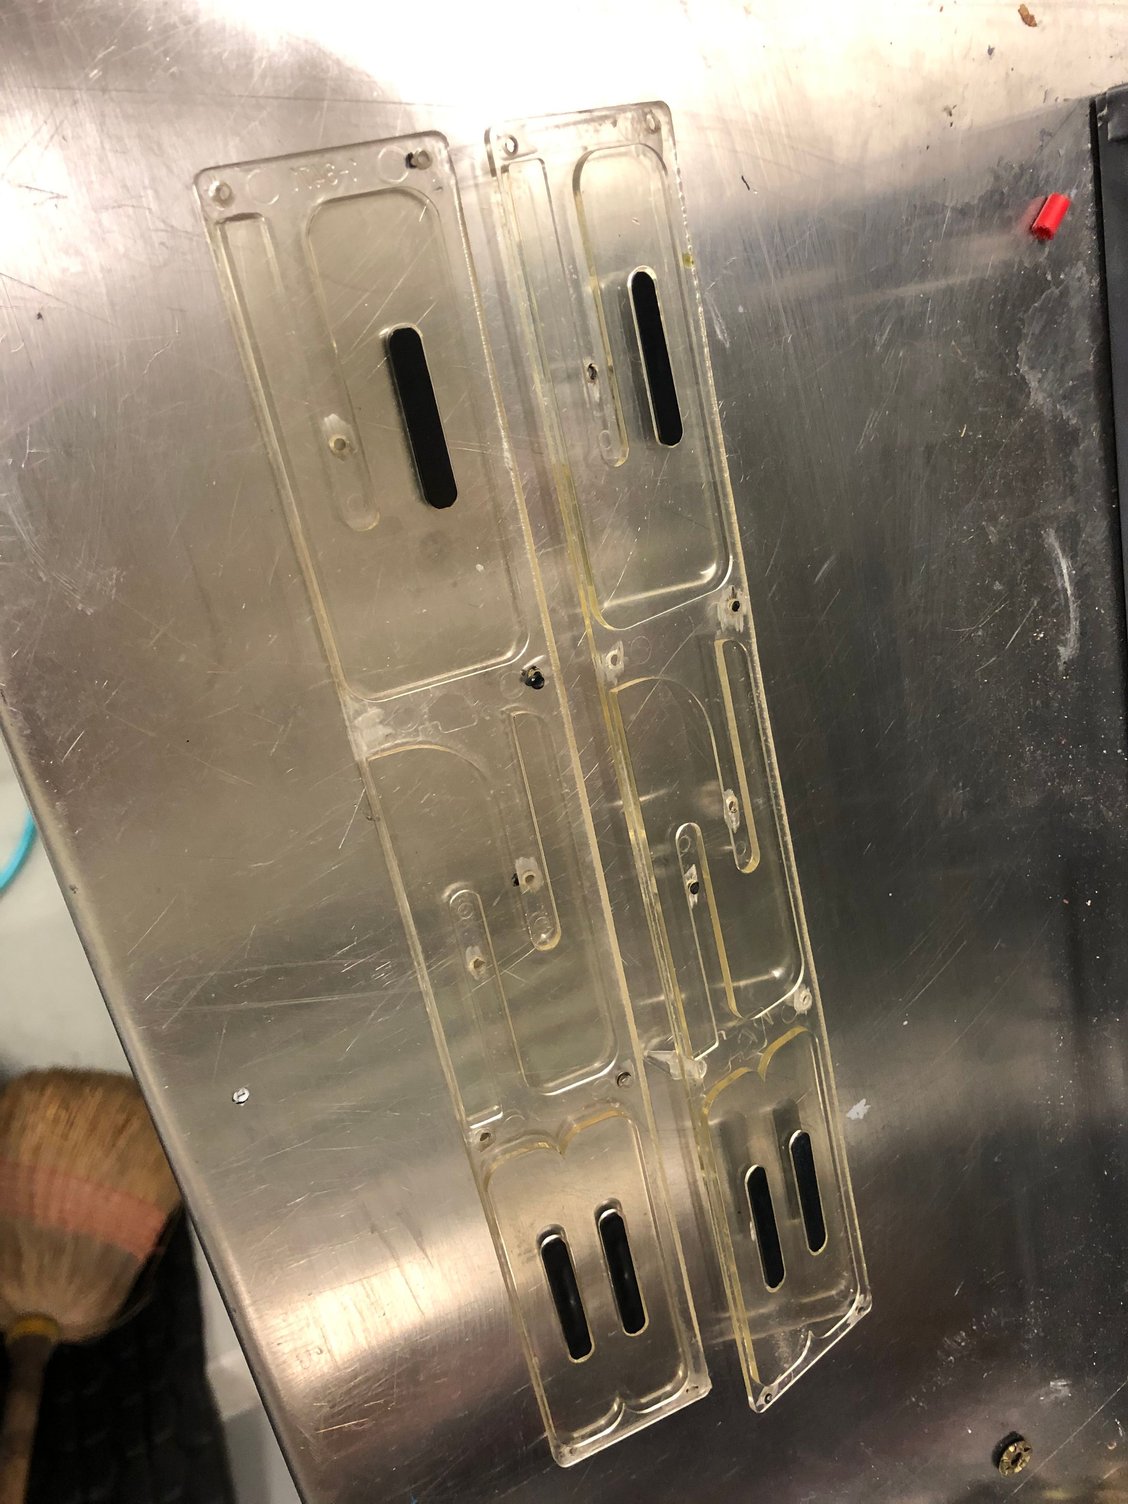
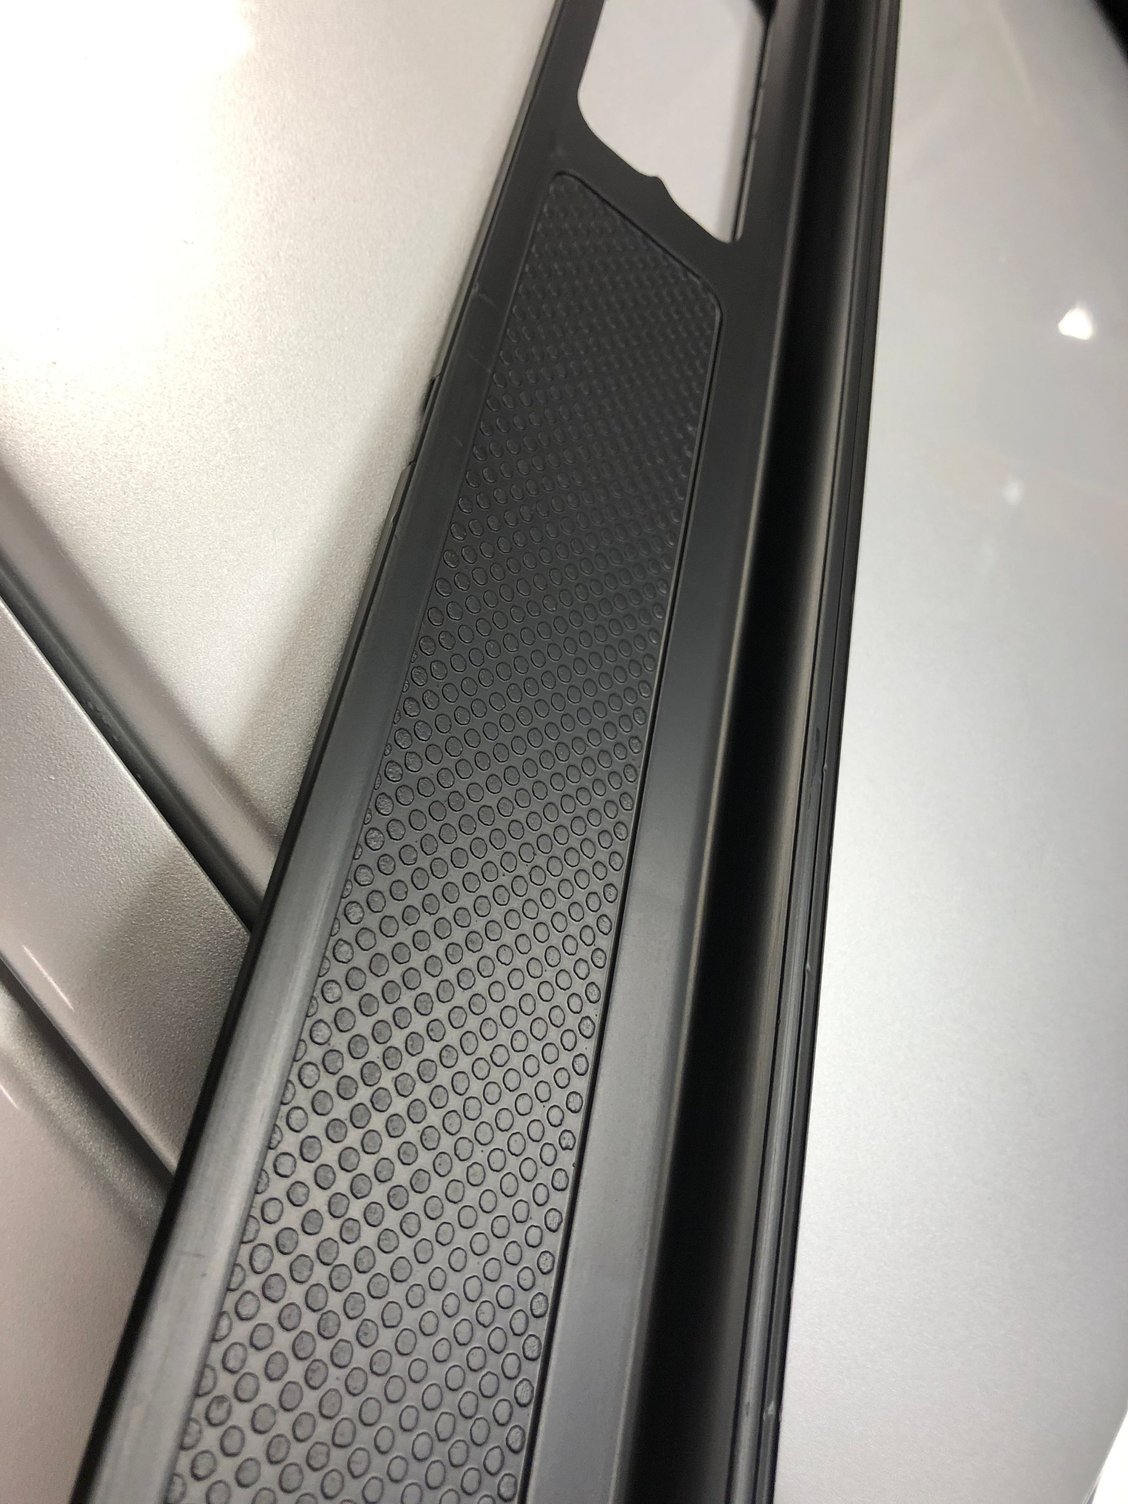
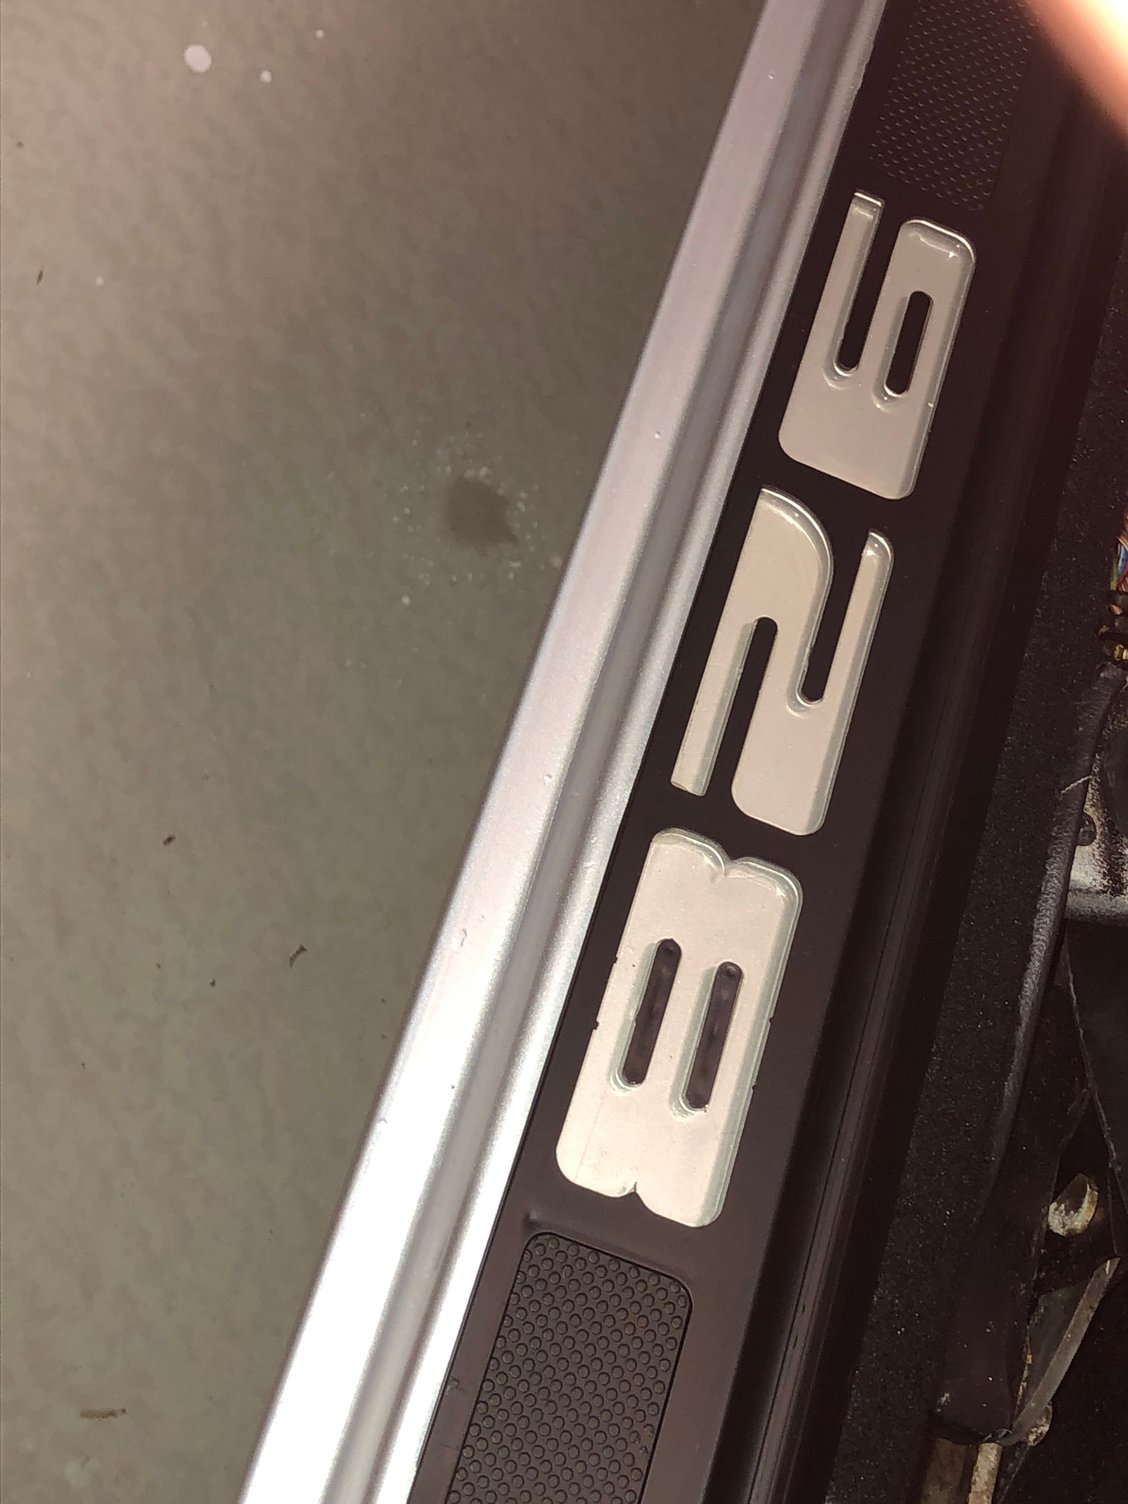
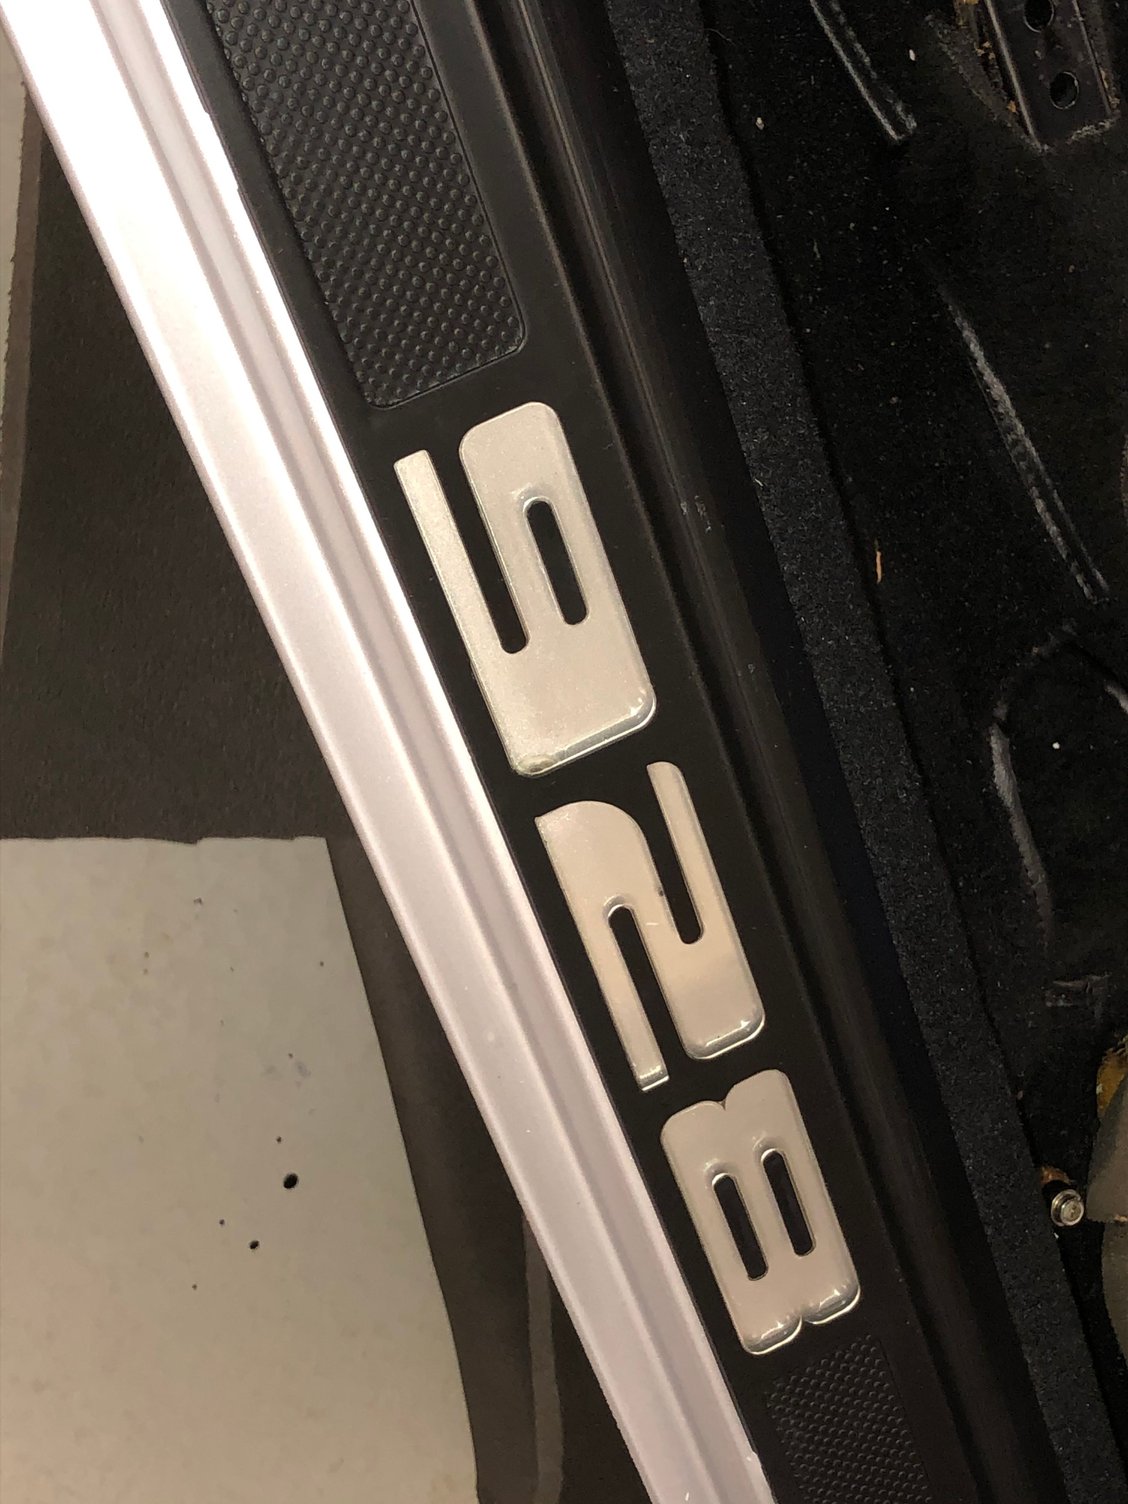
Threshold script "928" removed for polishing before polishing. These are originally heatstaked to the threshold. I ground the melted post away and lifted them from the black threshold. After polishing they were epoxy glued ever so carefully over the ground post. The molded black thresholds got a lot of love and effort to get the original crispness back buffed up the silver in the background and snapped back in to place. Hoping never to remove these again.
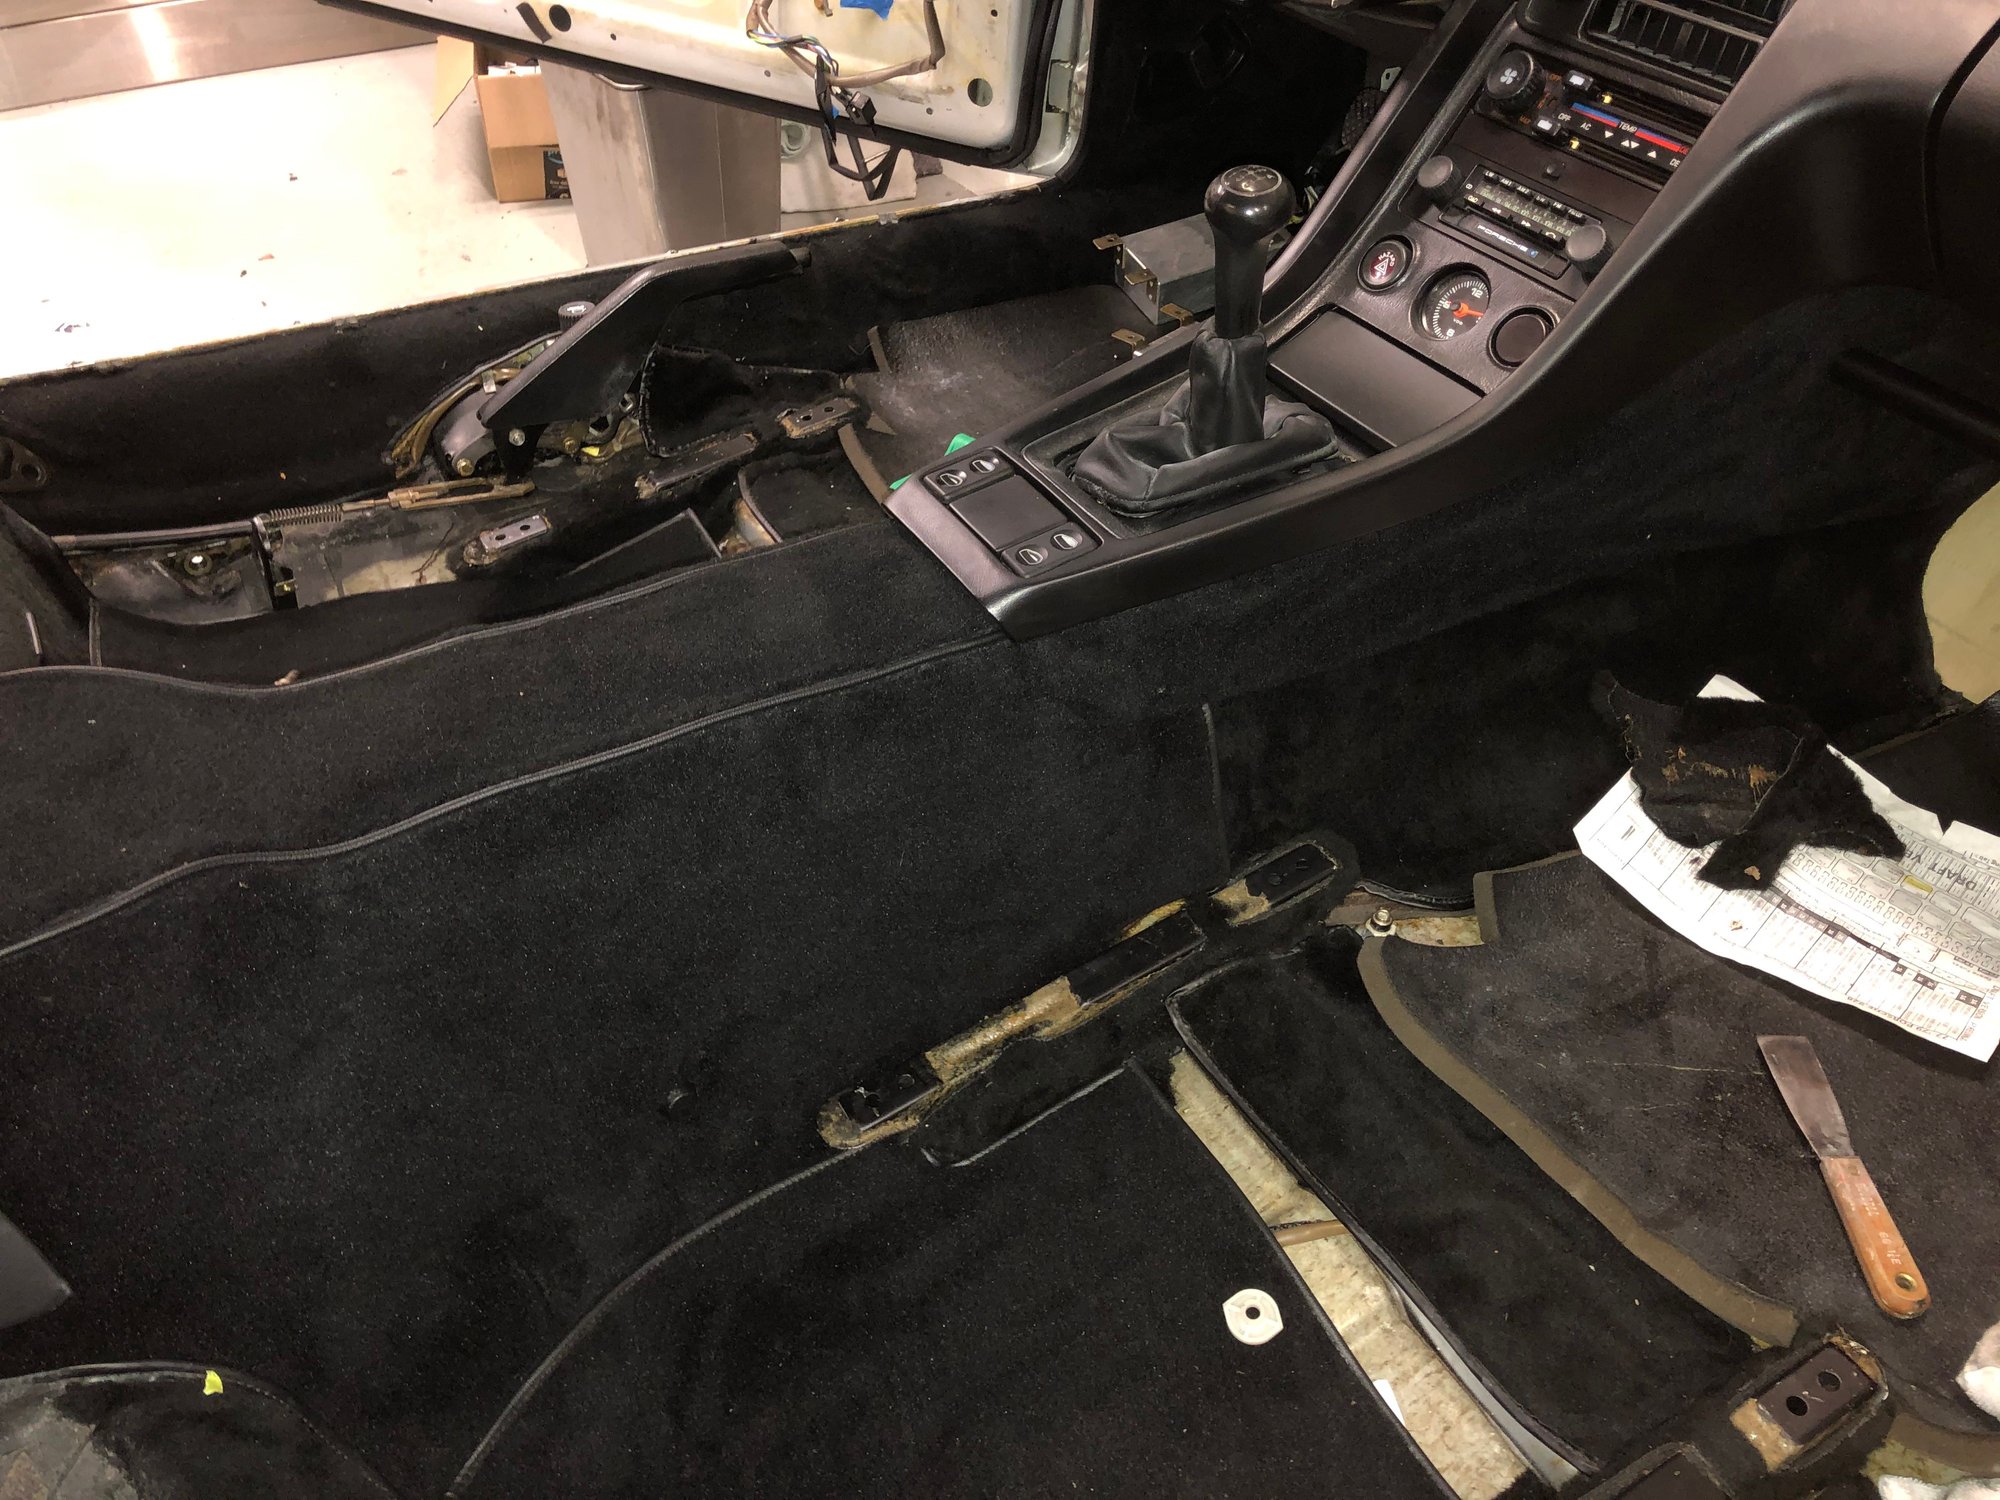
It is great to be working on the carpeting. A sign that the rental horse barn is just around the corner. A few final pieces remain at the upholsterer. As they come available they will be going straight in.......
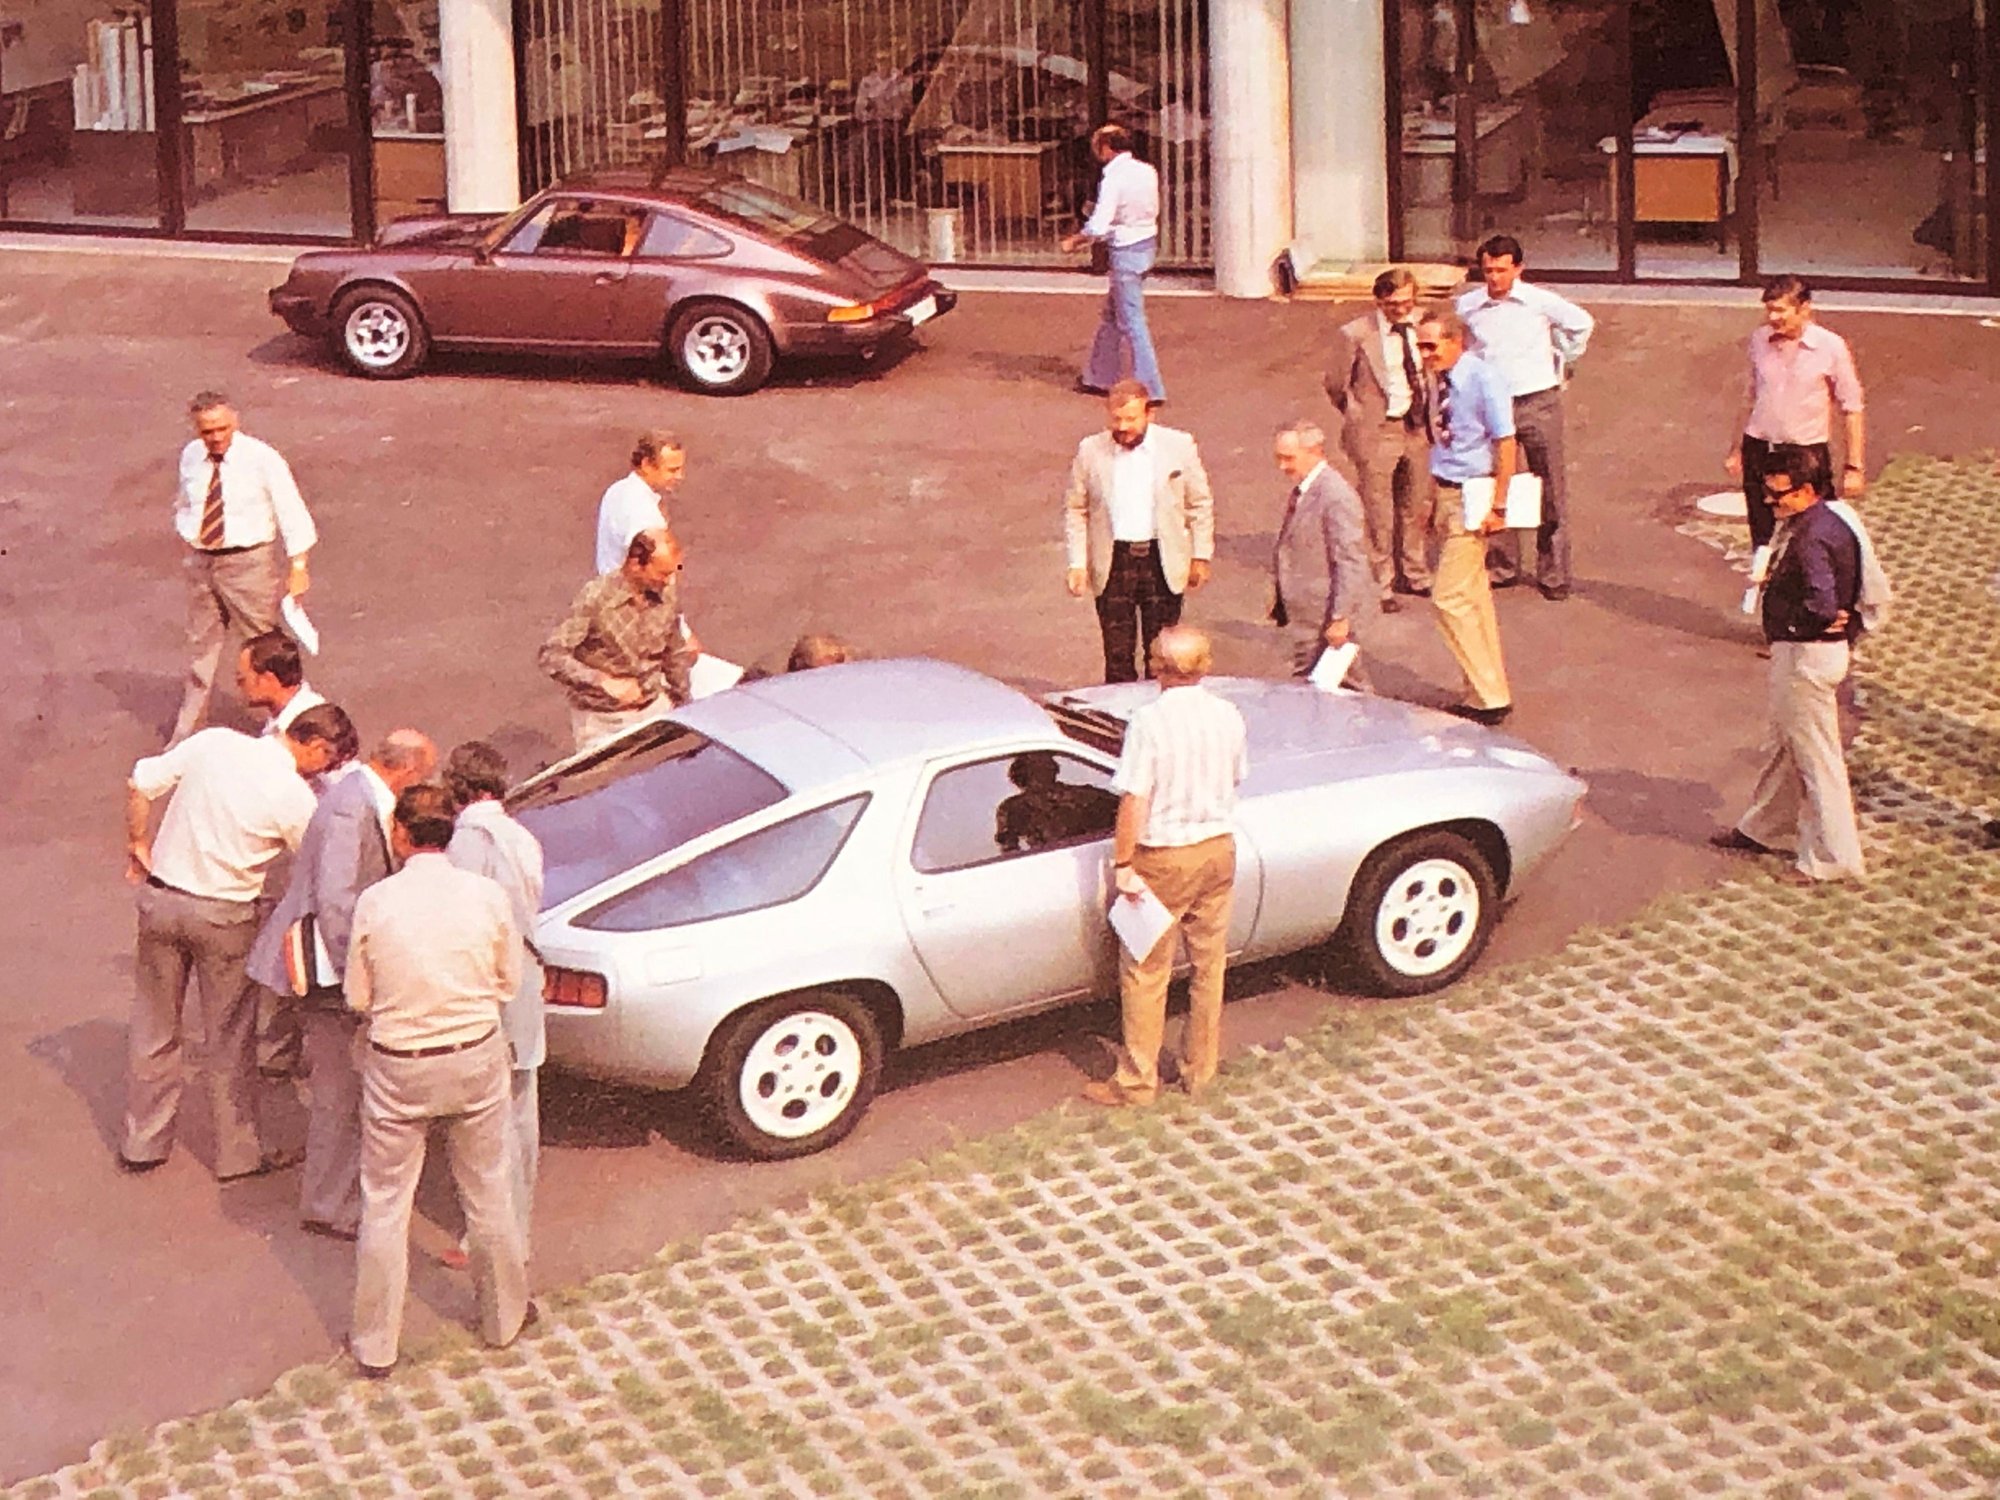
Phone Dials: the most iconic development image of the 928 9 June 1976
To me one of the most iconic images of the development of the 928 is the 9 June 1976 image where a prototype is revealed for the first time- to the 'other' managers at Porsche. This is the original of the crack in the ice.
In this image we are seeing the purest of the design intent. Note the color of the wheels. If not white, then an ultra brilliant version of silver.
This is what the designers intended. I've been studying the image for one year. I can't take my eyes of the wheels and the contrast to the Silver paint.


 11-11-2019, 01:43 AM