
I might have a problem
 11-17-2019, 05:10 PM
#241
Burning Brakes
Thread Starter
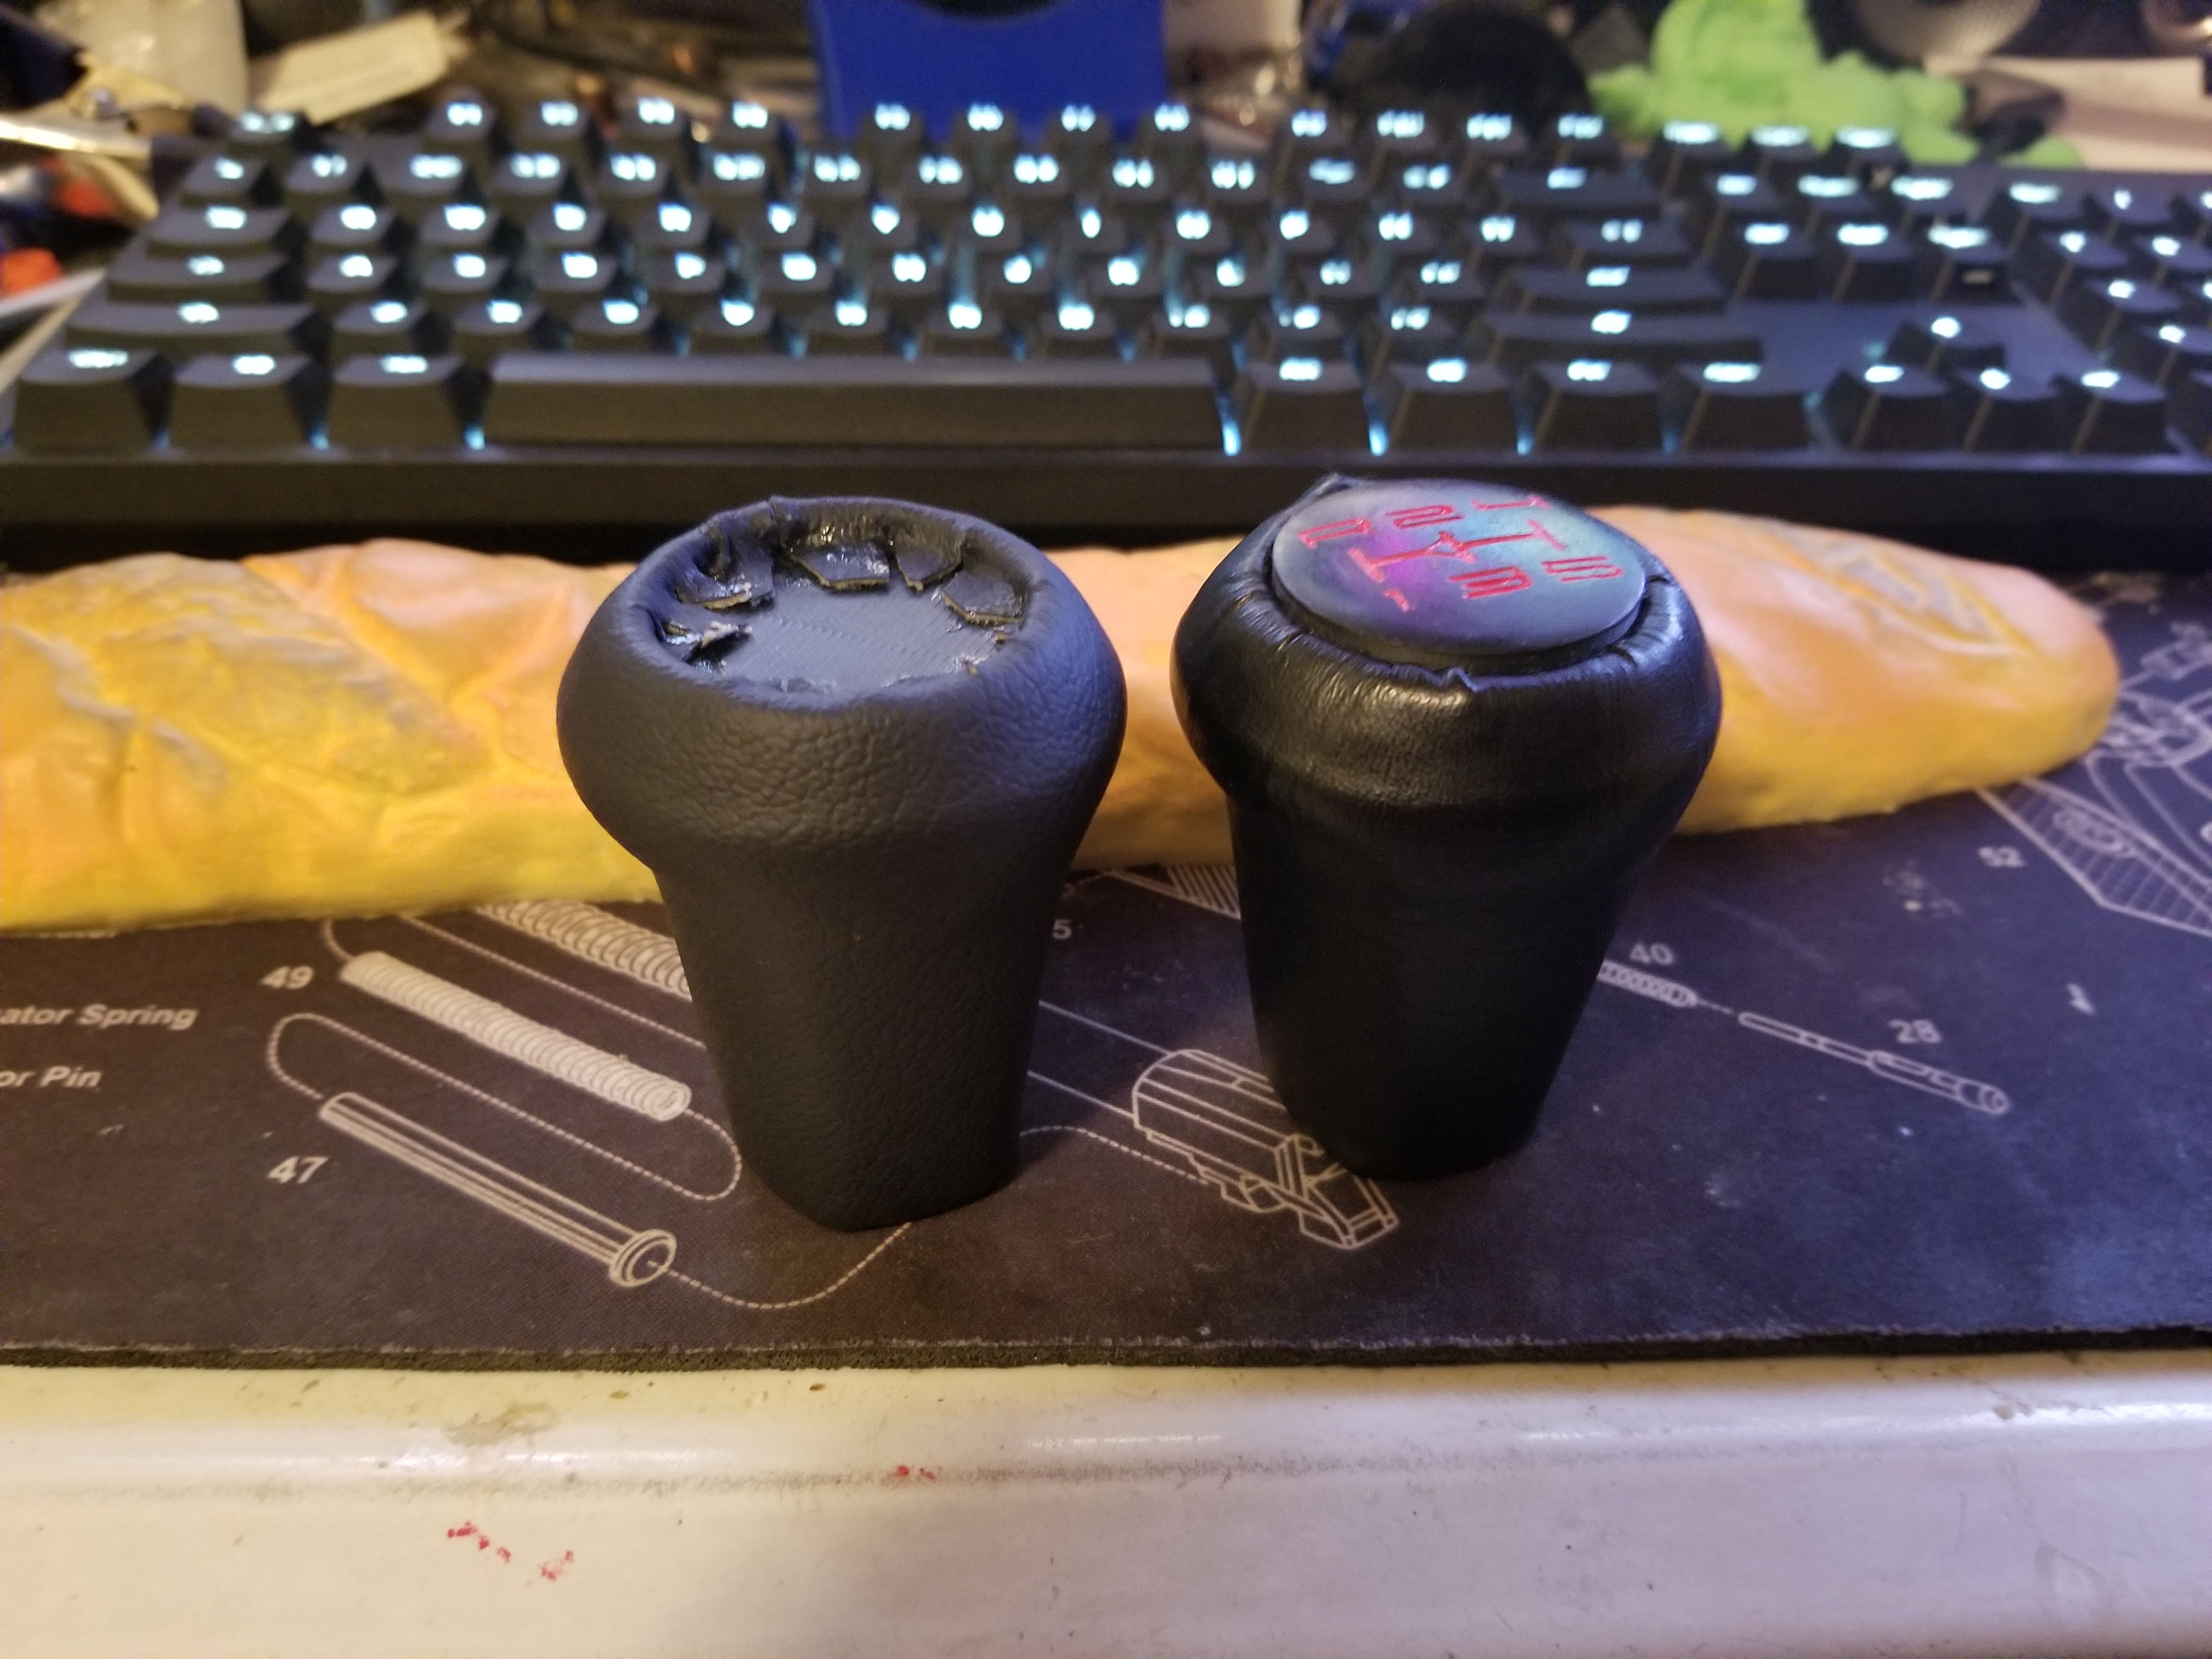
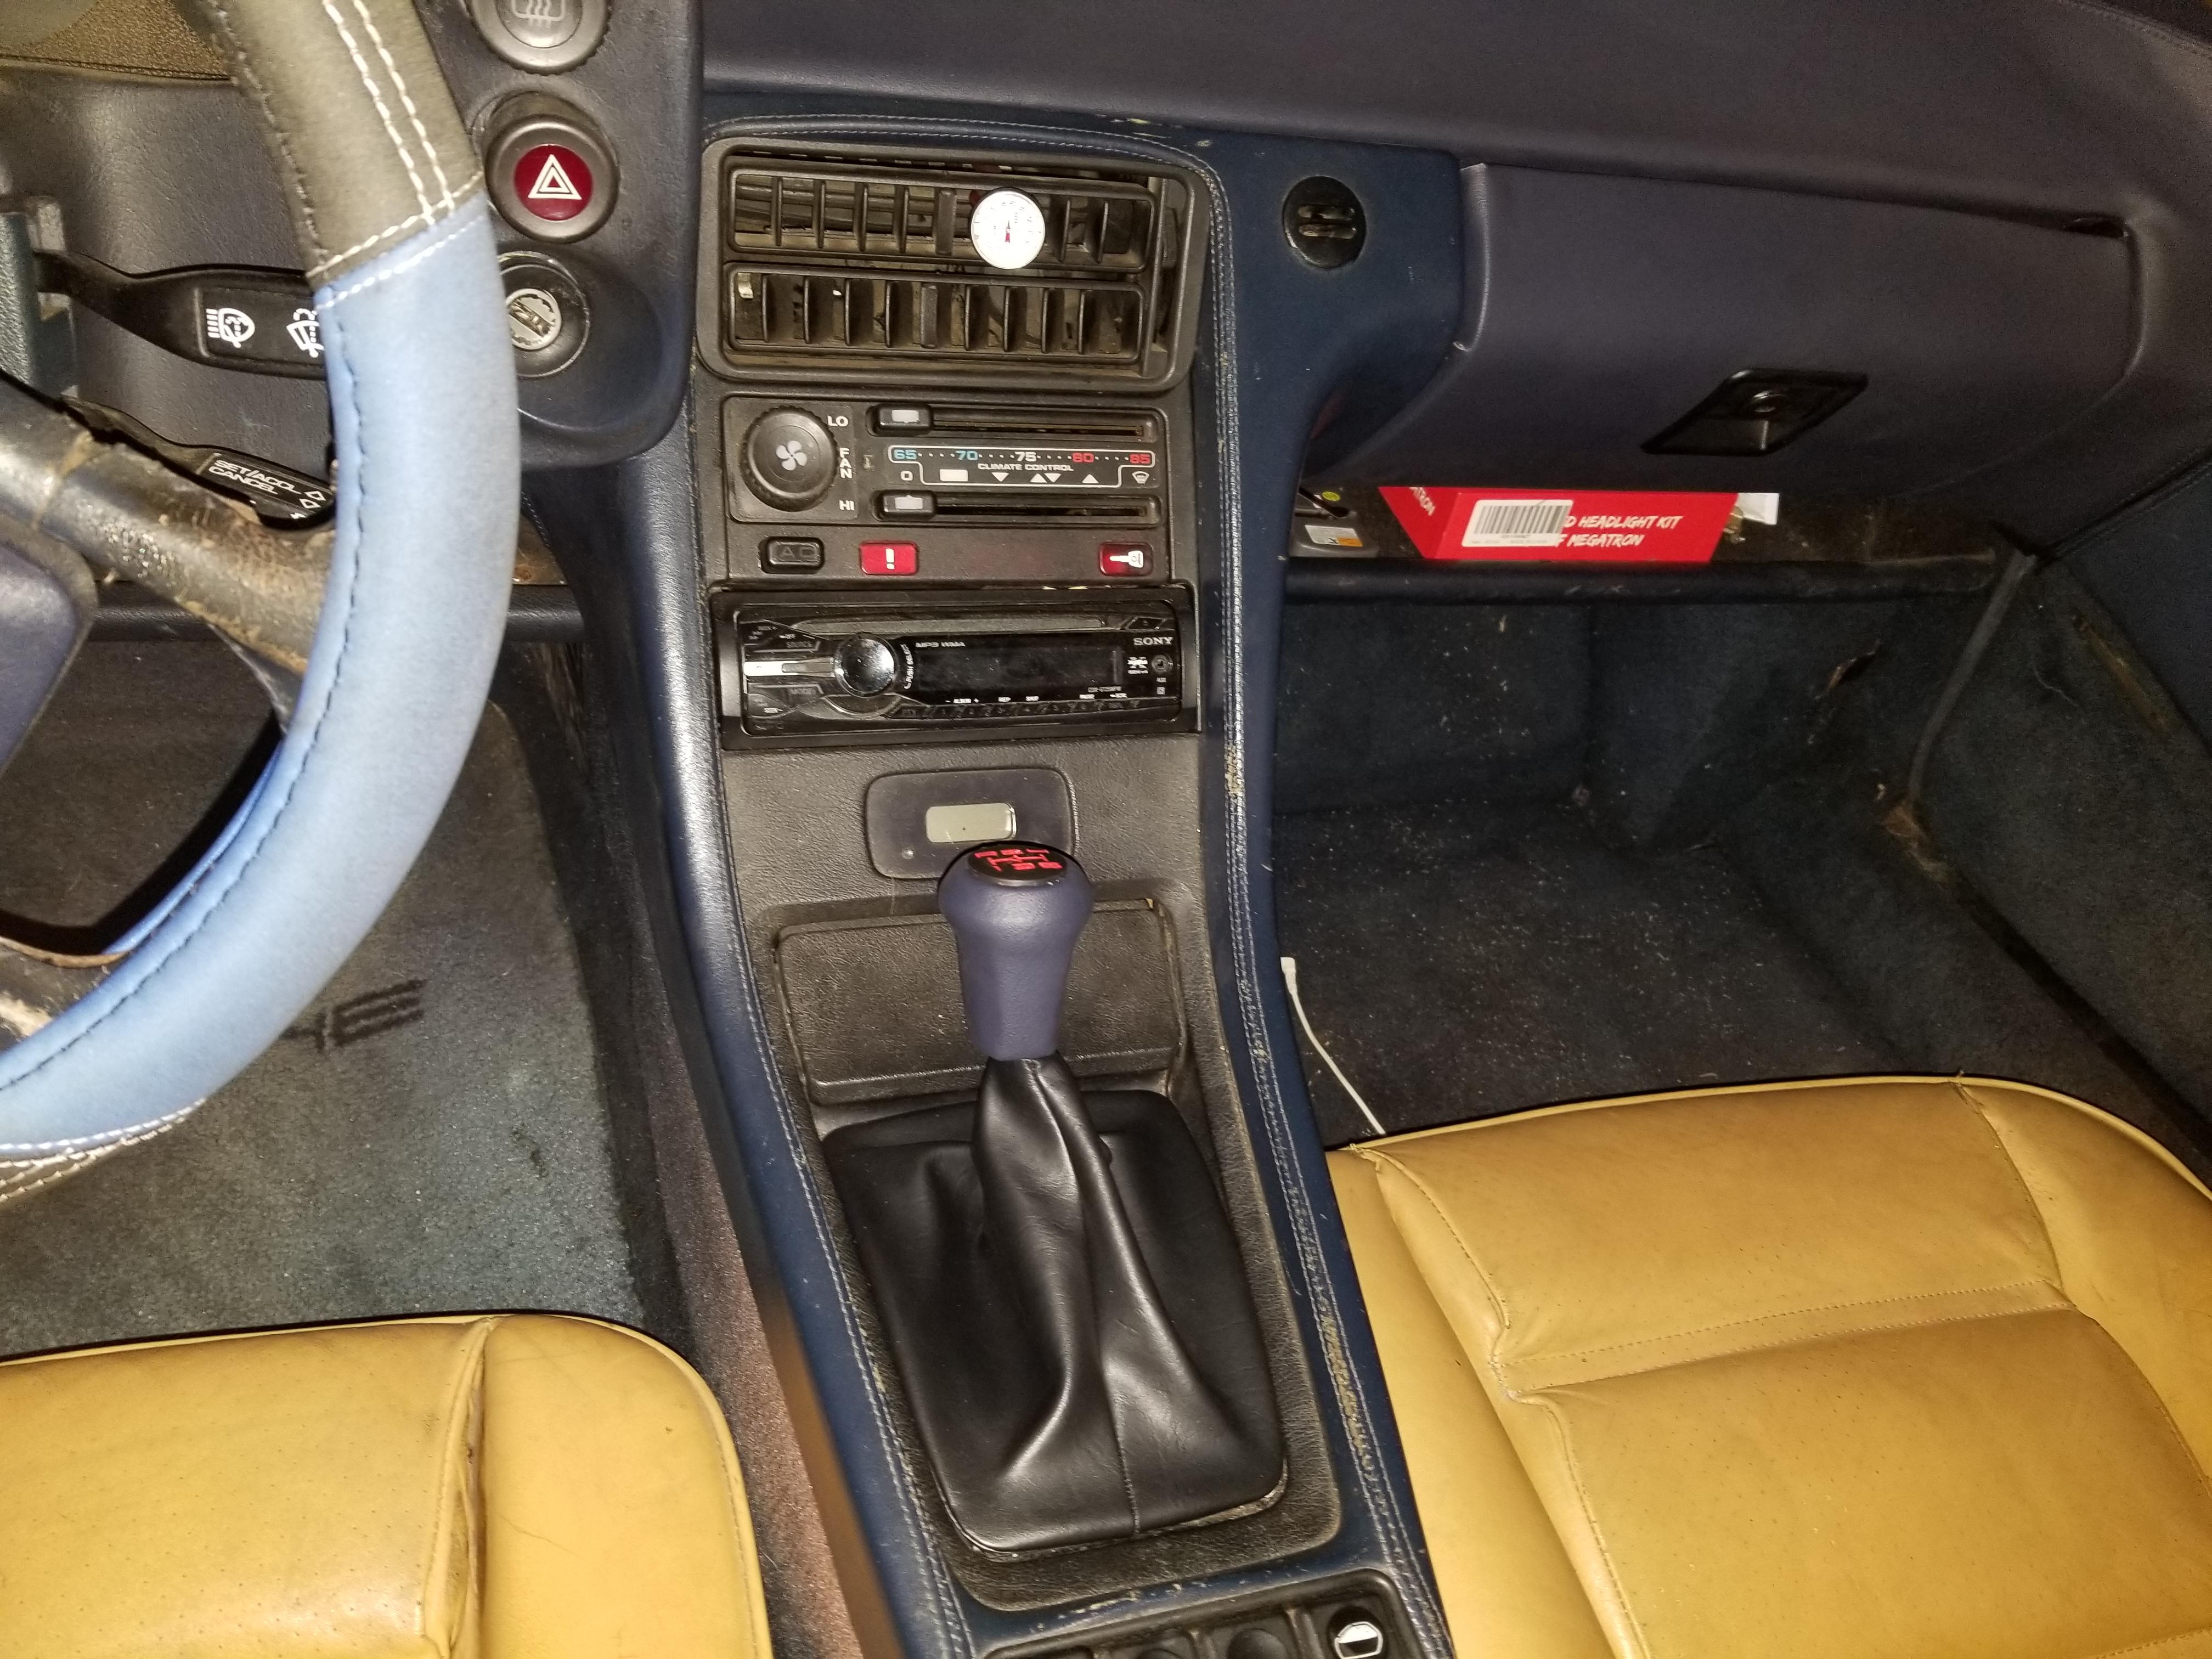
I found a piece of scrap from the dash cover that was big enough to cover the shift ****, so now that matches the dash. I think it looks a bit better than the black one. I do need to get a new center console cover to match the rest of the dash too.

The following users liked this post:
JBGold07 (11-30-2019)
11-25-2019, 11:46 PM
#242
Burning Brakes
Thread Starter
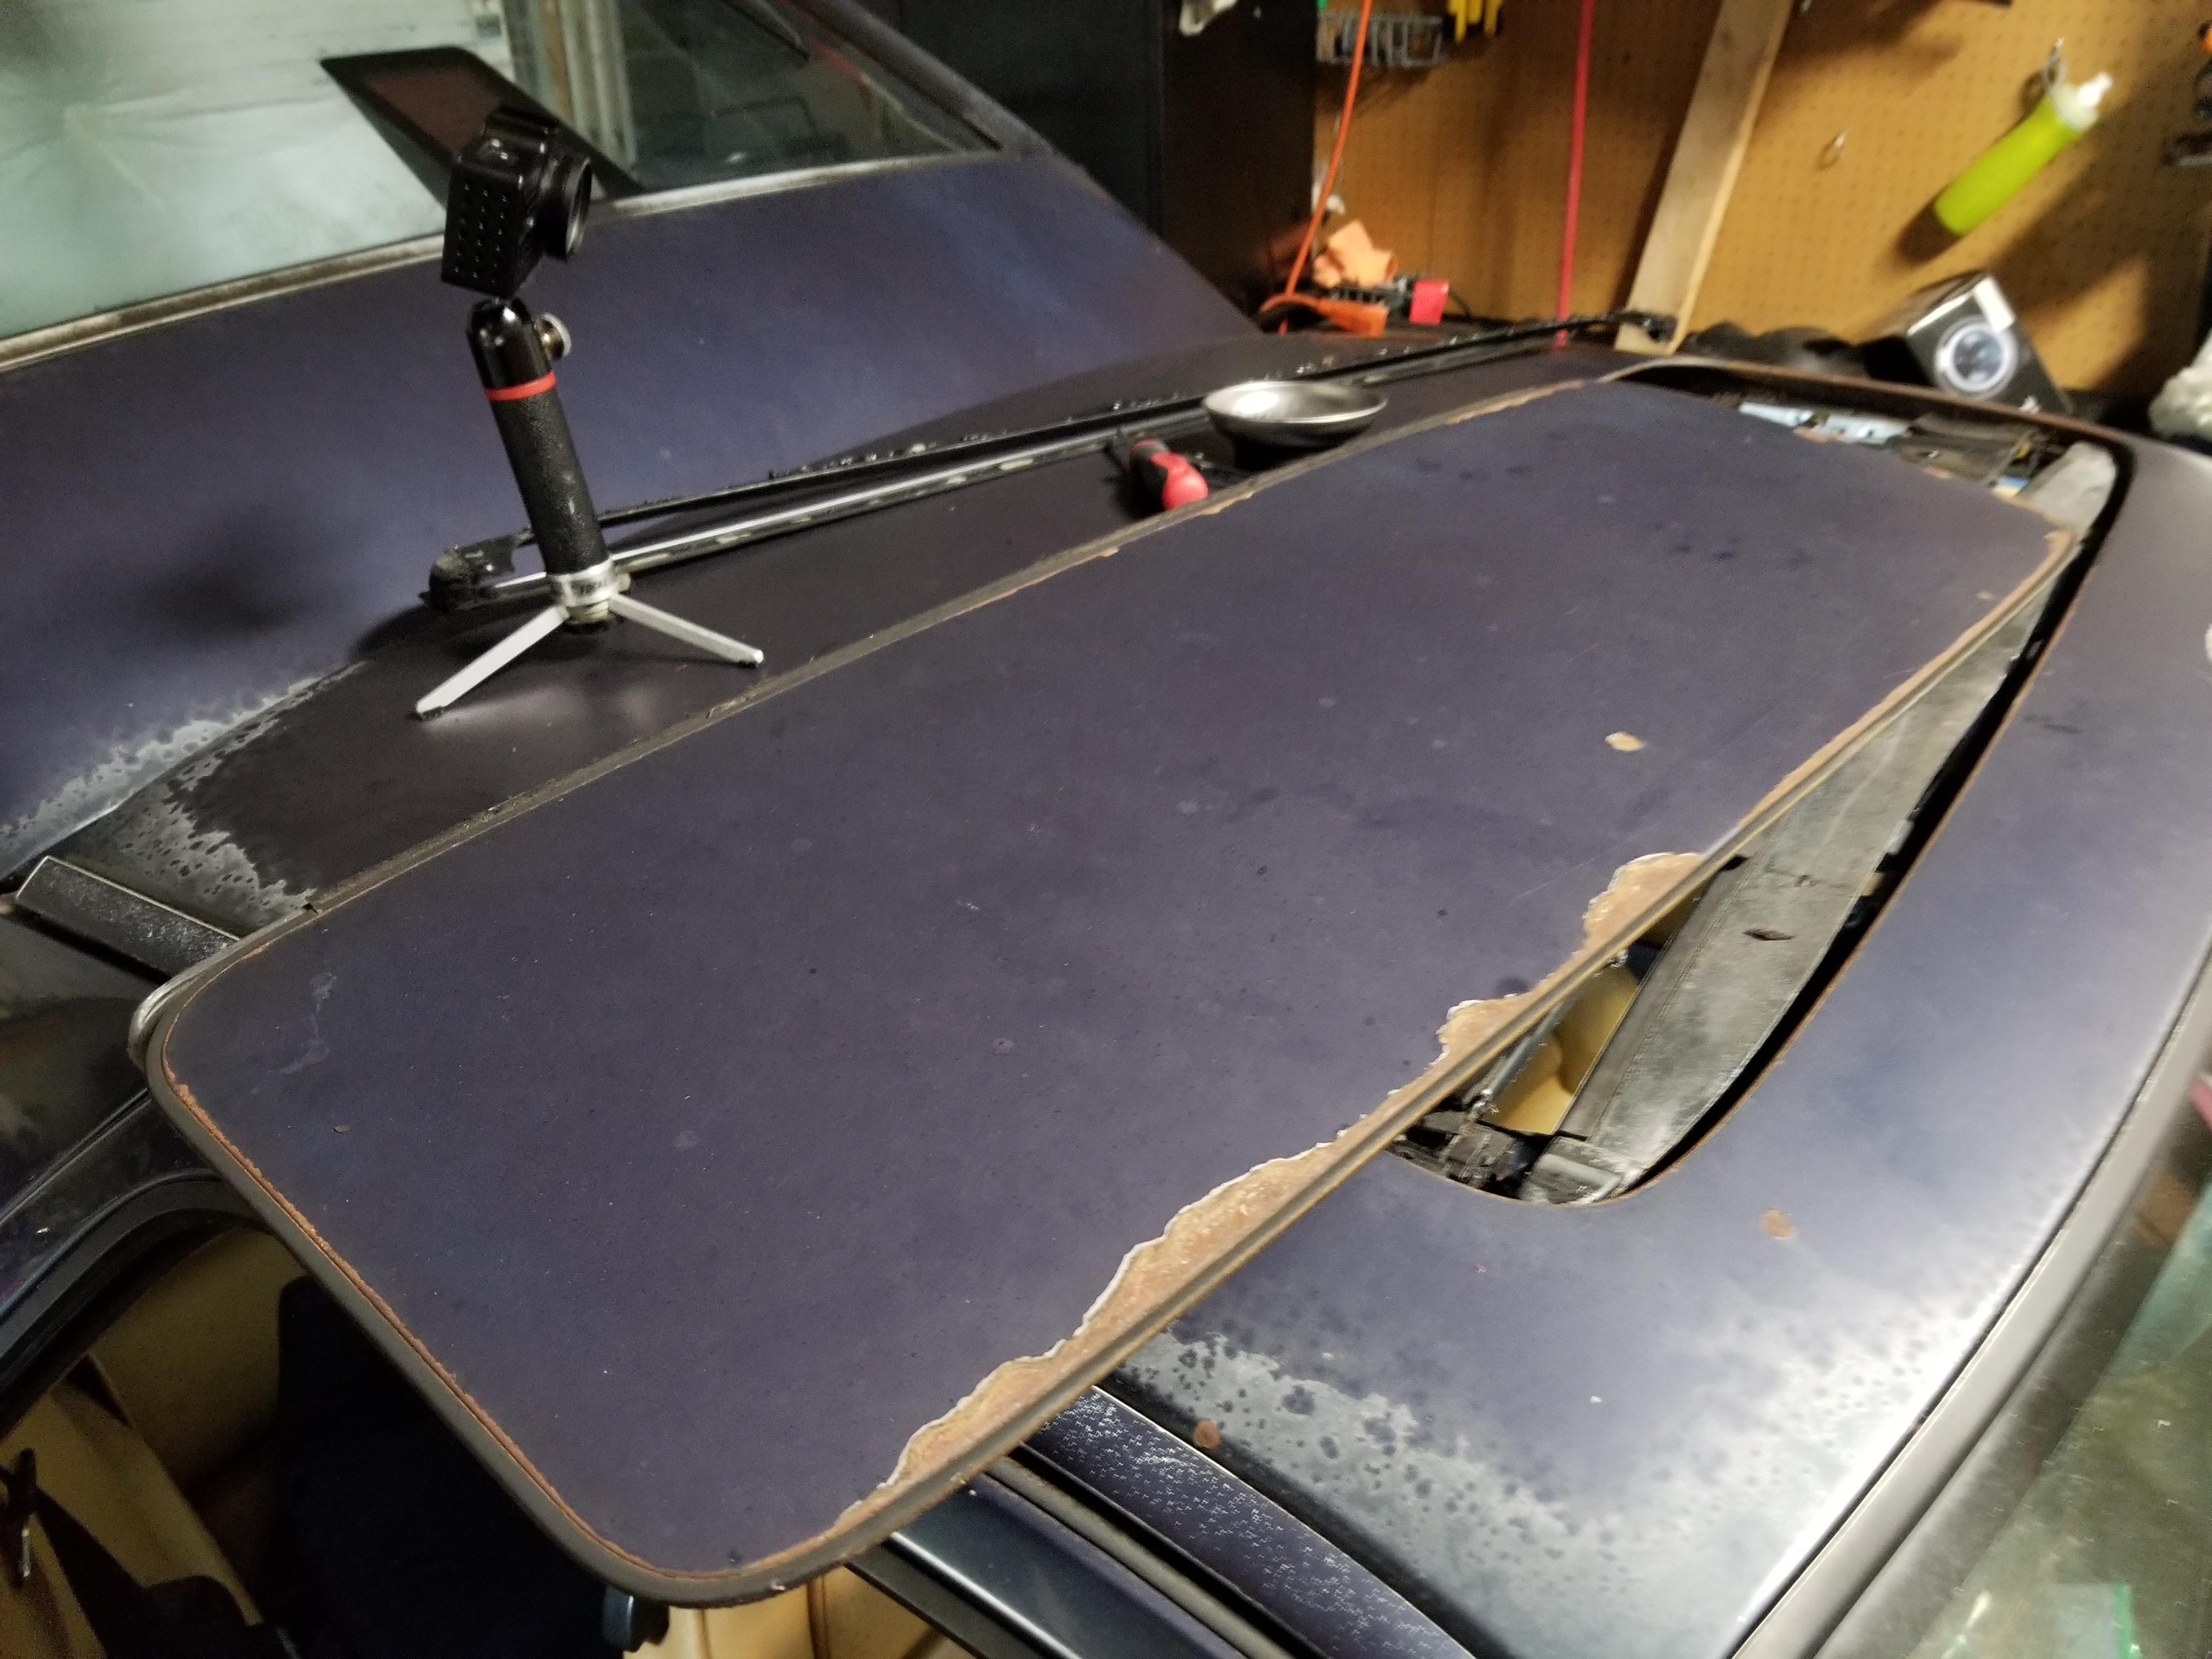
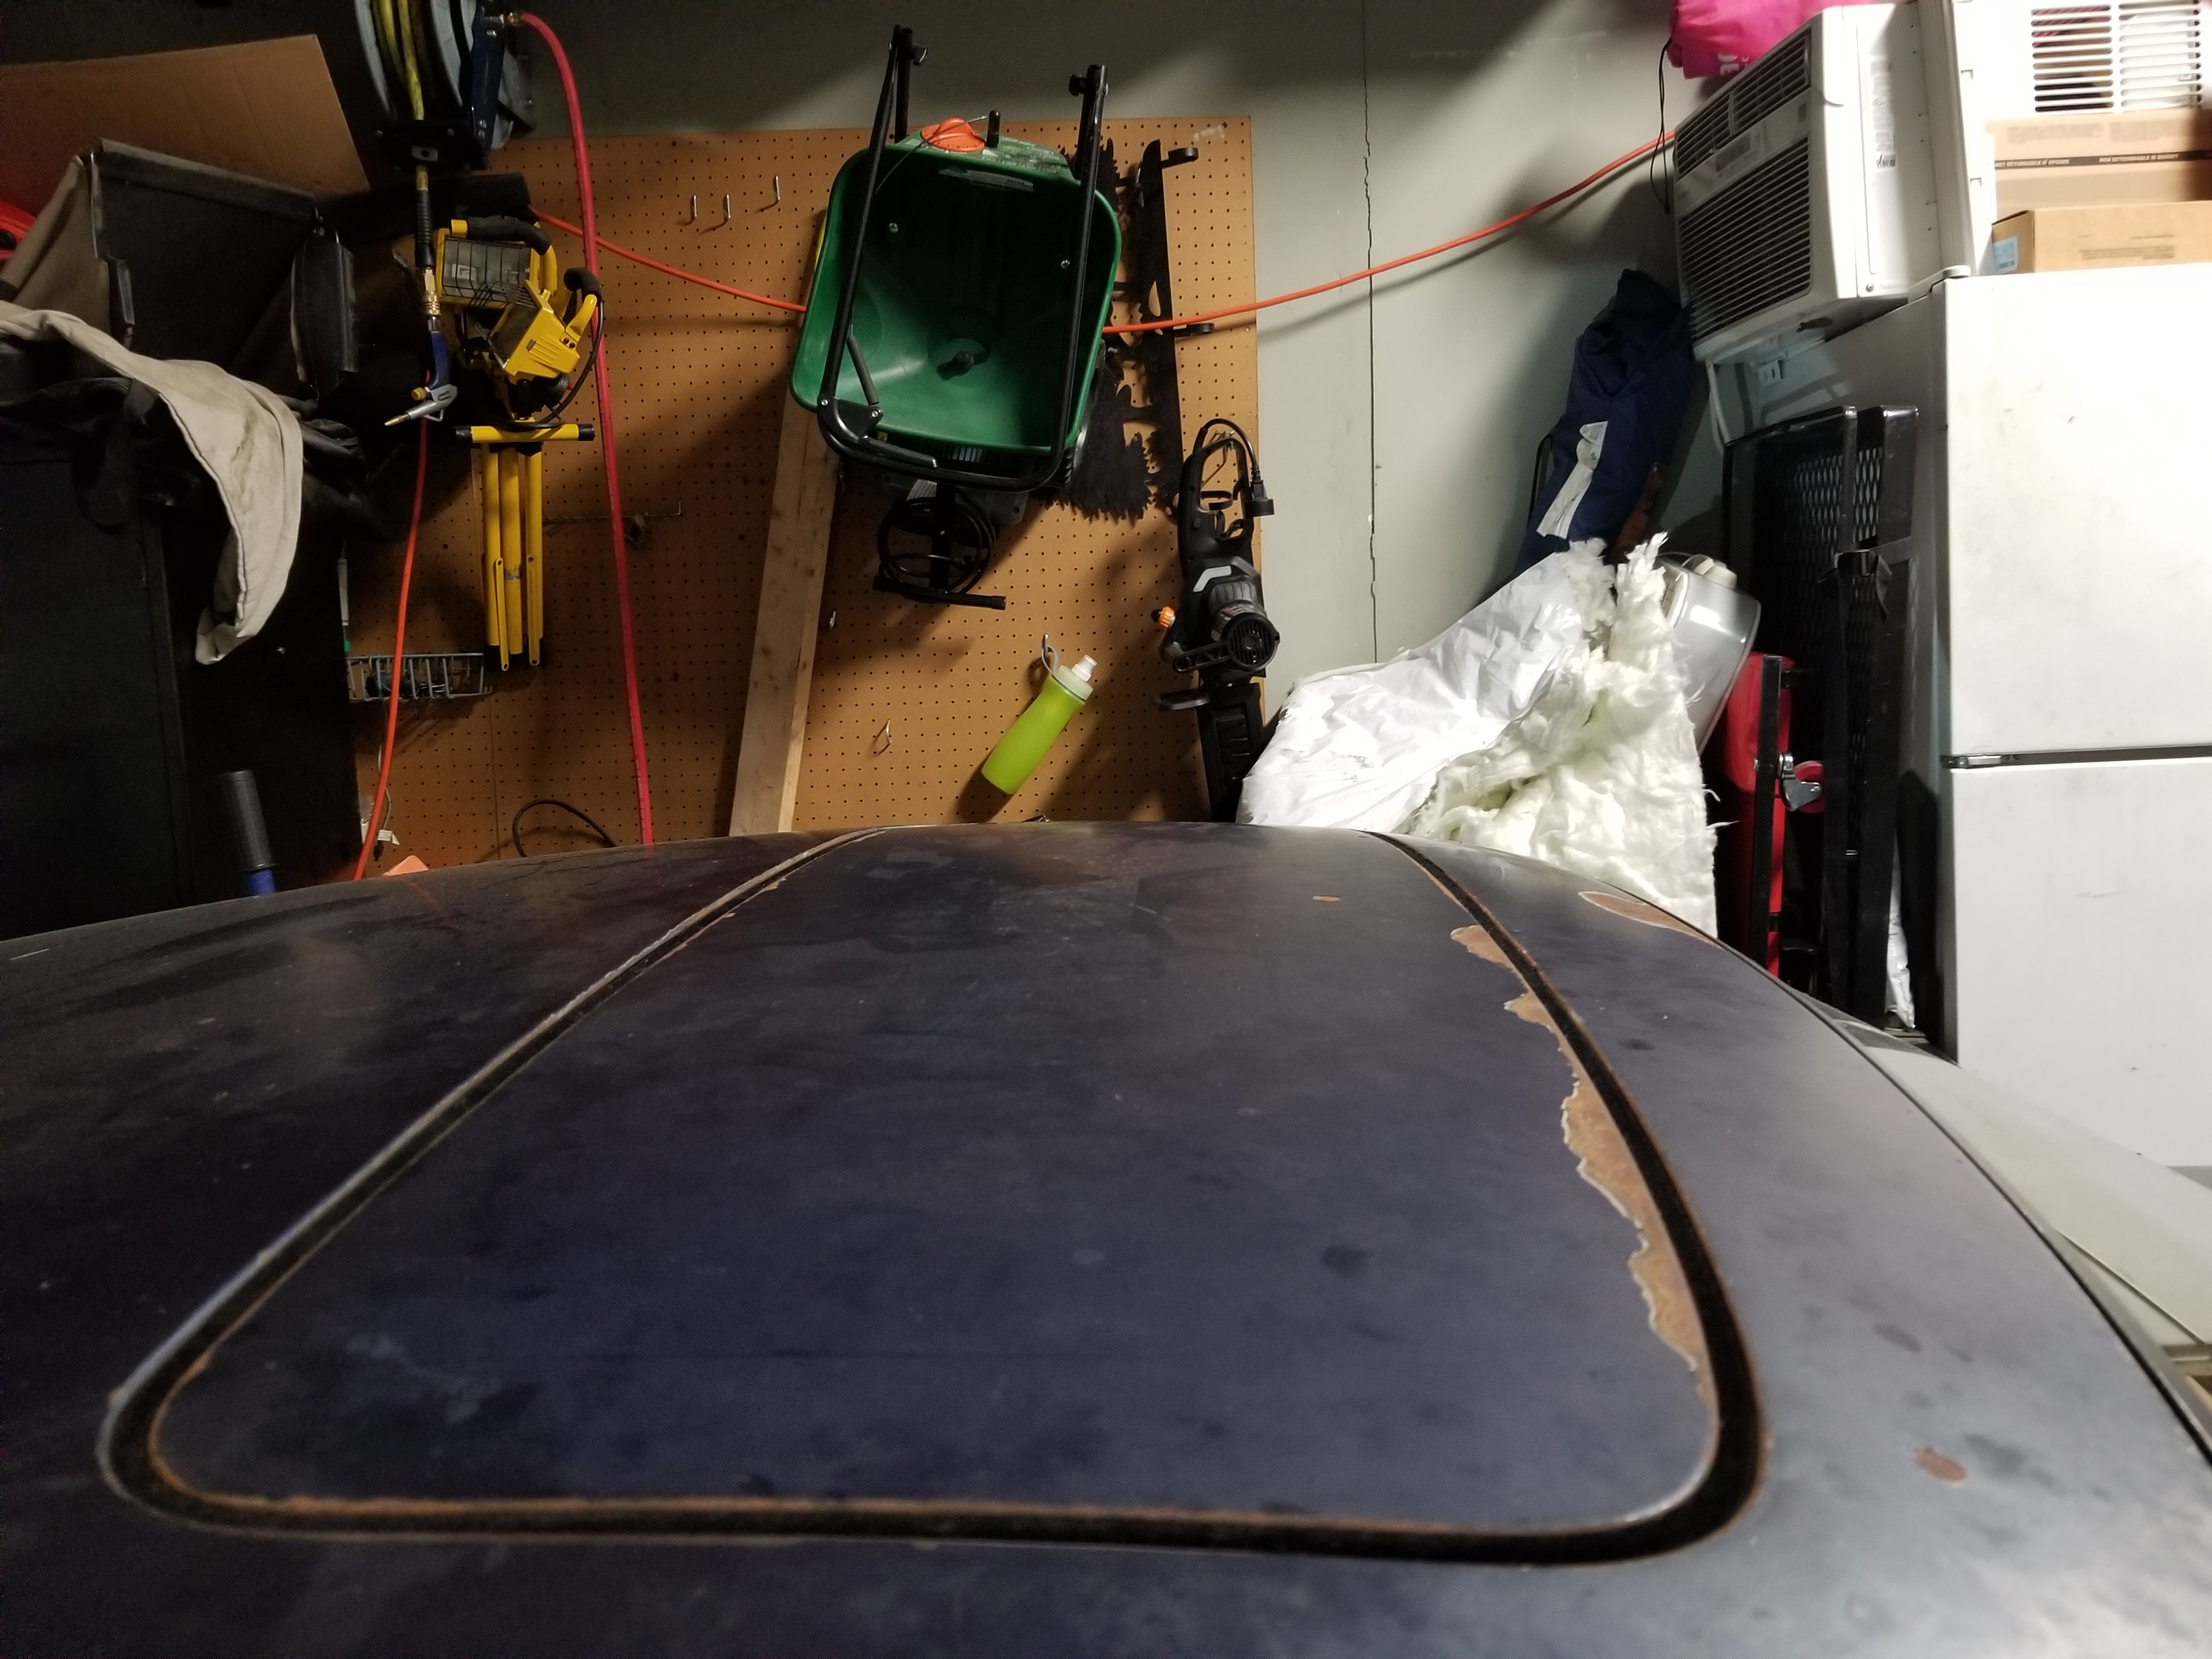
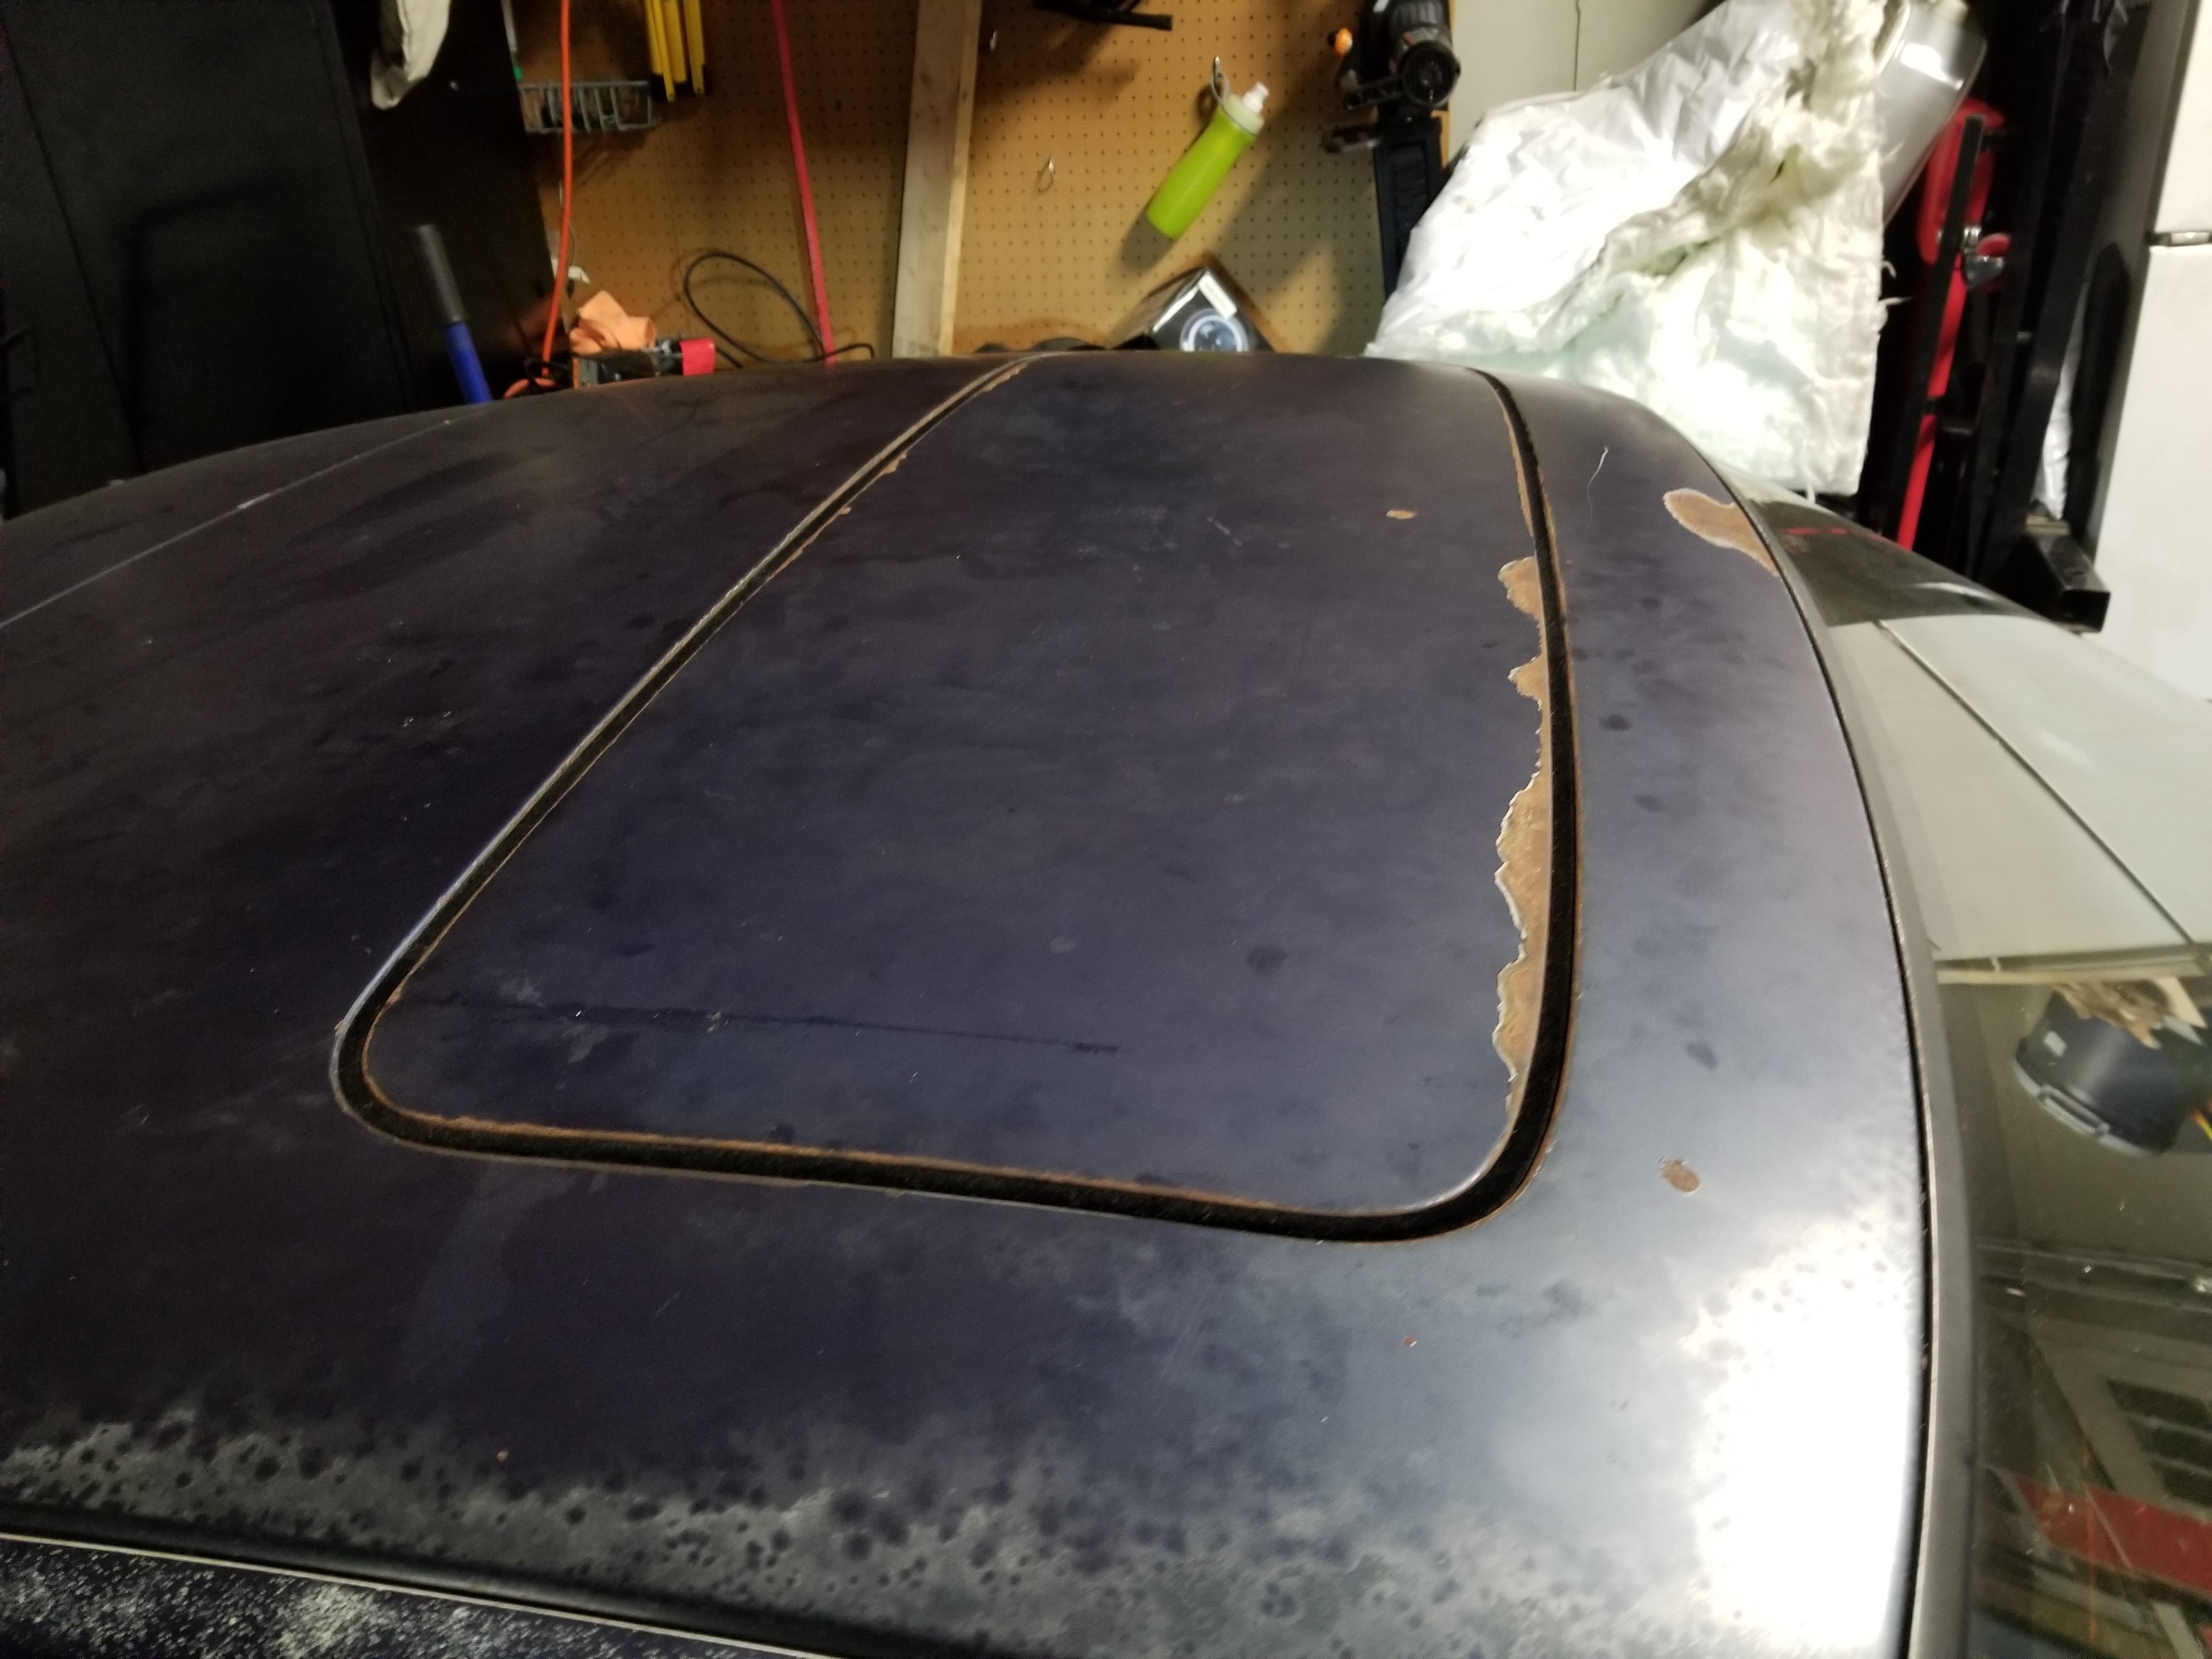
Decided to start tackling the warped headliner.

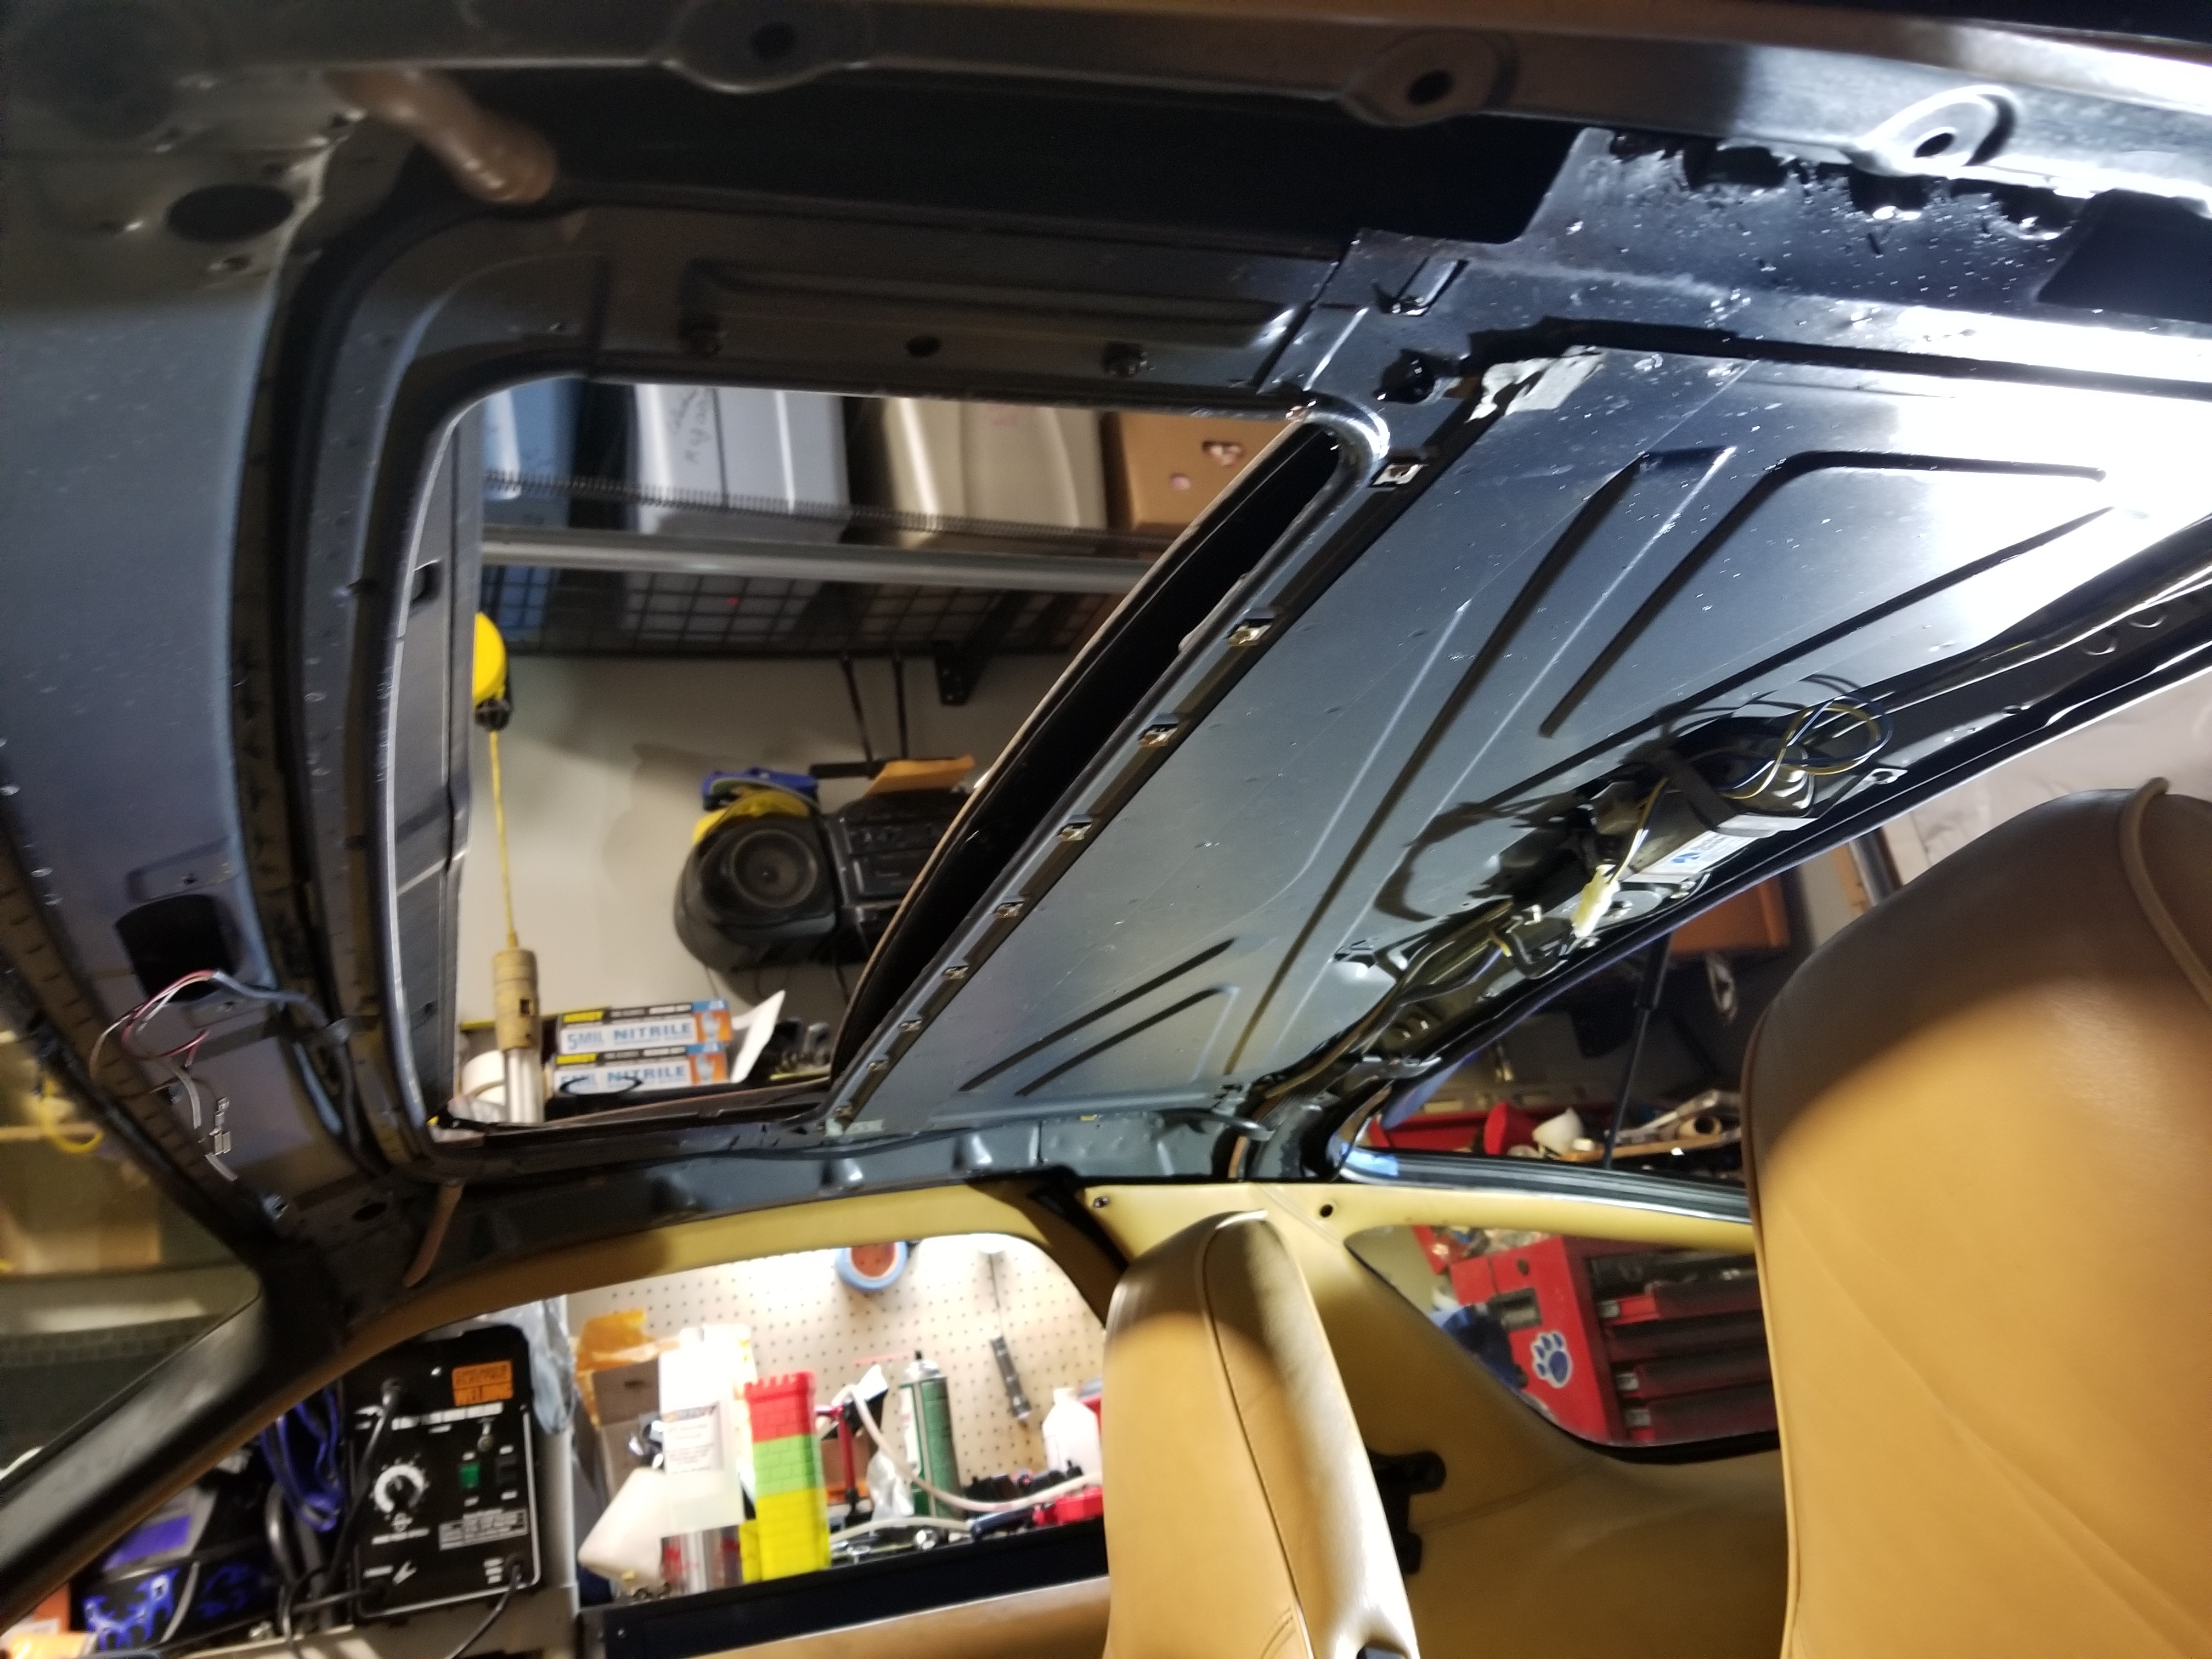
The front driver's side there is where it's warped. The front part is wavy and the cover at the pillar is a bit gacked. Guess now it's up to trying to fix the board or finding a replacement one.
The front driver's side there is where it's warped. The front part is wavy and the cover at the pillar is a bit gacked. Guess now it's up to trying to fix the board or finding a replacement one.
The following users liked this post:
JBGold07 (11-30-2019)
11-30-2019, 07:20 PM
#243
Burning Brakes
Thread Starter
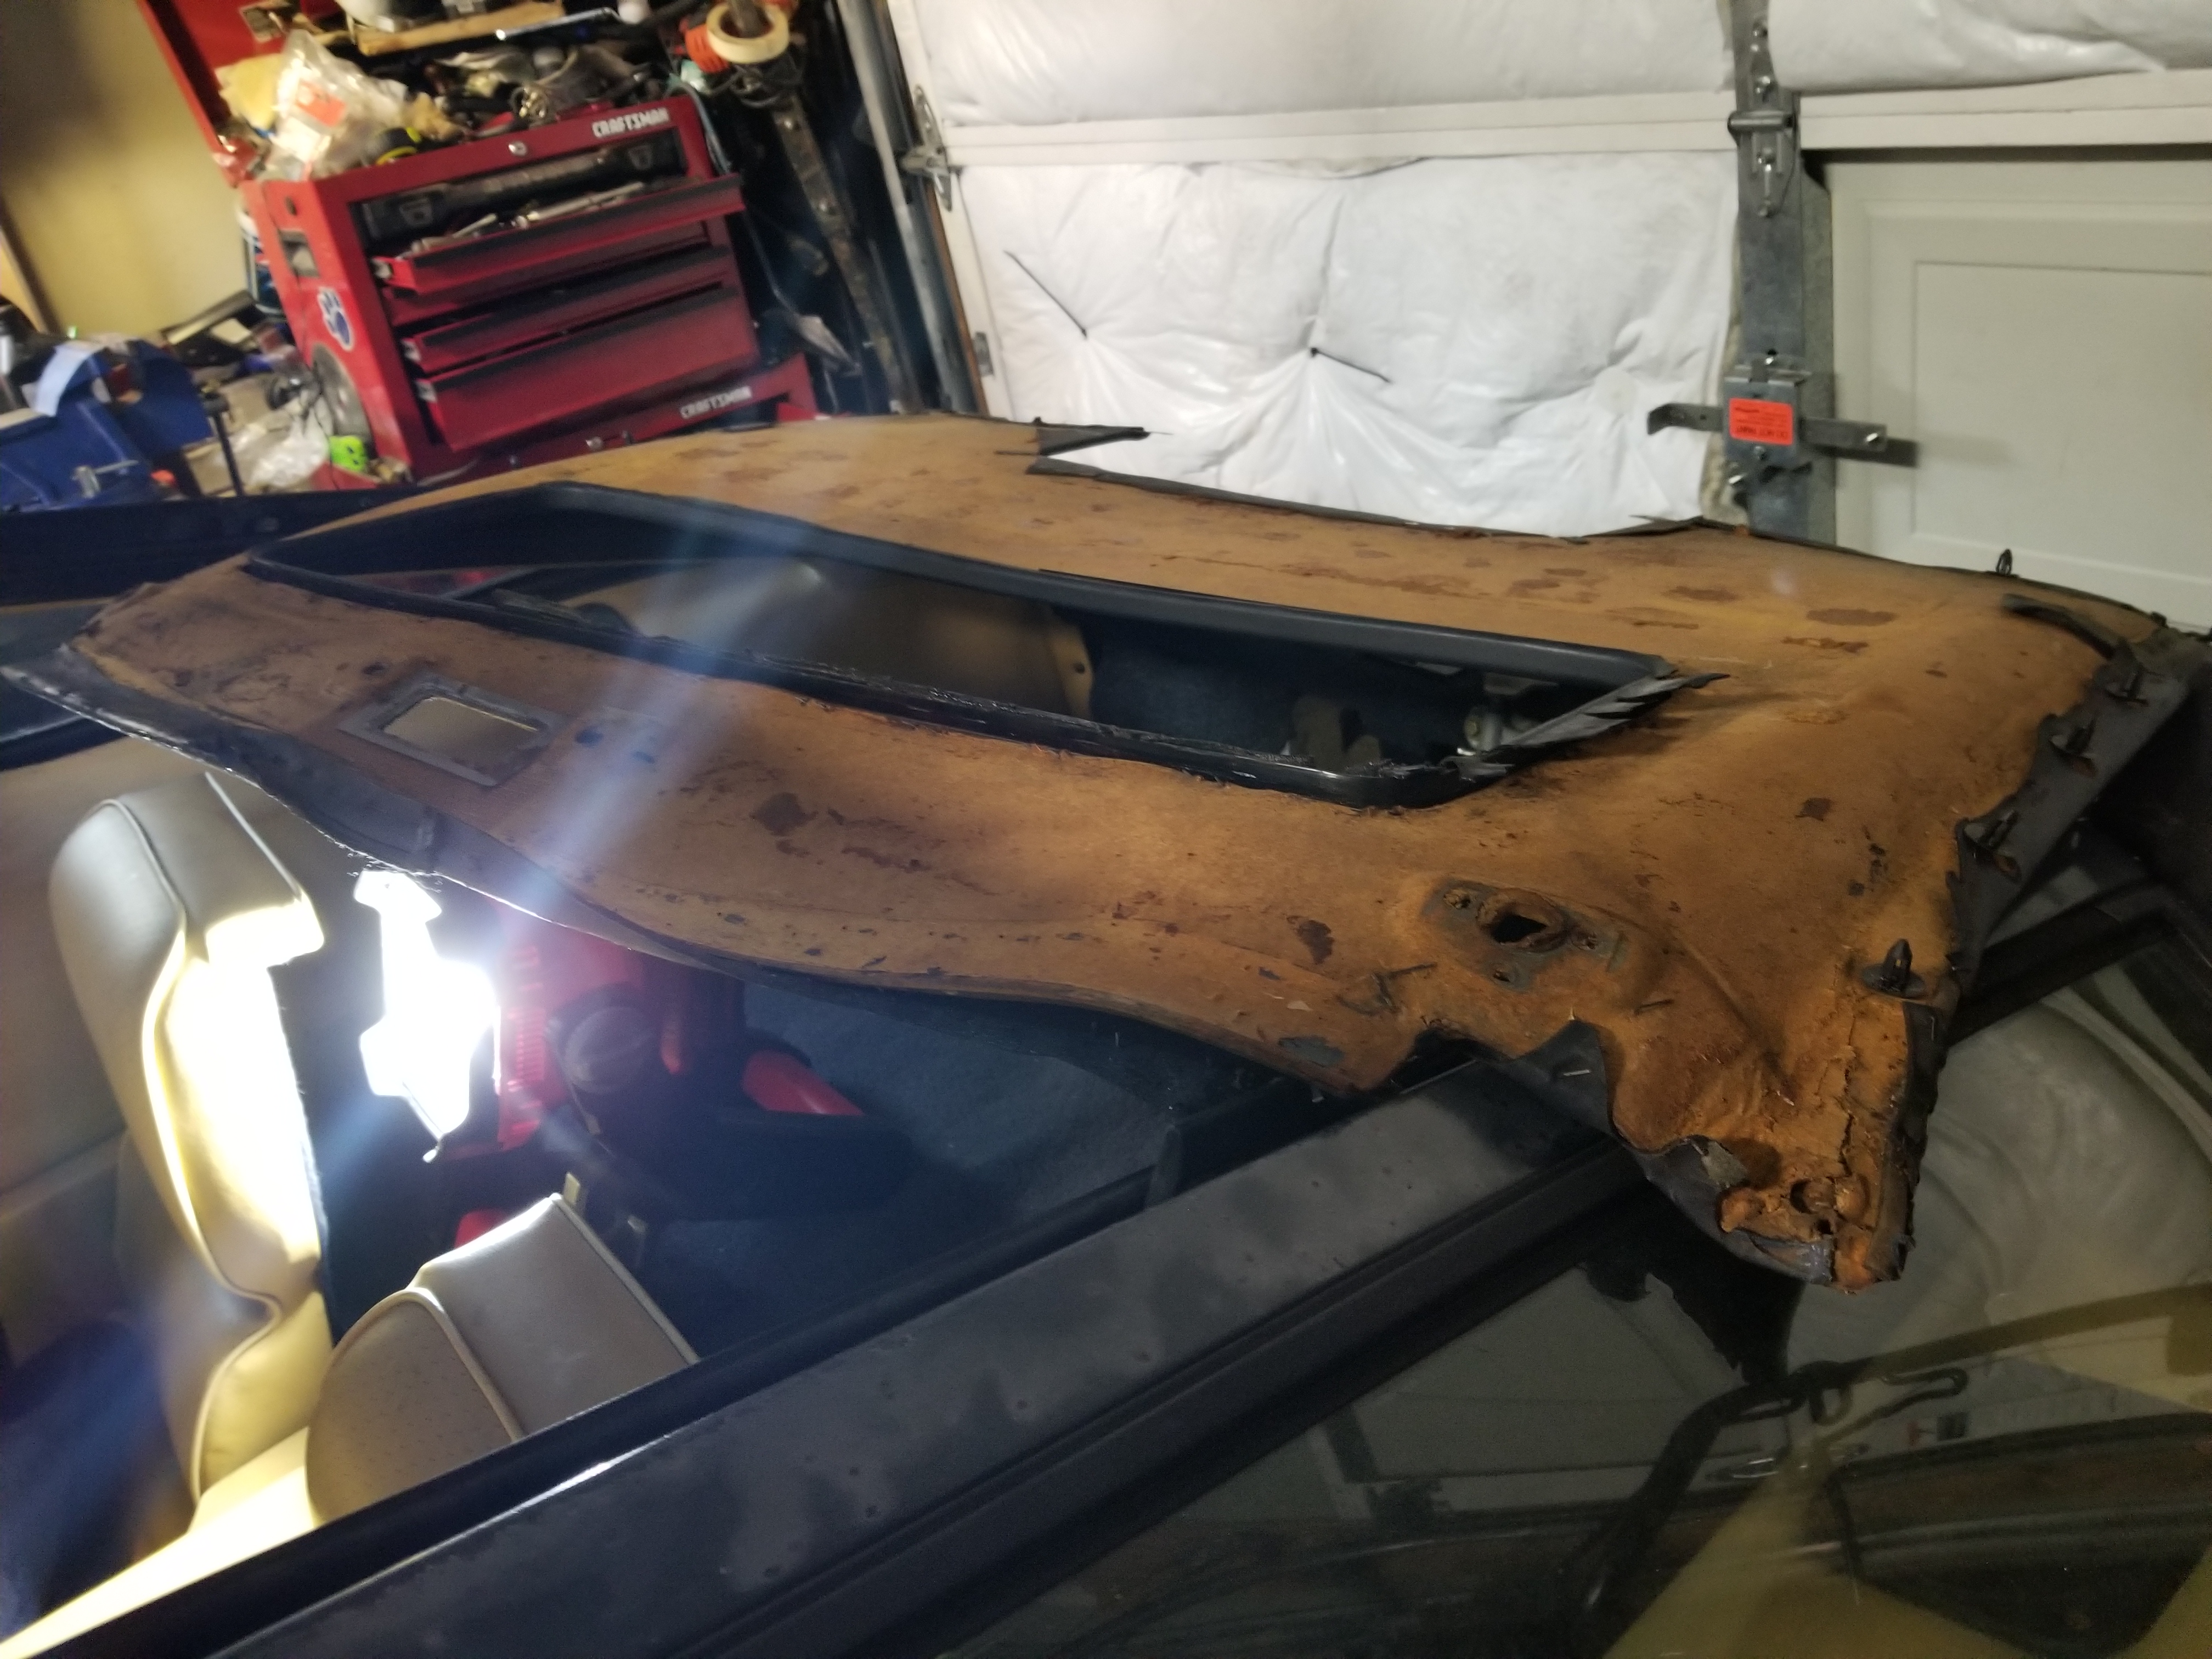
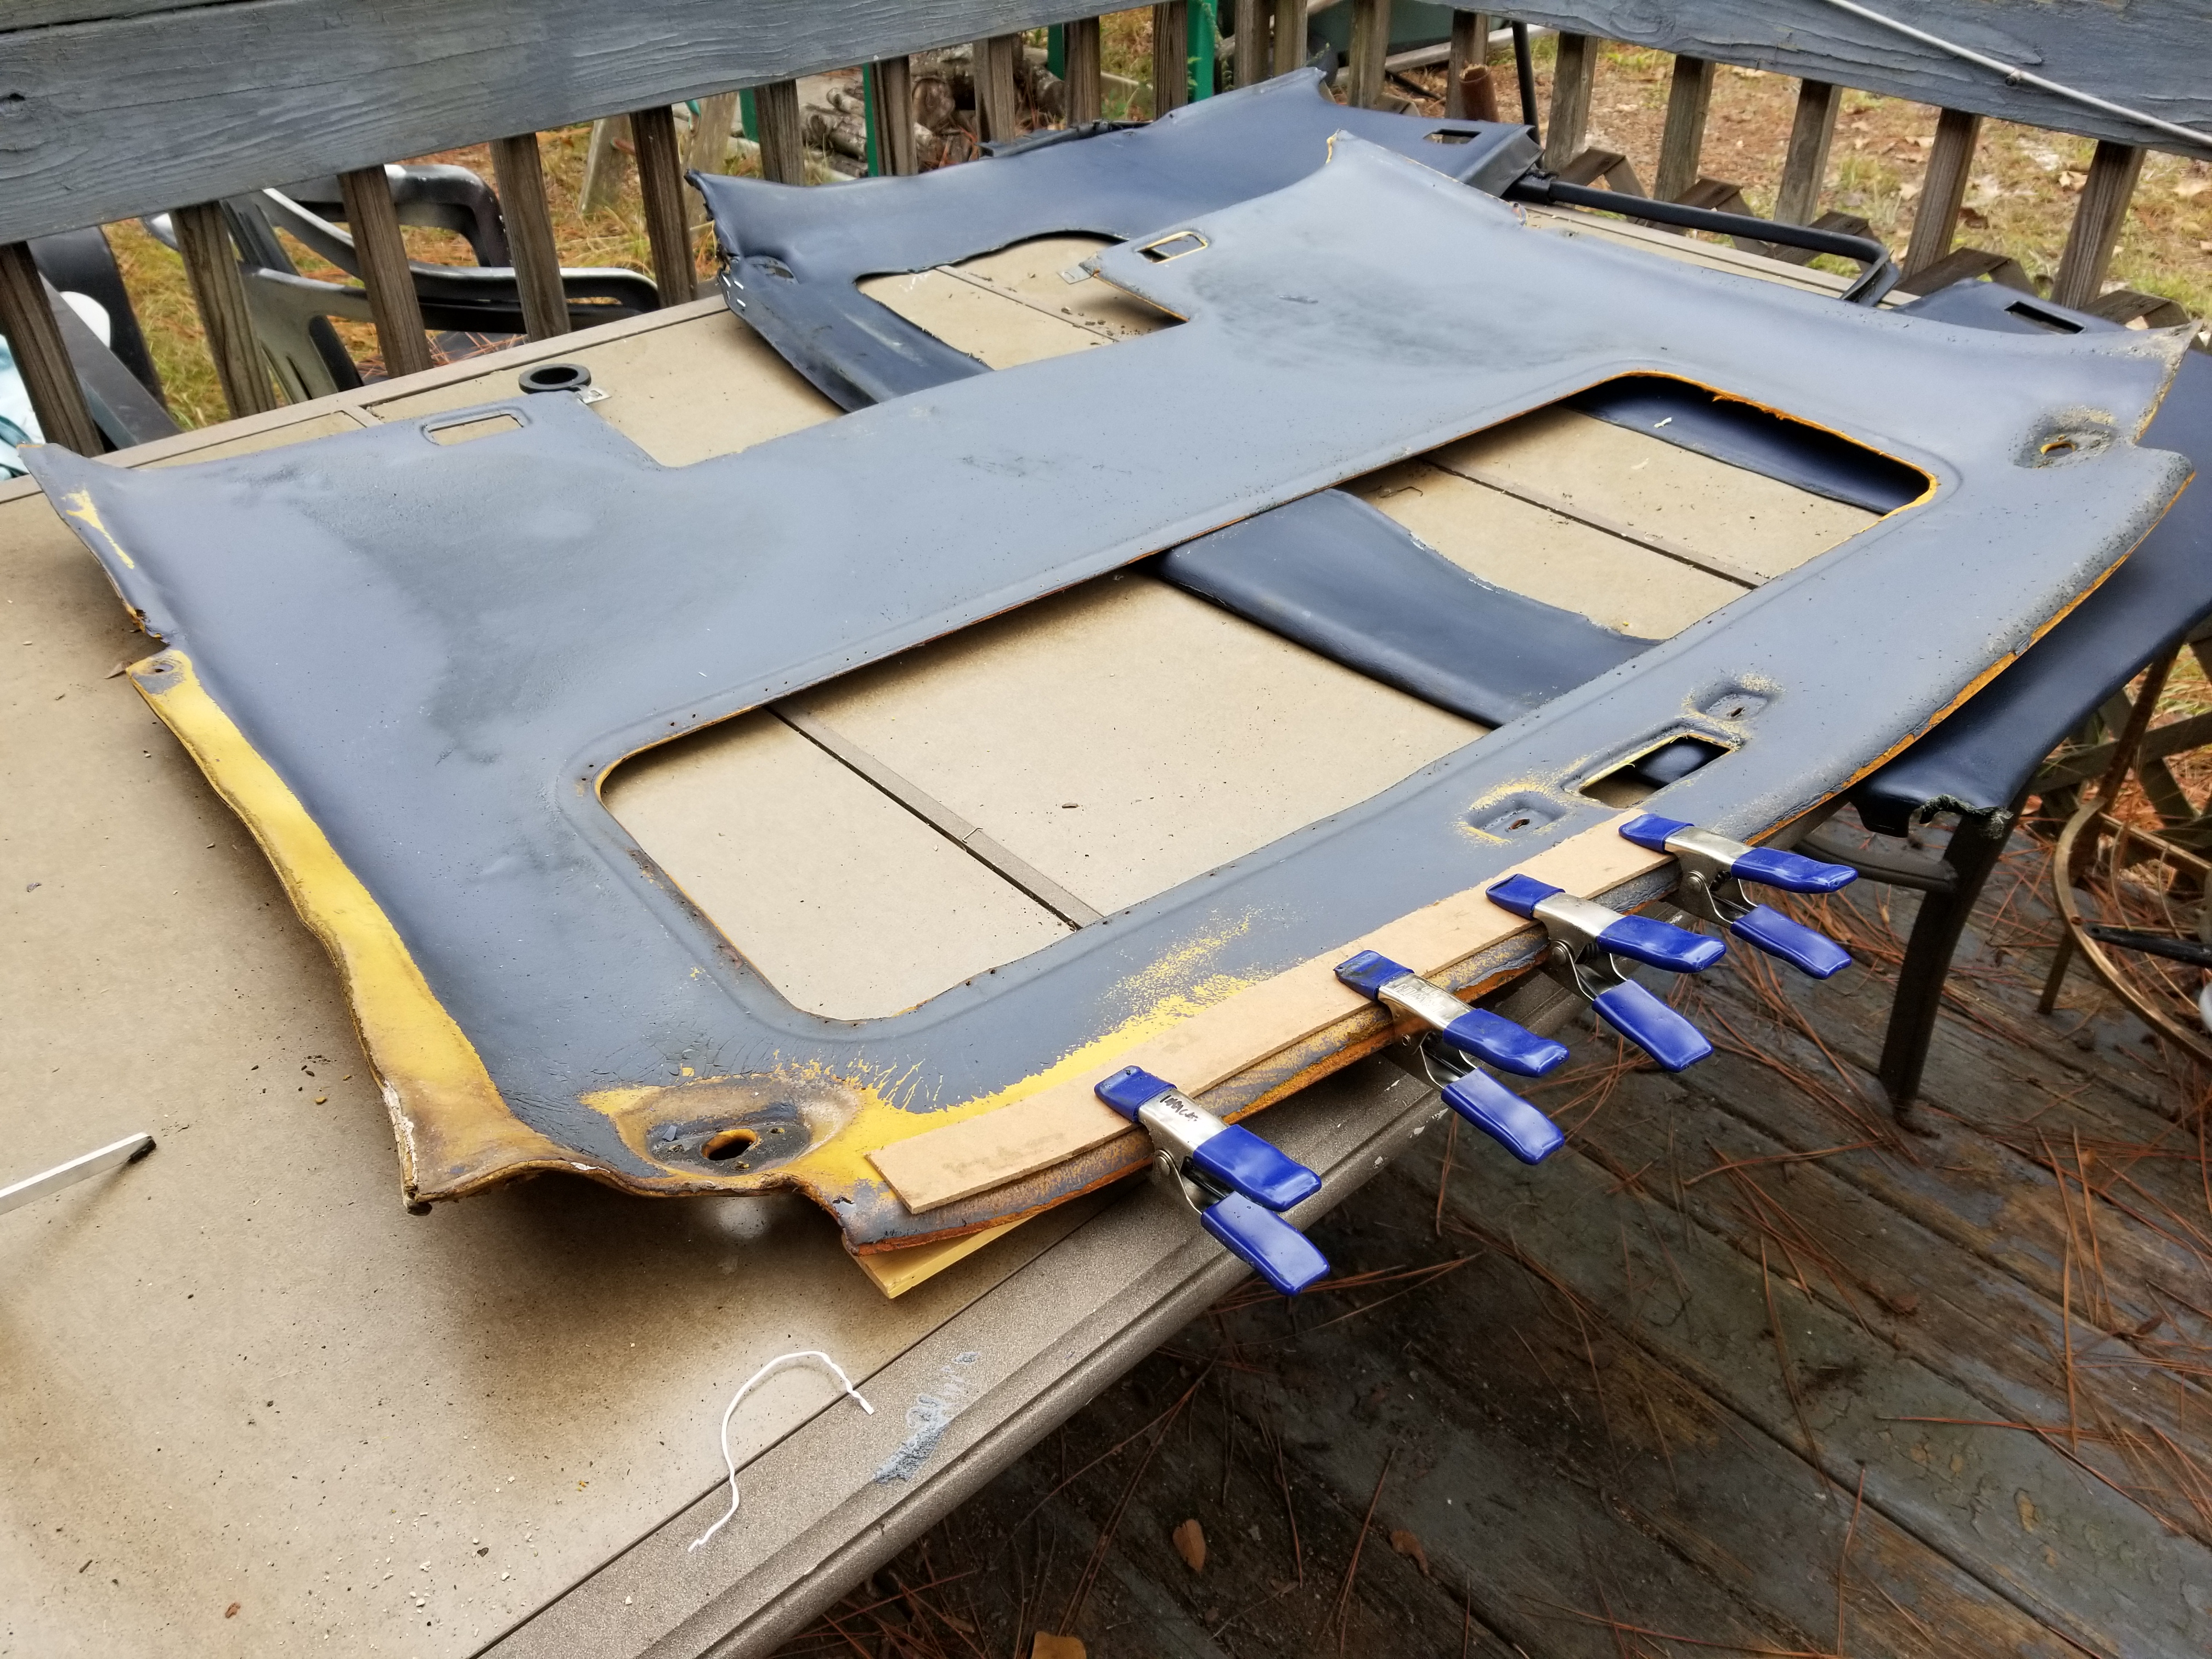
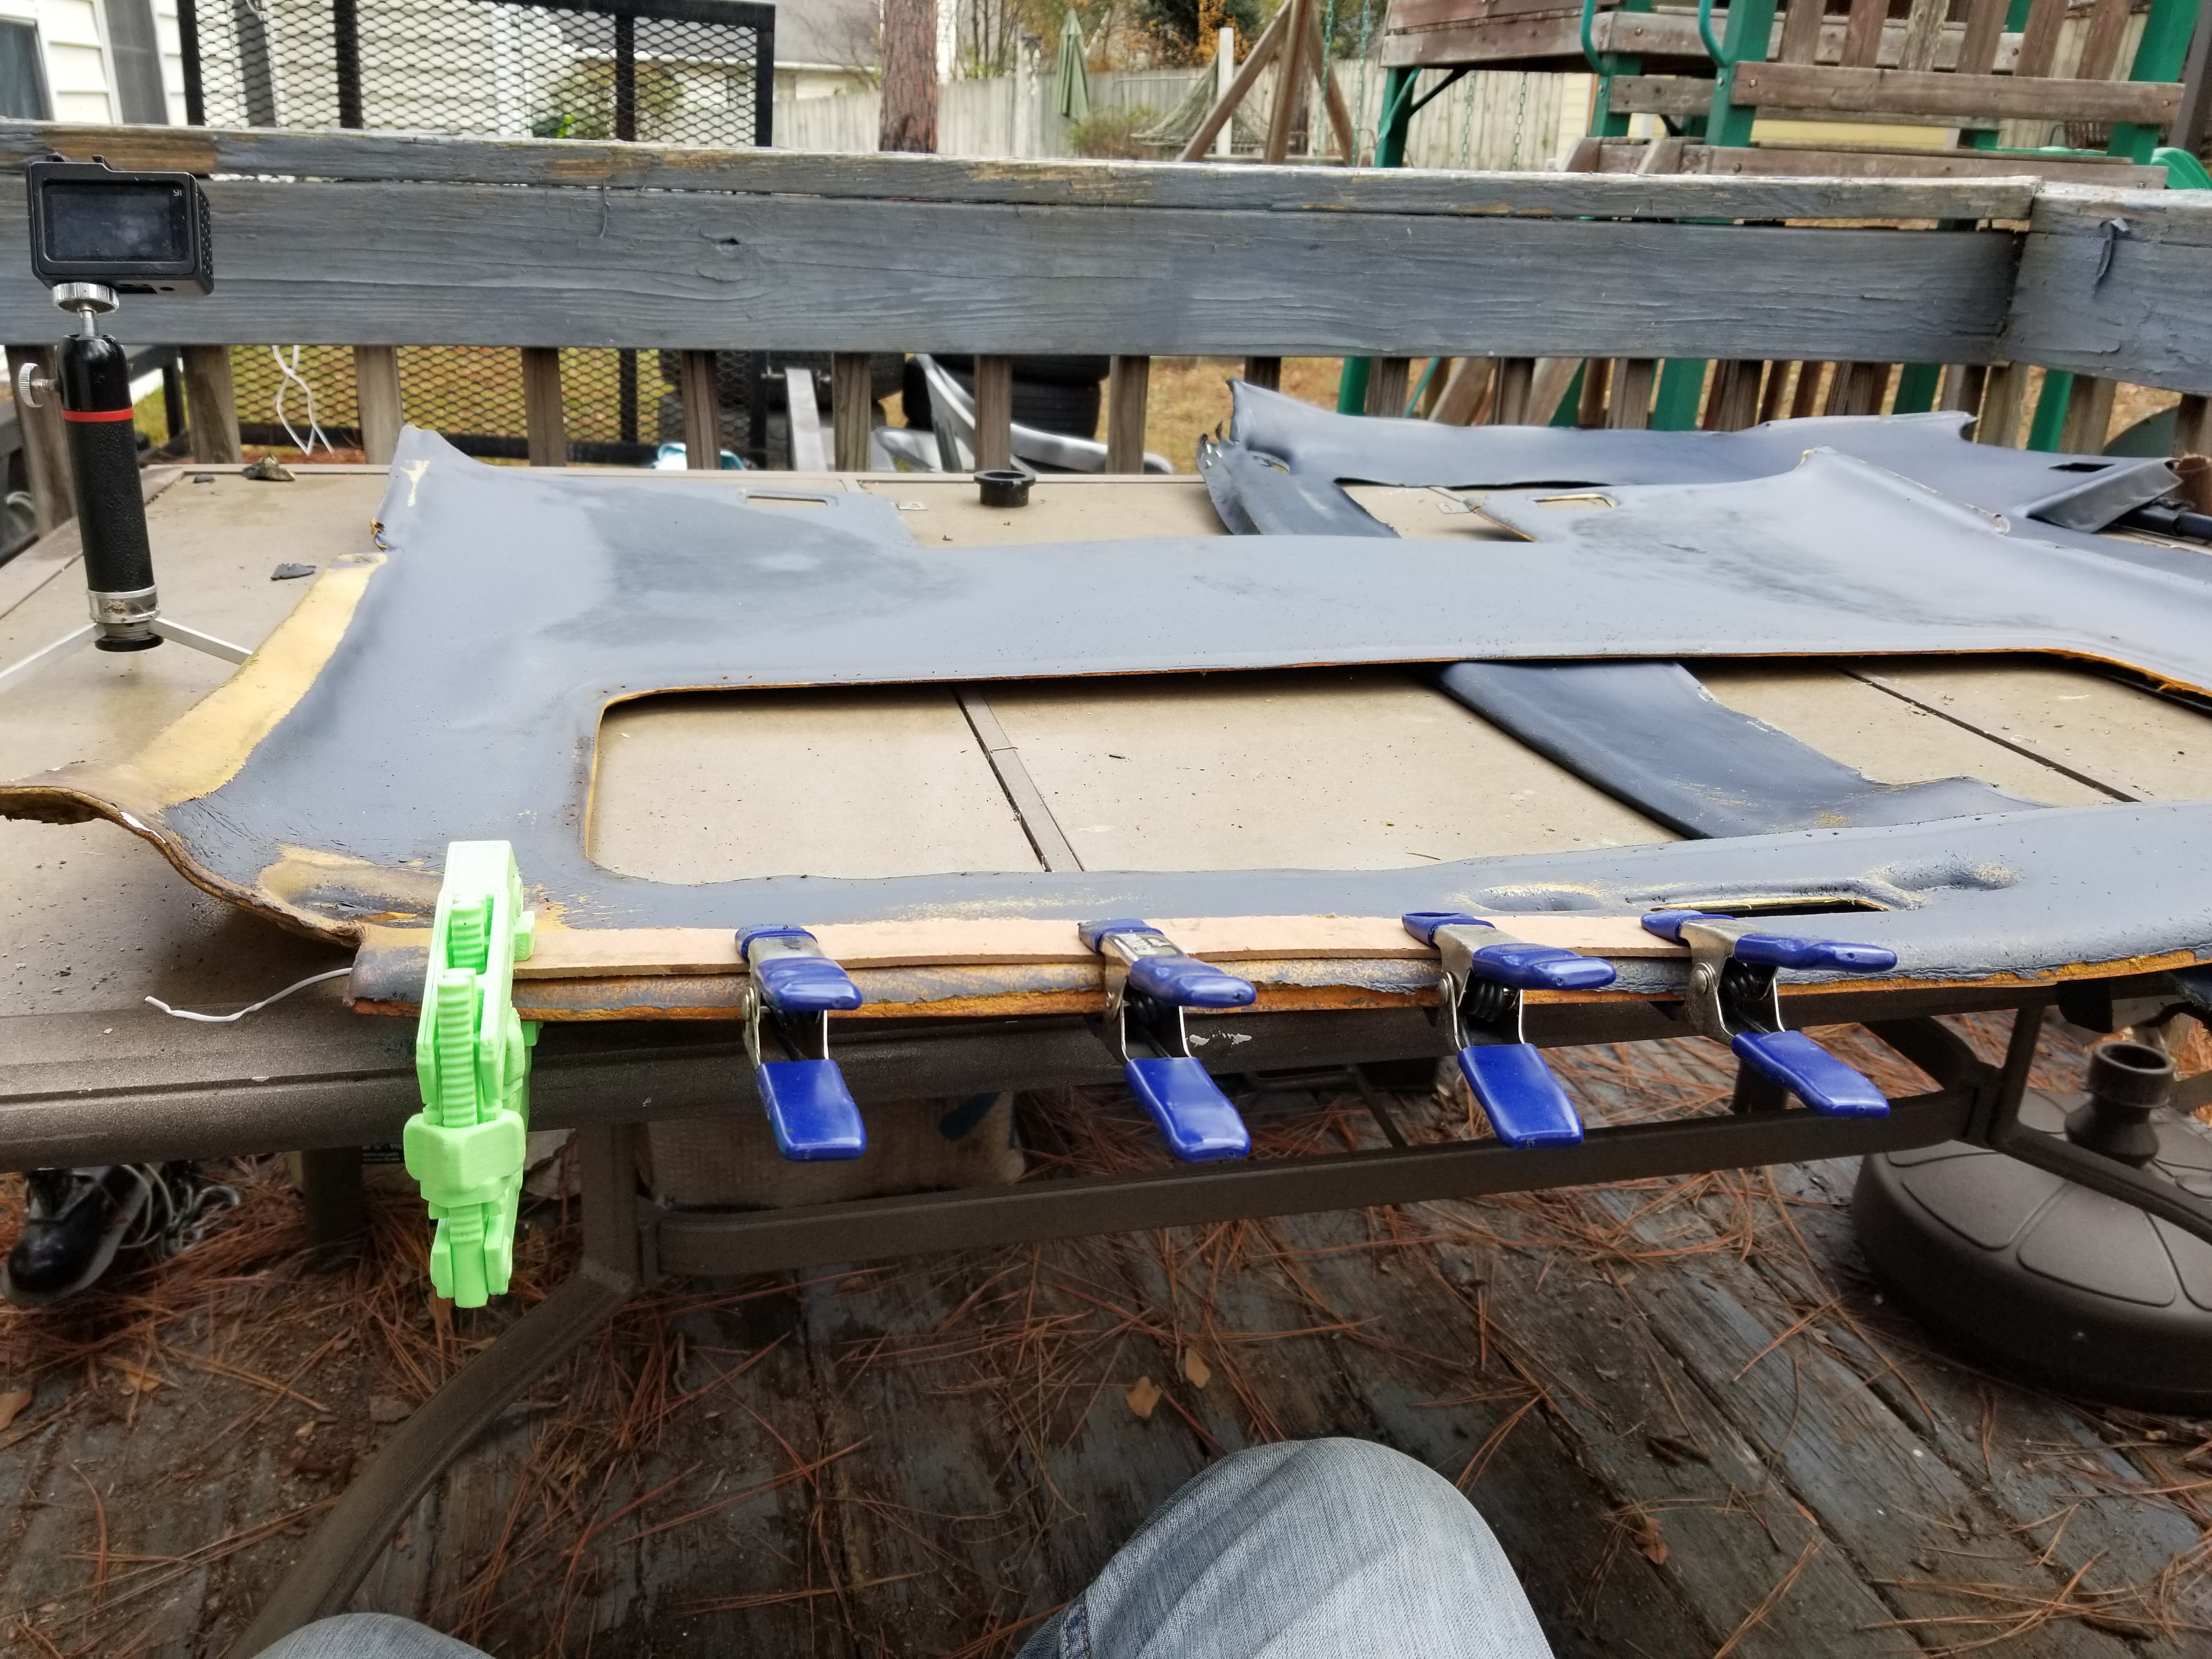
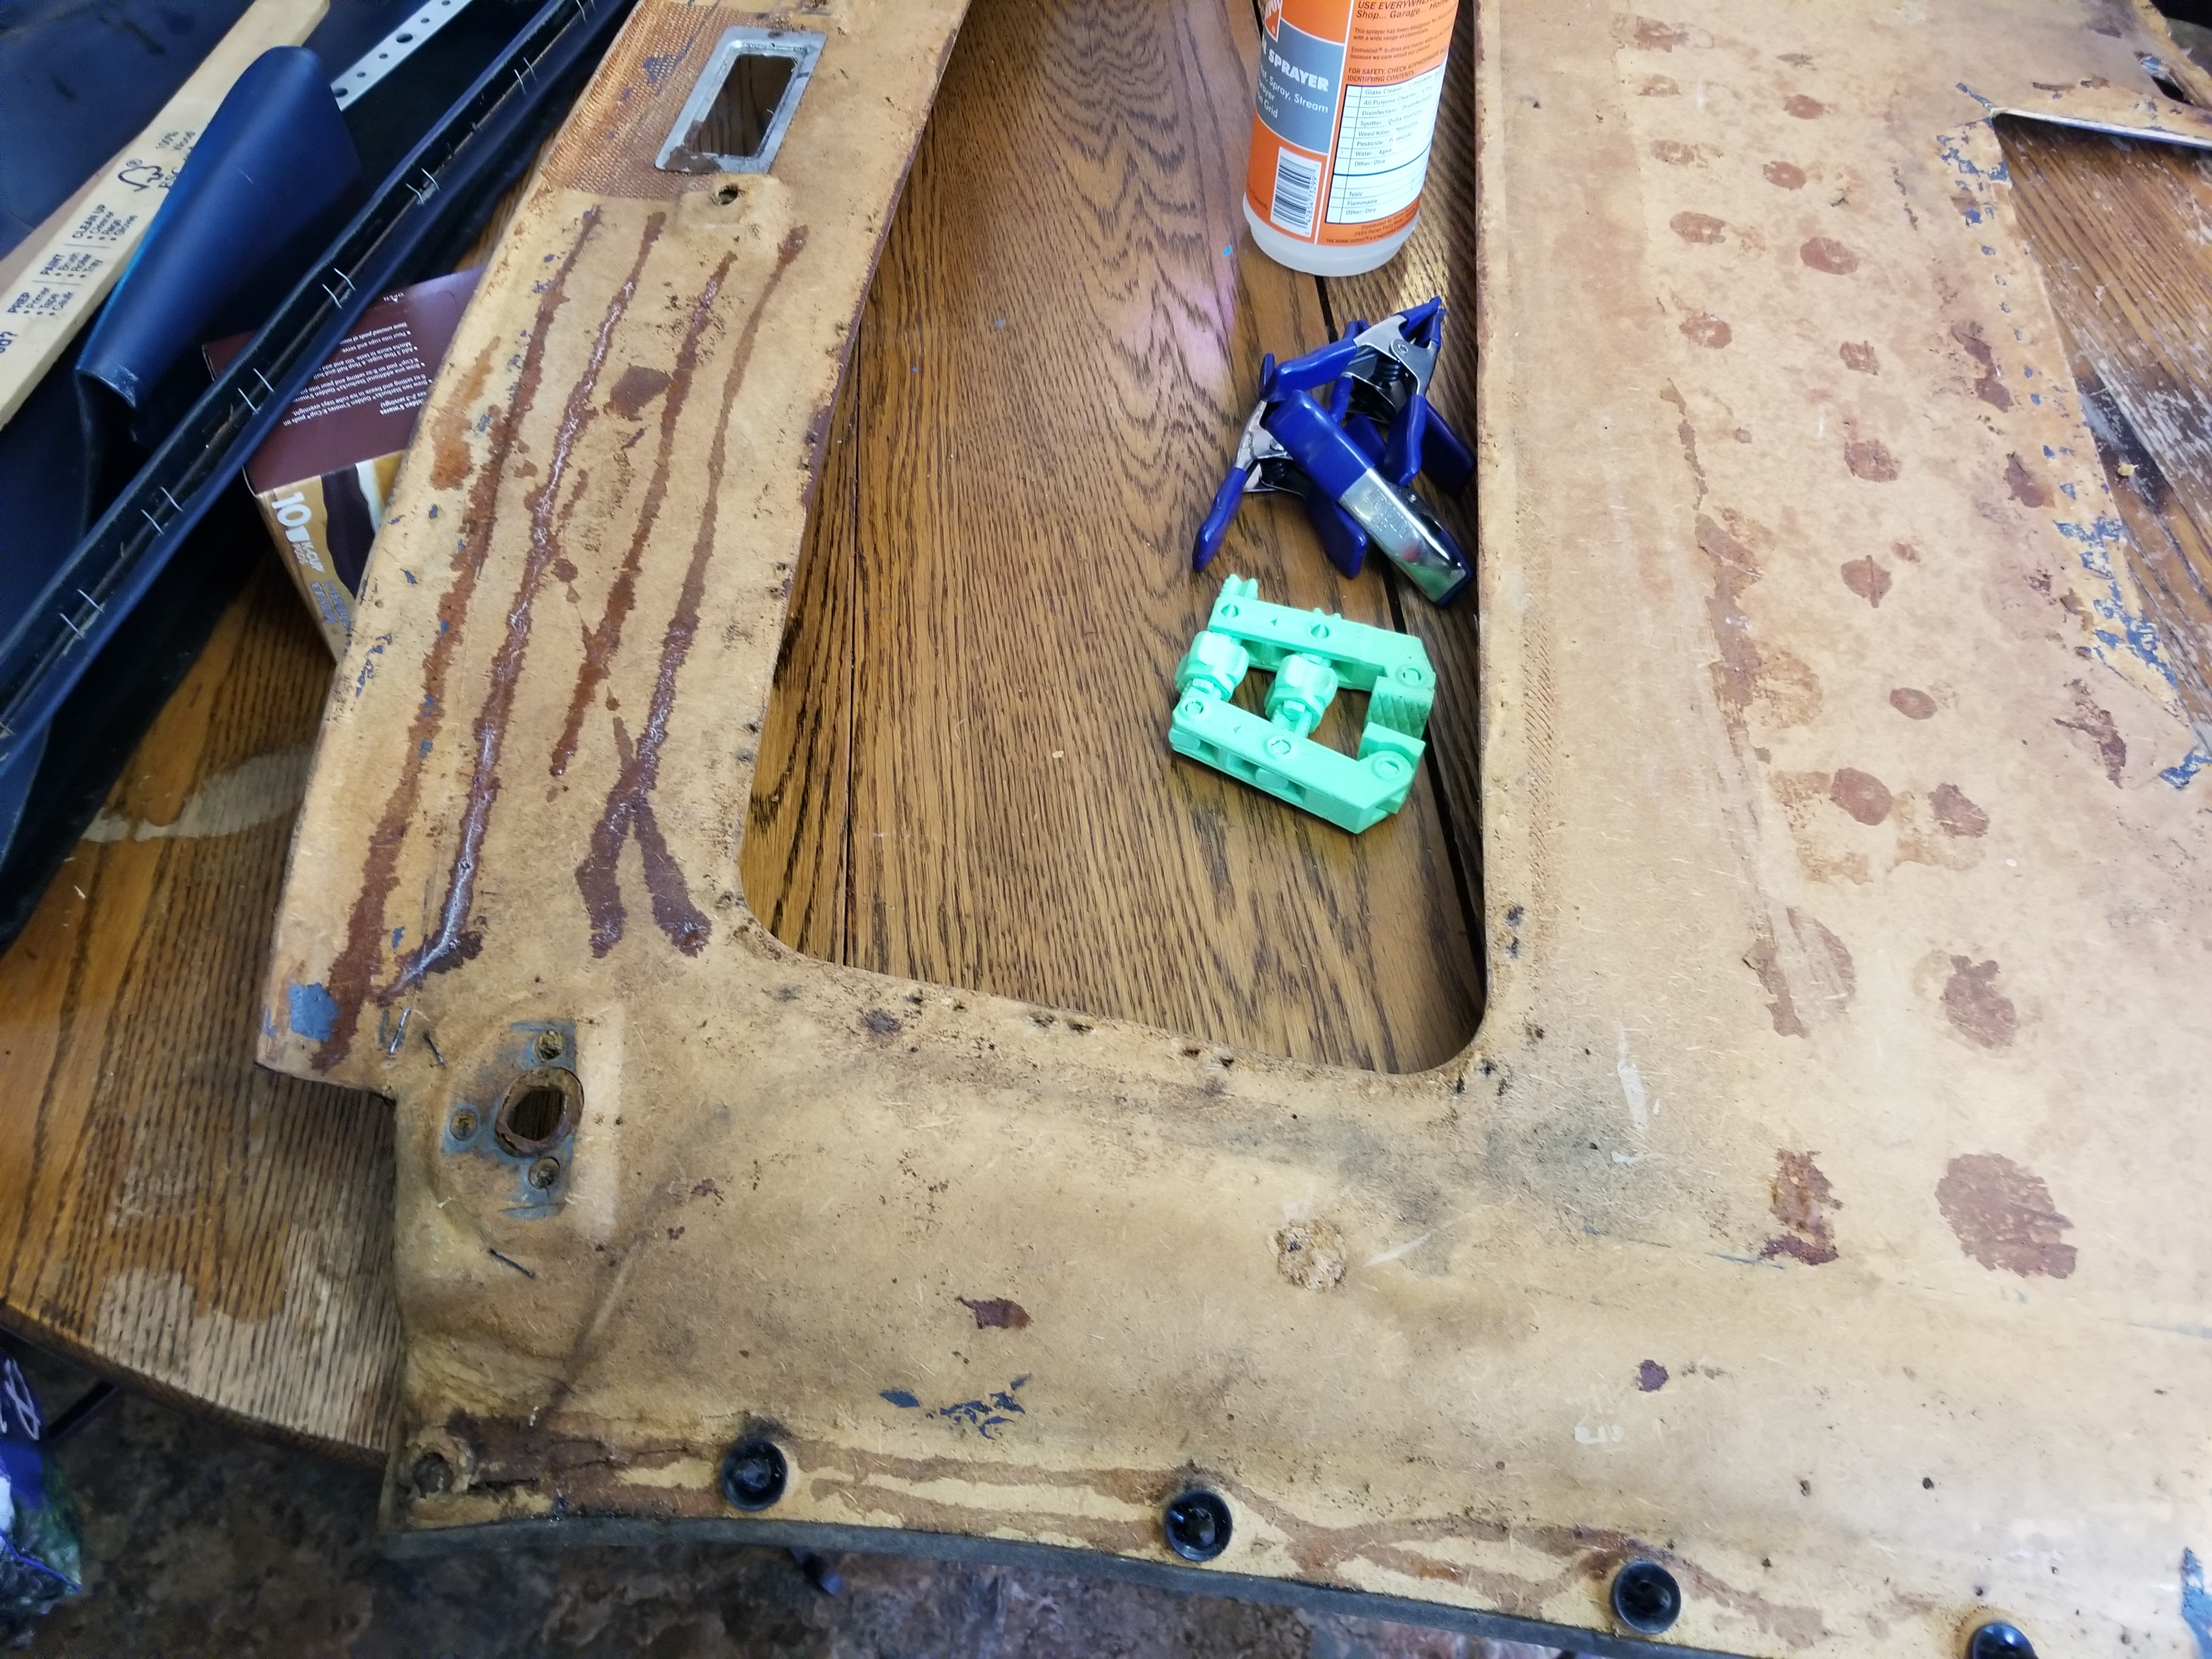
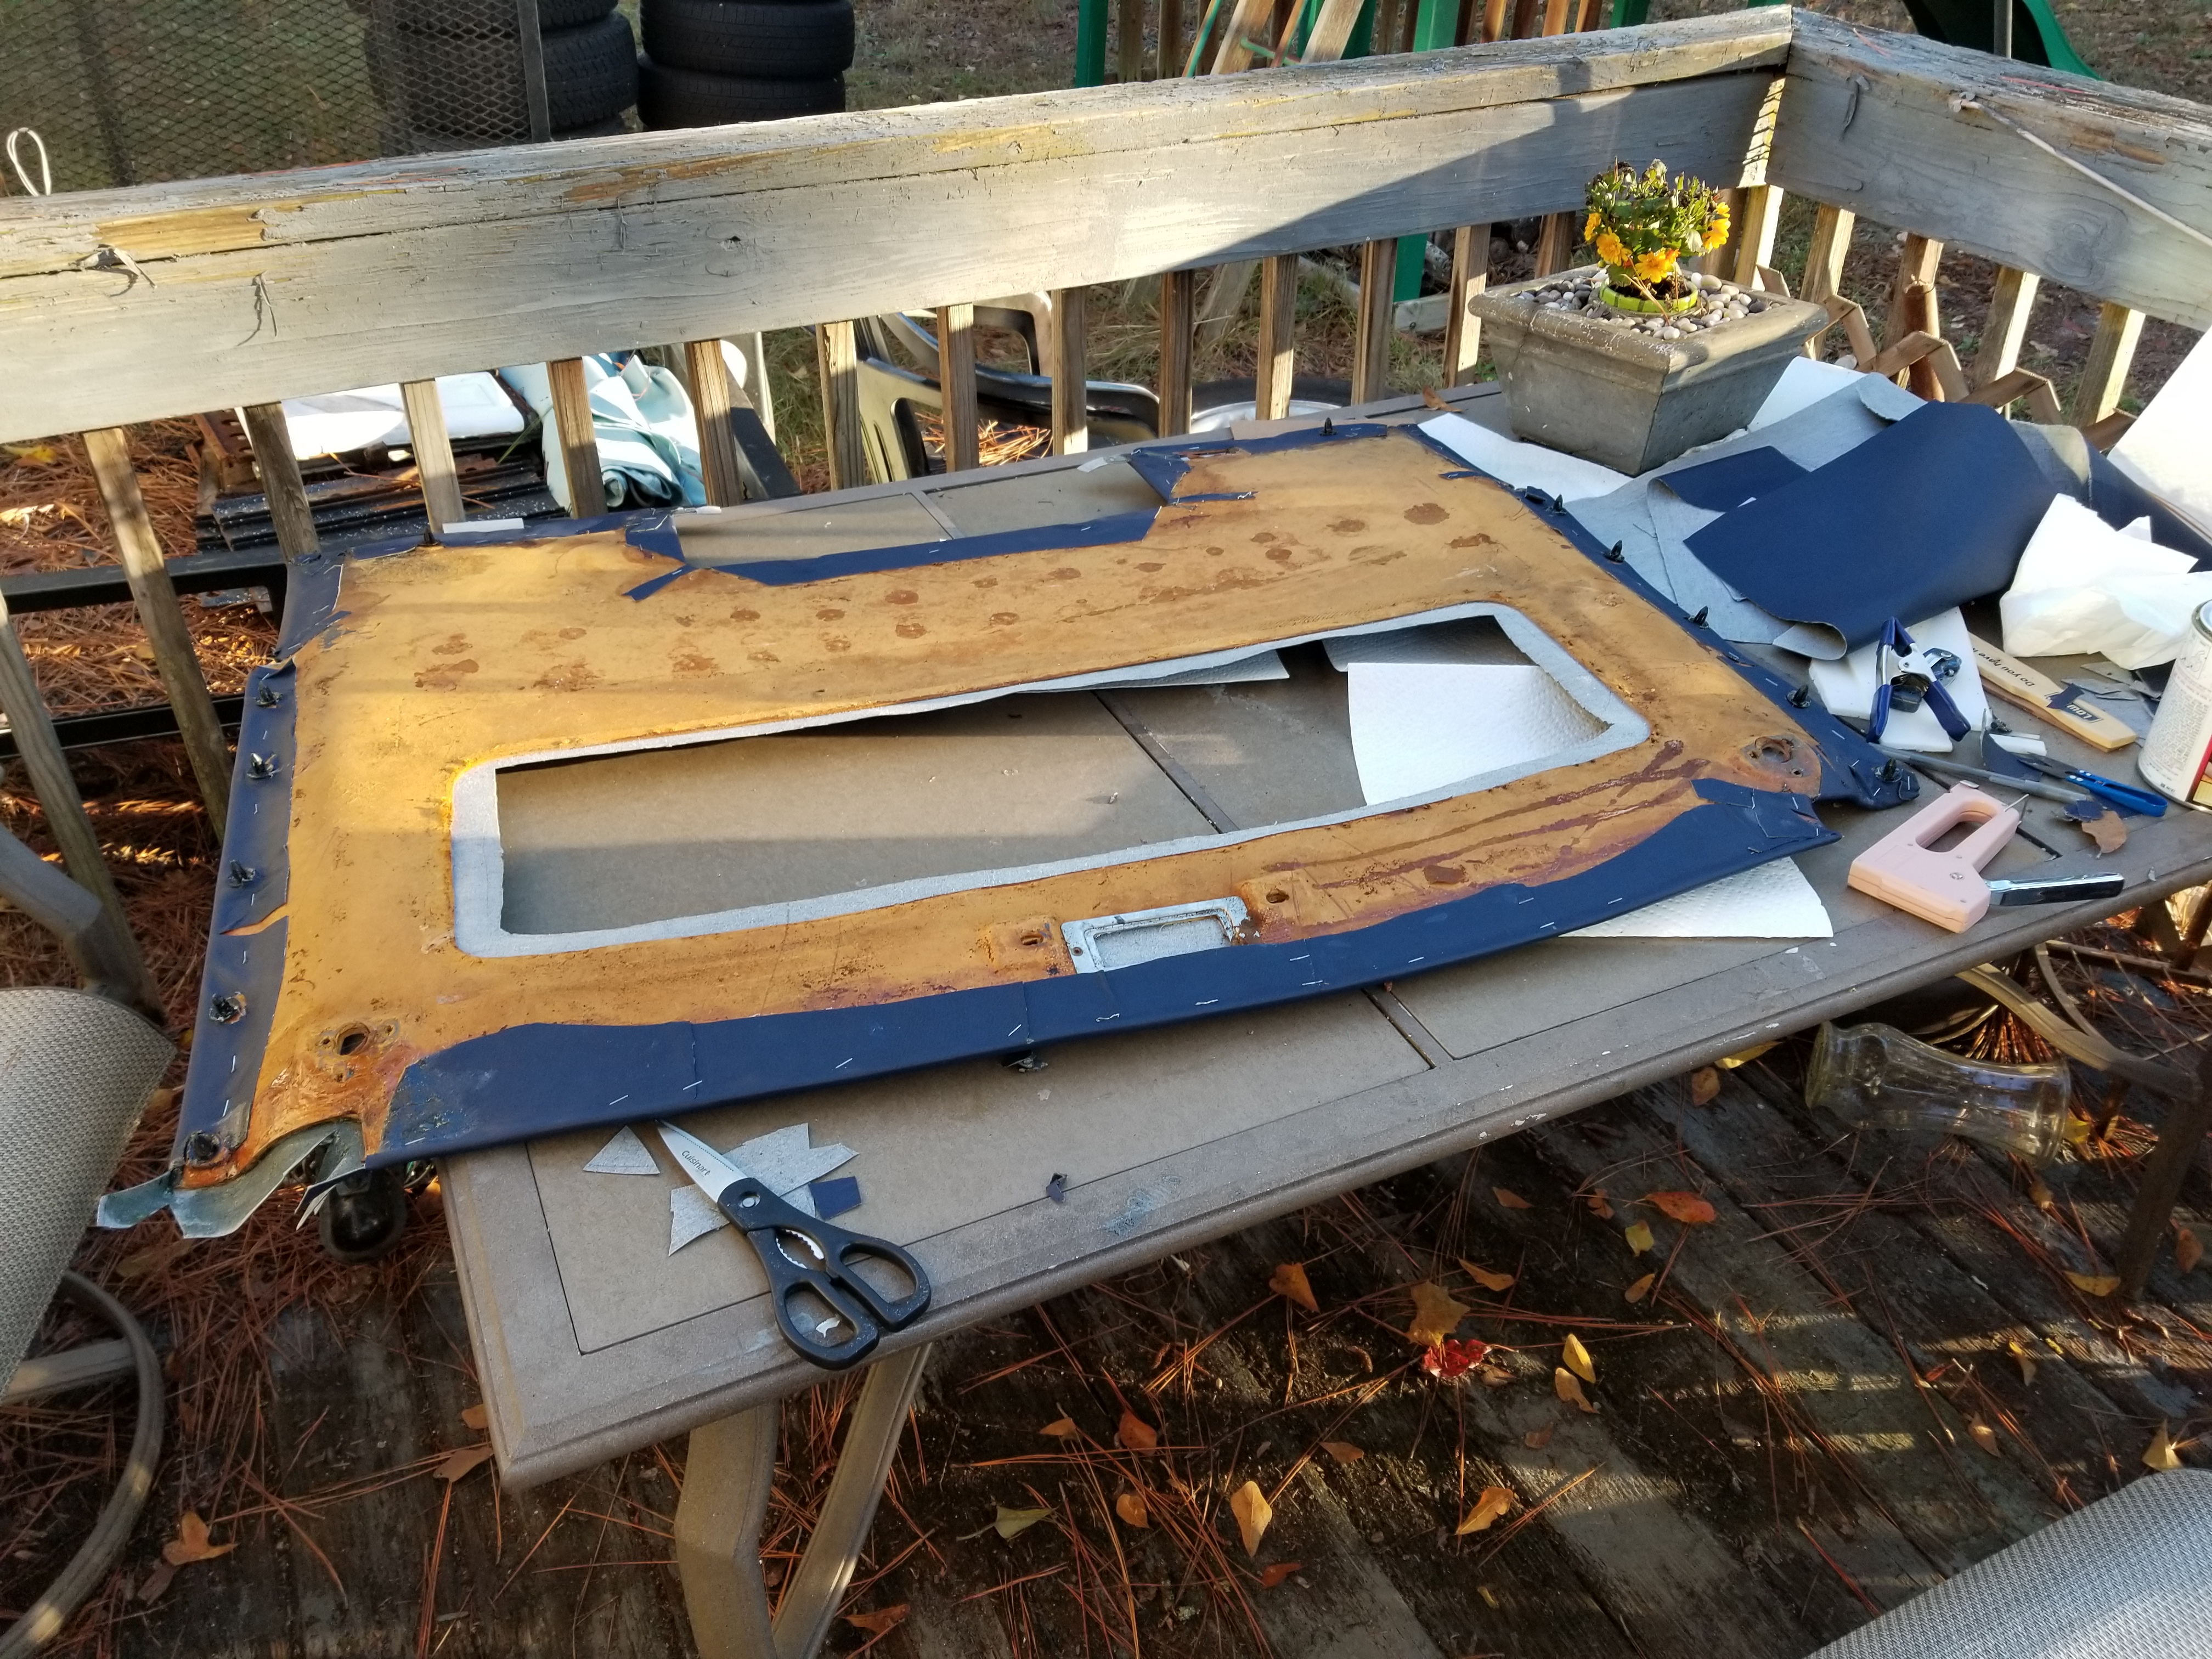
Got the old leather off the headliner with the foam intact (that was surprising). Working on straightening the warped backing board now.


I used a clothes steamer as well as just spraying some water on the back side of the board with a mister bottle. Hoping that dampening it and clamping it back in the desired shape will undo what water and gravity did to begin with. It's much improved already.
I used a clothes steamer as well as just spraying some water on the back side of the board with a mister bottle. Hoping that dampening it and clamping it back in the desired shape will undo what water and gravity did to begin with. It's much improved already.
The following users liked this post:
JBGold07 (11-30-2019)
12-01-2019, 01:04 PM
#244
Burning Brakes
Thread Starter
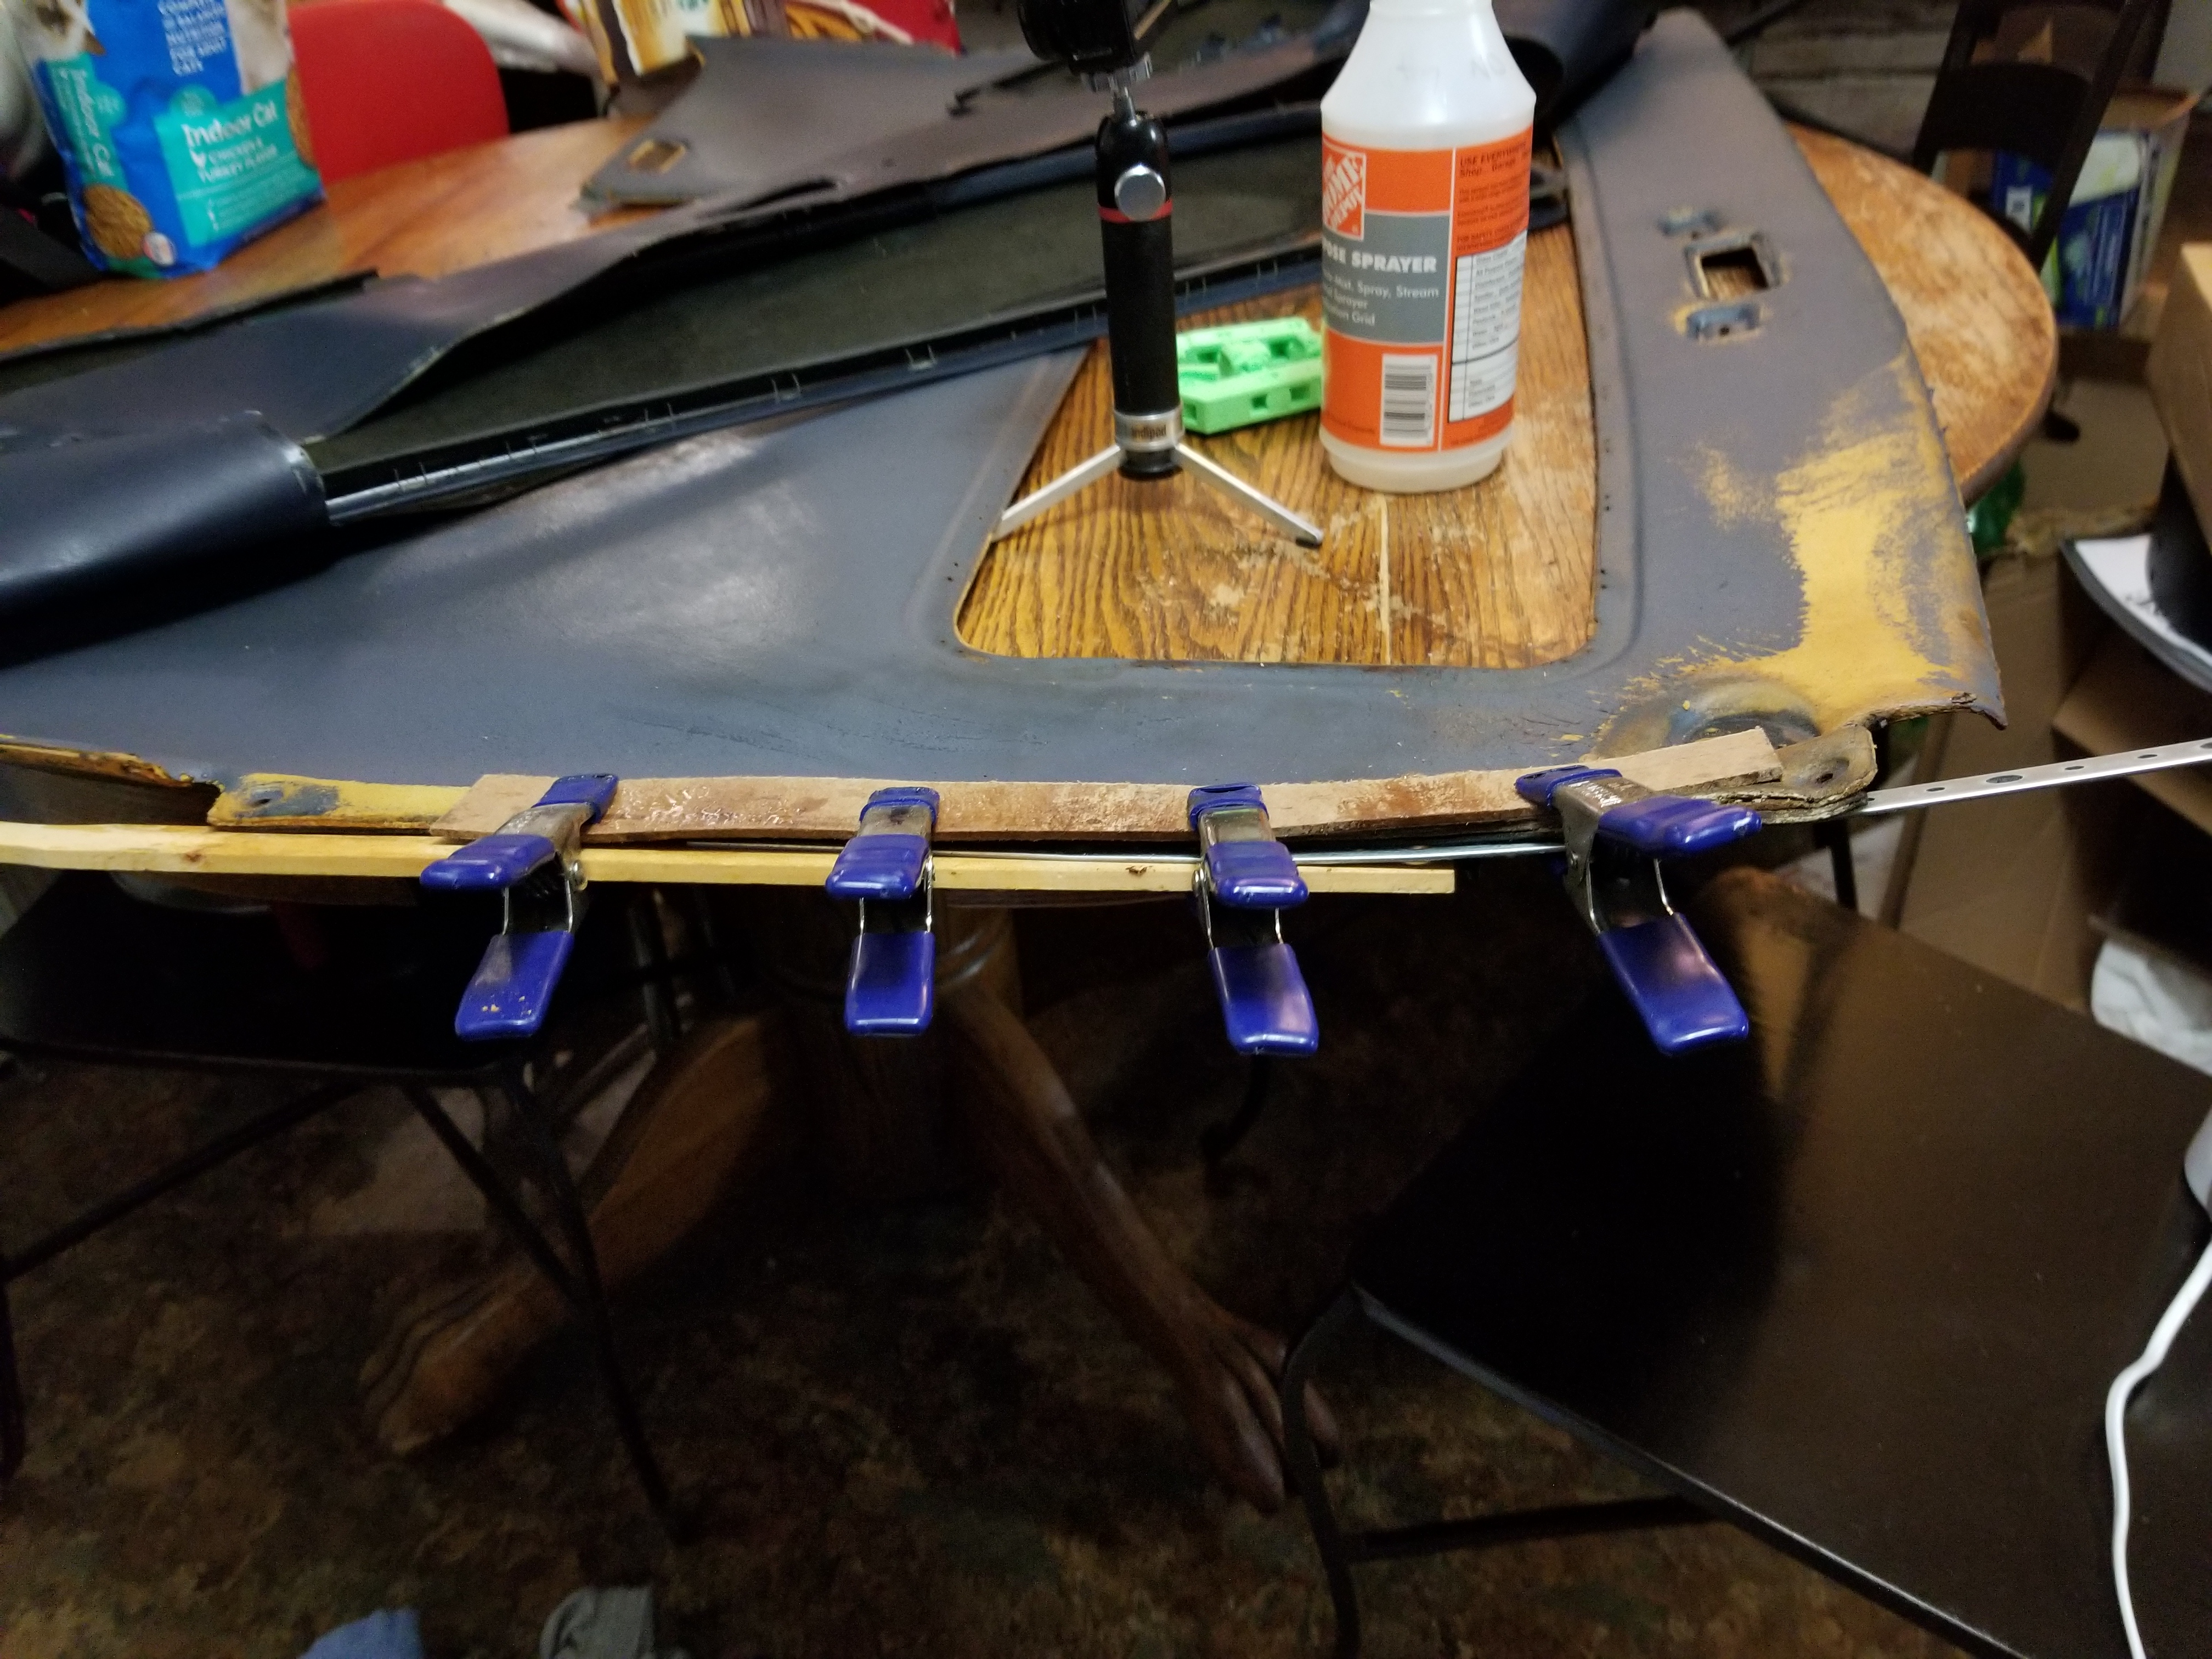
It's not 100% perfect, but it seems like with the visor and the retainer for it in place, it should hold the headliner pretty much in place properly.
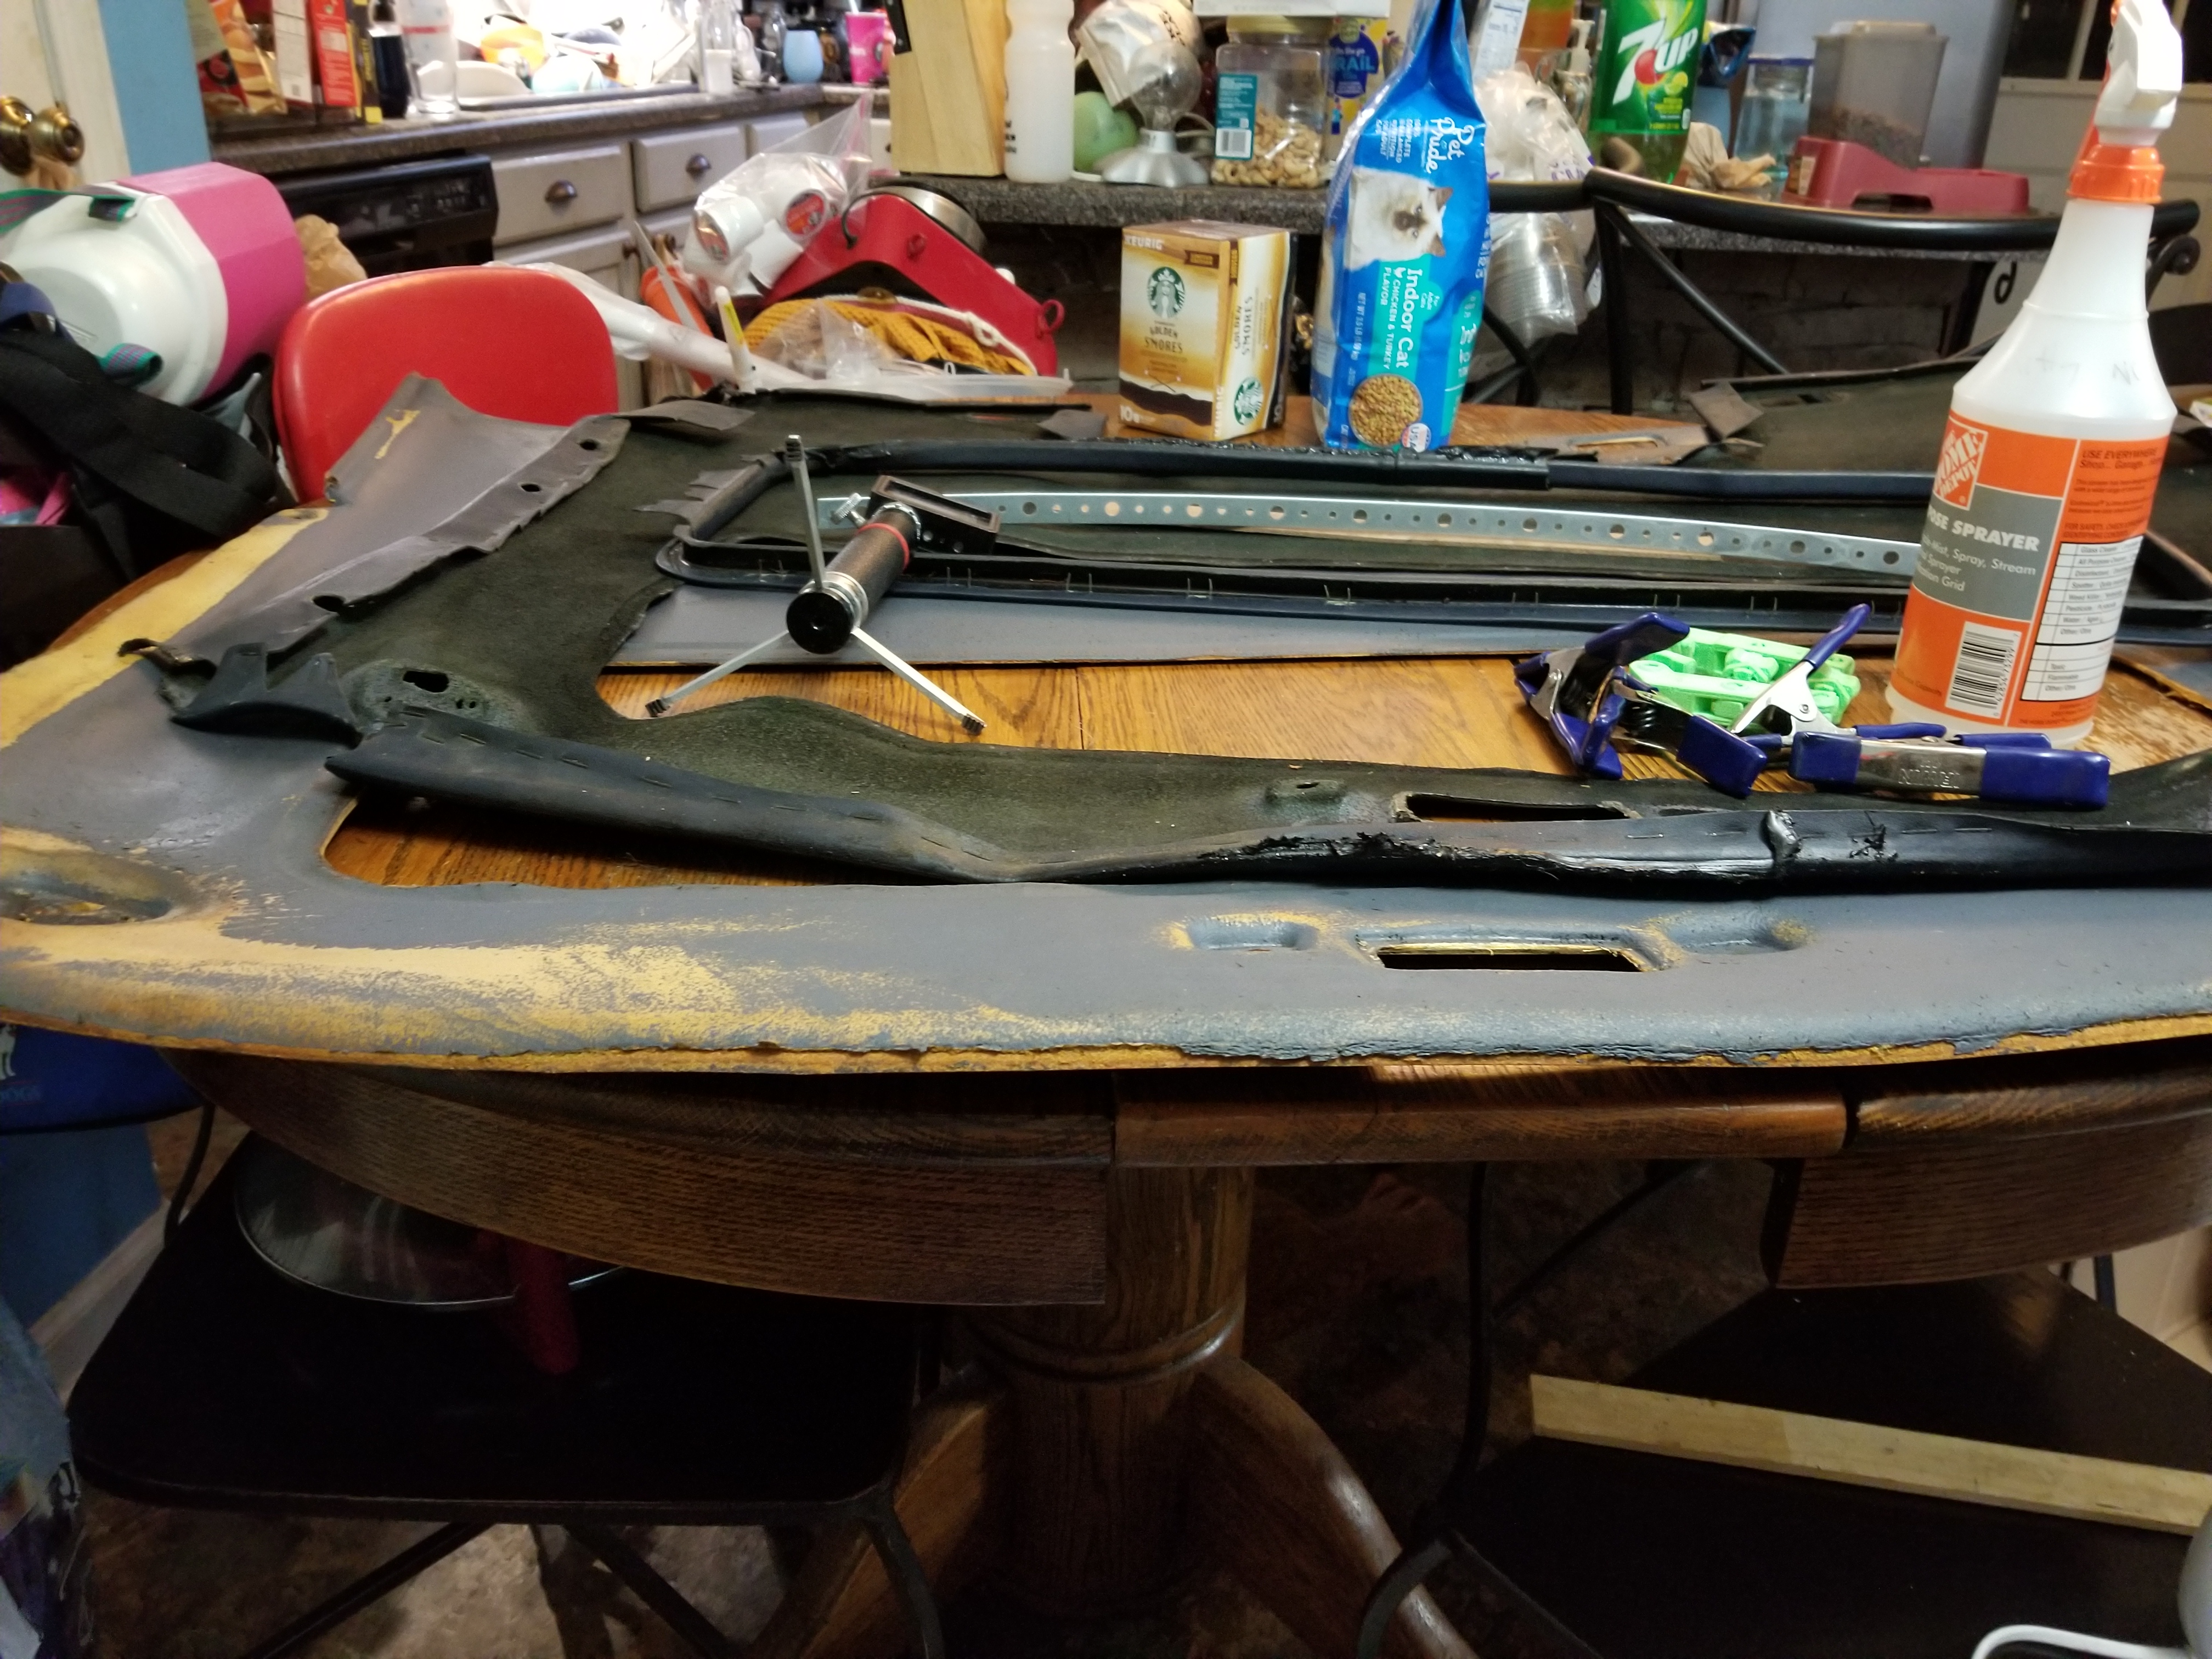
Letting the side above the driver's door straighten up a bit now too.
Letting the side above the driver's door straighten up a bit now too.
12-01-2019, 01:14 PM
#245
Team Owner
after its straight get some quick cure super glue,
the thin stuff and put it on the back of the board,
make lines of the stuff,
it will sink into the particle board ,
work outside as the stuff will make smoke
the thin stuff and put it on the back of the board,
make lines of the stuff,
it will sink into the particle board ,
work outside as the stuff will make smoke
 12-01-2019, 07:33 PM
#246
Burning Brakes
Thread Starter
That's a good idea. I went ahead and did just that to give it some more strength.
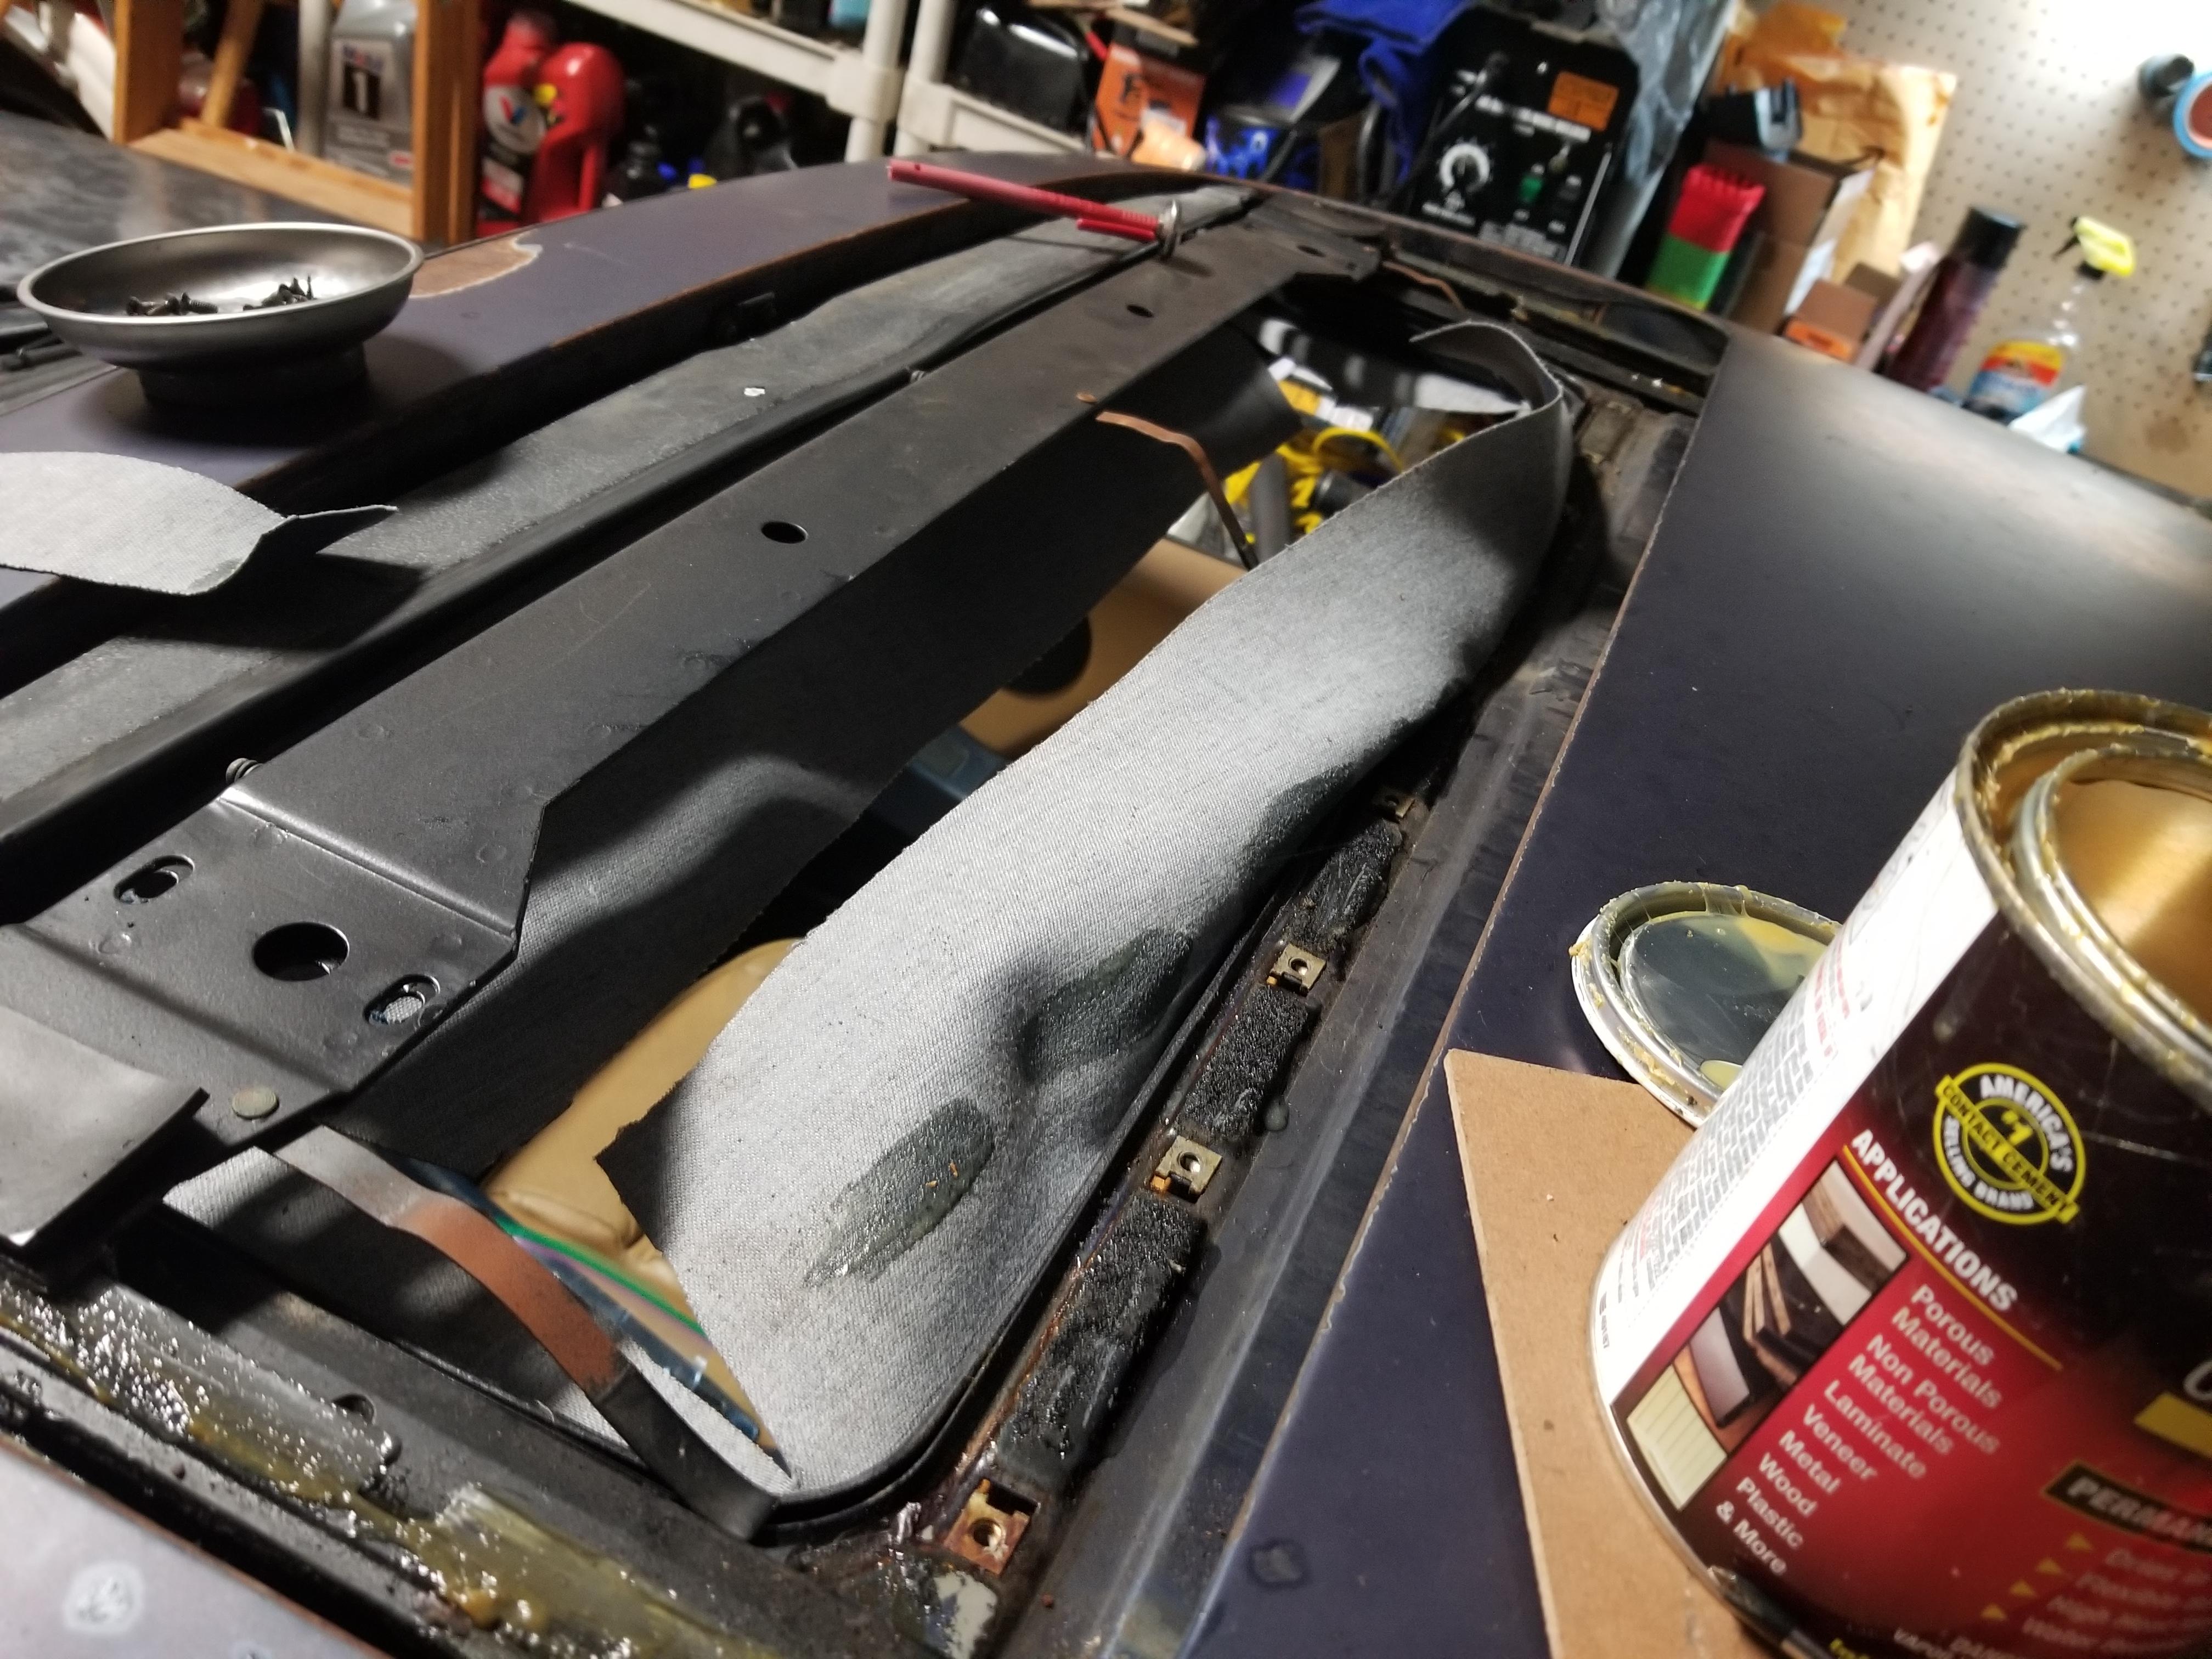
I pulled the sunroof panel out while I was in there to get some new seals in it. Fortunately the drip tray was also intact.
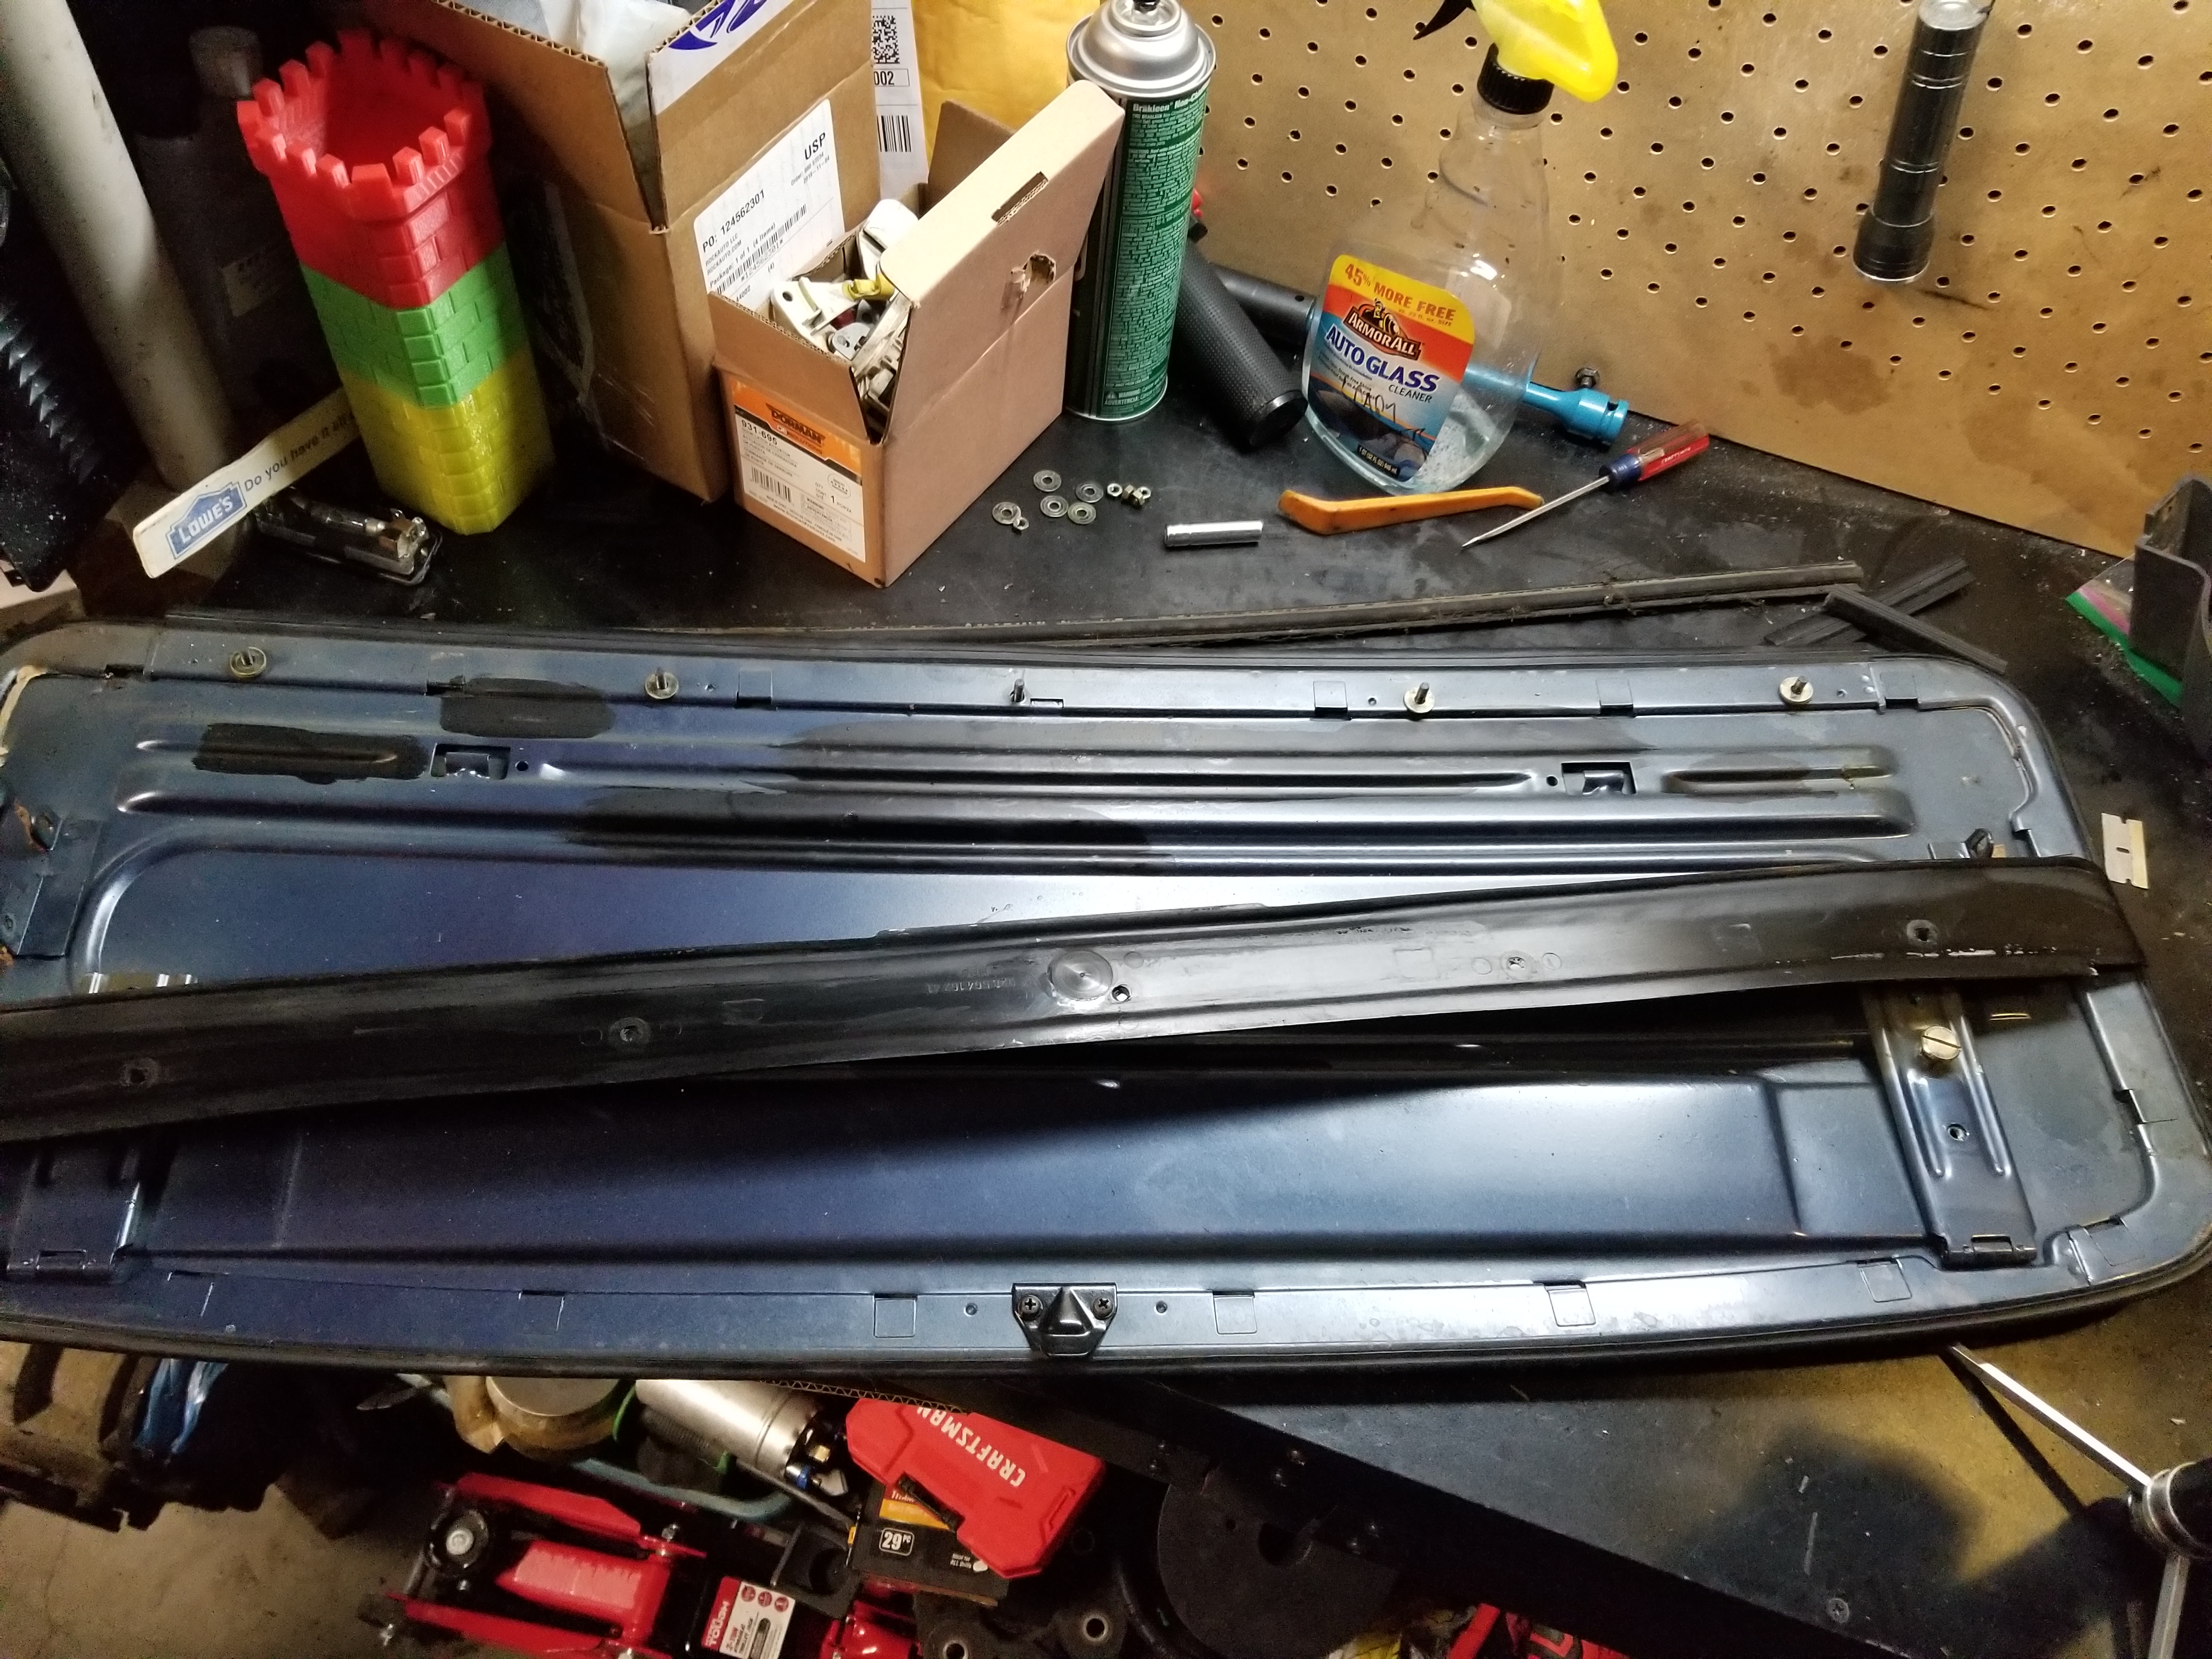
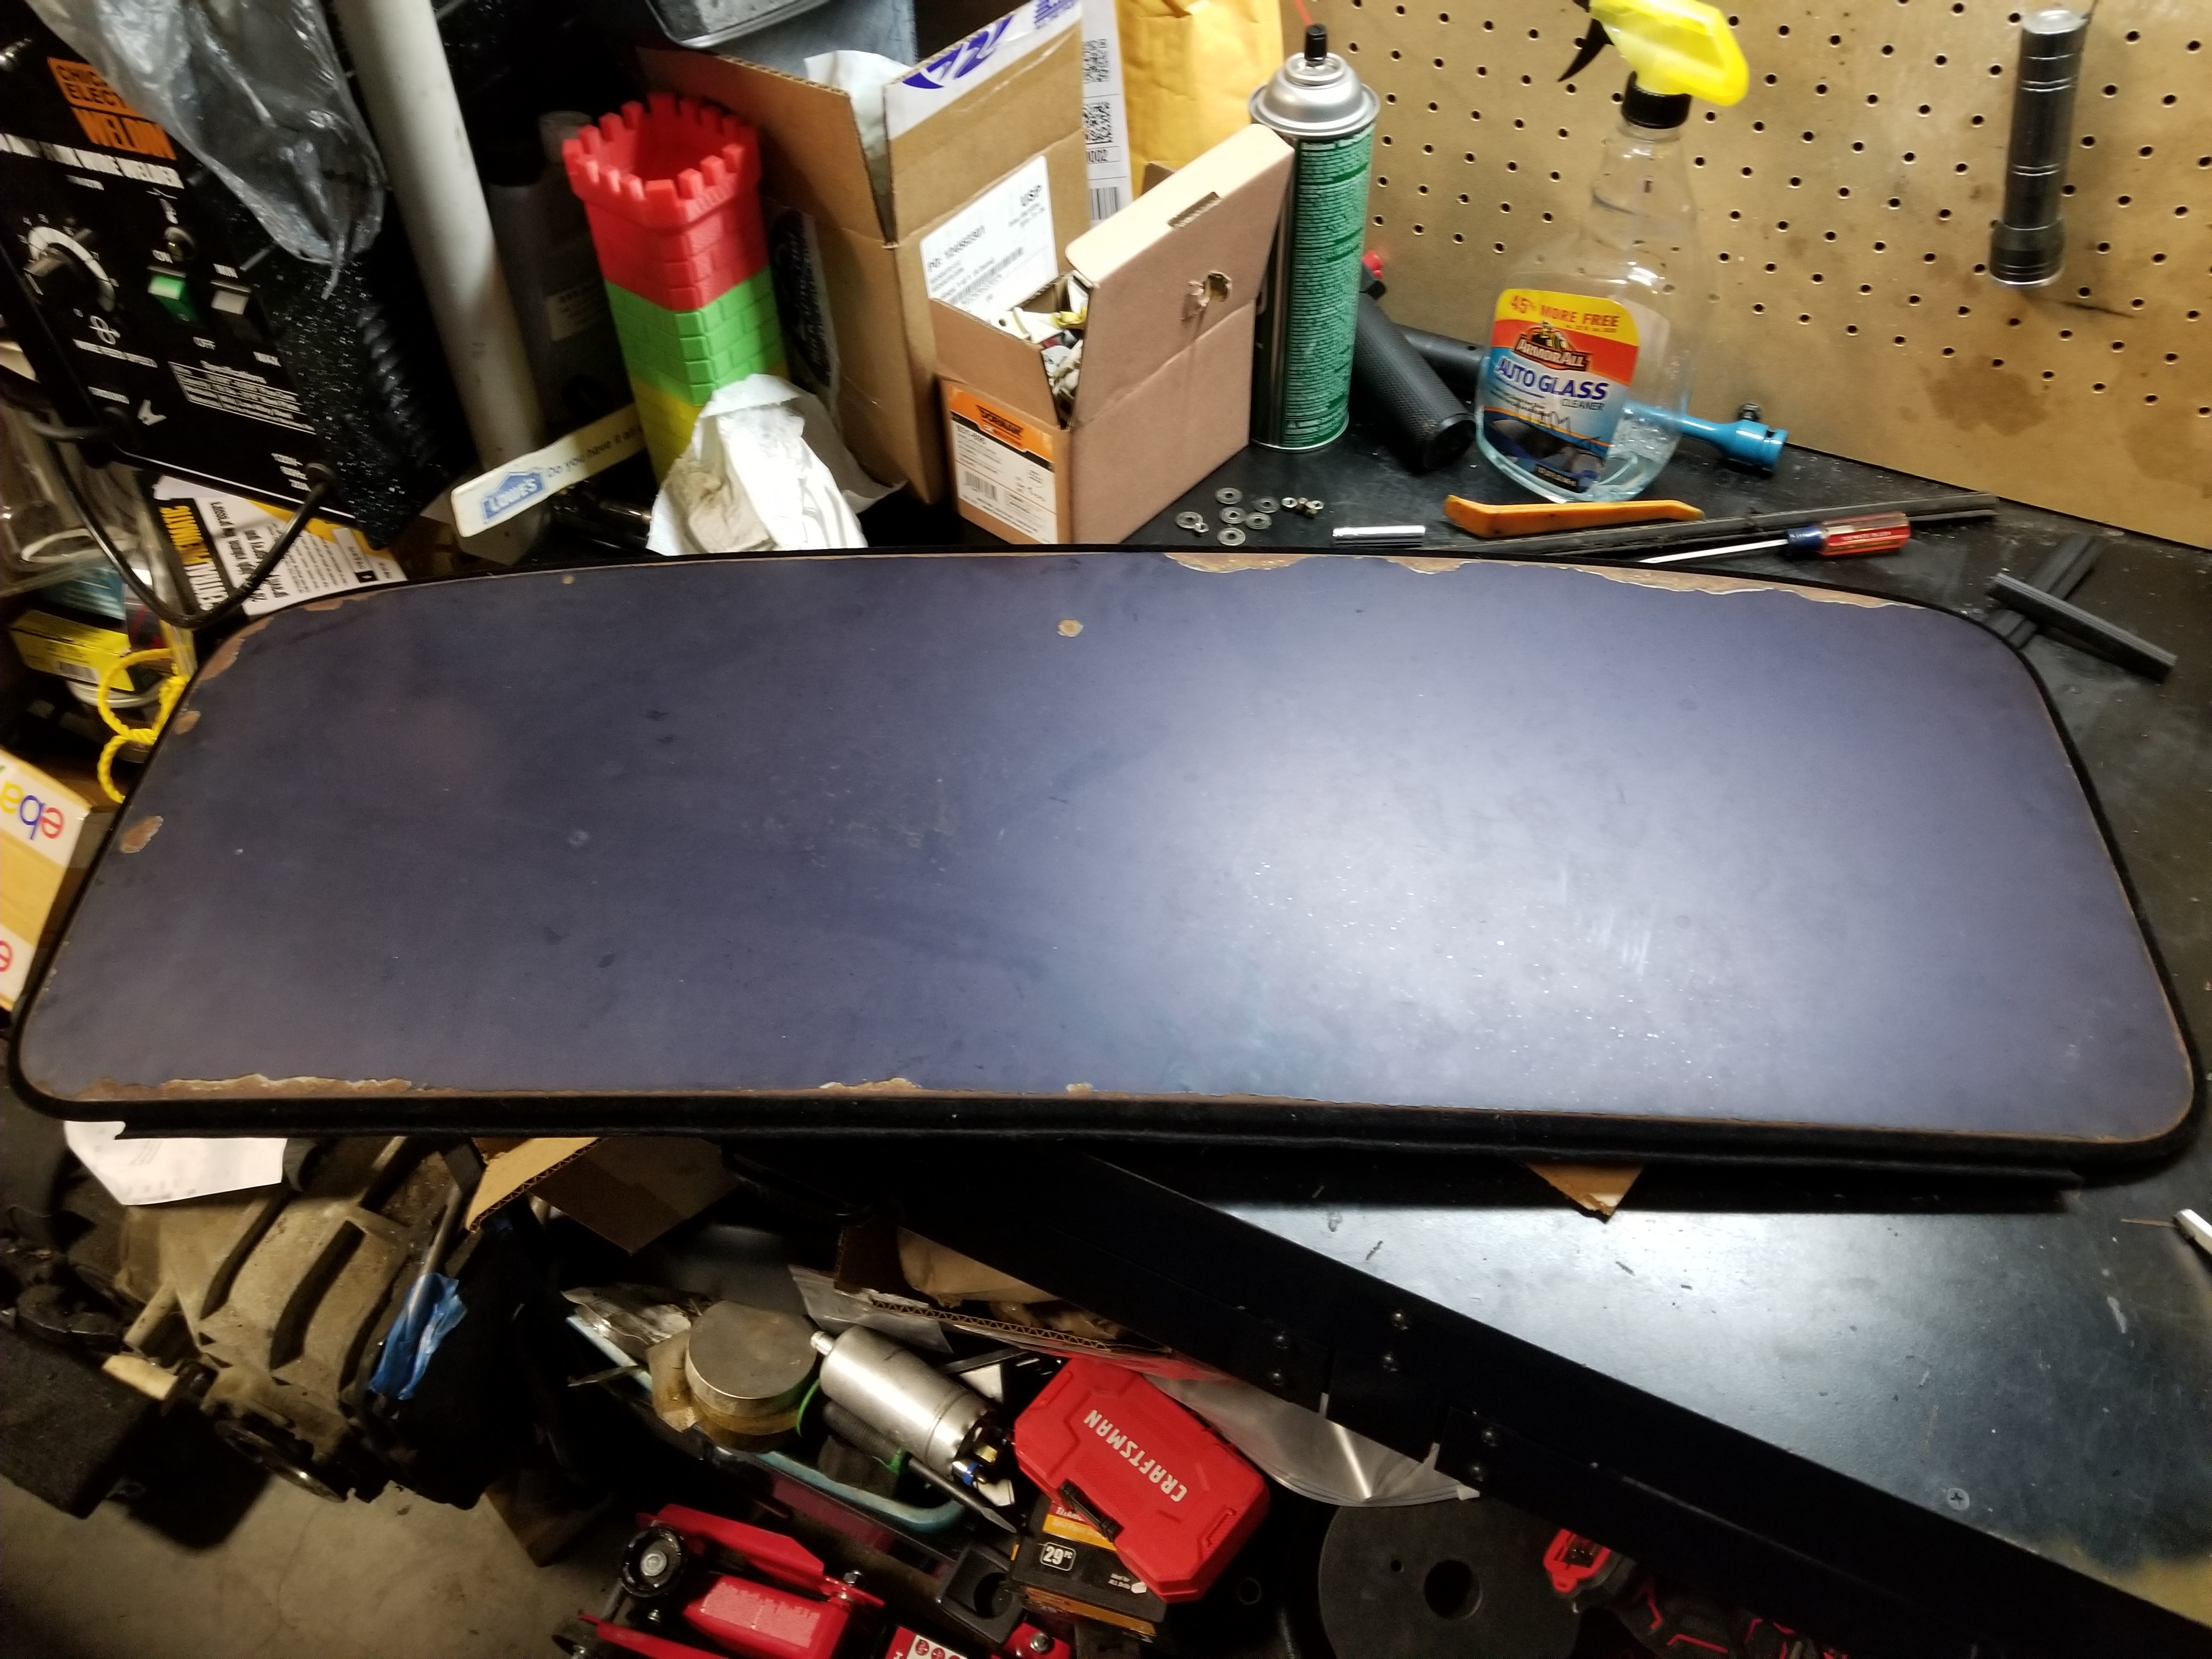
Got the sunroof inner panel covered. Had to put new foam on it, which hopefully isn't too thick.

After that I got the headliner covered.
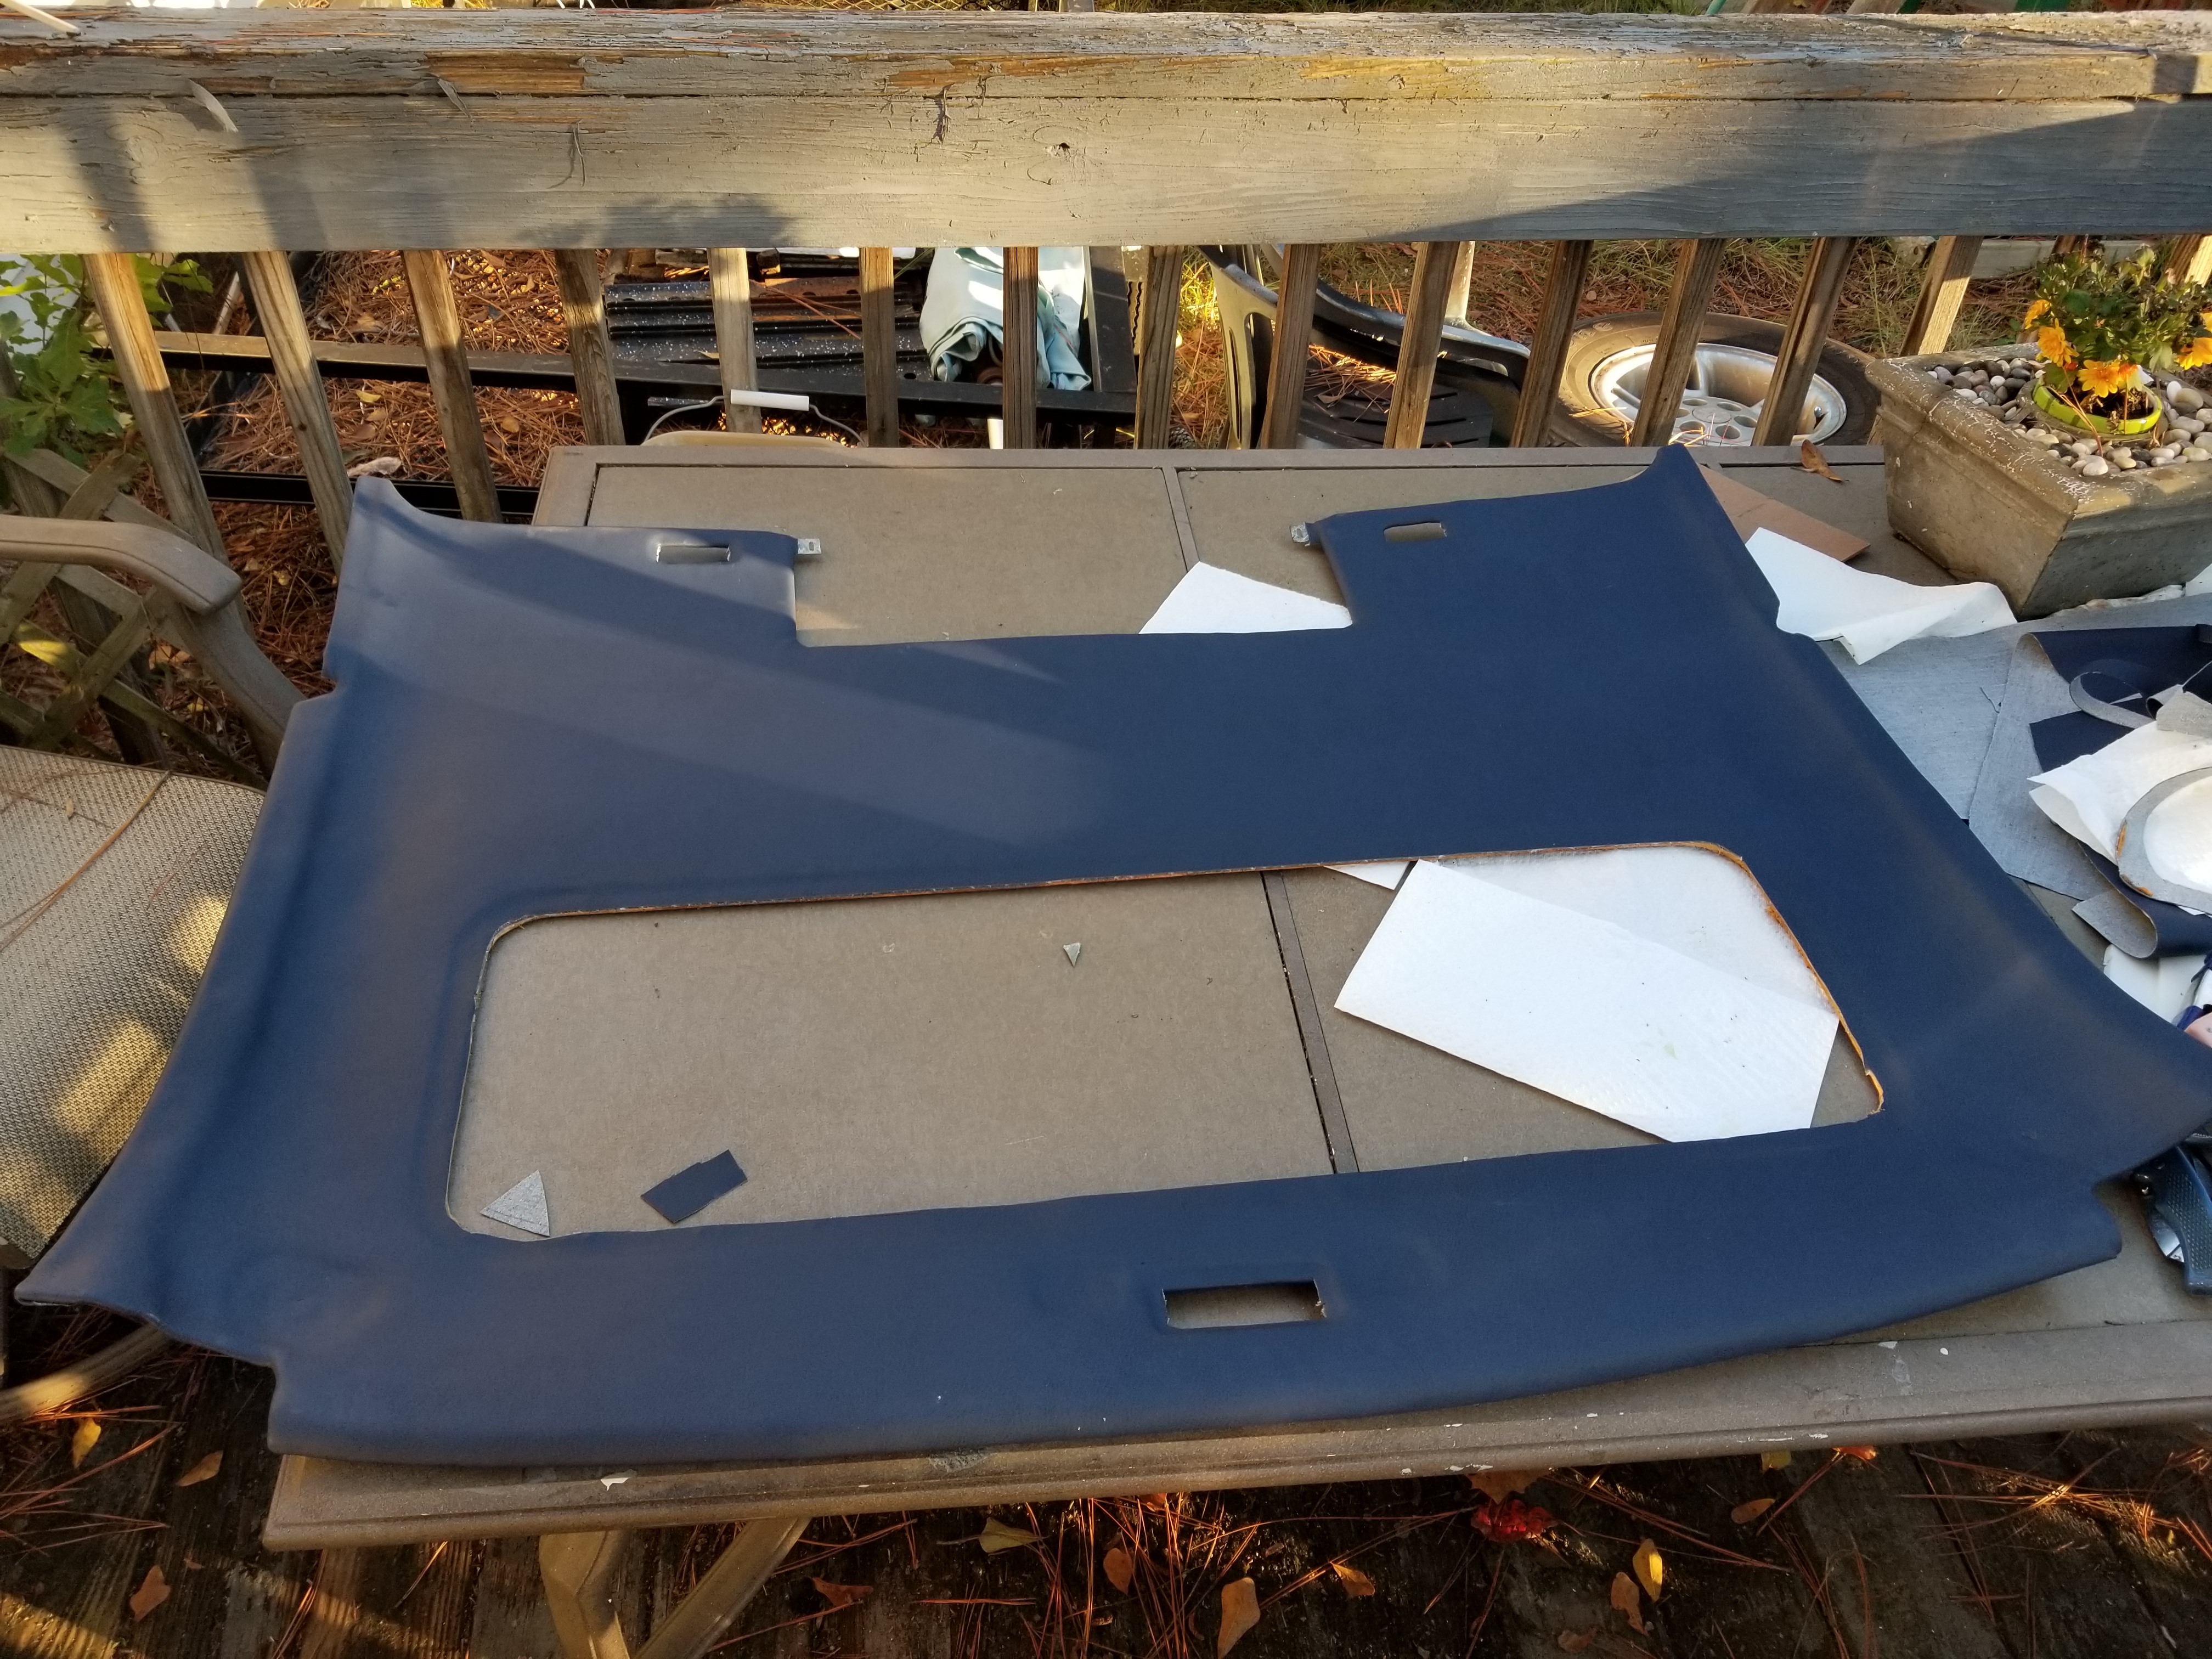
I still need to get it in the car, but it's ready to go and have the trim ring material pulled over it.

I pulled the sunroof panel out while I was in there to get some new seals in it. Fortunately the drip tray was also intact.
Got the sunroof inner panel covered. Had to put new foam on it, which hopefully isn't too thick.
After that I got the headliner covered.
I still need to get it in the car, but it's ready to go and have the trim ring material pulled over it.
12-01-2019, 08:54 PM
#247
Burning Brakes
Thread Starter
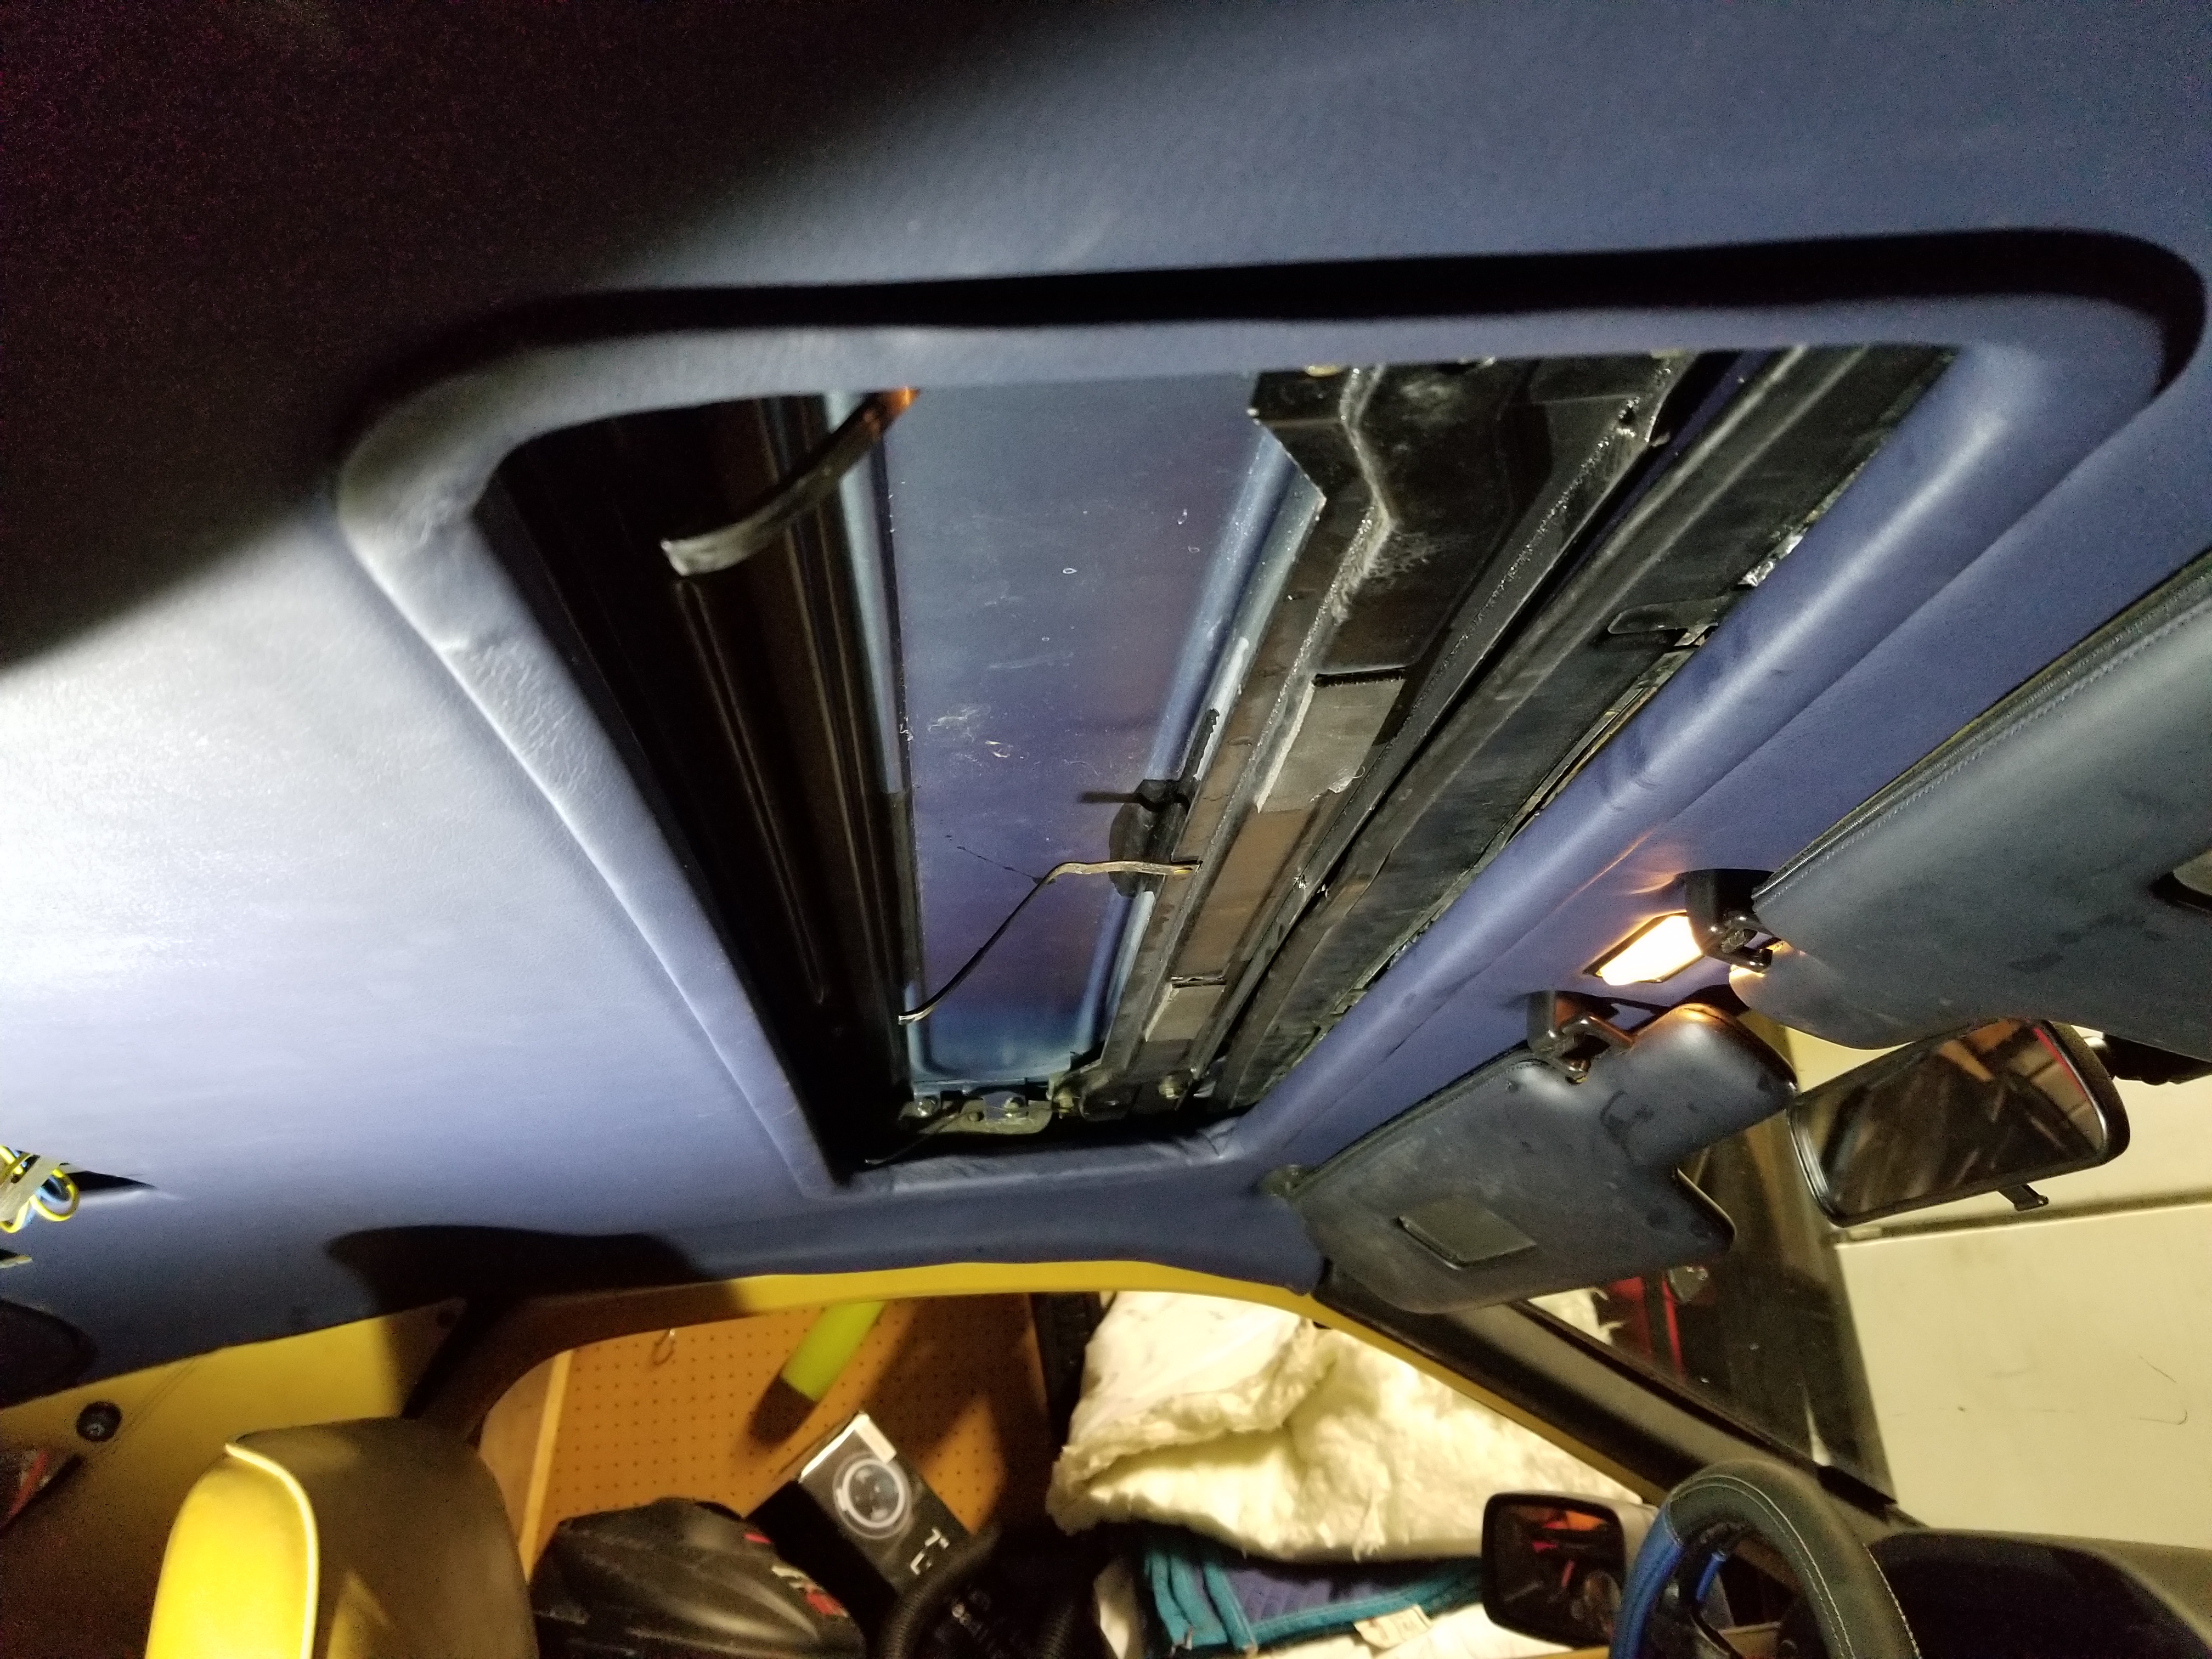
Apart from having to attach the flaps from the inner part of the roof, the headliner is in and not sagging at the front.

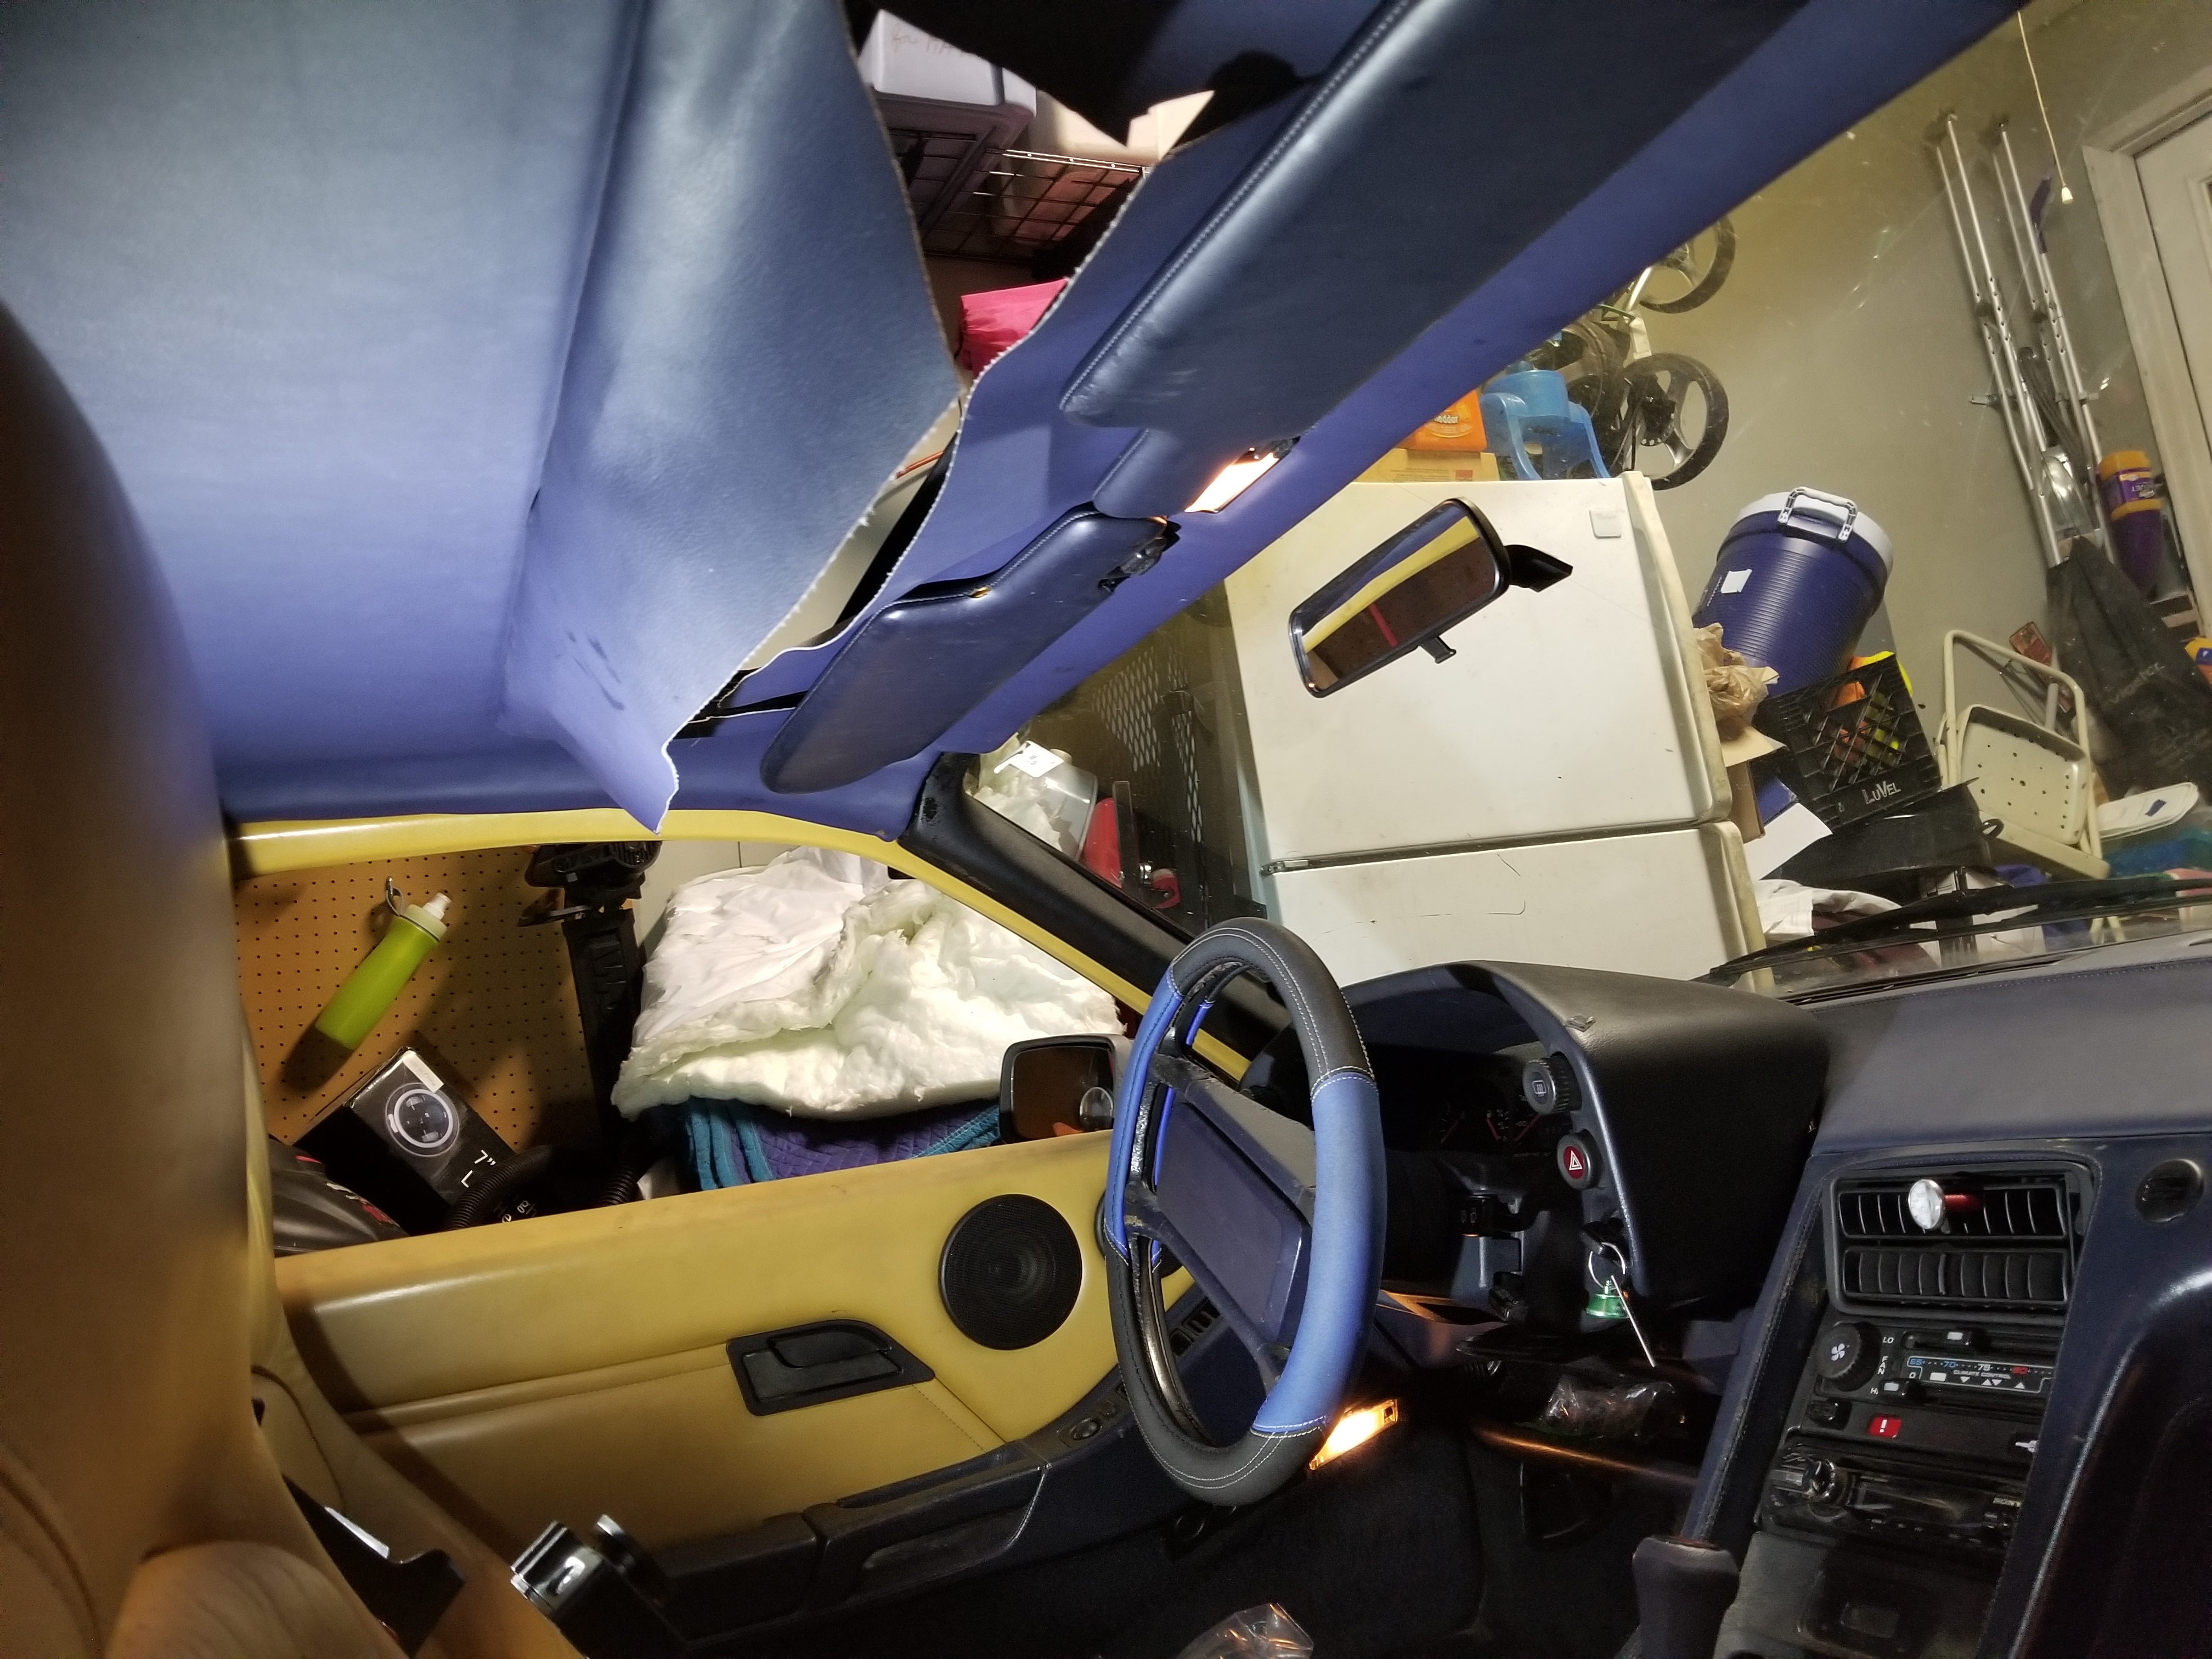
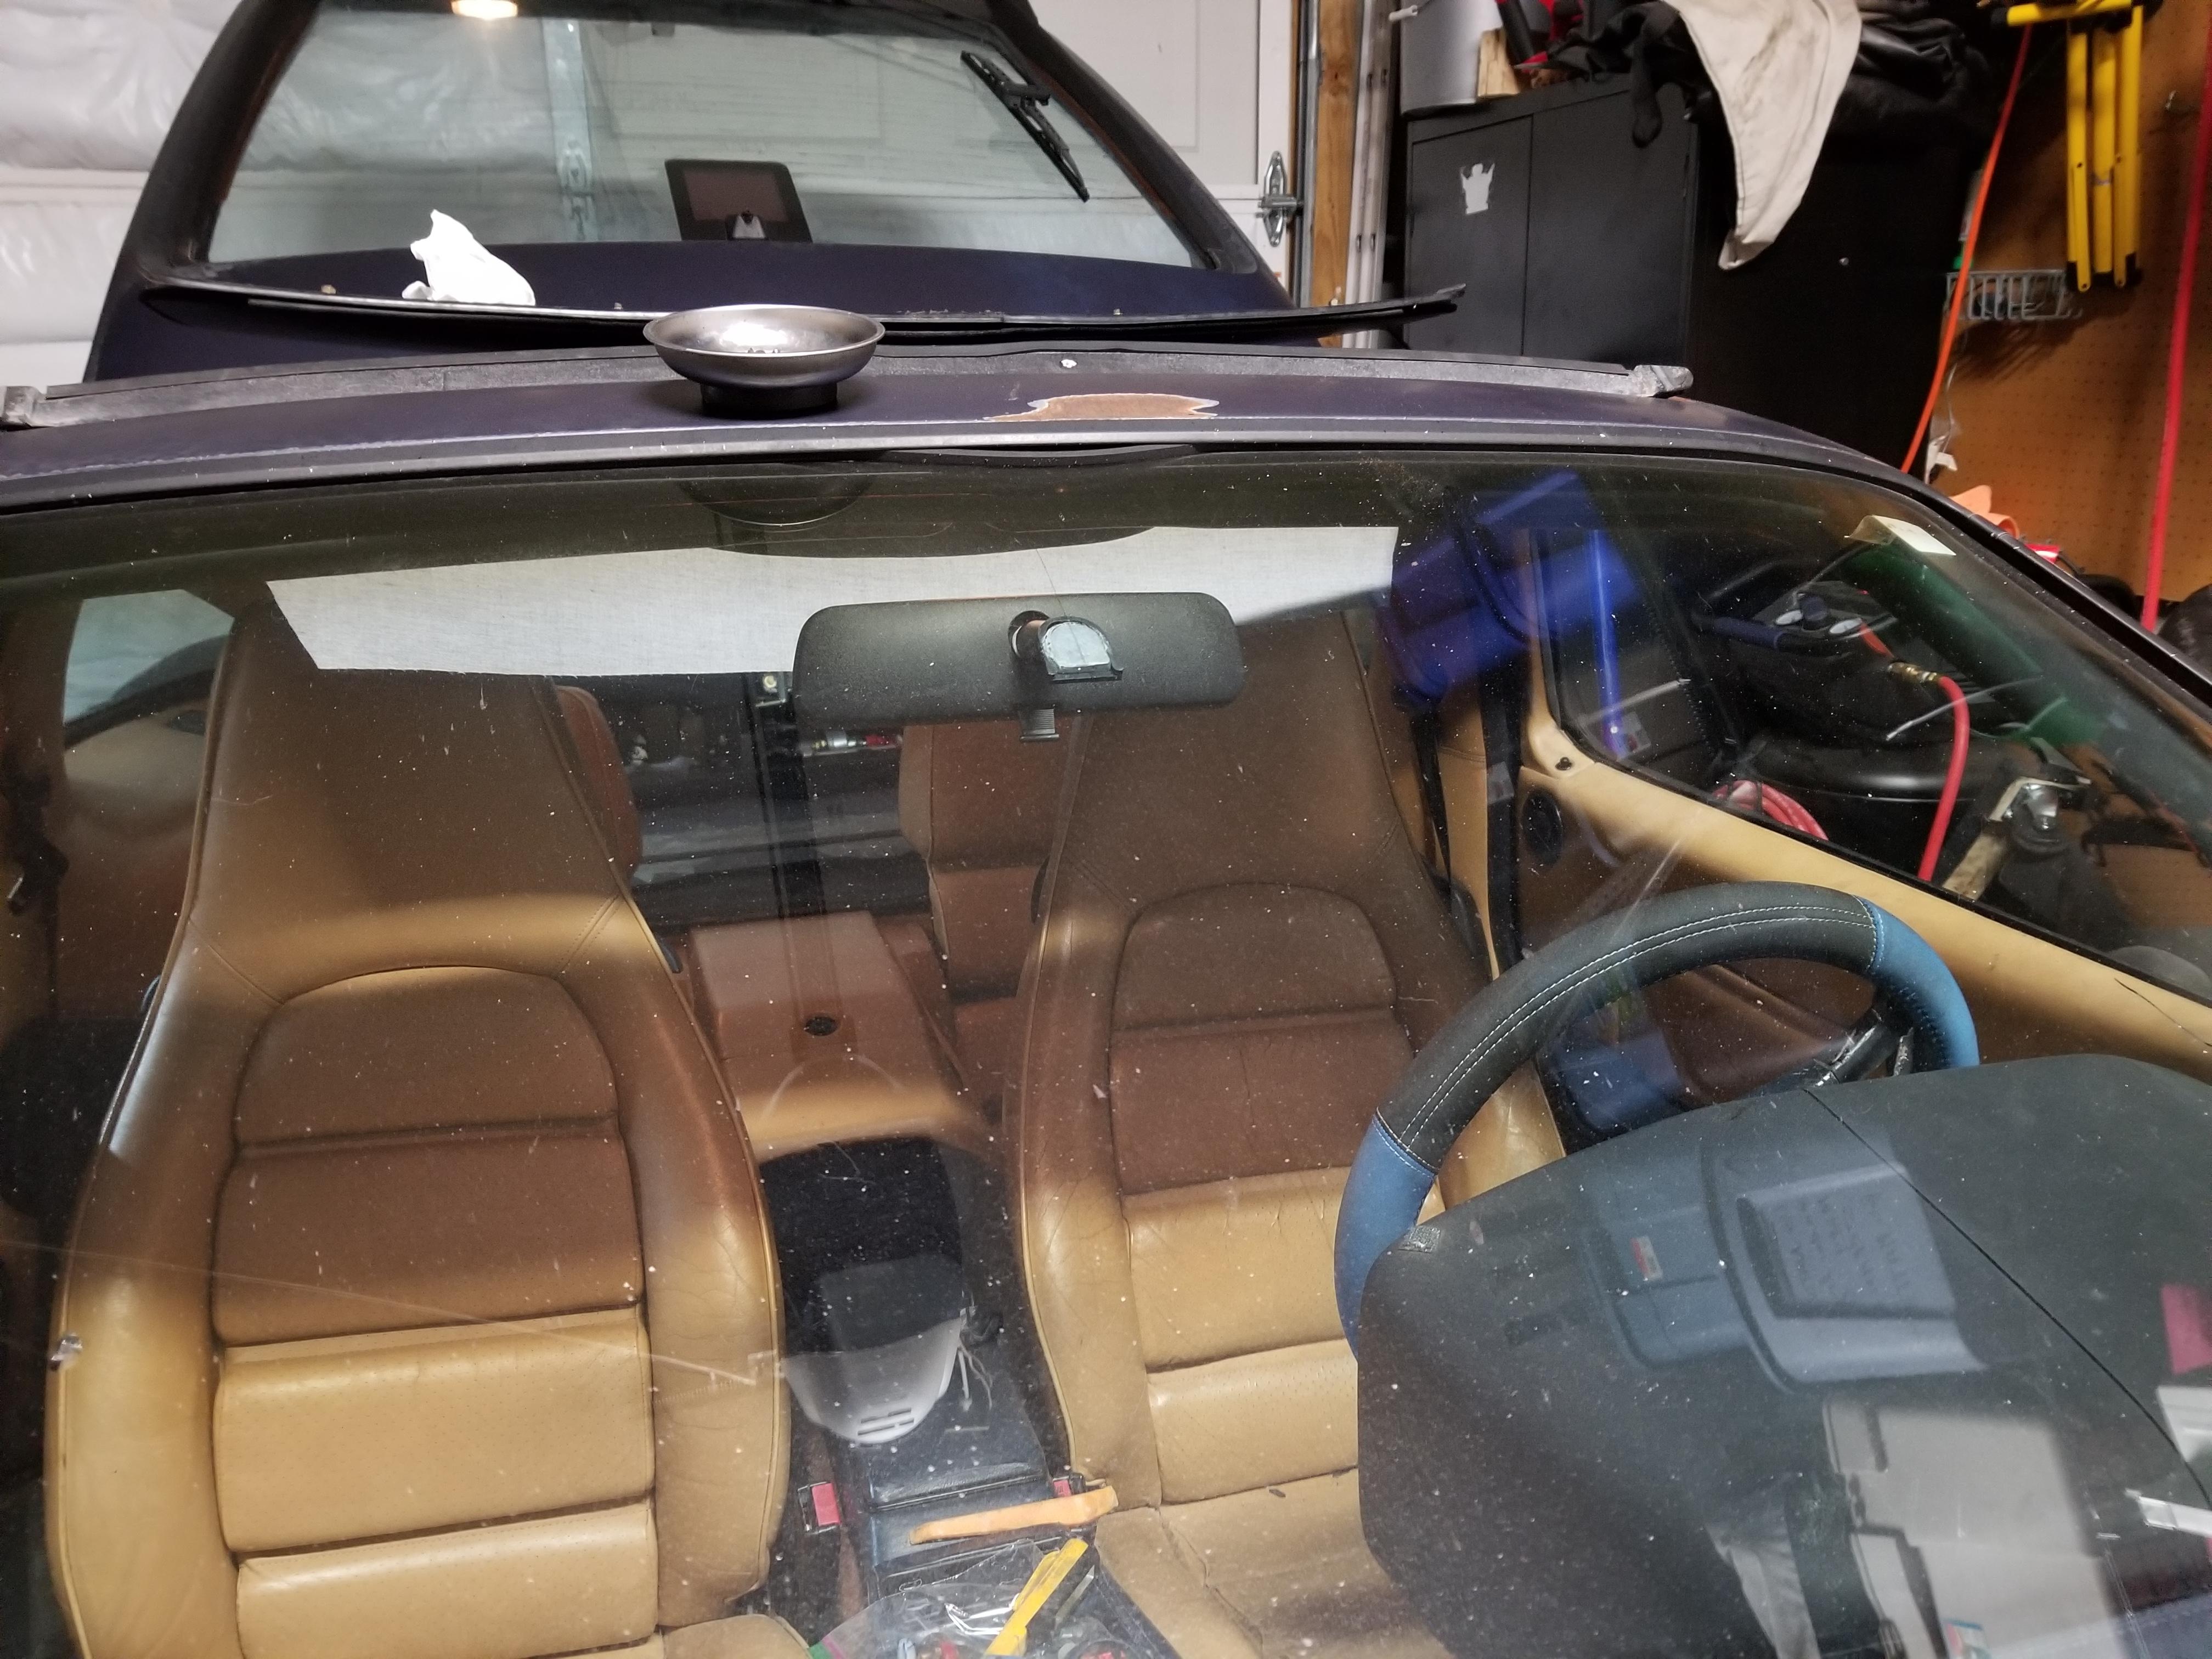
The color match is closer to the recovered dash than the original material, but even then it's more blue. Being on the headliner it's fine since it and the dash aren't adjacent, and I like the more blue color more anyway. I do think when I recover the a pillars I might use a color closer to the tan to be a barrier between the two blues.
The color match is closer to the recovered dash than the original material, but even then it's more blue. Being on the headliner it's fine since it and the dash aren't adjacent, and I like the more blue color more anyway. I do think when I recover the a pillars I might use a color closer to the tan to be a barrier between the two blues.
12-01-2019, 10:11 PM
#248
Addict
Lifetime Rennlist
Member
Lifetime Rennlist
Member
we used to add old used dryer sheets to strengthen balsa on RC air planes ..the stuff sets up like carbon fiber after it�s done �smoking�. ....and keep the fumes away from your eyes.
12-01-2019, 10:26 PM
#249
Addict
Lifetime Rennlist
Member
Lifetime Rennlist
Member
So what I have read in searches etc...the hard part of the headliner removal is that trim ring and the leather that wraps up and inside the roof..
your pictures are handy. Thnx
your pictures are handy. Thnx
12-01-2019, 11:20 PM
#250
Burning Brakes
Thread Starter
Yeah, that trim ring for the sunroof is the most annoying part, otherwise it's just some screws. In my case I was redoing everything, so I just cut the leather to get it out then peeled out the remaining bits once the sunroof panel was out and everything was easier to get to.
12-05-2019, 06:41 PM
#251
Burning Brakes
Thread Starter
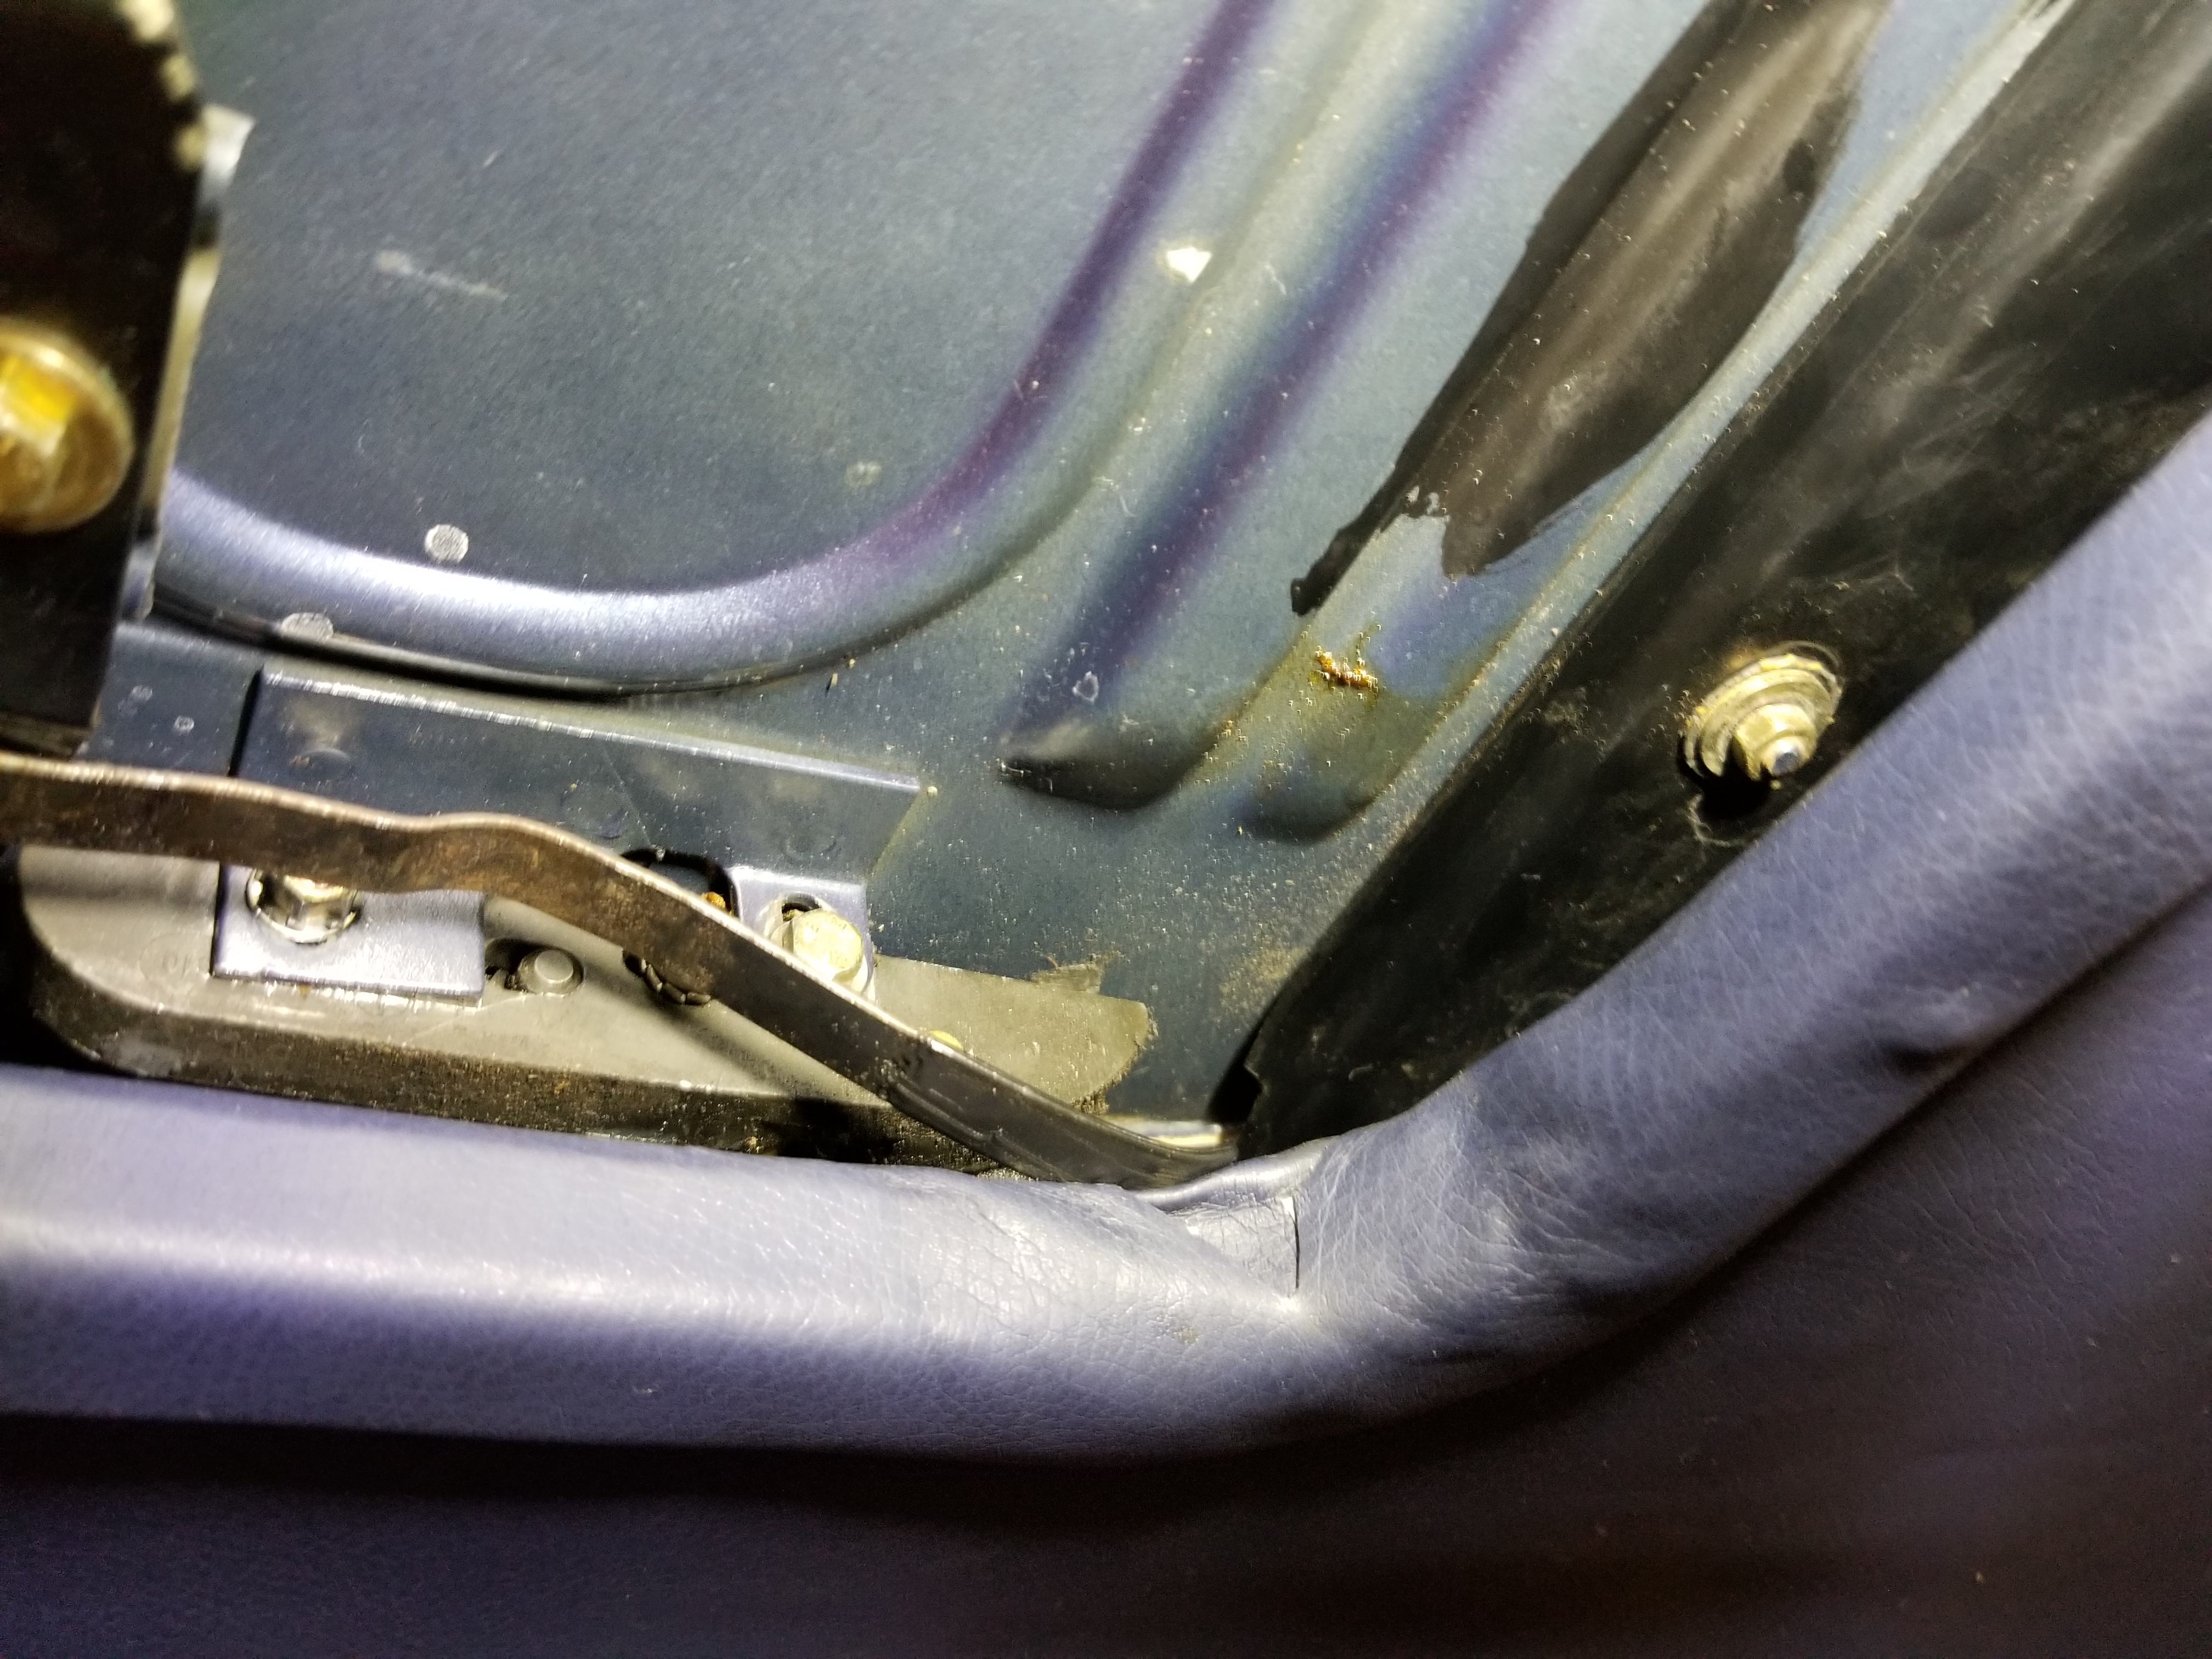
Well I'm not entirely happy with how the material wound up at the corners of the sunroof trim, but it is how it is for now. I didn't leave enough slack in the material before attaching it to the trim and it wasn't able to stretch into the corner. For the moment I cut it down further to let the edges wrap around and put another piece of material behind it. I think for now I might make some kind of plastic trim piece for the corners to cover it up, but long term I'm going to have to redo the trim ring.
The trim aside the sunroof panel is resealed and back in. I haven't been able to adjust it high enough up to completely seal at the back in the middle though. I think the new seal is making it harder for the roof to completely slide into place forward and then up at the back. For now I'm leaving the interior panel off the sunroof in case I need to mess with it more.
The trim aside the sunroof panel is resealed and back in. I haven't been able to adjust it high enough up to completely seal at the back in the middle though. I think the new seal is making it harder for the roof to completely slide into place forward and then up at the back. For now I'm leaving the interior panel off the sunroof in case I need to mess with it more.
12-05-2019, 06:57 PM
#252
Team Owner
FWIW your gonna need some hot sunshine and a few days of the car sitting in the sun for that seal to reform to your roof.
IT will do this you just have to be patient
IT will do this you just have to be patient
12-06-2019, 08:45 PM
#254
Burning Brakes
Thread Starter
Taking a ride across town last night on the highway there was quite a bit of wind noise from the sunroof, definitely not helped by having the liner panel out still. I fussed with the adjustment a bit more, and it's adjusted pretty damn far up at the back. Still clears the inside of the roof with enough clearance (not that I need to worry about scratches). I took the heatgun from about a foot away and warmed up the front center of the roof seal for a few minutes since that's where it looked like it was under the highest pressure. It does look like it's sealing better at the rear now with the adjustments. Not sure that the heatgun helped a ton.
The motor still struggles to close the roof when it gets to the front. I did clean and grease the track and slides. I didn't take apart the transmission or anything, but I did spray some wd40 into the end of the cable holes at the back.
The motor still struggles to close the roof when it gets to the front. I did clean and grease the track and slides. I didn't take apart the transmission or anything, but I did spray some wd40 into the end of the cable holes at the back.
12-29-2019, 08:51 PM
#255
Burning Brakes
Thread Starter
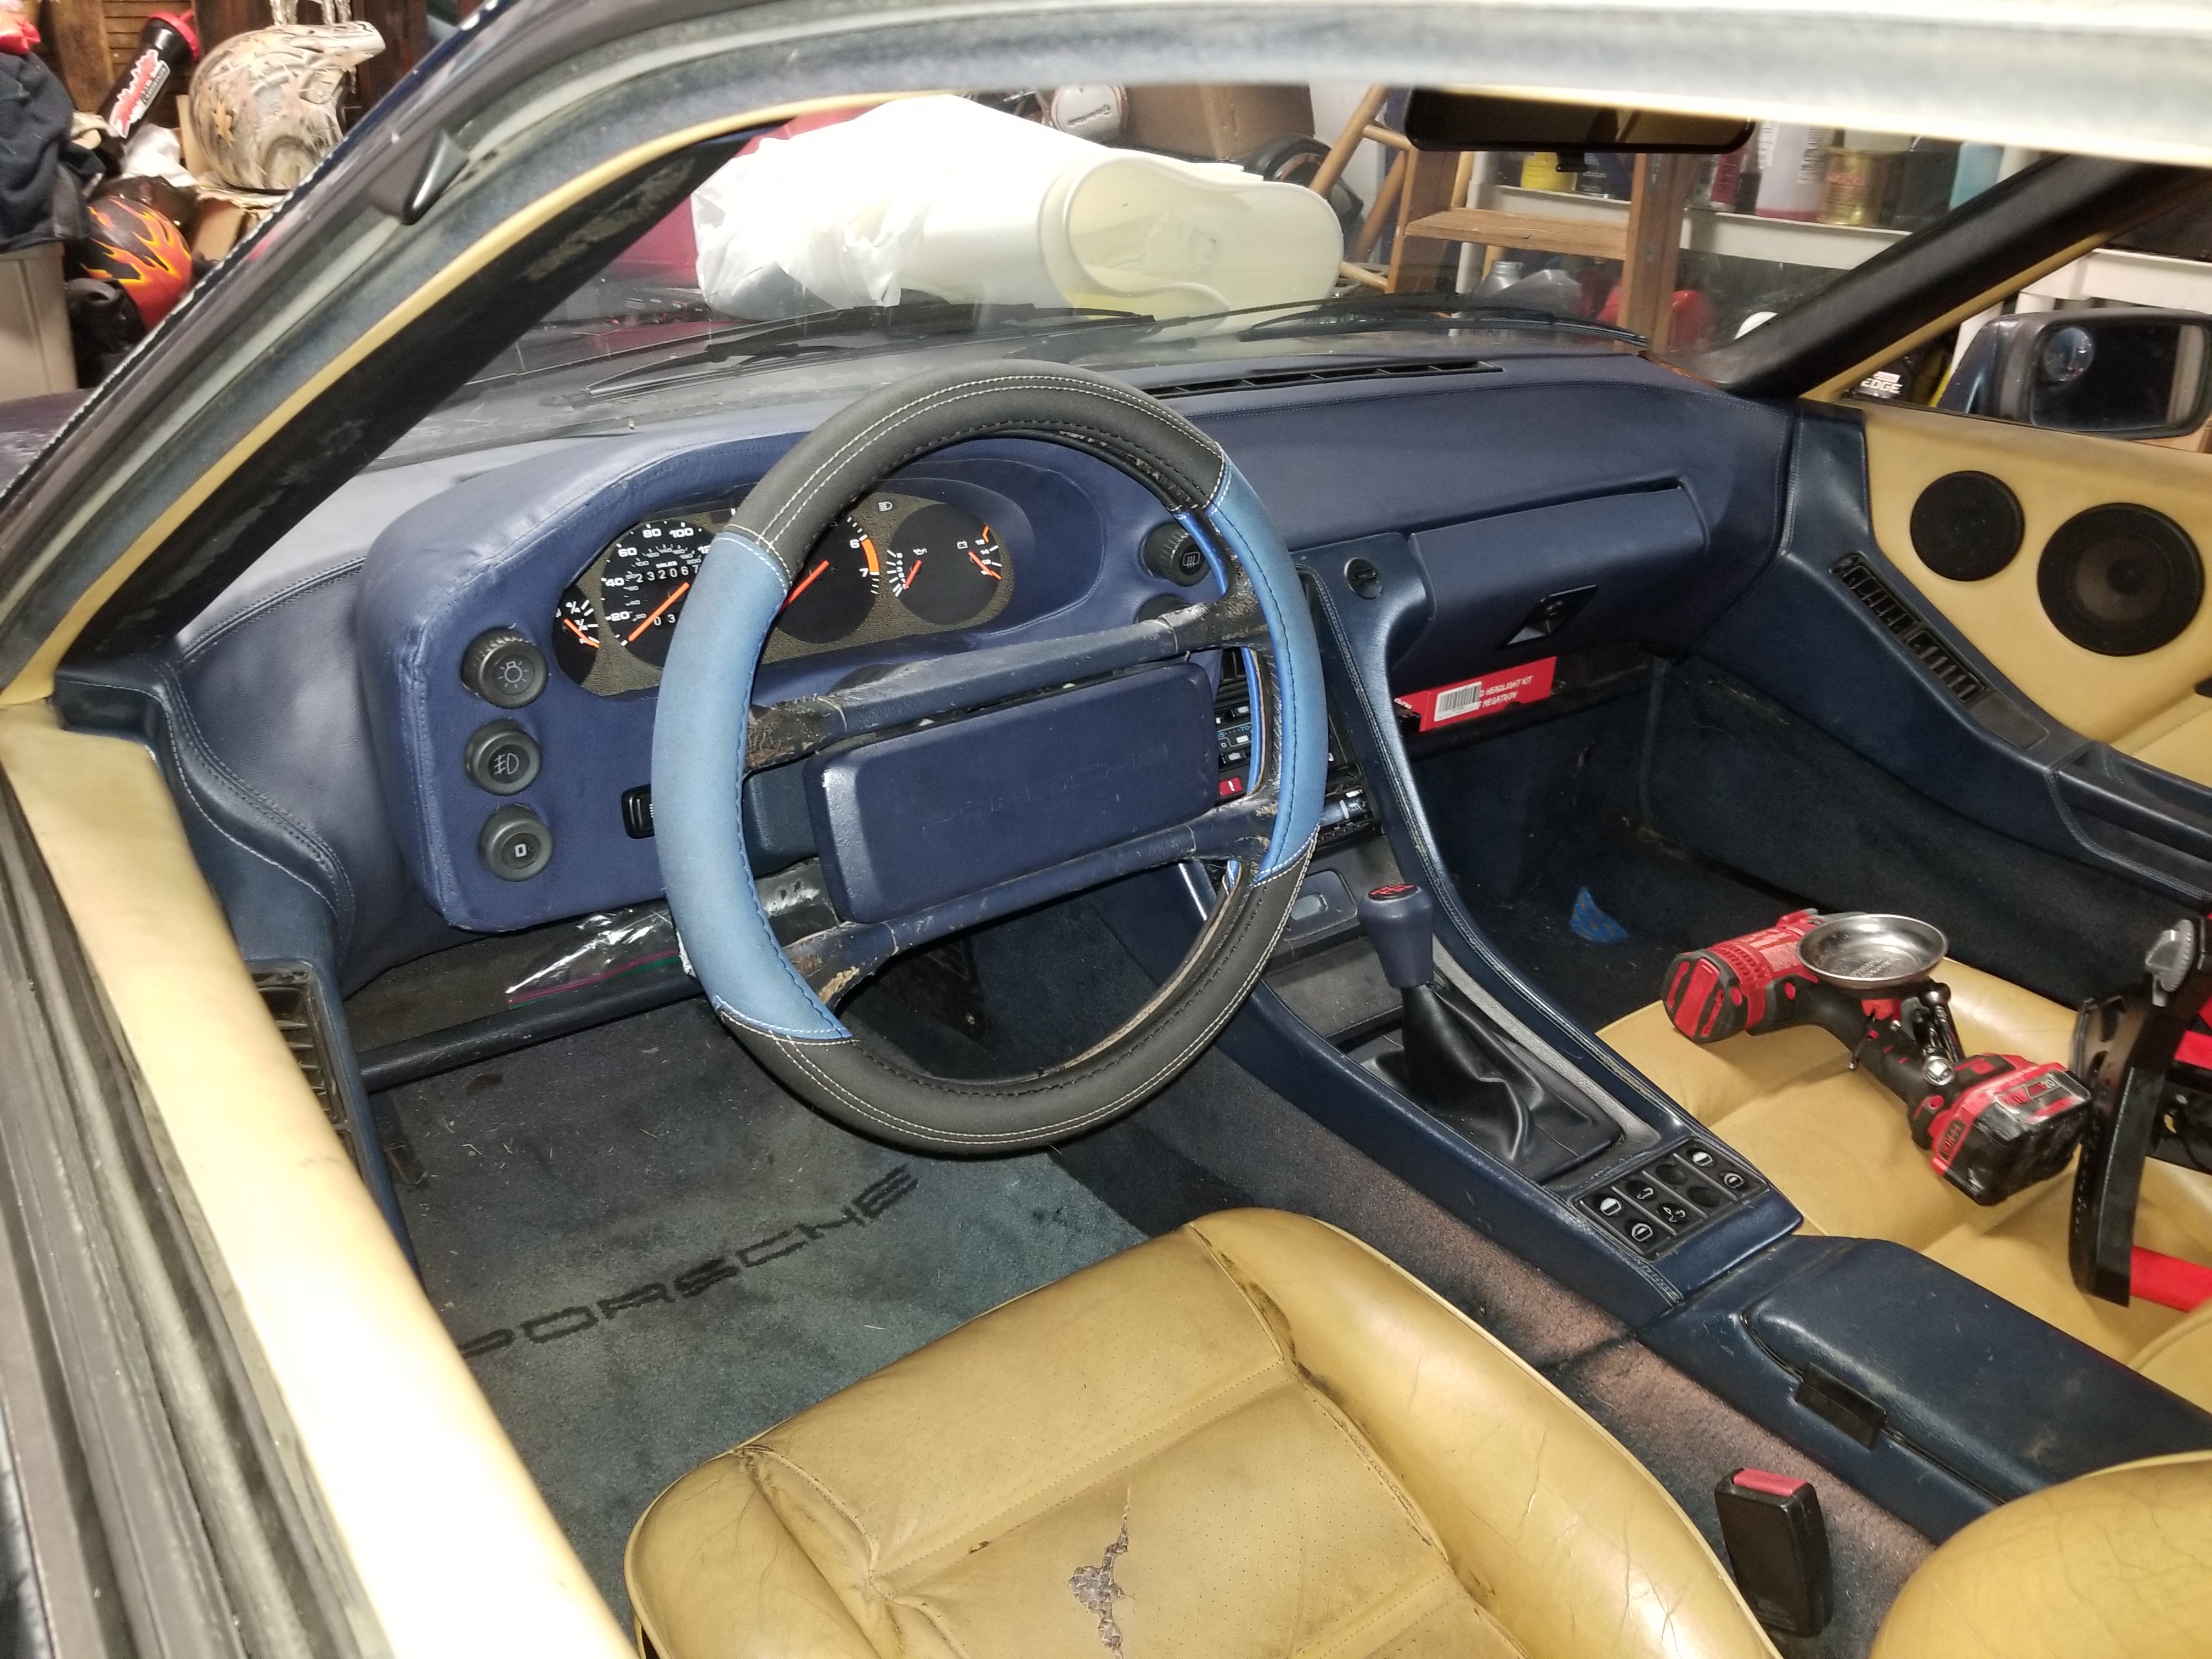
So I want everyone to read this post with low expectations, but having material left after my headliner repair, I decided I wanted to have a try at making a cover for my cracked gauge pod. It came out so-so. Keep in mind this is the first time I've attempted upholstery.
I also made an oversight using an 84 pod in my 86 car. We'll see if you guess before I point it out later.
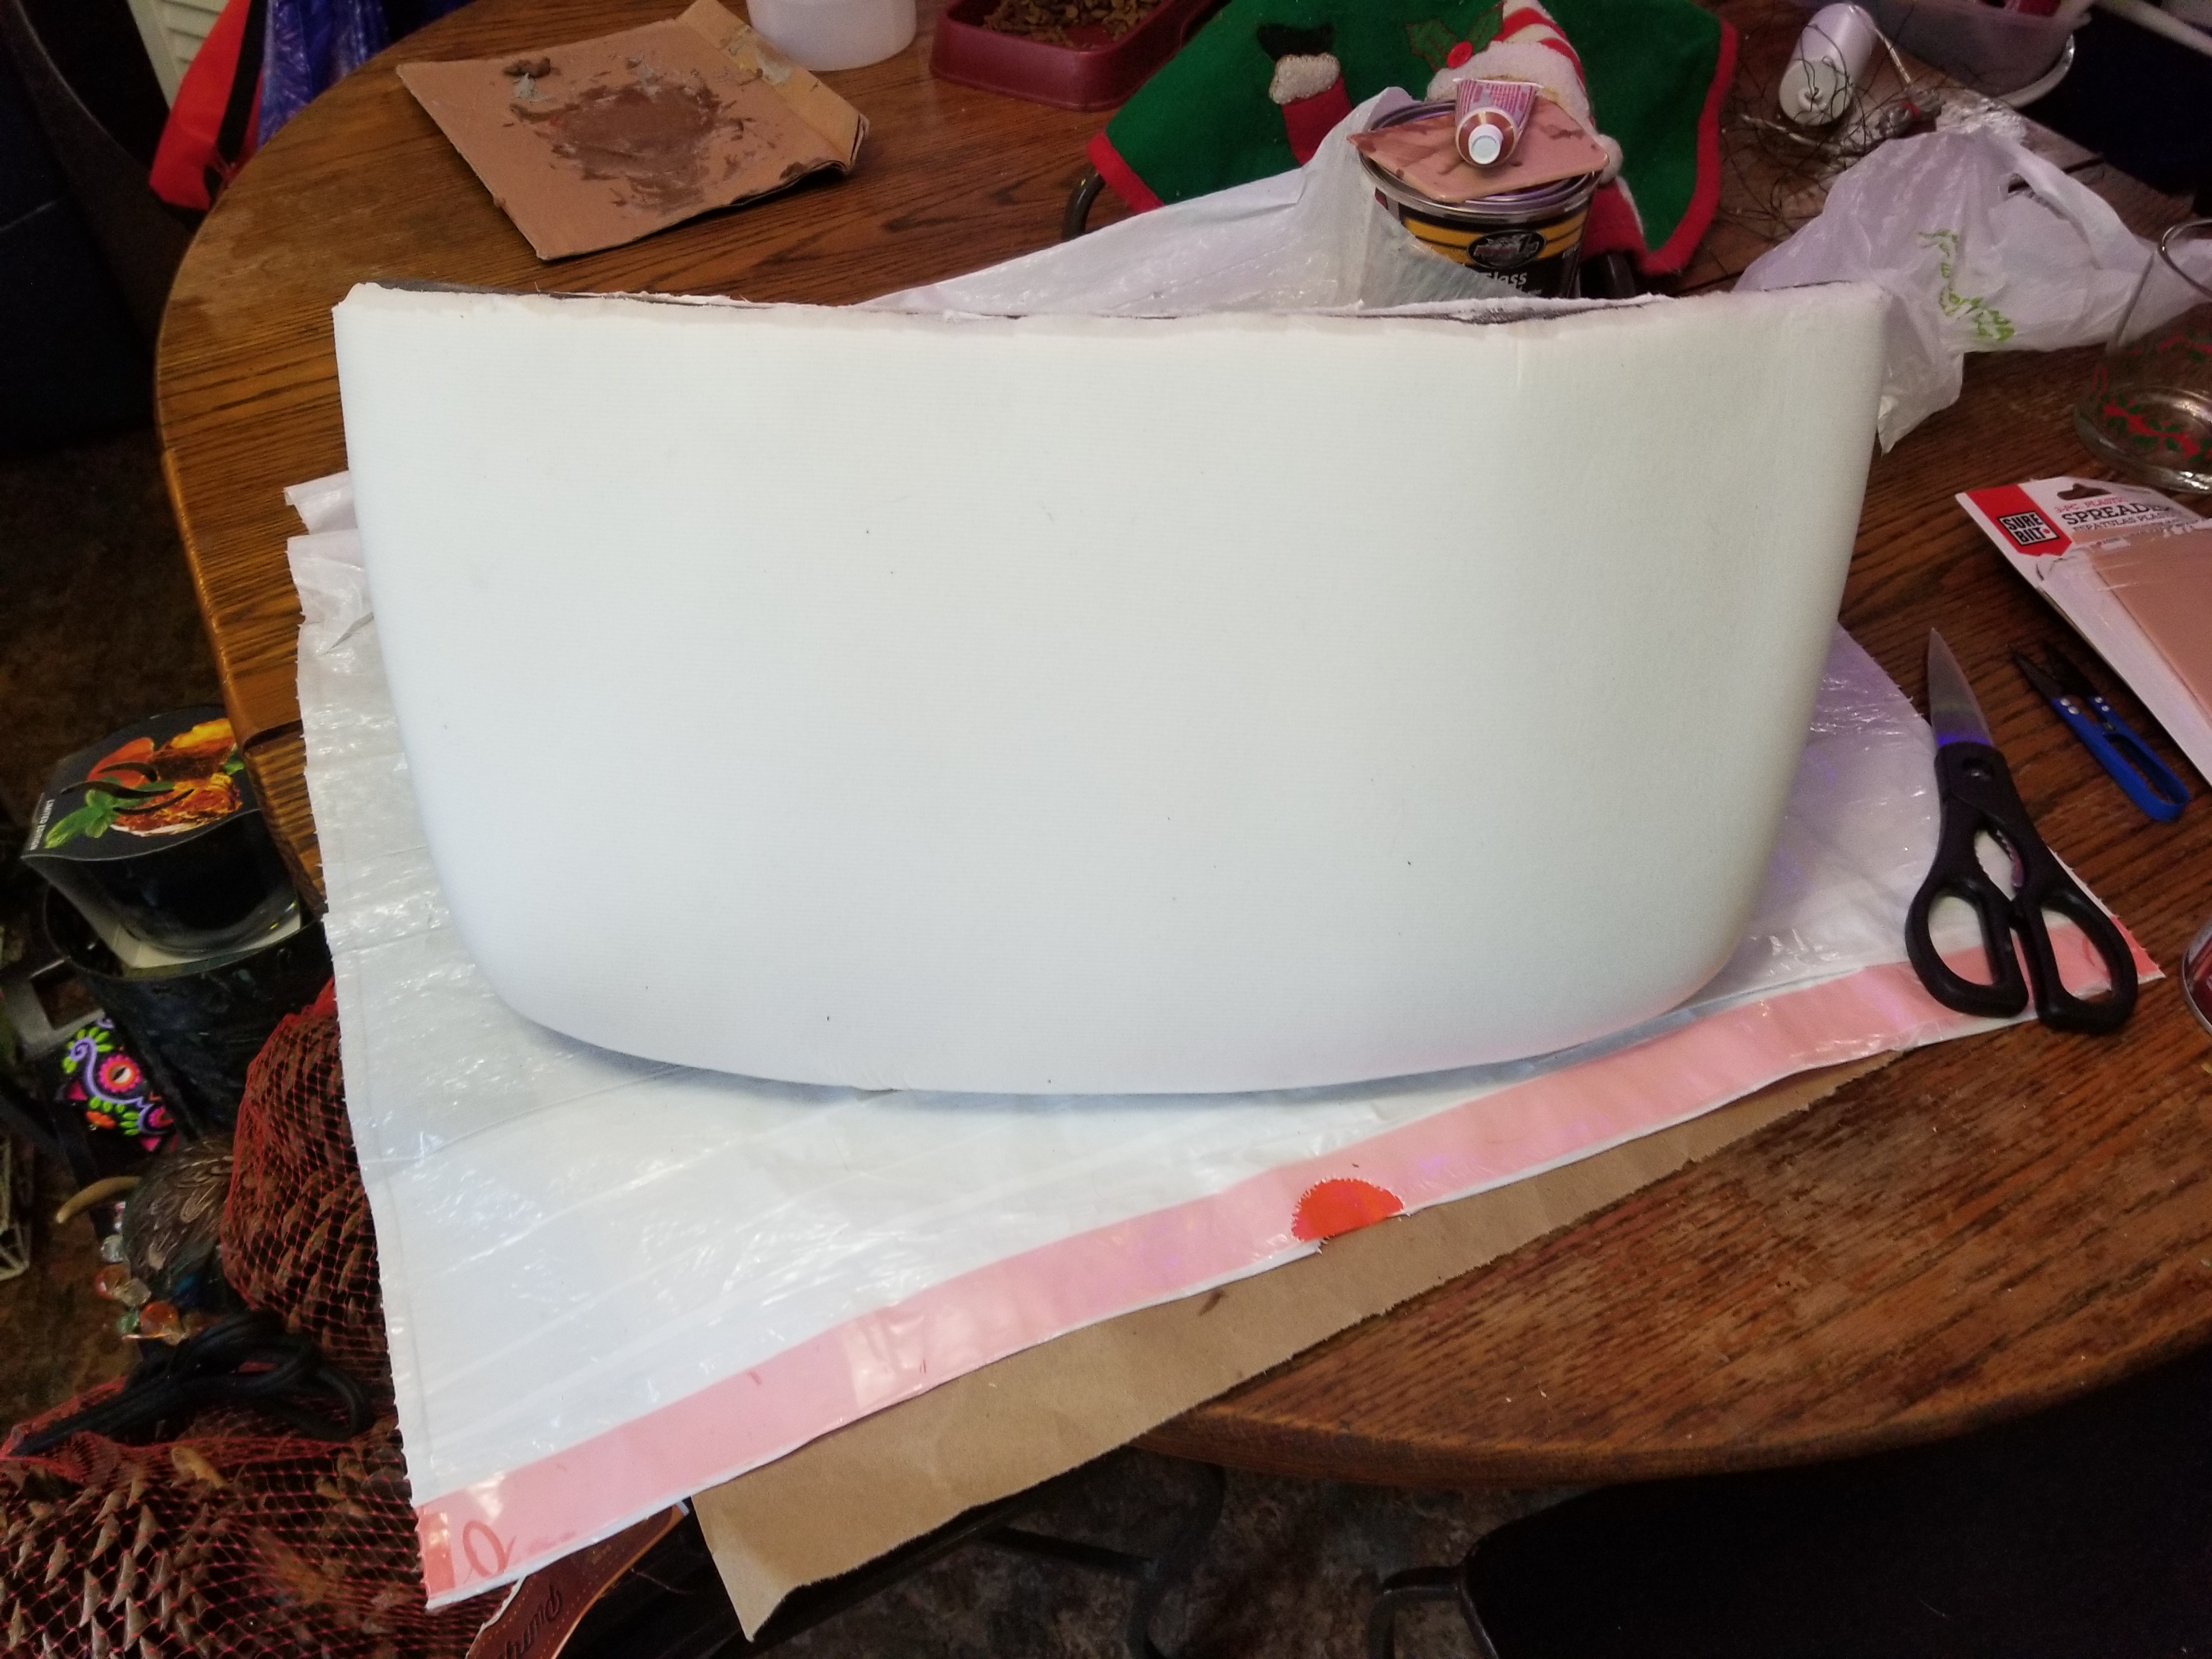
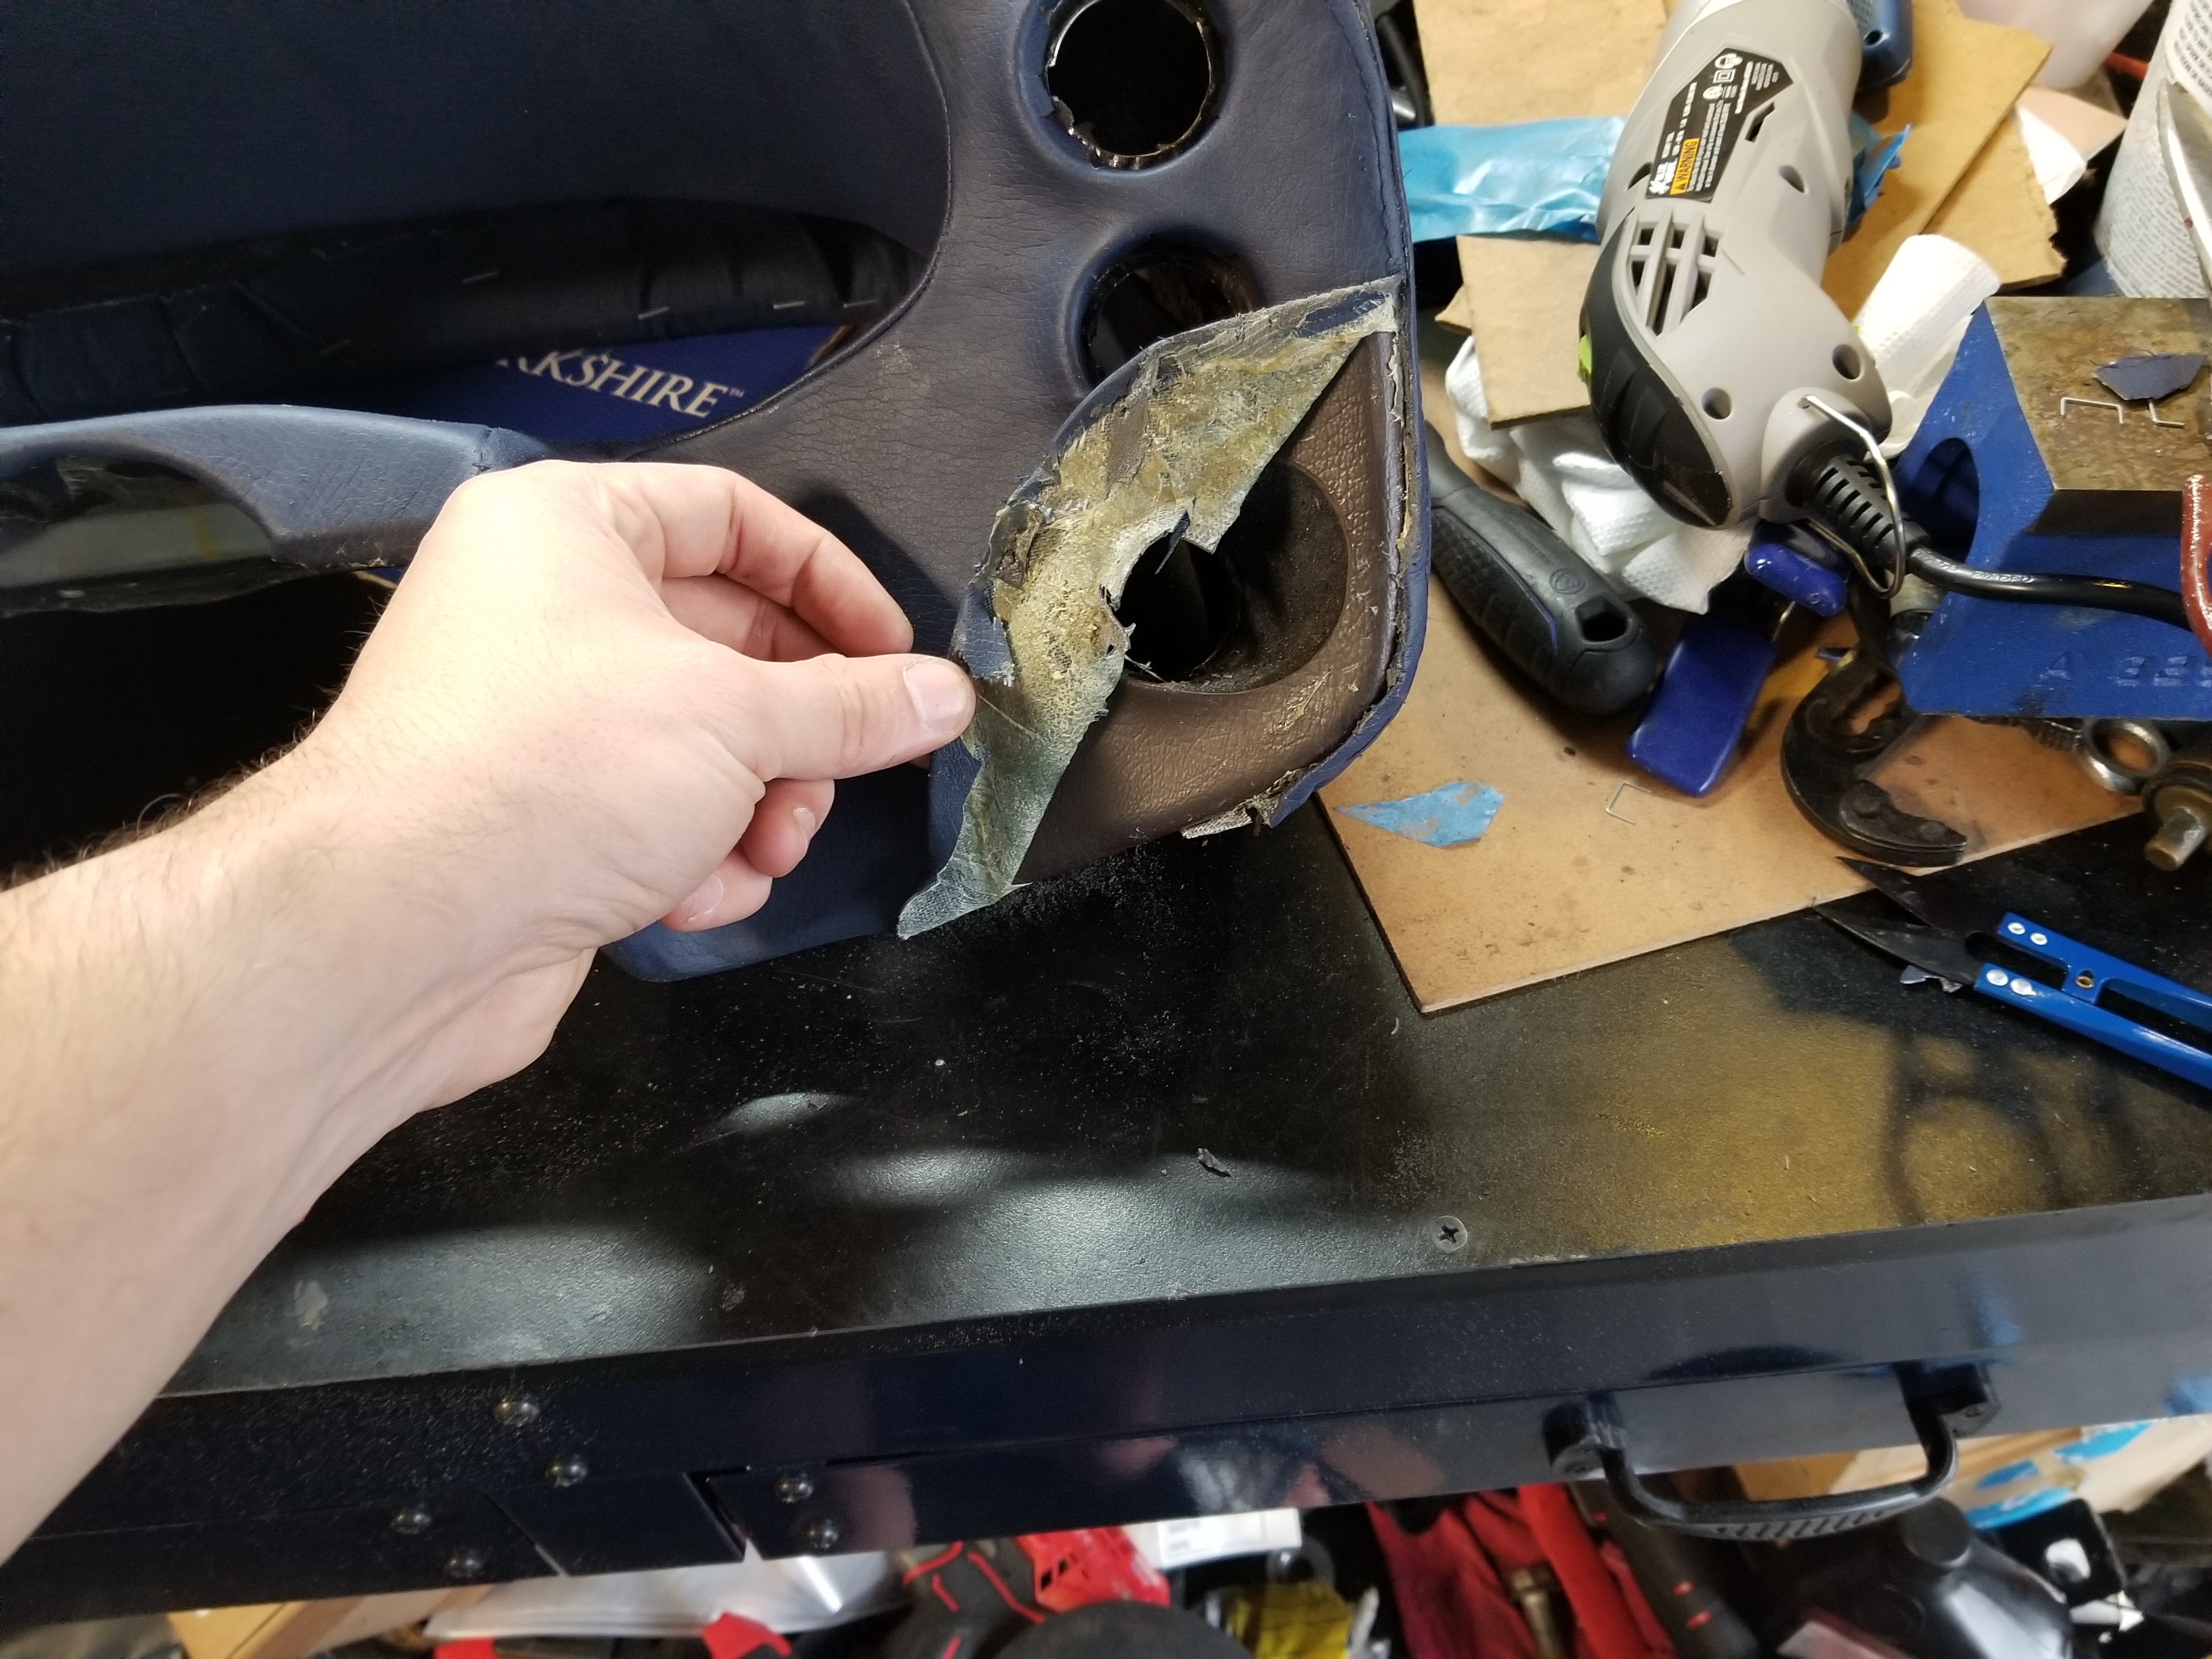
Here's the pod from the parts car.

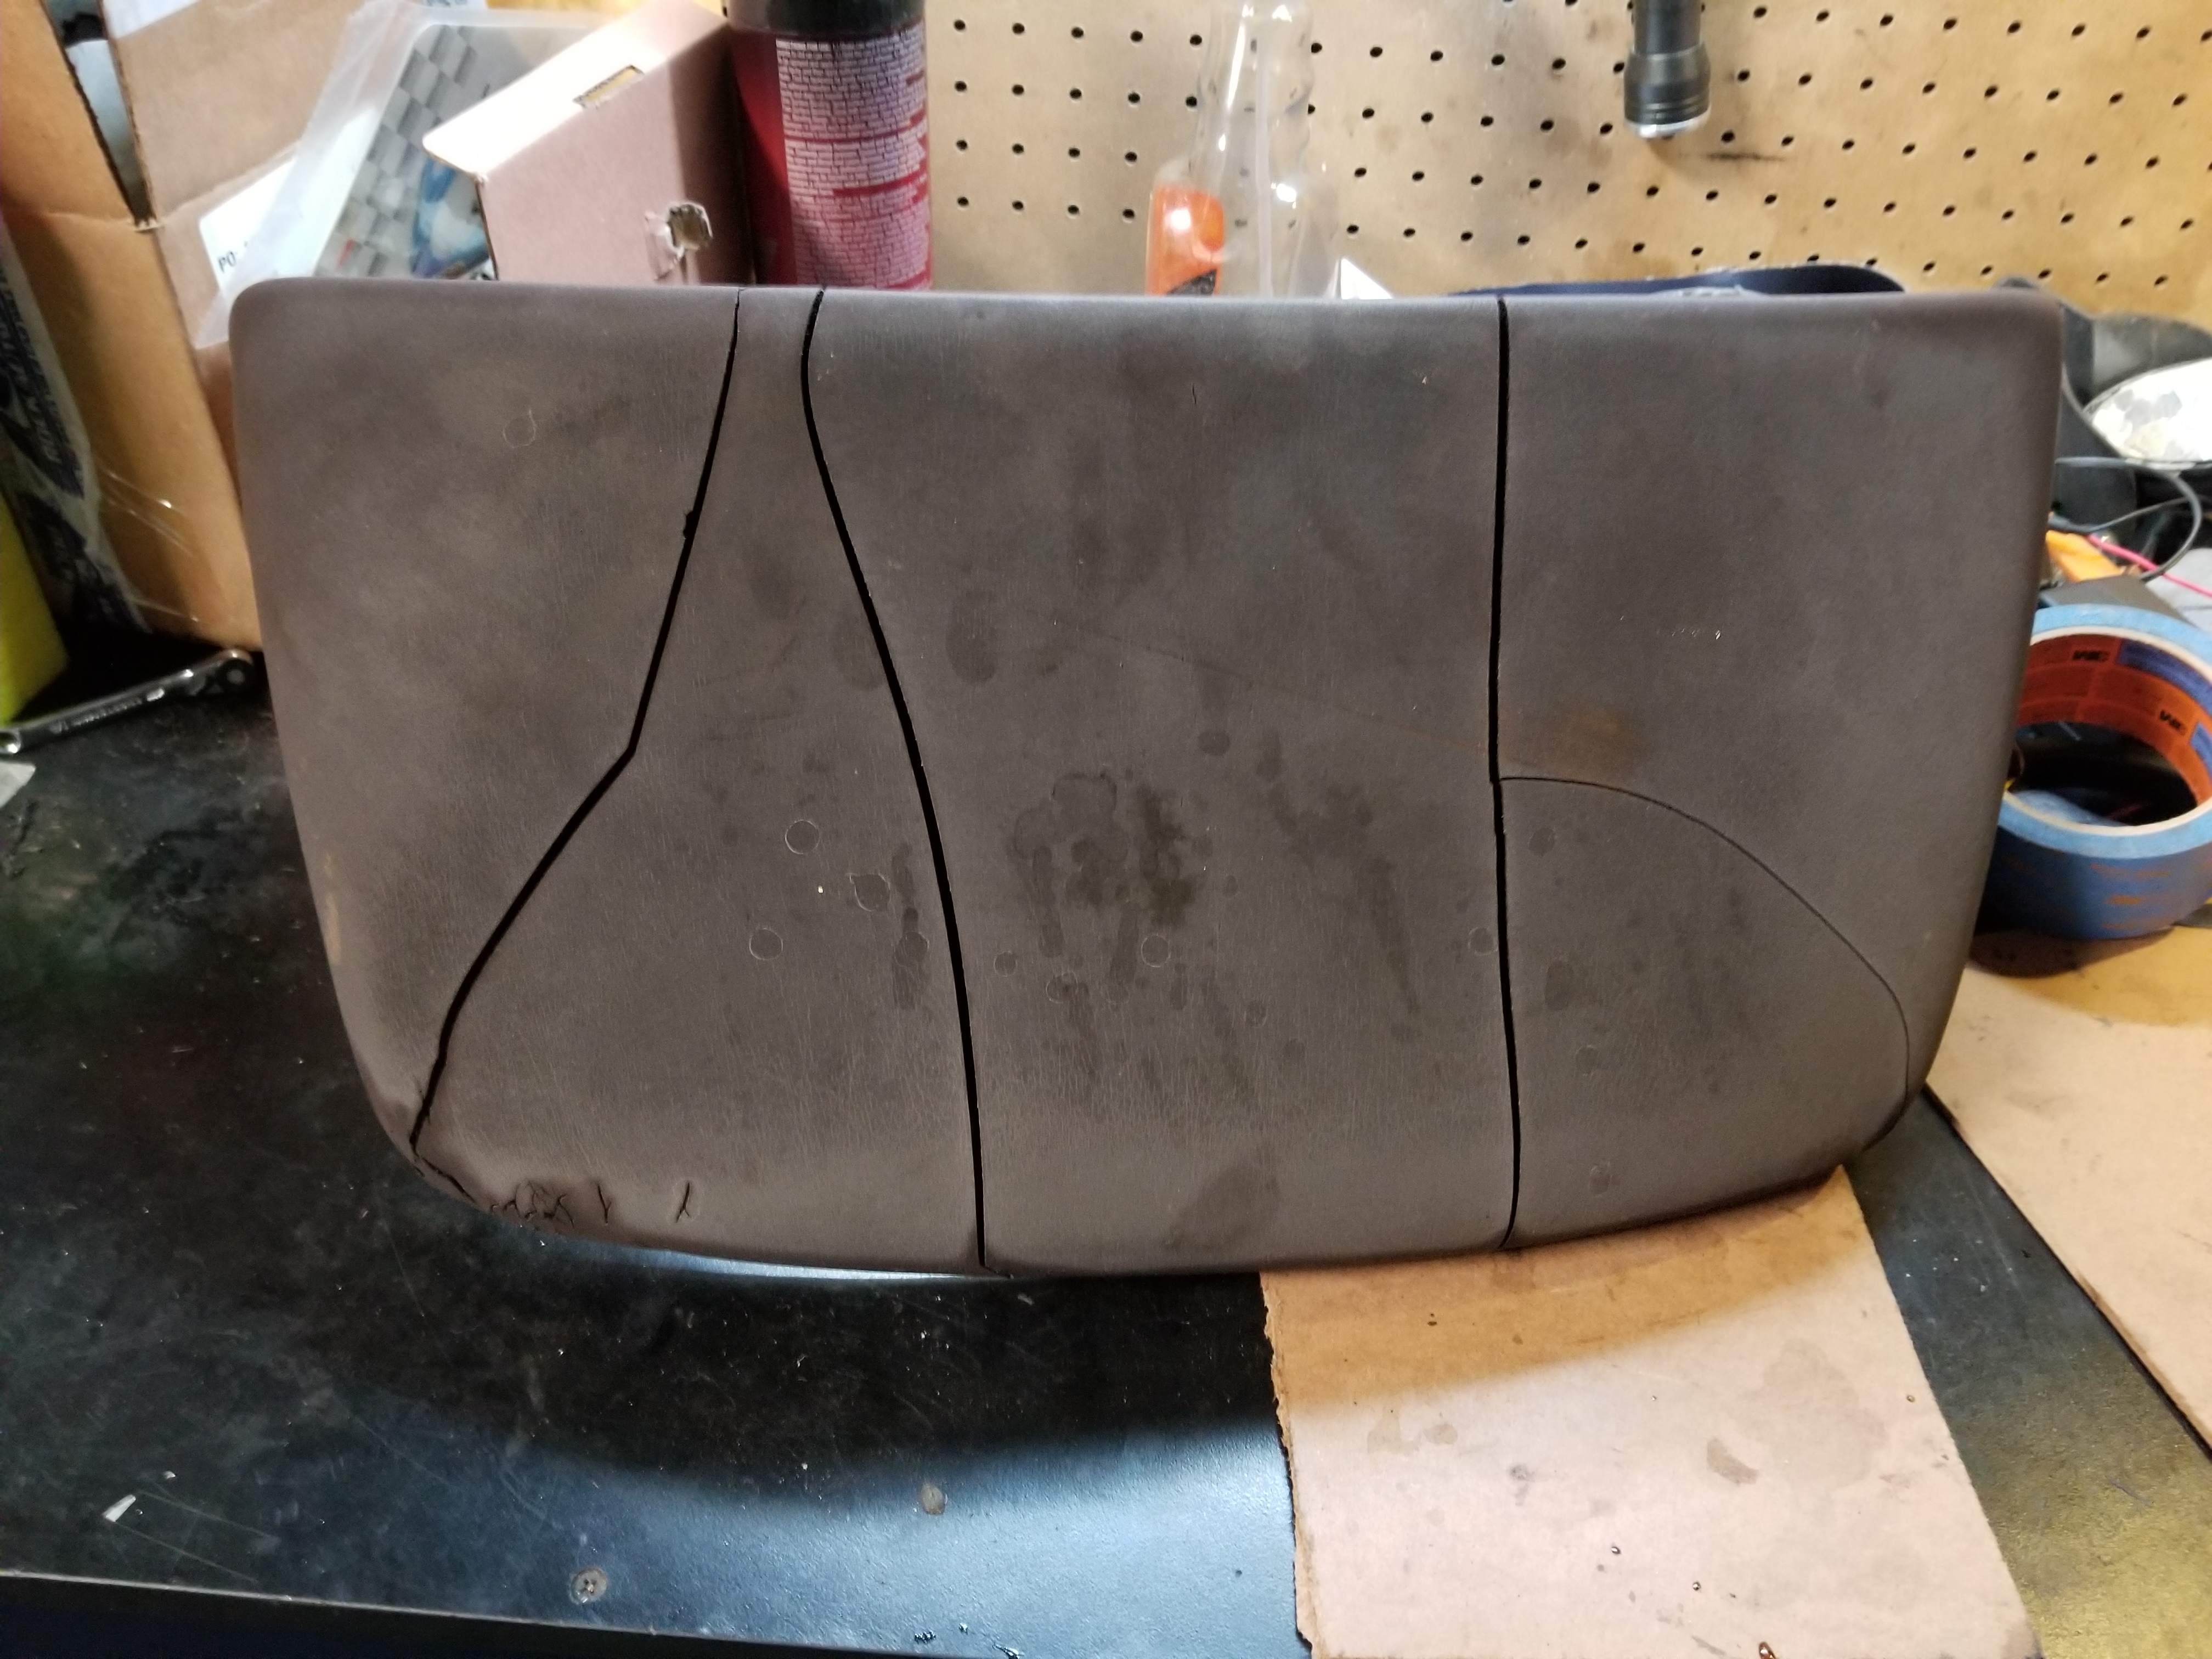
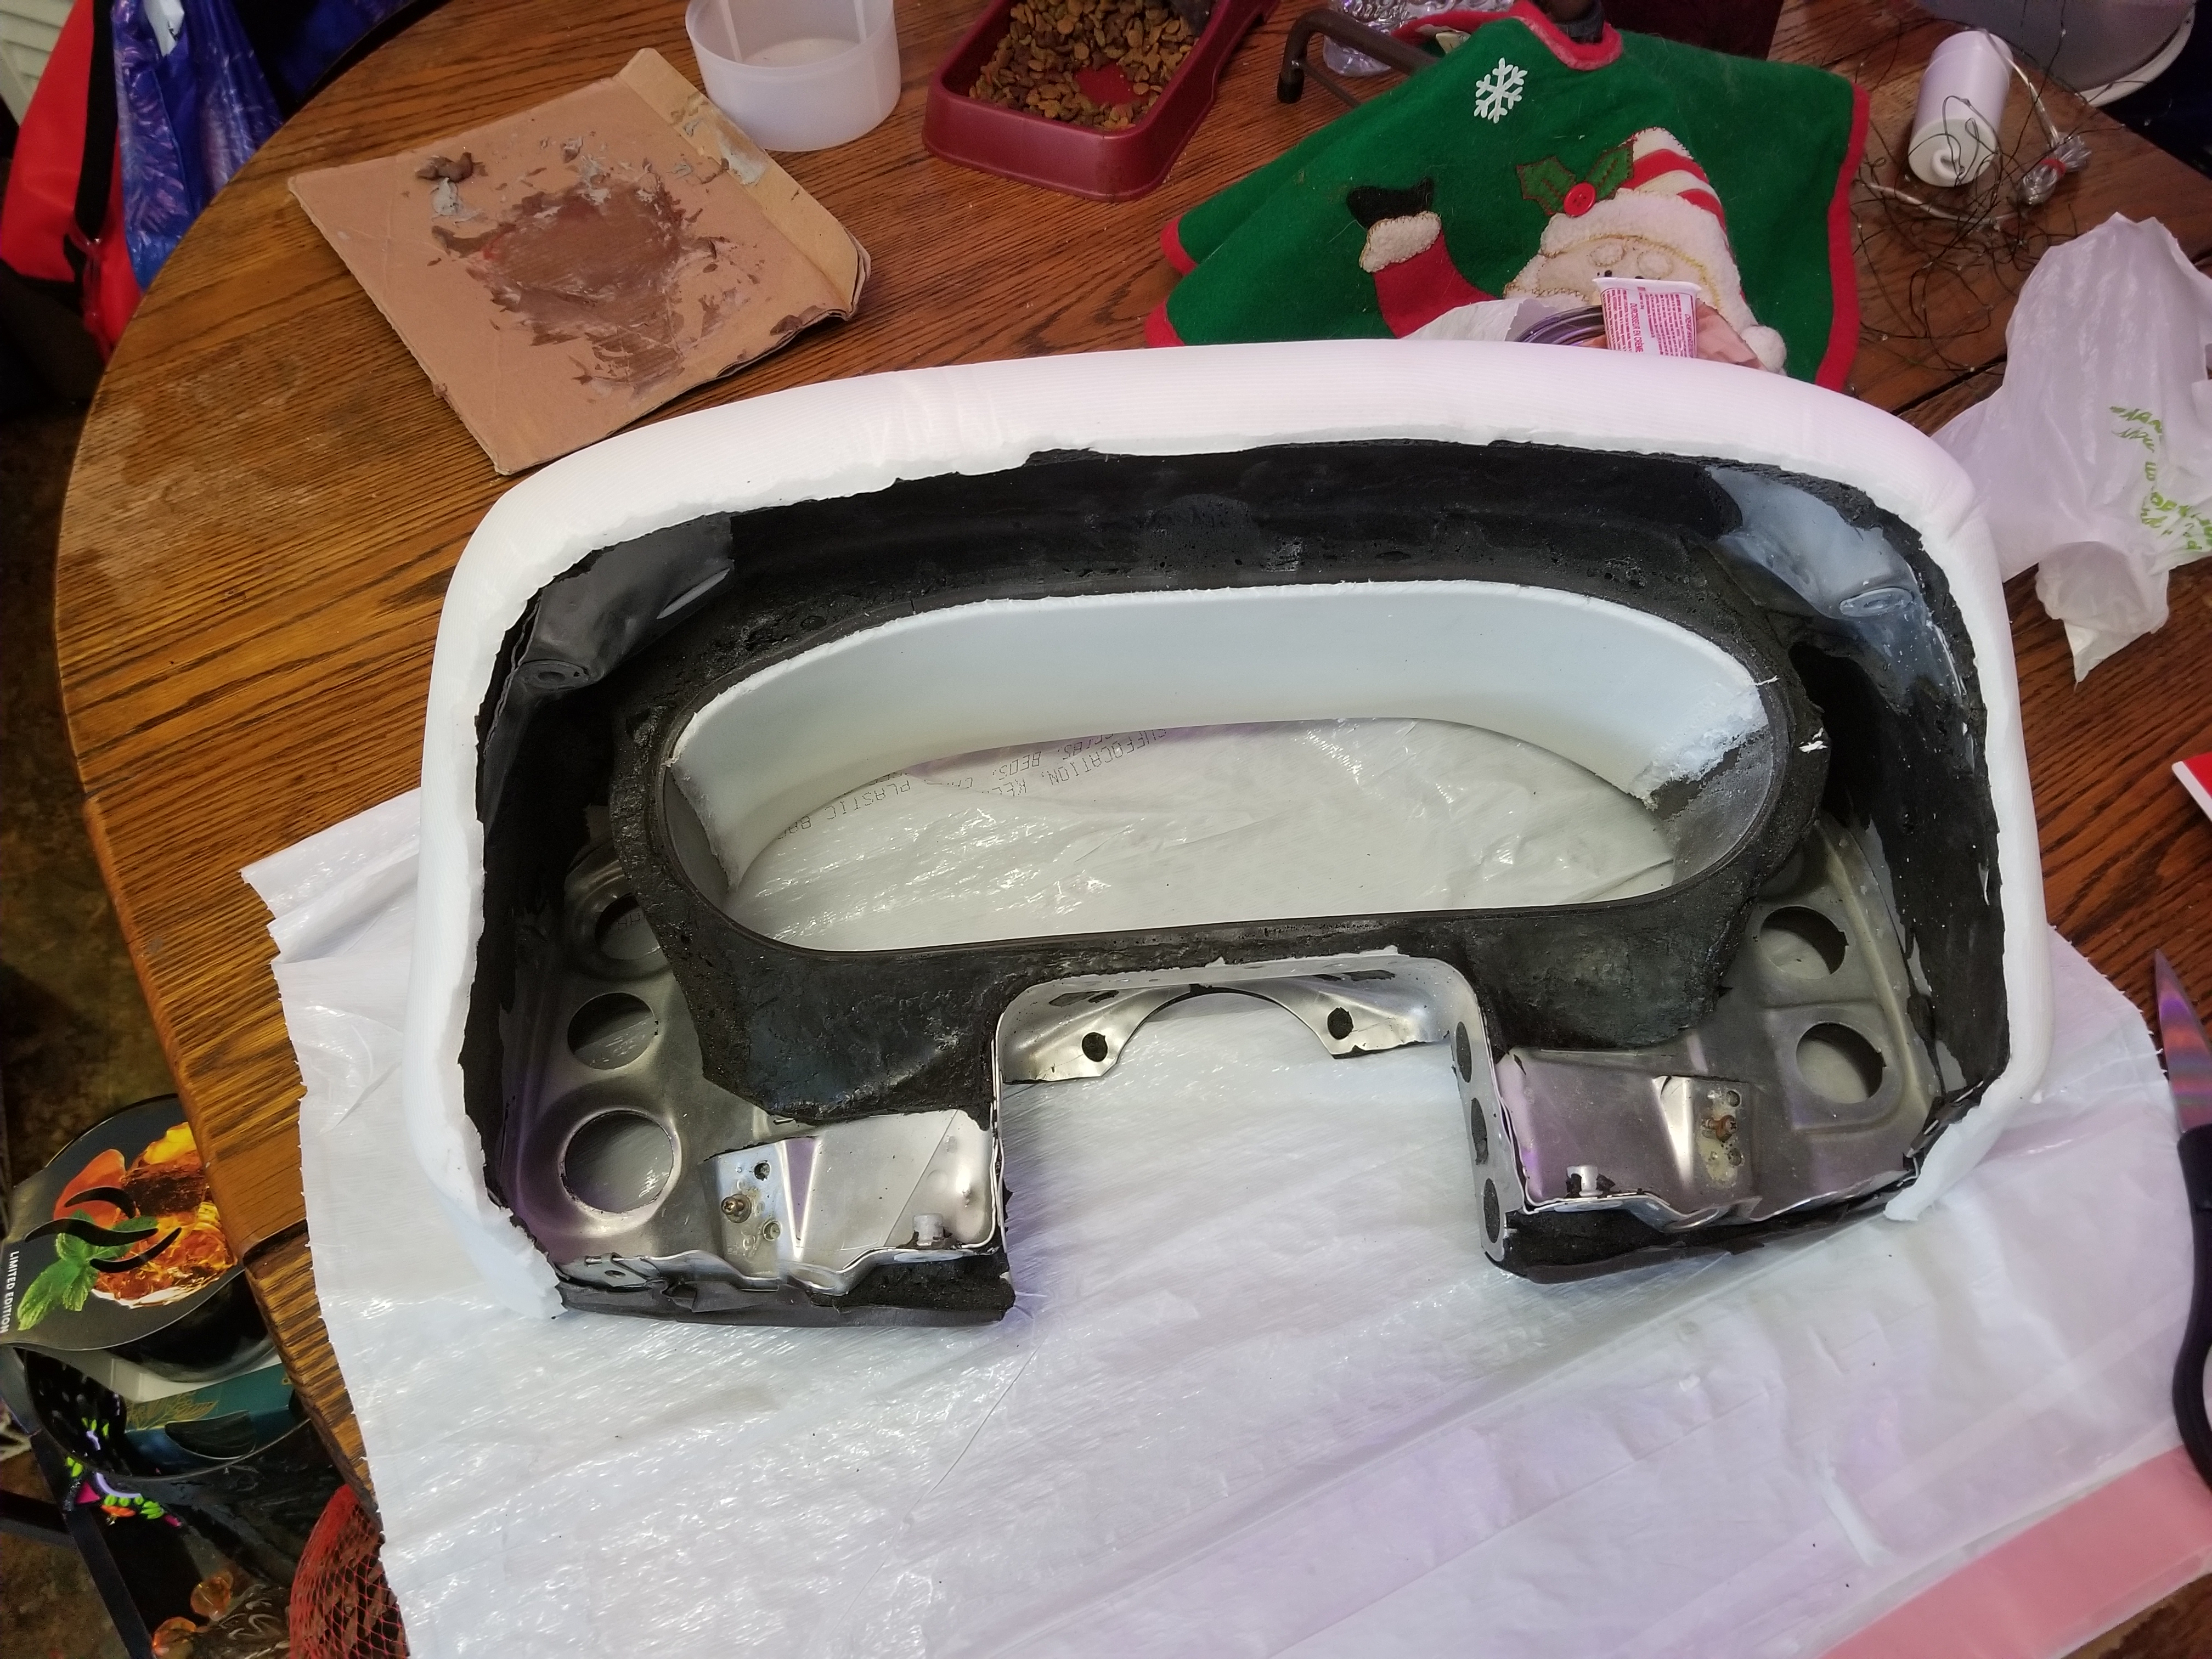
And with the cracks filled and sanded on it.
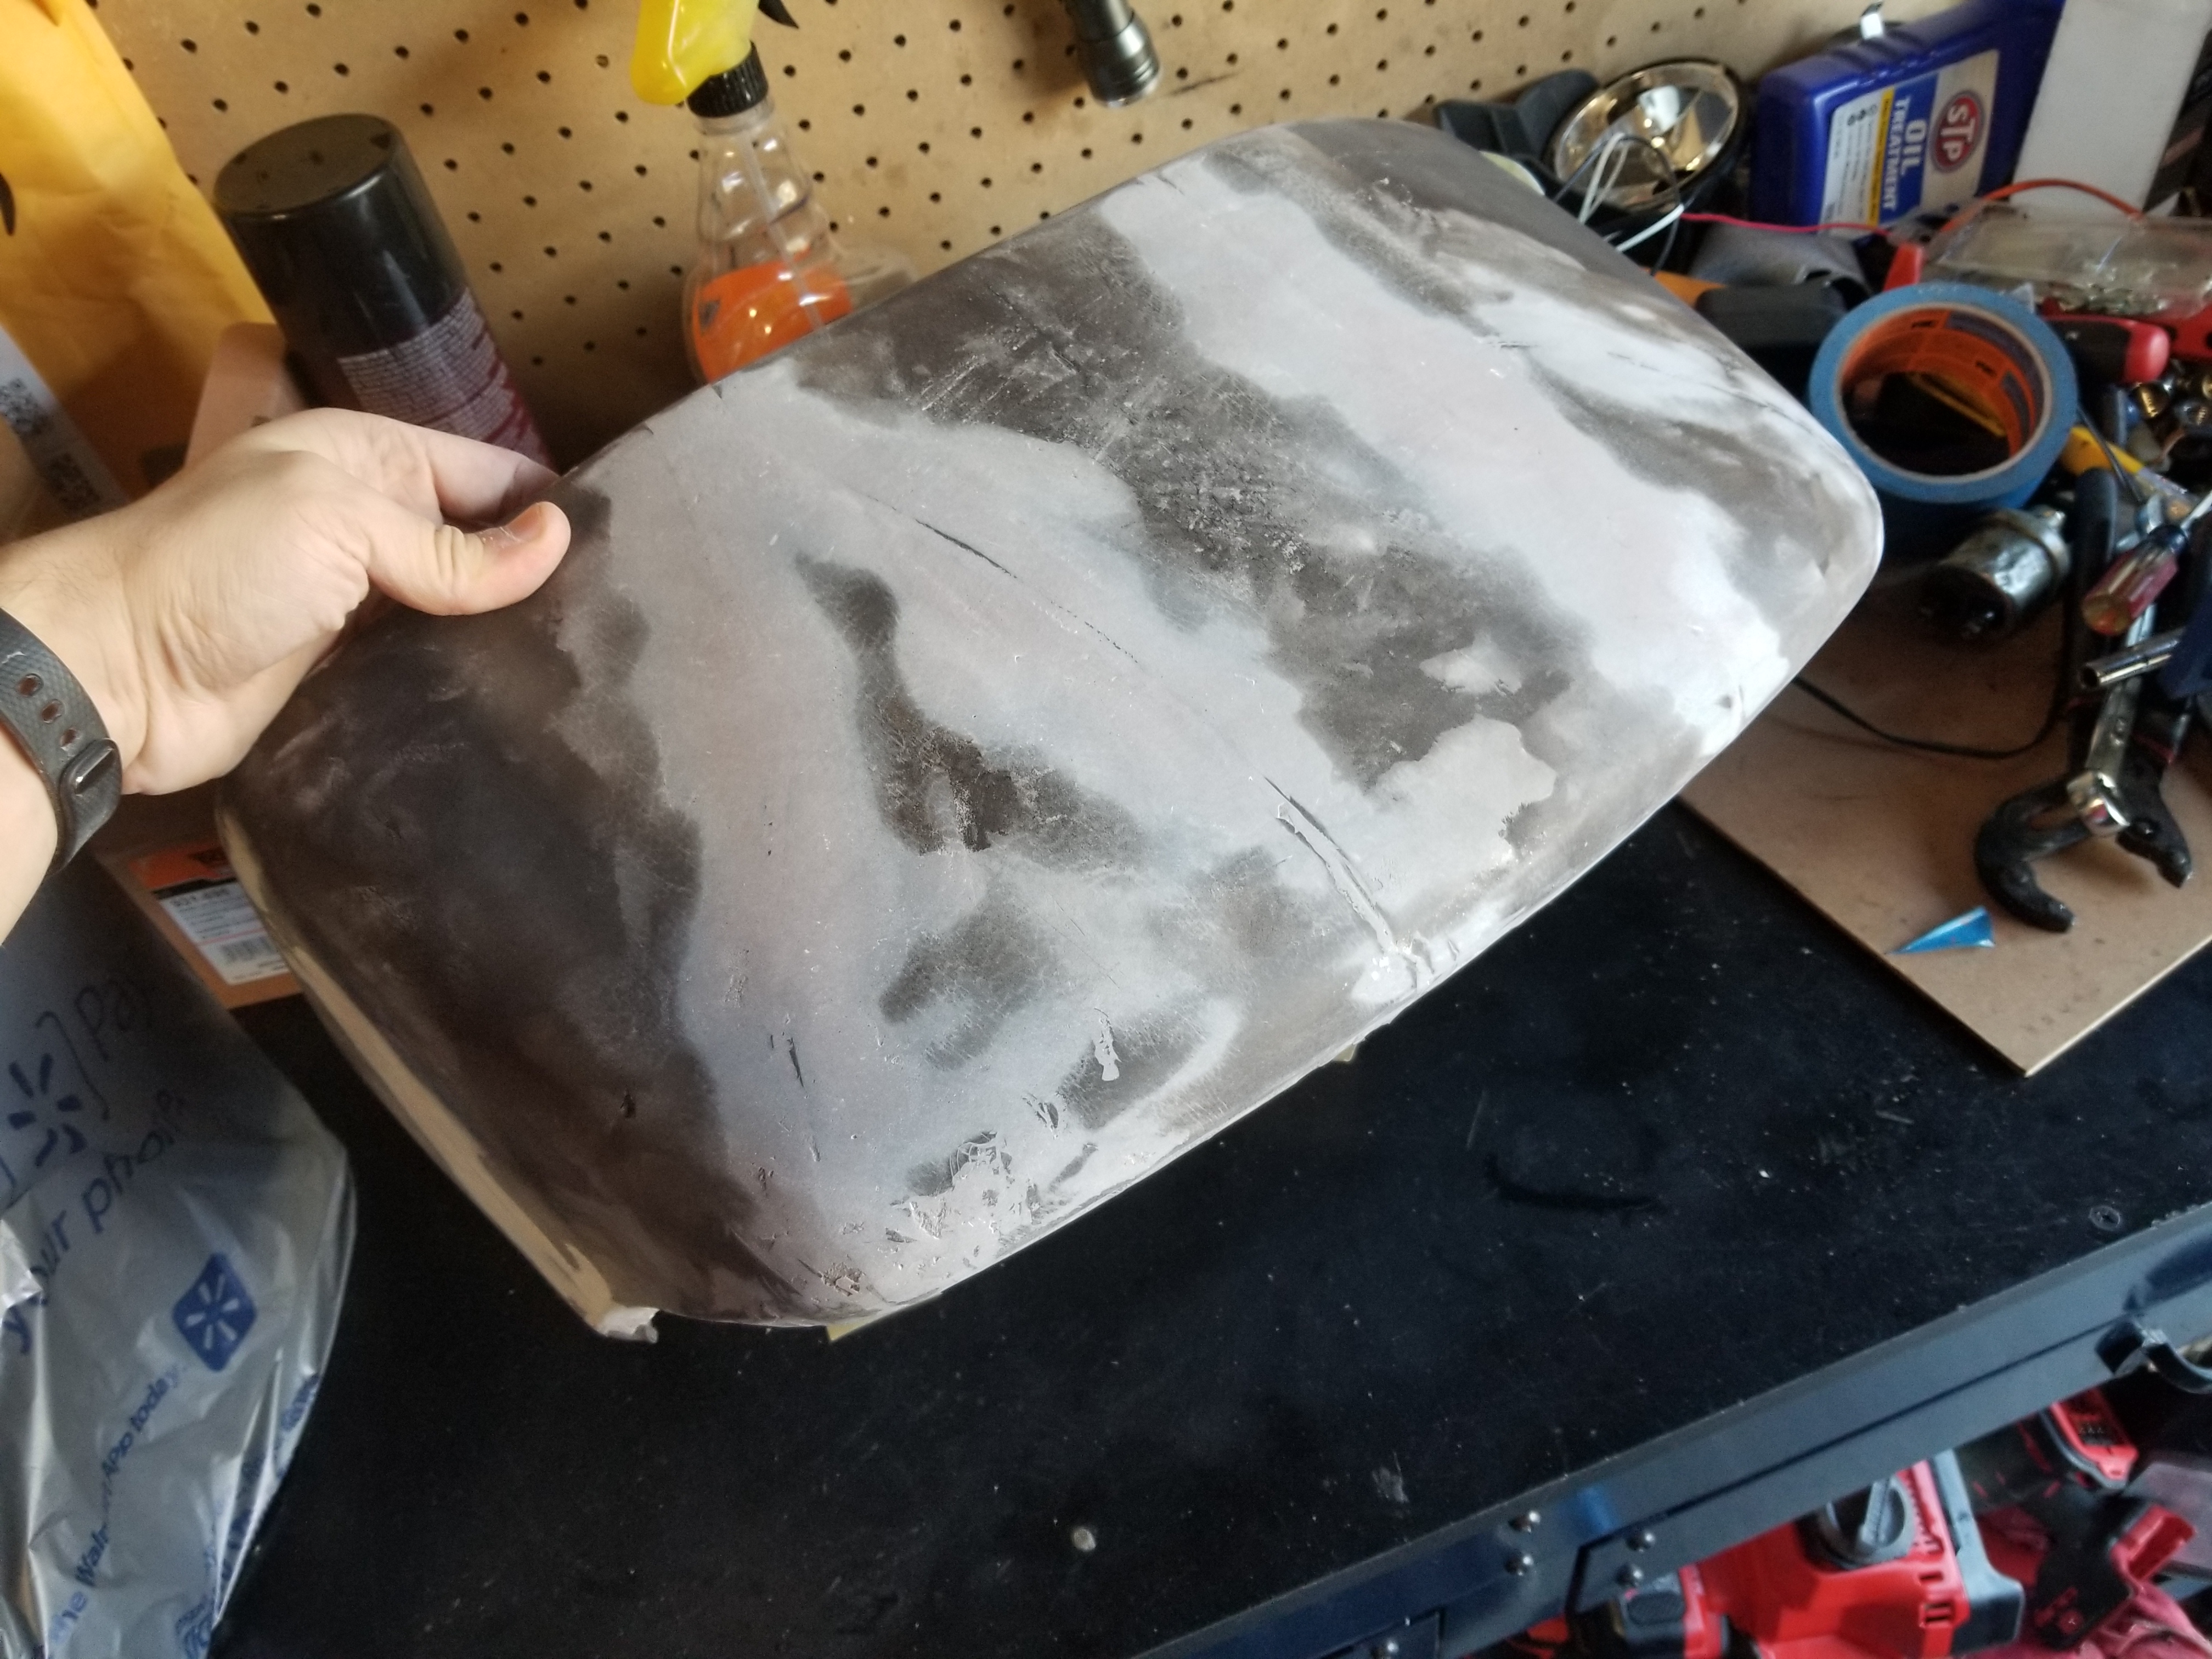
And with some foam on the top of it.
And here's where you can start lowering your expectations. I tried cutting and stitching the cover to match the contour of the pod. That more or less happened, but it was off around the cutout for the gauges.
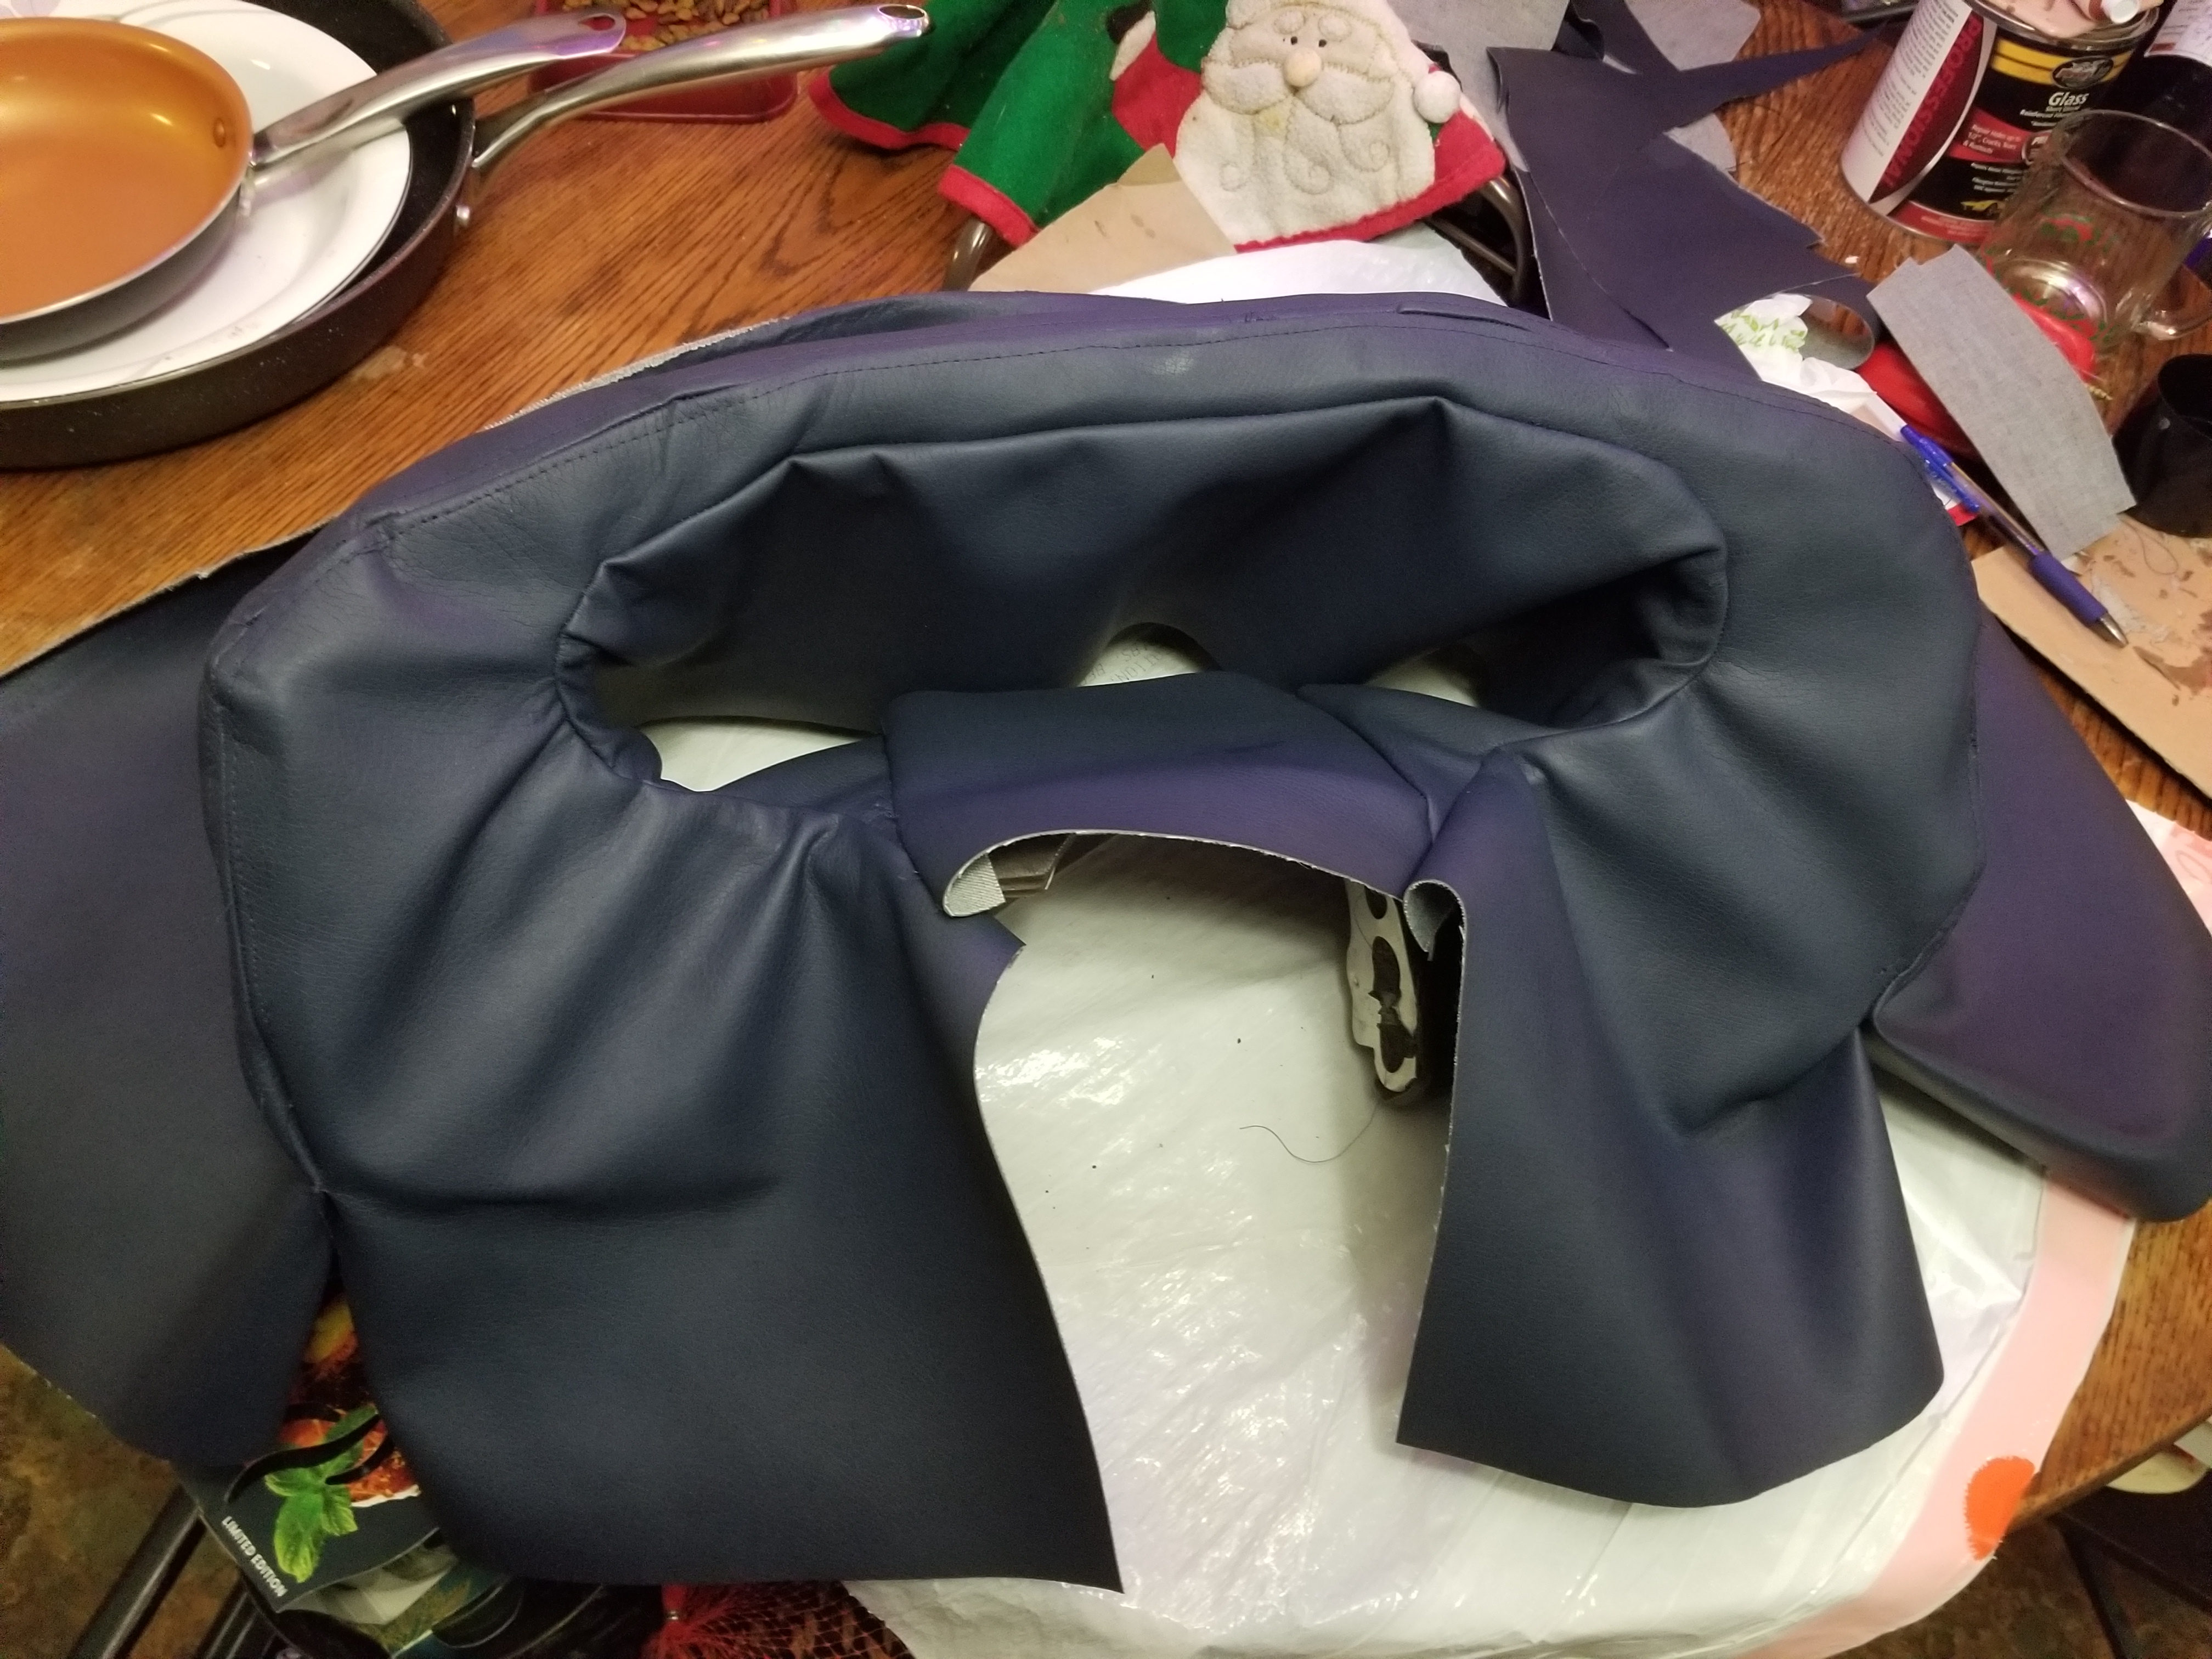
Got everything glued and ready to install.
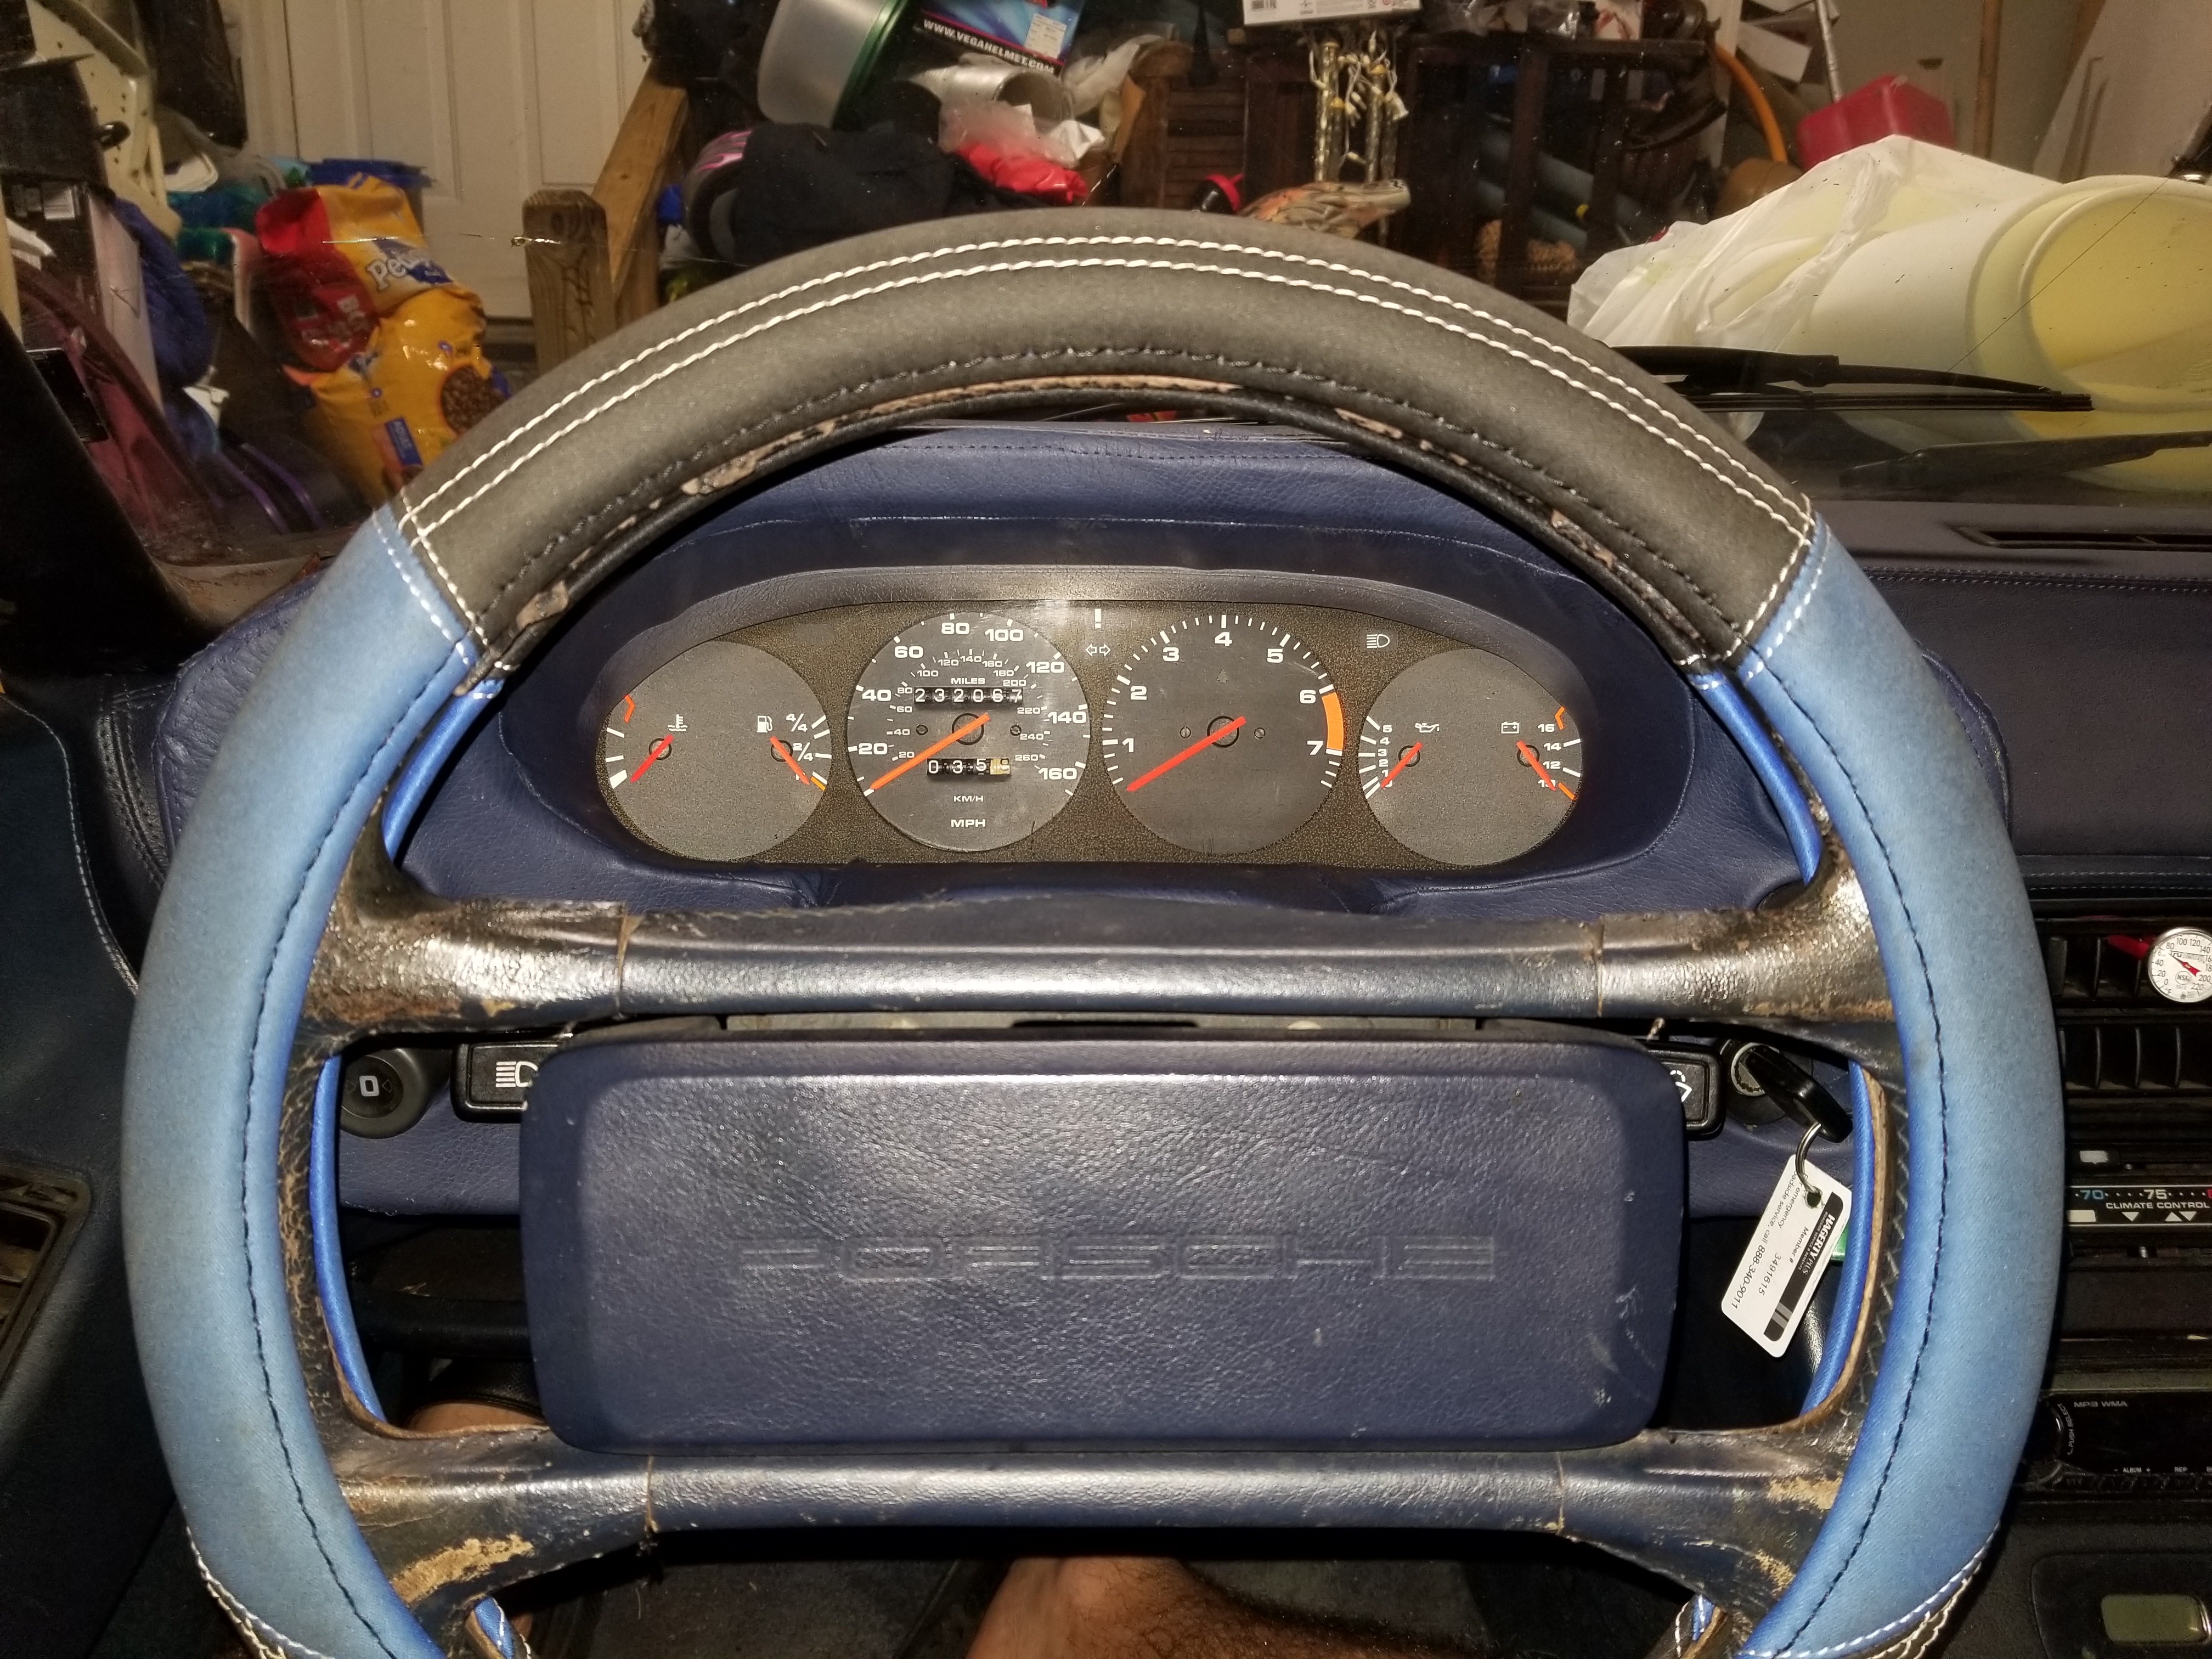
And got it glued in place. Again, low expectations.

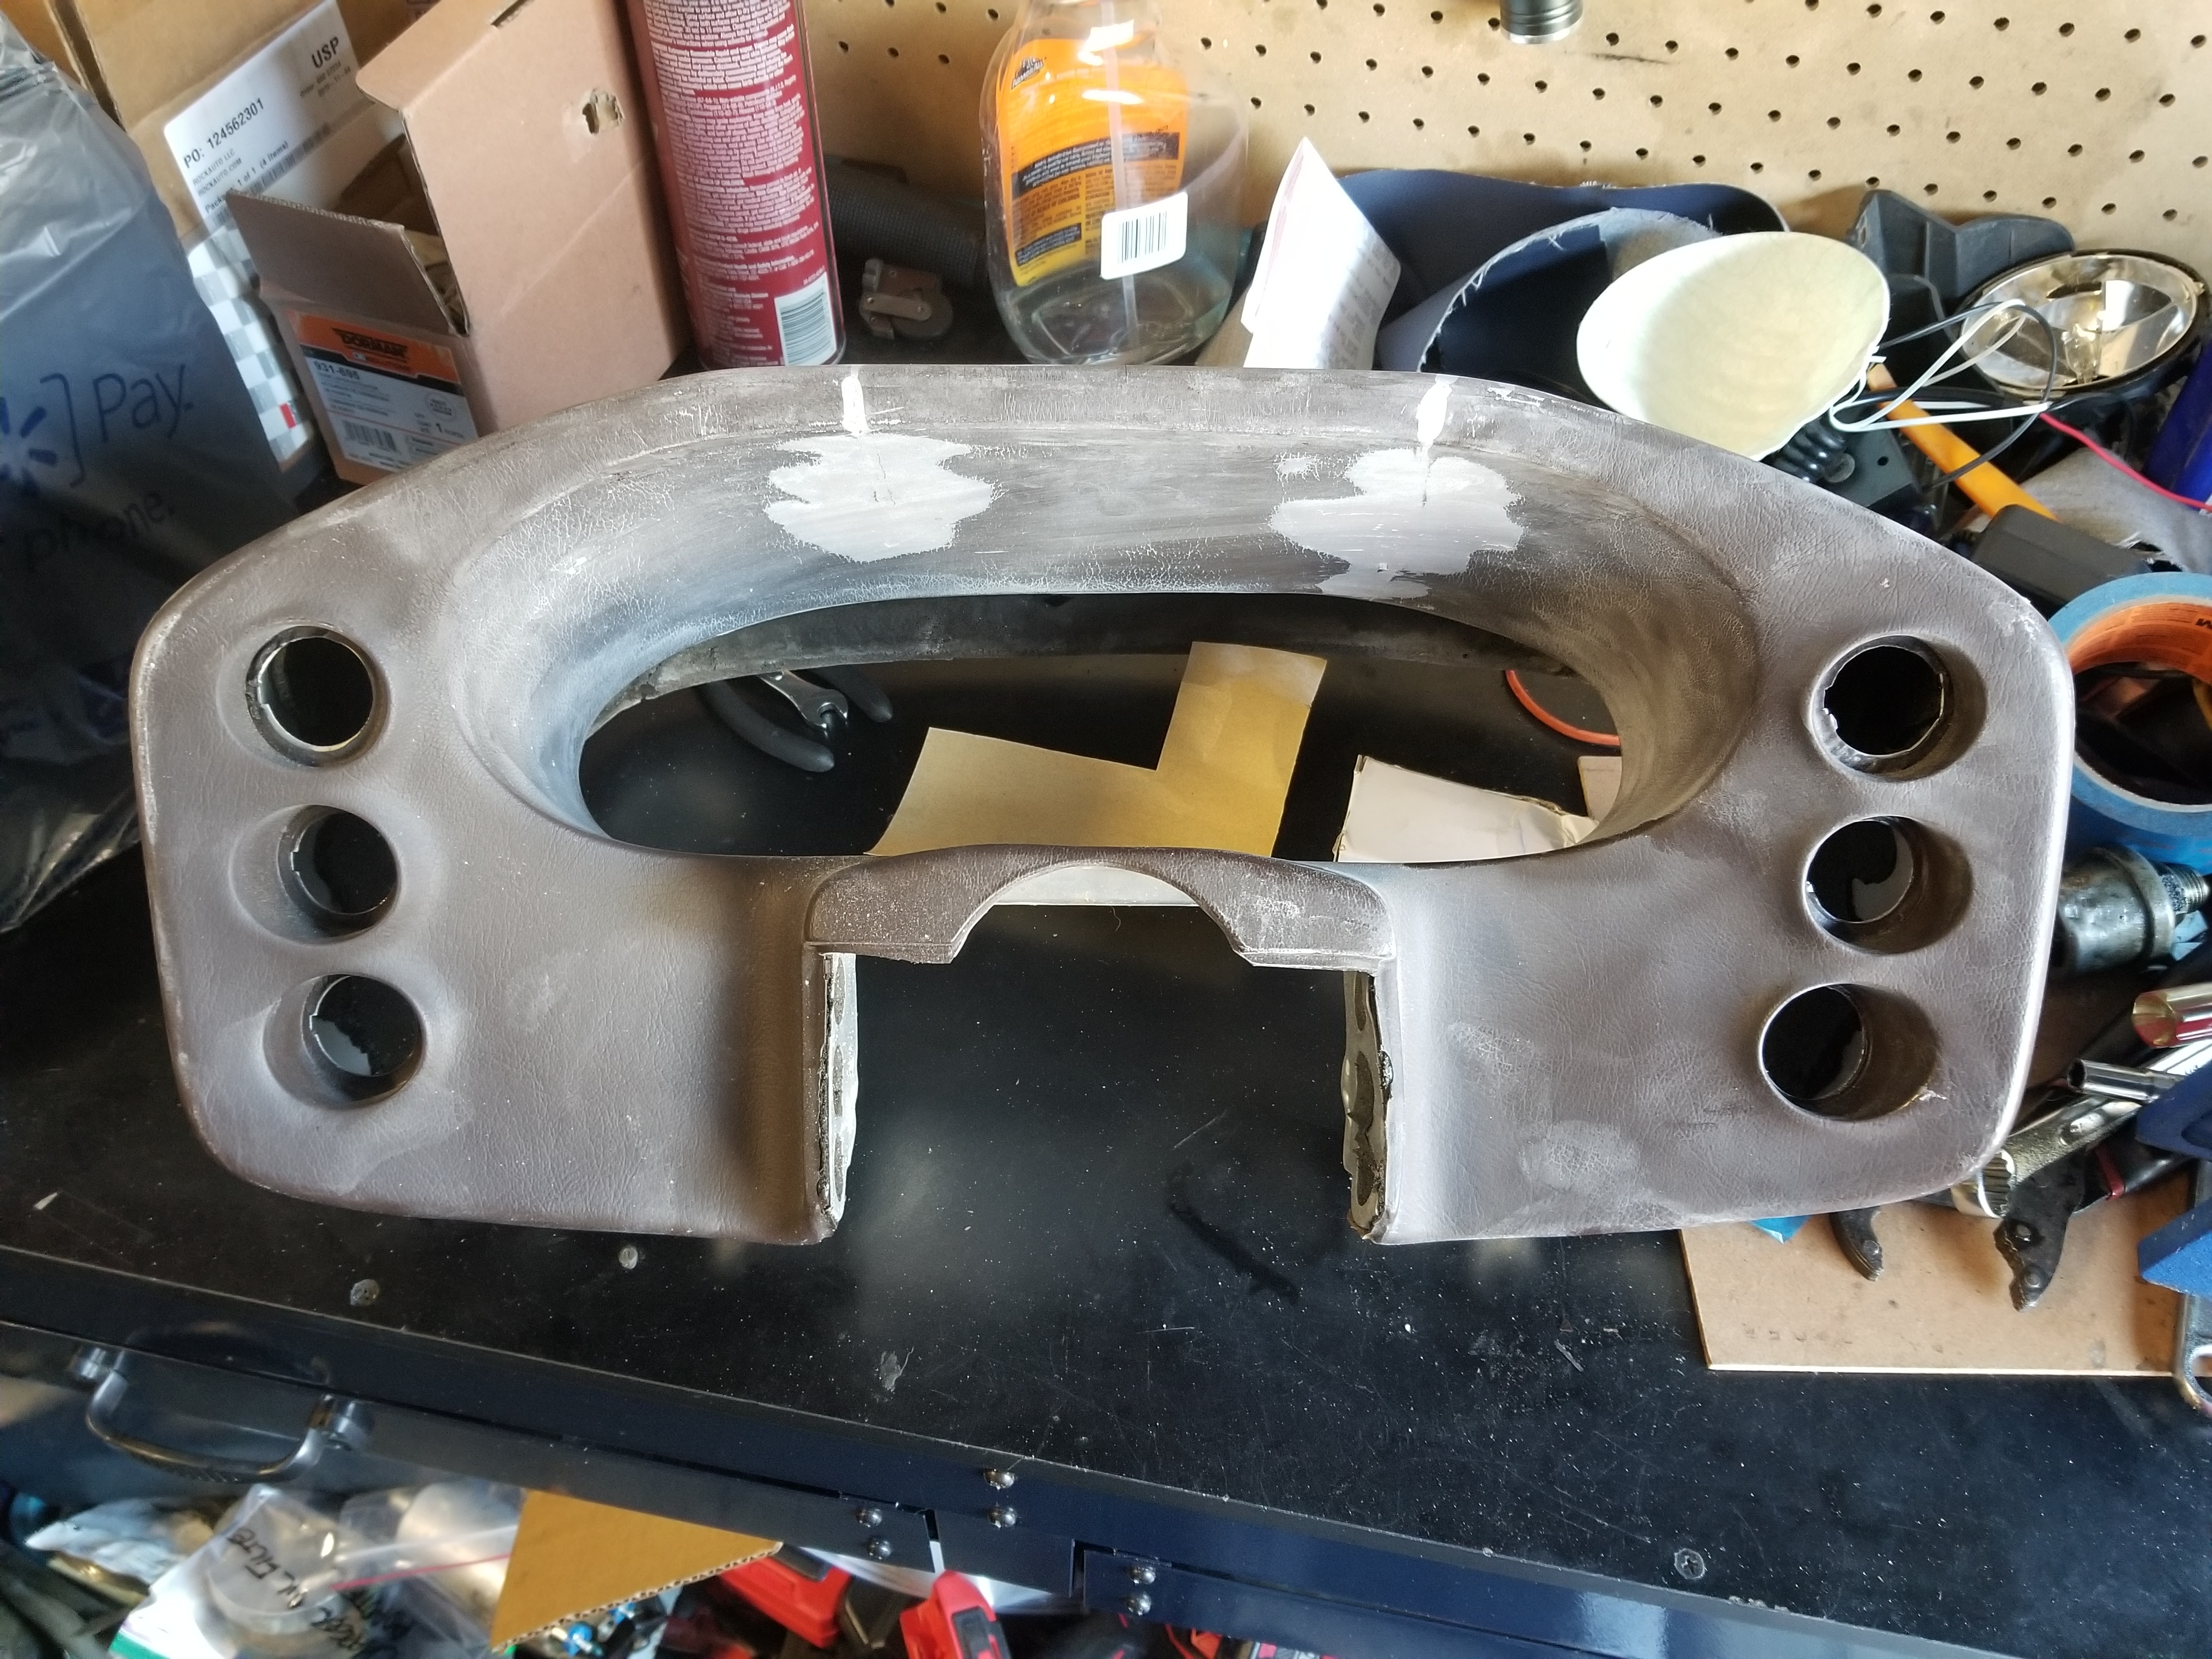
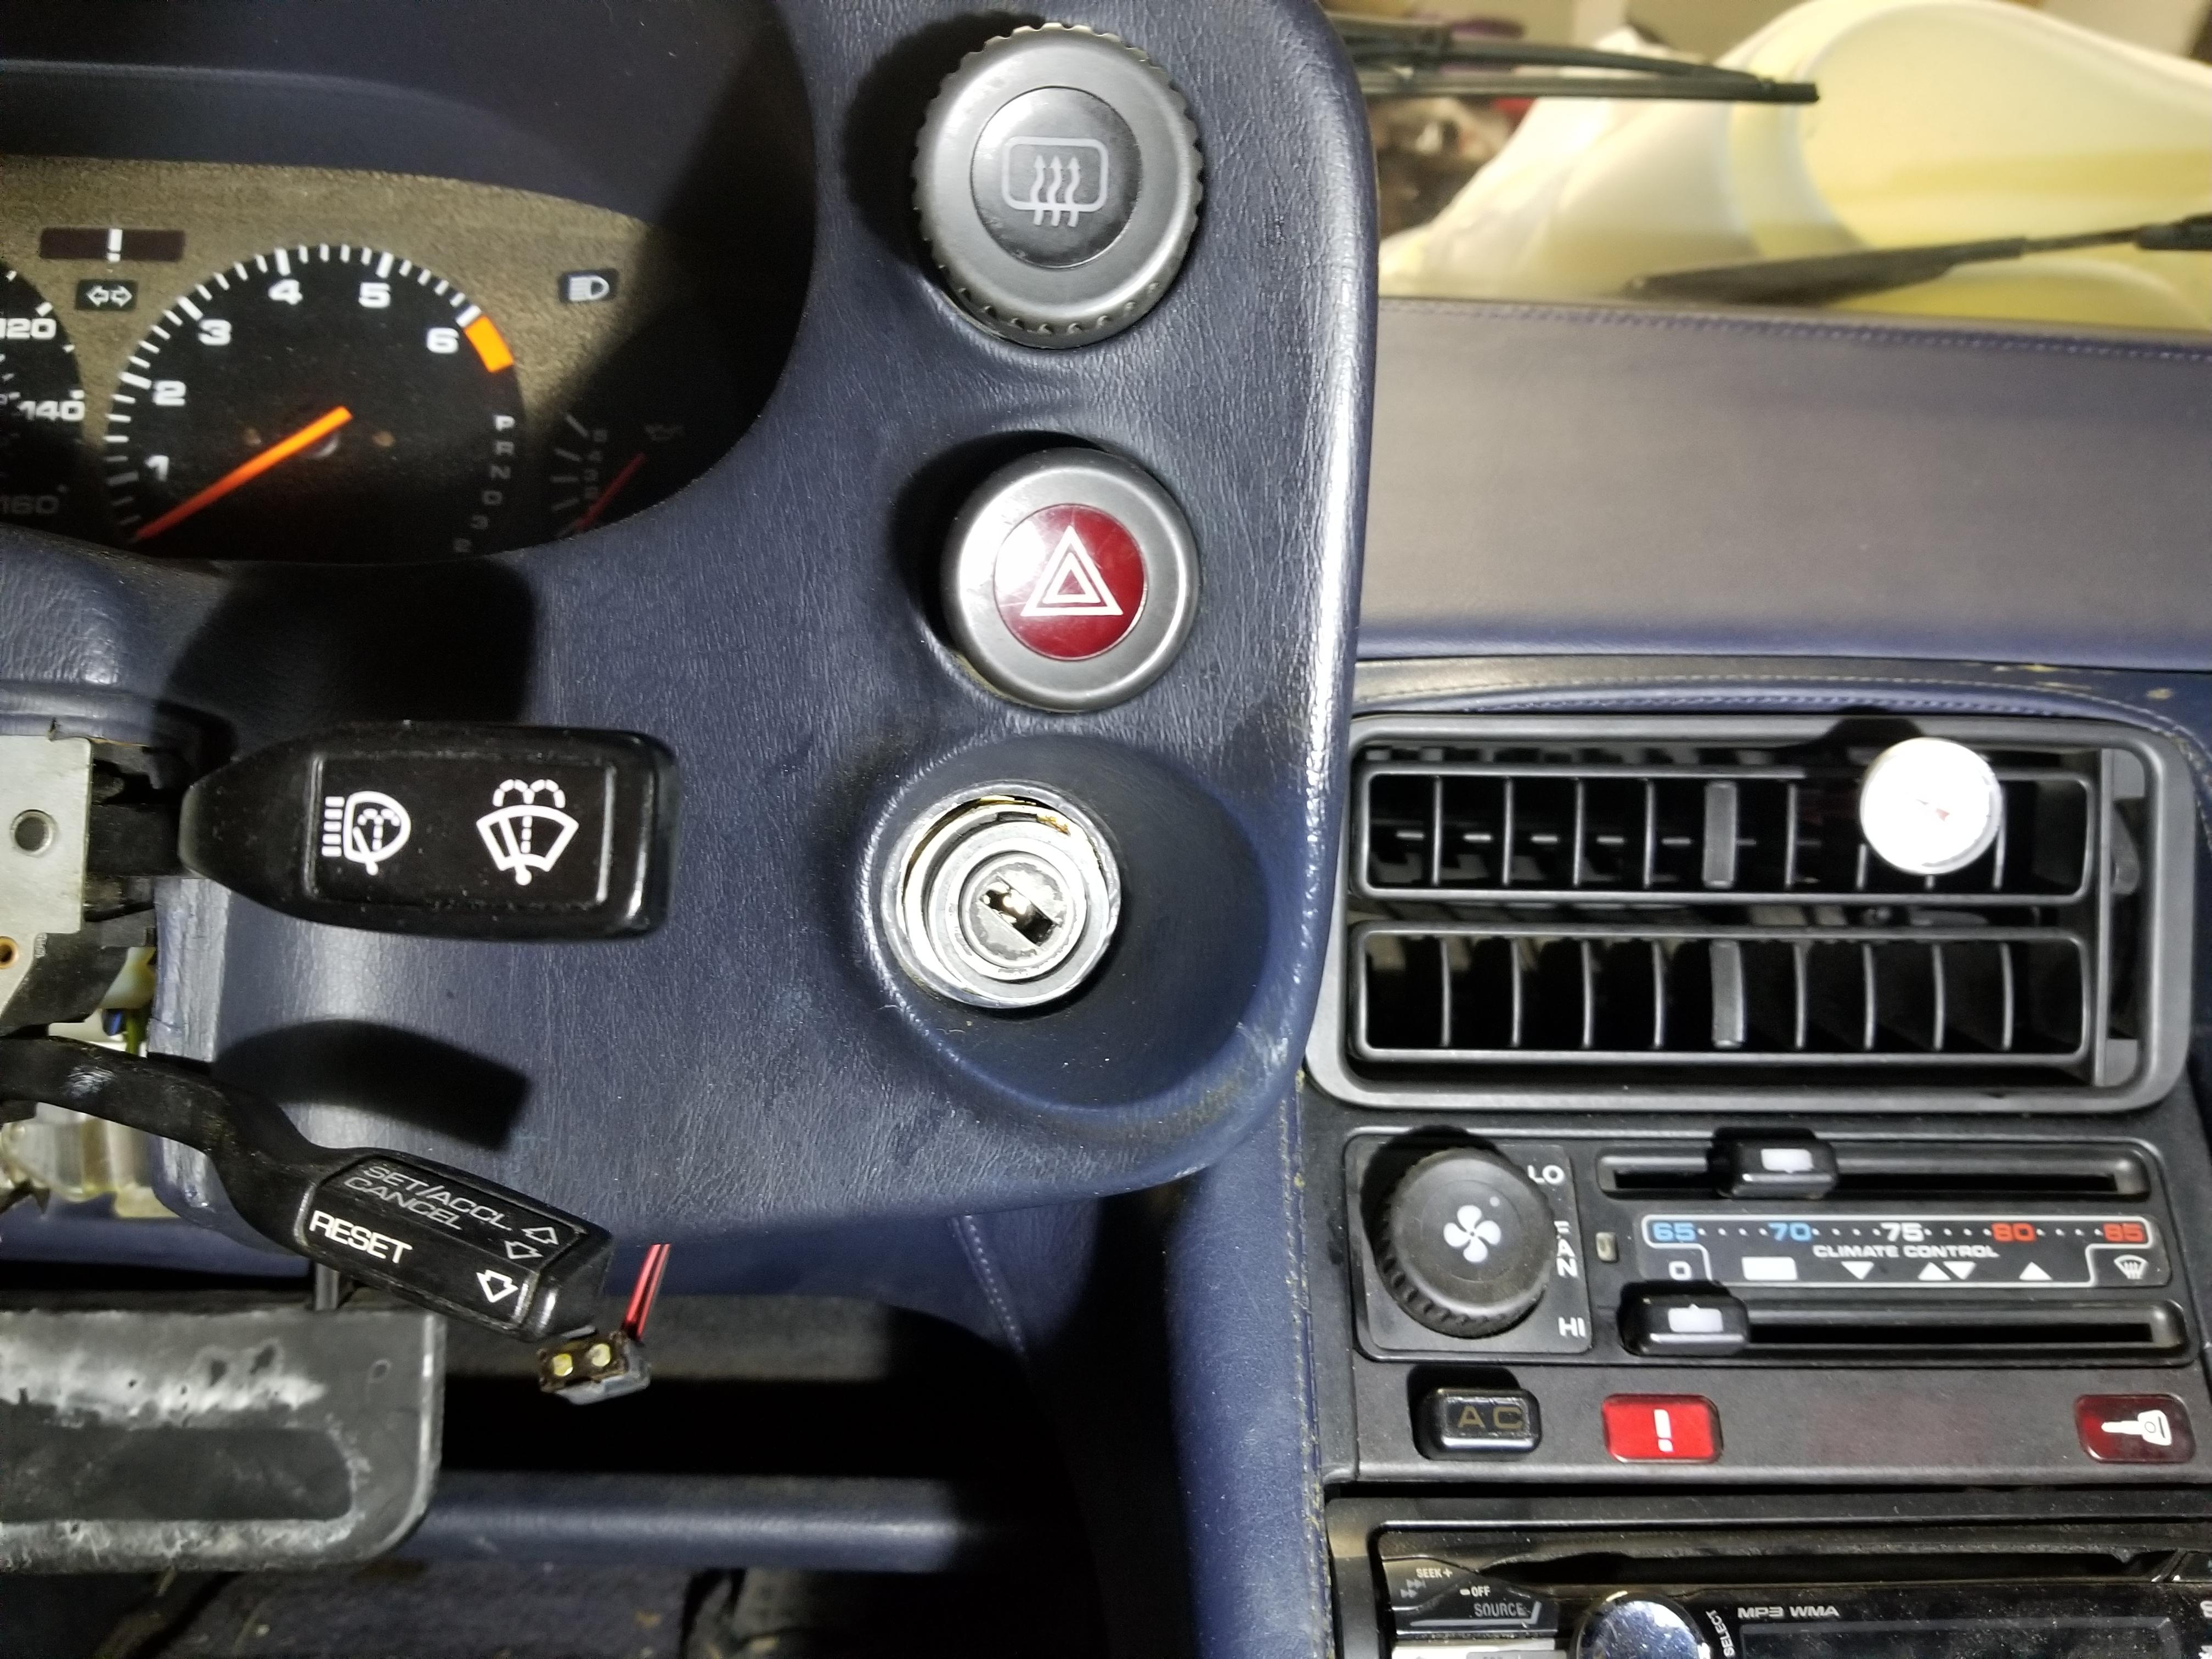
About now is where I realized the difference between the 84 pod and my 86 pod. The key hole is much larger on the 86 than the 84 pod.
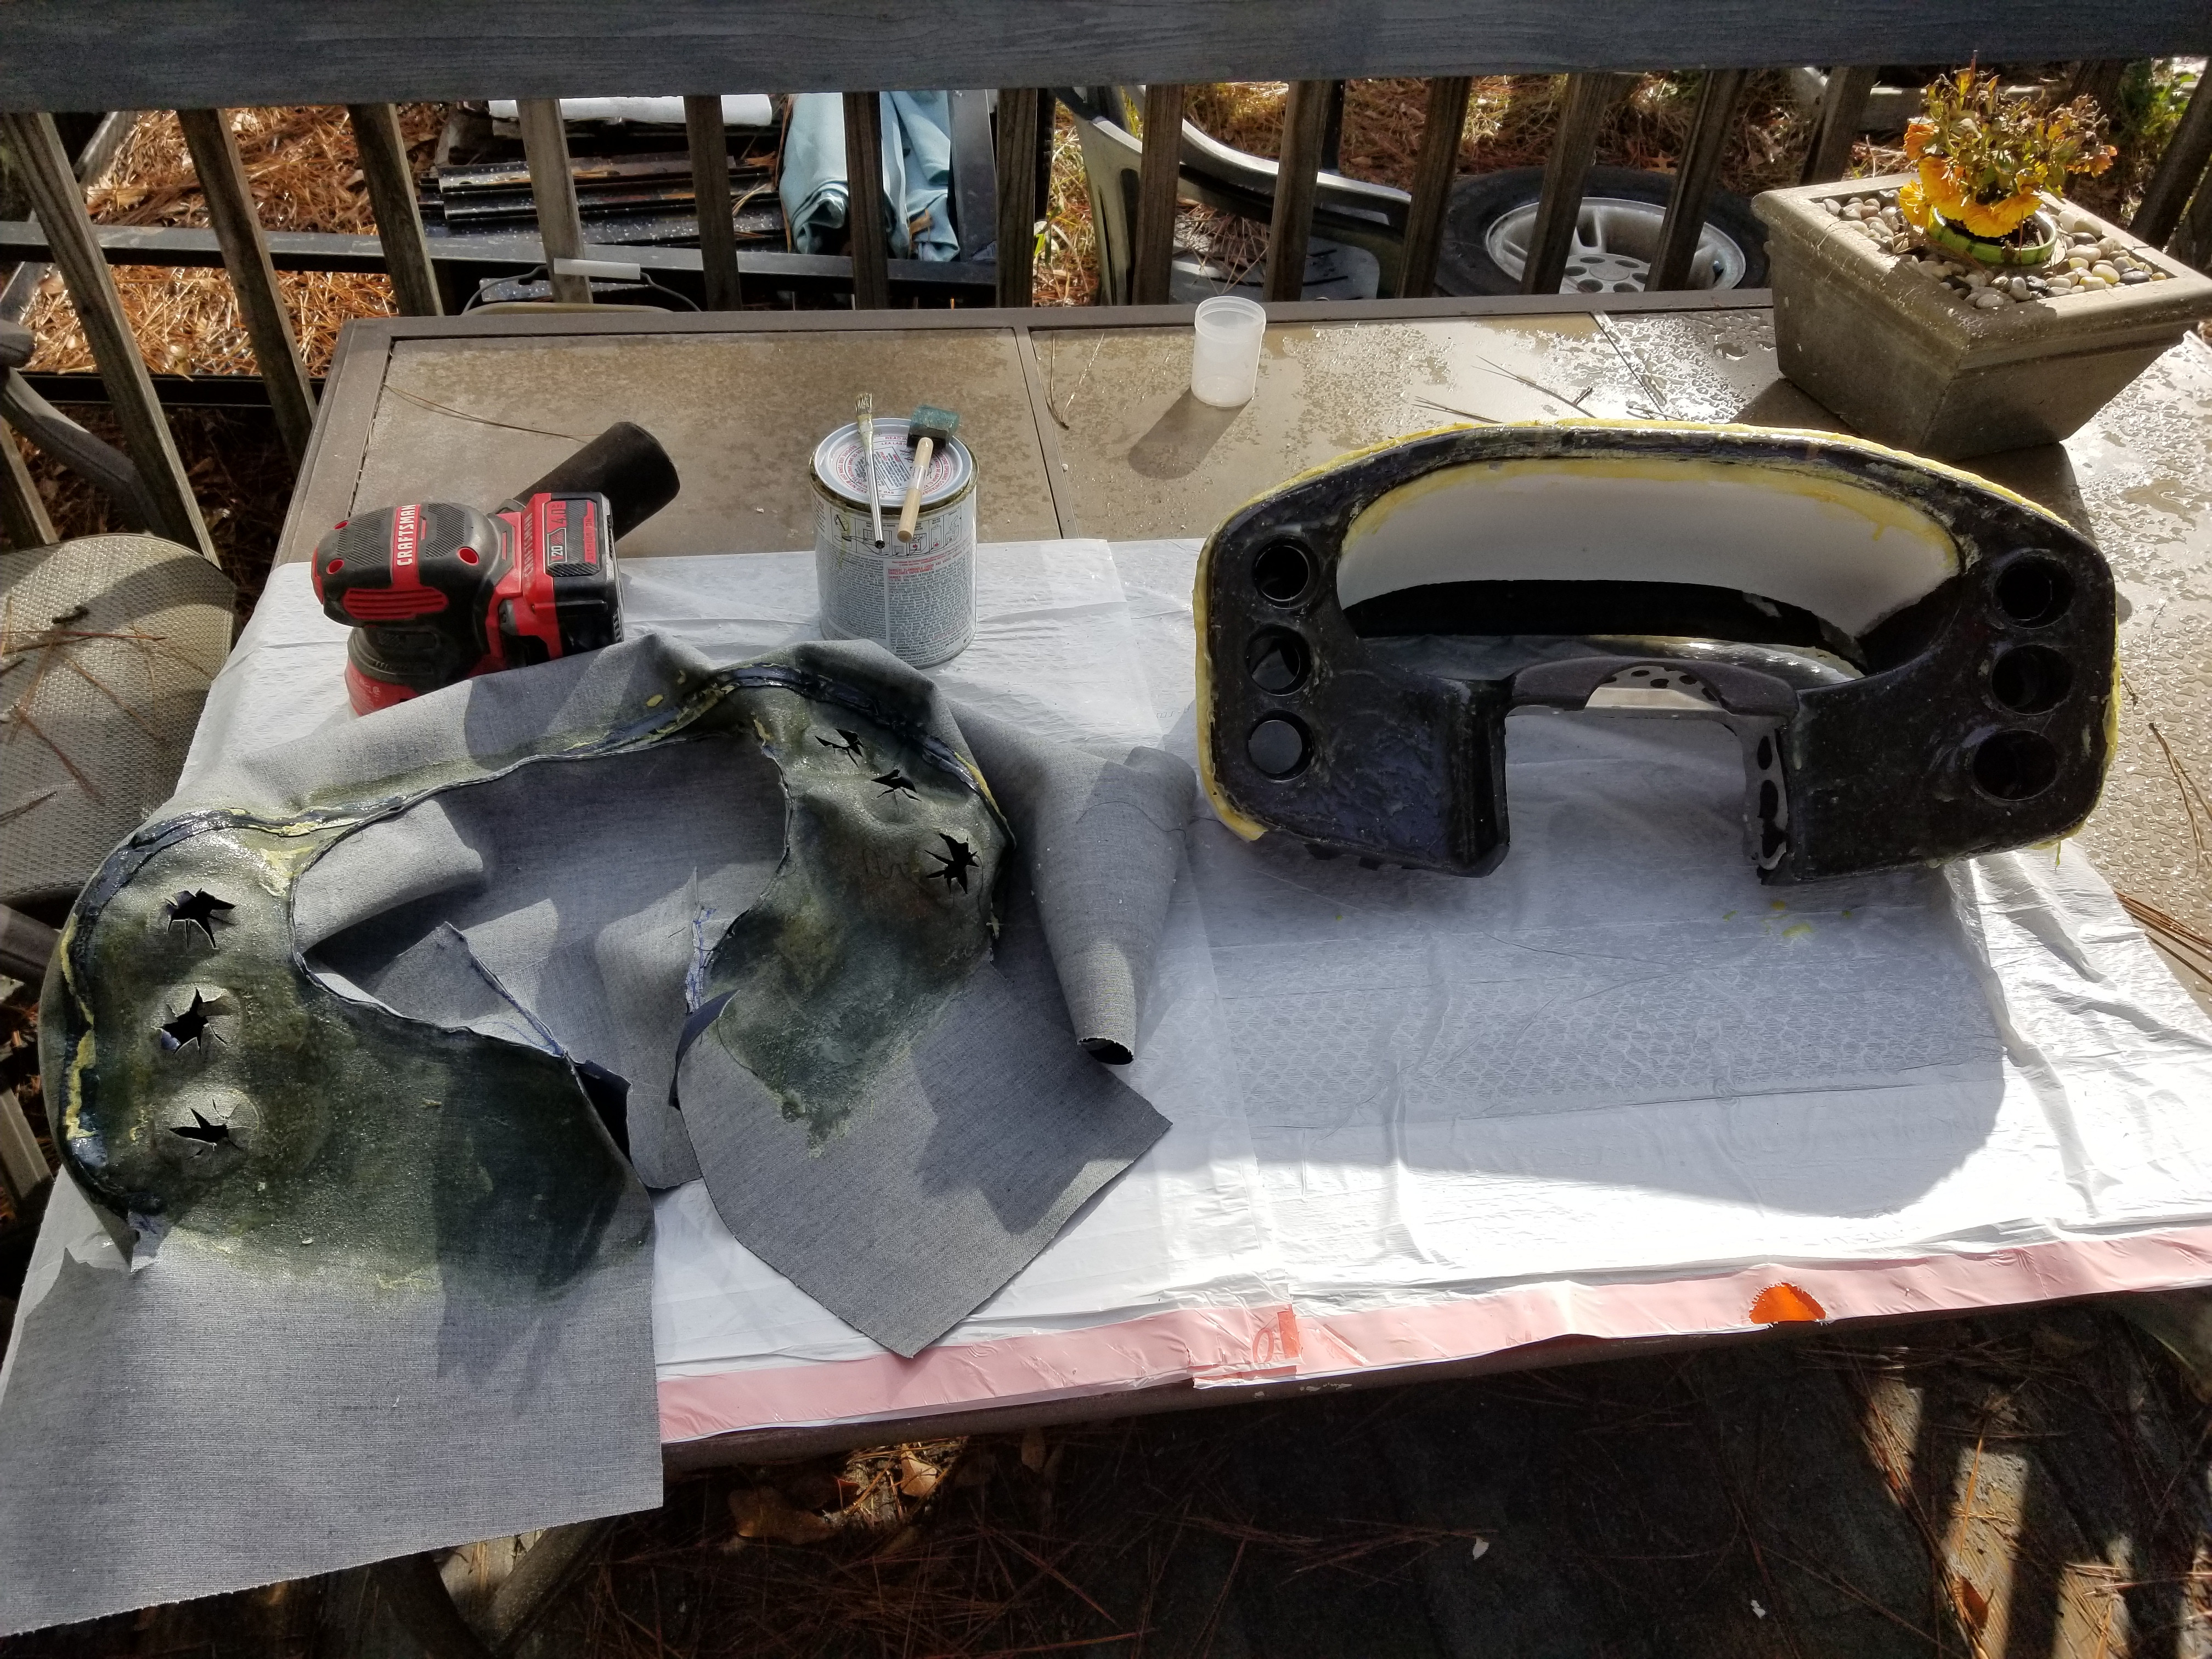
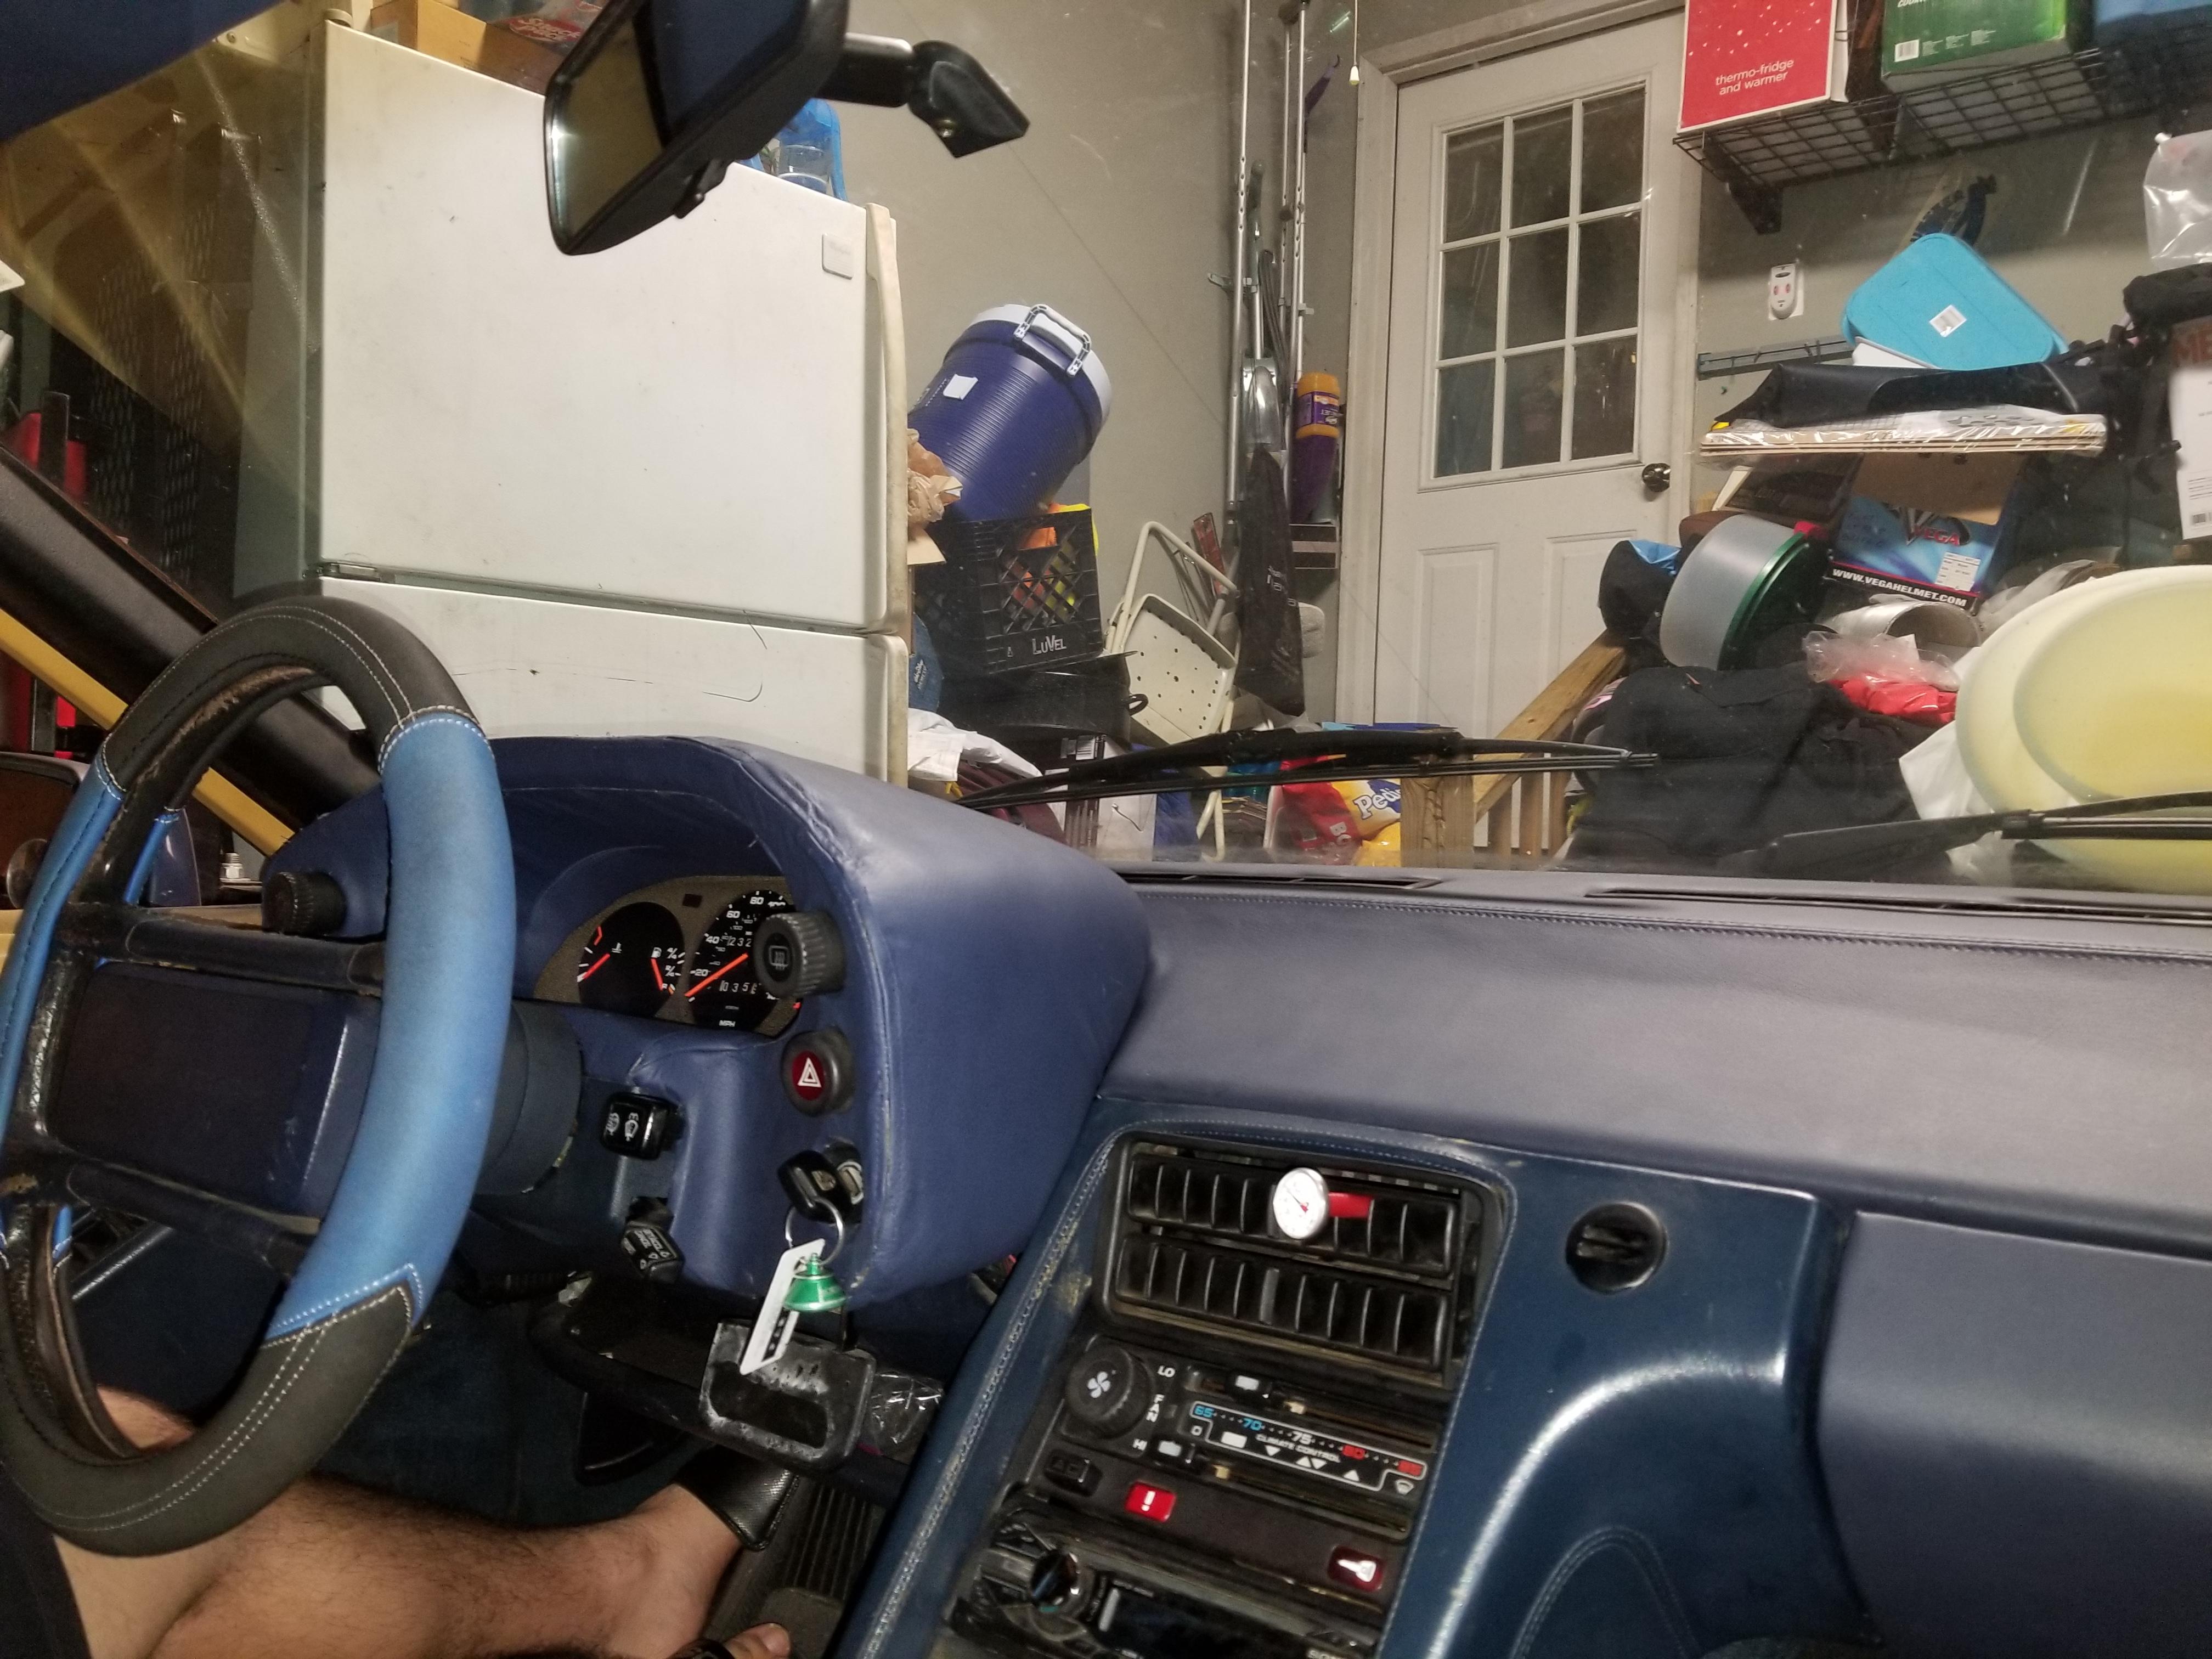
Seeing no other good option here I cut the stitching along the seam and pulled the cover back to dremel out the keyhold larger. Again, low expectations.
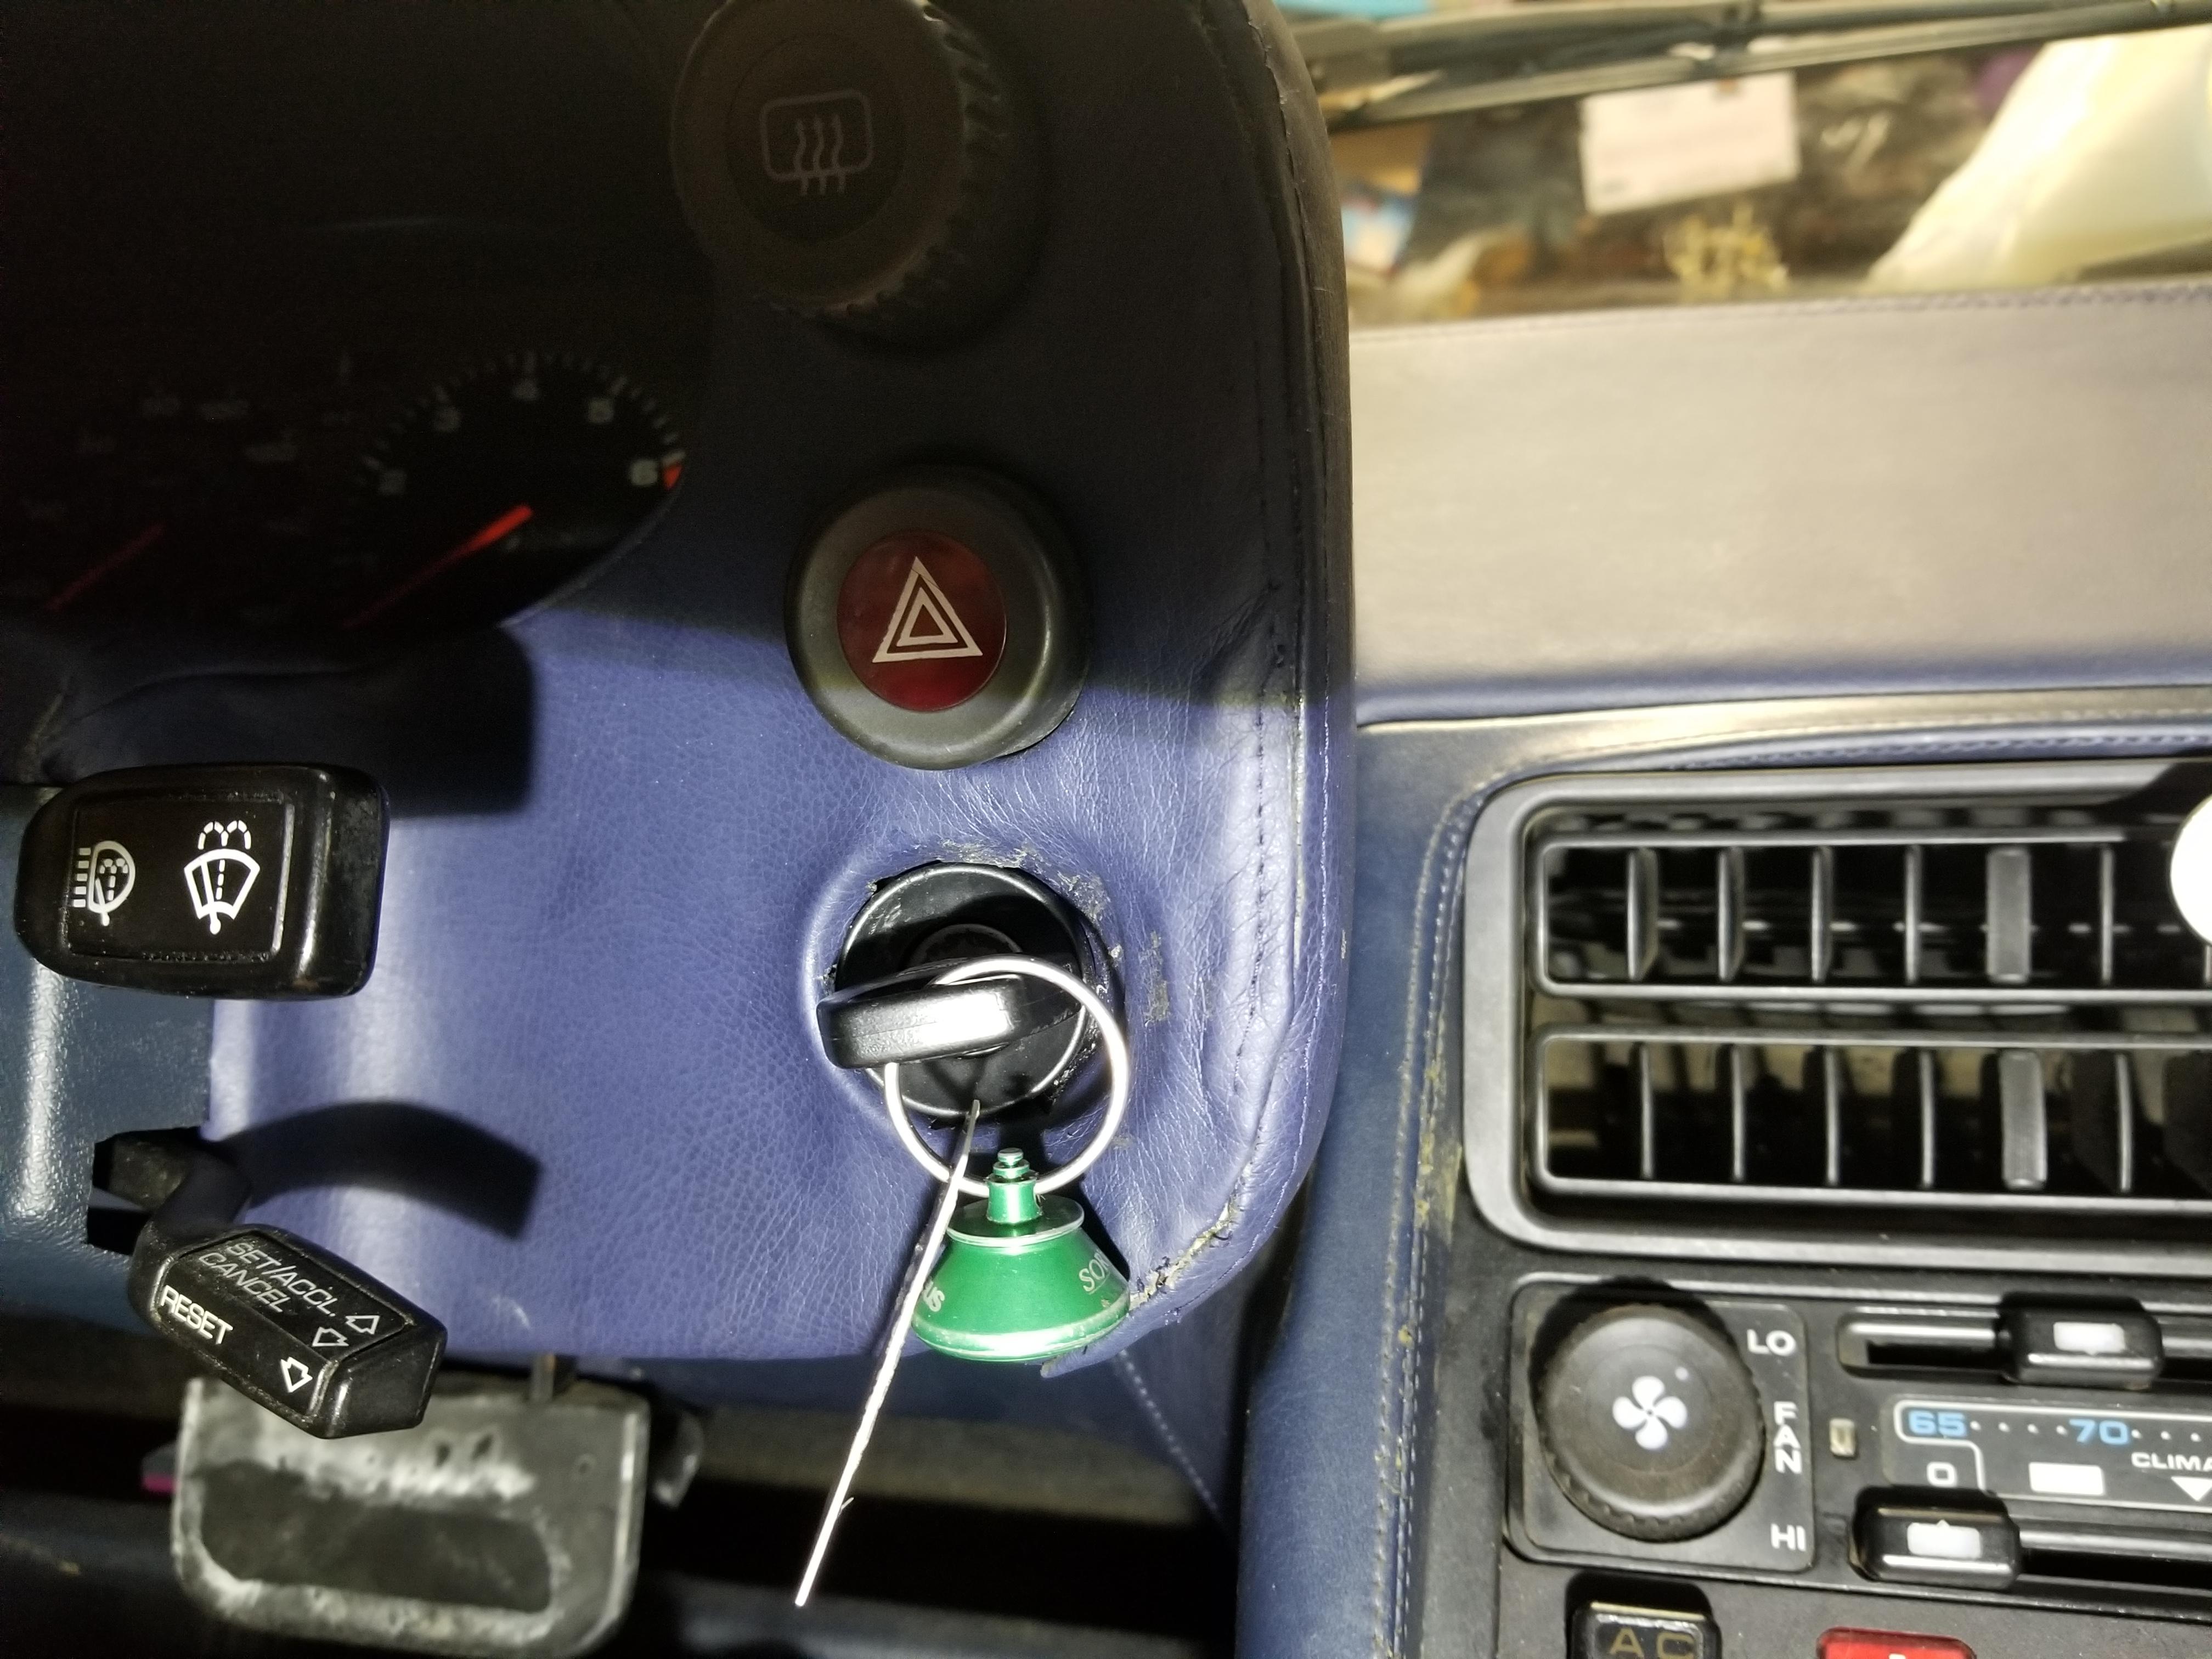
Not perfect, but the key has room to turn now. Of course with the hole being bigger the material wasn't quite big enough to cover the entire opening.
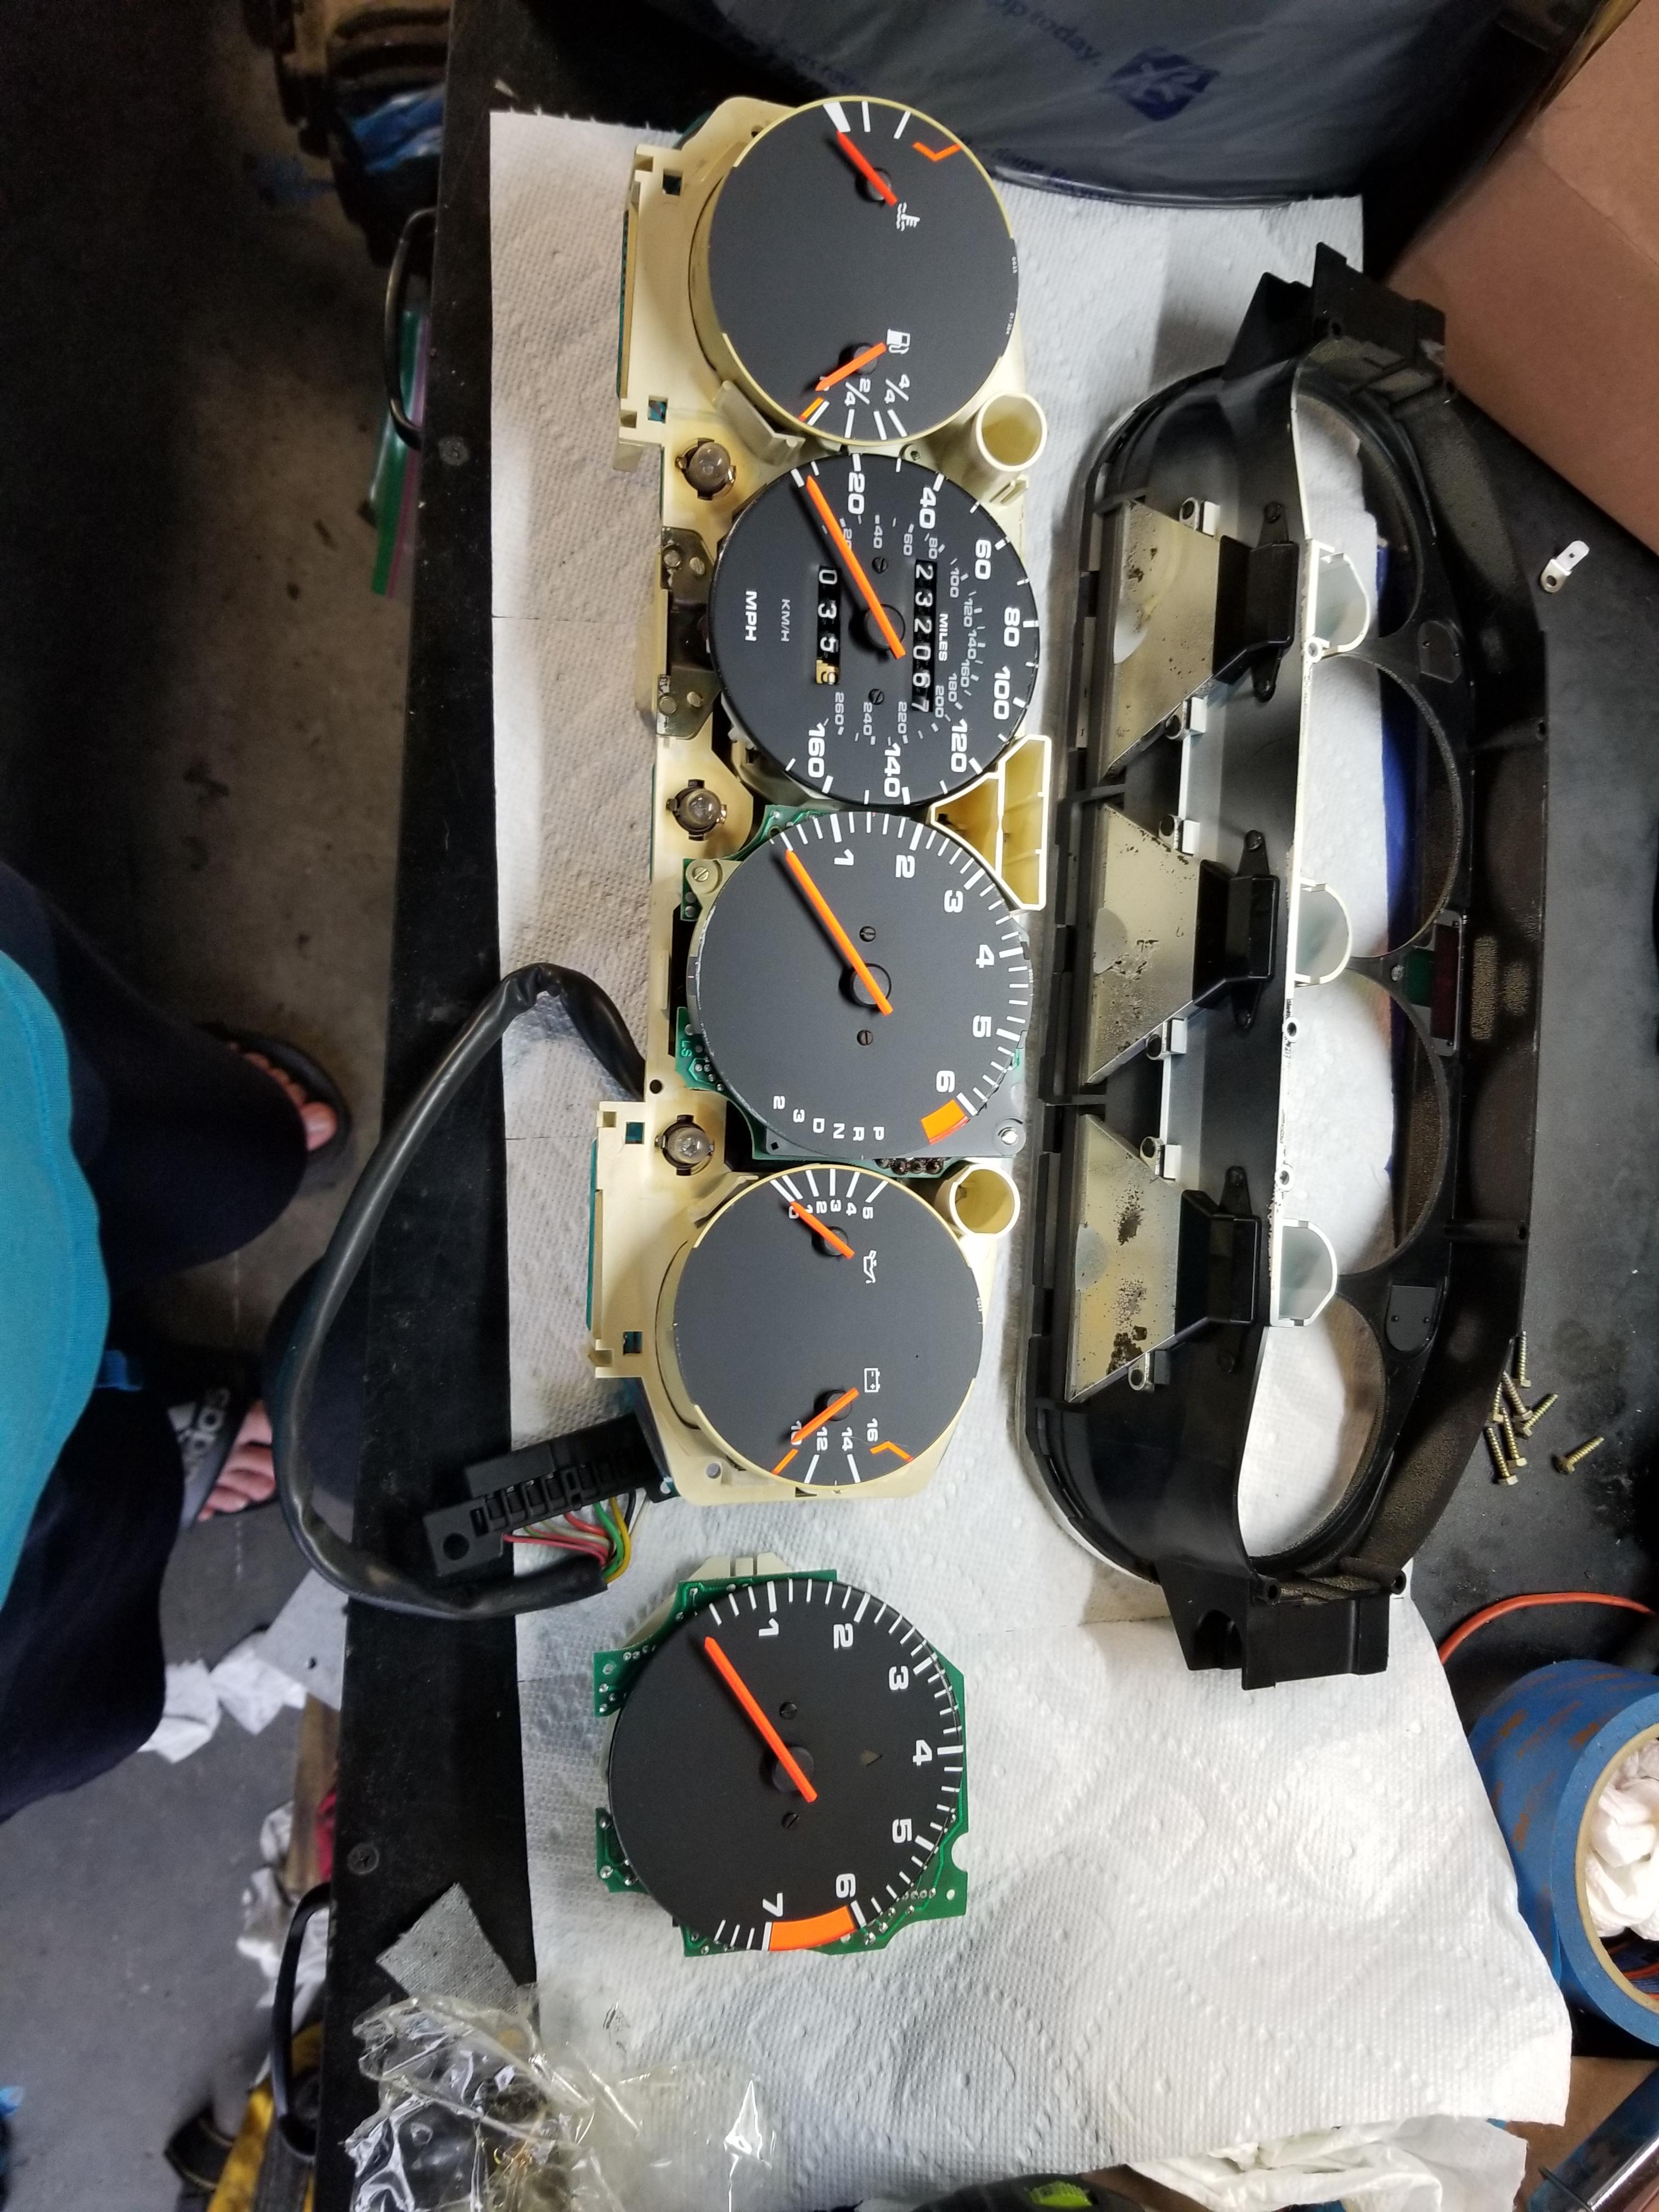
While the pod was out I swapped in the 5 speed tach I got from 928intl.

Not quite sure what the operation of the CASIS/shift light is supposed to be, but it seems to glow dimly red as soon as the key is on.
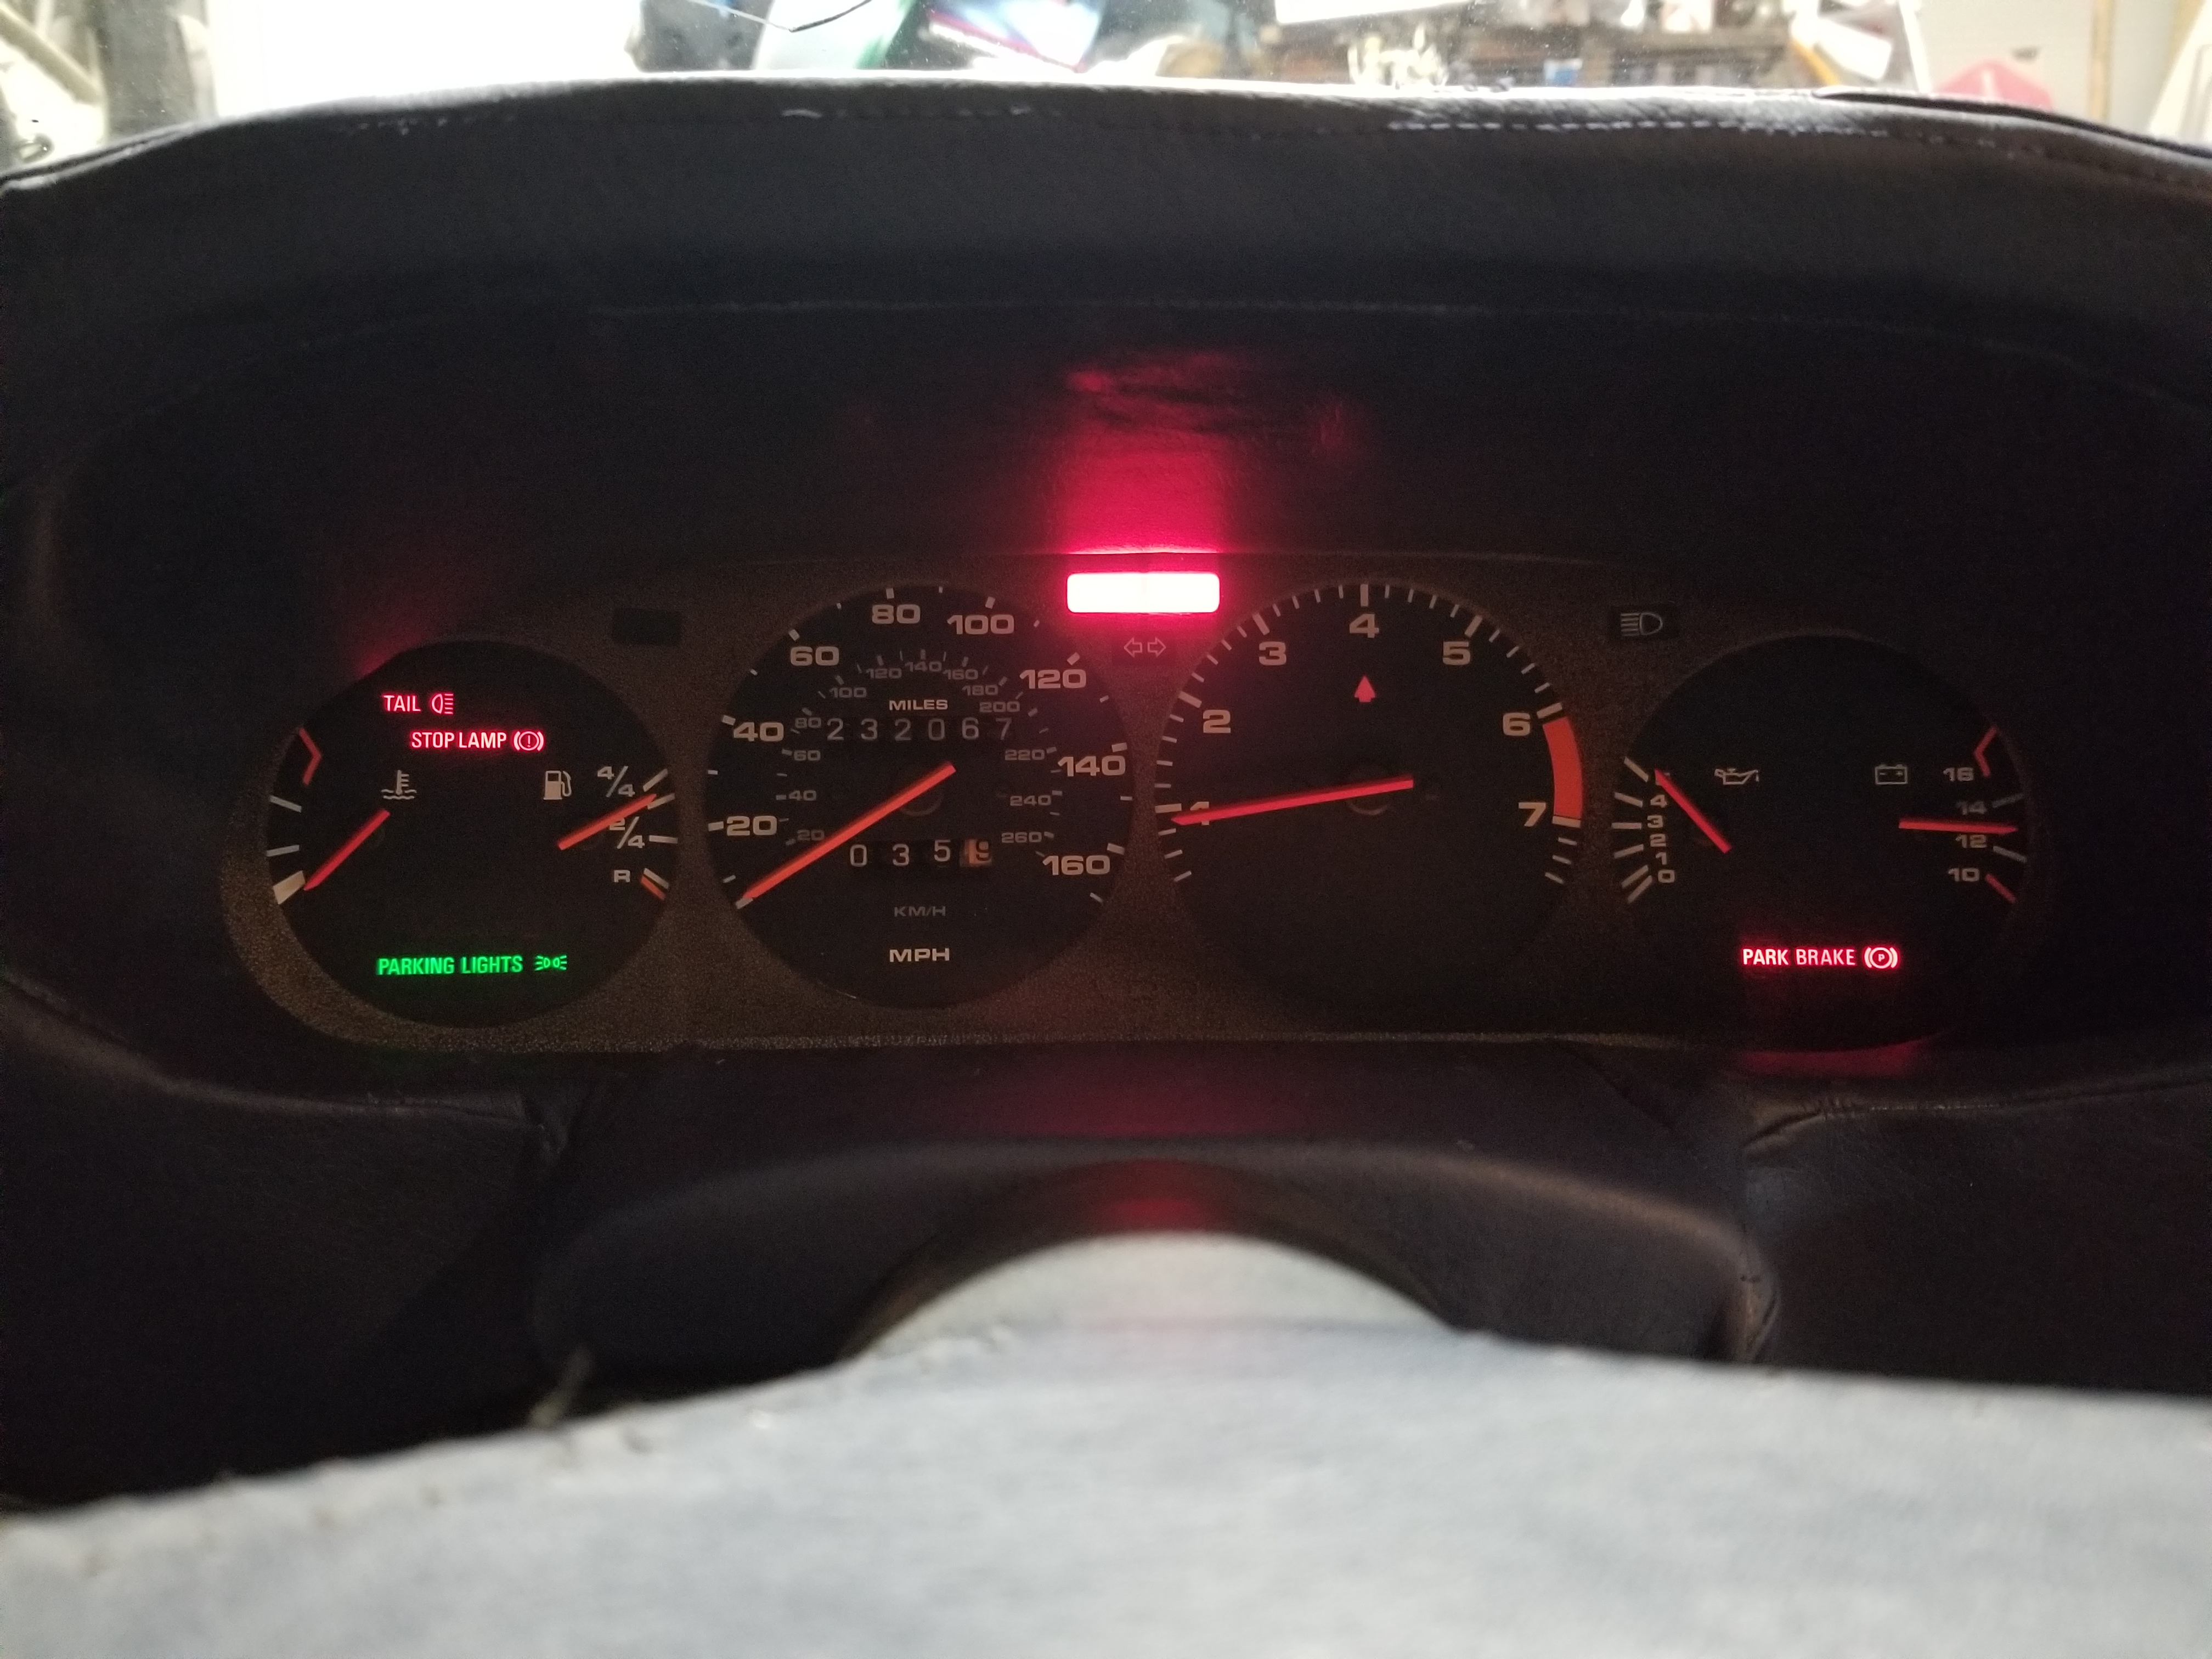
So anyway, again it's far from perfect, but for now it's better than the cracked and faded original pod.
I also made an oversight using an 84 pod in my 86 car. We'll see if you guess before I point it out later.
Here's the pod from the parts car.
And with the cracks filled and sanded on it.
And with some foam on the top of it.
And here's where you can start lowering your expectations. I tried cutting and stitching the cover to match the contour of the pod. That more or less happened, but it was off around the cutout for the gauges.
Got everything glued and ready to install.
And got it glued in place. Again, low expectations.
About now is where I realized the difference between the 84 pod and my 86 pod. The key hole is much larger on the 86 than the 84 pod.
Seeing no other good option here I cut the stitching along the seam and pulled the cover back to dremel out the keyhold larger. Again, low expectations.
Not perfect, but the key has room to turn now. Of course with the hole being bigger the material wasn't quite big enough to cover the entire opening.
While the pod was out I swapped in the 5 speed tach I got from 928intl.
Not quite sure what the operation of the CASIS/shift light is supposed to be, but it seems to glow dimly red as soon as the key is on.
So anyway, again it's far from perfect, but for now it's better than the cracked and faded original pod.
The following users liked this post:
928 DesMoines (12-29-2019)