When you click on links to various merchants on this site and make a purchase, this can result in this site earning a commission. Affiliate programs and affiliations include, but are not limited to, the eBay Partner Network.
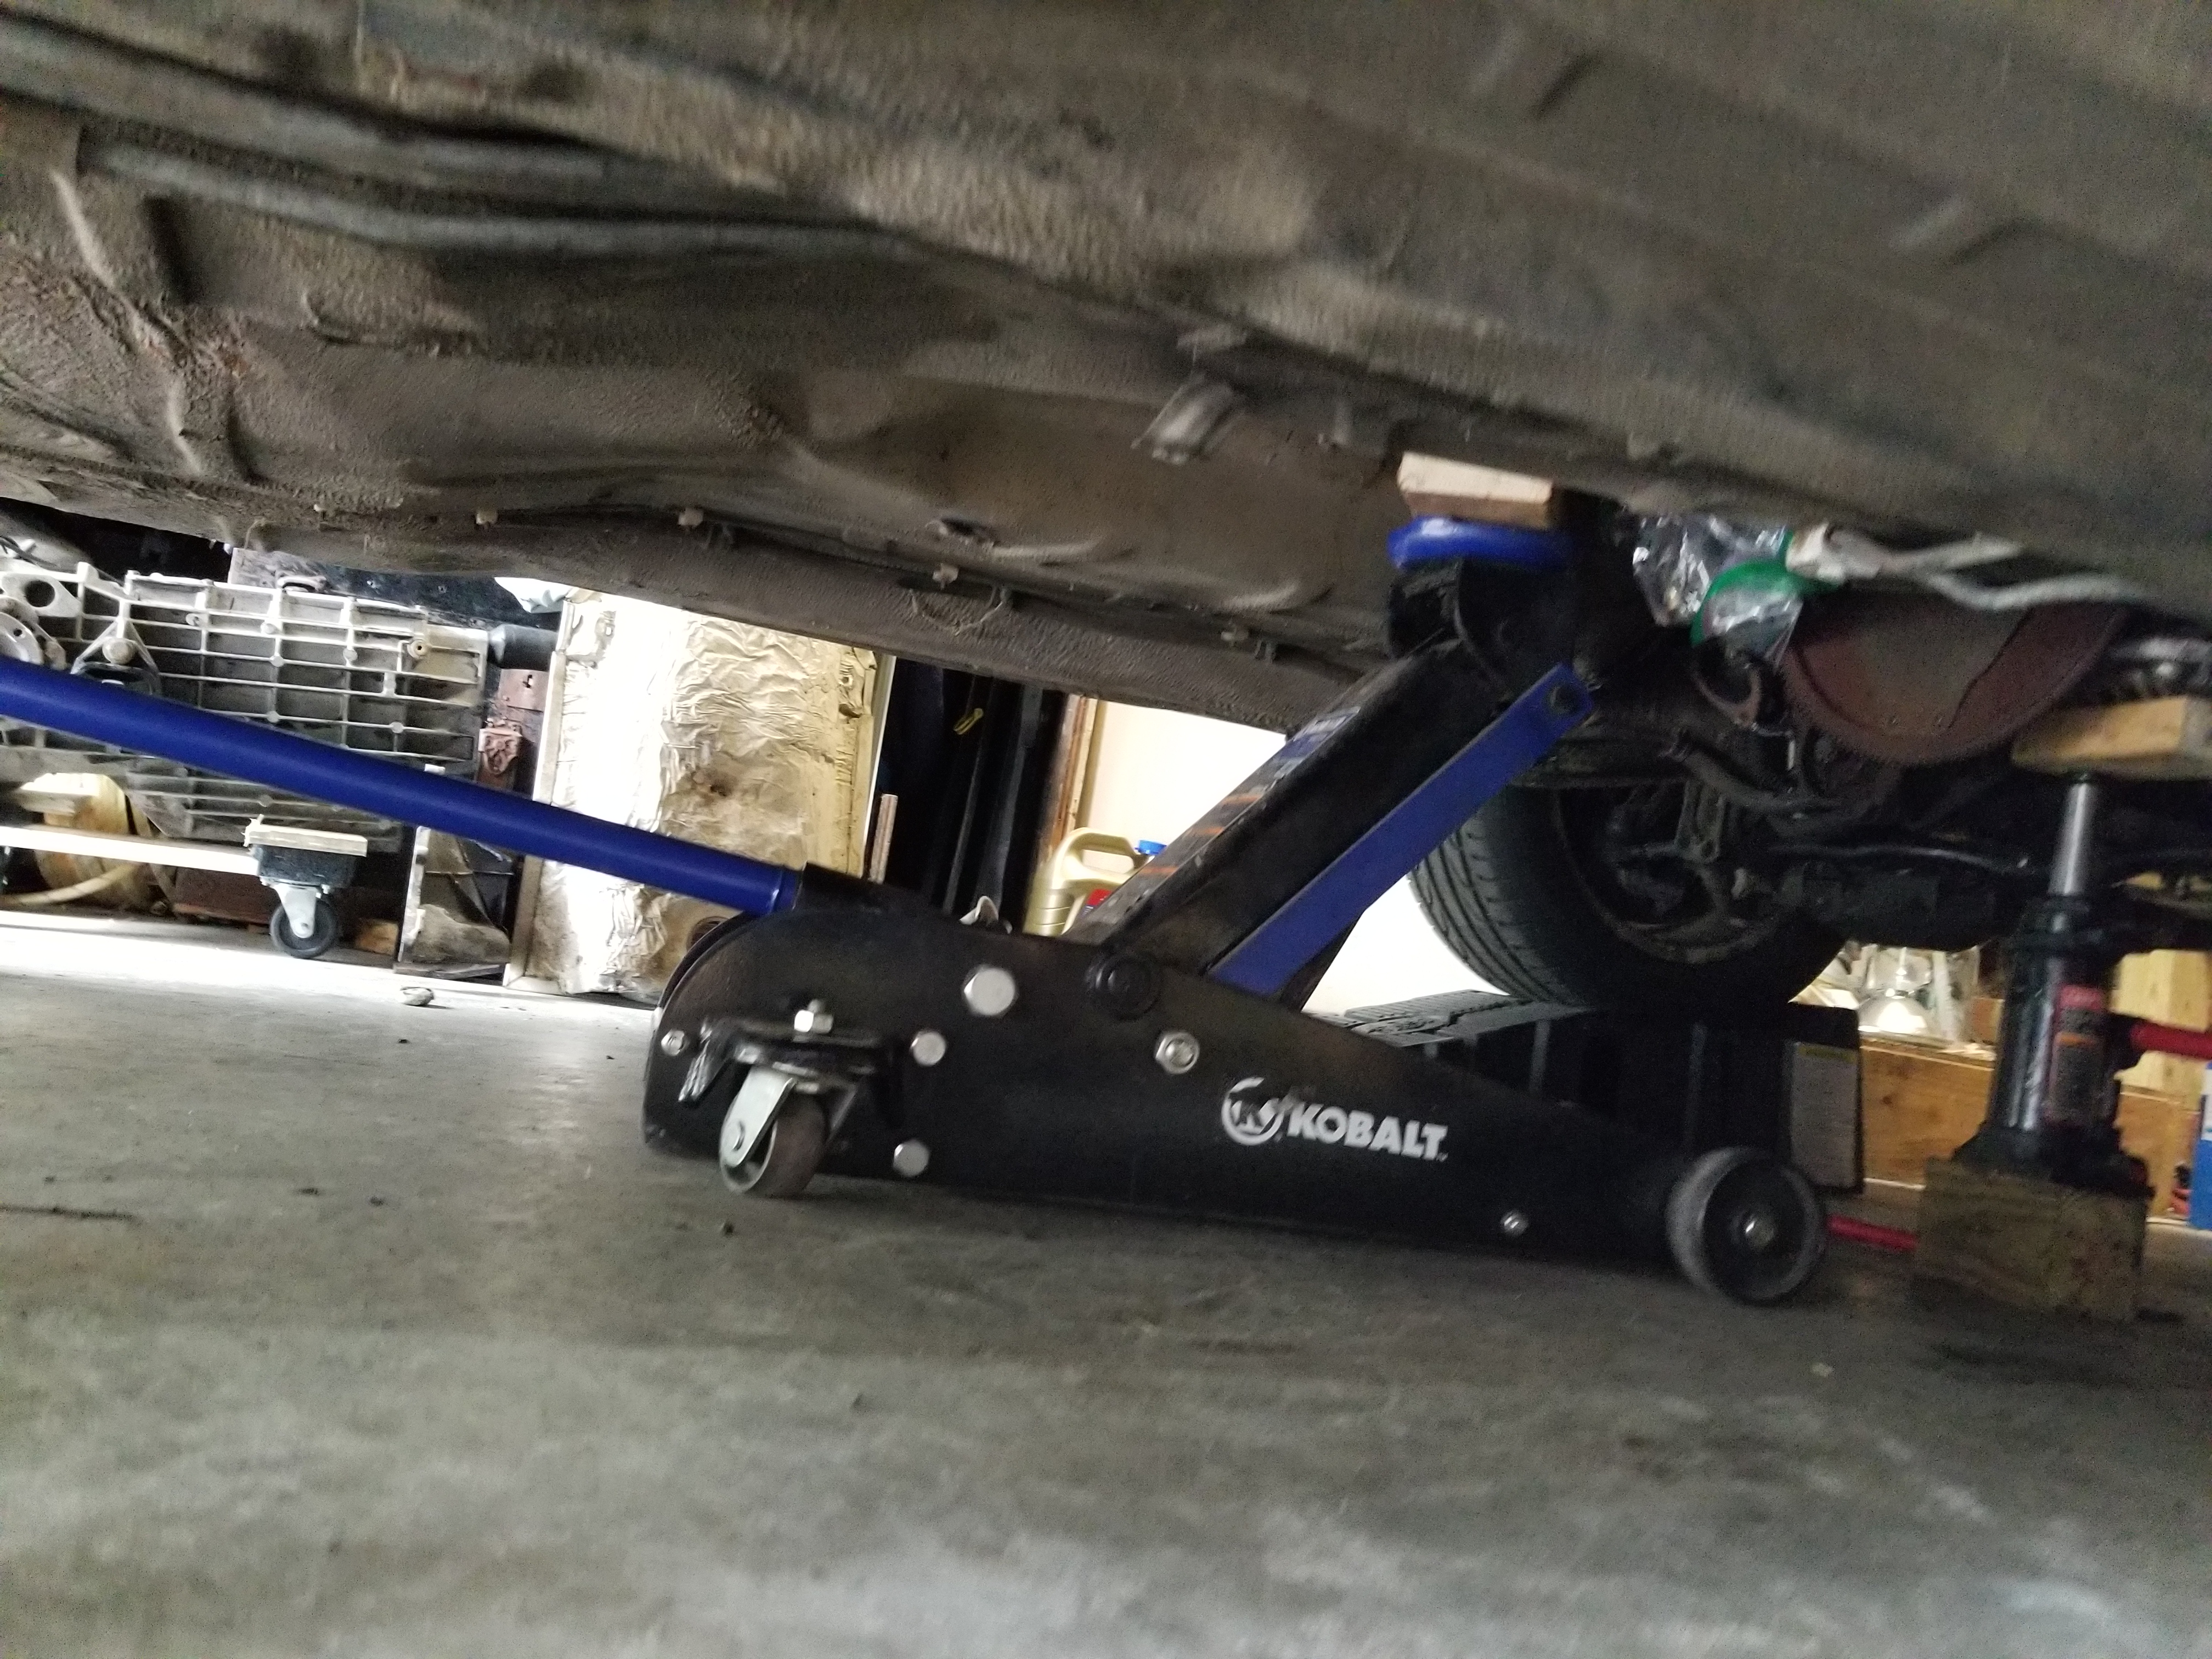
More to come later, but the trans is removed from the car. I am going to have to shuffle it between jacks to get the trans to clear the car and slide out from under though.
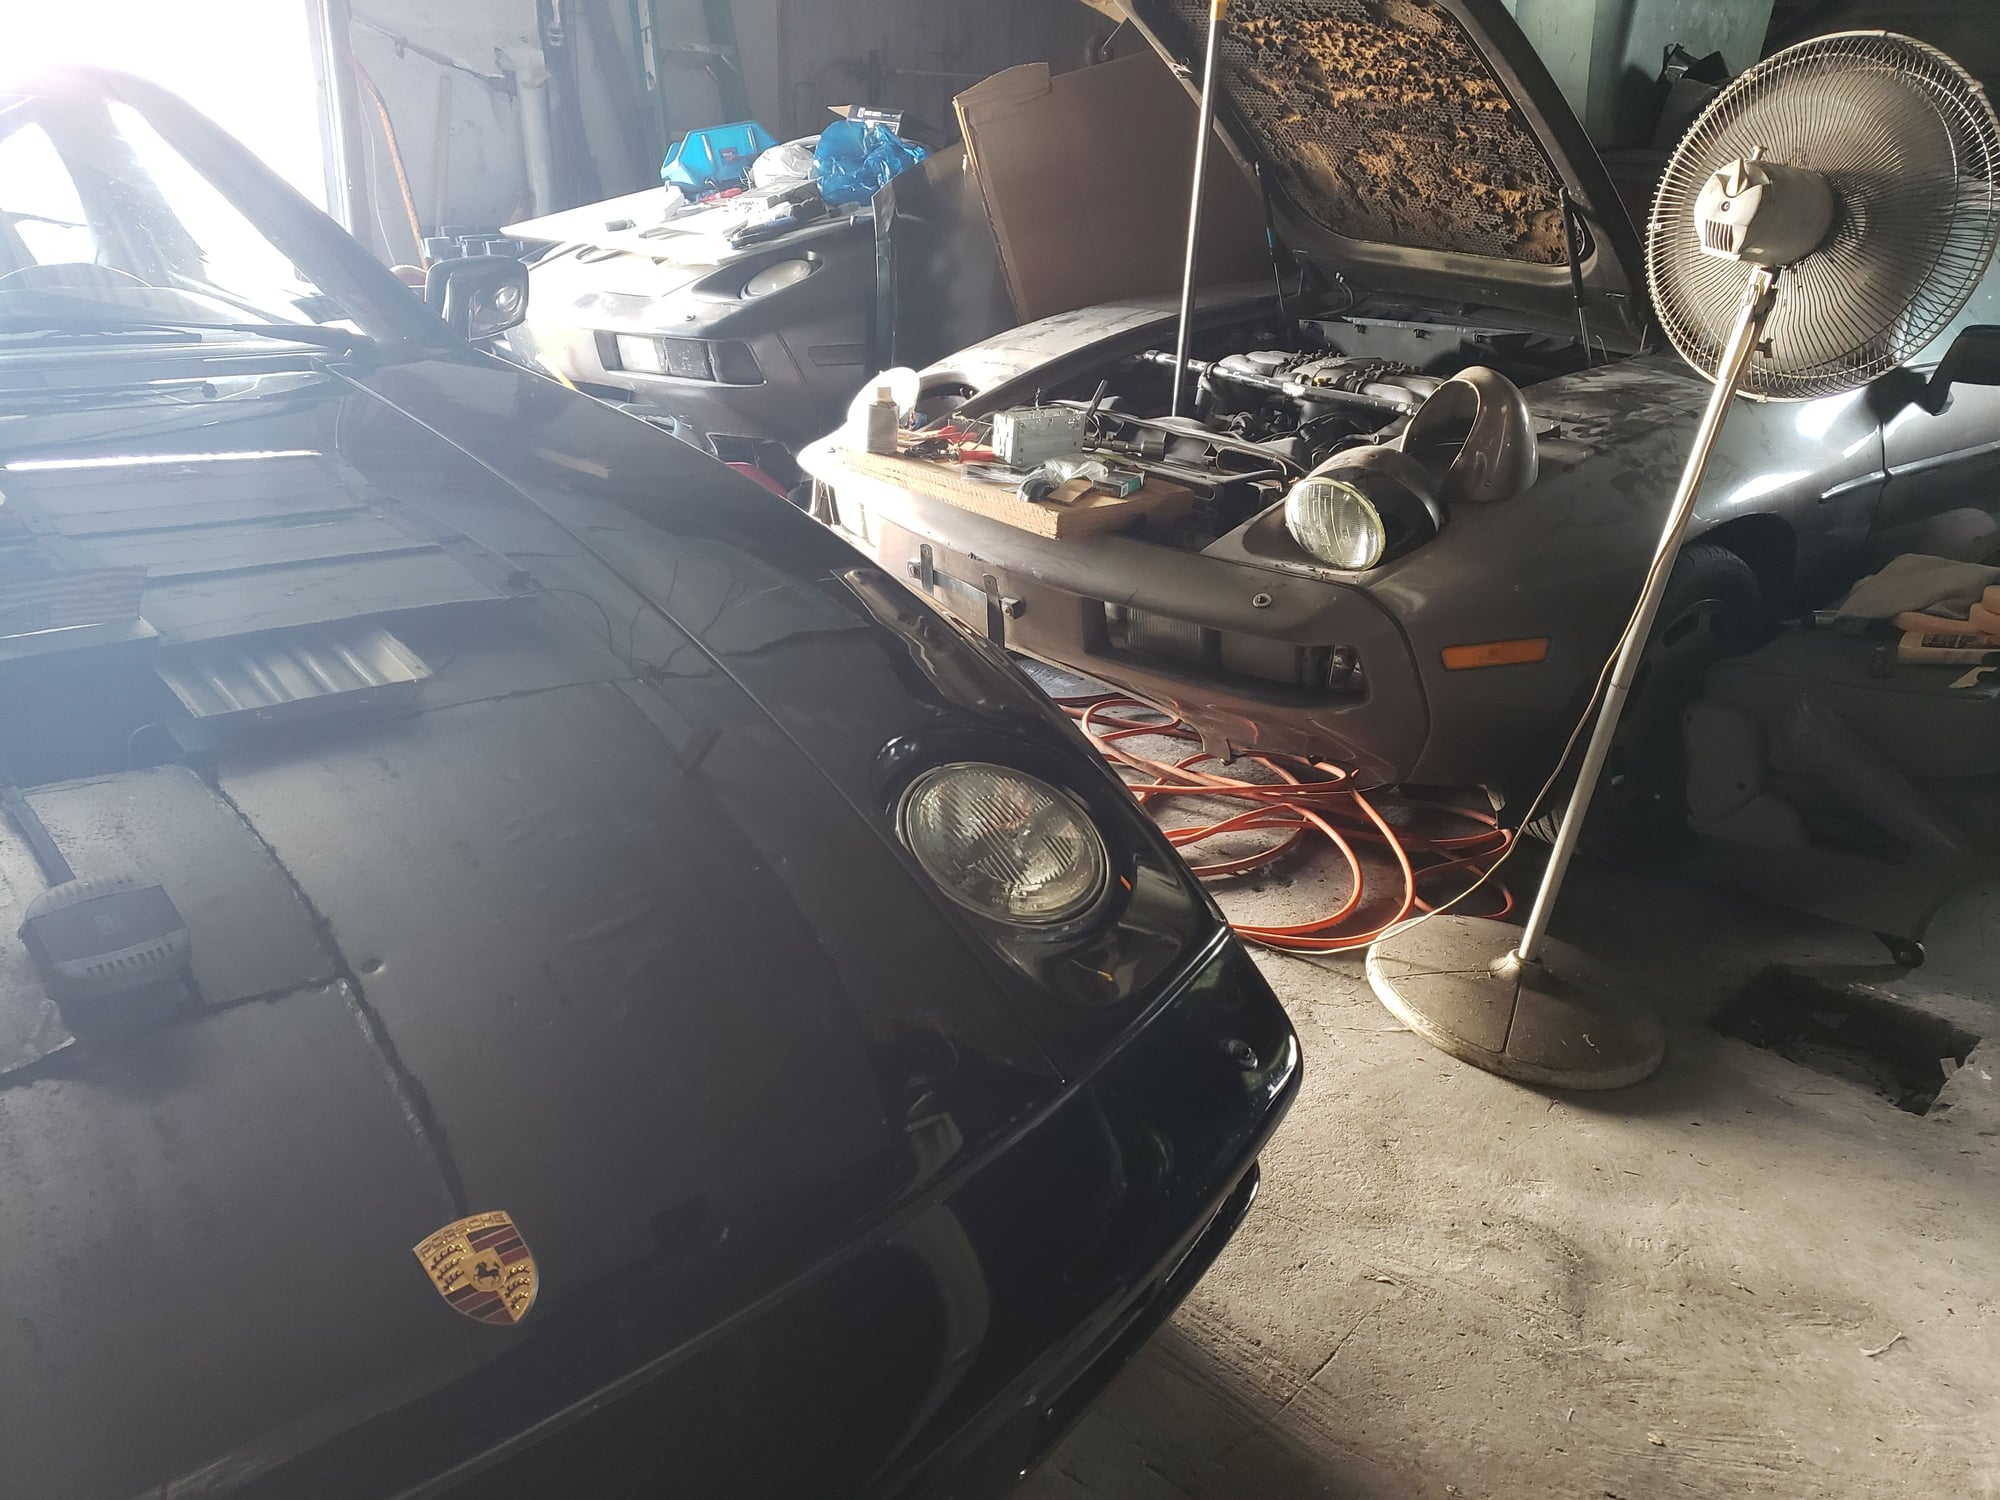
I too know how it feels to suddenly end up with 3 porsche 928s except for that mine are all the same year just a couple months apart stuck between stripping 2 of them or rebuild 1 and strip 1
Here's the rest from yesterday removing the auto trans.
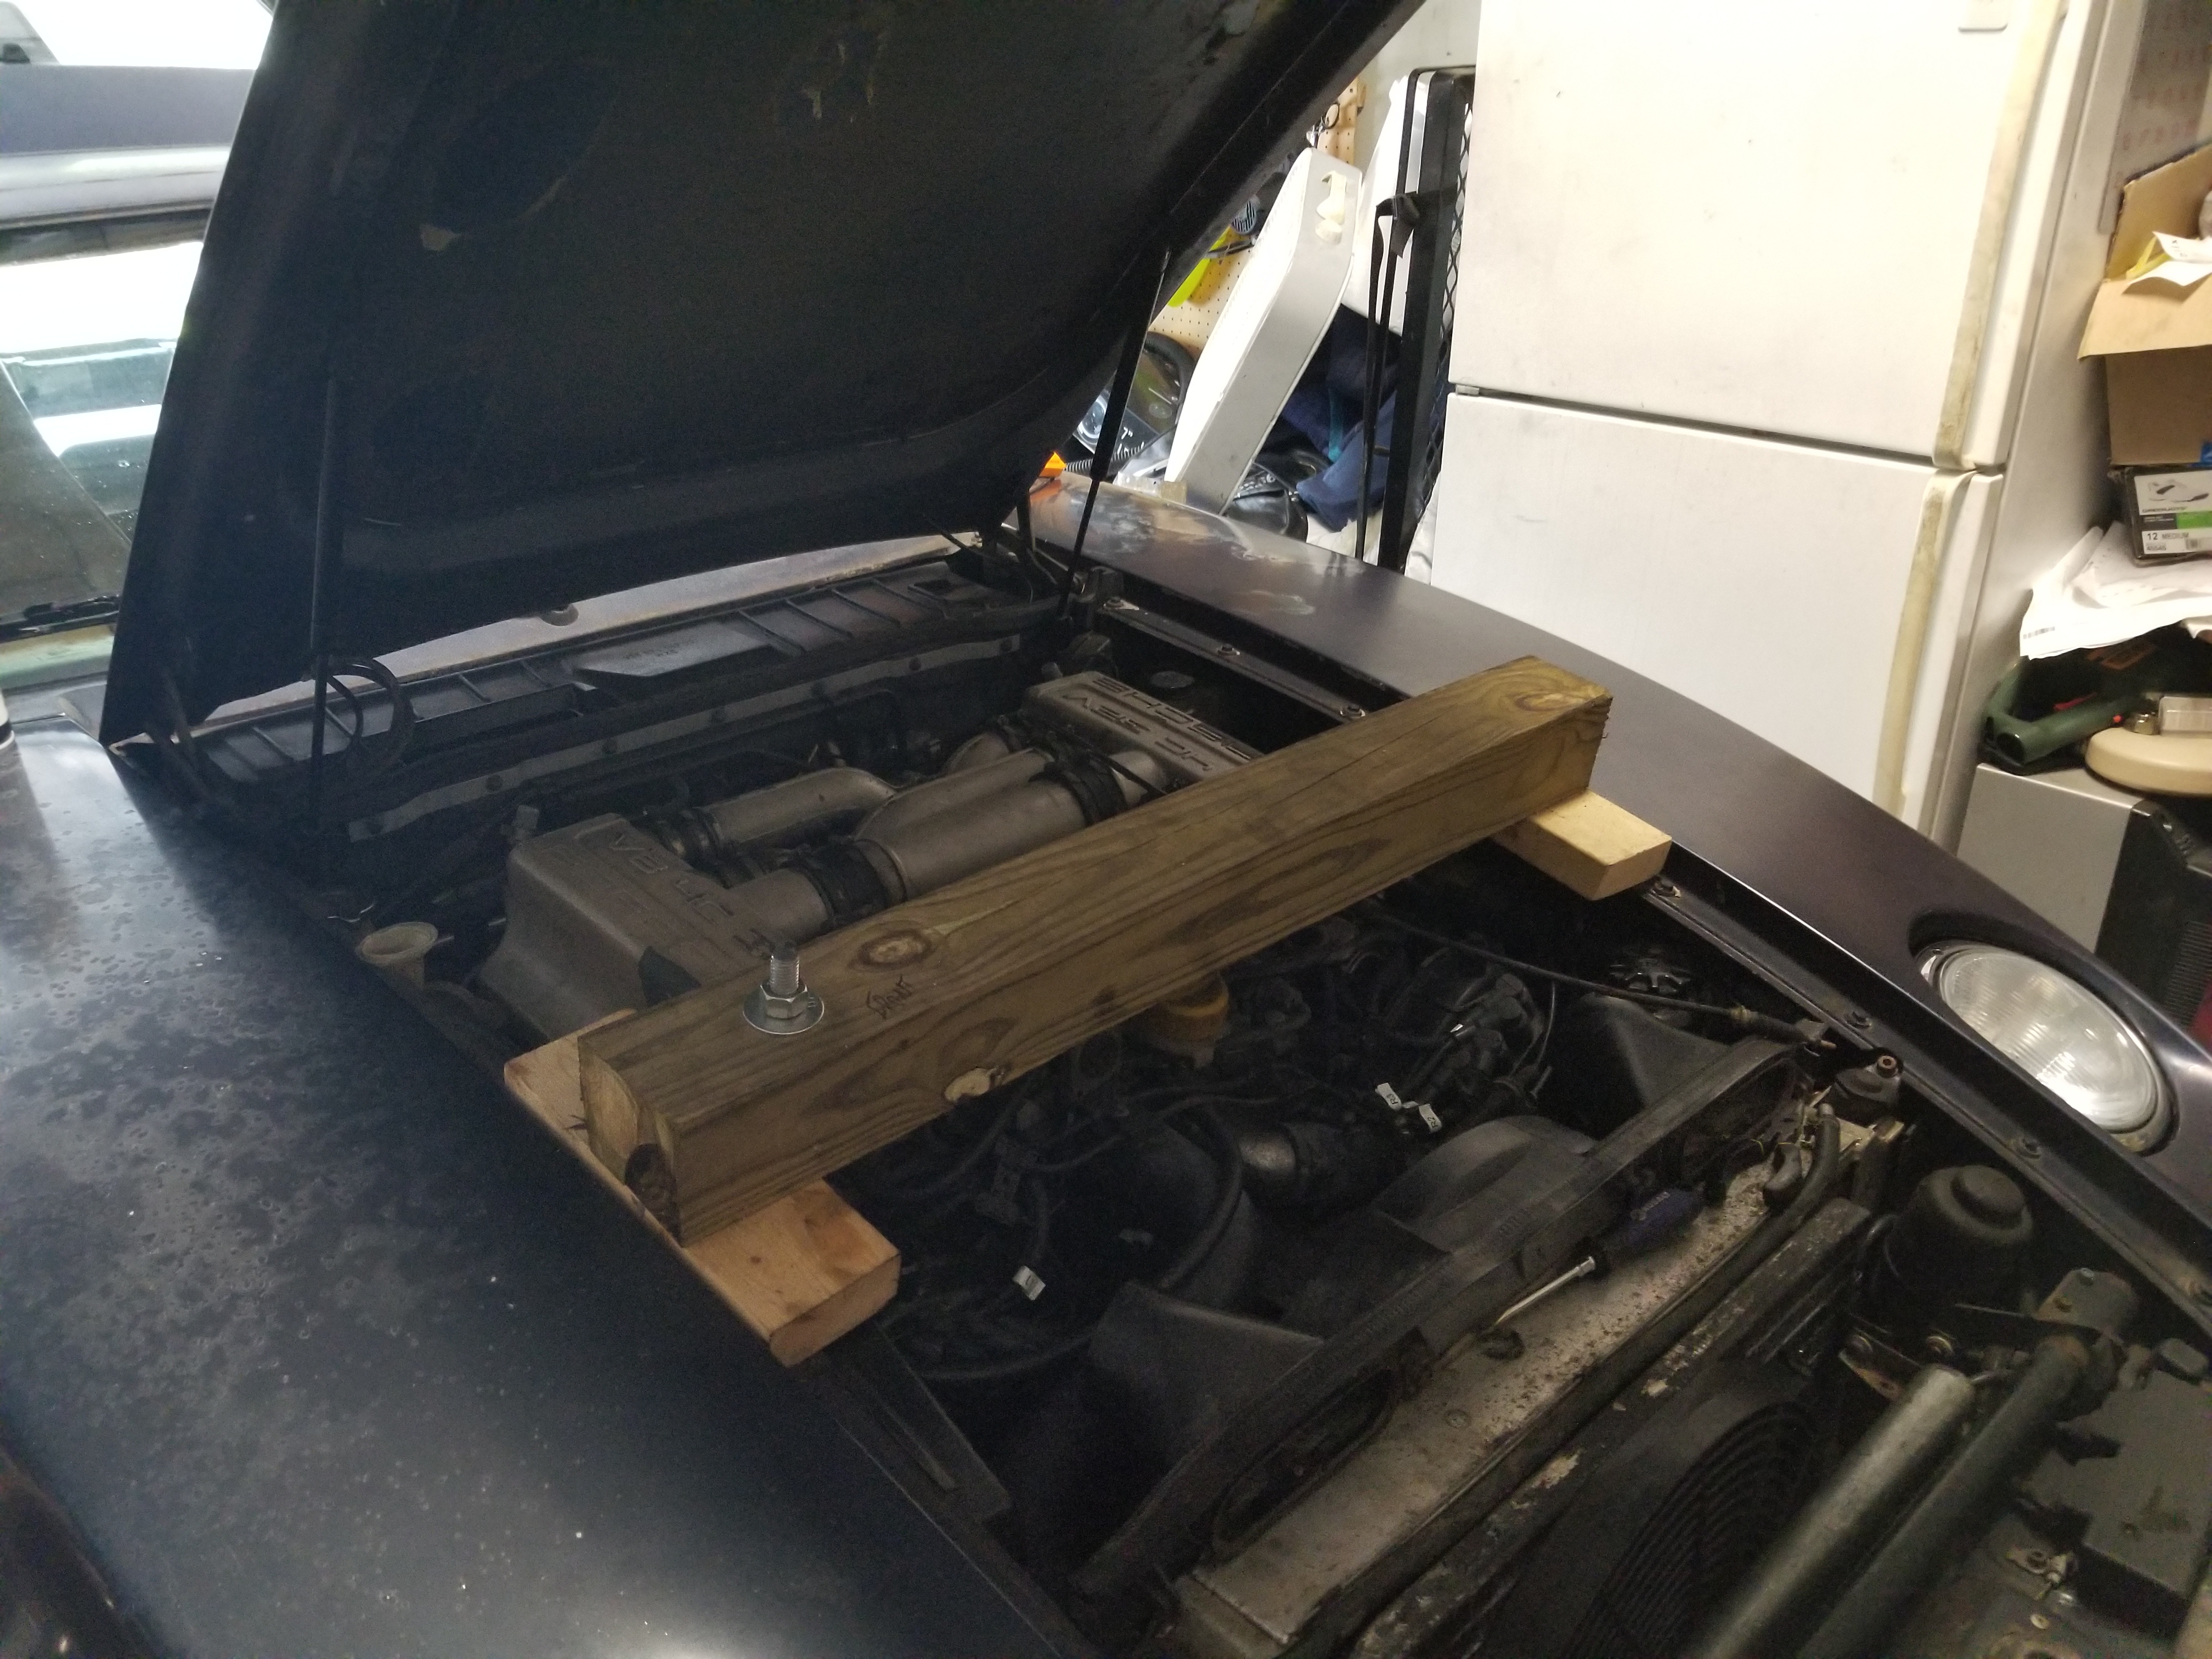
I couldn't get the driveshaft clamp bolts to turn without turning the motor, and didn't have any help to hold the crank for me, so I just removed the flexplate bolts with an impact instead. Then got the torque tube supported with a jack as well as the back of the motor supported with a jack.
Also supported the front of the motor with one of the braces from doing the engine mount job.
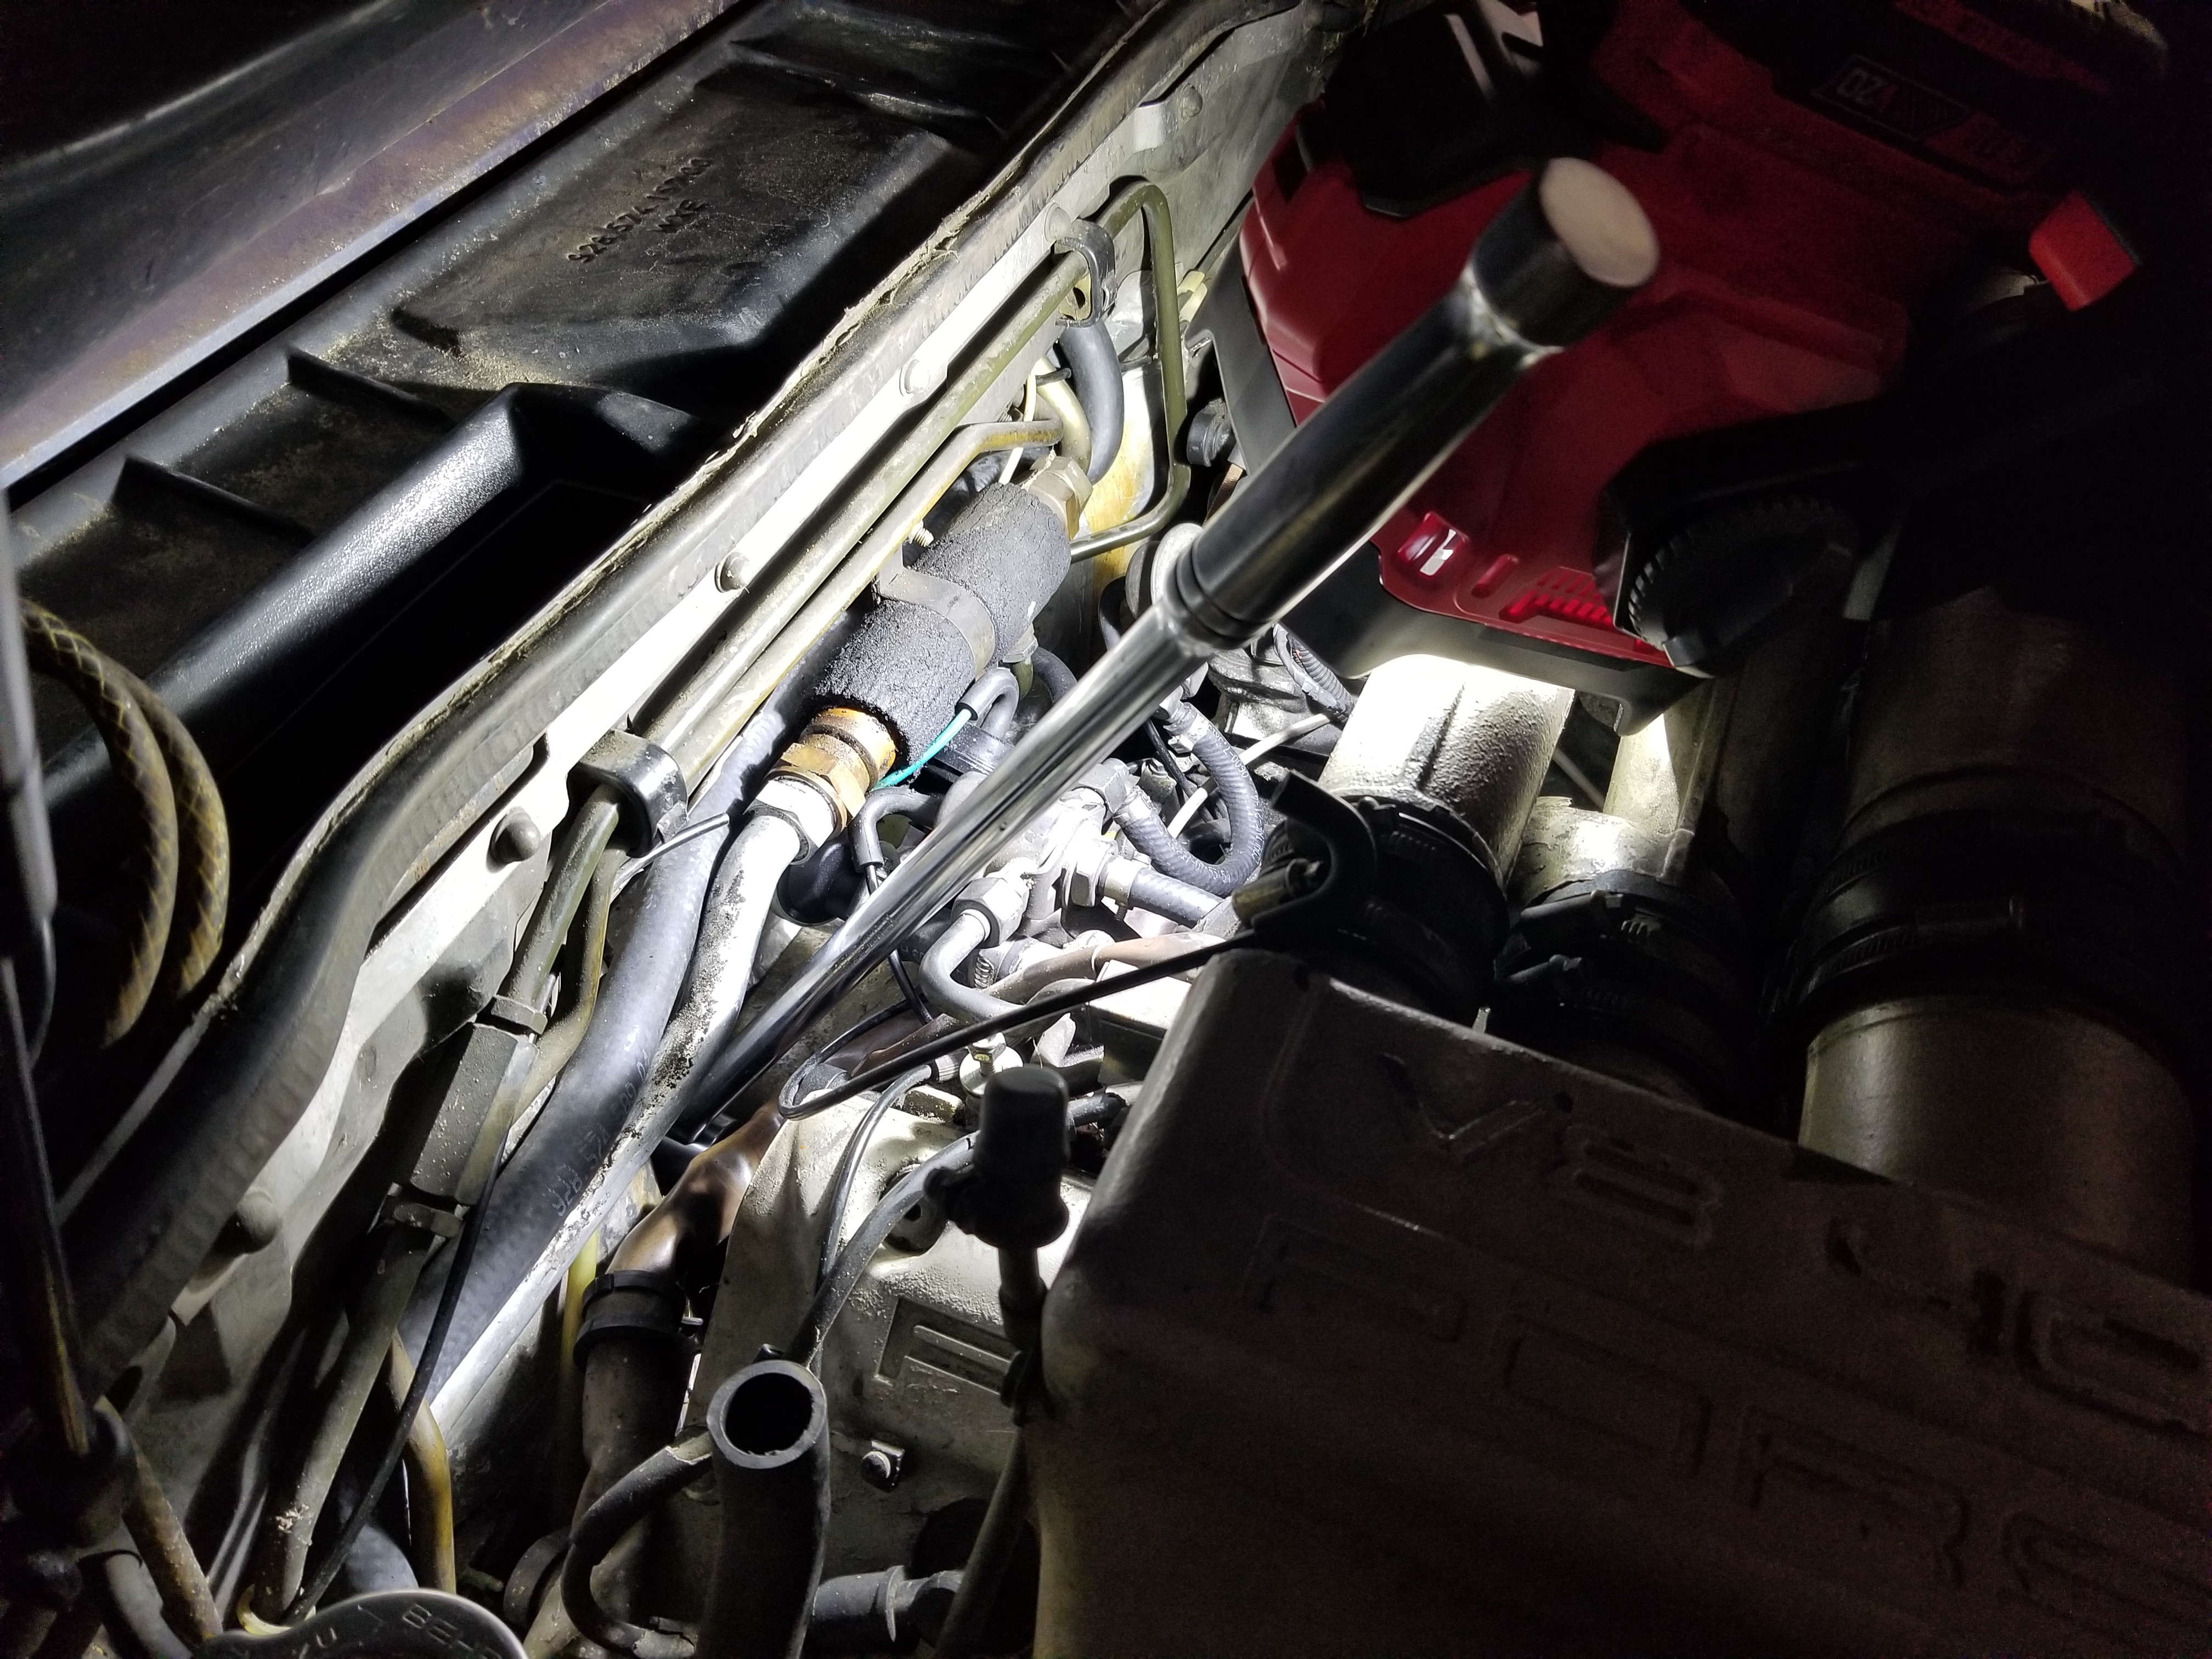
Getting the driver's side upper bellhousing bolt out was easy. The passenger's side was a complete pain though. After fussing with it for 4 hours between friday and yesterday I finally realized that I had a breaker bar that would fit in there and it cracked it right loose... figures.
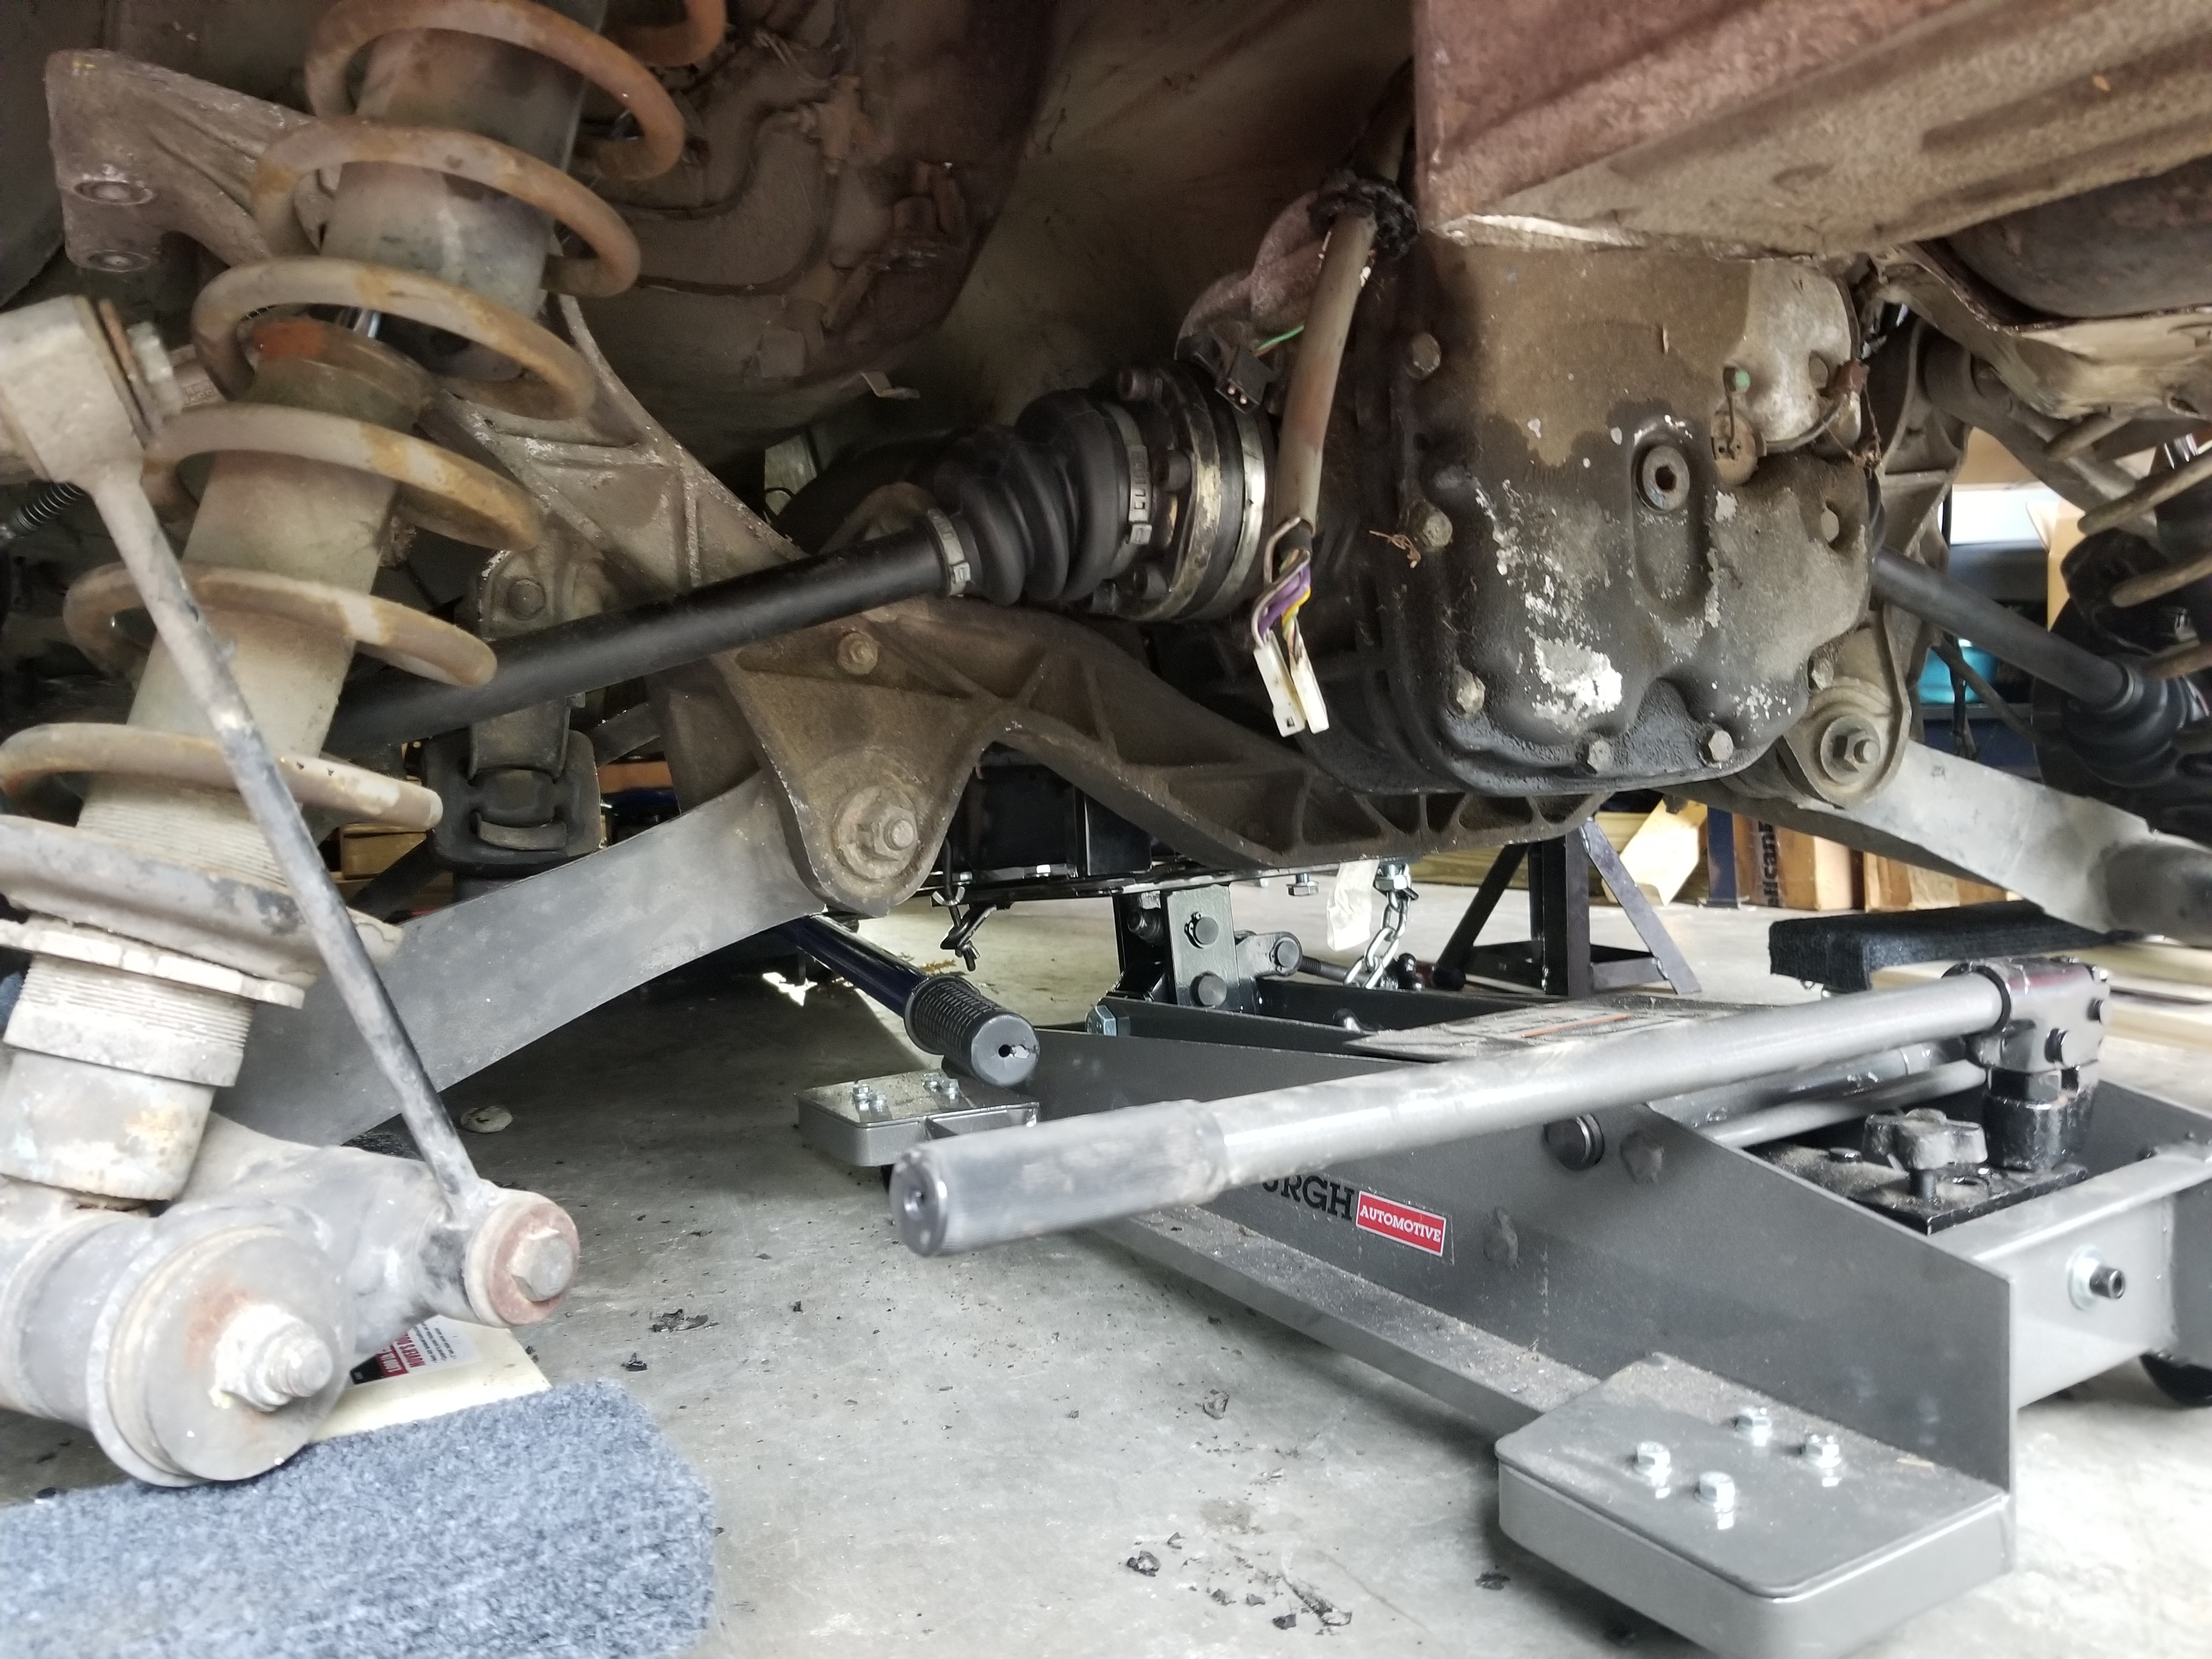
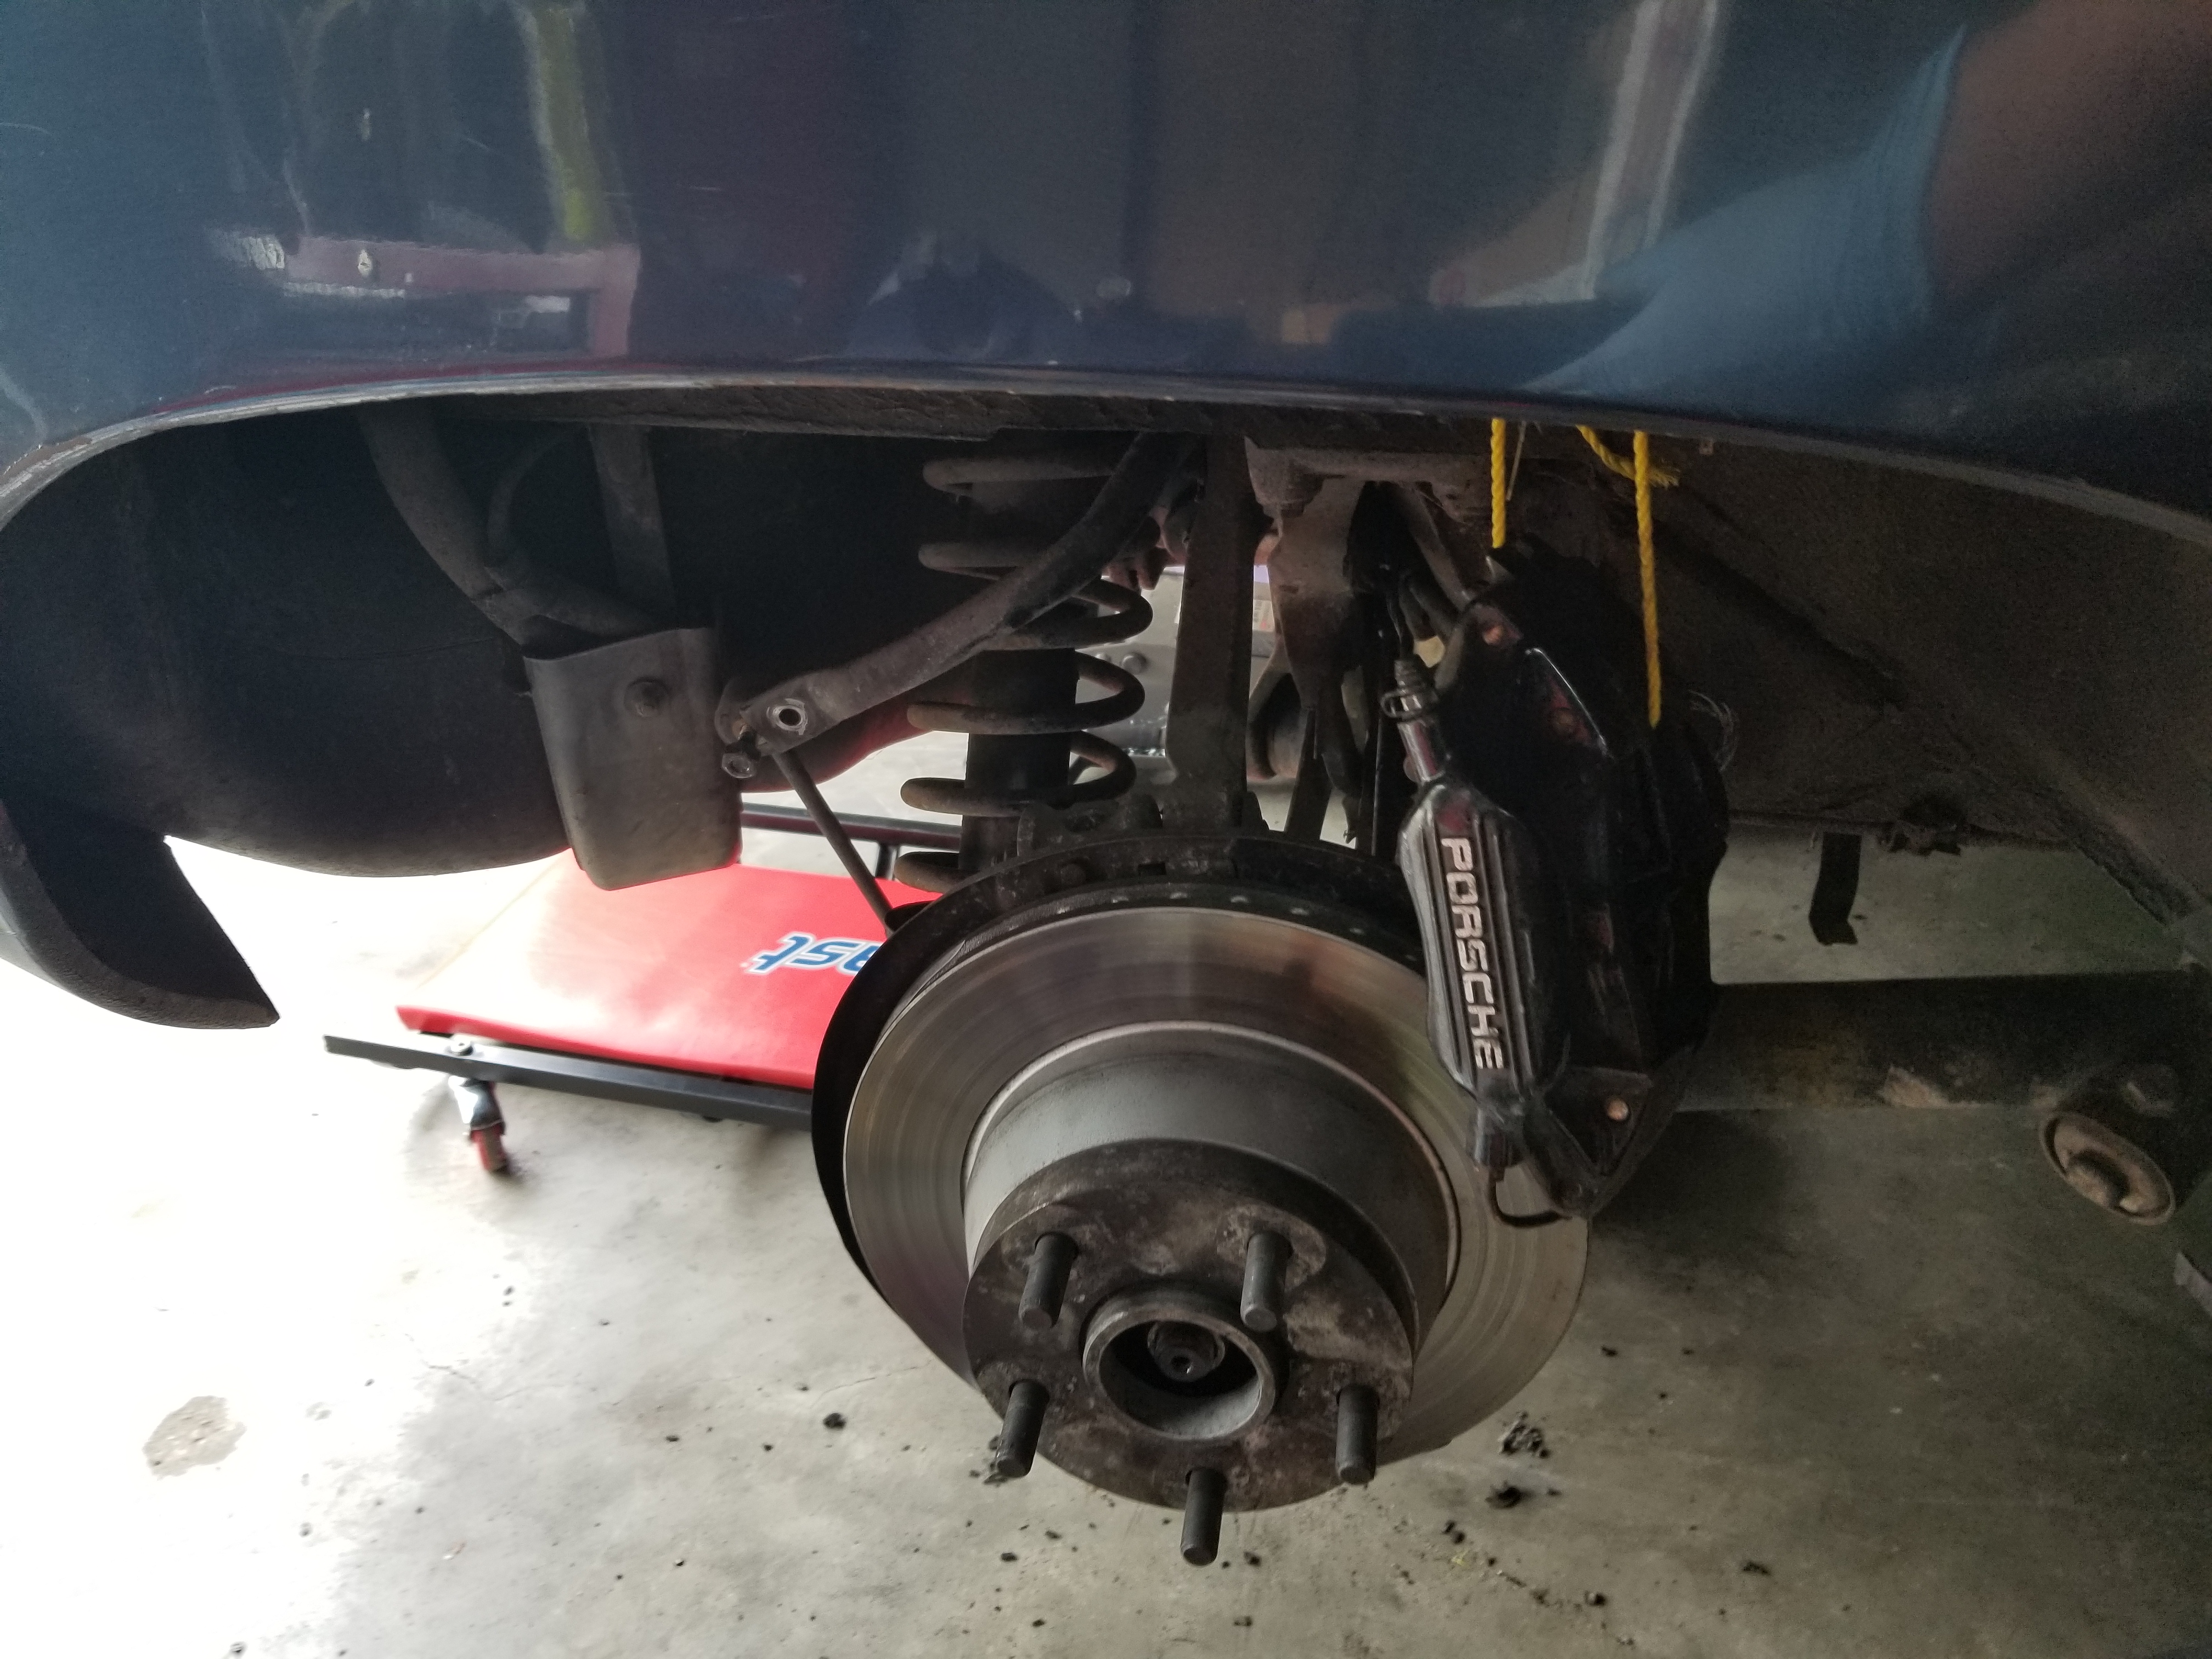
Got the brakes suspended and the wires for the pads and abs disconnected from the suspension.
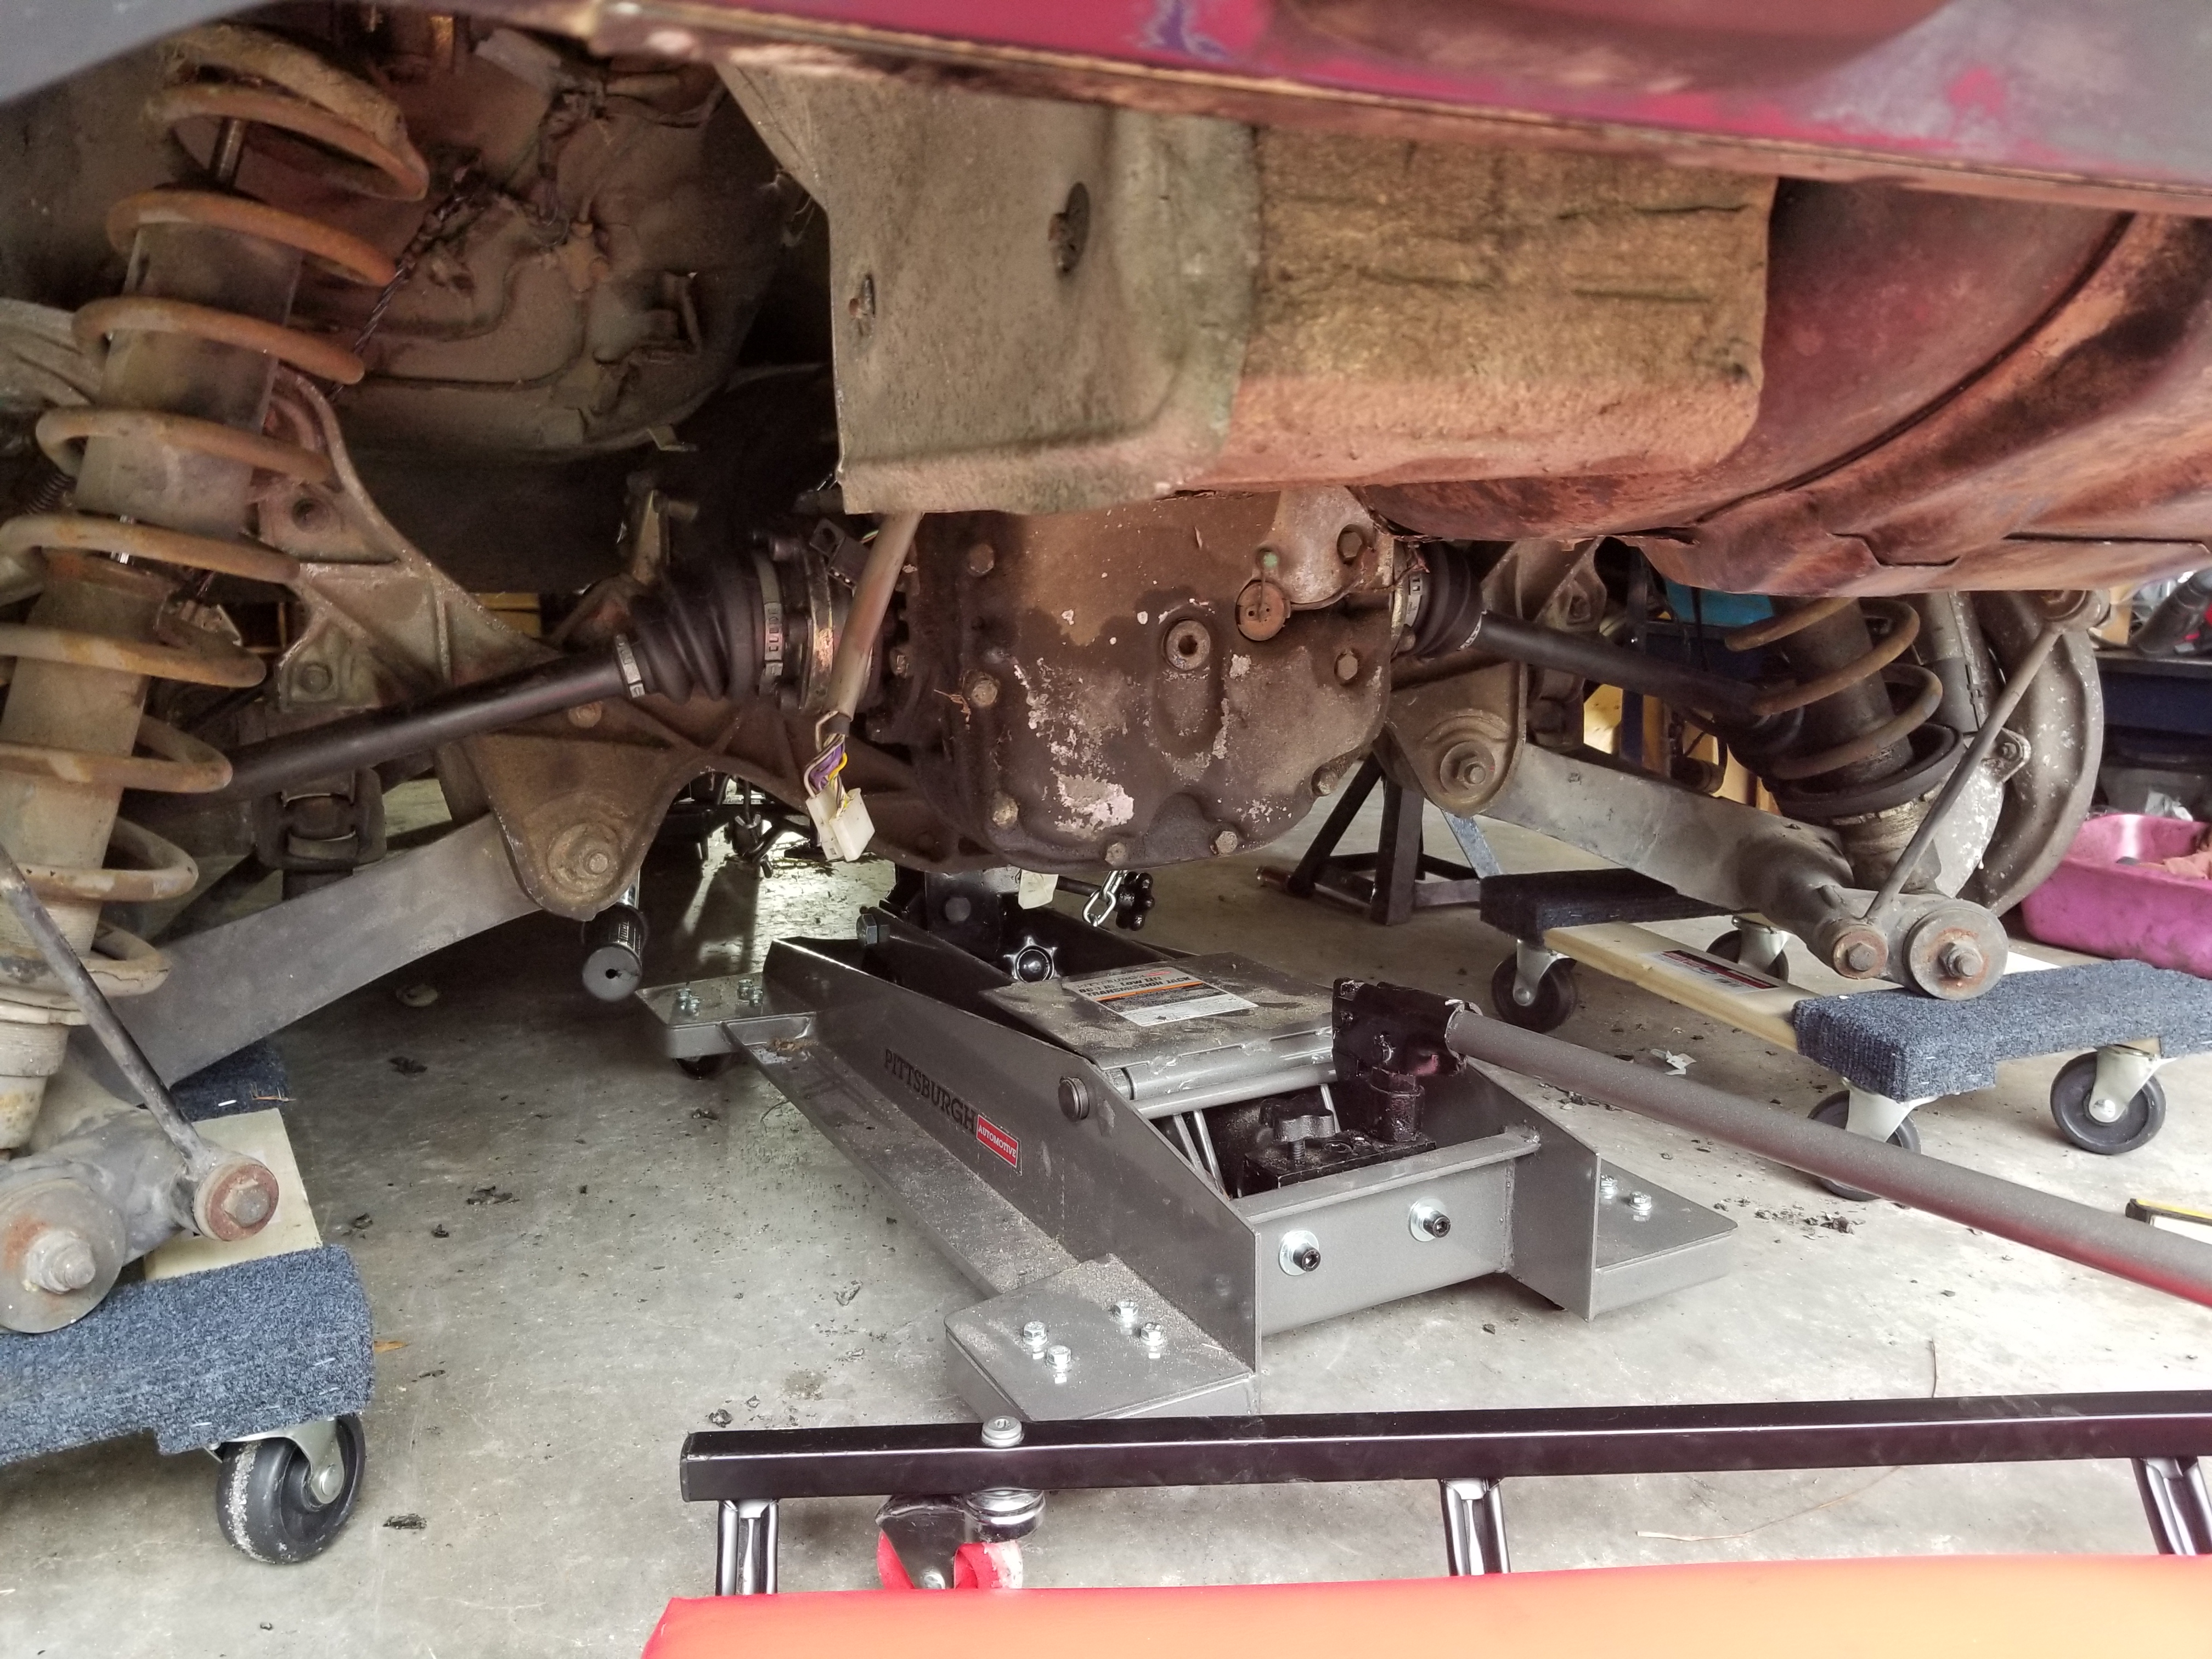
And was able to start lowering things. I didn't get a picture, but the hard lines for the trans cooler started catching on the mounts for the rear tunnel brace, so I had to loosen the hose clamps for those and jostle them around to clear it.
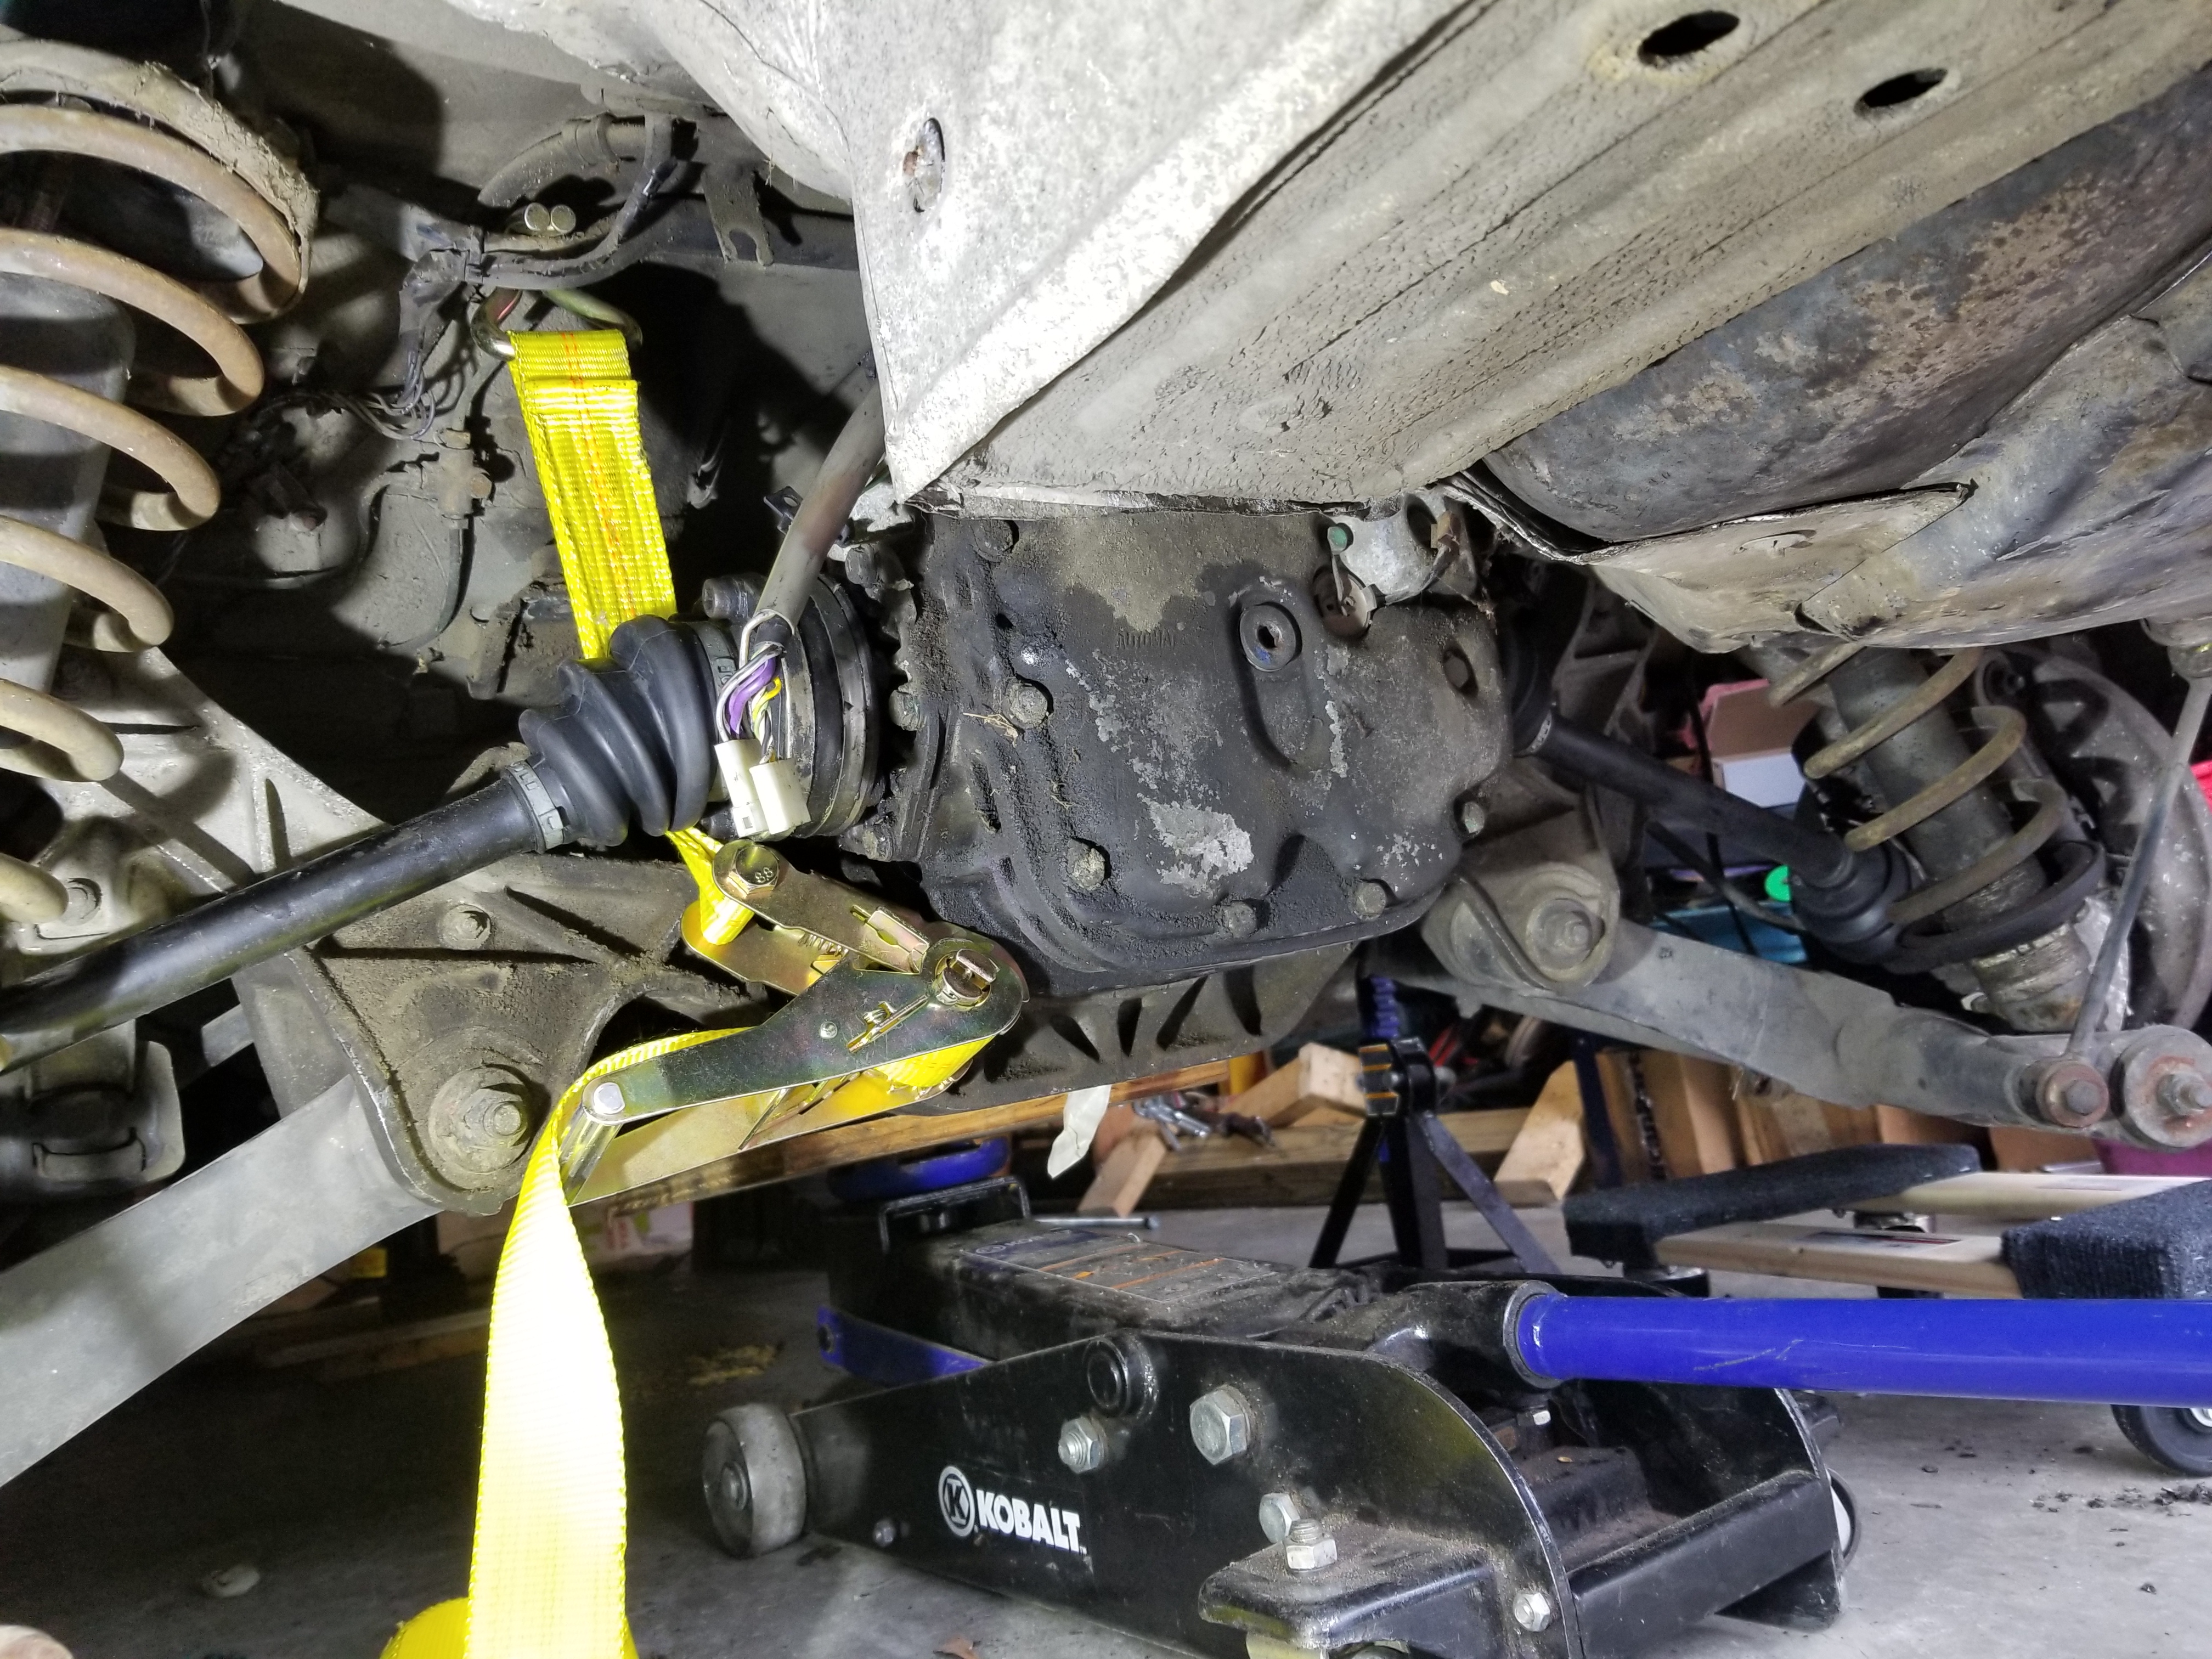
This was about the time I realized the trans jack doesn't go low enough to get the trans out from under the car. Initially I ratchet strapped the trans to the sway bar to switch jacks, but even that wouldn't get it low enough.
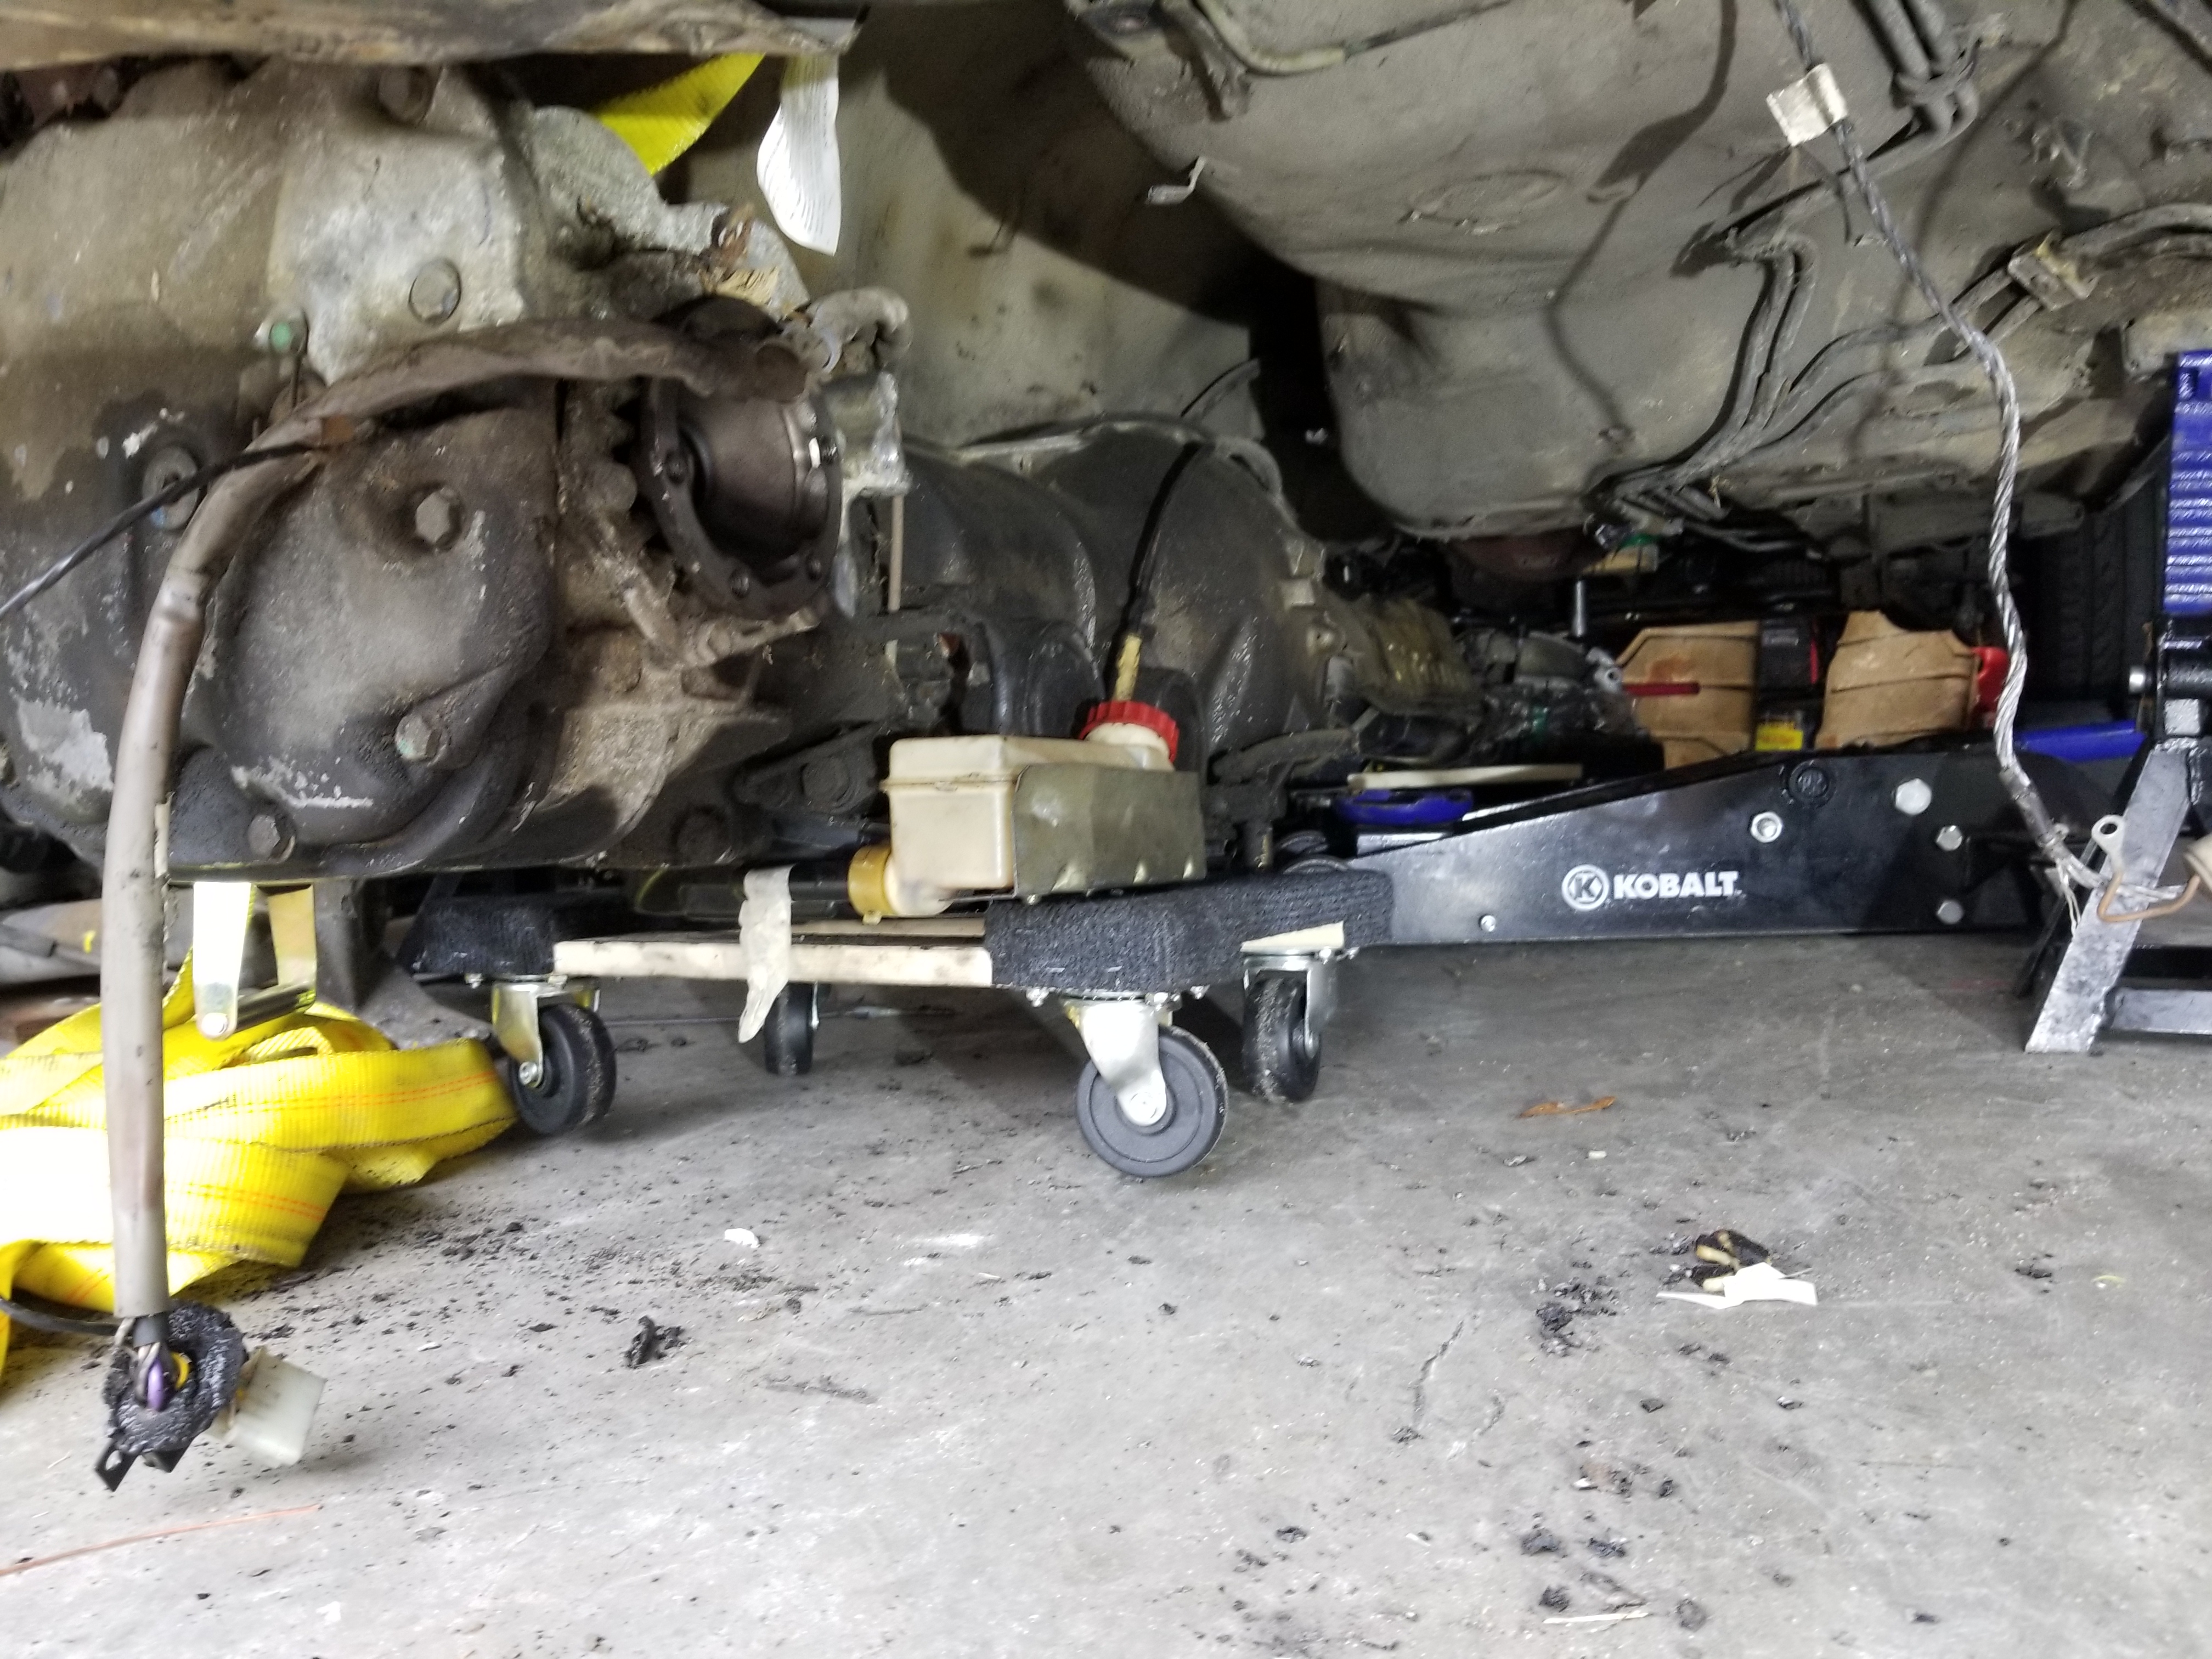
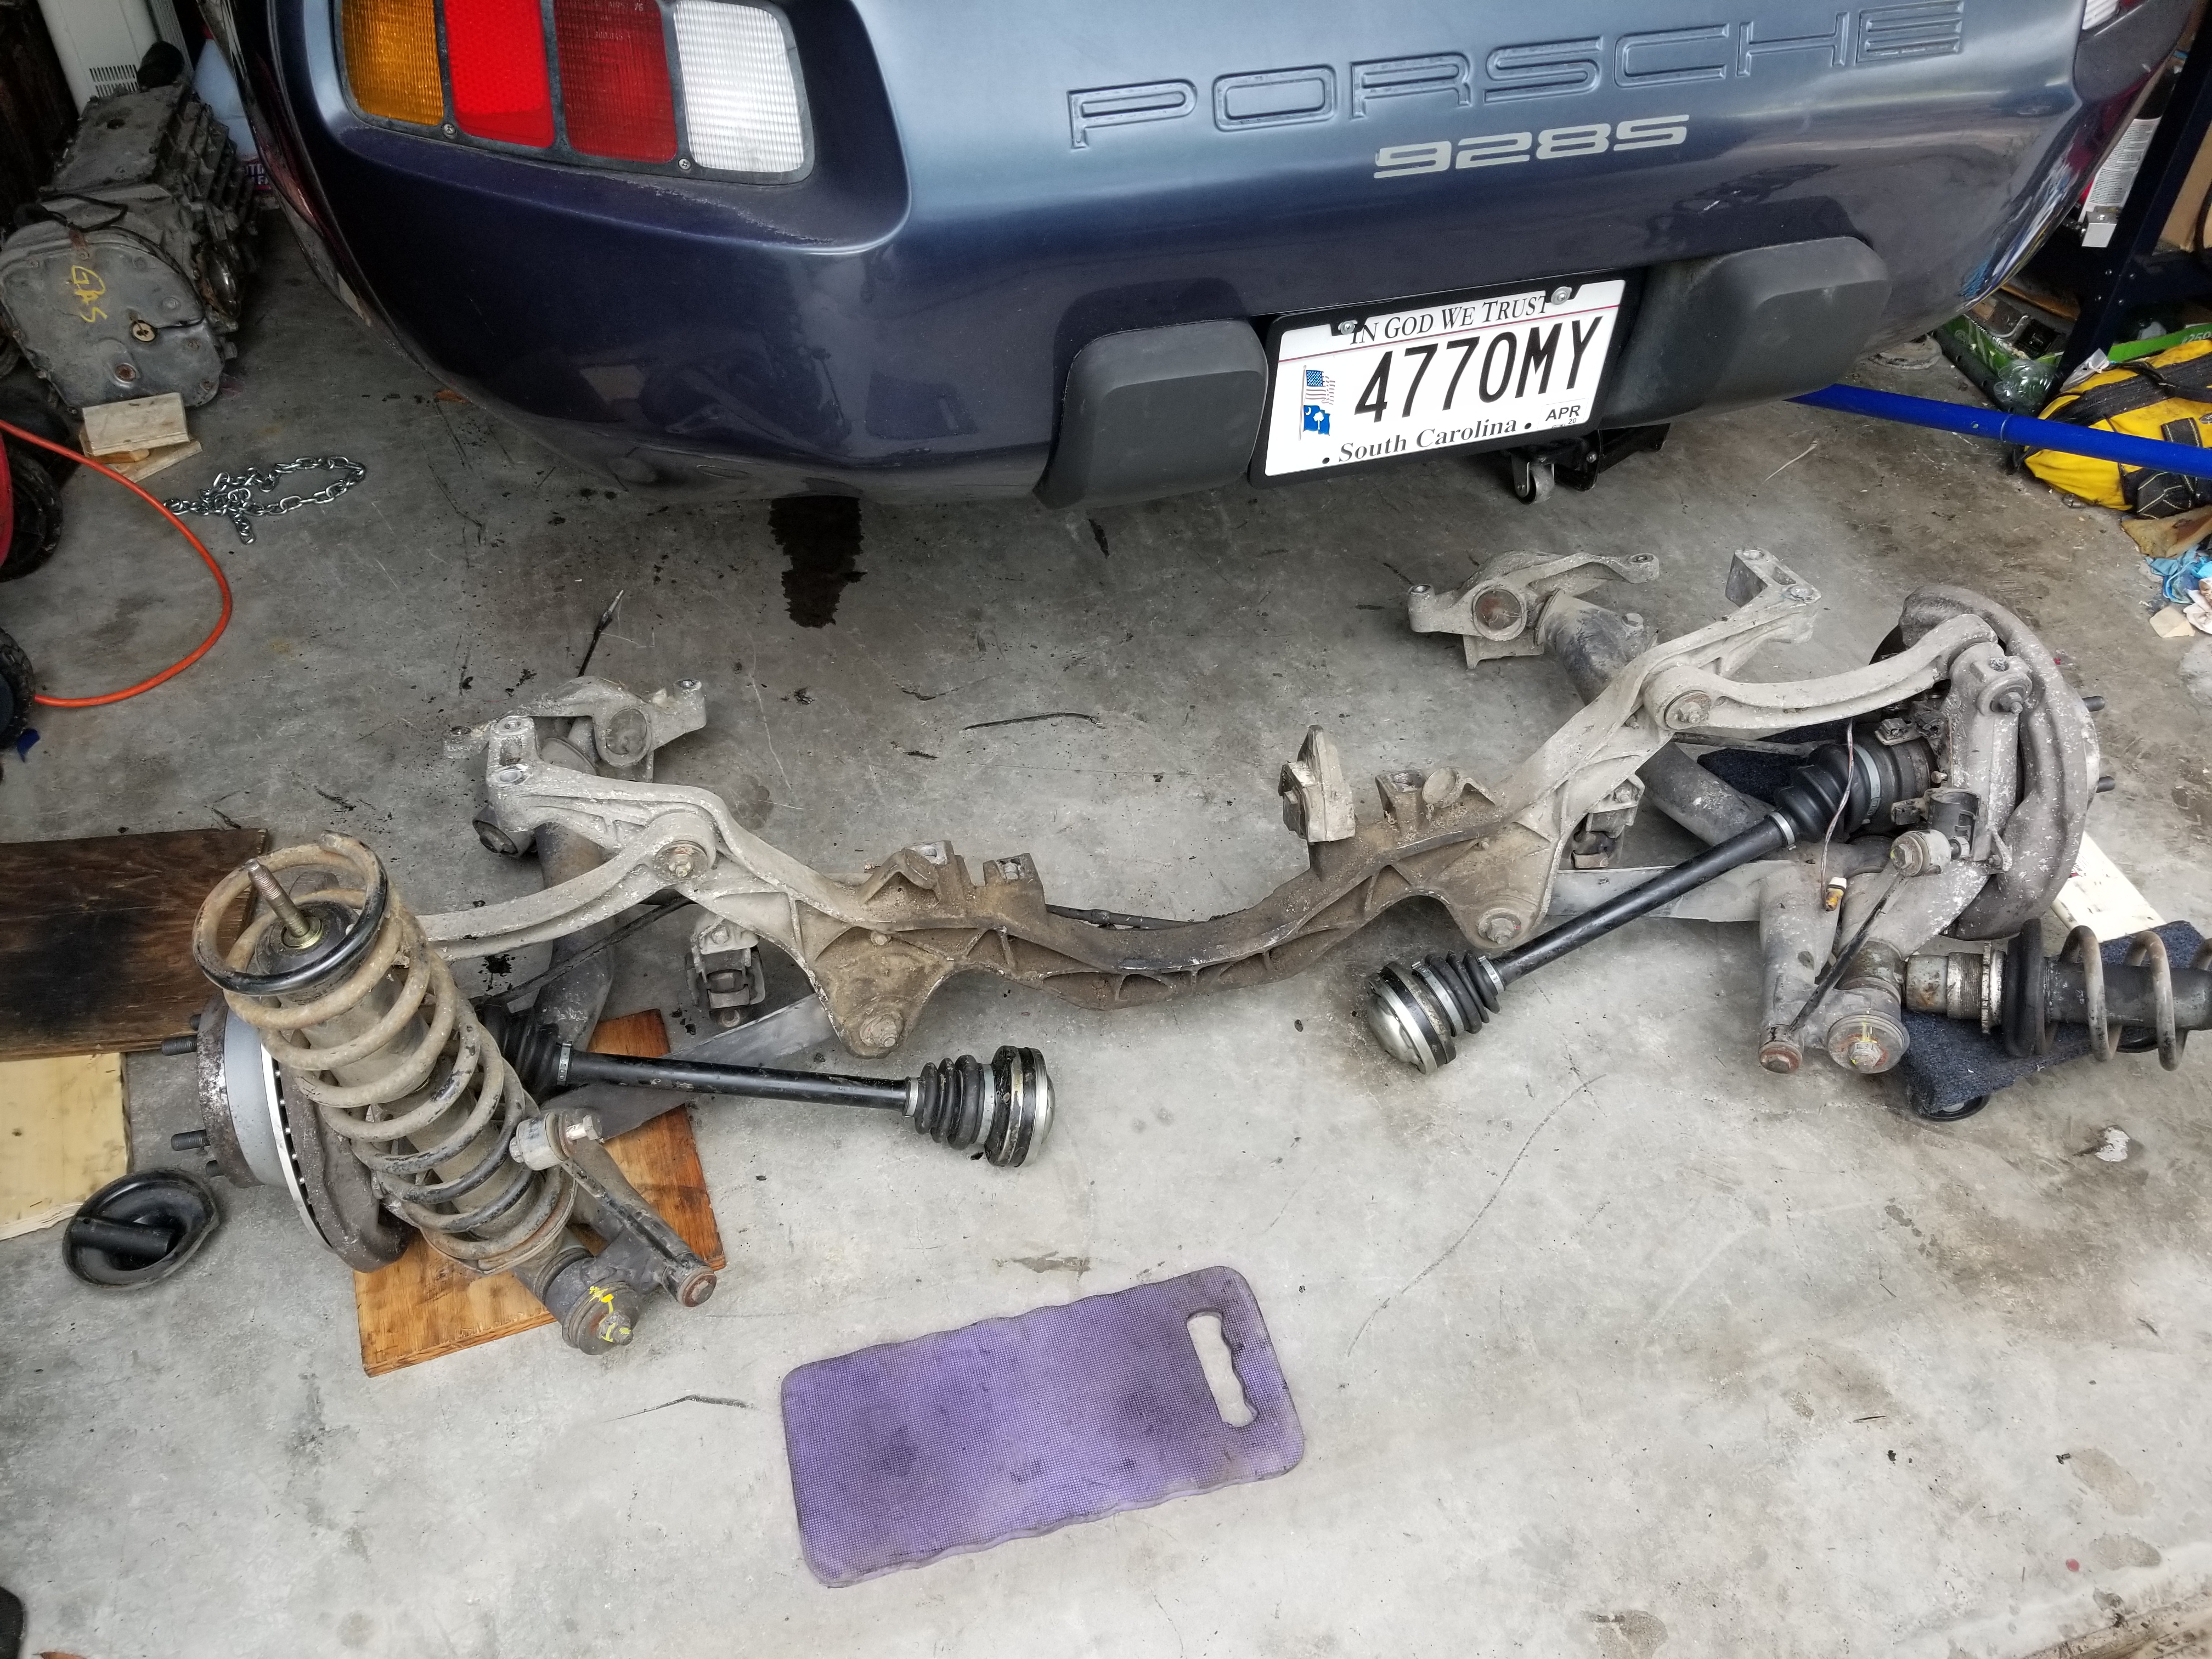
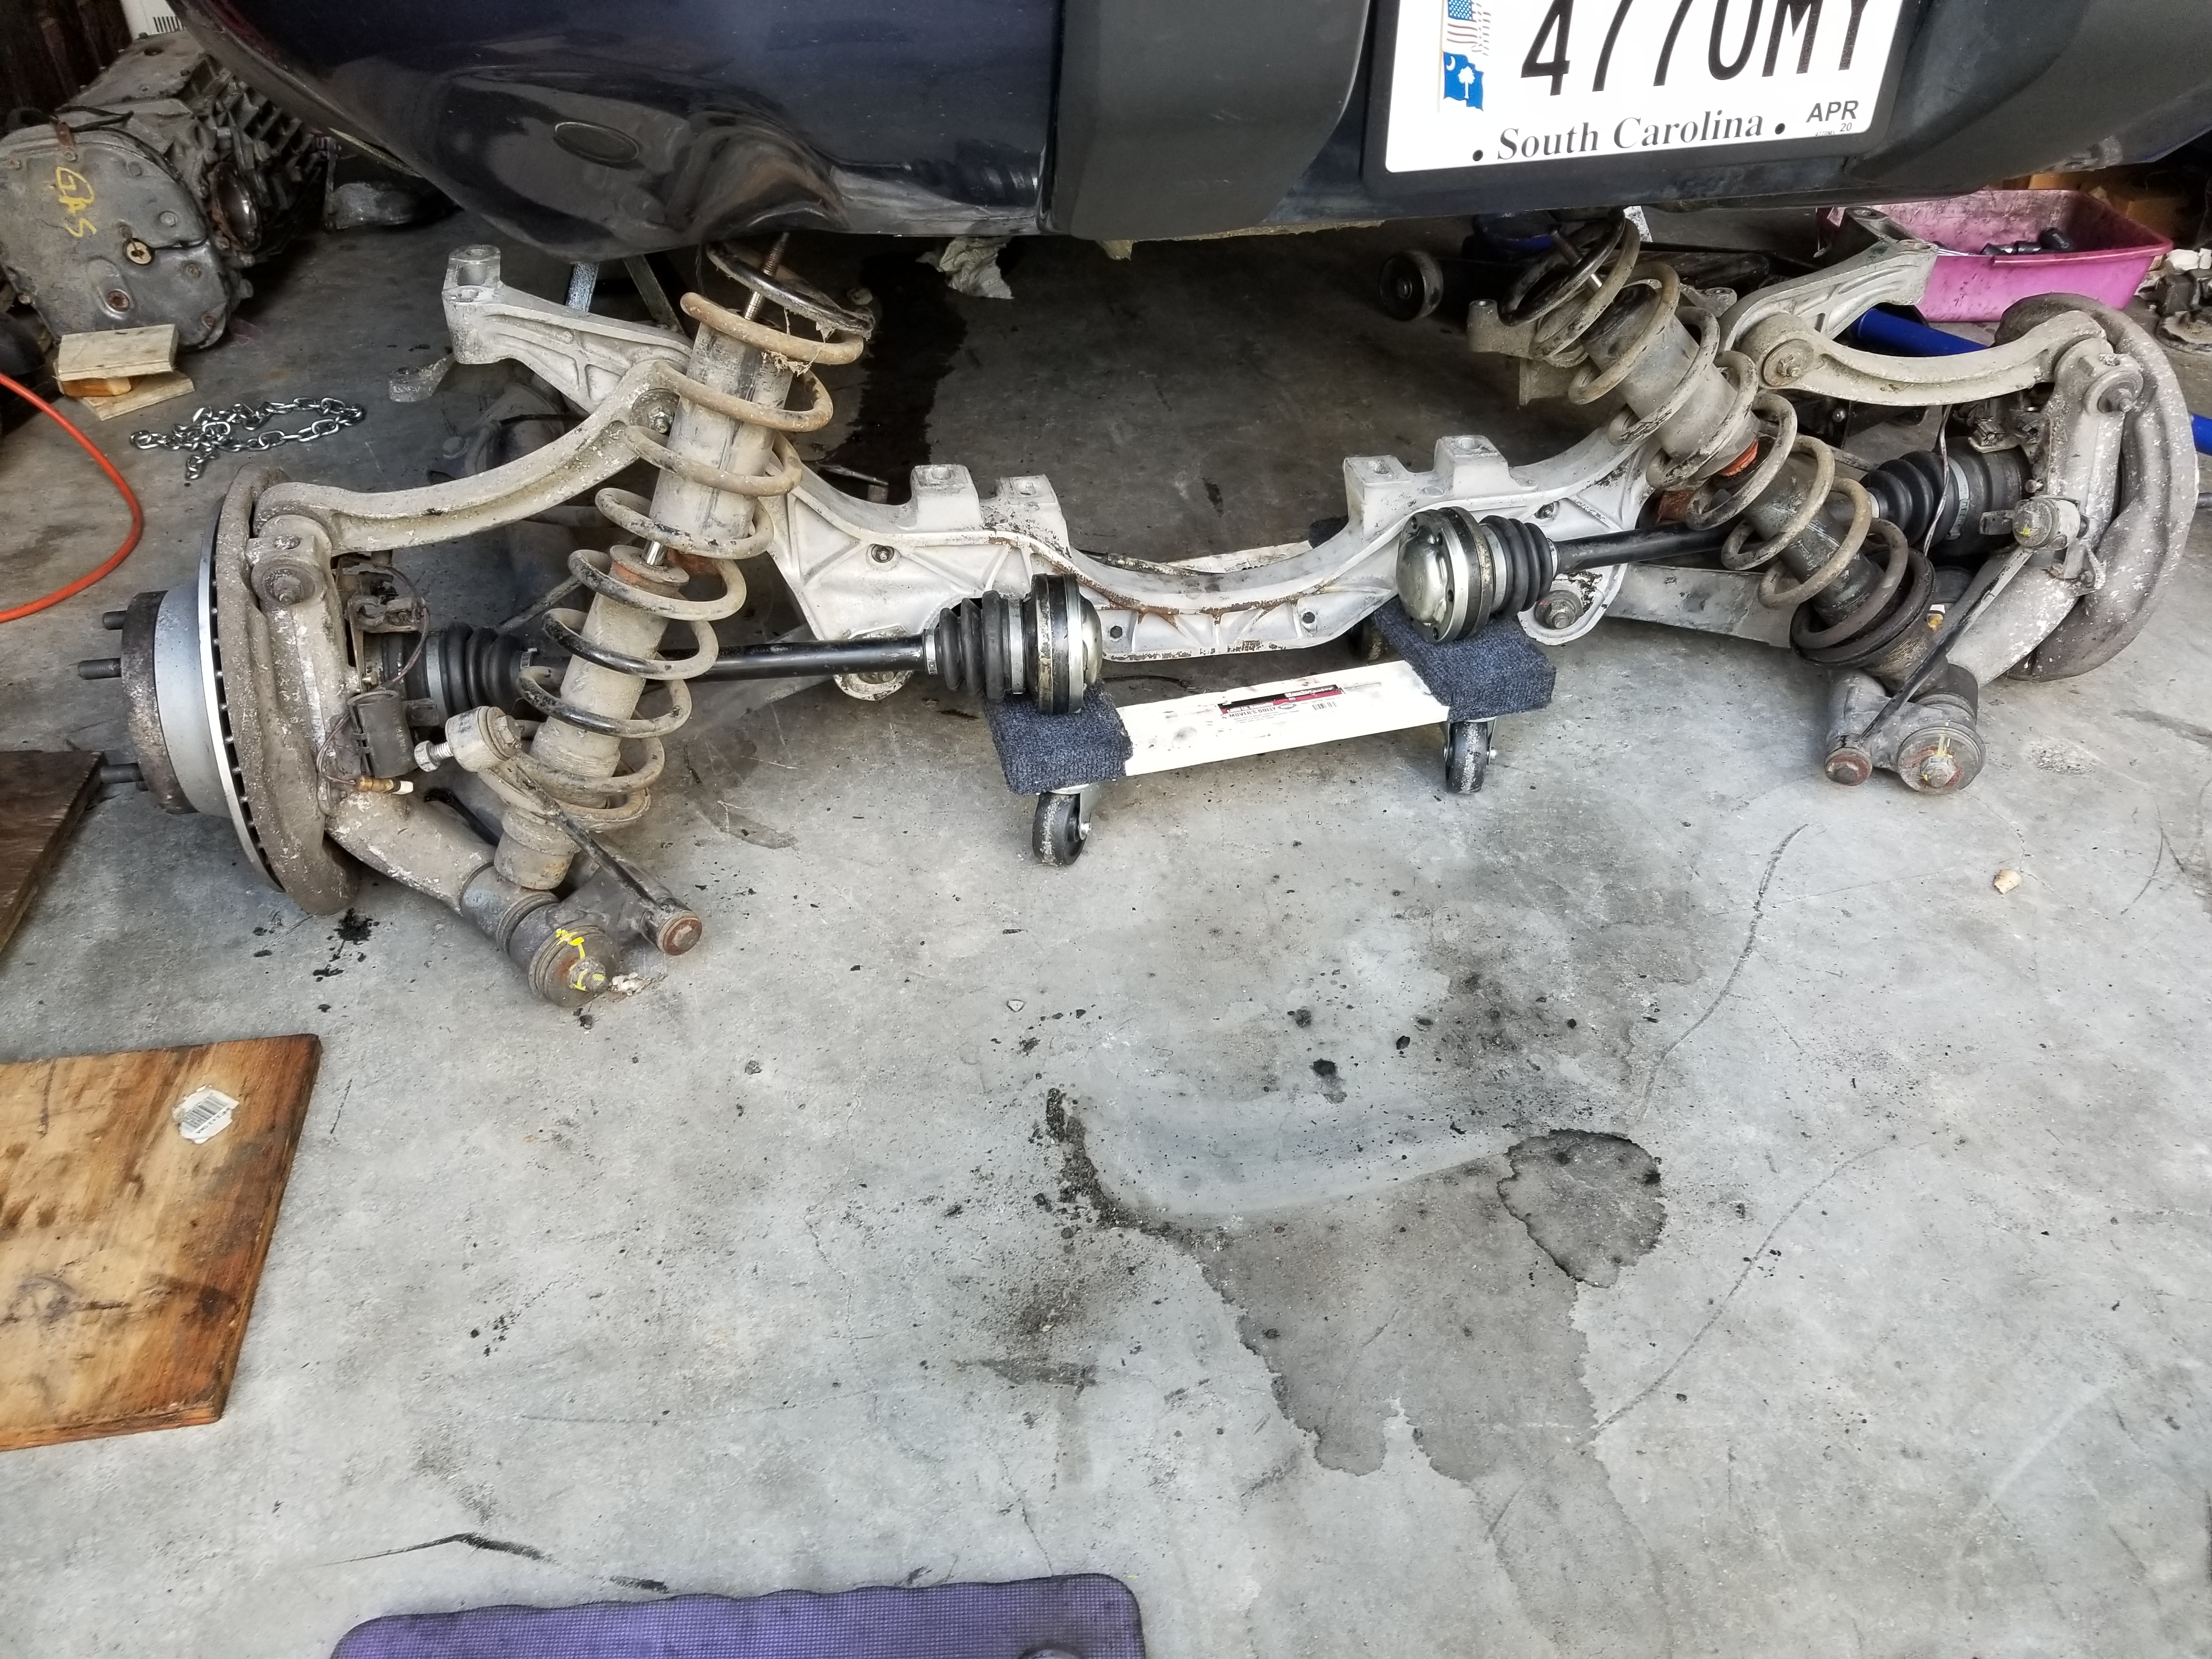
The furniture dollies I bought weren't any lower than the jack either. So at this point I took the suspension off of the trans. While it still won't clear the center of the car, I can at least maneuver it around to get out where the rear muffler was now.
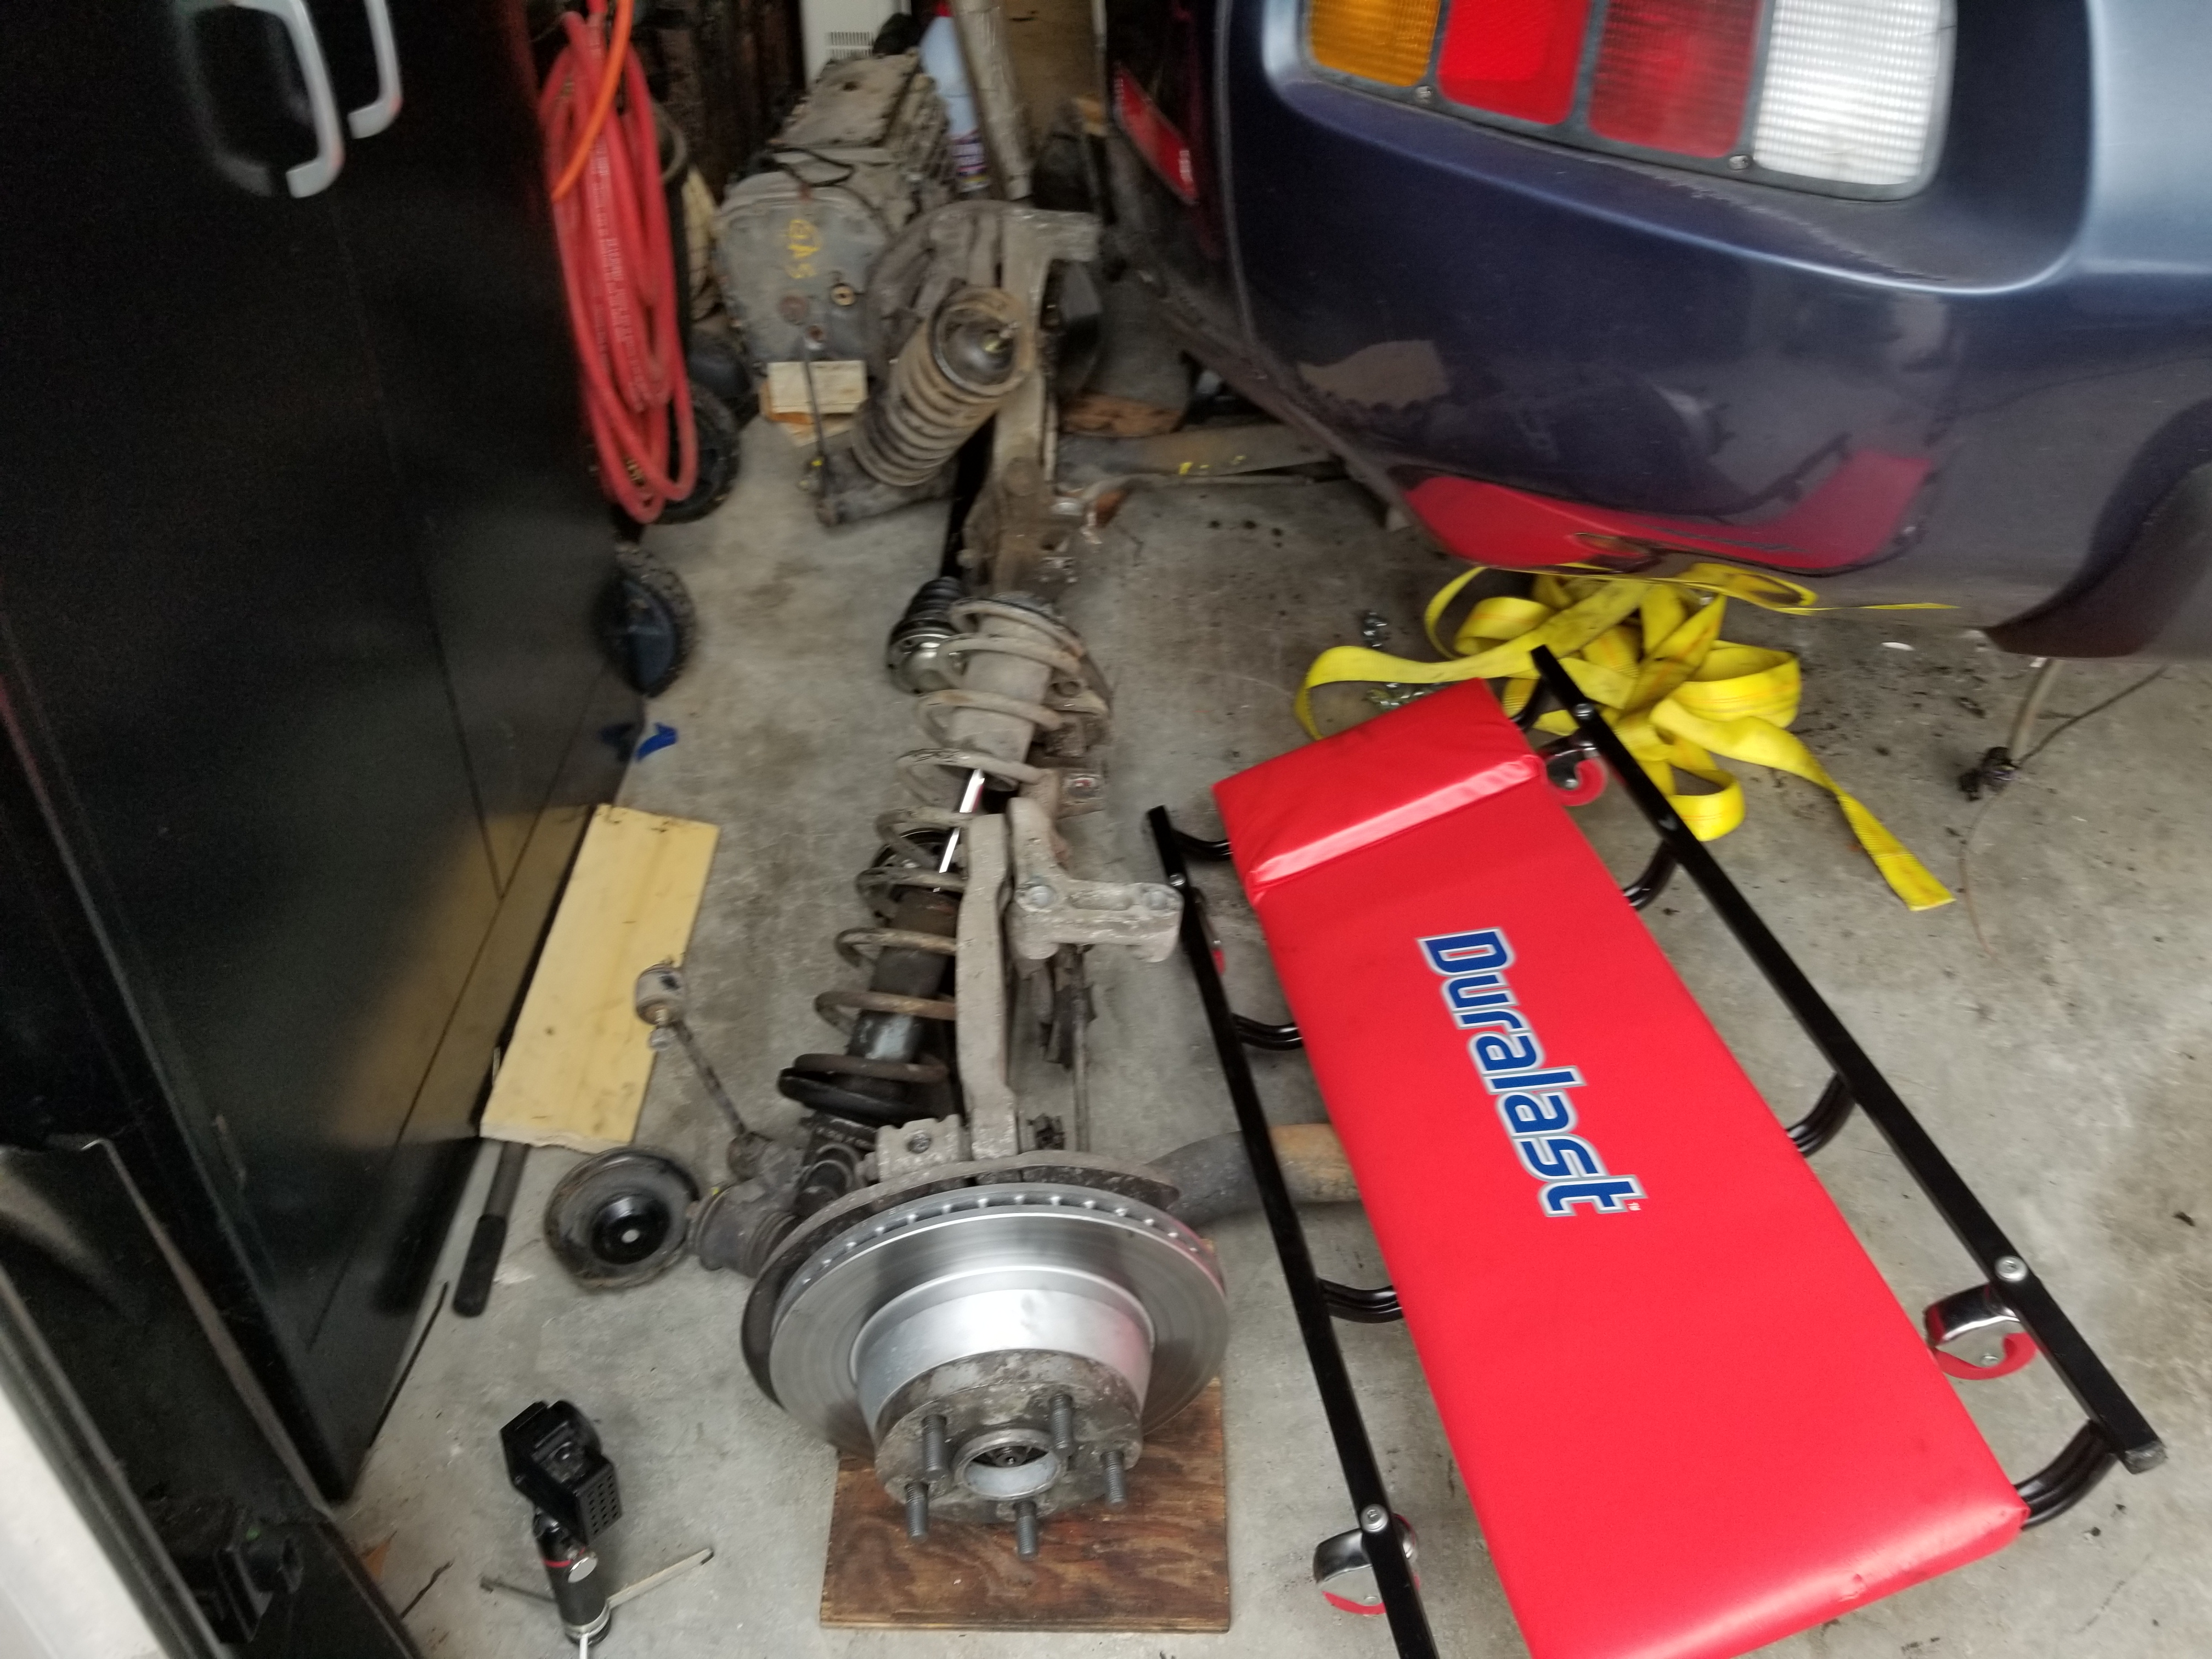
Suspension slid off to the side.
So if you're just lowering the trans to deal with the torque tube or something and you jack the car up high enough to get everything out from under it to begin with, it might make sense to lower the trans and suspension together. For this job where I was going to be swapping suspension parts to another crossmember anyway, I probably should have just done it separately. I guess the only upside to doing it like this was I could use the impact on the bolts holding in the axles with it lowered where there's not enough clearance in the car, which made things a bit easier.
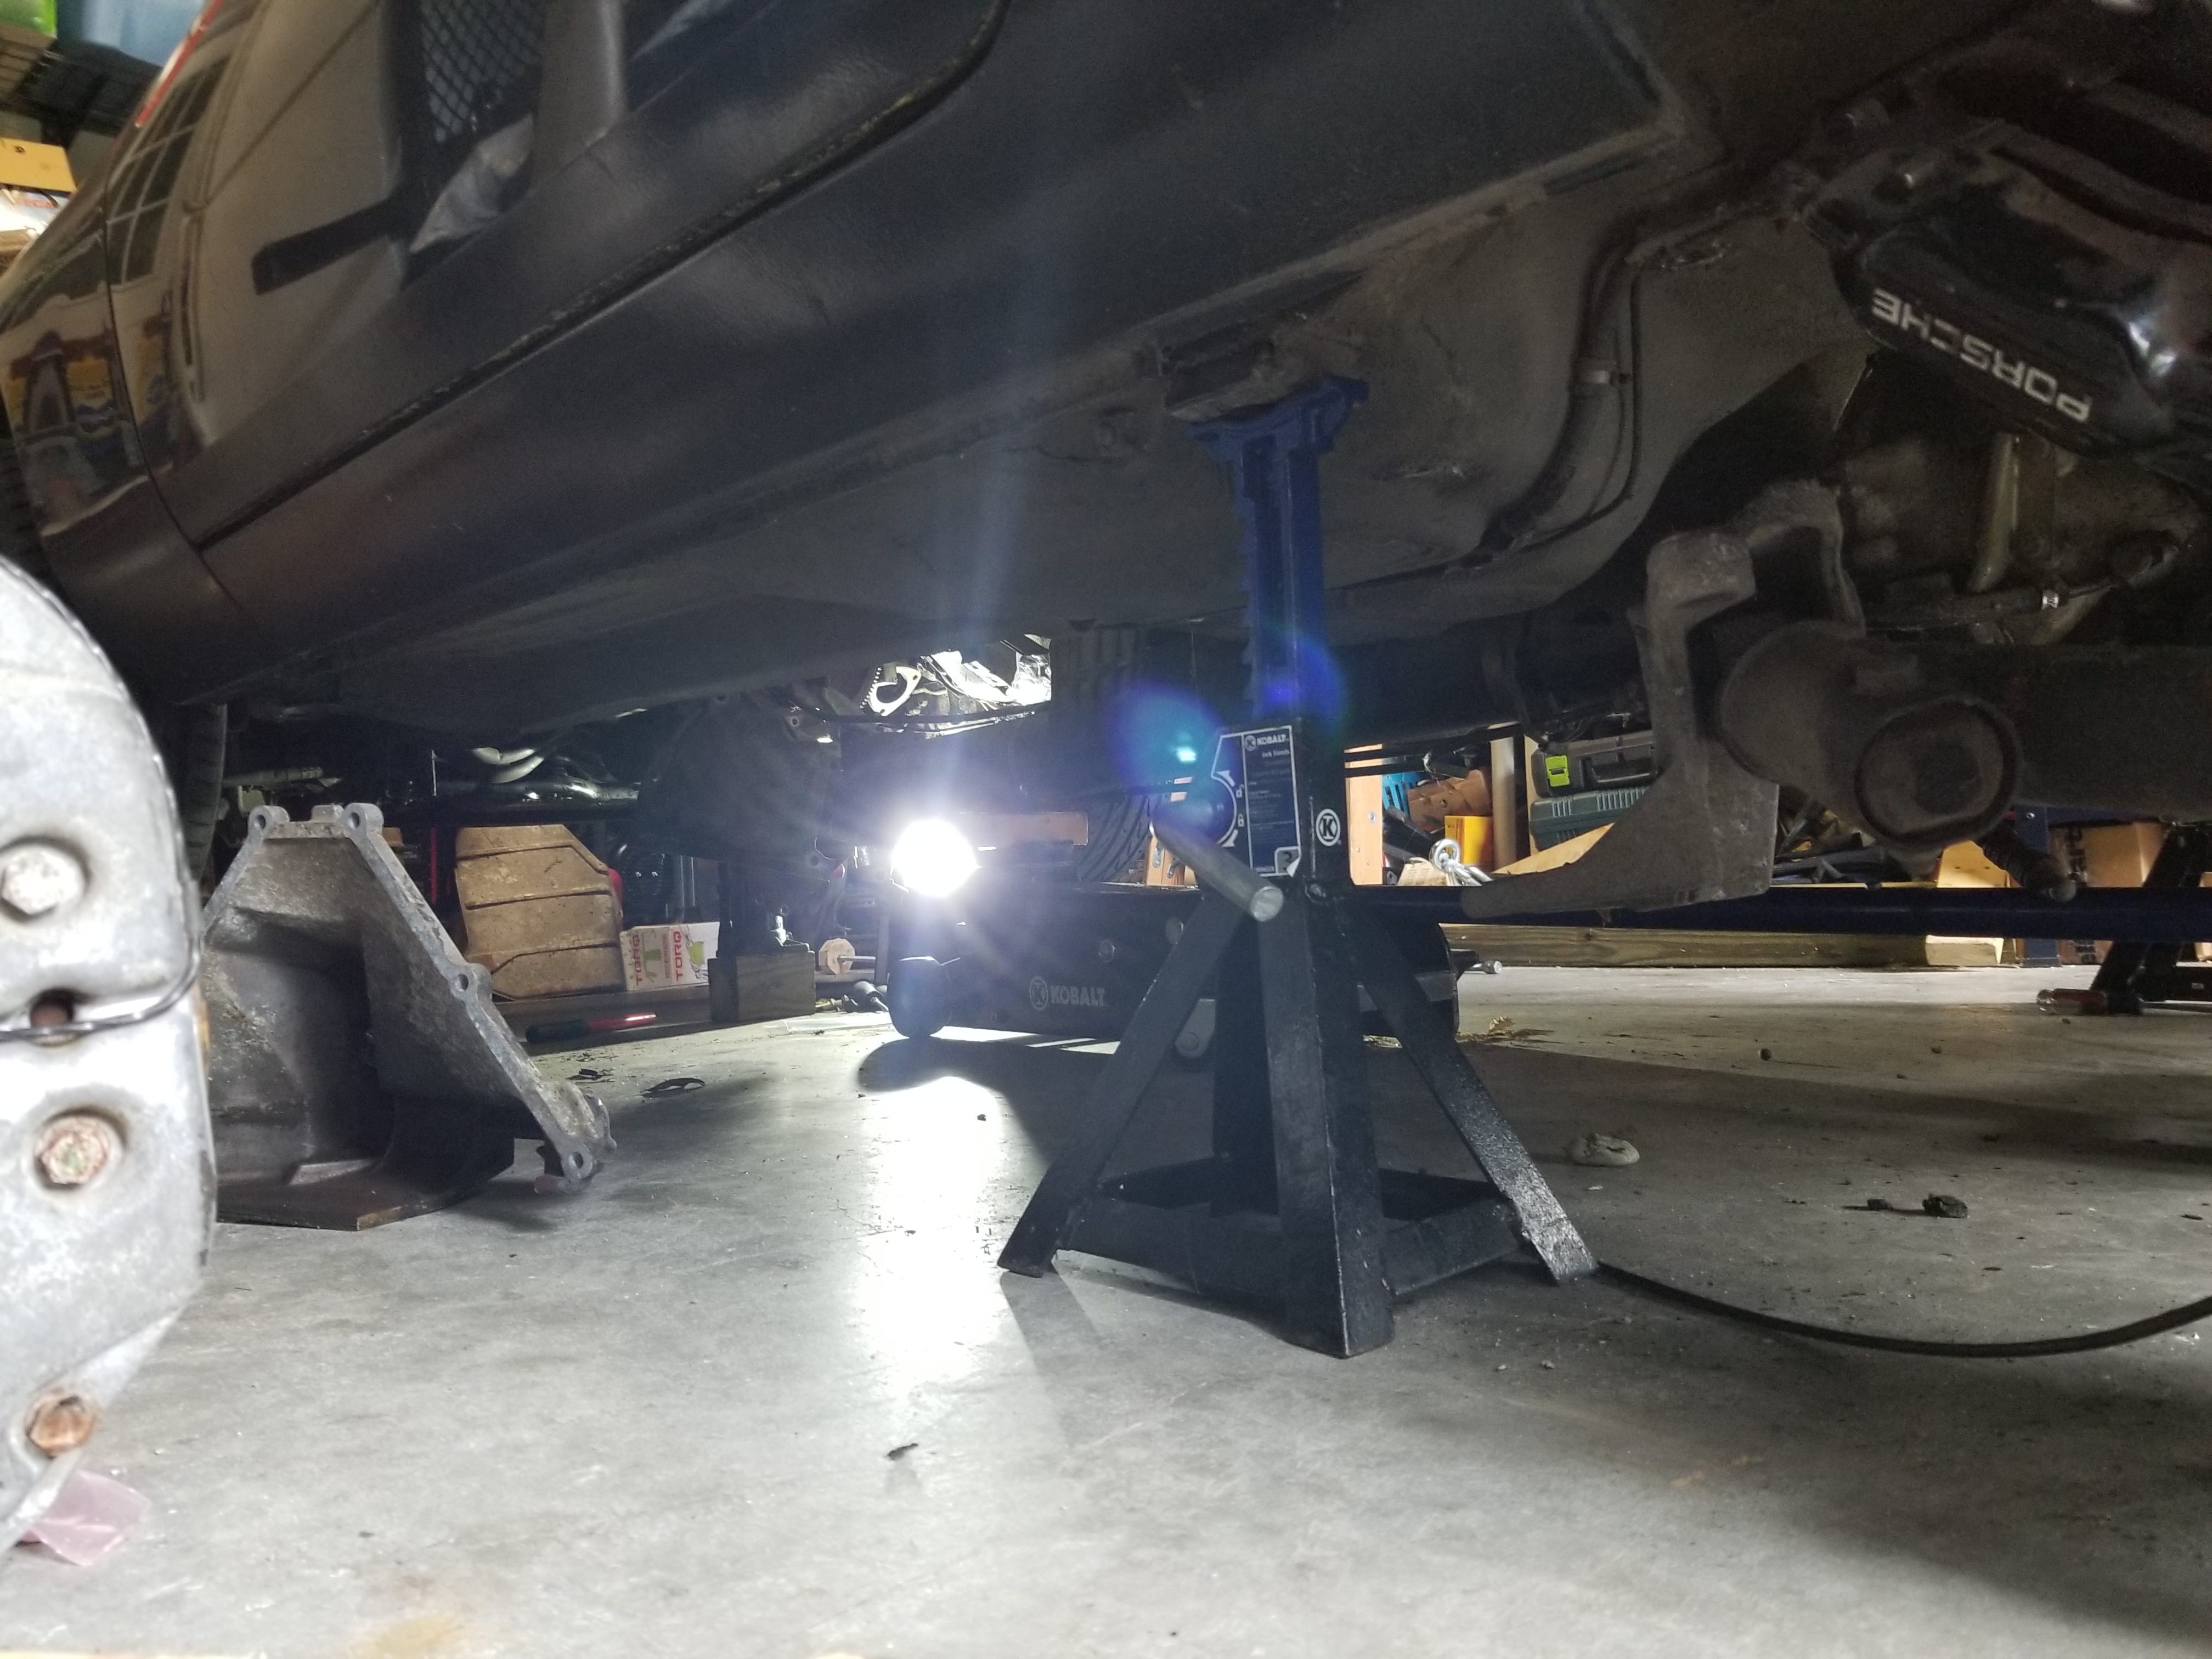
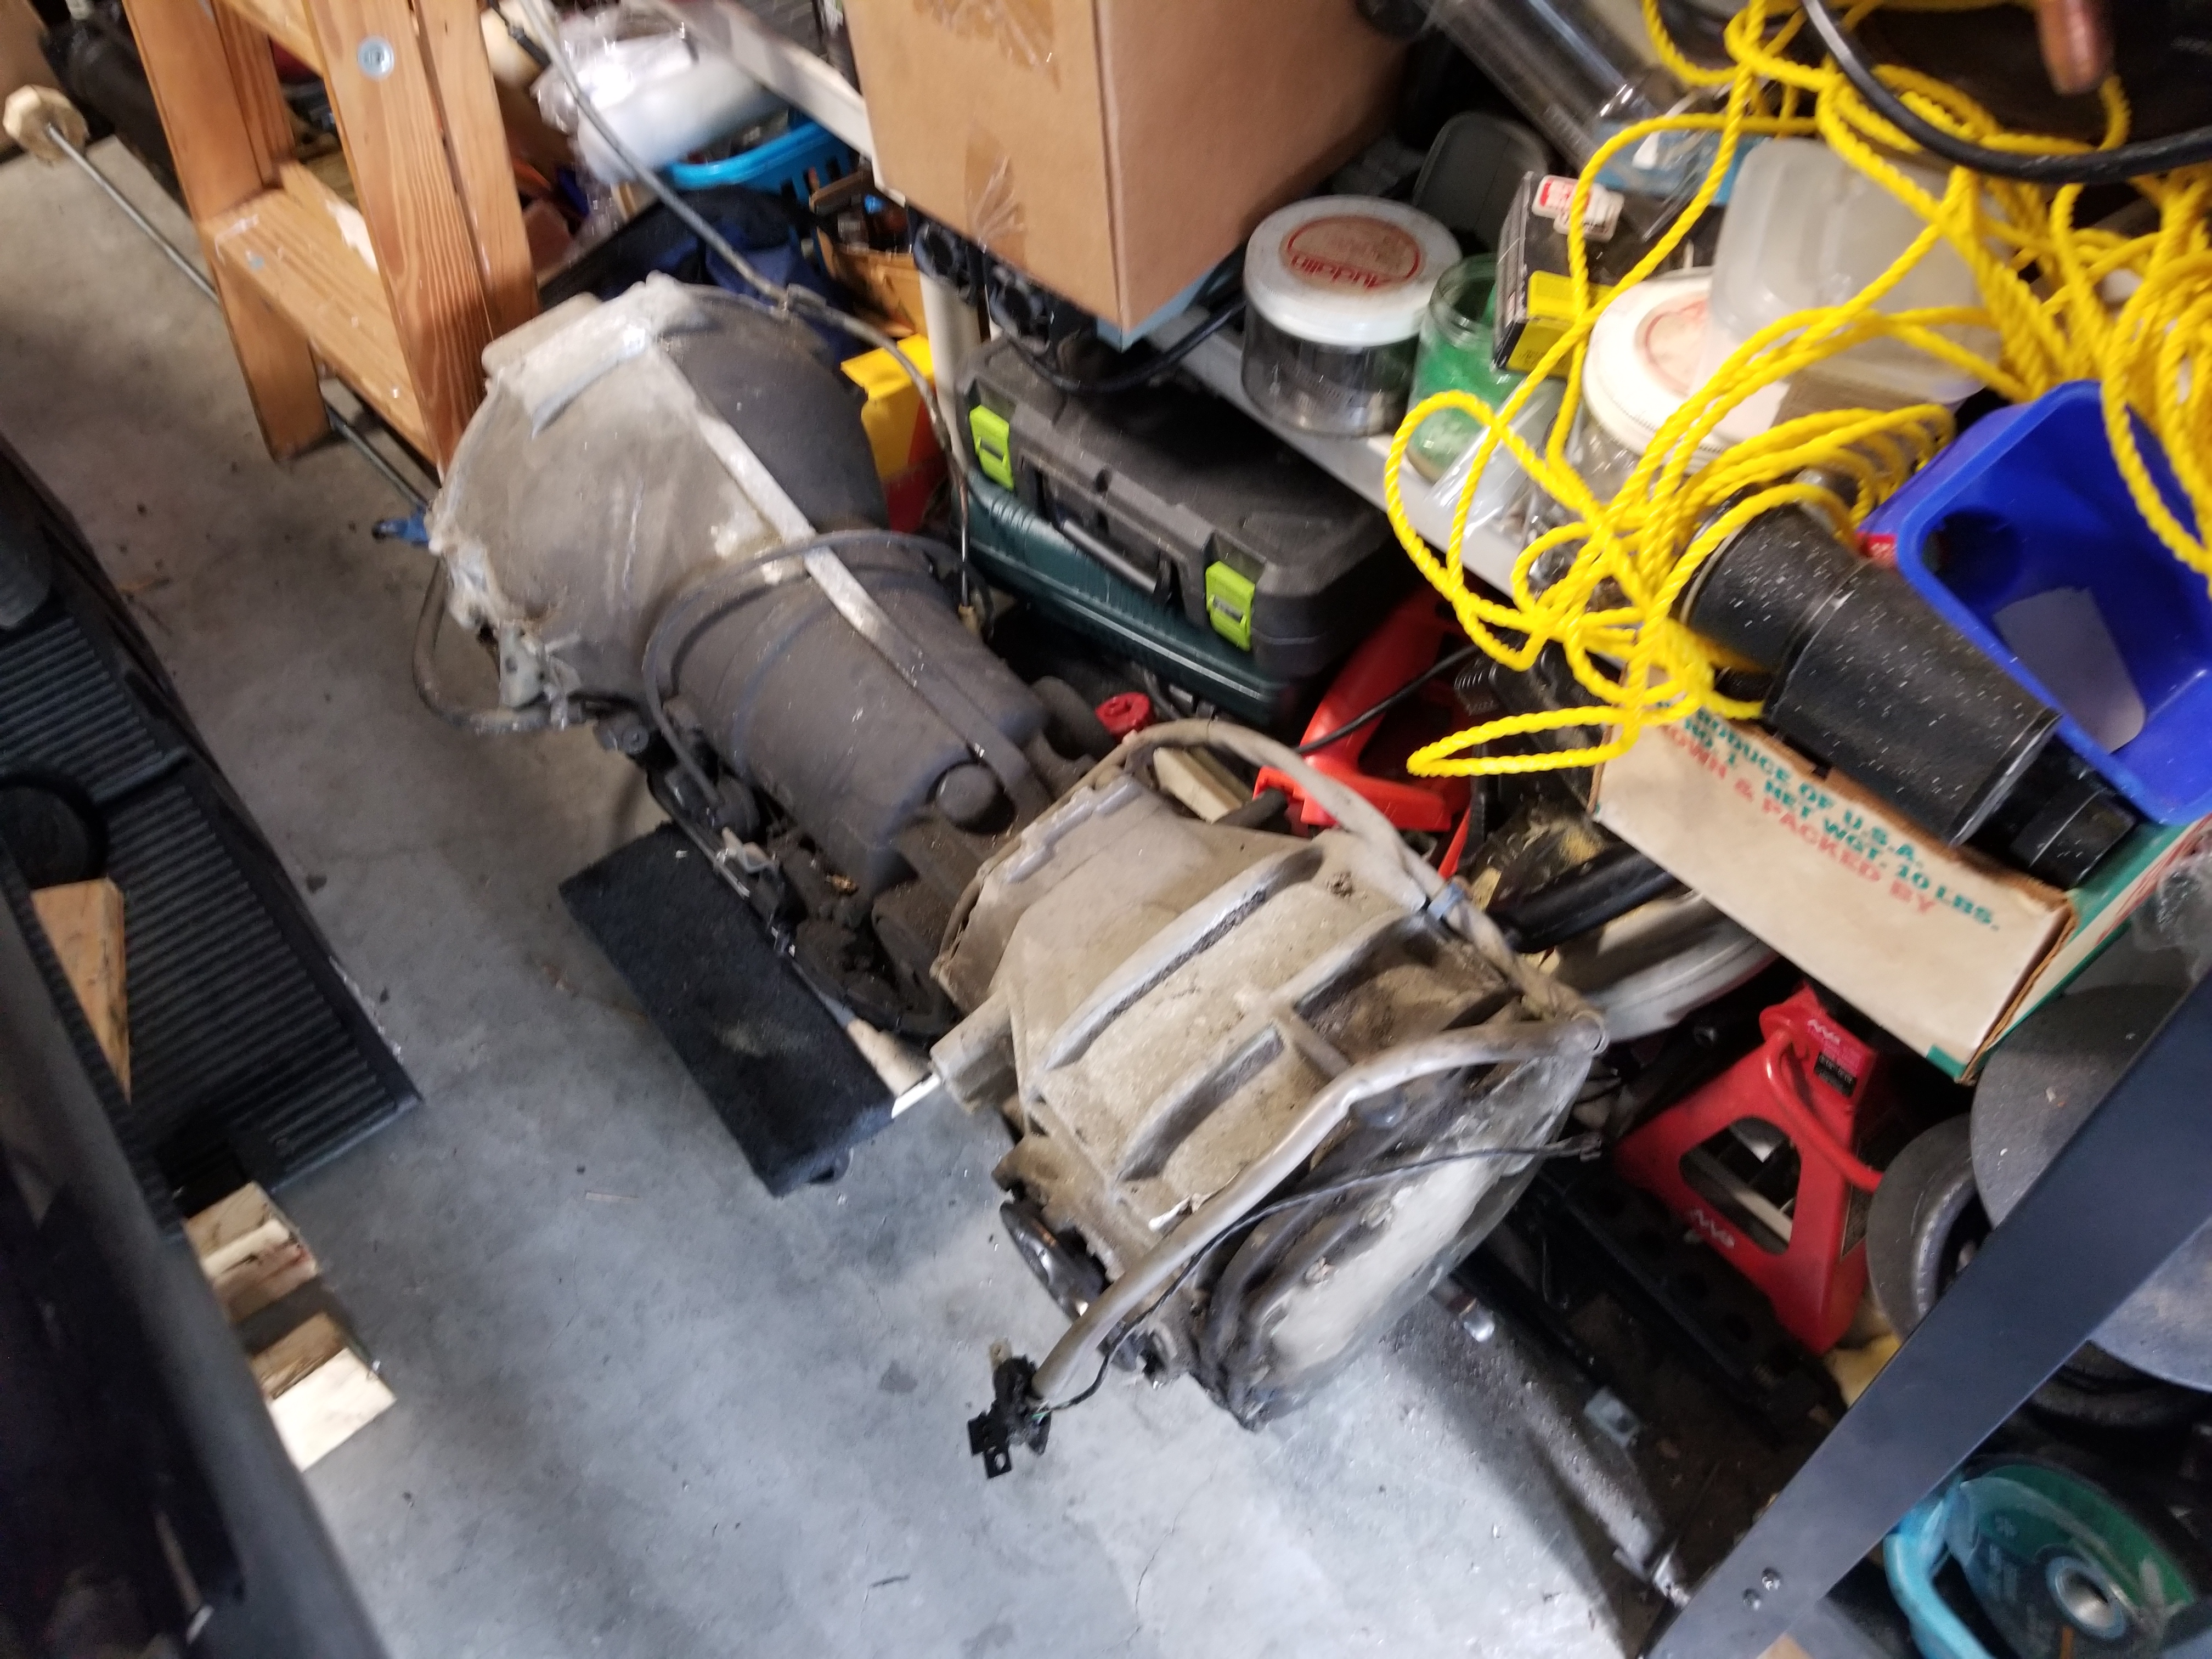
So this weekend I did get the auto all the way out from under the car.
Found some casualties from my bug bomb regiment after buying it.
I swapped the suspension components over from the auto to the manual crossmember. Also realized that if I wouldn't have gotten carried away with the impact removing stuff I wouldn't have to reassemble the coilovers again.
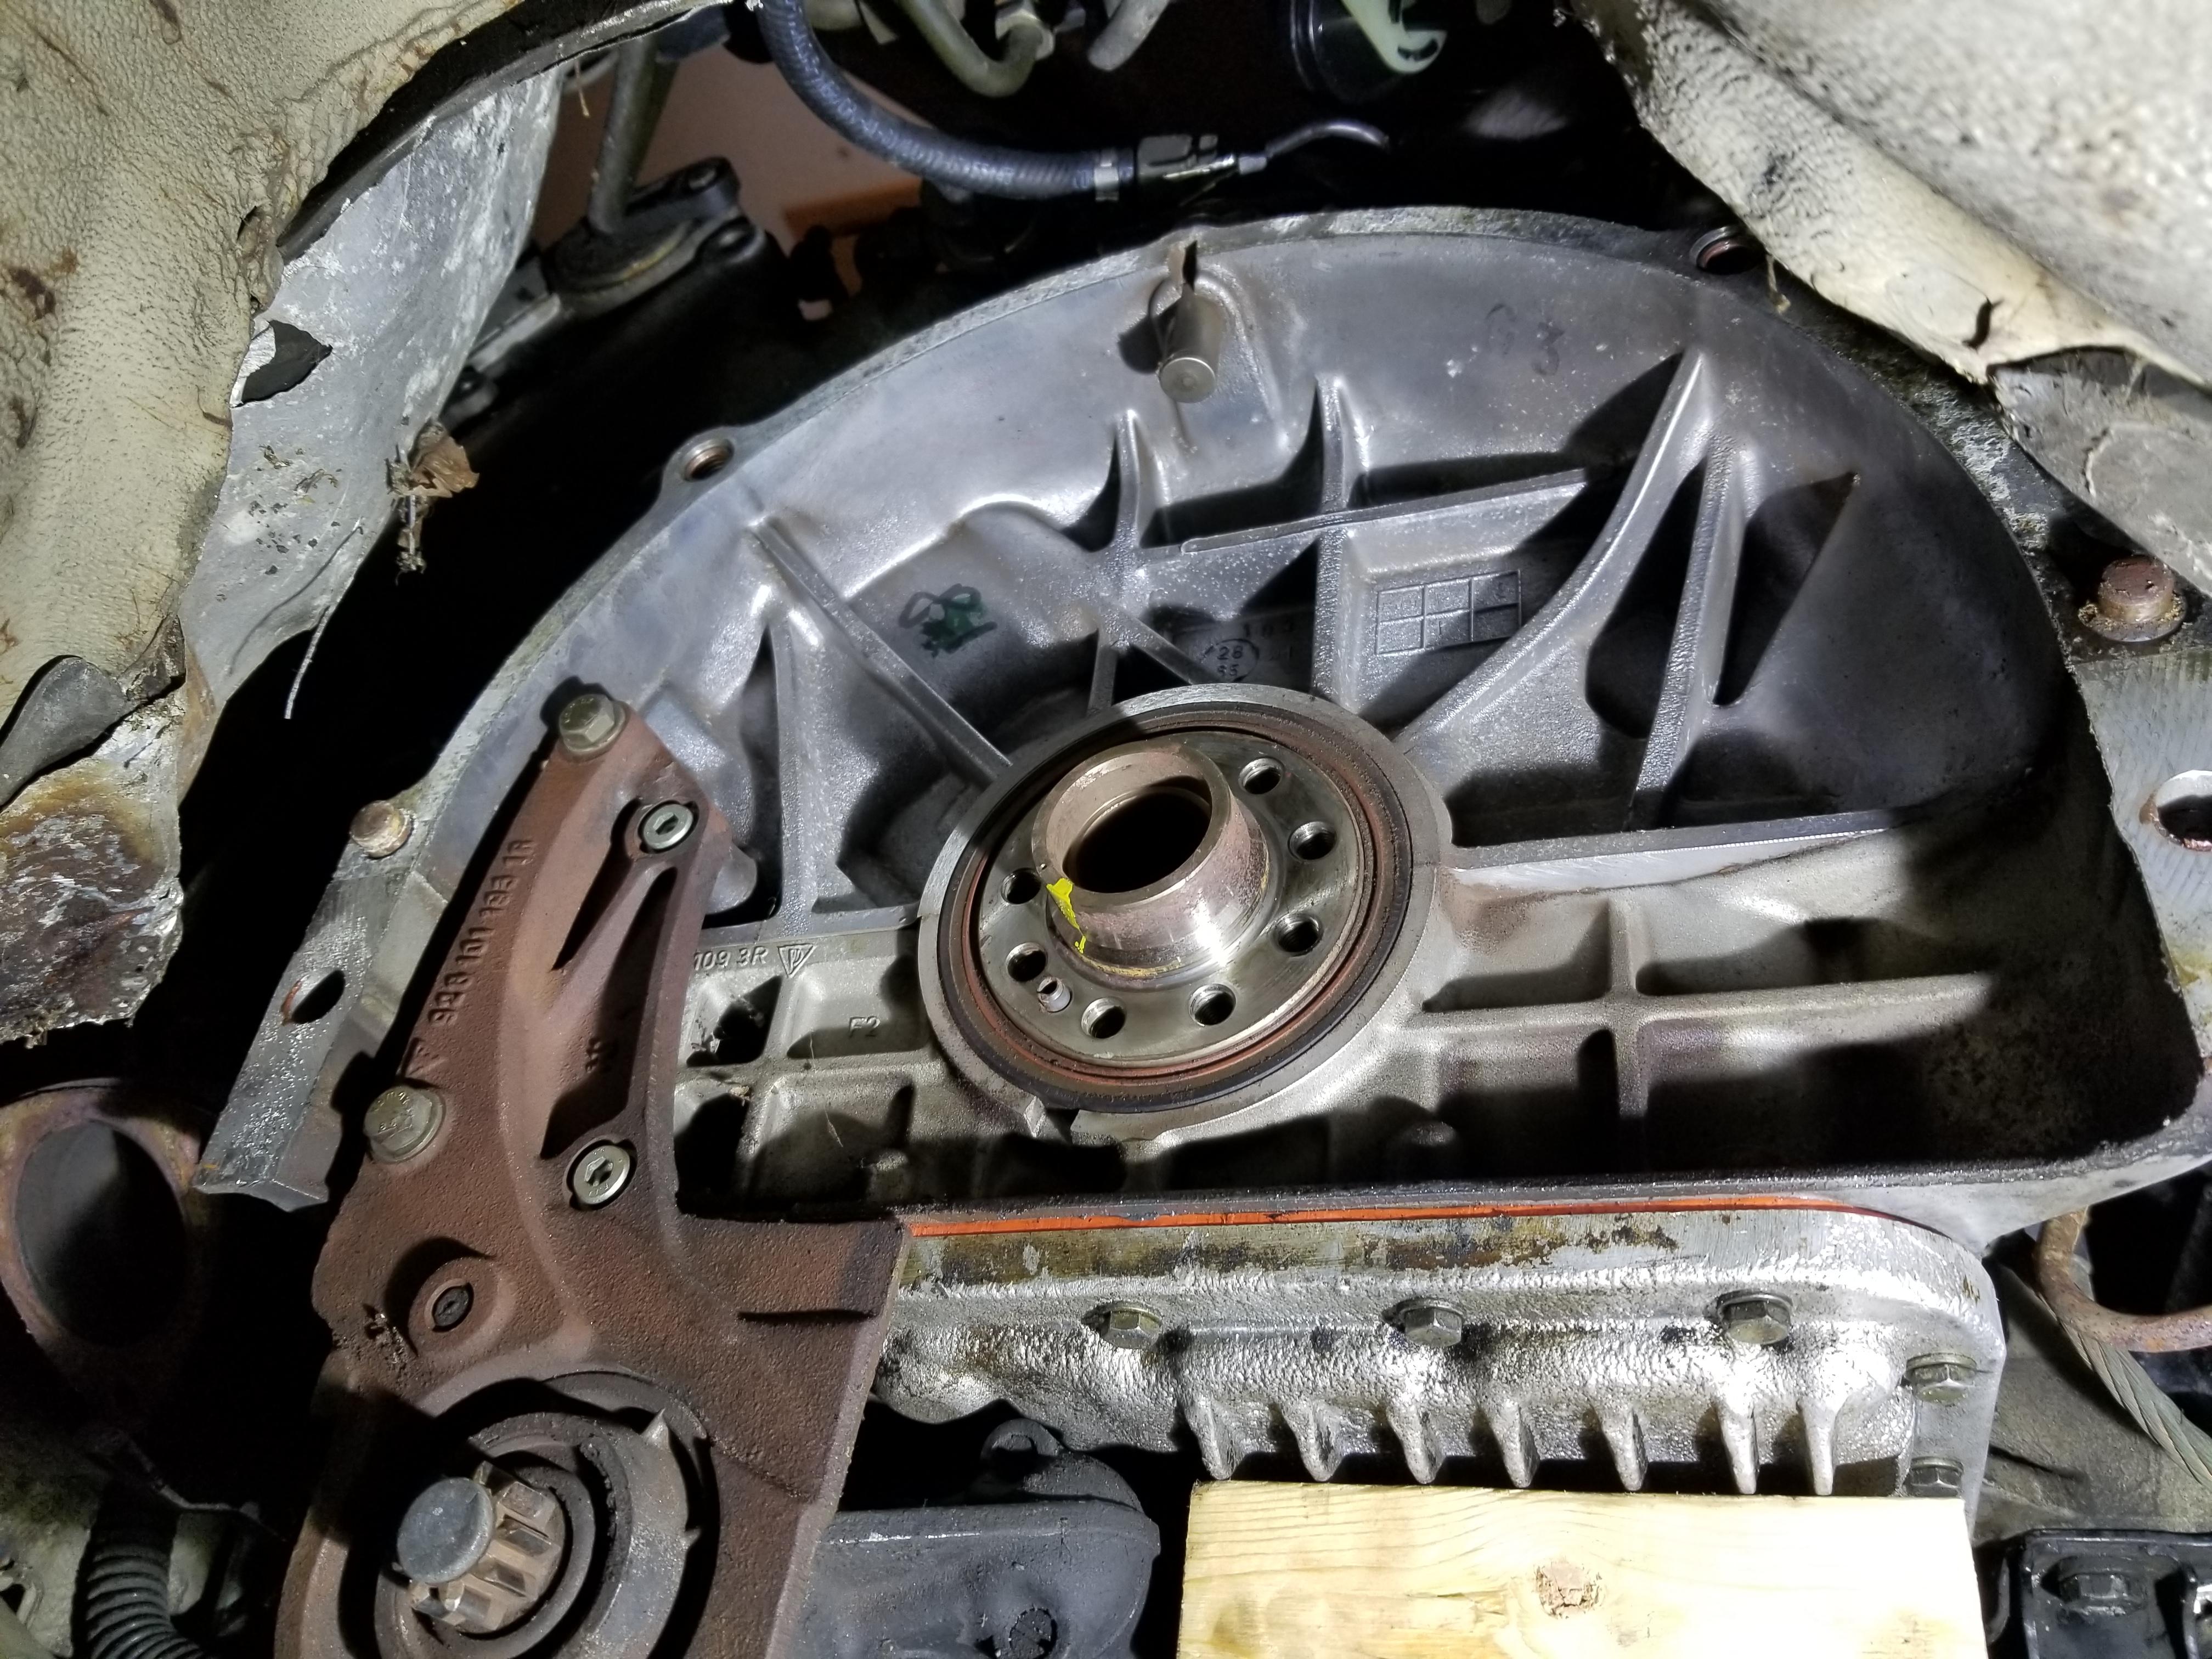
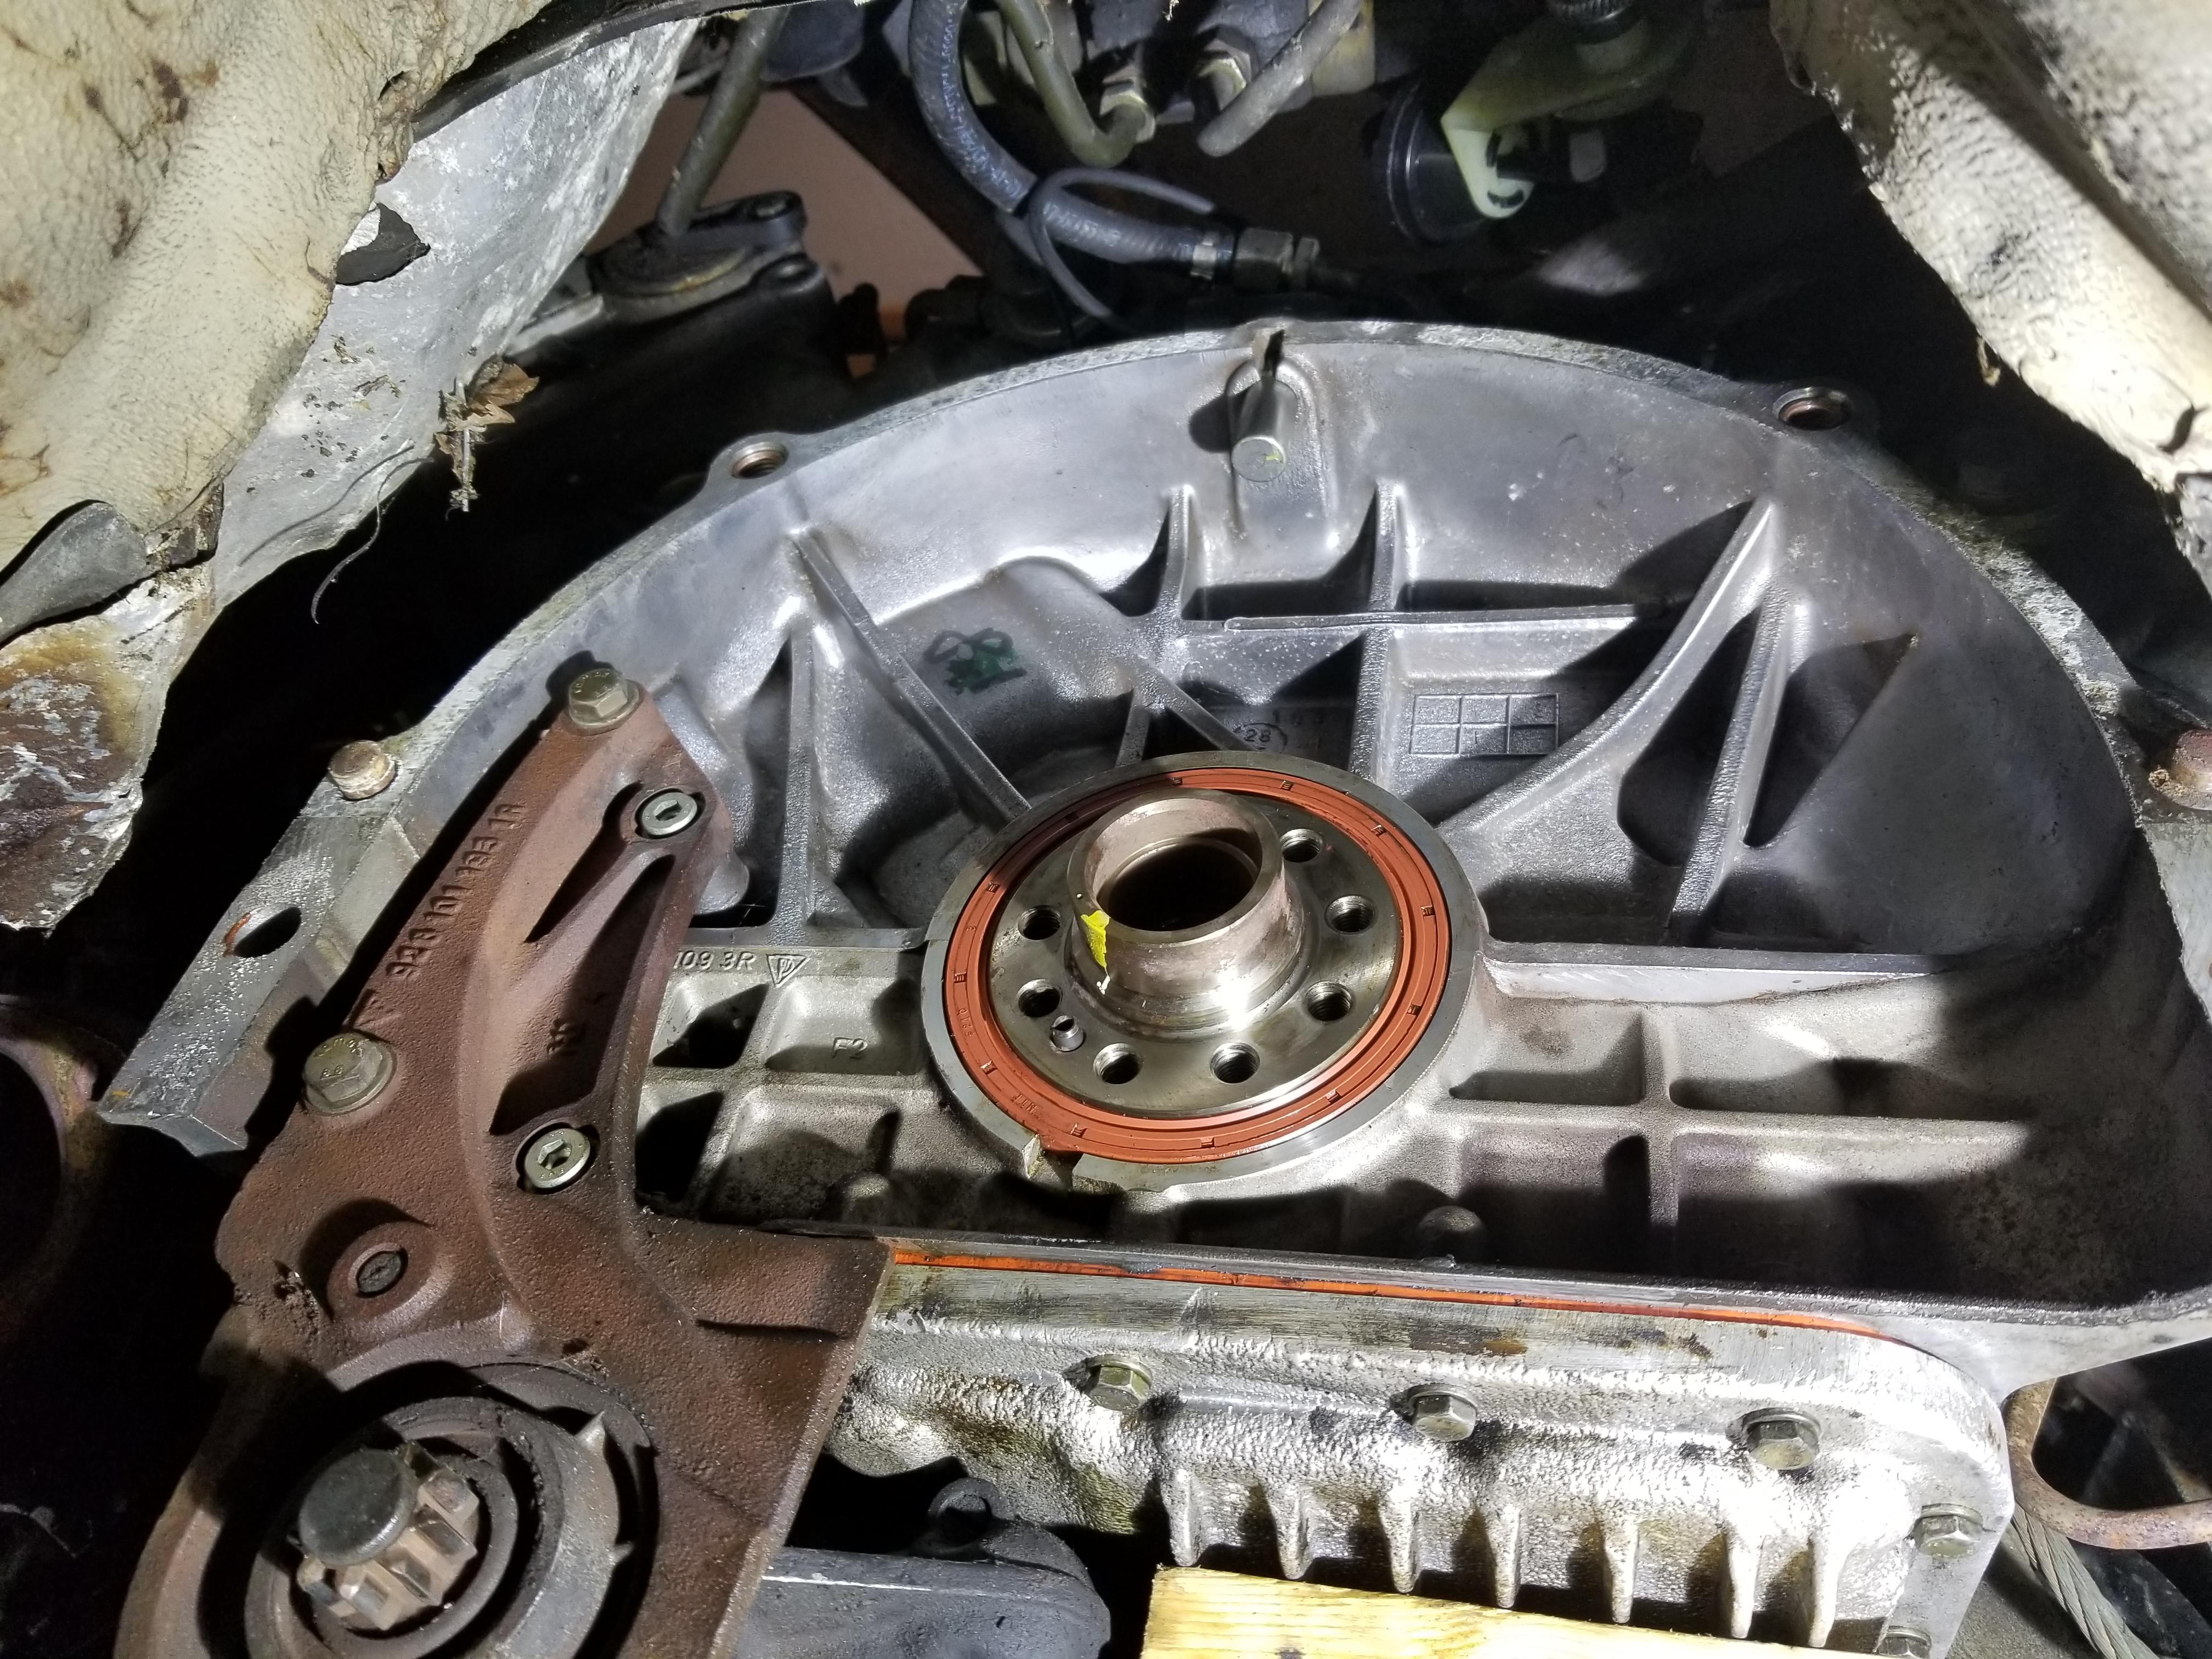
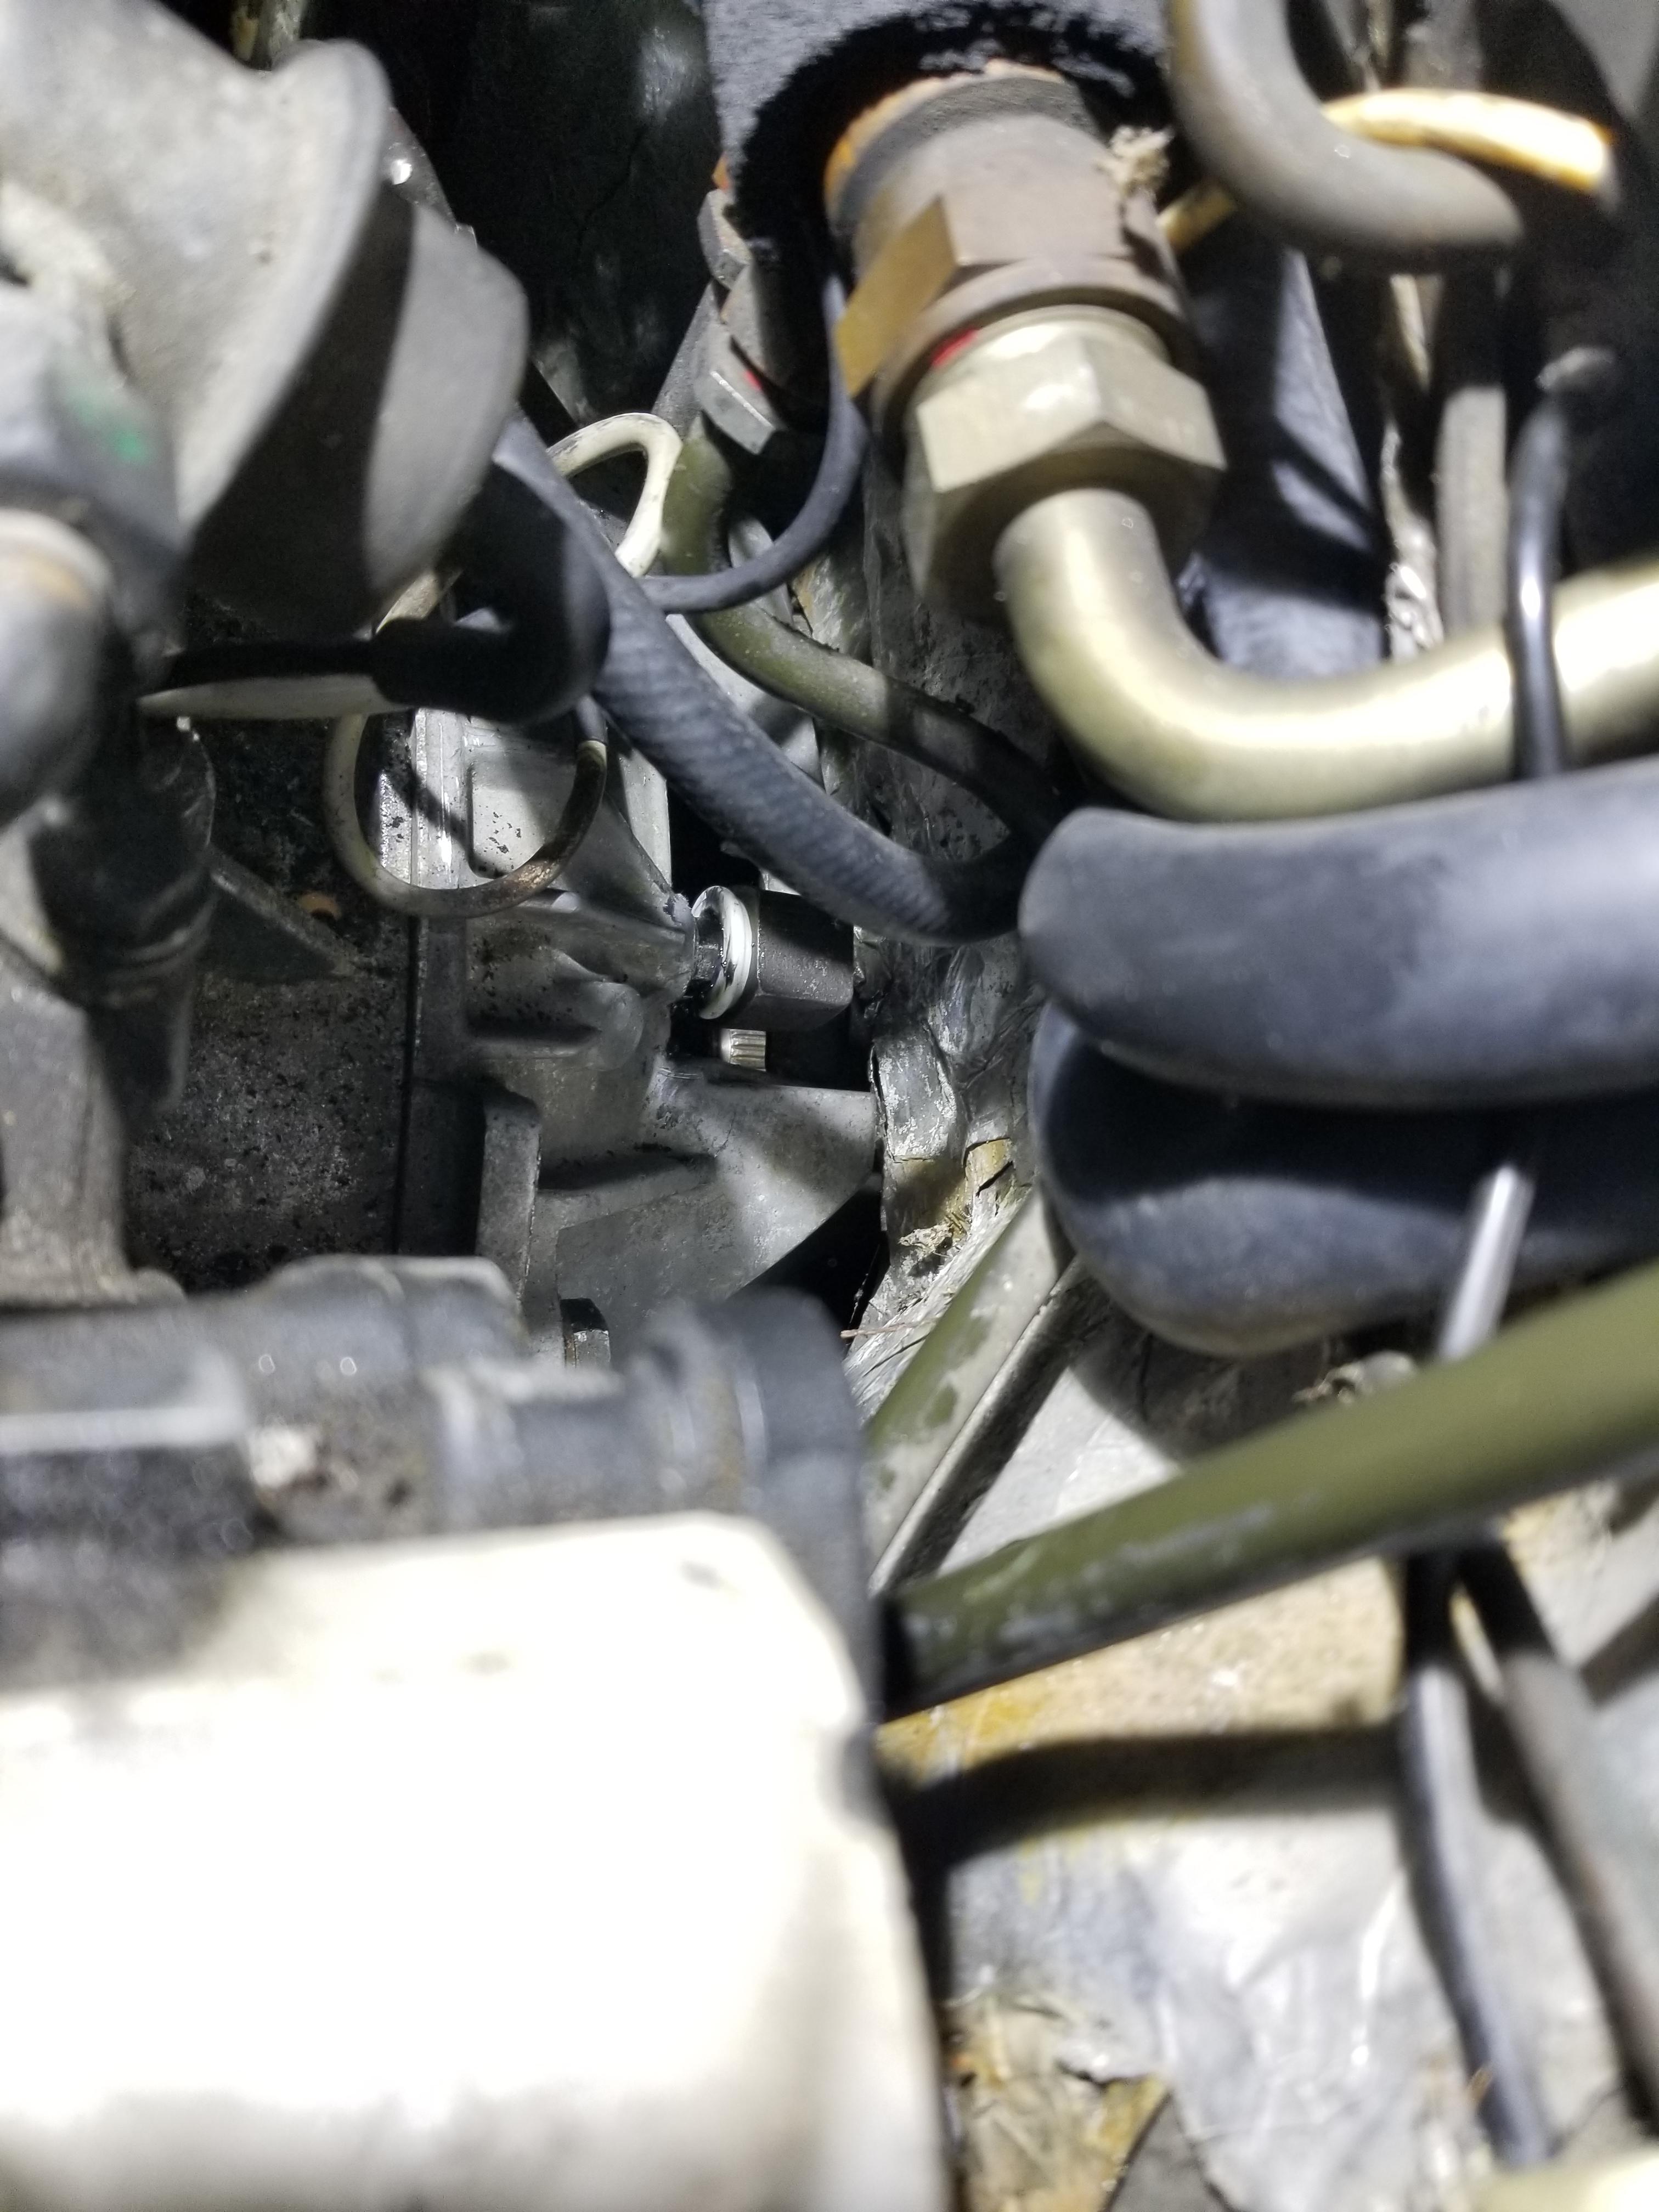
Apparently I didn't get a picture after the fact, but I did change the rear main seal and put in a new crank sensor while I have access to everything.
Planning to go out to the garage and work on getting the pilot bearing, flywheel, and clutch on the motor tonight.
Here's the picture with the new rear main seal and the new crank sensor in place.
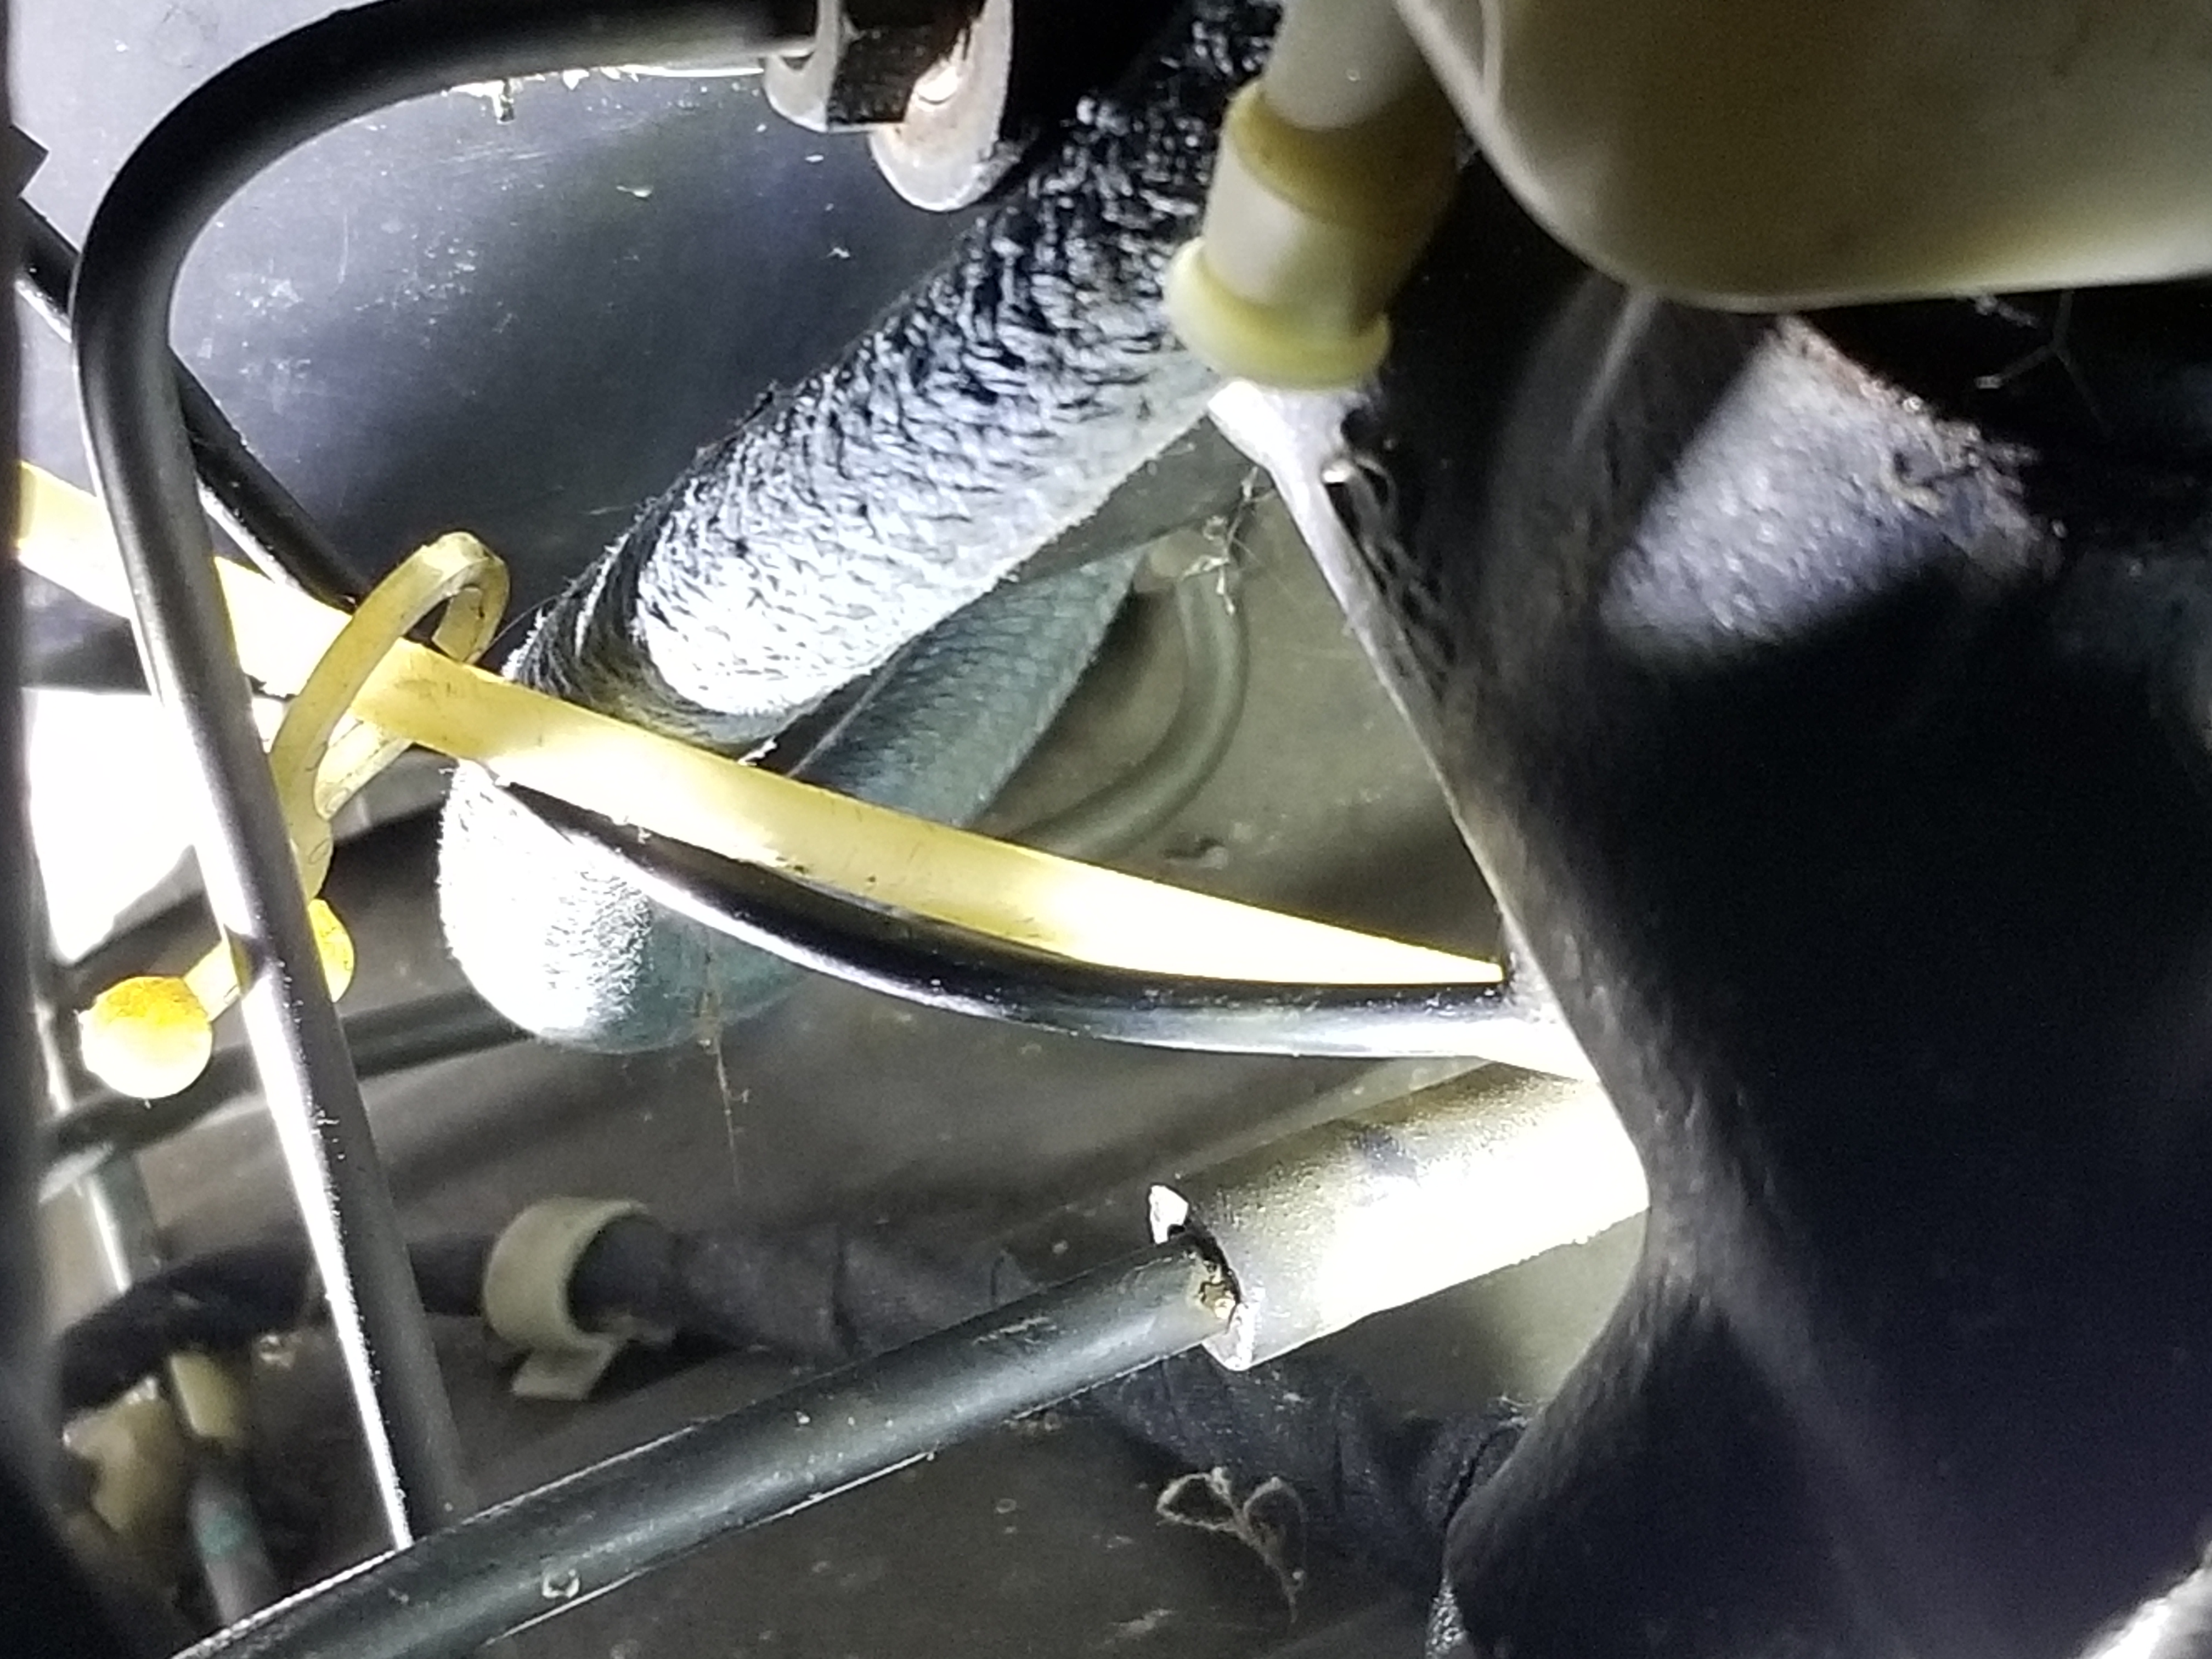
With the bellhousing out of the way I fished in the hardline for the master cylinder too. Haven't connected the blue hose yet.
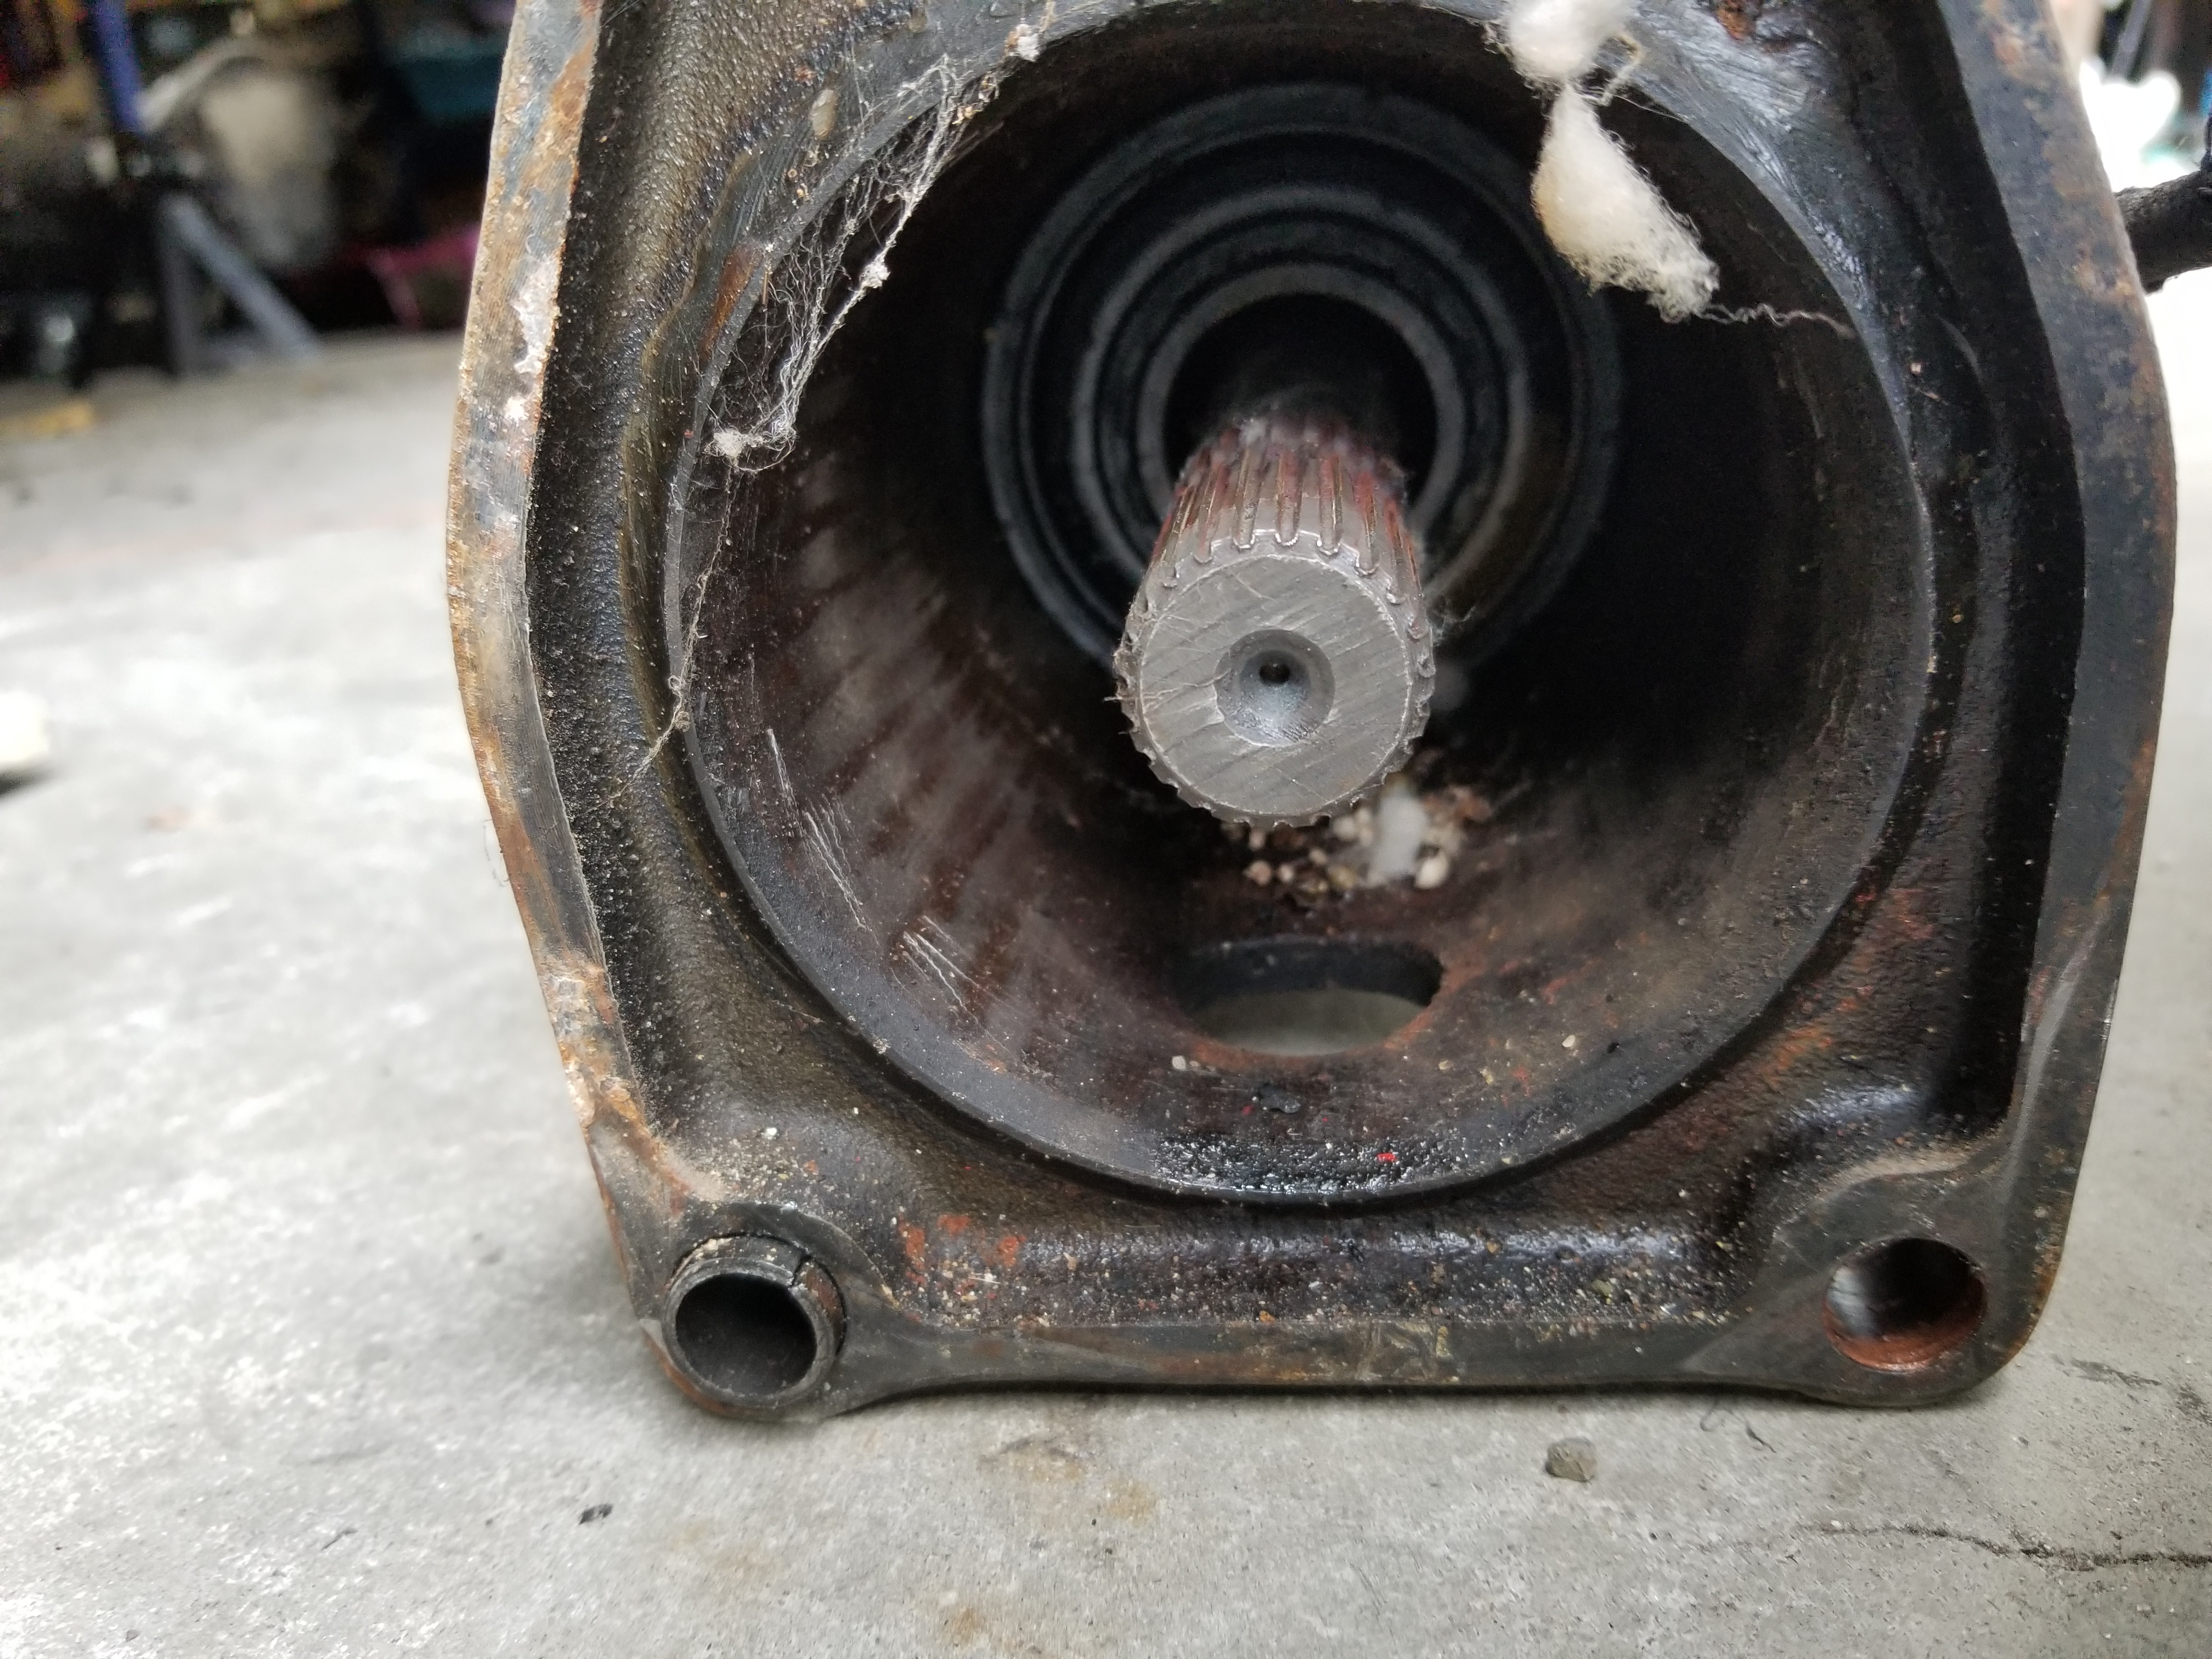
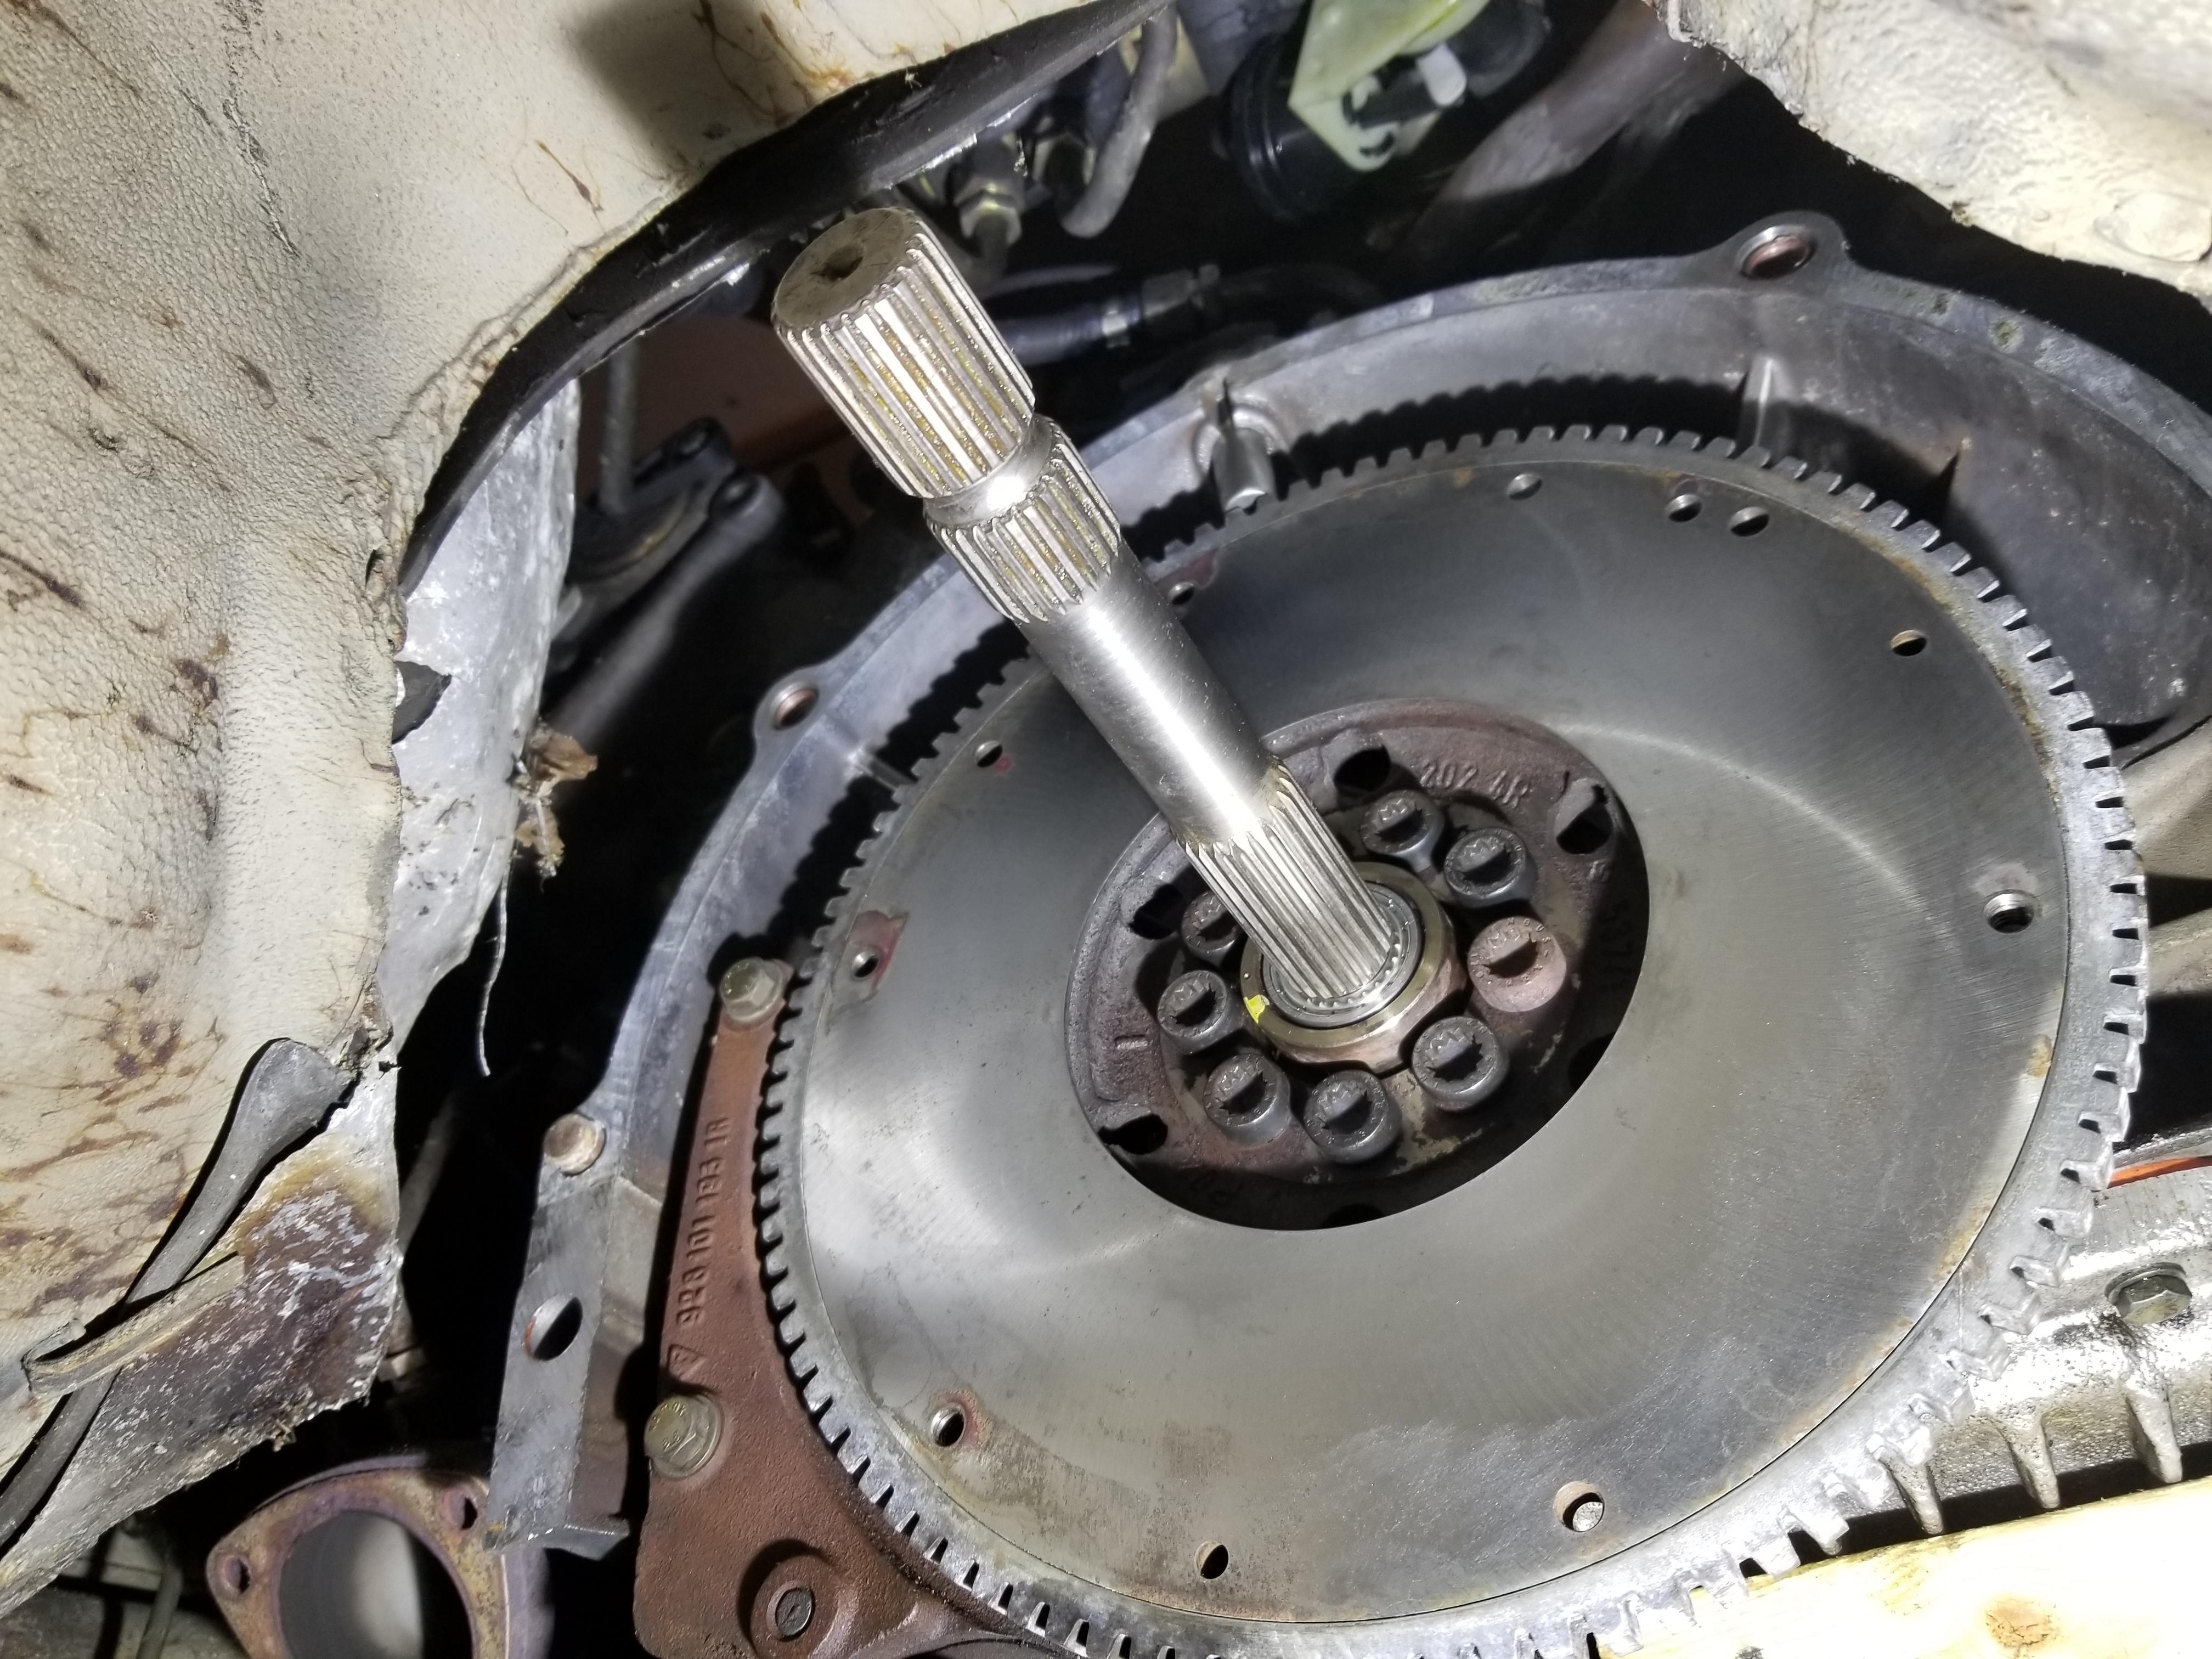
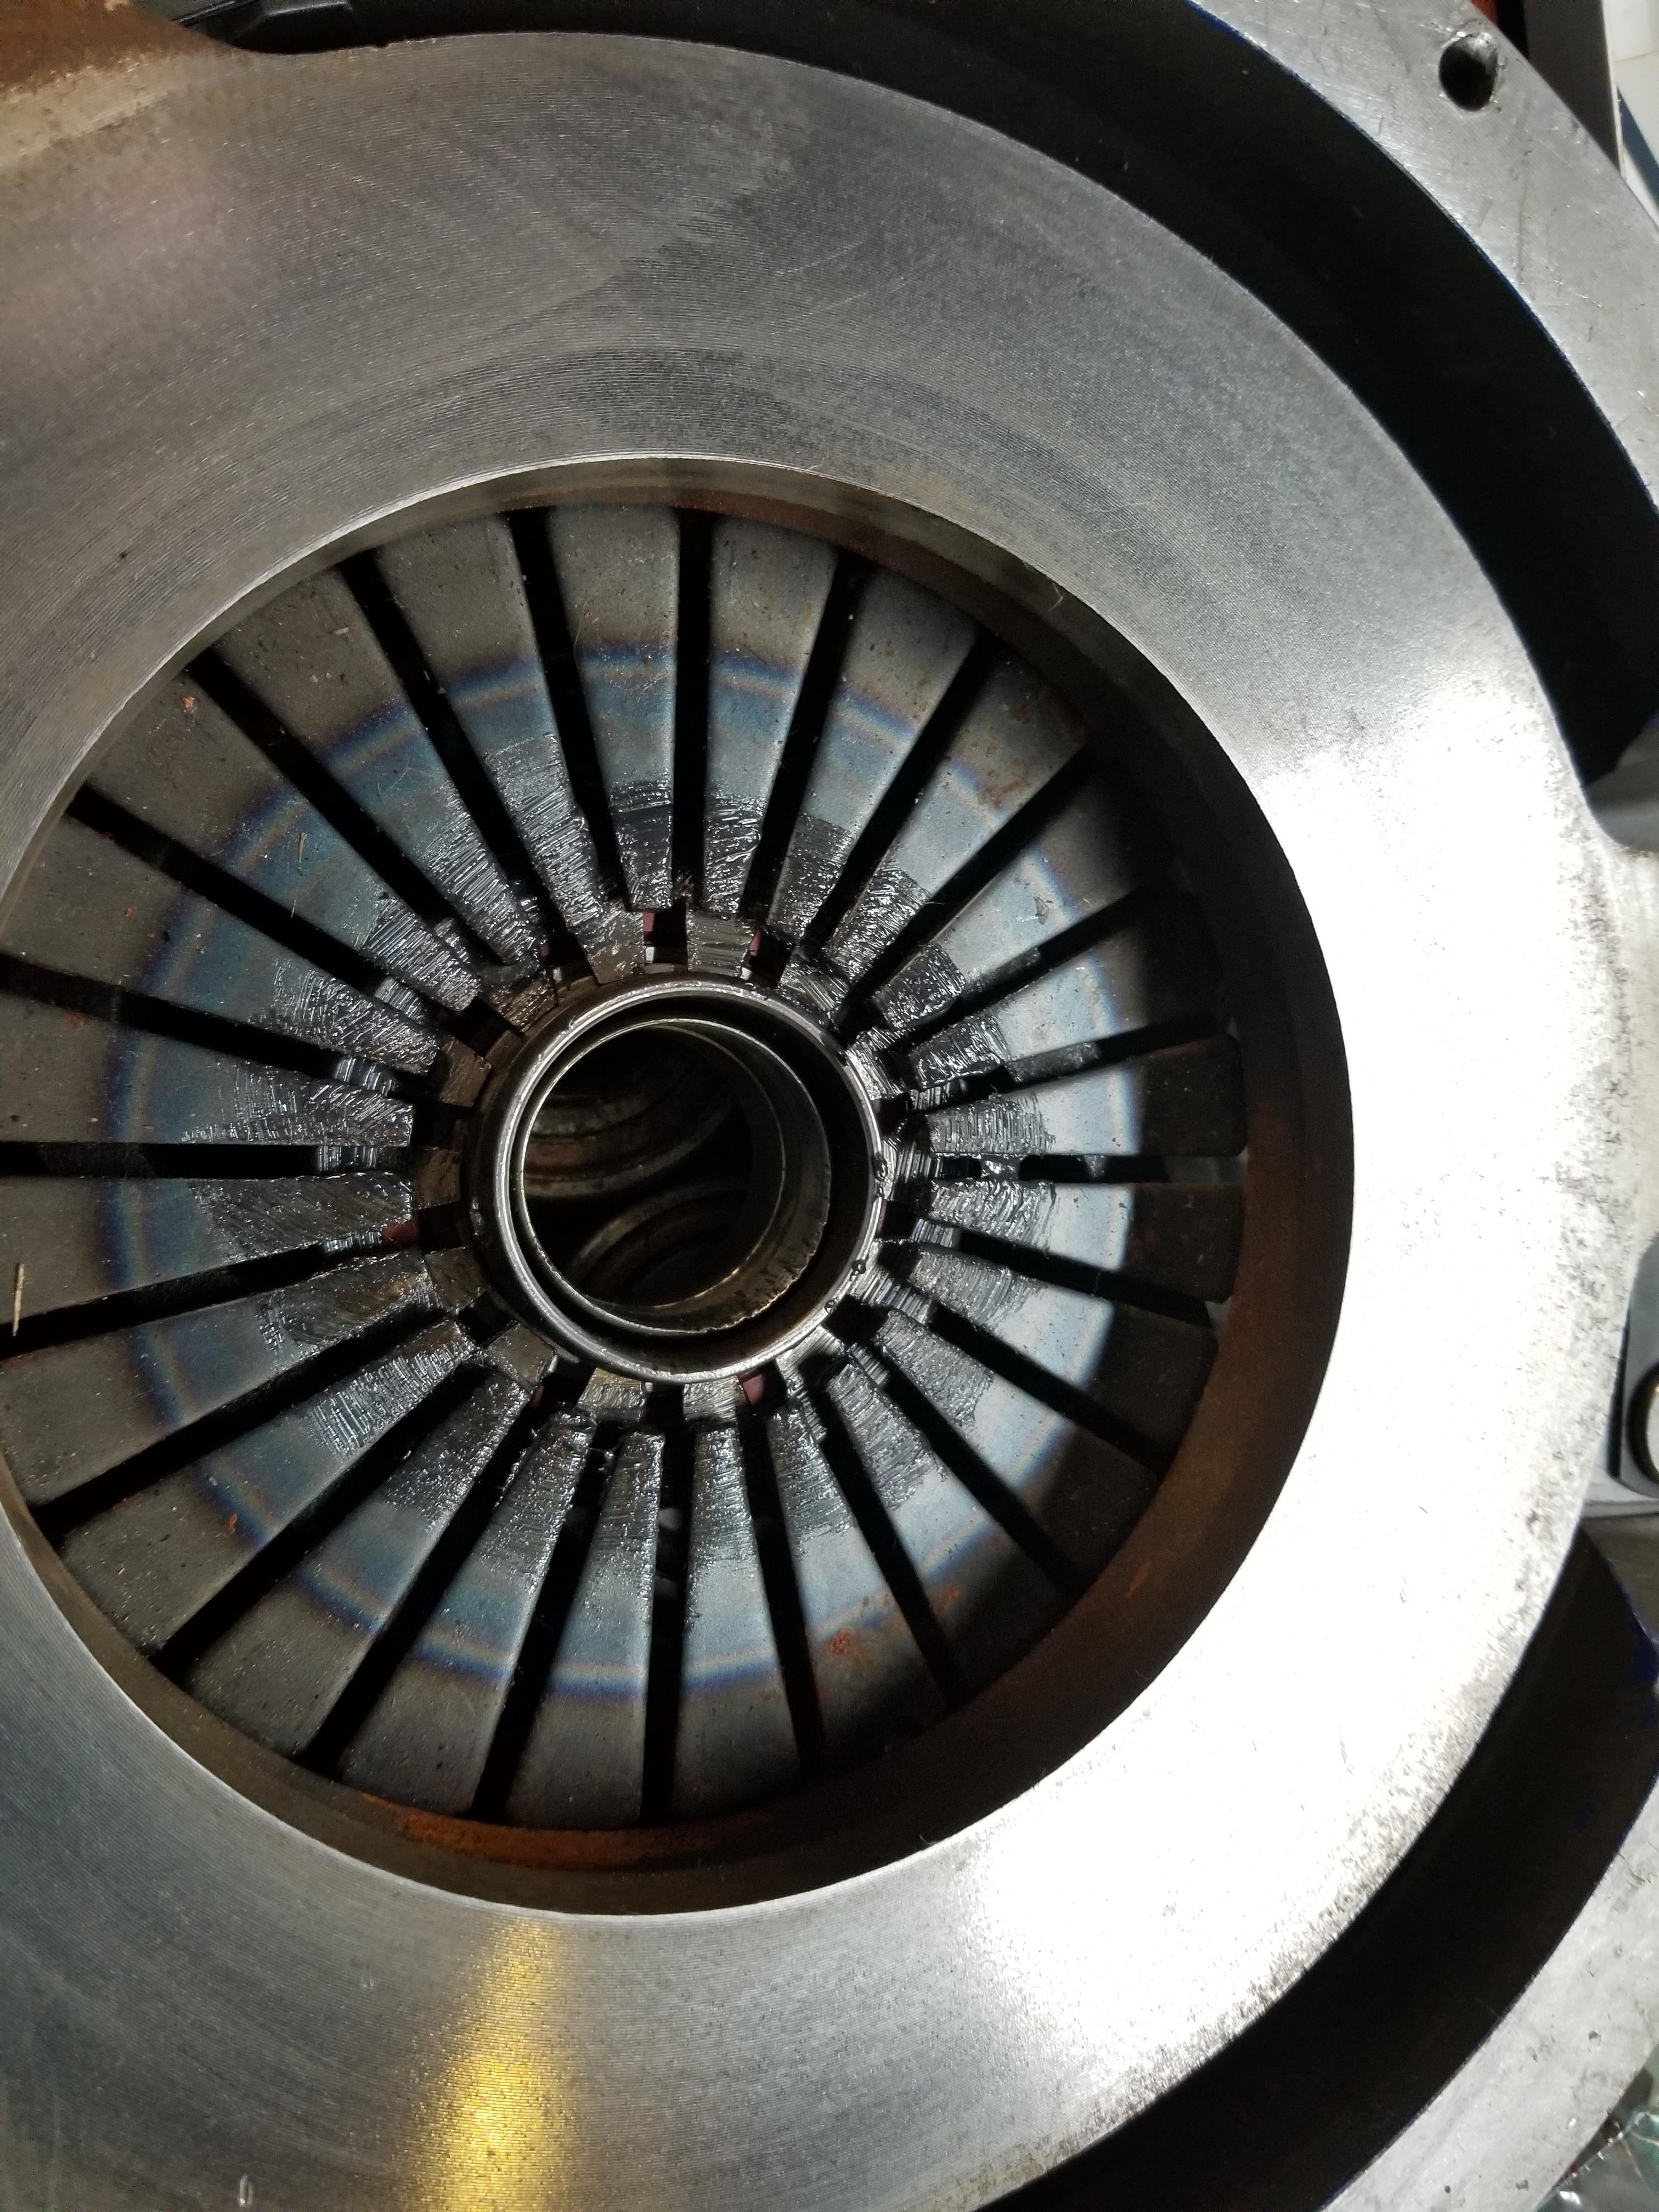
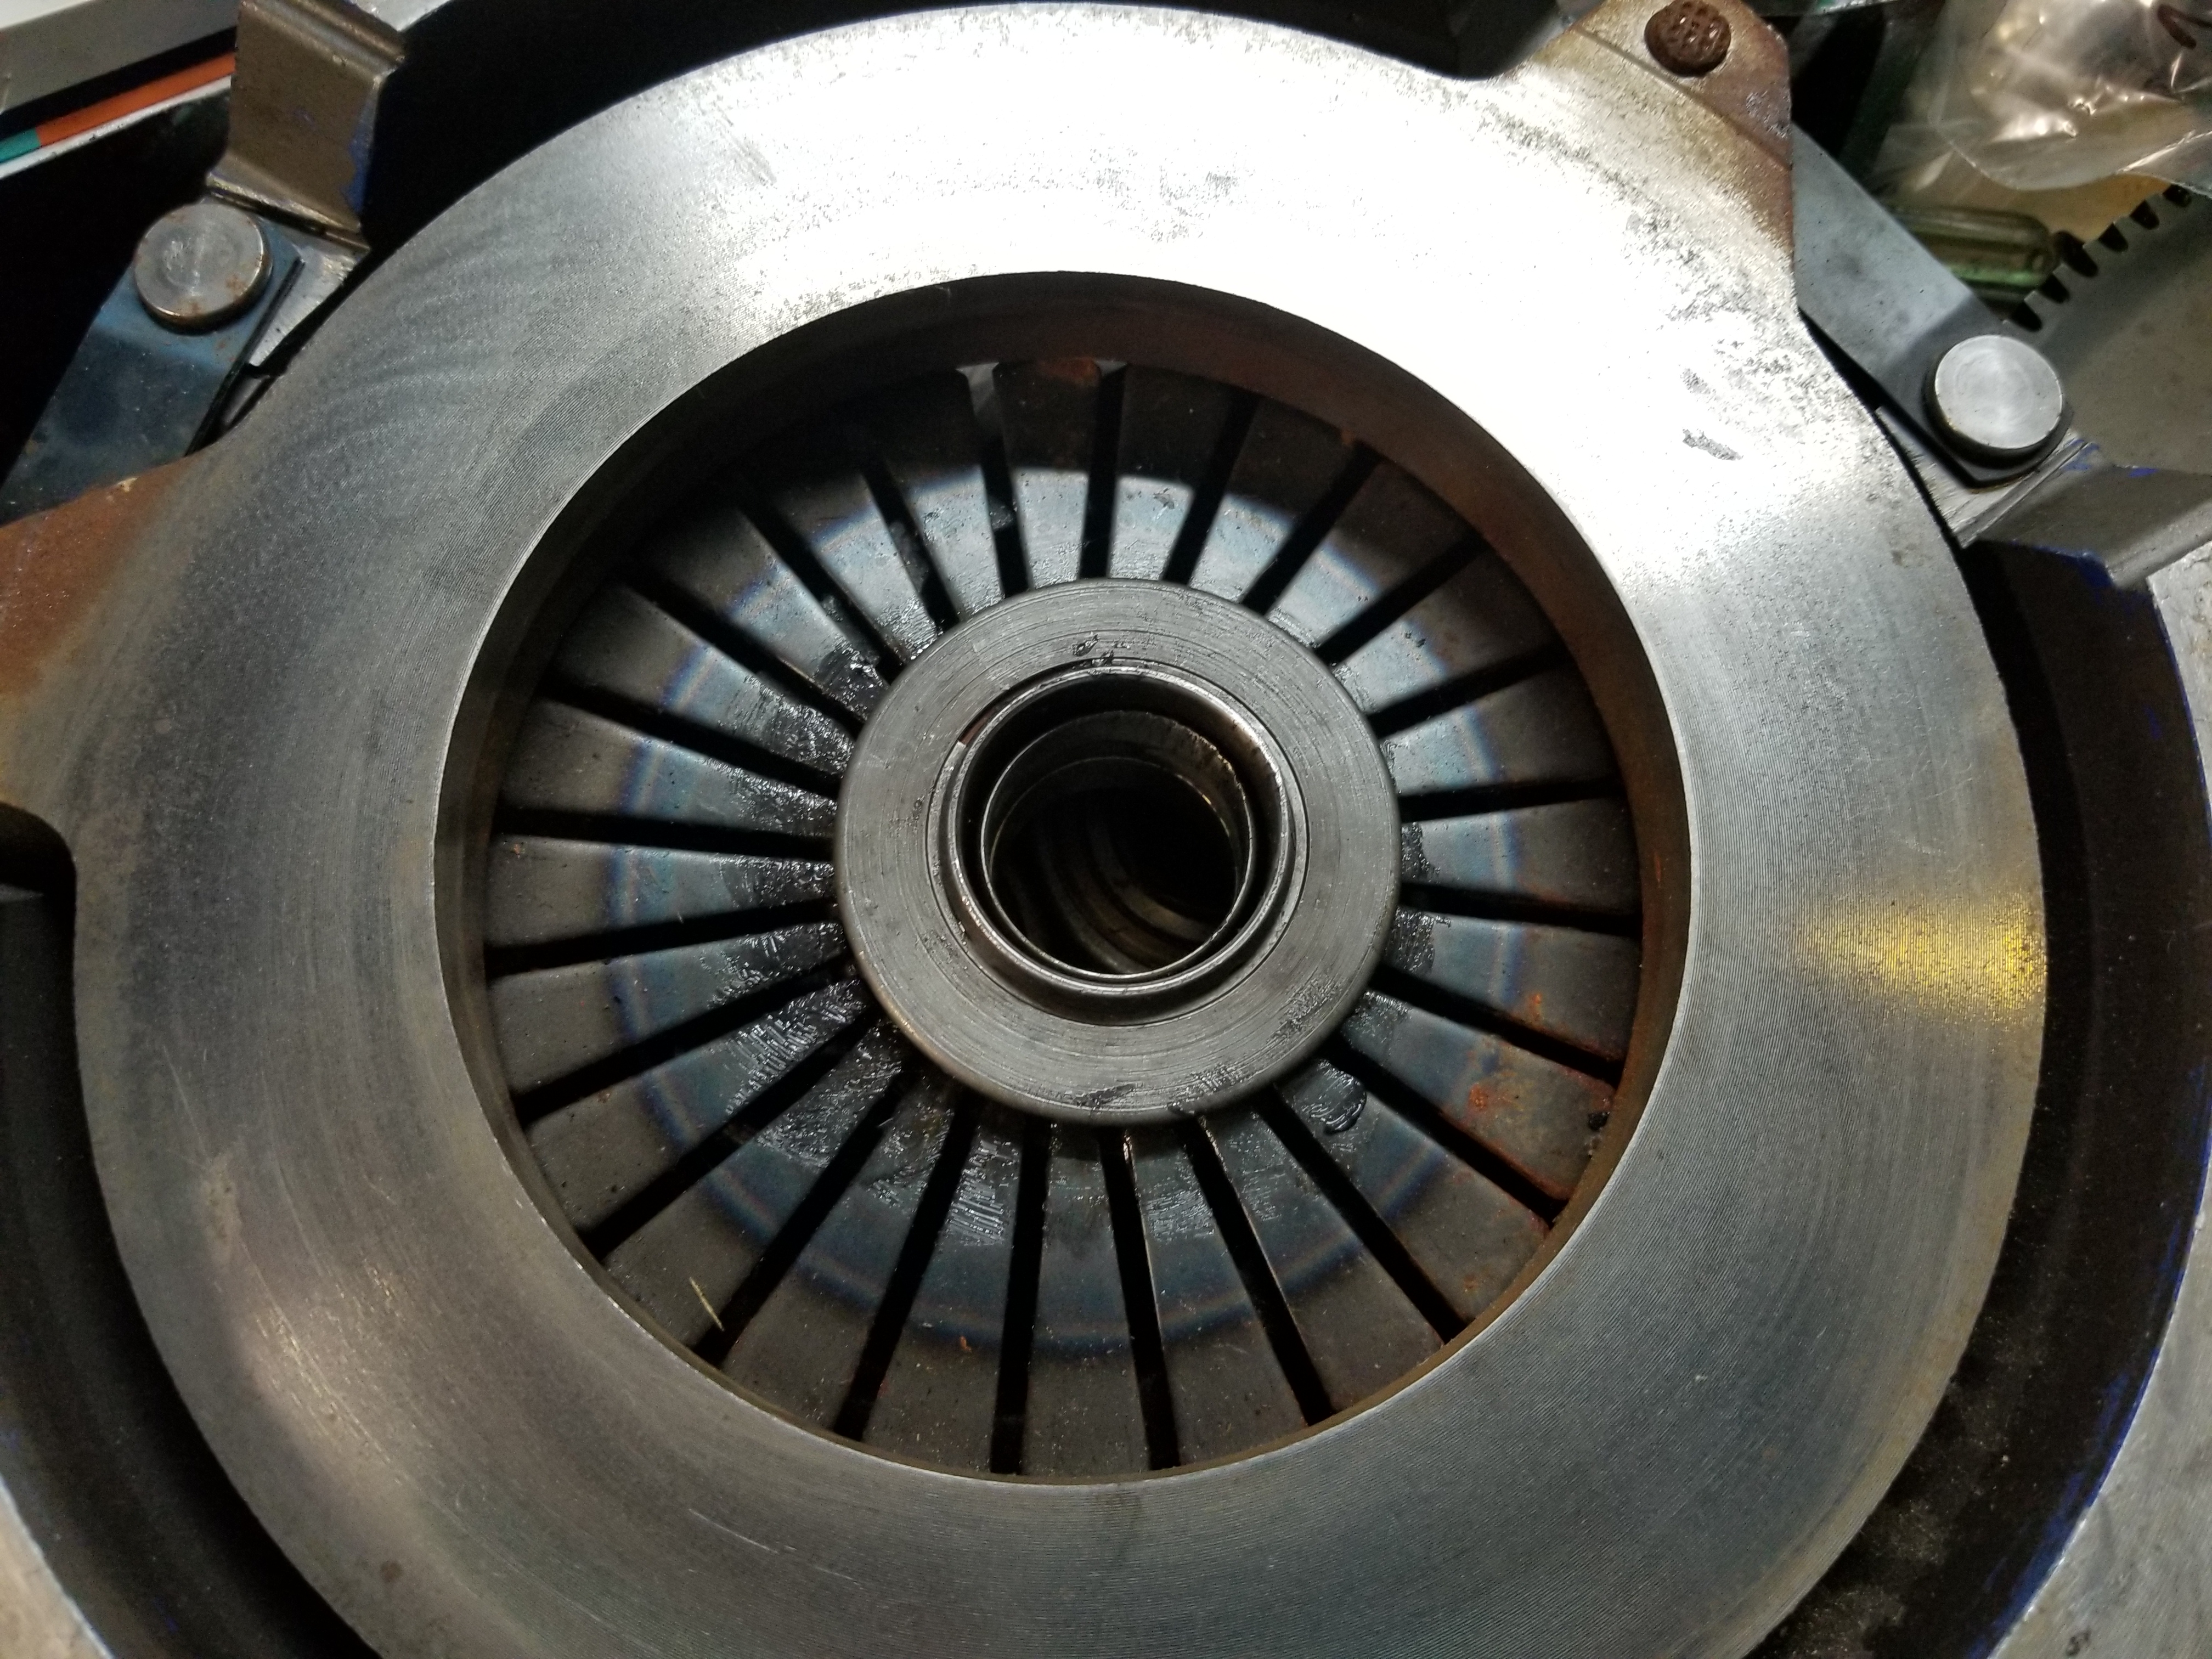
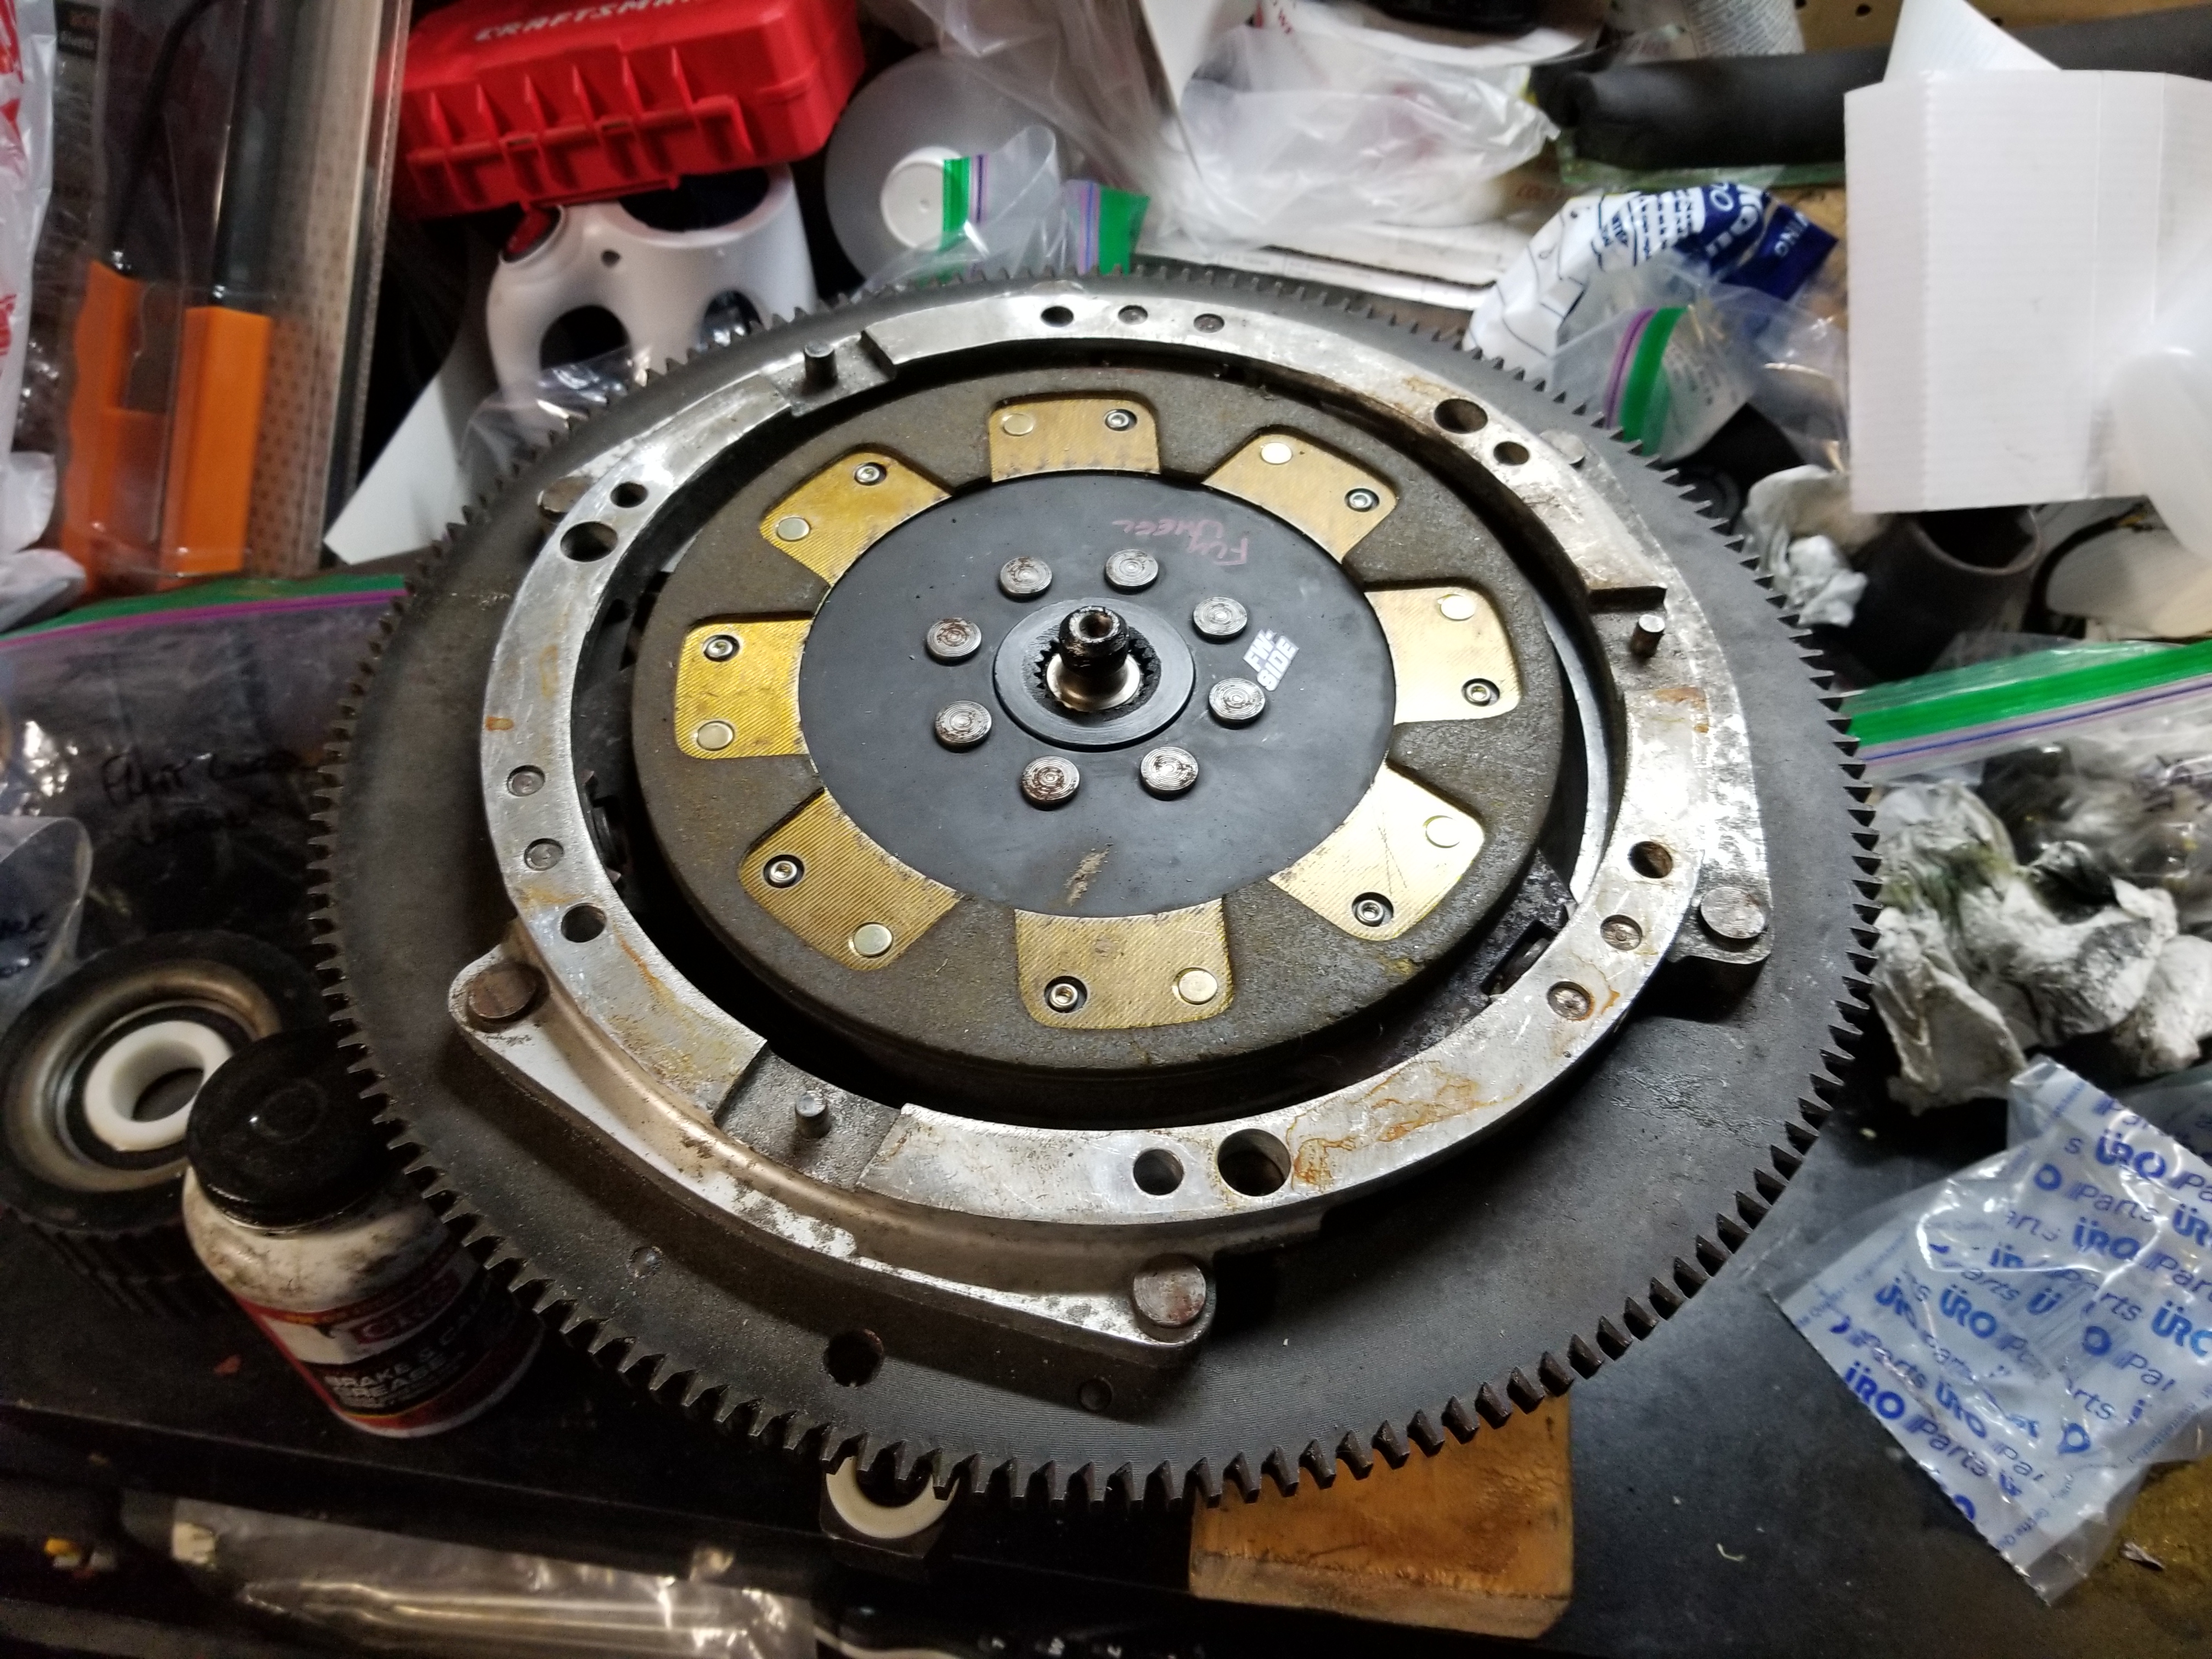
Got the flywheel bolted in place and made sure the pilot bearing fit the intermediate shaft correctly for sanity's sake.
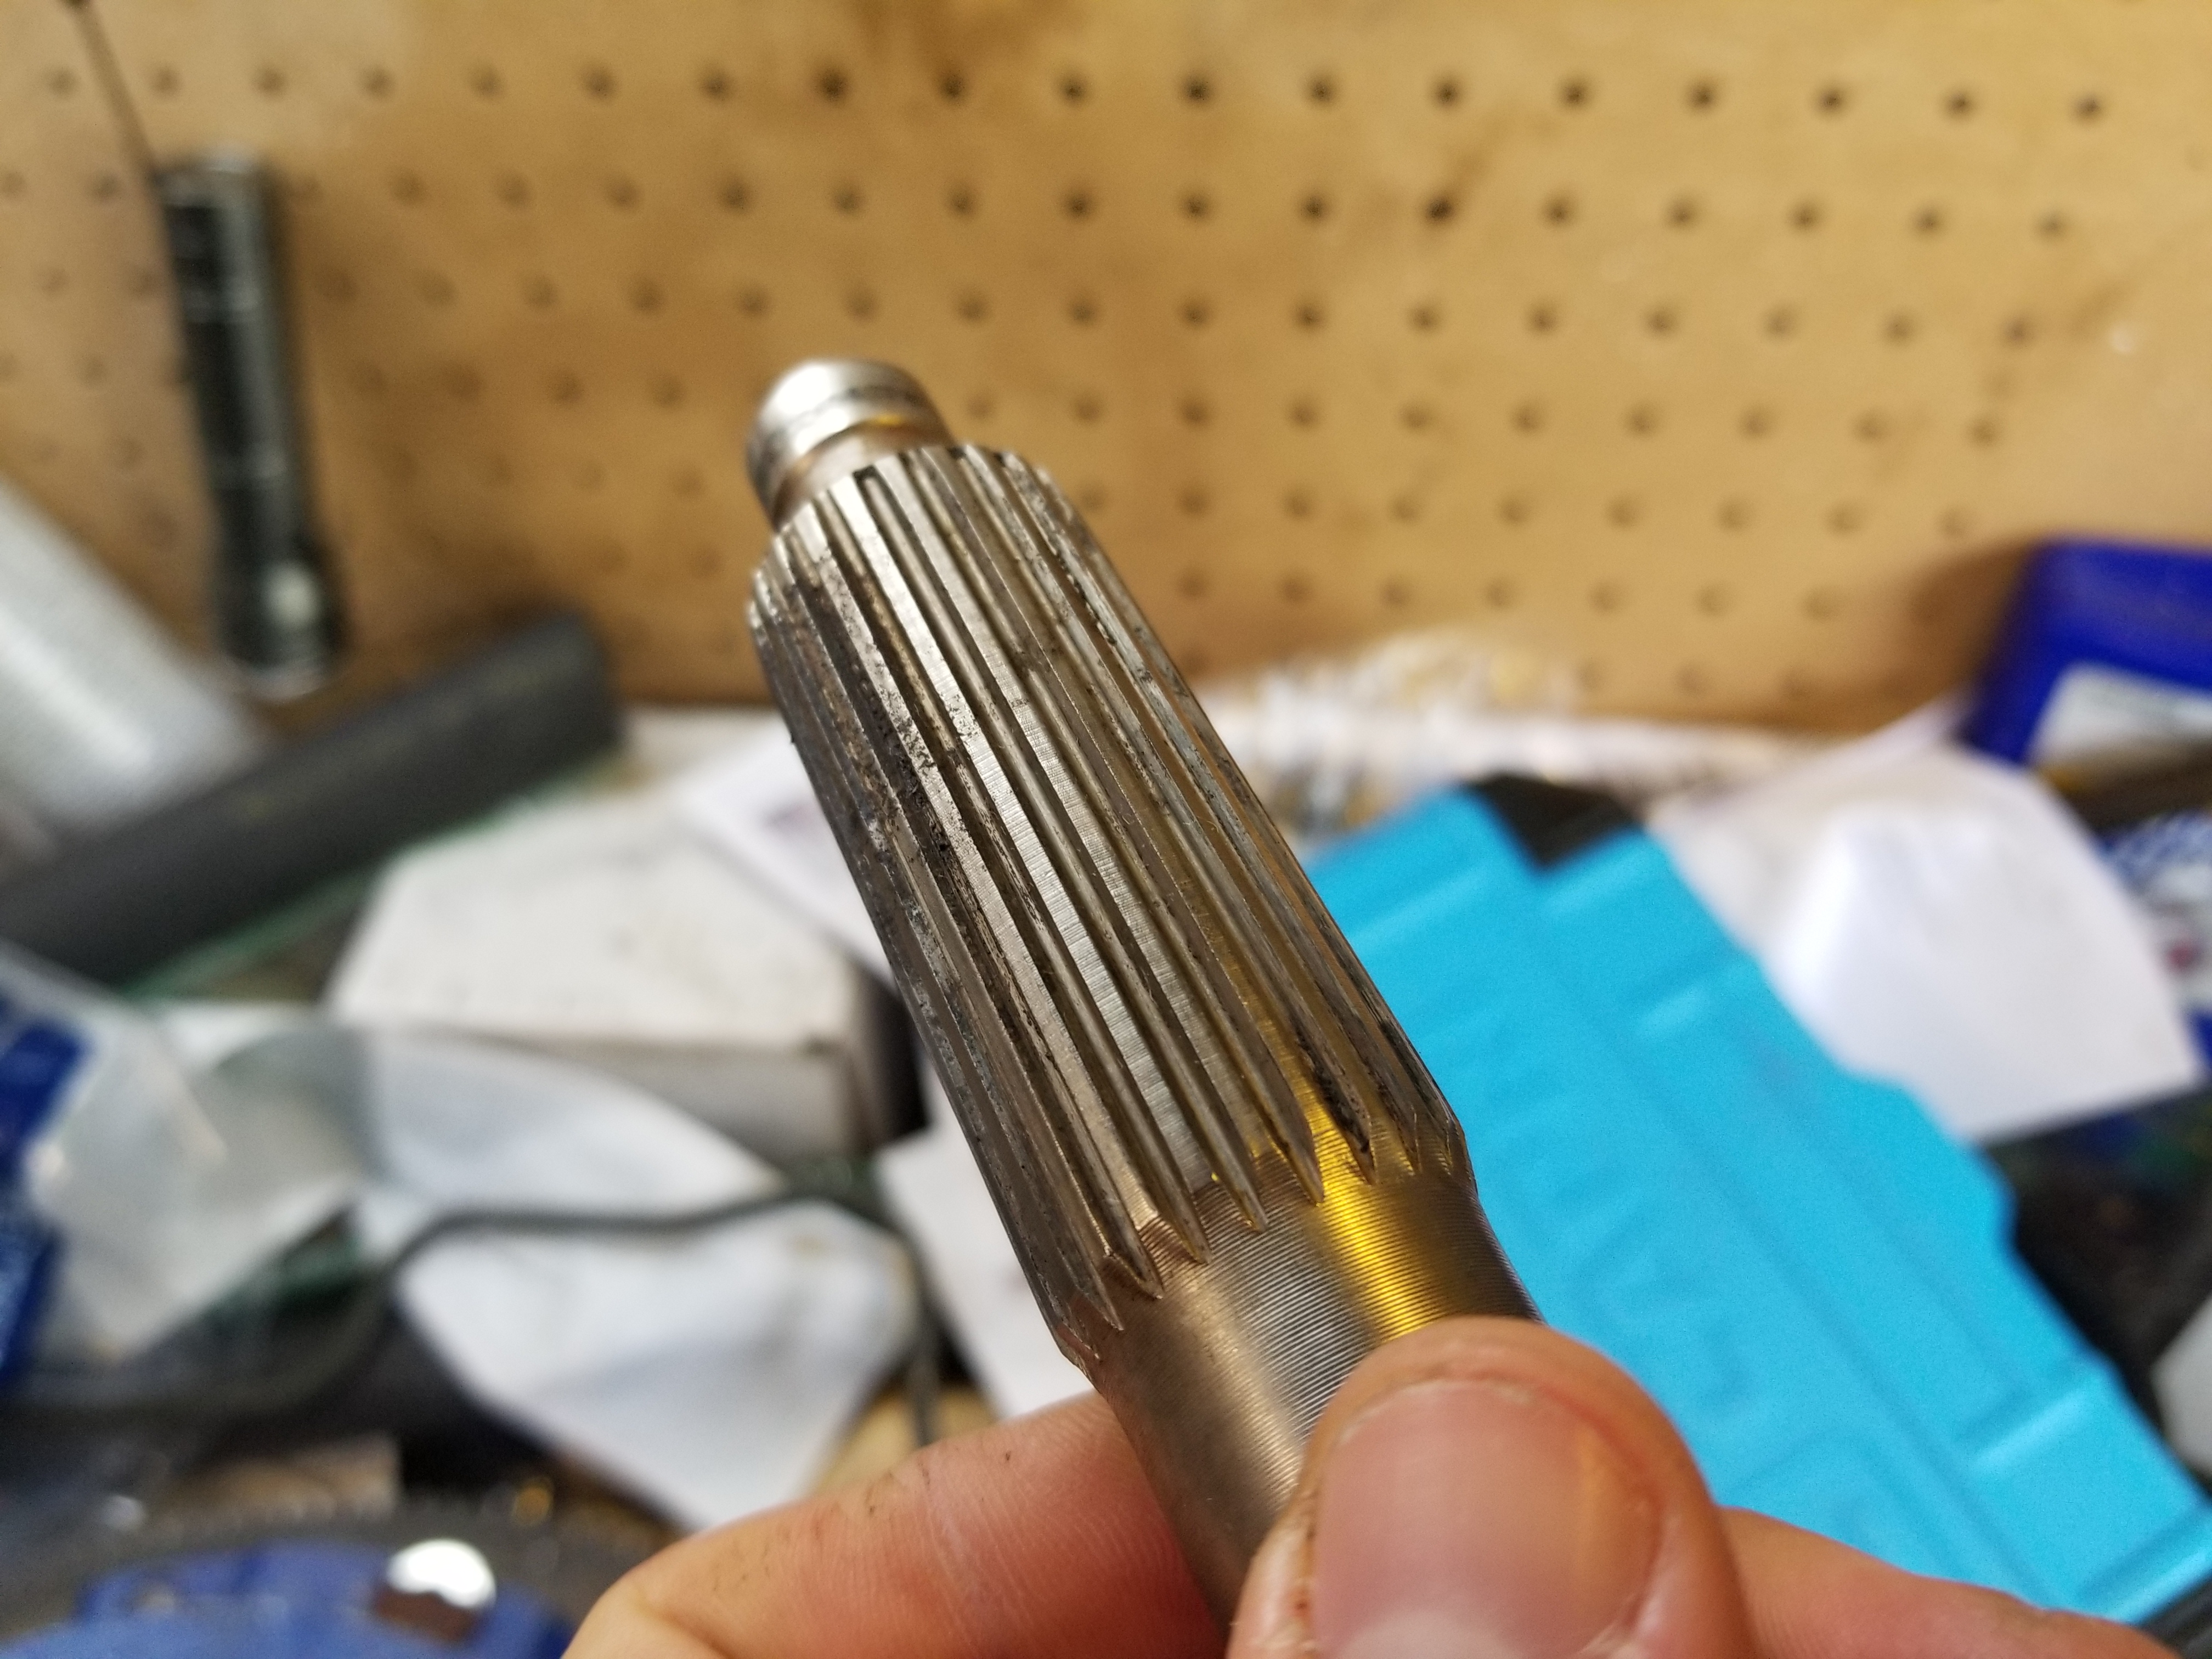
Intermediate shaft seems to be in really good shape, no noticable wear on it.
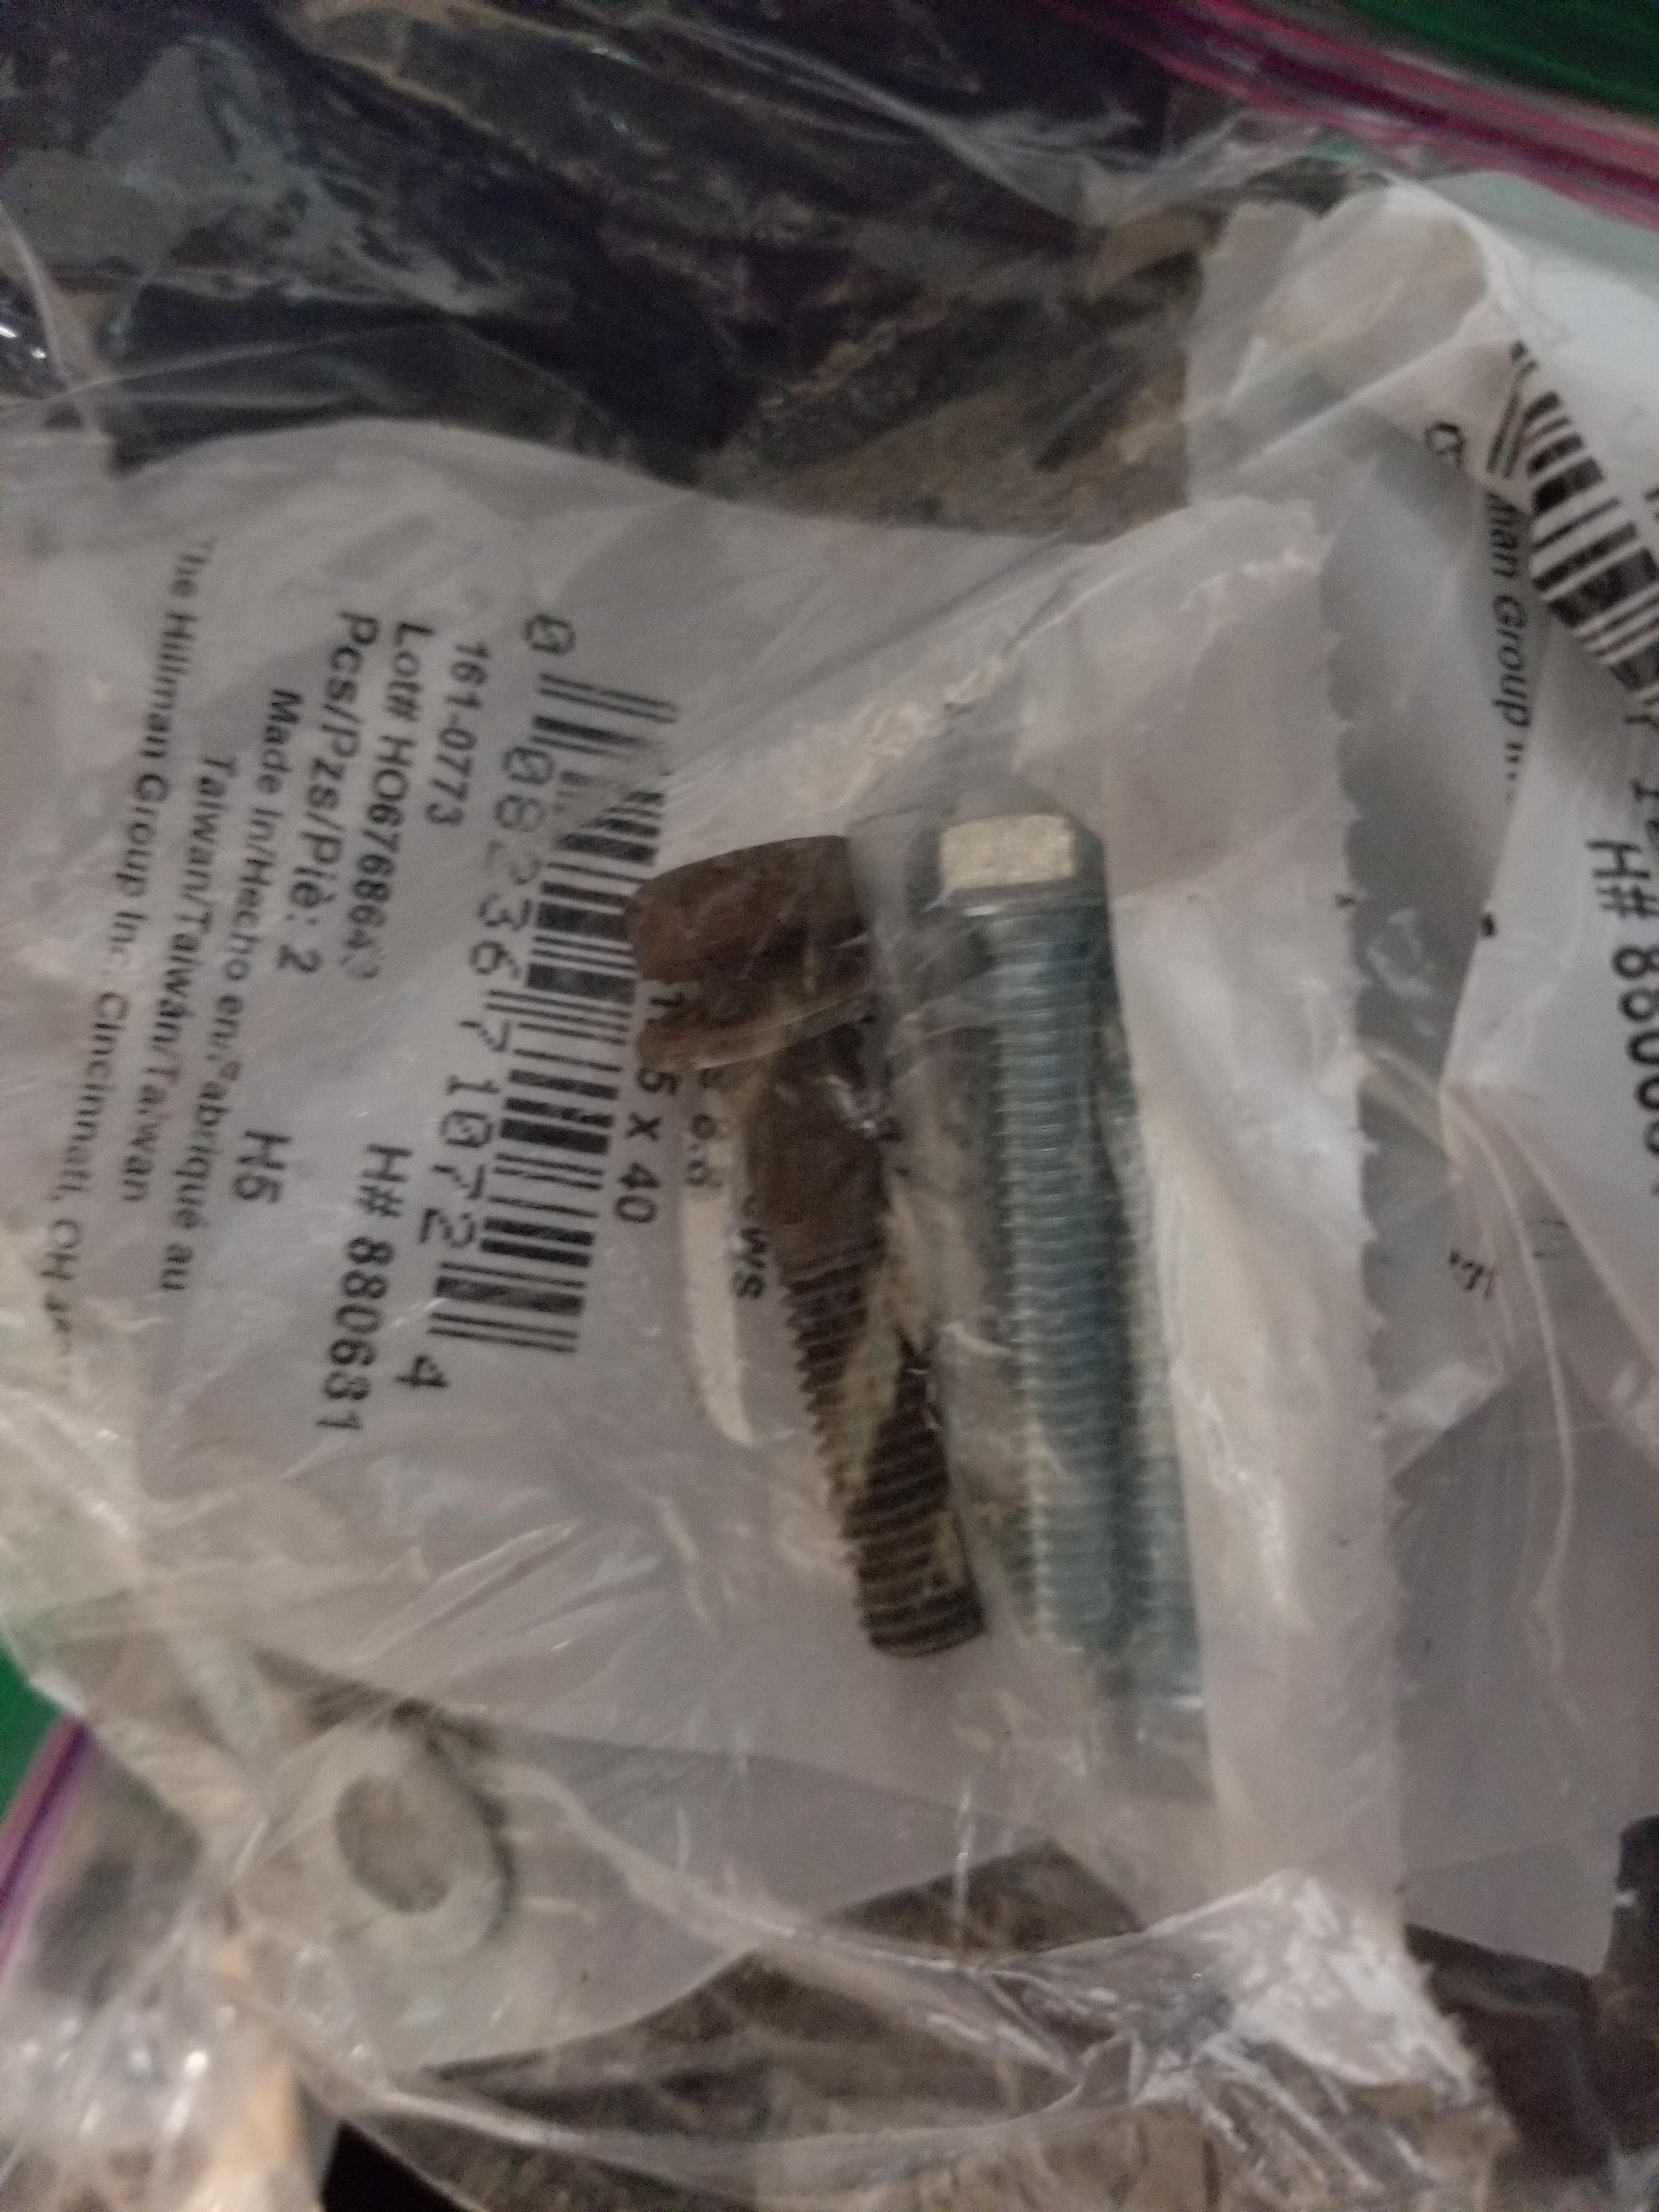
About at this point was where I remembered that when I got all the parts, one of the 6 pressure plate bolts was missing. I went to lowes and got 6 new ones of the correct size (only difference being they aren't shouldered).
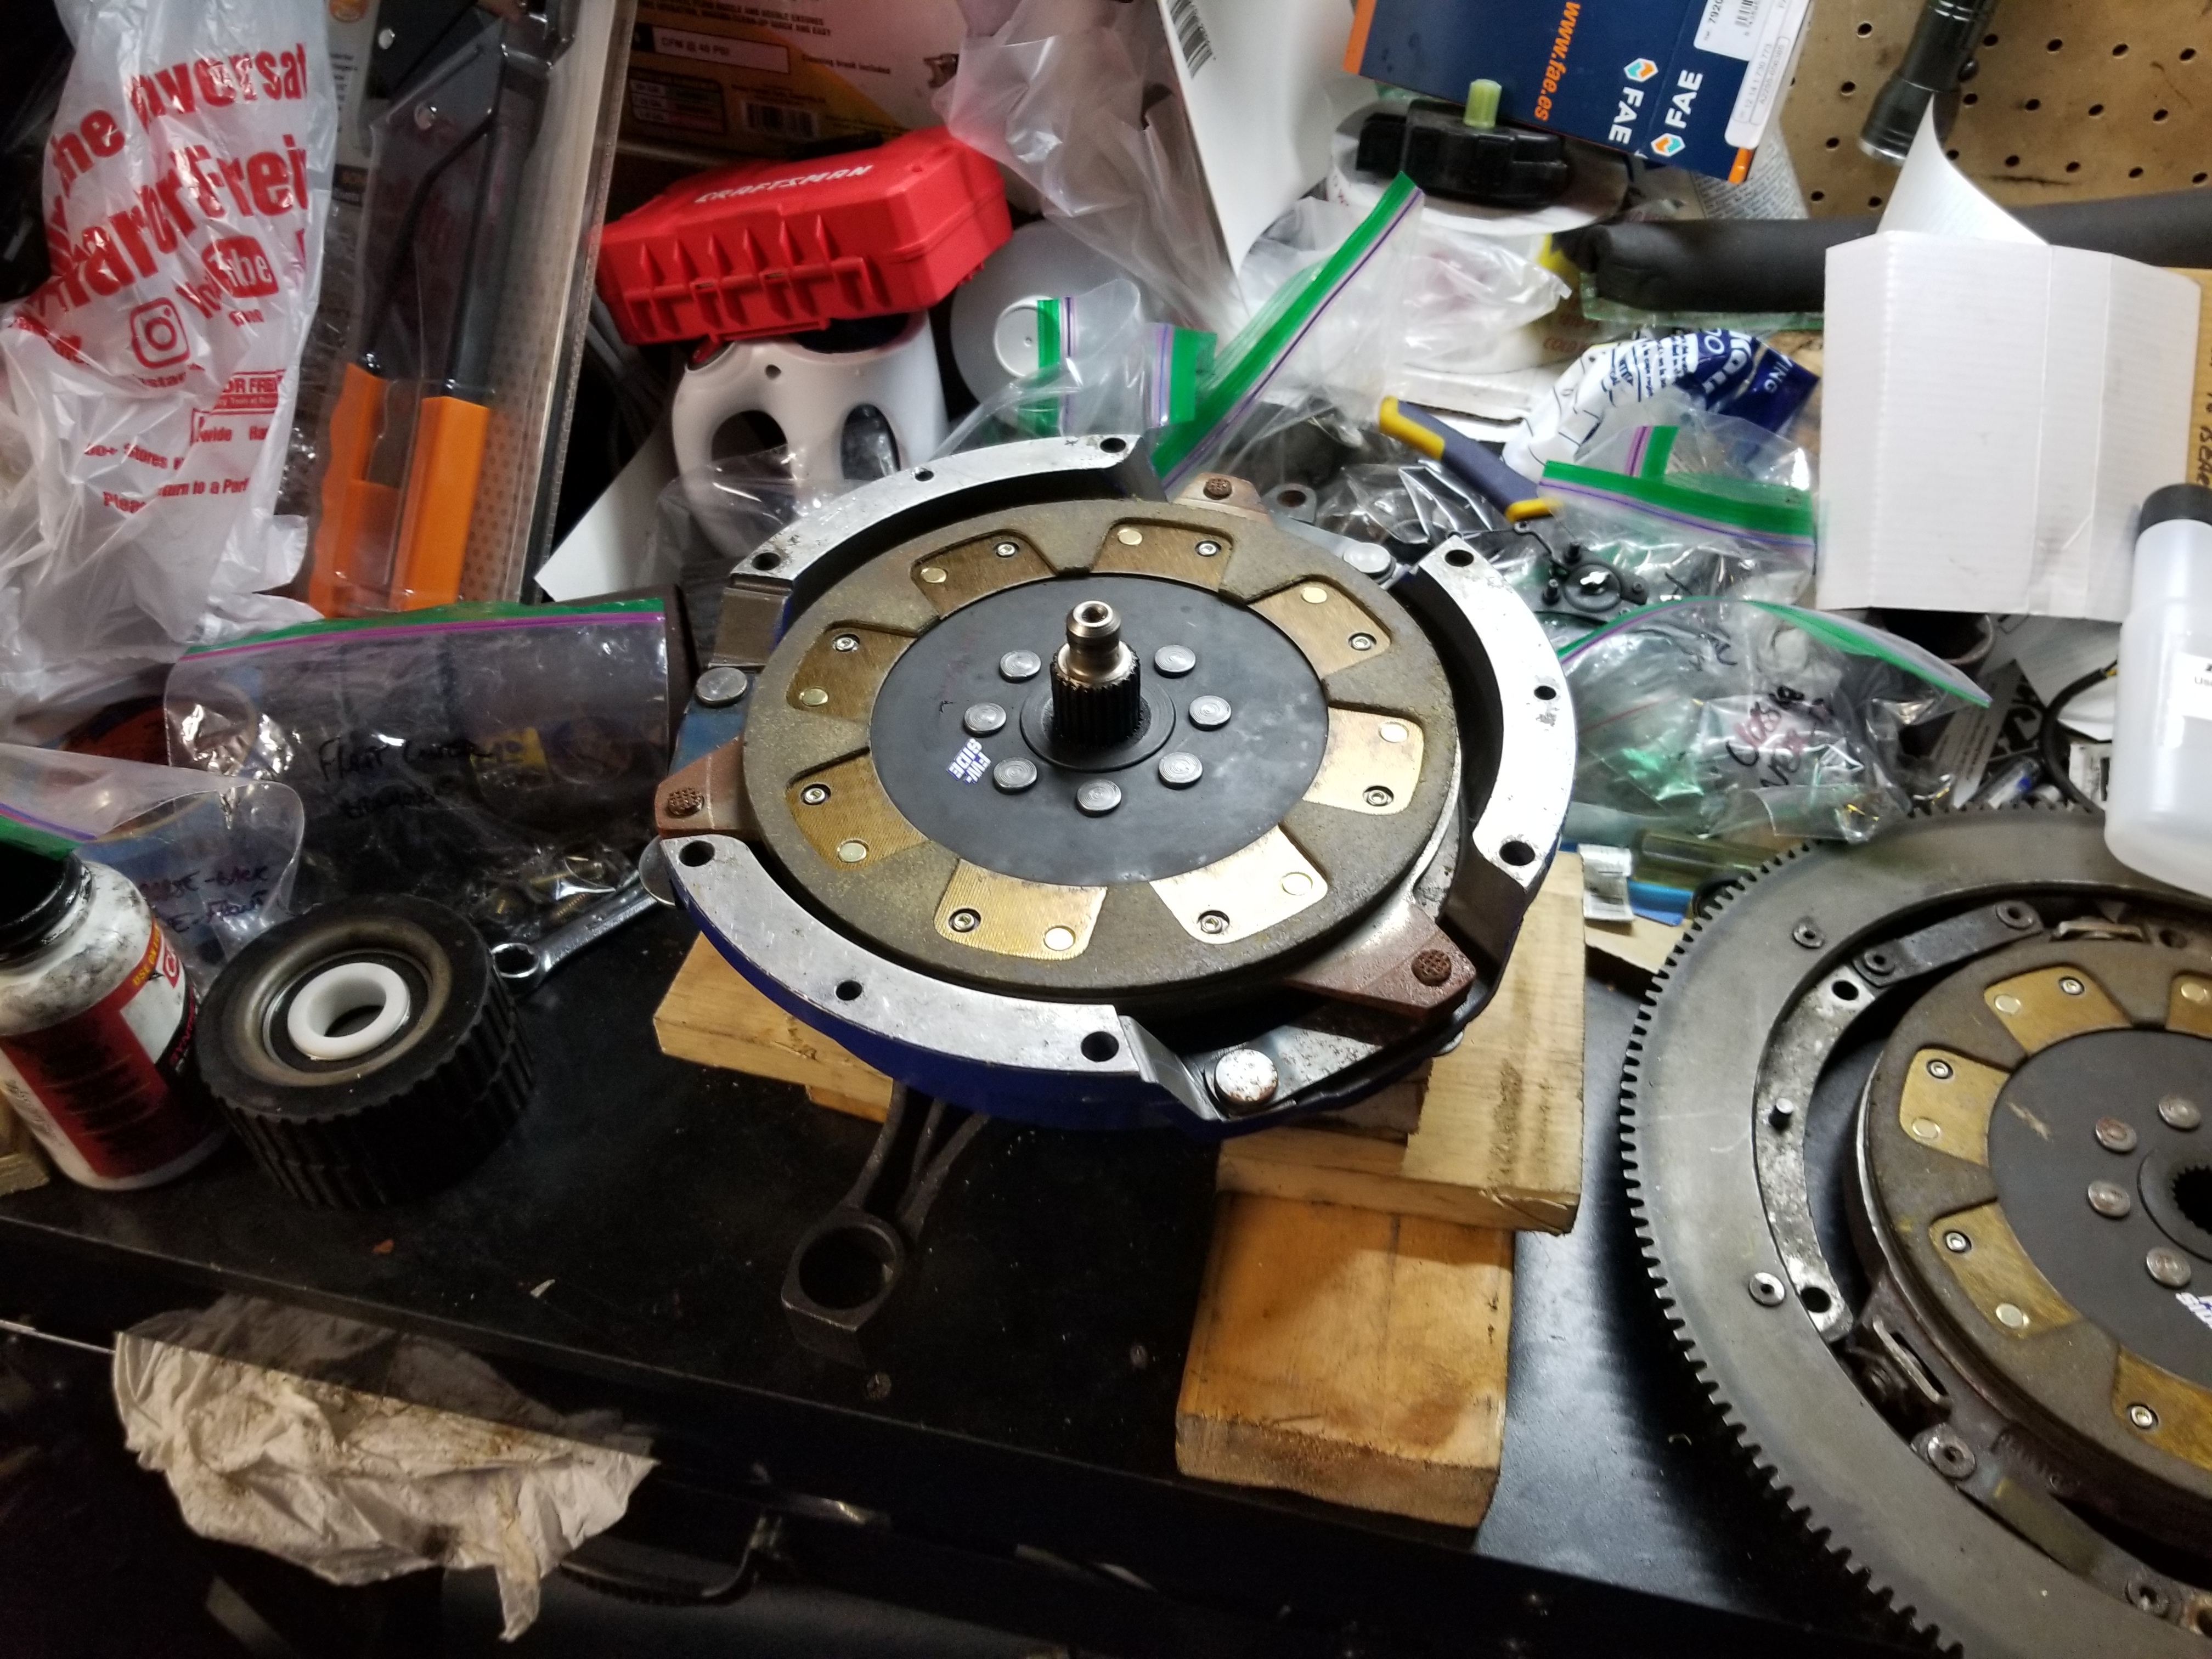
I didn't hang the clutch on the car tonight, but I did get everything staged up to do so. I used CRC high temp moly grease that I had already. Seems like it meets all the specs of the magic optimoly that I also forgot about until today.
I think I have everything back in the right orientation based on pictures around here and based on how it was assembled when it was given to me (which I trust far less). If you see something that's obviously wrong or going to bite me in the *** later, please say so though.
Love the progress! The only thing I was wondering was whether that Lowe's bolt was 8.8 or higher property class....but I think I can barely see that it is on the packaging.
Also, how was changing out the rear main seal? I have one on the horizon, and was curious about any tips.
-Jason
Did you notice in "what" the auto/manual crossmembers are different ?
I didn't thought of that… that means i will have to make dummy wheels for under the manual parts car to get if of the lift if i do a swap.....
Love the progress! The only thing I was wondering was whether that Lowe's bolt was 8.8 or higher property class....but I think I can barely see that it is on the packaging.
Also, how was changing out the rear main seal? I have one on the horizon, and was curious about any tips.
-Jason
Yep, they're 8.8. I wanted to get stainless ones, but they didn't have any in the right length. Rear main seal was pretty straightforward with the bellhousing and torque tube out of the way (which is why I was preemptively doing it now). I couldn't get the screwdriver to catch on the rear main seal as is, so a couple quick wraps on it with a hammer to bend it in enough to get behind it, and it pried right out (being very careful not to gack the crank or block). Going back in was a socket and a hammer. I'd imagine this wouldn't work great with the bellhousing in place. That's where one of the custom tools floating around to press the new seal in by tightening it against the crank would be helpful.
Originally Posted by belgiumbarry
Did you notice in "what" the auto/manual crossmembers are different ?
I didn't thought of that� that means i will have to make dummy wheels for under the manual parts car to get if of the lift if i do a swap.....
I didn't put them next to each other to compare, so I'll have to do that again and scrutinize. Nothing obvious that jumped out to be having them both in my hand within 1 minute of each other. I suppose you could always put the auto crossmember back in the donor car and put the suspension back on it to make it a roller.
thanks ! yes, but when i have to get the donor car of the lift and out of the garage , i don't have yet the auto cross member.....only when that car is on the lift for the swap....
PS i wouldn't use stainless bolts….stainless expands more than steel with temp... so when hot , they become "loose" !
belgiumbarry, the difference in the crossmembers is the mounting pads for the transmission. They are positioned slightly differently fore and aft for the auto vs manual.
I just went through this on my Red Witch.
Good Luck captainOCD, this is an interesting project!
I will found something Matt IF i ever do the swap..... think more of a steel bar under the car with wheels , as i have rather uneven pavement outside the garage....
So i'm looking further for a "good" 928S , sure the 16V as i have some knowlegde about them and spare parts , not experiment with a 32V...no.
Amazing how much more choice there is IF i search also for a auto.....as i used to look at only manuals.
PS i might have found ( already ) the "white raven" .... but the seller is on holiday and back next week to see the car …. not even far from my home !
928S from '84 , looks oem original , has my favorite colors ( metallic grey and black leather interior ) , and has many parts renewed ( A/C compressor , brake master cilinder , belt, suspension rubbers, shocks etc... so if all this is true , it could be a candidate . More , passed tech inspection "as a car for sale" and ….at a reasonable price….only negatief : auto
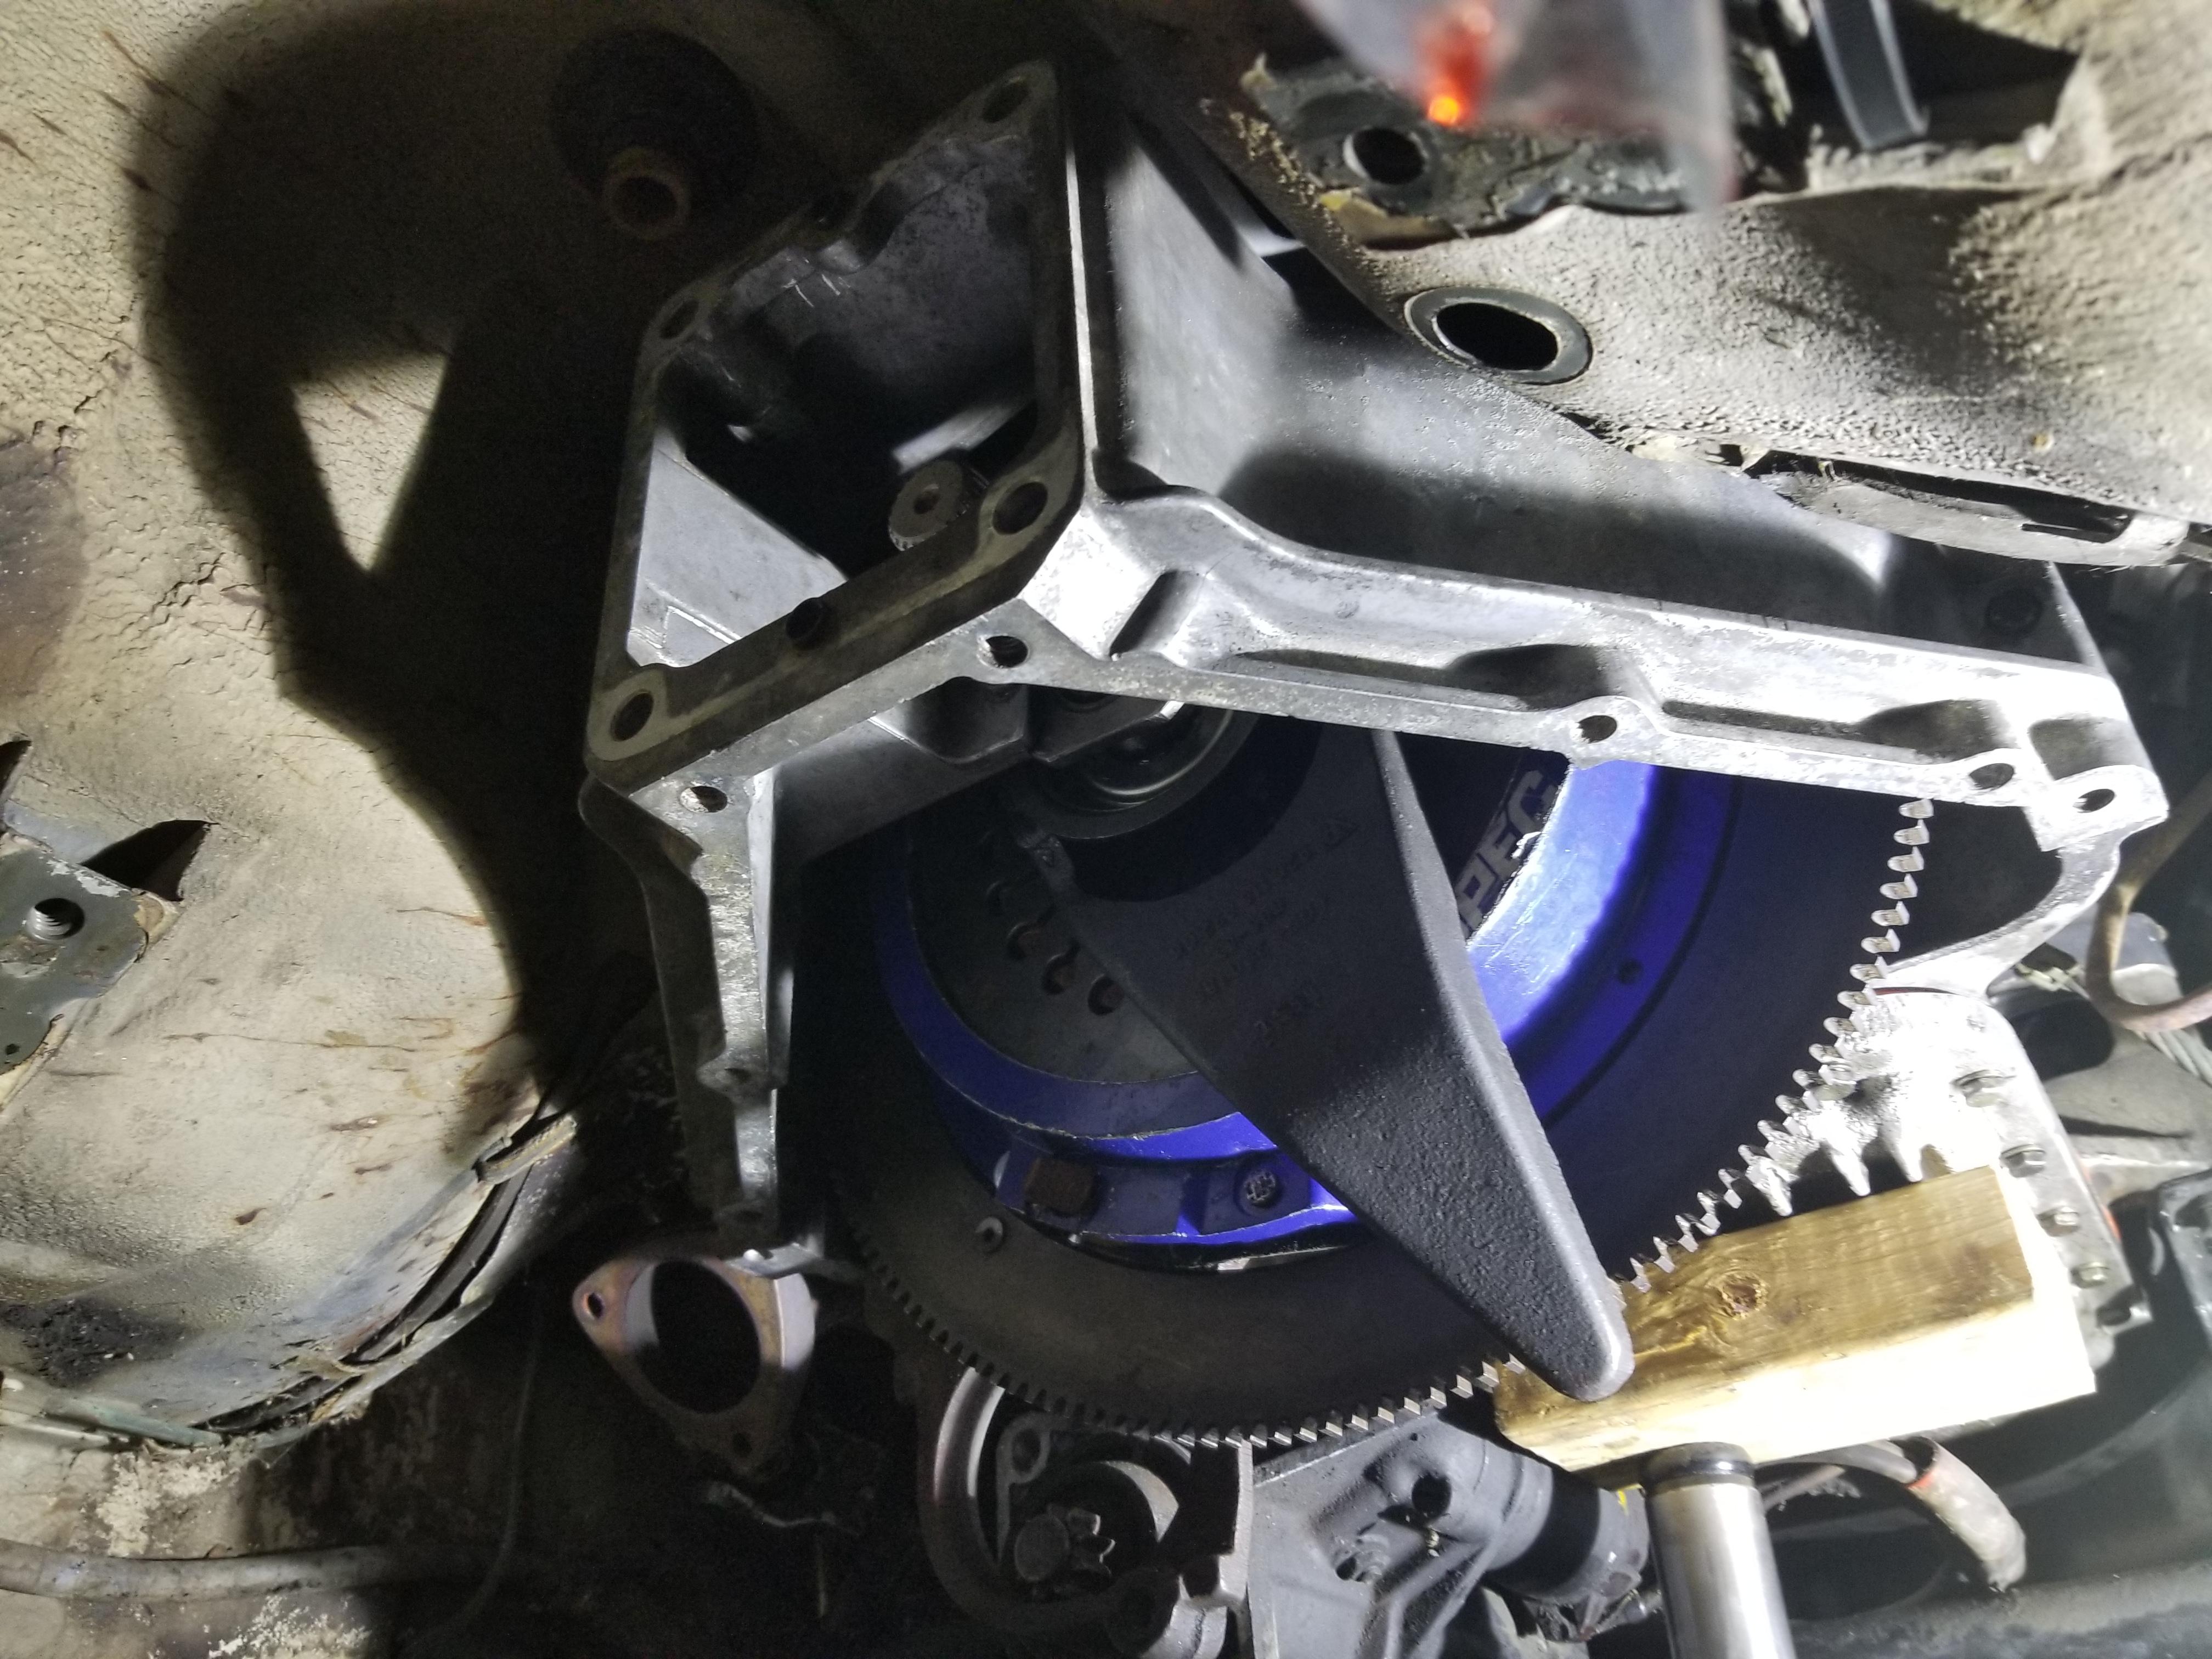
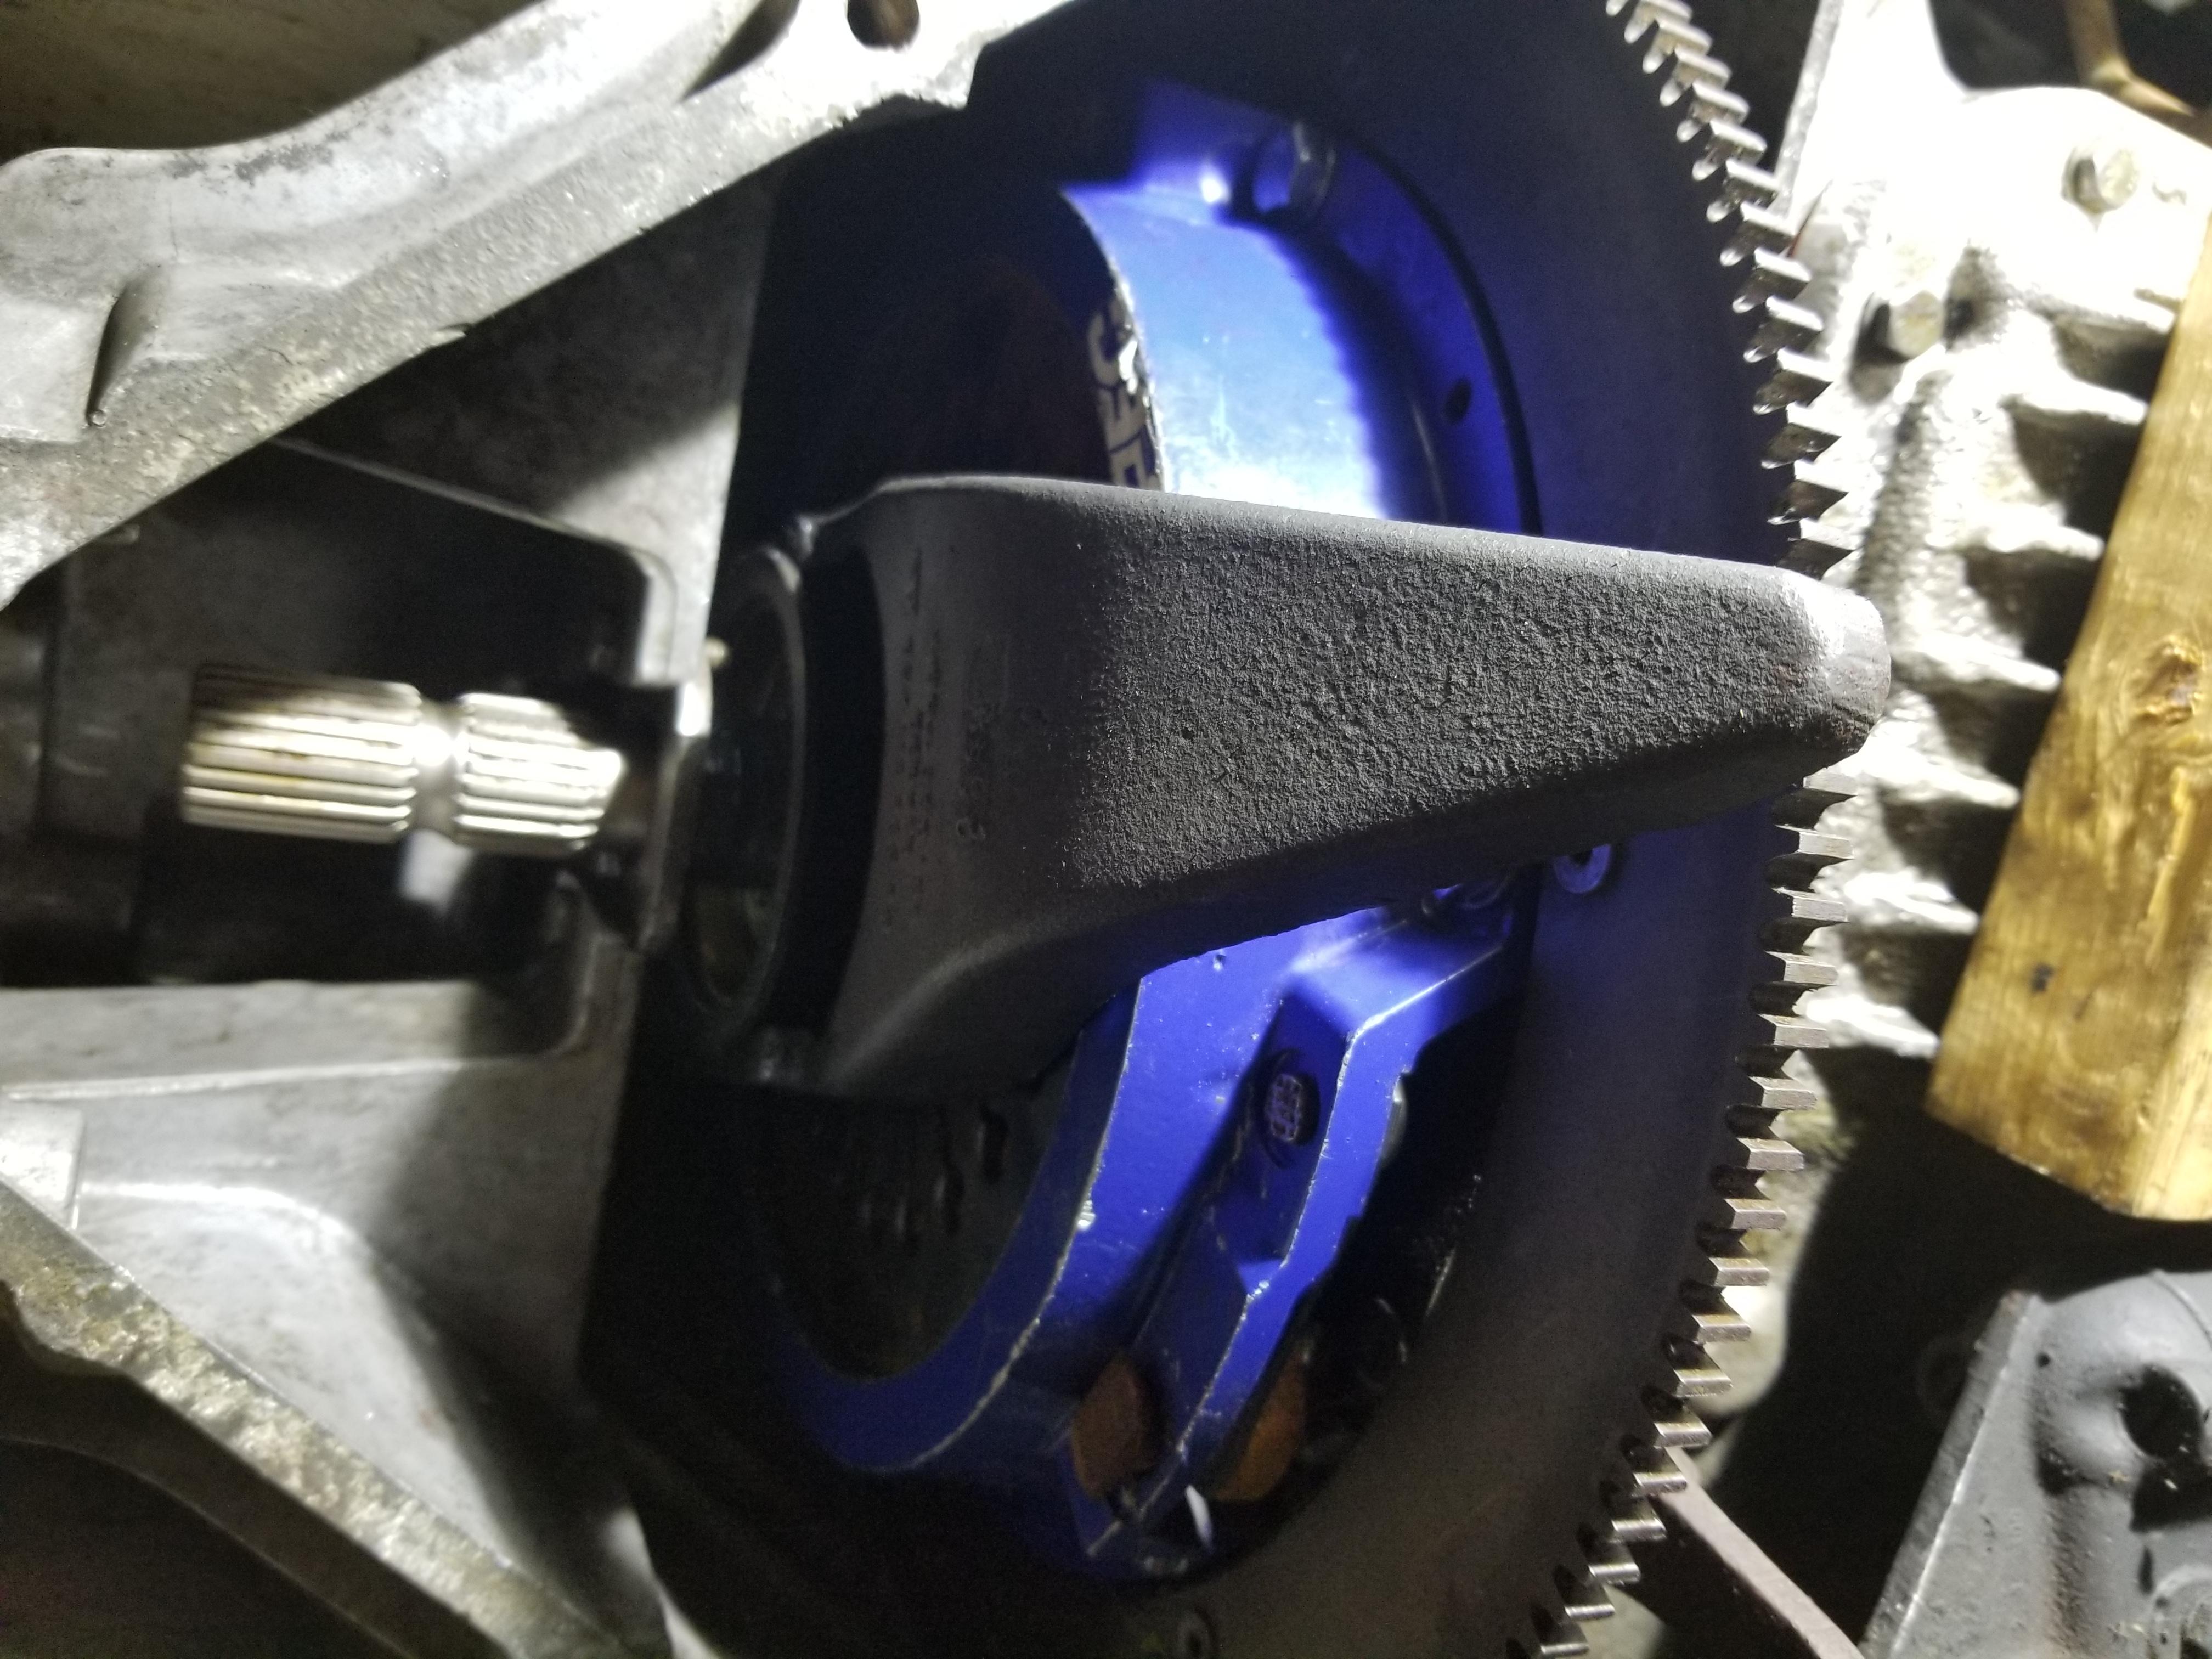
If I had to sum up getting this clutch installed in 1 word it would be motherf'ker. Still didn't adjust the intermediate plate, but the clutch is all bolted in and I have the wounds to show for it. Maybe tomorrow I can get started reassembling the torque tube.
don't know the differences in use , but my "race" shop advised me (in 2008 ) to use the single disc clutch… so that is what i have now for the rally 928 build.
I did a test in mounting it and all went "easy"....

 08-24-2019, 04:27 PM