When you click on links to various merchants on this site and make a purchase, this can result in this site earning a commission. Affiliate programs and affiliations include, but are not limited to, the eBay Partner Network.
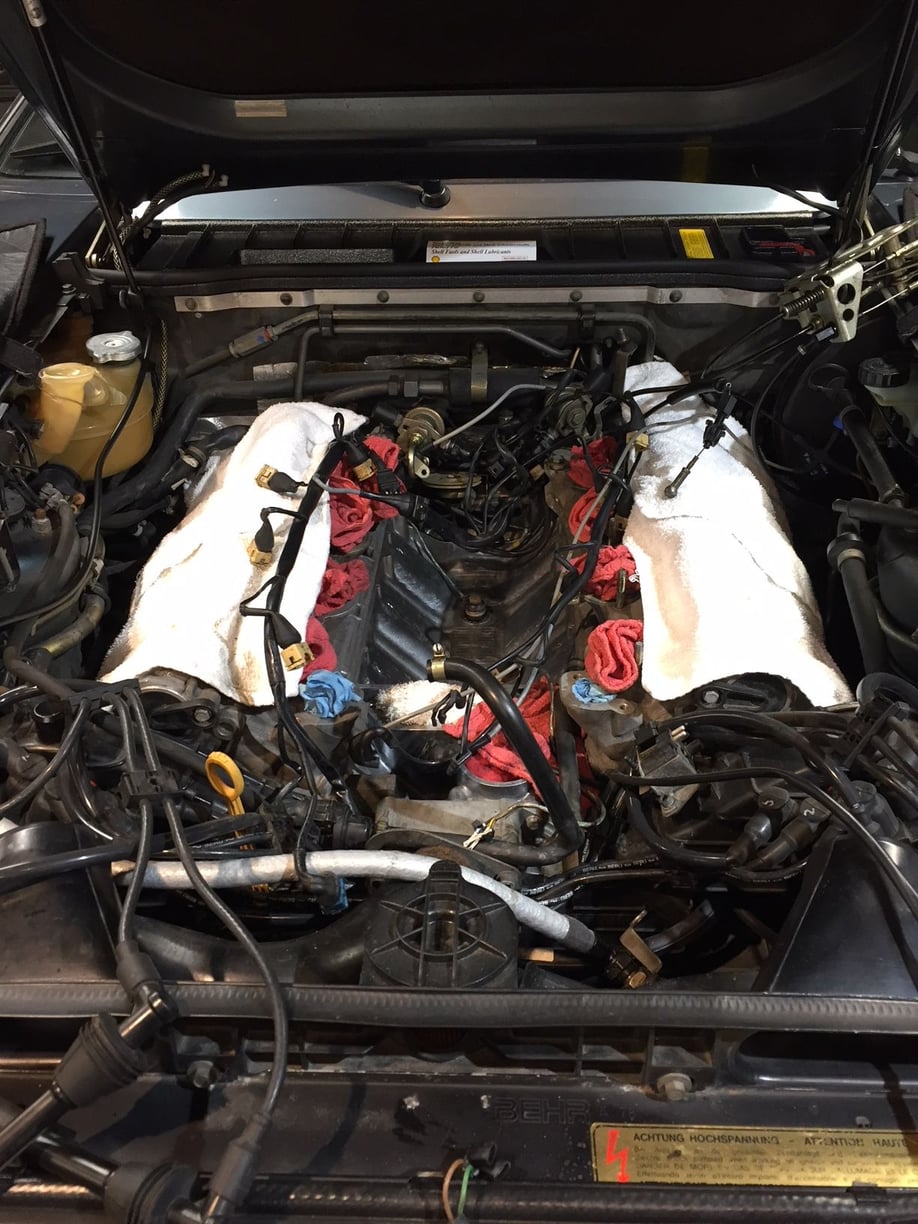
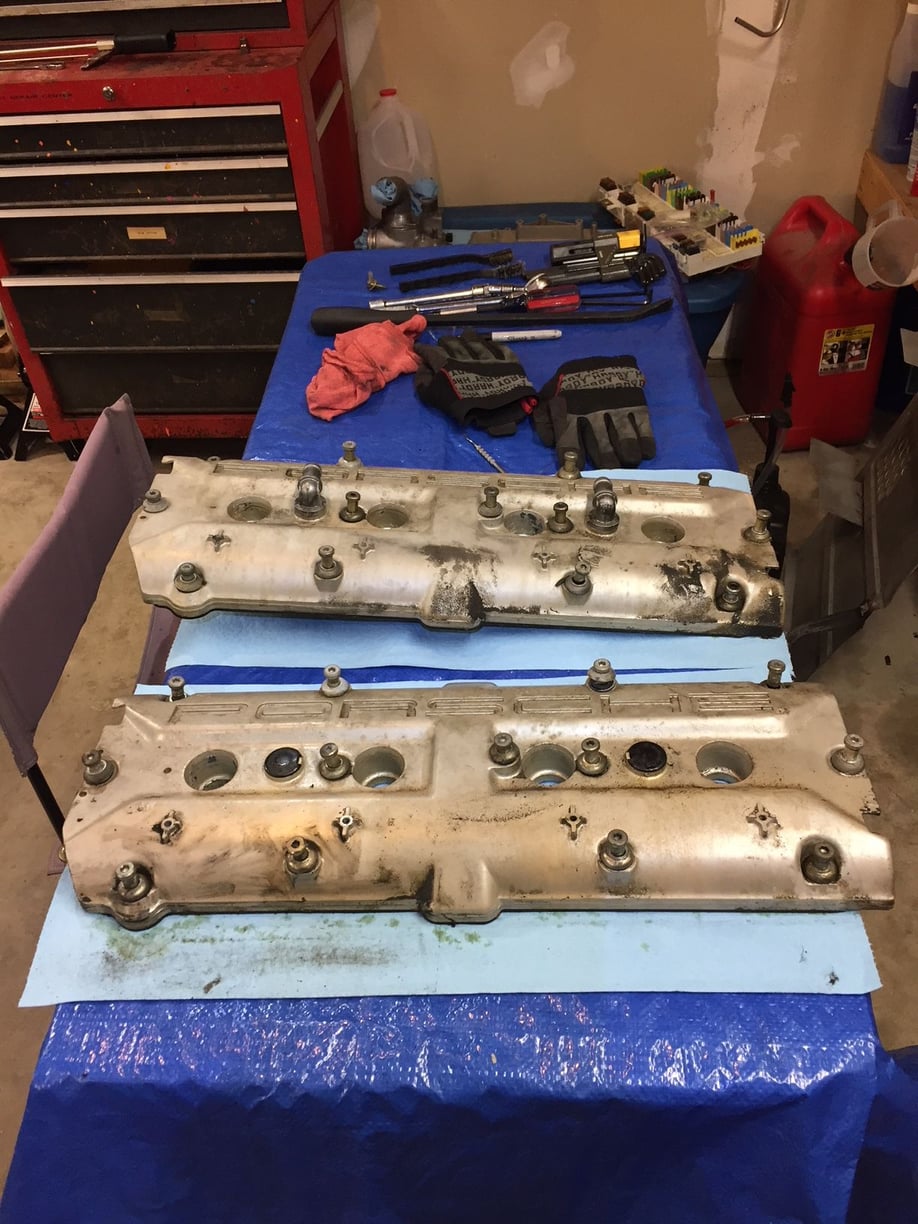
Good progress on cleaning the intake and doing other valley cleaning prior to removing the cam covers. I also picked all the crumbly plastic knock sensor remnants out of the harness side connector. I found it easiest to press the point of the pick into the brittle plastic to break the remnants into smaller bits that just fall out. I thought this was going to be a long tedious task but once I figured out a technique I was done with both connectors in about 15 minutes. Getting all the oily grime out of the intake runners where they mate to the heads is the real chore - but in this case it's not just an **** neat freak motivation. This goo will trap blasting media. I'm slightly paranoid about media in the intake. Feel free to suggest your favorite best practices for assuring no media remains after powder coating.
Last edited by Captain_Slow; 03-26-2018 at 07:05 AM.
I've read all the terrifying powder coating threads. I'm prepared for hours and hours of washing. The good news I've found a good PC shop. The person I spoke to brought up the degassing issue as soon as I said it's made of magnesium. He also said they'd mask off the openings and take care to avoid getting media inside, but also said "no matter what some finds a way in". In short - everything he said is consistent with what is posted on Rennlist.
Ballpark price is $350, but he said it could be higher. I could tell he just doesn't want to be held to a quote without seeing the parts first. Not a problem.
Spoke with owner later: The shop will use aluminum oxide blasting media. Because media blasting will create a bare metal surface he suggested looking in to high zinc primer prior to powder coating - he will do a little research on this. I'm very impressed with the work ethic, knowledge, and attention to details. He said they will send me photos from every step along the way. They have experience with magnesium wheels and cam covers from other makes. This will be their first 928 job.
Two questions:
1. How long and at what temperature should the intake be baked to help the degassing prior to powder coating?
2. Should baking happen prior to media blasting to help loosen the paint?
Thanks in advance. The help from everyone is much appreciated. I've done some big jobs, but this one has so many details and things to remember - like how to put it all back together exactly as before. It certainly feels like a rite of passage, and a good reminder of how much of what we do on our cars is a community effort.
Last edited by Captain_Slow; 03-27-2018 at 04:44 PM.
I think I suggested to my powder coater that he heat it for the same amount of time as he does to fuse the powder, but maybe 25�F hotter. I’d already suggested that he cheat on the low side for the curing temperature. I don’t like telling guys like that what to do - what do I know? I shouldn’t be telling you, either!
But you’ve seen mine - only an occasional pinhole.
If I was guessing - which I am - I would think you'd want to out-gas at no less than the maximum normal engine bay temperature. A long time ago in a thread far, far away, Louie Ott (IIRC) described detailed engine bay temperature measurements. Not surprisingly, the max temperature was a handful of minutes after shutting off a heat-soaked engine and leaving the hood closed. I don't remember the numbers, a search might turn up the thread. But, I think it was in the 350 degree F range.
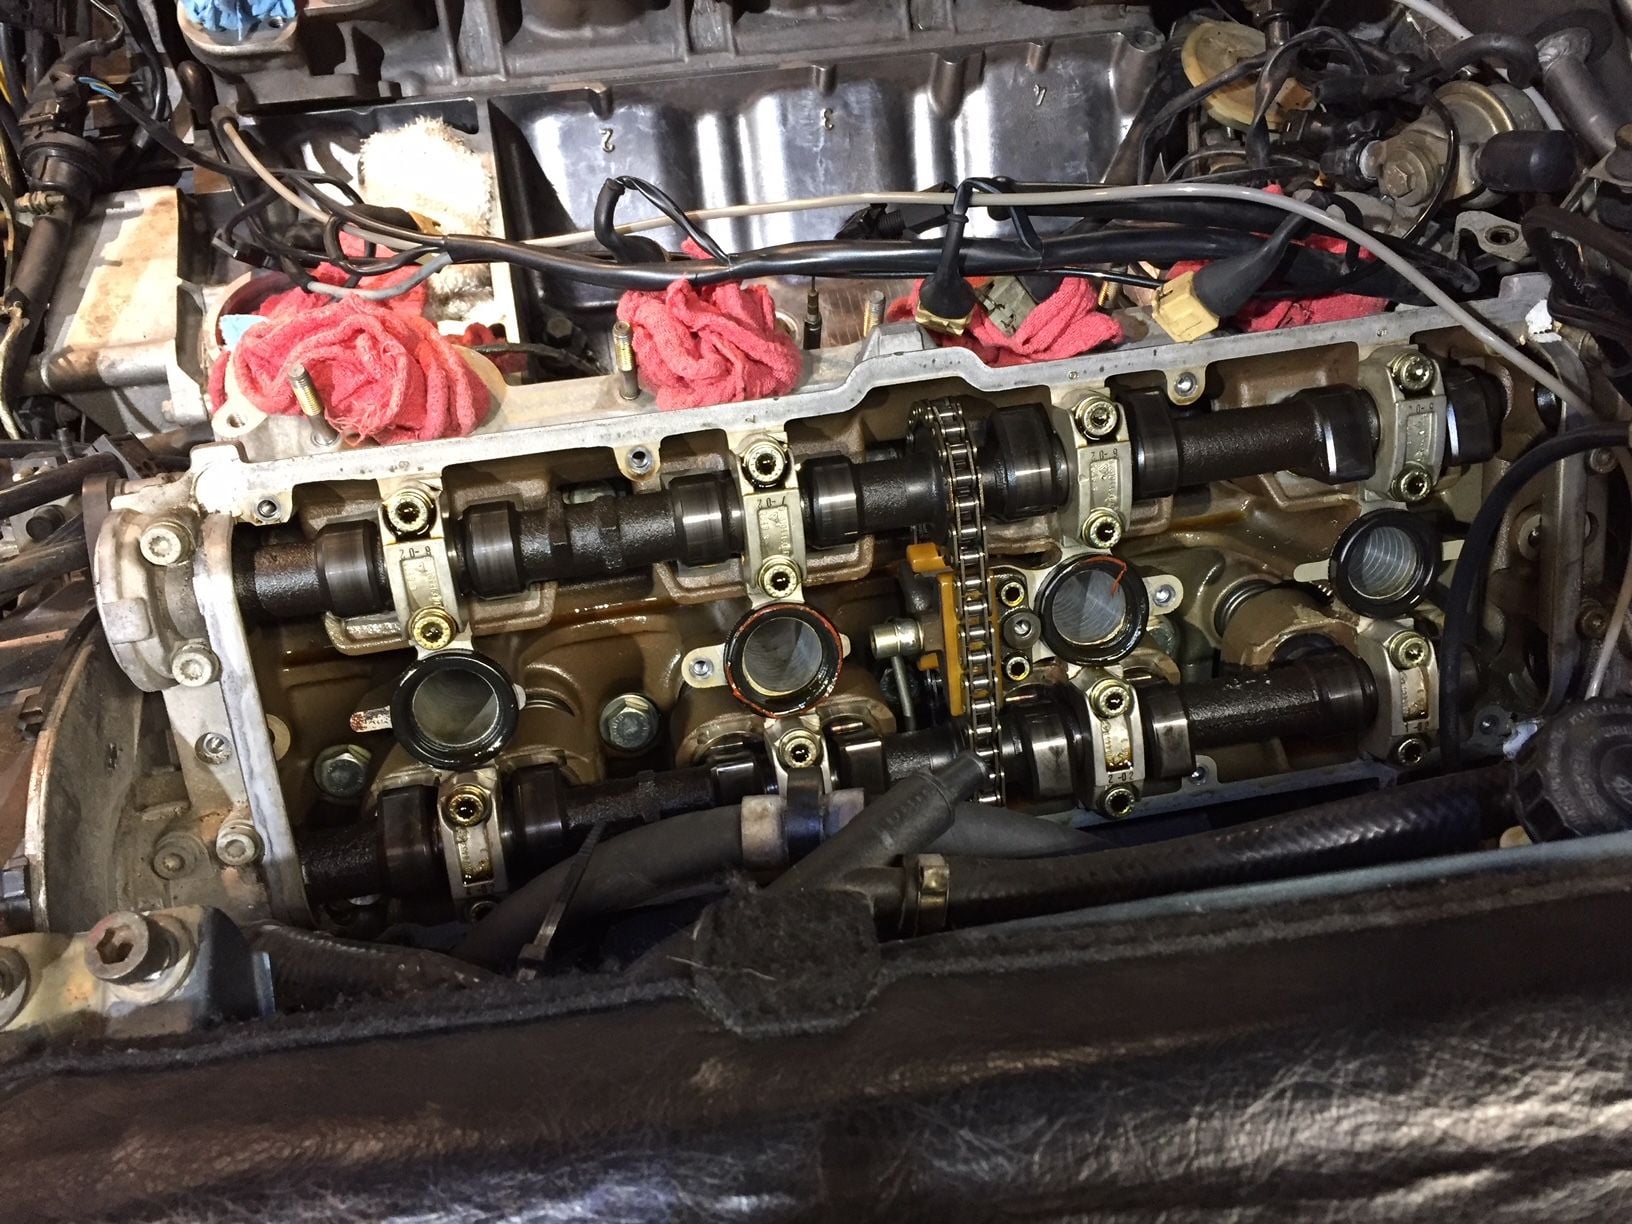
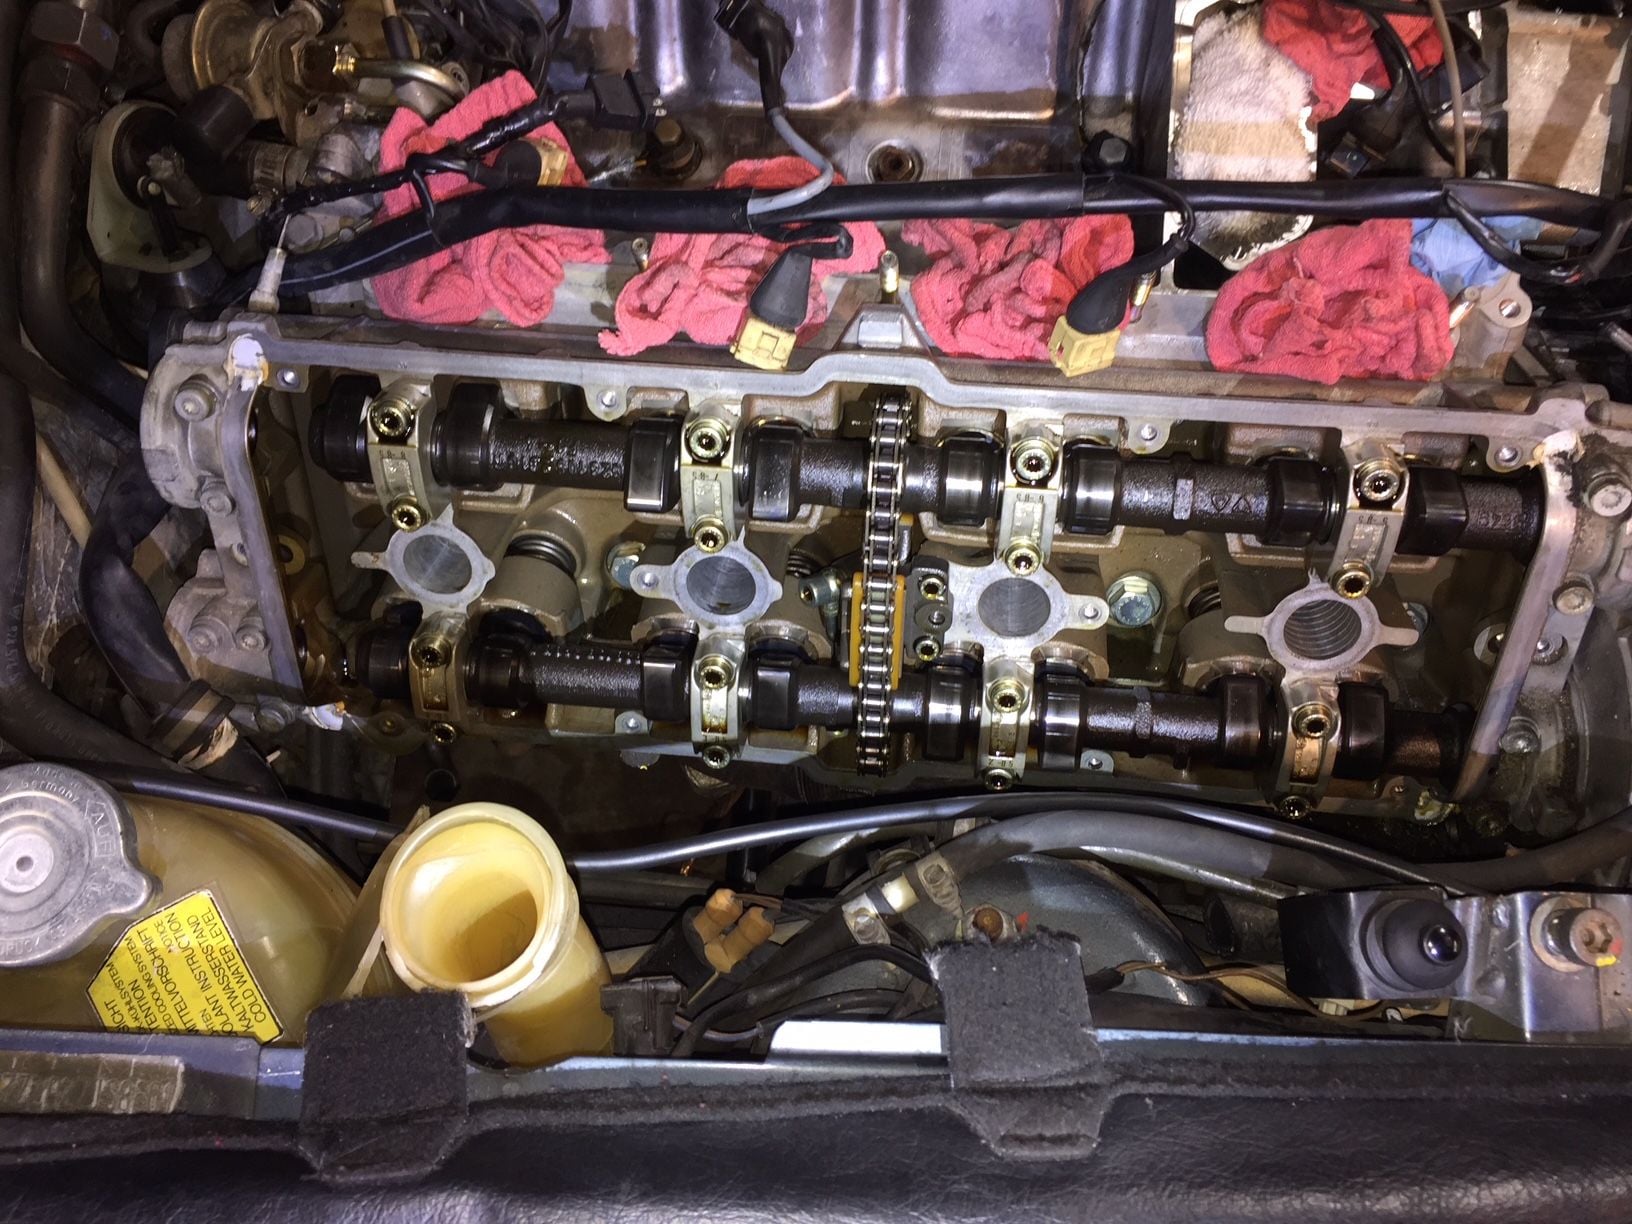
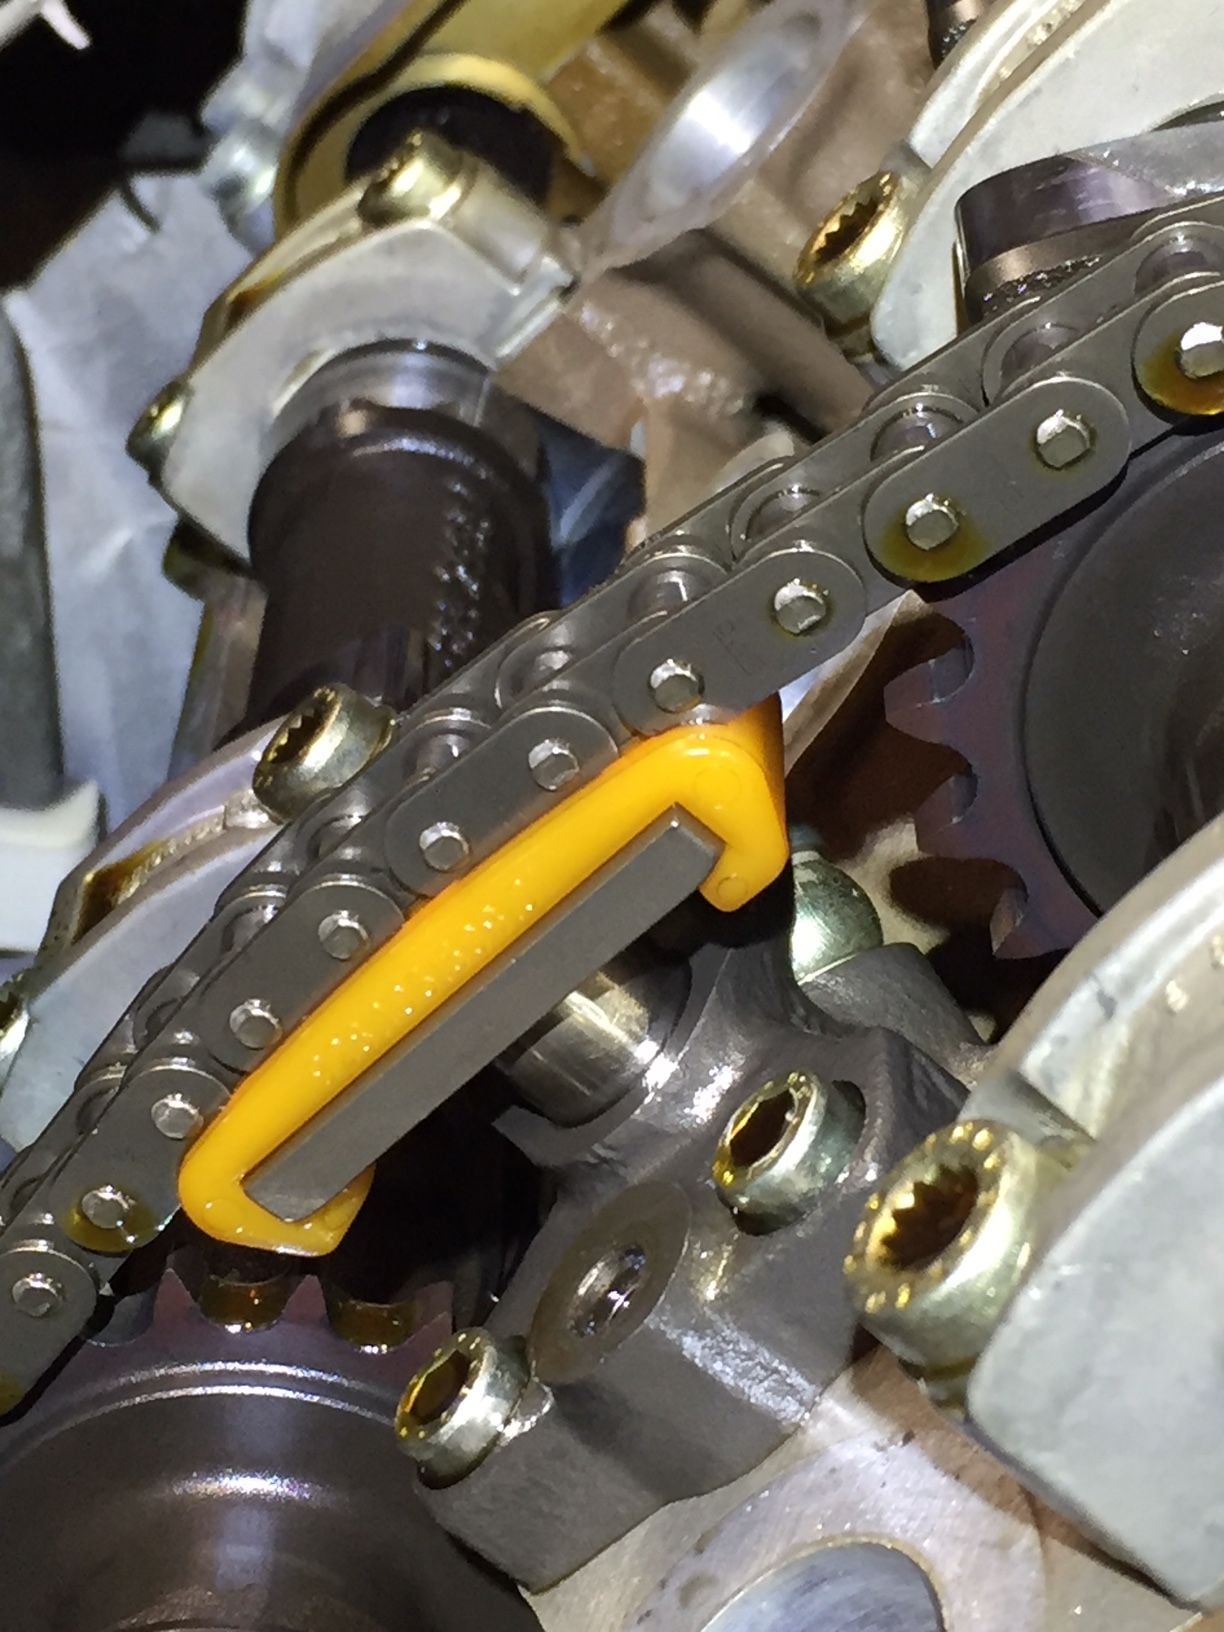
Almost to the Turn Around Point...how about that tensioner pad?
The upper chain tensioner pad on the left side looks almost like new. Minimal wear. But the chain has worn a deep groove in the pad on the right side (passenger). I don't know what is involved to replace it (and probably all of the others due to being old and brittle). Need to get C-clip/snap ring pliers to move forward on removing bits from the cam covers. Hope to have all magnesium parts at the powder coater Thursday morning.
Doing the pads is not hard, just make sure you block the oil passages. I followed Ed's advice and stuffed cut-out foam rubber blocks instead of using rags/paper towels. It was the first time for me so I did a lot of pre-reading. Here's some of the bookmarks I read before doing it:
Jon, removing the tensioners is not that big a deal. It is, however, nitpicky and nerve wracking. Tip: get some foam, such as black strip foam that you would put on either side of a window AC unit. Cut it up into blocks. Stuff the blocks into the oil drainback openings at the bottoms of the heads. Just in case you drop anything.
Remove the oil lines, being careful not to drop any of the aluminum crush washers. Unbolt the tensioners. Compress to remove them from the chains.
Here is a thread by Rob Edwards on replacing the tensioner pads:
Thank you very much for pulling these all together!
Originally Posted by NoVector
Doing the pads is not hard, just make sure you block the oil passages. I followed Ed's advice and stuffed cut-out foam rubber blocks instead of using rags/paper towels. It was the first time for me so I did a lot of pre-reading. Here's some of the bookmarks I read before doing it:
Seth - In just a few words you pretty much created a good image of what is involved. Thanks! EDIT: OMG...just skimmed your thread several posts before and after #17. Nice work and fantastic documentation!
Originally Posted by skpyle
Jon, removing the tensioners is not that big a deal. It is, however, nitpicky and nerve wracking. Tip: get some foam, such as black strip foam that you would put on either side of a window AC unit. Cut it up into blocks. Stuff the blocks into the oil drainback openings at the bottoms of the heads. Just in case you drop anything.
Remove the oil lines, being careful not to drop any of the aluminum crush washers. Unbolt the tensioners. Compress to remove them from the chains.
Here is a thread by Rob Edwards on replacing the tensioner pads:
First start up after replacing cam chain tensioner pads??
After replacing the tensioner pads does anything need to be done to account for the tensioners being drained of oil? I'm imagining slackened cam chains until oil pressure builds.
Cam covers are ready so tomorrow they and the intake pieces will go to the PC shop. Parts order spreadsheet sent to Roger. Now my attention turns to cleaning rear grounds and loosening the CPS and knock sensors. The injectors should return from WitchHunter within a week. Hope I can remember how all this goes back together. I've finally lost it and have resorted to leaving notes for myself all over...
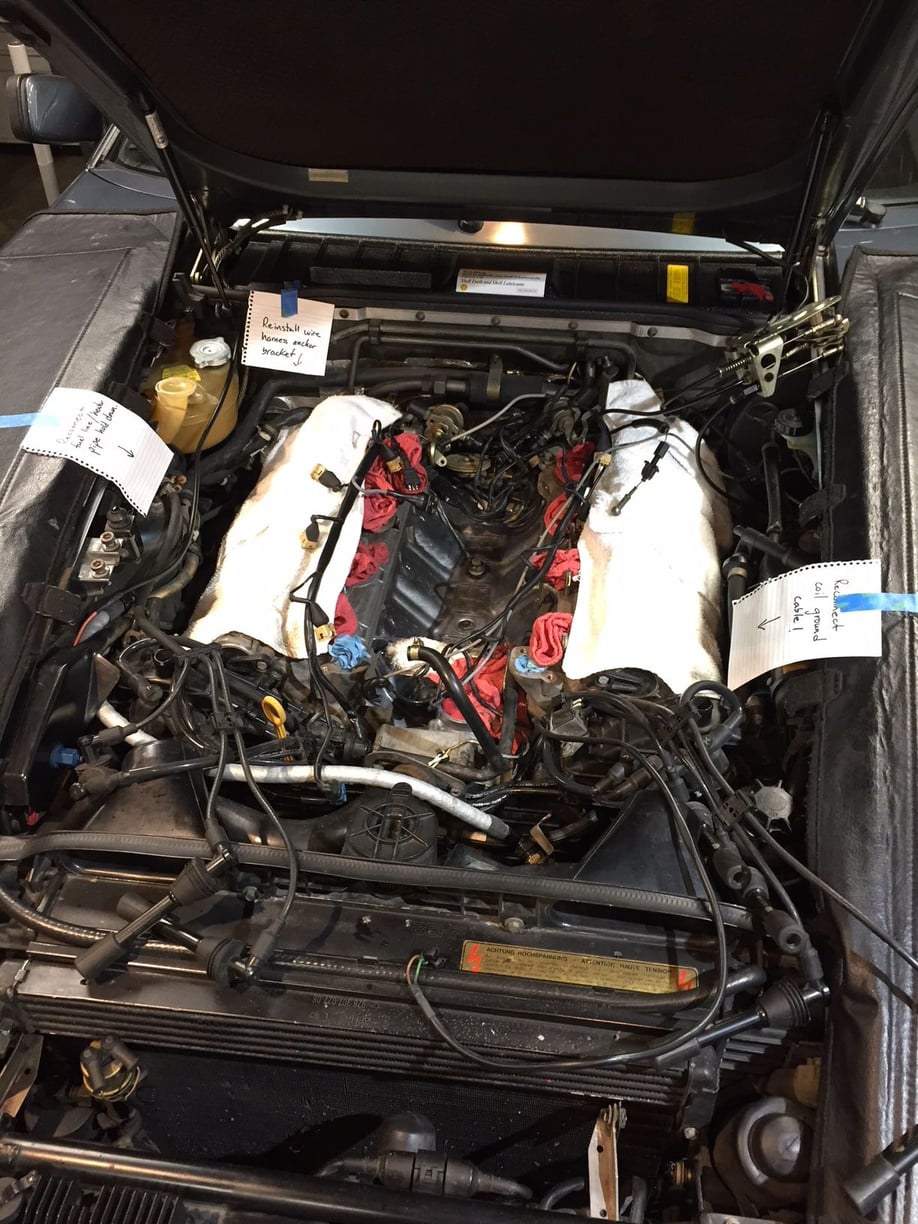
On my 88 I found a bracket not described in Dwayne's guide. It's at the lower rear corner of the passenger side cam cover. It holds the wiring harness up and around the cam cover to prevent contact. I have Volvo mounts installed. They are great, but they lift the engine about 10mm, making it more difficult to reach a lower cam cover bolt on both sides. On the right (in photo) I had to disconnect the coil ground wire. On the left I had to remove the bolt holding an anchor for the metal fuel line and heater pipe. Moving these lines down a bit is all that is needed.

 03-24-2018, 10:29 PM