When you click on links to various merchants on this site and make a purchase, this can result in this site earning a commission. Affiliate programs and affiliations include, but are not limited to, the eBay Partner Network.
Thanks, Stan! I appreciate your advice.
I was concerned that the bushing was wiped. I will move forward now.
I am replacing the radial seal for the torque converter snout, the primary pump body O-ring, the large and small packing rings for the front pump piston body, and the two teflon seals.
I have ready many posts regarding the transmission front pump. I have seen your recommendation to lubricate the bushing with petroleum jelly prior to installation. I have also read your recommendation to lubricate the O-ring and seals with Dow 111. I plan to do that as well. However, does this apply to the teflon sealing rings and front radial seal as well? I had planned on filling the lips of the front seal with petroleum jelly. I do that for all transmission and engine radial seals that I replace. However, I am open to advice.
I have read both yours and Greg Brown's advice on the front pump gasket. I want to replace it, and have a new one. However, the transmission is still installed in the car. I don't want to be doing that kind of scraping and surface preparation in place. I am going to wipe the gasket down, reuse it, and hope for the best.
I understand about filling the transmission. When I did this back in mid-2016, I had a pump and gallon jug of ATF. I filled the transmission through the fill port QD on the return line. I filled it until the reservoir was full. I then ran the engine for around 20 seconds. Repeat fill and run until the level was near where it was supposed to be. Then warm it and do a proper level check. I will do that again.
I have read that pre-87 automatic transmissions had a smaller diameter torque converter. It could be removed with the transmission still in the car. Yeah...
I disengaged the torque converter from the input shaft no problem. But I couldn't get it to clear the floor pan. I ended up having to lower the bellhousing end of the transmission as far as it would go, and work the torque converter out by wiggling and twisting. Reinstalling it will be fun.
Removing the front pump was not terrible, just had to pull on the two bolts as per the WSM. It does not slide out. It POPS out. Good times.
With the pump assembly out, I packed the area around the front drum with lint free rags, then packing paper. That should keep it safe until I reinstall the pump assembly.
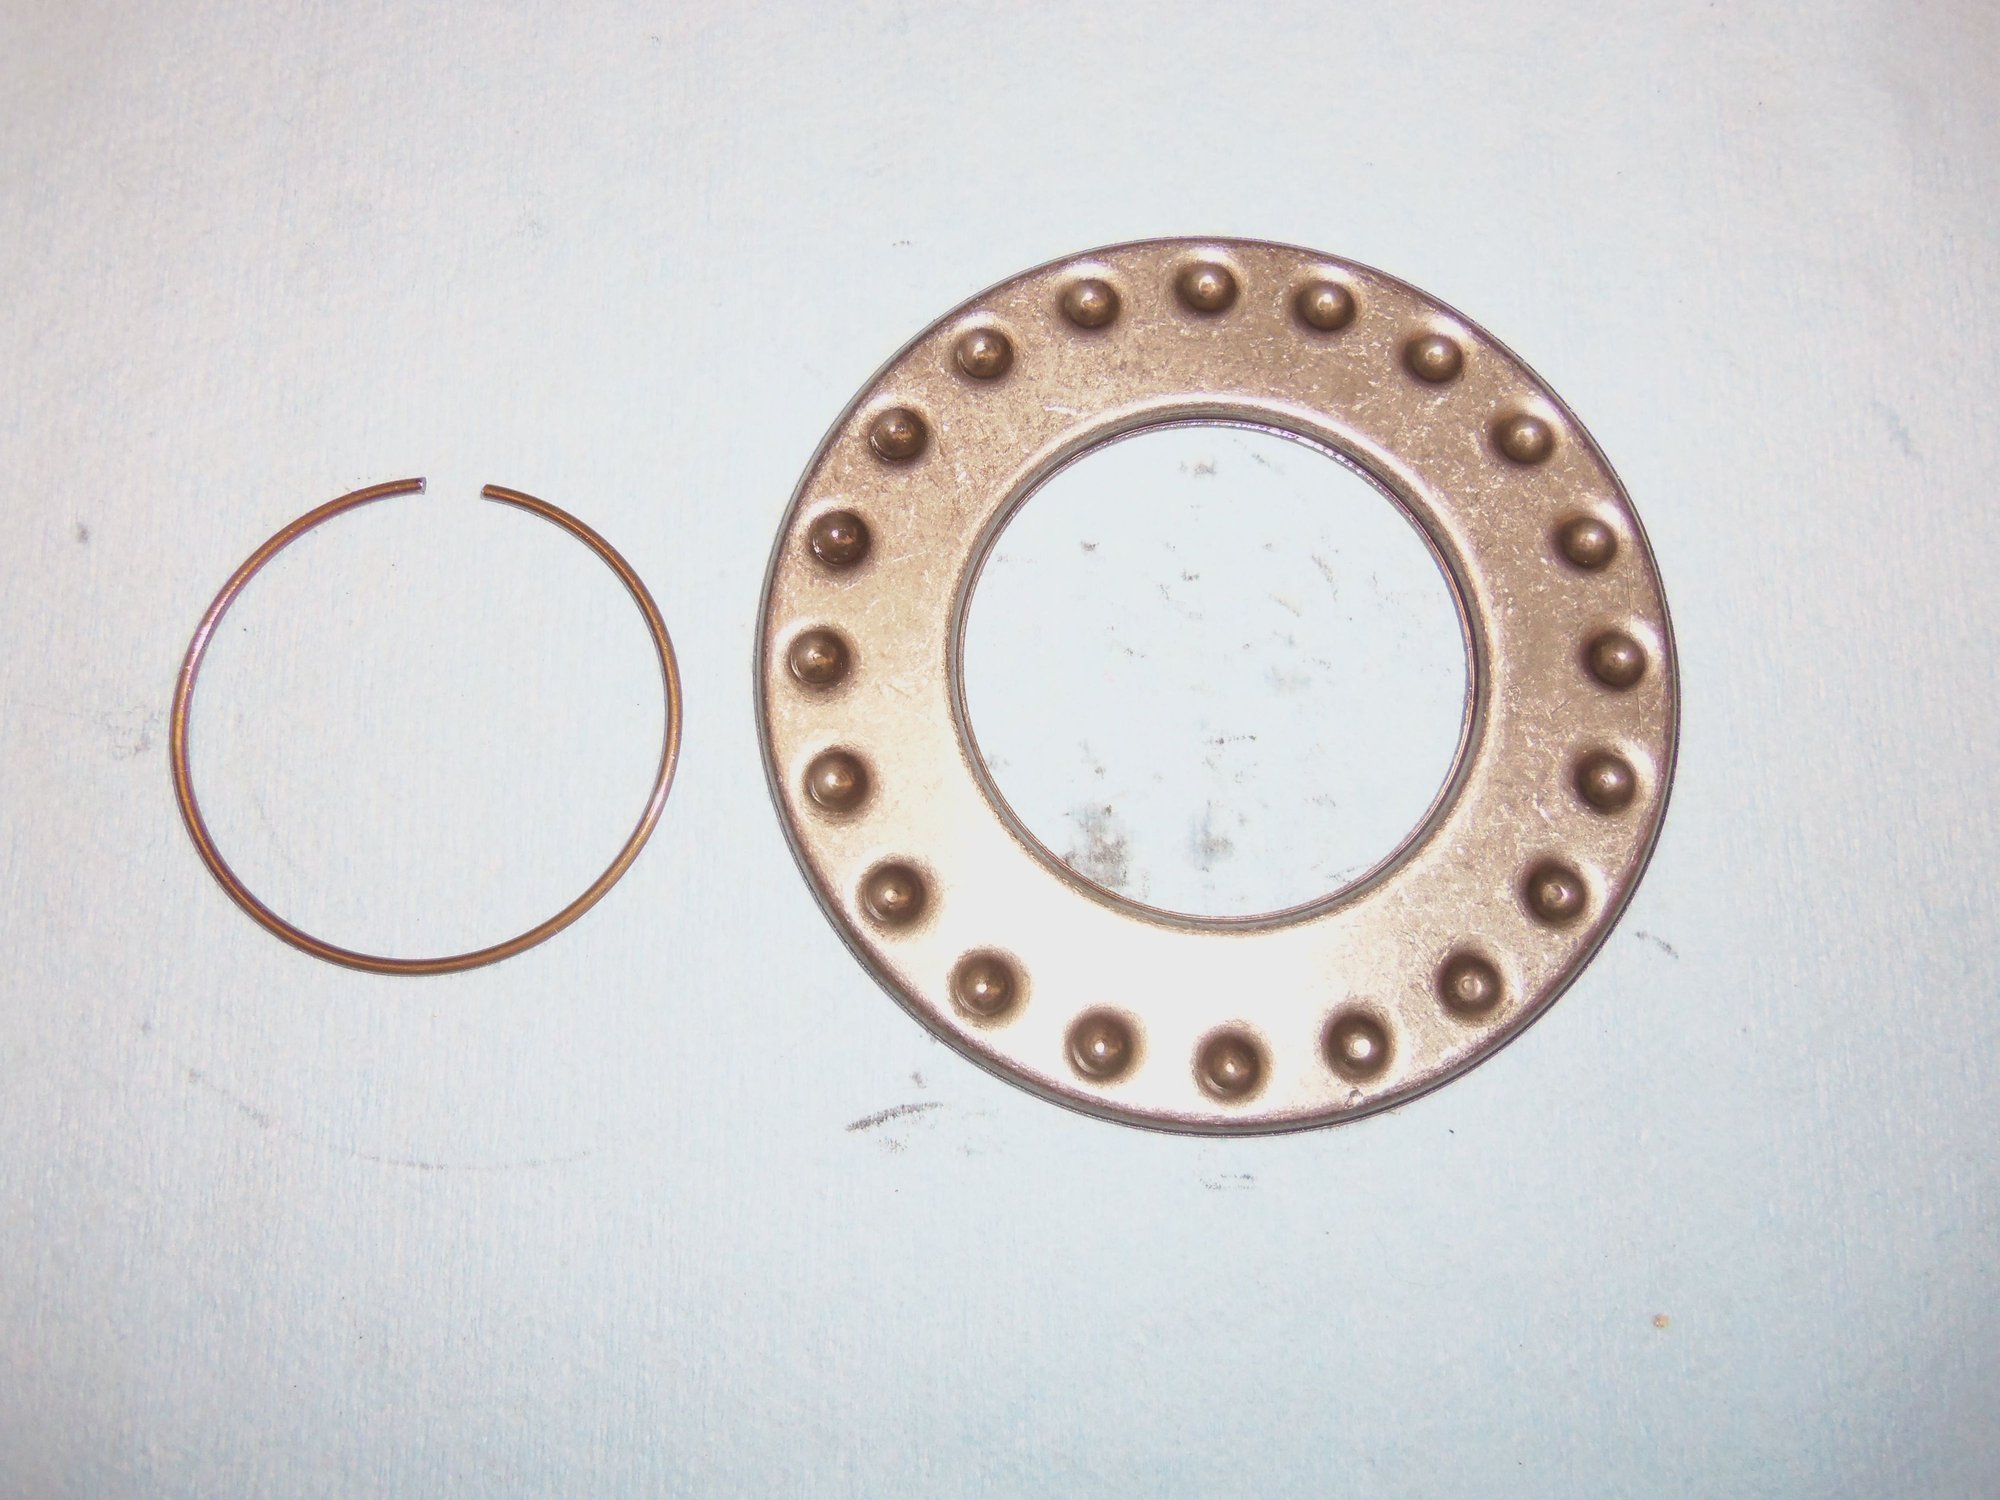
On the work bench, the pump assembly came apart without too much fuss. Of course the C-clip securing the large piston assembly was a joy to remove. Other than that, it was just lots of photos documenting what goes where, and following the exploded diagram in the WSM.
Other than the scare with the primary pump bushing, all looked good. All the seals and such were soft and pliable. I do have a question about the teflon rings. The old ones were brown, and felt quite hard. The new ones are white, and feel a little softer. I expect to have to 'work' the rings into shape to sit properly on the stator shaft to seat right.
Once everything is cleaned up, I will refit new seals and reassemble the front pump assembly. Then go through the dance of reinstalling the torque converter.
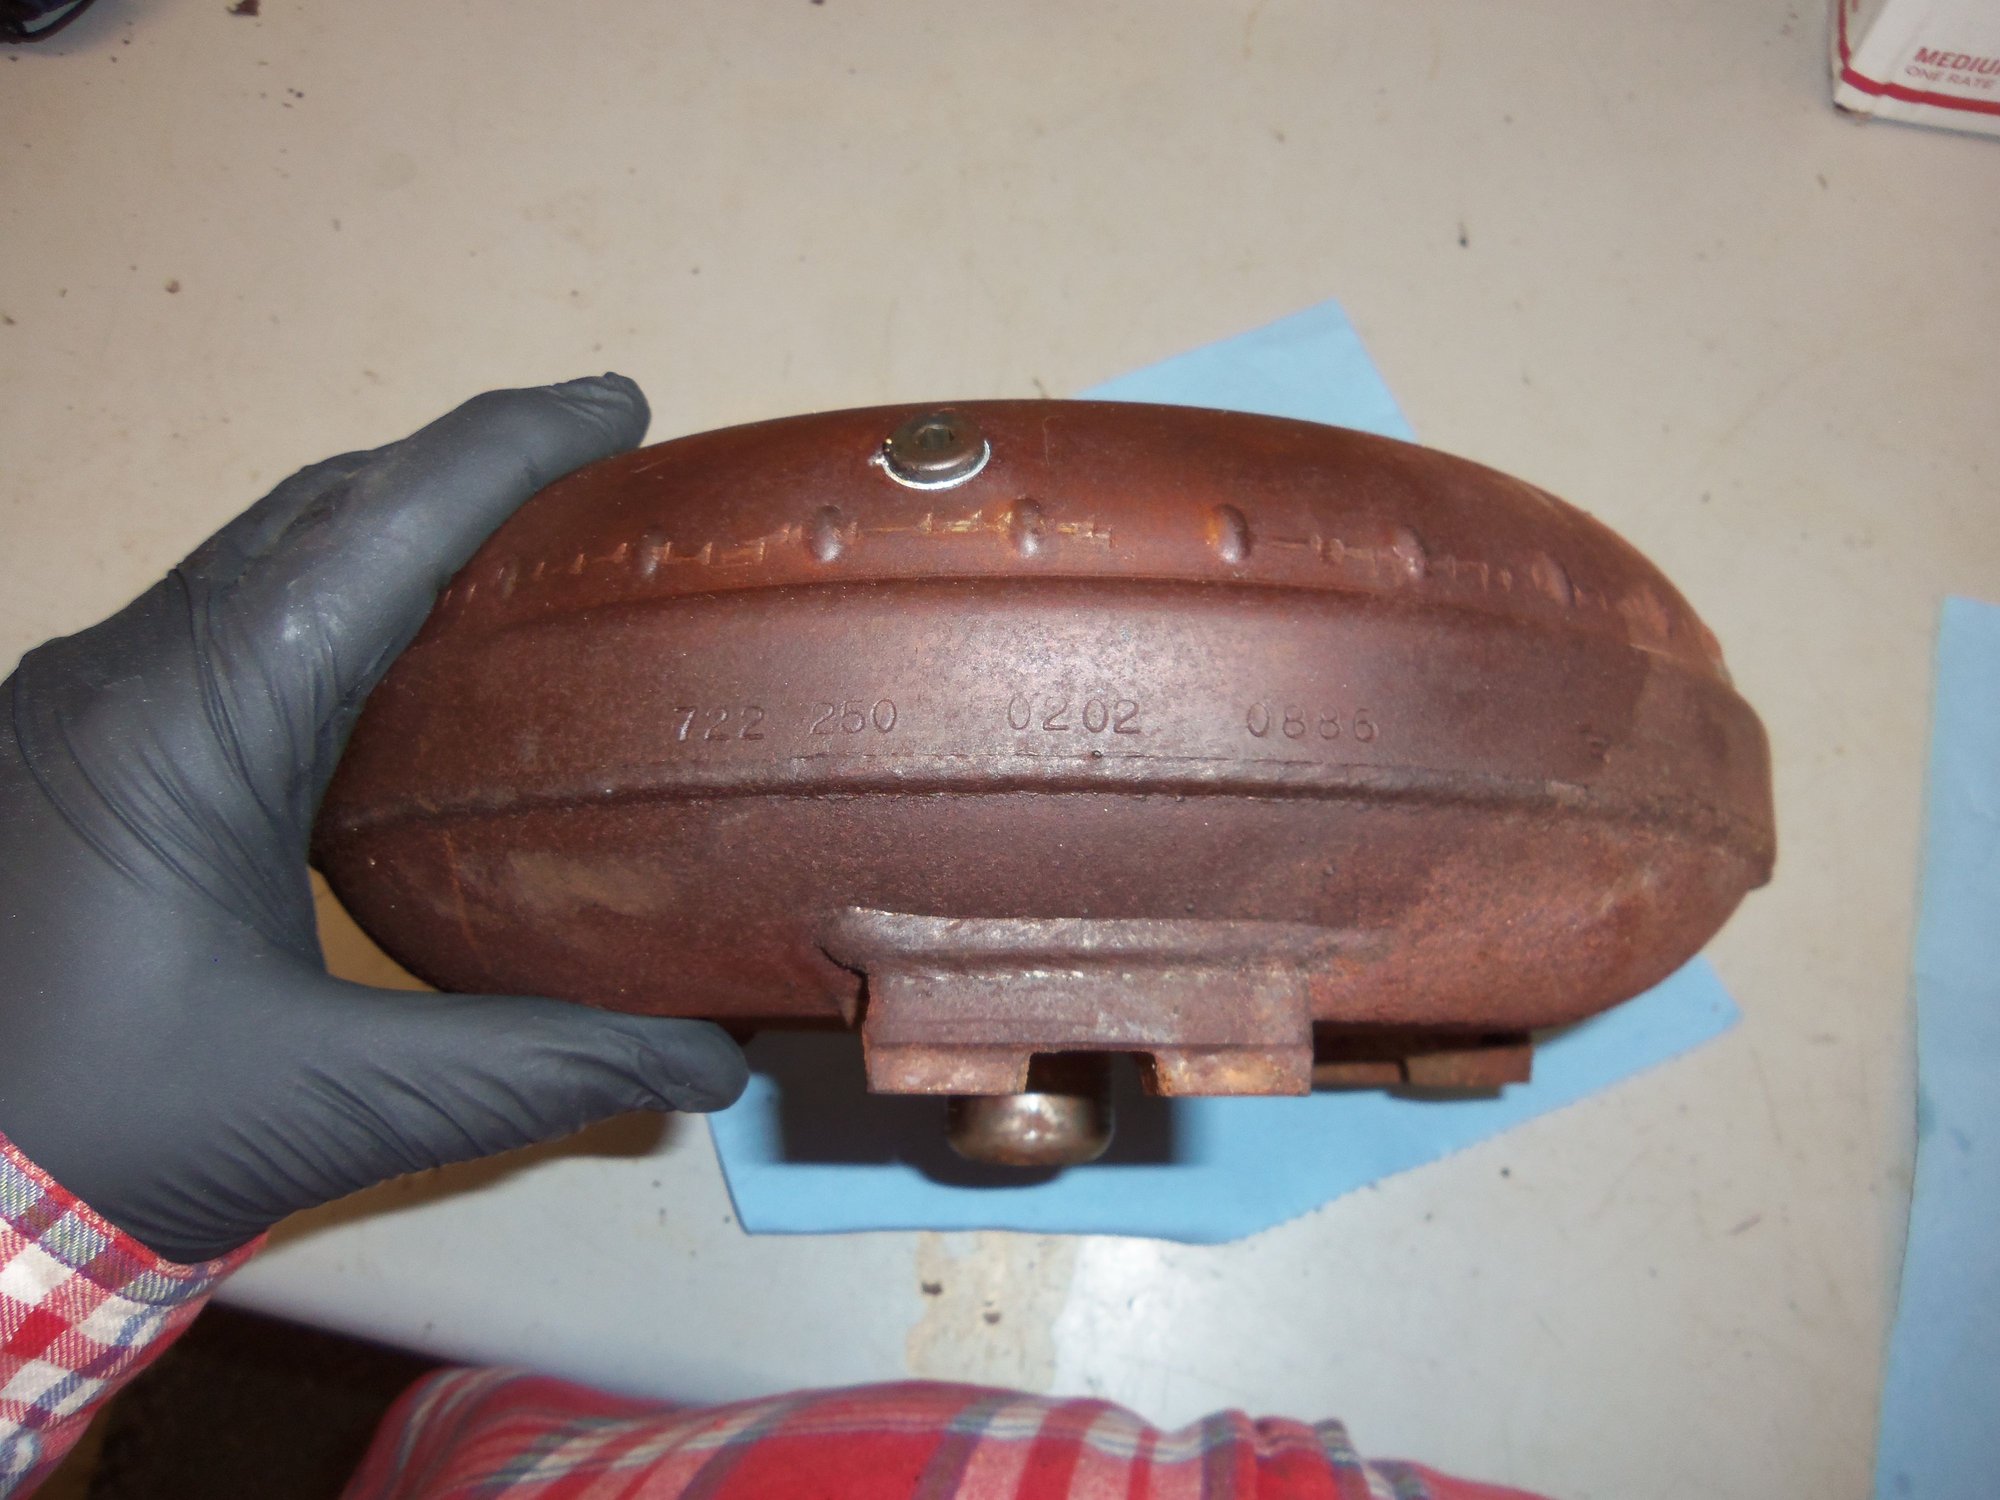
Stock torque converter. 722 250 020 2
Drain plug not damaged.
No real wear or damage to the snout.
No obvious shavings or metal slivers down in the guts of the torque converter. Look closely, you can see '85' and '7' I am going to assume that is the year and month of manufacture of the stator and/or turbine.
All important protective cover to keep trash out of the torque converter.
Part number 722 250 020 2, plus 0886. Hmmm...if that is a date code, then the outer casing was made in August of 1986.
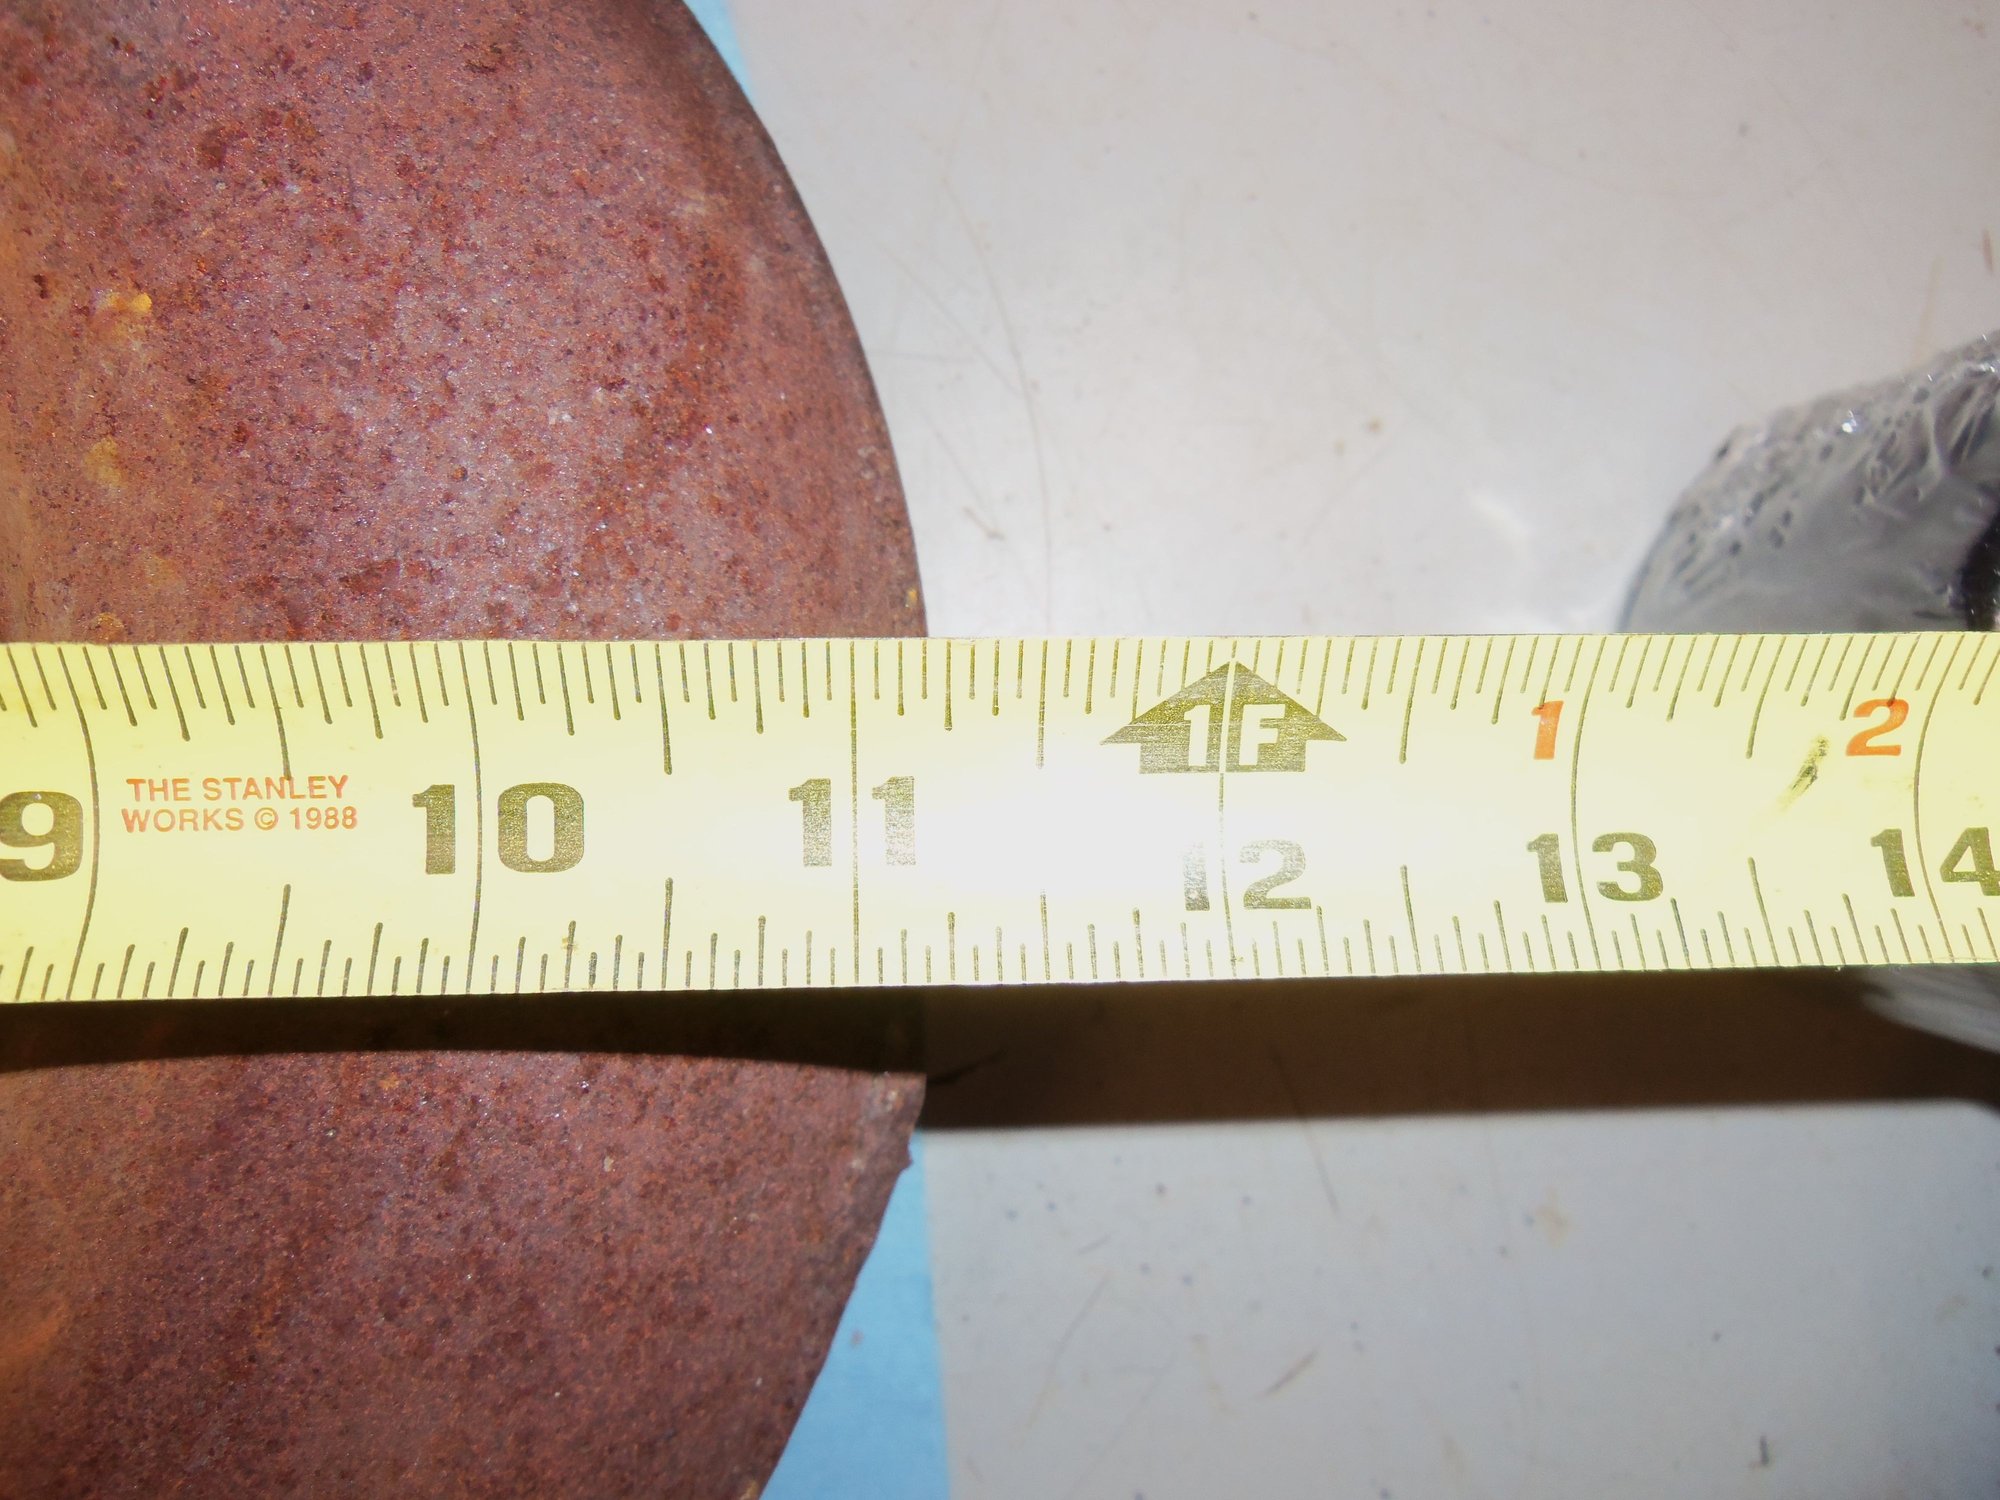
Ugly, but no damage.
Measuring the diameter of the torque converter.
Call it 11 inches.
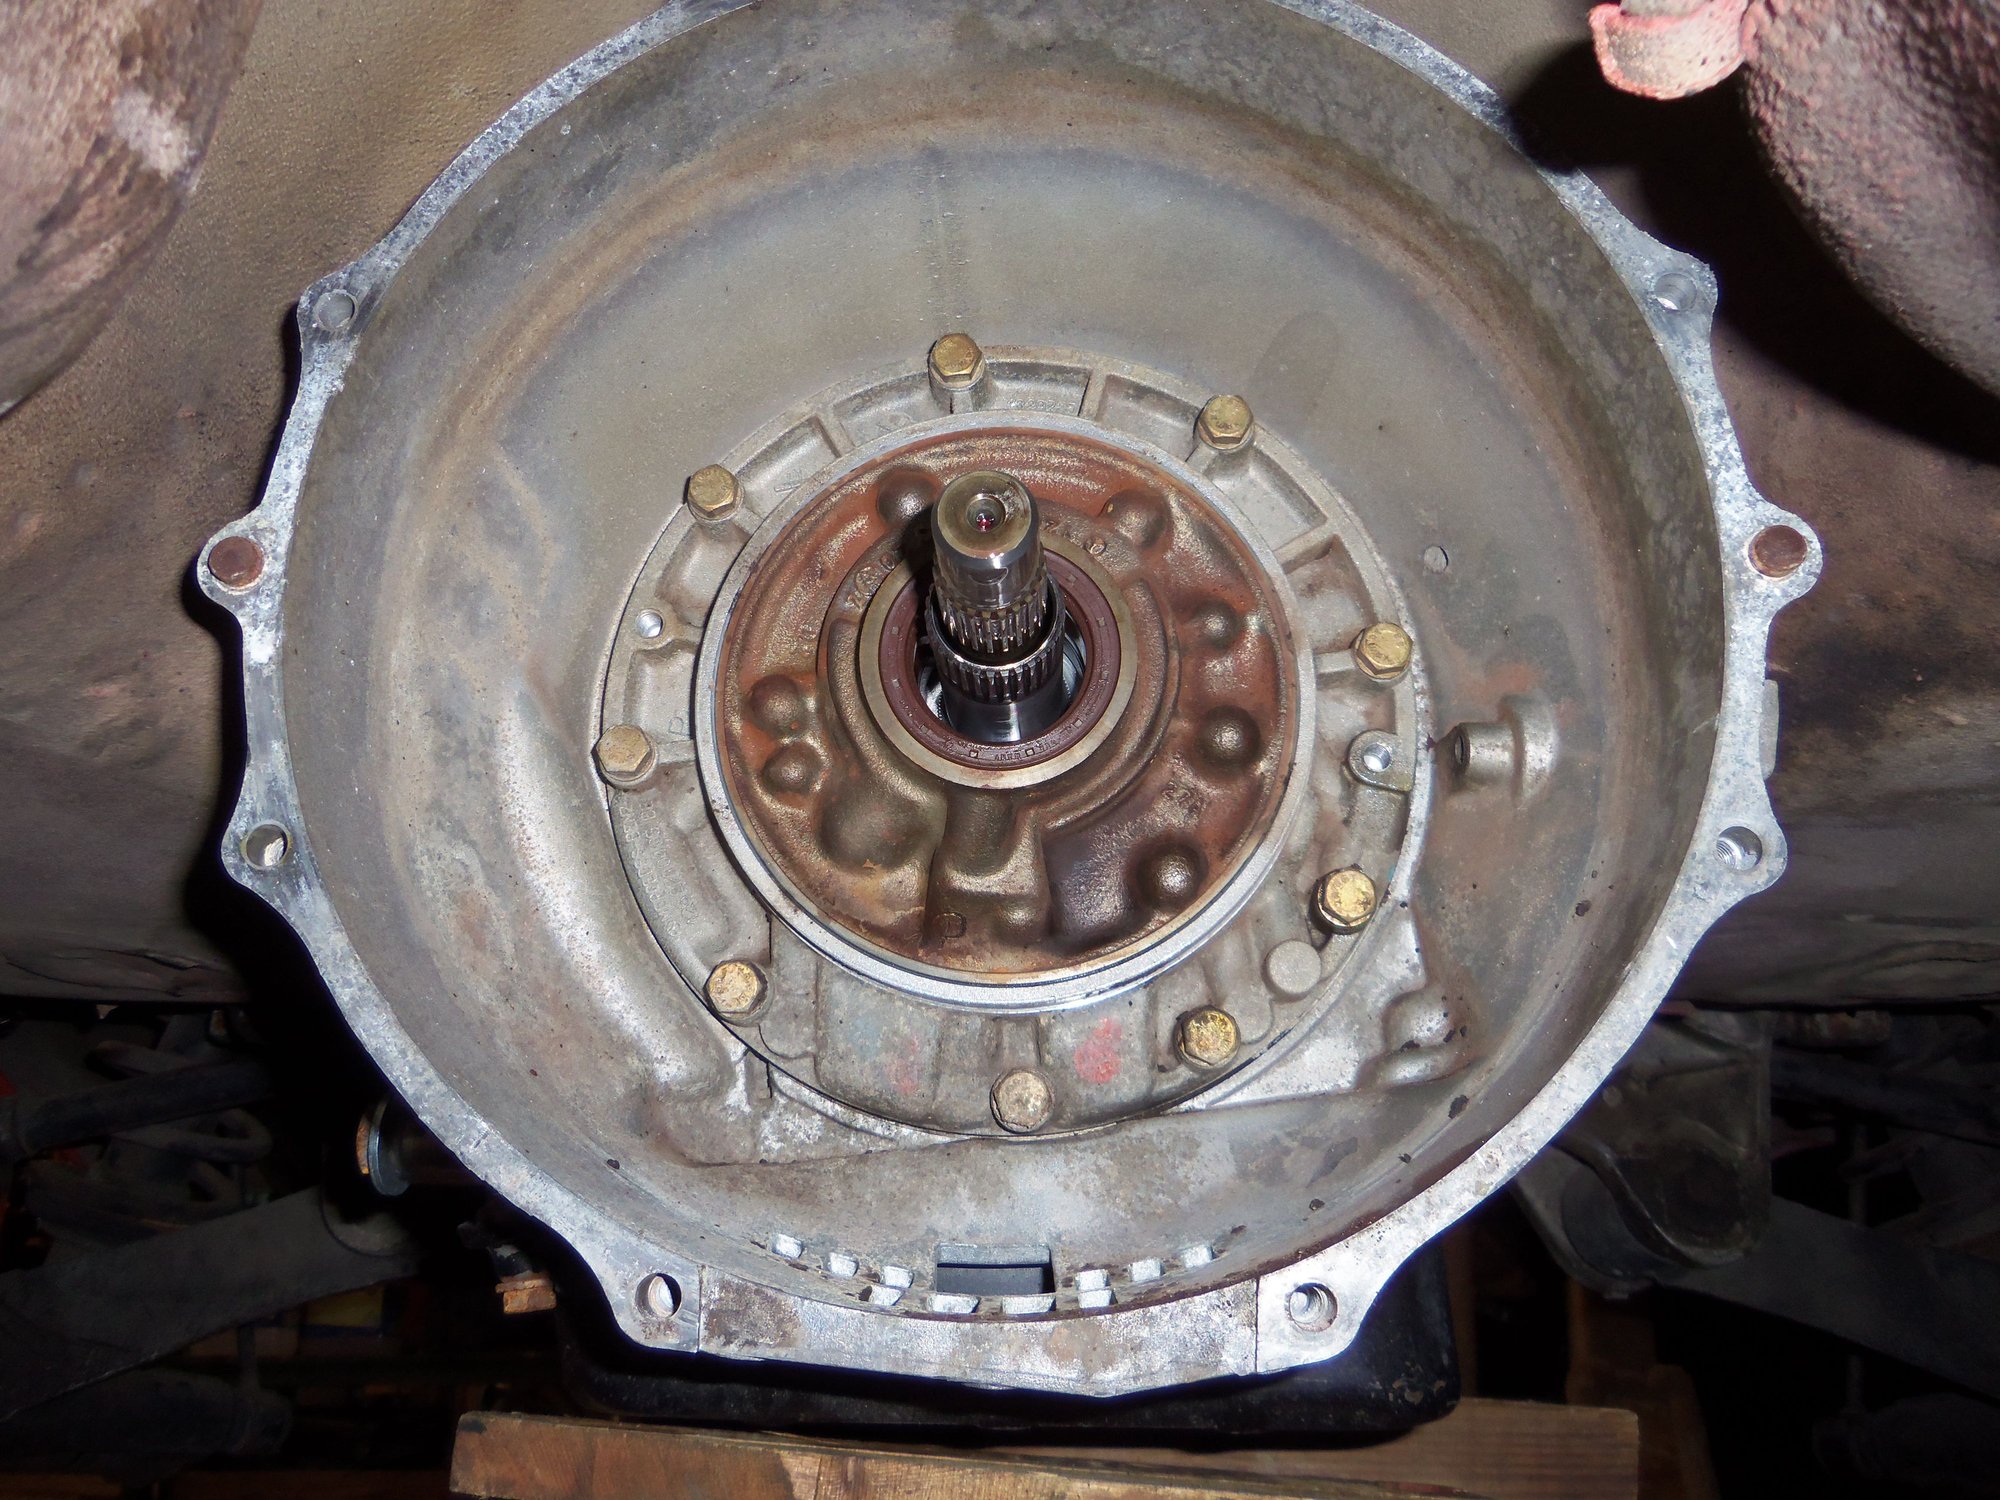
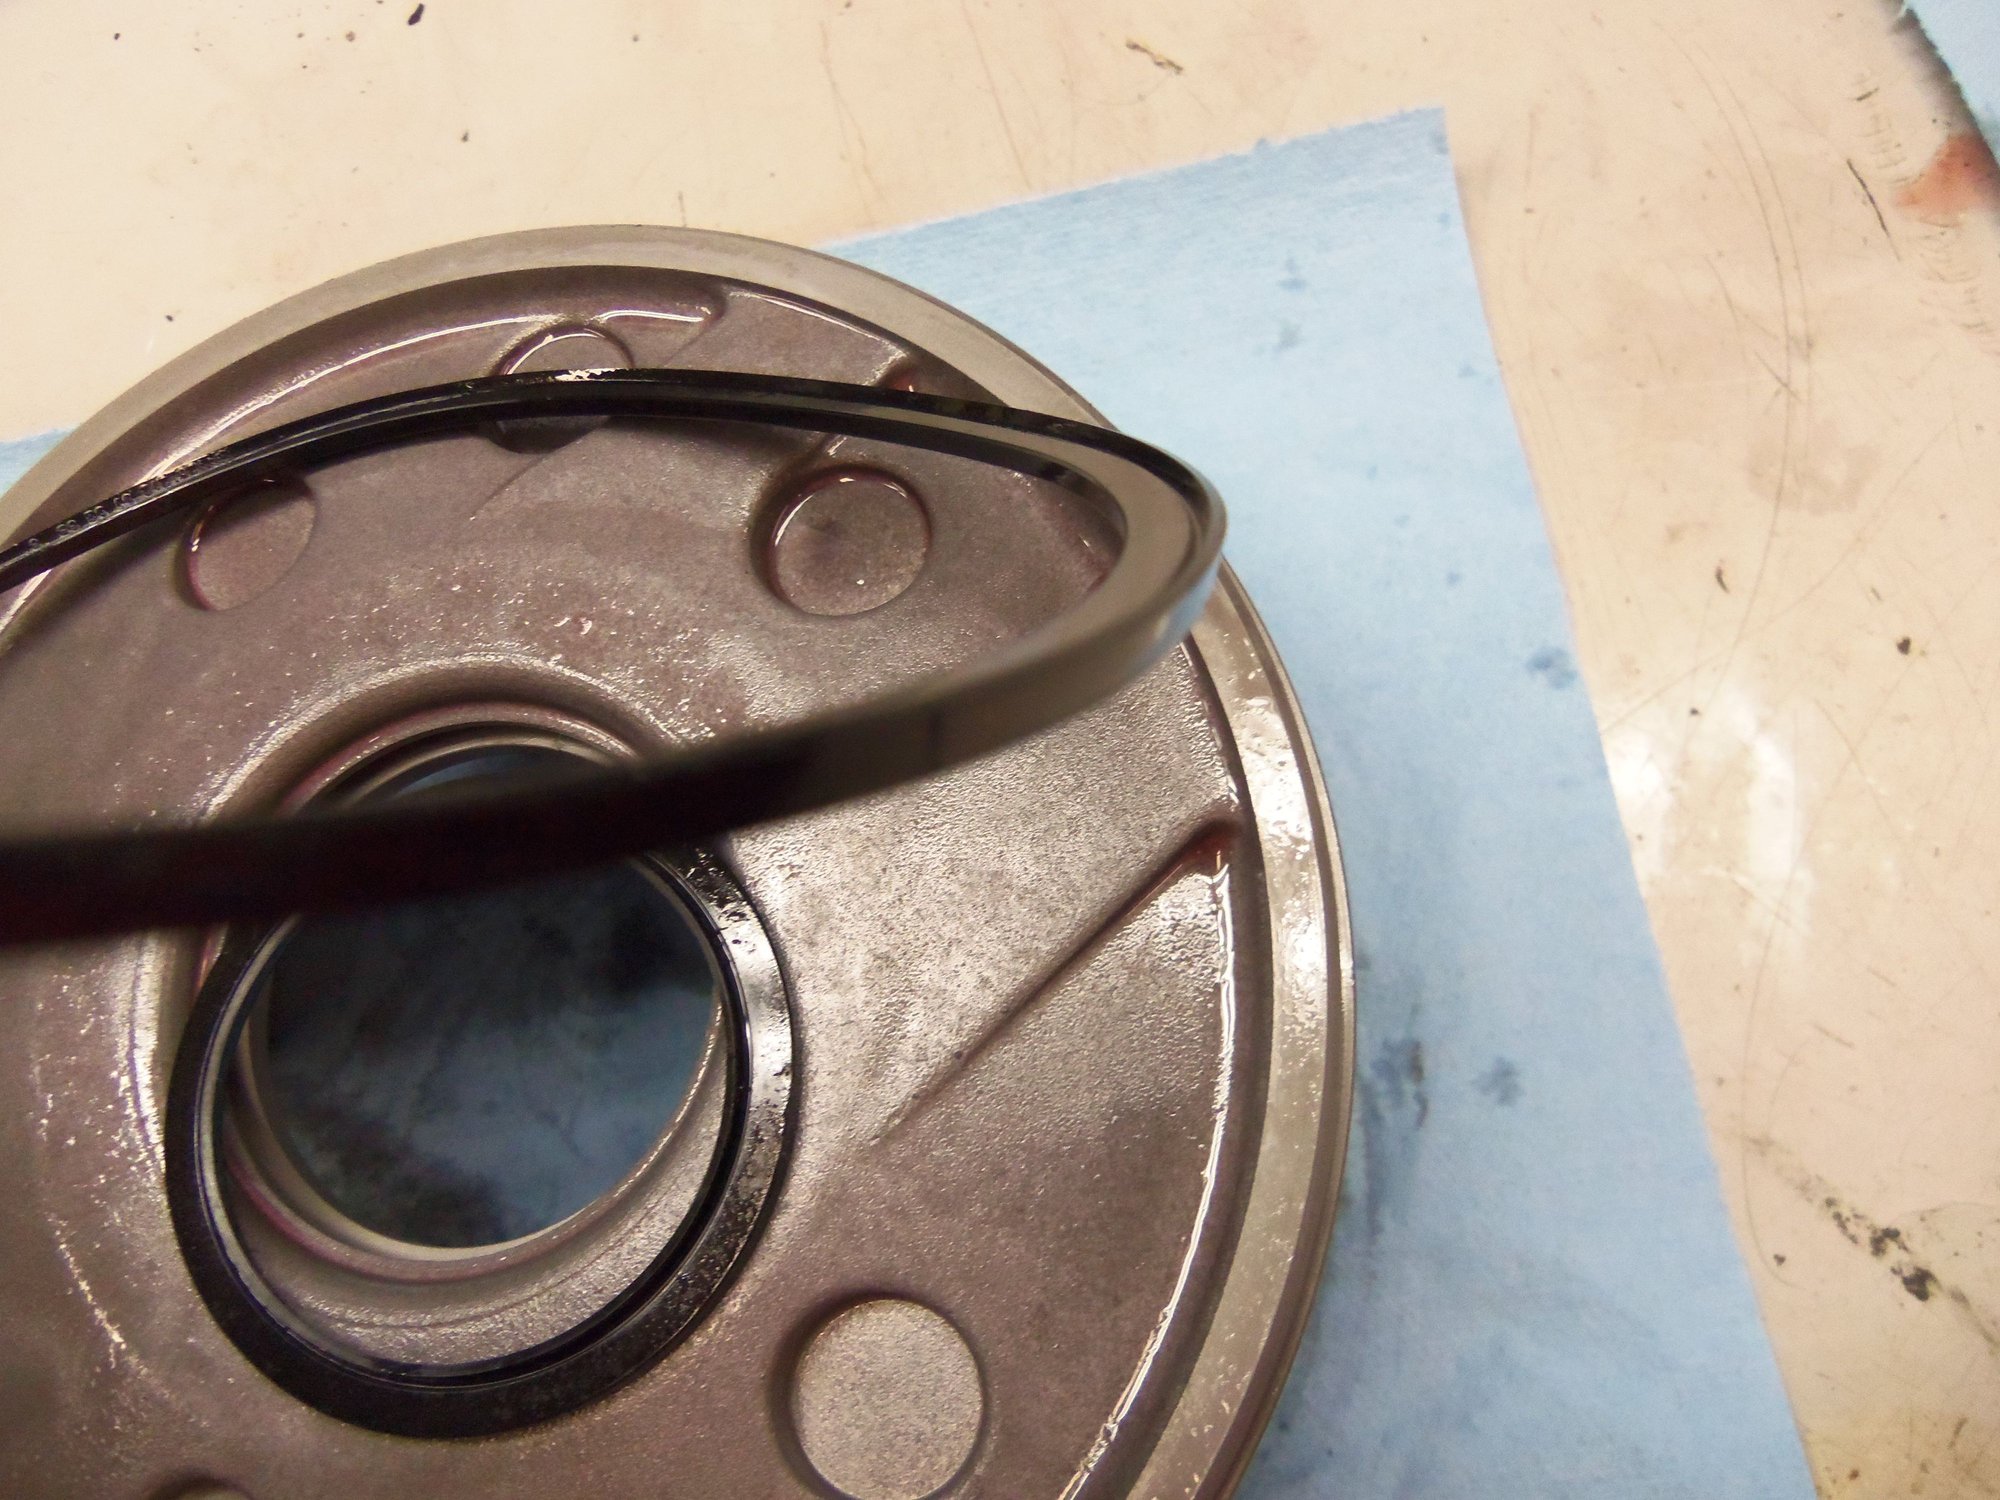
Front pump, in its home.
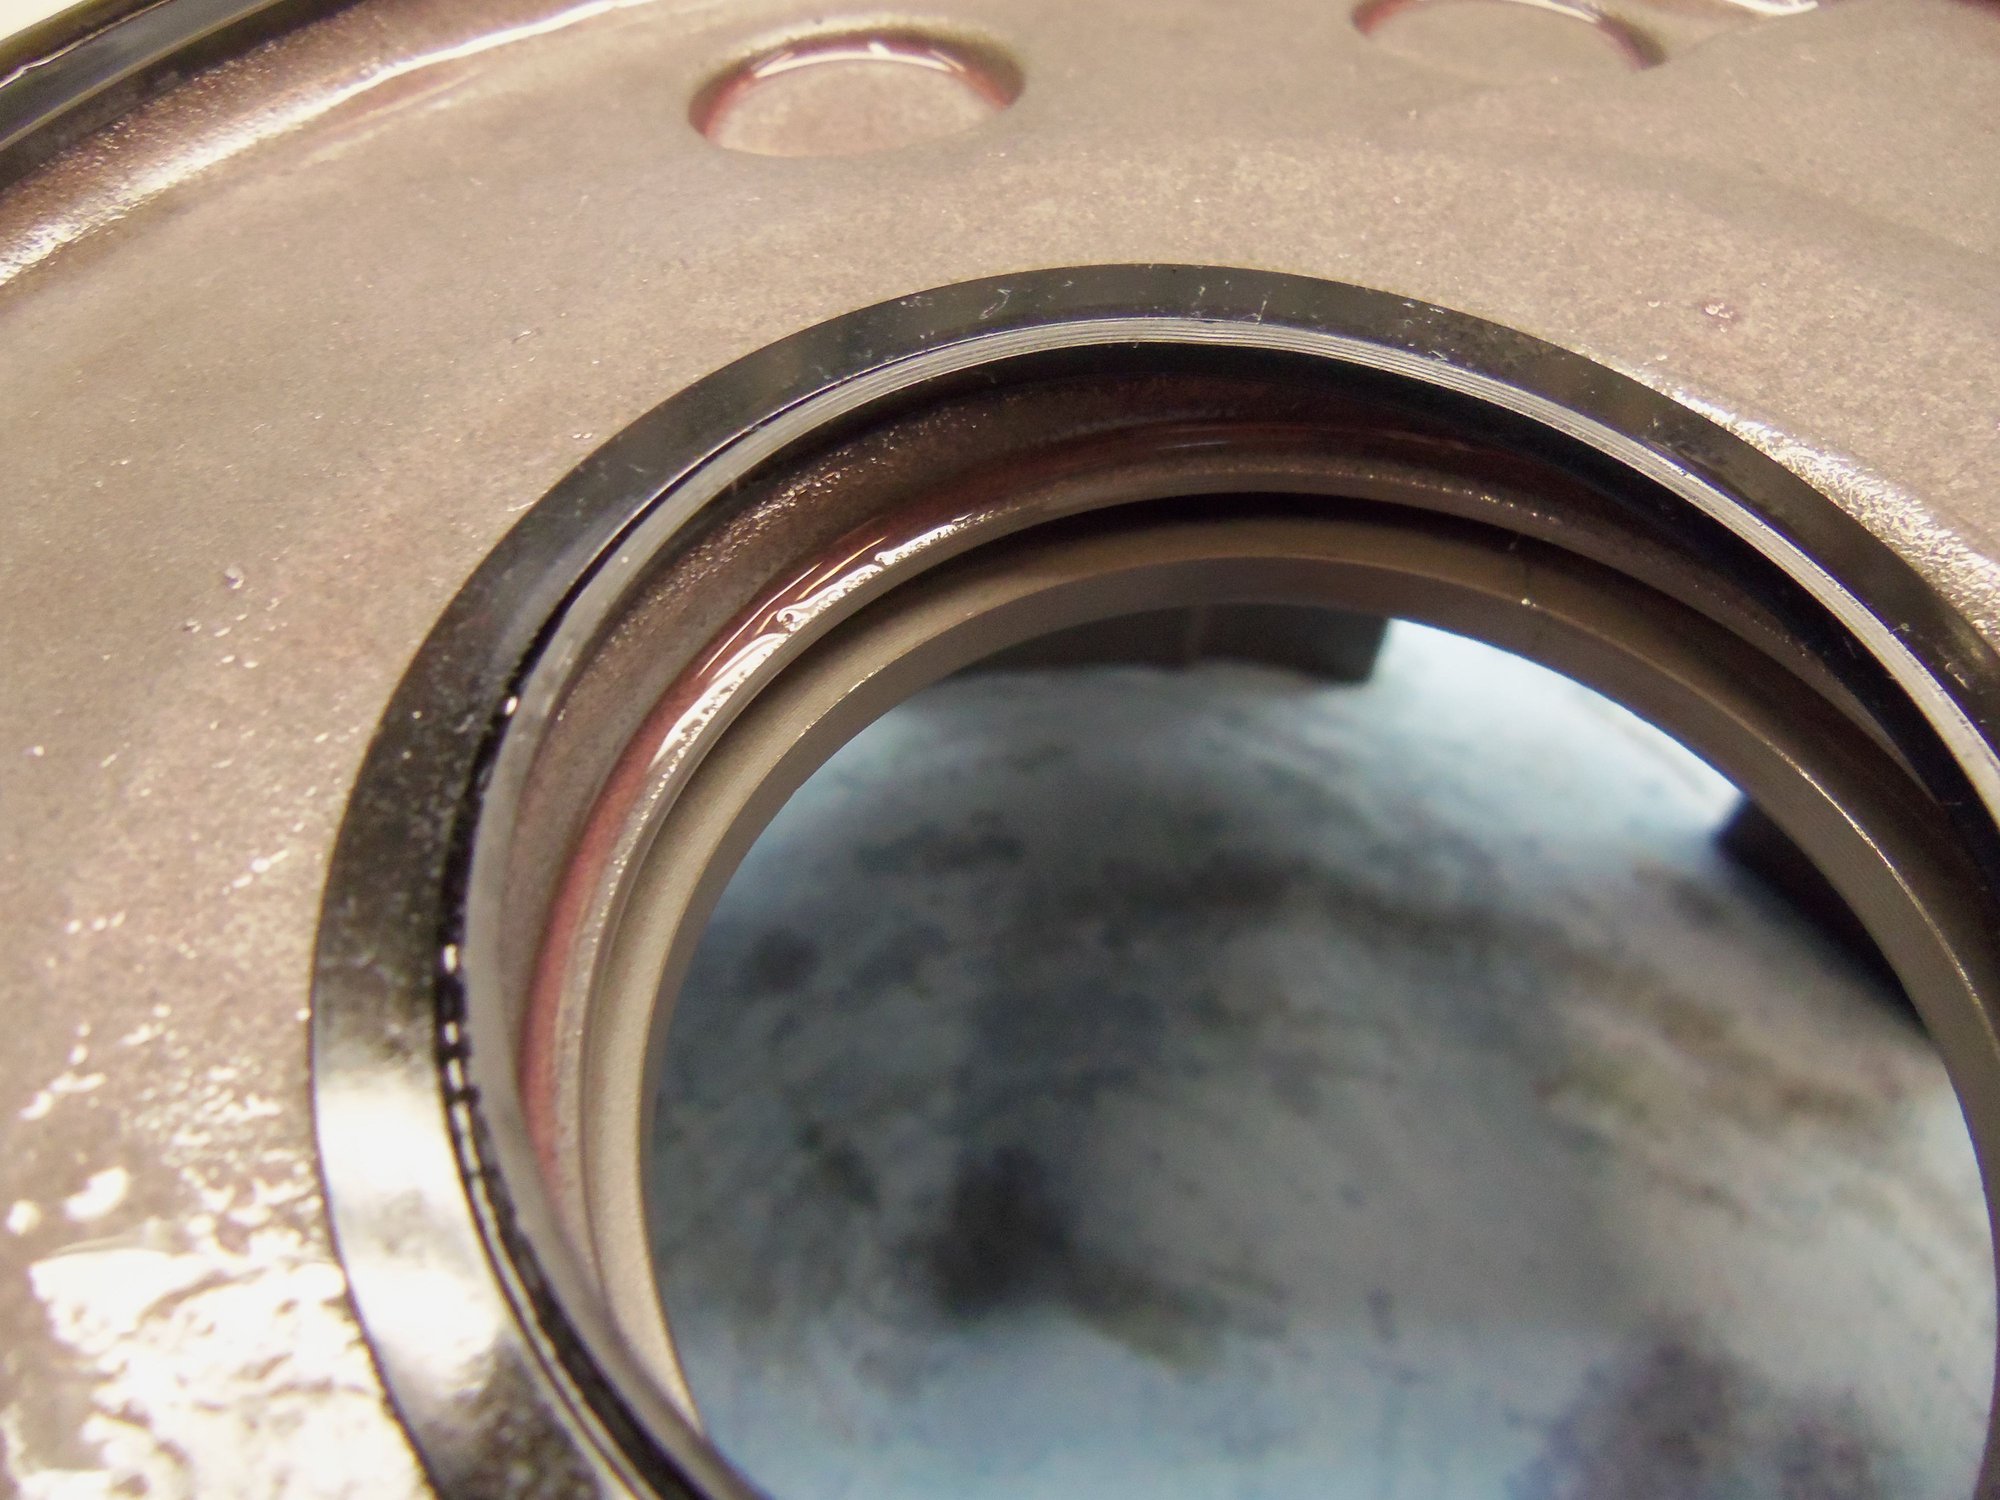
Seal looks surprisingly good.
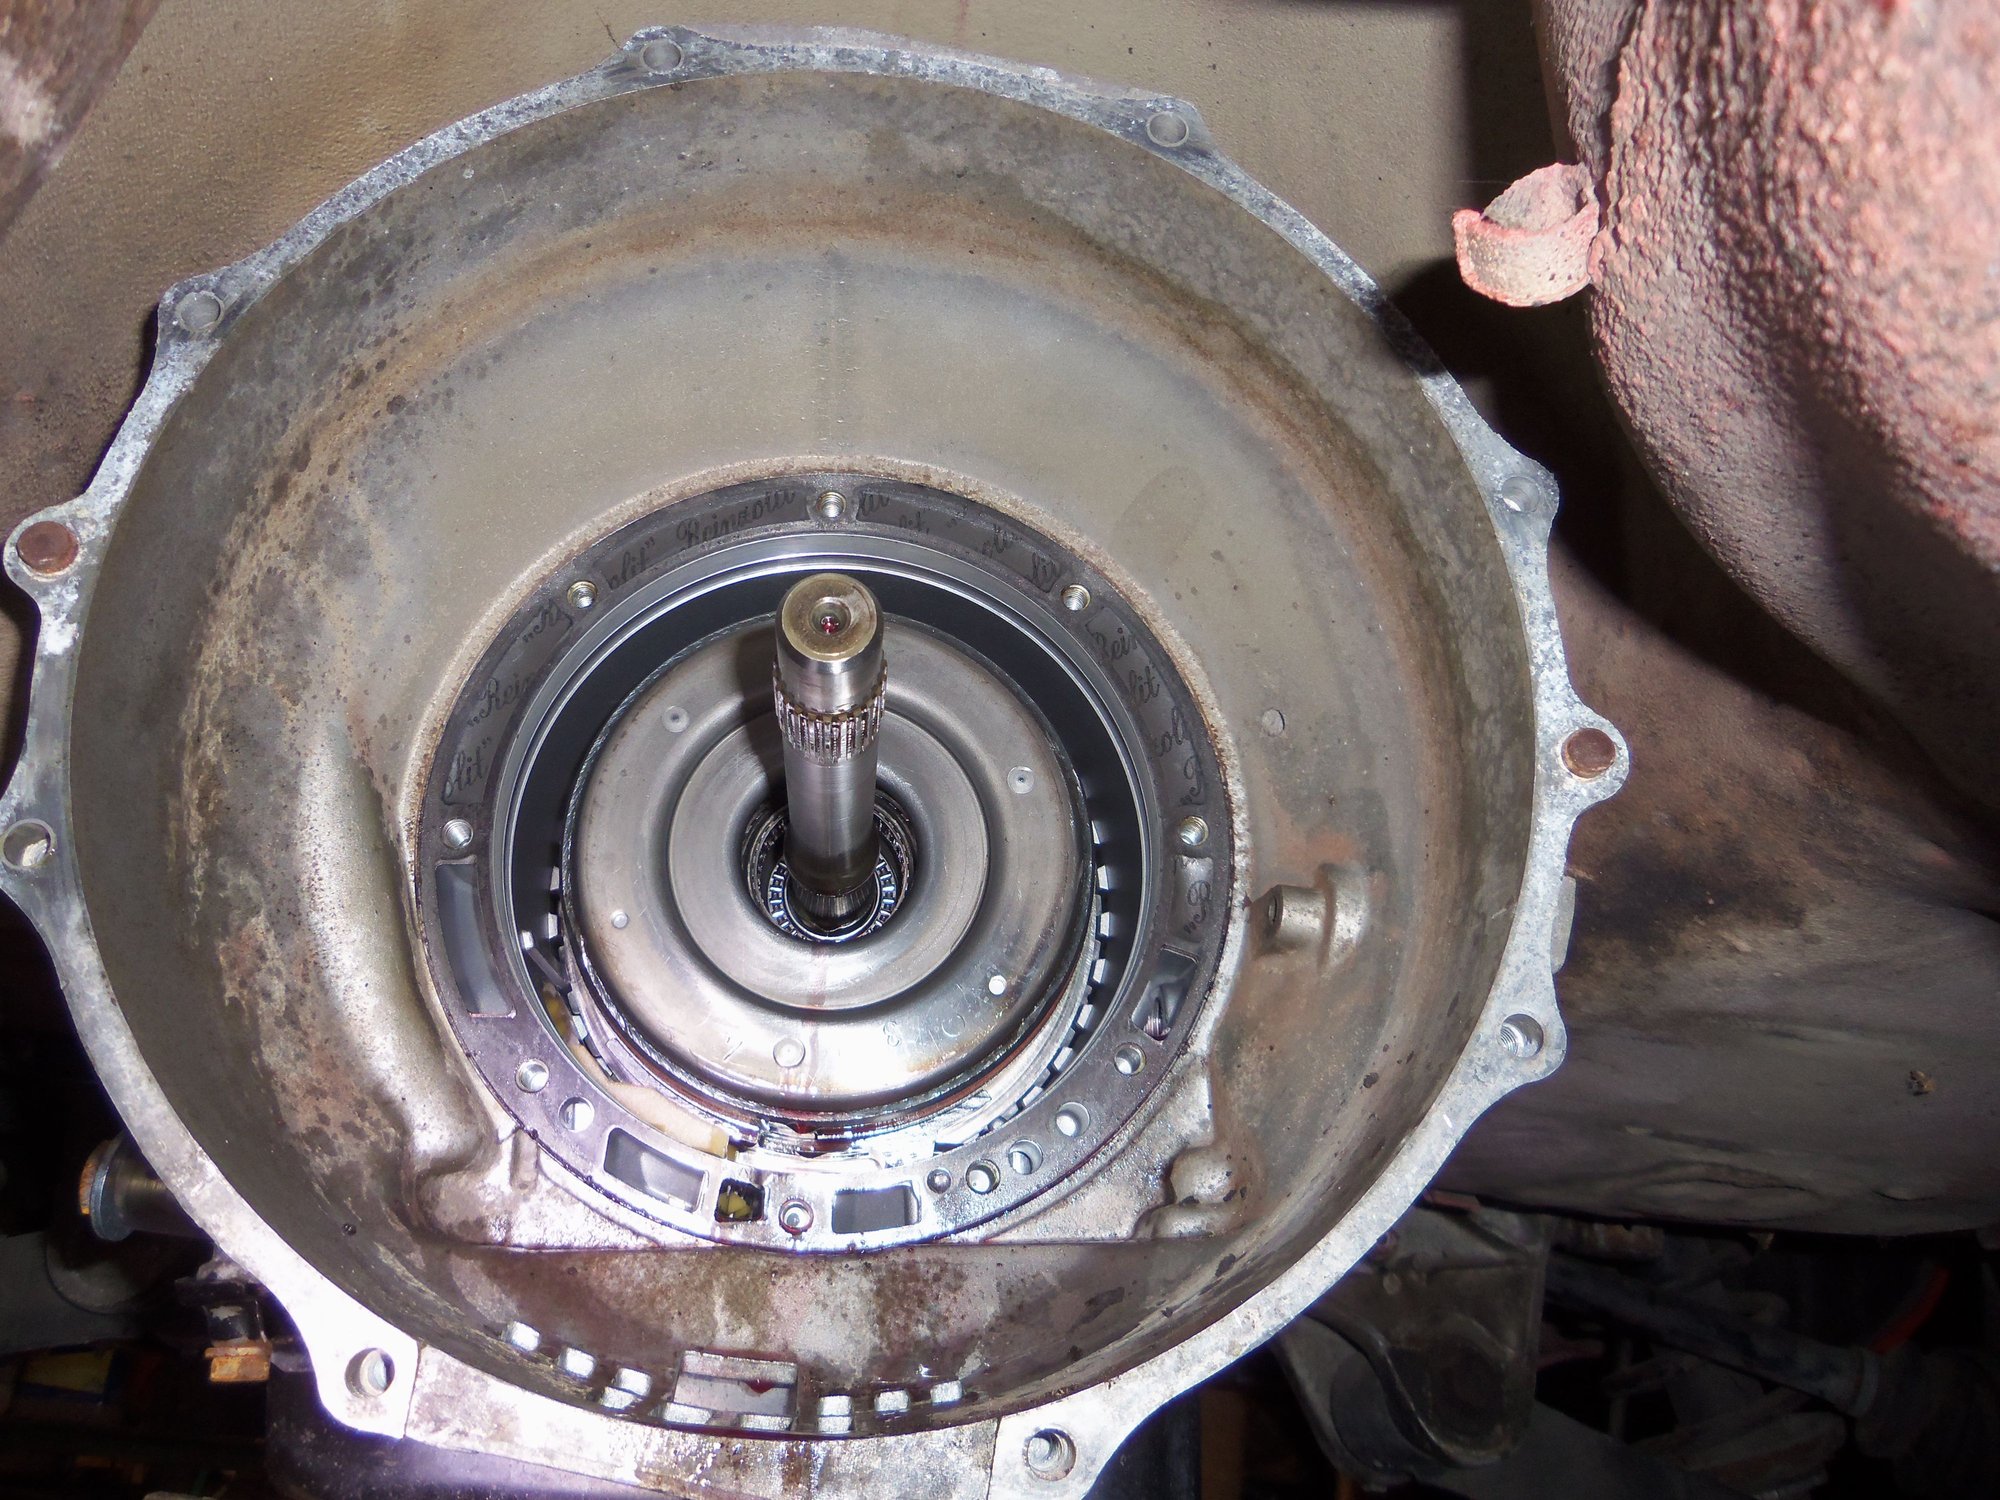
Pump removed, showing the front drum. K1?
Needle bearings down in the drum.
Pump/drum area packed with lint free rags to keep trash out. Covered that with a large piece of packing paper.
Front pump assembly.
Seal and stator shaft.
Side. There is cleaning to be done.
Not sure what this piston does.
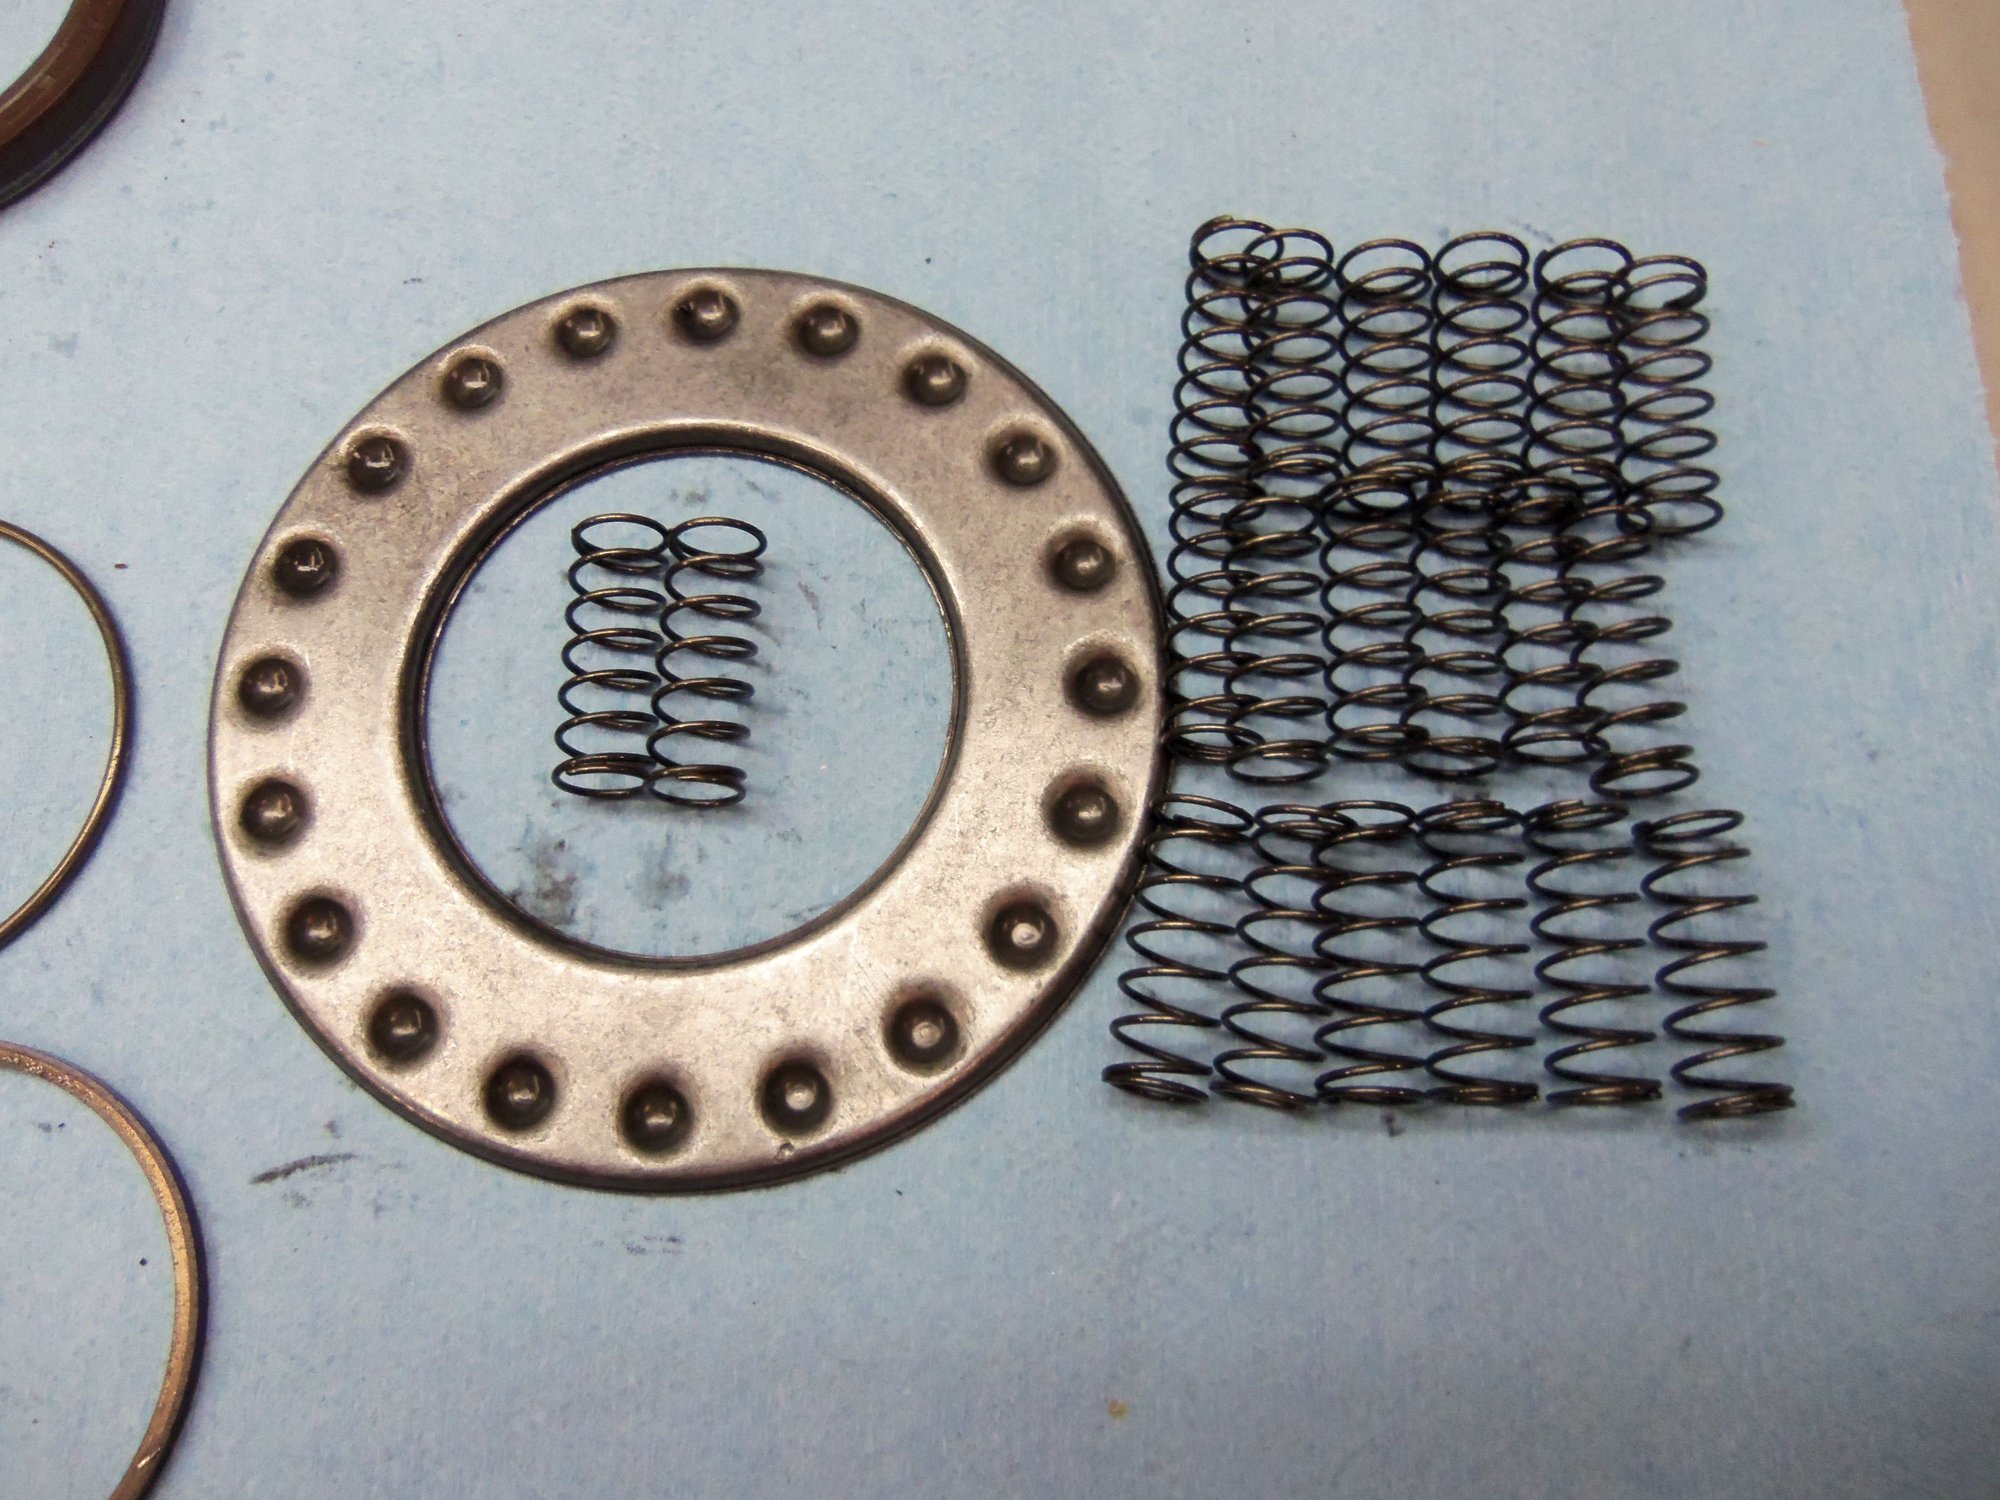
Underside showing spring loaded reaction plate.
Teflon sealing rings in place.
Teflon sealing rings, split ends swapped to illustrate the diagonal cuts.
Reaction plate and circlip.
20 springs.
Springs sit in pockets cast into the piston body.
Pump body with the piston removed.
Back side of the piston, showing seals.
Match marks I made on non-sealing surfaces so I can realign the piston to the front pump body.
I made the match mark near the cast in 'Mercedes-Benz' to be easy to find.
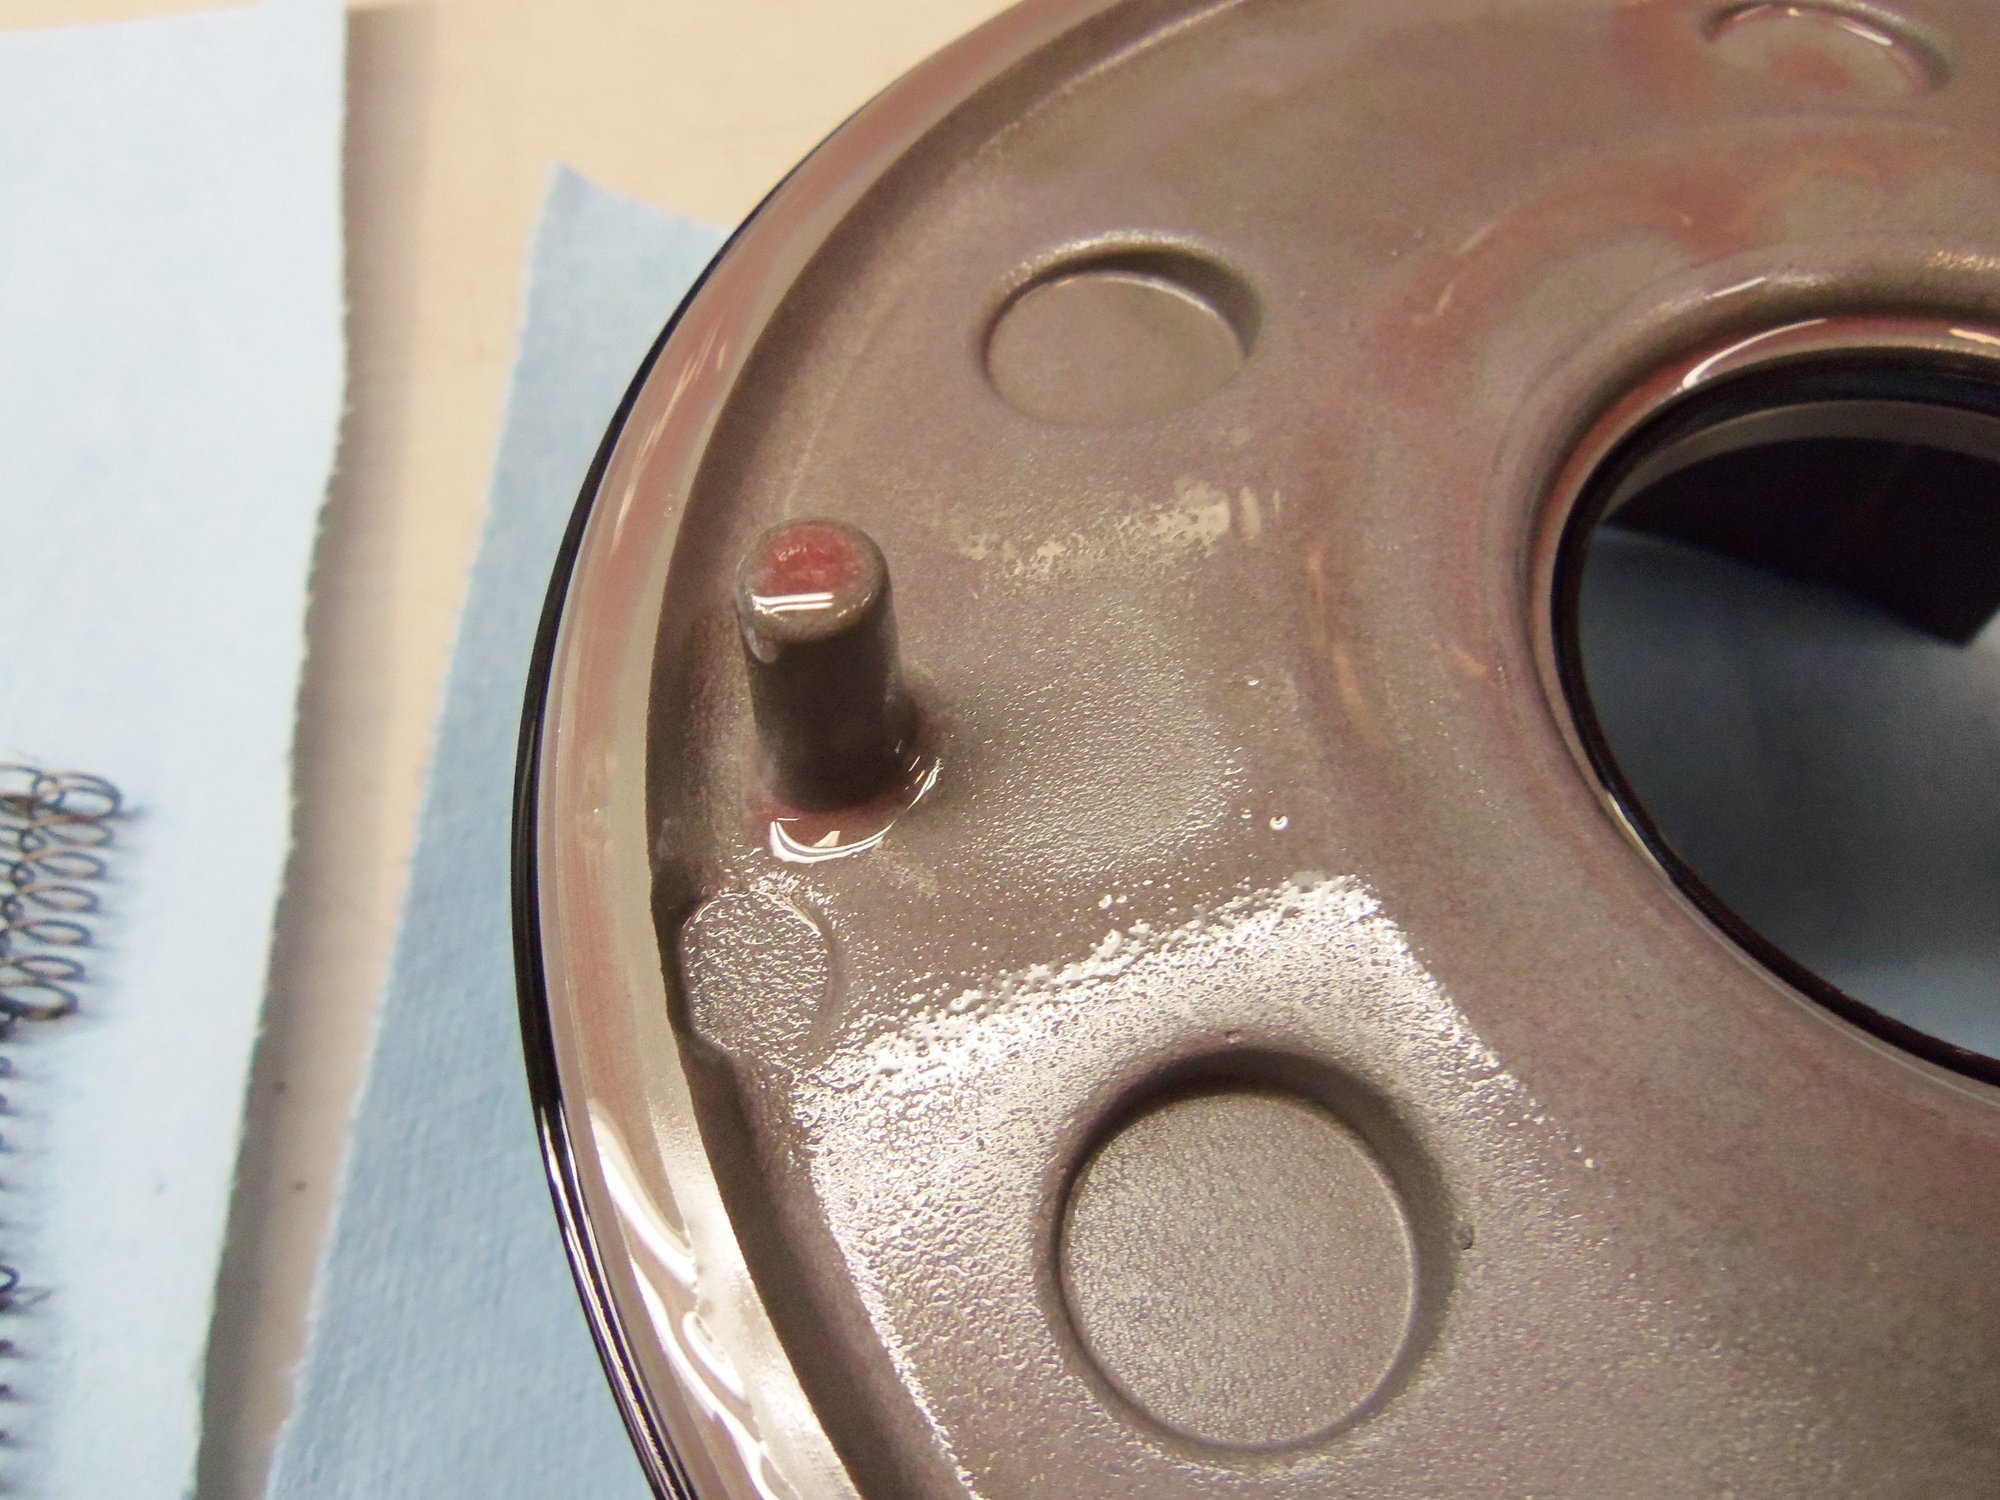
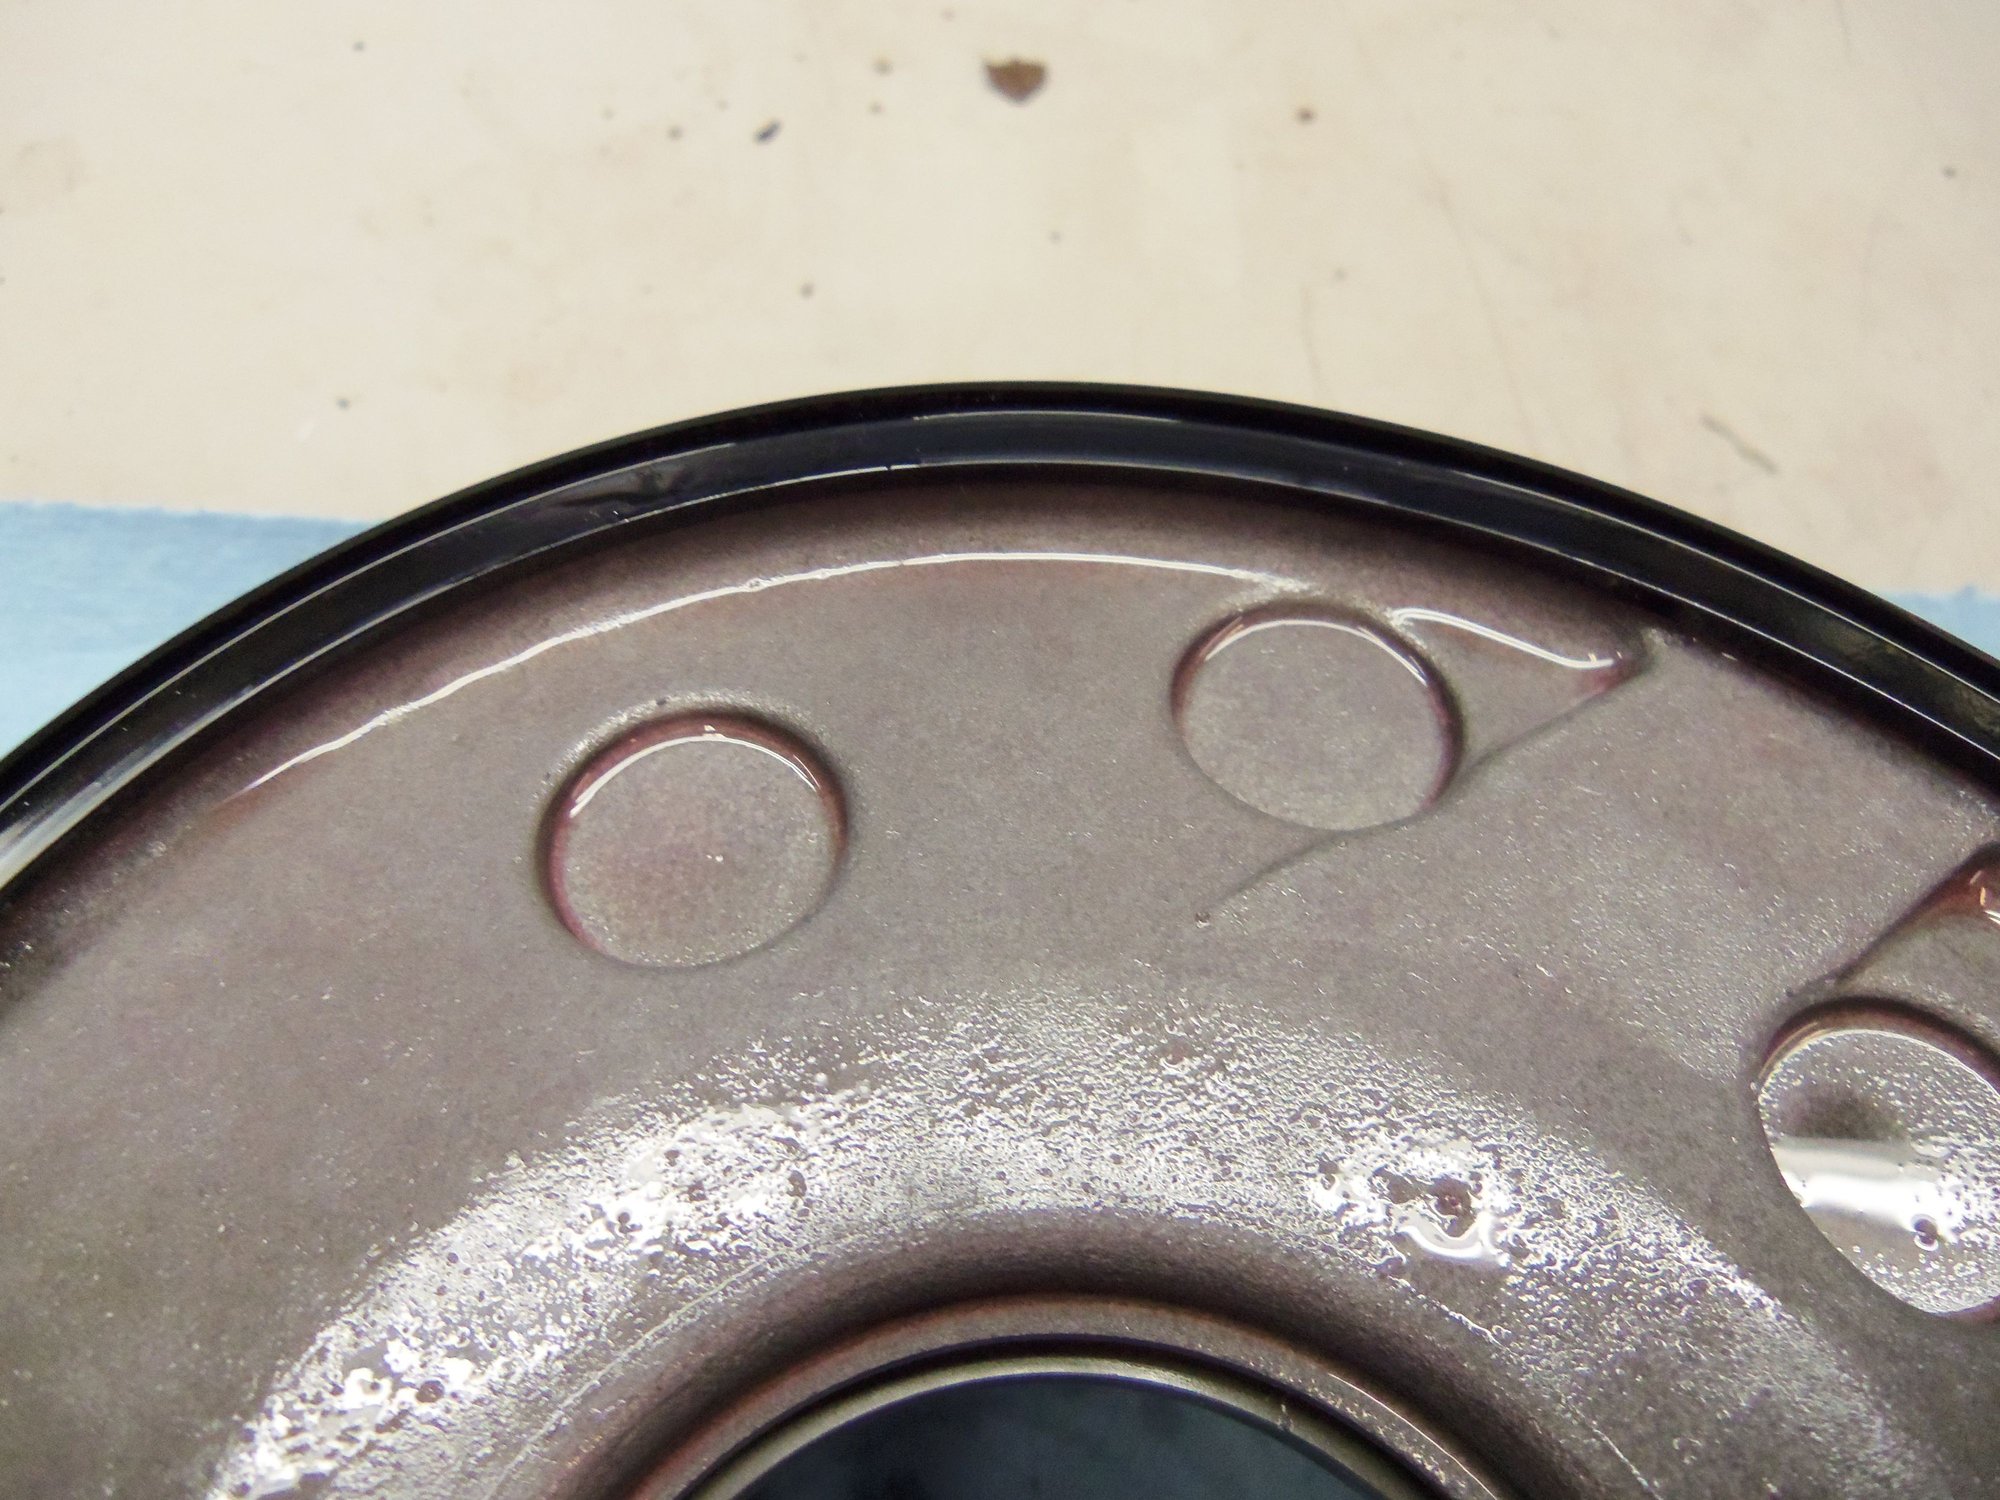
Too bad I didn't need the match marks. This pin cast into the back of the piston fits into...
This hole in the pump body.
Stator shaft on pump body.
Seals for piston.
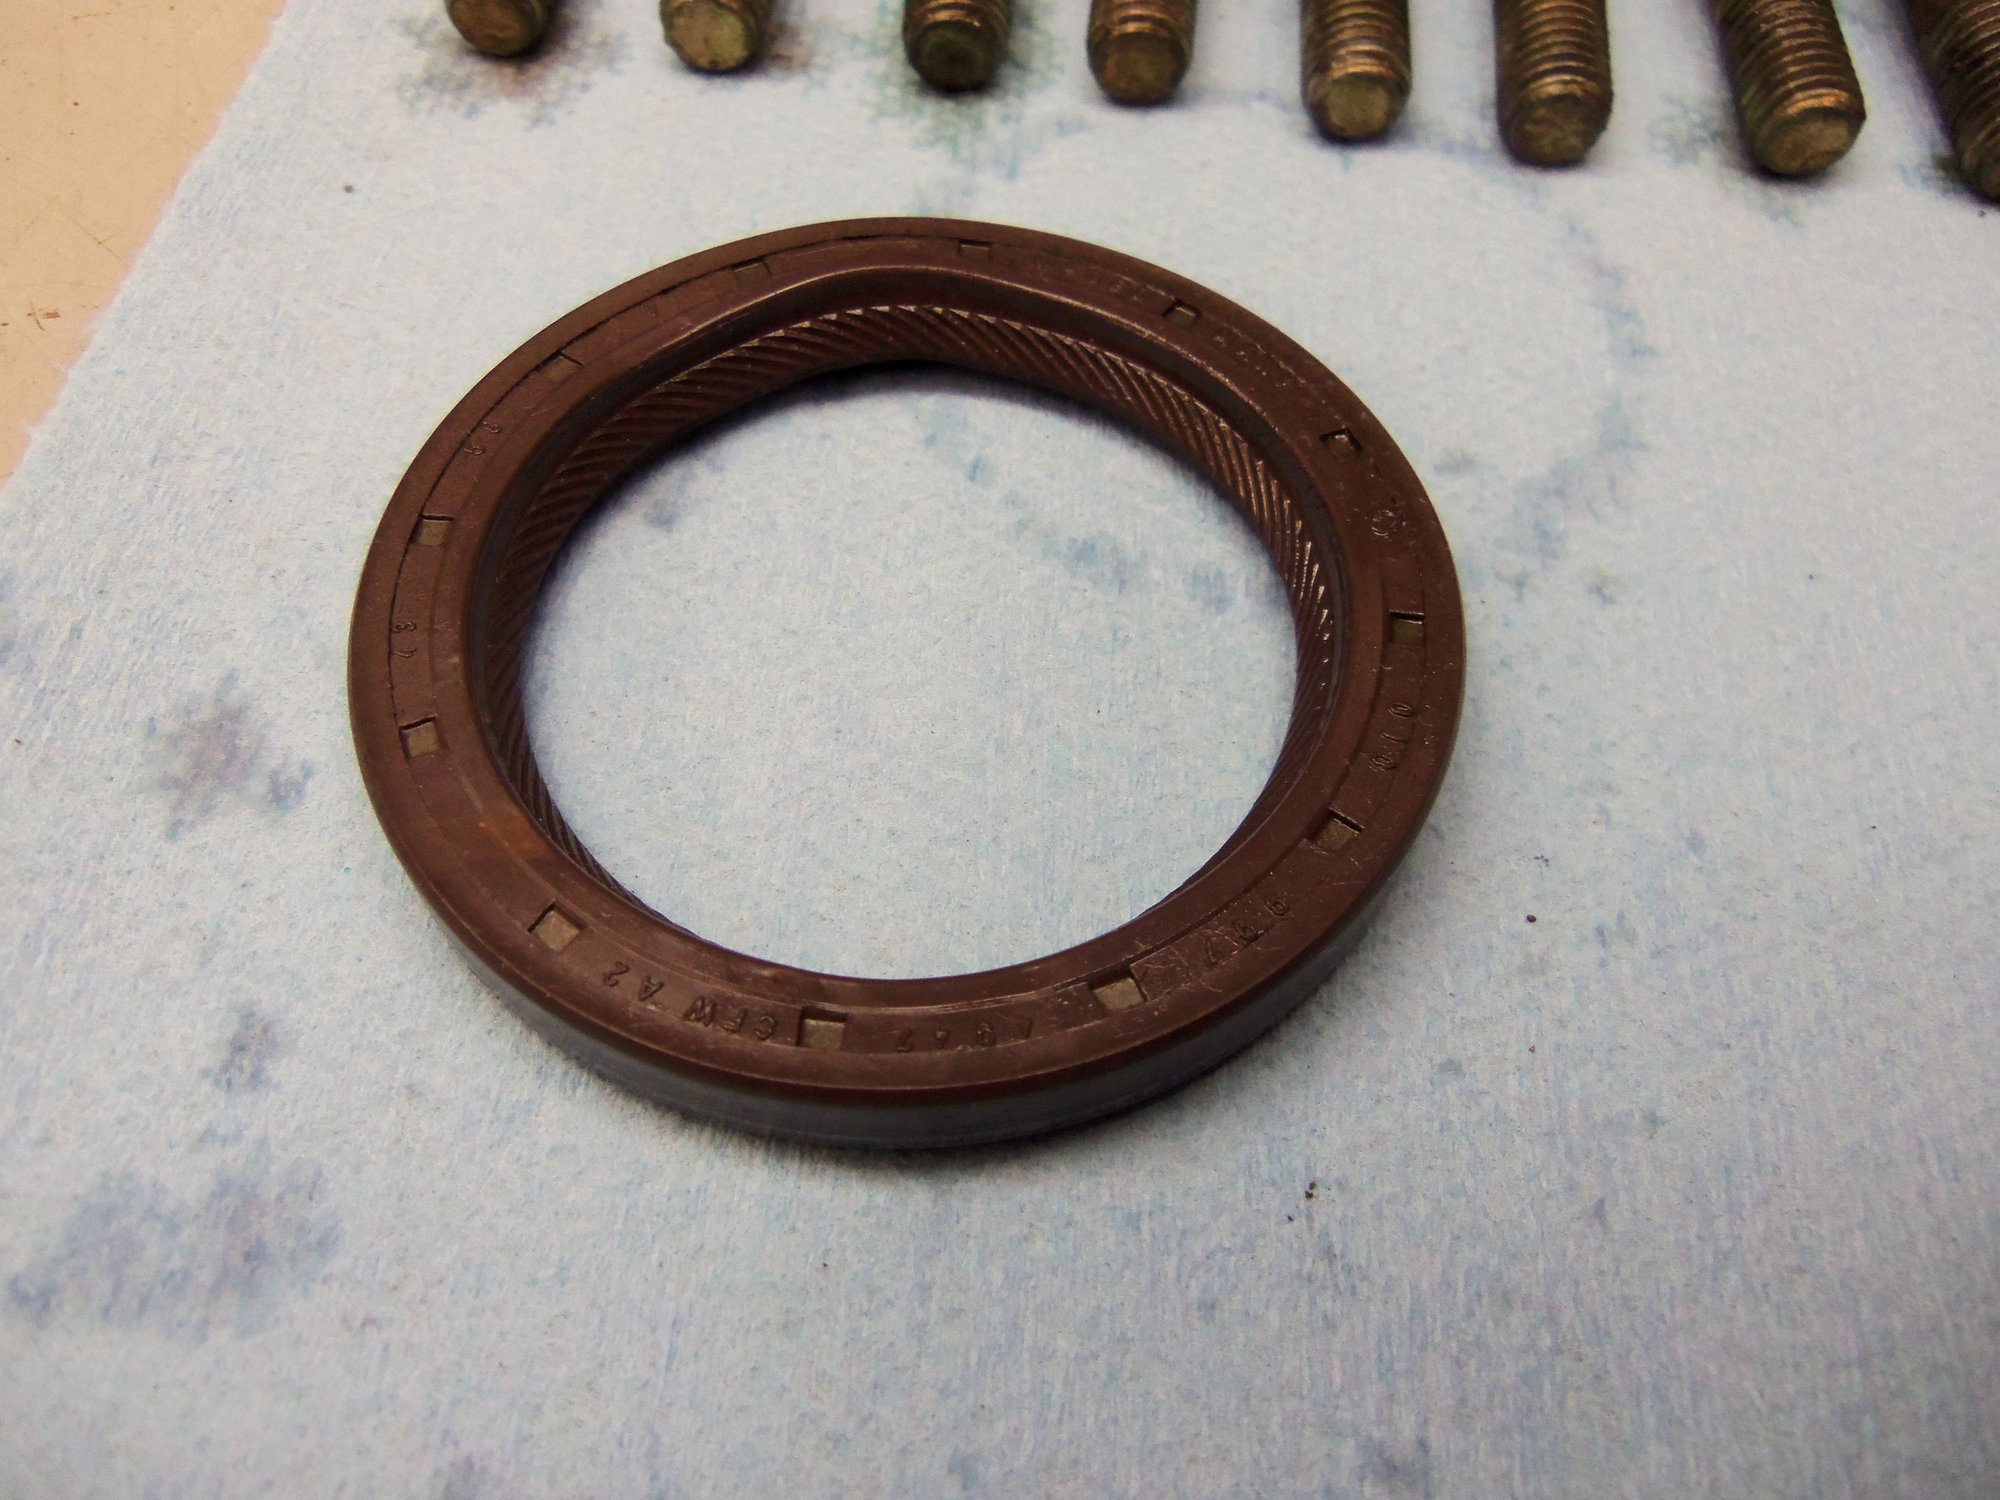
Outer lip seal.
Profile of outer lip seal.
Inner lip seal.
Profile of inner lip seal.
Pump body with primary pump removed.
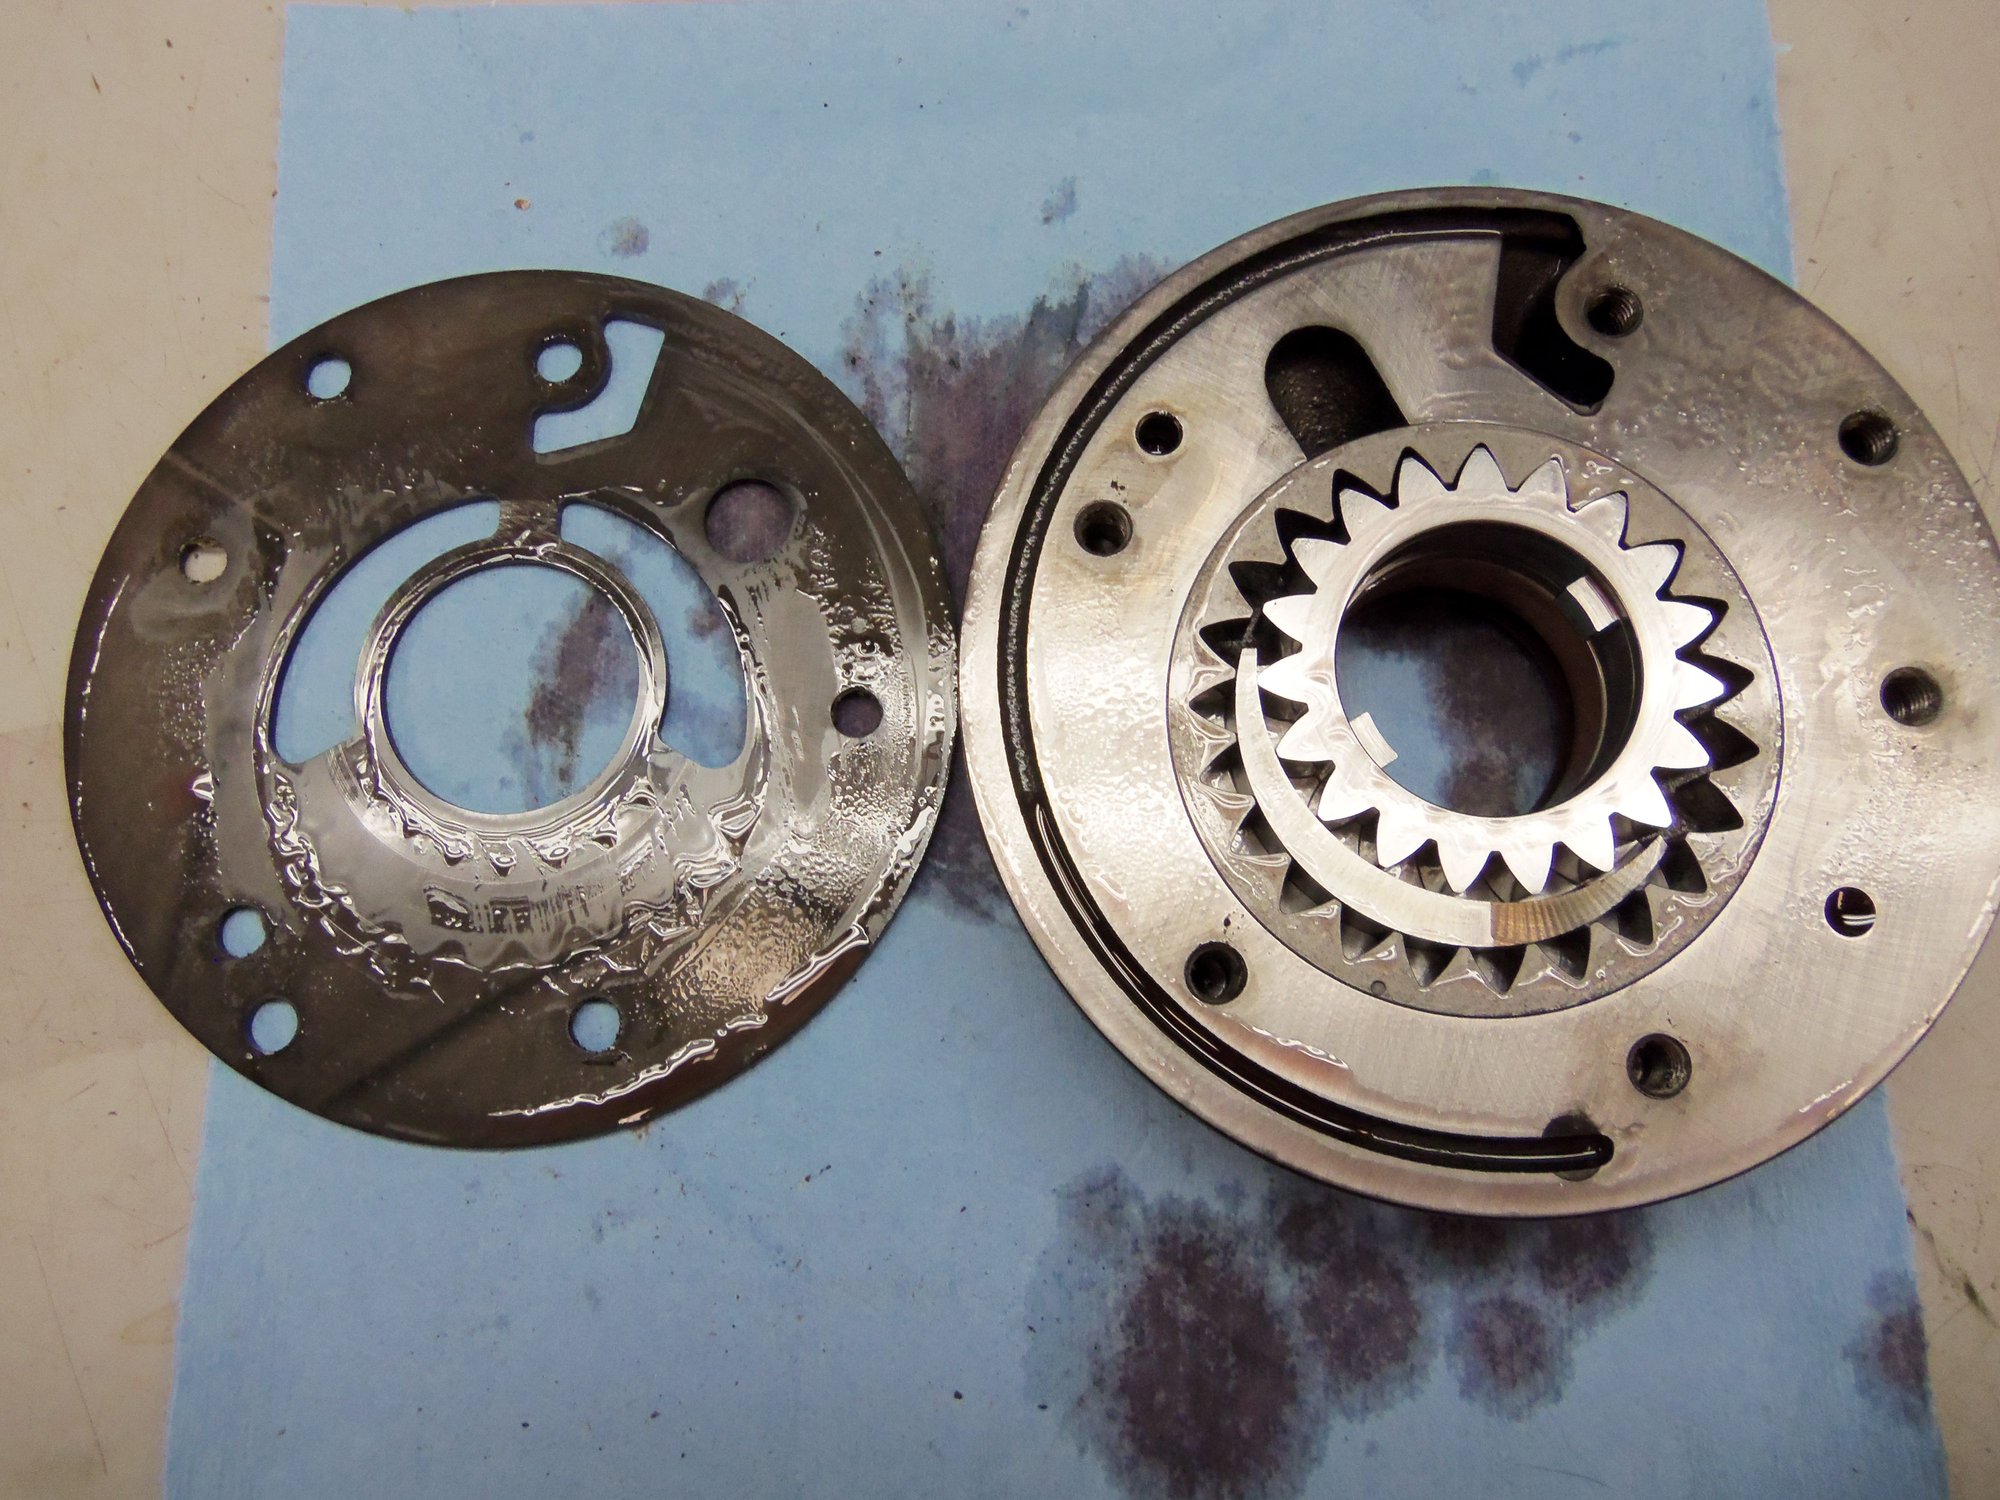
Primary pump and separator plate.
Separator plate removed from primary pump.
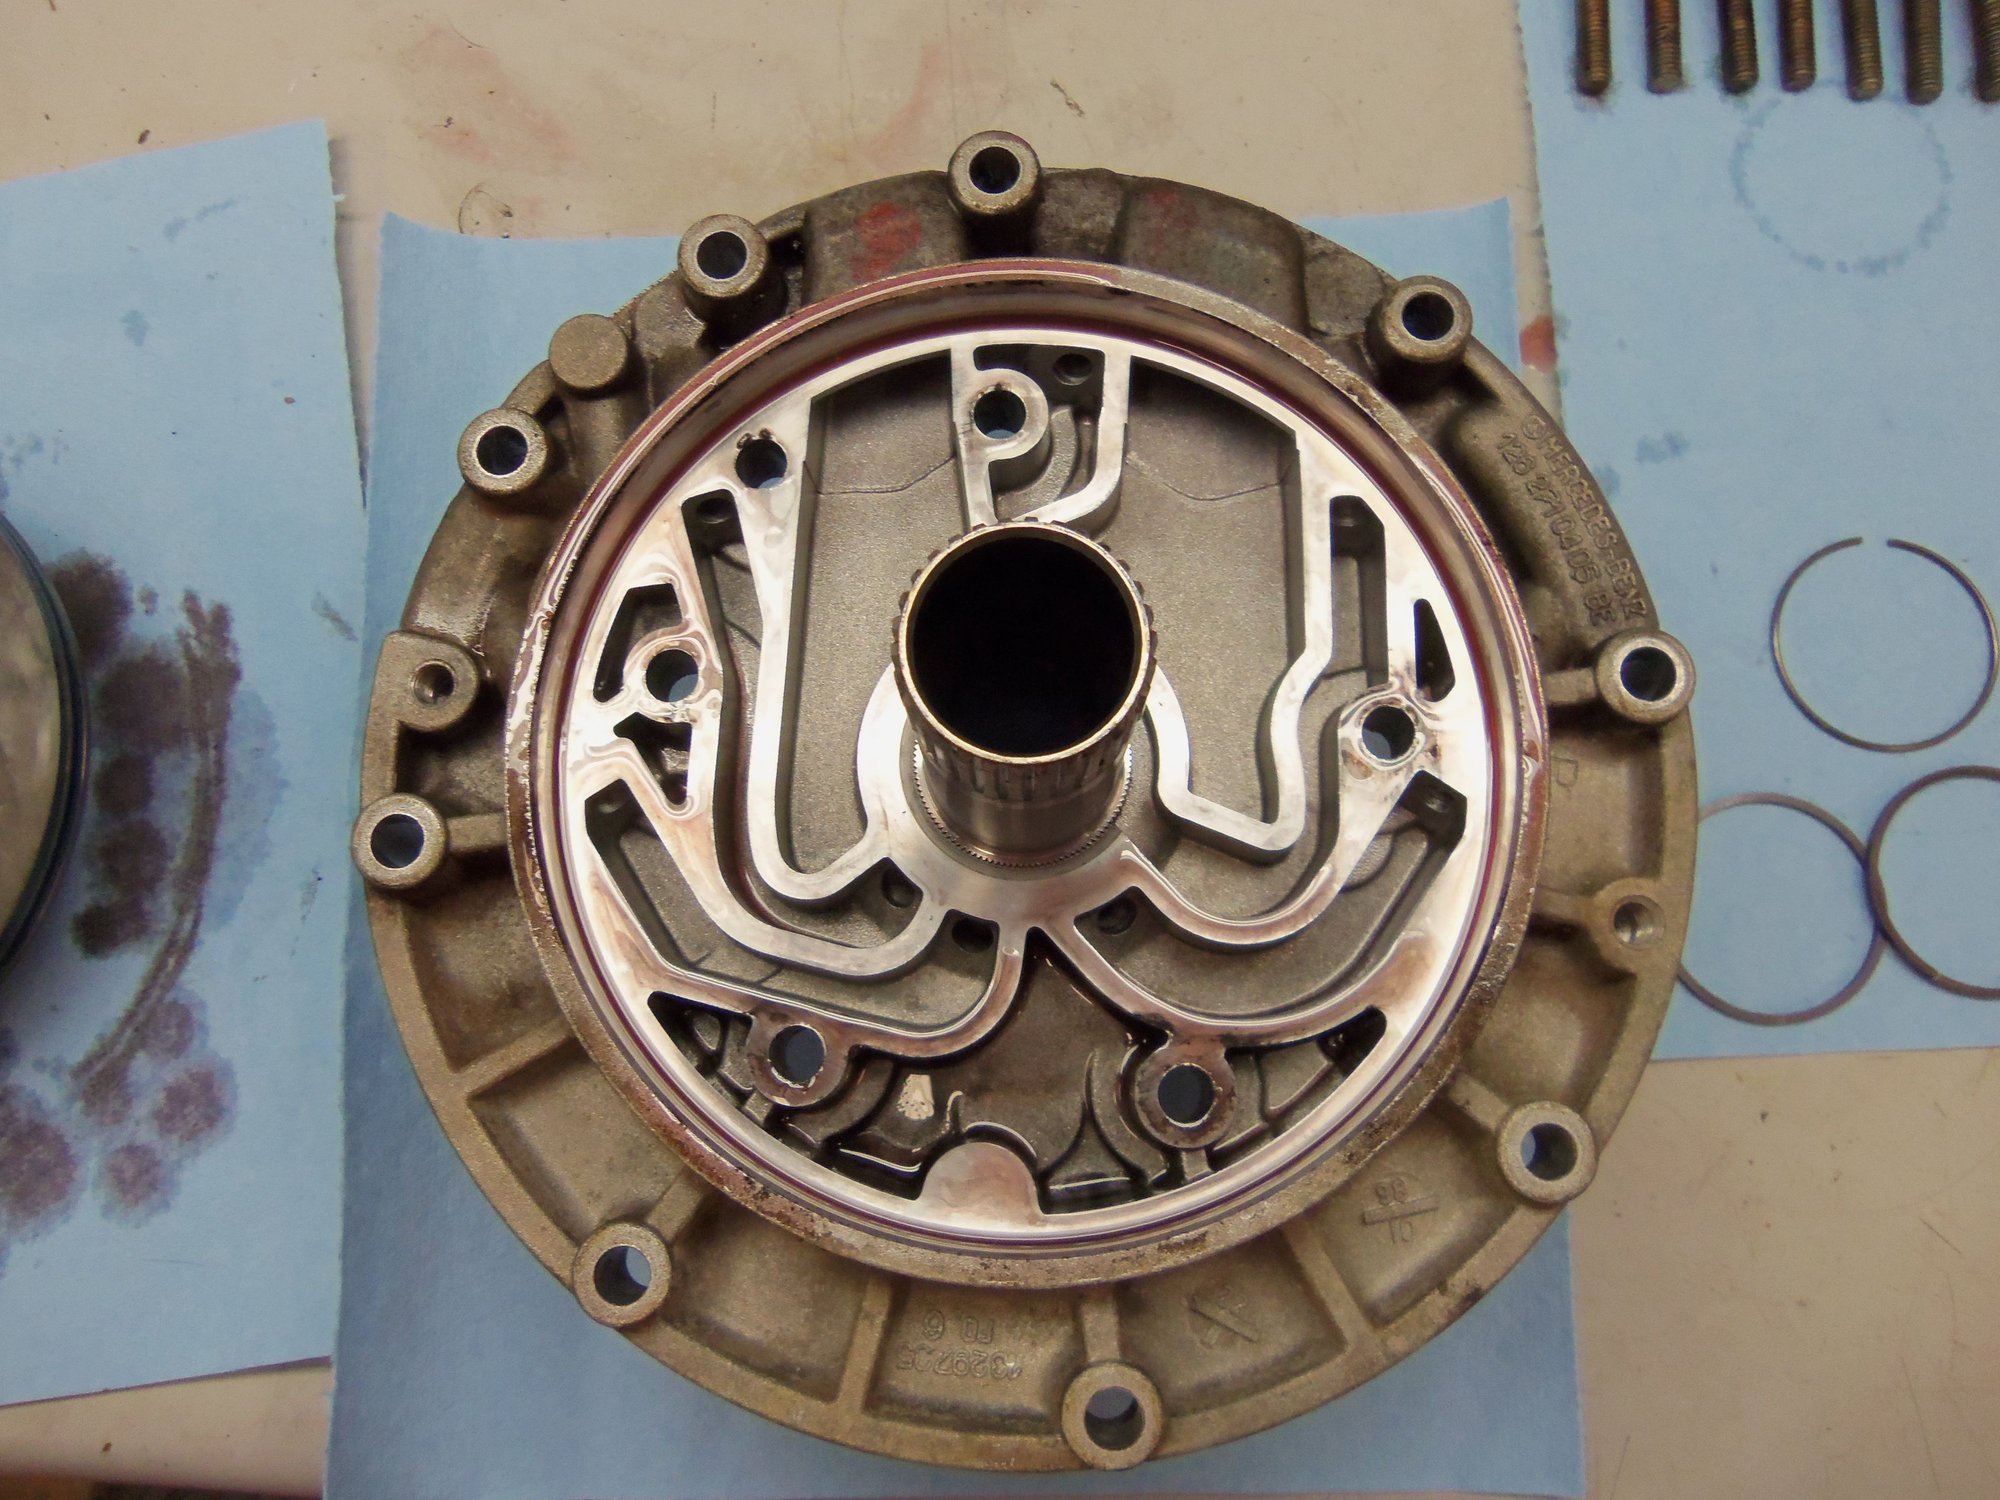
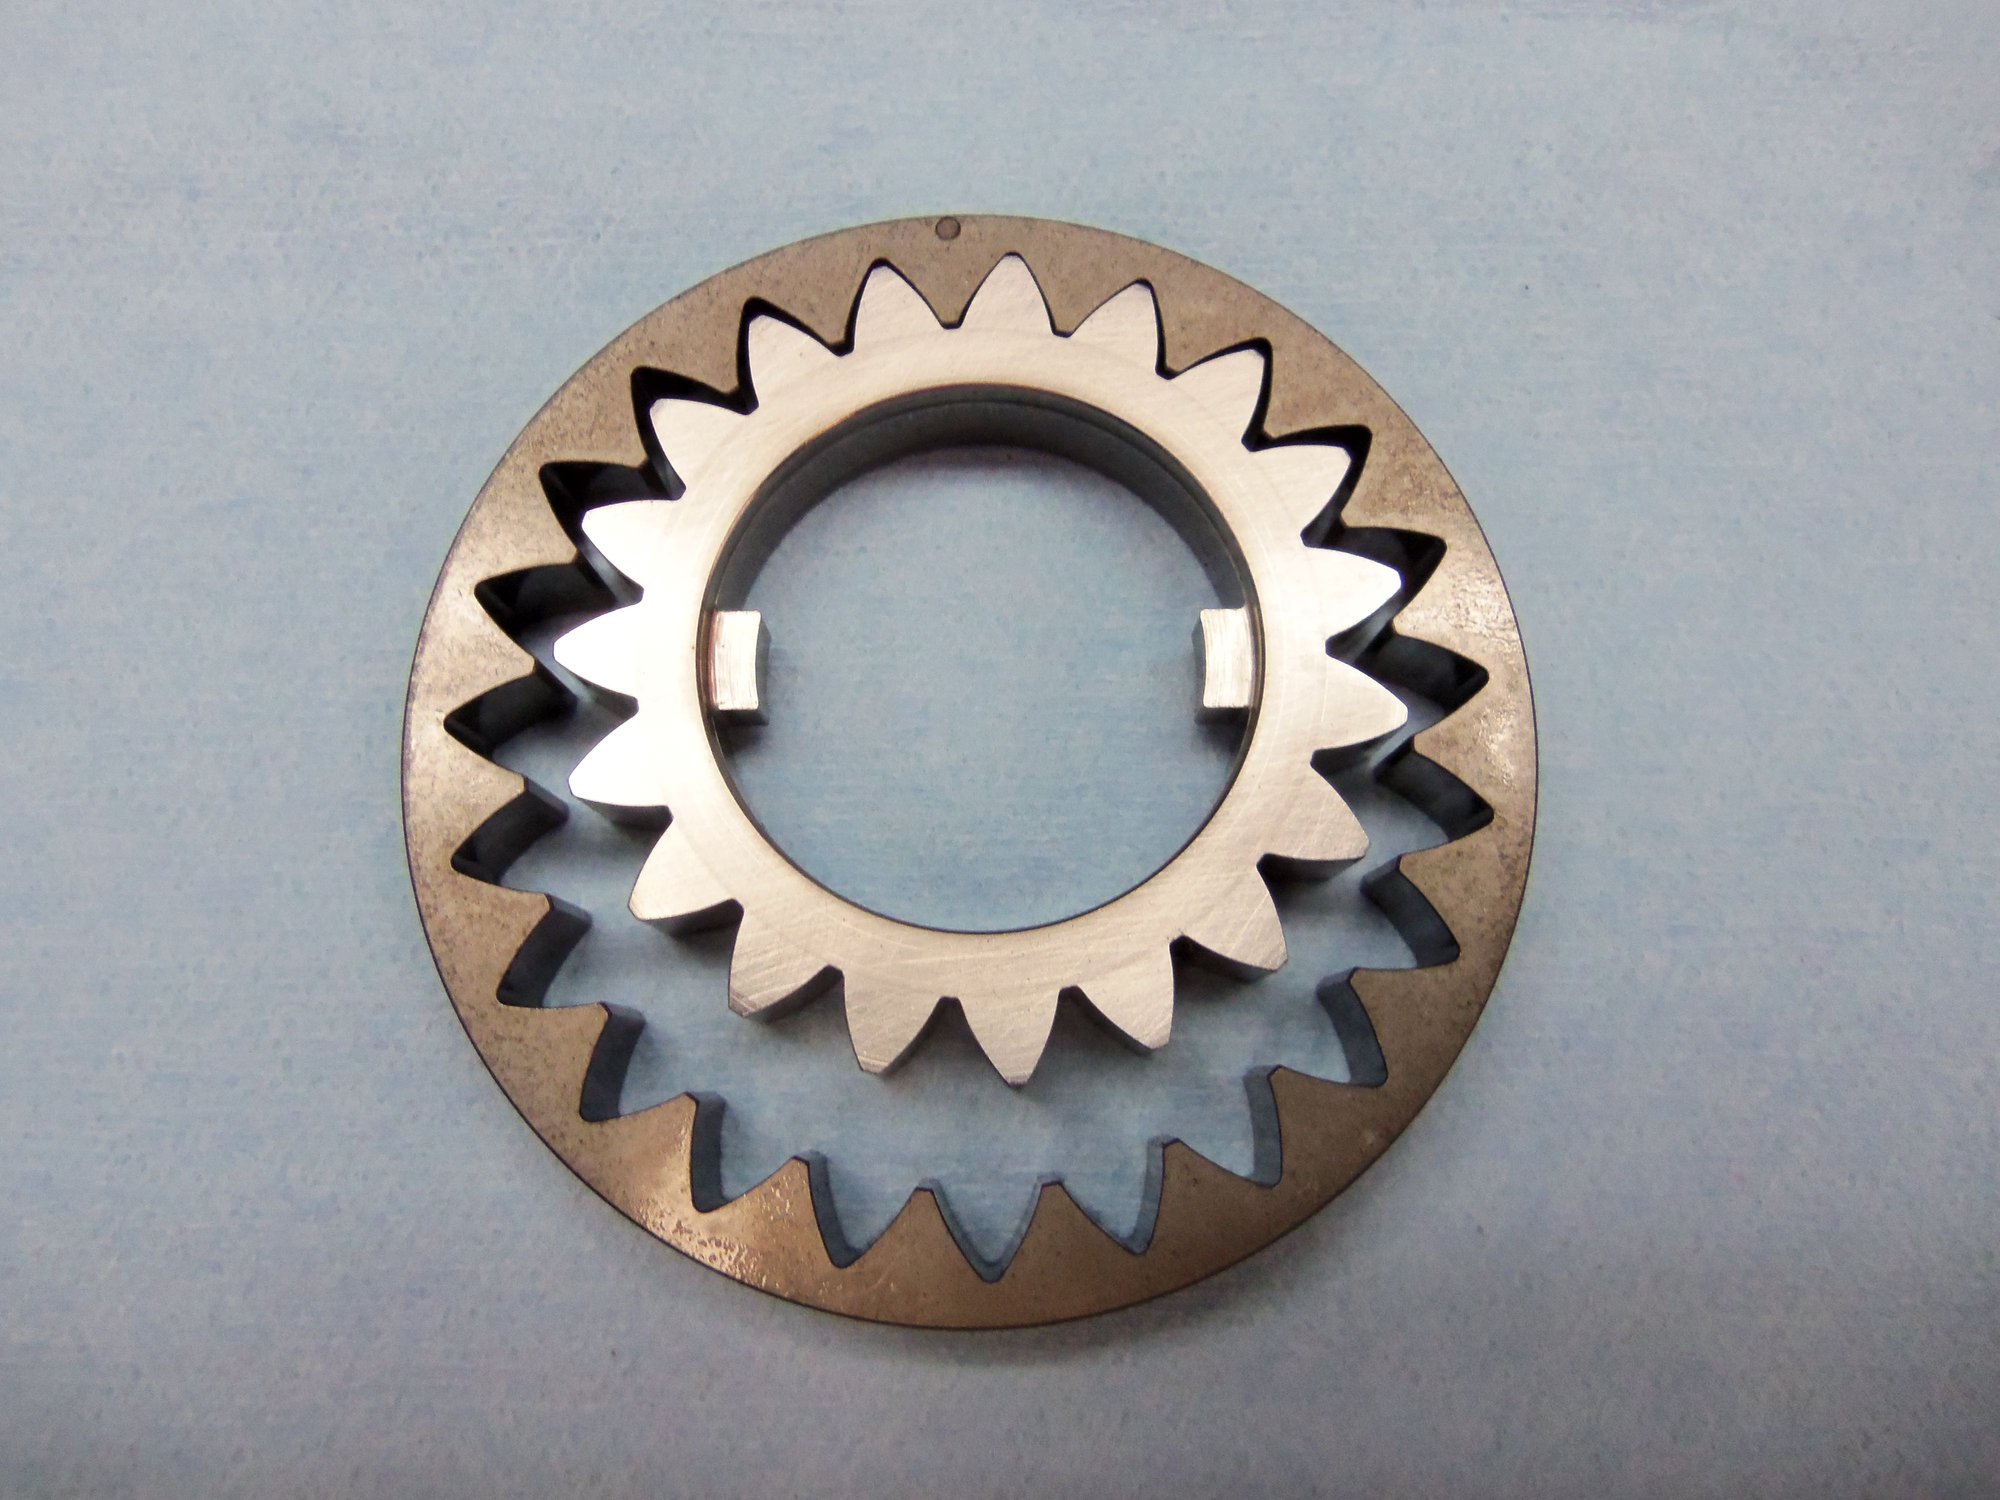
Primary pump showing gears, crescent, and passages.
Pump gears.
This side faces away from the body of the primary pump. Note the dot on the outer gear, and the relatively unmarked tips of the teeth on the inner gear.
This side faces towards the body of the primary pump. Note the lack of dot on the outer gear, and the radial marks on the tips of the teeth on the inner gear.
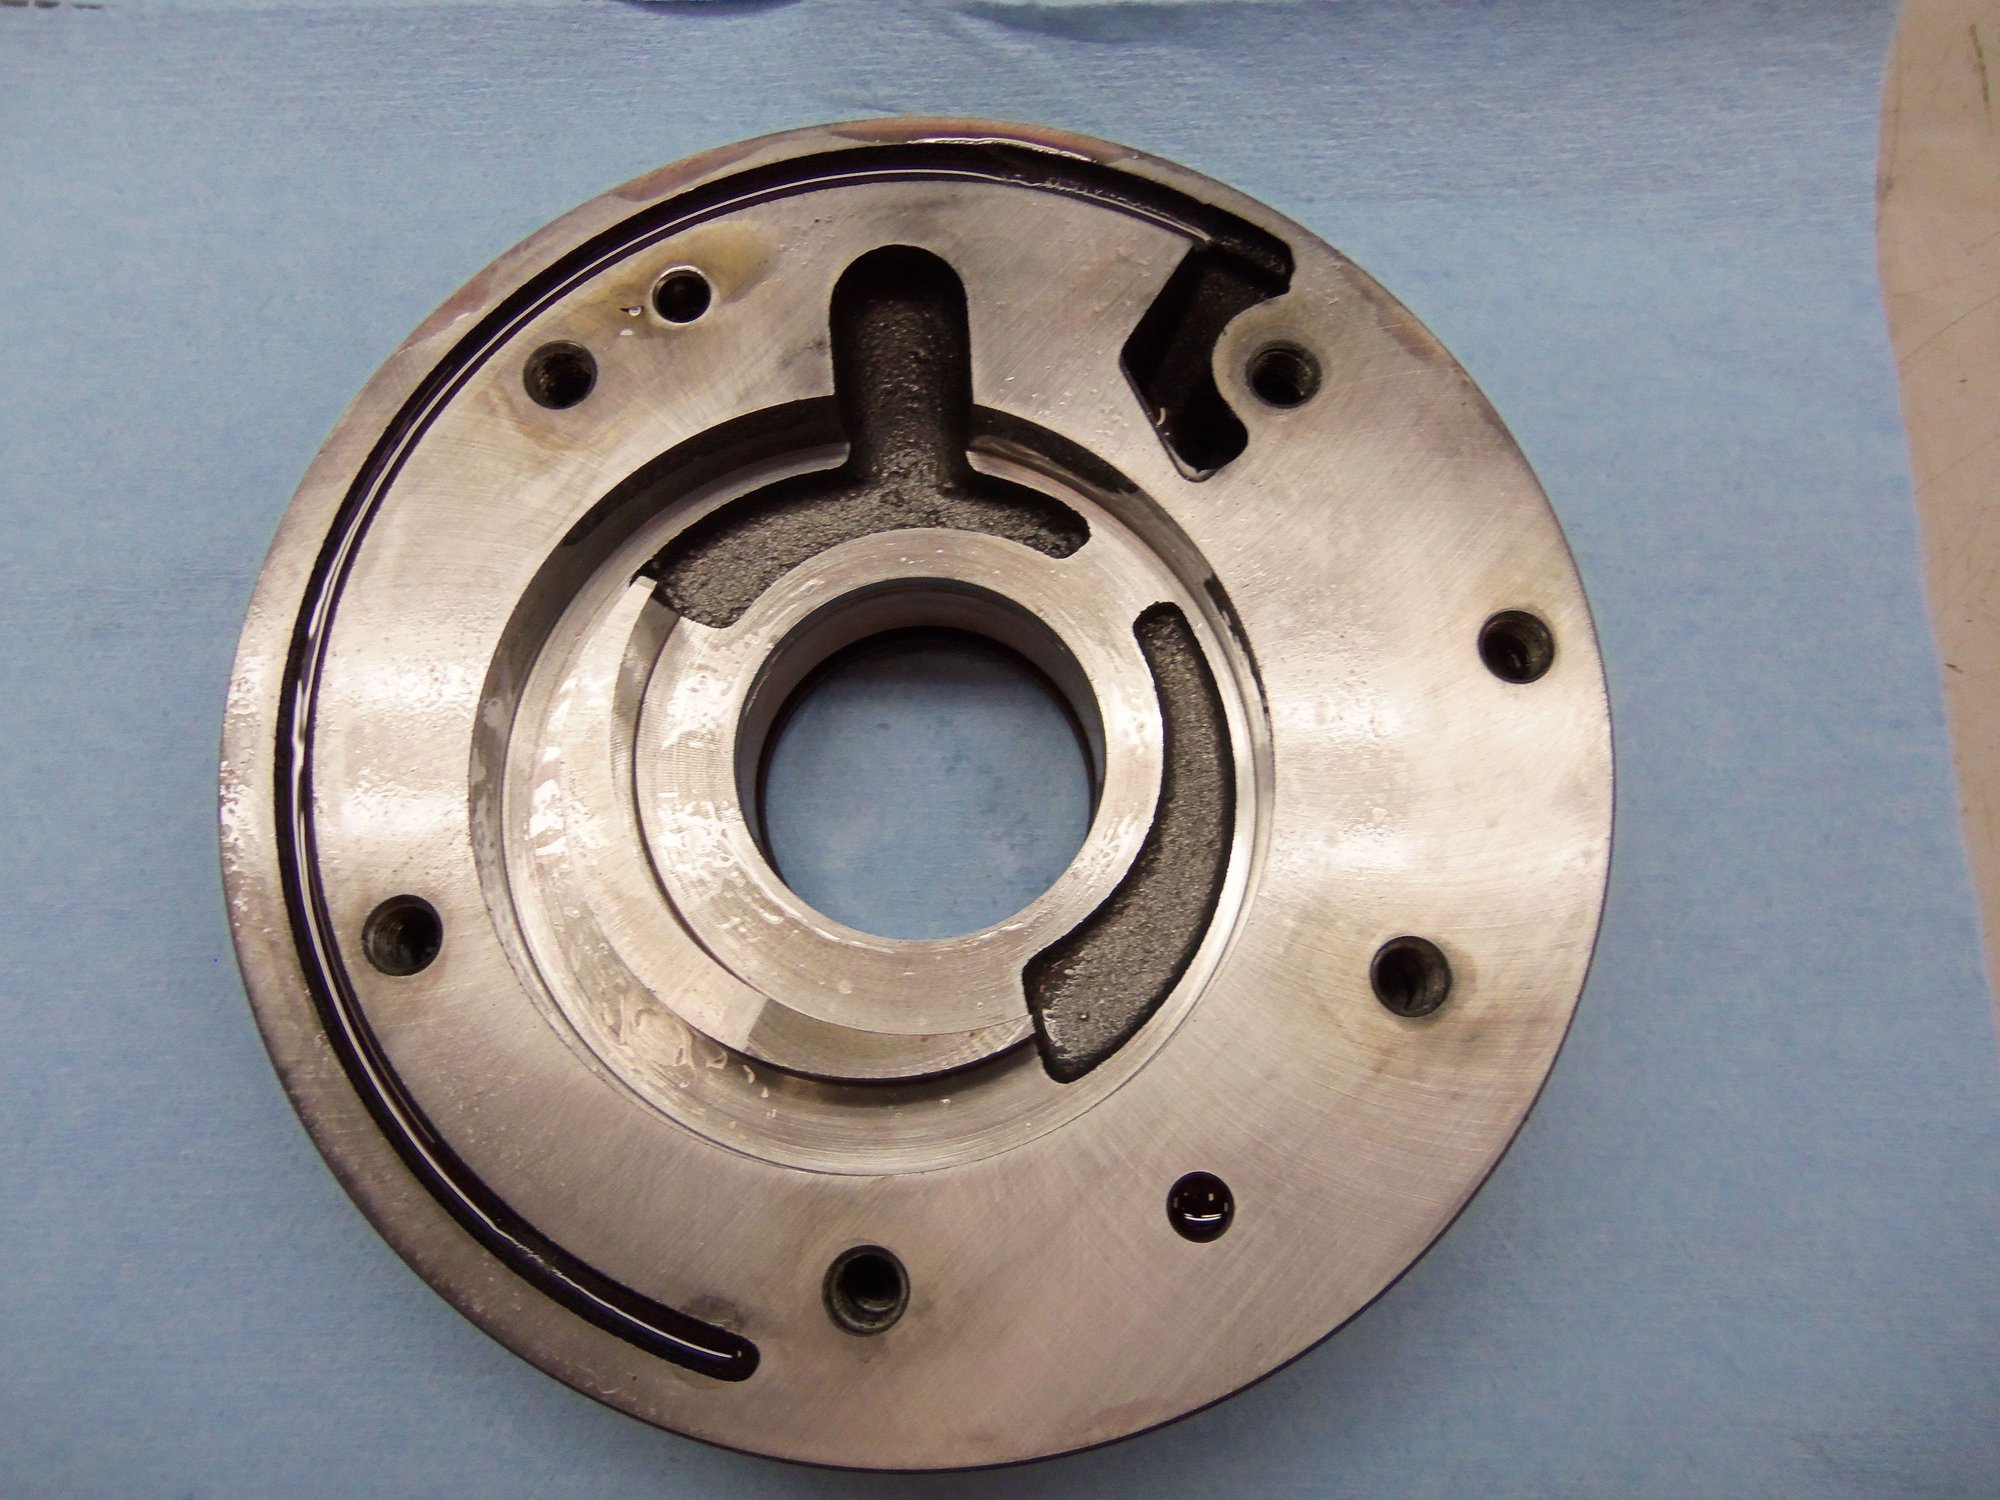
Primary pump body.
Primary pump body sealing O-ring.
Primary pump body O-ring.
O-ring still soft and pliable.
Parts.
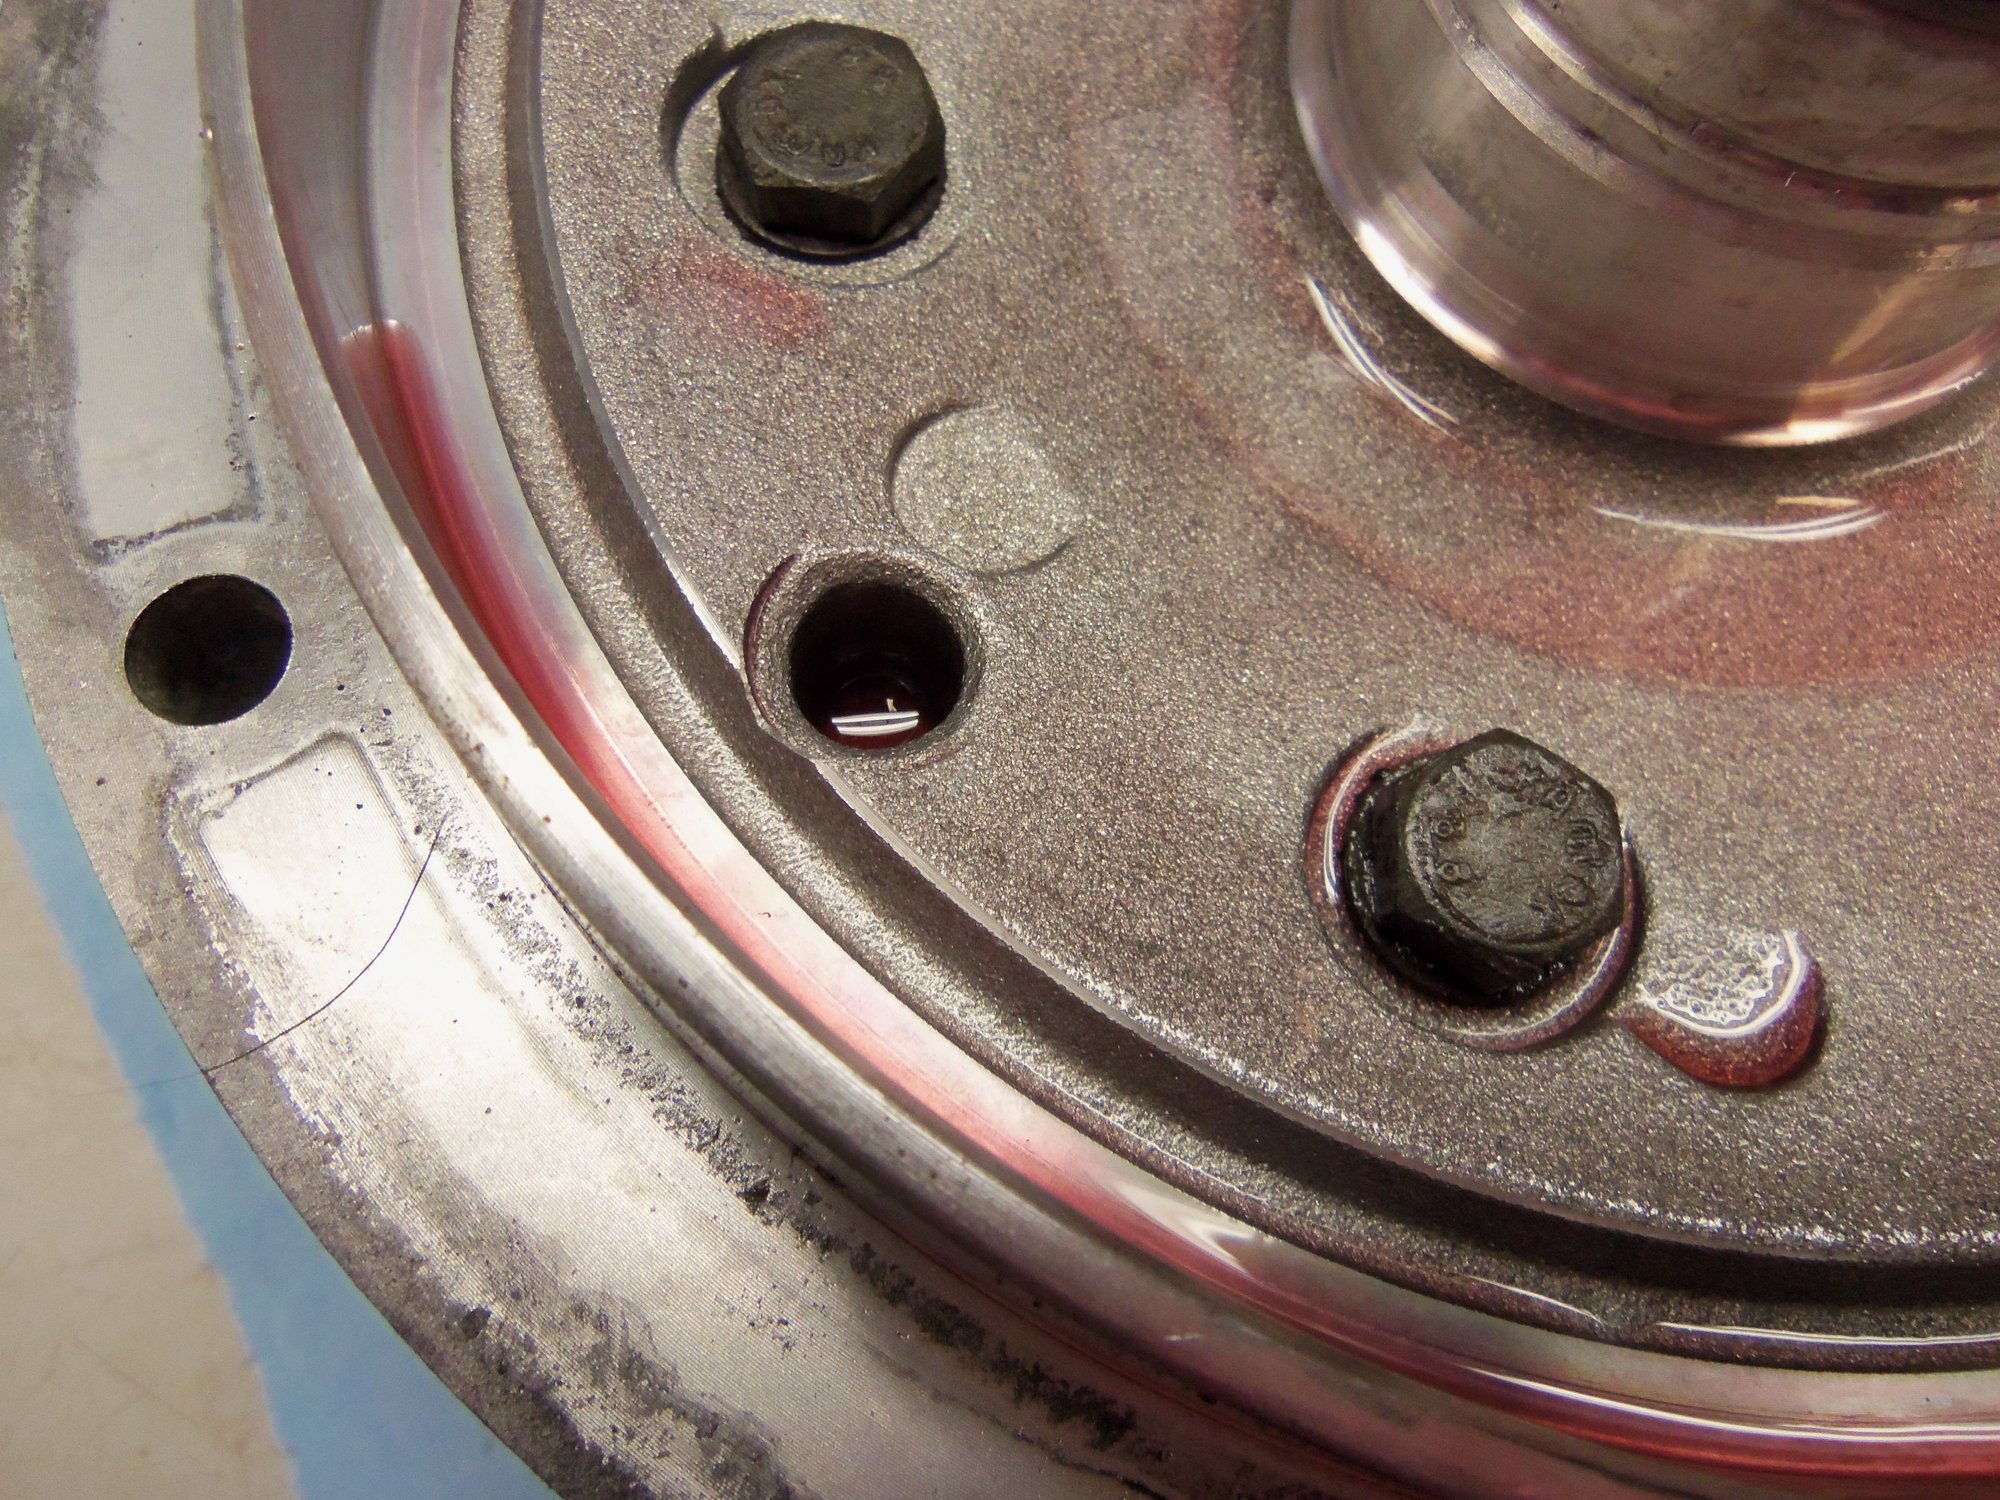
Front pump mounting bolts. Are these supposed to have some kind of sealant or locking compound on them?
Primary pump mounting bolts. Are these supposed to have some kind of sealant or locking compound on them?
Man, now you have --really-- done it. Once that third spring on the right is released, it will --never-- go back in the same way.
Back at reality:
I trust you have spent some quality time with the transmission manuals that are part of the WSM CD set from Jim Morehouse via Roger. There's a LOT to learn in them.
As far as putting the TC and all that other stuff back in with the trans still in the car, I wouldn't even try. Reports from others who have attempted this in the past too often include how damaged seals and rings were ever so slightly damaged and caused ever so massive seepage. Stand the case on the differential end so you can carefully lower the extracted parts back in square and true. For once, let the gravity help you rather than fight you as you try to keep the bearing and sealing surfaces from putting any extra radial load on the seals before they index into their bushings/bearings.
Sheet.
Yes, I have spent much quality time poring over Manual Volume 3 of the WSM for the A28 transmission. I have the Morehouse CDs in their own folder on the desktop of my computers at home, in the shop, and at work. I thought I had a handle on it.
Now, I will learn how to remove the transmission with the rear suspension still in place...
yep its easiest to install the TC with gravity,
make a handle with the bolts and some coat hanger so the TC can be lowered evenly without pinching your finger
yep its easiest to install the TC with gravity,
make a handle with the bolts and some coat hanger so the TC can be lowered evenly without pinching your finger
OK, I can deal with that. If I am going to pull the trans, I can more thoroughly clean it. And think about separating the differential from the back of the transmission to replace the leaking differential input seal.
Moving forward...
Great documentation Seth. I did this job on my 87 a few years ago and while my memory is not so good I recall being very careful to install the piston and not get the outer lip seal inverted/flipped over during the process. For sure, you don't want to to have to do this job over again. Greg Brown gave me advice on how to do this properly.
Seth,
To your question about sealants on the pump bolts. I did seal both the internal and external bolts with Hylomar blue. I'm not sure if this is a recommended practice or not but I changed the oring ,TC seal and paper gasket and I do not have any leaks nor ill effects from sealing bolts with Hylomar. Hope this helps.
Thanks, guys. Good point on working the seal carefully so it goes in correctly. I have read that elsewhere, as well.
Thanks for the advice about the hylomar blue.
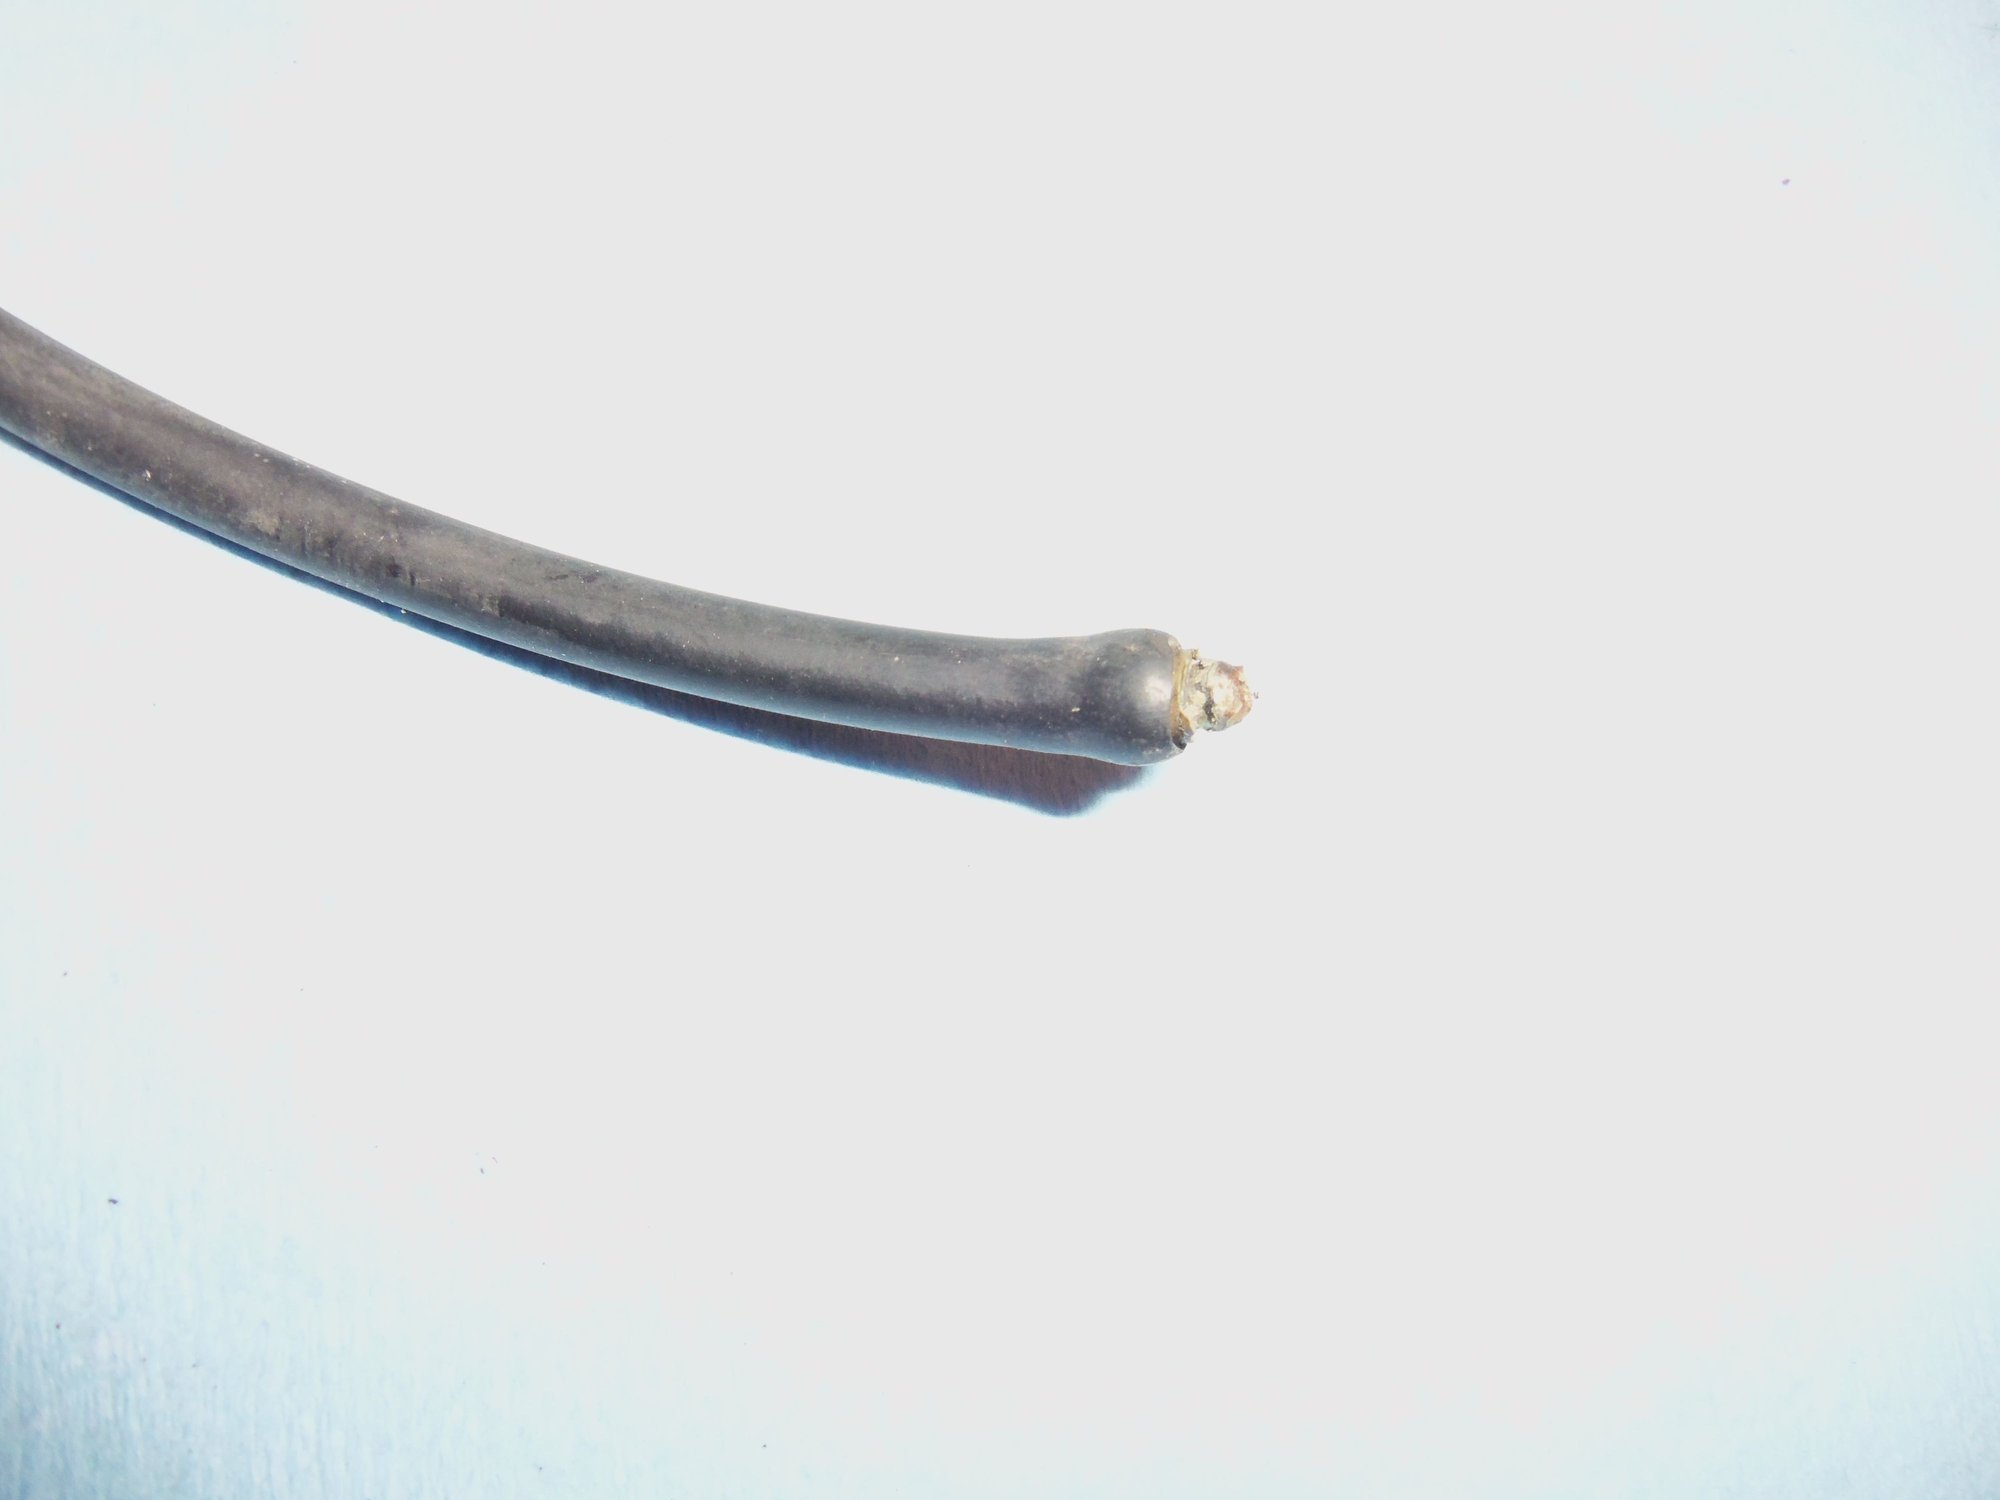
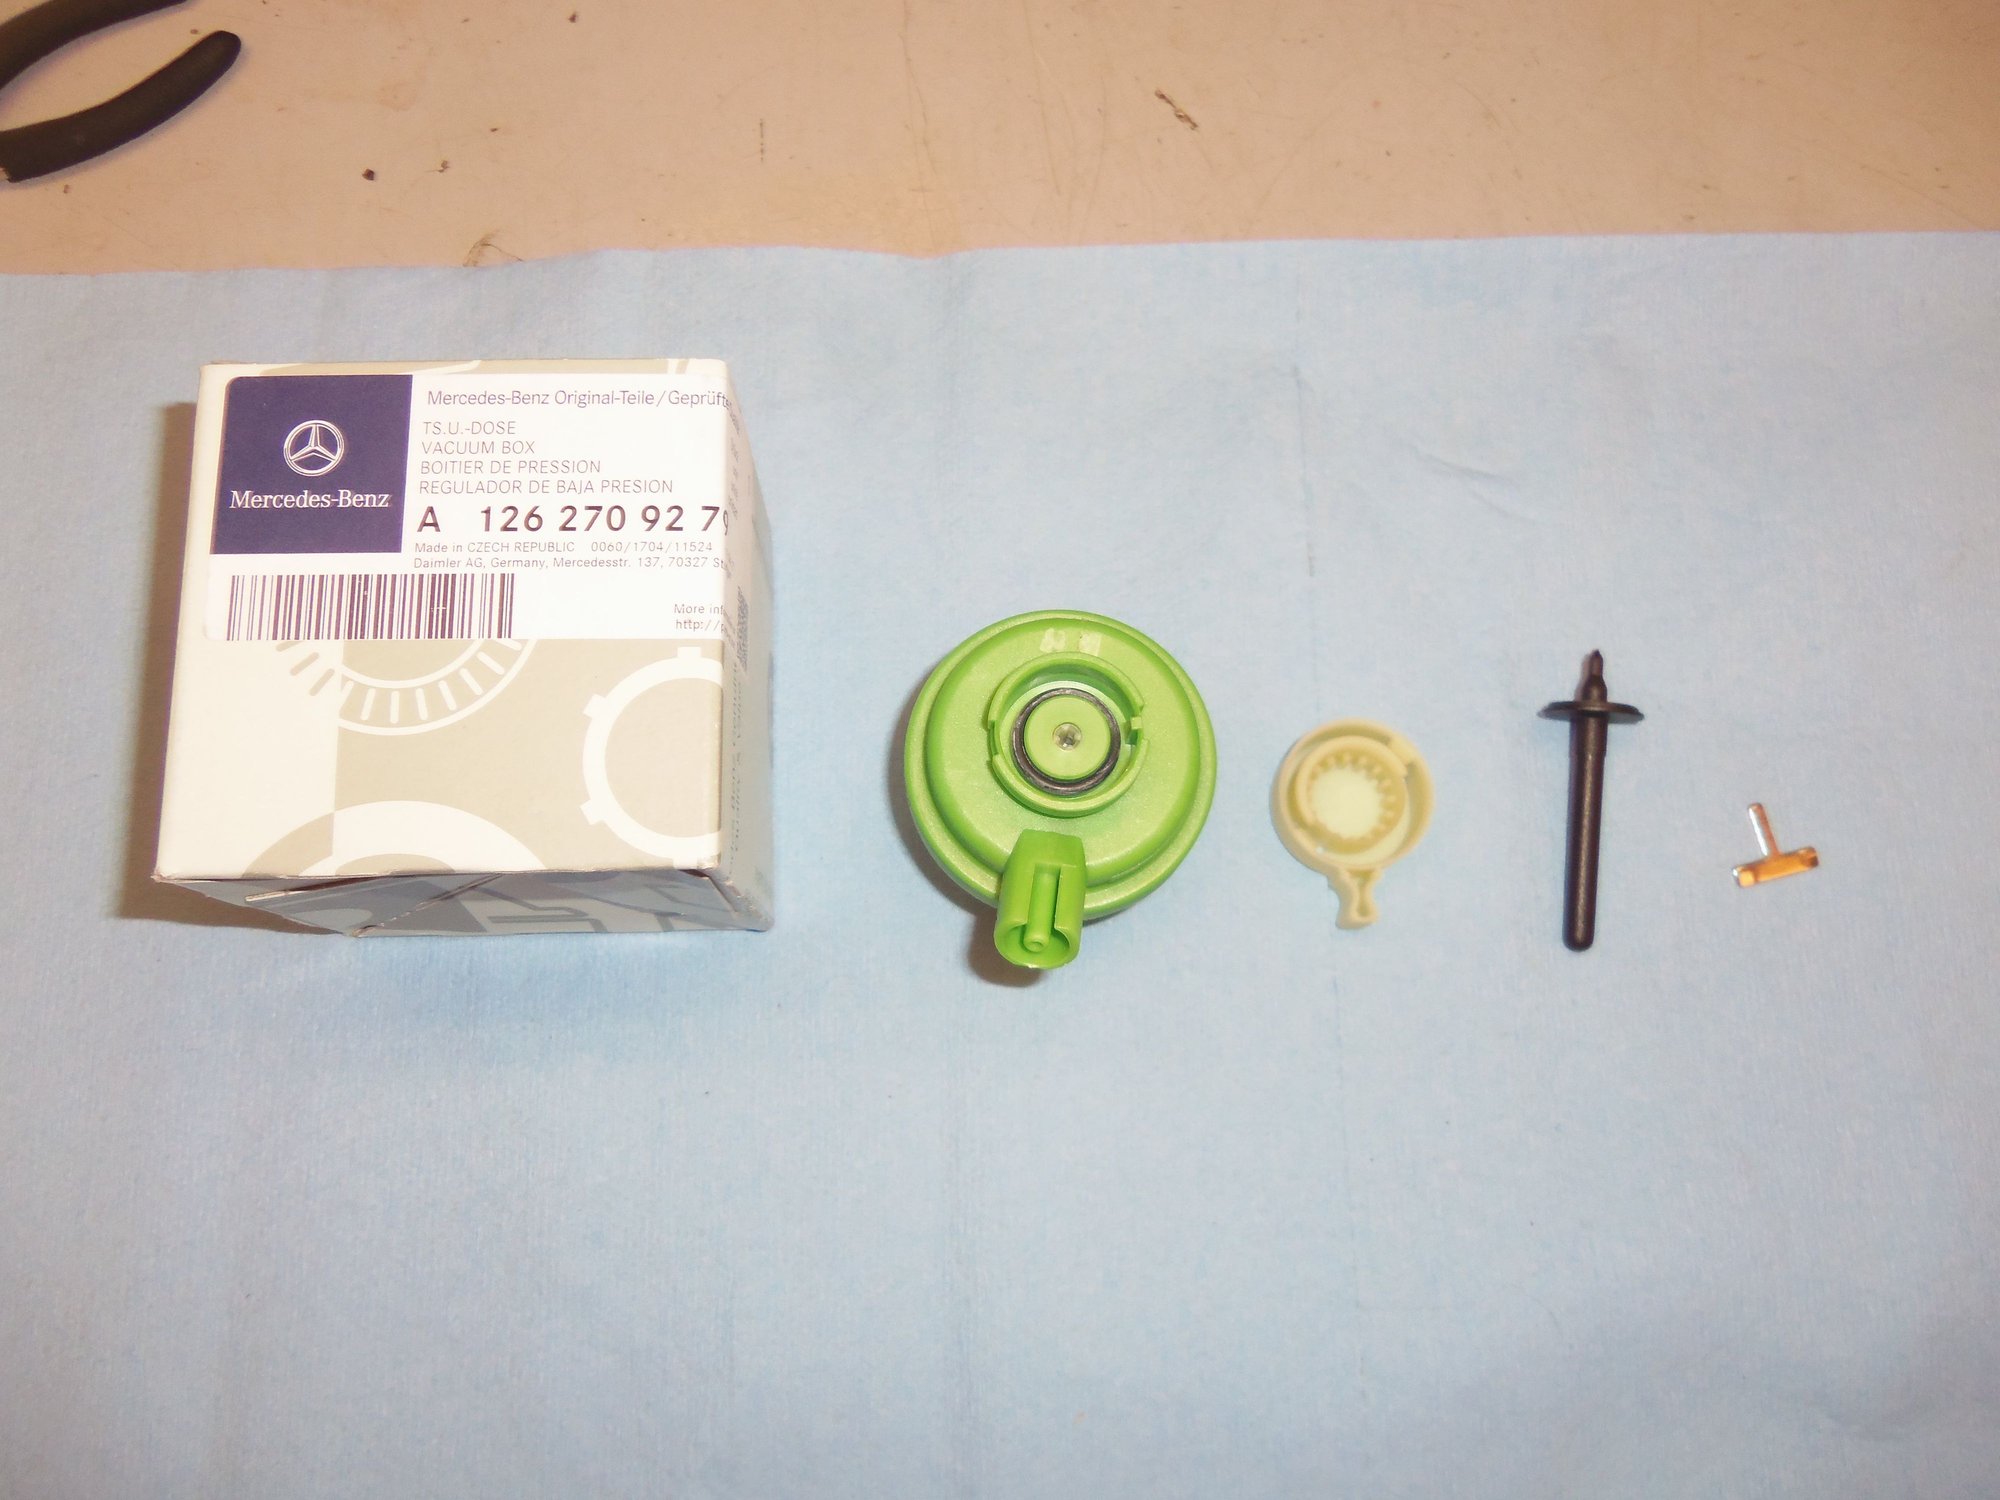
The vacuum barb has broken off the original vacuum modulator on the A28.07 transmission in the Red Witch. I found that while removing the vacuum line in preparation for torque tube removal. Being a little concerned at my fiasco of replacing the vacuum modulator back in July 2016, I ordered a new Mercedes part, A 126 270 92 79. I was expecting a modulator just like what was installed, or at least similar to the Trucktec replacement I had ordered in the past. What I received was an updated part. It obviously does the same thing, it has just been modified.
Note, here is the thread where I originally tried to replace the vacuum modulator in July 2016, start at post #20:
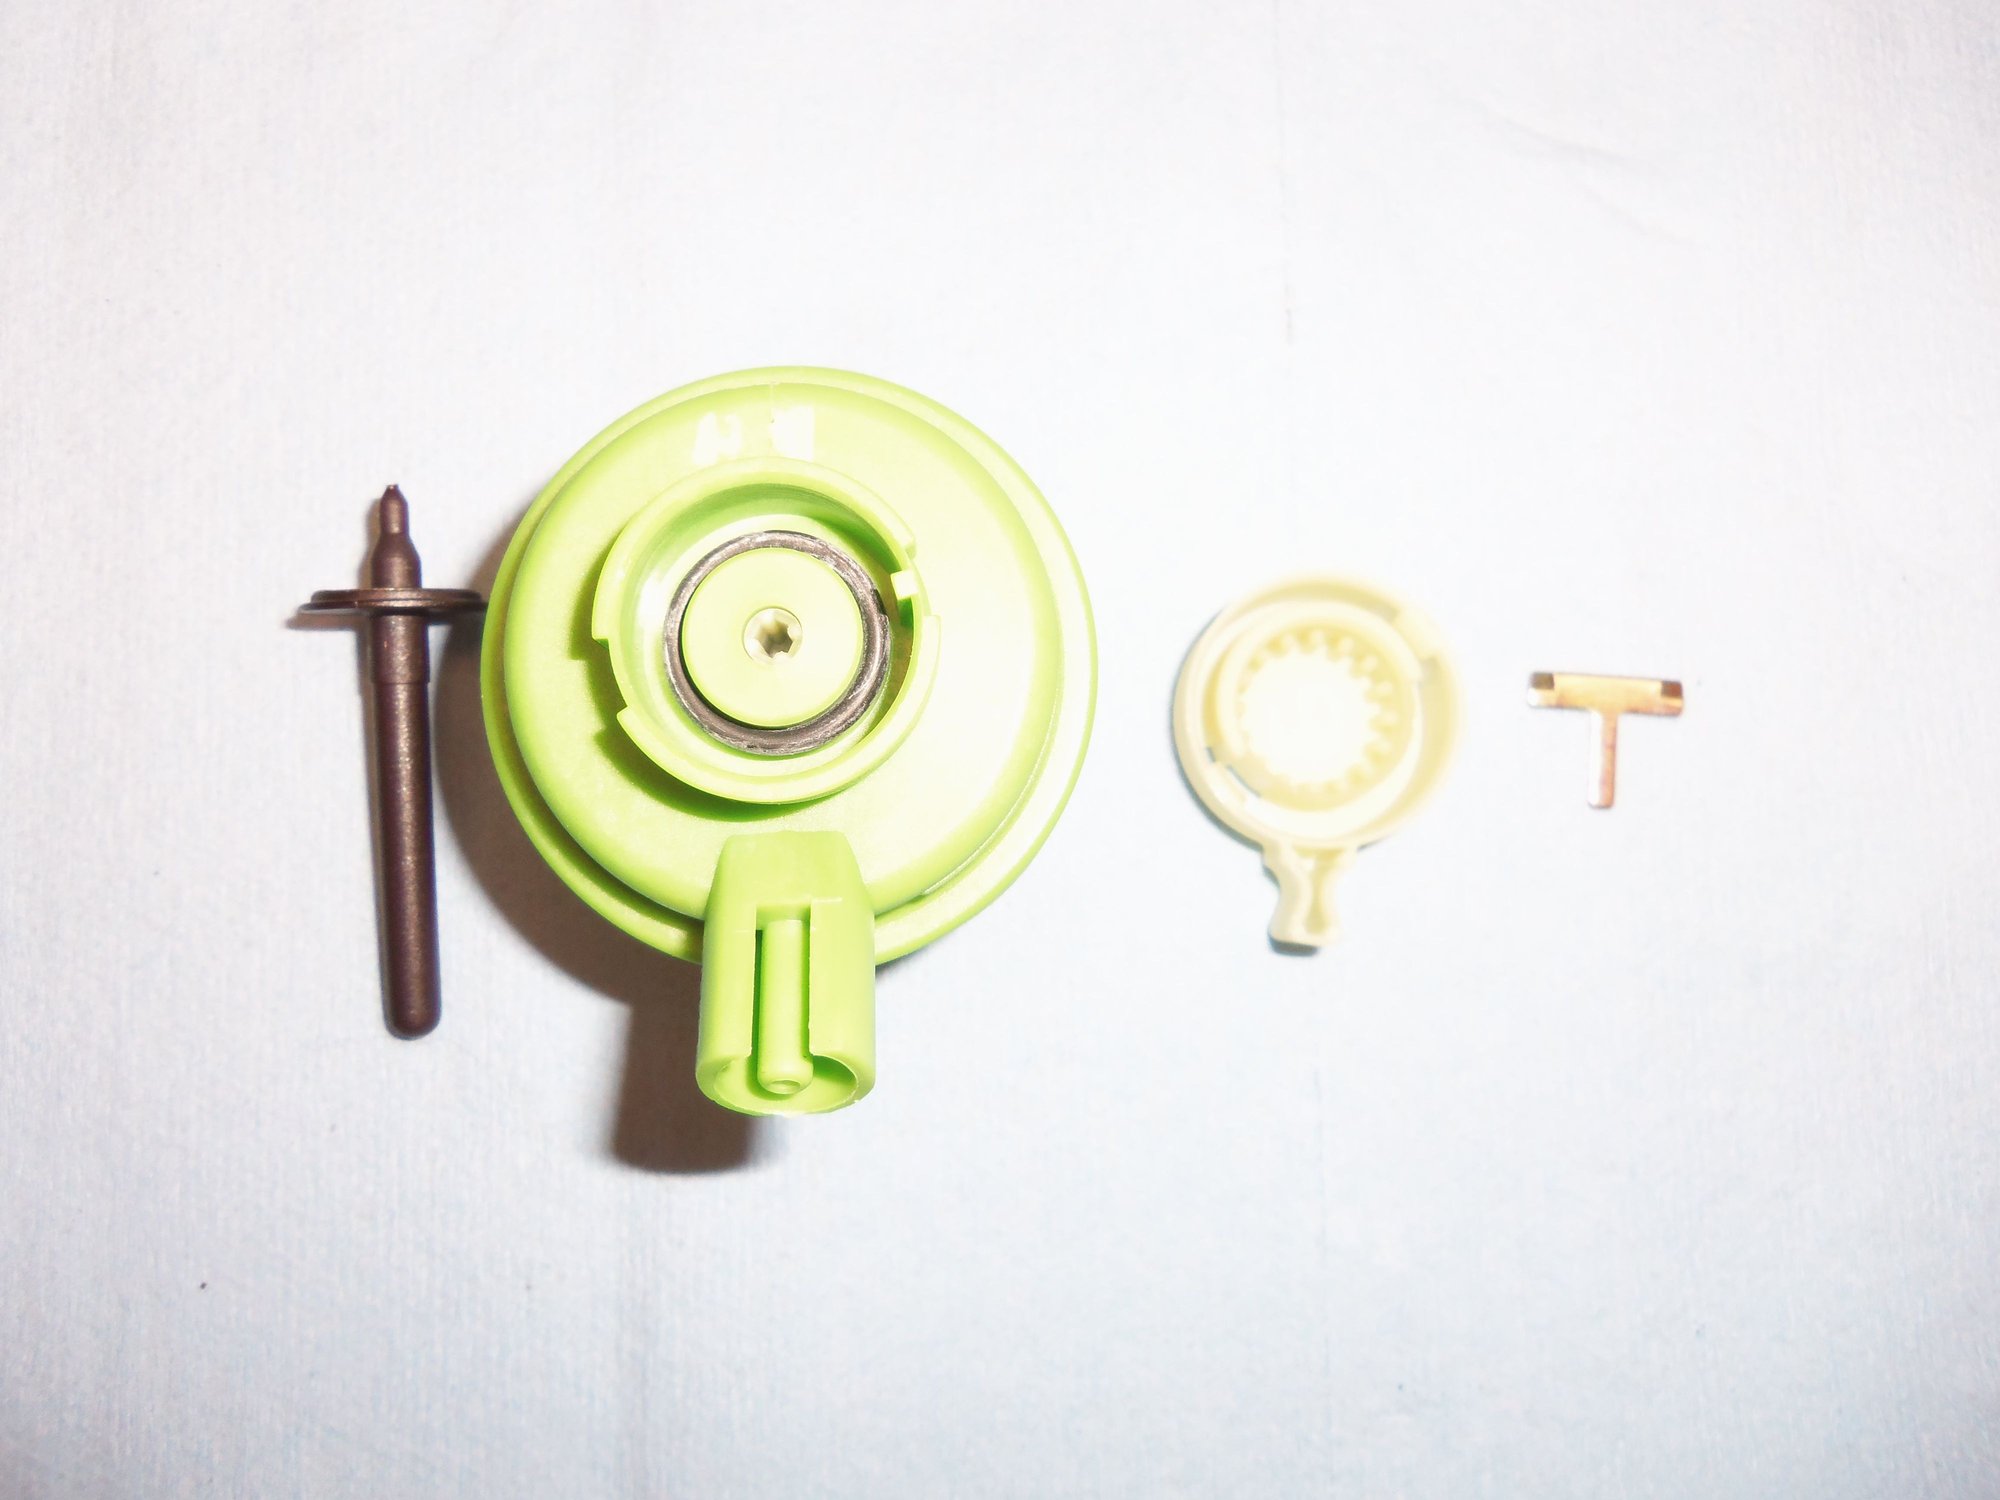
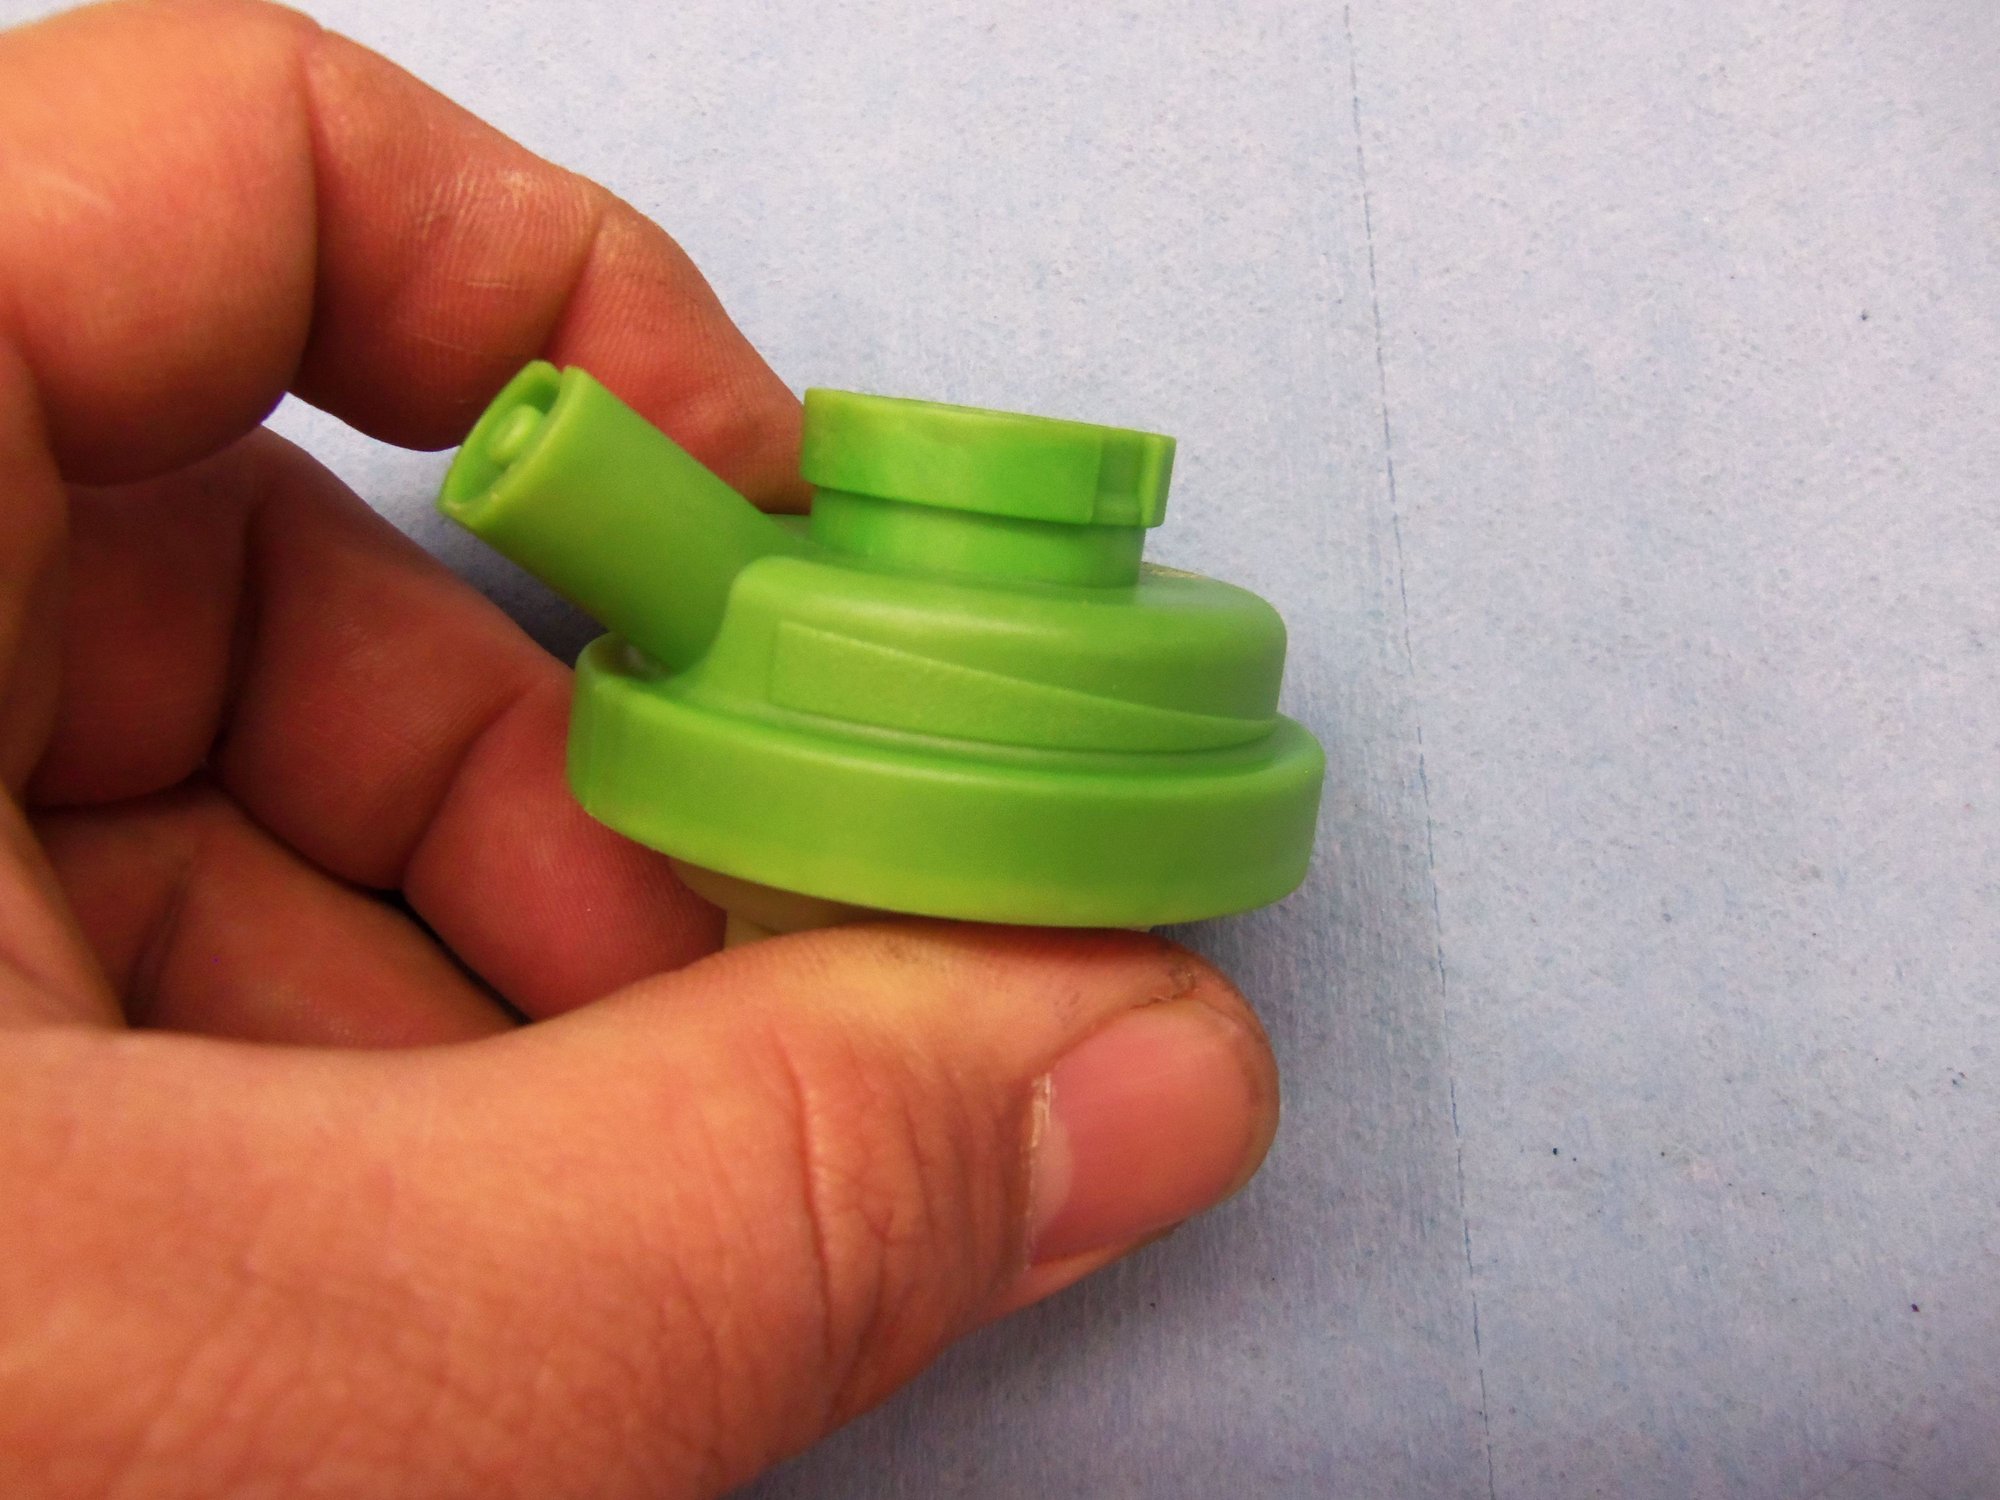
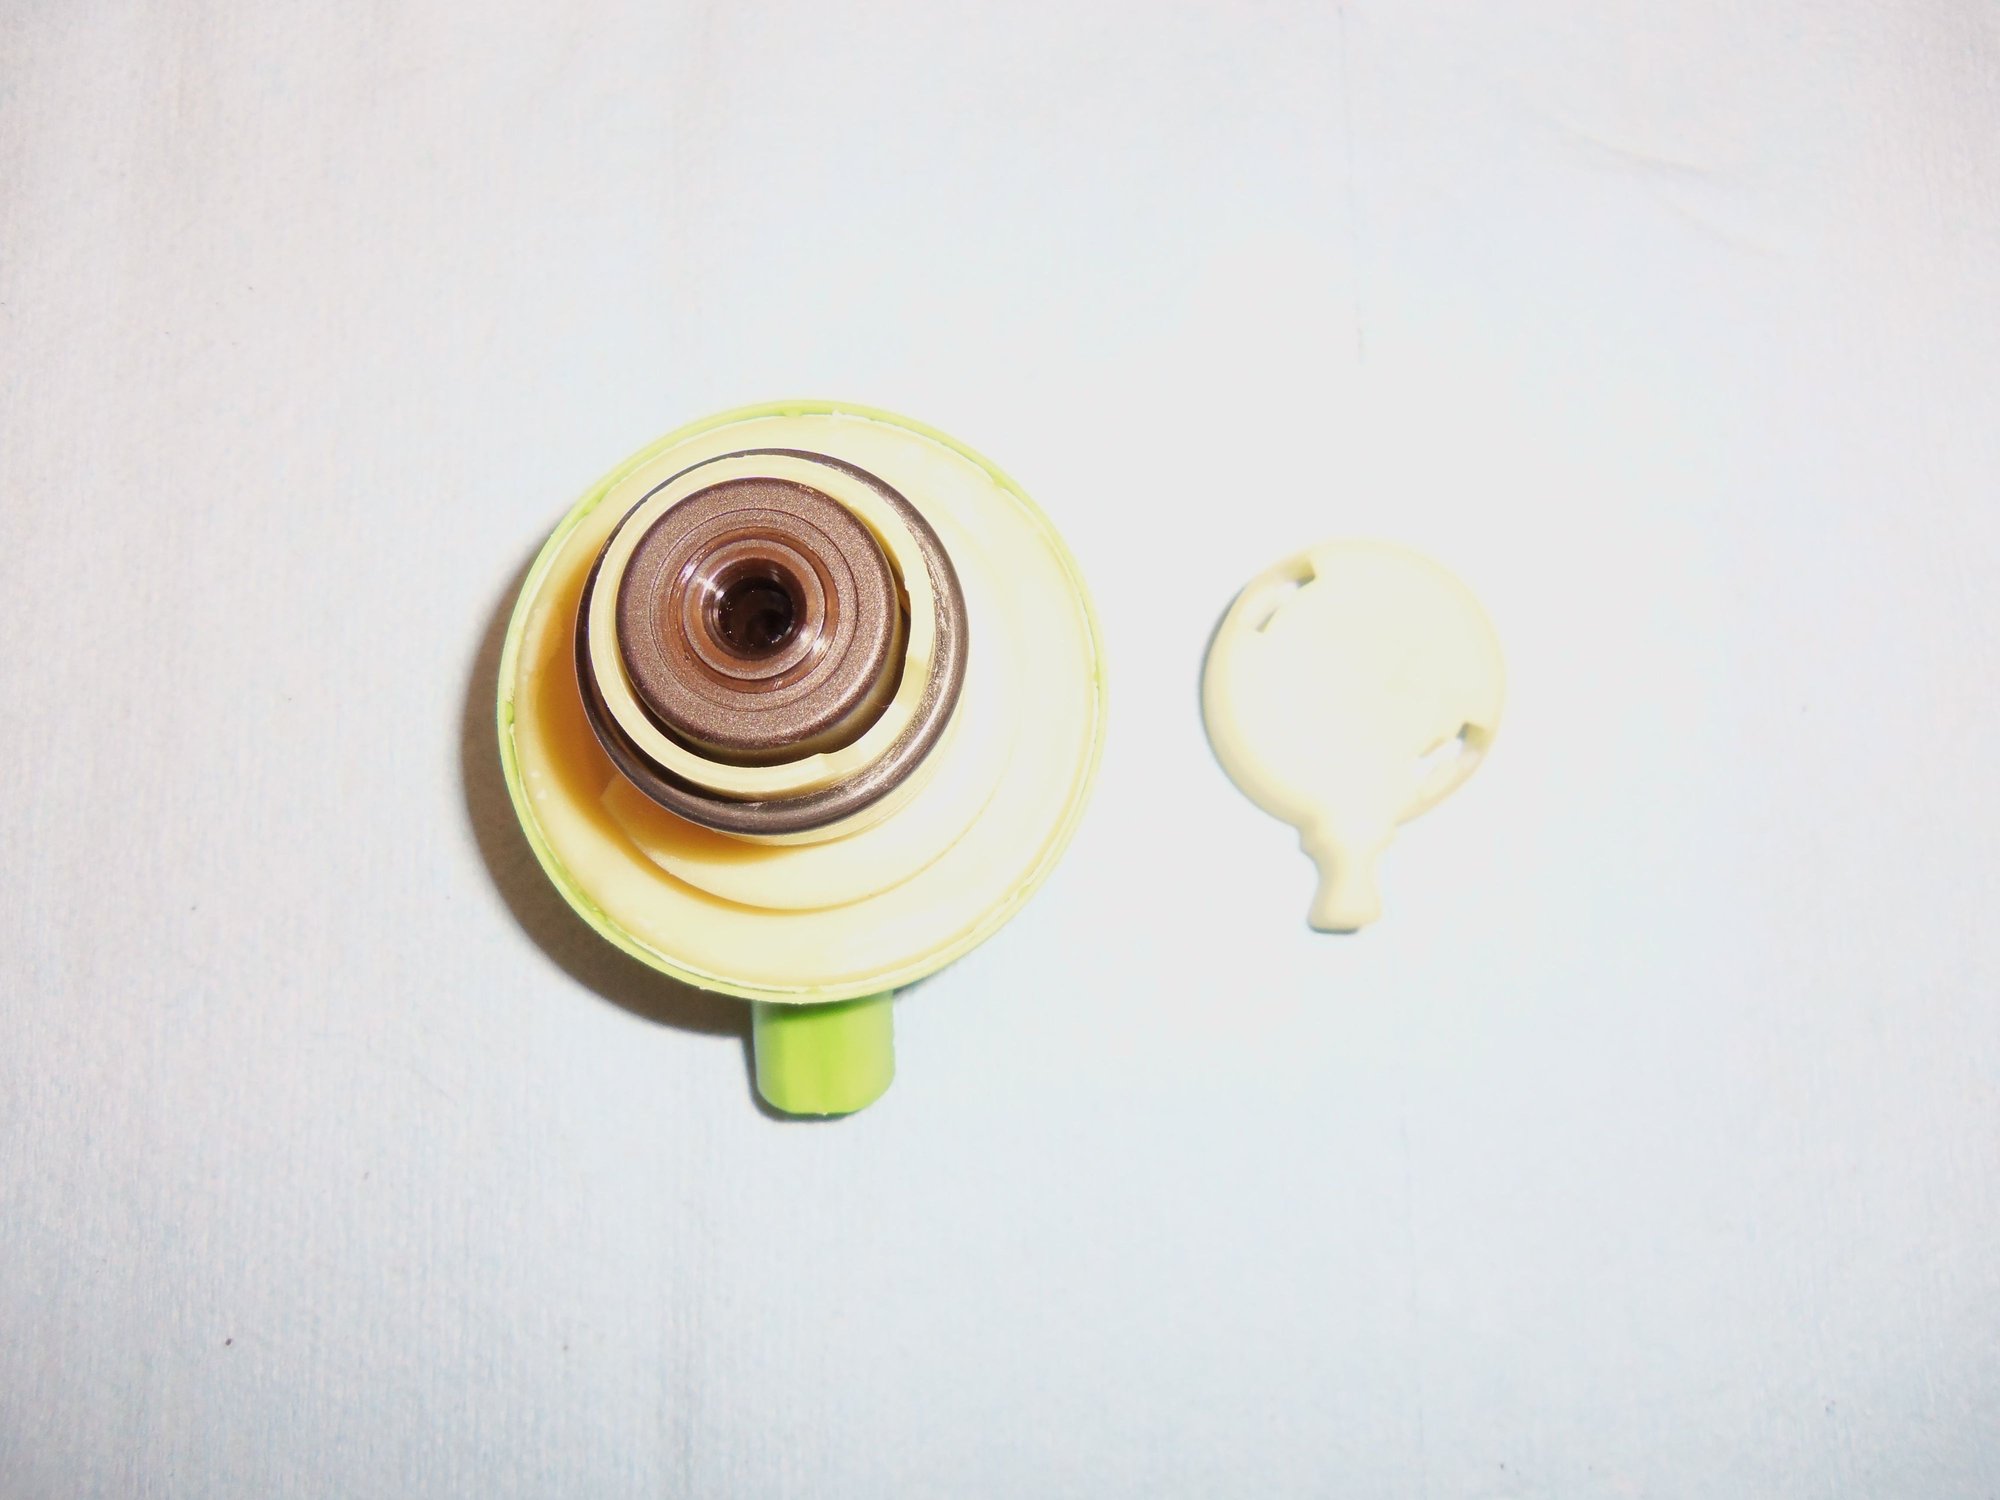
The original modulator had the little metal T-shaped key that would fit in the adjusting screw one of two ways. No big deal. You pull the key up, turn it to adjust, push it back down to lock it. Cover with the vacuum cap and be done. This new modulator still has the little metal T-shaped key, and can still fit into the adjusting screw one of two ways. What is messing me up is the top. There is no longer a vacuum sealing cap. There is a plastic cap with notches inside to hold the T key. The cap fits on the top of the modulator in slots. Once fitted, the cap can turn approximately 180 degrees. There is a graduated scale on the side of the modulator, showing which way does what. IE one way is greater, other way is lesser. There is an O-ring inside that seals everything. If I am understanding this correctly, this modulator can be adjusted by turning the cap. No need to remove a vacuum cap and pull the T key up.
OK, great. However, how do I set the thing up? Meaning, where do I set the key in relation to the cap. The cap will only install into the slots at the 'greatest' adjustment. Where is the adjusting screw in this modulator set from the factory? Full? Minimum? Somewhere in between?
I have googled this Mercedes part number for any kind of instructions. Nothing. There were no instructions in the box. None of my Mercedes, Porsche, Mitchell, etc...manuals cover this modulator.
I am sure the initial set up is simple, and I am missing something obvious.
So, have any of you dealt with this new (at least new to me) type of vacuum modulator?
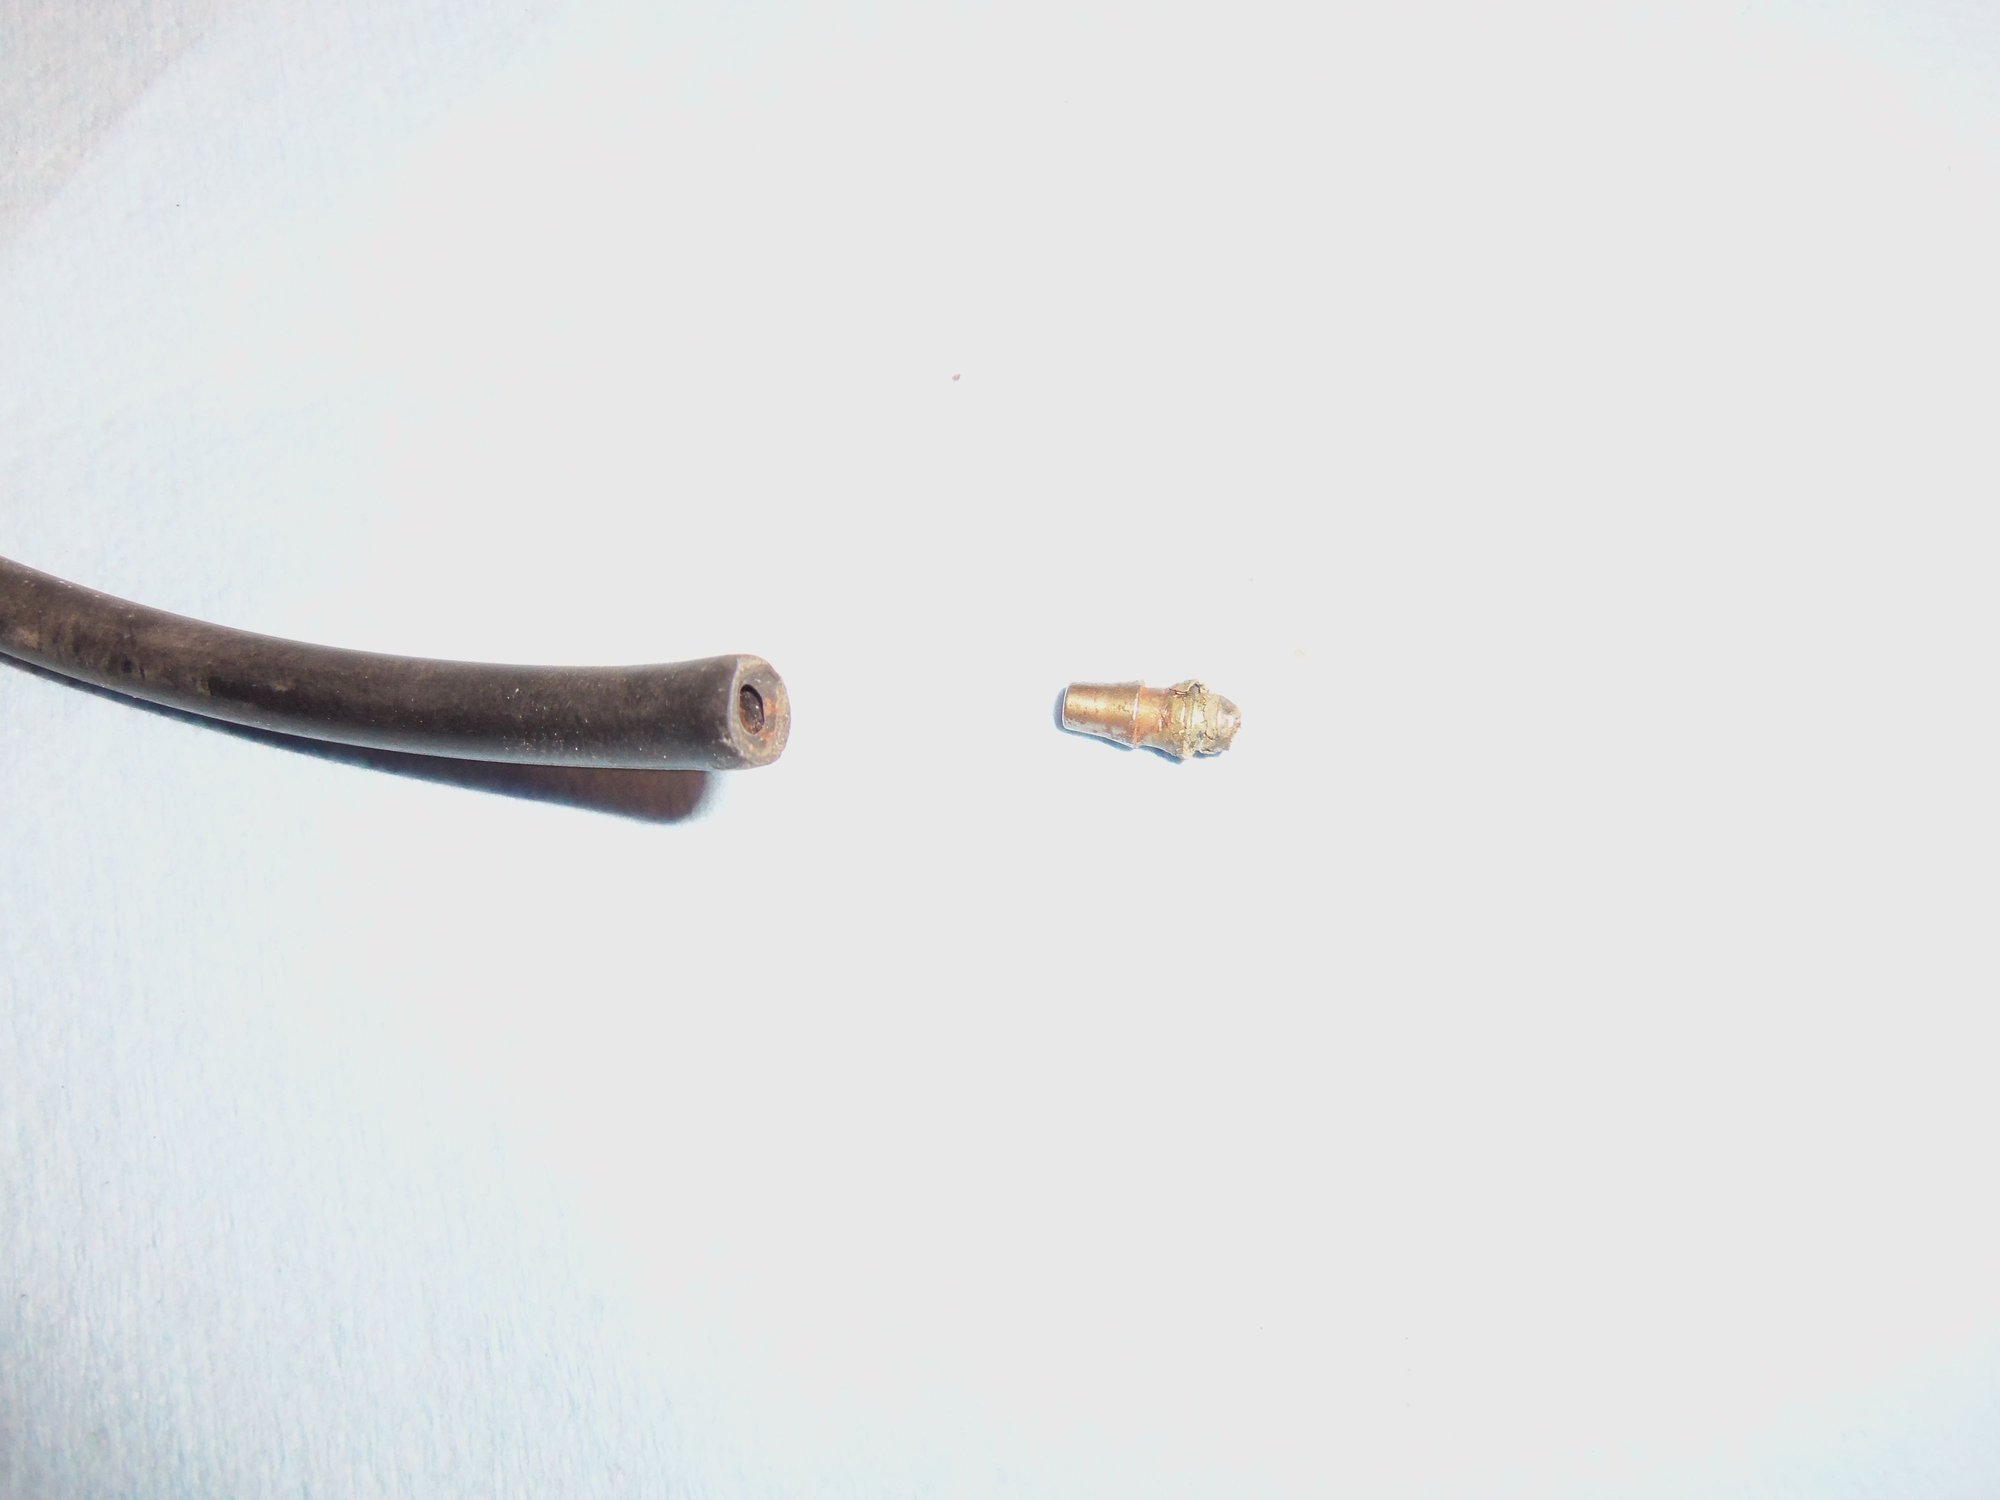
Vacuum barb from original vacuum modulator.
Not worth the effort to try to resecure the barb in the modulator.
New Mercedes Benz vacuum modulator kit.
Similar, yet different.
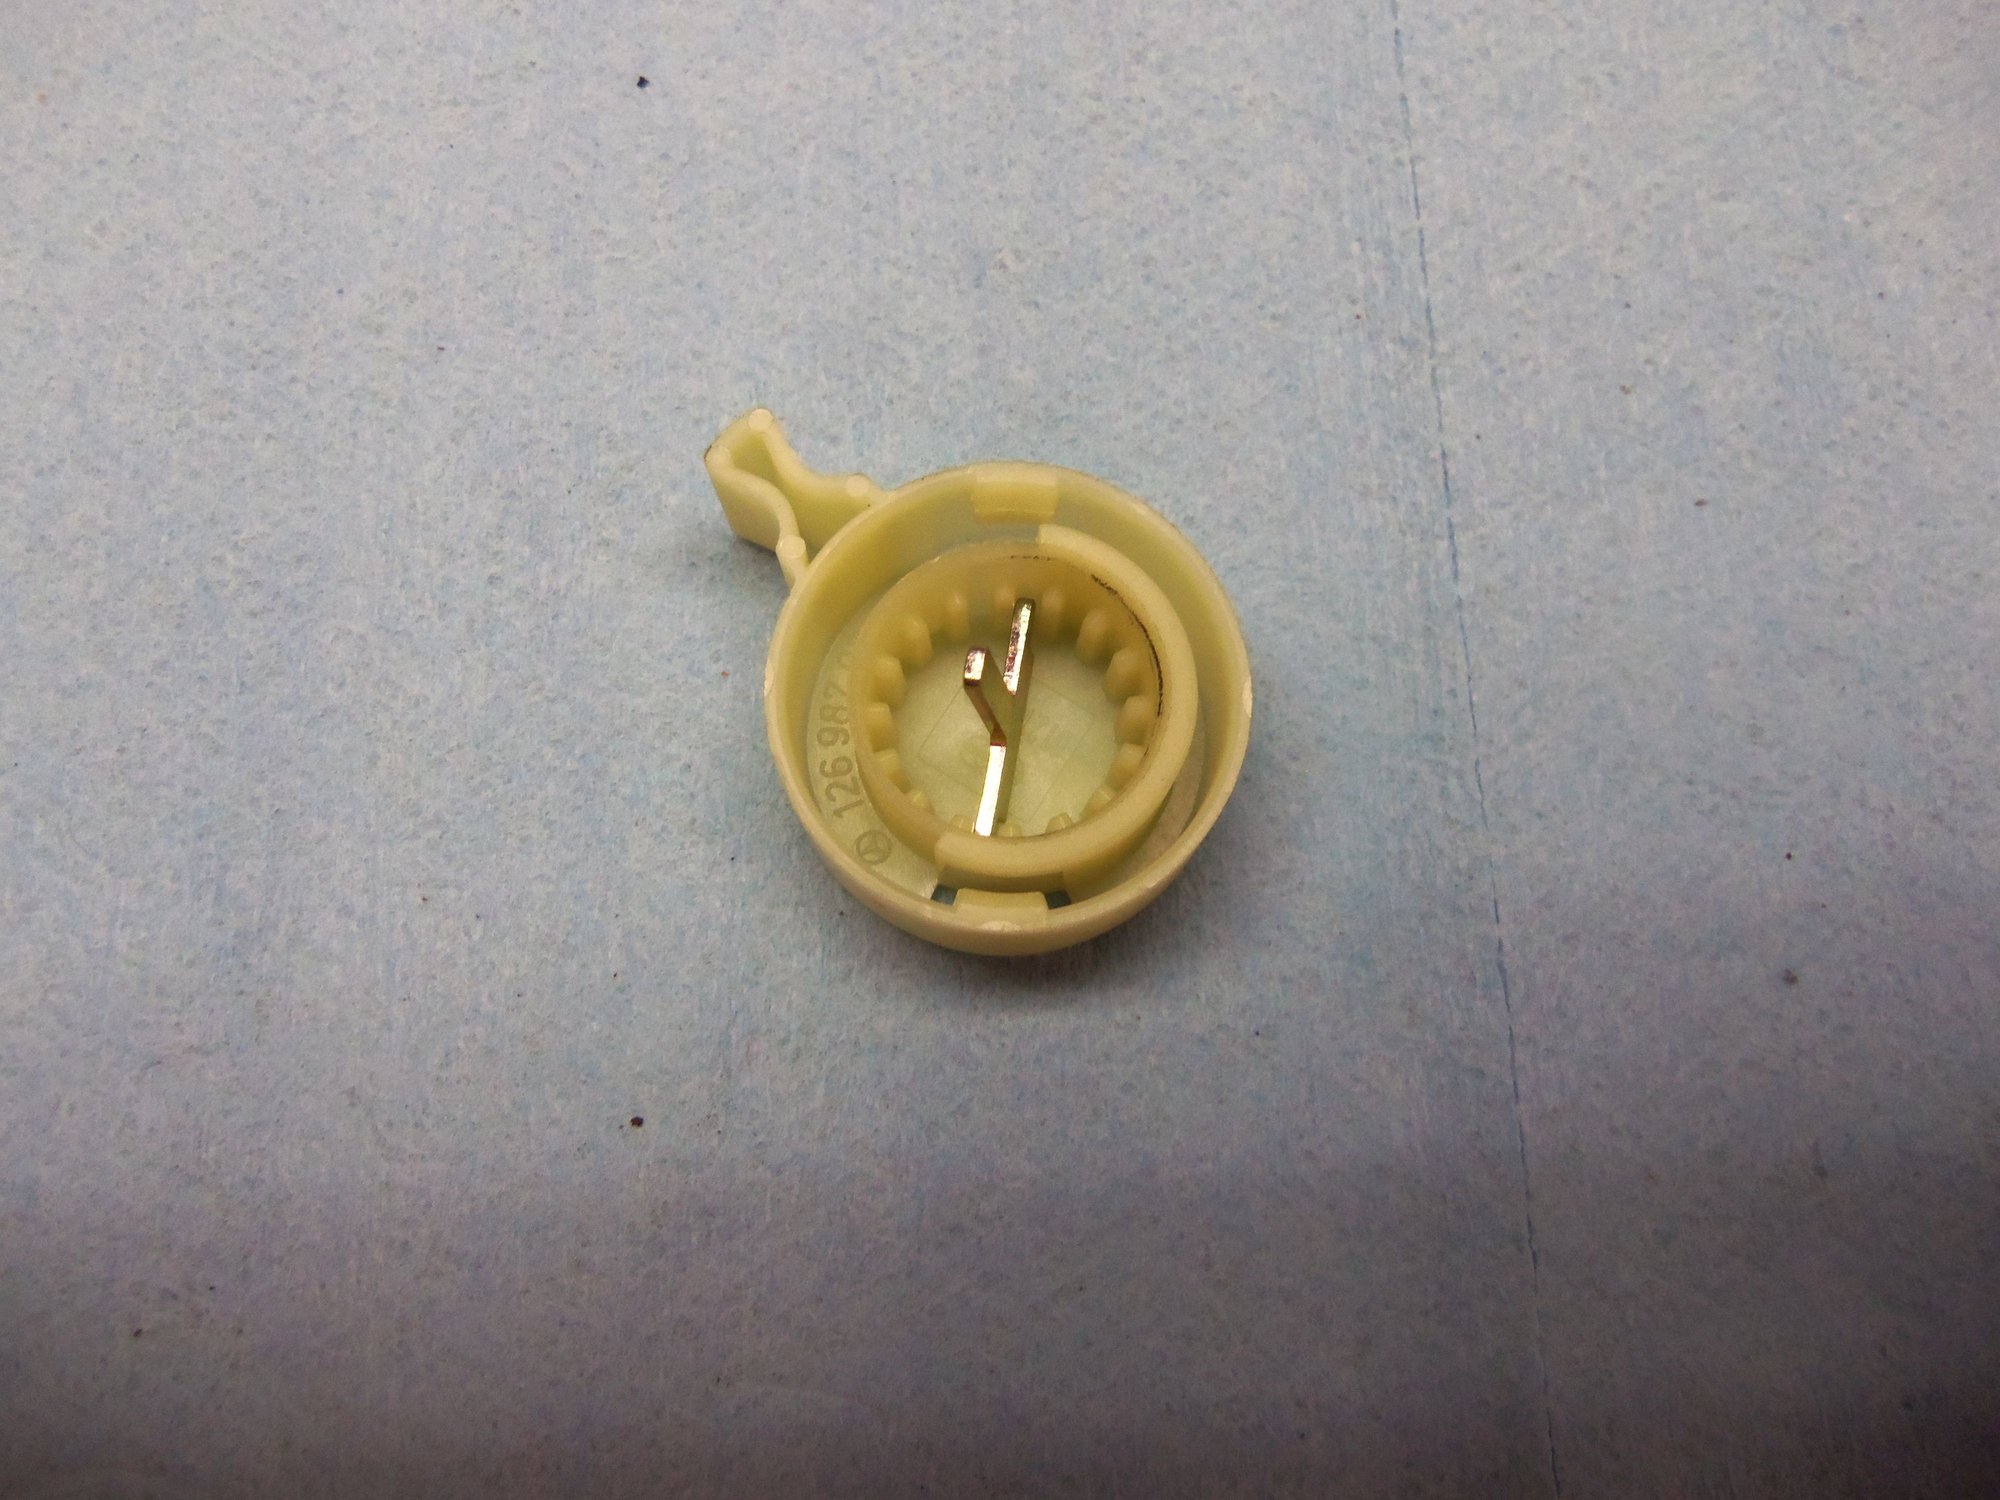
O-ring seals the cap, instead of a rubber cap. Square hole is for the key, can put the key in two positions.
One position.
The other position.
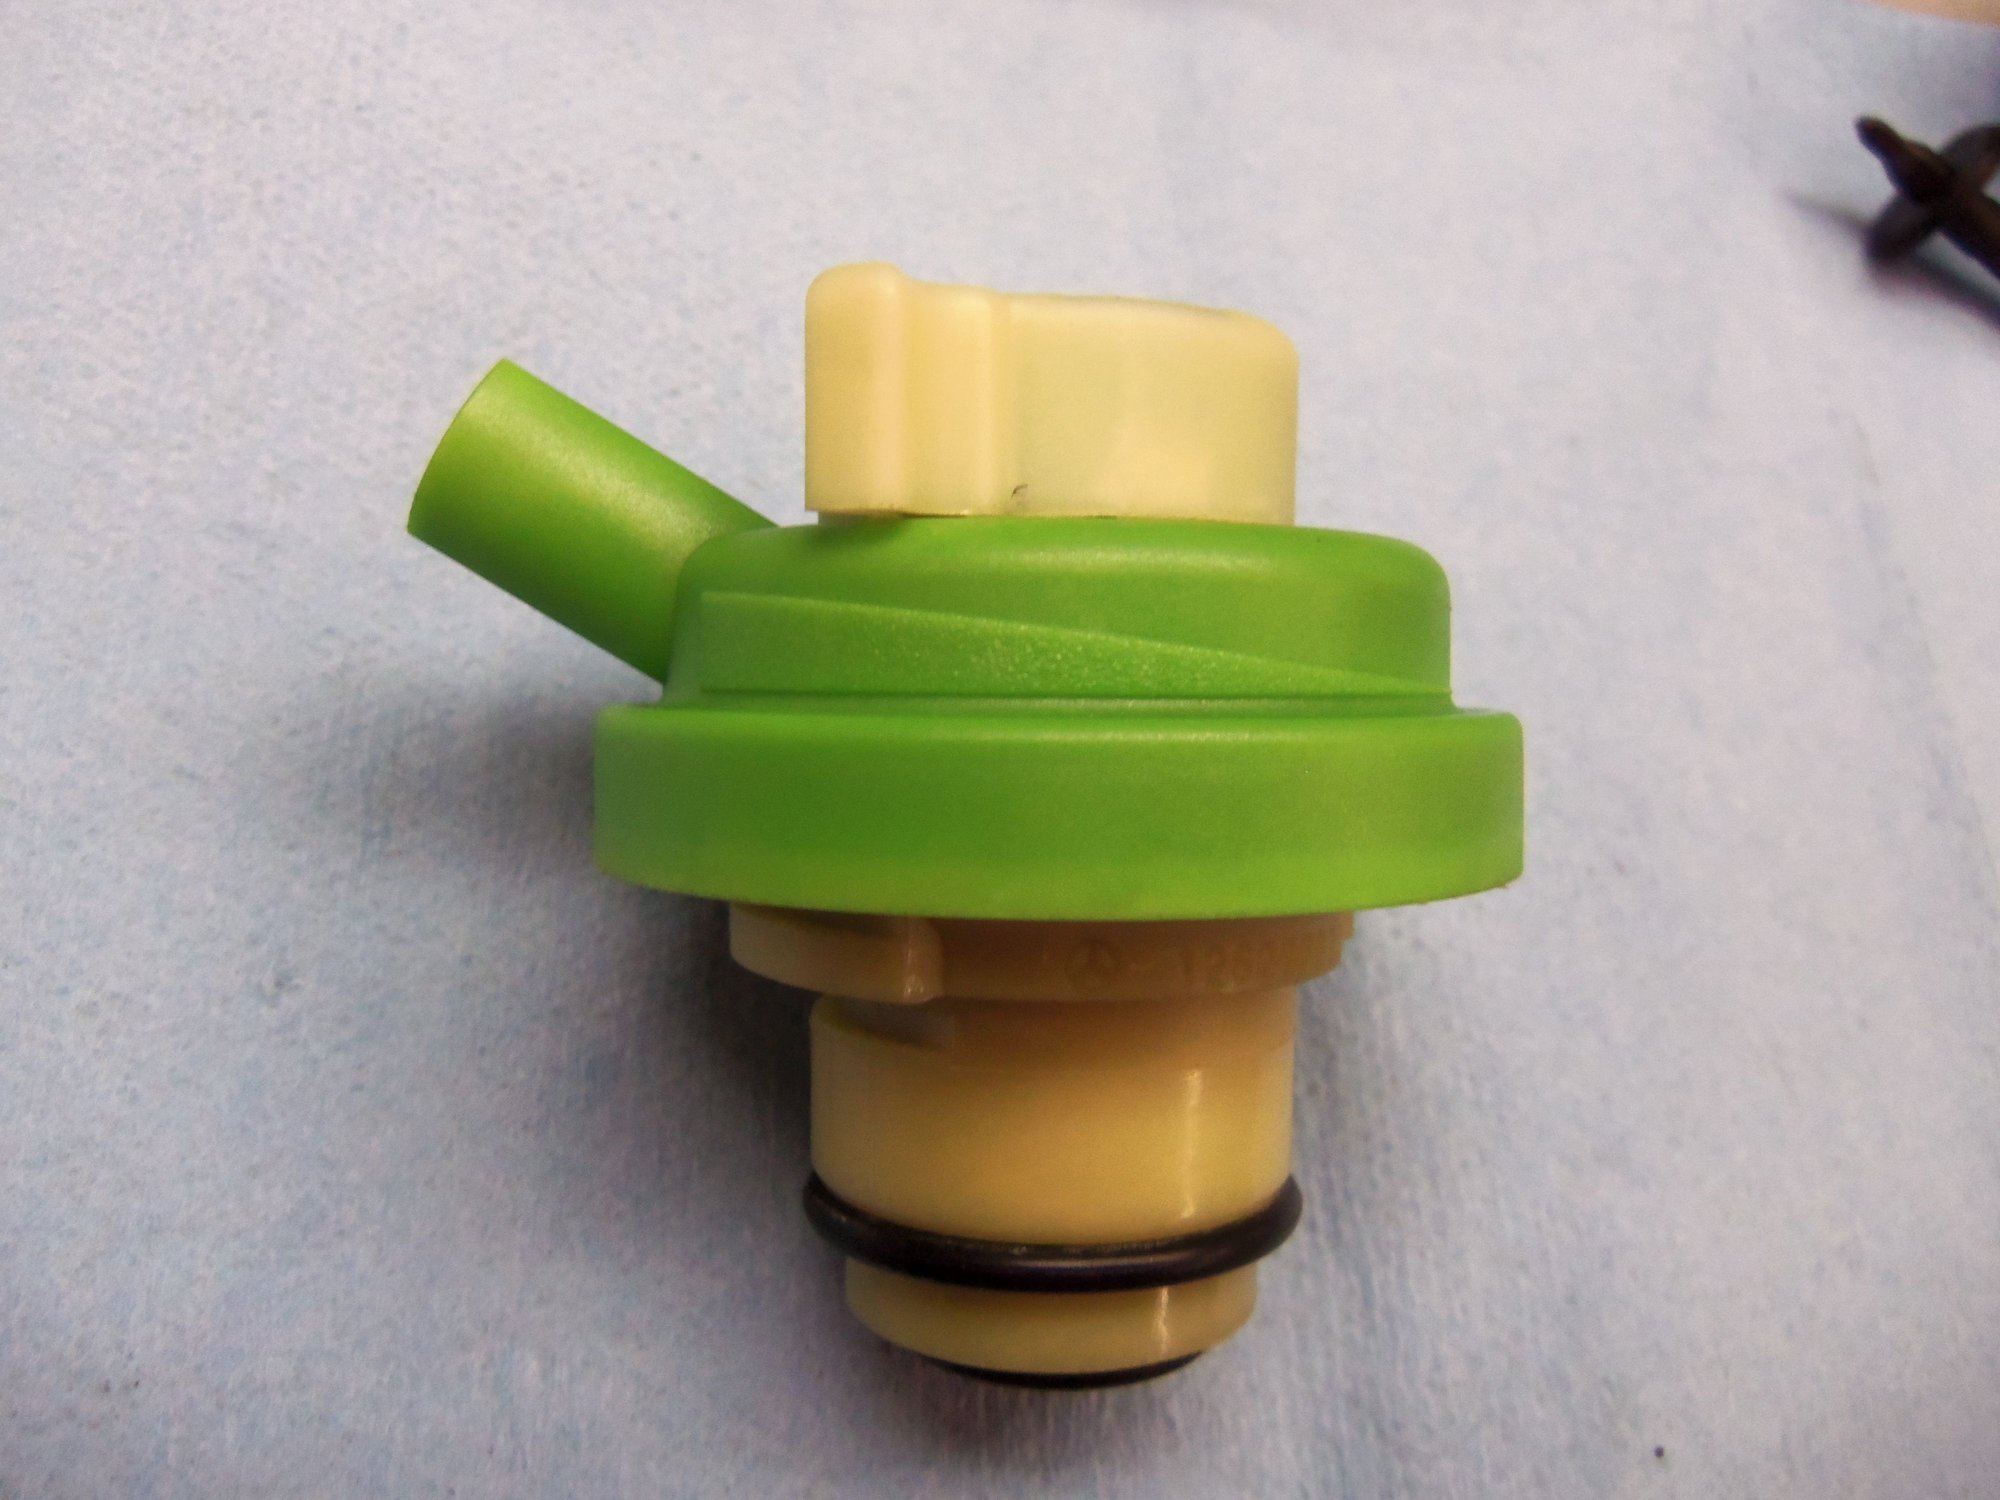
Graduated scale on the side of the modulator, for adjustment.
Adjusting cap. The notches align with cutouts on the modulator body. The female splines allow for many different positions of the key.
One random position.
Another random position.
Cap can only be installed in the 'greatest' position to the left.
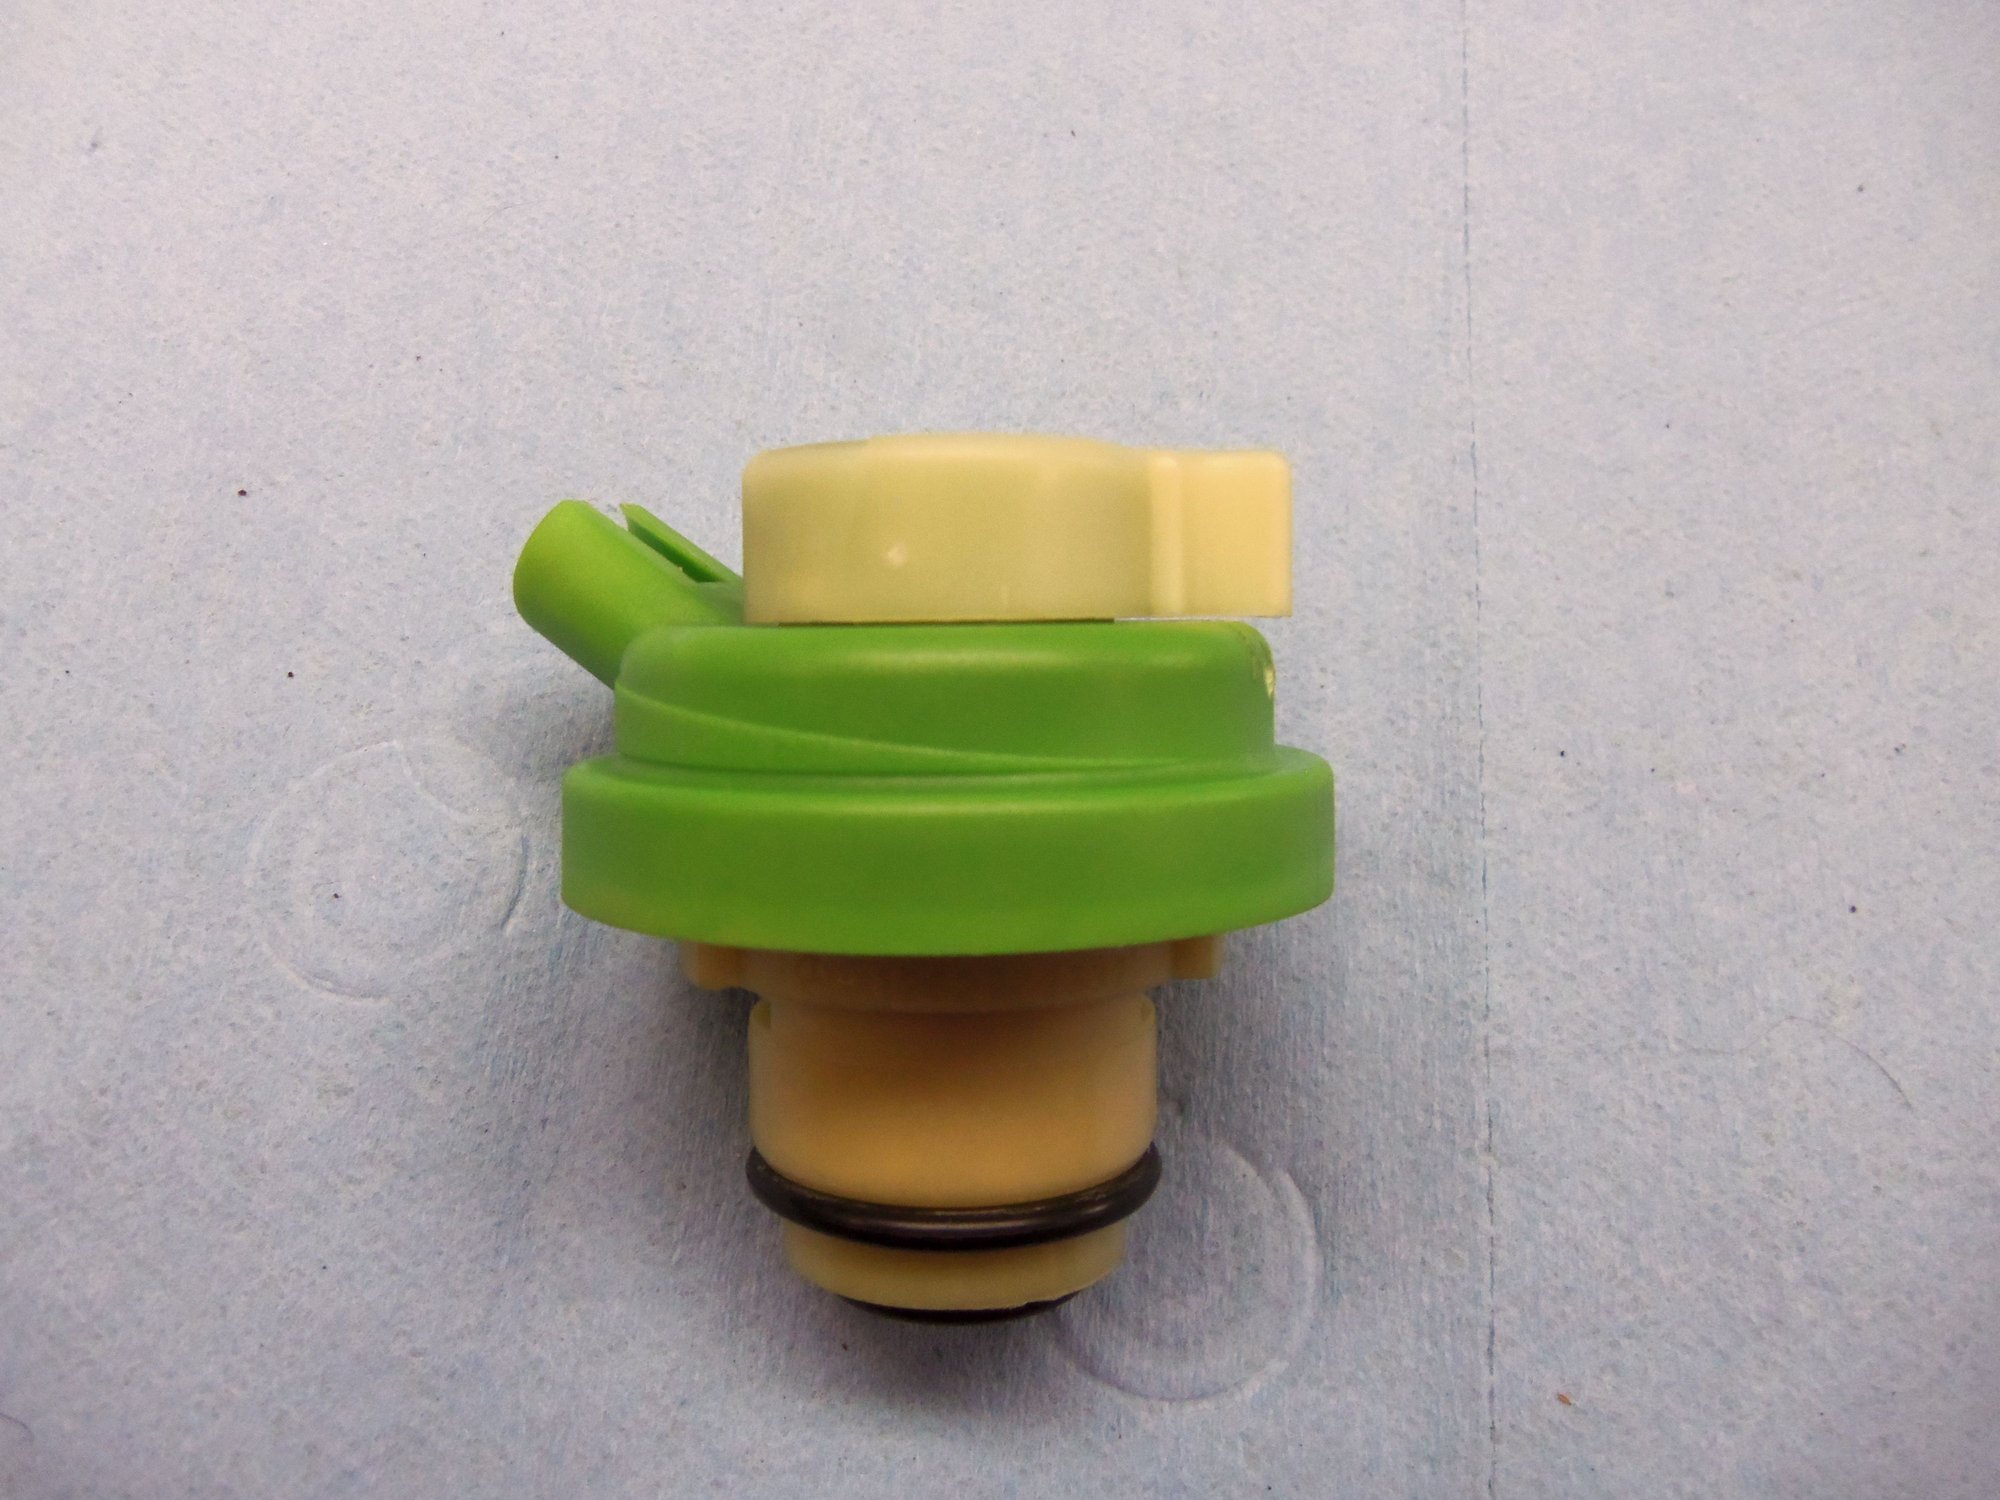
Cap installed in 'greatest' position.
Cap turned to the 'smallest' position on the right.
Cap turned to the 'smallest' position.
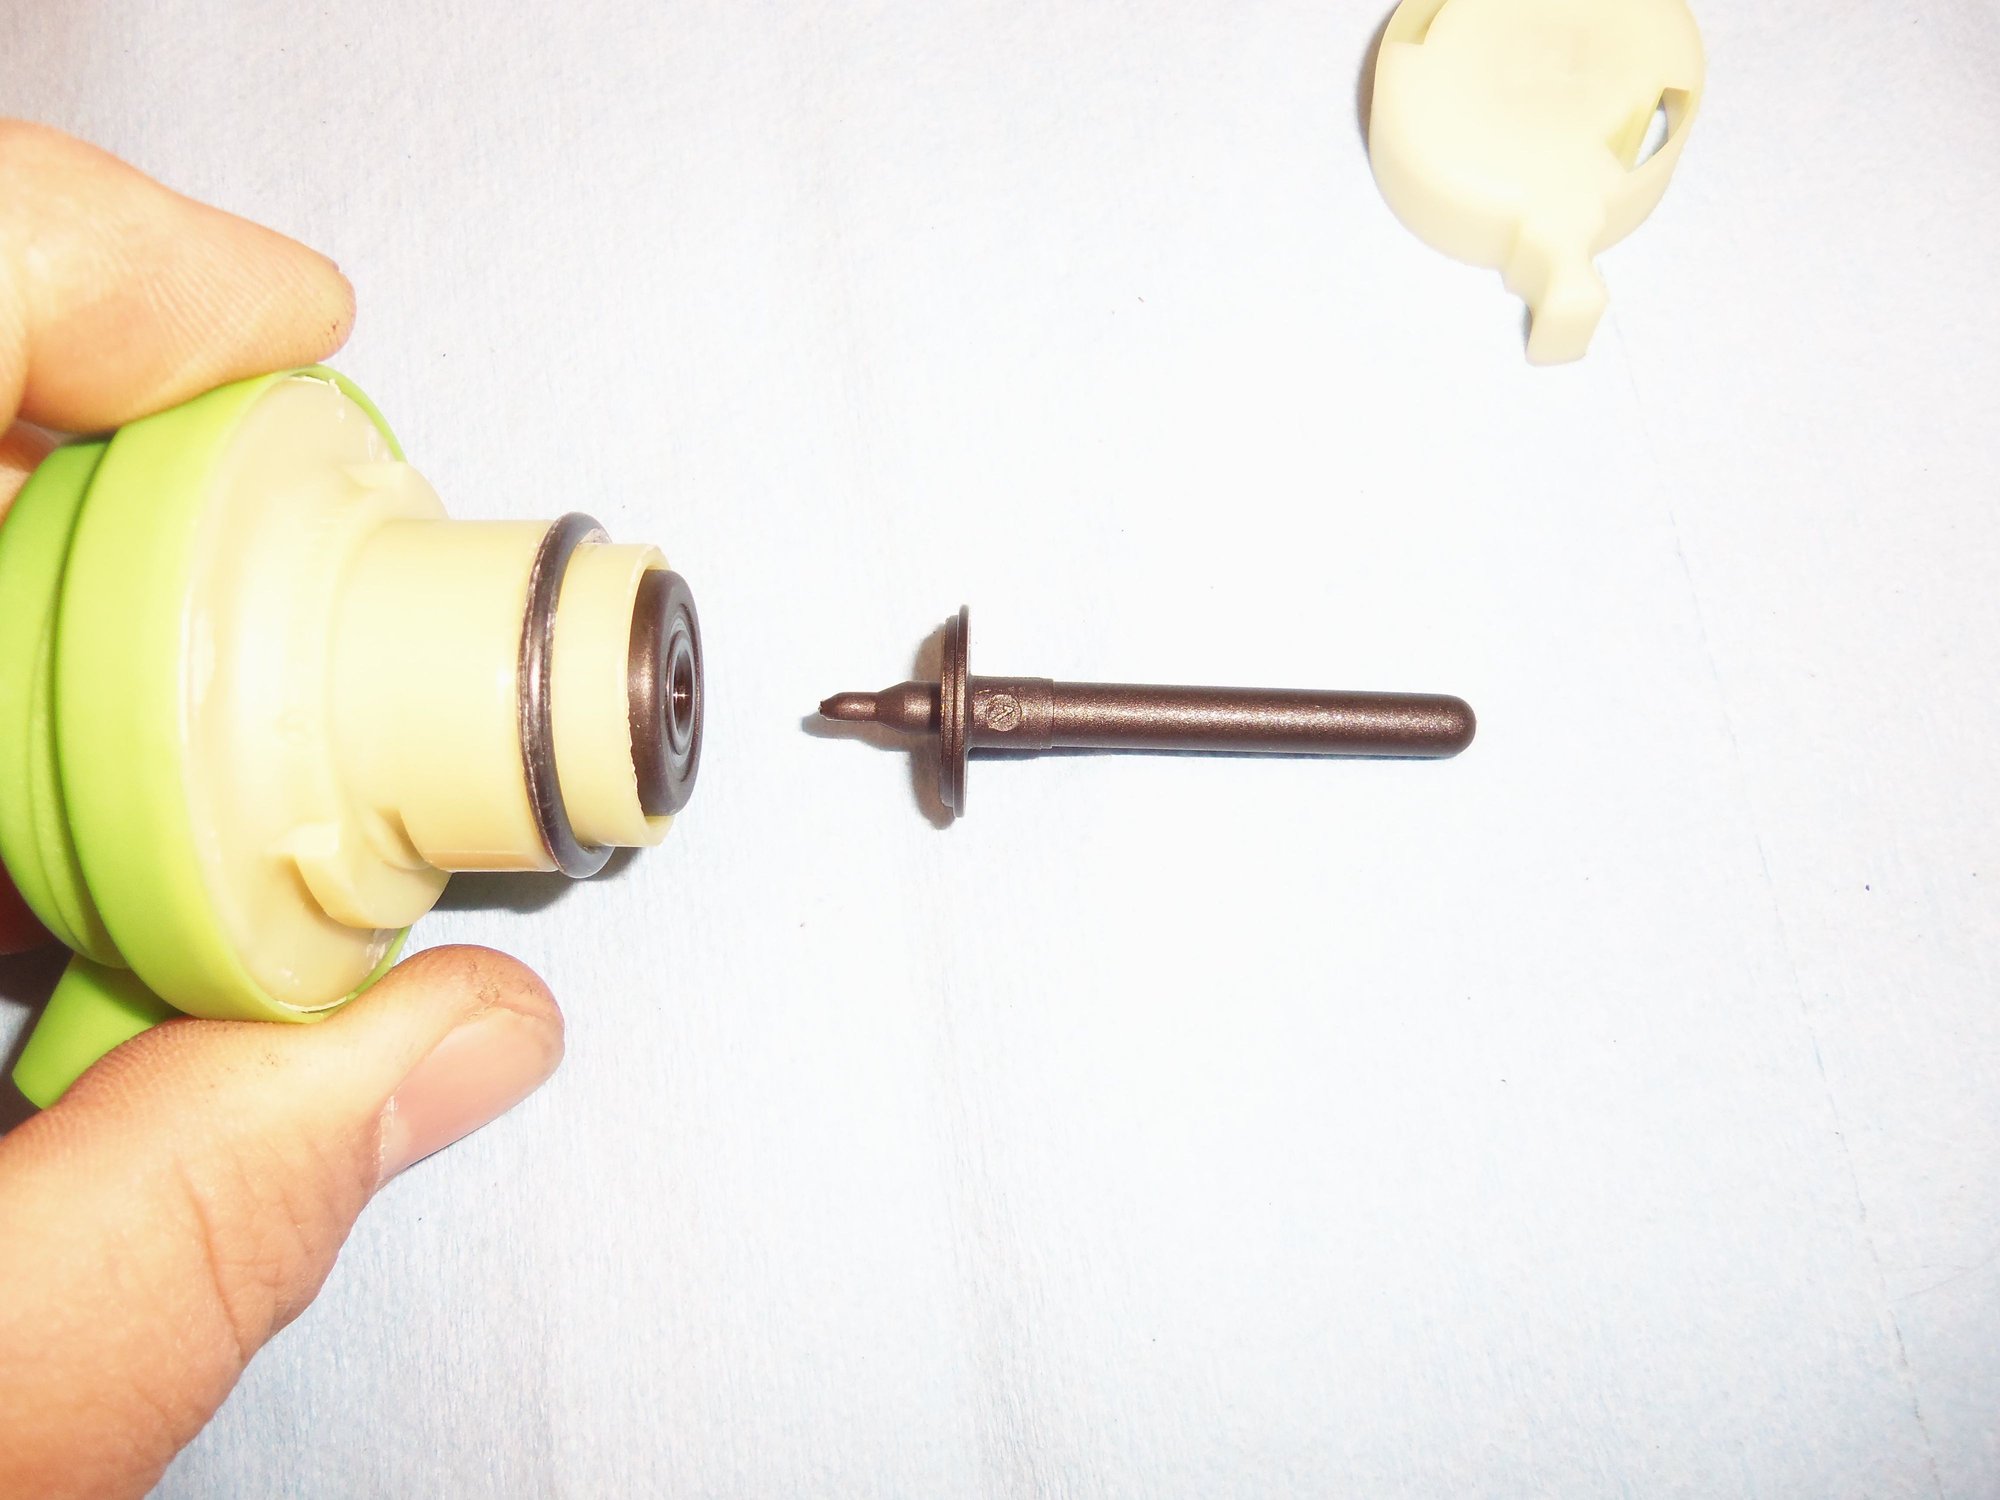
Piston side of the modulator is different, too.
It uses a different pin.
Pin fits into hole in bottom of the piston.
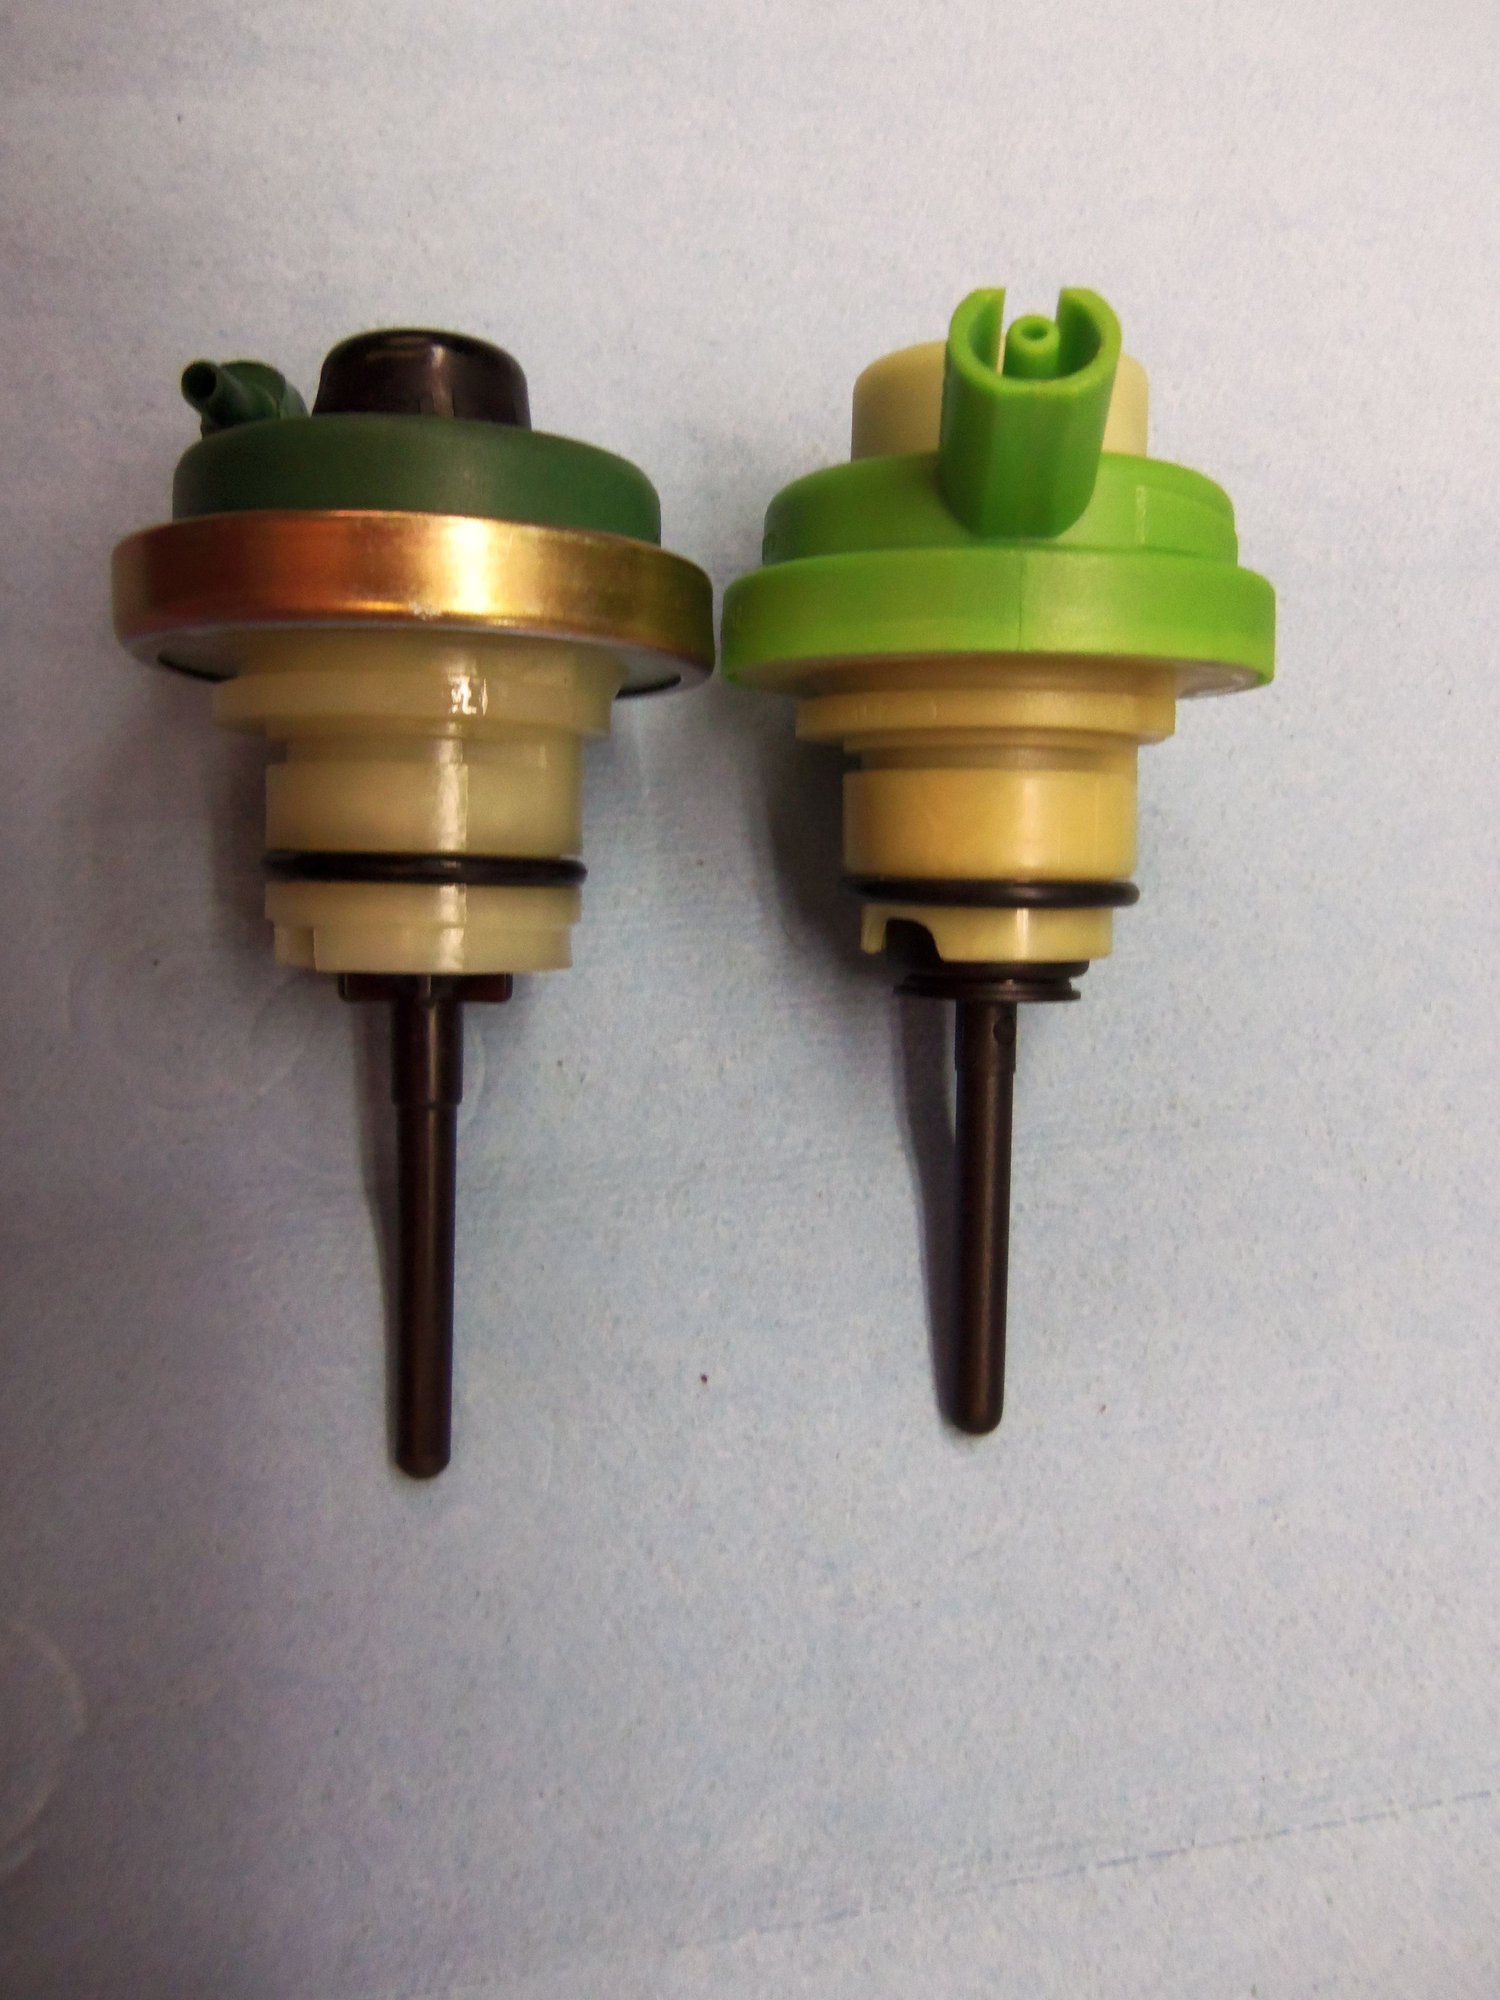
Comparing the new Mercedes modulator and pin at top to the newish(mid 2016) Trucktec modulator and pin.
Pins and modulators are different, but have the same effective length. Meaning they are functional replacements.
Pins are different, but the ends are the same, and engage the piston in the transmission case the same.
I finally found some information on this. The youtube video from Mercedessource explains it. You set the pressure as per the WSM, then put the cap on midrange. This gives you the ability to fine tune the adjustment.


 02-11-2018, 03:57 AM