When you click on links to various merchants on this site and make a purchase, this can result in this site earning a commission. Affiliate programs and affiliations include, but are not limited to, the eBay Partner Network.
Lizard944 - No paint, just a bit of cleaning so far. Will get some additional cleaning as more parts are disassembled.
Uhh. sorry JR. That question was for Dlarsen regarding the Wurth painted phone dials. But is your hood liner original? The new two piece OEM hoodliner now comes in two different colors, meaning one panel is darker than the other due to different manufacturers? Yours is in the best shape I've ever seen, if that is the original. Most of them crumble away.
Do you happen to have the pictures of the wiring and vacuum hoses when you took the engine out? i just did a clutch on mine and took apart the engine because i was going to do the same thing you are doing but cost got in the way and now i can't seem to get everything back together right
But is your hood liner original? The new two piece OEM hoodliner now comes in two different colors, meaning one panel is darker than the other due to different manufacturers? Yours is in the best shape I've ever seen, if that is the original. Most of them crumble away.
No sir, not original. I replaced those back in 2013. I got them either from German Auto Parts or ECS Tuning - can't recall now which one.
Do you happen to have the pictures of the wiring and vacuum hoses when you took the engine out? i just did a clutch on mine and took apart the engine because i was going to do the same thing you are doing but cost got in the way and now i can't seem to get everything back together right
I did take some pictures while taking everything apart. Let me see if I can send you some thru PM. I've never used the PM before so if it gets screwed up just let me know.
Got a bit more work done today. Naturally not as much as I would have liked, but hey - it's a slow build for a reason.
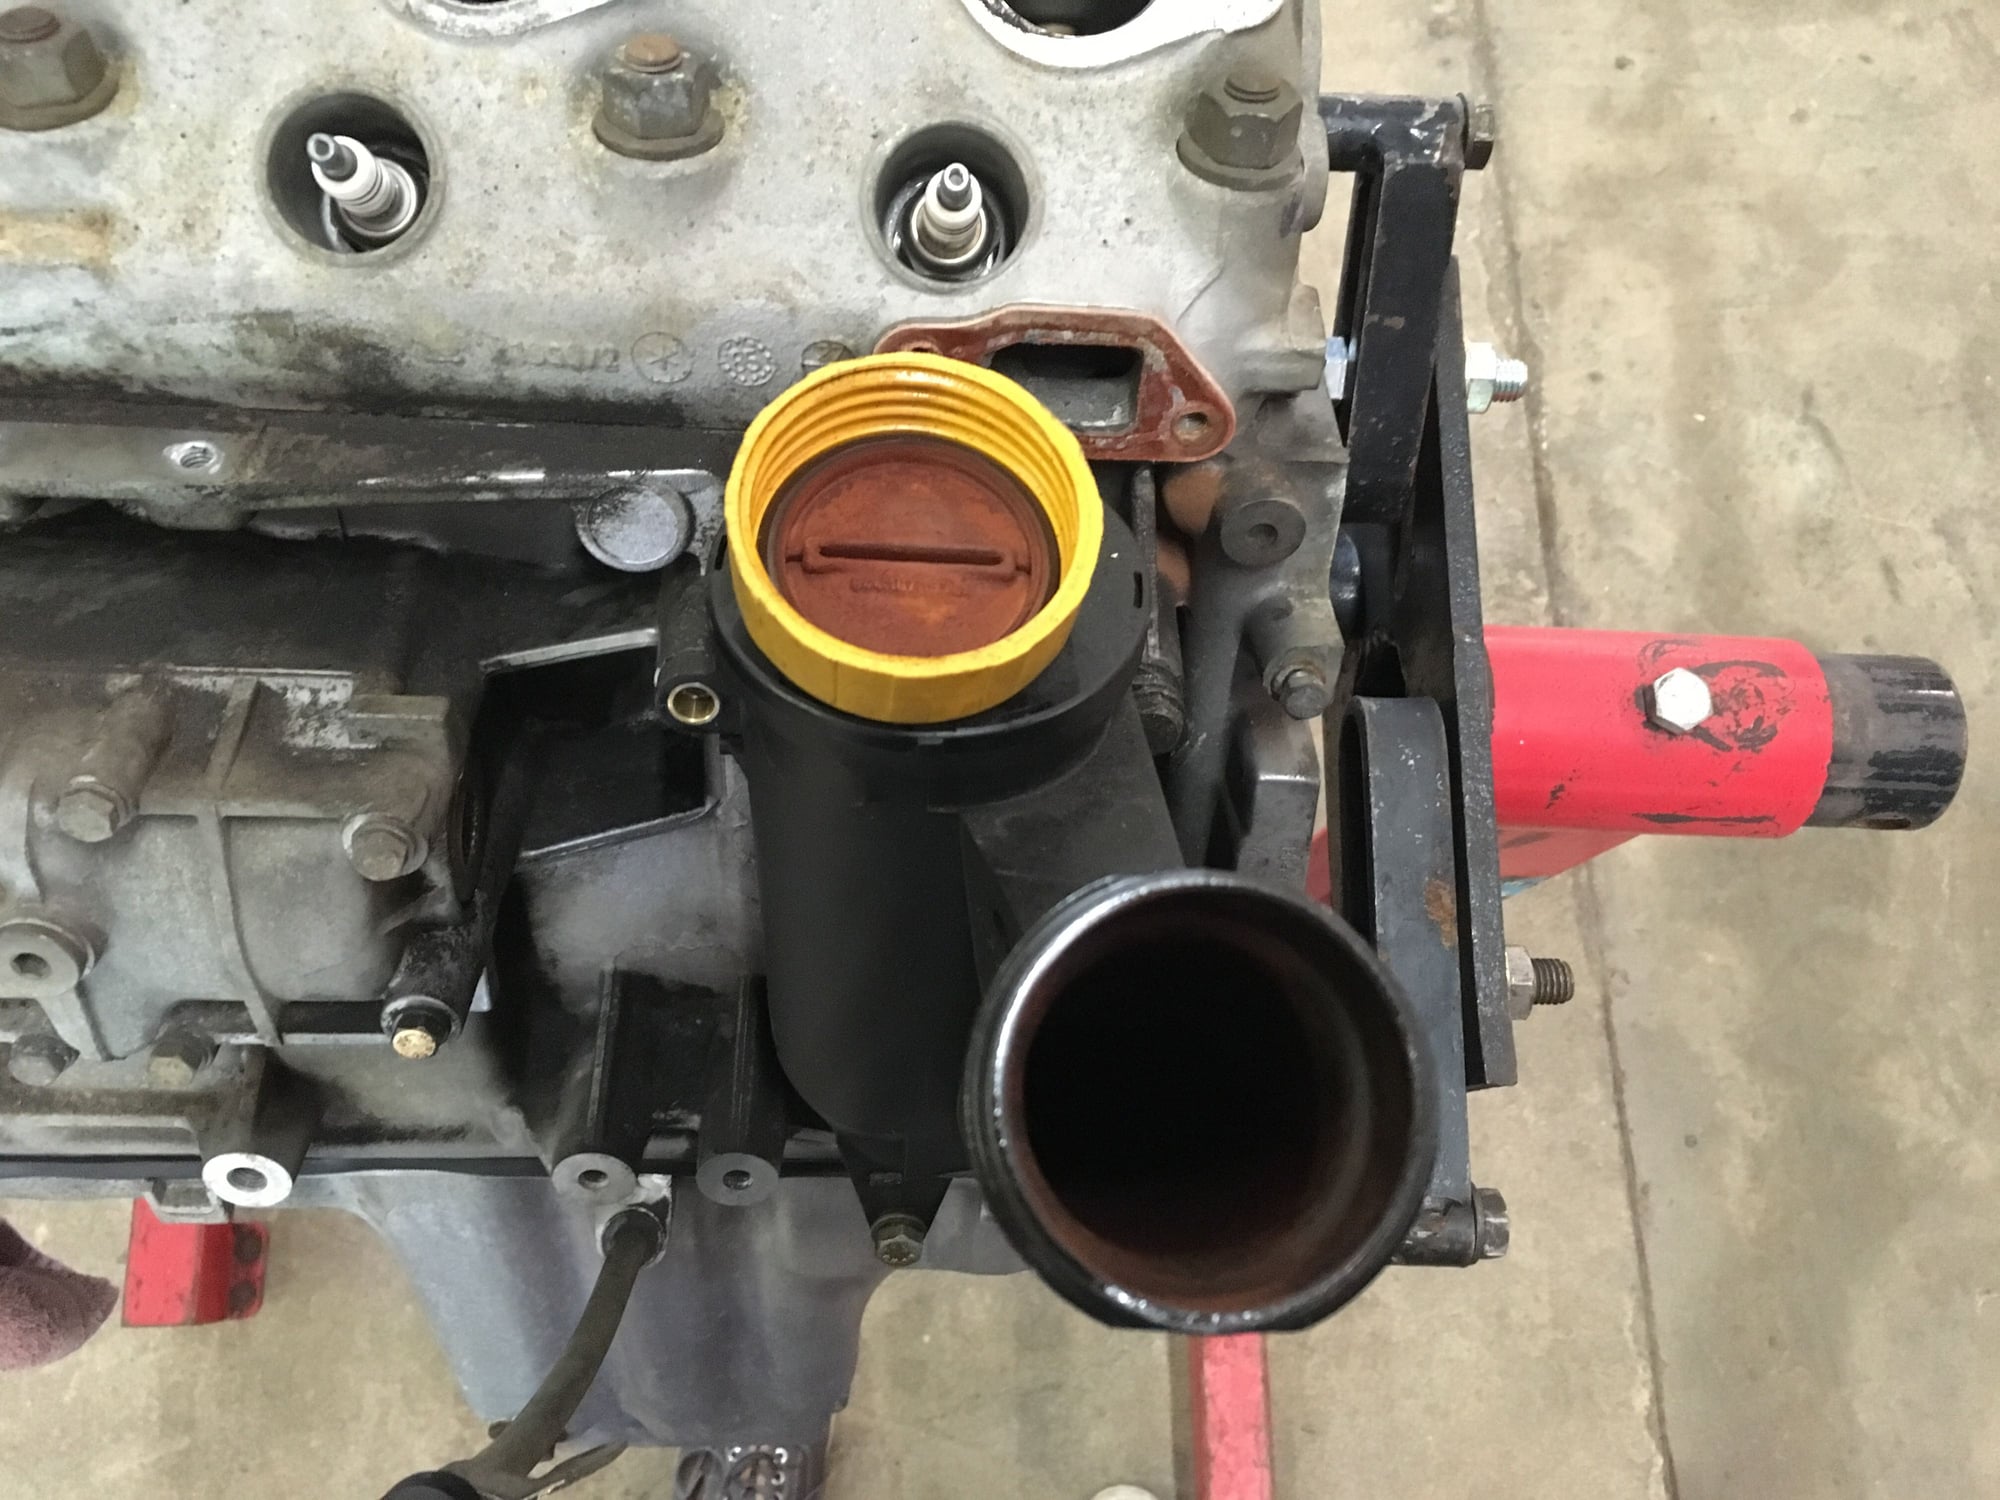
Removed the AOS. Is it normal to have some rust in here like this?l. Maybe because it's been sitting out of the car for a couple weeks now. Can these be cleaned or do they have to be replaced?
Had the typical AOS seal leaks that I think everyone has...
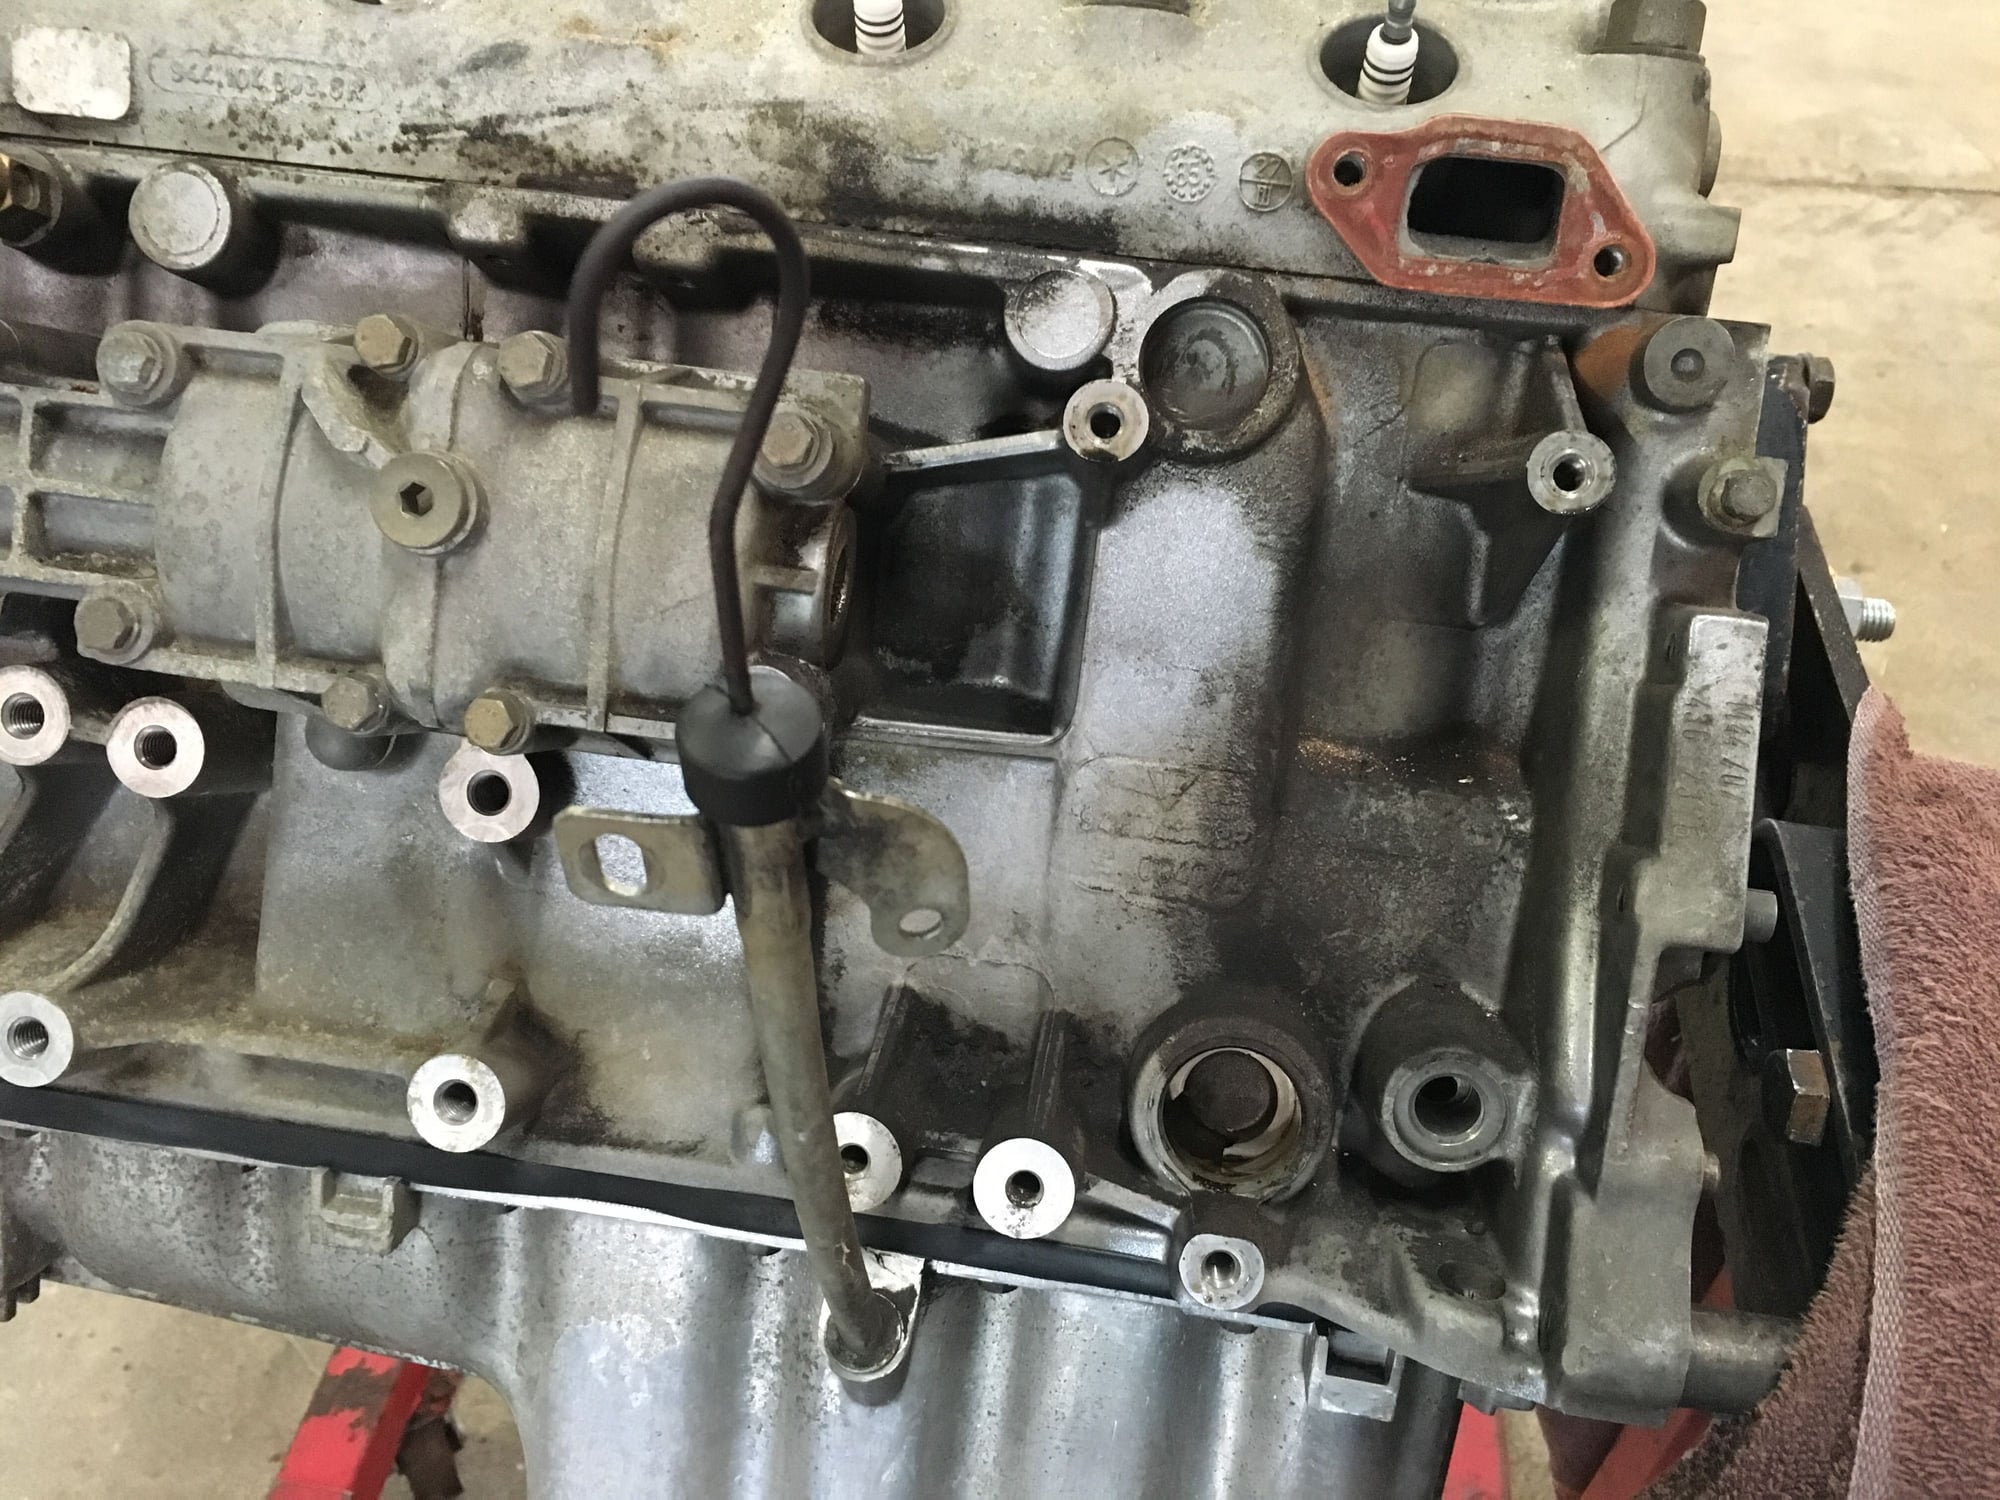
You can't tell from the photo below (or perhaps you can if you've got really keen eyes) but the lowest water pump bolt is a (gasp) 1/4-20 instead of an M6. This guy broke off when I did the water pump 2 years ago and naturally after spending forever on it, I had to stick an SAE threaded insert in there so I could put the car back together. I felt like a hack, but needed the car at the time and couldn't find an M6 locally. Don't worry, it'll be fixed with the proper M6 now that the engine is out.
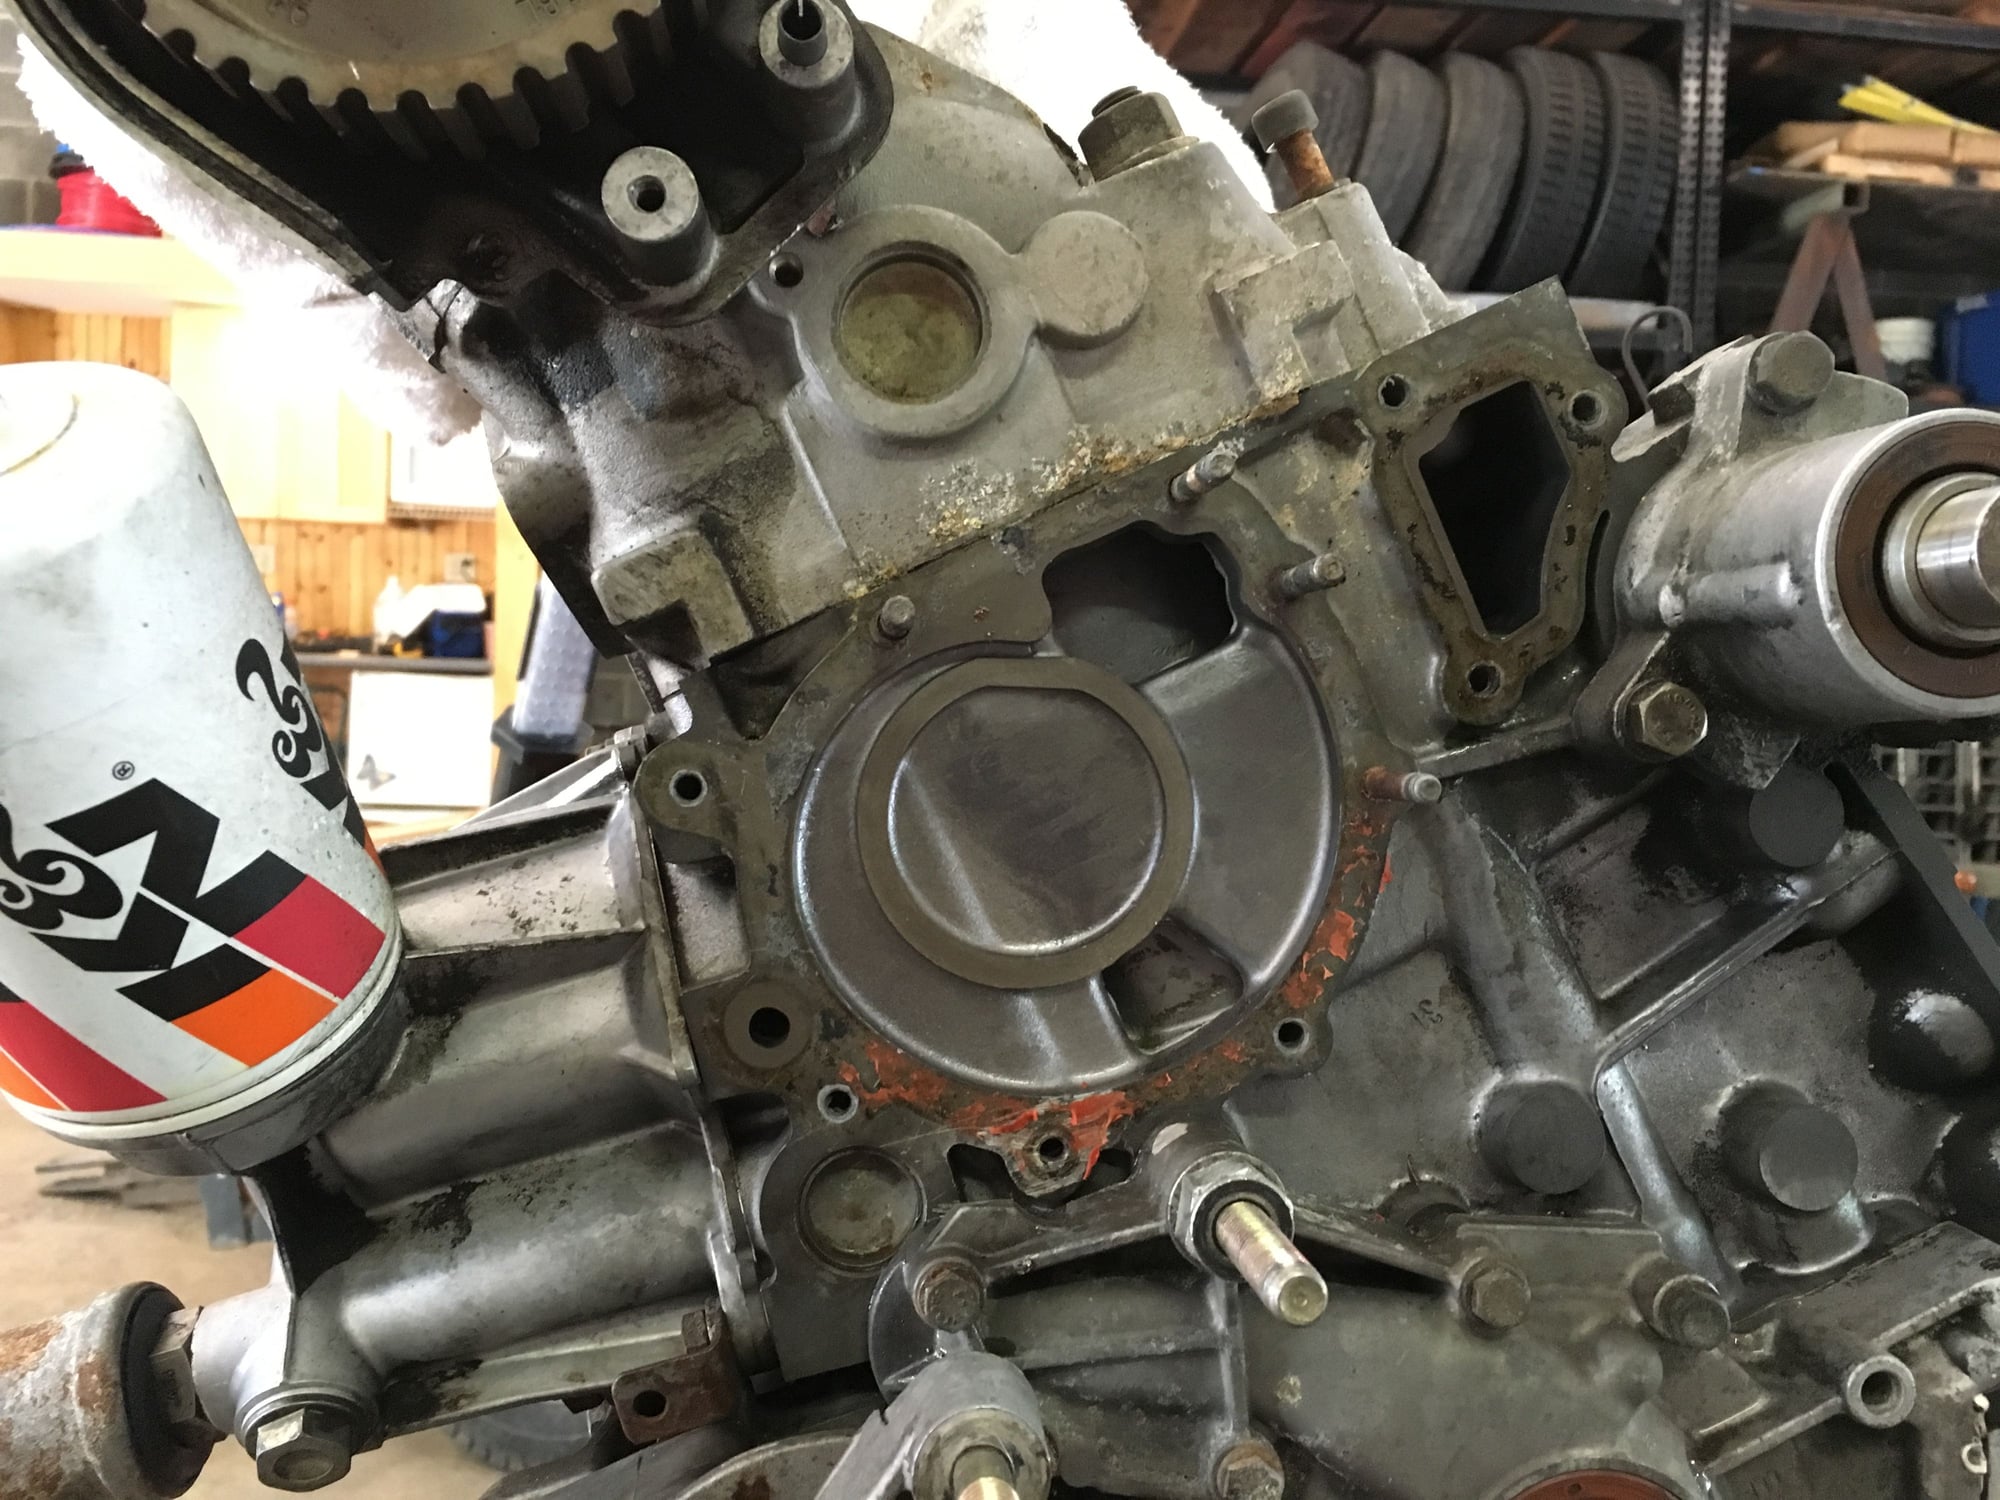
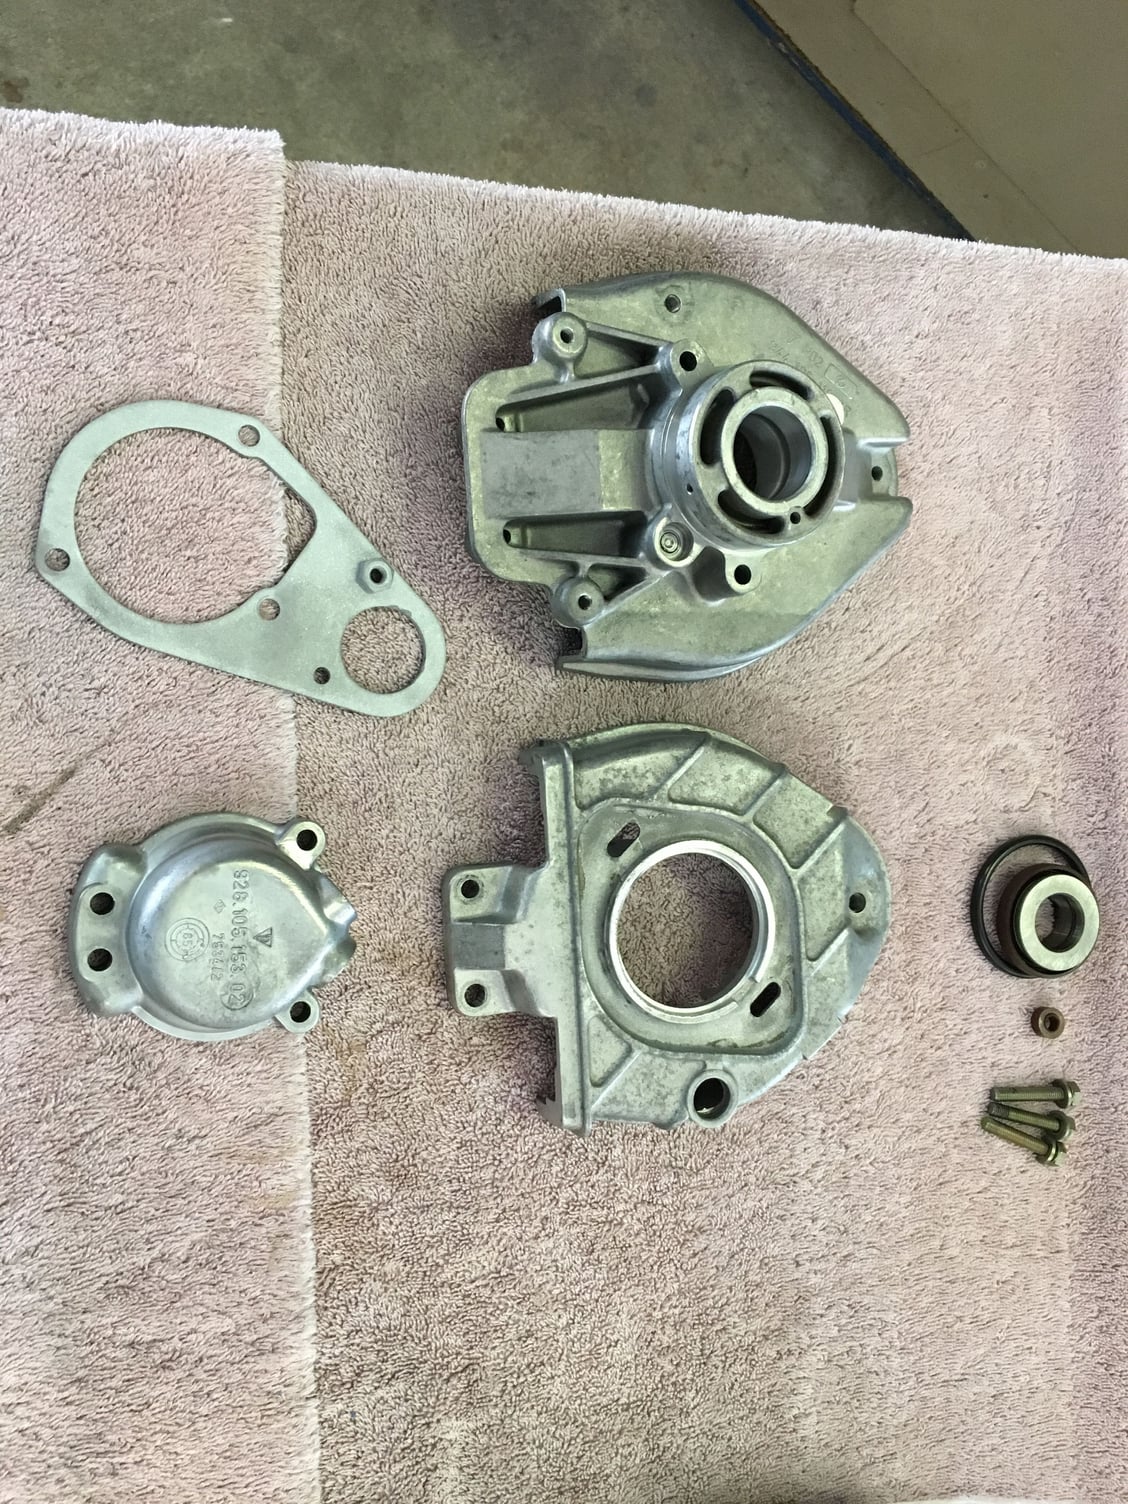
Got the cam gear and the housing off. Had a little trouble getting the collar off the camshaft so I could actually get the gear off, but with a little heat I was able to get it loose.
Had to run to a few different places to find a 6MM extended hex bit, but once I found it we were in business! Meant to order it ahead of time, but you know...I forgot. It happens.
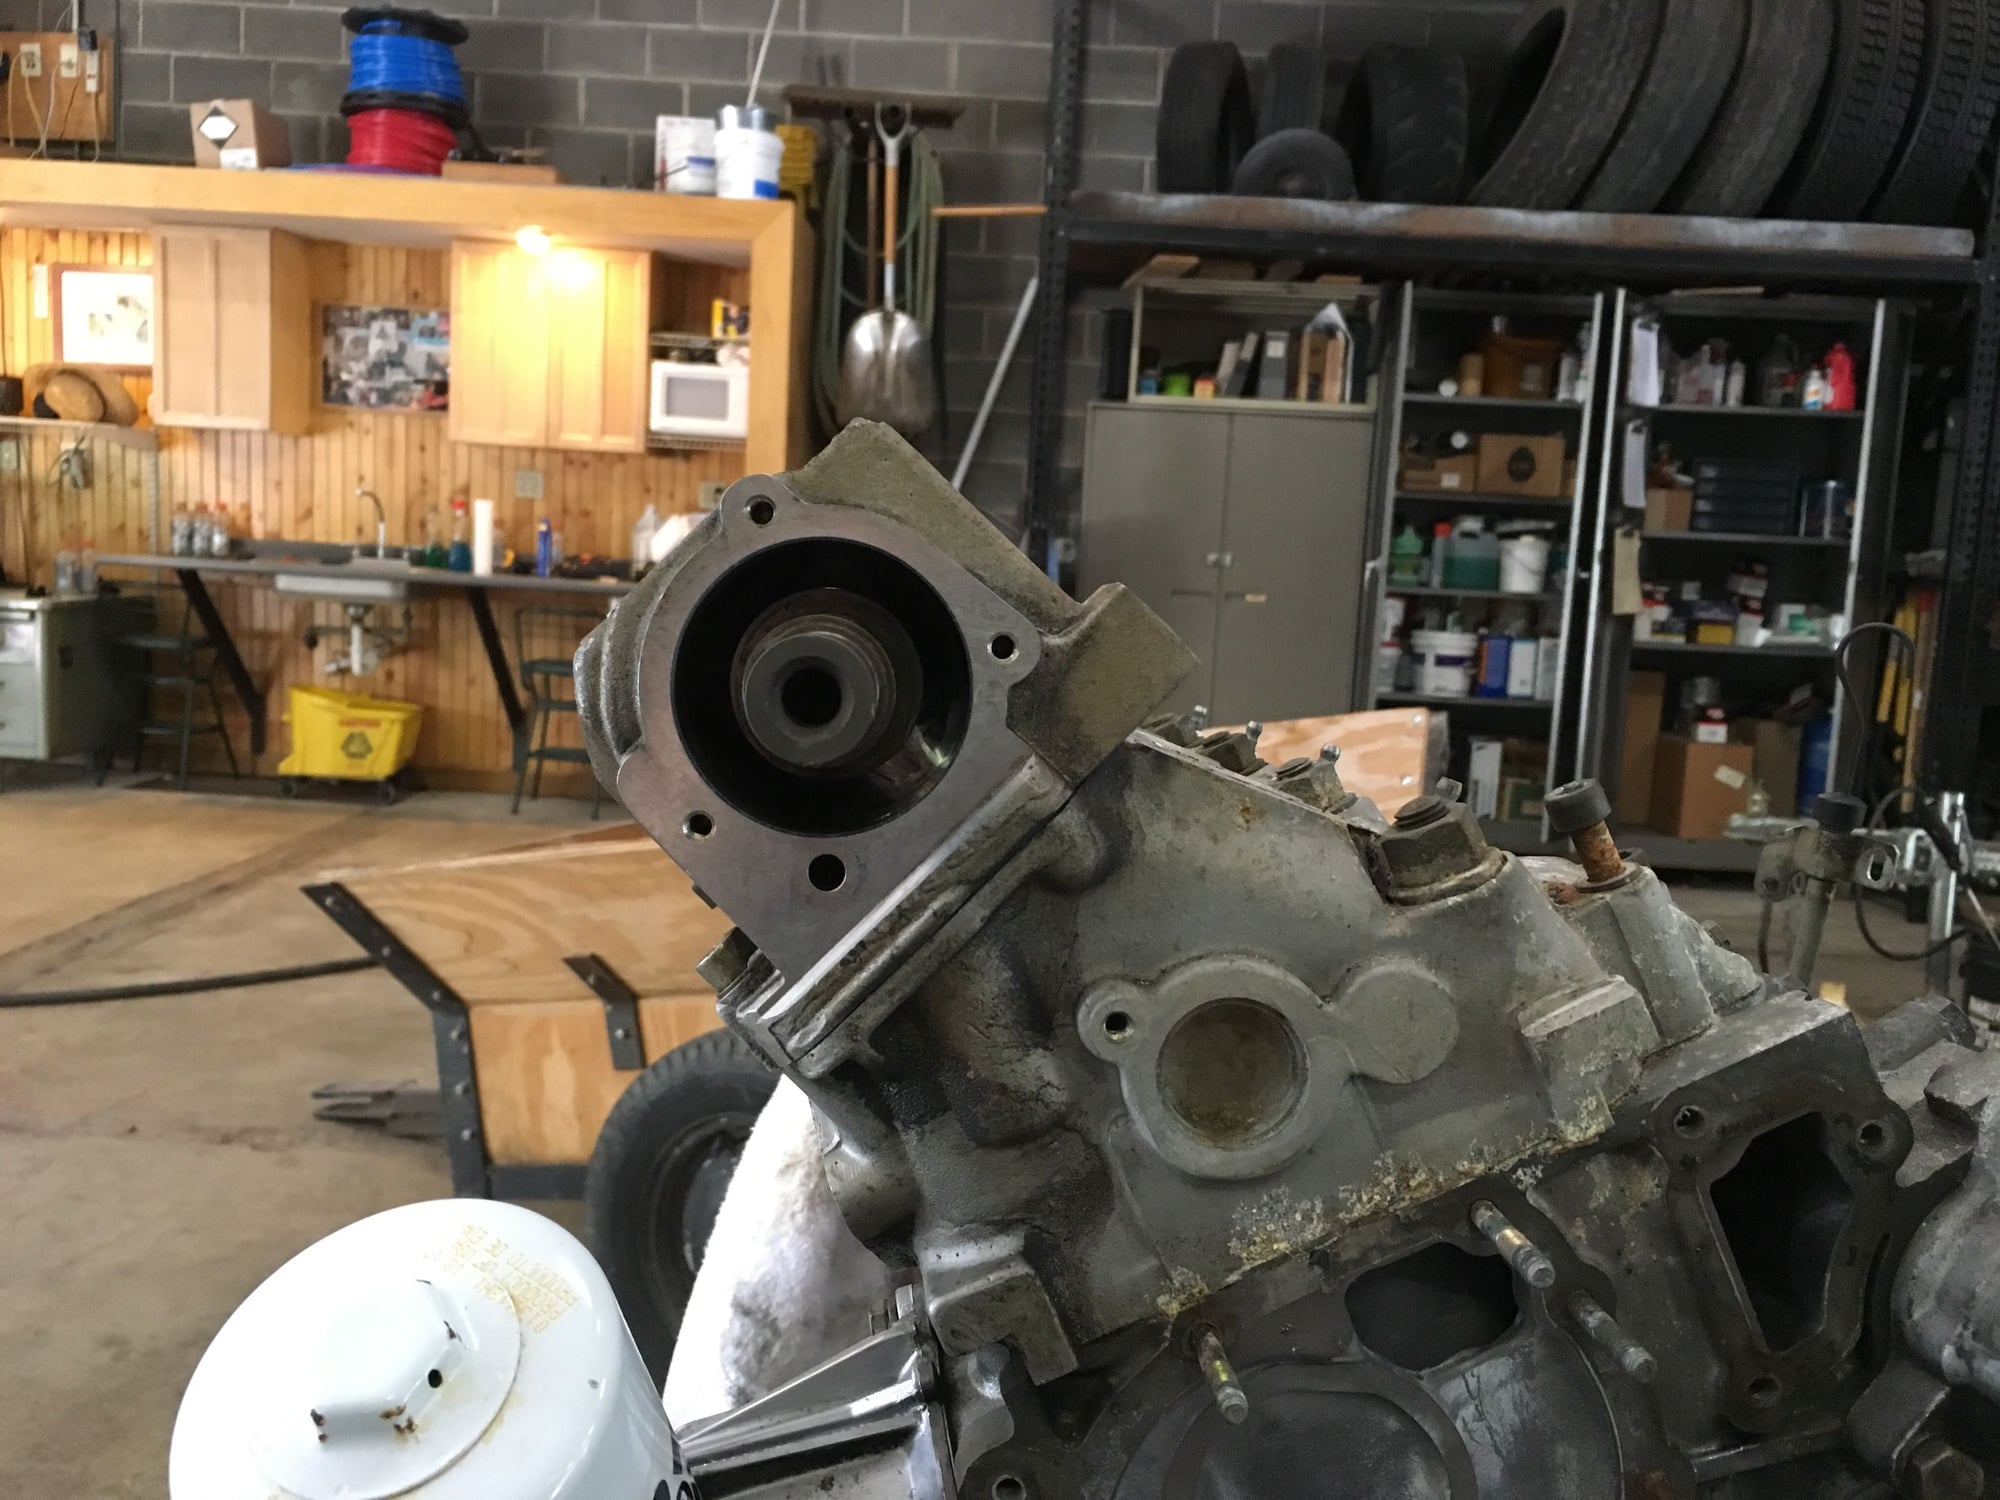
Set the cam tower off to the side to keep it safe while continuing the top end disassembly.
Removed the cam tower gasket and did a quick wipe down of the surrounding area. Doesn't look too bad at all (I was expecting it to look good, so I was satisfied with the result).
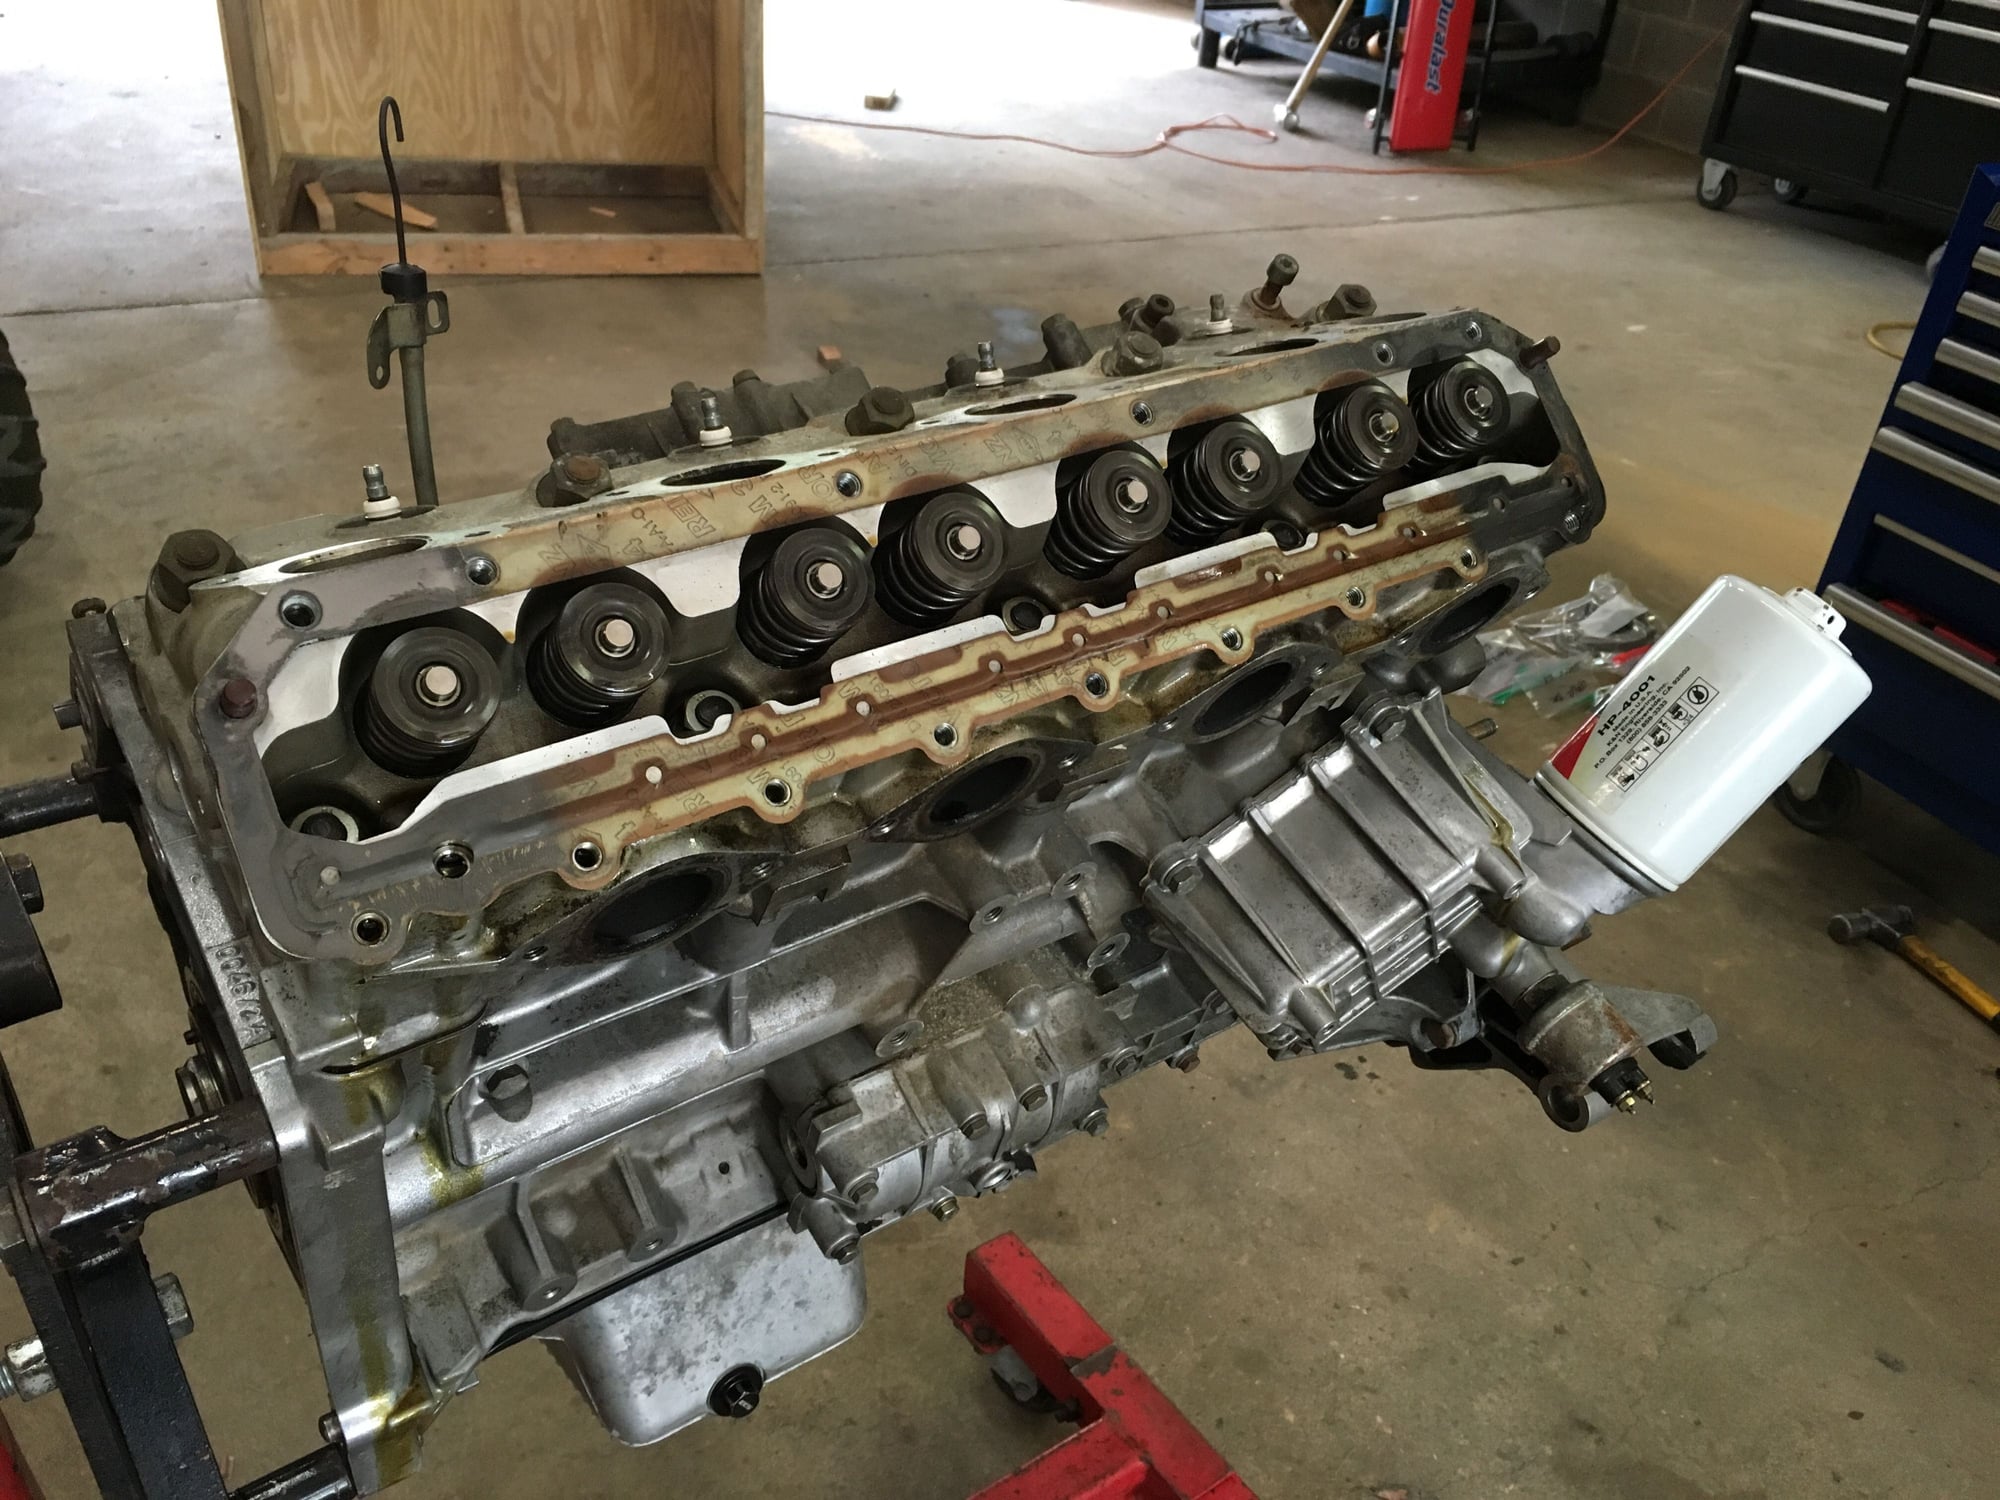
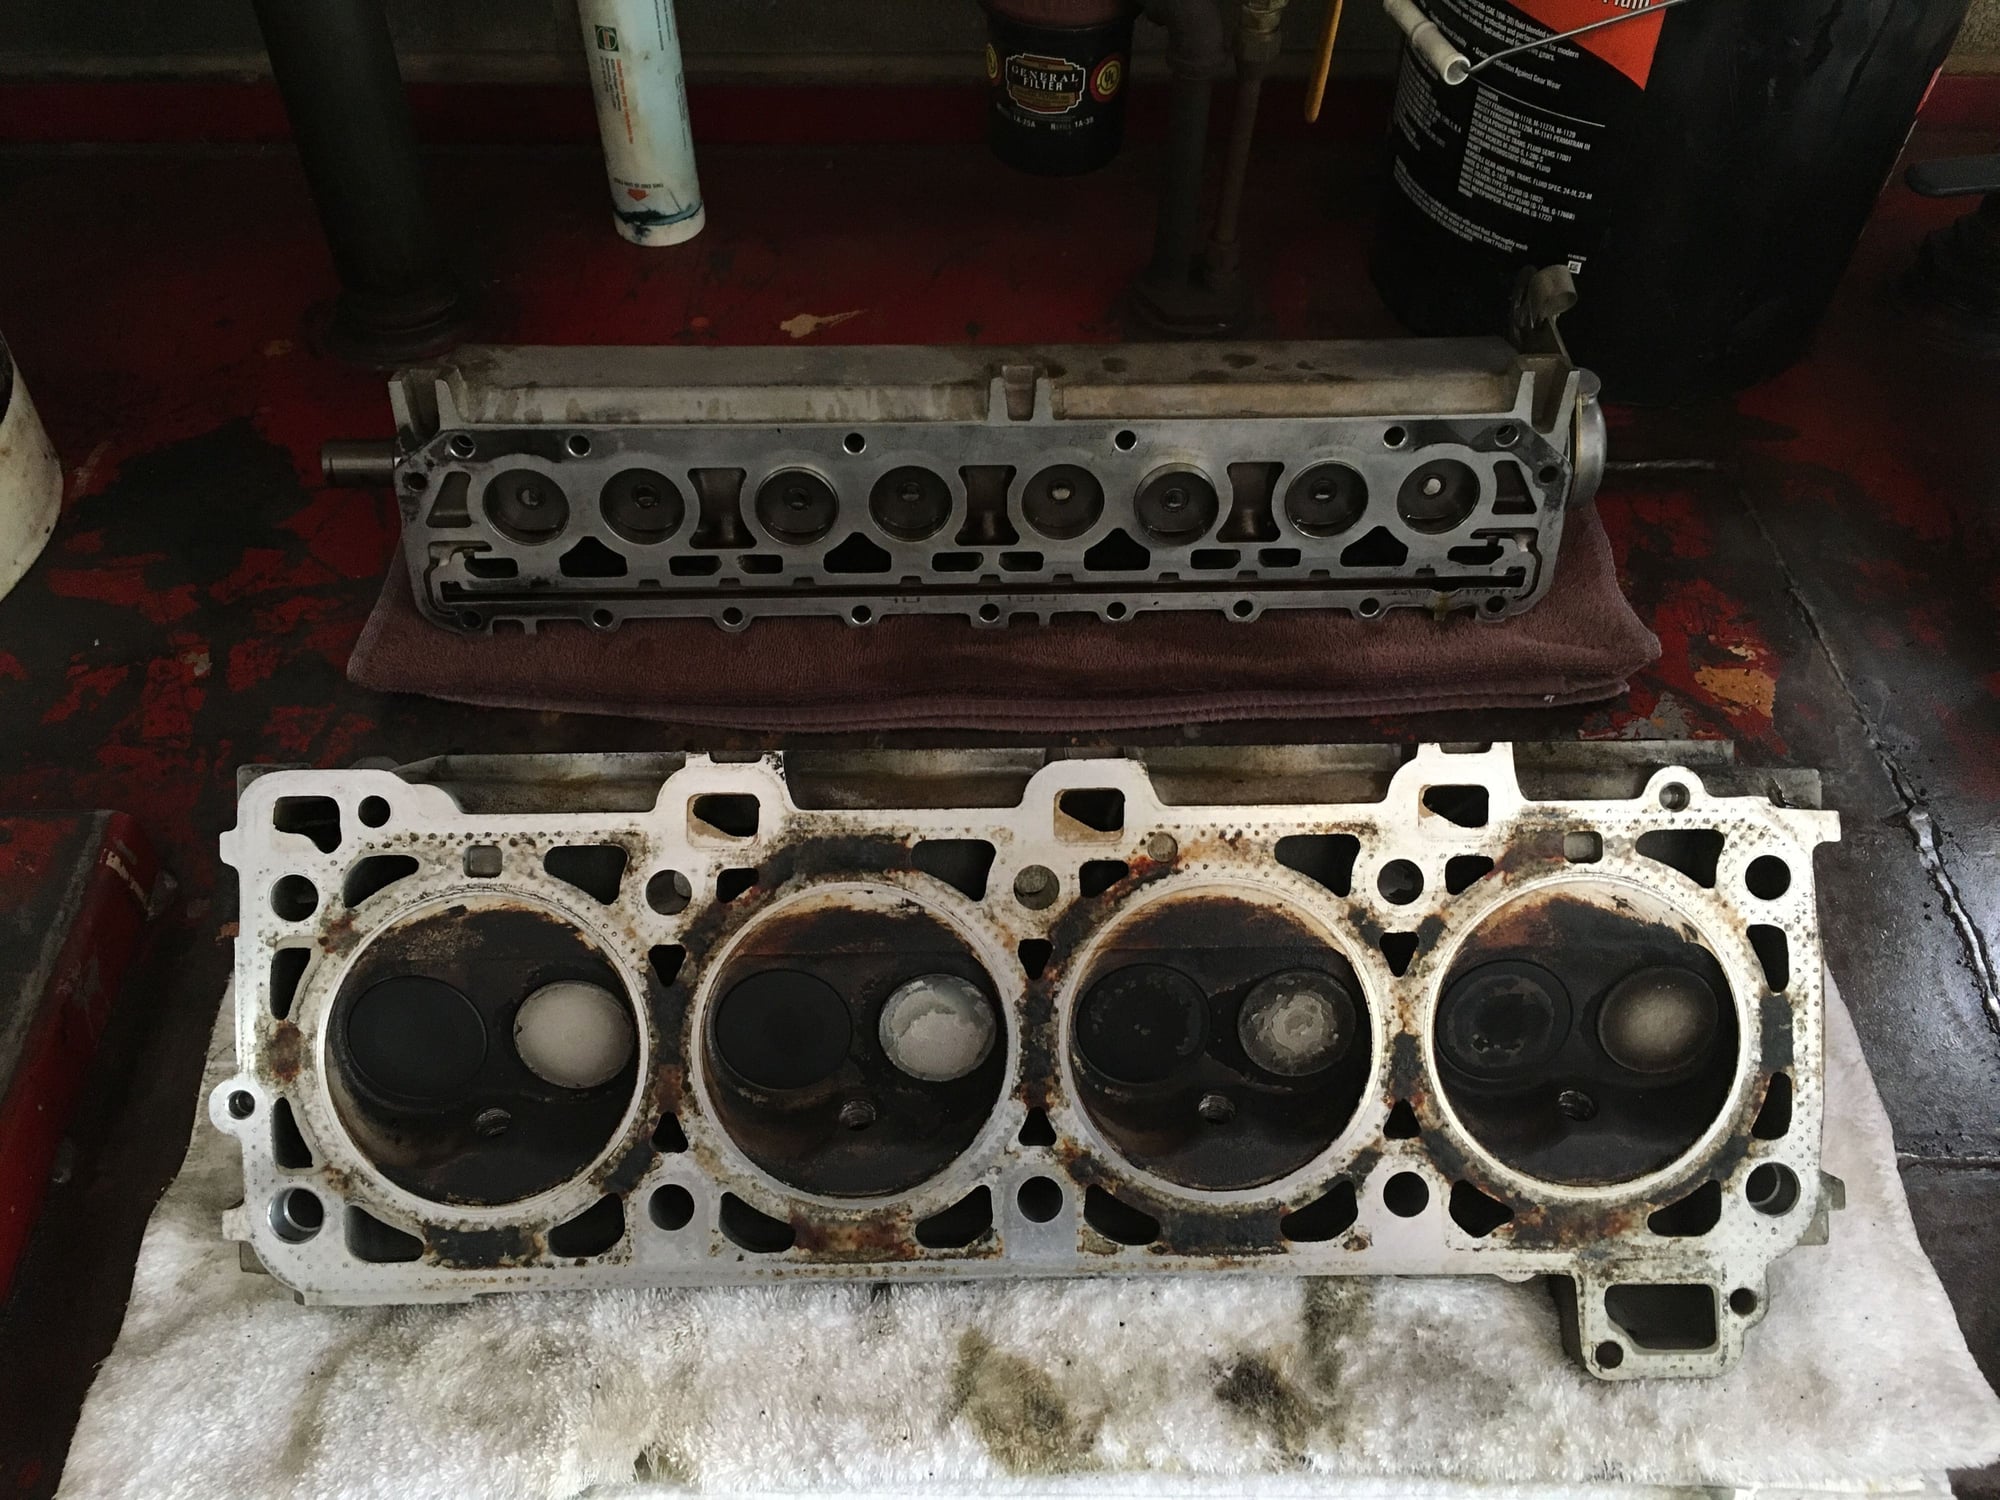
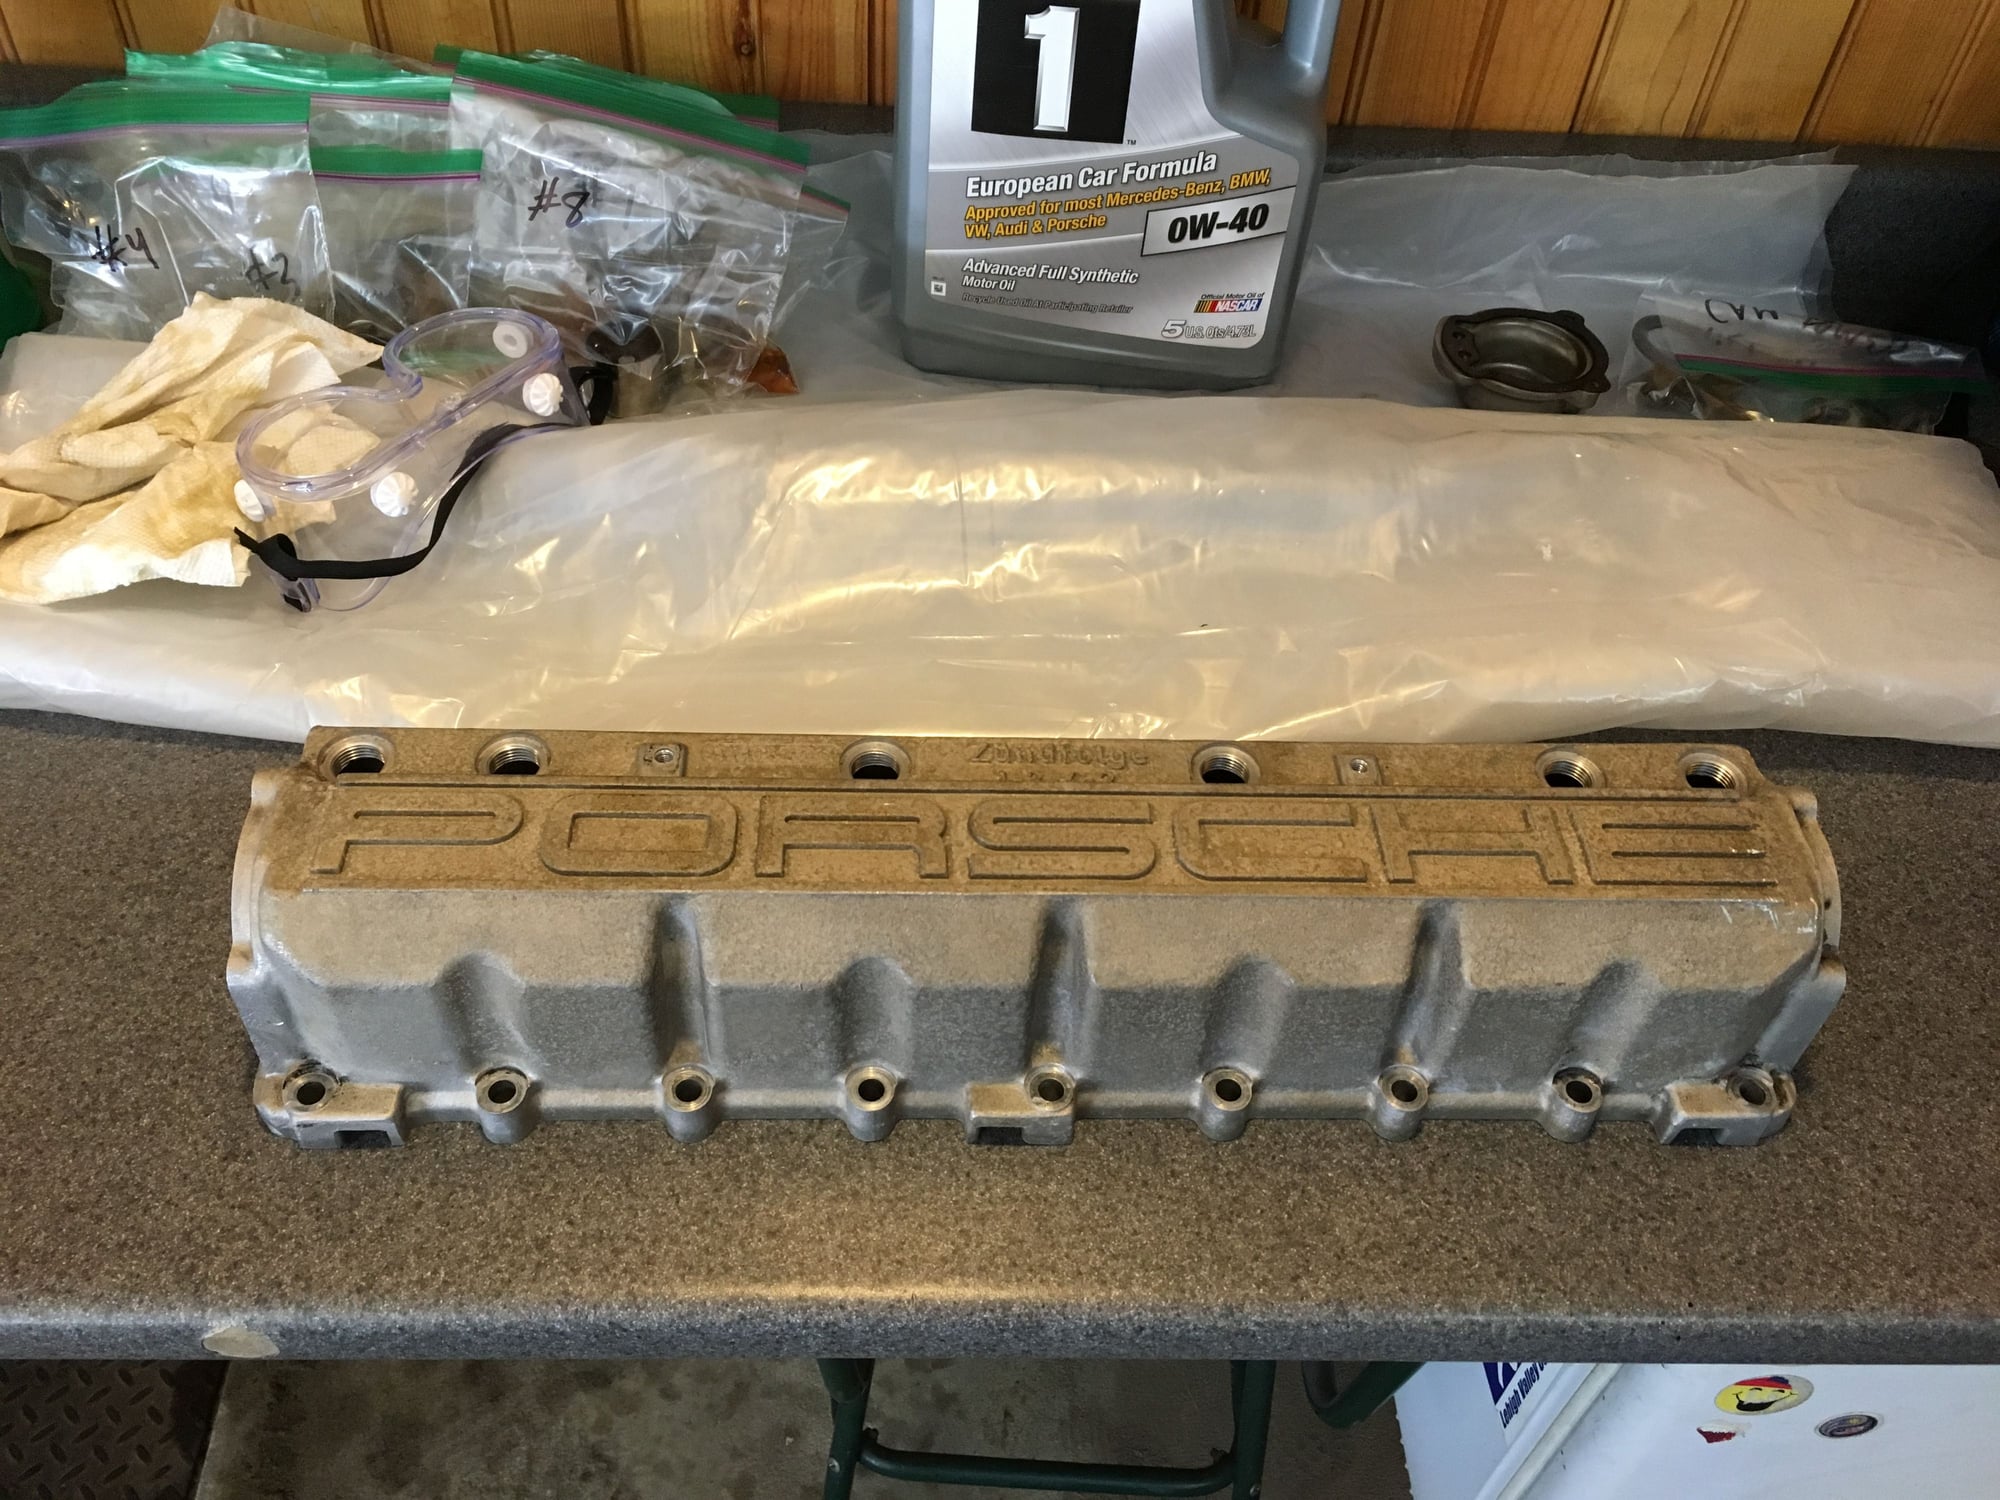
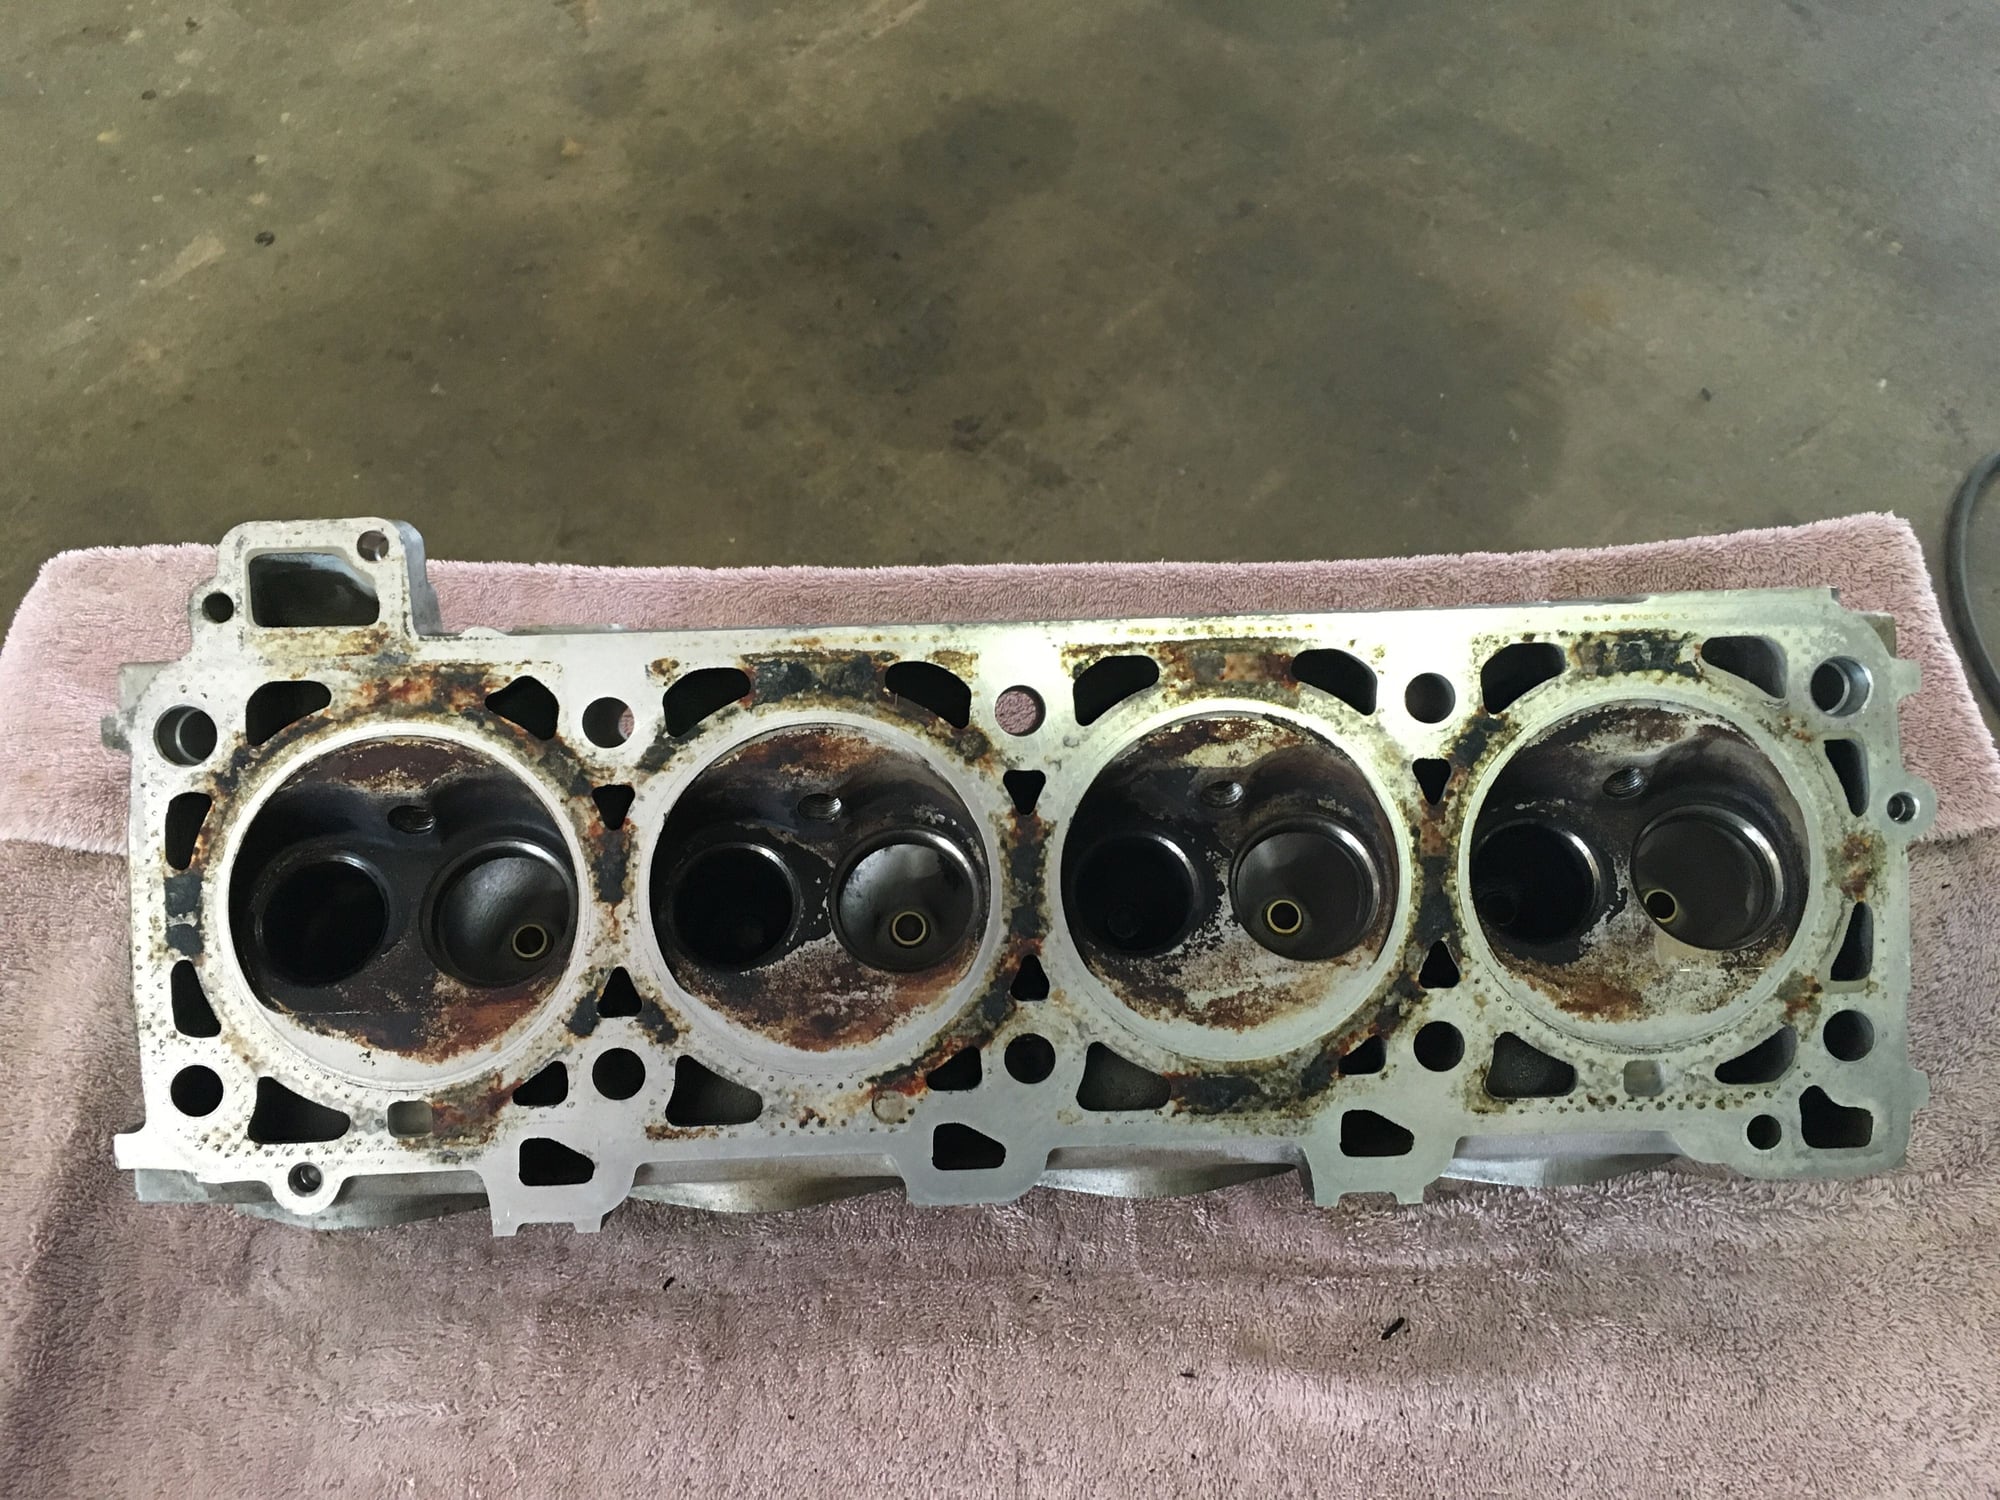
Got the cylinder head off and set that off to the side as well. Definitely has some carbon deposits but again, I think for 30 years and 105k it doesn't look too bad. Nothing that won't clean up like new (as far as I can tell at least).
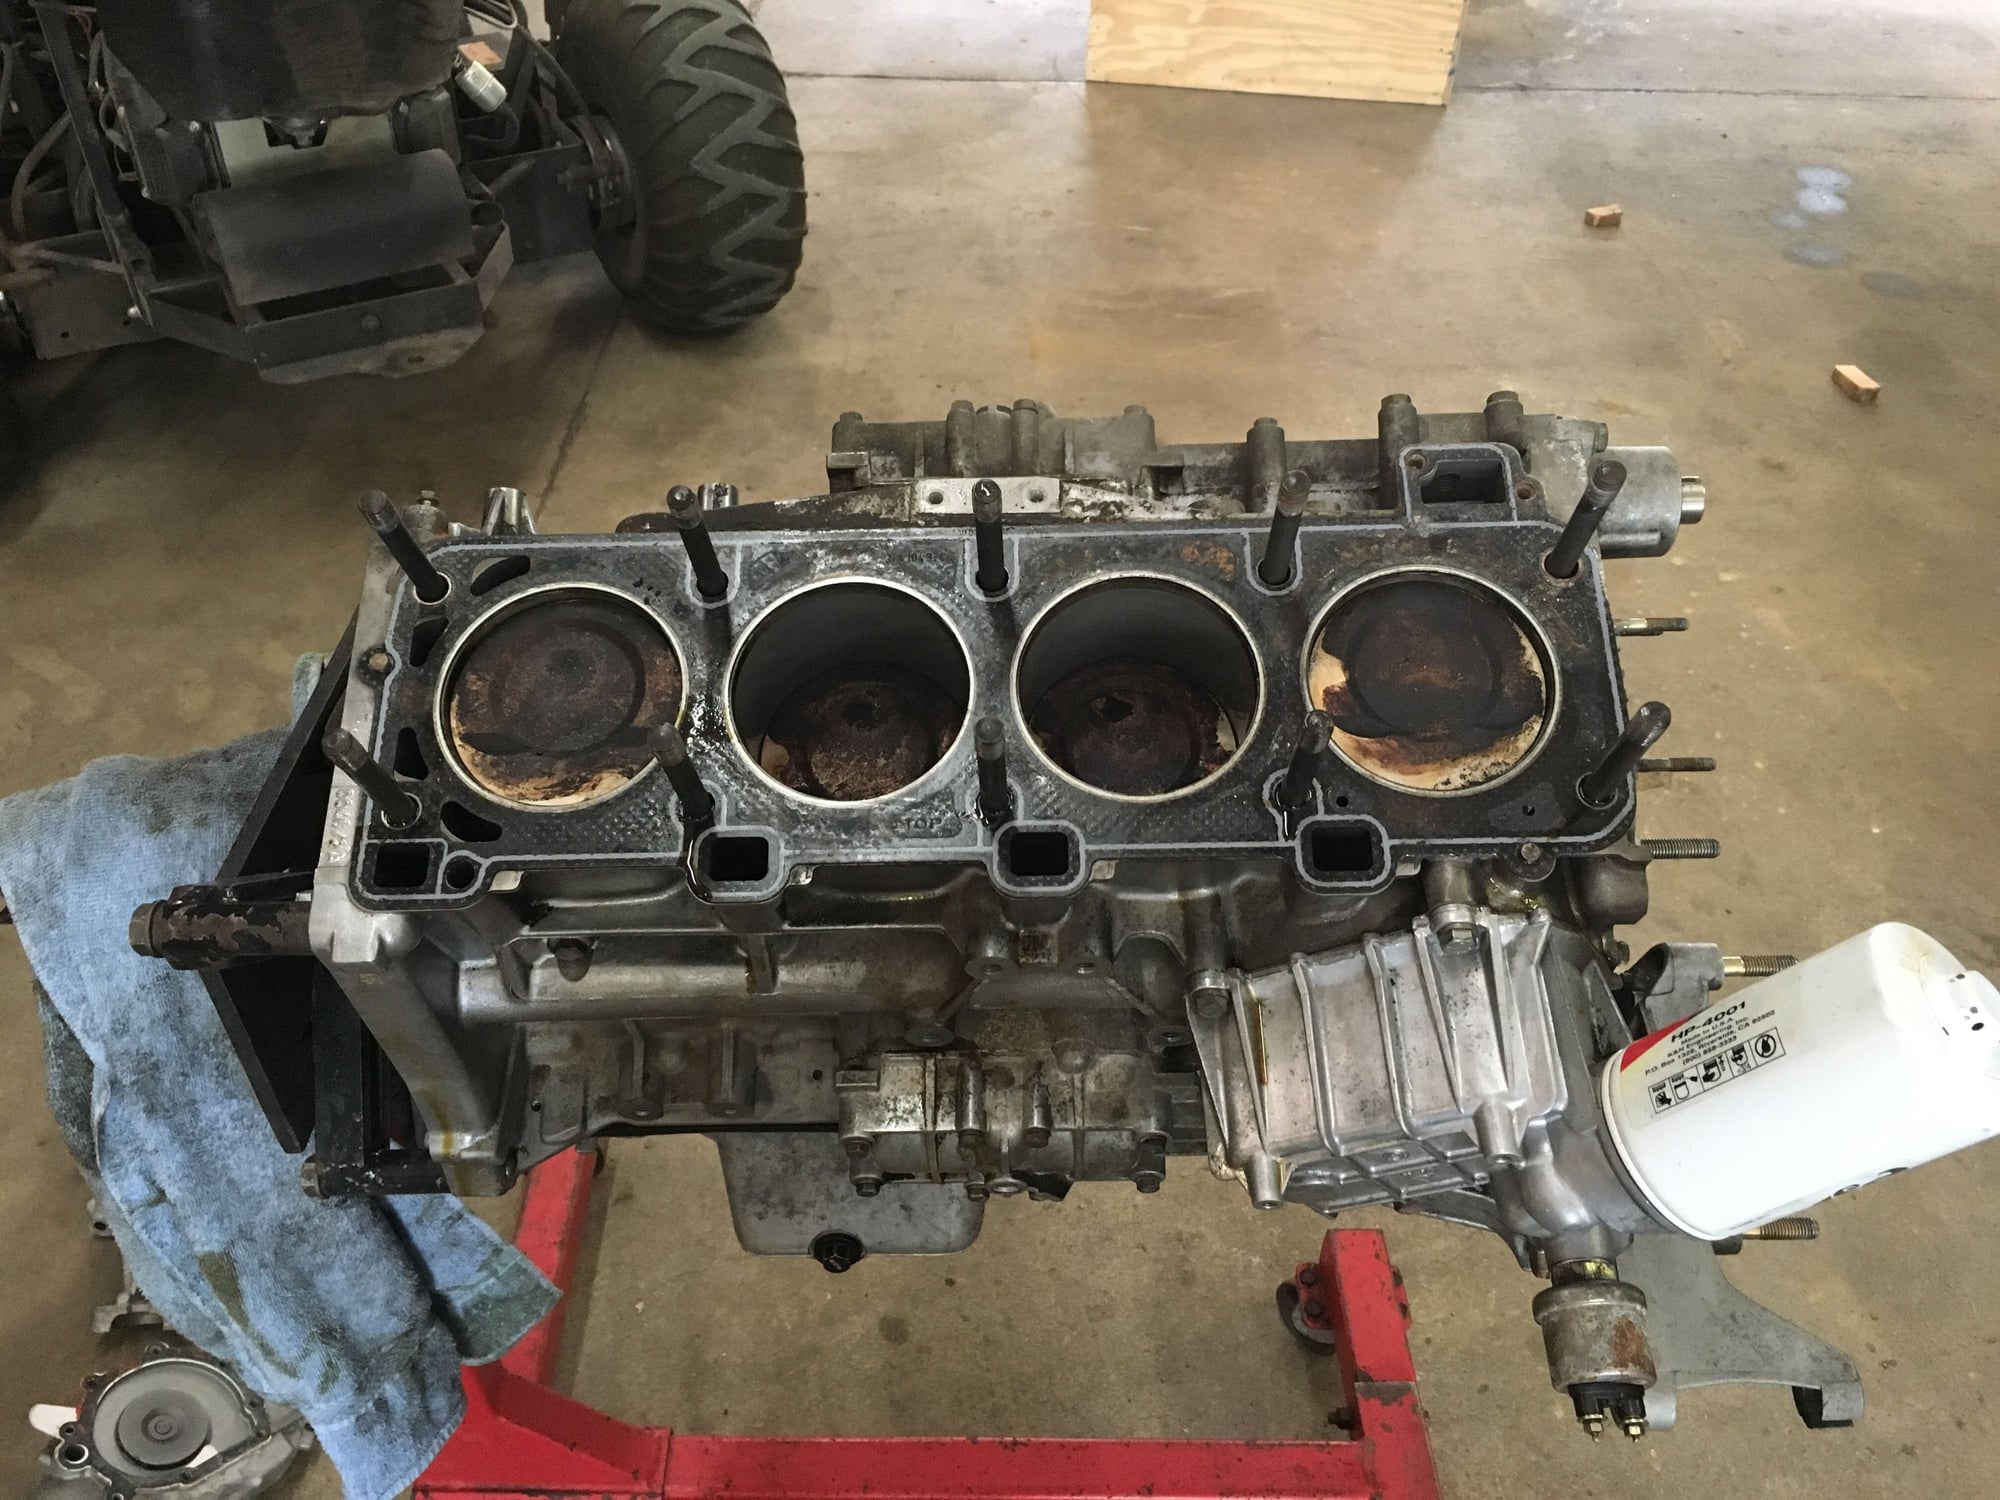
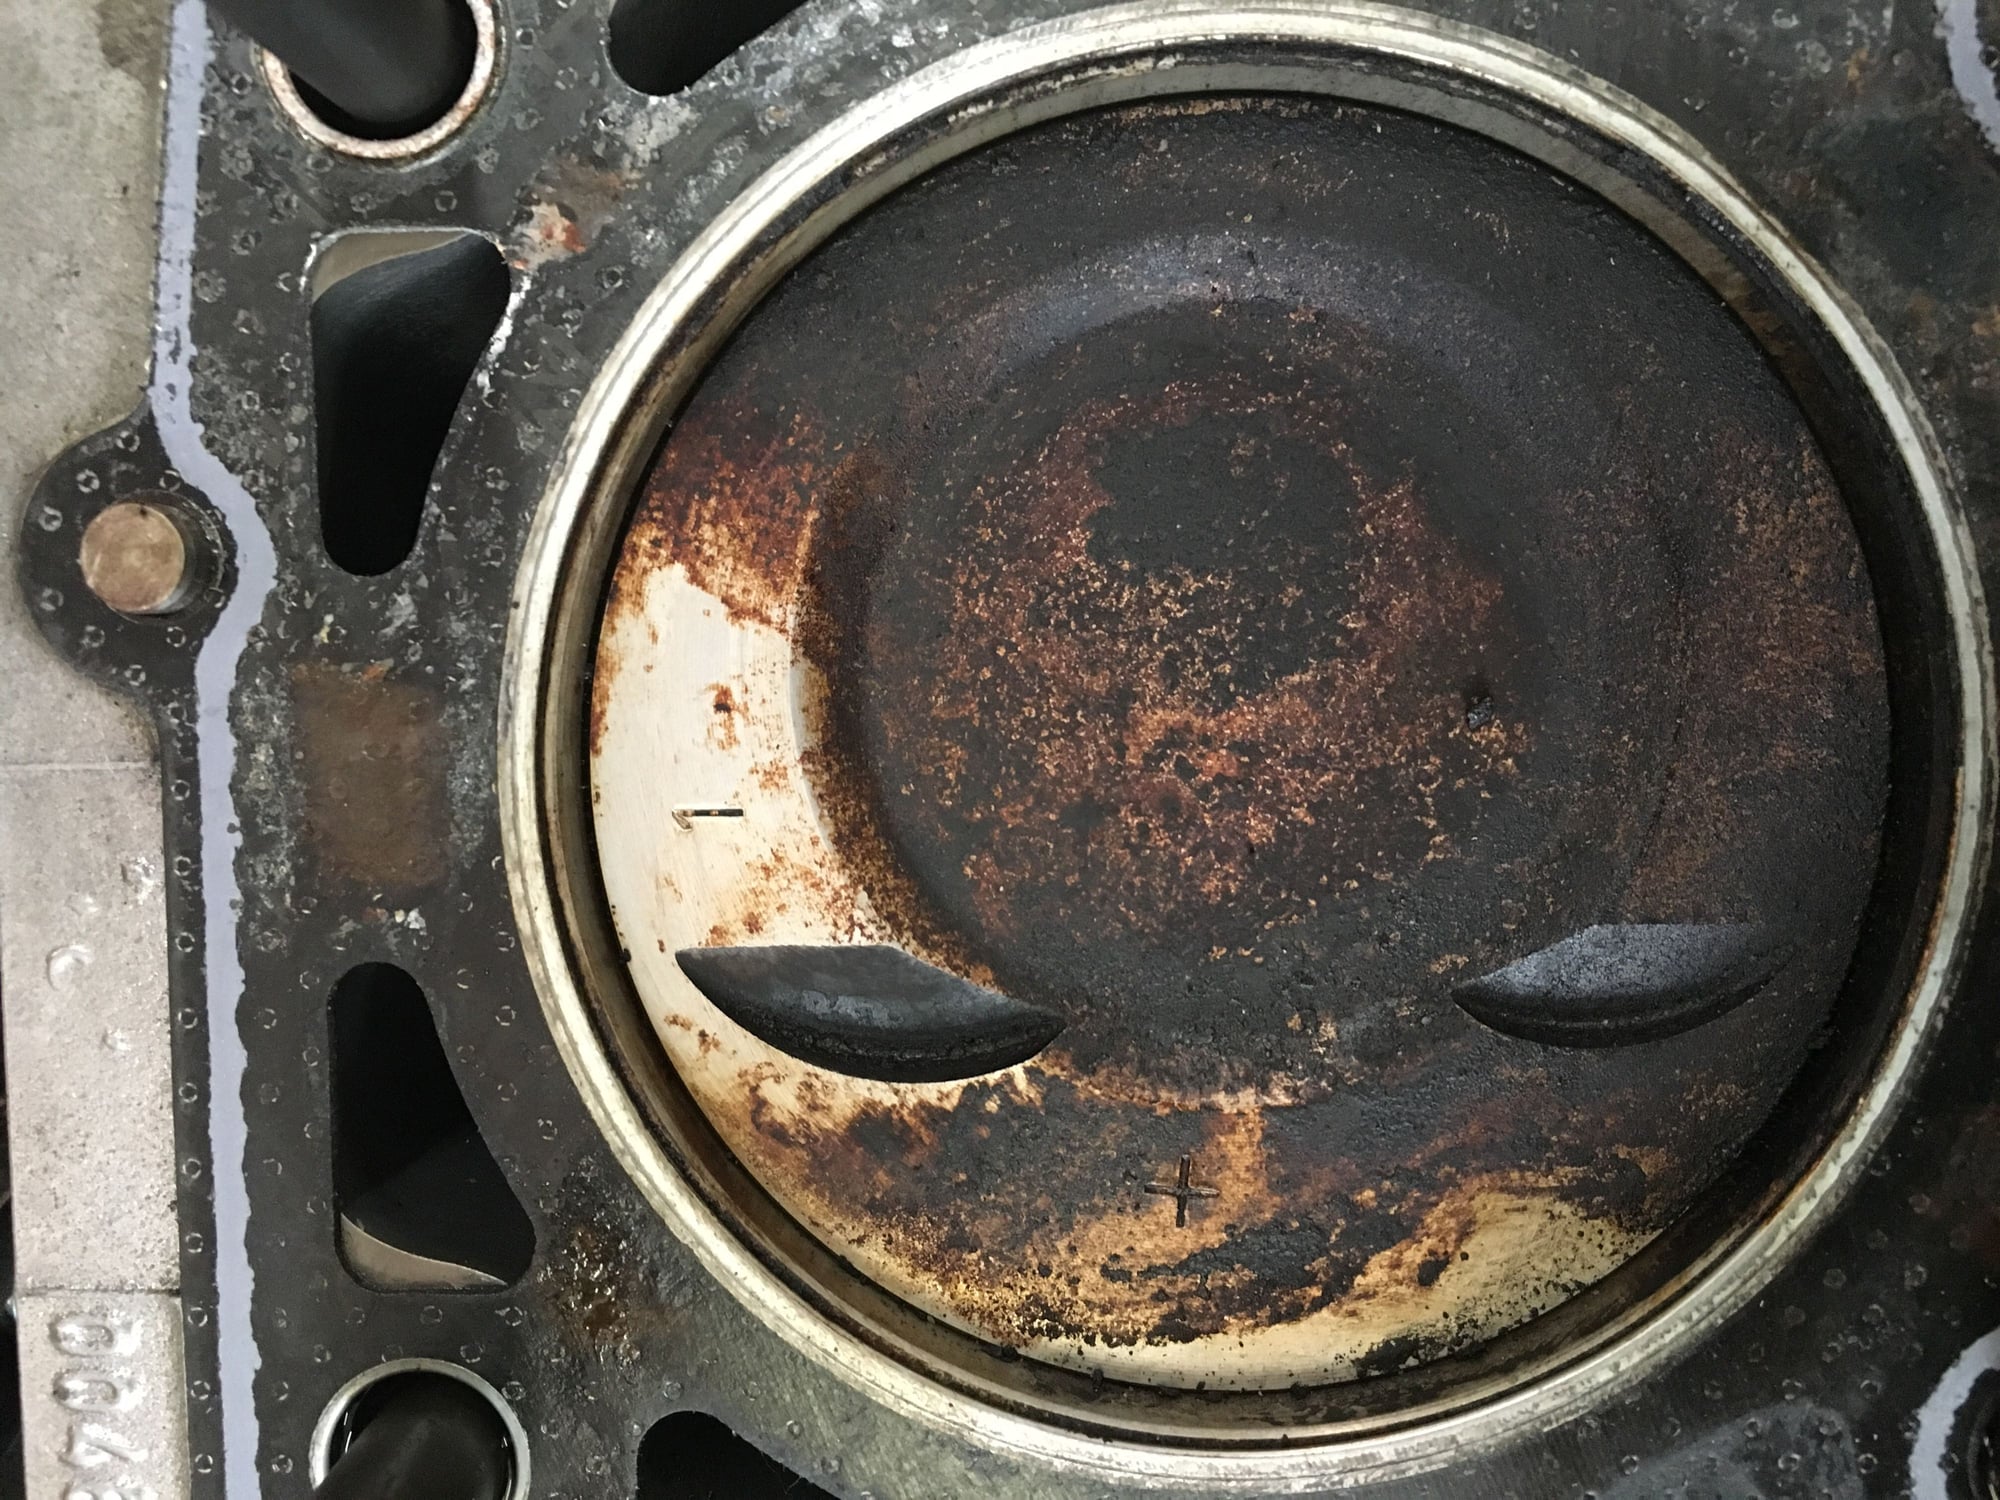
And the money shot.
I have group 1 Pistons, so that's nice. Last I checked group 1 rings are a bit cheaper than the less common tolerance groups.
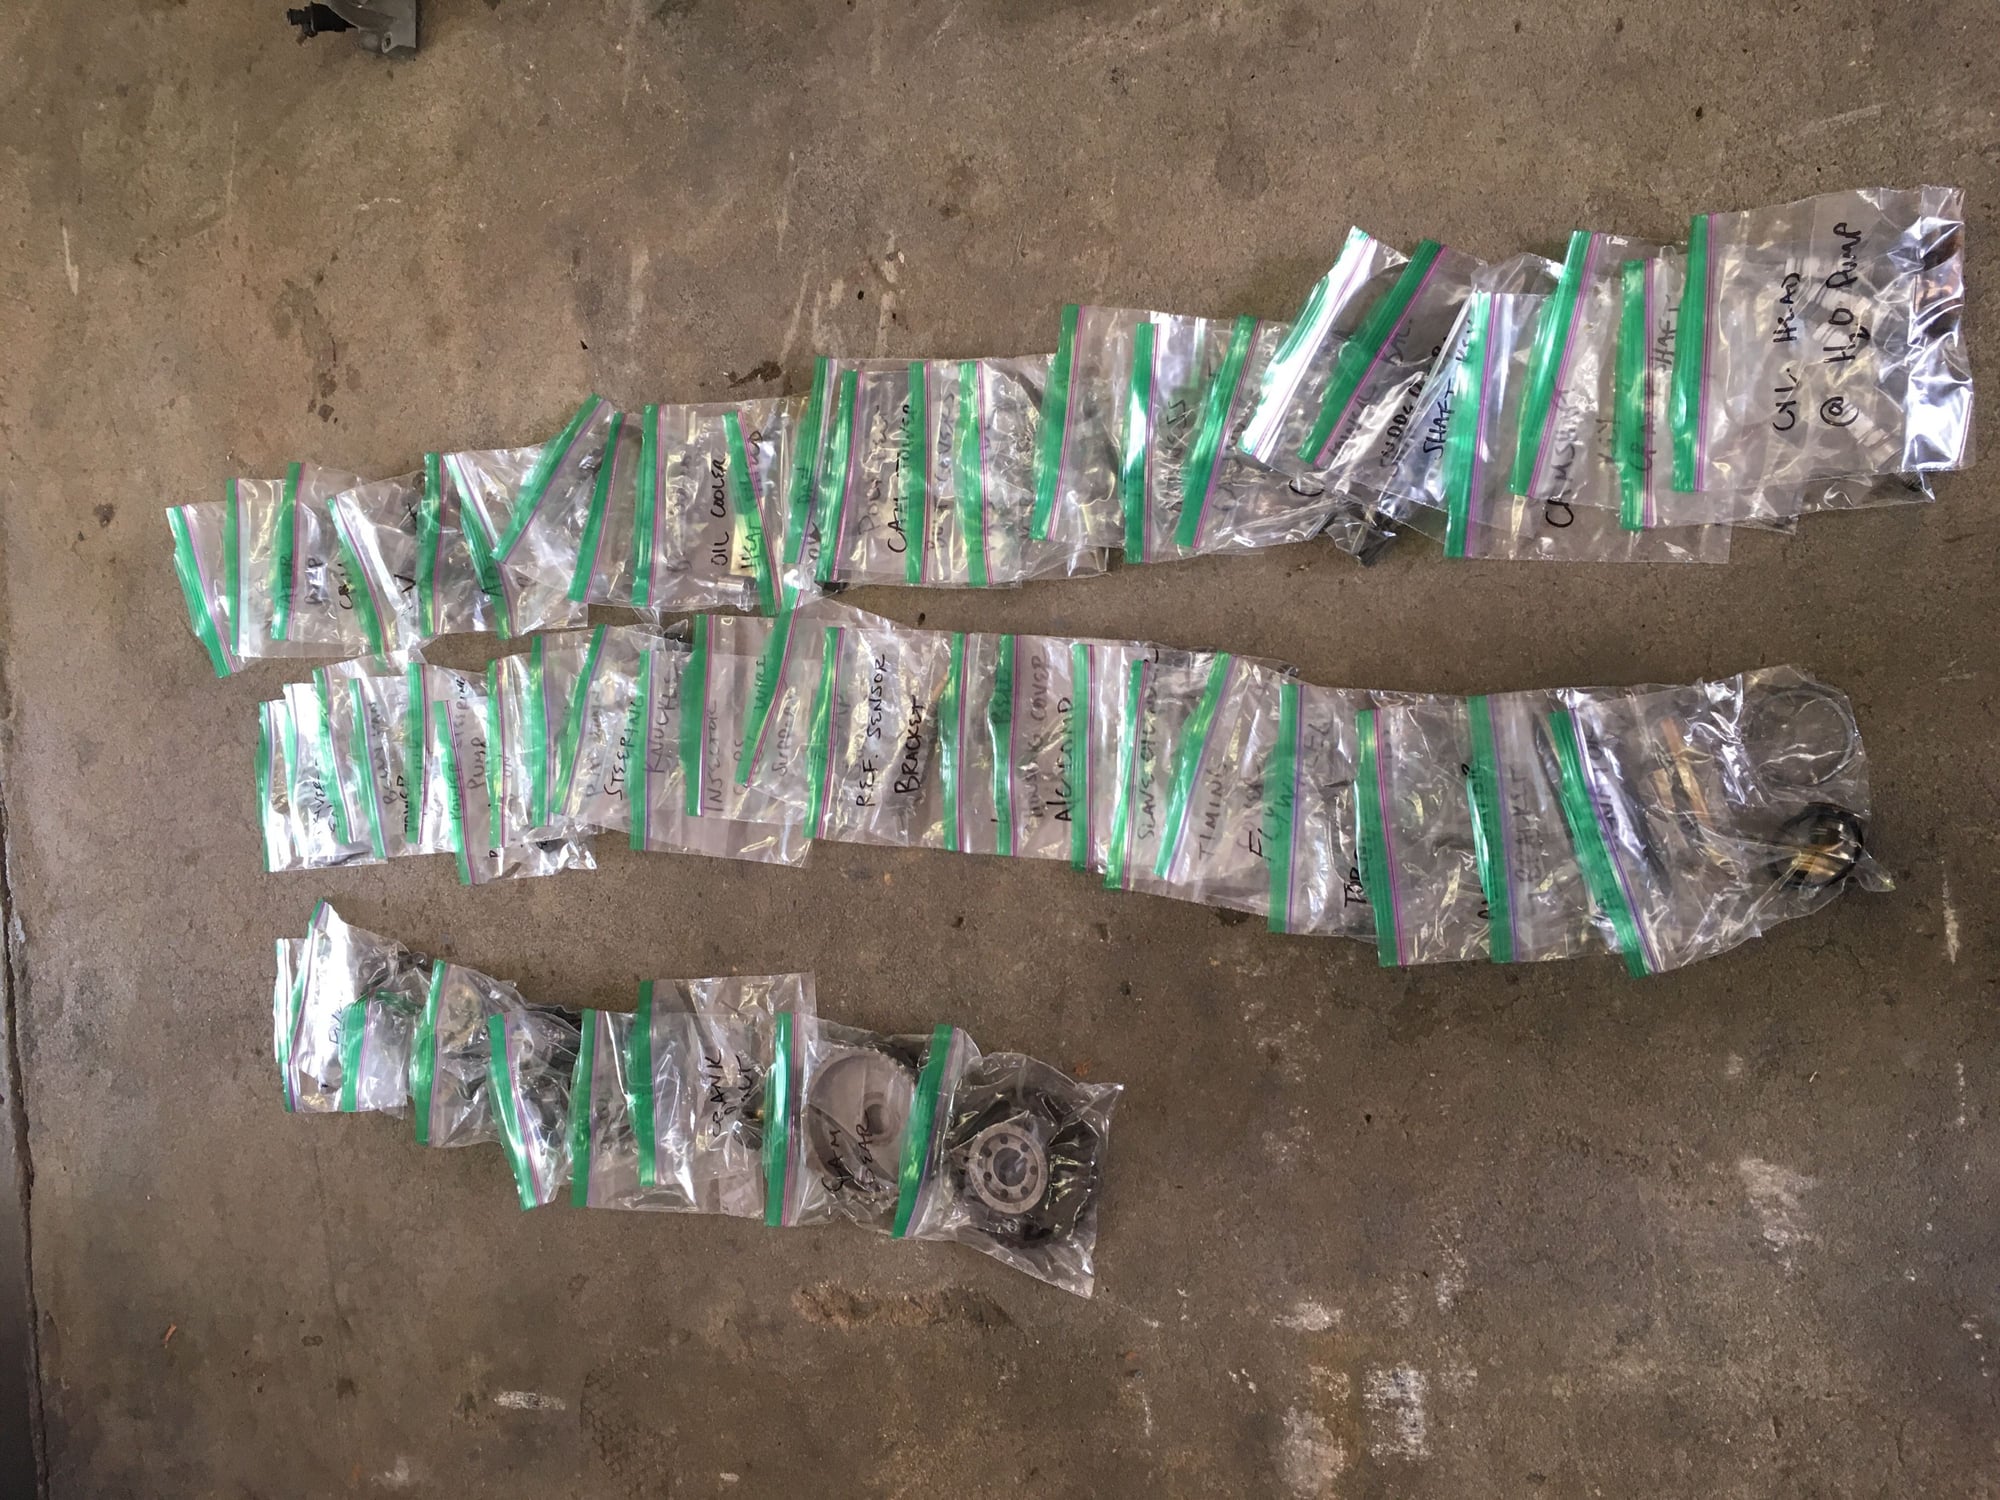
So I now have 55 little sandwich baggies full of miscellaneous nuts, bolts, etc. I've got them grouped based on where they came out of the car and everything is labeled. That should make it like 100x easier to put everything back together.
And one of the parts bins where I'm safely keeping some other miscellaneous parts. Engines sure do have a lot of stuff on them when you start taking it all apart!
And that's about it for now. I wrapped up the cam tower and the cylinder head in plastic to keep them clean until I can get back to them since sometimes my father-in-law makes some dust in his shop.
Next weekend I need to start really cleaning some parts off, checking some fasteners to see which ones can be reused and which should be replaced, etc. Won't be as exciting as taking stuff apart, but I suppose it's gotta get done.
The "rust" in the AOS is just oil residue. Since its a straight through unit it can be cleaned with hot water & soap or whatever method you prefer.
If you plan on having the cam tower off for a while you should consider placing the lifters in oil for storage. Label which location they came out of if possible, as although they can be interchanged its better to put them back in the place where they came from. While you are playing with them you should inspect them to see if any are soft as those may need to be rebuilt.
JRP, gotta ask a favor. Since you have this early block stripped down, I need to get some information on the shouldering nut that it at the back of the eccentric timing tensioner roller. I'm trying to determine if this part is special or just a ordinary M10 flange nut. Coming from a late block I don't have a sample to work with. If you could measure the overall nut height and the flange thickness that would be great.
So we made a little more progress today - not as much as I would have liked, but it is what it is.
I disassembled the cam tower and degreased it well so I can further clean the aluminum in the future.
Did a little light Scotch-Bright scrubbing on the gasket surface as well, but forgot to take a picture. Looks practically new though.
I checked the lifters as I pulled them out of the cam tower and I found that two of them were a bit "springy" - one more so than the other. I take it this means I need to replace these two?
I was looking for a way to better clean some of these old aluminum parts since they have some surface corrosion on them and are just all around dirty. I deliberated buying a bench top blast cabinet until I found a link on Air Cooled Tech (http://www.aircooledtech.com/tools-o.../soda_blaster/) that detailed making a "home made" soda blaster. I figured why not, I'll give it a try and if it doesn't work so well then I can just buy the blast cabinet after that.
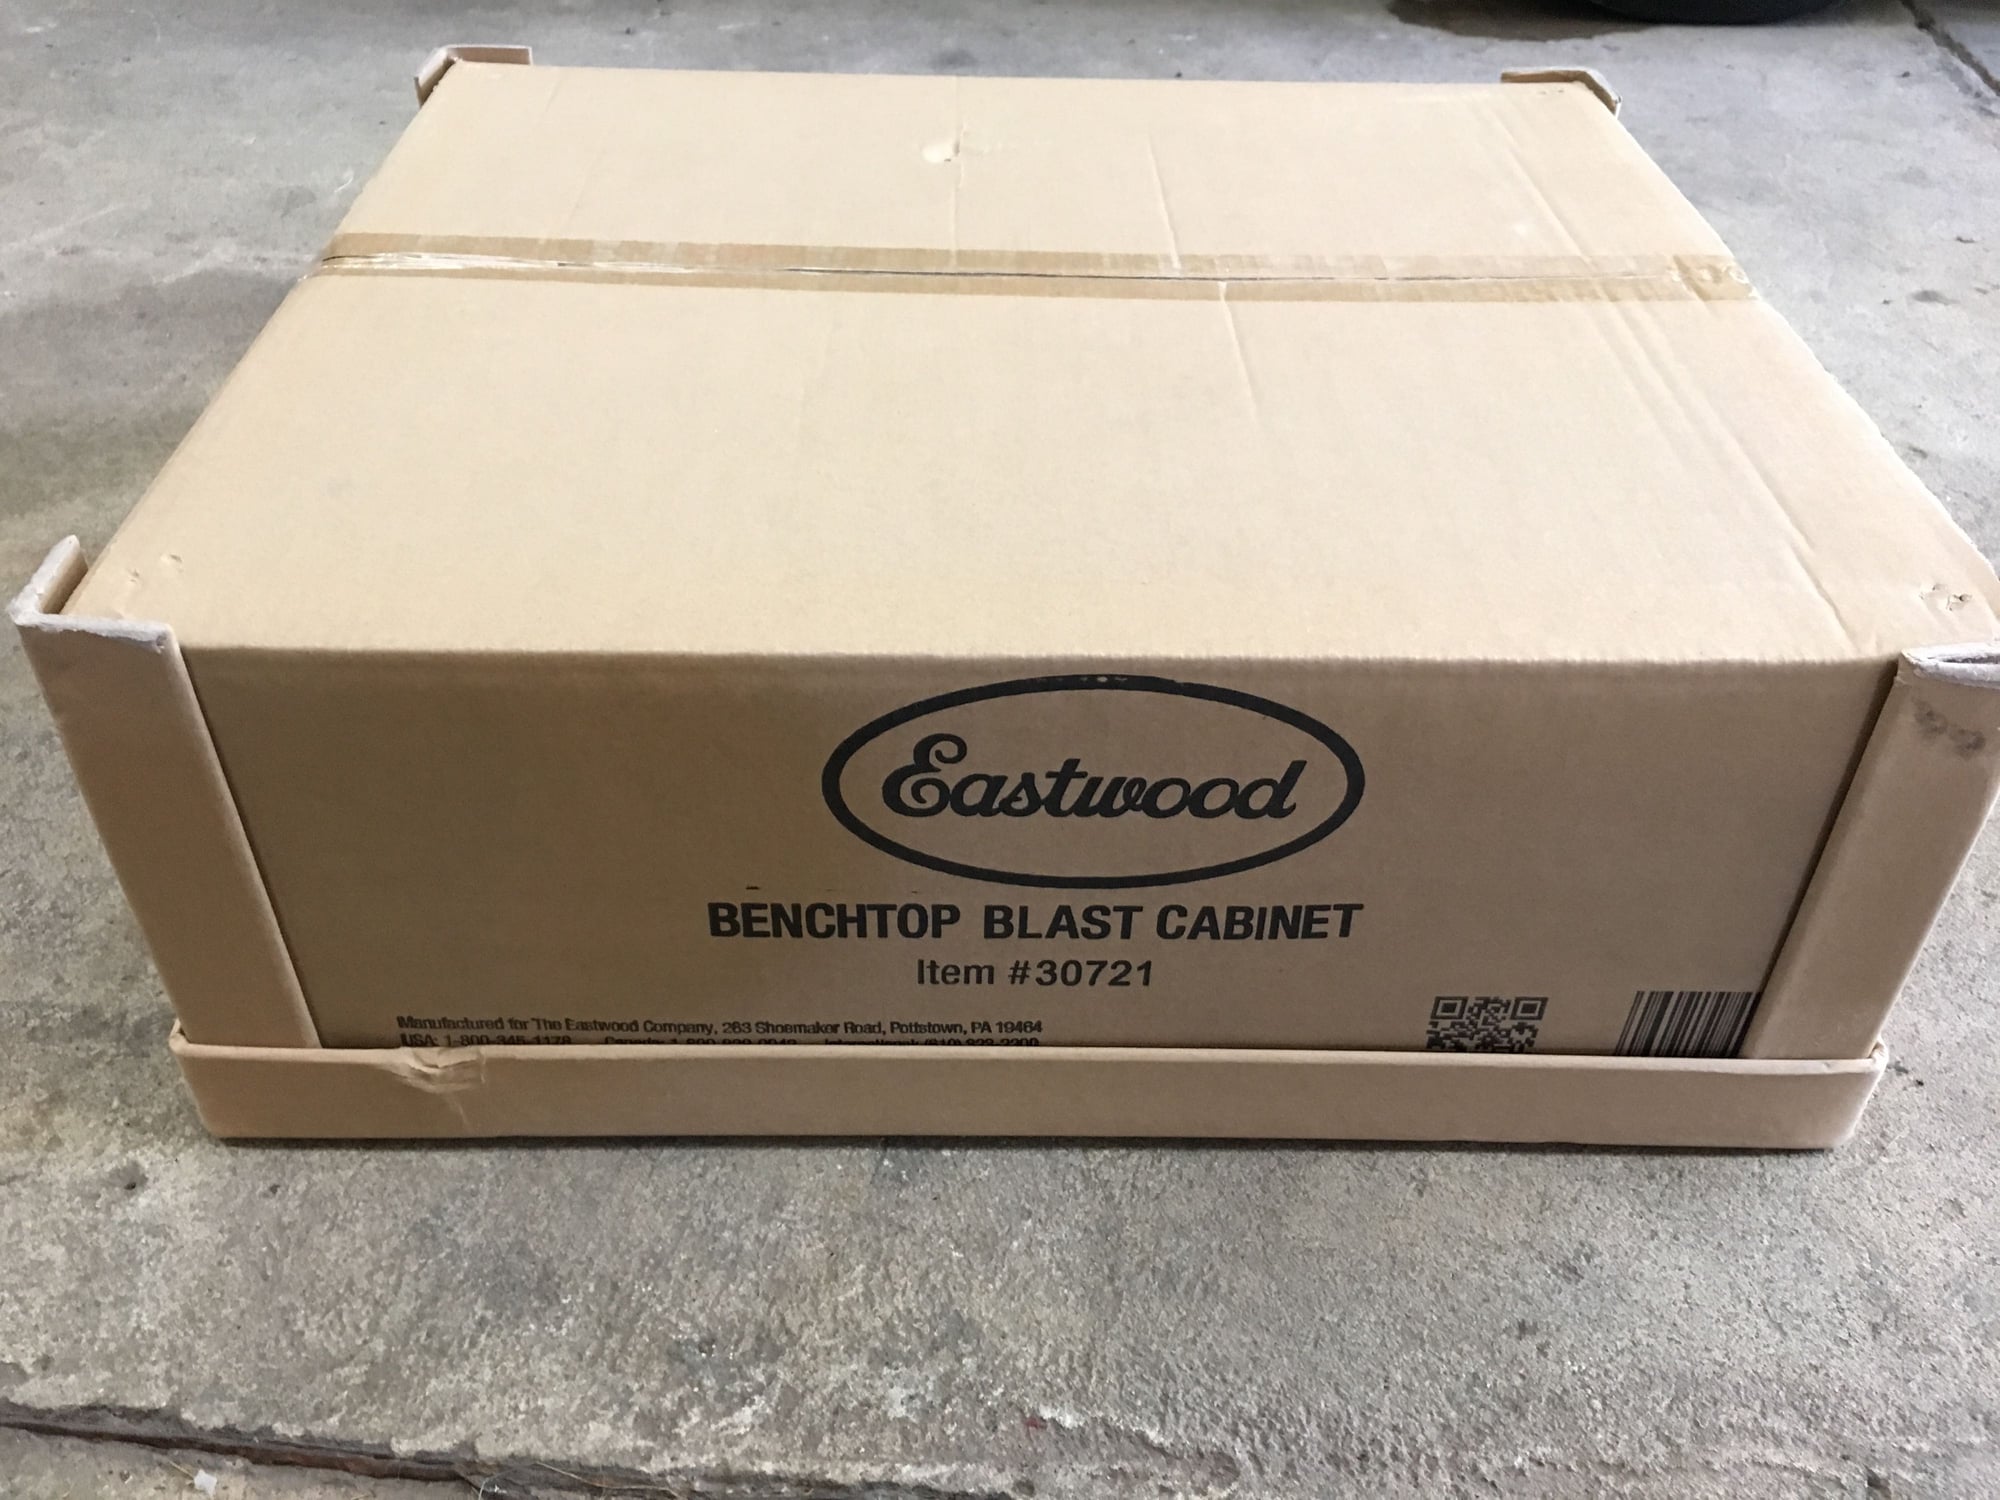
Well....I tried it out and I'd say I was only about 40% successful. I had issues getting the baking soda to flow through the system consistently and overall it just made a big mess. The little bit that I was able to get cleaned looked nice, but it was just too much hassle. So I went out and bought this guy:
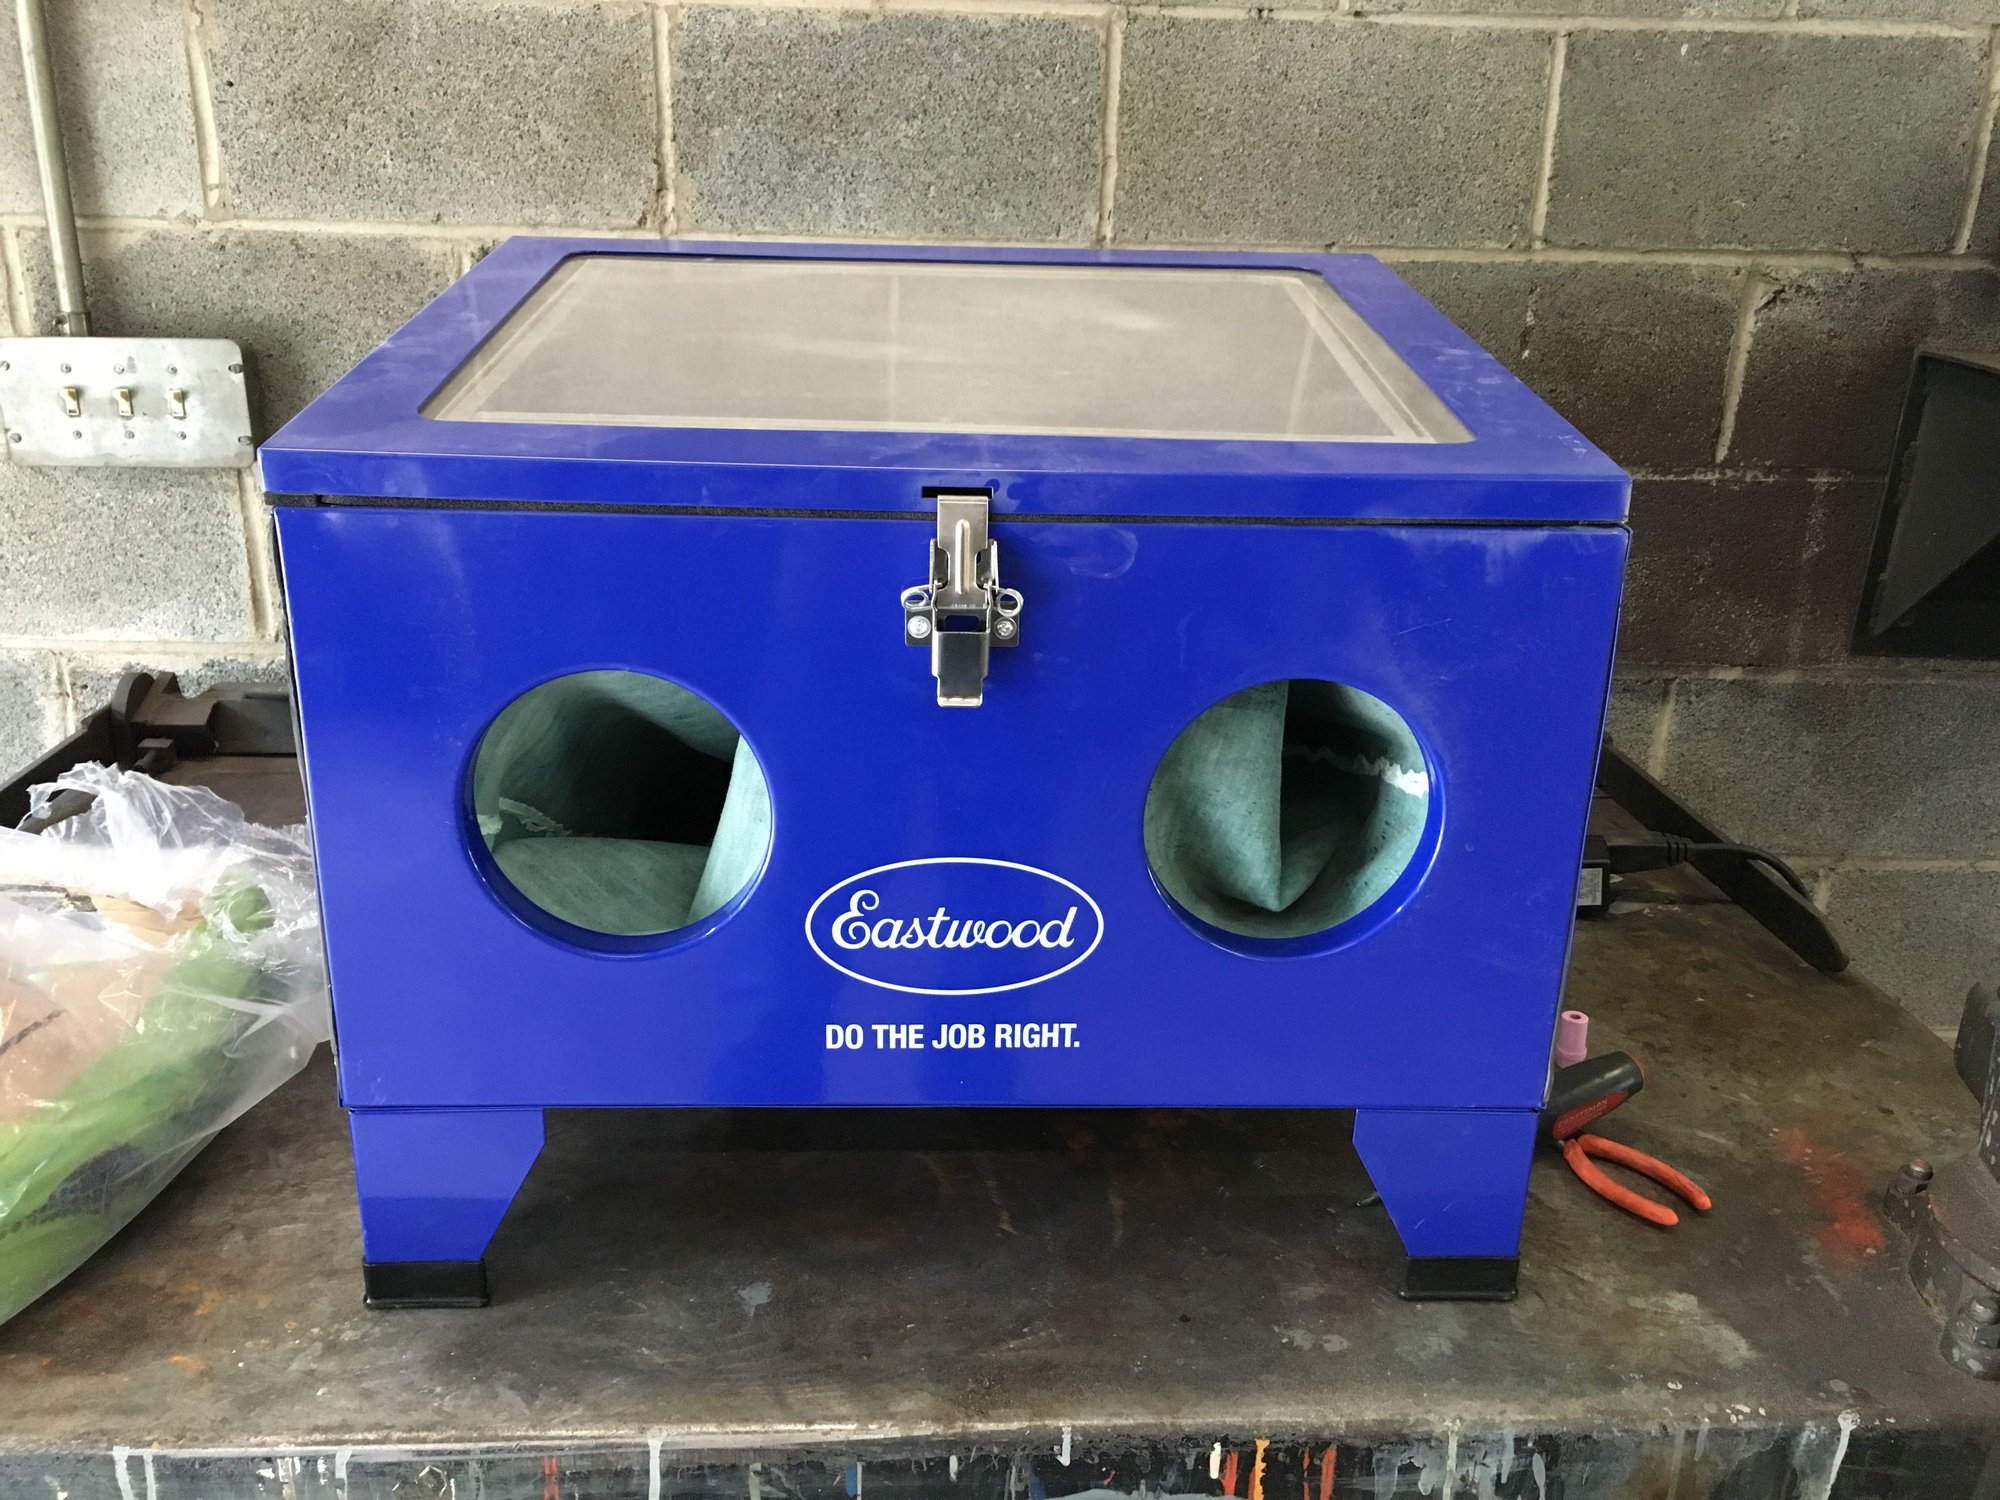
I was originally thinking about just getting the Harbor Freight unit, but as it turns out Eastwood has an outlet right in my father-in-law's town, so that was closer than going to Harbor Freight for me. Plus I got 10% off the cabinet as a first time customer and I got the glass media for 50% off because the boxes were damaged. Seemed like a pretty sweet deal to me. After about two hours (lots of little nuts and bolts) we had the finished product:
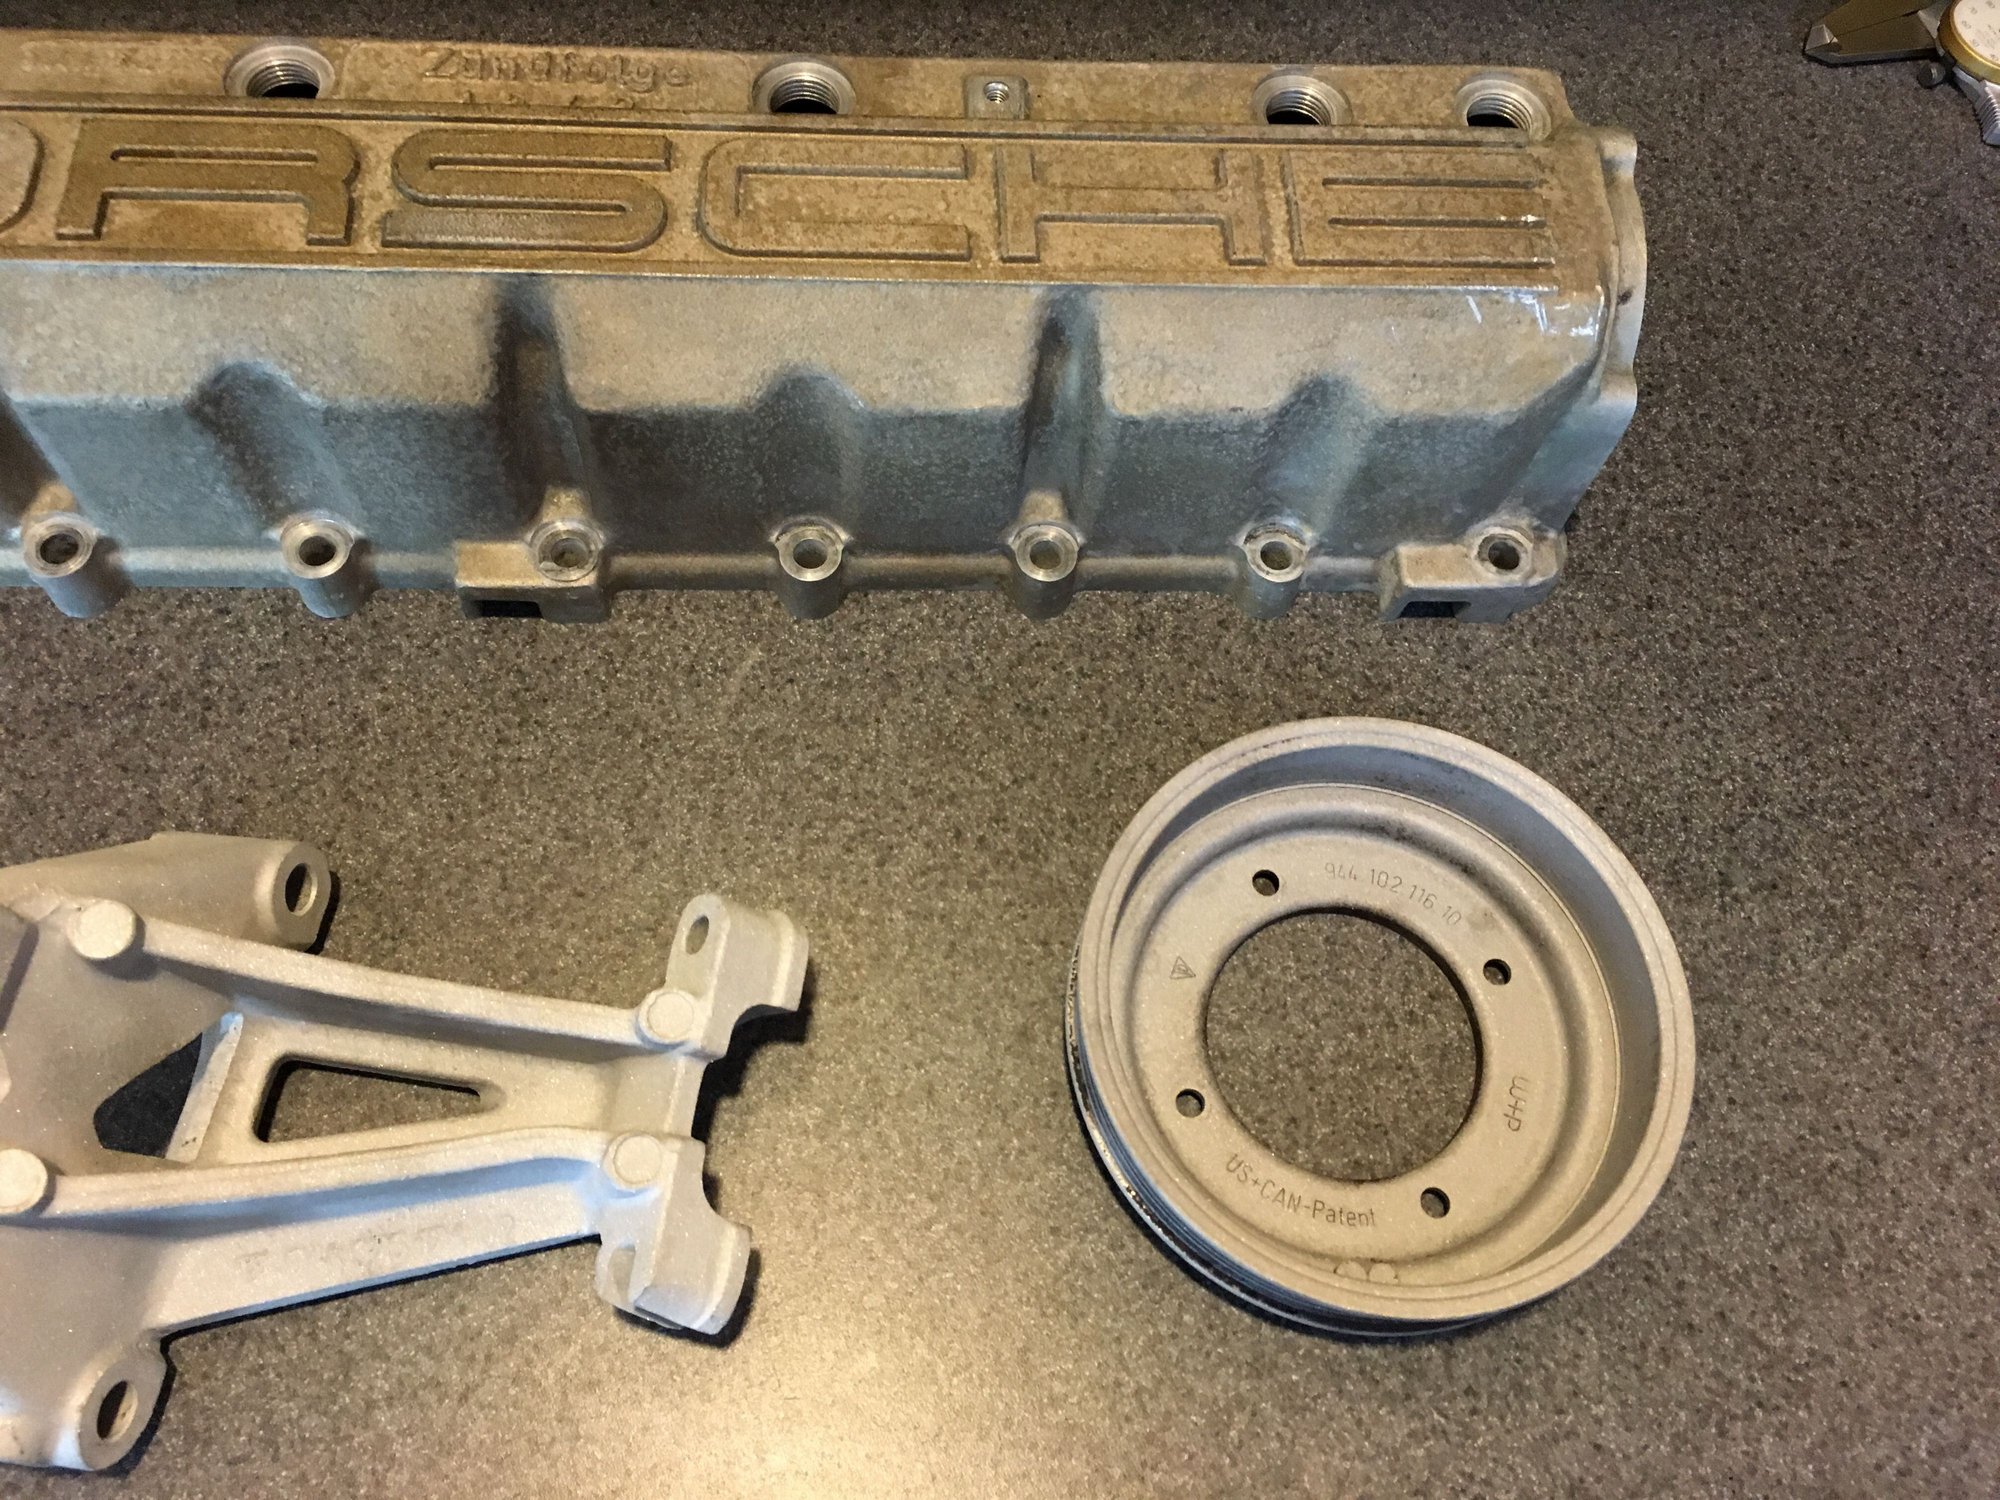
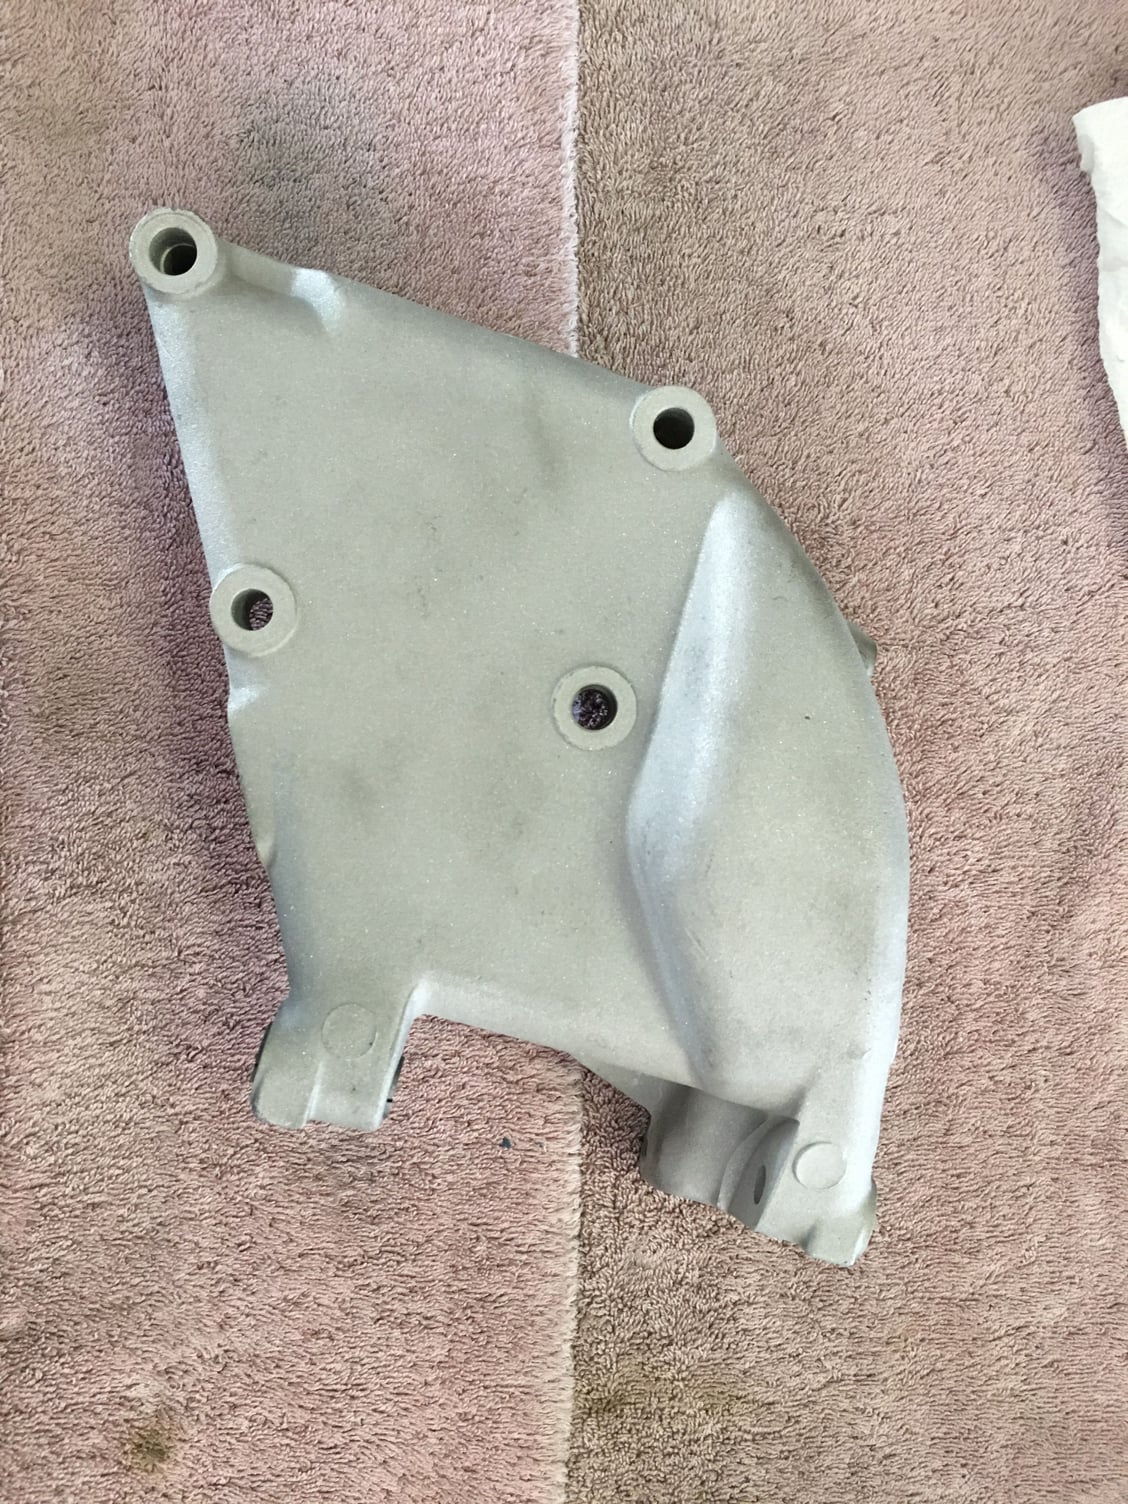
Overall the build quality seems okay for a bench top unit. The light inside burned out as soon as I flicked the switch (I've read other people had the same issue with similar units) but it blasts reasonably well. I tested the passenger side engine mount to confirm (comparison to the non-blasted cam tower for reference).
I also tried one of the pulleys and it worked reasonably well considering how rusty it was. I missed a few spots (didn't have the shop vac hooked up to the cabinet so there was a bit of a dust cloud inside).
I need to re-seal the cabinet lid since some dust finds its way outside at the corners. I think I'll hook the shop vac up next time to see if that helps minimize the dust inside and improves visibility.
Guess that's about it. More to do next time. Everyone have a great week!
Some more minor updates, mostly cleaning of parts. I hooked up the shop vac to my blast cabinet and it significantly reduced the dust cloud that forms inside while blasting. This made it much easier to see while working.
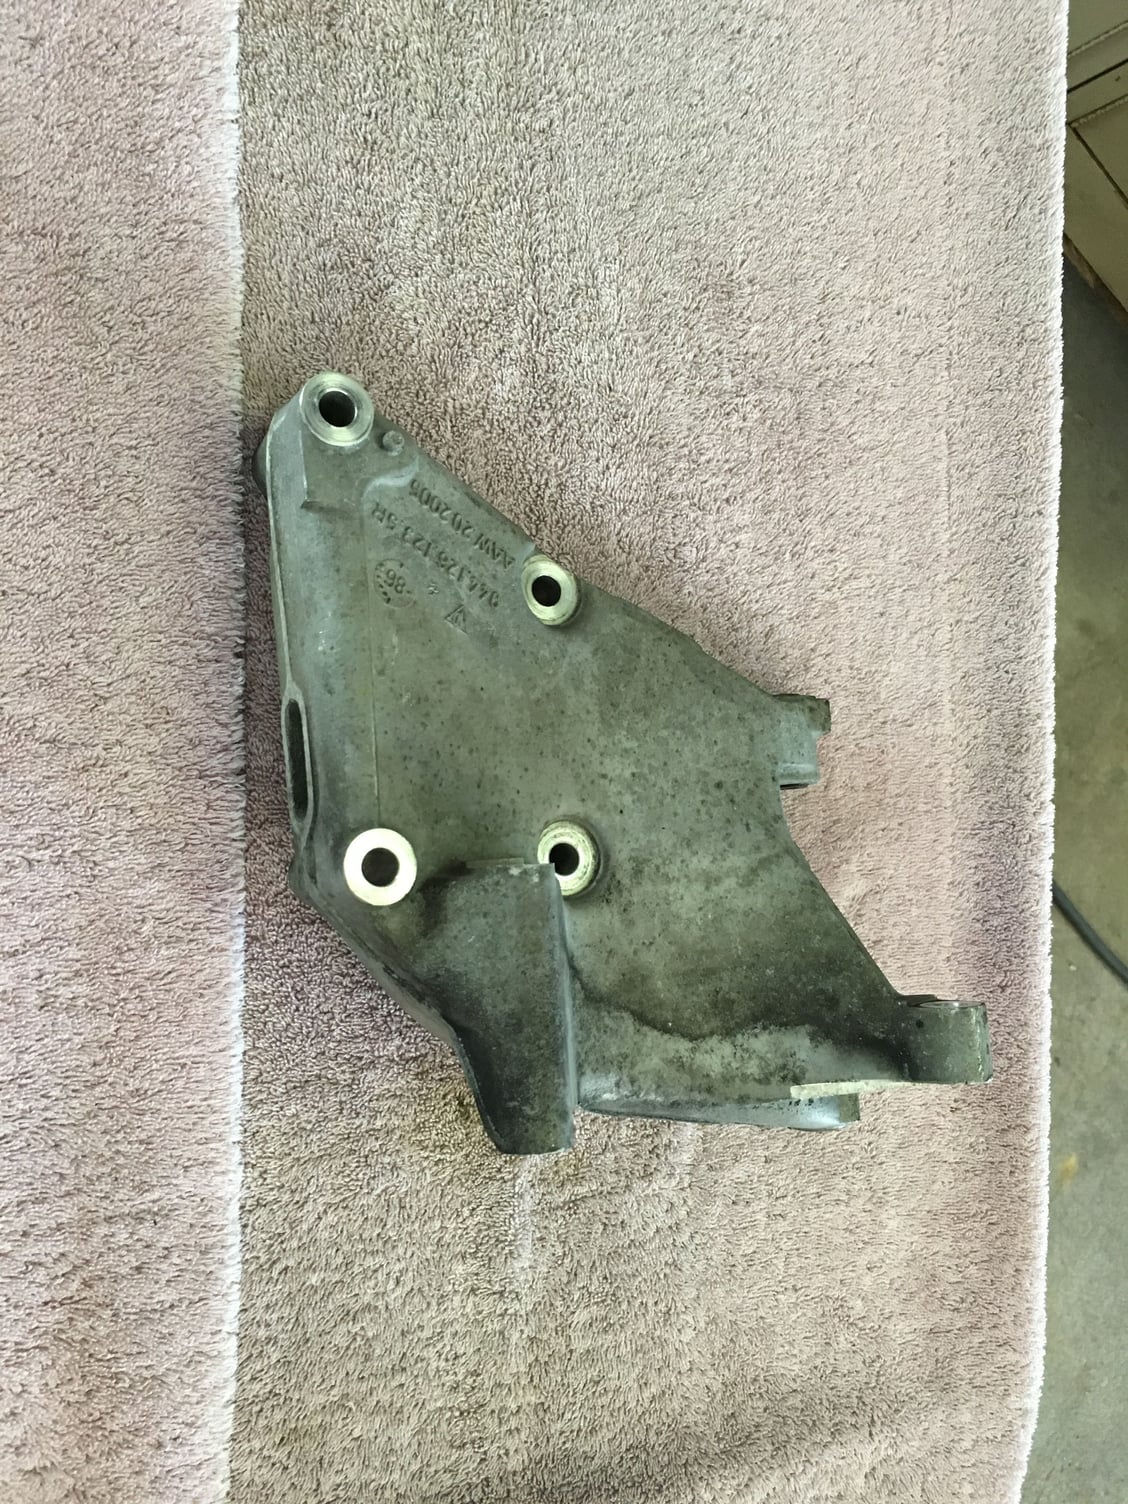
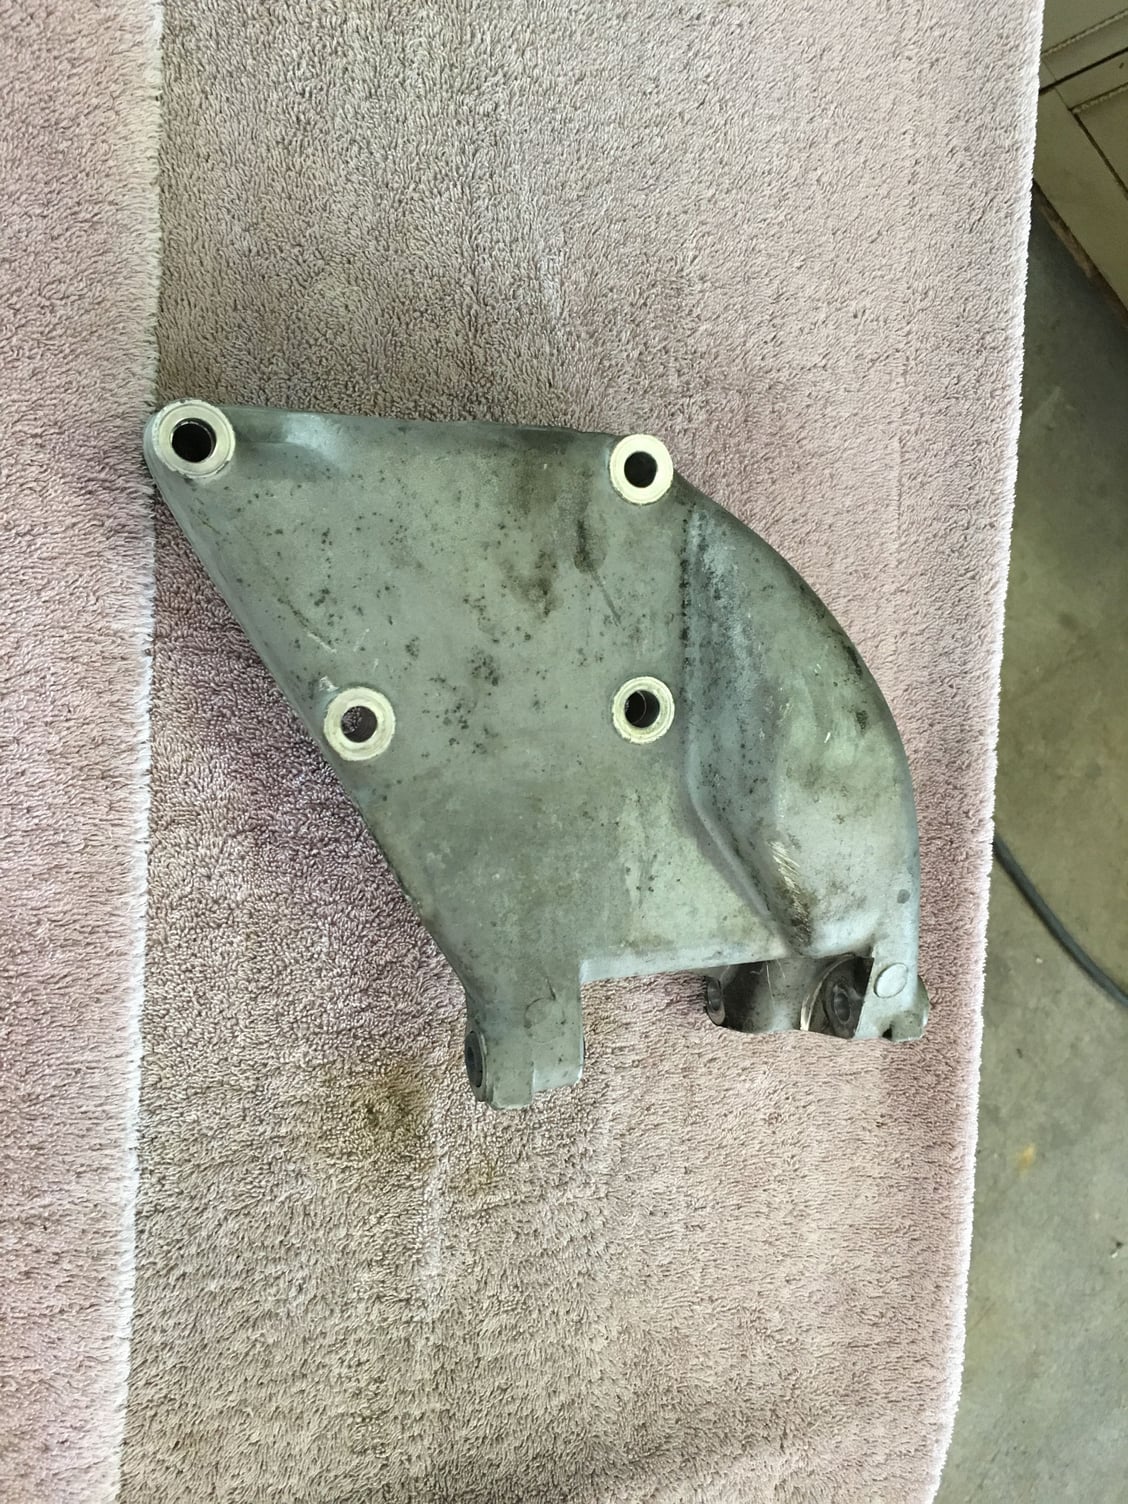
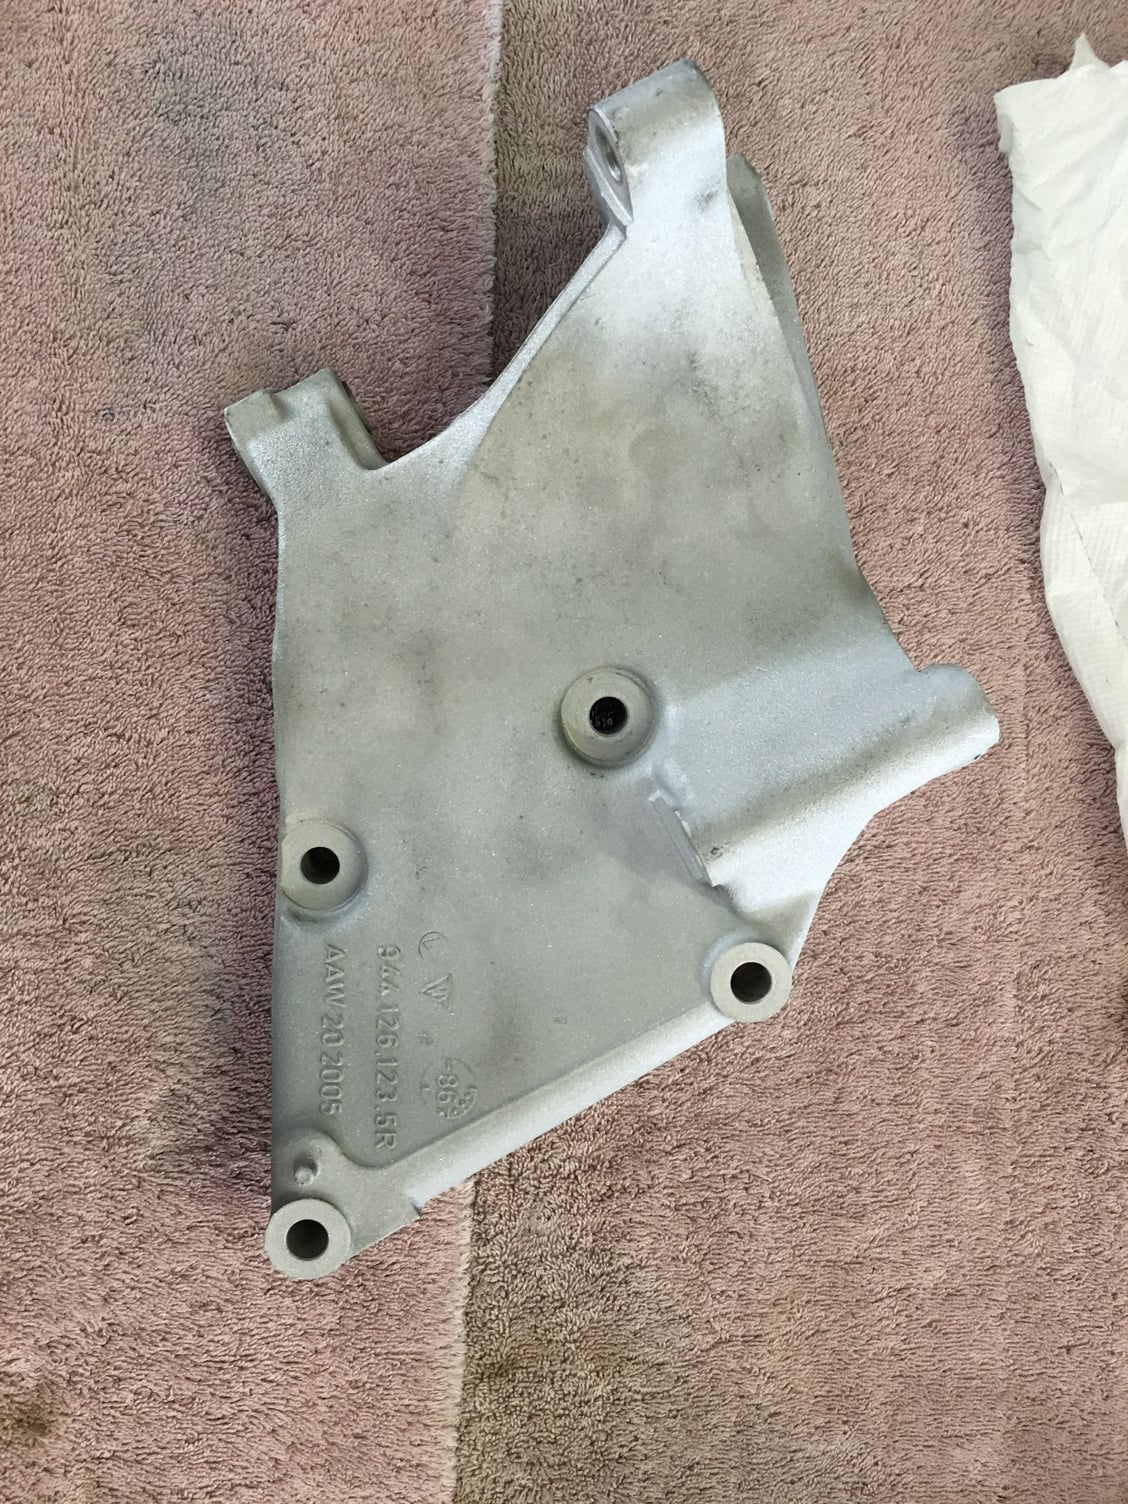
To test it out, I blasted the alternator bracket. Some before and after pictures.
Some finger prints from my dirty hands on the cleaned parts, but they'll clean up okay with a little alcohol or brake cleaner.
Moved on to the cam tower, which is one of the main reasons I wanted to buy the blast cabinet. The tower fit in the cabinet, but I had to placed it inside at an angle since the tower is so long. It was a little akward trying to blast the ends of the tower, but I made it work and I think it turned out awesome.
Before and after:
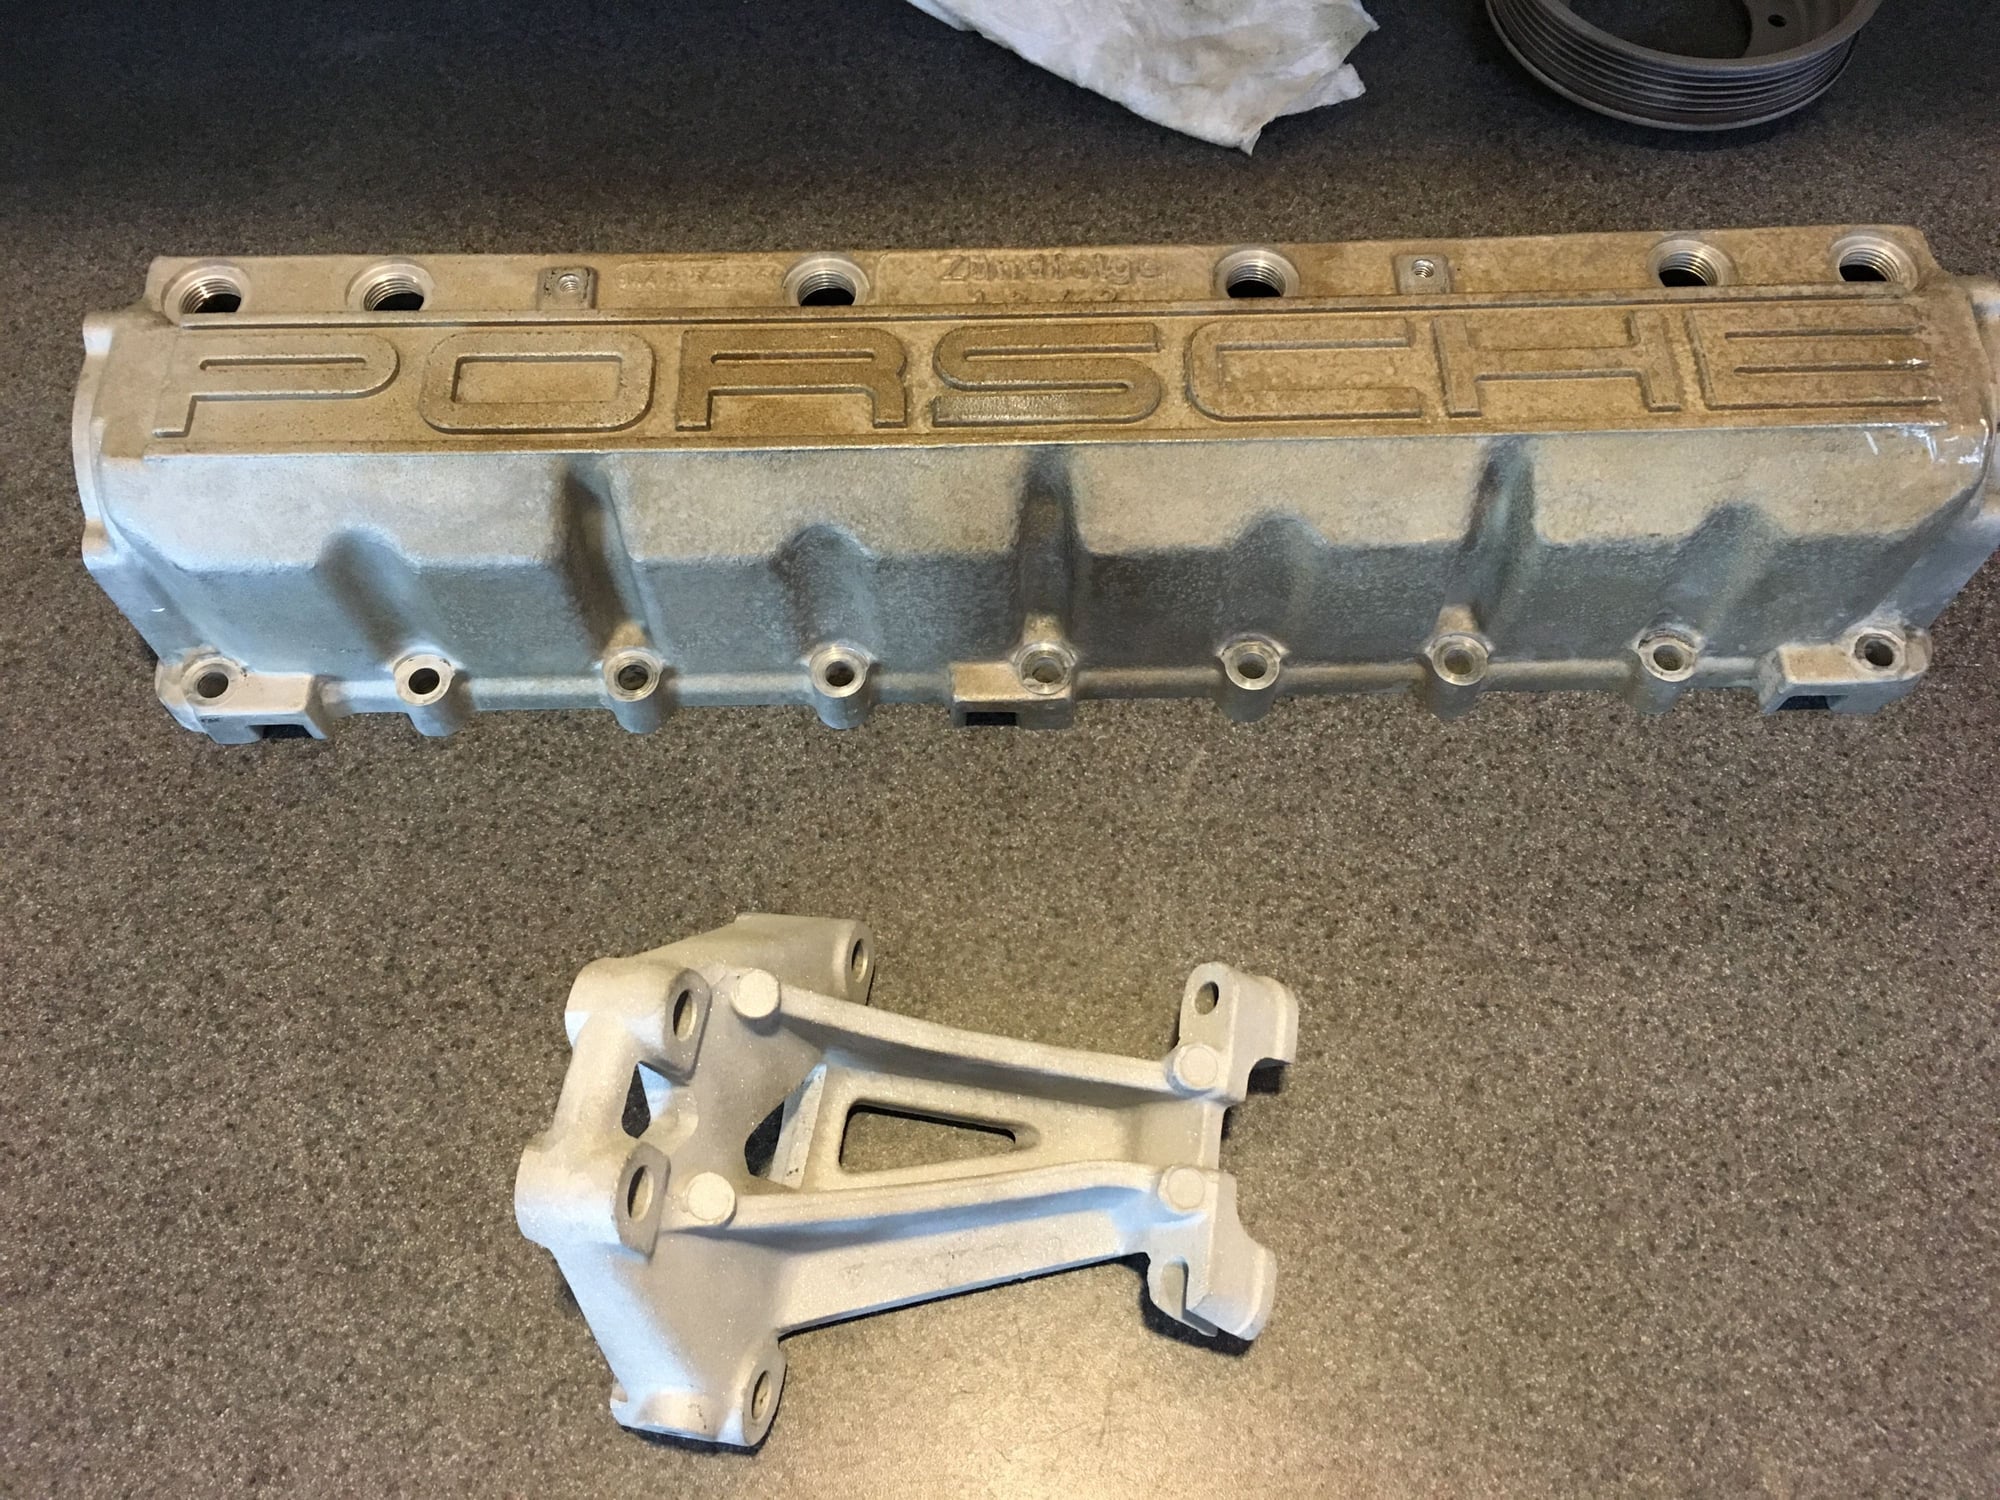
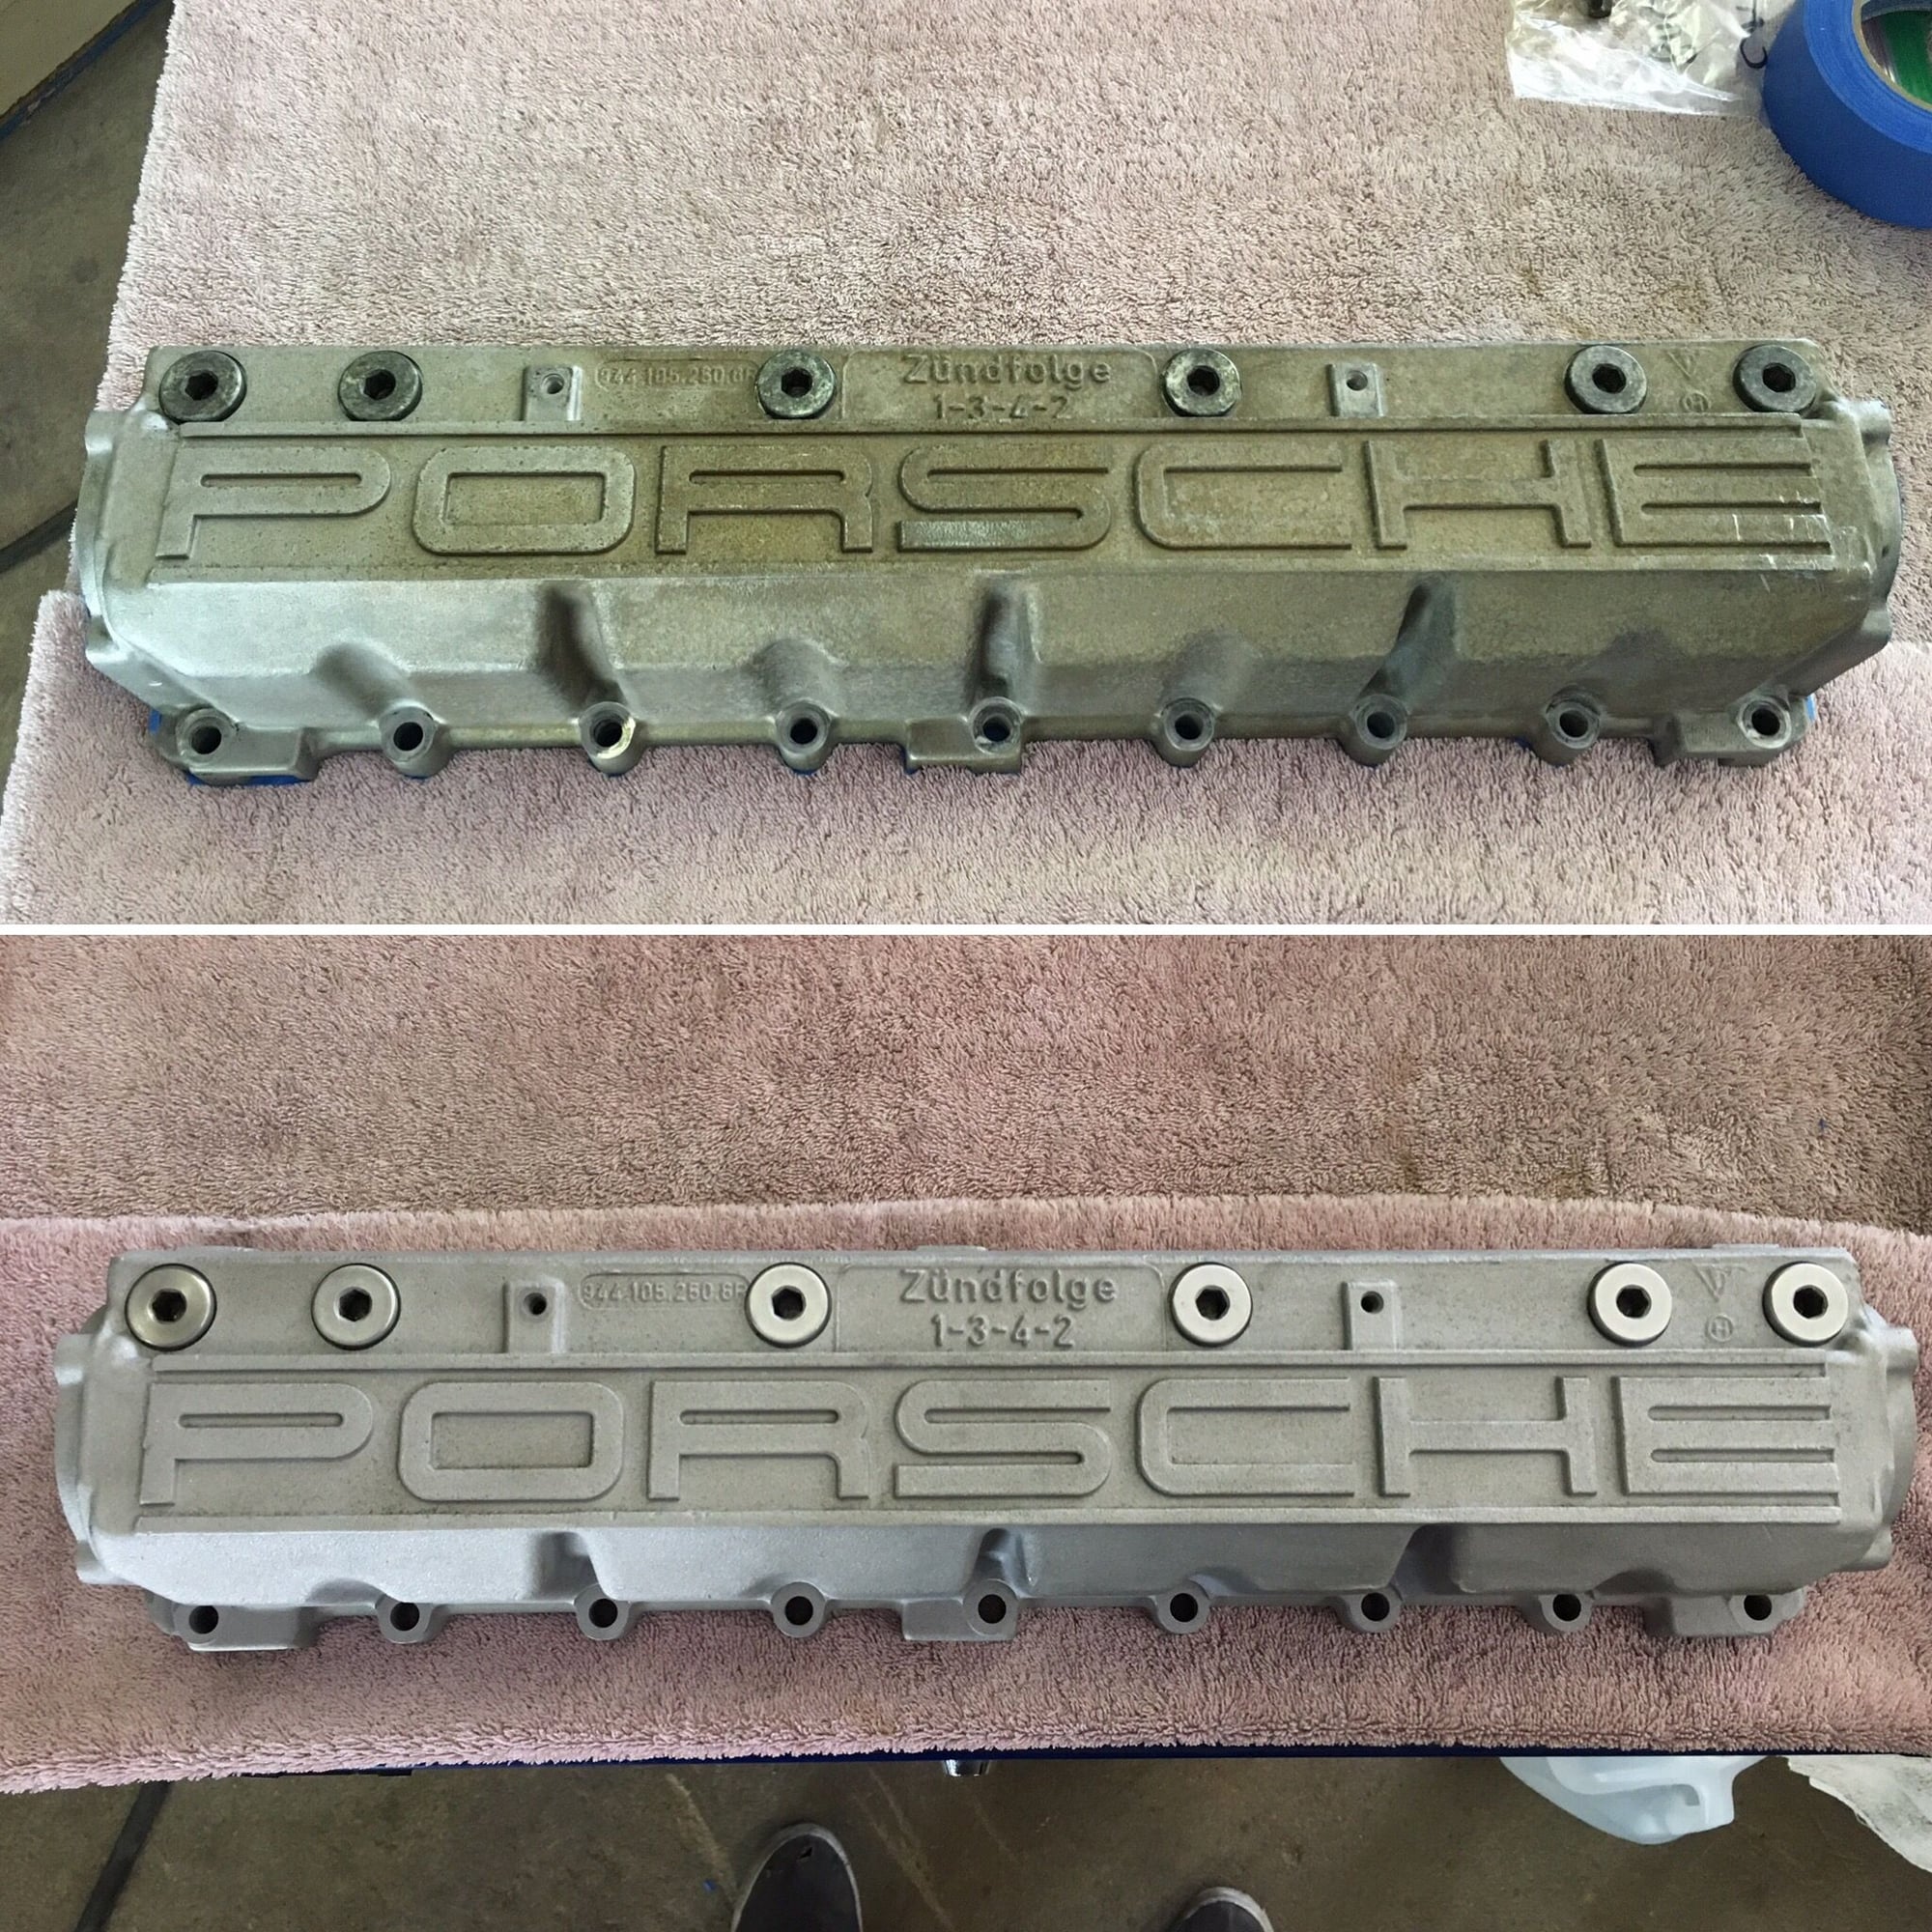
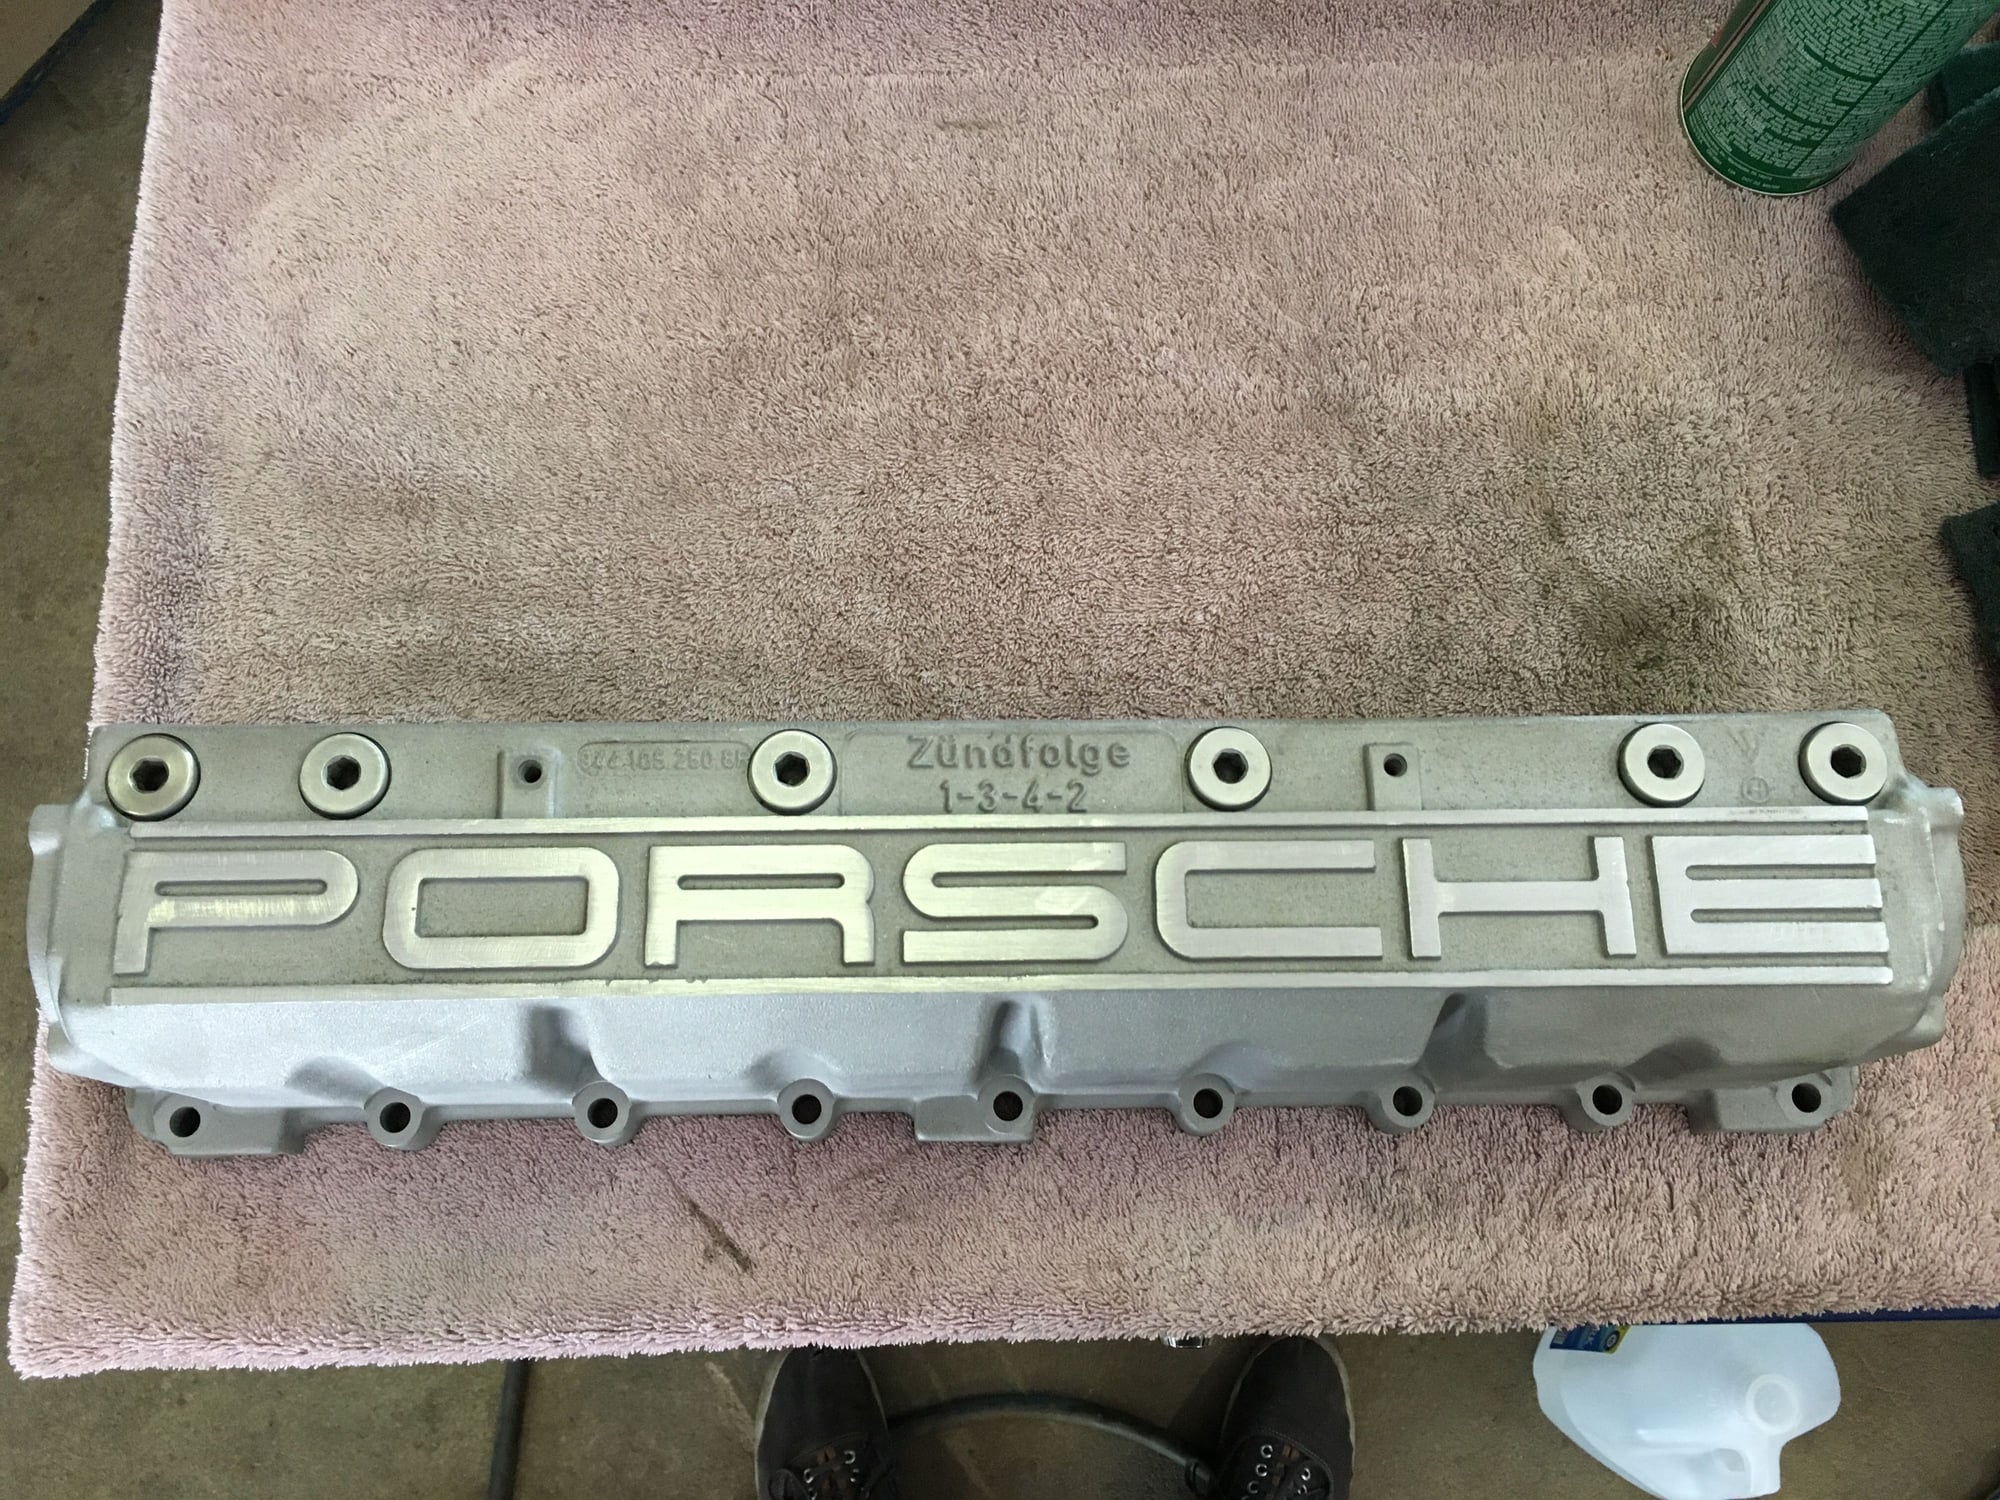
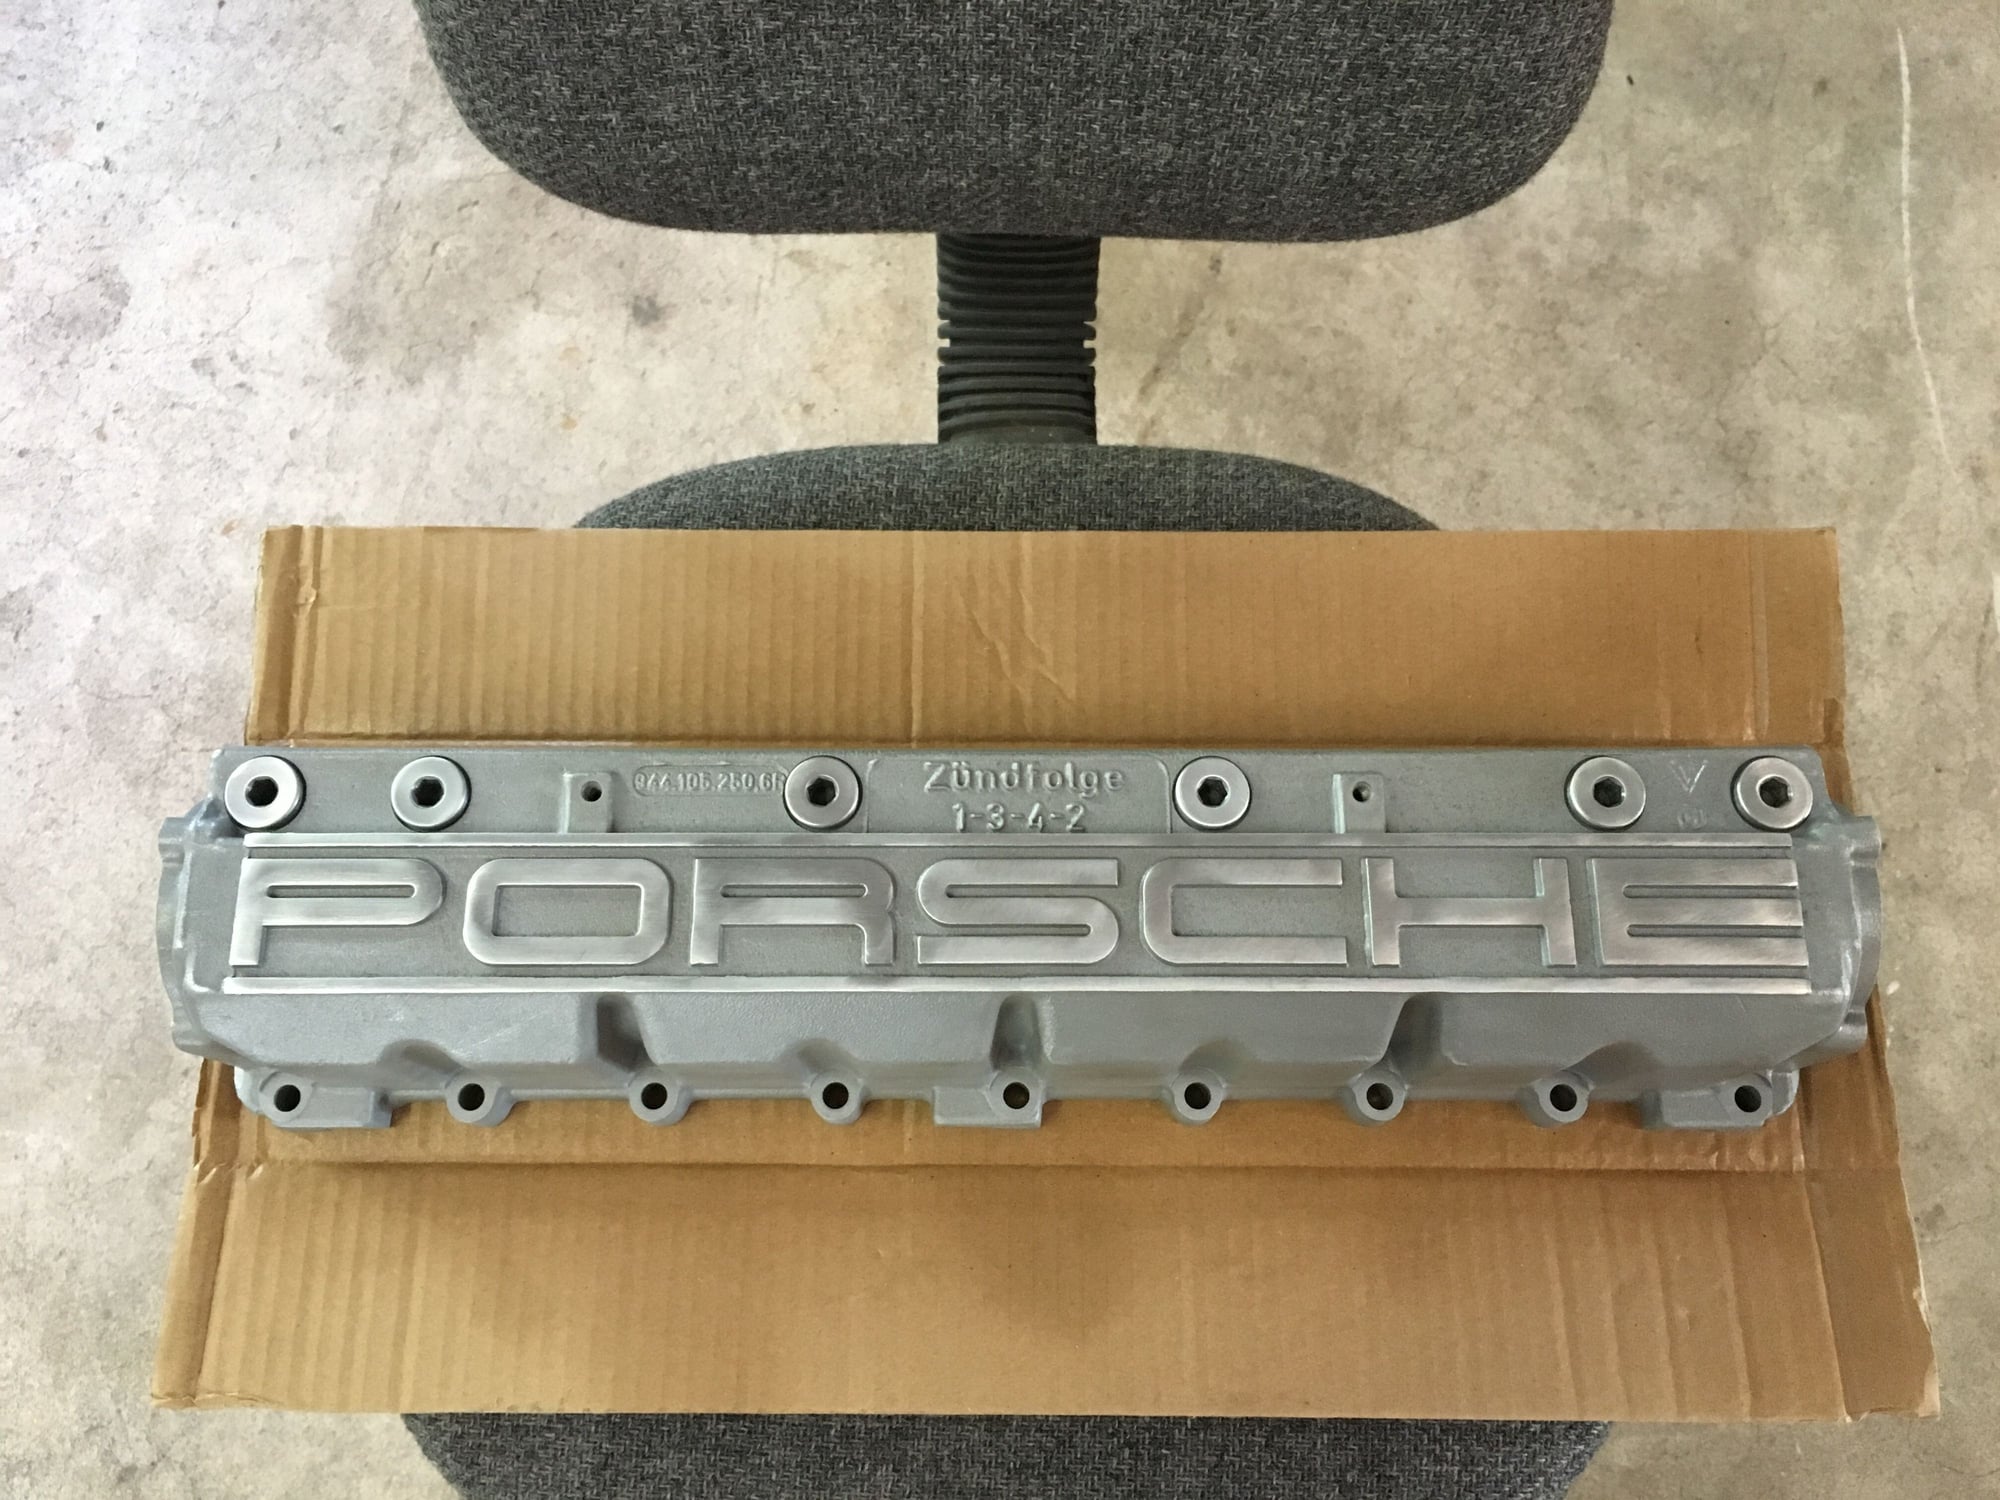
I was on the fence as to whether or not I wanted to paint or powder coat the cam tower and the intake, but after seeing how good the tower turned out with some blasting I plan to keep it raw aluminum and simply clear coat it to protect it. I started polishing up the PORSCHE letters and will polish the plugs as well. Still have some work to continue next weekend.
I cleaned up some of the other cam tower components so they'll be ready to reassemble once I finish the cam tower.
I don't intend to blast the cam gear housing since if I'm not mistaken it's magnesium and I'm not sure how well that would take to glass bead. It cleaned up pretty well with some scotch brite so I think it will look okay once it has a bit of clear coat on it.
For the lifting hooks and other miscellaneous brackets, I think I'm going to paint them black (haven't decided on satin or gloss yet) since the zinc chromate was worn off in spots. A pretty simple looking motor is what I'm going for - raw aluminum and black brackets/accessories.
That's it for this weekend. Next week I finish the cam tower and start tearing apart the cylinder head. Sooner or later I need to start purchase some replacement parts so I can actually put this thing back together once the parts are clean.
So I have two weekends worth of updates since I realized I forgot to update after last weekend.
First off, finished up the cam tower by polishing up the Porsche logo and the threaded caps and then clear coating it. I think it looks awesome and definitely is the clean look I was going for.
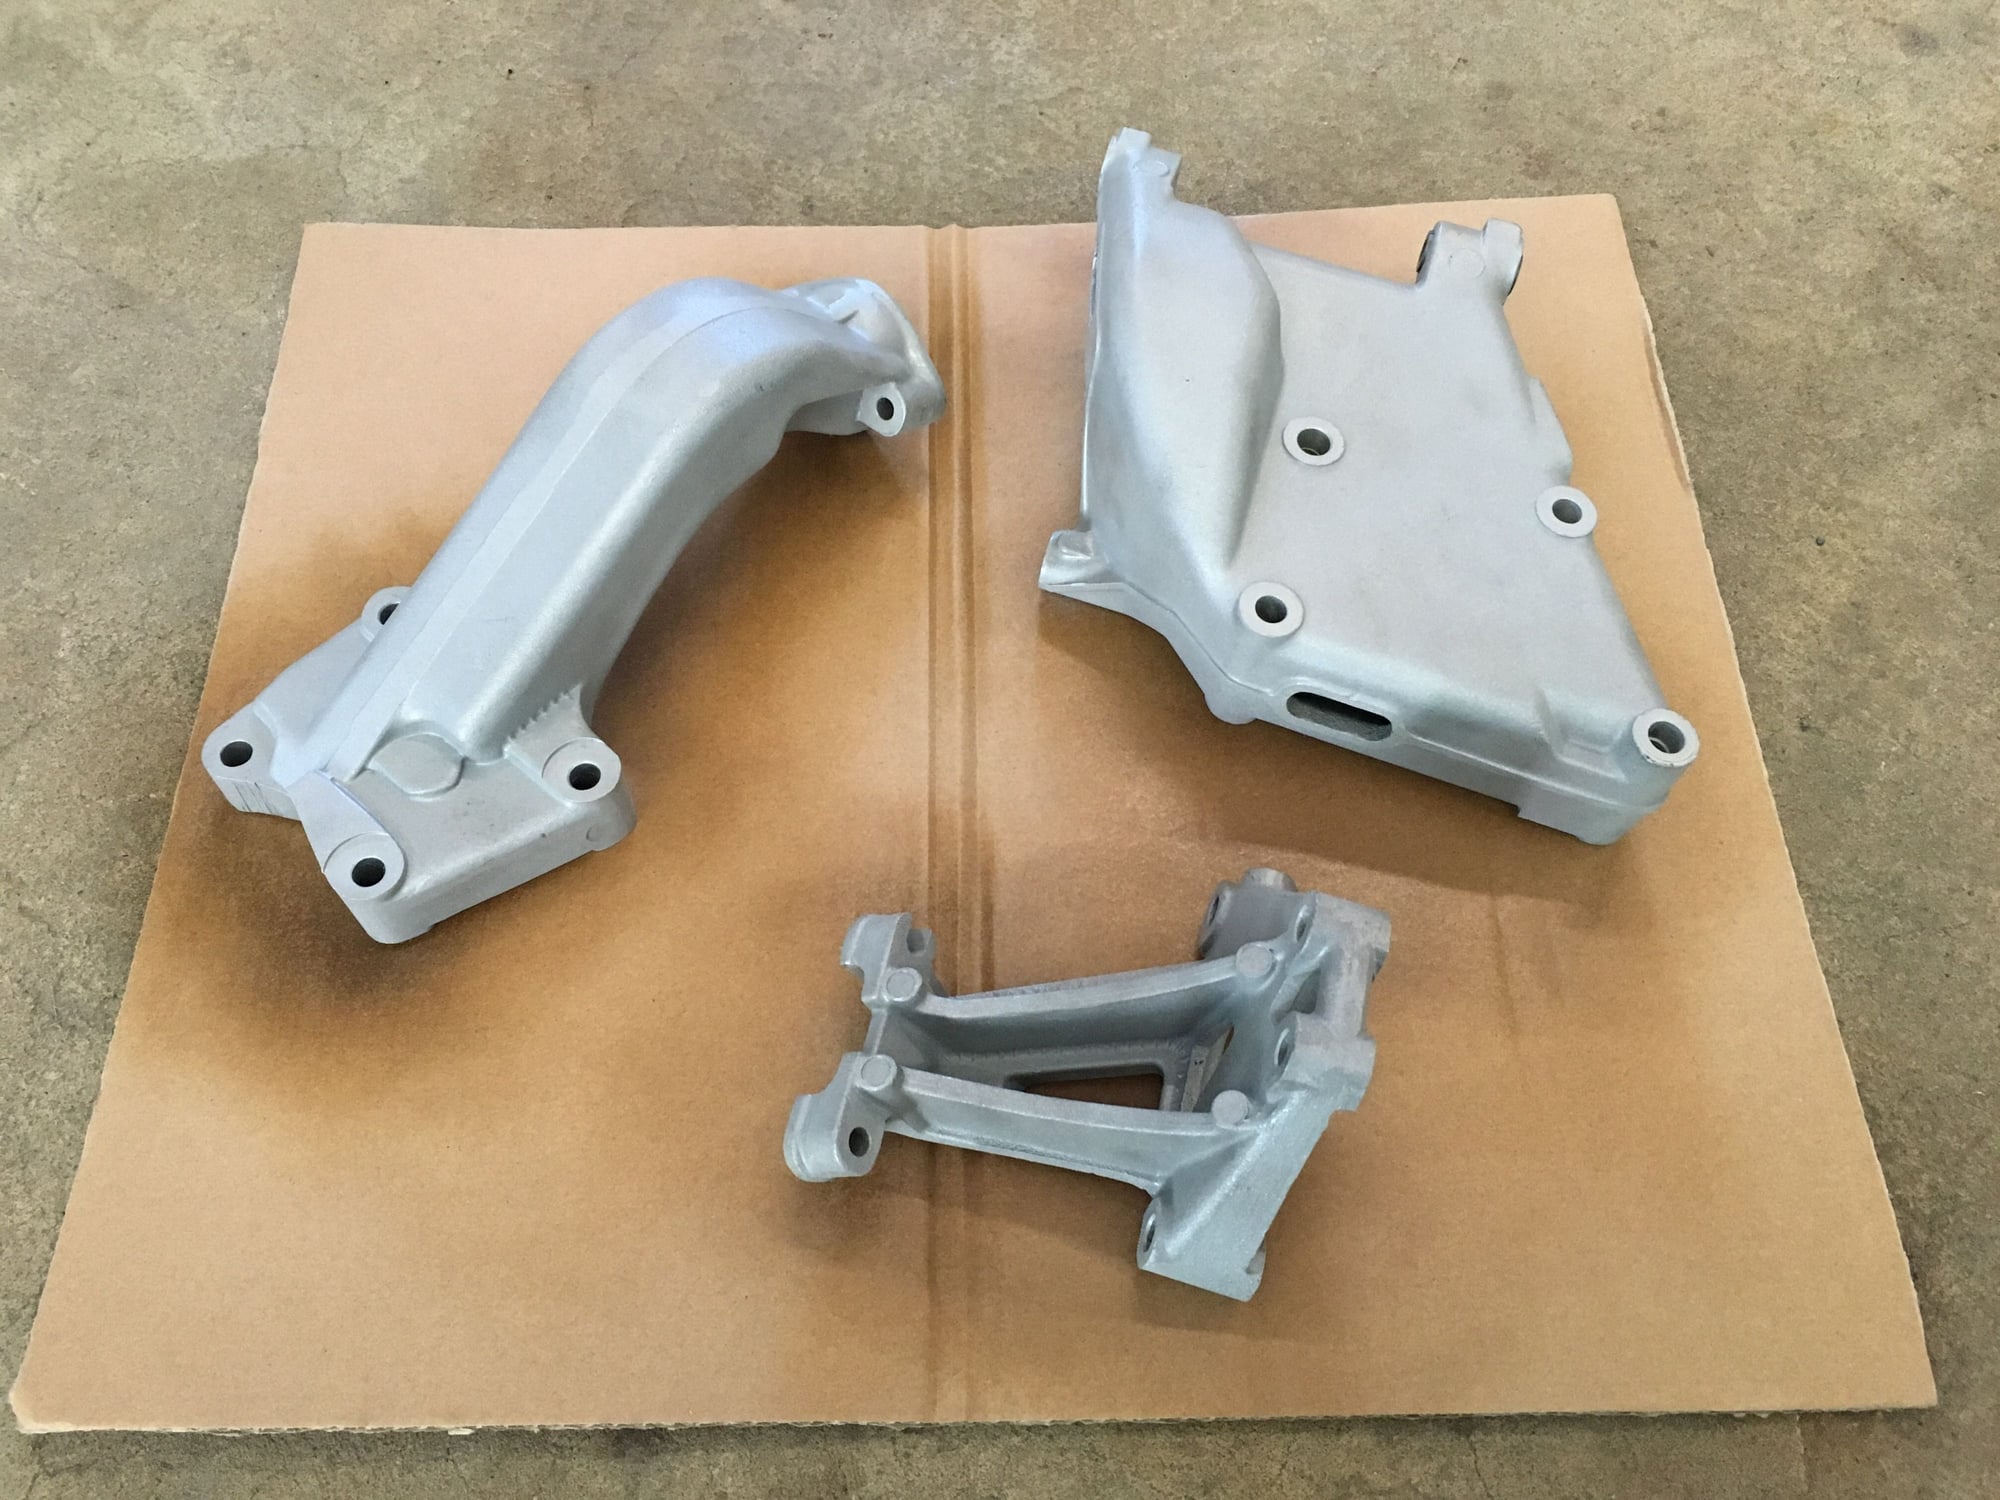
Did some additional blasting on the engine mounts and the alternator bracket and then clear coated them as well.
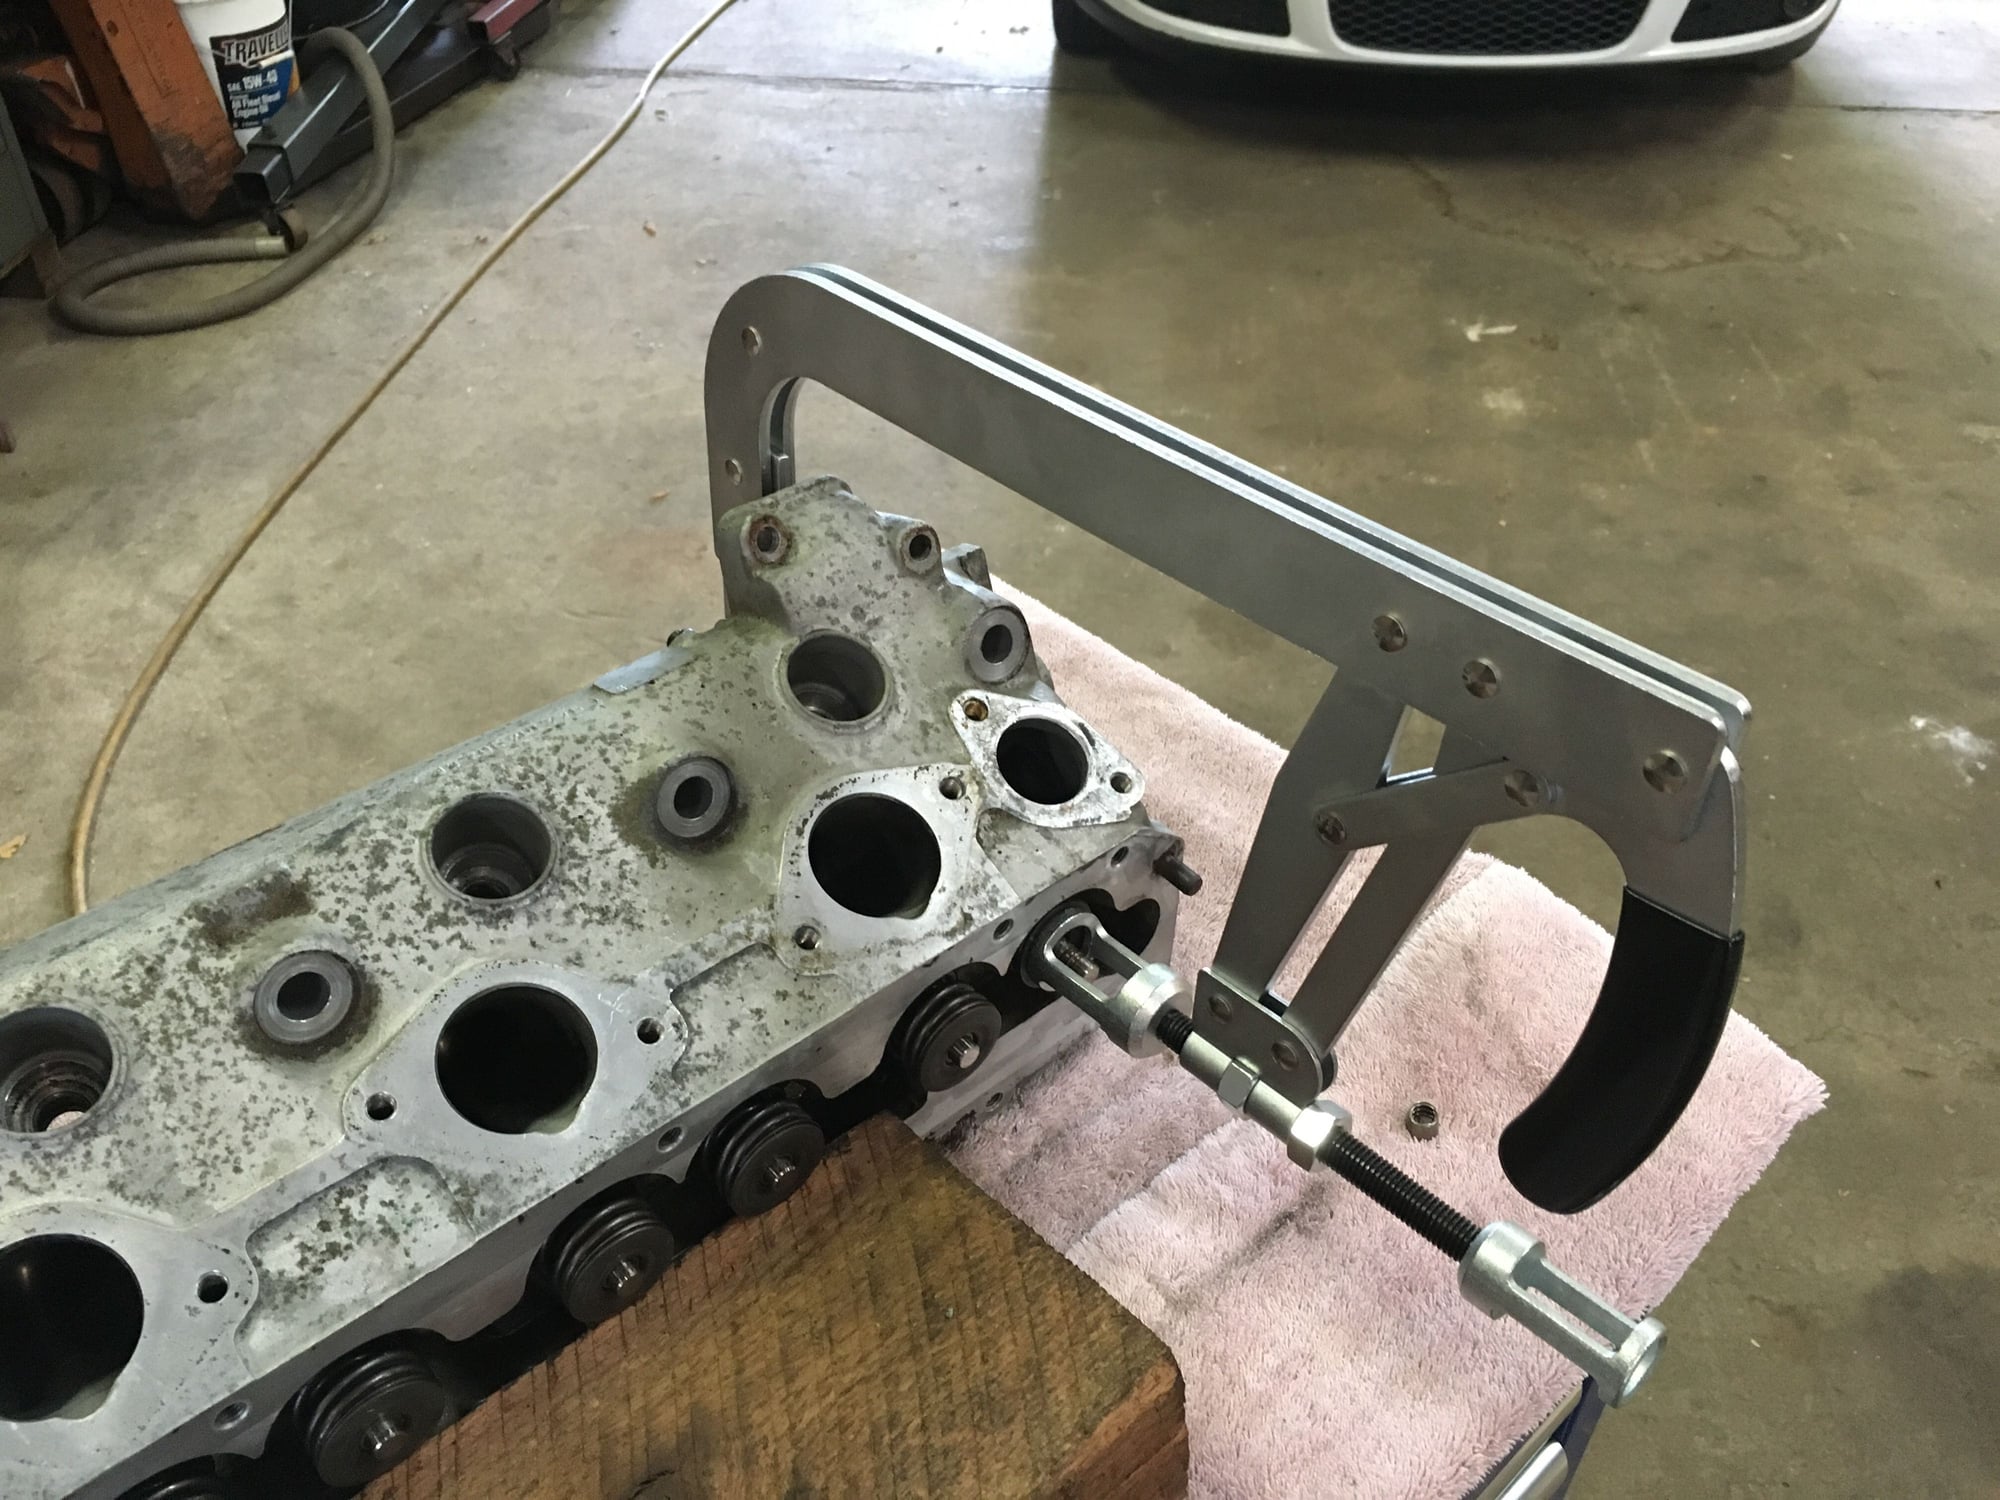
Started tearing apart the cylinder head to do some cleaning before it ultimately heads to the machine shop. I bought the OTC valve spring compressor off of Amazon - worked great.
As you can see above, lots of carbon build up in the combustion chambers. I wasn't sure if a hot tank would take all of it off since it did seem pretty built up, so I went ahead and cleaned it with some 3M cleaning discs, some Scotch Brite and some good old elbow grease. I'd say it turned out pretty well.
I didn't spend too much time cleaning up the head gasket surface since the head will be going to the machine shop to get a little meat machined off.
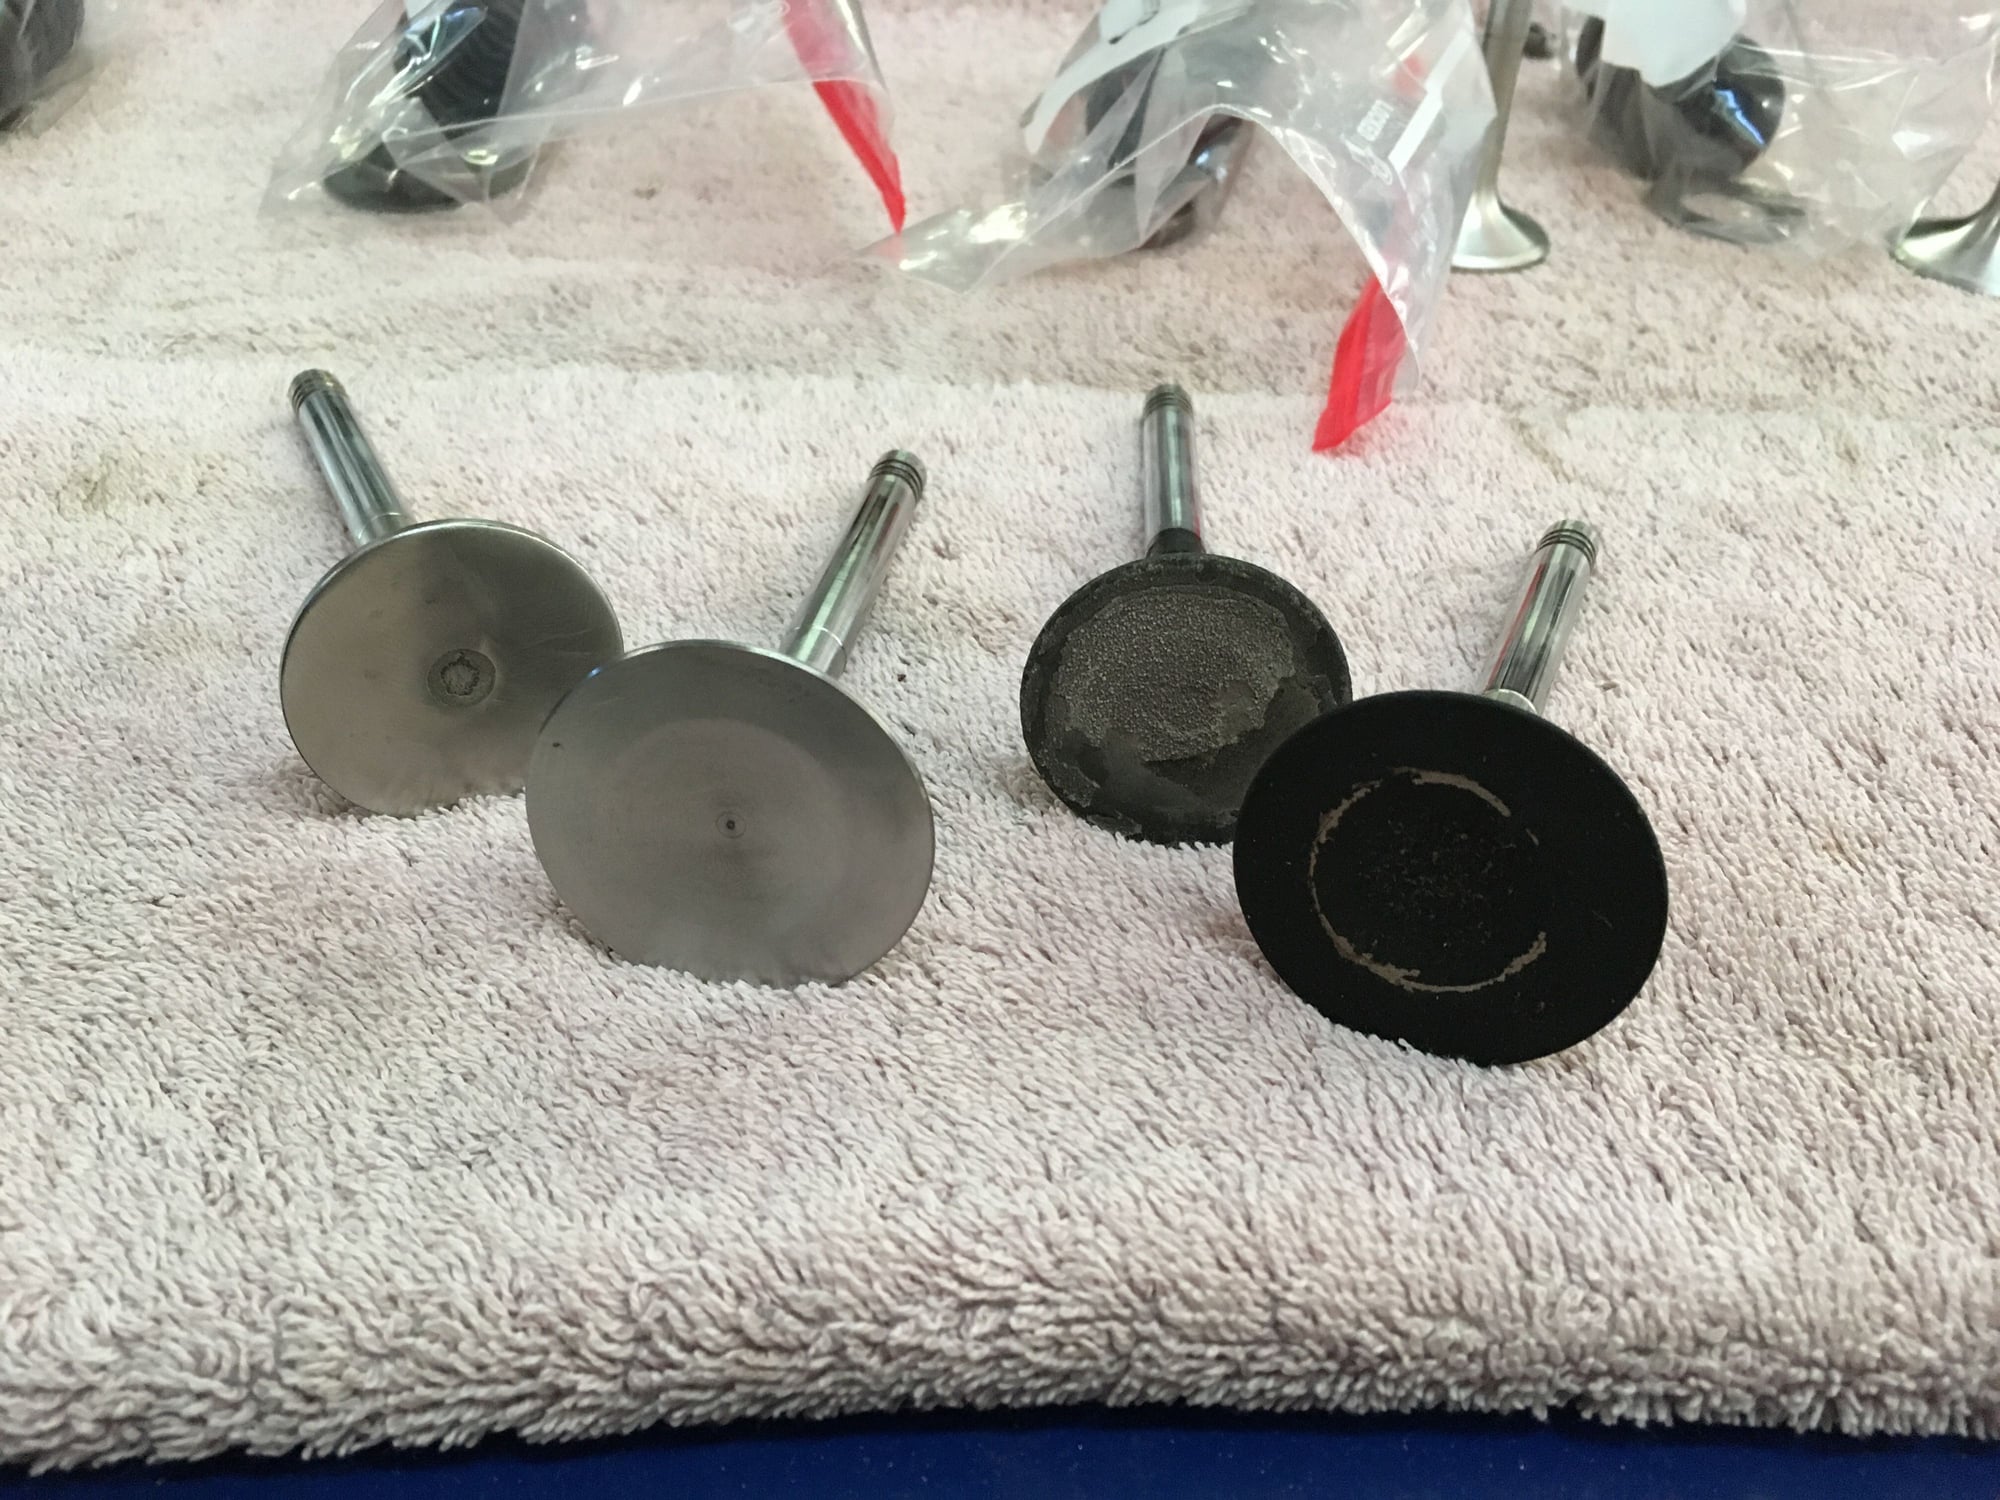
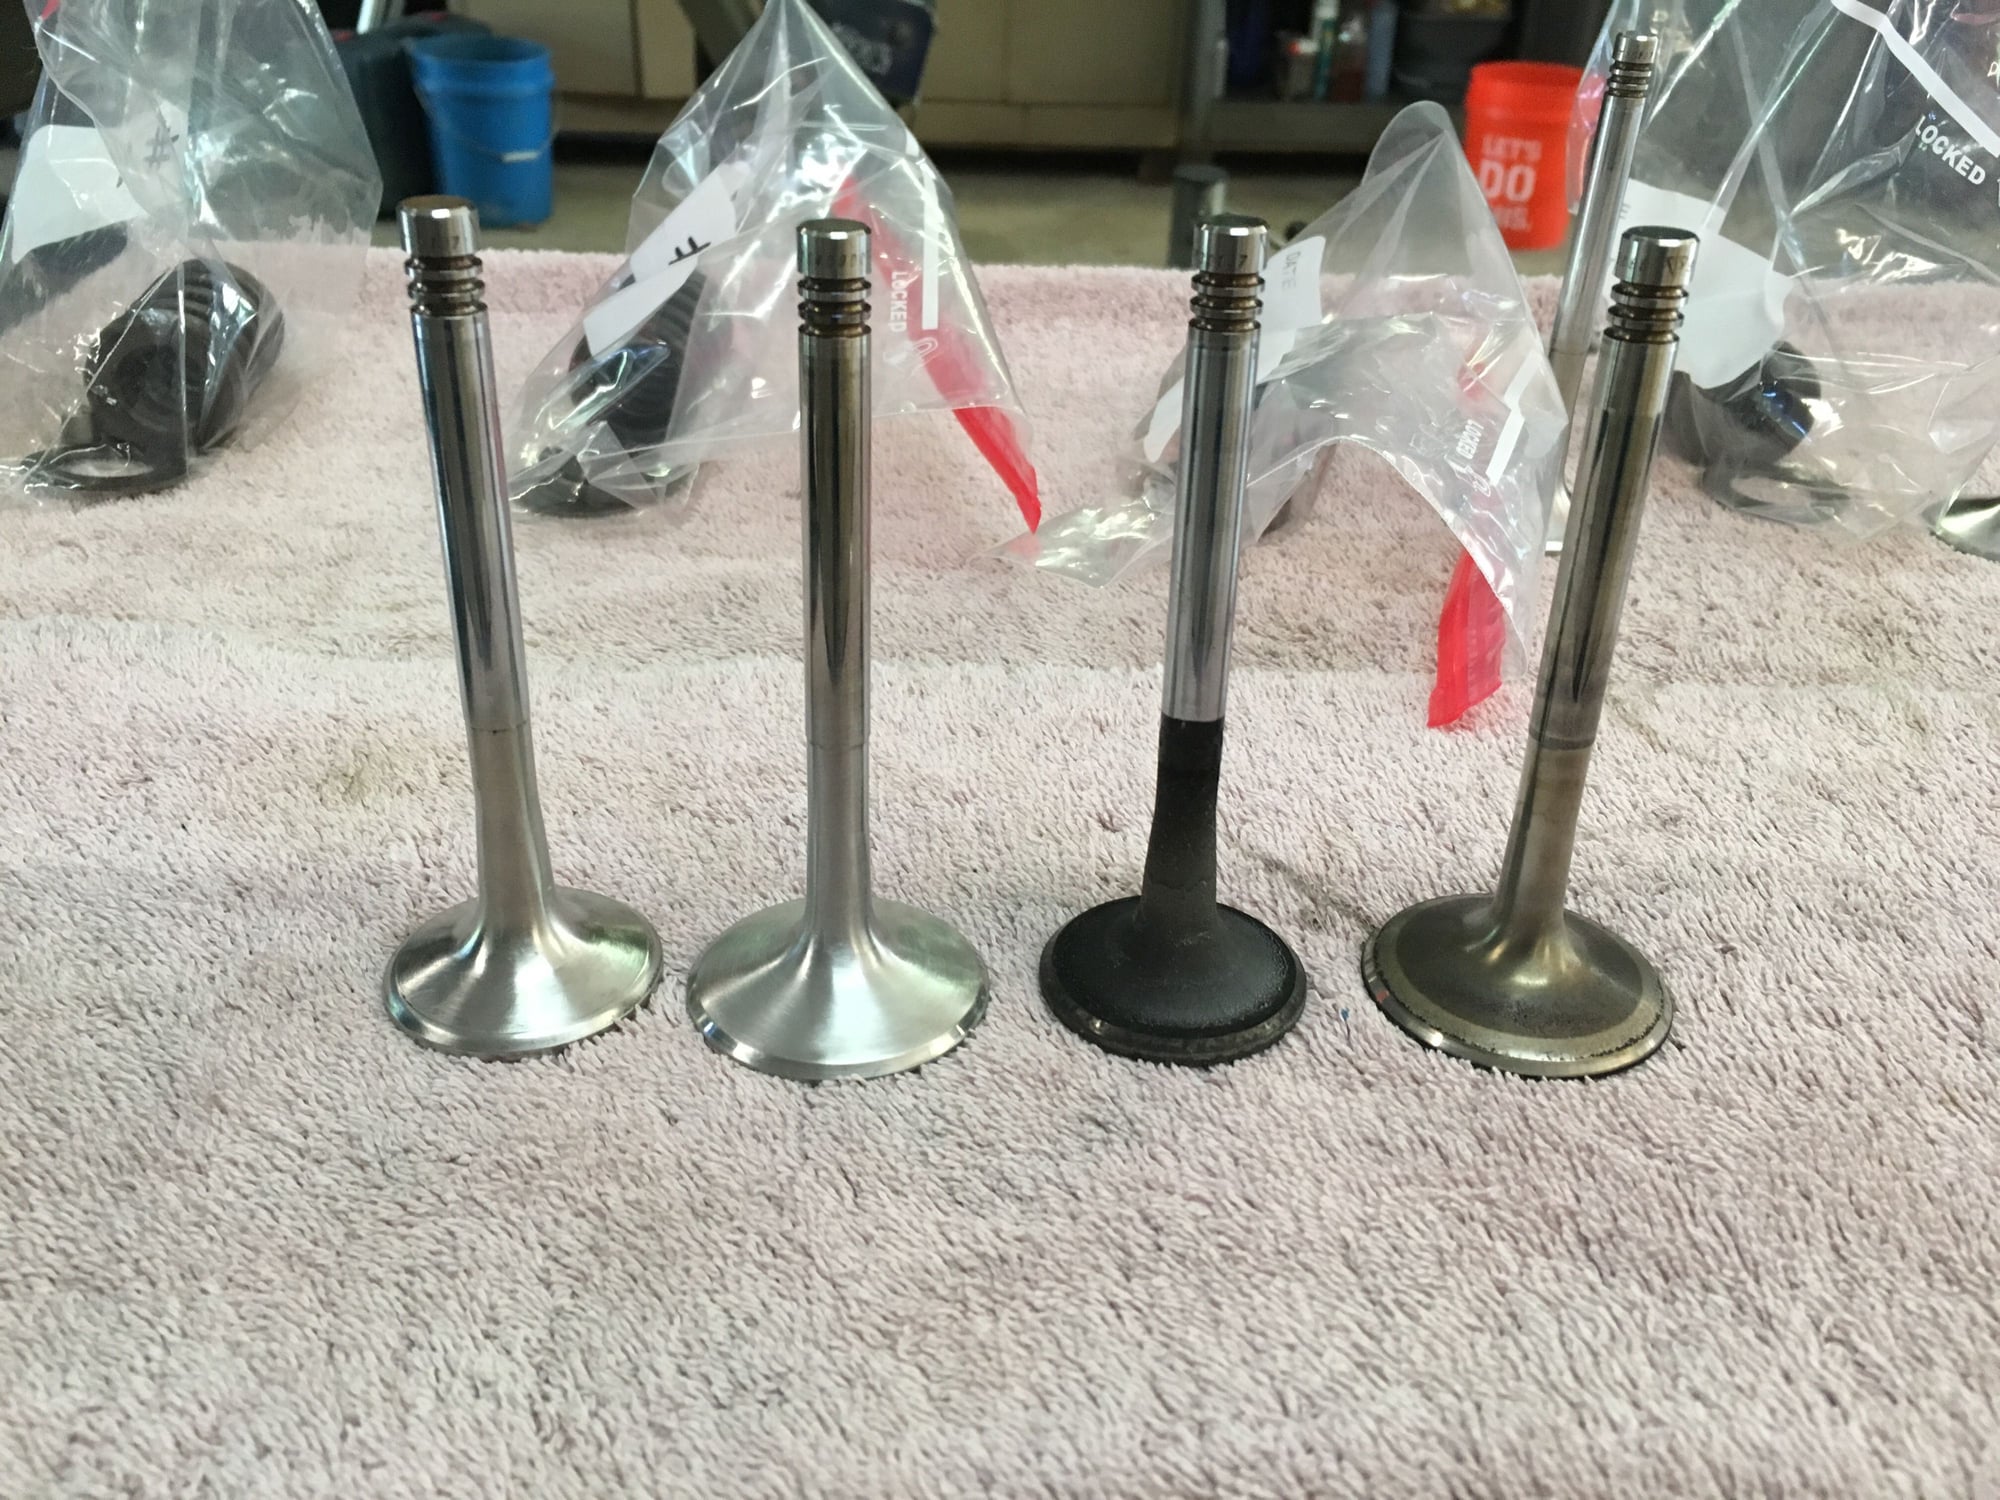
Went ahead and cleaned the valves too.
I wasn't really able to get the carbon buildup out of the little recess in the exhaust valves so hopefully the machine shop can clean up this last little bit.
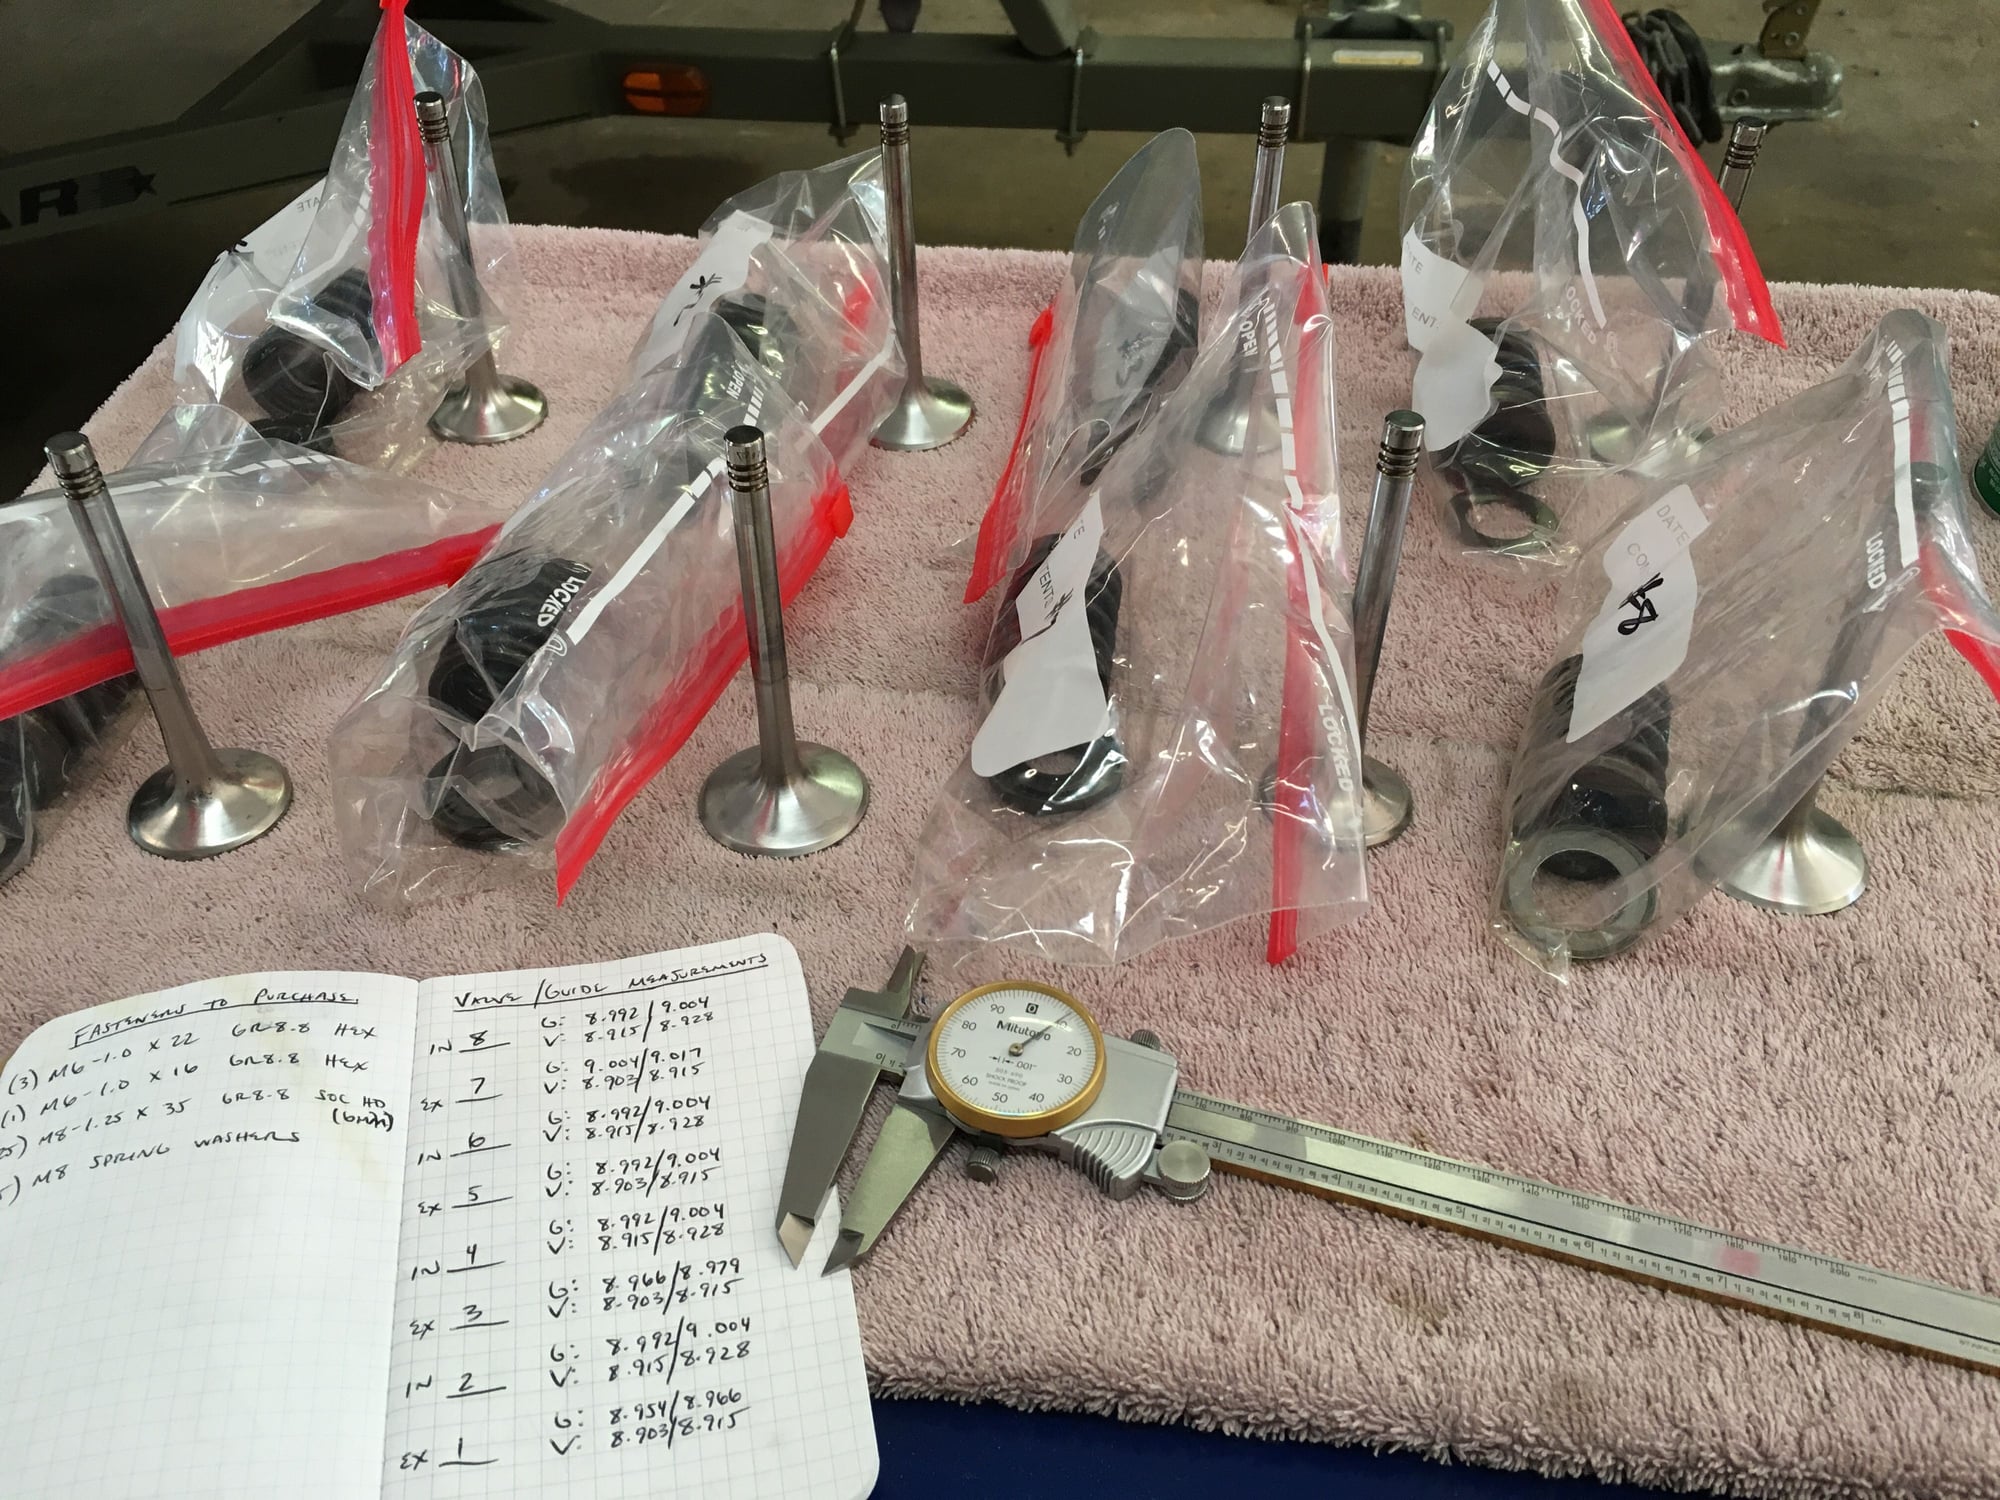
I checked the clearance between the valves and the guides and everyone seems to be in pretty good shape, albeit maybe even a hair on the tight side. Though I'll have the shop check them again - I just wanted to do a little measuring for my own benefit to see where we sit.
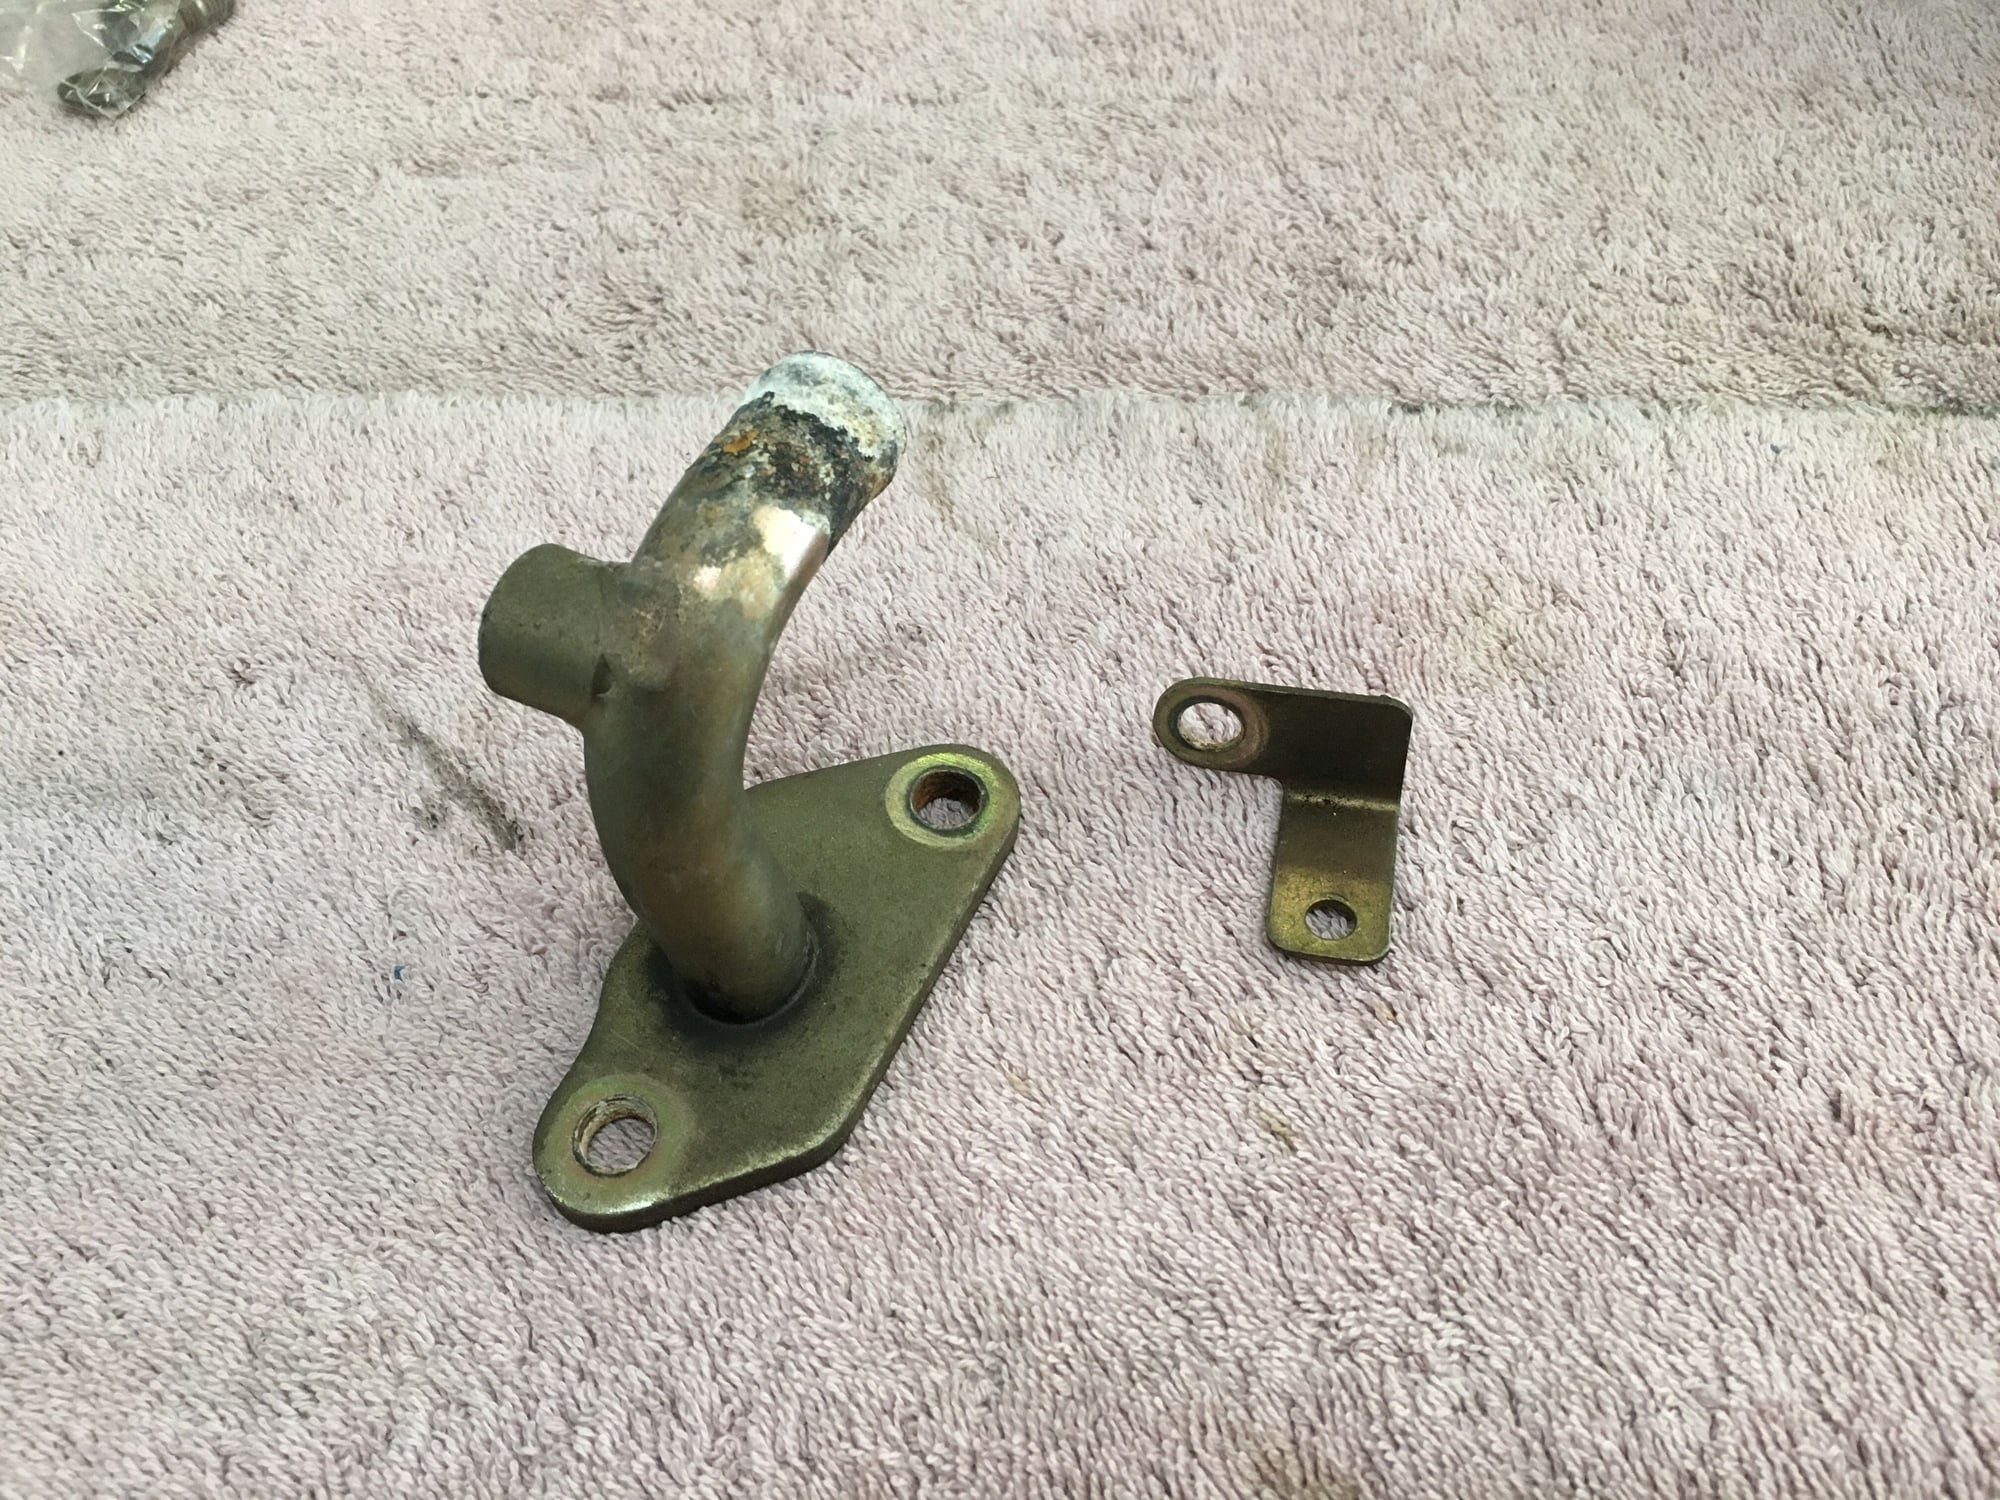
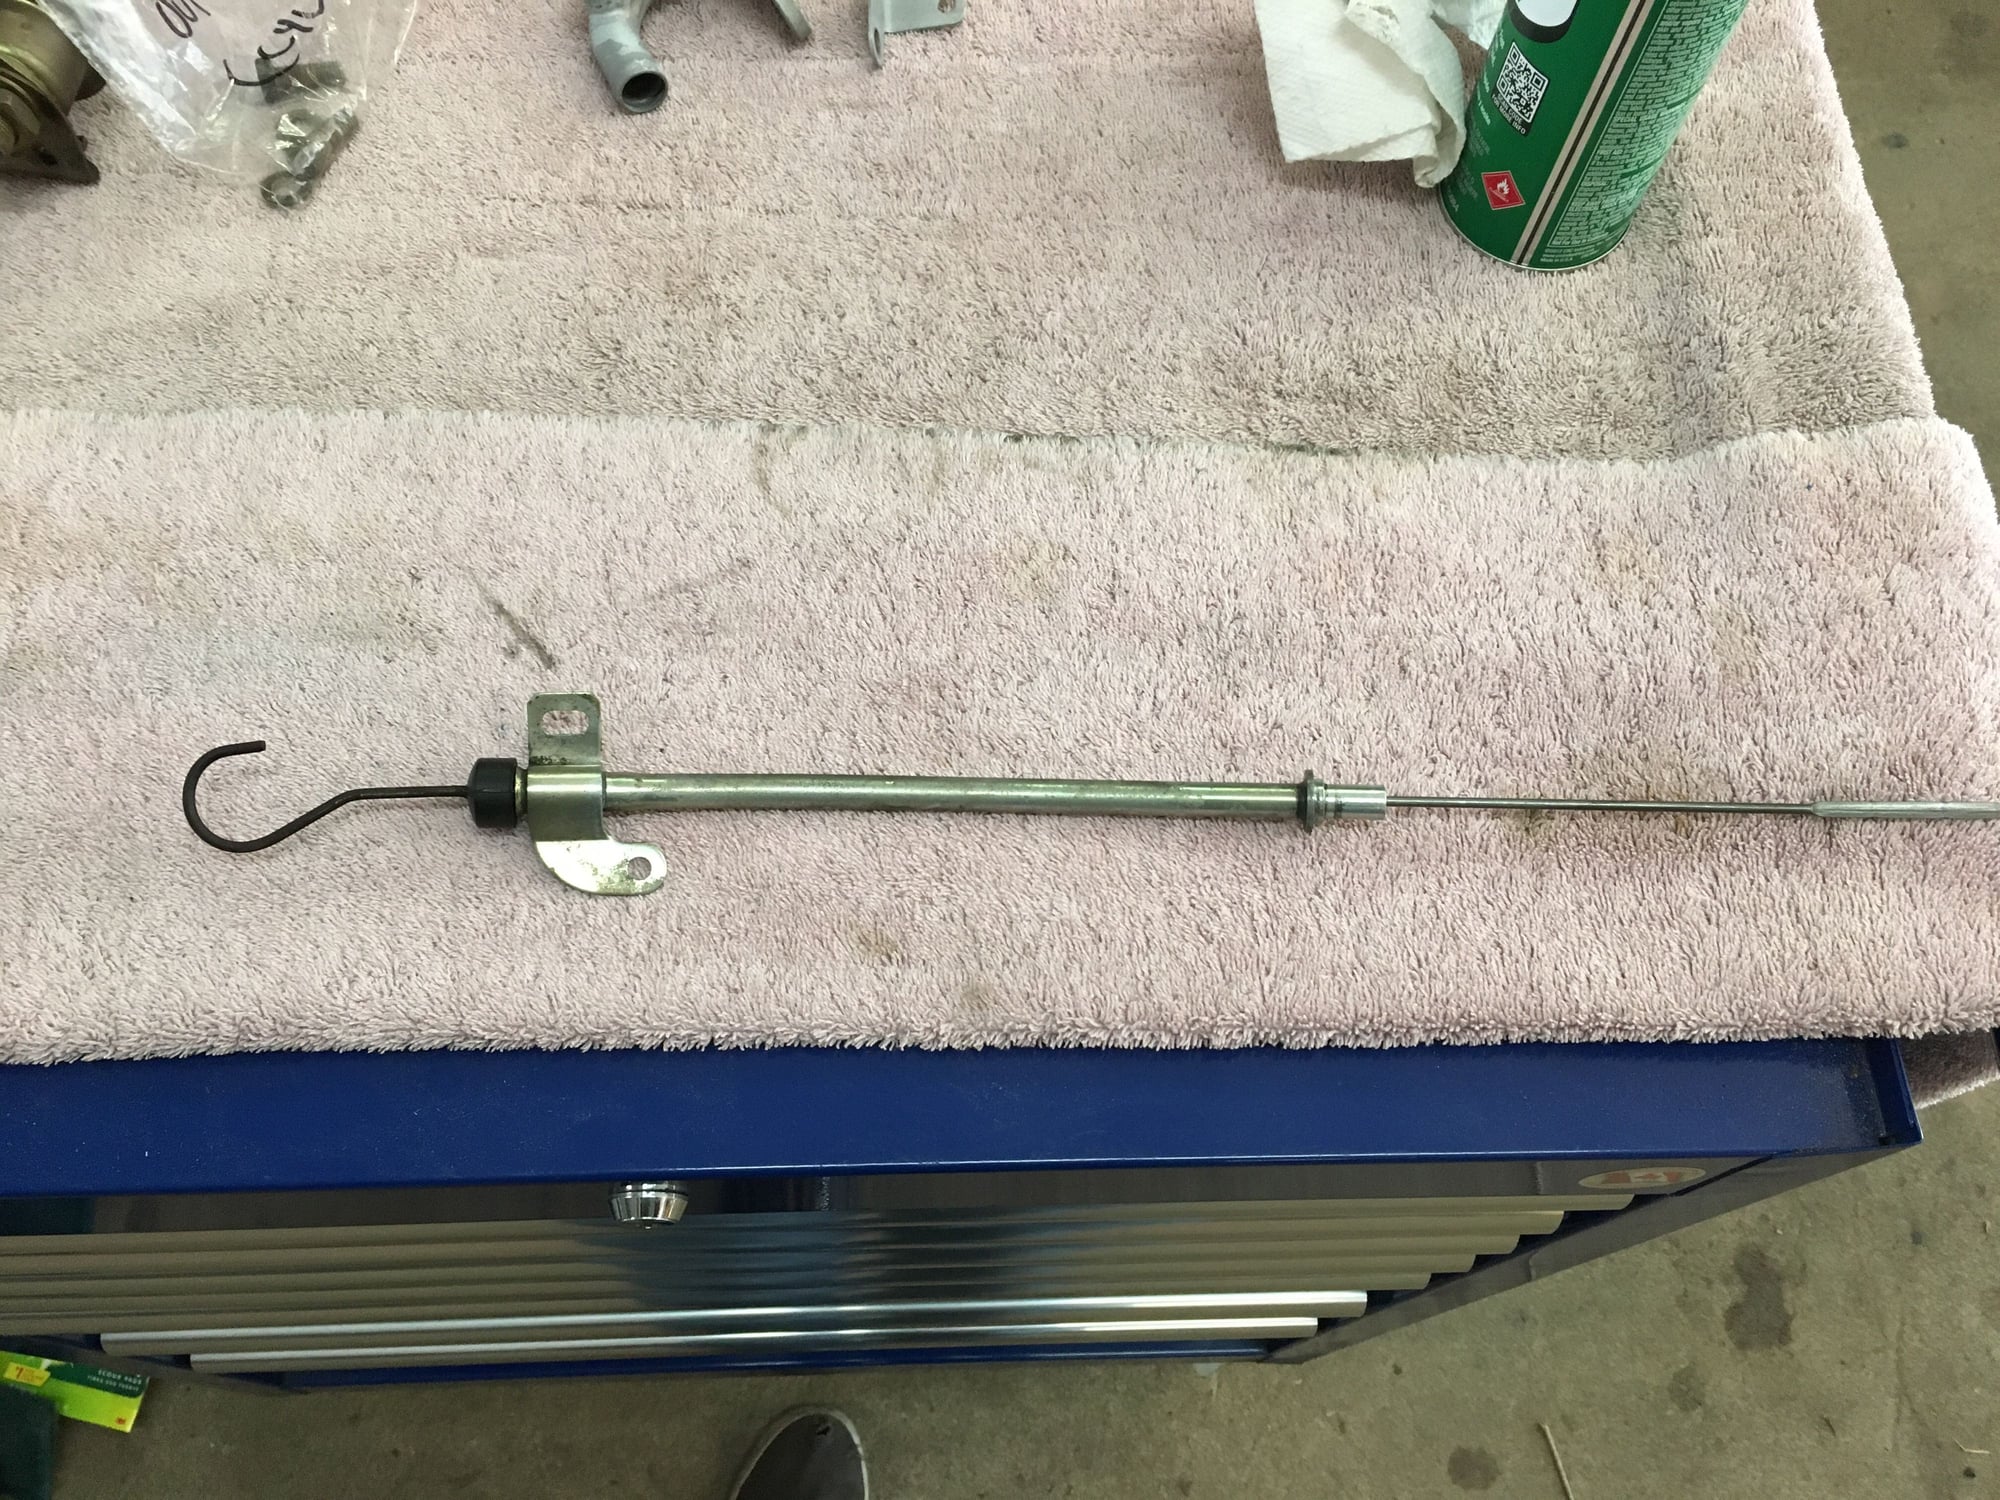
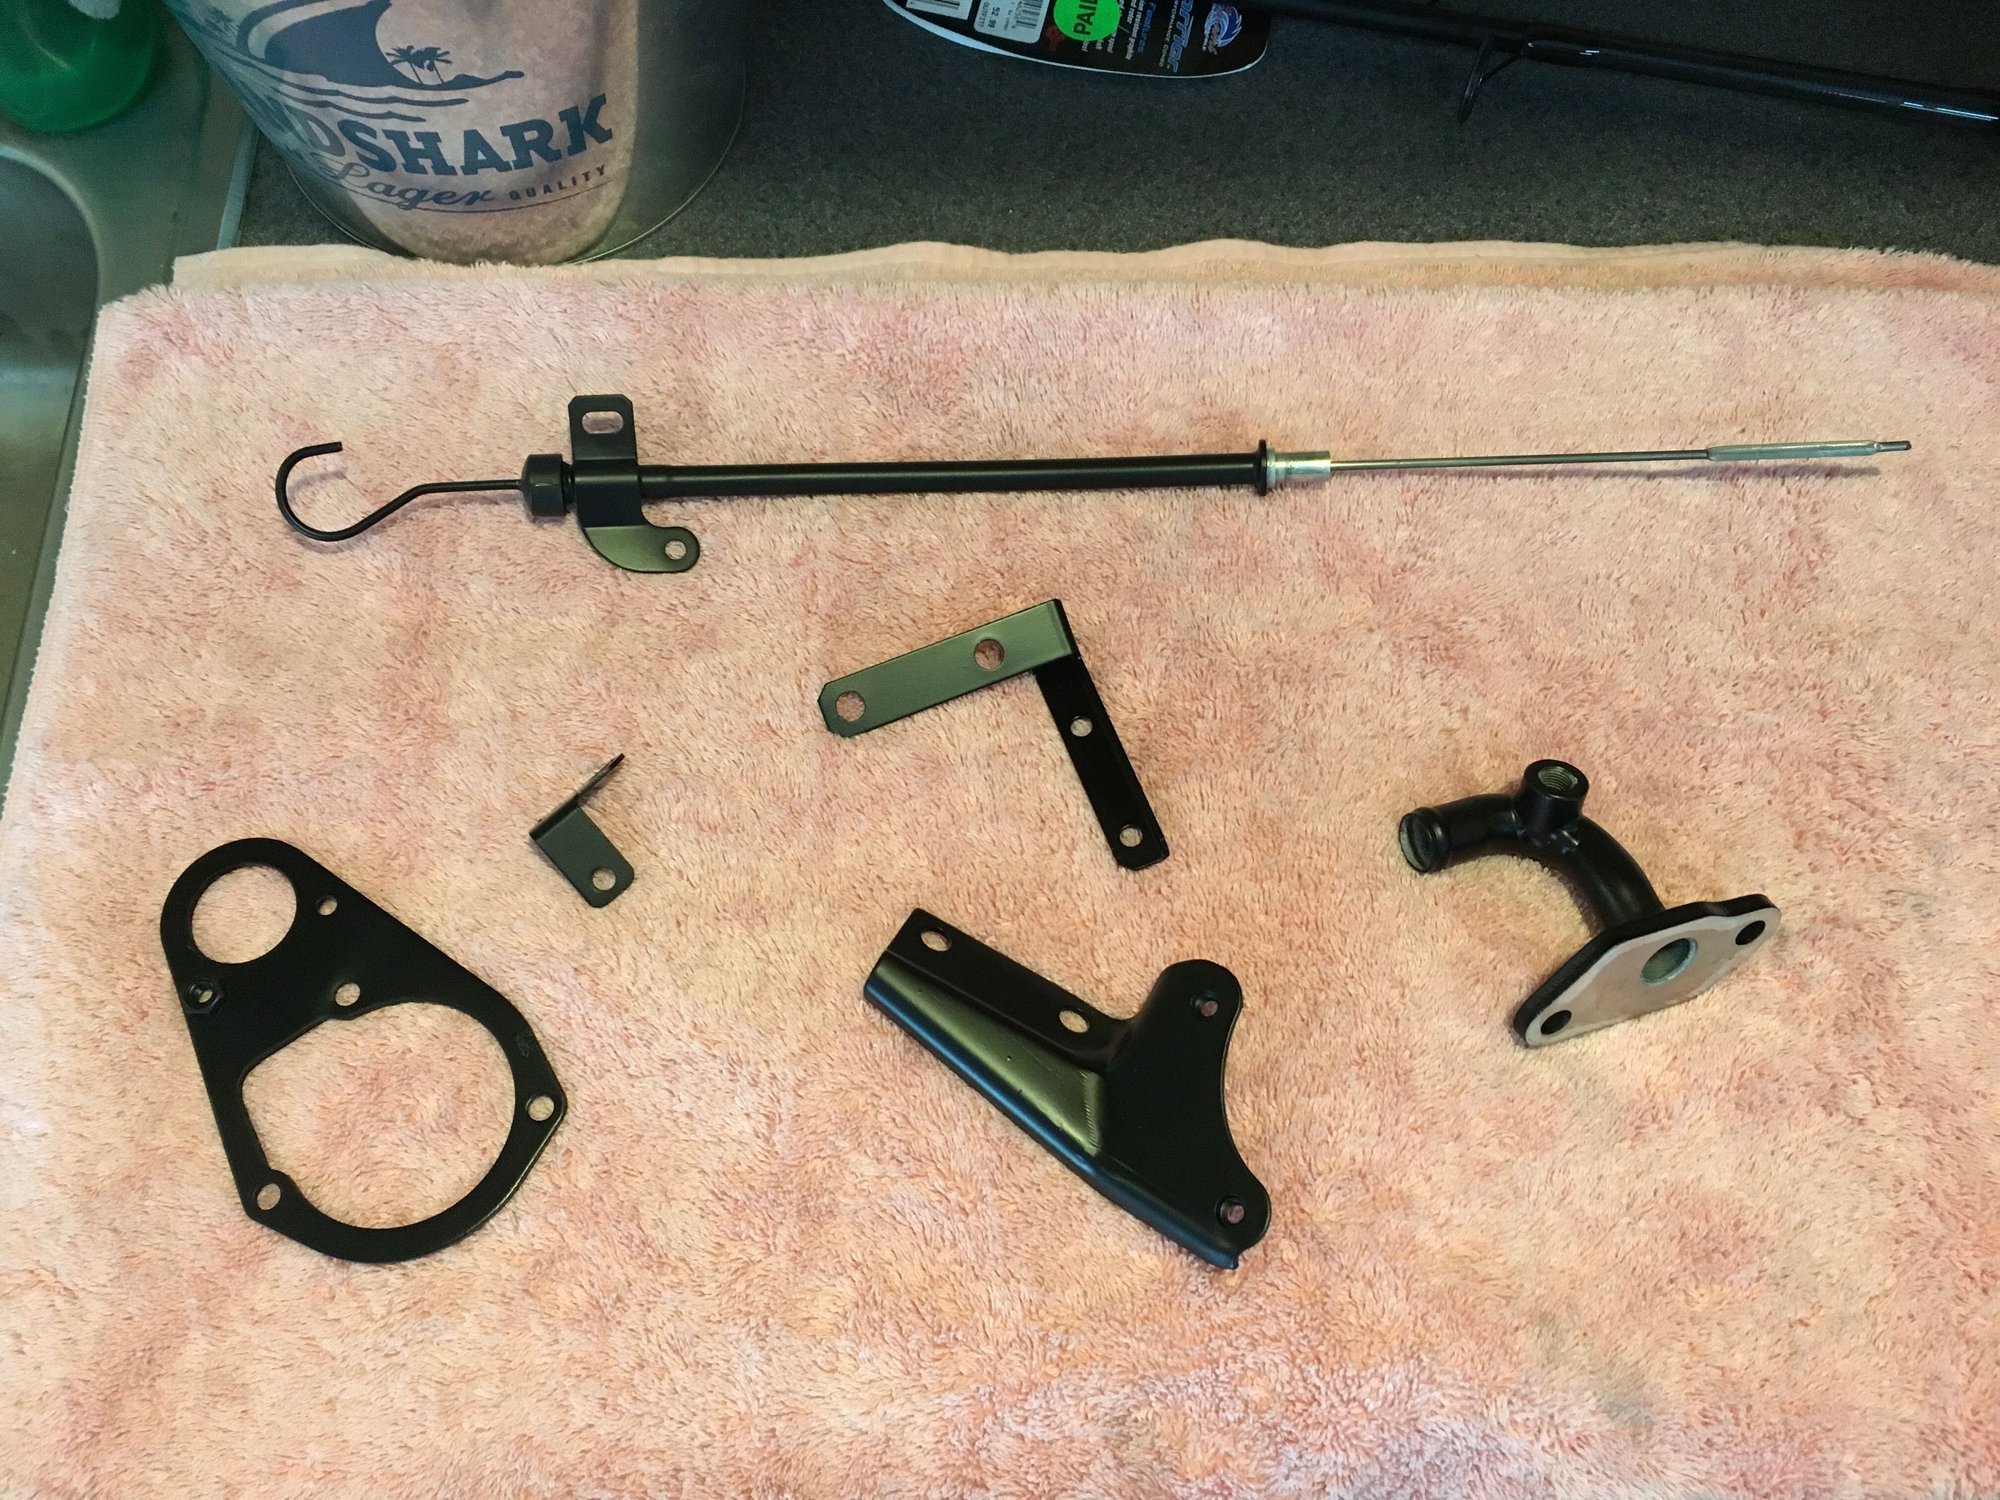
Some of the auxiliary brackets, etc. were getting a bit crusty as you can see below, so I decided these would need to be cleaned up before being reused.
Went ahead and blasted them and painted them satin black. IMO they look stellar post-painting and will compliment the refinished aluminum parts on the engine very nicely.
Naturally there are quite a few more smaller pieces like this that I will continue to clean and paint in the coming weeks.
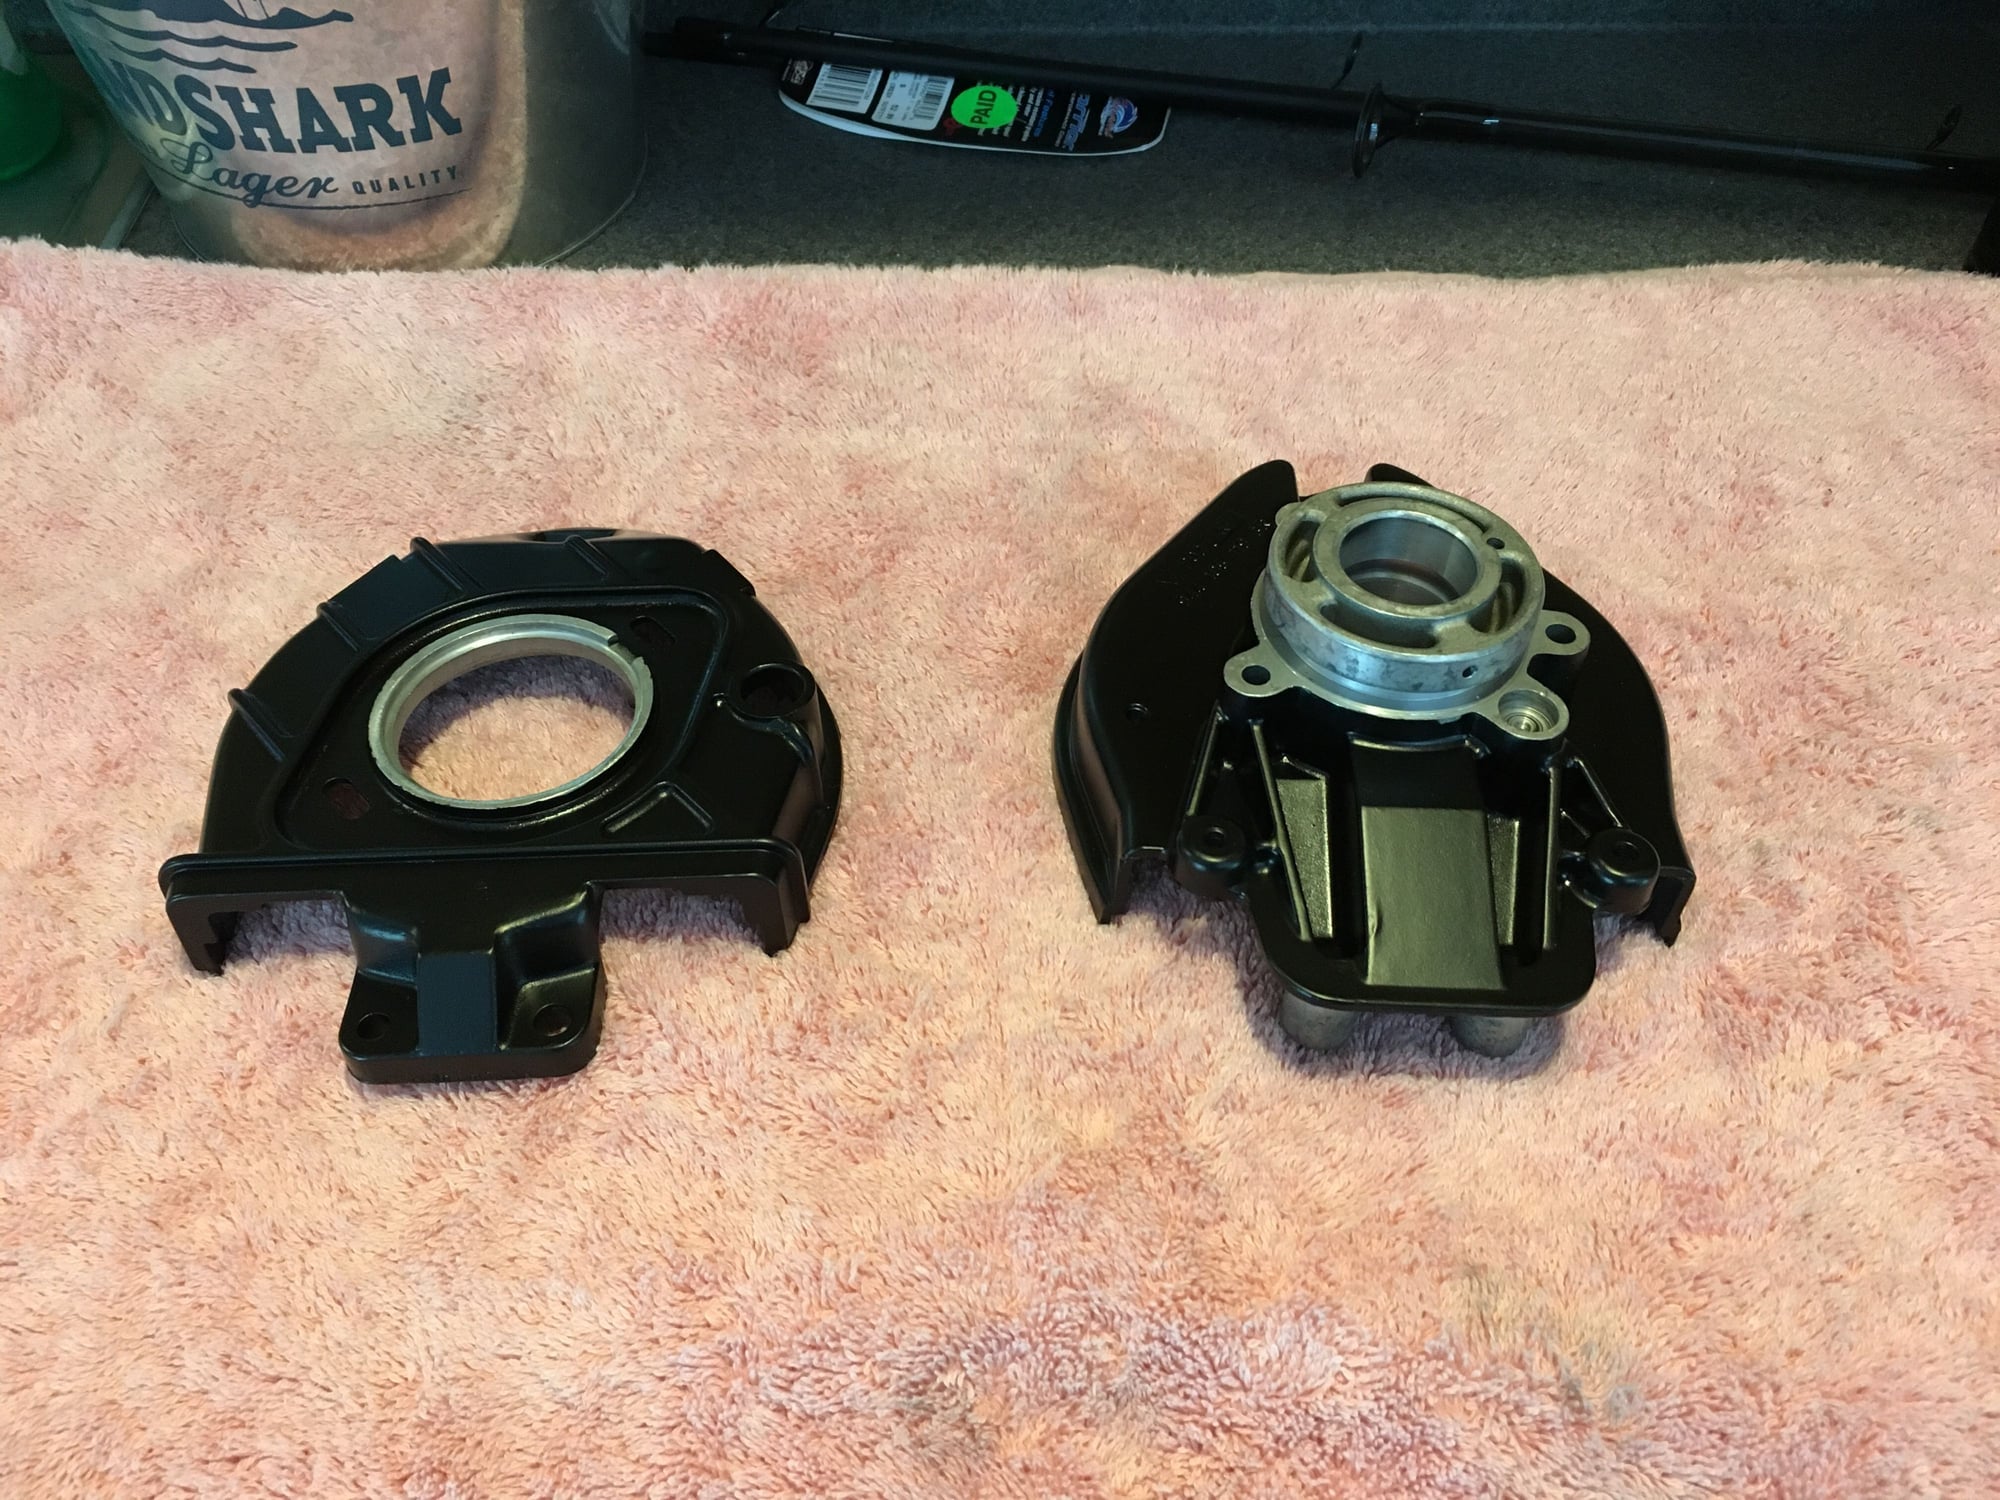
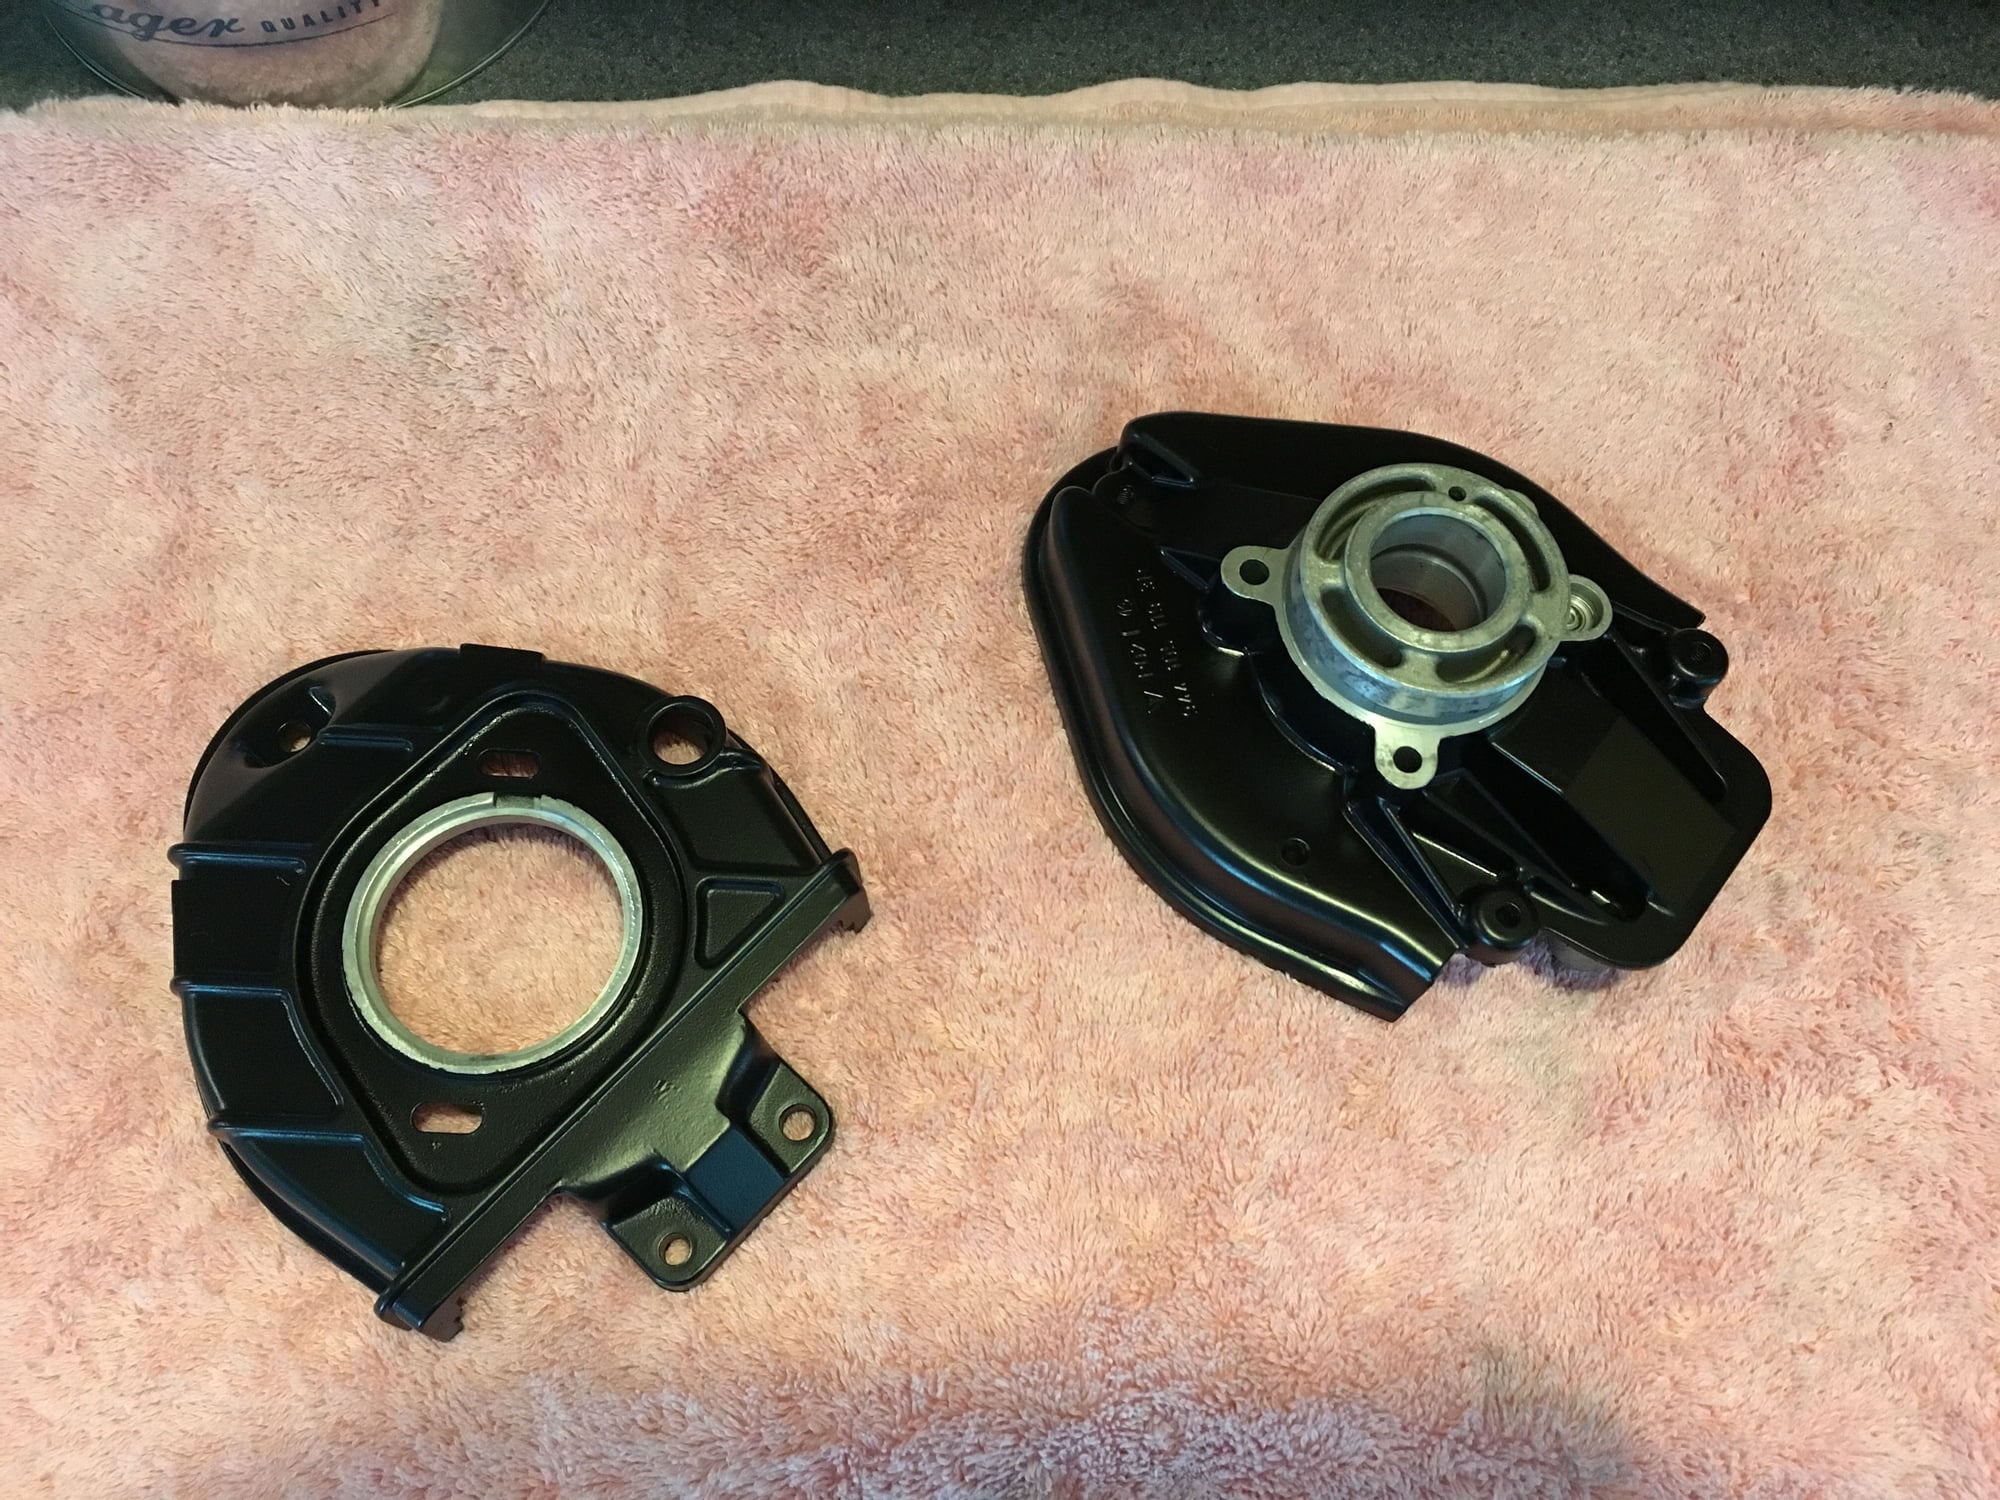
Last thing for today was to paint the cam gear cover with the same satin black as the brackets. I was originally thinking of leaving it bare metal, but thought it would look nice if it blended in better with the plastic timing belt cover. I'd say it was a good choice and should look great when mounted on the cam tower.

 06-30-2016 | 04:22 PM