When you click on links to various merchants on this site and make a purchase, this can result in this site earning a commission. Affiliate programs and affiliations include, but are not limited to, the eBay Partner Network.
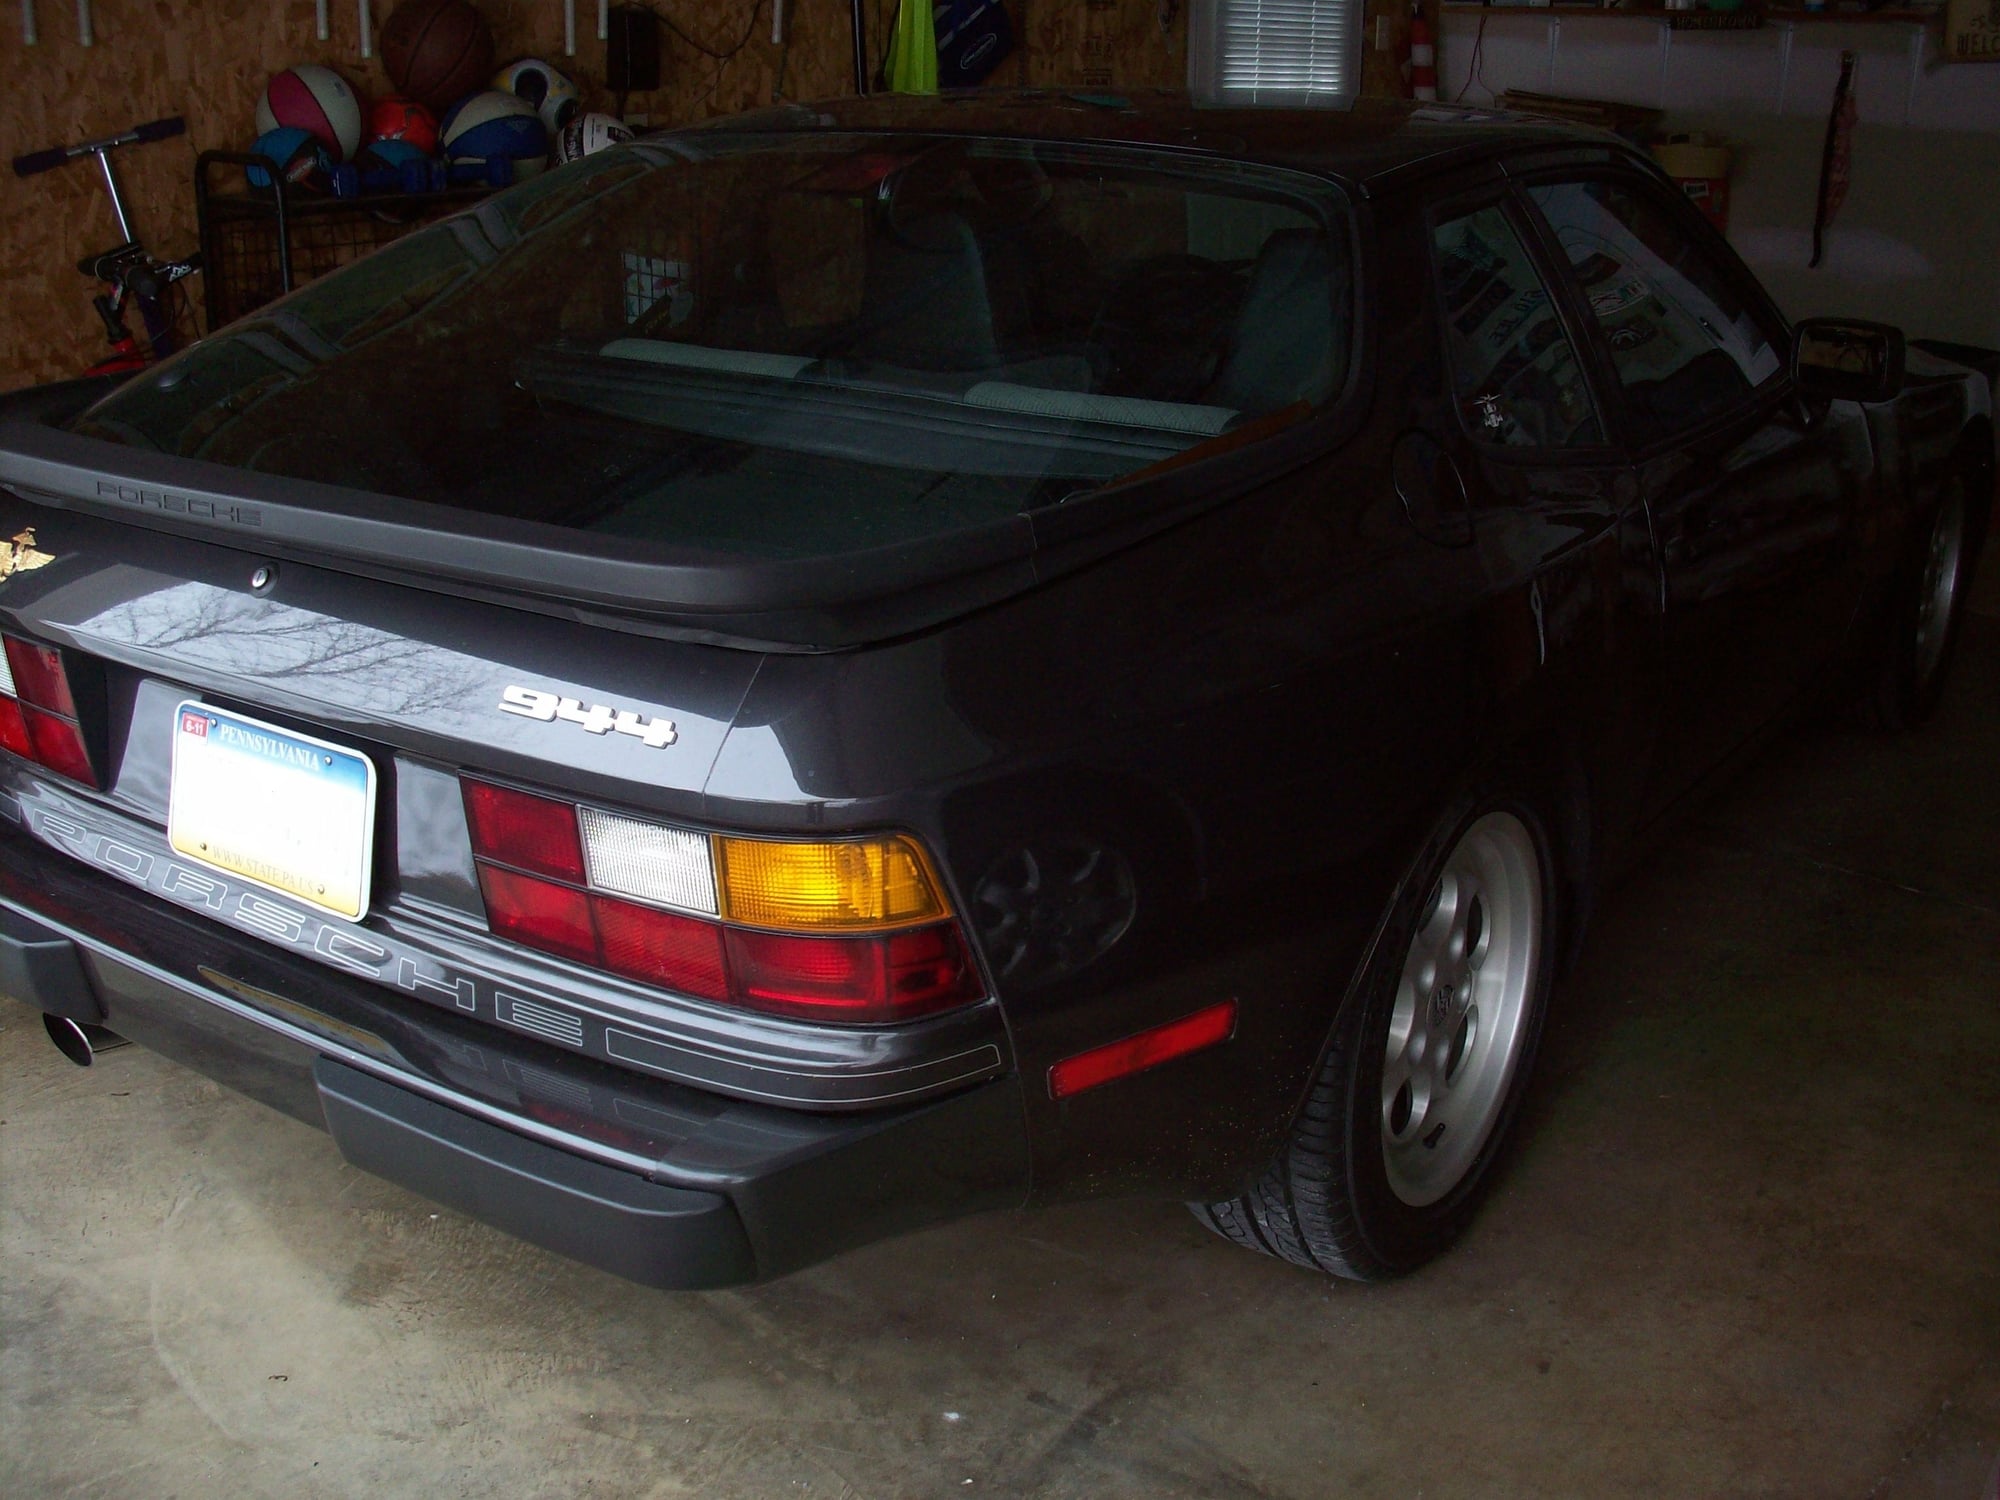
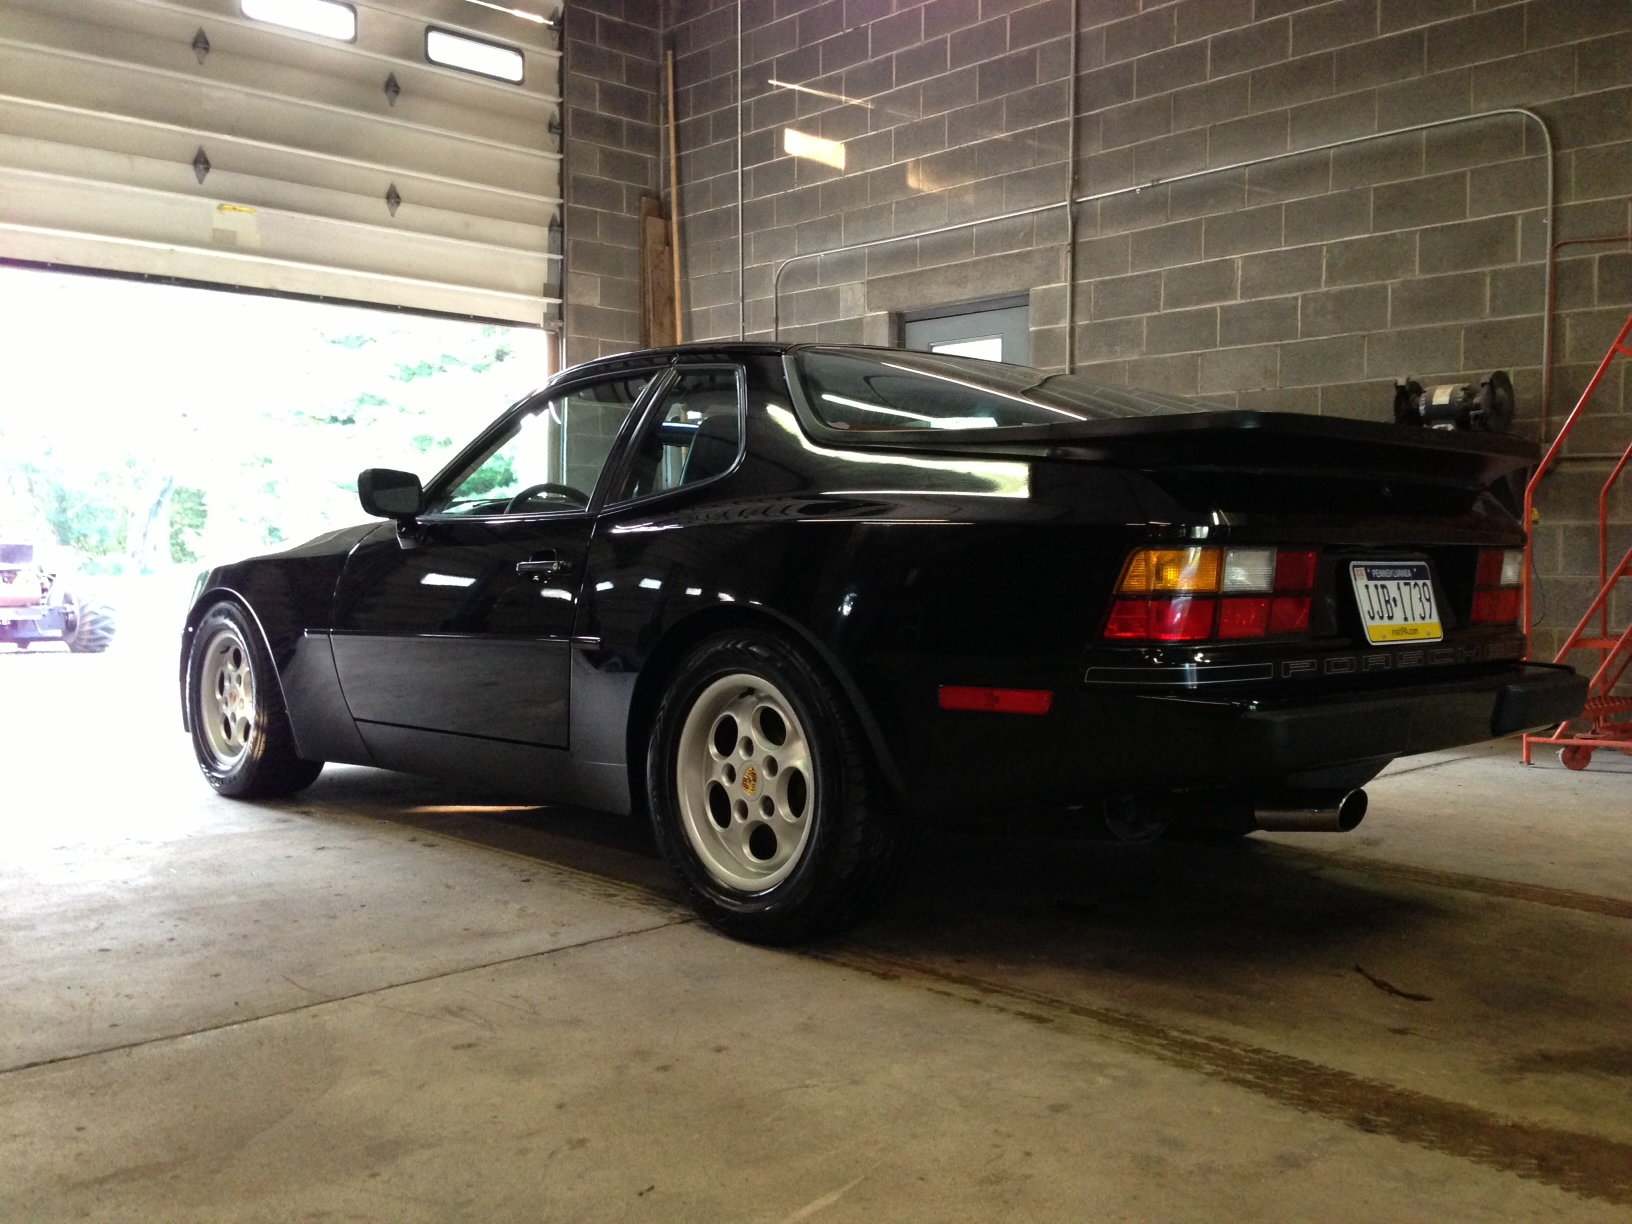
Hey Folks - Justin here. Finally starting a restoration/build thread for my beloved 1986 Porsche 944, which I nicknamed Ferdinand. Here he is after a much needed bath.
I've owned the car for about 3 years now and I got it from the original owner, which is my wife's uncle. He purchased the car new in 1986 and got a chance to visit the factory in Stuttgart, taking European delivery of the car before bringing it back to the States. I'll have to double check the option code decal, but the specifics I can remember off the top of my head are:
I'll have to take a picture of the decal next time I'm with the car since I'm sure there are some I'm forgetting.
I've wanted to do a restoration/build of a car ever since I first got my license, but naturally over the years life, school, lack of funds, etc. got in the way. I'm 30 years old now and finally can commit some time and money to this car to restore it to its former glory. (Hey, it's the same age as me so it's no spring chicken anymore...).
This will be a pretty slow build since I don't work on the car where I live. I live in the city and the car is at my father-in-law's house. I'll be working on the car on the weekends, so realistically only 2-4 times a month. I'll use this thread to document the process over the next 2-3 years.
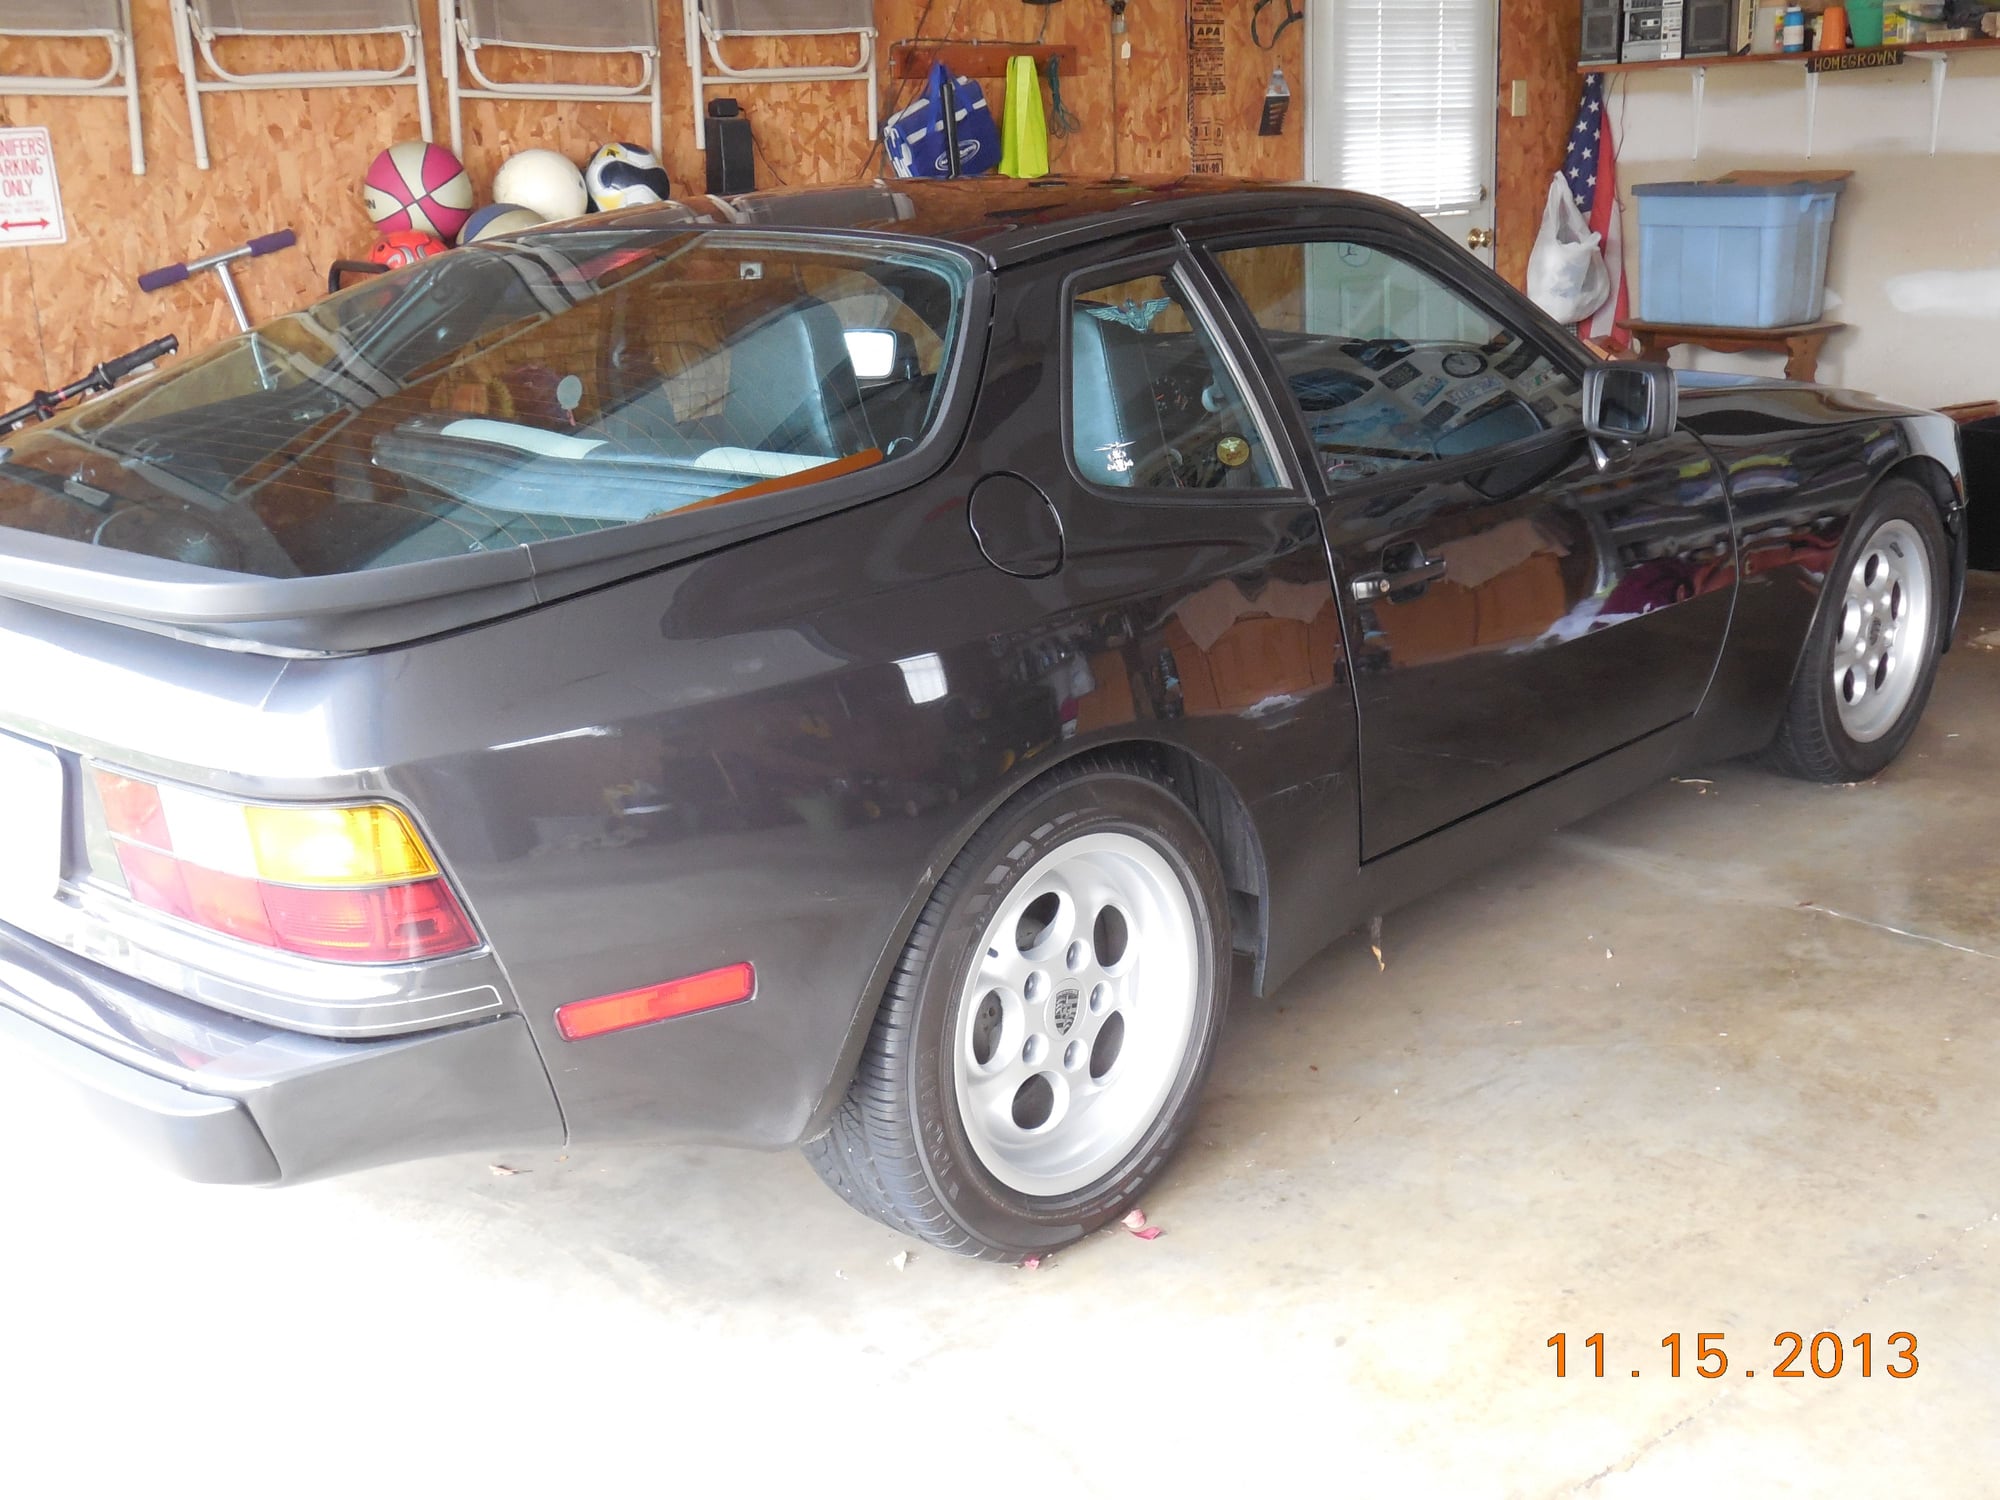
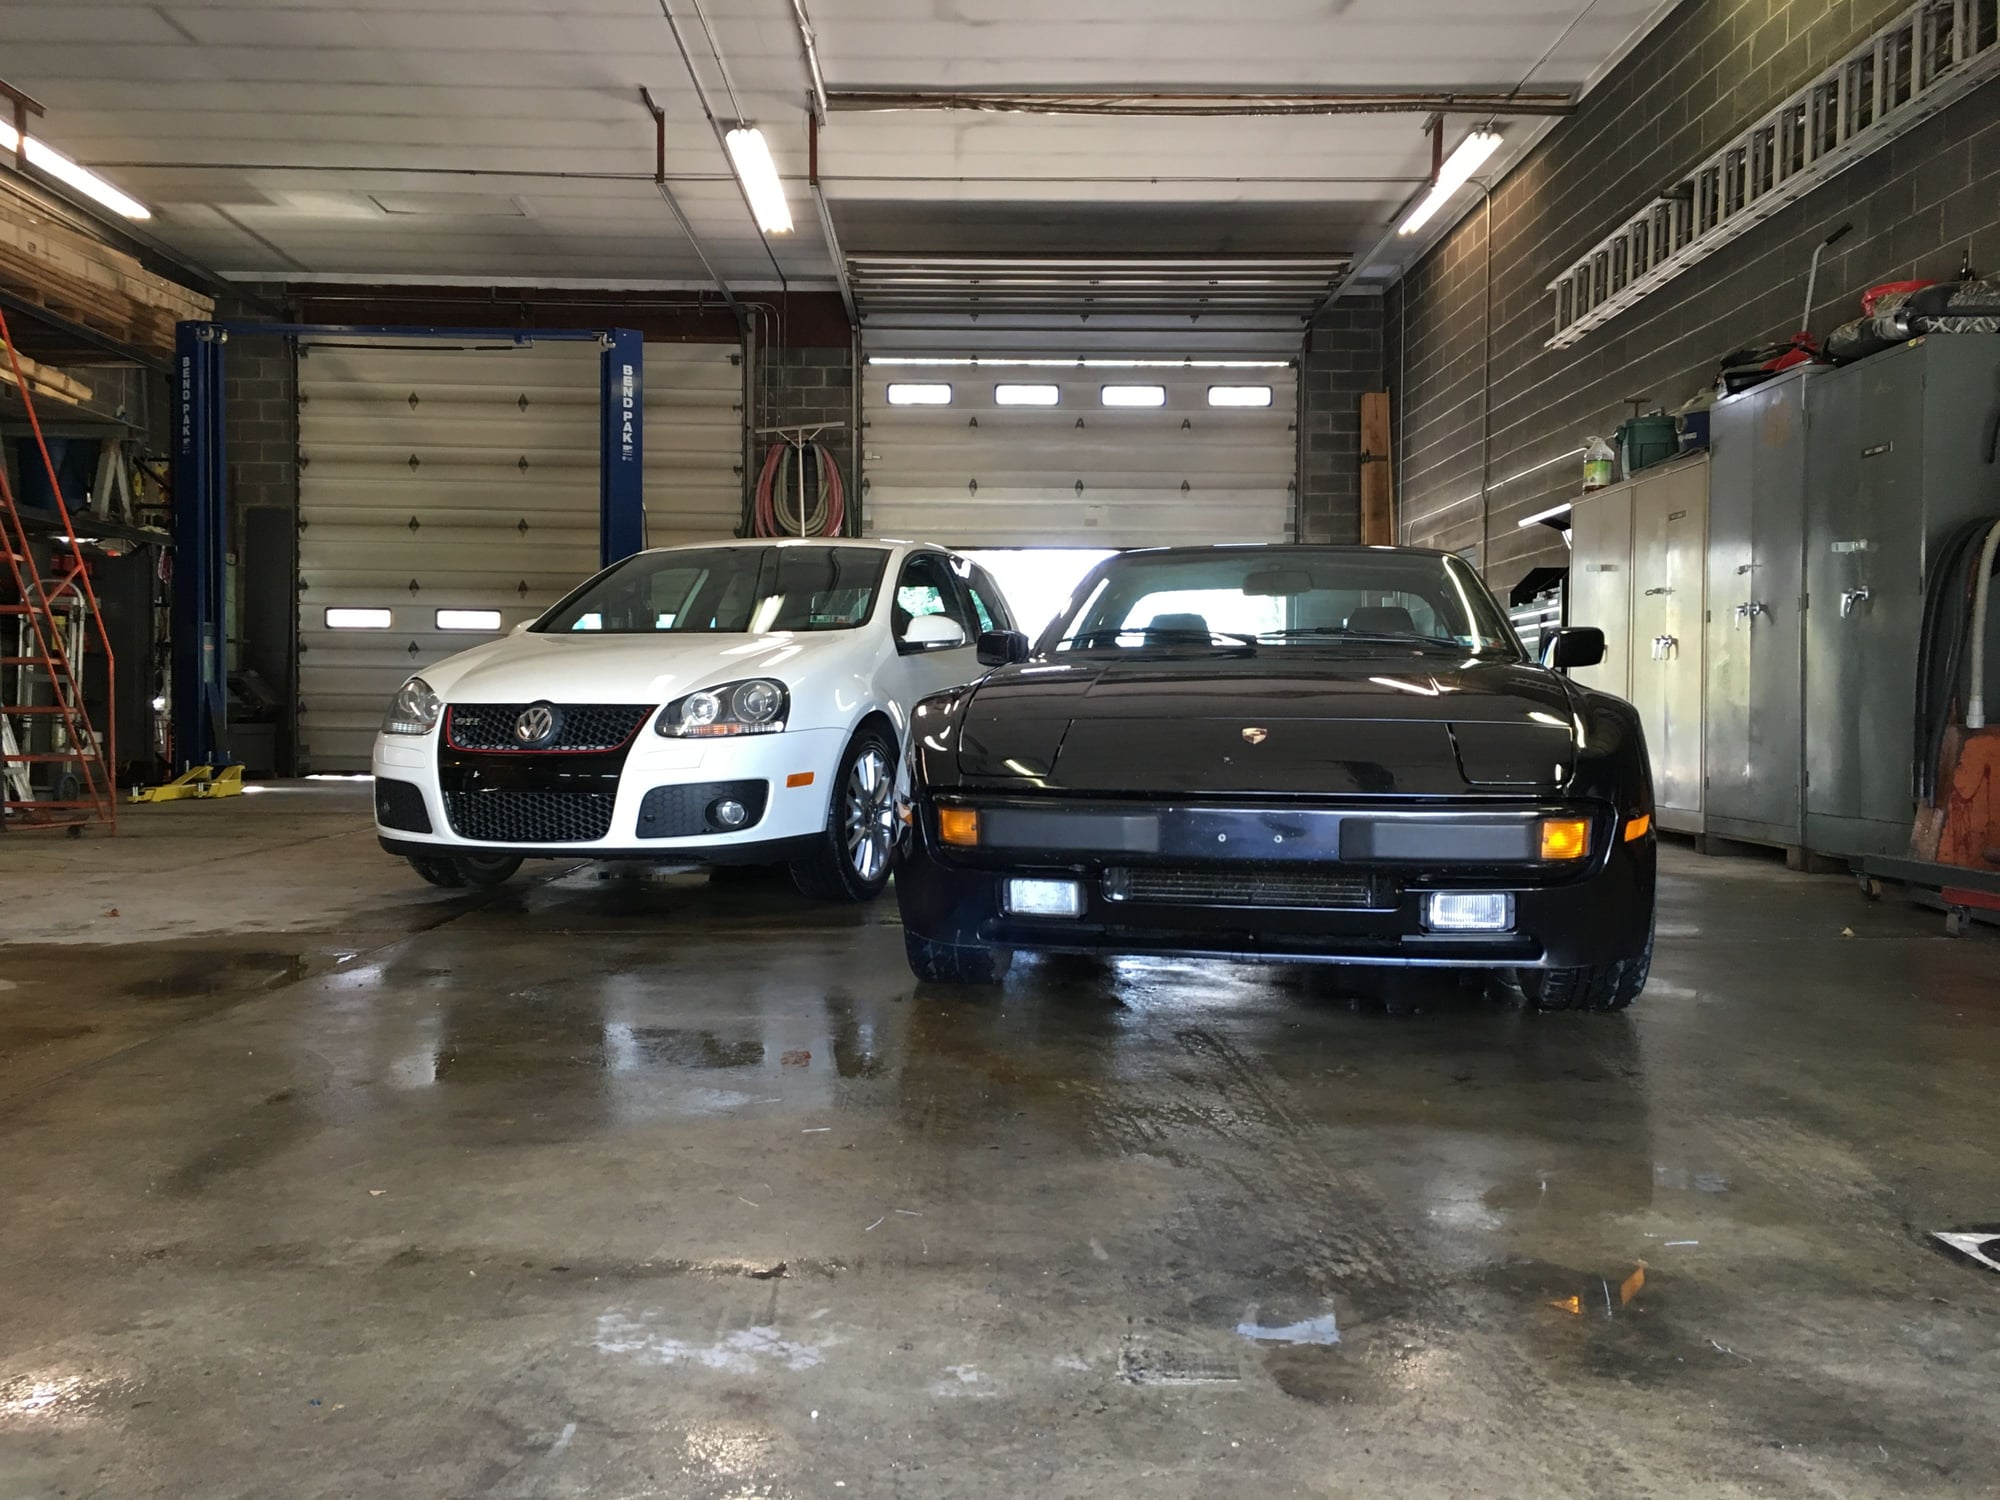
Thanks for looking and for good measure, here's a picture of Ferdinand with his younger brother Igor (yep, I name my vehicles...).
-Justin
Last edited by JRP944; 05-30-2016 at 12:24 PM.
Reason: Title change
Hmm...well that's a bummer. I was about 98% done creating my post about the first bit of work when I guess my session timed out or something. Is there a setting somewhere to change so it doesnt' log me out? Maybe I'll make this one in 2 pieces so I don't lose my post this time.
Anyway, so the car has 105k miles on it currently - I received it with 84k. My wife's uncle always had the car dealer maintained and although it's in very good shape for a 30 year old car, it's showing some signs of its age after living in the northeast for 30 years.
I had the clutch replaced in 2013 and I did all the belts/rollers, water pump, cooling flush & hoses, tune up, etc. back in 2014. A solid runner for sure.
It has successfully completed 2 trips to Portland, ME and back (from Philadelphia, PA) and a trip to Louisville, KY all without any hiccups. It's a blast to drive, as you're all aware, and it gets compliments almost everywhere I go since you just don't see too many of these in my area anymore.
So the plan here is to slowly work my way through each section of the car, cleaning/restoring what I can and updating/replacing what I can't. I'm going to predominantly keep to the original design intent of the car, but there are naturally some areas where newer components and improved designs can be used.
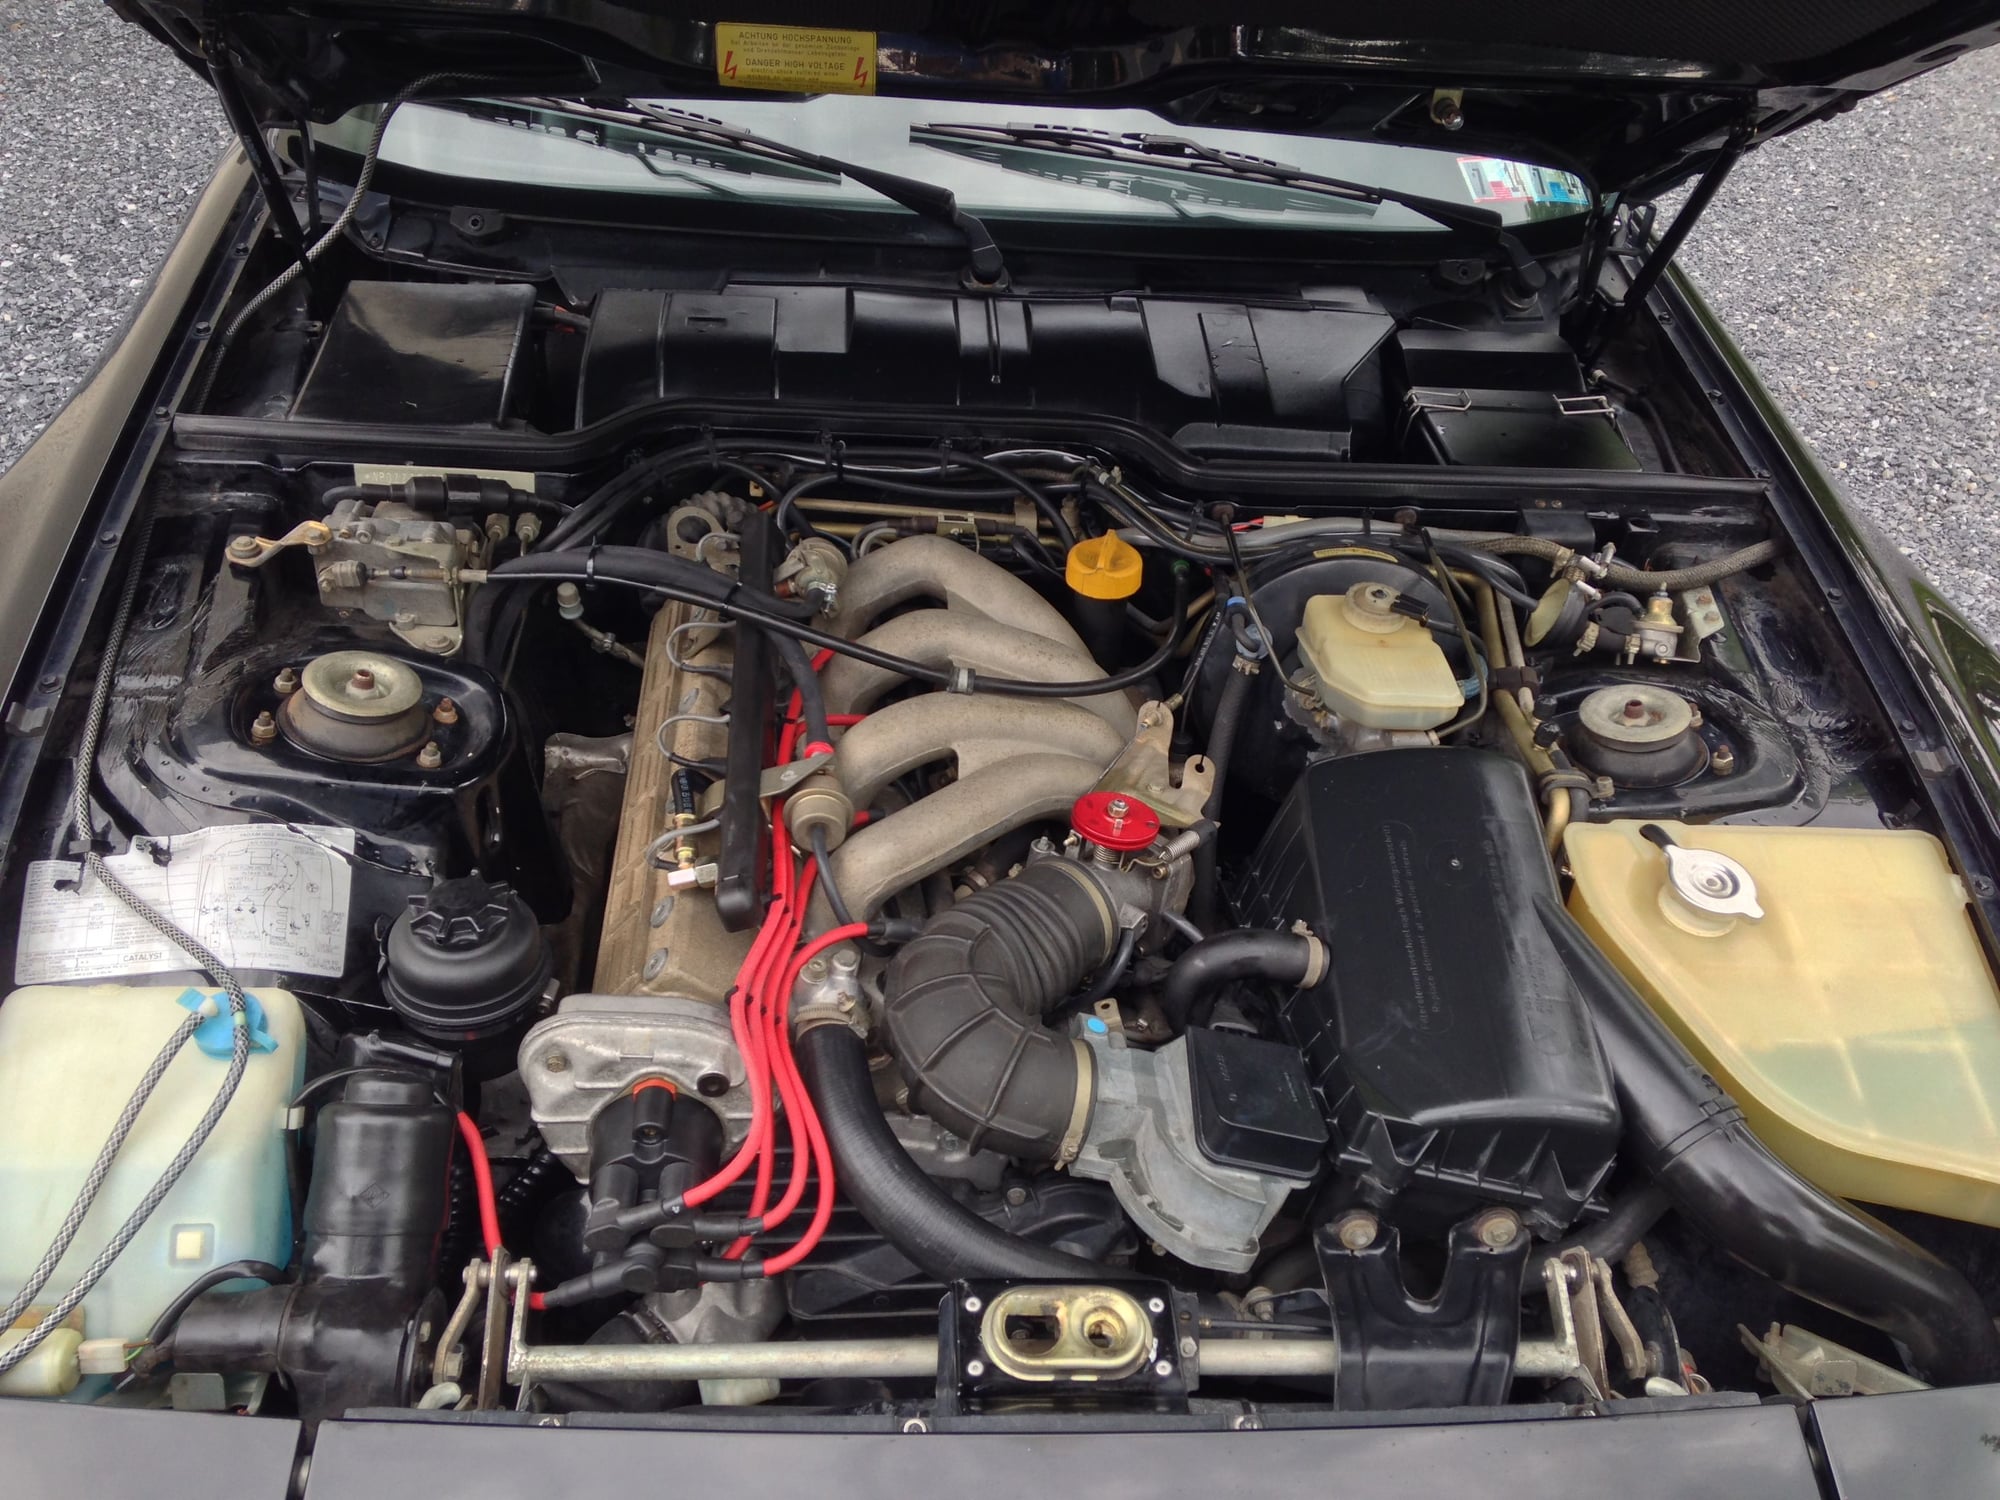
Here's a shot of the engine in 2014 after performing all the routine maintenance and washing it up. Overall in great shape but as you can see, all of the aluminum components and a lot of the zinc plated stuff is getting that nasty surface corrosion.
I decided I wanted to start by pulling the engine and fixing everything up there before moving on to other areas of the car. While it runs great, it's developed its share of oil leaks and and now also a coolant leak. Figured it would be easier to replace all the gaskets, seals, etc. with the engine out of the car.
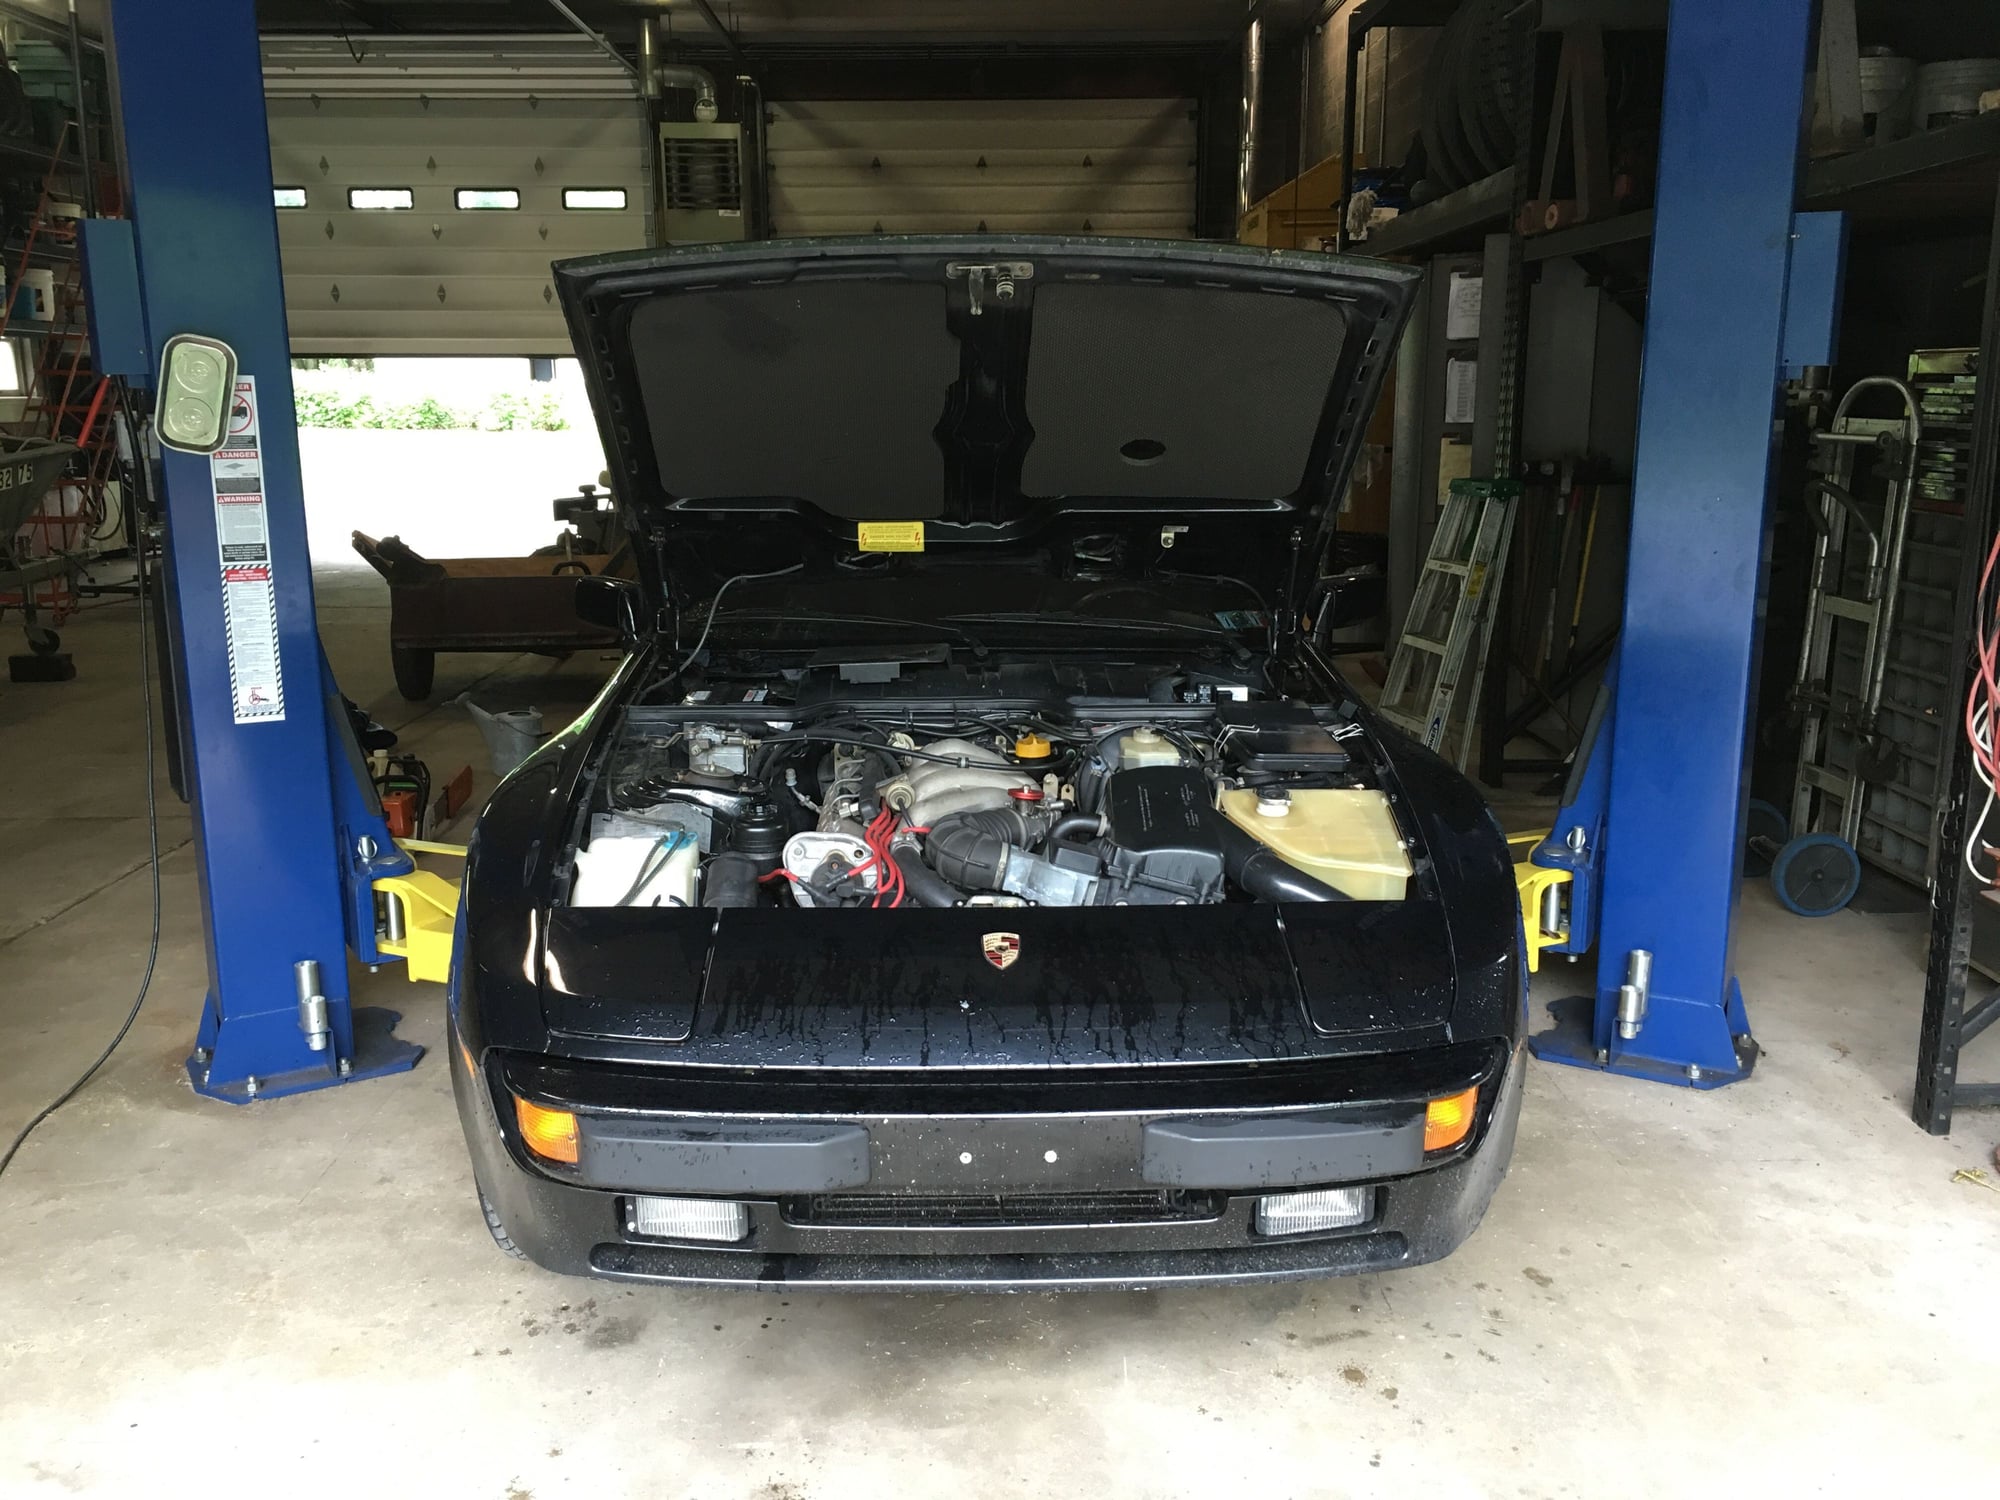
Here's the car set up on the lift at my father-in-law's house. He does excavating work and has a garage large enough to bring his equipment inside during the winter for maintenance. 2400 square feet - so there's a bit a room to spread out for auto maintenance.
So it took me 2 different working days, spread over 2 weekends to get the engine out. I decided I wanted to pull it from the top like others have done. I struggled a bit (that damn torque tube shaft is so freaking long) but ultimately got it out. I loosened up the sub-frame and steering components to give myself a bit of room to clear the oil pan. I also removed the fans/radiator. I read that a few people pulled the engine with these in place - I guess they went out the bottom since I needed every inch of space!
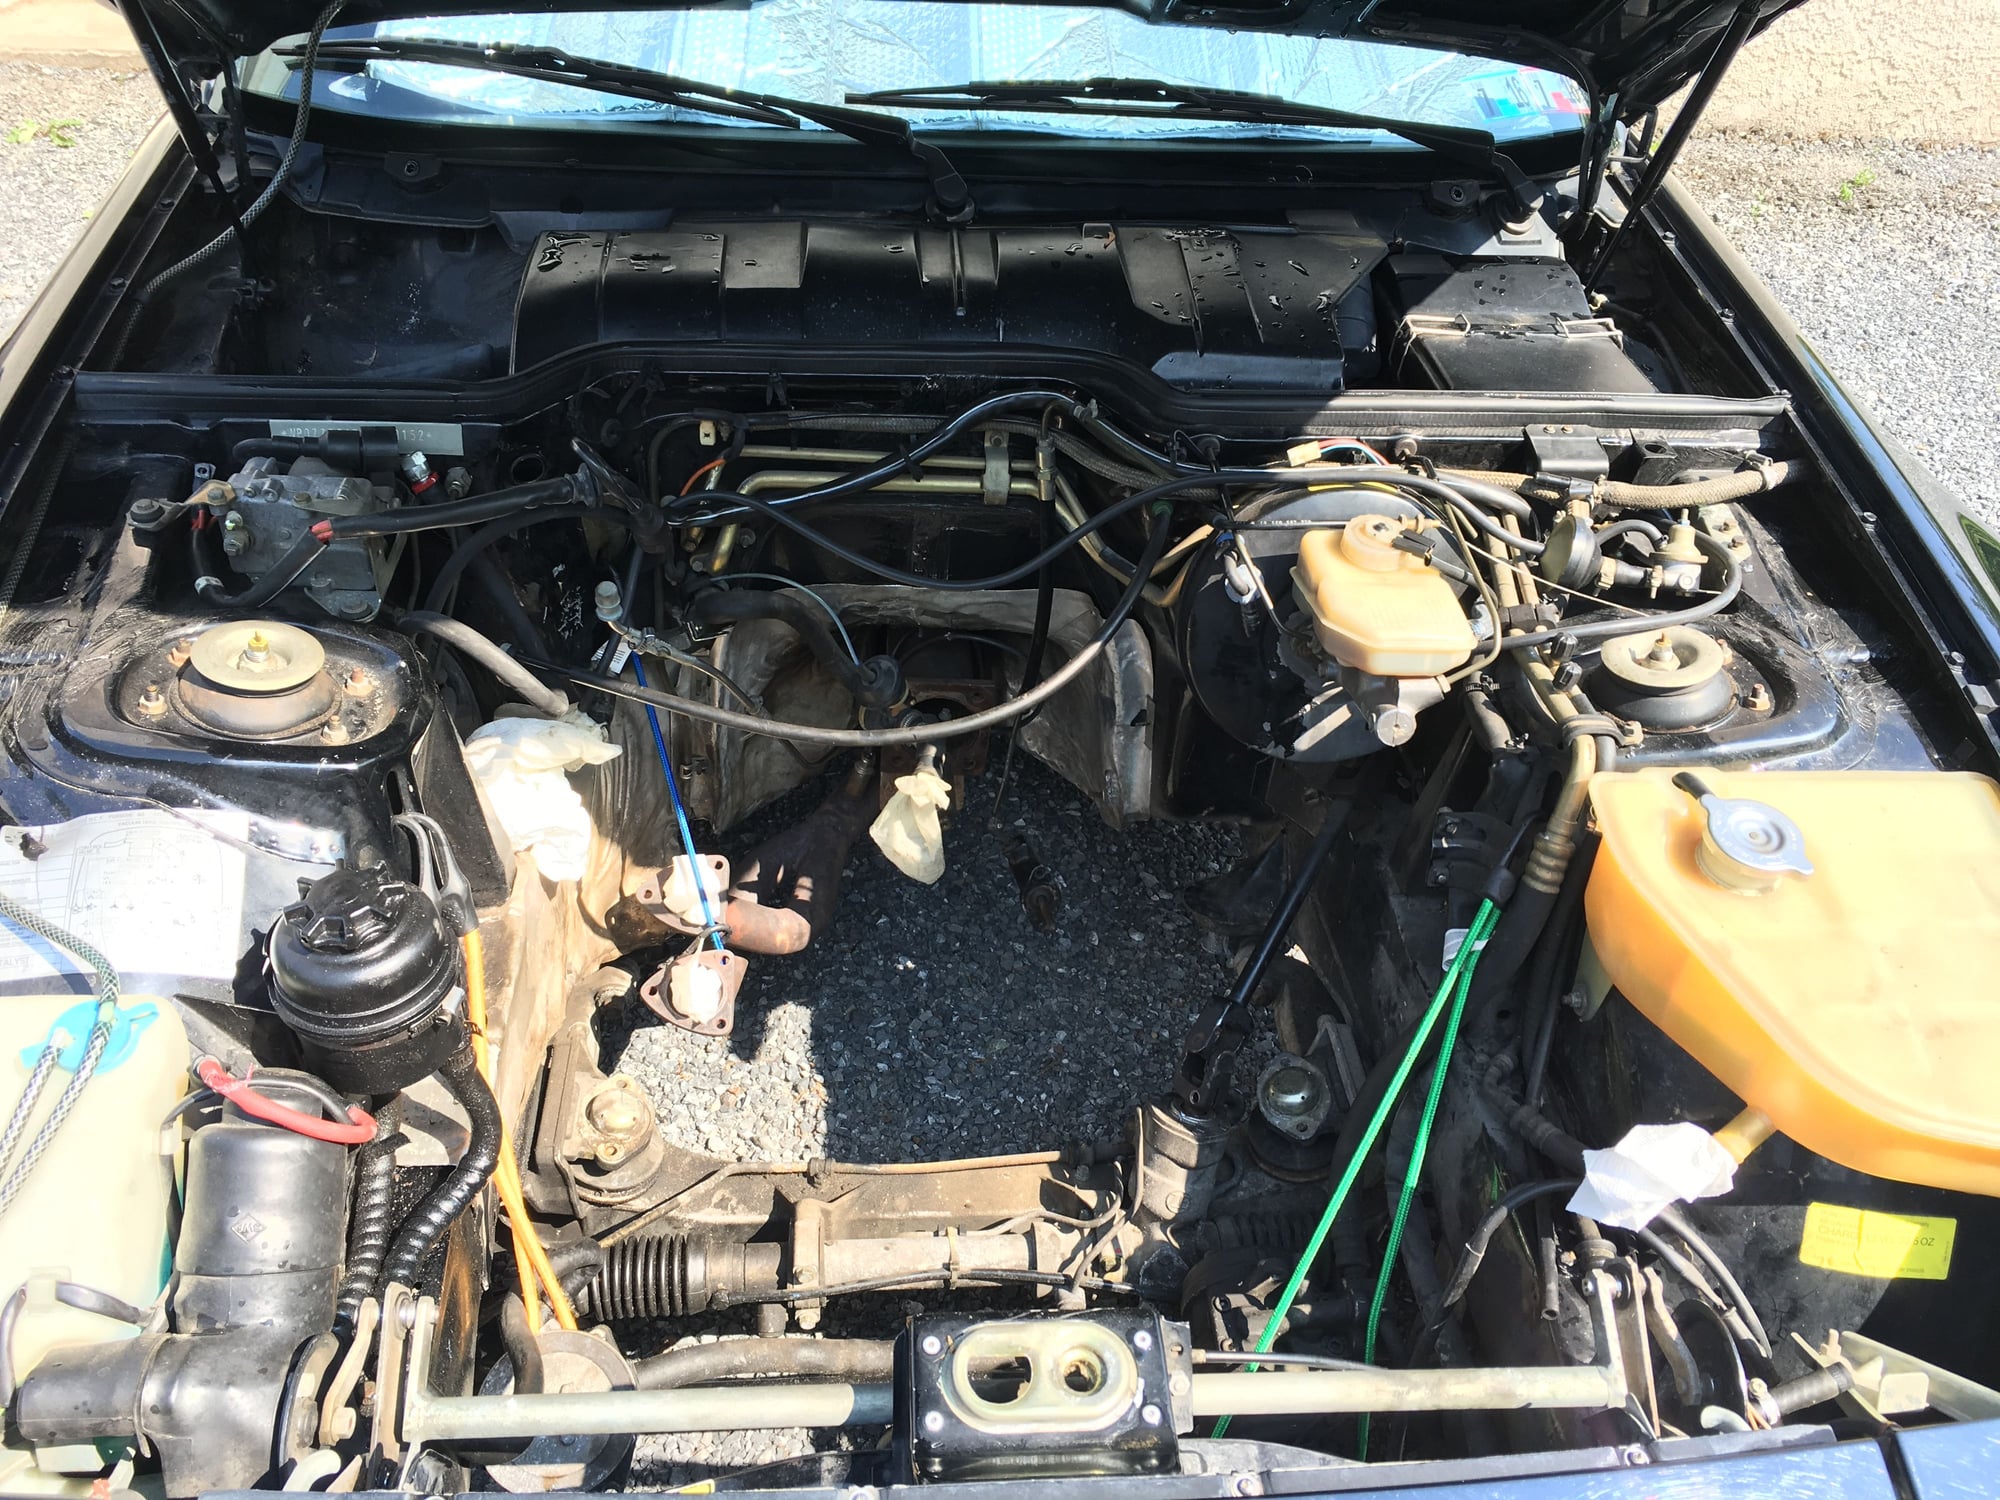
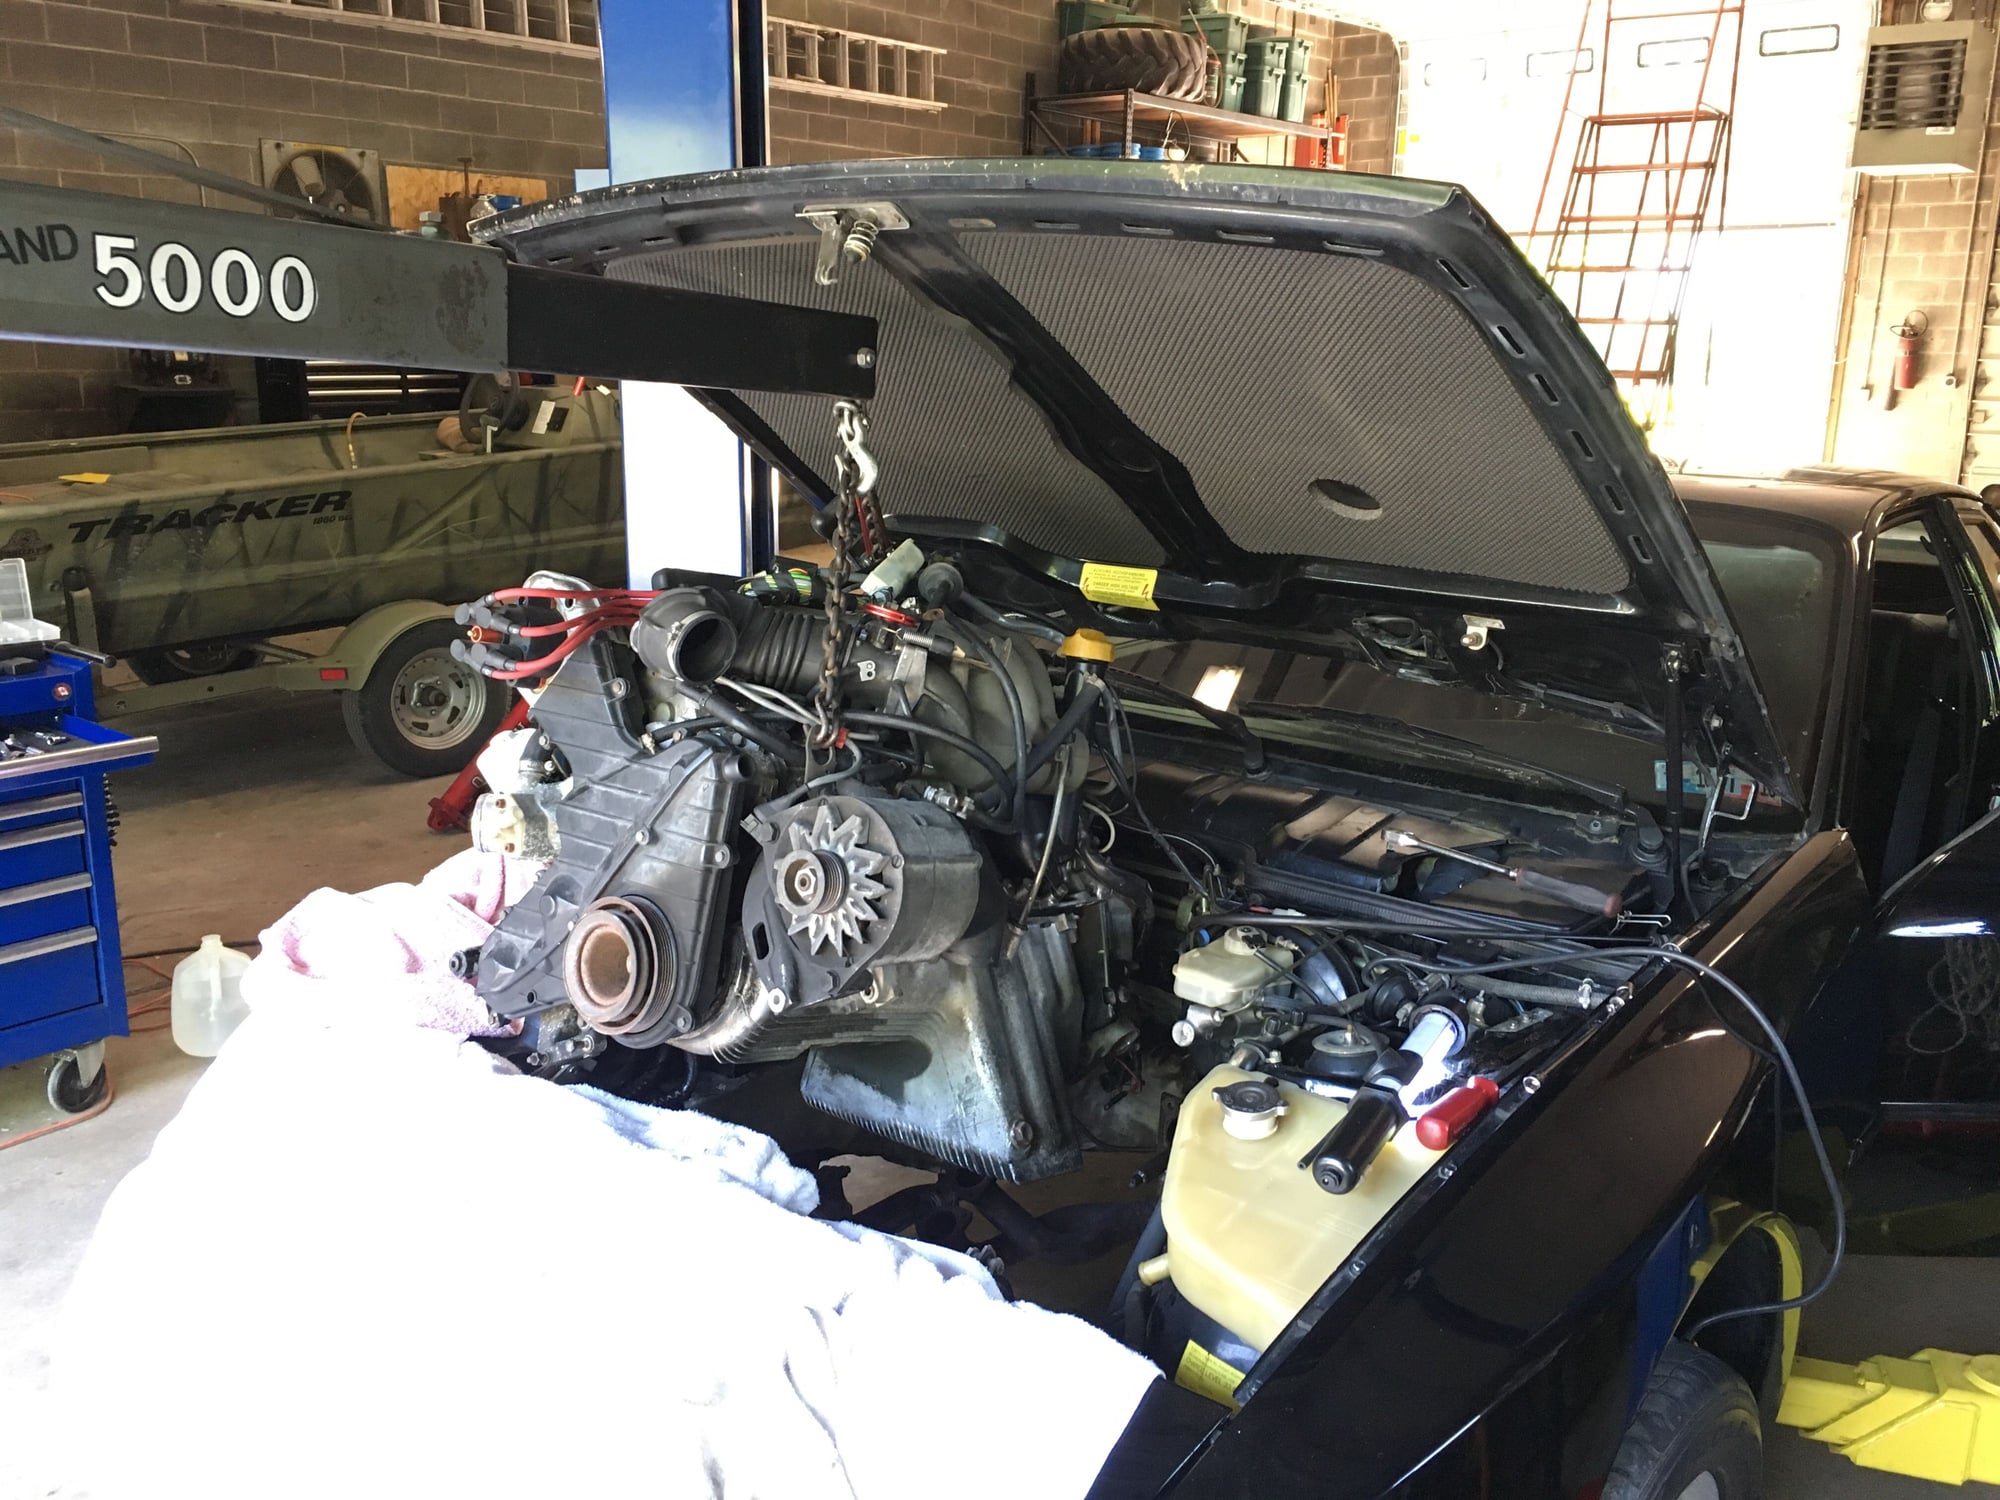
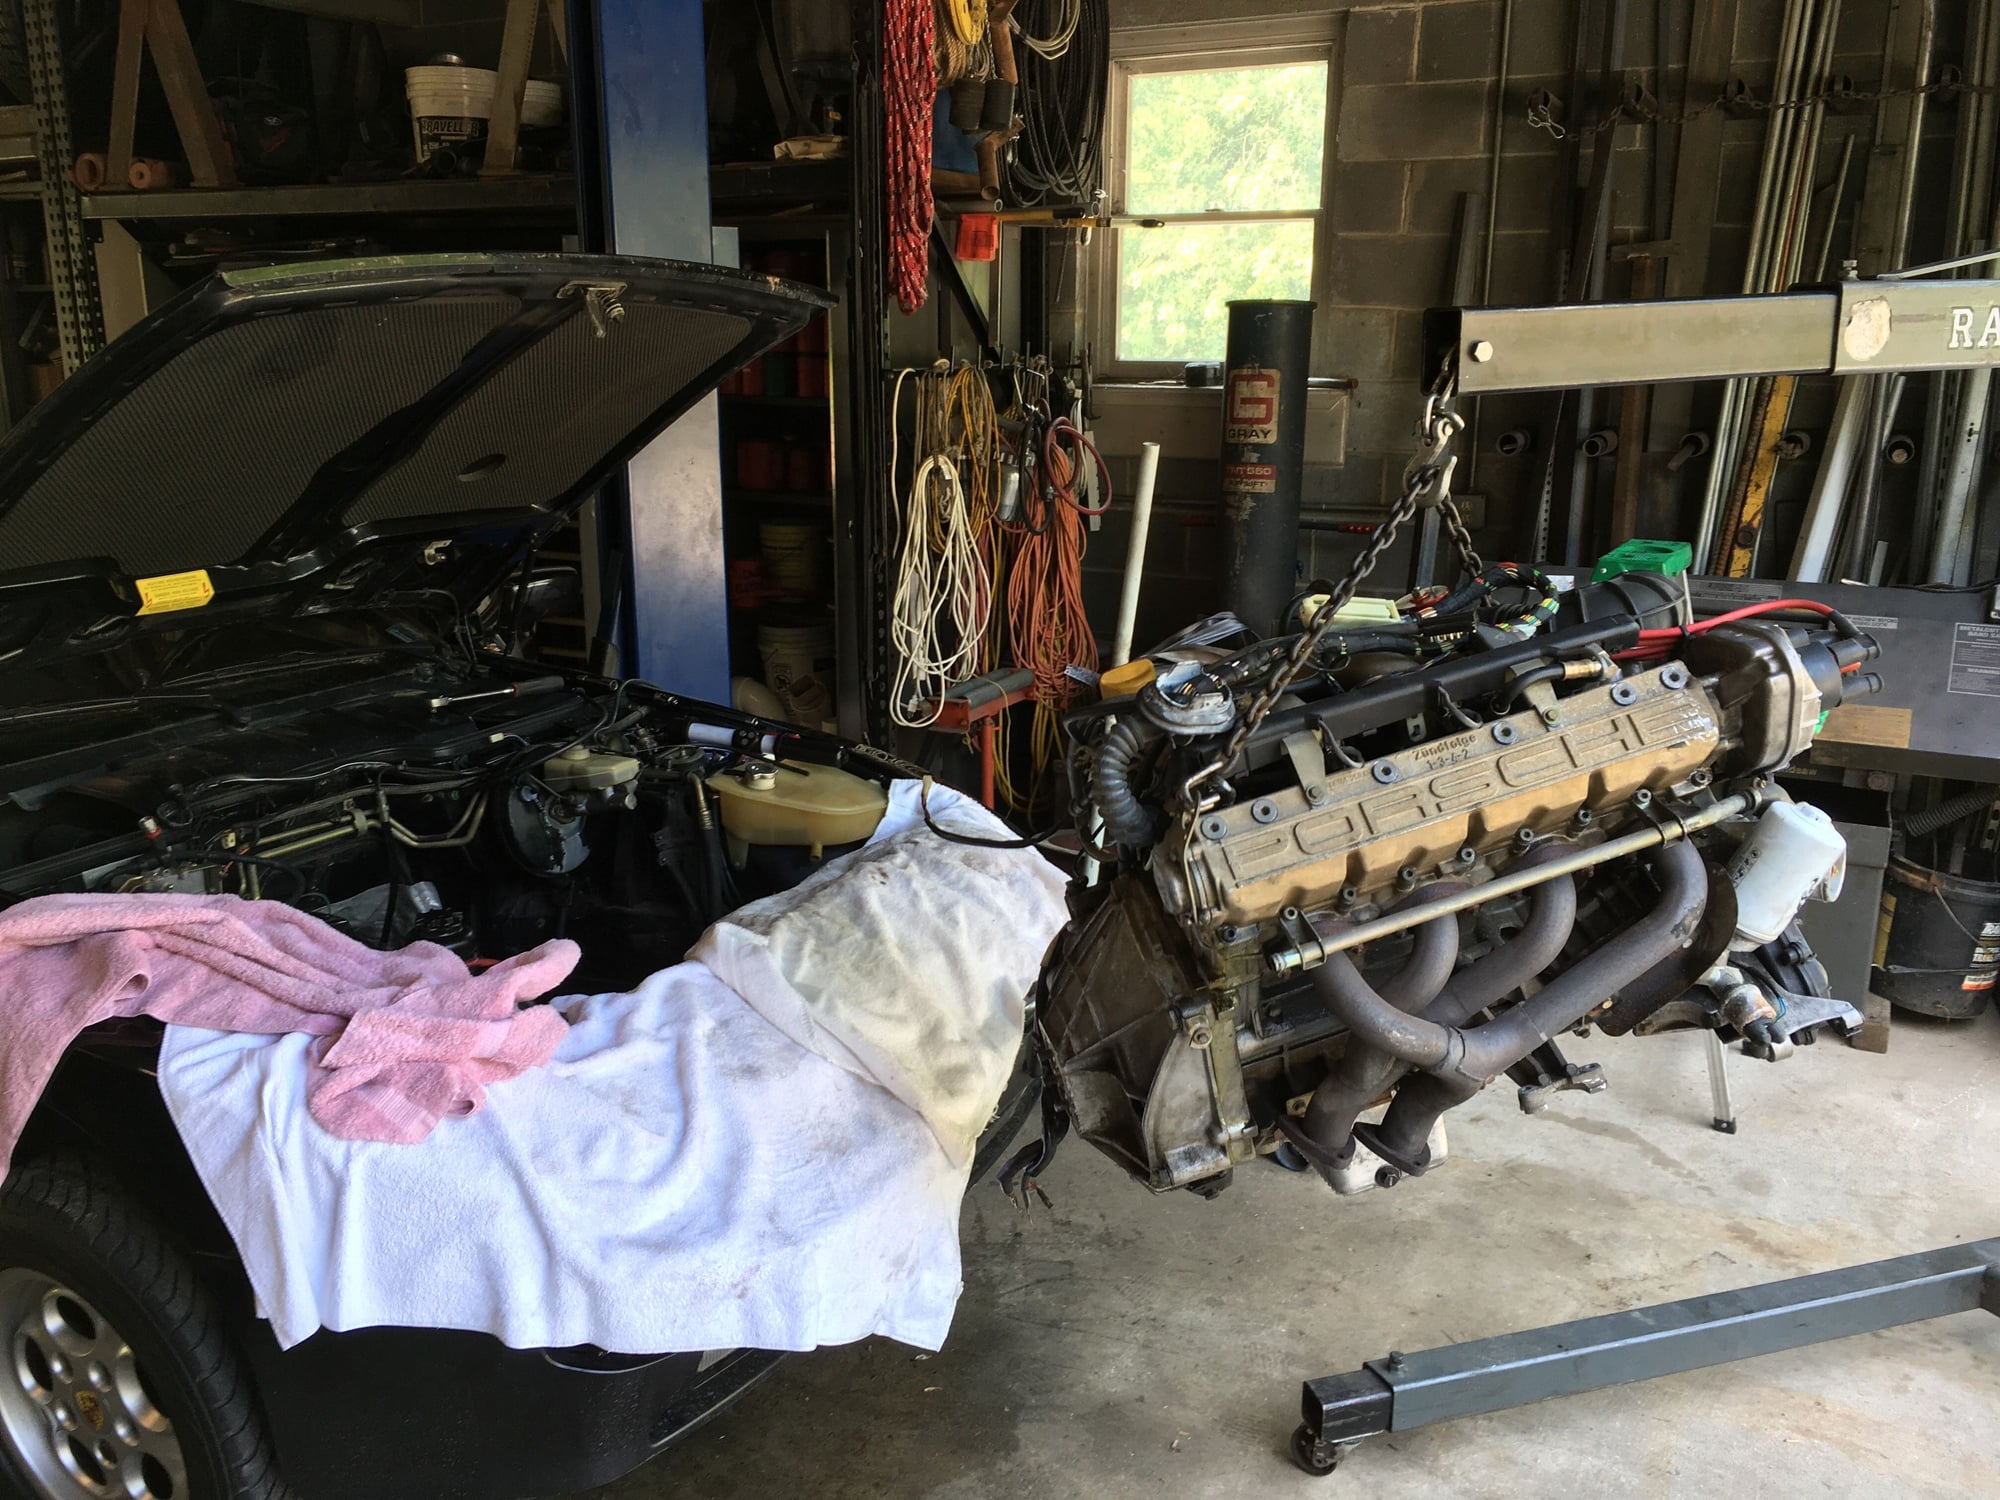
Here we go, engine connected to the hoist and everything disconnected in the bay, except for that stubborn torque tube shaft...
After lots of rocking back and forth, side to side, some swearing, more rocking back and forth and side to side we finally achieved victory!
Careful not to scratch anything on the way out...and BOOM! Success.
I took a bunch of photos of wiring connections and that sort of thing as I was taking stuff apart, but I won't bore you with those. They're mainly for me so I can jog my memory while putting this thing back together in a few months.
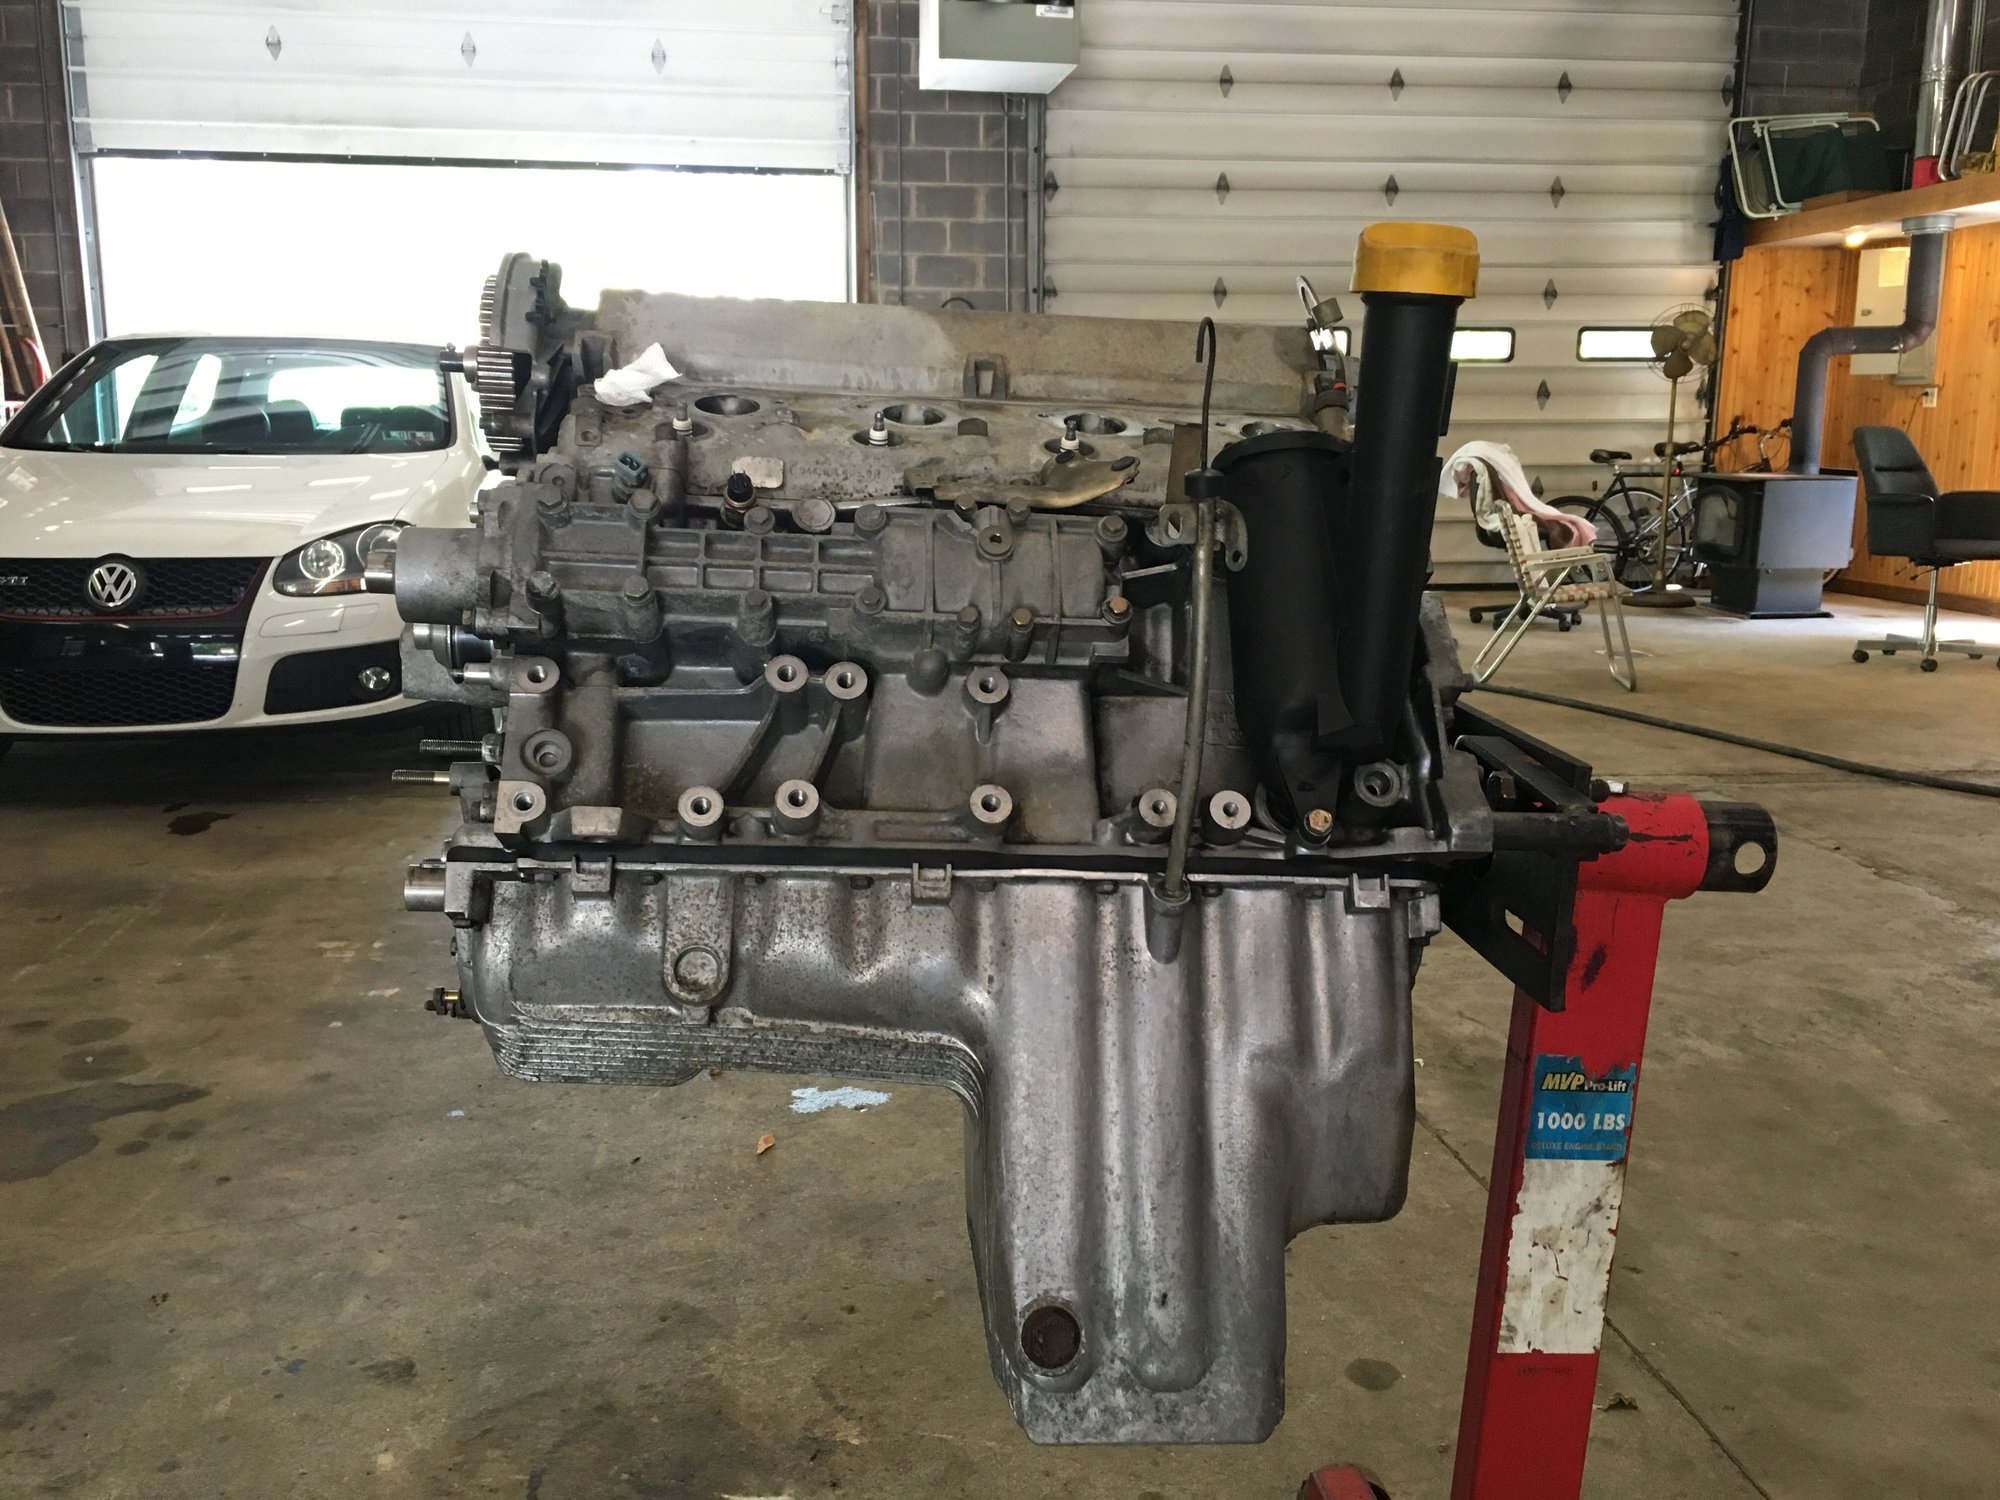
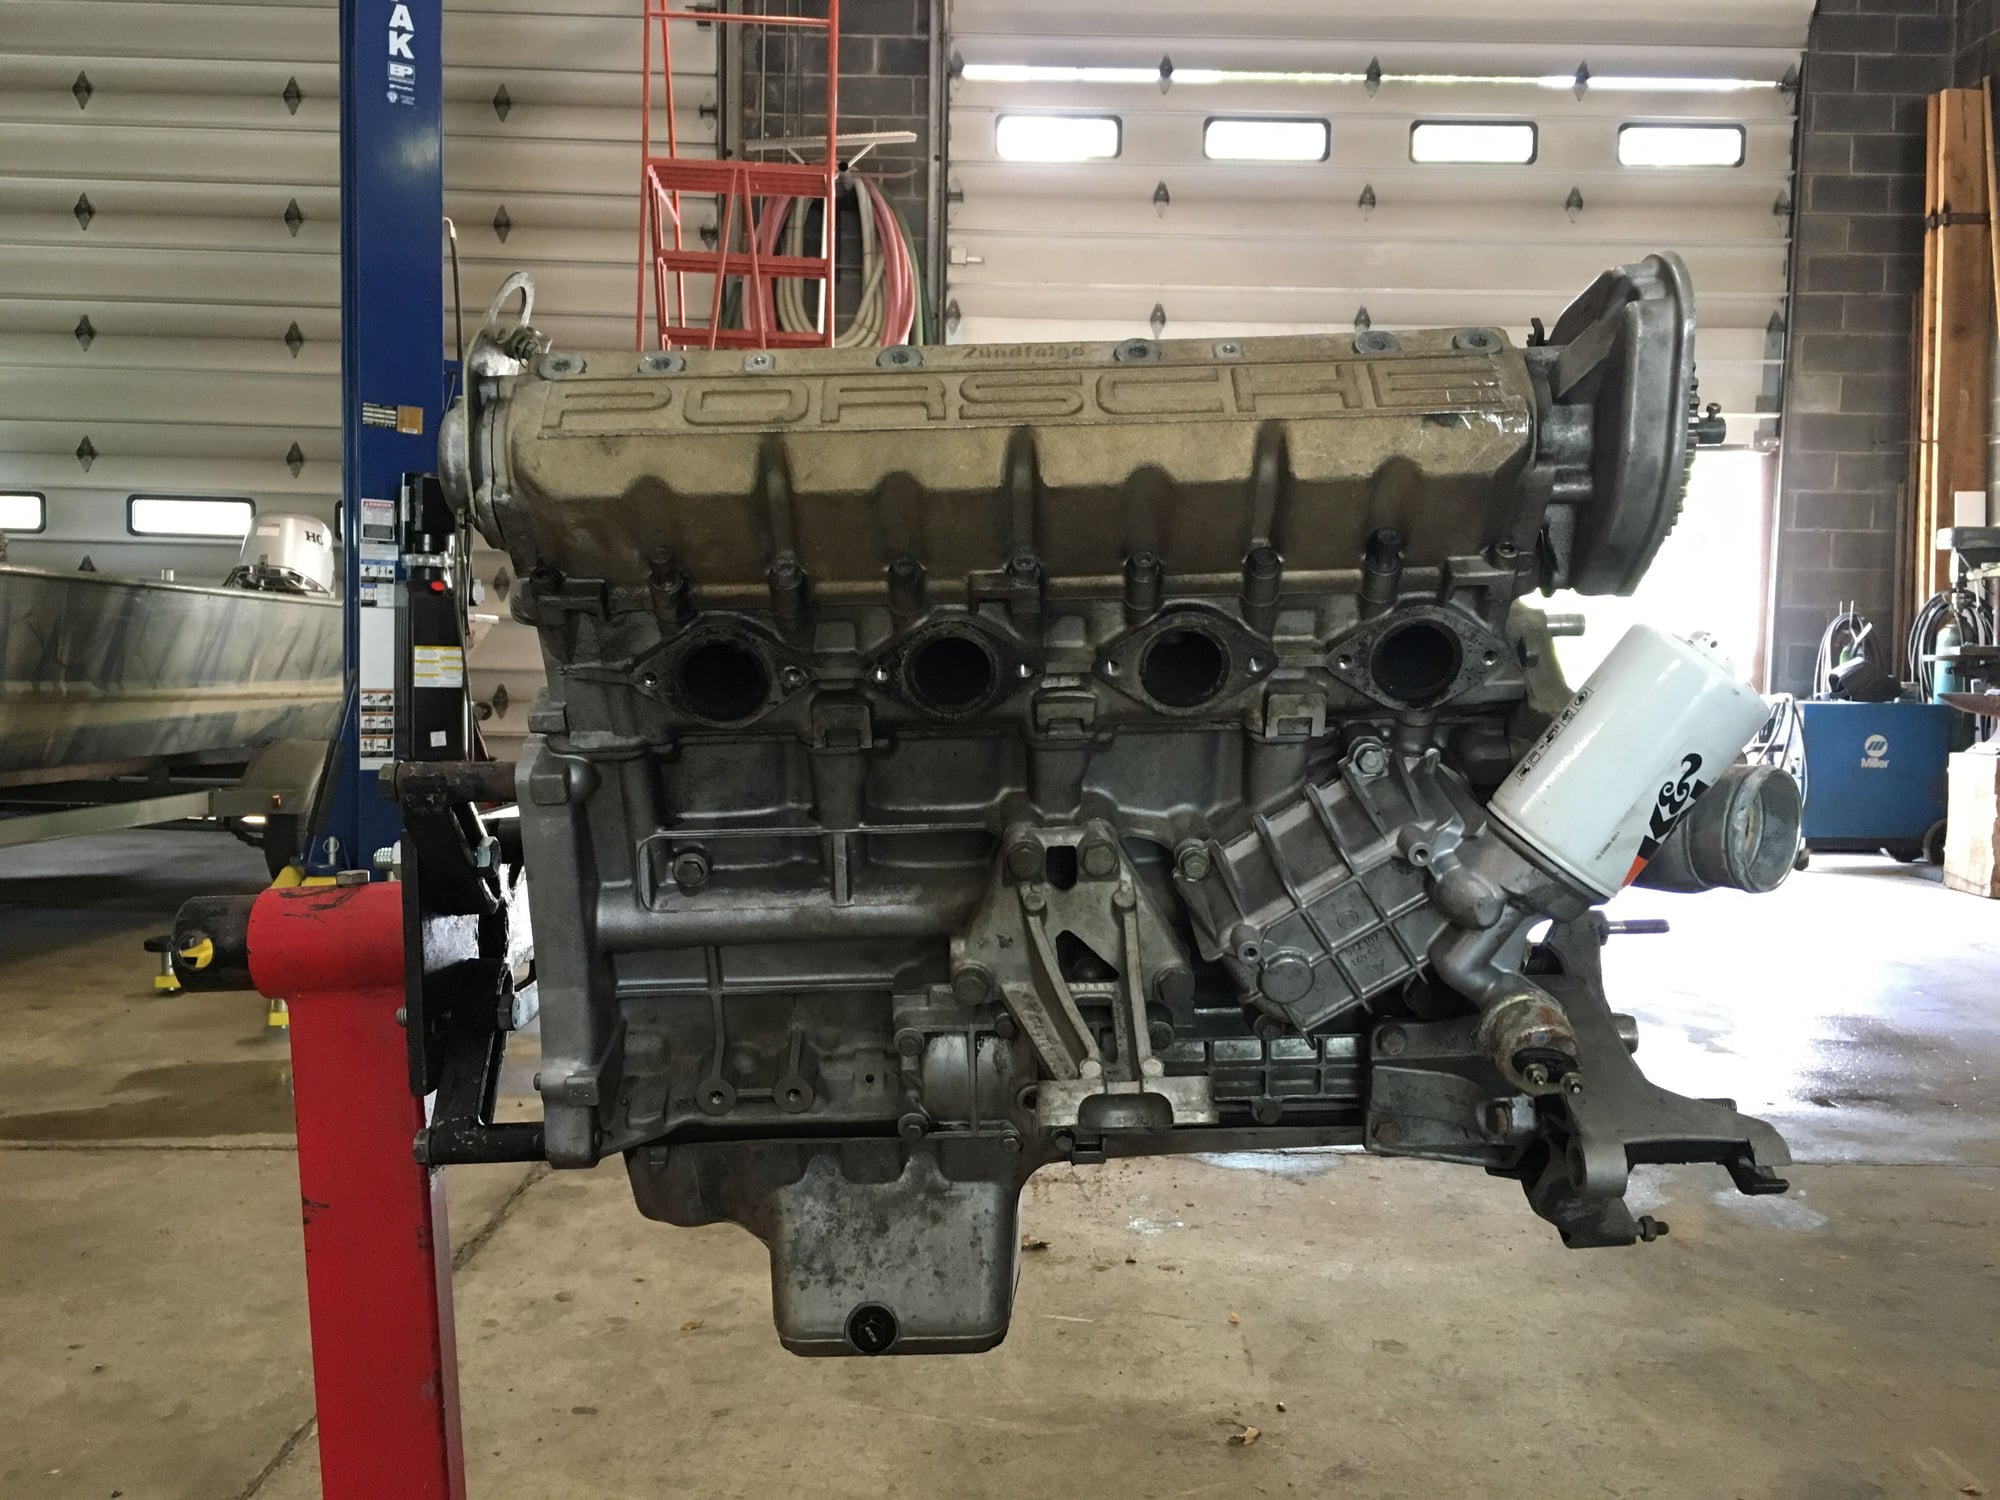
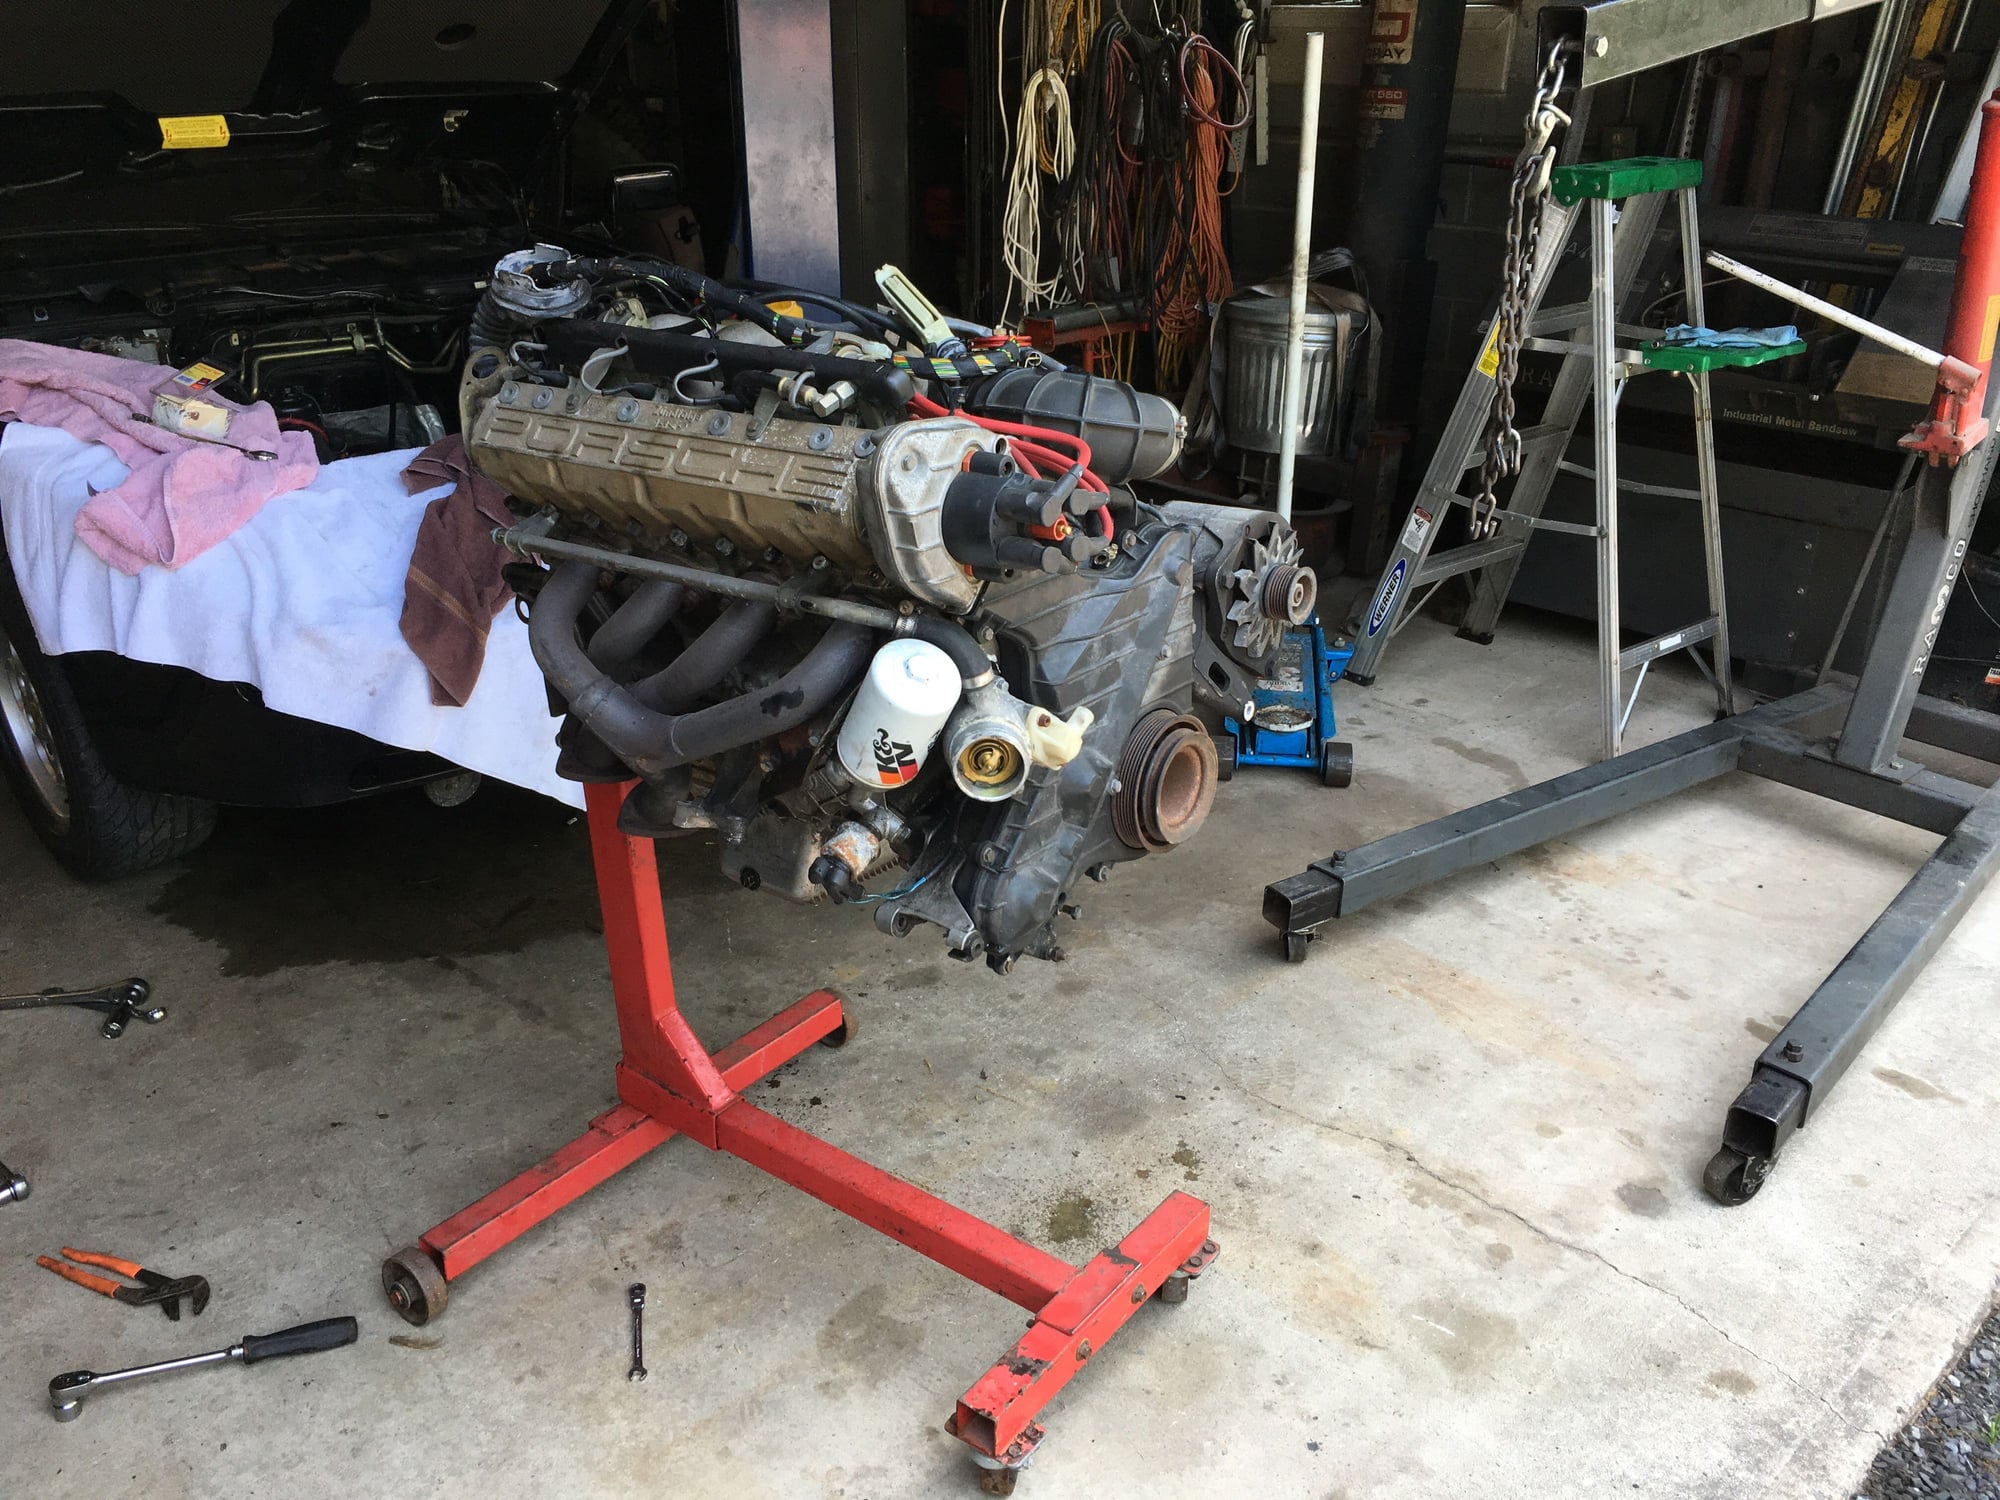
After getting the bell housing, clutch and flywheel off, I was able to mount the engine on the engine stand. I did the same as some others on here and mounted the engine stand bracket to the engine first, then inserted the bracket into the stand. Seemed it was easier to maneuver the engine mounting bolts this way.
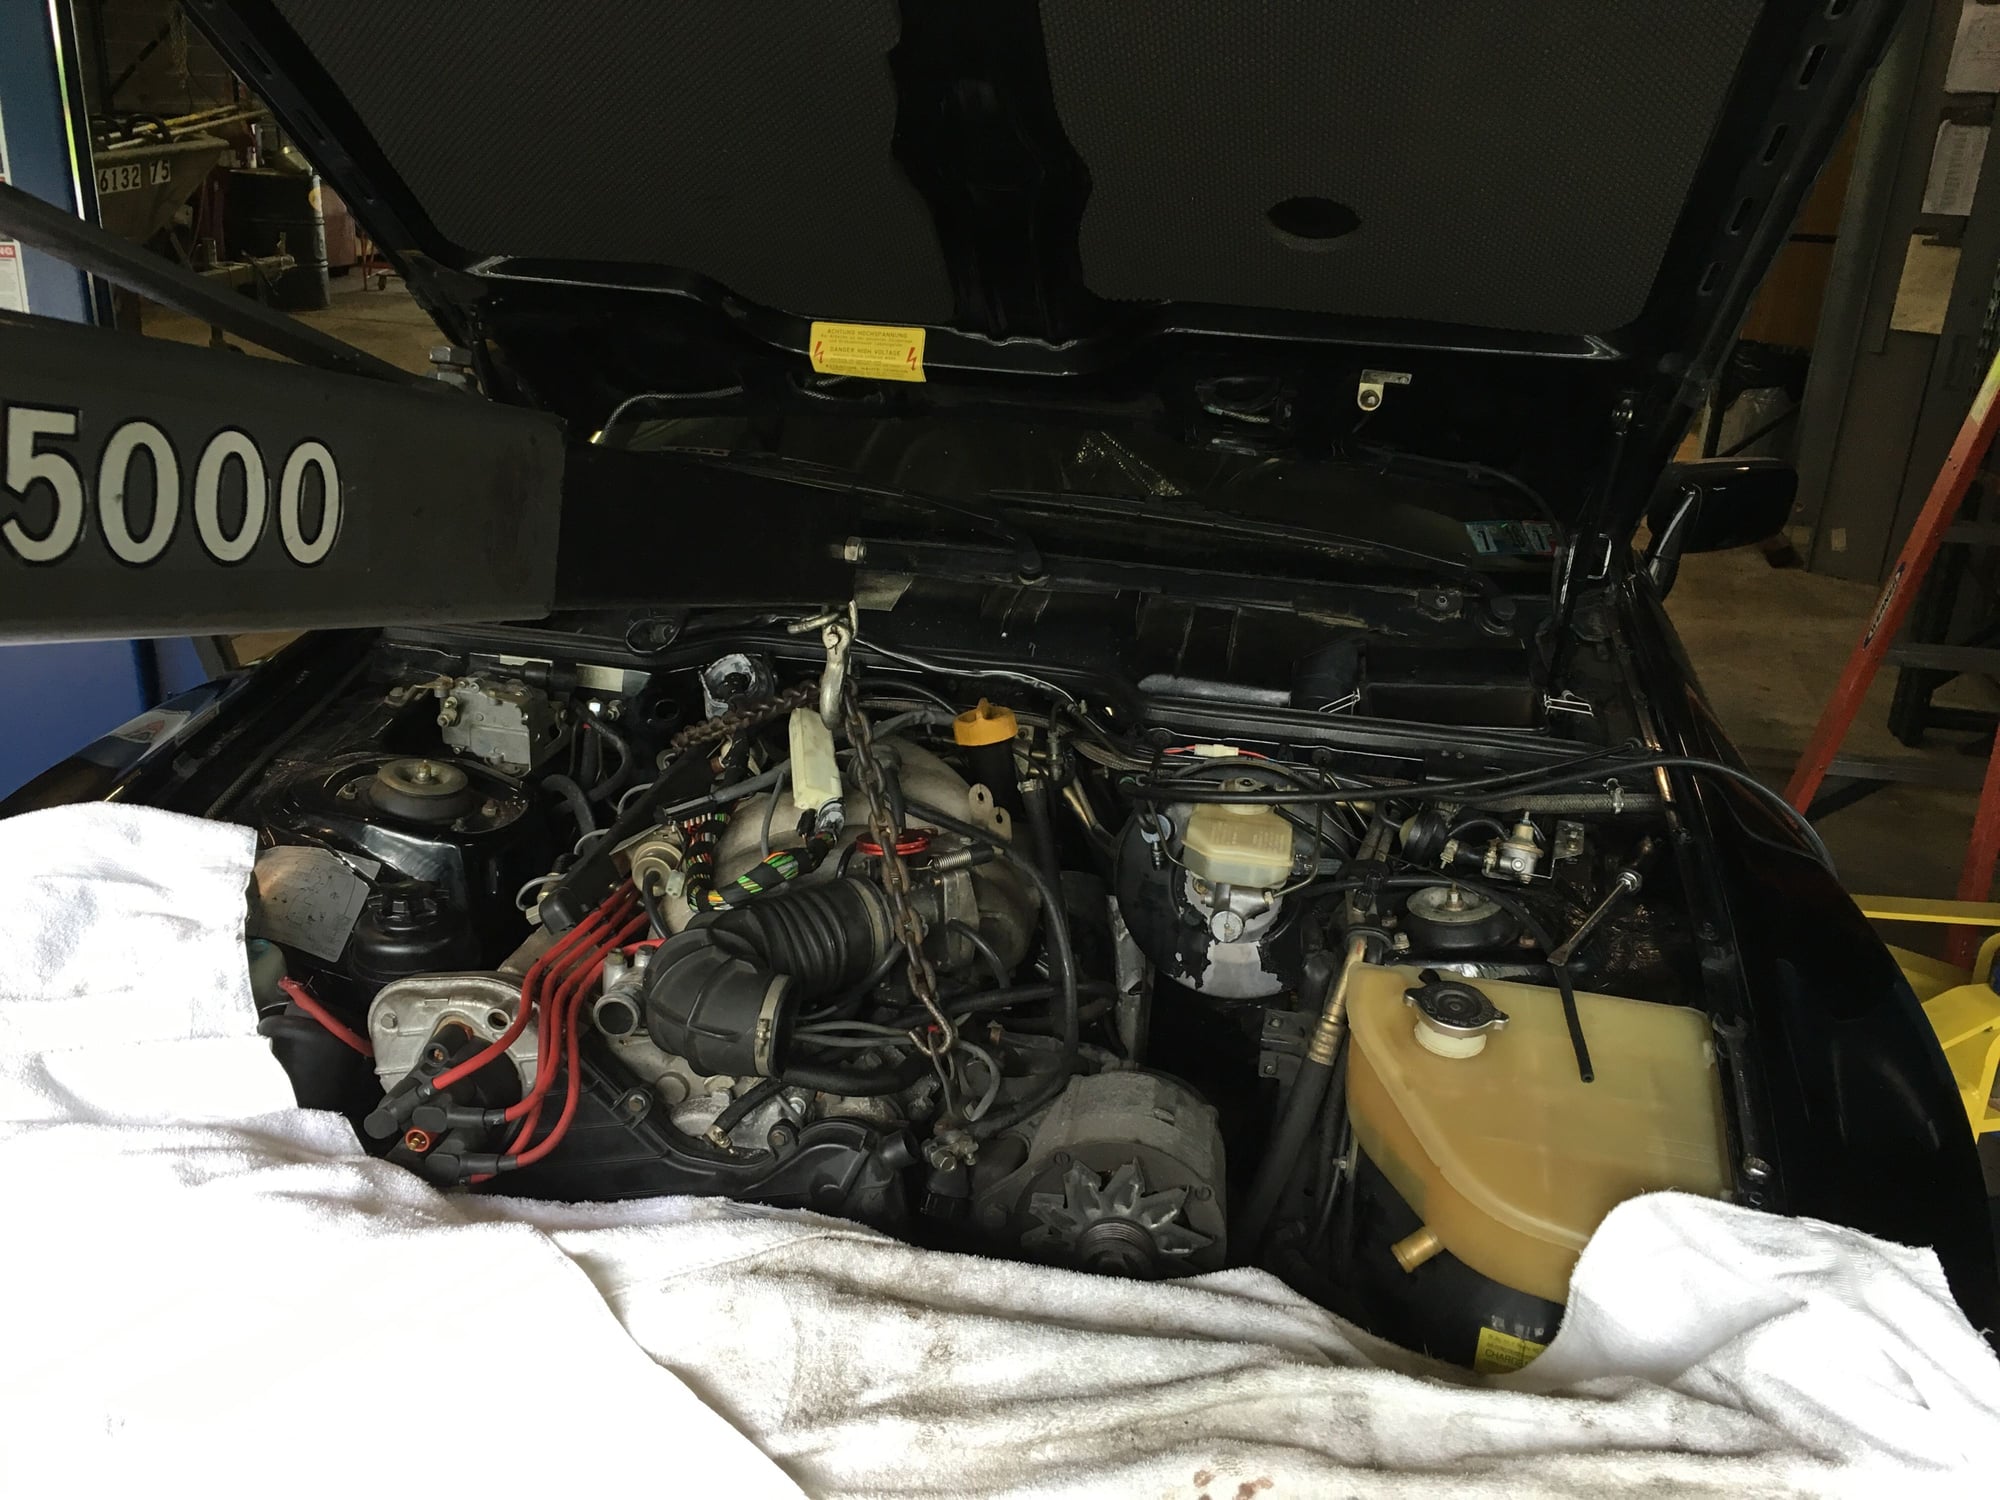
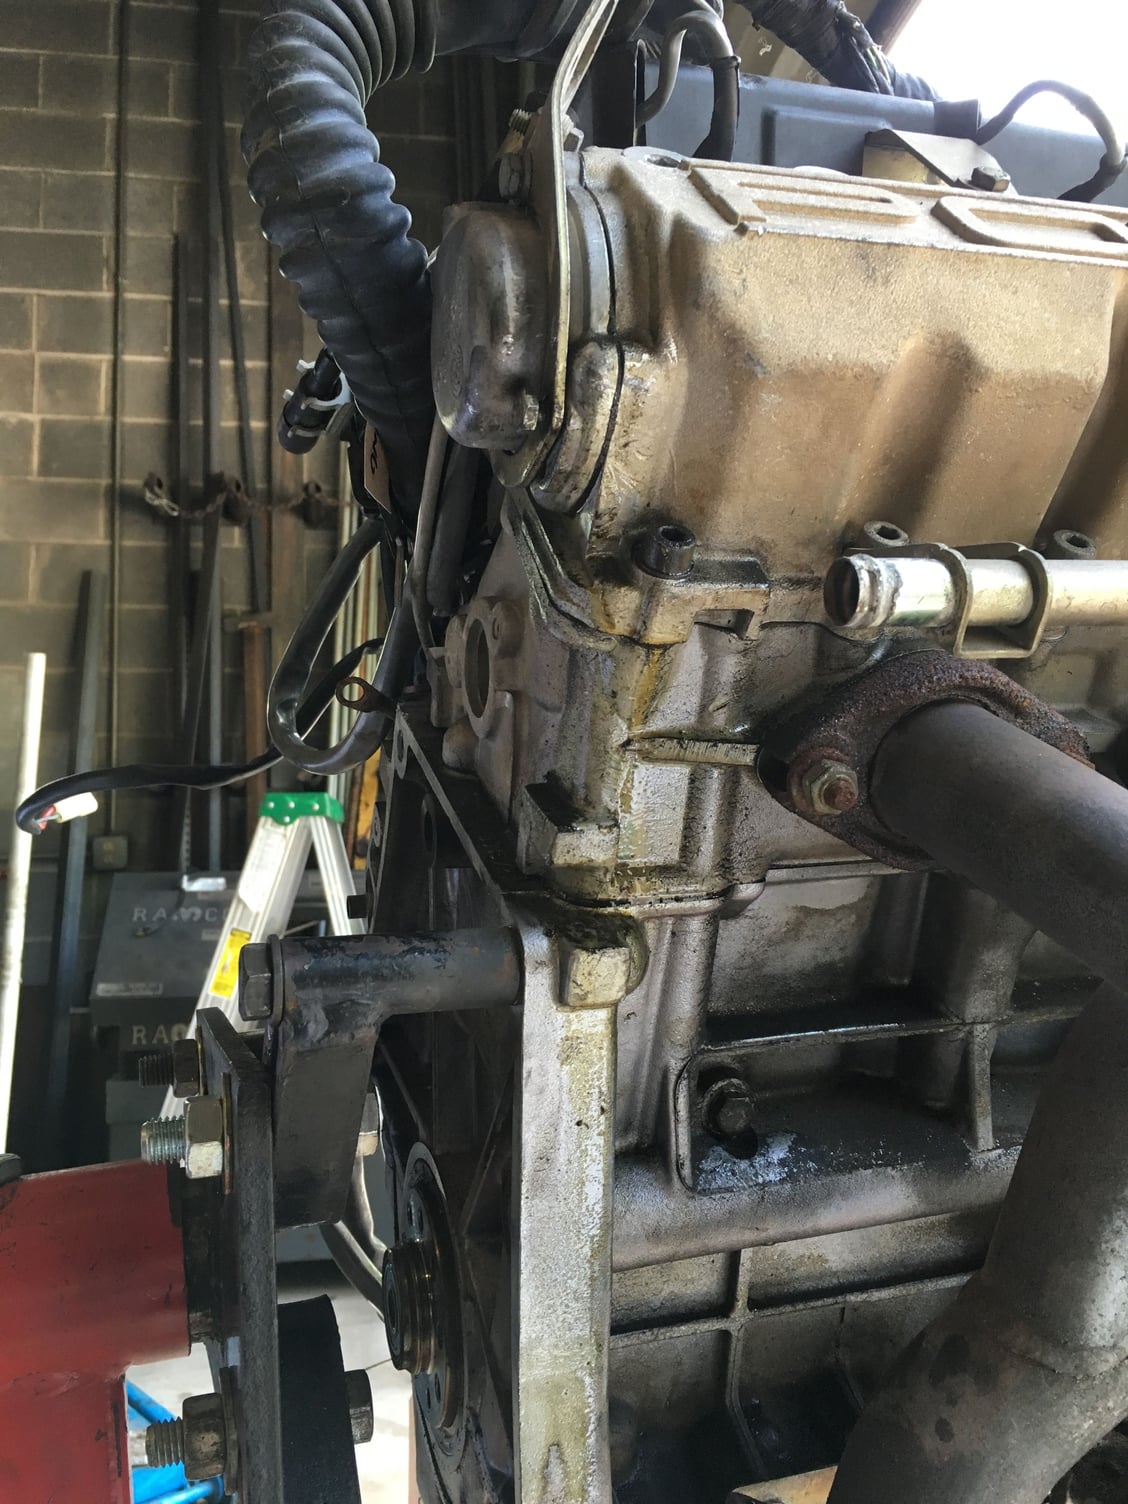
Here are some images of some of the leaks prompting the removal of the engine. I figured it would be much easier to replace all the gaskets and seals with it out of the car.
I then proceeded to bag and tag all my nuts and bolts so I don't lost track of what is what. No chance of me remembering where they all go a few months from now. I also bought some small Manila tags so I can tag the wires, hoses, etc. as I remove them from the engine.
I then bolted the sub-frame of the car back together so it would be mobile (father-in-law wants to use his lift when I'm not there - can you believe that?! ). I supported the hanging A/C compressor and power steering pump so the hoses wouldn't be stressed.
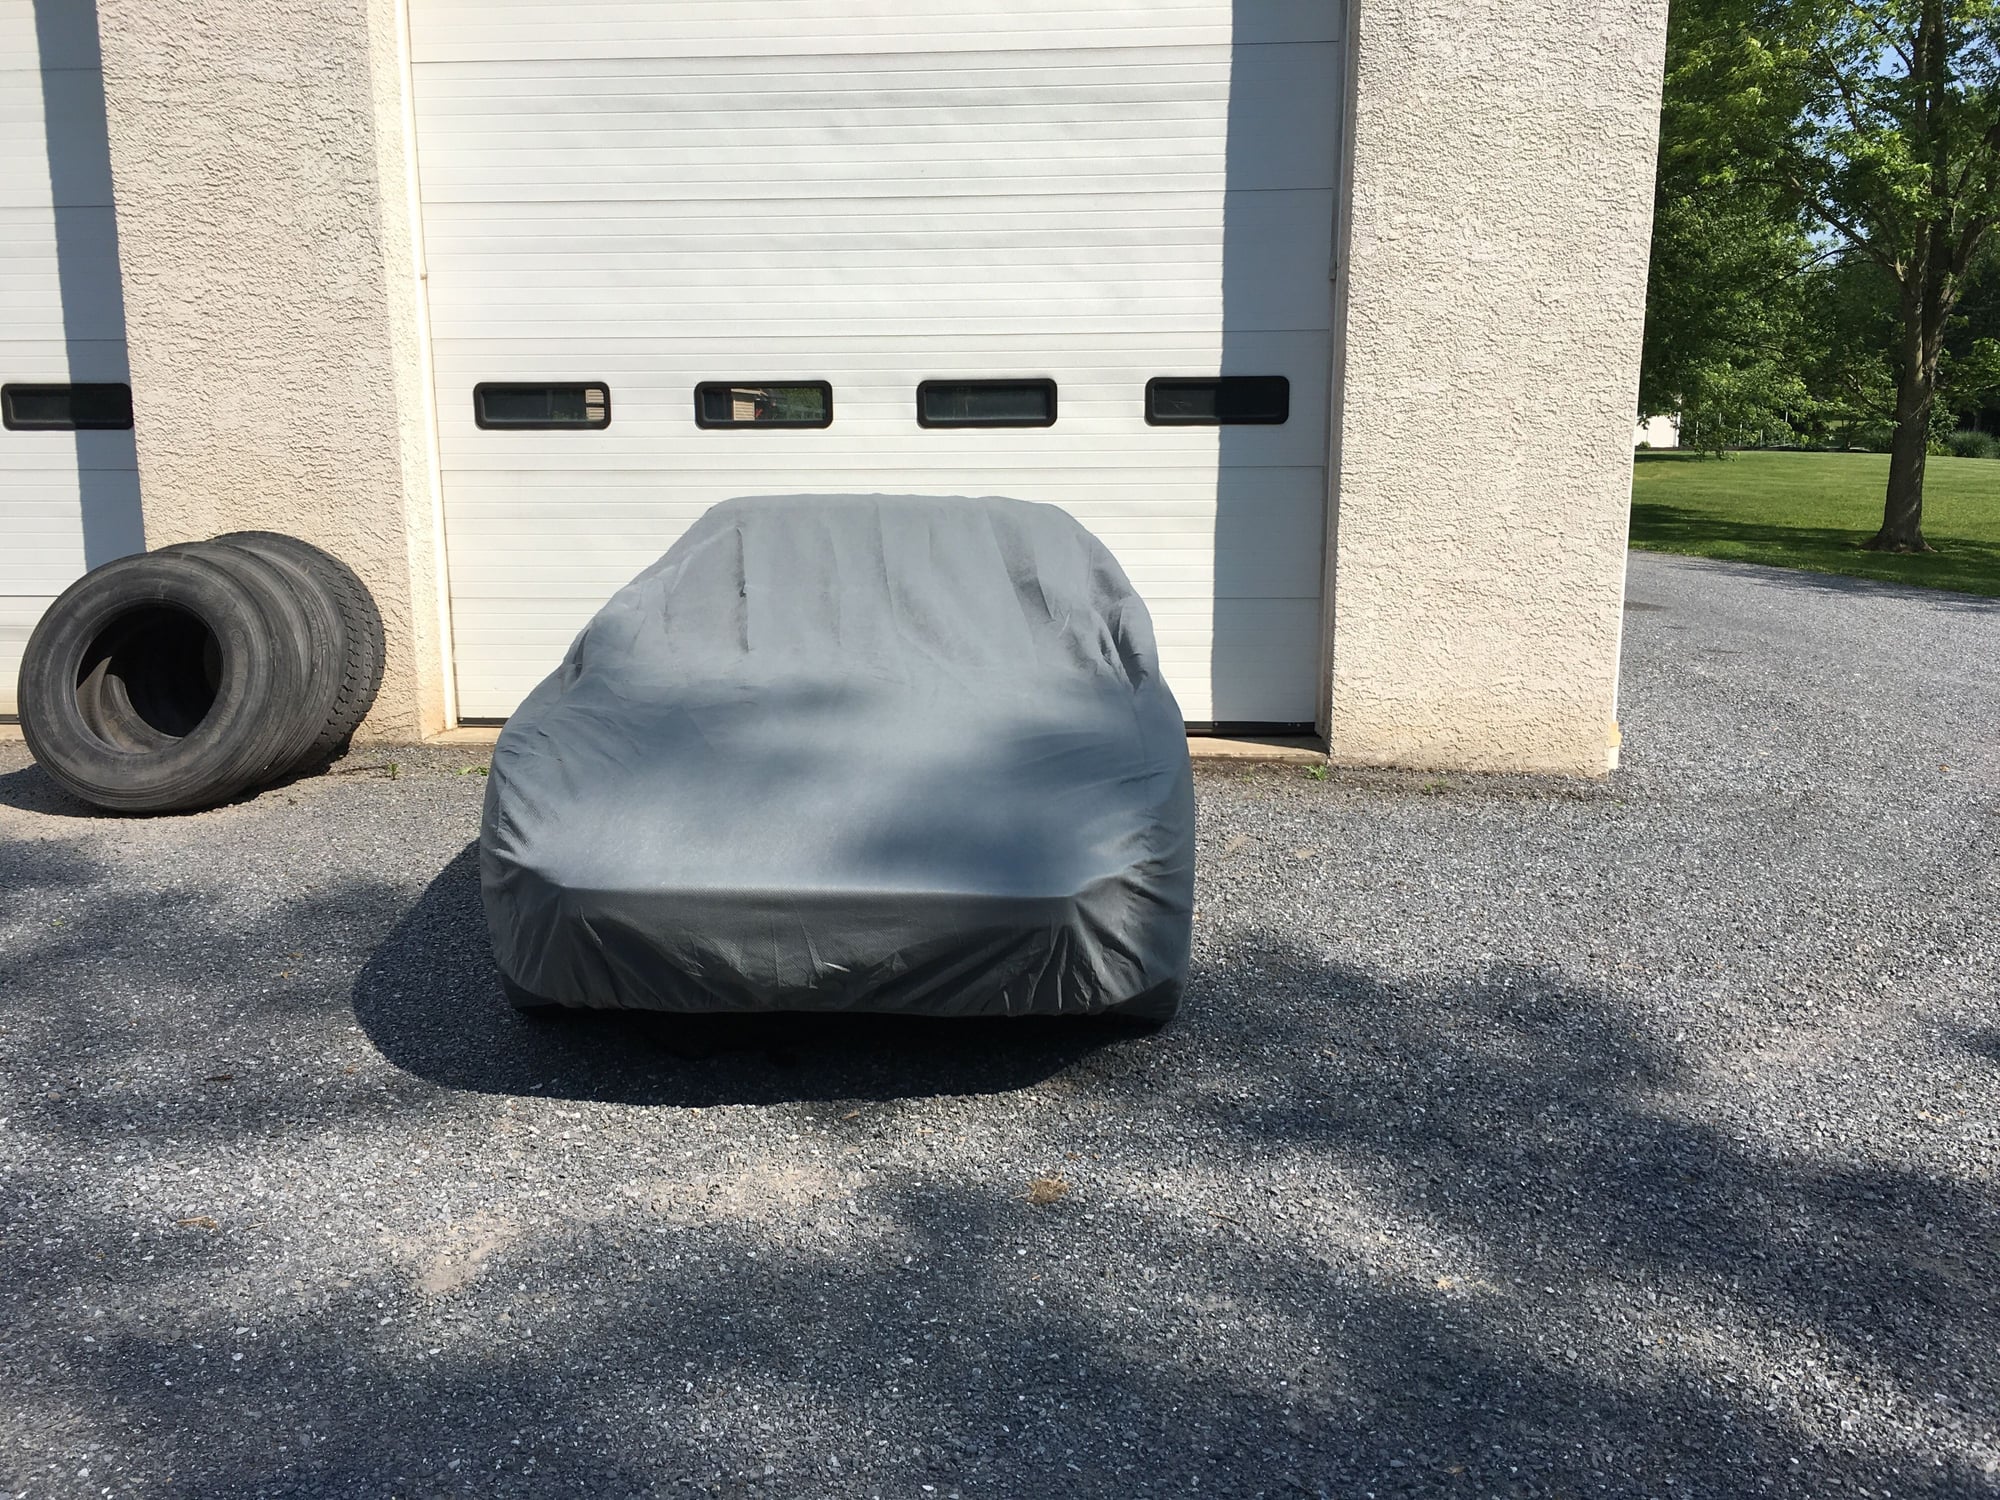
Washed the car, pushed it outside and covered it so it would be safe while I'm not there. Bought a cover that's supposed to be good against sun, snow, rain, the apocalypse...as long it keeps the car from getting beat up while it sits for a little while.
And that was a wrap. While I was at my father-in-law's I washed Igor (my GTI) and then drank some beer.
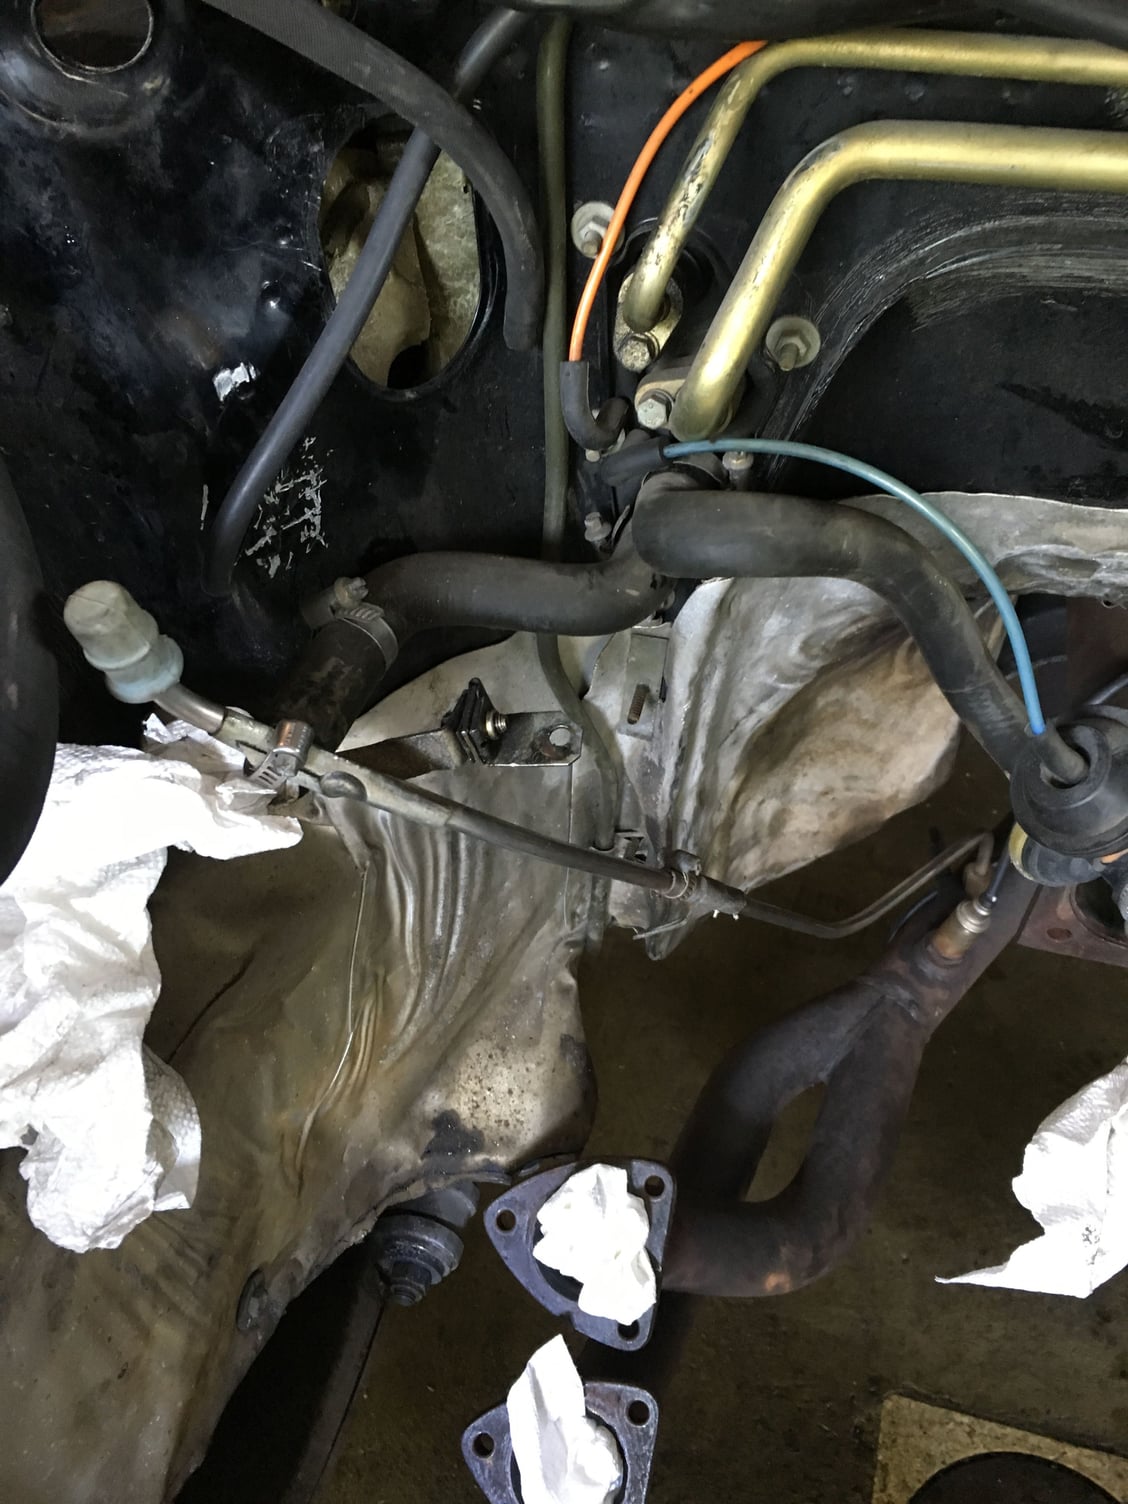
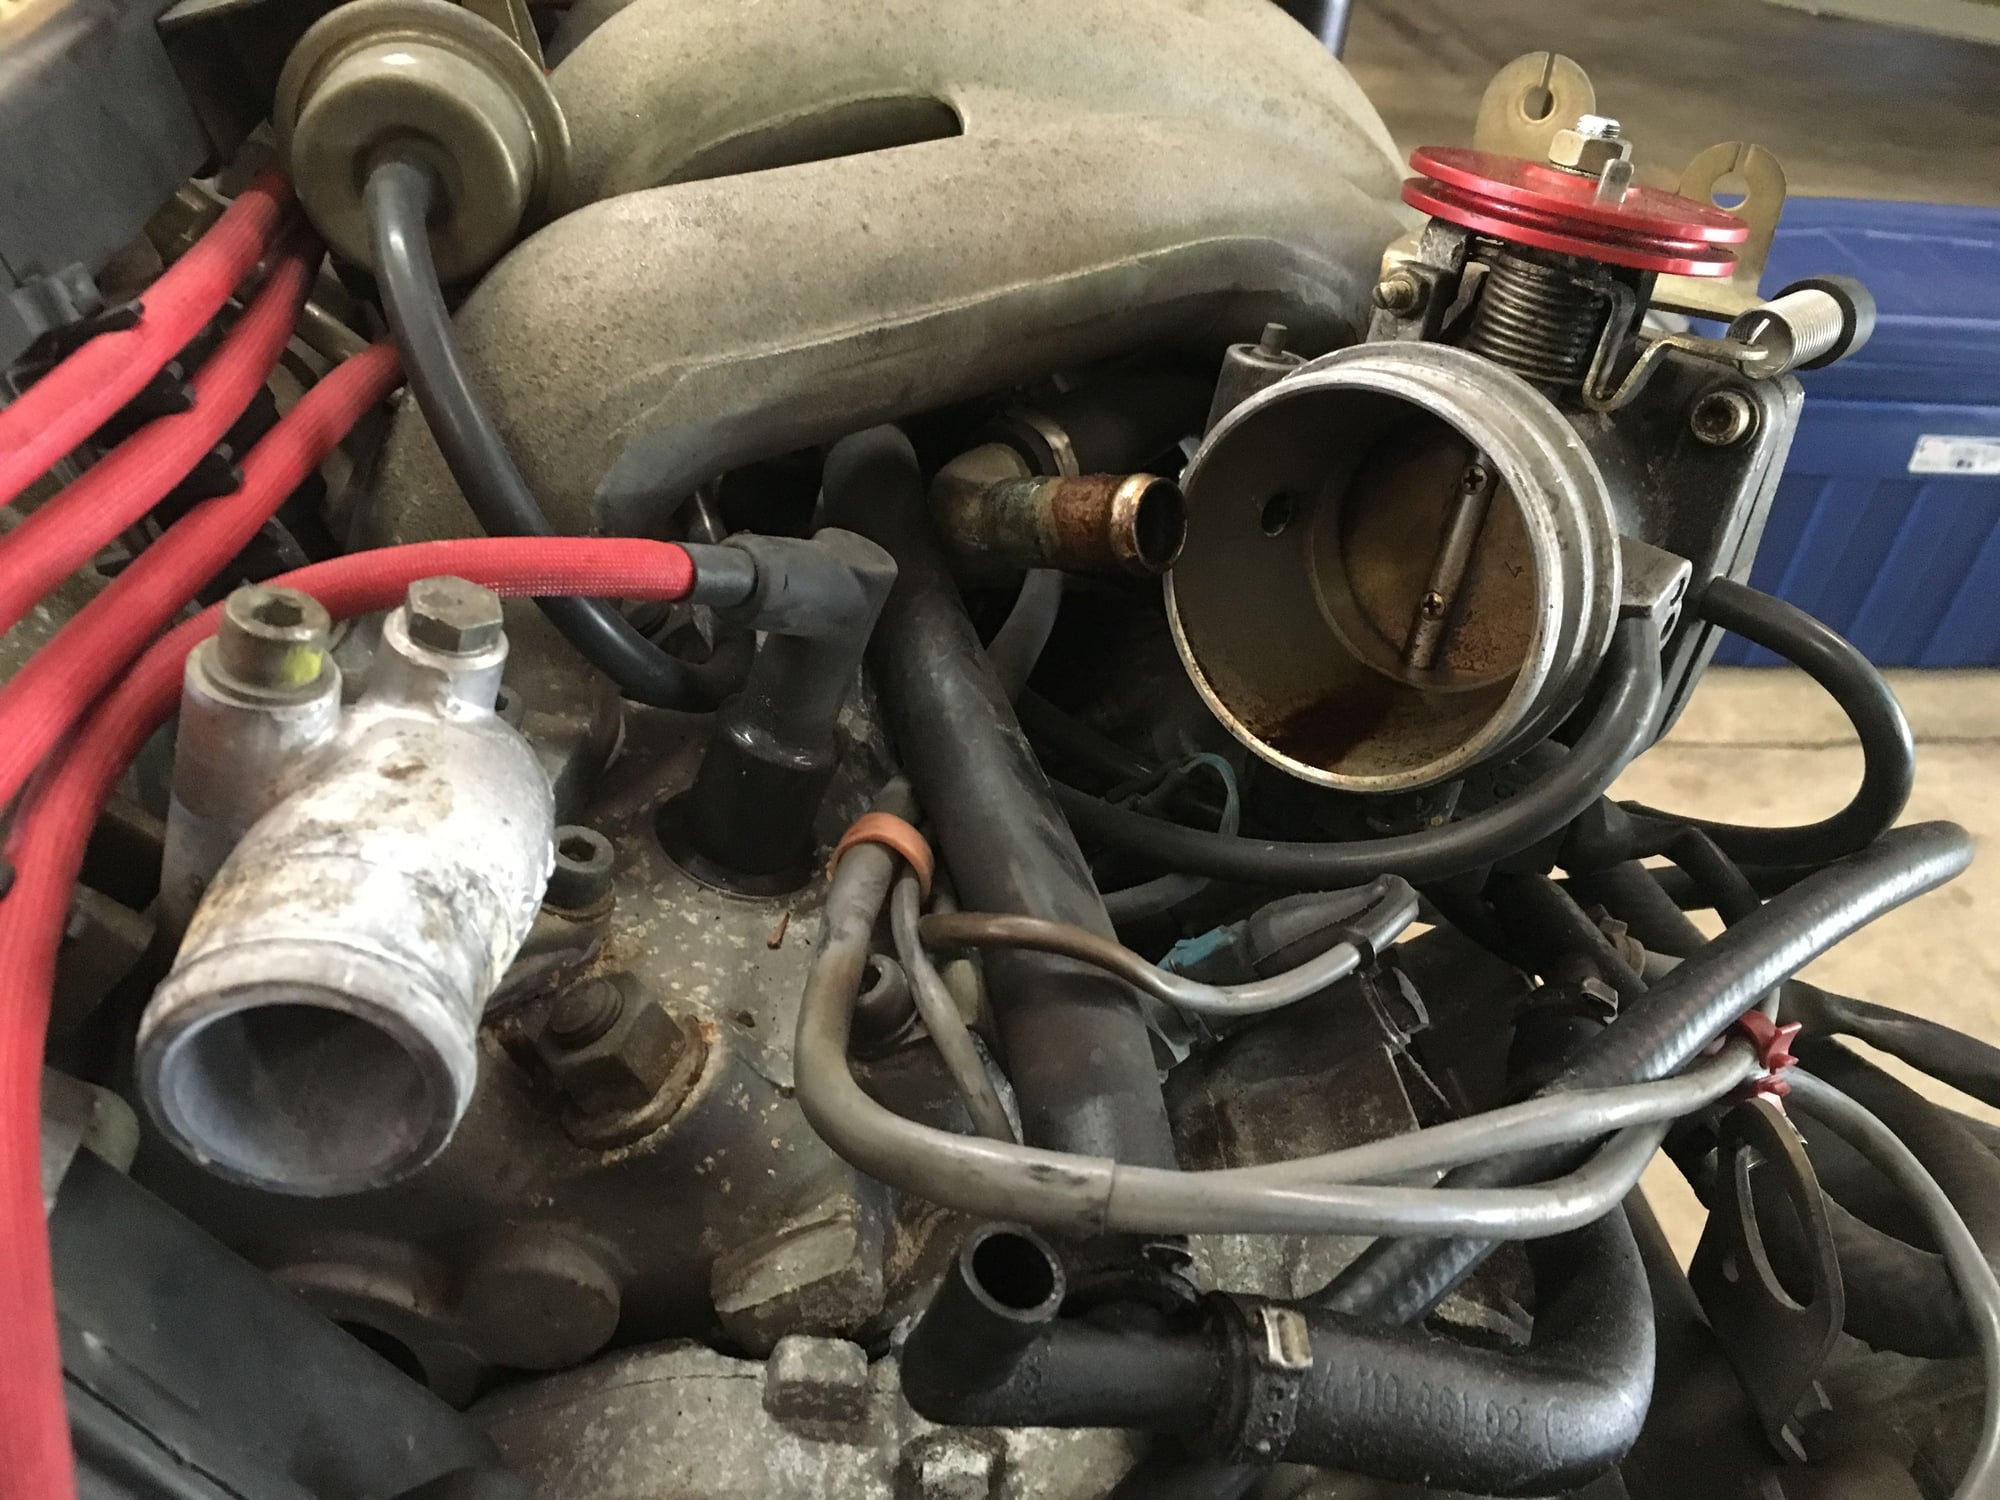
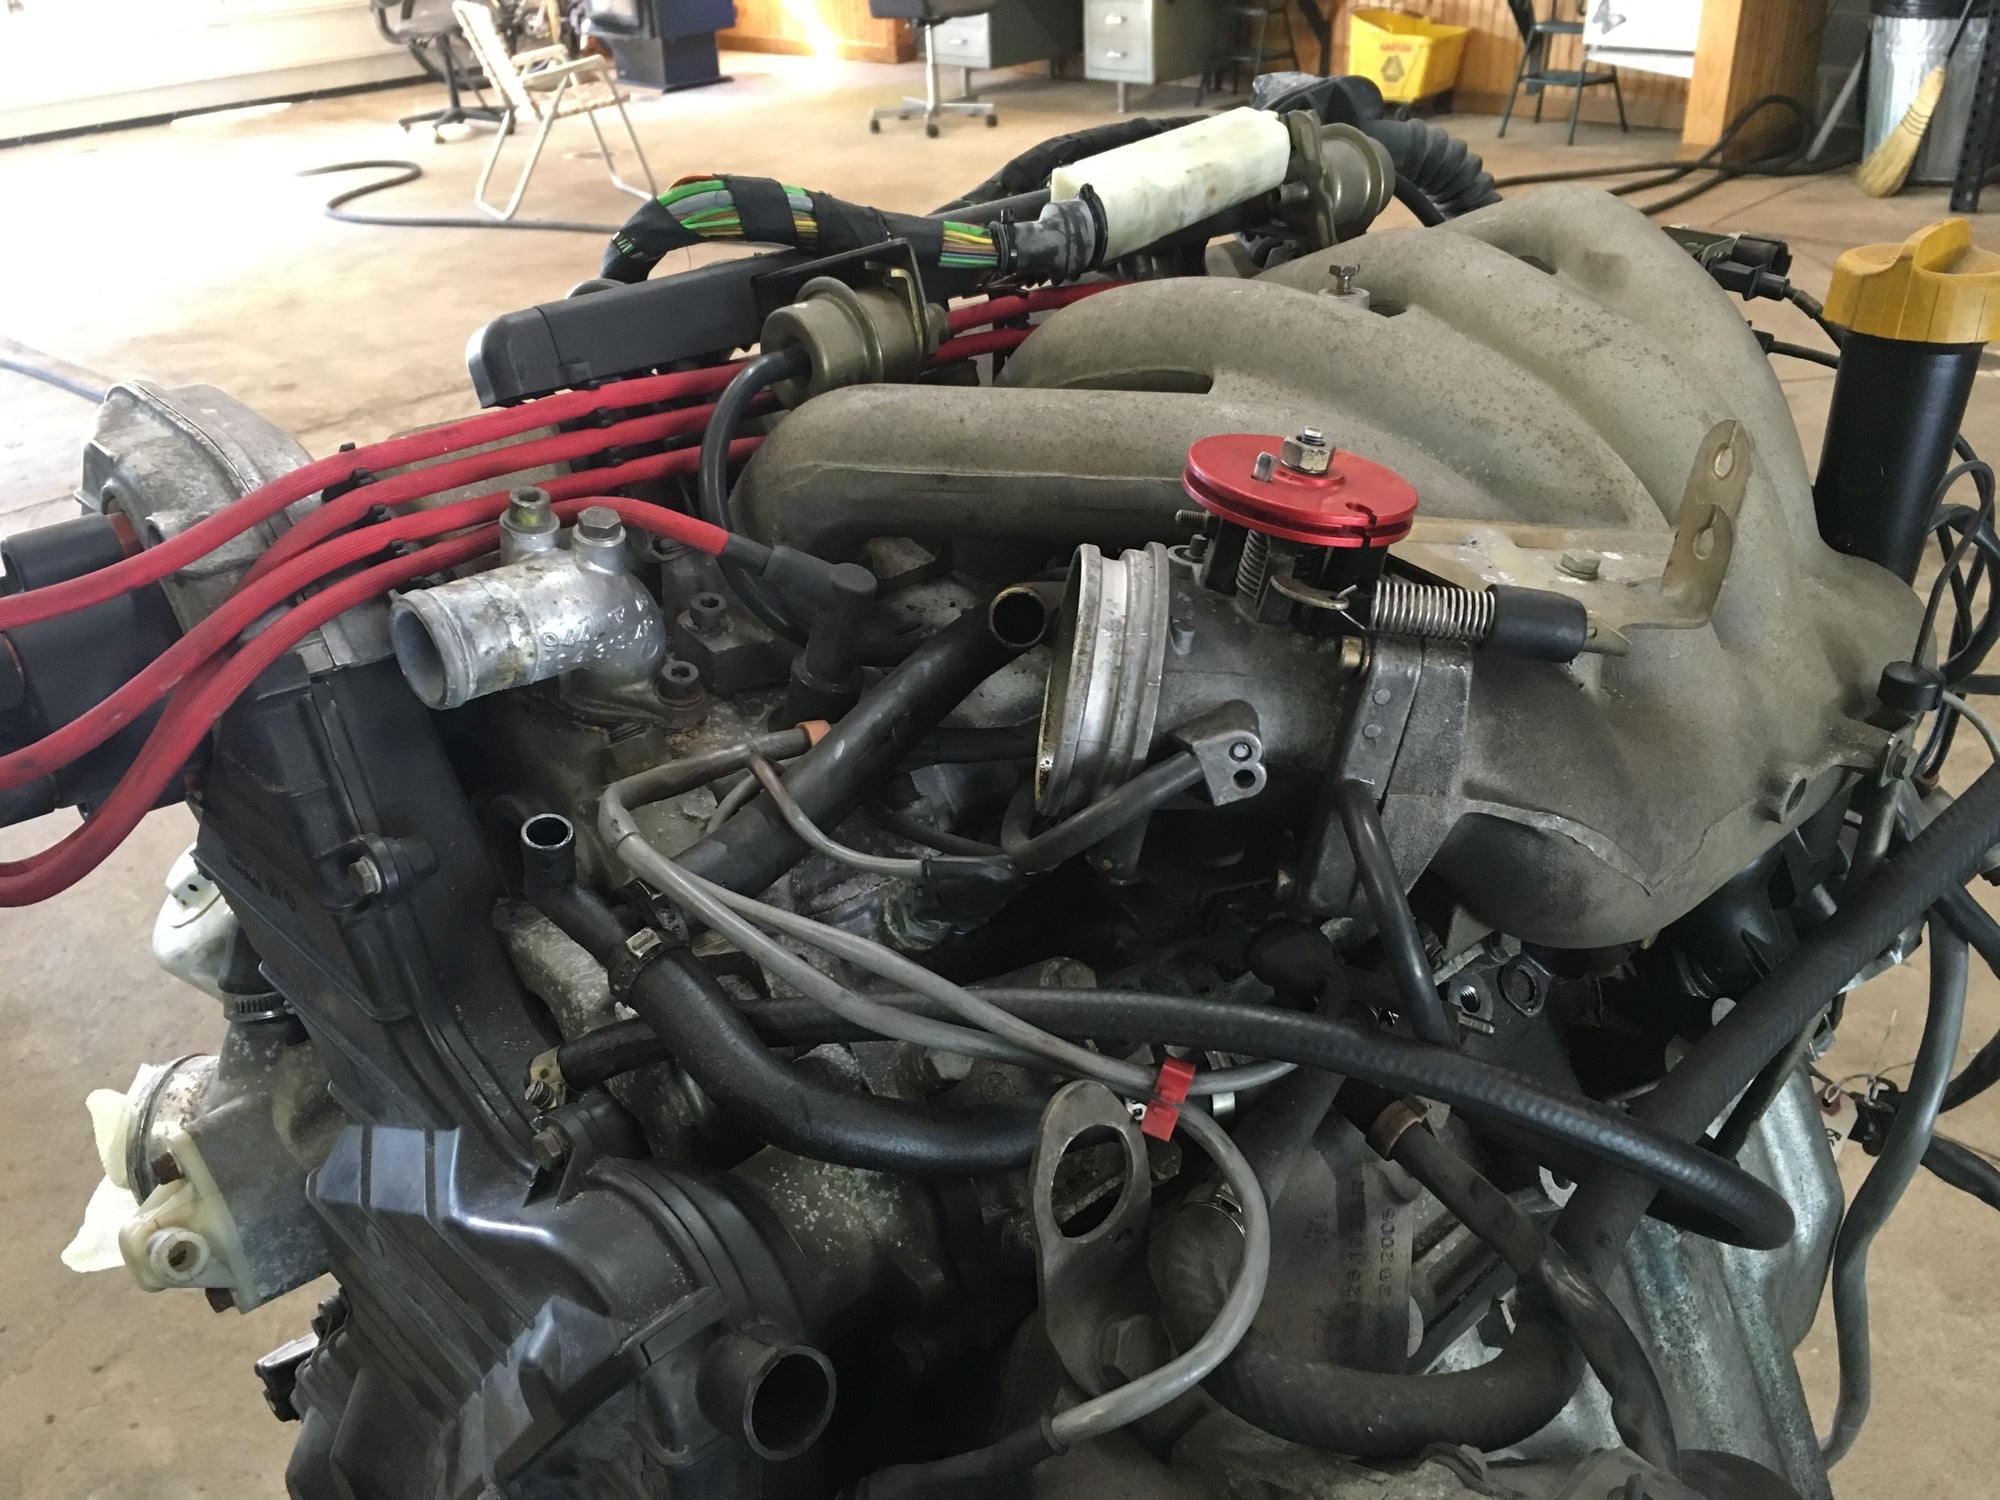
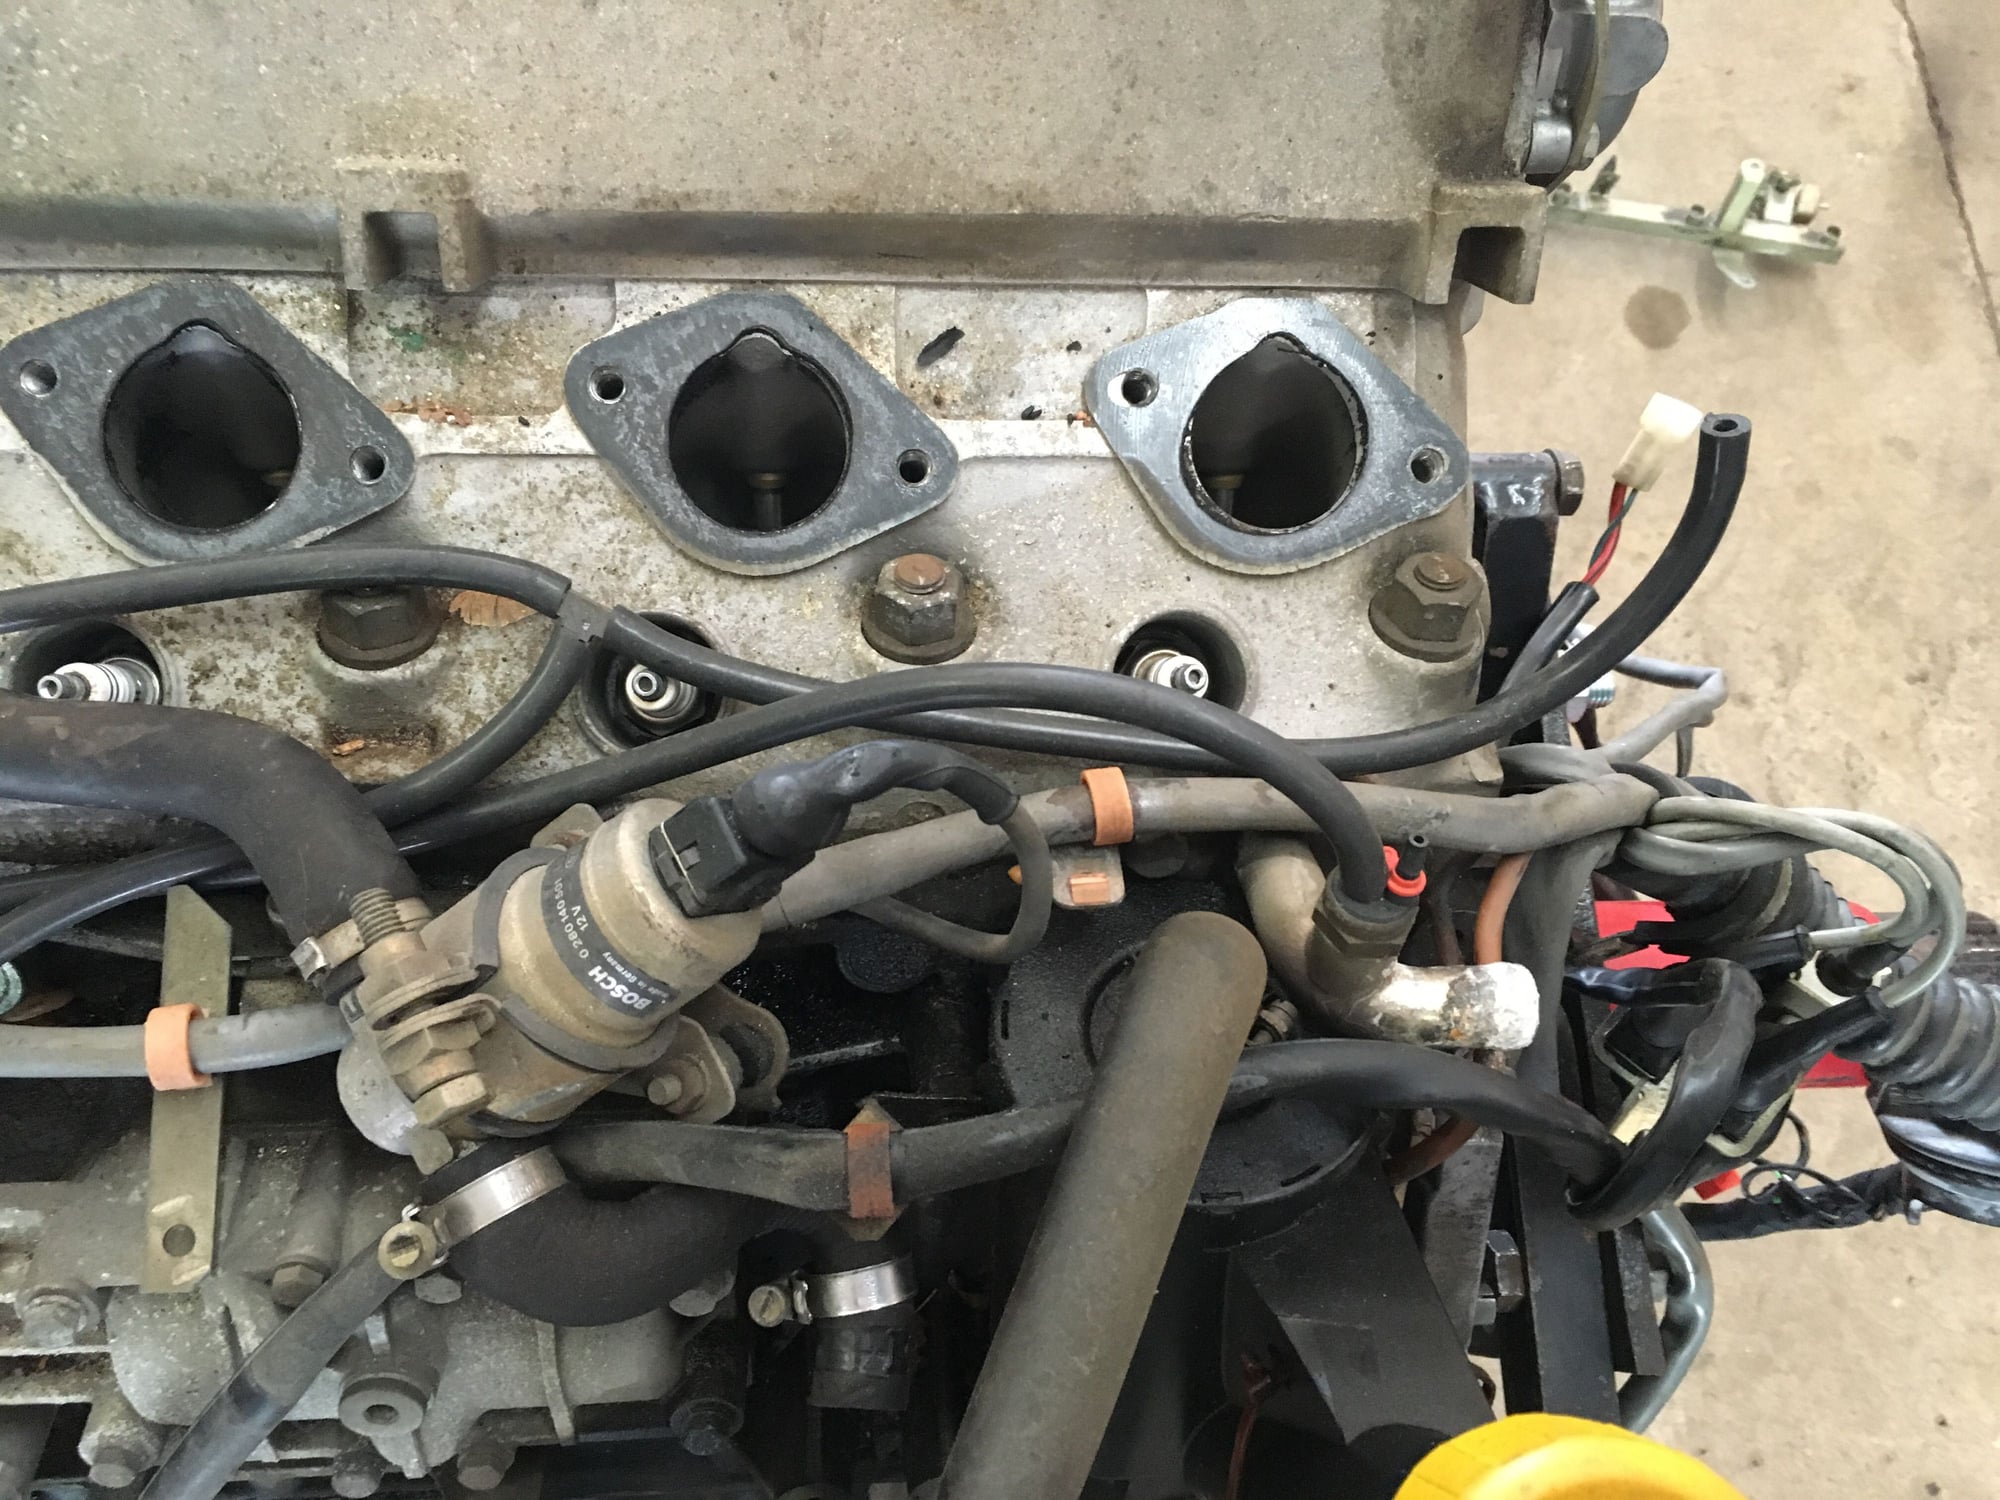
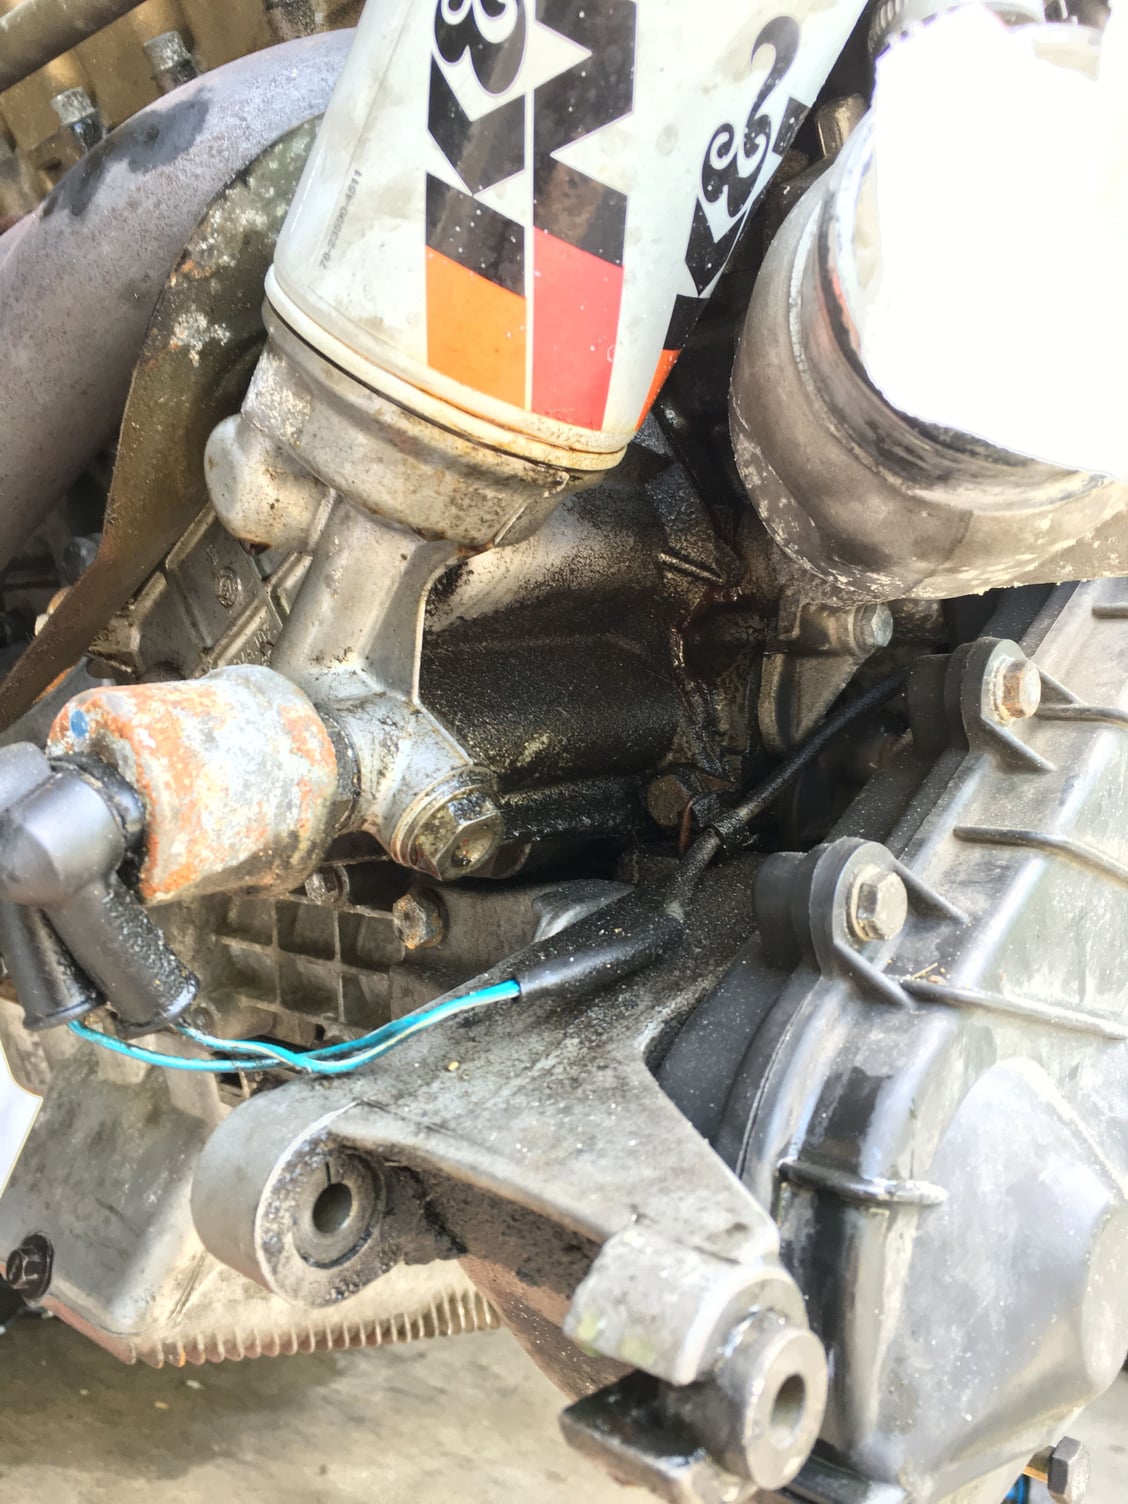
Now I have a question. I had noticed this pipe/port thing a while ago, but didn't really get a good look at it until the engine was out. What is this thing connected to the exhaust, with its threaded connection right behind the oxygen sensor? Some kind of test port or something?
A beautiful example..... hinting more @ preservation than a "restoration".
Thanks for keeping it real; striving to maintain integrity rather than change. But the first thing for me to go would be the red wiring and throttle wheel. Personal preference I am sure, but not so o.e.
Do you have any photos of the interior ? Nice it came with lsd. I have it in most of my 944s and 951 and it makes for a very confidence inspiring drive in an aggressive apex or on a curvy mountain road.
The white 'sport touring' model with matching FUCHS in my profile pic is my '86. It has burgundy leather sport seats, two owners since new with 28,000 miles.
What month was your car built ?
Again, GREAT looking example.... Thanks for sharing your 944 !
Nice looking '86 na. What's the interior look like: Dash cracks? Seat wear? carpet?
Does all systems work? A/C system, odometer, cruise control?
Have you checked your battery tray?? Common area to rust out over the years.
Some quick, easy restoration repairs: glass hatch rubber weather strip, doors weather strip, hood rubber weather strip (by fan/battery/fuse box).
Throttle body rebuild kit is easy also.
Repack the CV joints?
Are you rebuilding the cylinder head?
Nice to have access to a garage with hydraulic lift.
Suspension rubber......replace what you can for a new-like ride.
My 86 na has 289,xxx miles......bought it new with just 25 miles.
I recently repainted my phone dial rims with the Wurth paint.
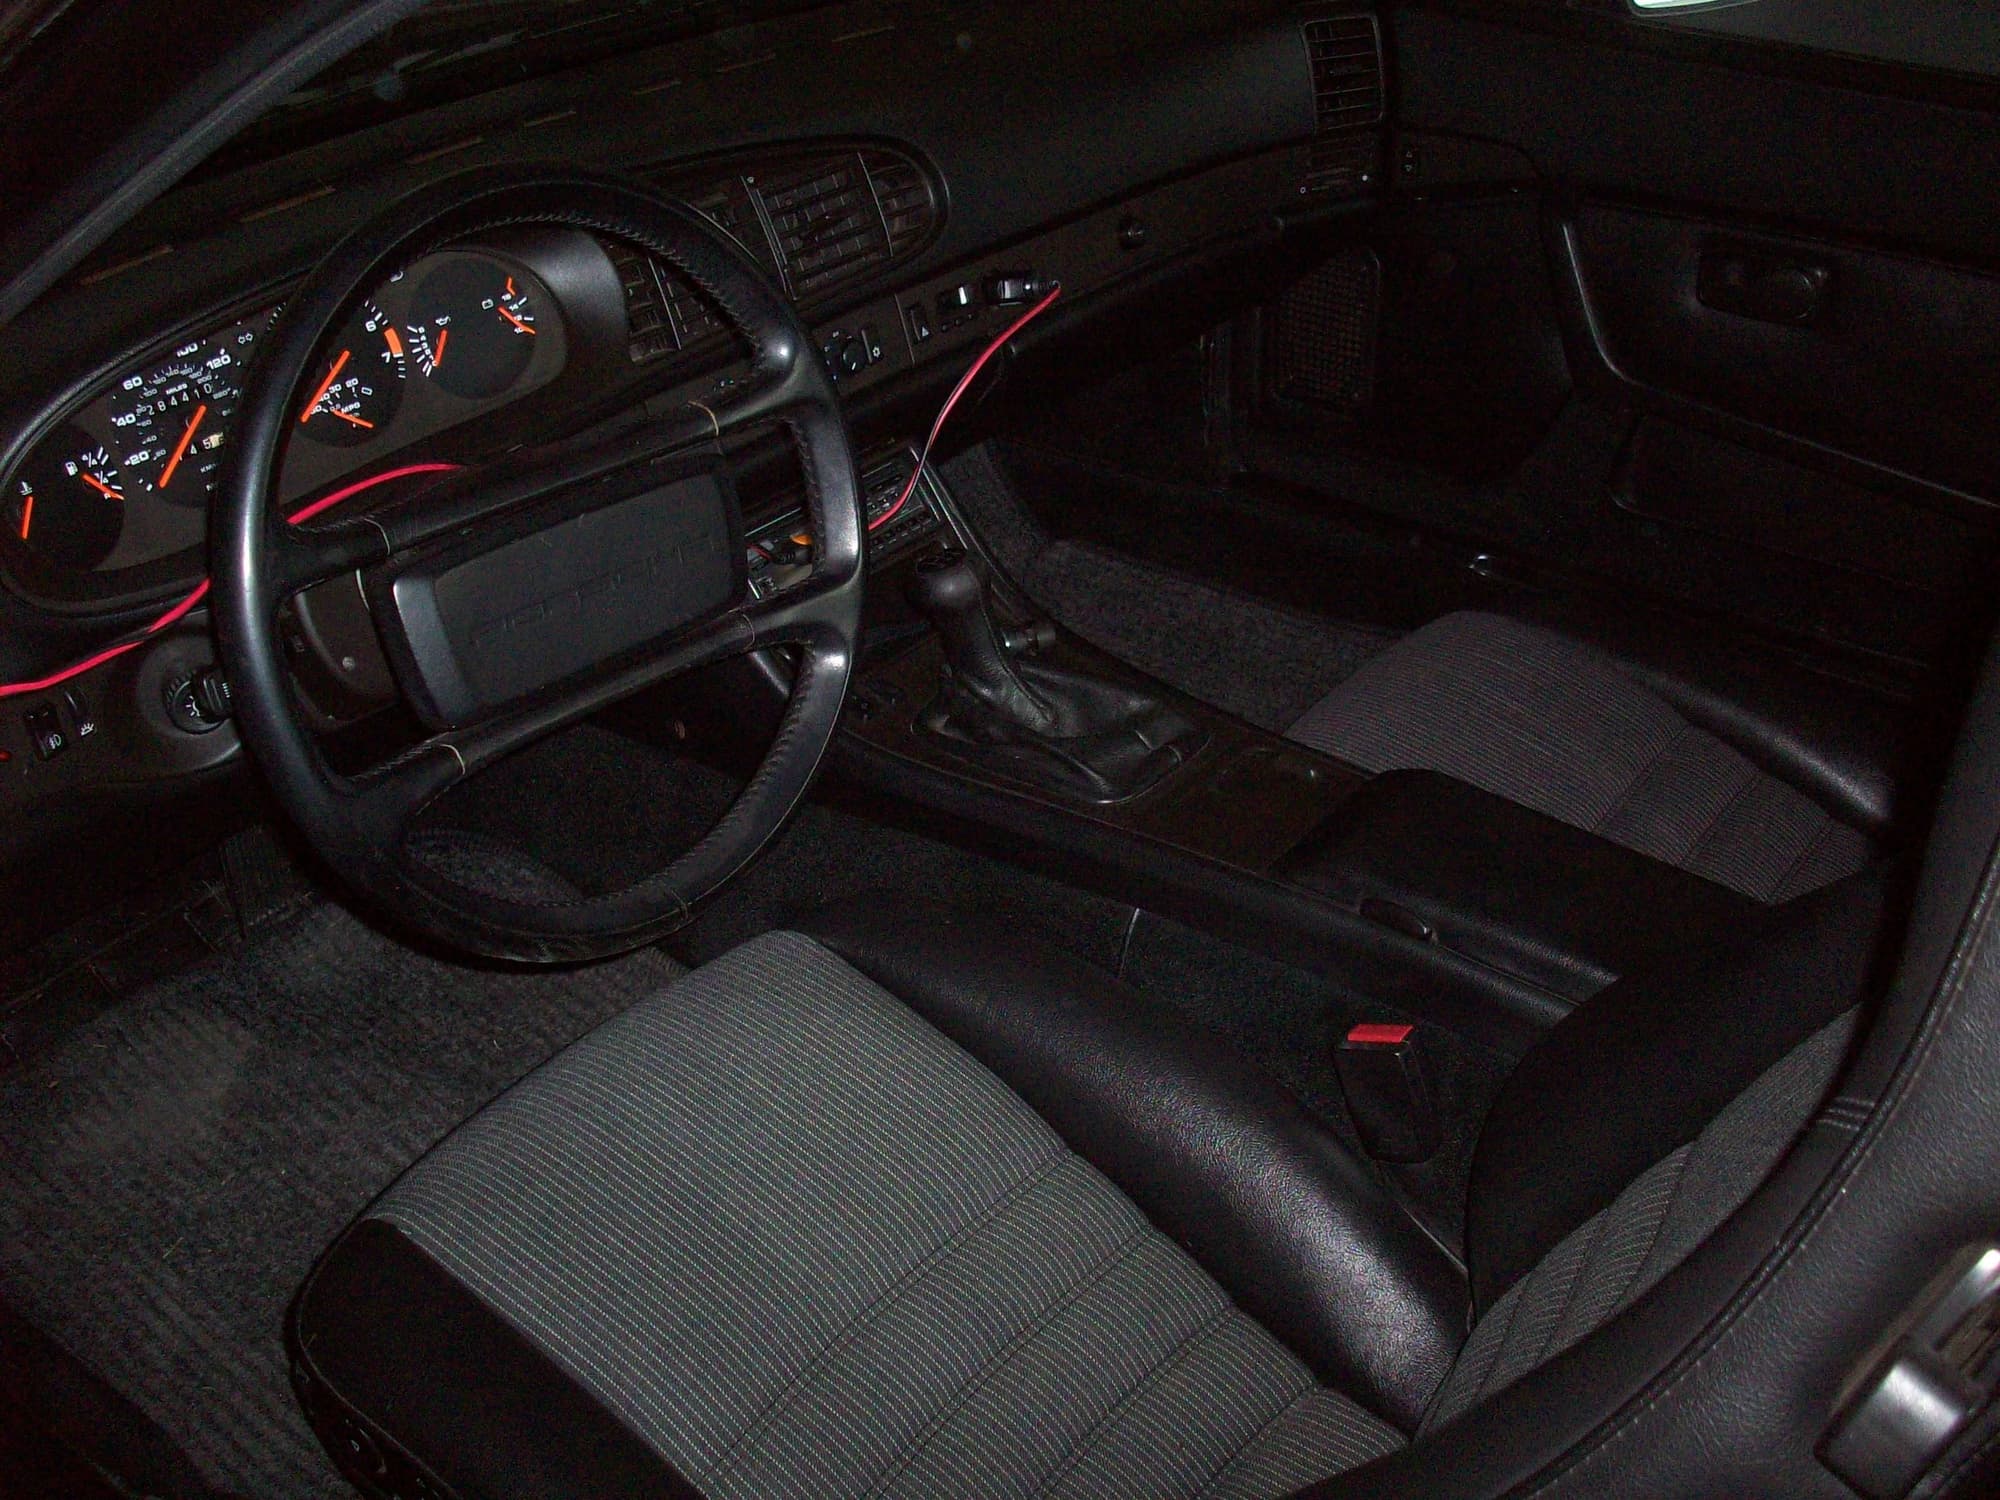
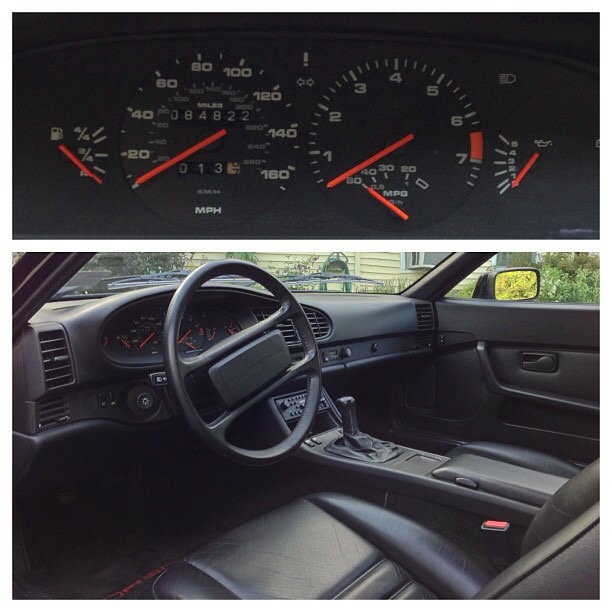
The only interior photos I can find are some from my Instragram from 3 years ago when I first got the car. I somehow managed to misplace the originals...
Perhaps restoration was not completely accurate. While I intend to "restore" certain components, I do intend to make some of the typical upgrades to make this an even better driving and performing car.
For the engine, the plan is largely to tear apart, clean and rebuild. The bottom end is solid (compression tested evenly across all cylinders) so I intend to leave that intact, with the exception of gaskets and seals. I do intend to tear the cylinder head apart, inspect and measure parts for wear and then rebuild with cleaned up parts. I briefly considered a mild performance rebuild, but cost and lack of power increase weighted against cost changed my mind.
DLarsen-
Those repainted wheels look awesome! The paint on mine aren't looking so good these days - it's amazing how new they can look with some TLC.
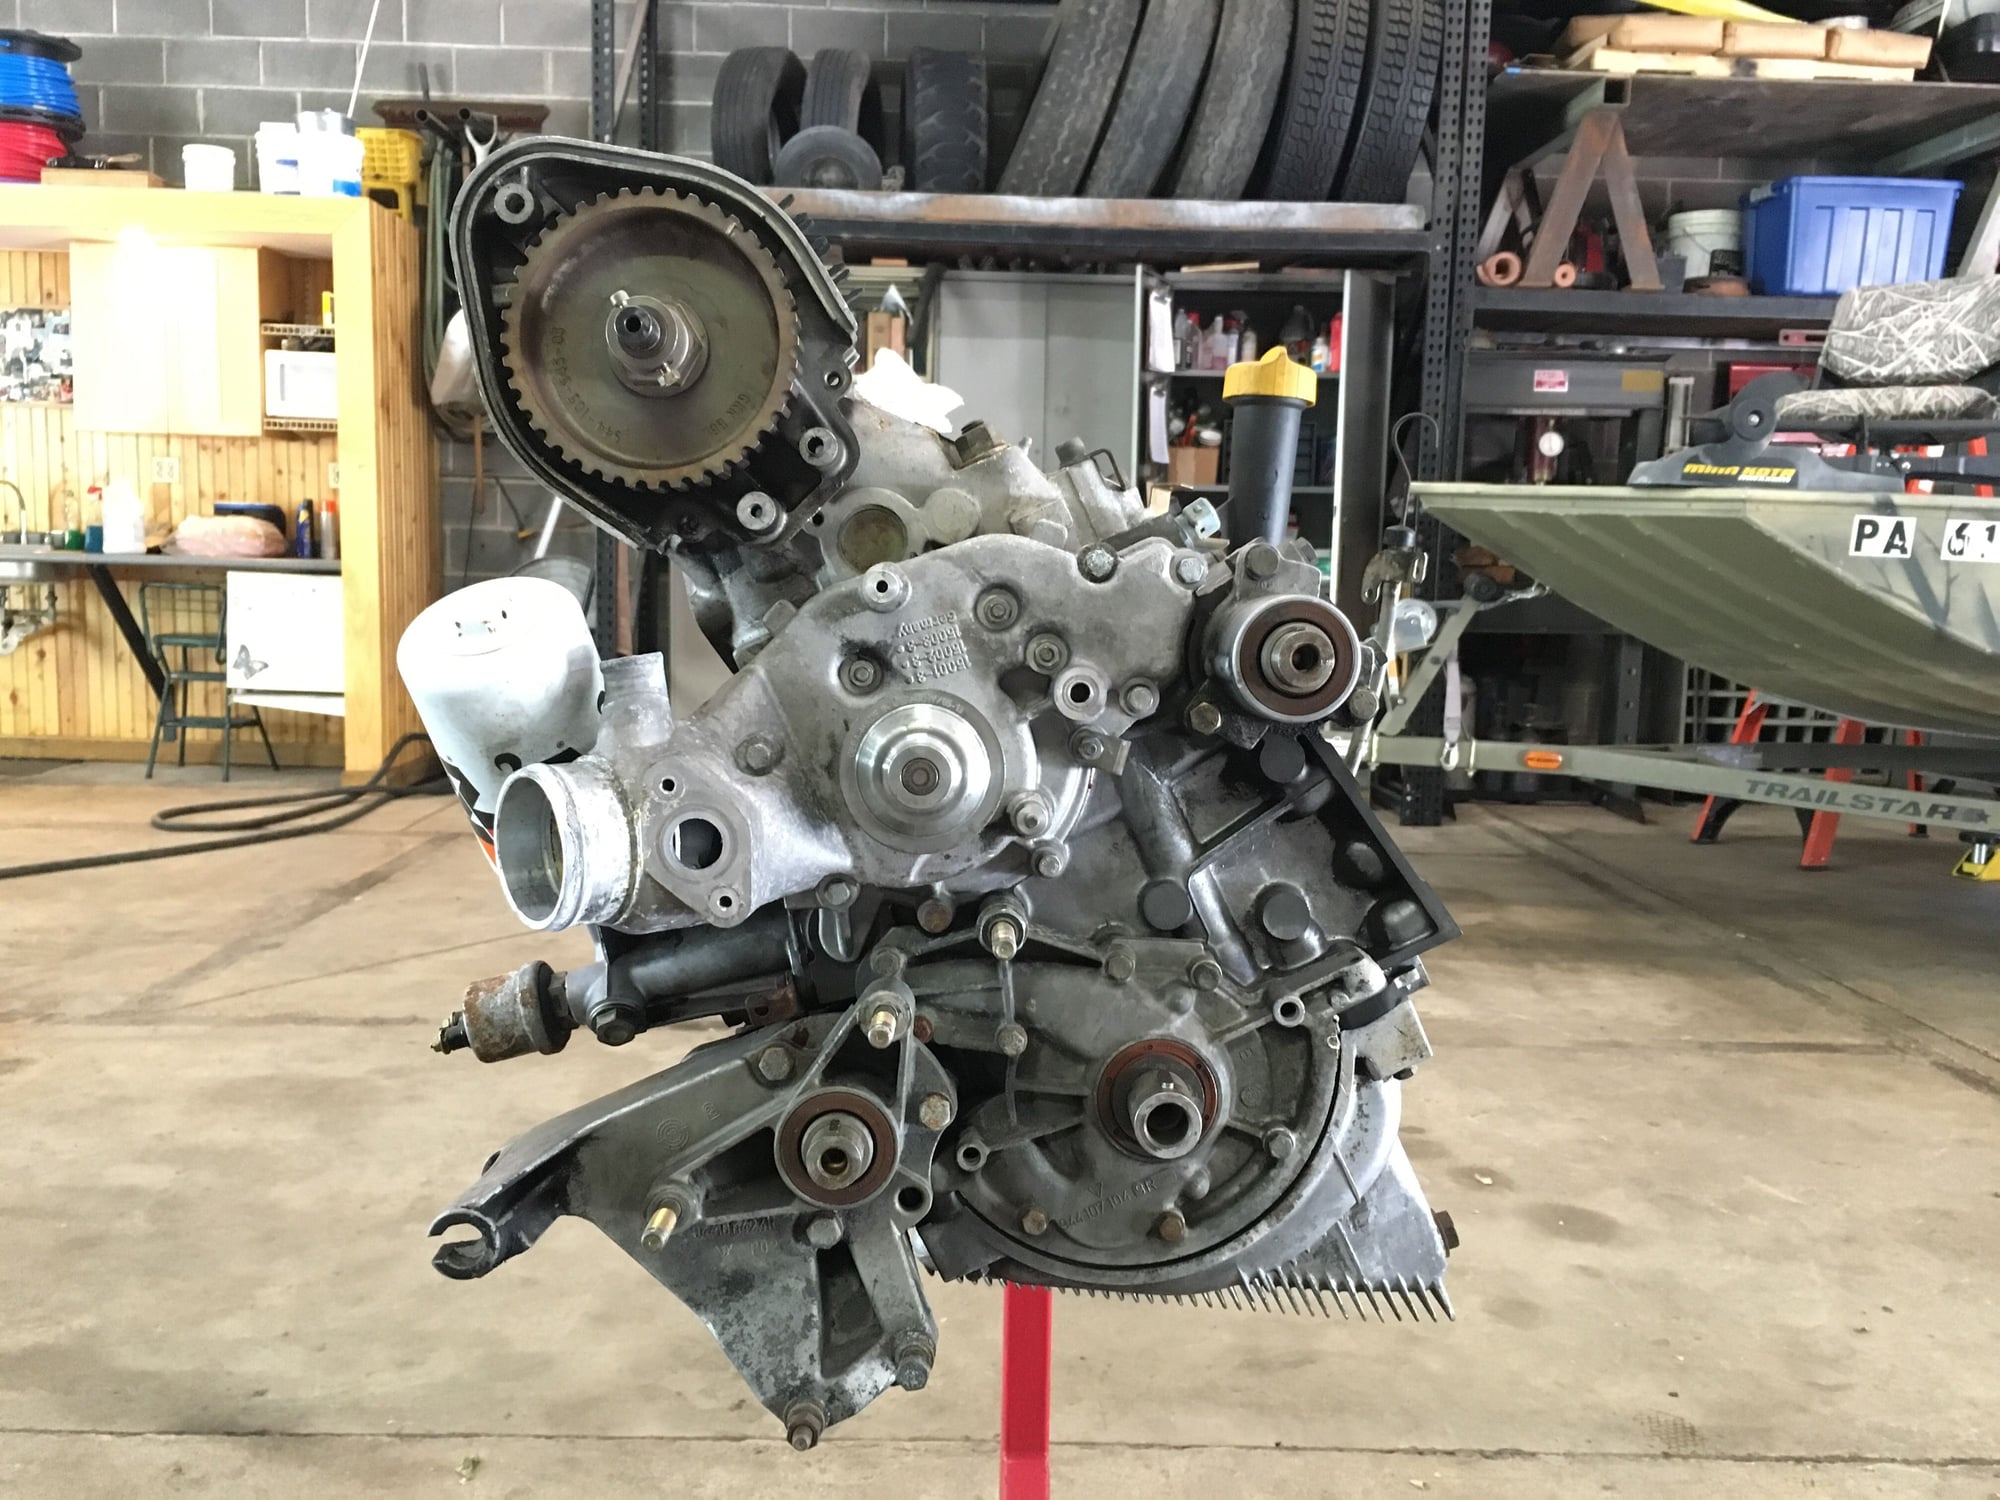
Be sure and check the O-rings at the rear of the balance shaft housing. With the engine removed would be an excellent time to replace them. I bought a pair from Voith (rl member) and hope they will be better than the originals.
If the Ac has not been converted to 134 now would be a good time to do that. If you have or could borrow a crimping tool I would replace the rubber hoses with the newer barrier hoses.
Glad to hear you're making progress now. Mine has had to take a back seat to selling my house and moving up to the Disneyworld area. Mid-June I'll be moved and can get back to working on the resto. It's ready for the paint shop and unfortunately, a new clutch.
To answer a few more questions, yes all systems work. The A/C still blows cold when it's charged up. It does have a slow leak, so it requires a new can of R12 each season. Thinking maybe I should find the leak and convert it to R134a since the R12 is getting awfully expensive...
Cruise control still works just fine, though I never really use it.
Power steering has a leak, naturally. Seems the fluid bubbles out of the reservoir and then down the lines and all over the frame of the car. Maybe this is the power steering pump telling me it has finally had enough? I replaced the reservoir in 2014 thinking it was just leaking from there, but later found that was not the case.
Battery tray area is in great shape. Car has no rust on it, except some light surface rust that has developed on some of the engine parts and the steel parts in the front end. Still has the original exhaust!
Okay, so I finally got around to working on Ferdinand again. Life has been getting in the way - you folks know how it goes.
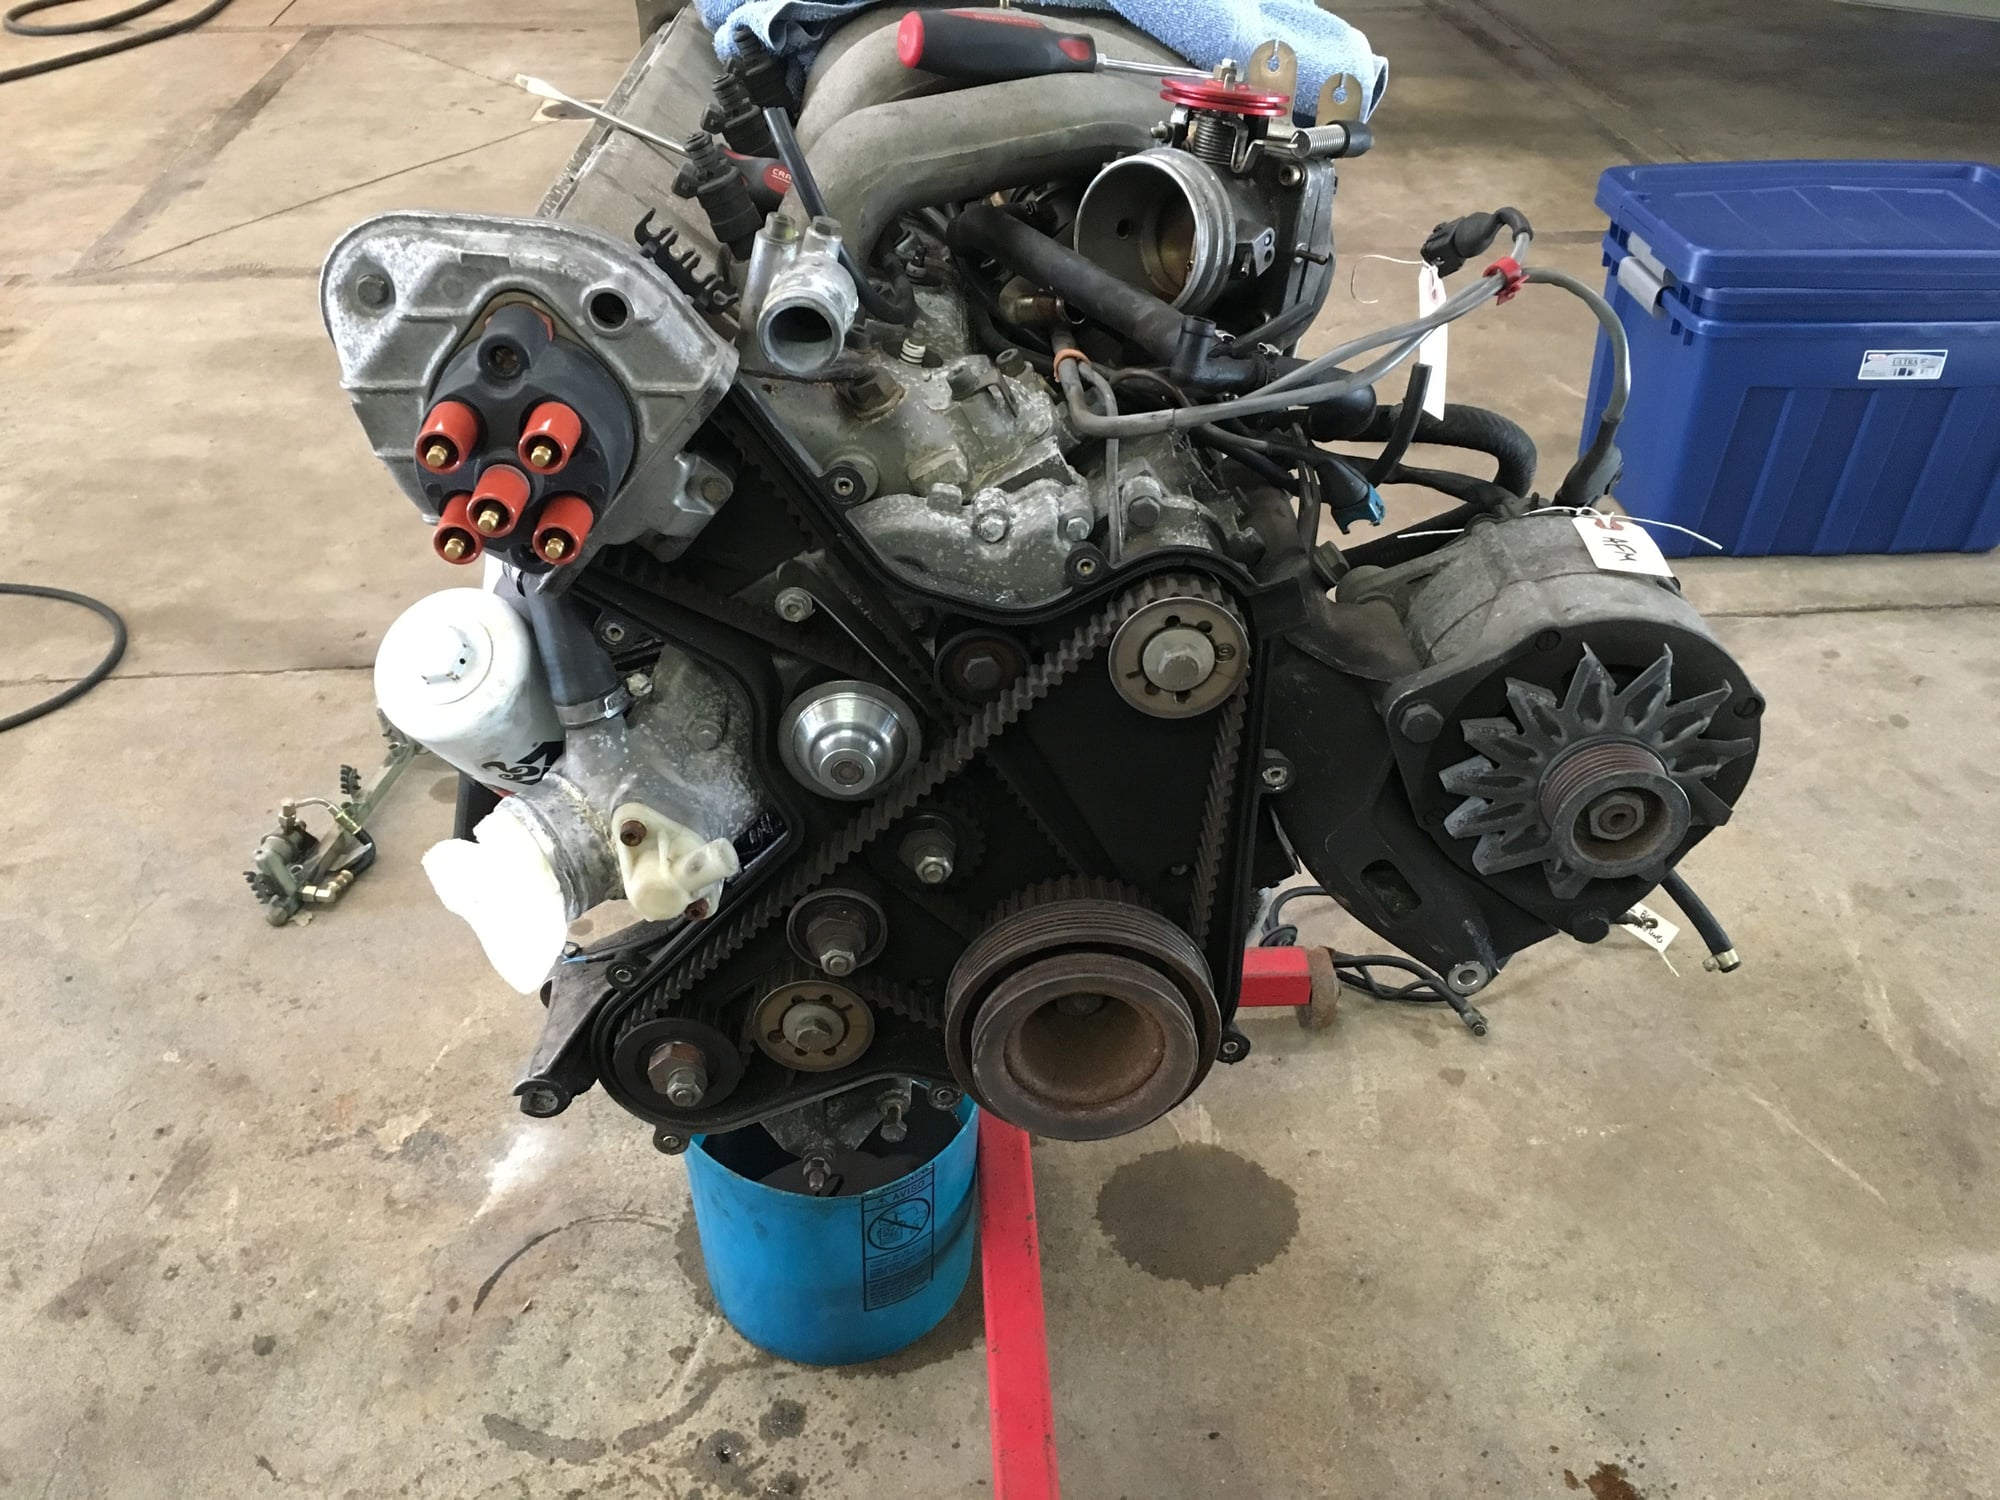
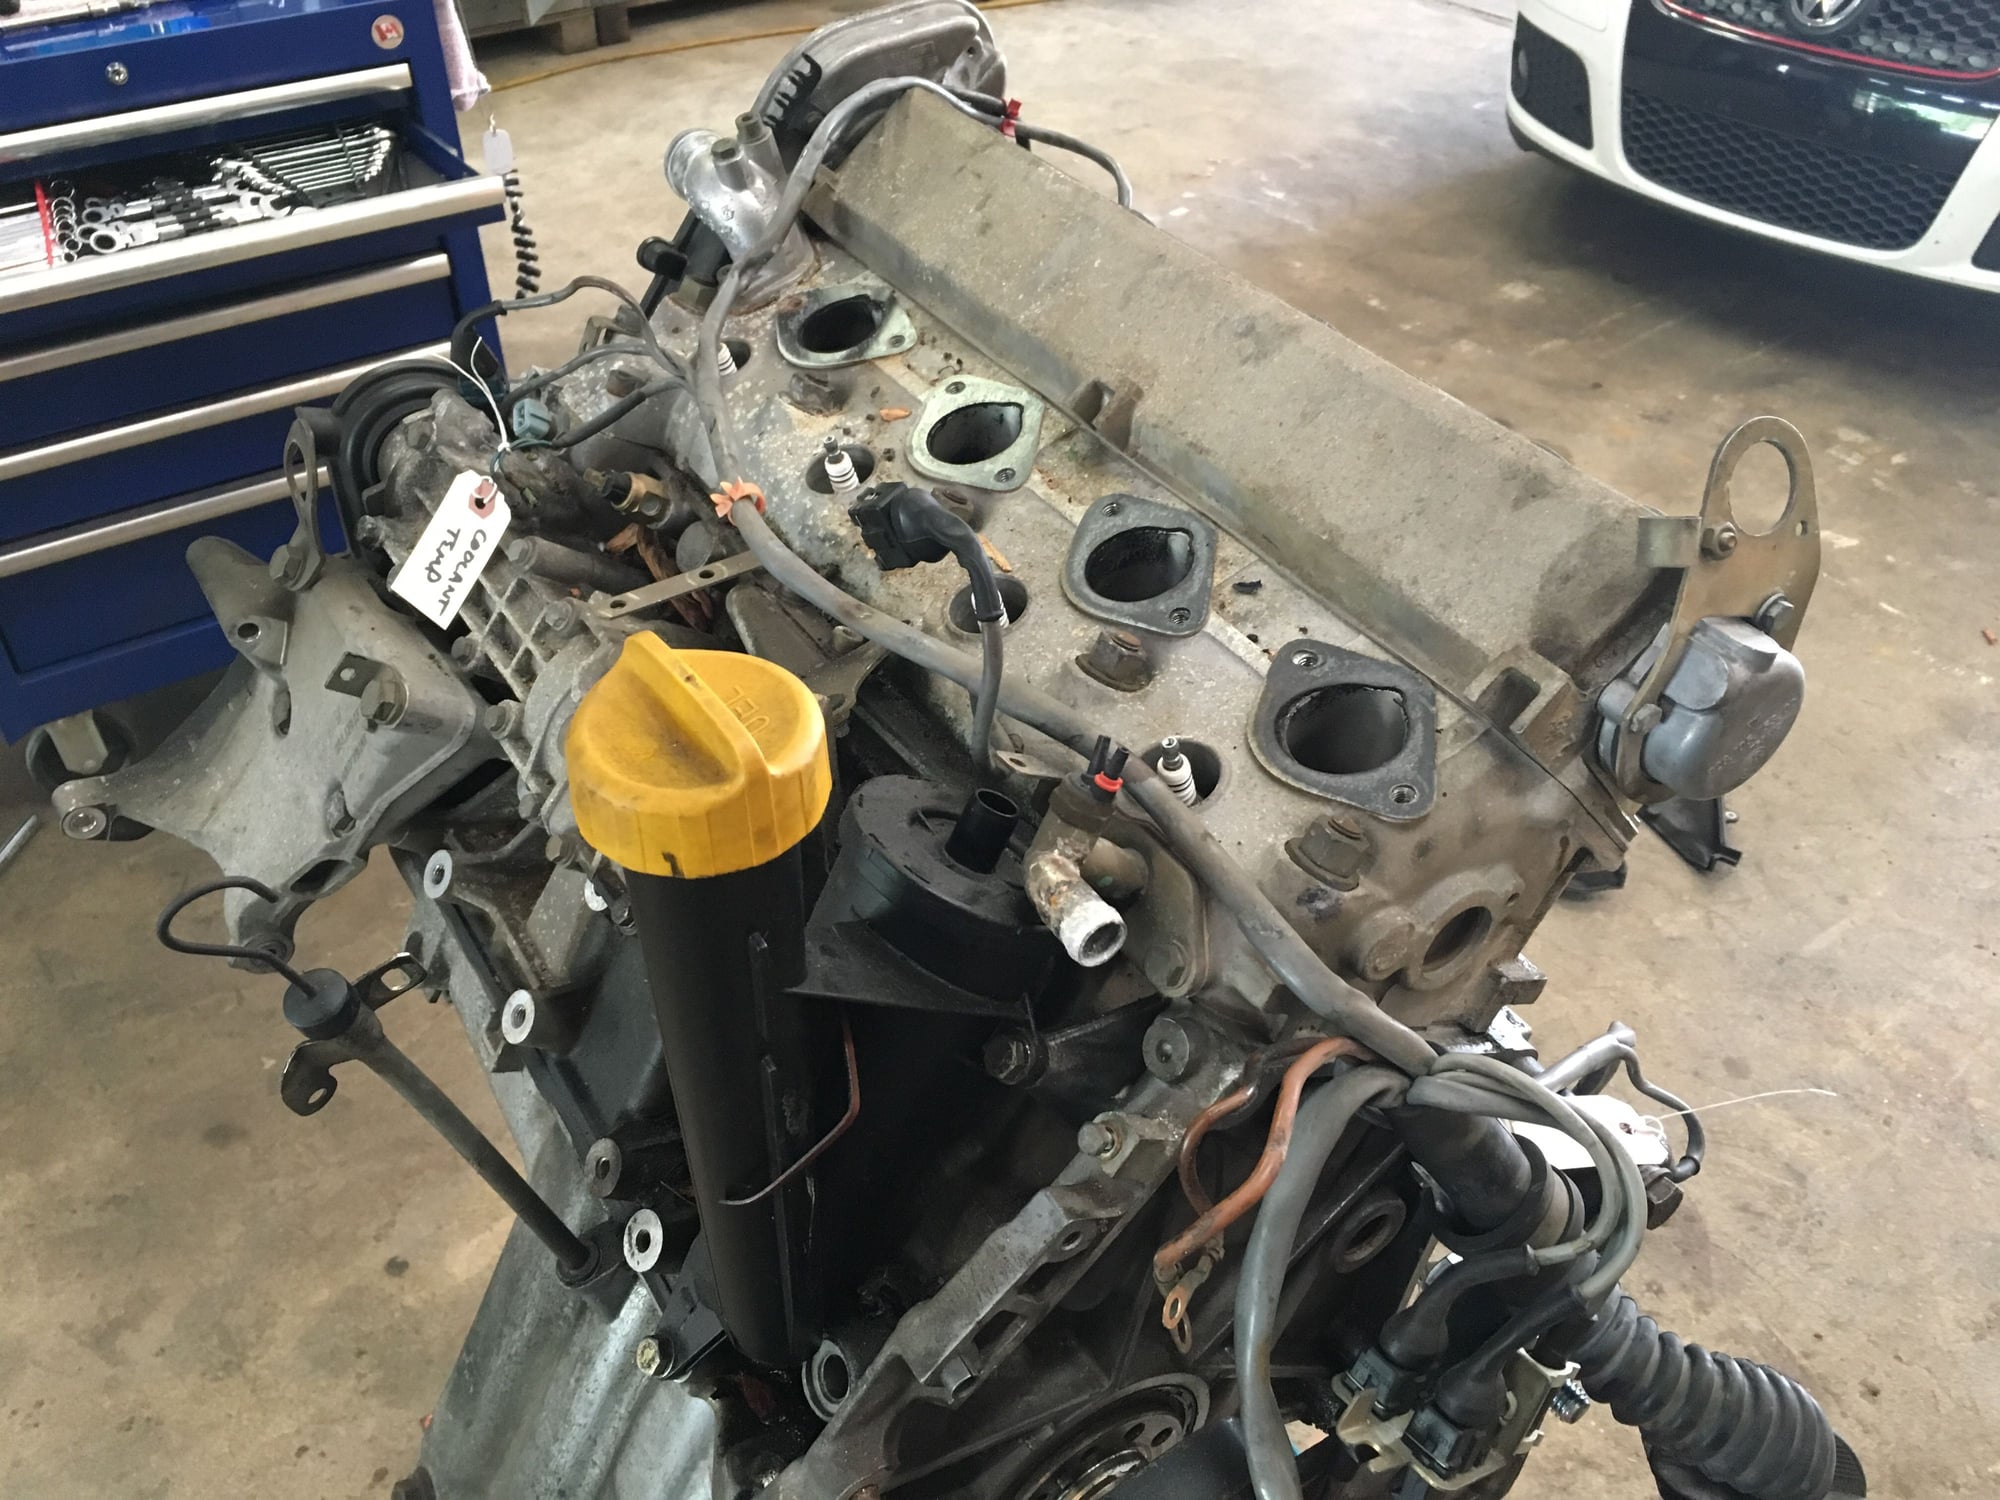
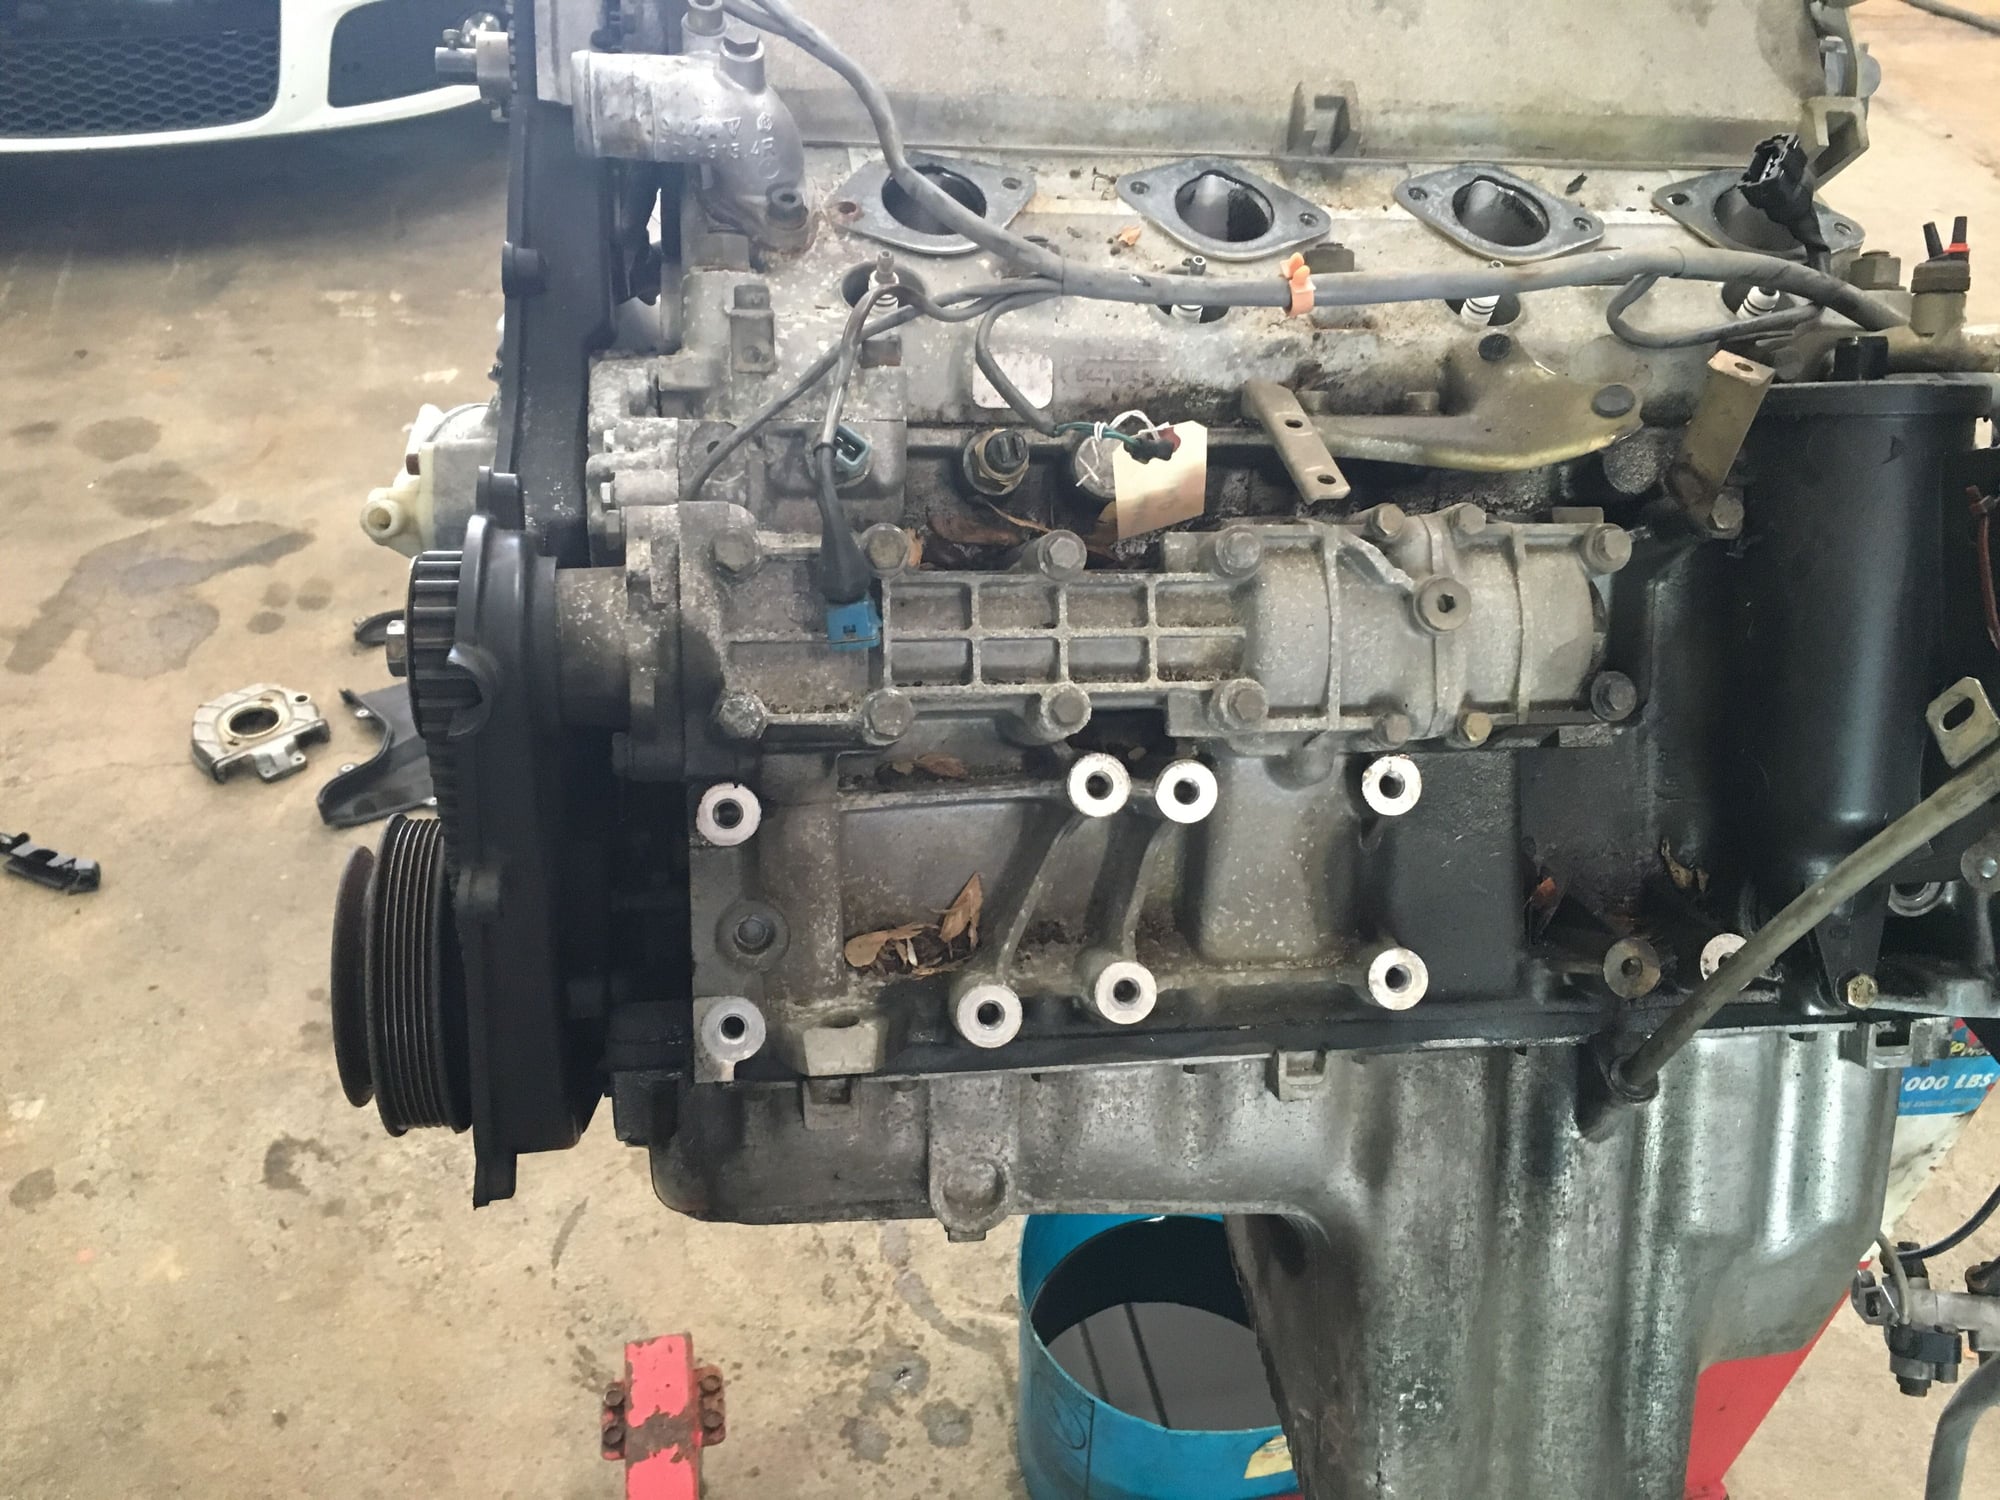
The first step with any engine rebuild is naturally to strip down all the extra stuff so we can get to the hard mechanical components! I had plenty of space to spread out in my father-in-law's garage while I disassembled - I neglected to take a picture but at one point I think I was surrounded on all 4 sides by parts organized on the floor.
Couple of disassembly shots - start with the easy stuff...
Looks like we're getting some oil in the intake there from the AOS...
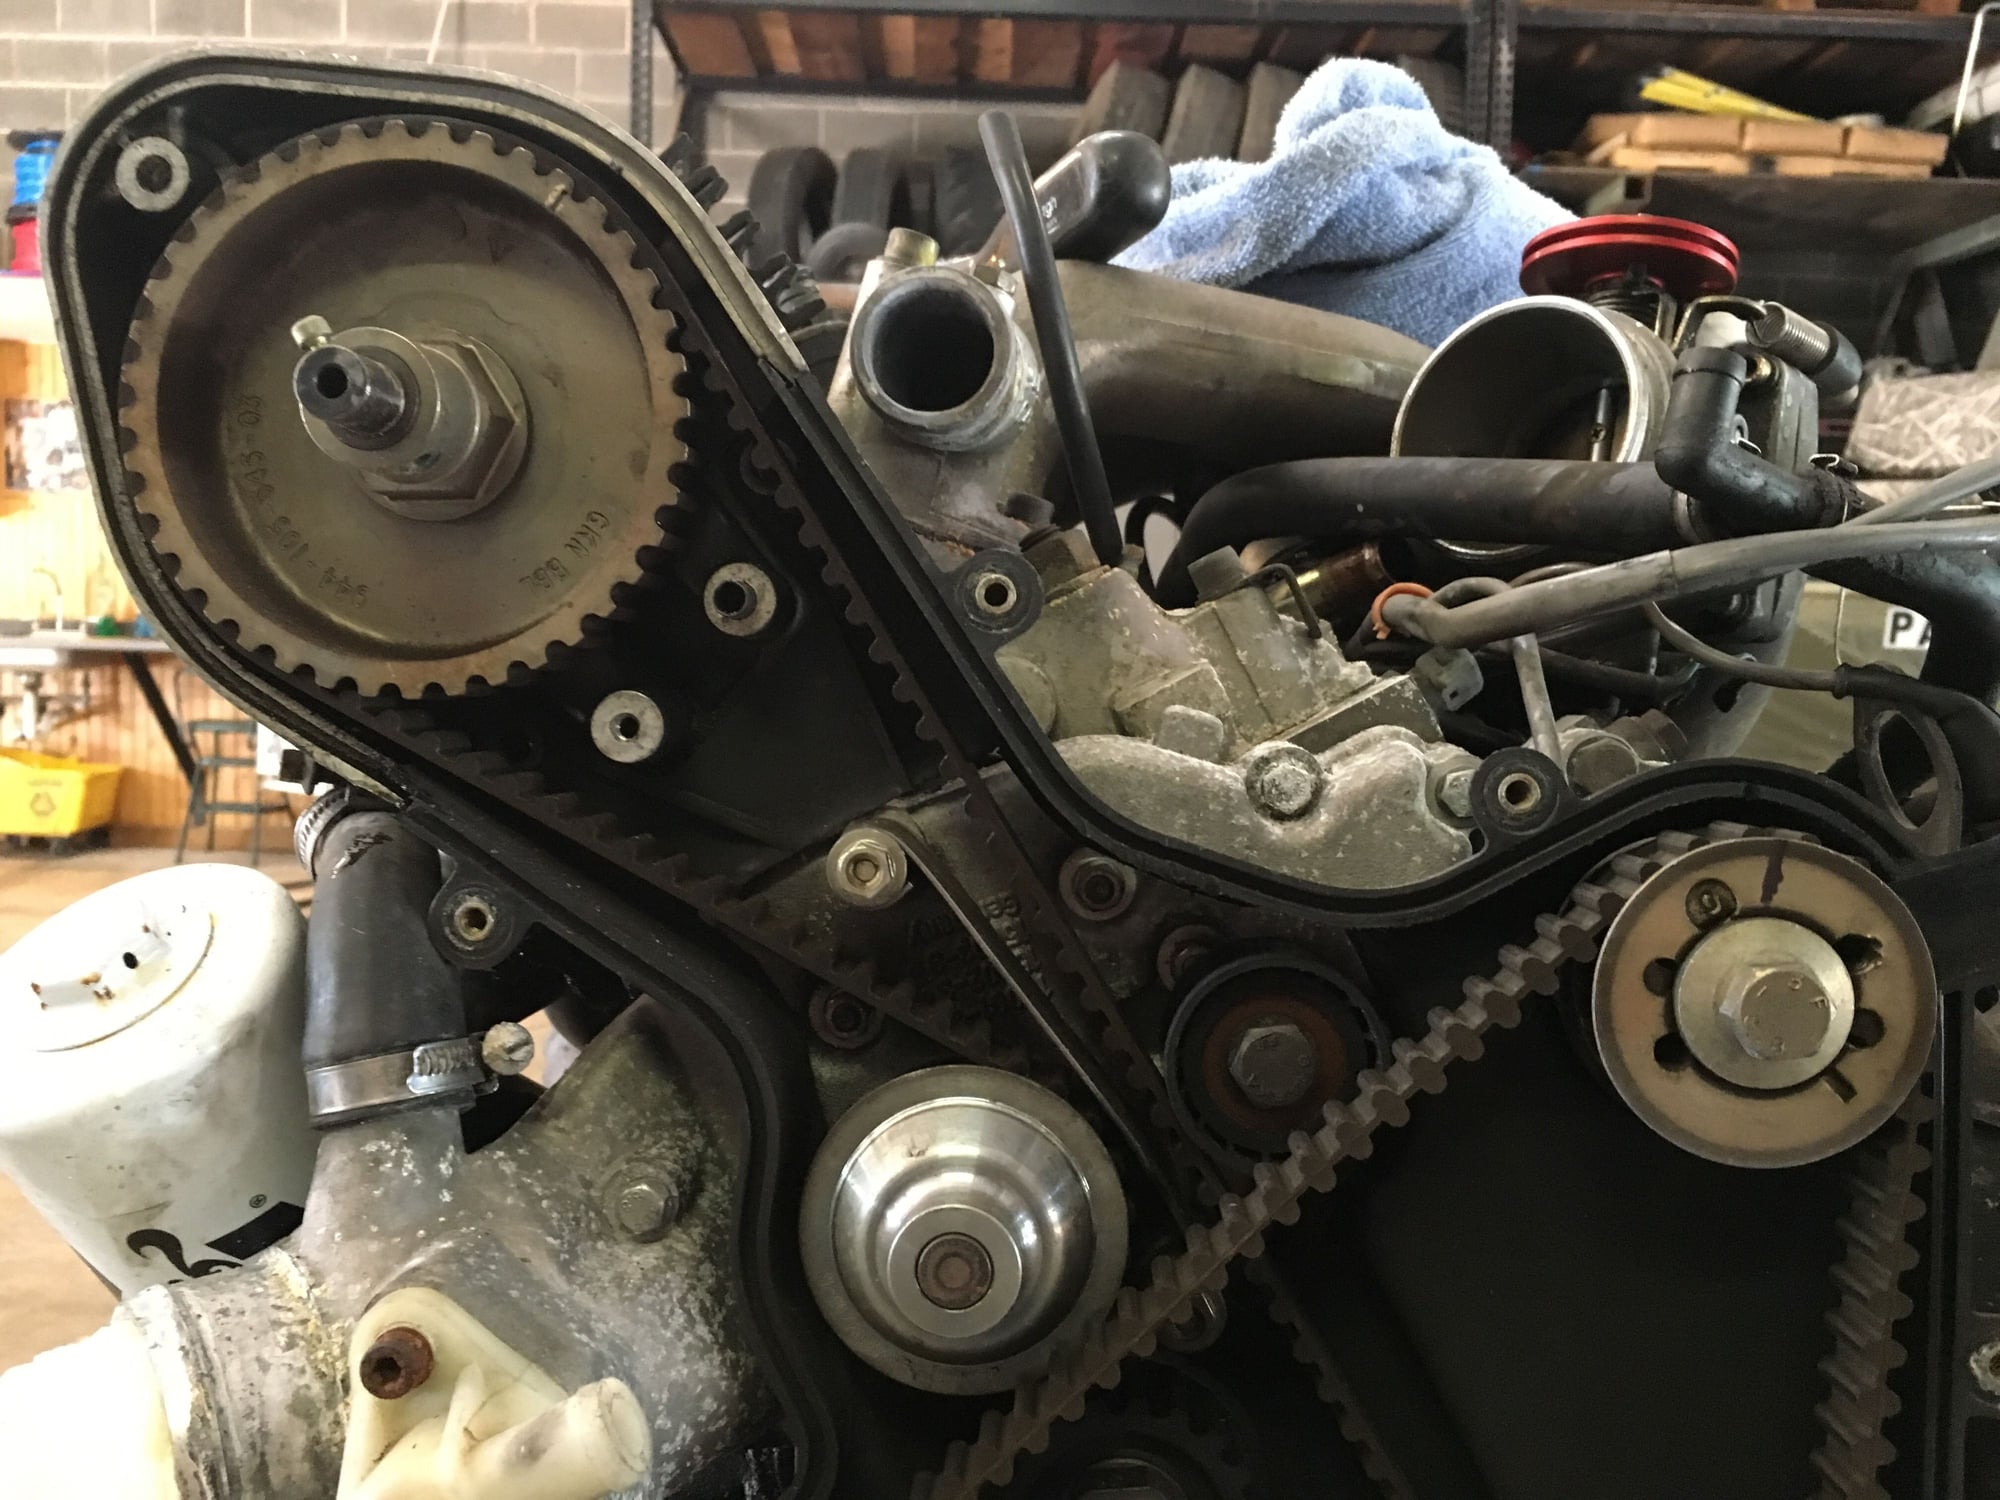
Belts were still in good shape since they're only from early 2014. I'll replace them as preventive maintenance though since they're not expensive.
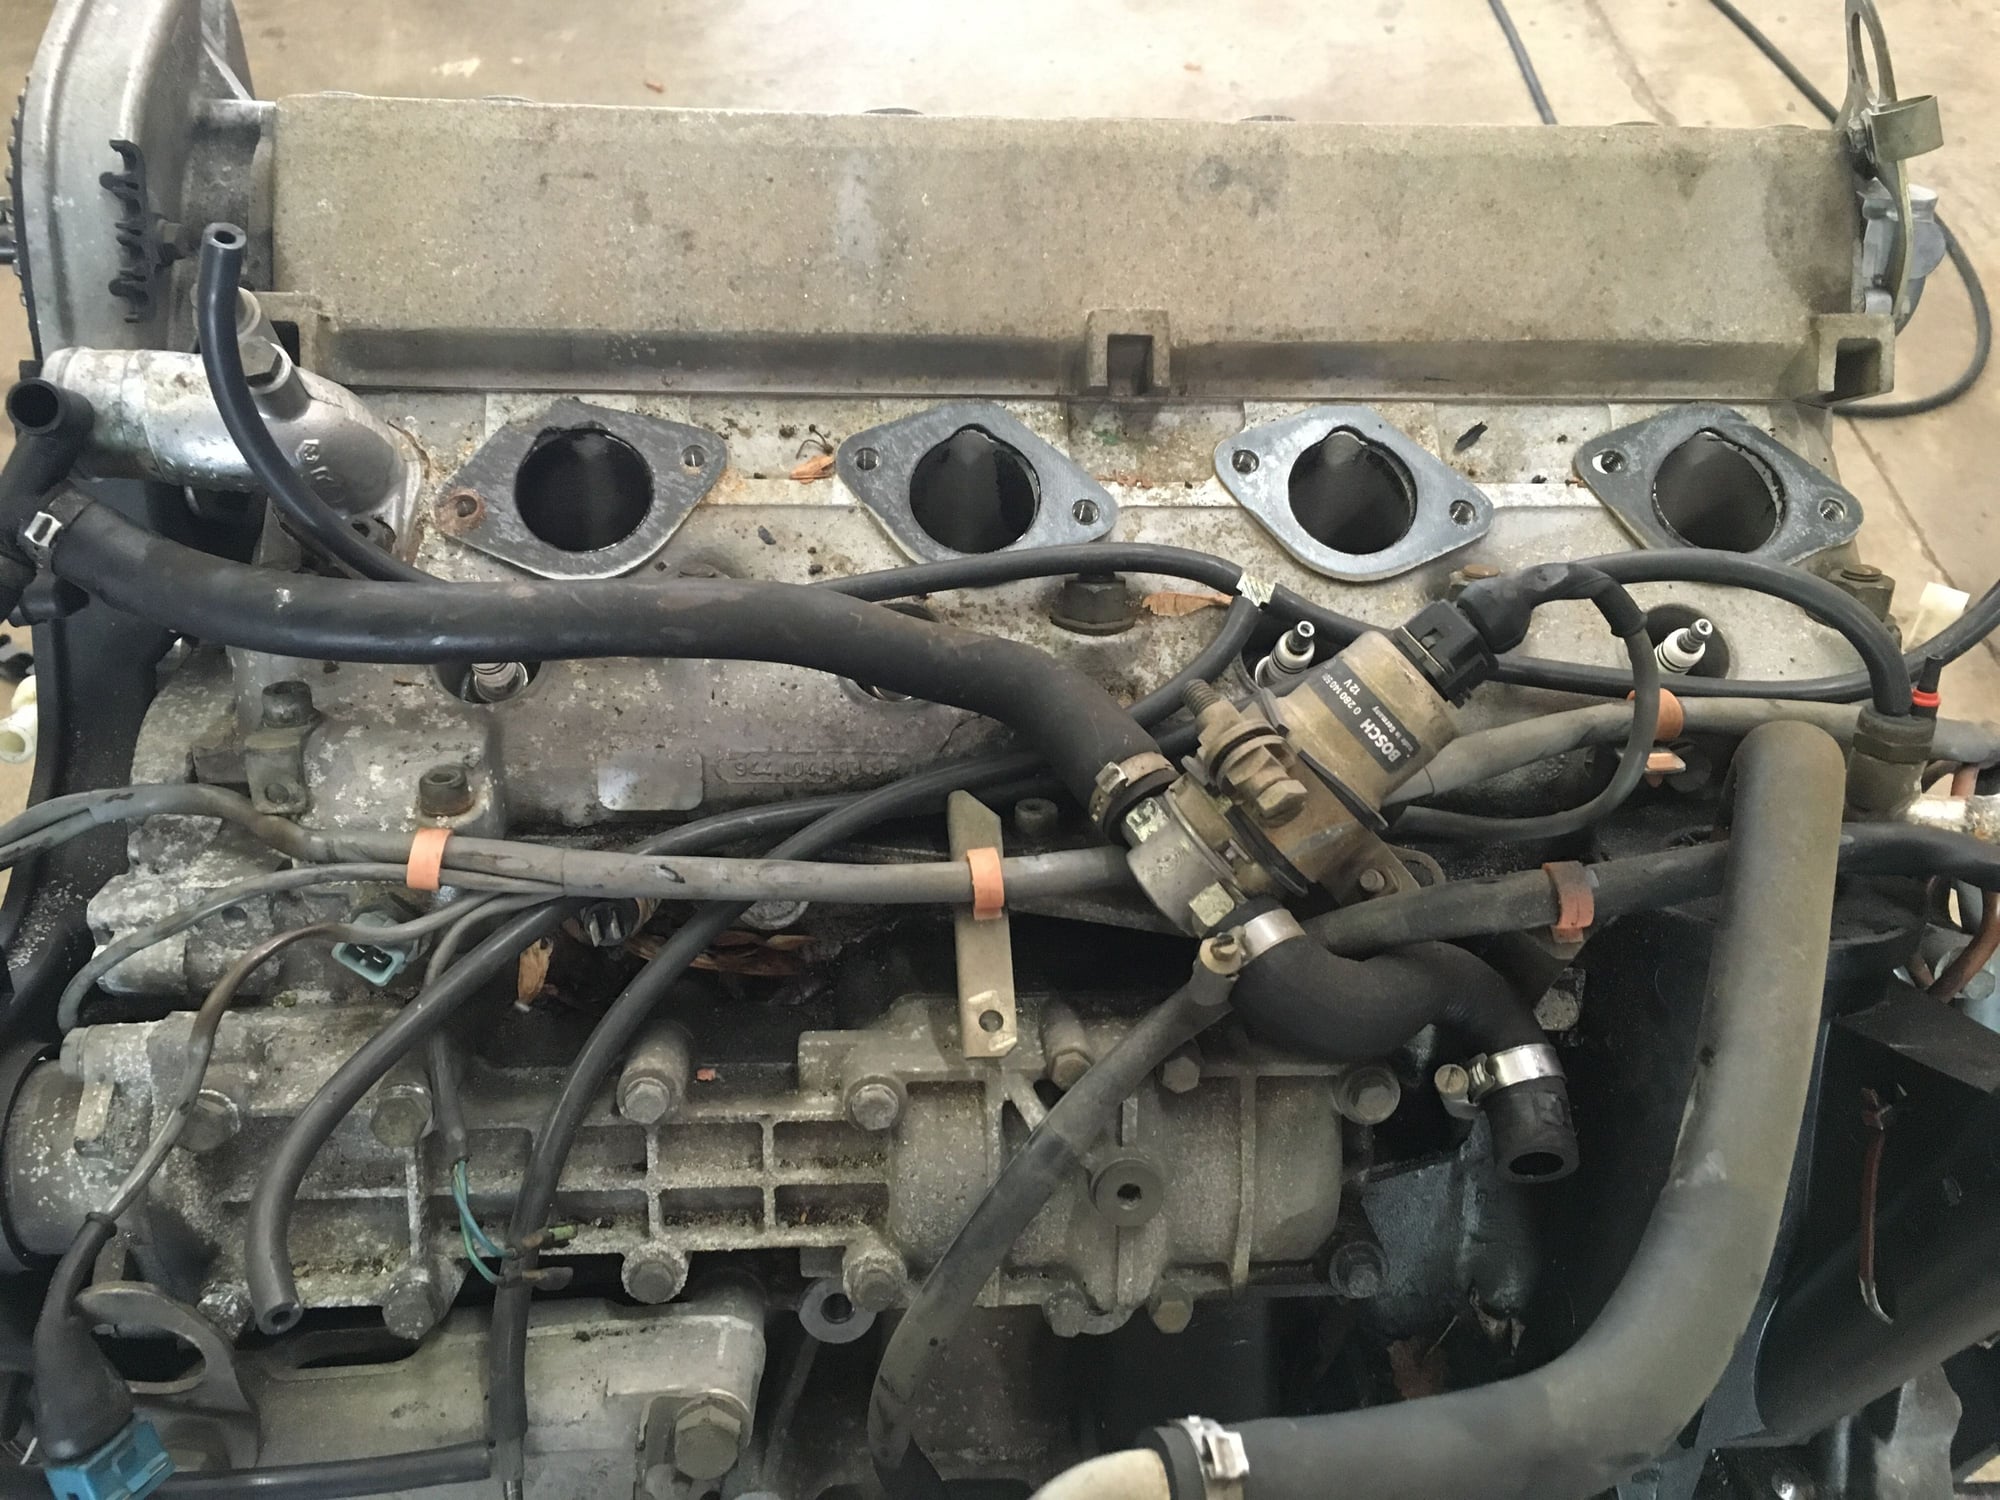
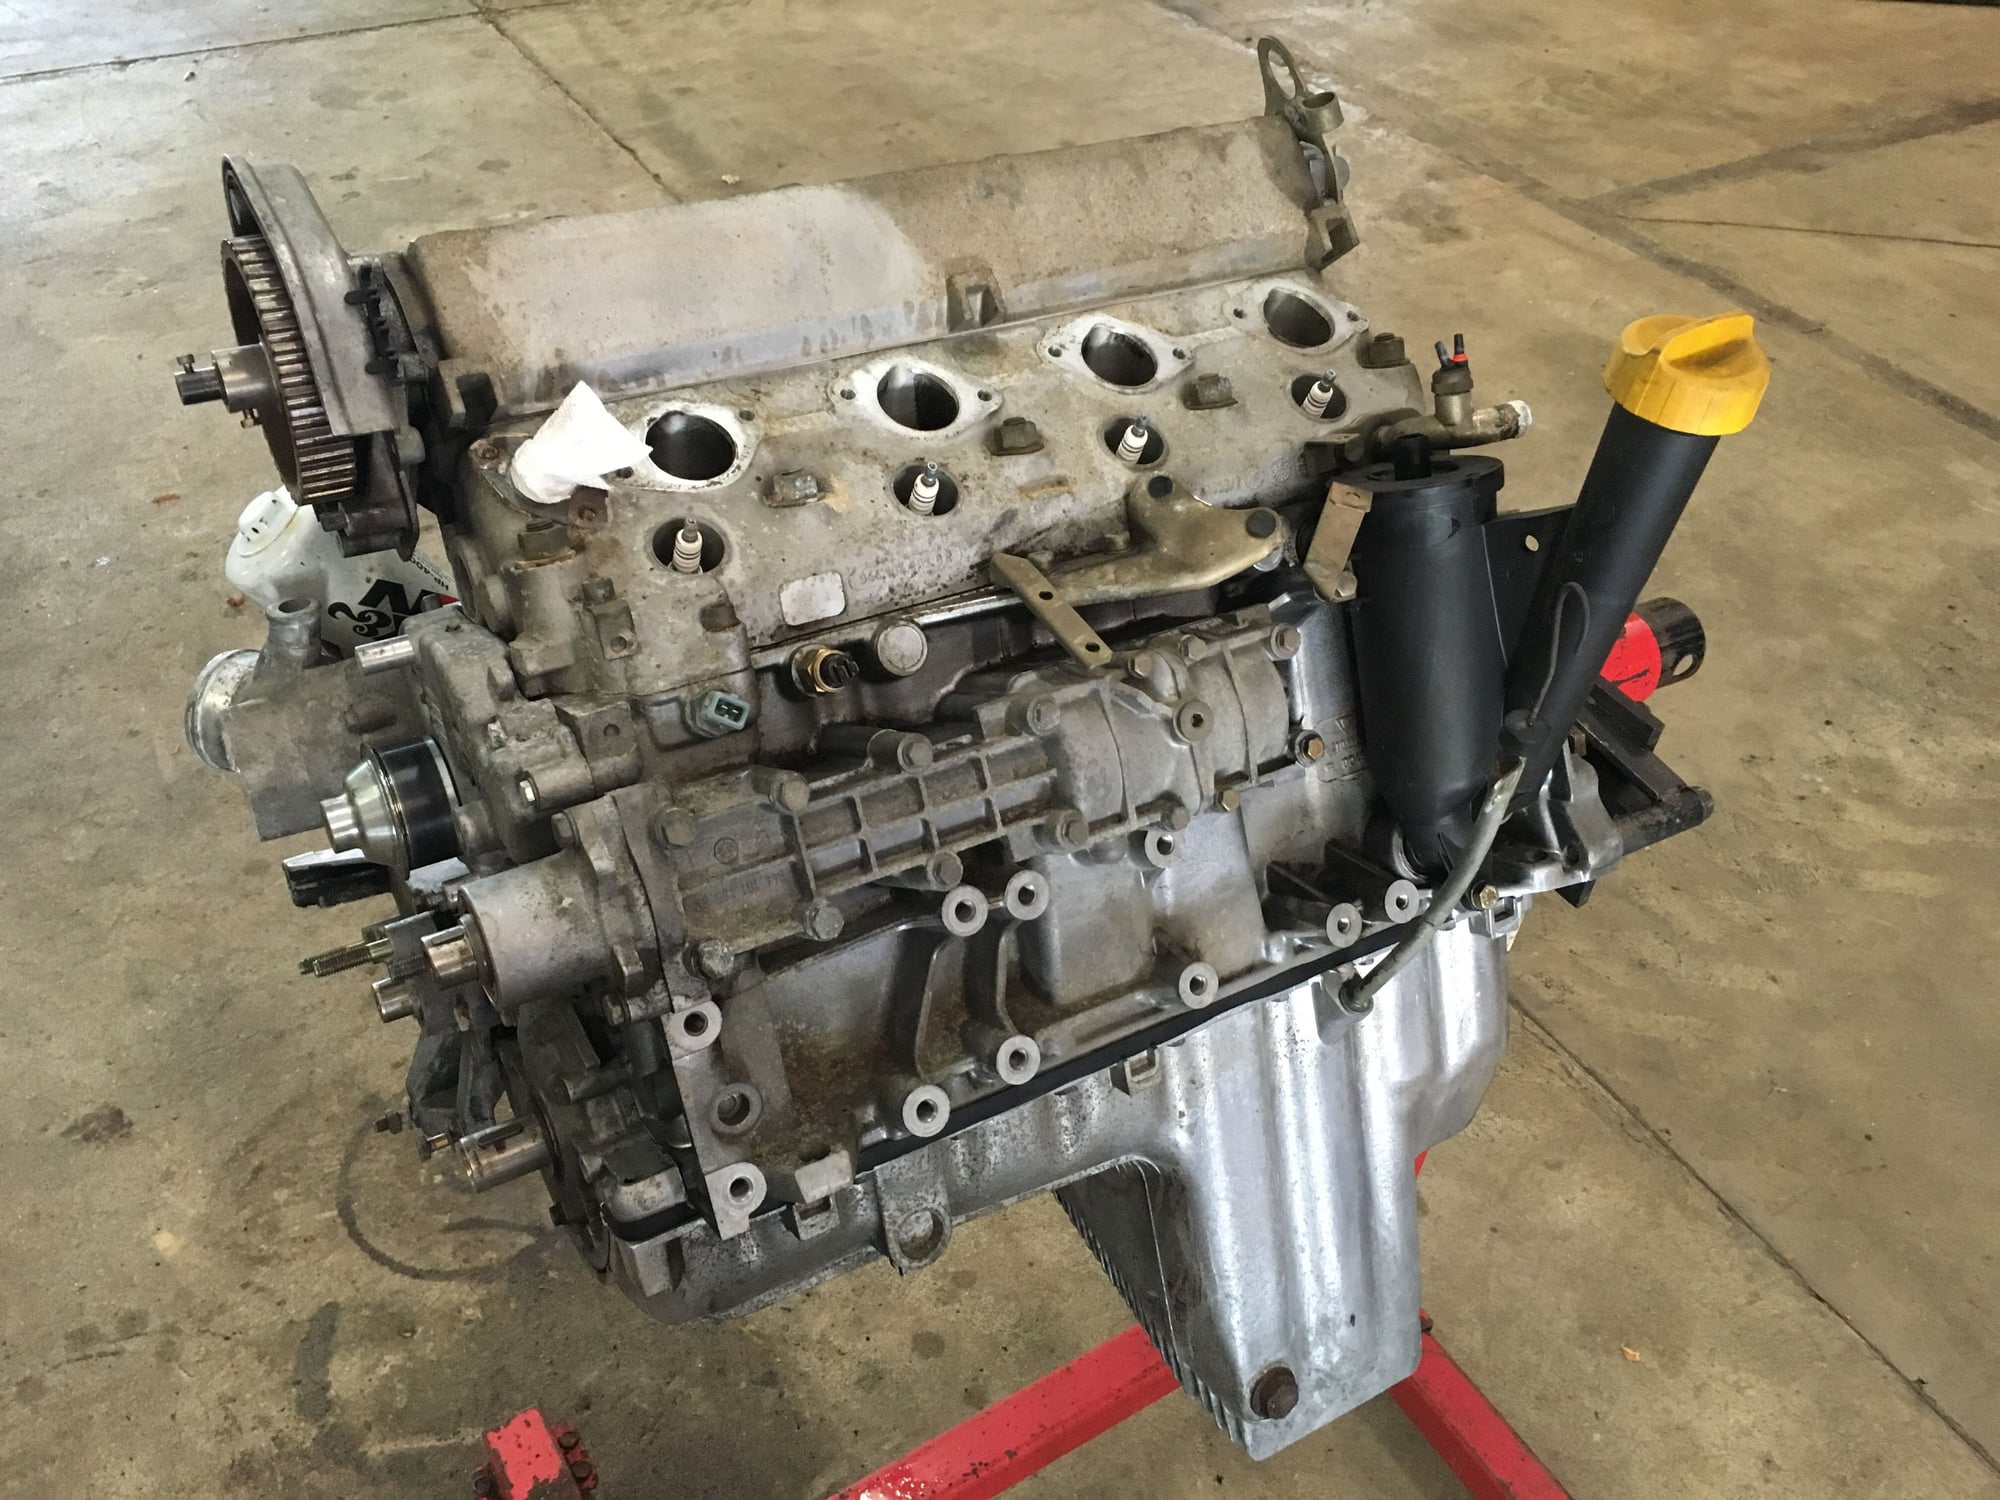
What is this guy that says Bosch in the image below? I have the FSM and I'm sure I can find it on the diagram, but figured one of you folks would know off the top of your head.
Plan is to remove as much of the extra emissions crap as possible since I'm going to be putting an antique tag on the car. I want the final engine bay to be as clean as possible.
Continued tagging the harness and bagging my fasteners as I removed them. Lots of little sandwich baggies, but no sandwiches...
This guy is a bit dirty...definitely could be much worse but dirty enough that he's in need of some serious cleaning!
Gave everything a preliminary cleaning with the warm water pressure washer (on low pressure of course) to get the engine closer to being tear-down ready.
Overall I'd say it turned out pretty good and it's now safely resting under a bunch of towels to keep it clean until I get back to the shop next weekend.
So I do plan to tear into this engine a bit more than I originally thought. My initial thoughts were to re-seal and re-gasket everything and rebuild the top end, but since I have the motor out I guess there's no better time for some more preventive maintenance. The build plan now includes rod bearings, main bearings and piston rings. Besides, it should be fun to rebuild the whole engine - I've always wanted to do that.
Let's talk compression numbers for a sec out of curiosity. I compression tested the engine before I pulled it and I got readings of 150, 150, 150 & 145 from front to back. Looking in the FSM that's right where it should be but my numbers seem a little low compared to a lot of others on here. I guess it does't really matter since I'll be measuring and checking everything before rebuilding, but it just had me curious.
On another note - I'm thinking about buying a cheap Harbor Freight sand blast cabinet so I can do some glass beading on these corroded aluminum parts. I don't much (re: anything) about sand blasting so I have some research to do regarding what media is best. I figure I can also use the blast cabinet for cleaning up various steel parts before reprinting them as well. Anyone here use the cheap Harbor Freight guy or something similar and have any opinions (good or bad)?
 05-30-2016, 09:31 AM


 ). I supported the hanging A/C compressor and power steering pump so the hoses wouldn't be stressed.