When you click on links to various merchants on this site and make a purchase, this can result in this site earning a commission. Affiliate programs and affiliations include, but are not limited to, the eBay Partner Network.
Everything is looking quite good as expected. Crank looks good so far.
There is some water in the crankcase from pressure washing the block, but it shouldn't matter since it's all coming completely apart. I was trying to use my father-in-law's Karcher hot water pressure washer, thinking it would help steam clean the block a bit before additional disassembly. I think I got more water on myself from it splashing back than I got on the block...
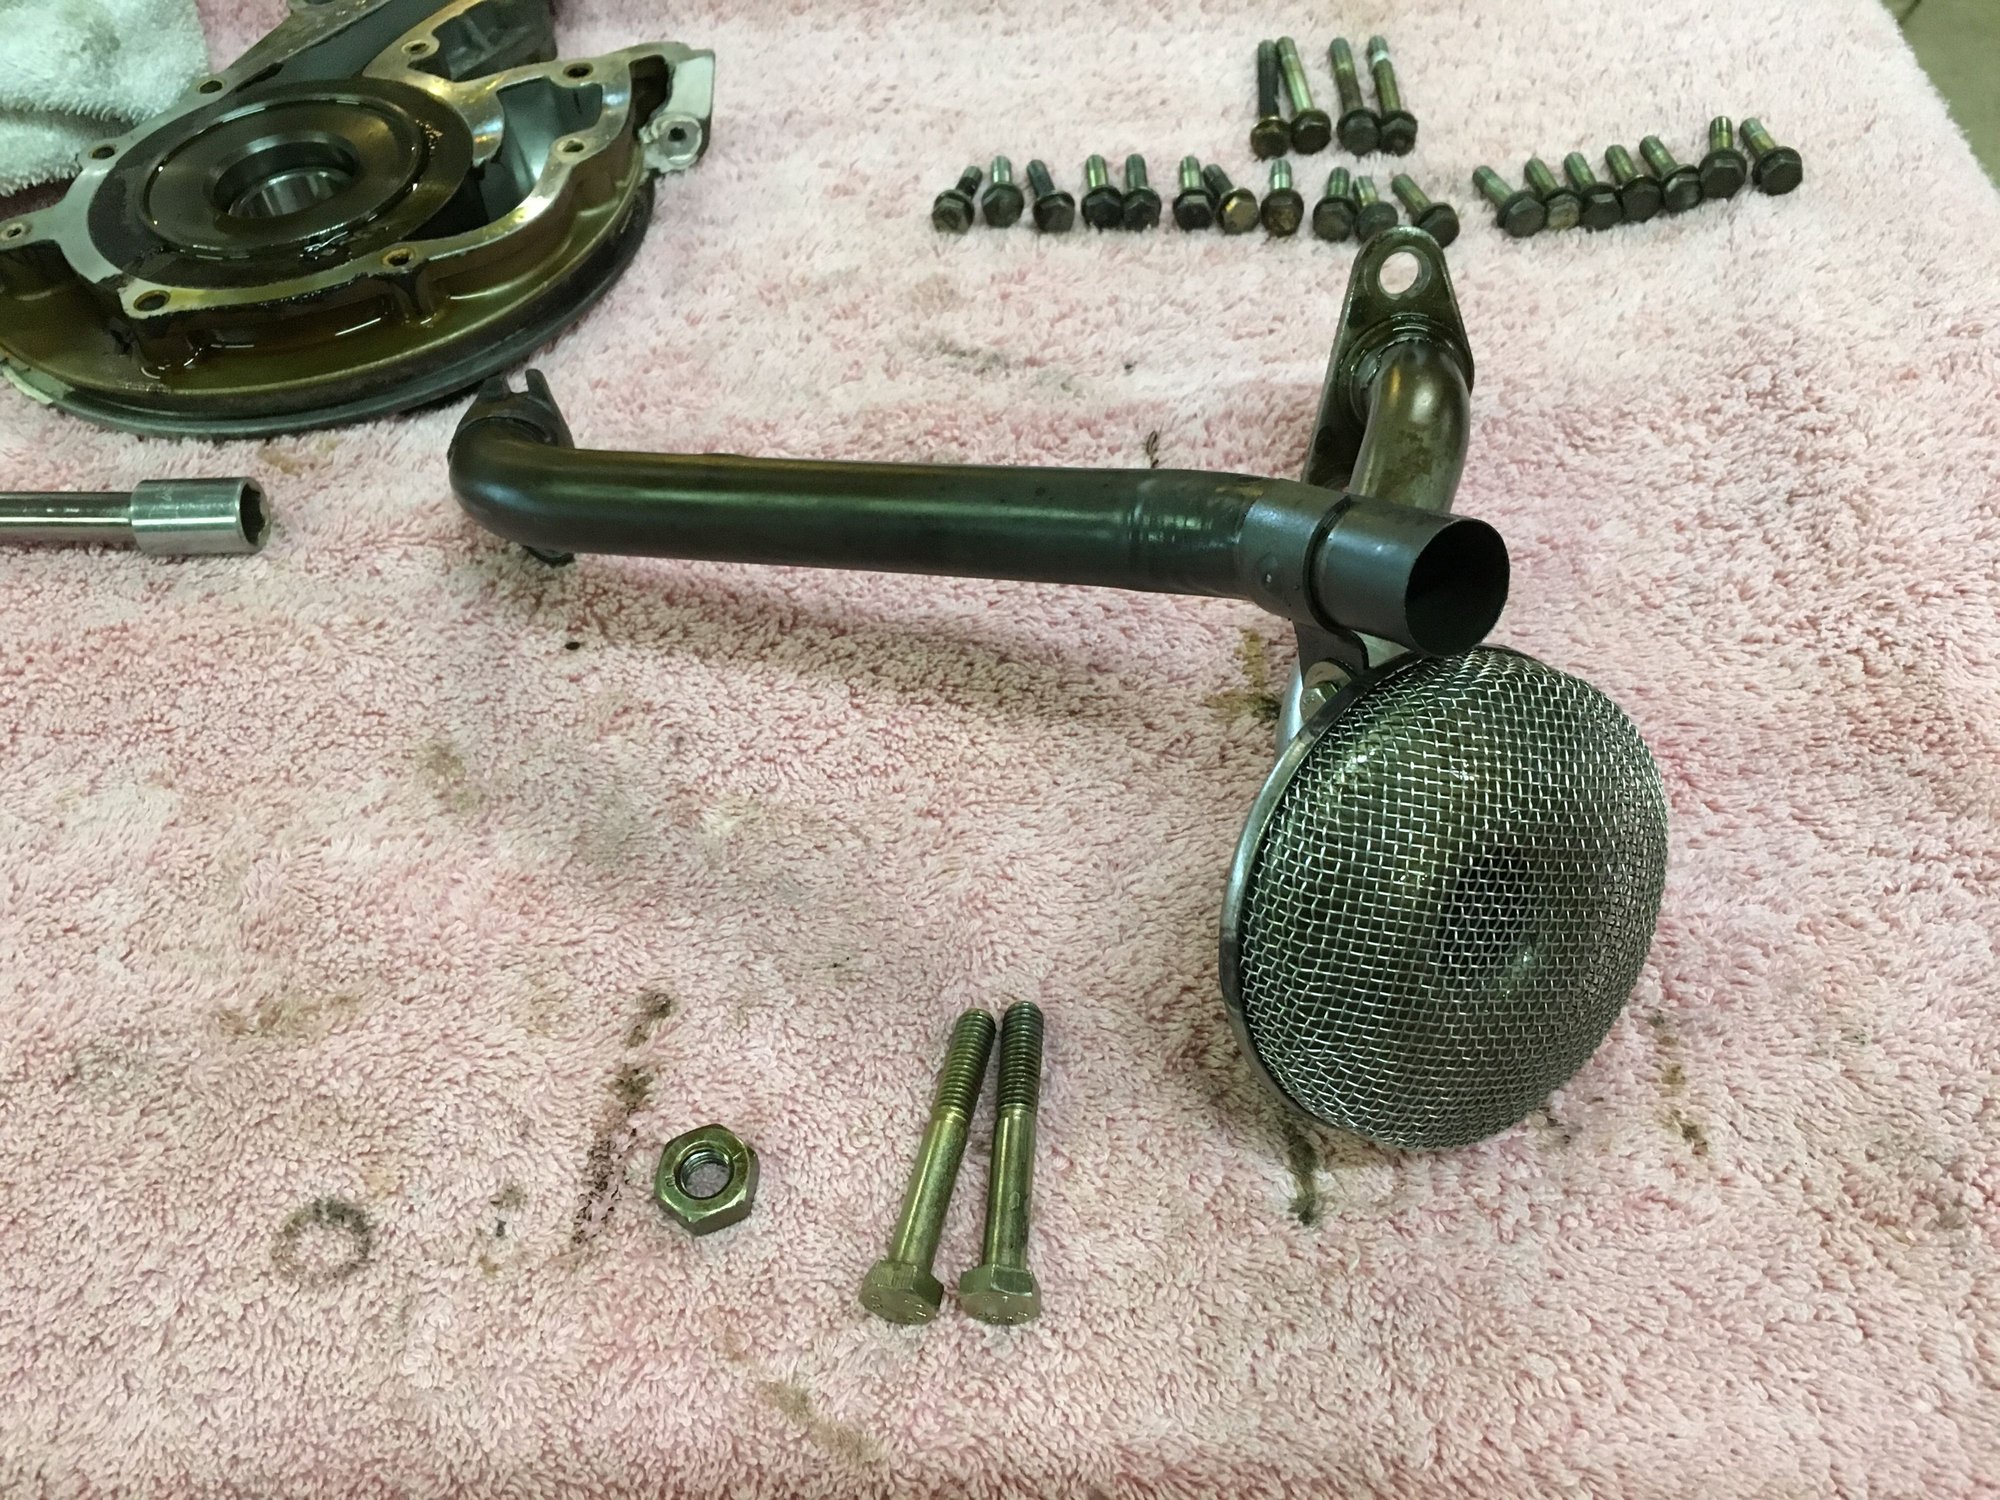
Oil pickup tube is in great shape - no cracks that I can see and it feels solid.
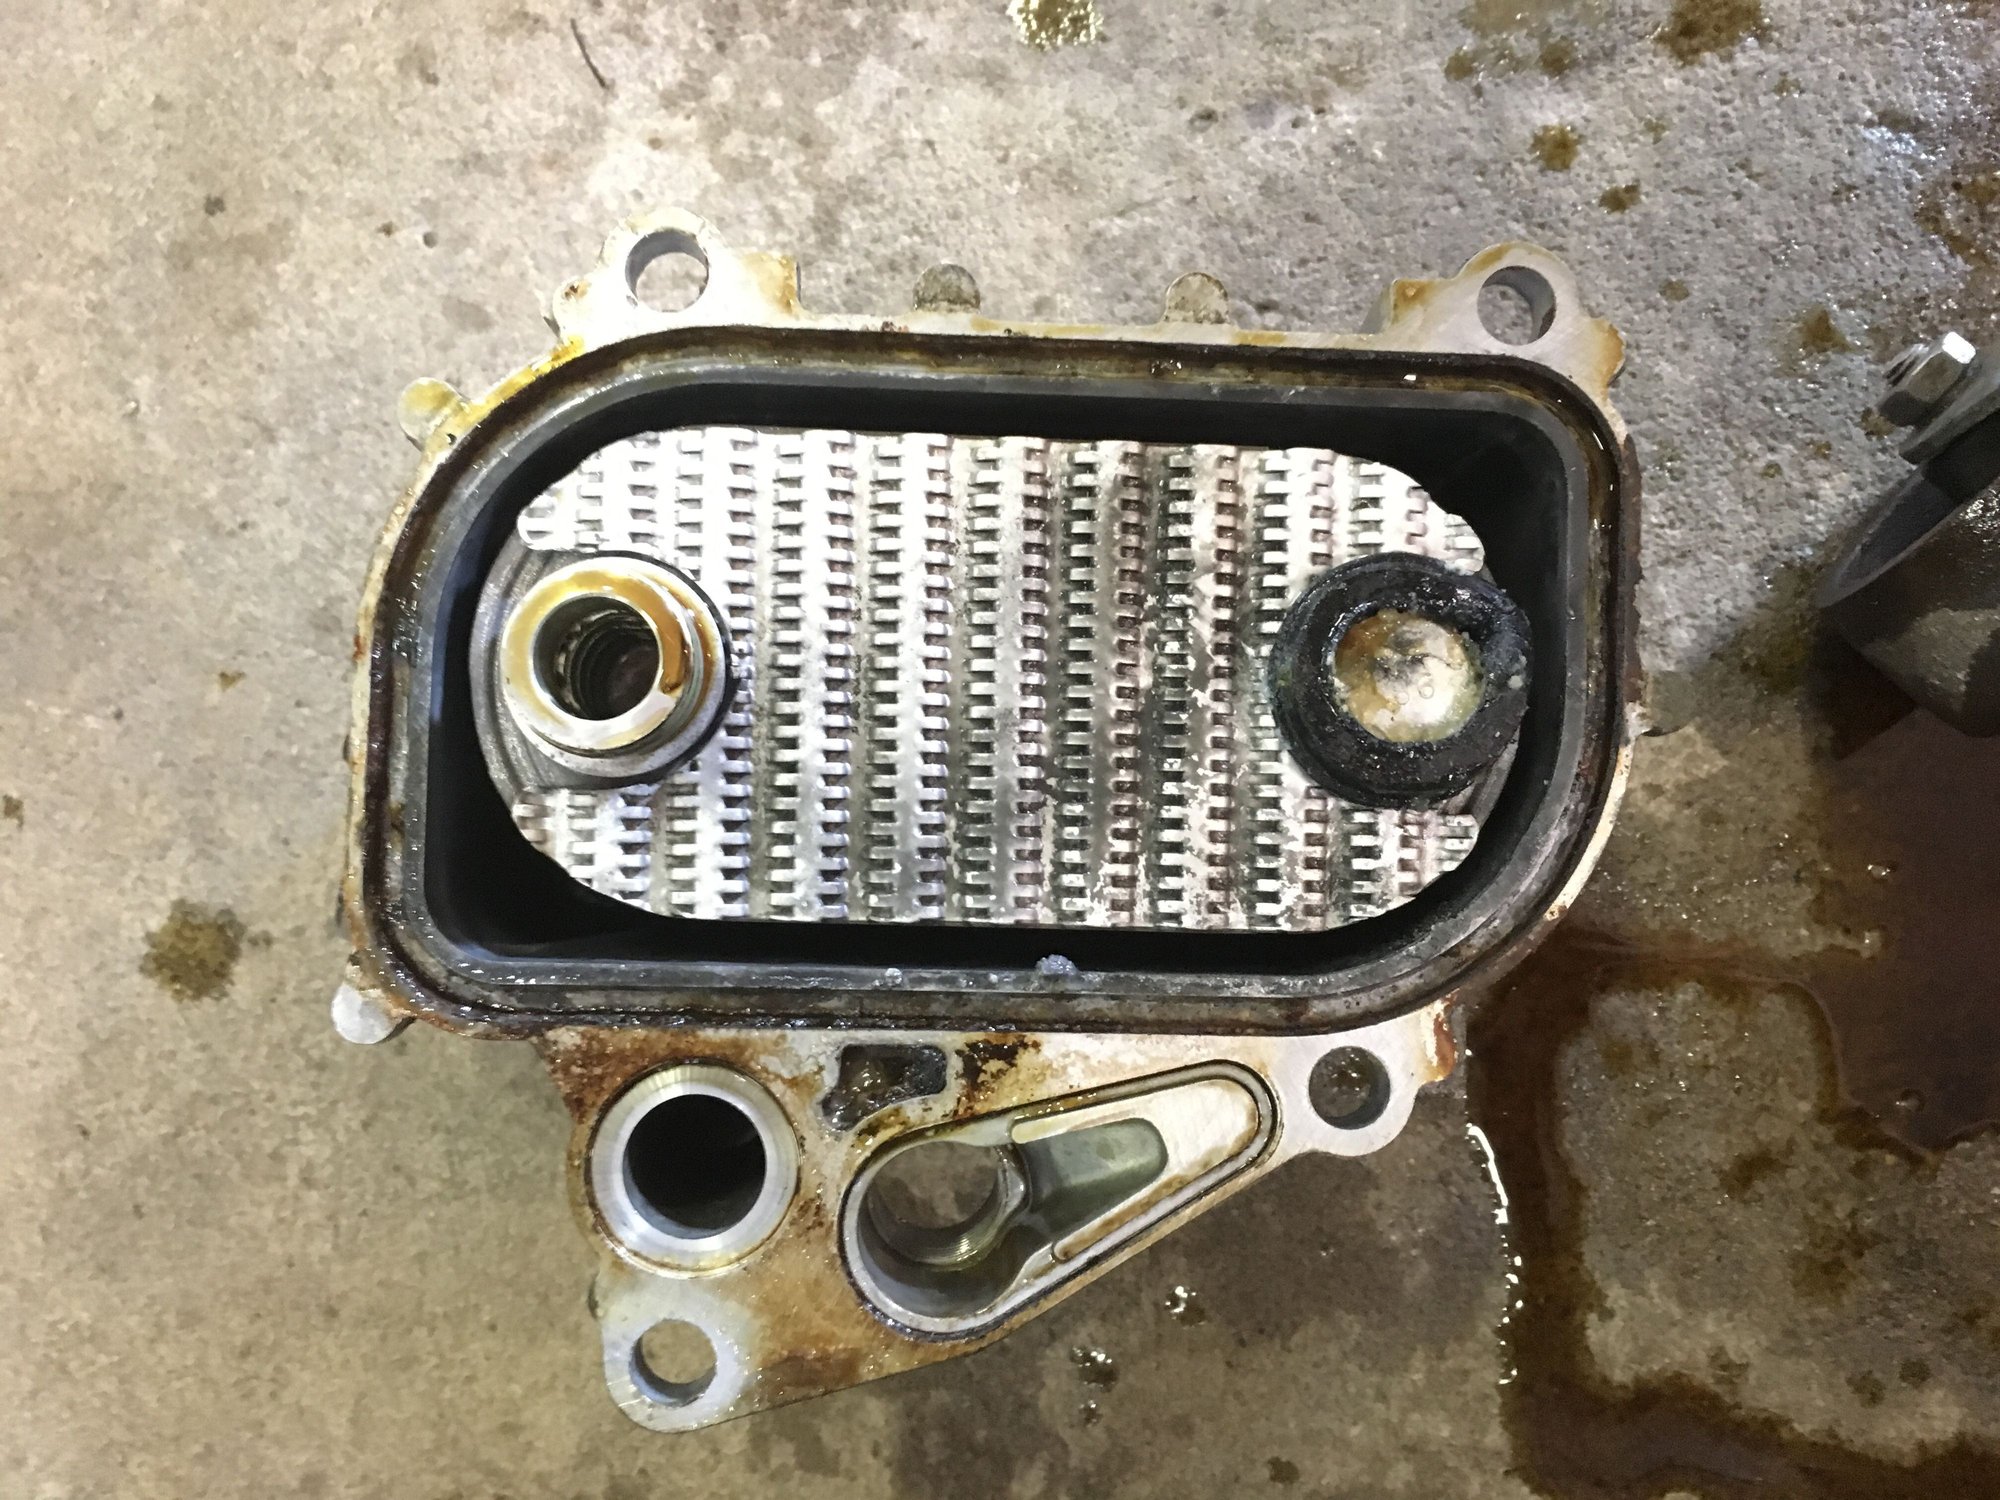
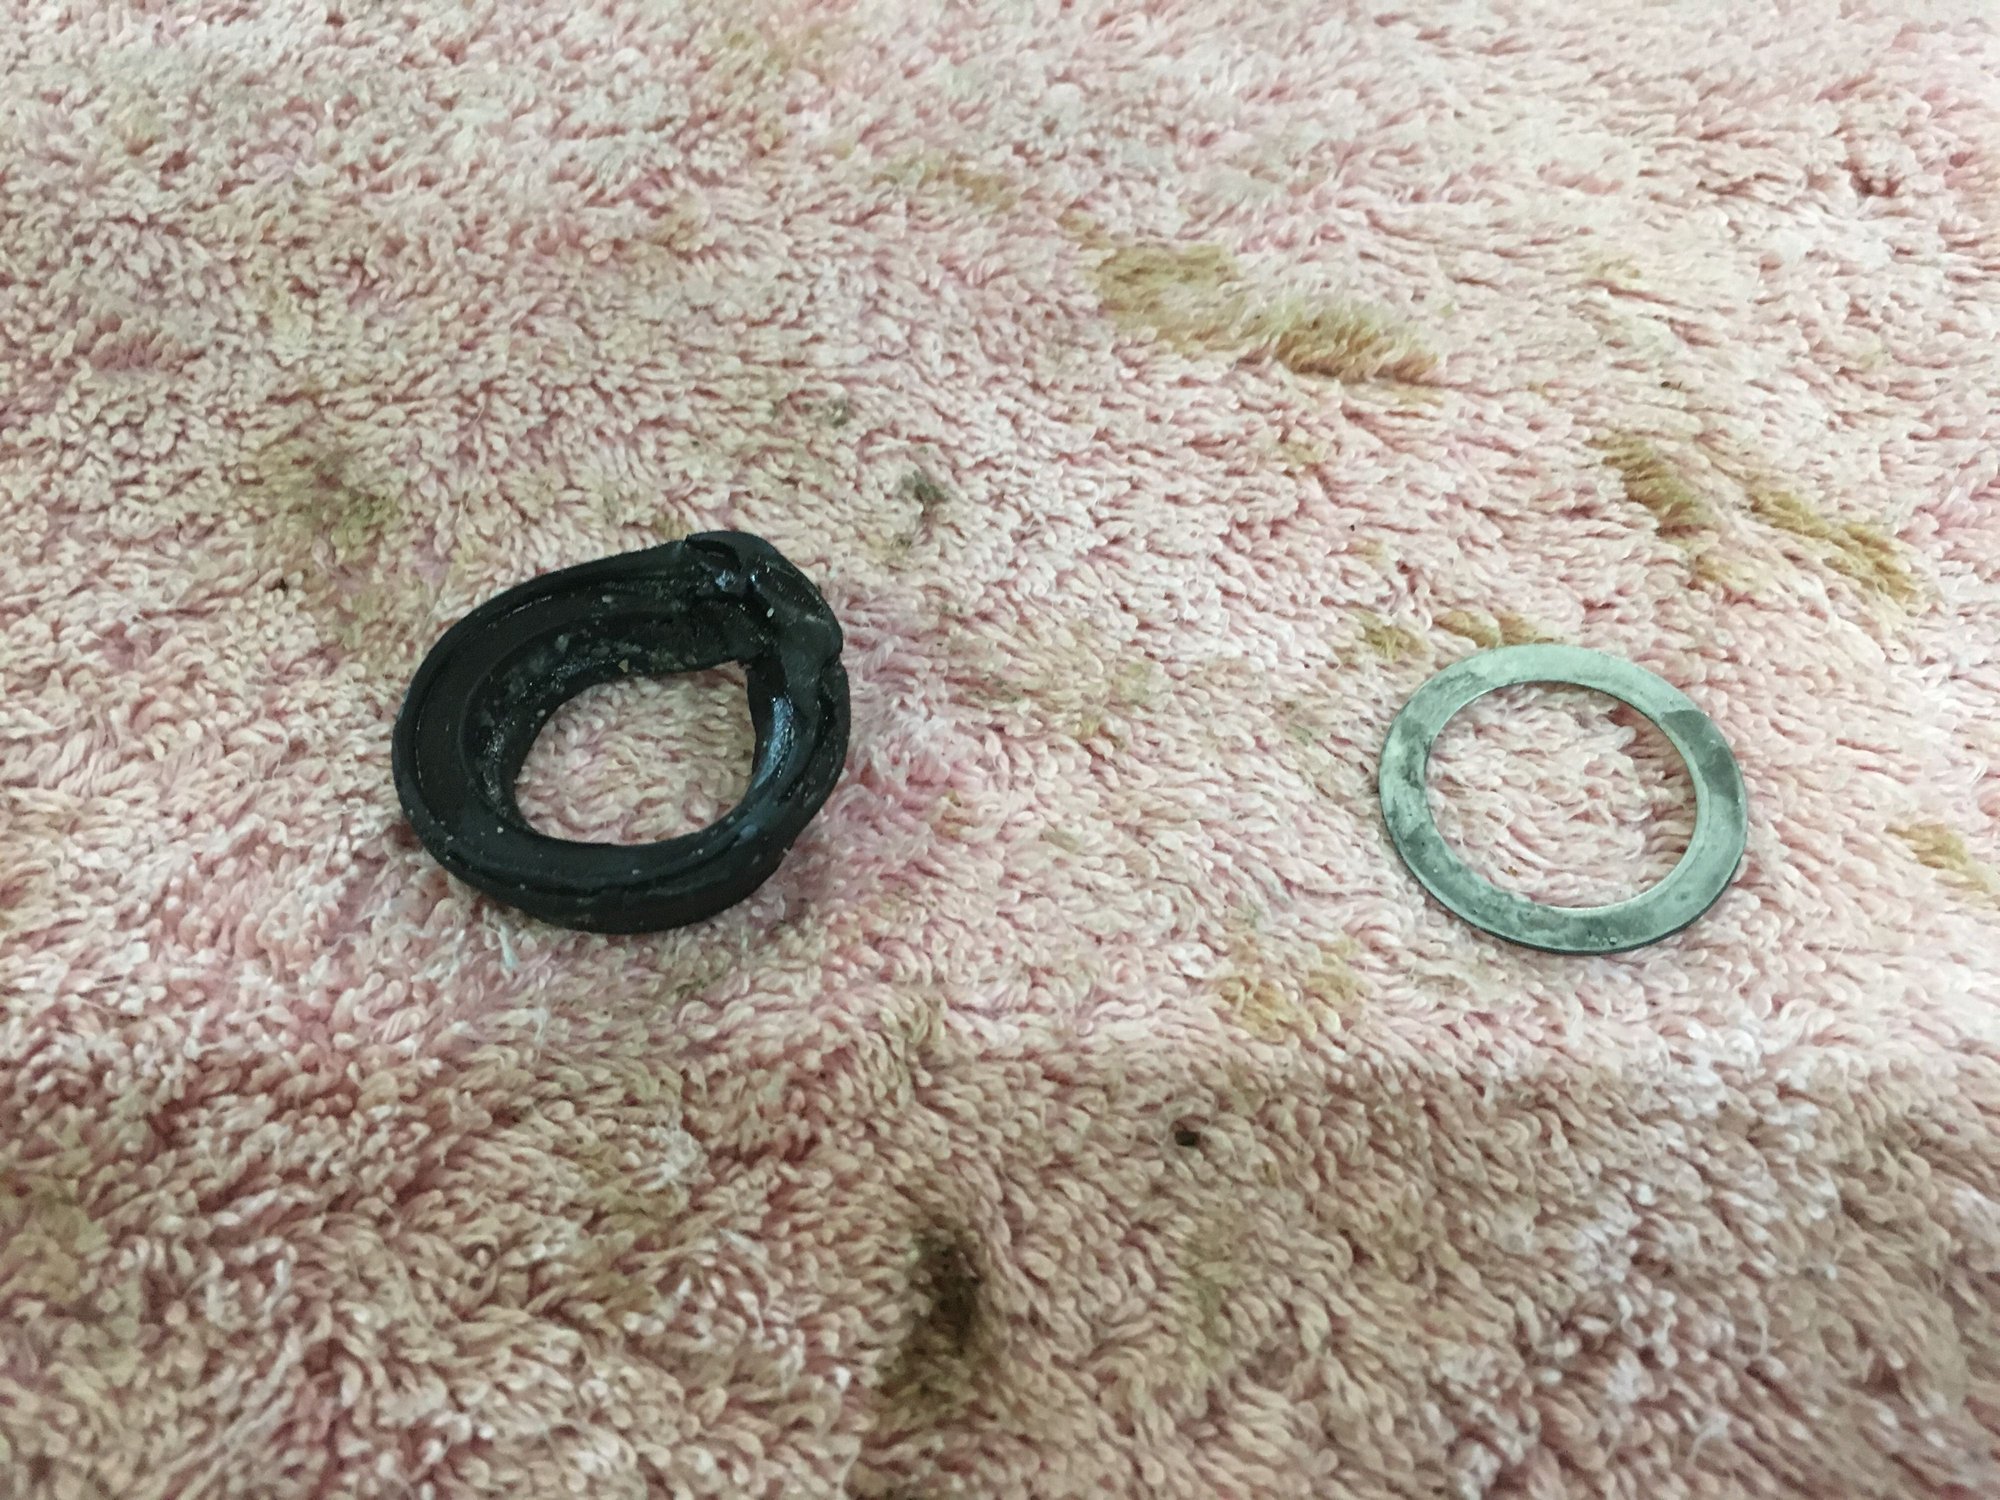
Removed the oil cooler and found something interesting...
Lot's of crustiness where the rubber seal/grommet sits under the cooler. Looks like it's just a bunch of coolant that has collected over time.
And check out what it looked like once removed:
Almost seems like it was smashed when it was first installed 30 years ago. Didn't seem to cause any issues though.
I opted not to glass bead the oil cooler housing and the oil pump, for obvious reasons. I just soaked them well in some degreaser and scrubbed them really well. Then gave them some clear coat for a little shine.
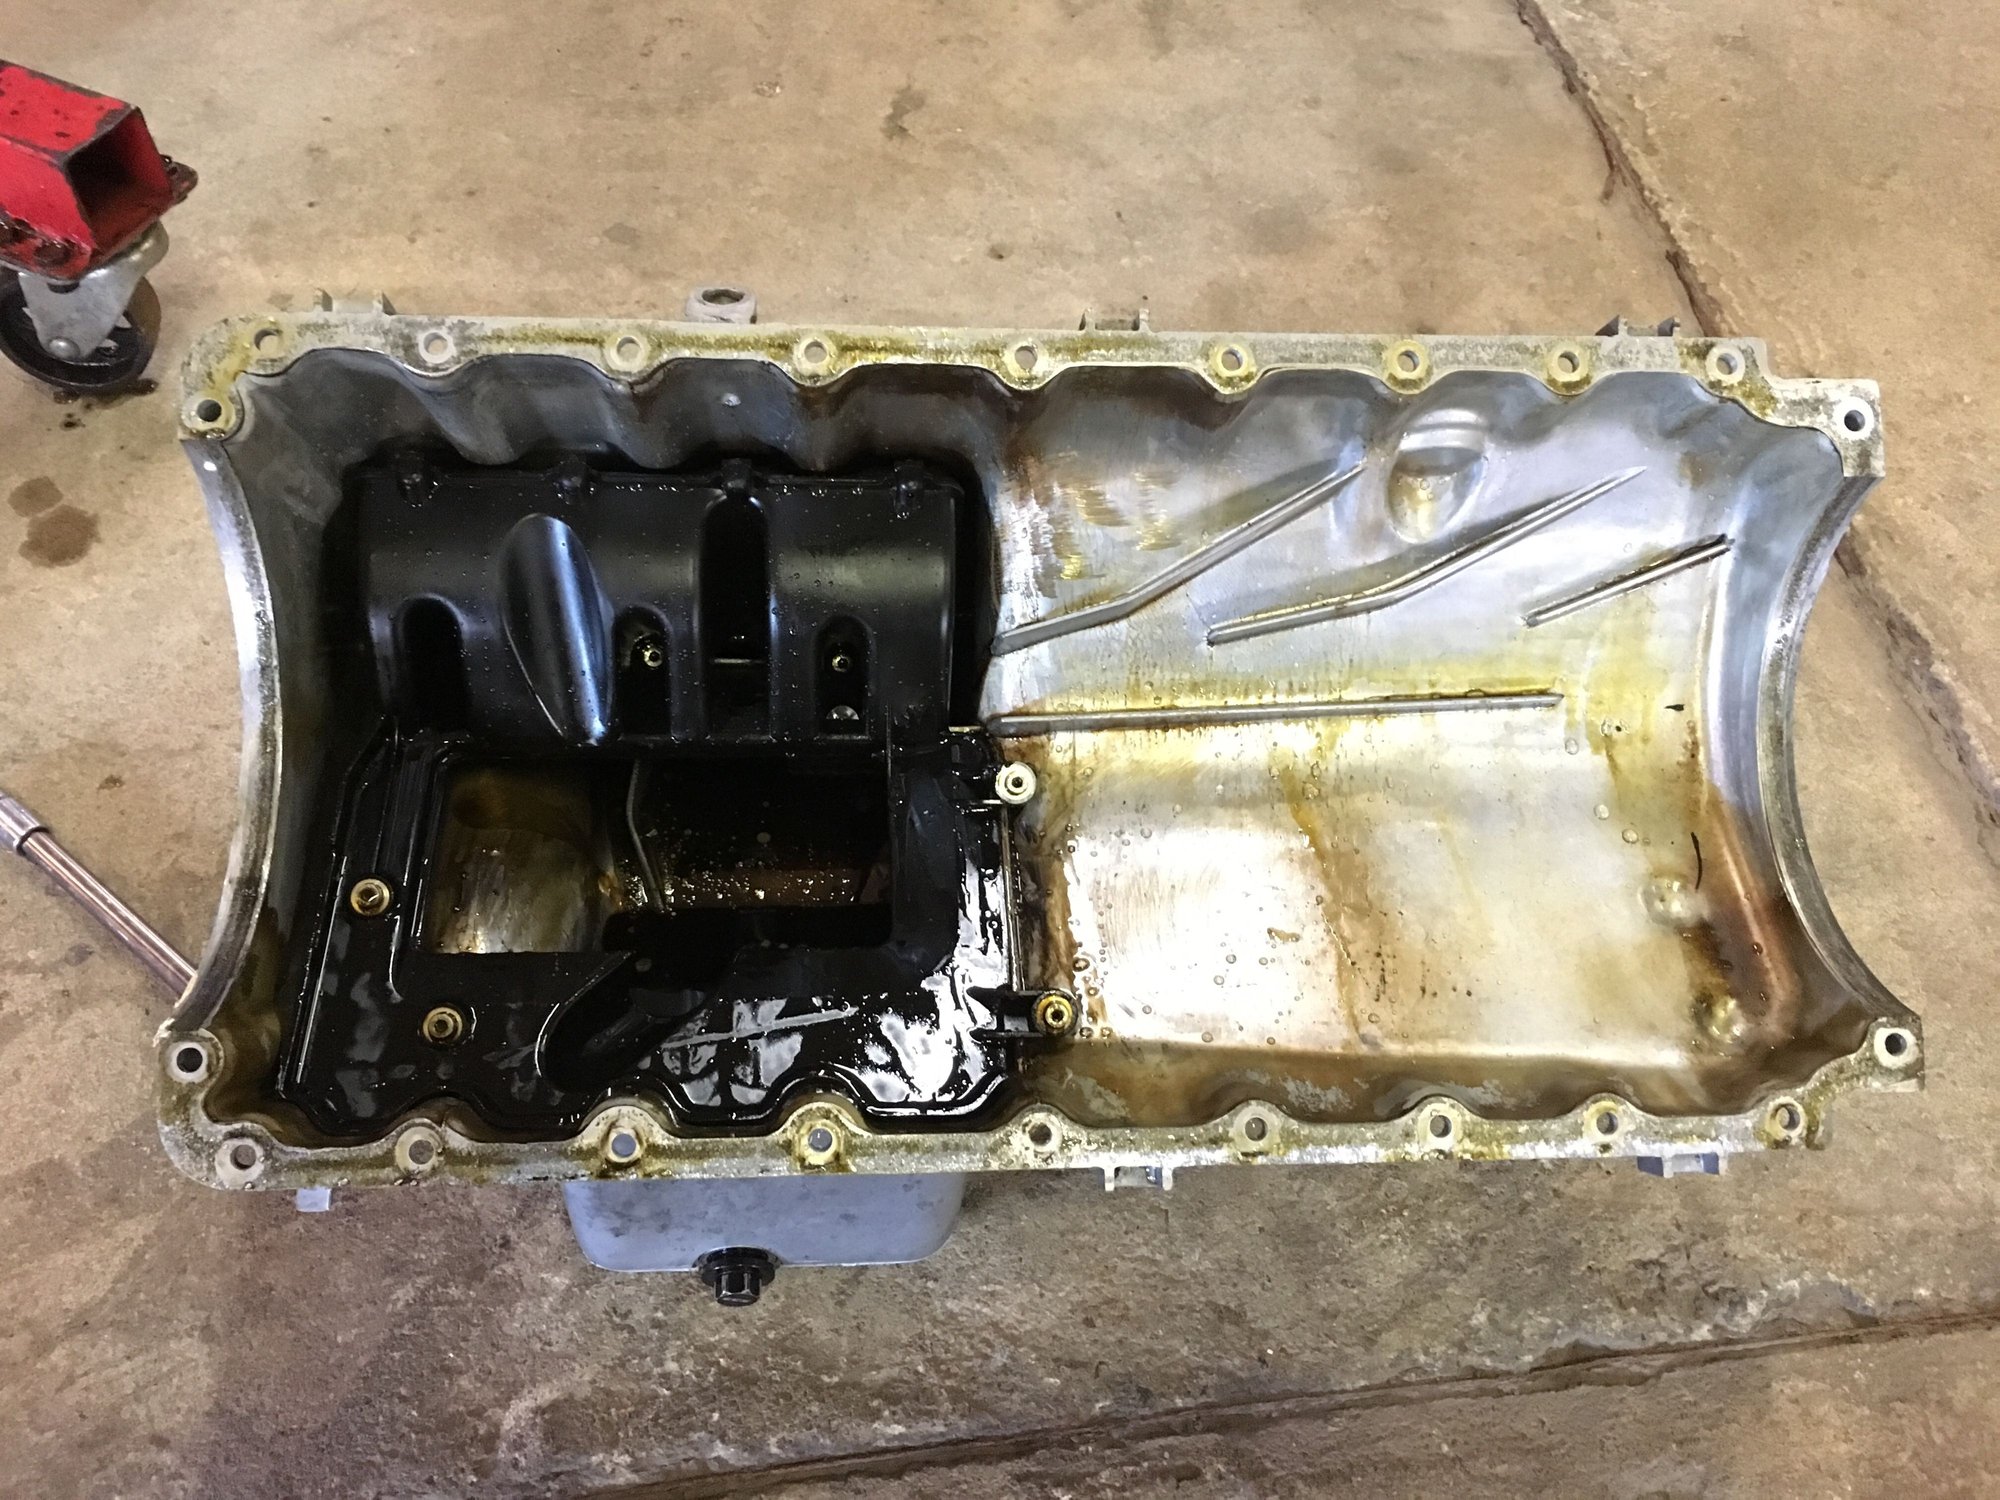
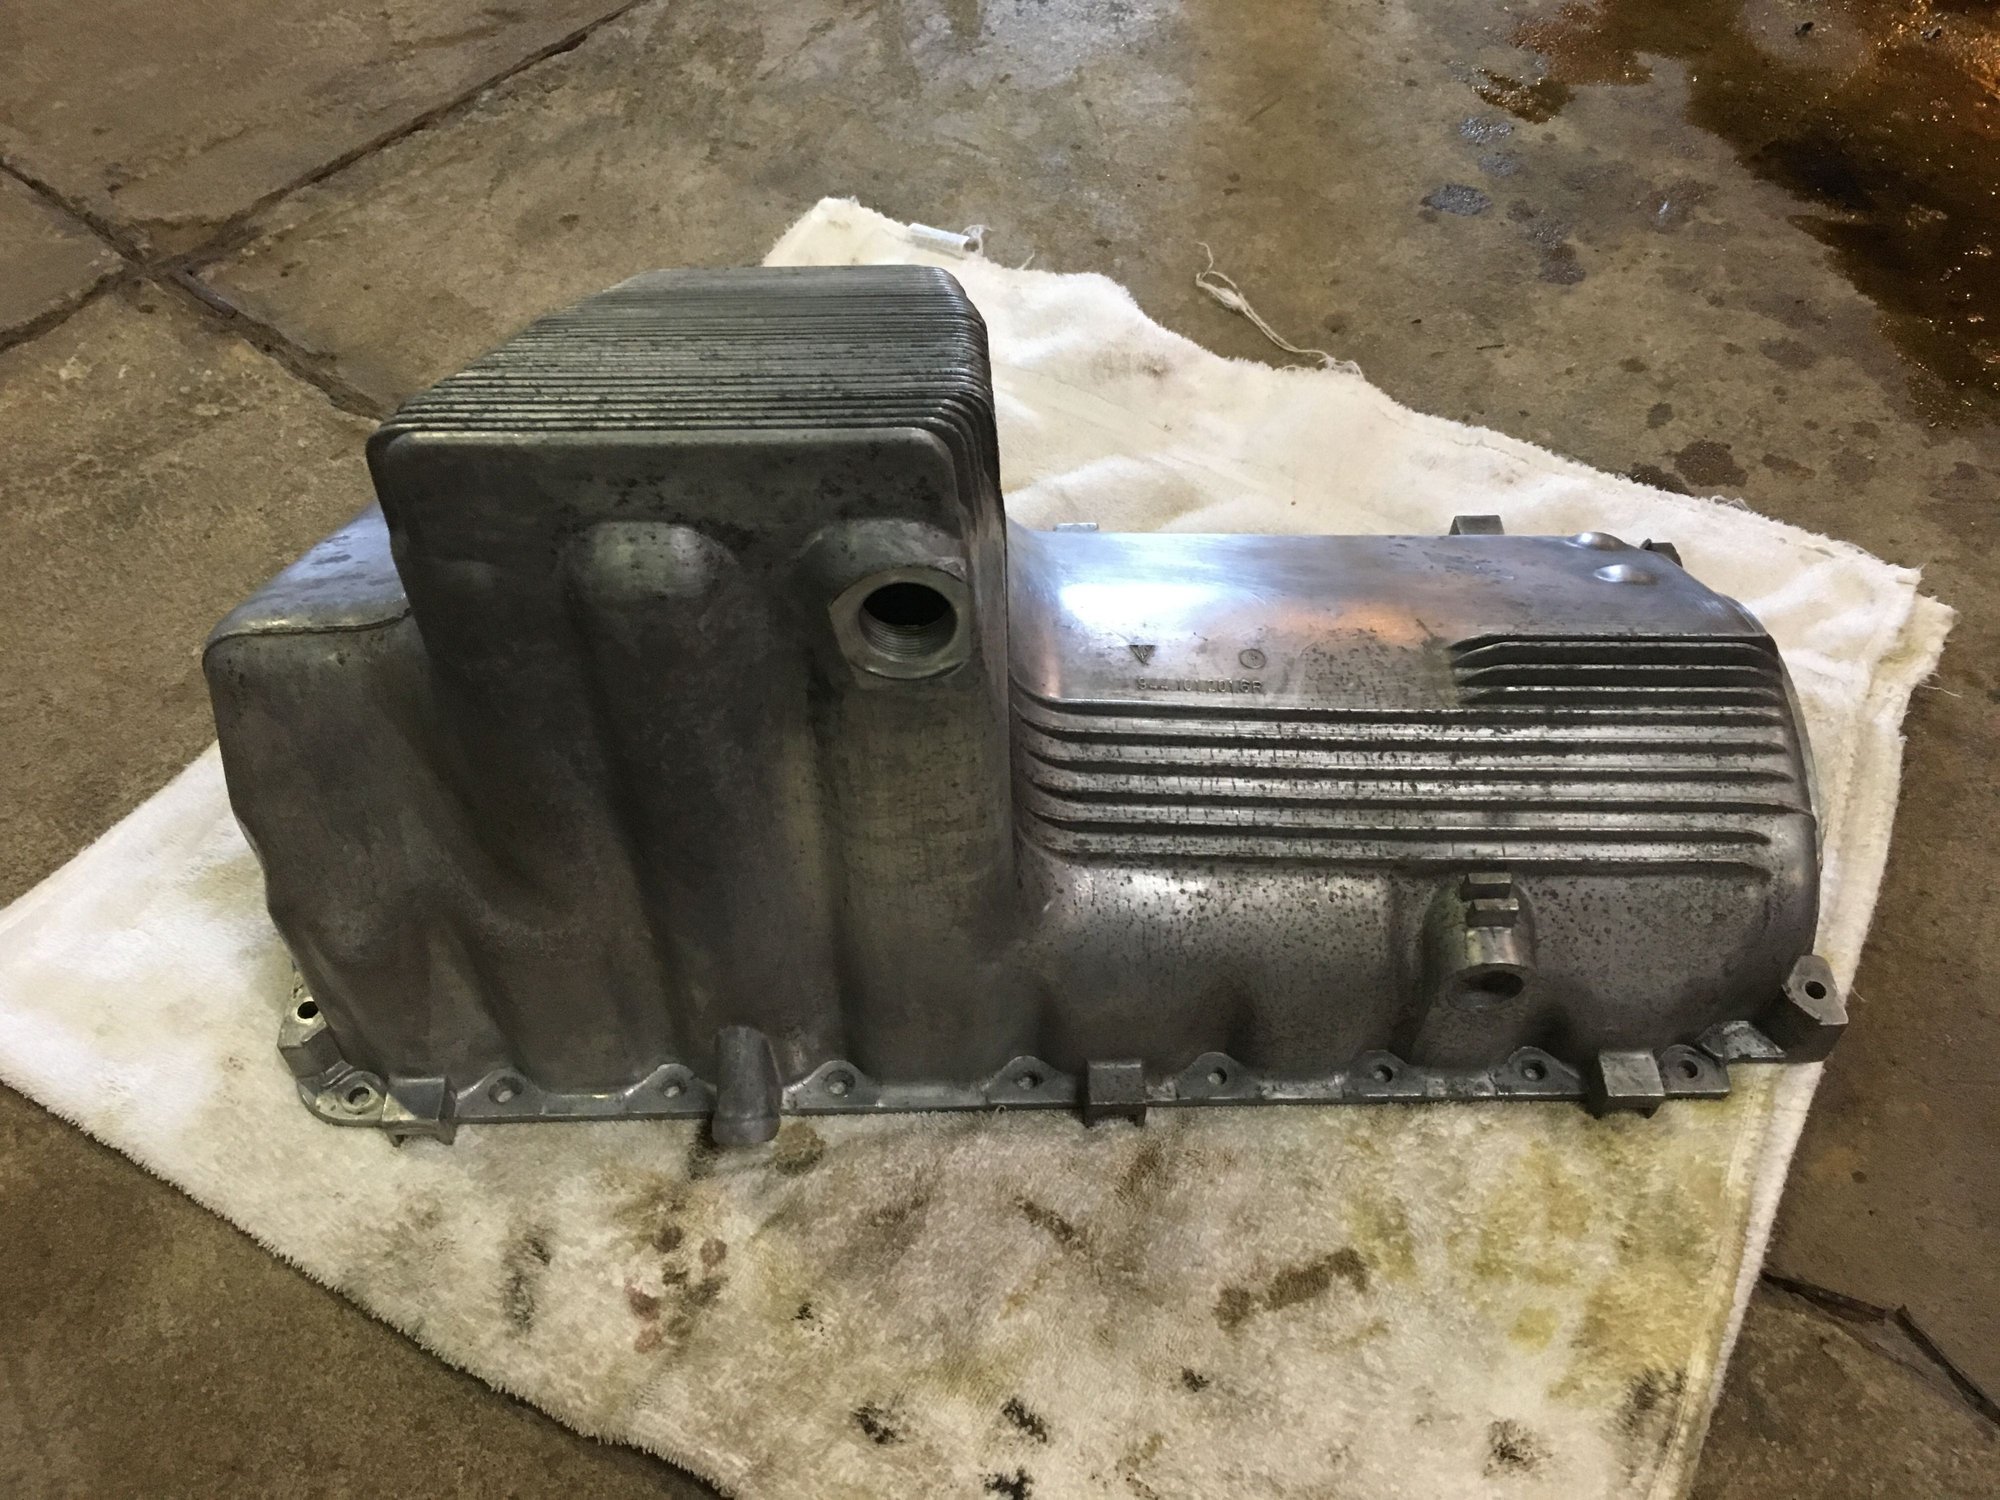
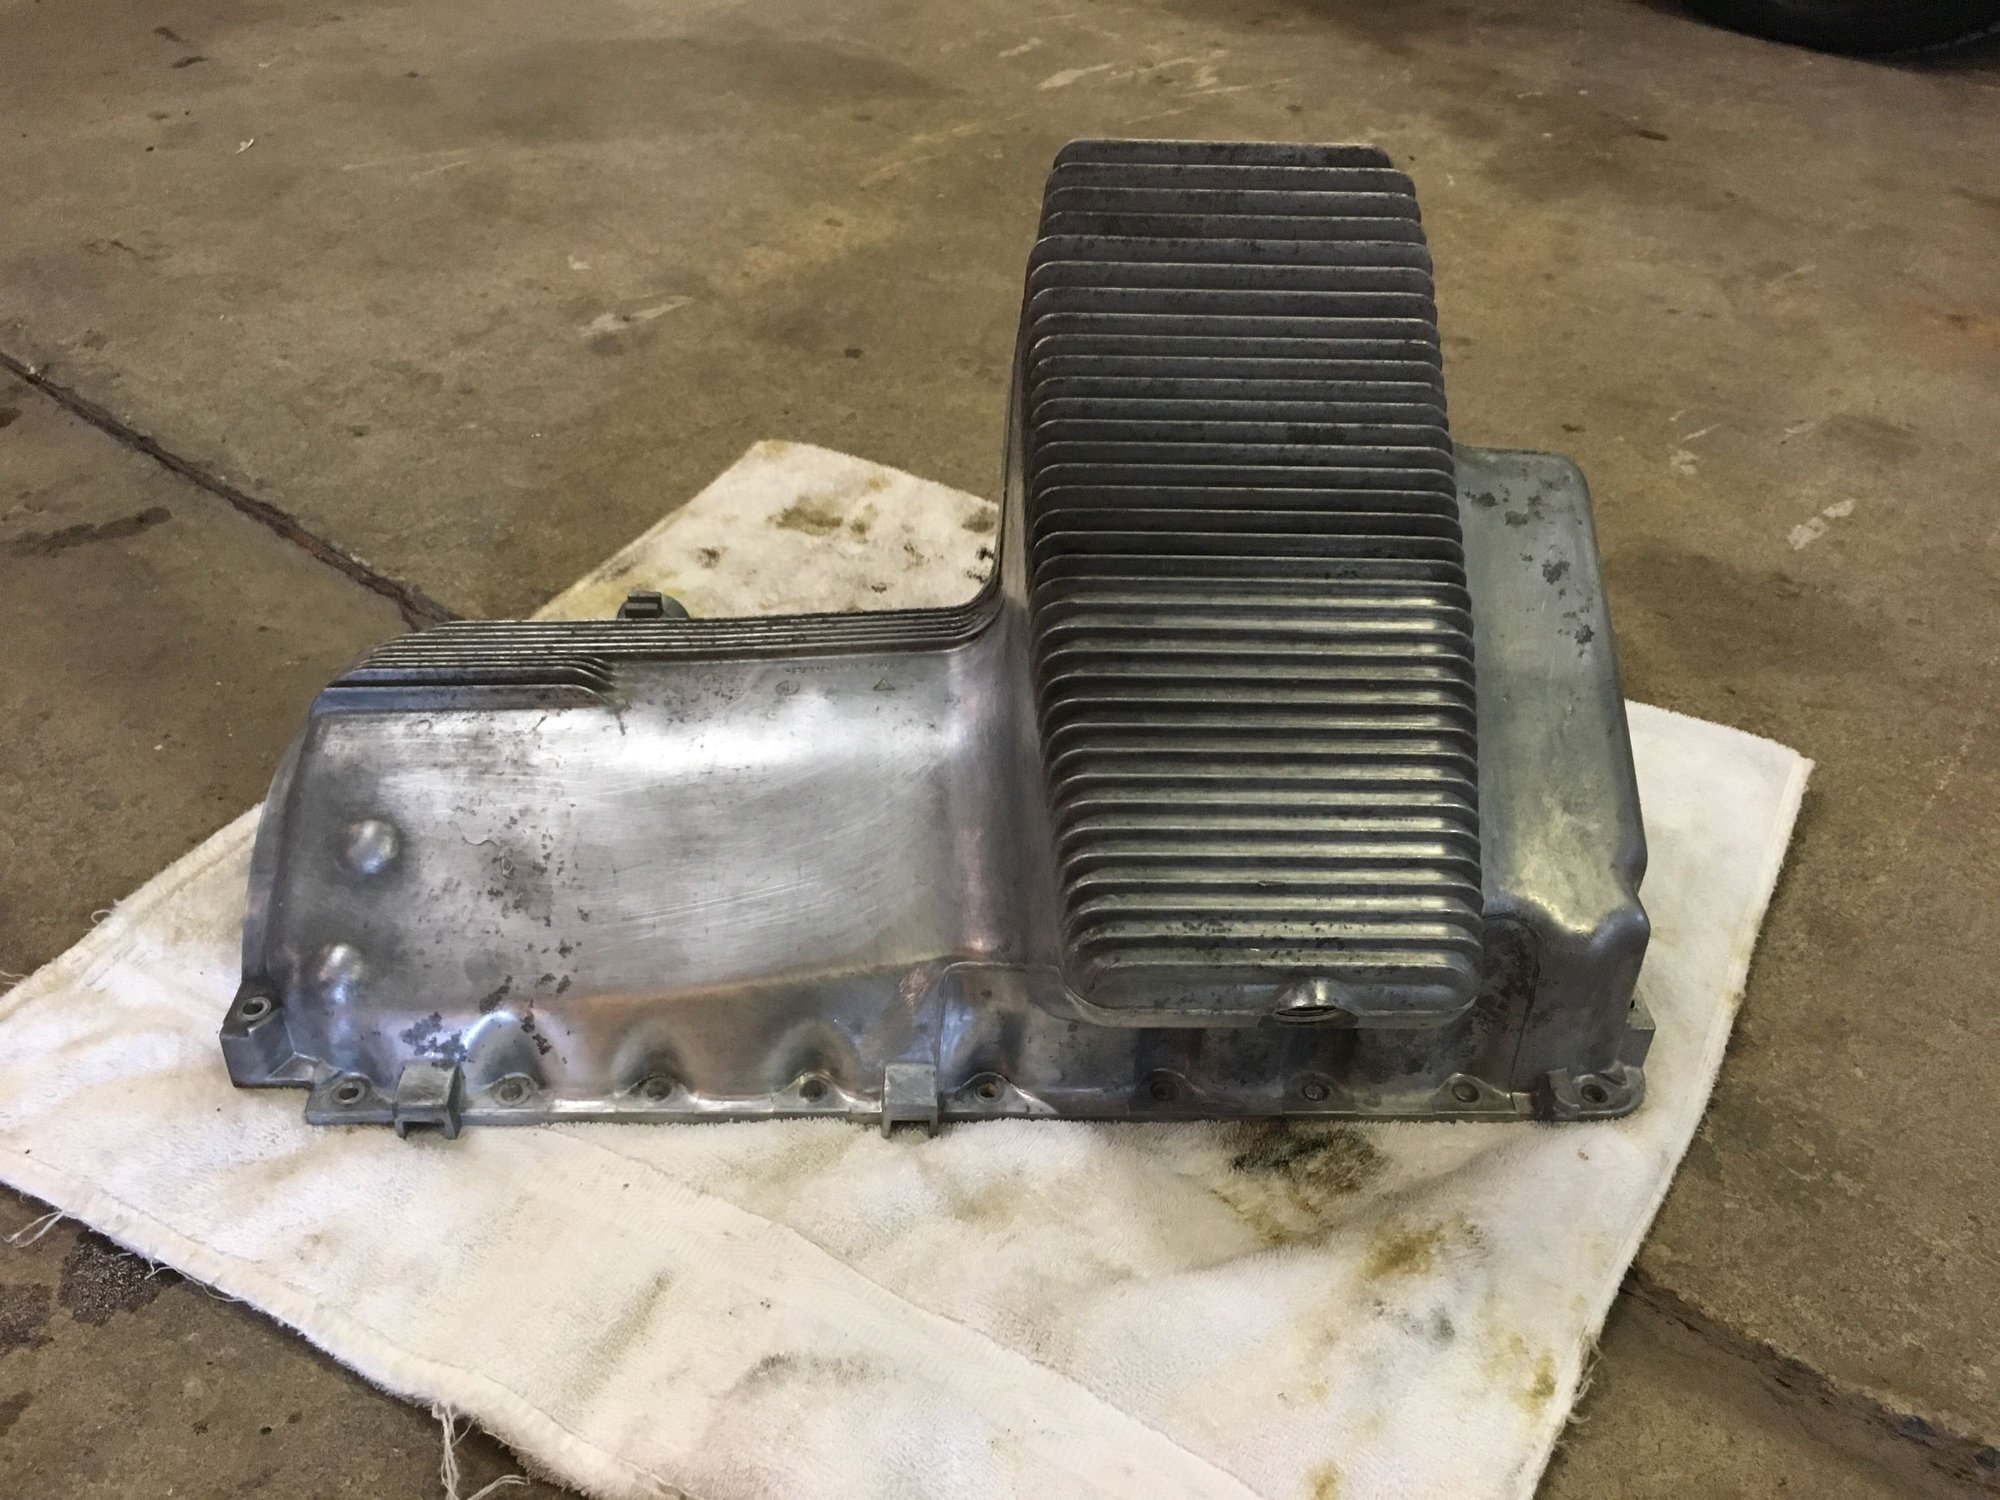
Cleaned up the oil pan inside and out. It turned out okay, but I'm thinking I either need to use some aluminum polish or get some of that aluminum paint since there are some darker spots that just don't seem to scrub out and it's too large to fit in my little blast cabinet. I also tried the green Scotch-Brite pads - what you see here is about as good as it gets with those.
That's it for this weekend. Next weekend the crank and the pistons come out. Finally almost done with the tear down!
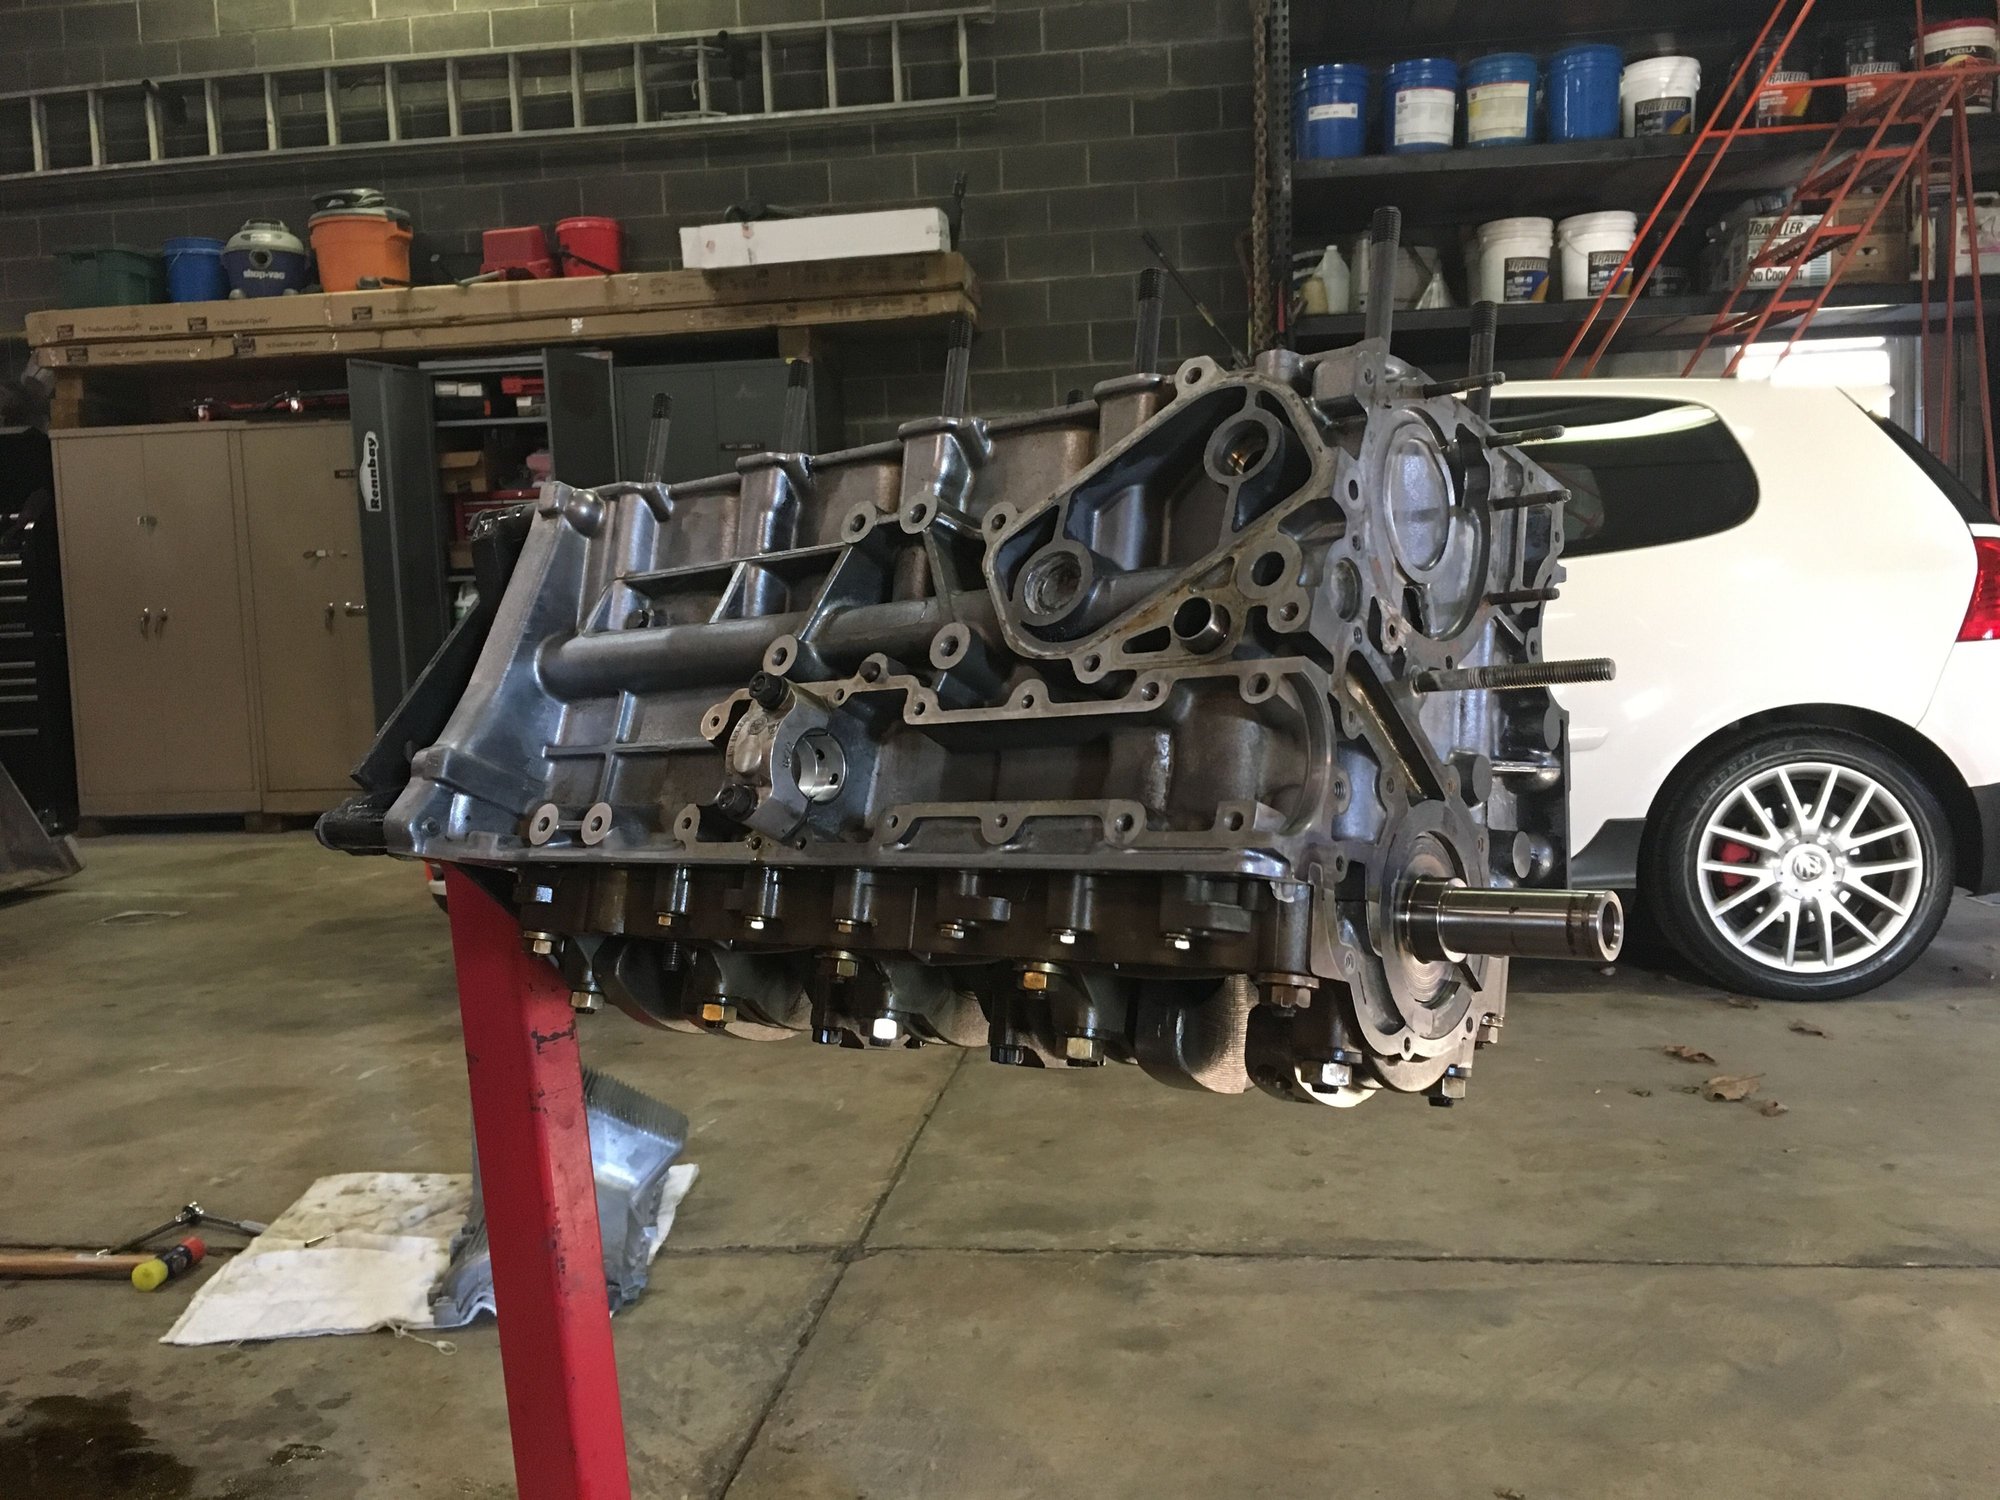
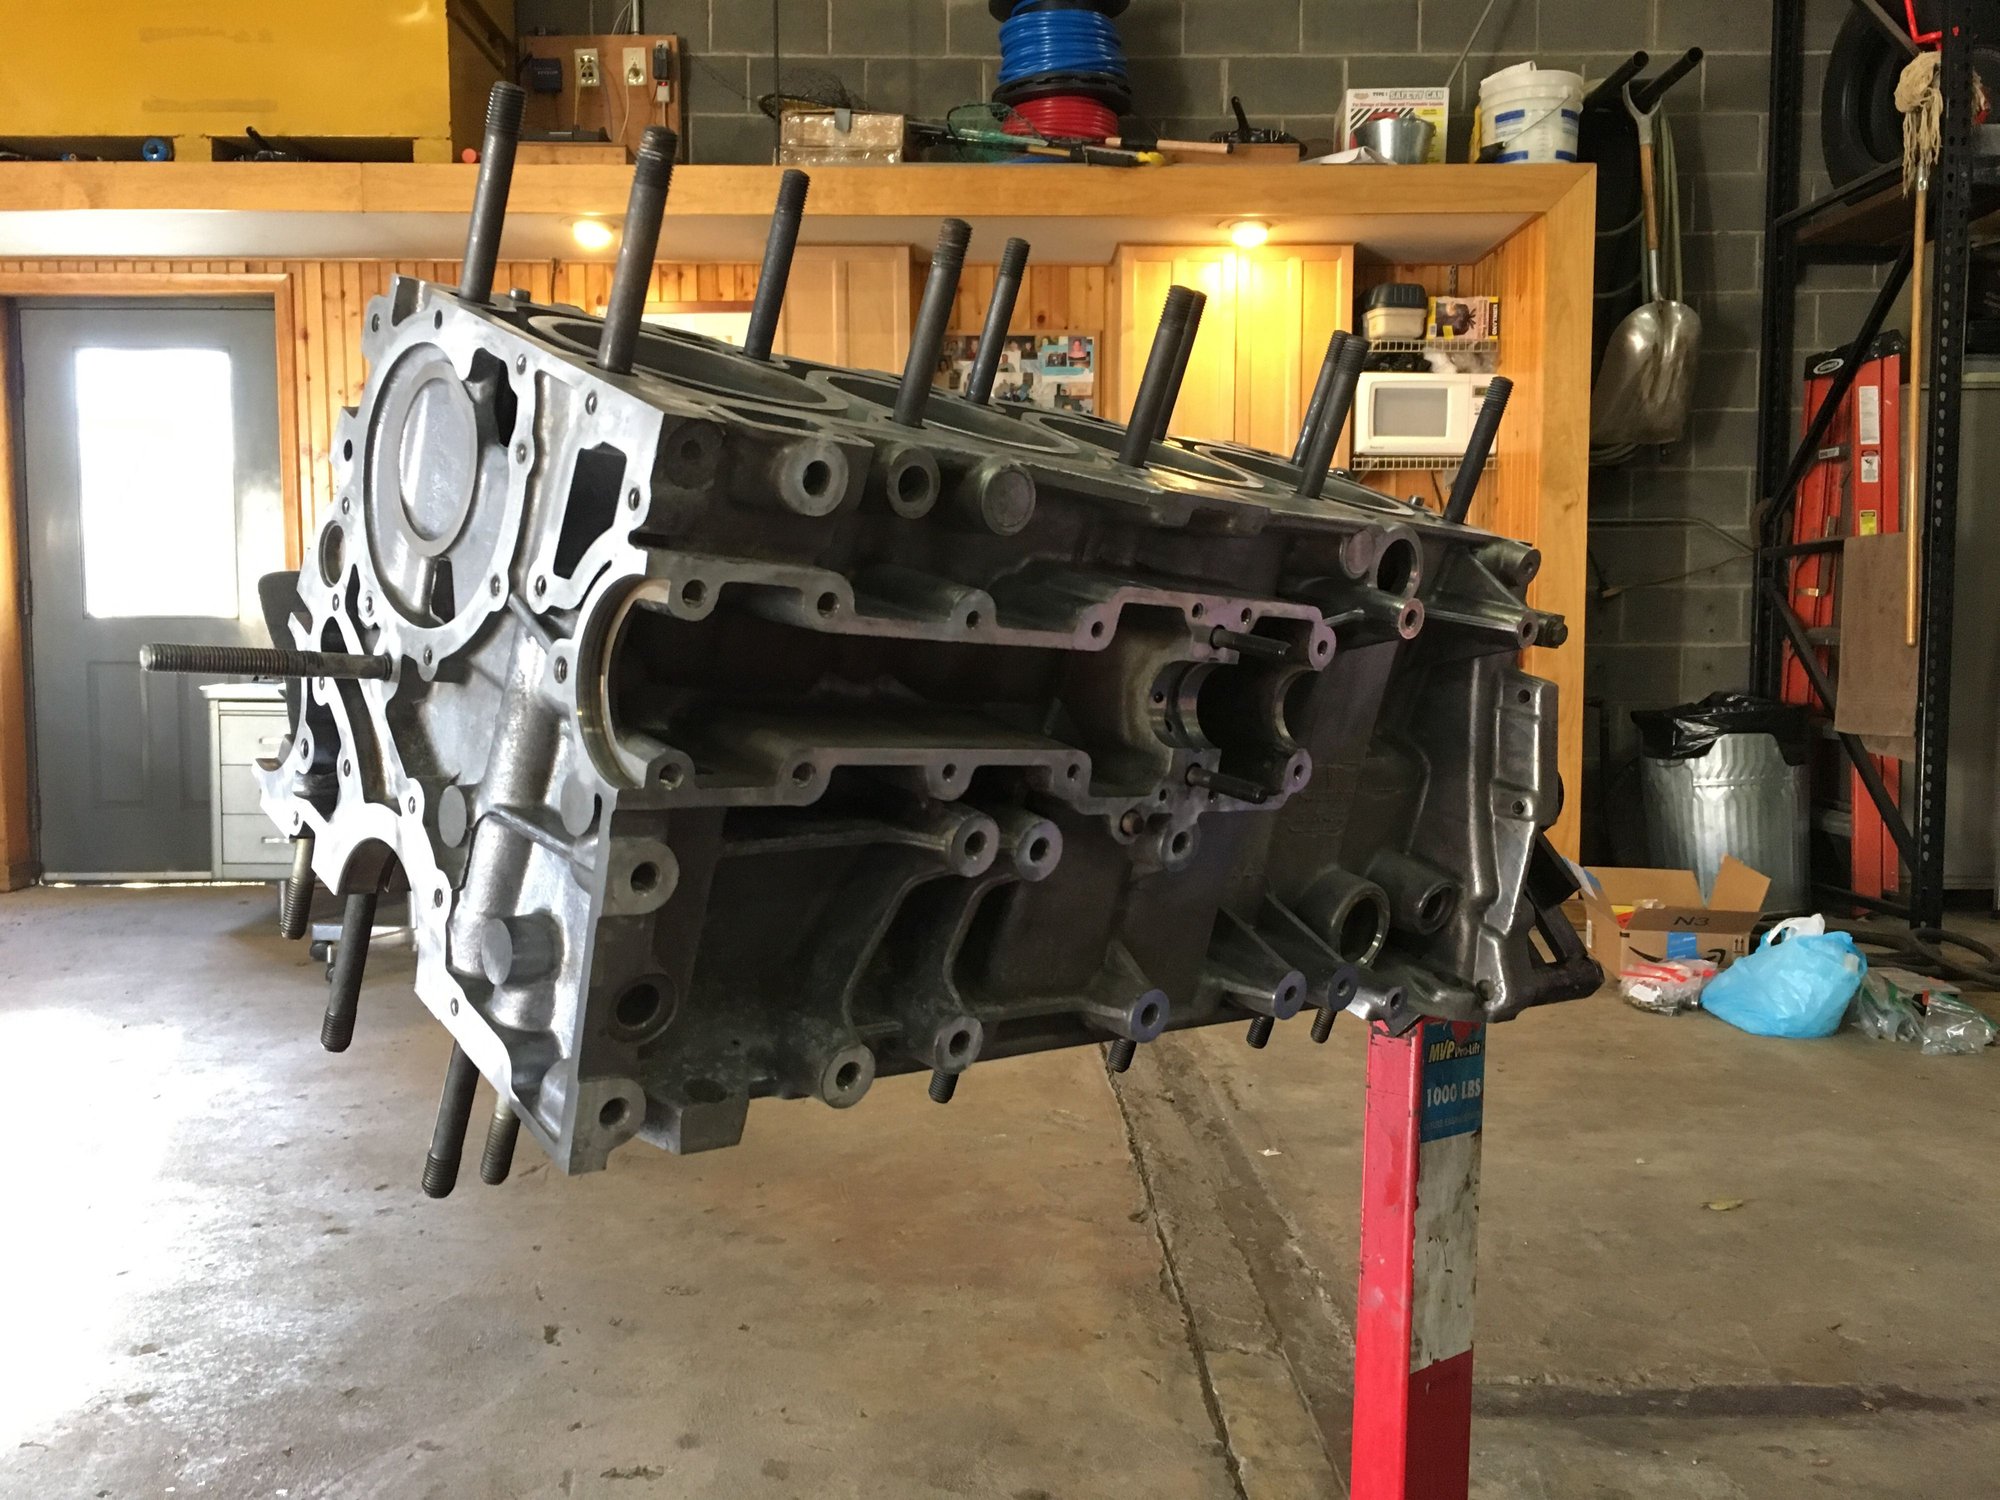
Ending the post with this picture, because I think it looks cool. The mighty 944 engine.
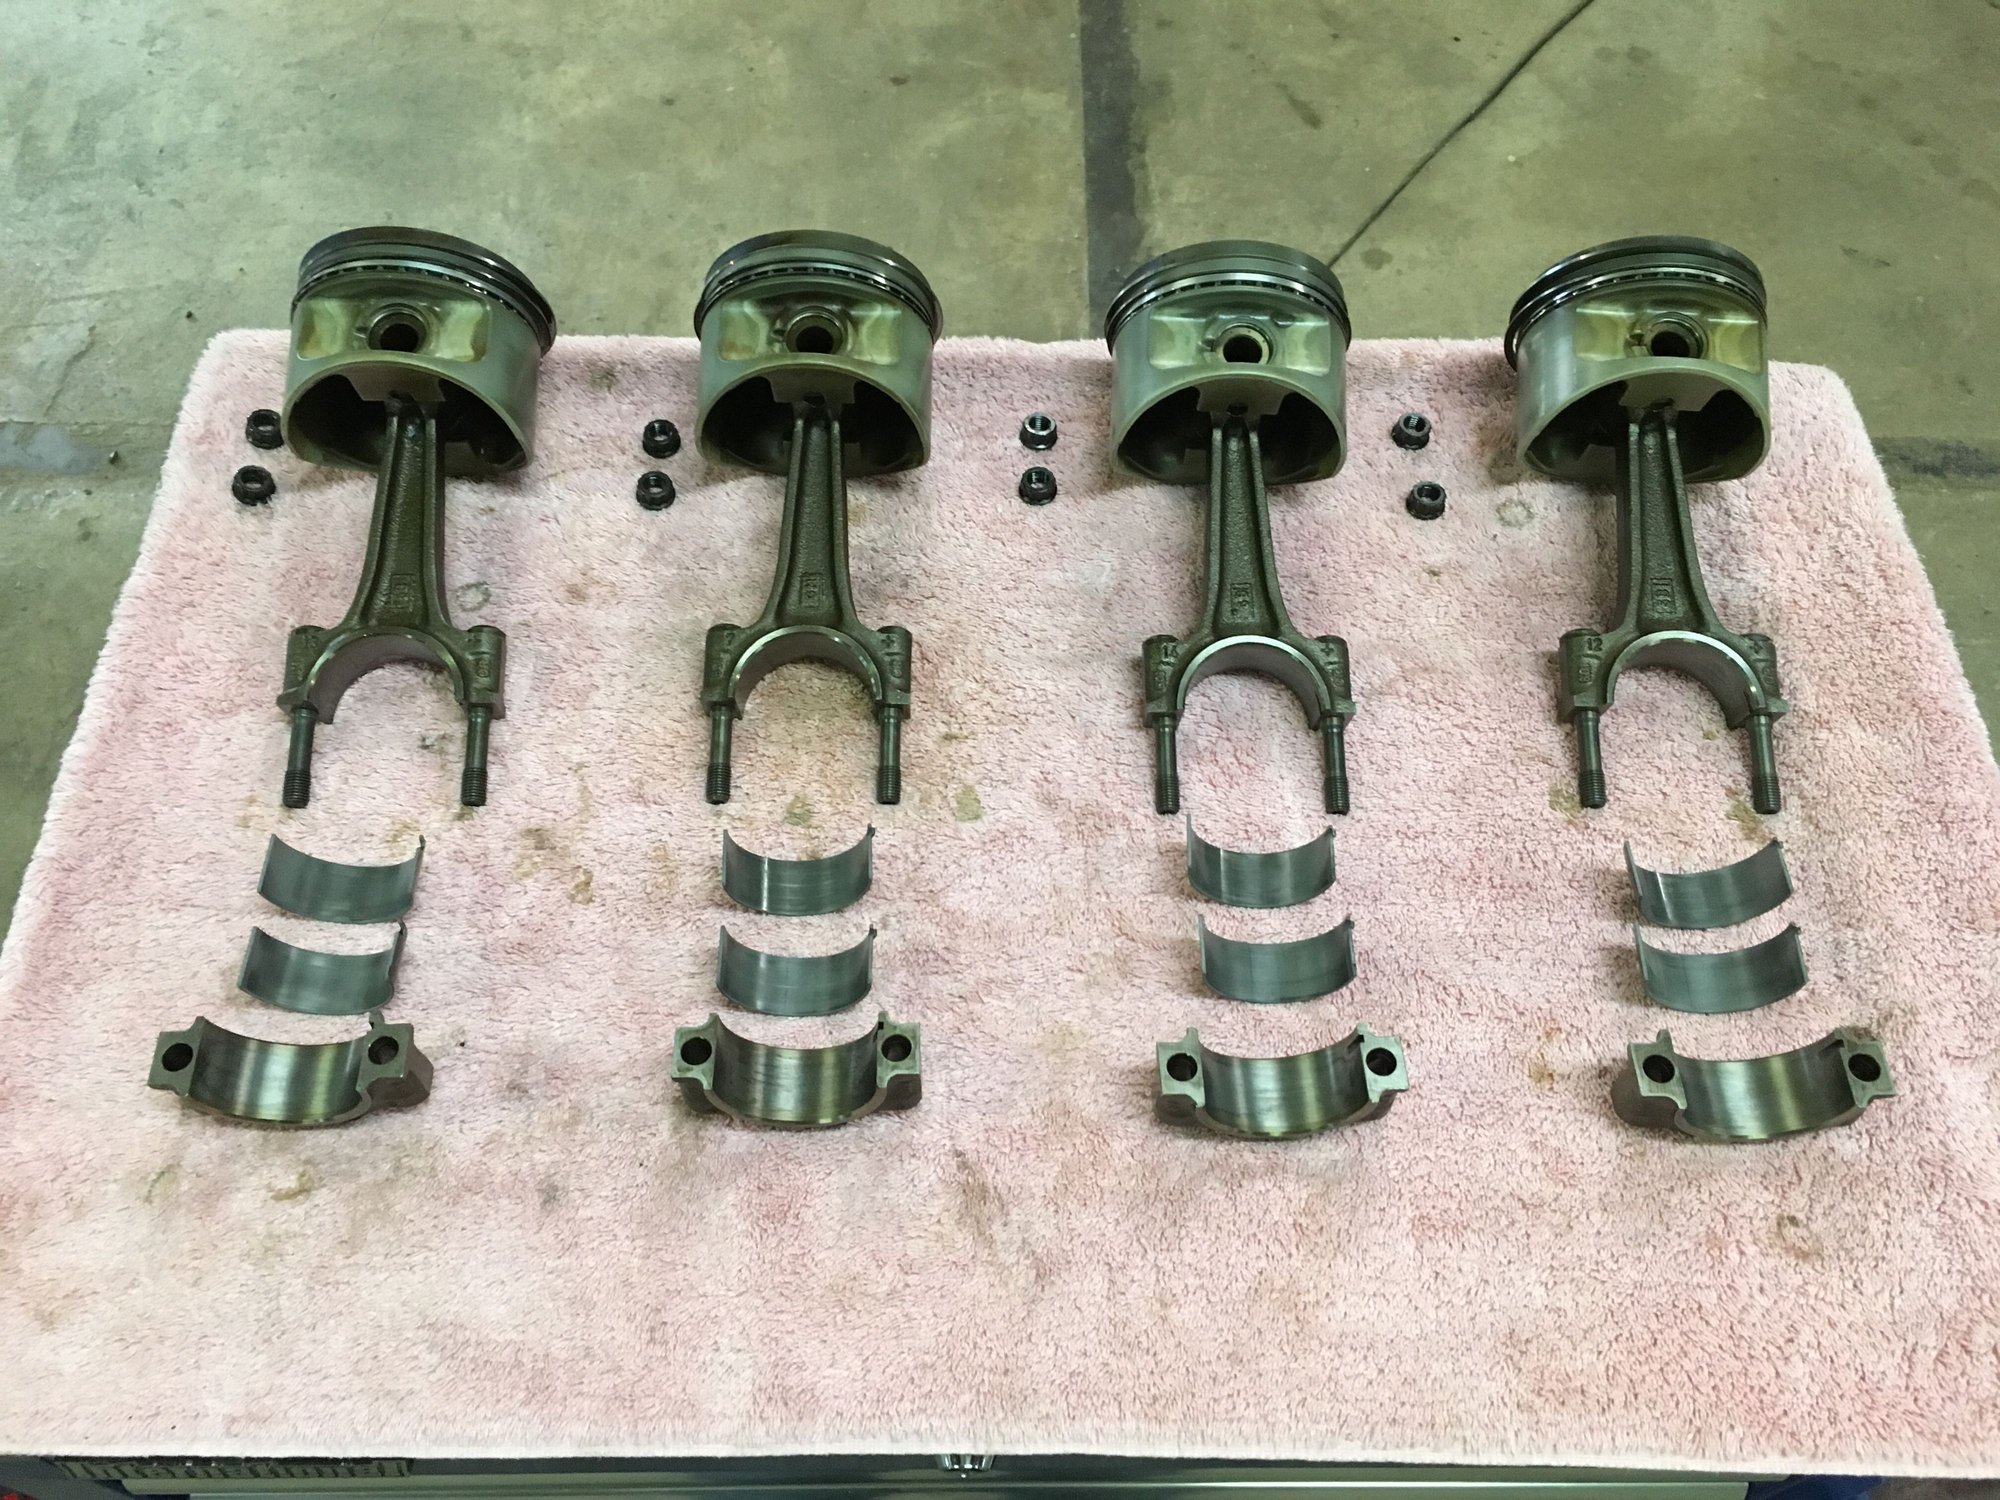
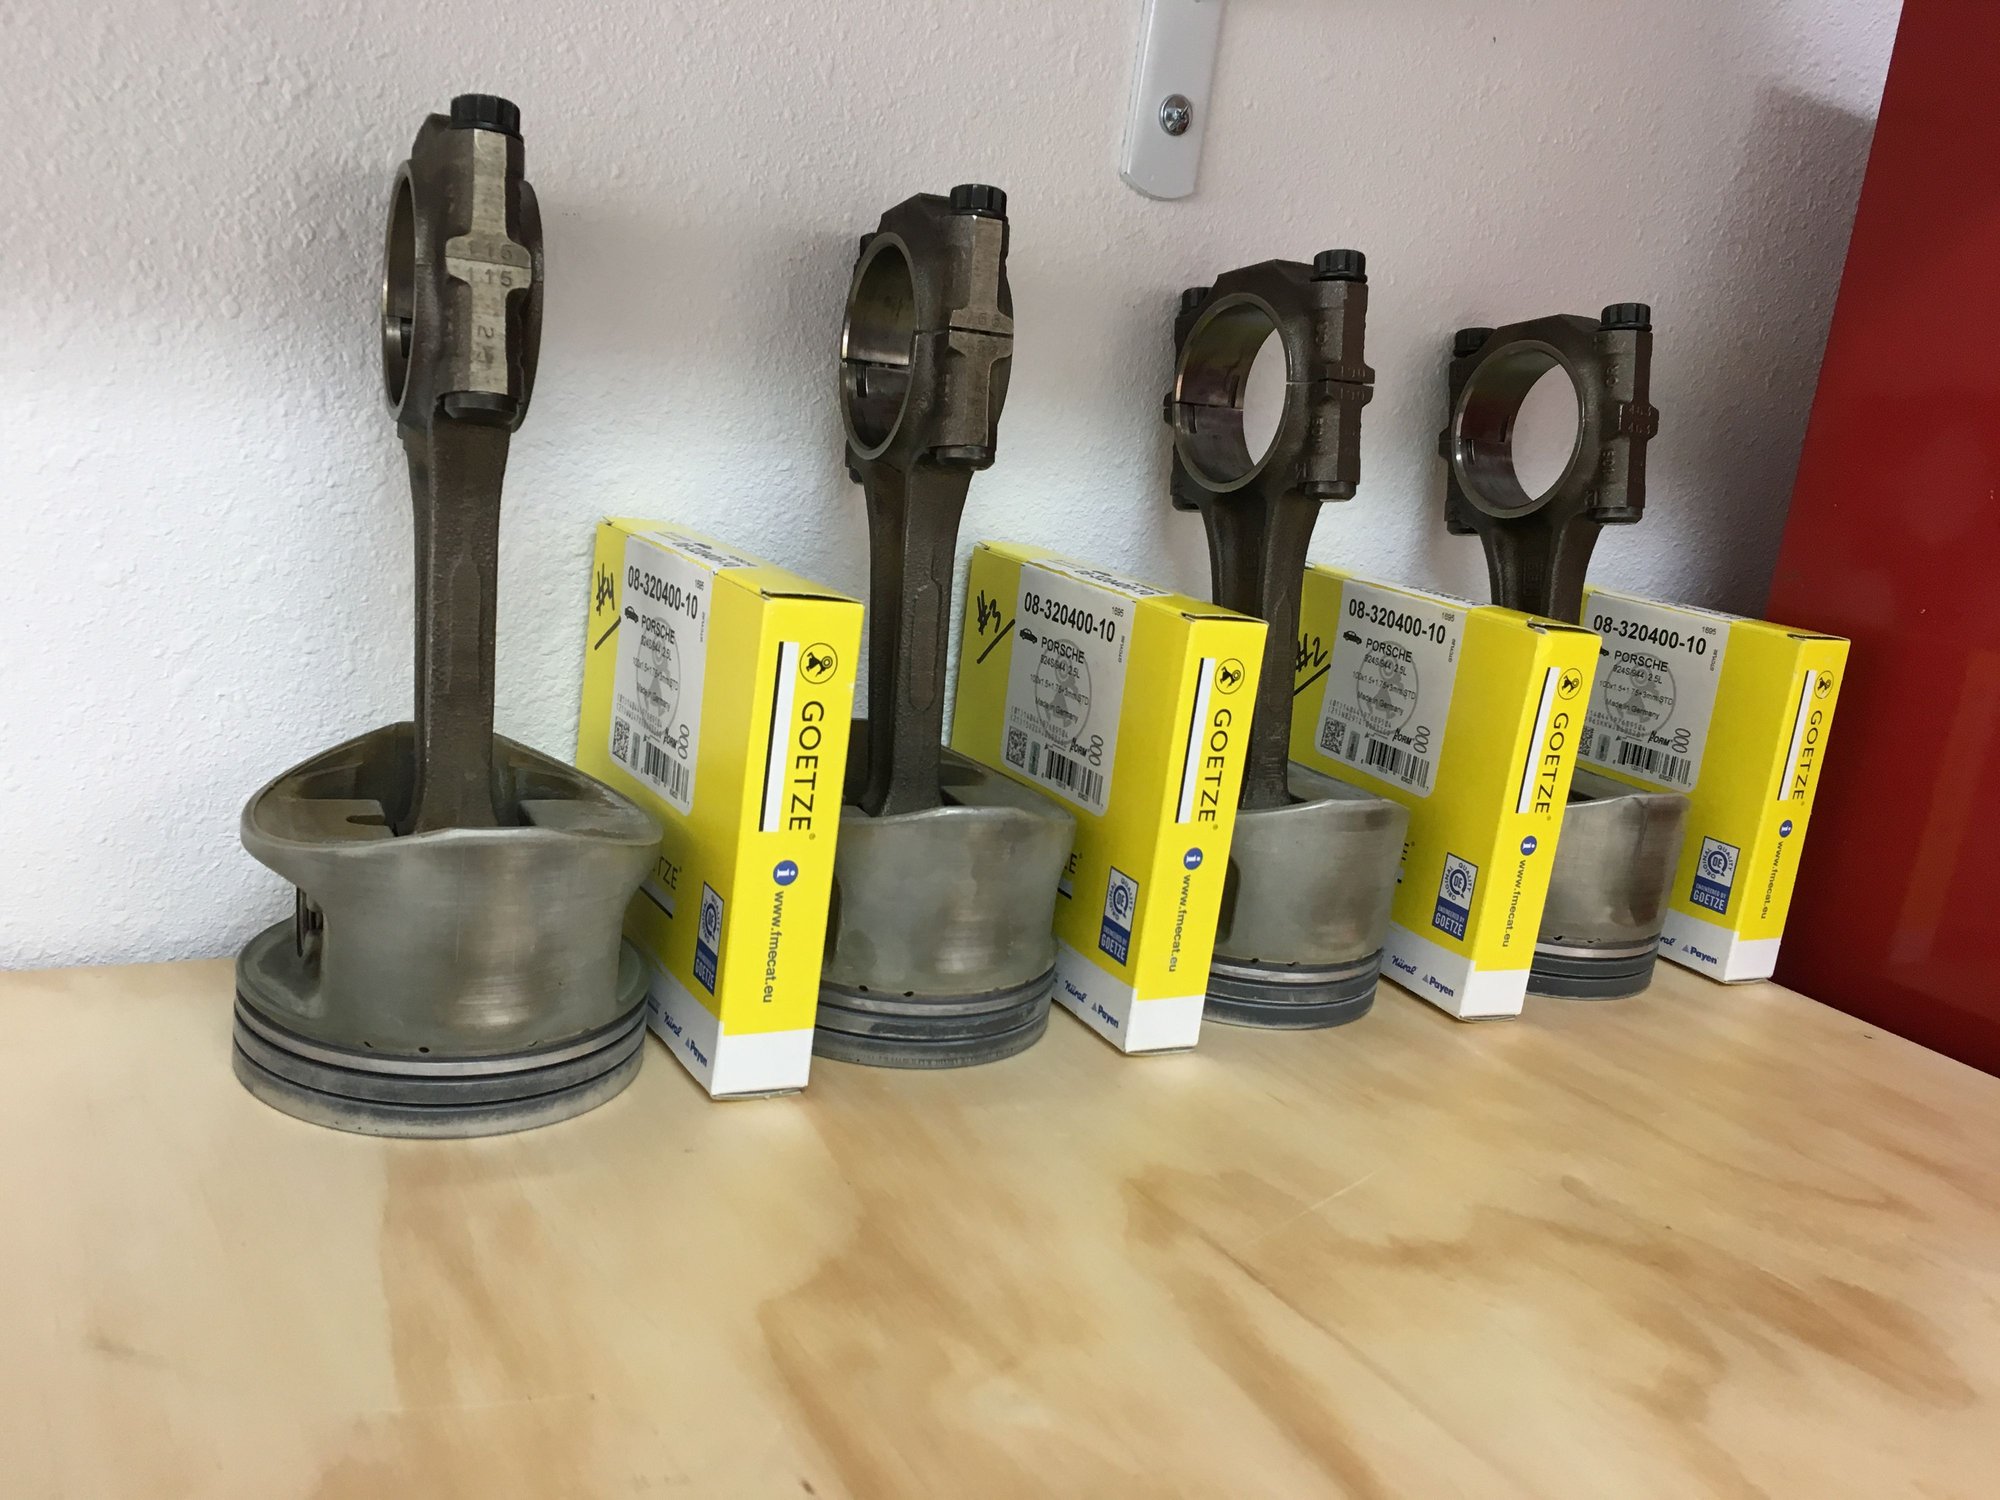
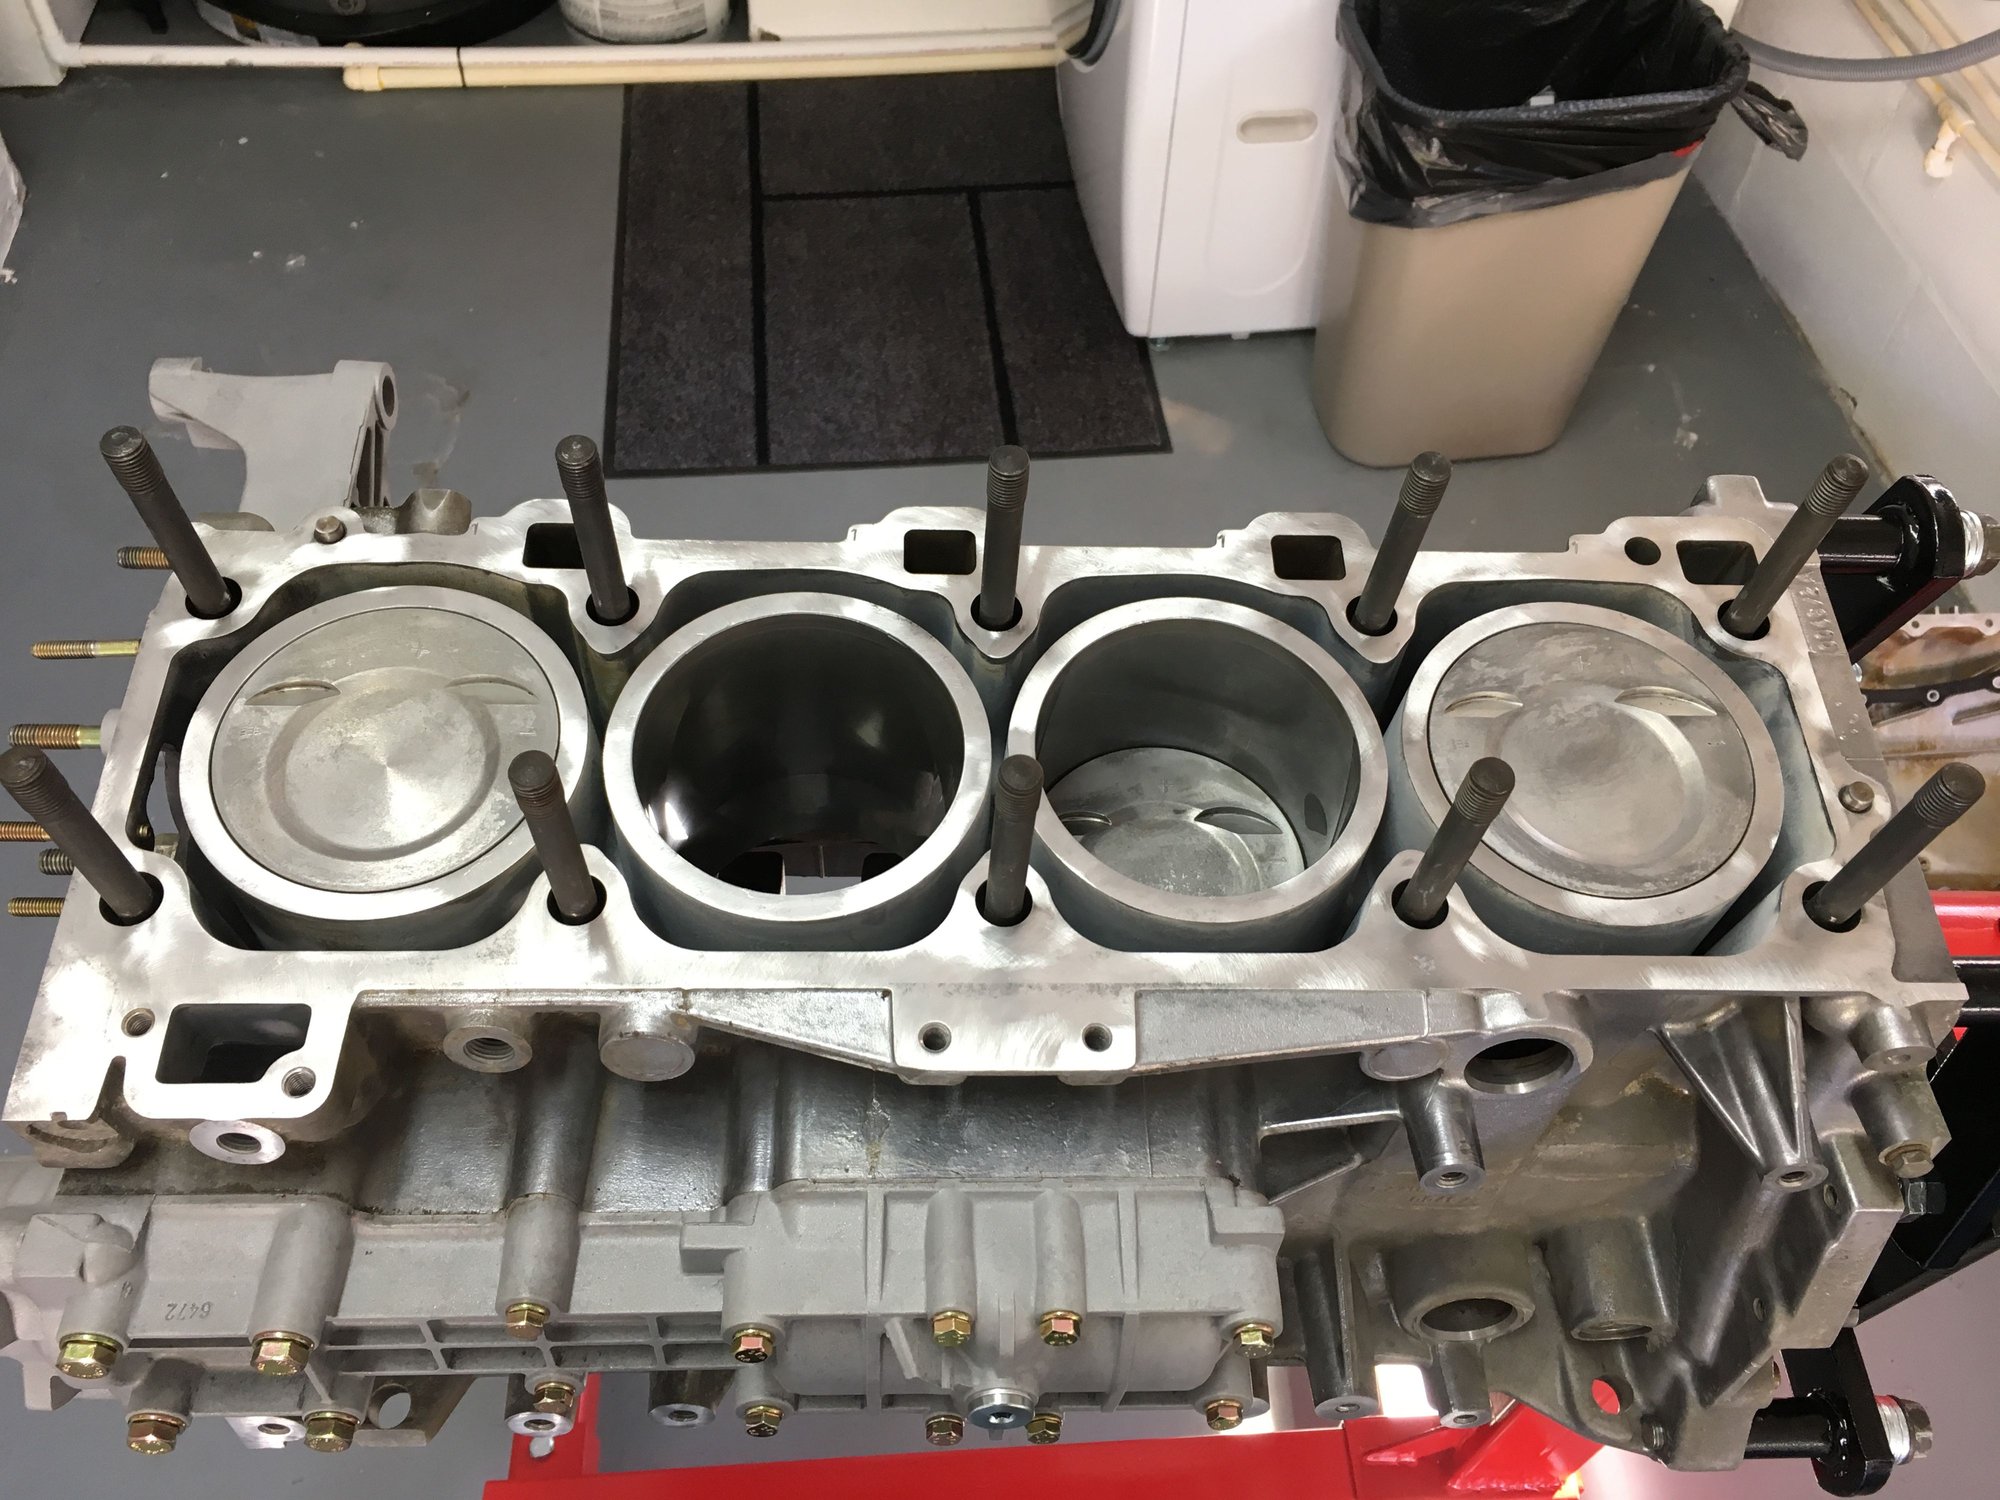
More work from yesterday. Finally pulled those pistons and laid them out to take a look a look at the rod bearings.
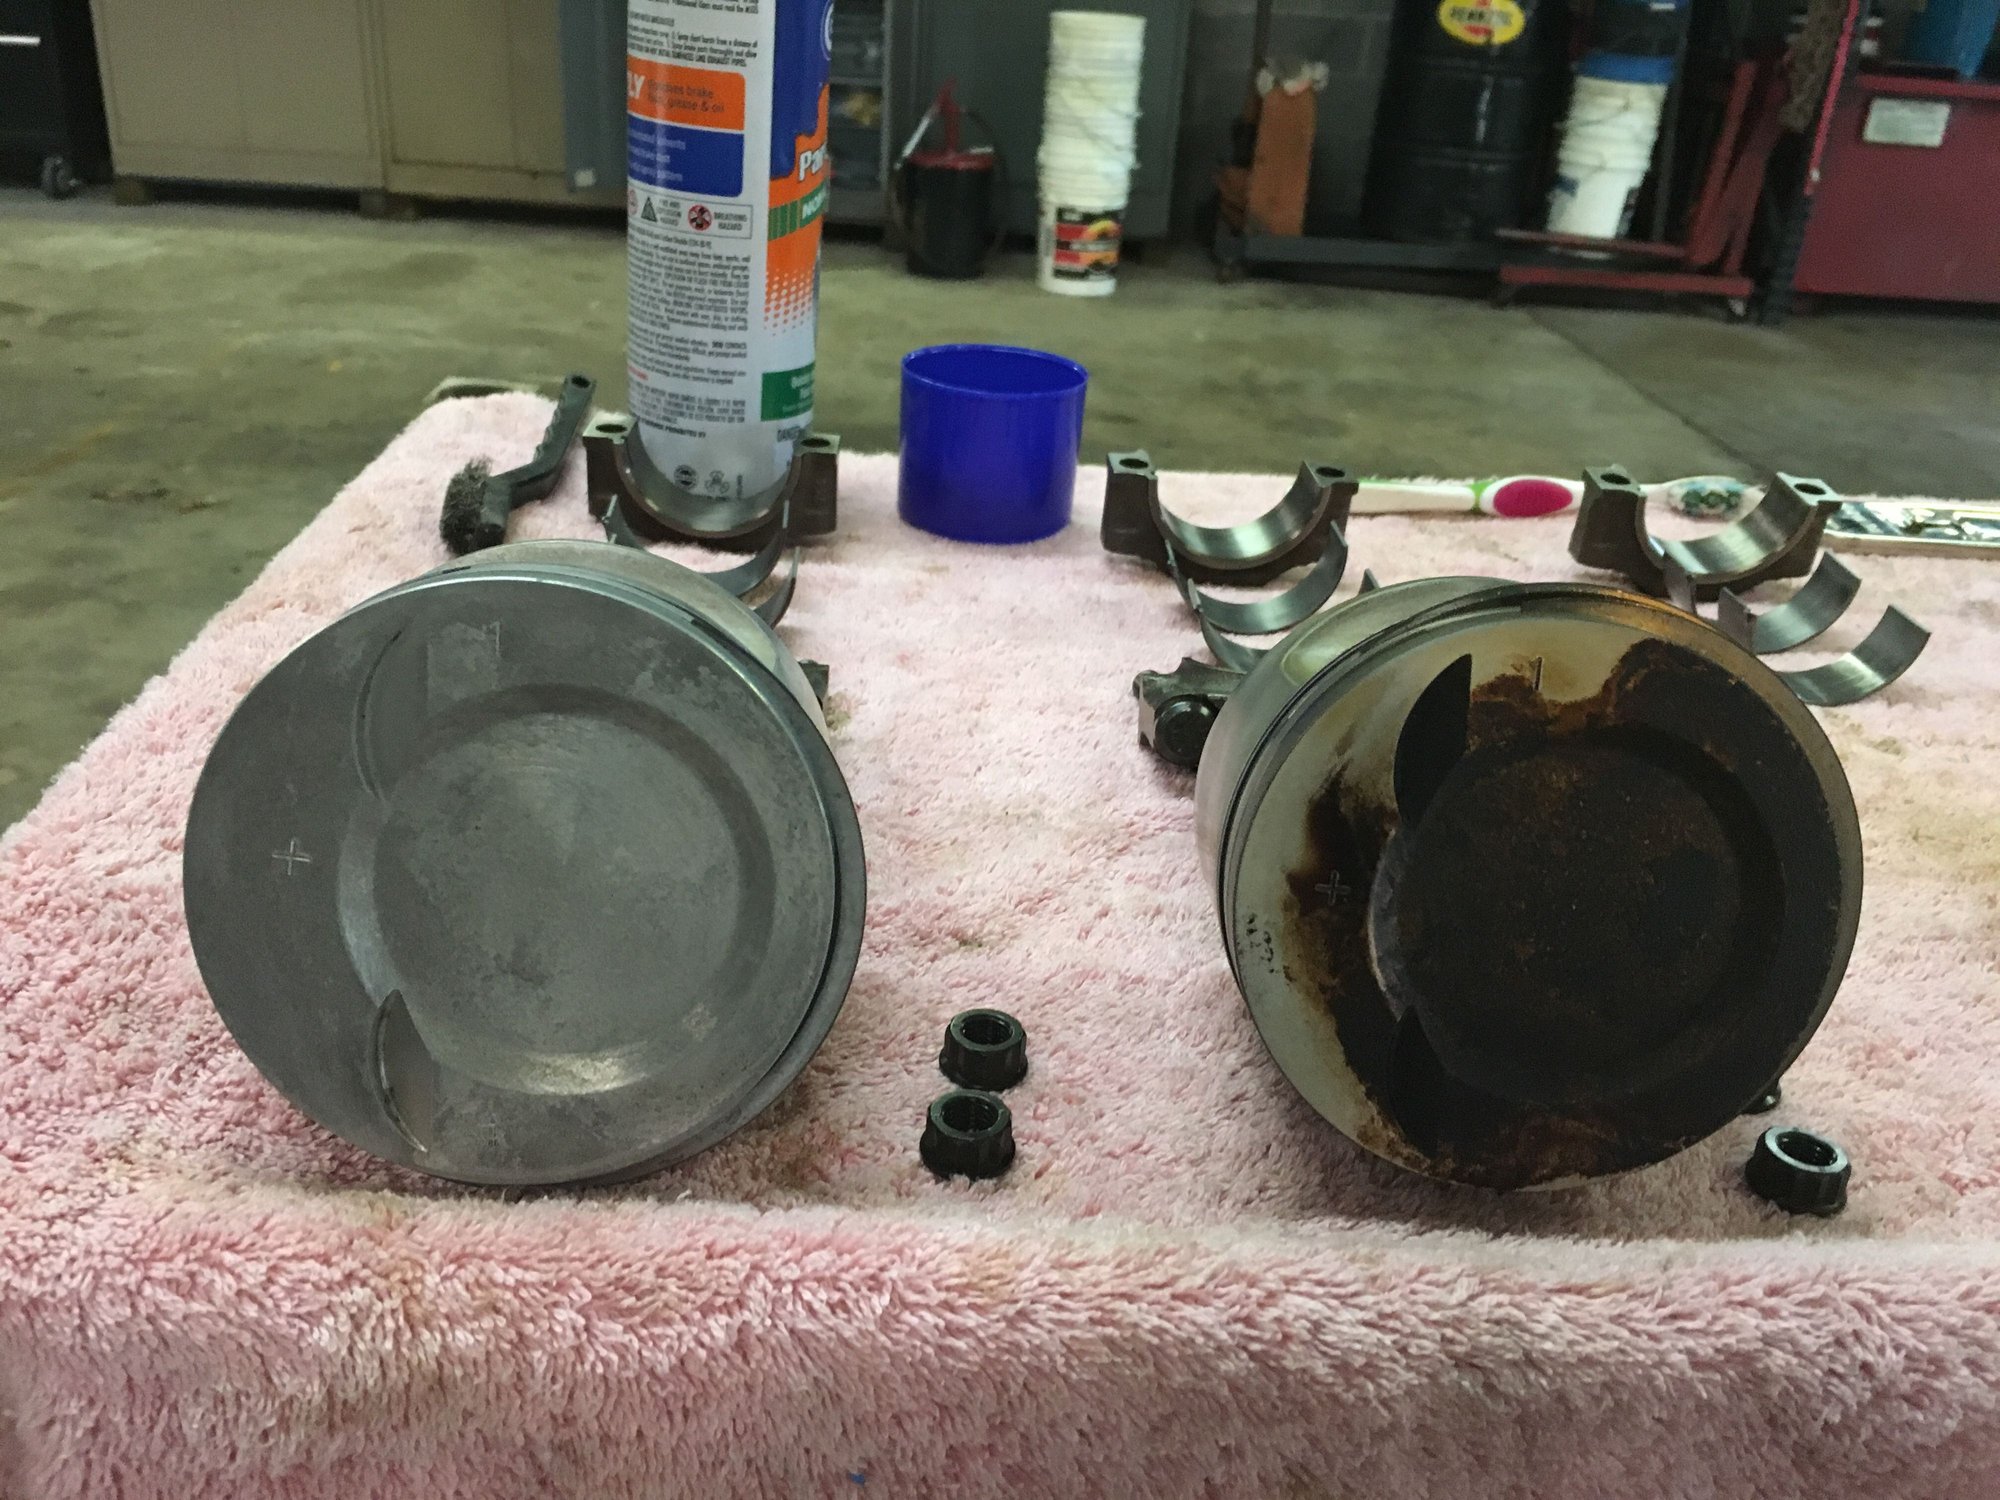
The bearings are practically new even at 105,000 miles. Even the #2 looks perfect. Oh well, better to replace them while in here than to regret not doing it later.
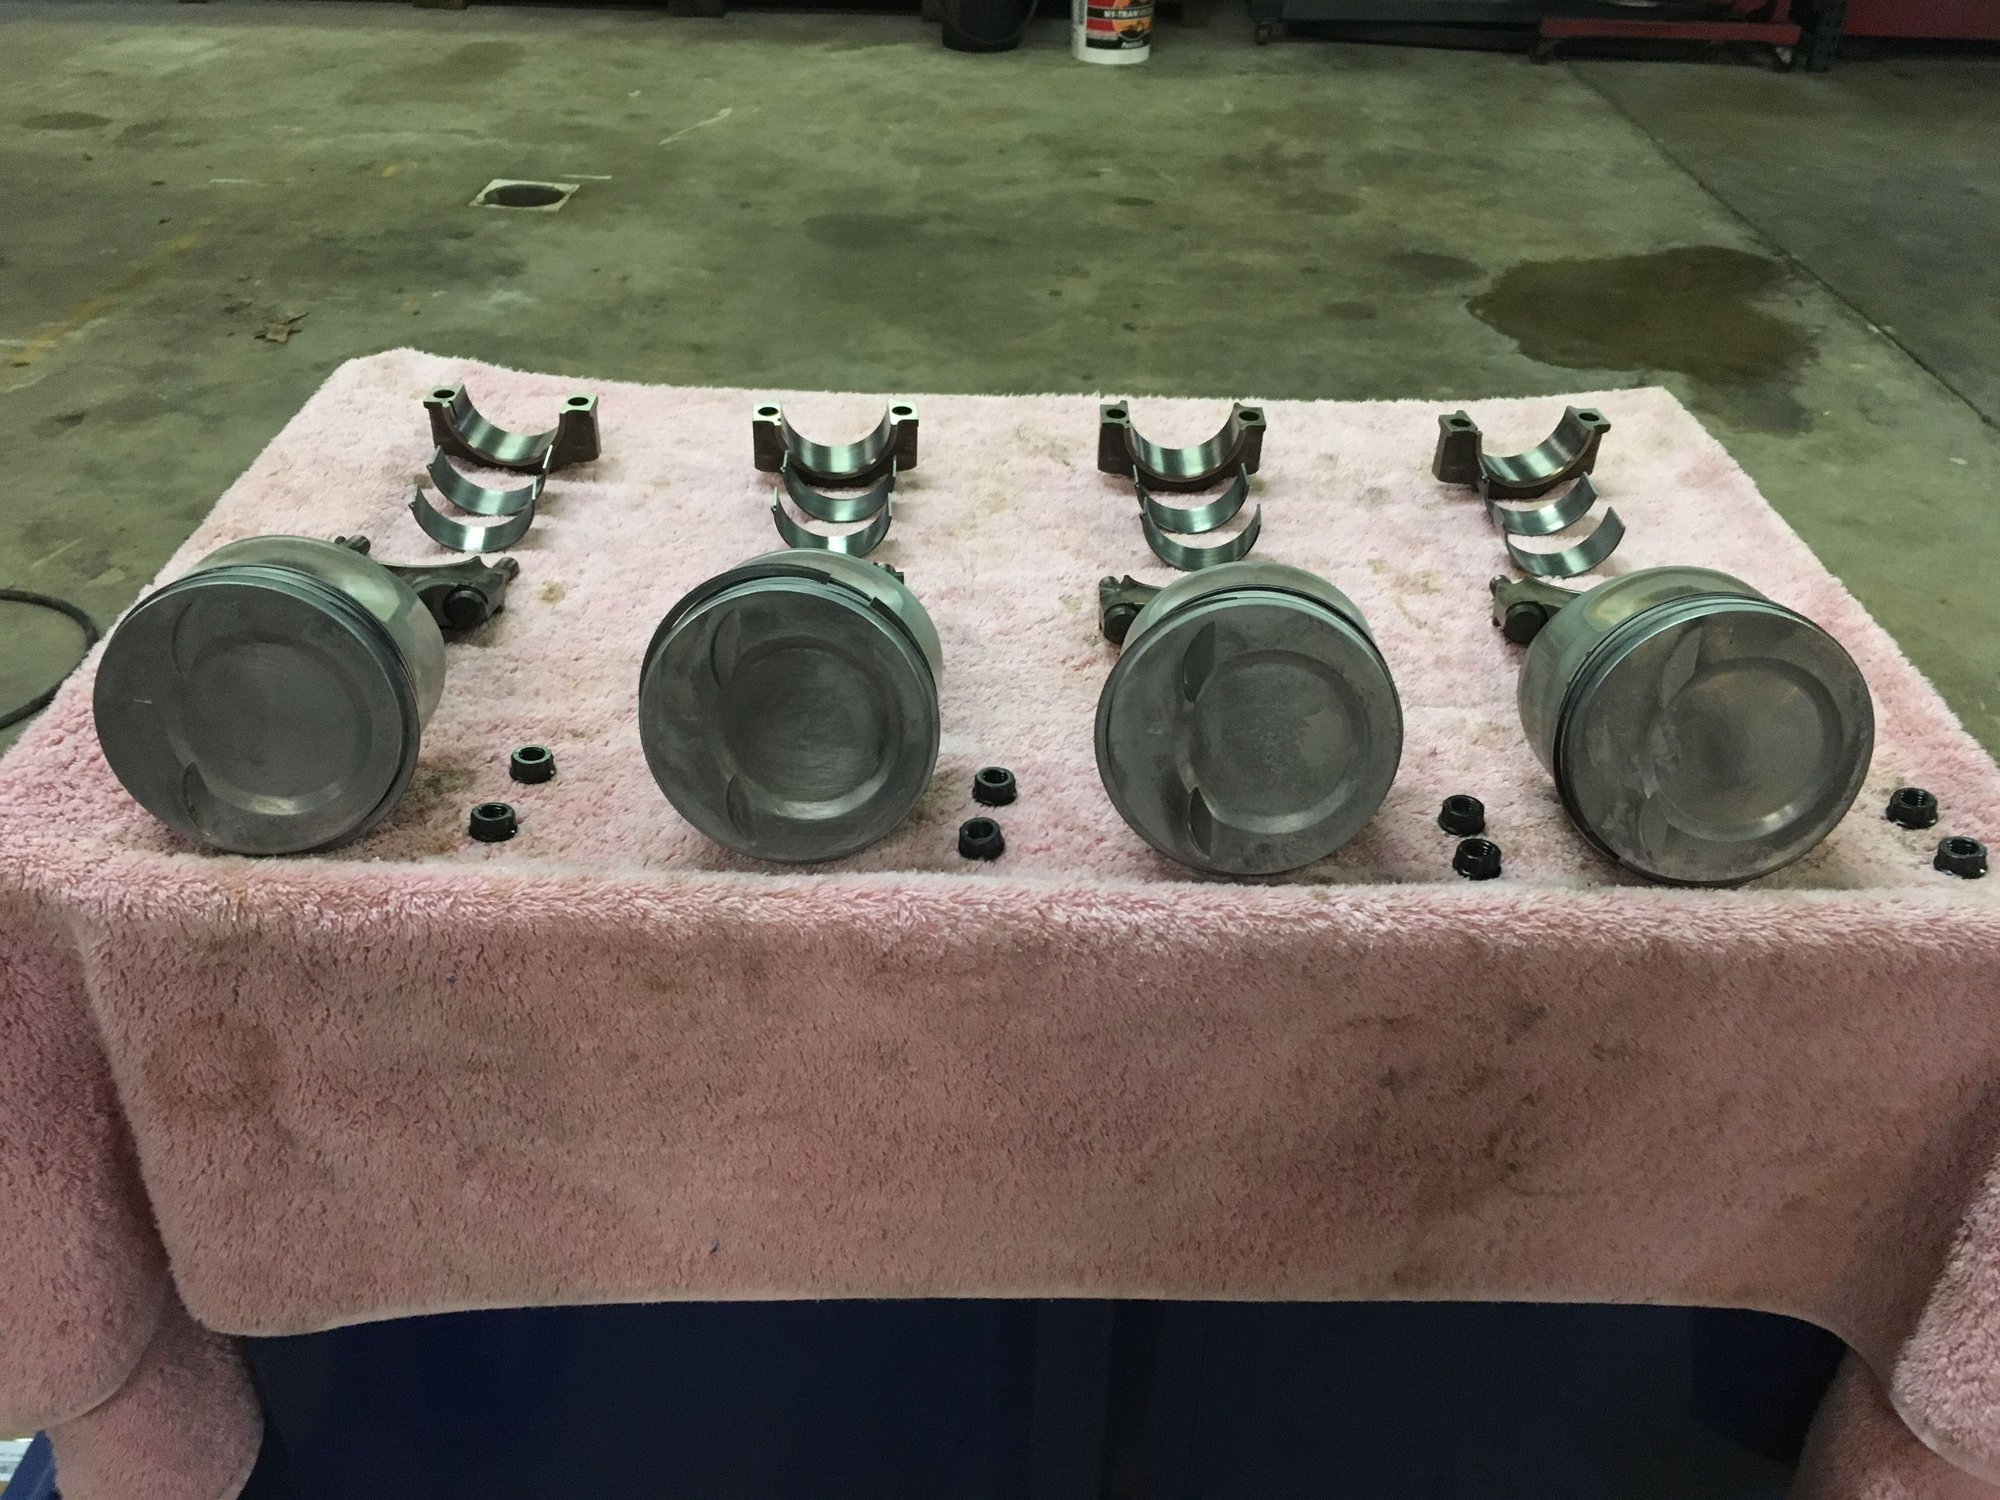
Pistons had plenty of carbon buildup on them, but with some degreaser and some scrubbing, they cleaned up pretty nicely.
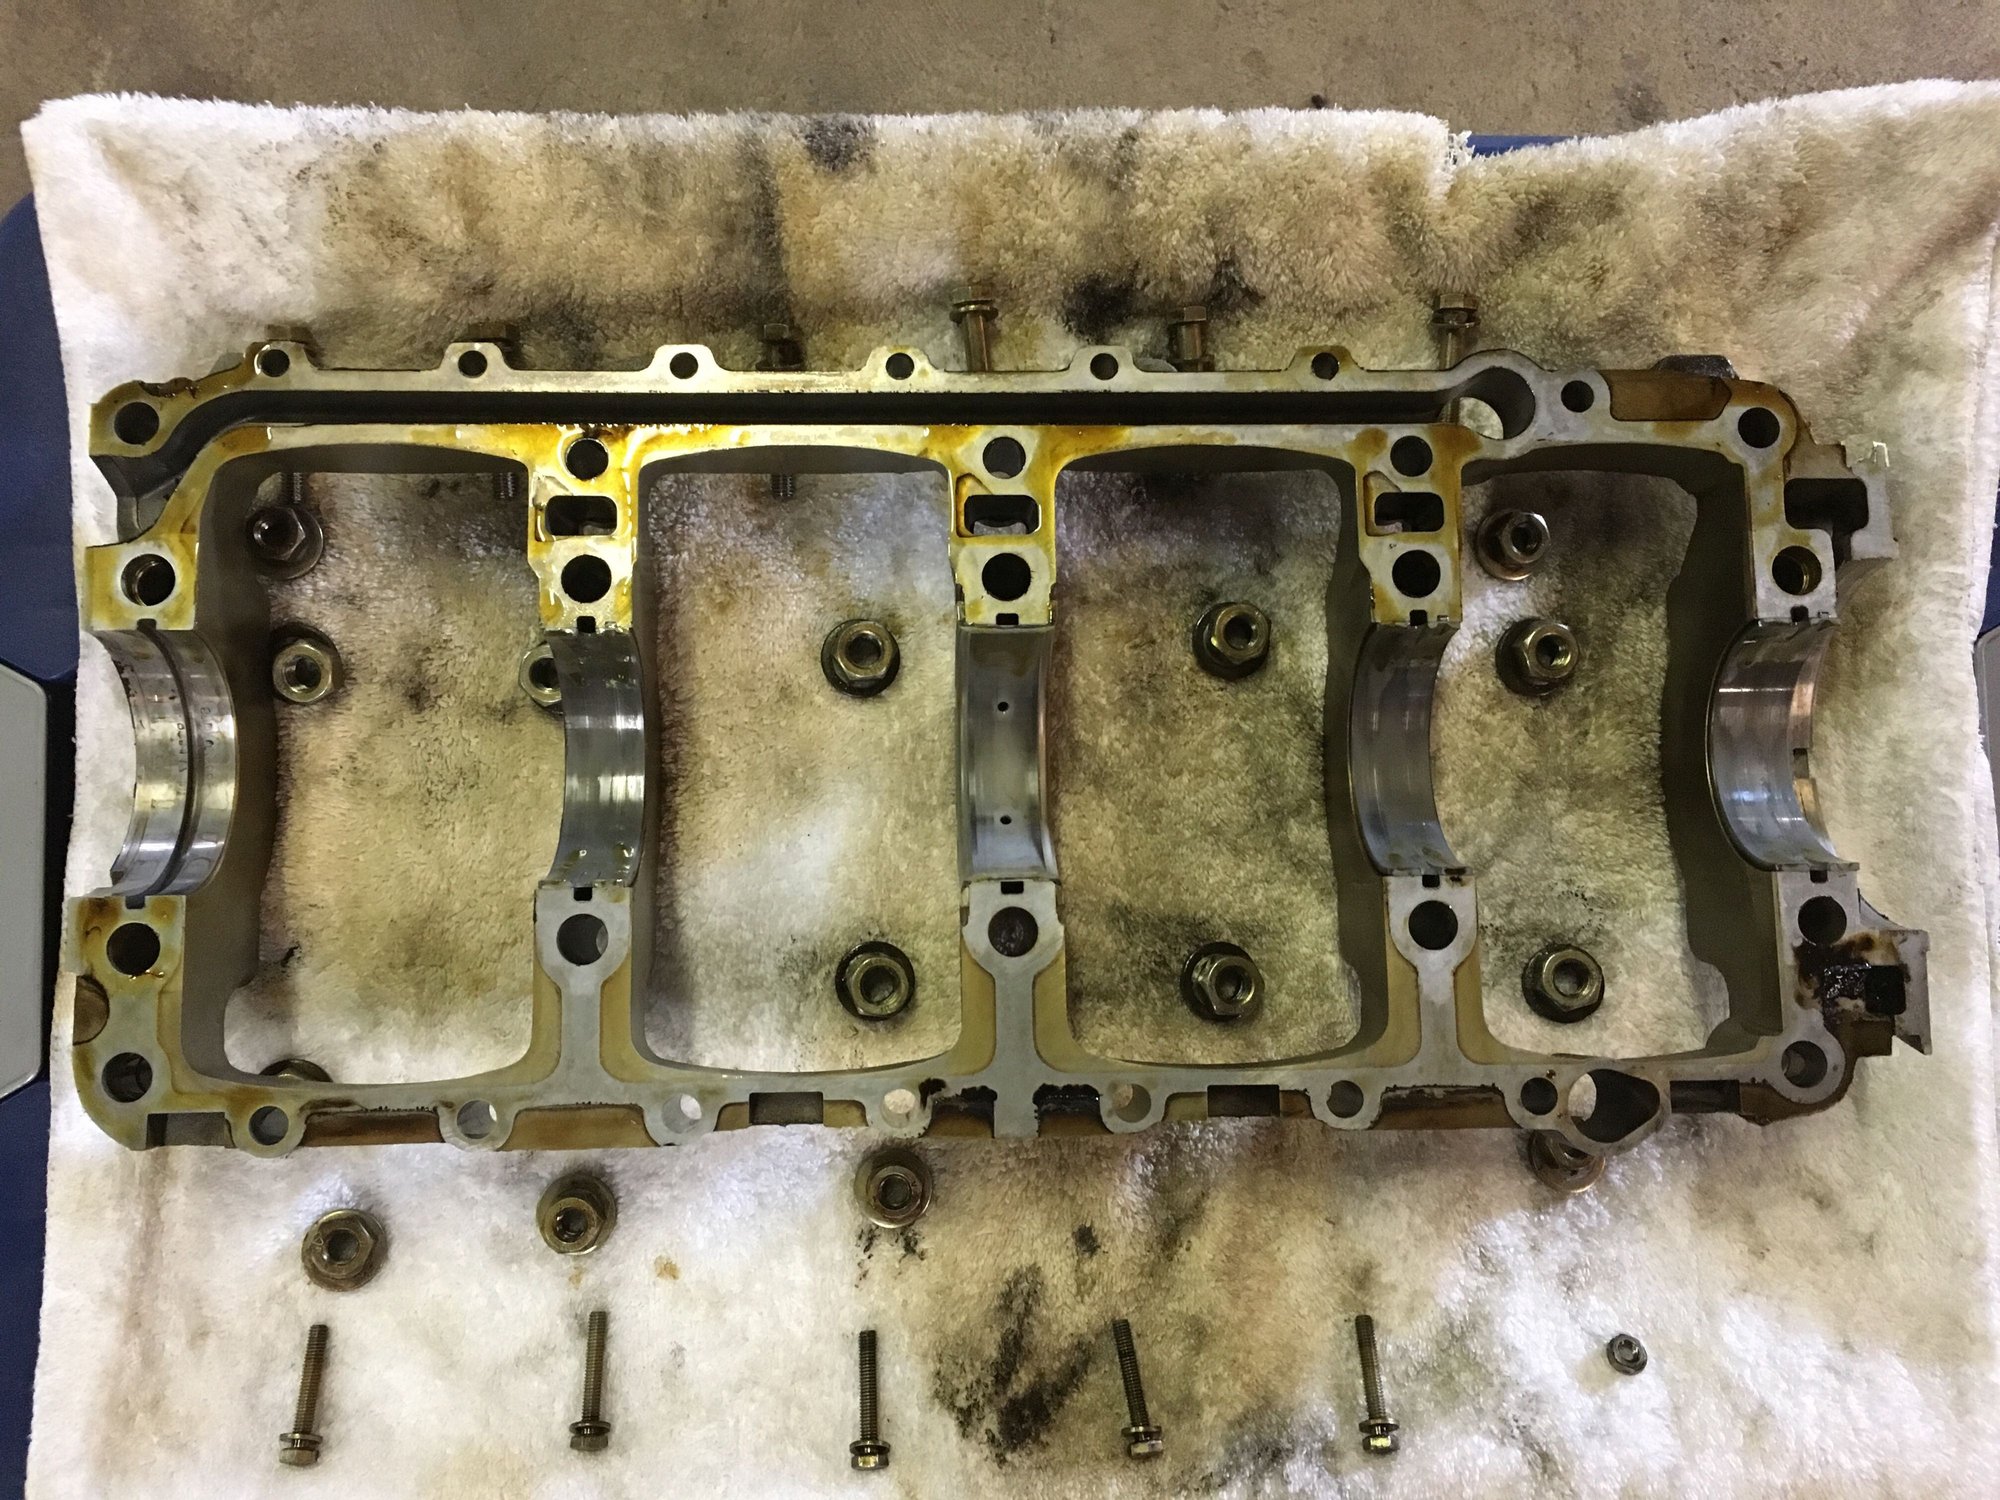
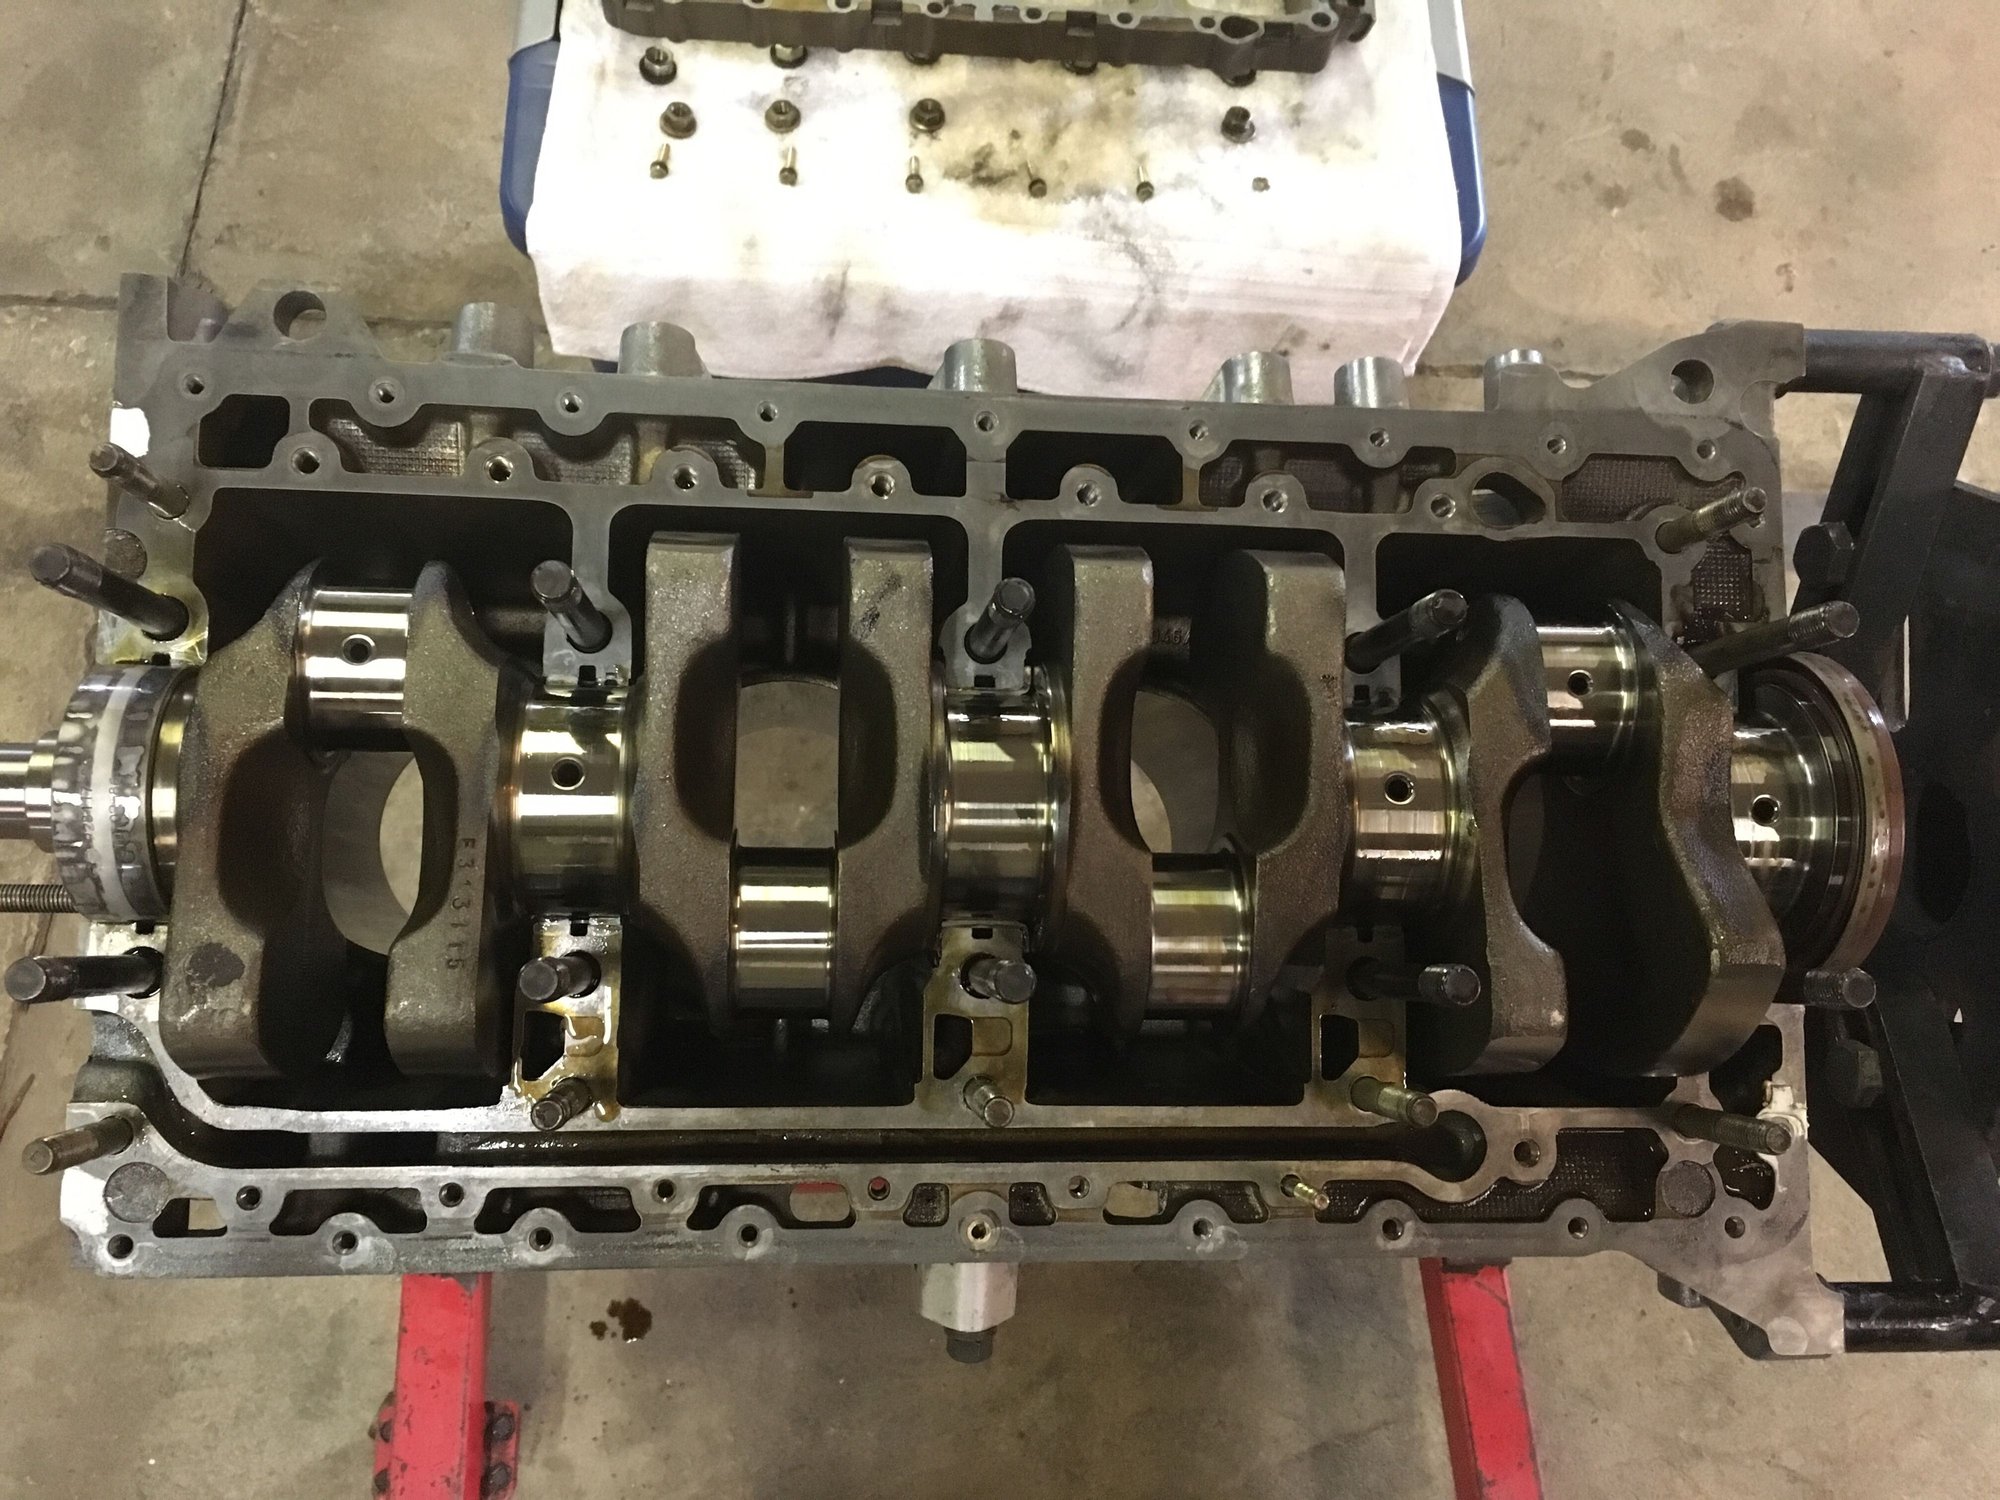
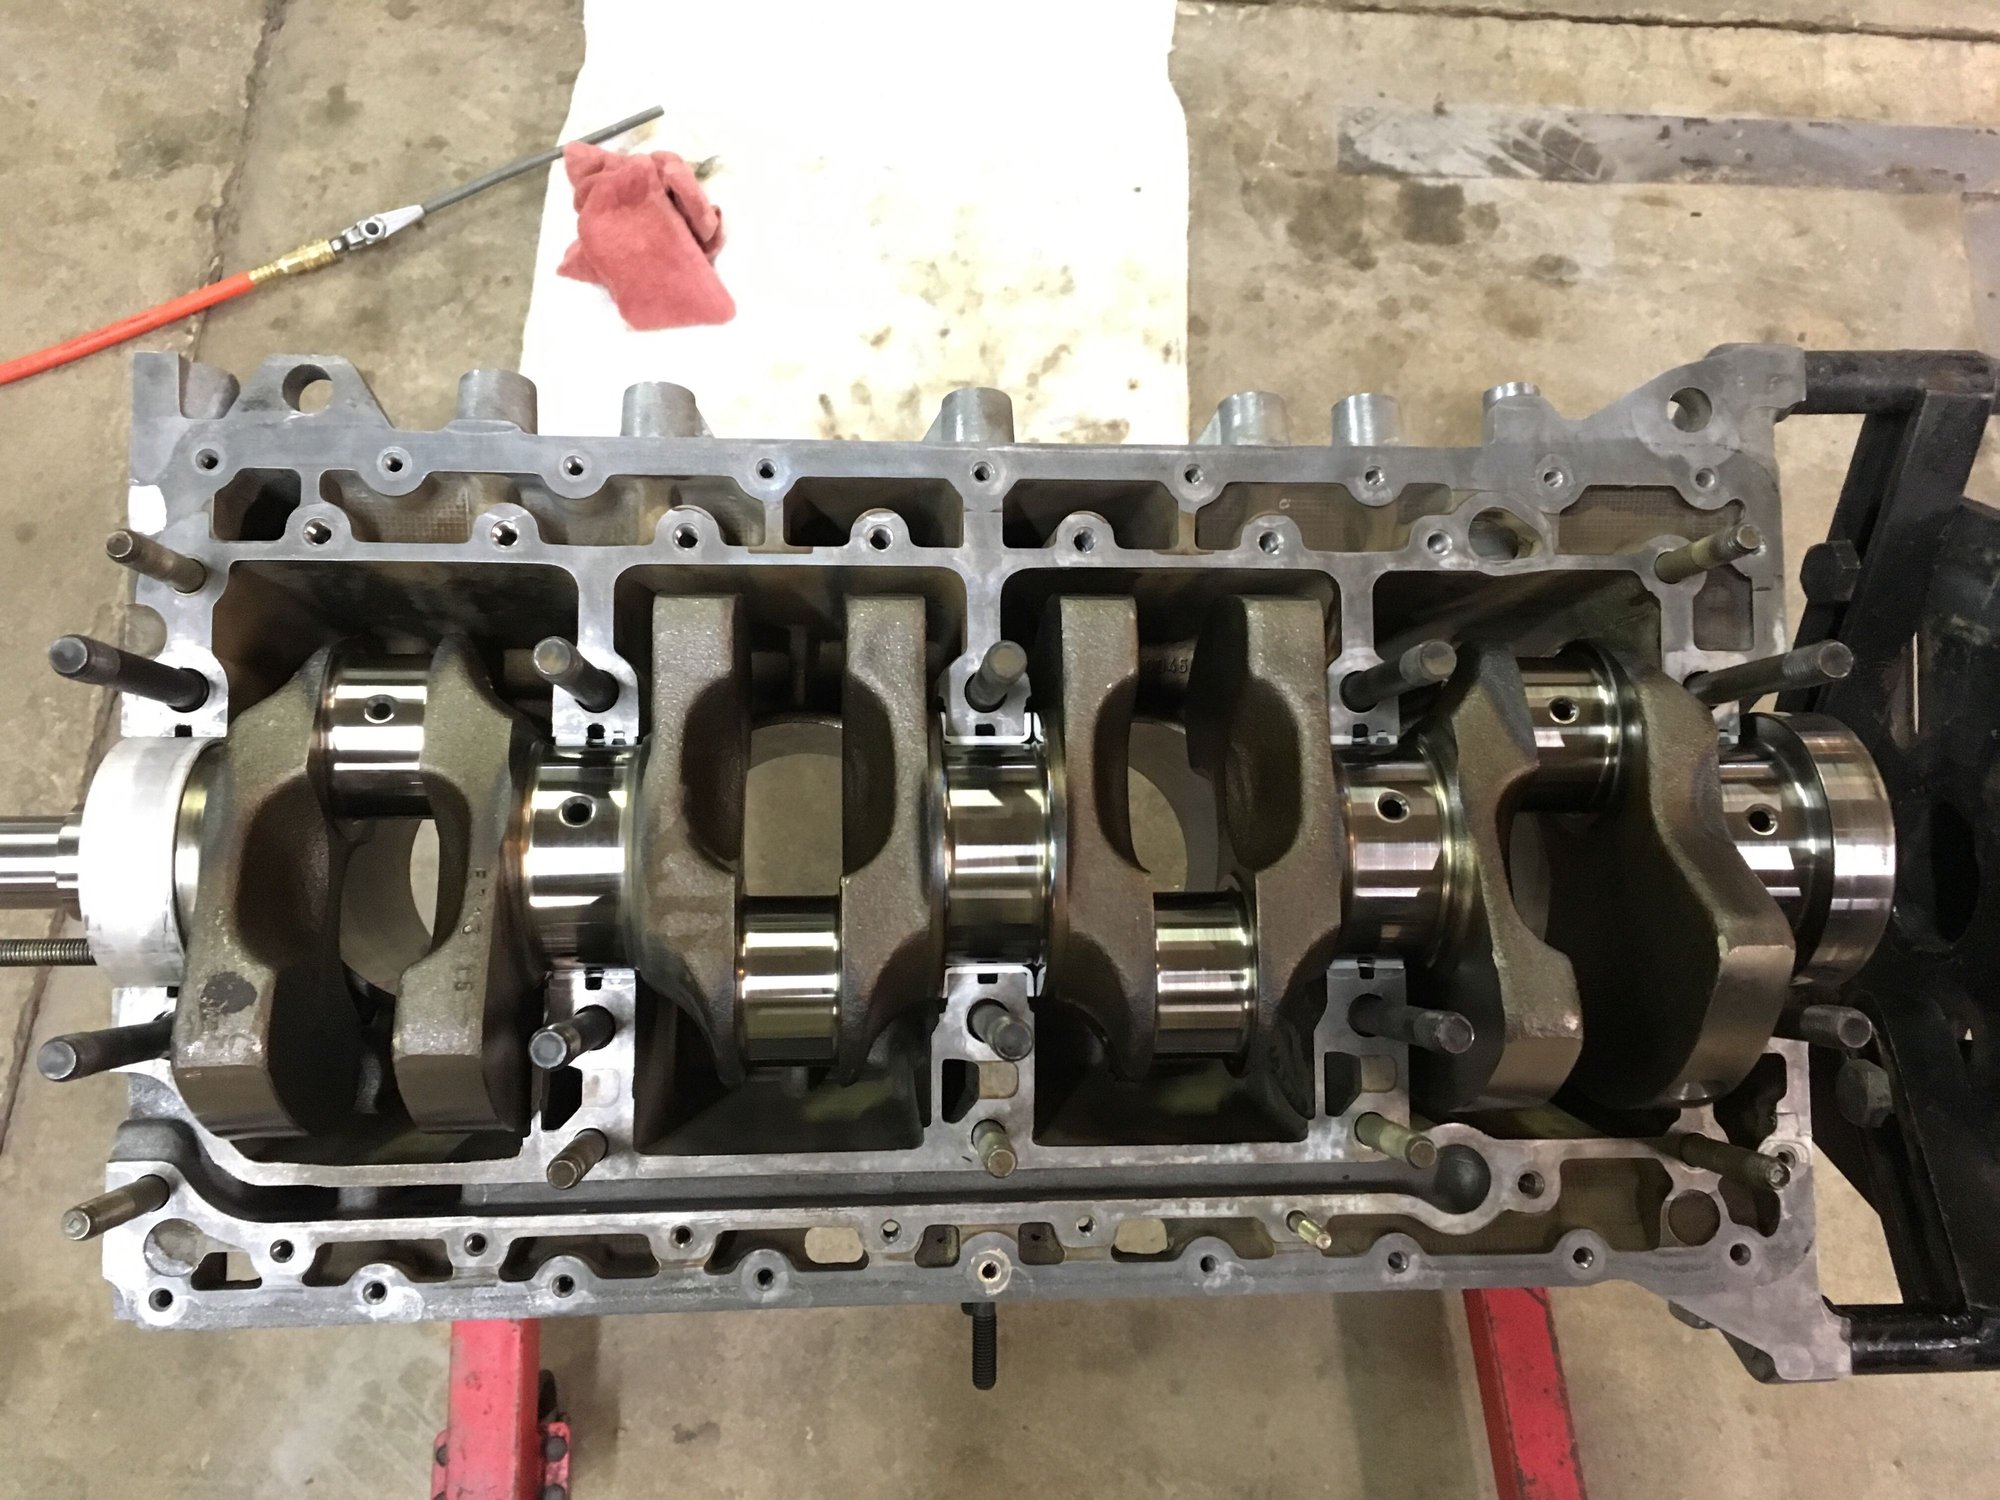
Got the girdle off - all the main bearings looked good as well.
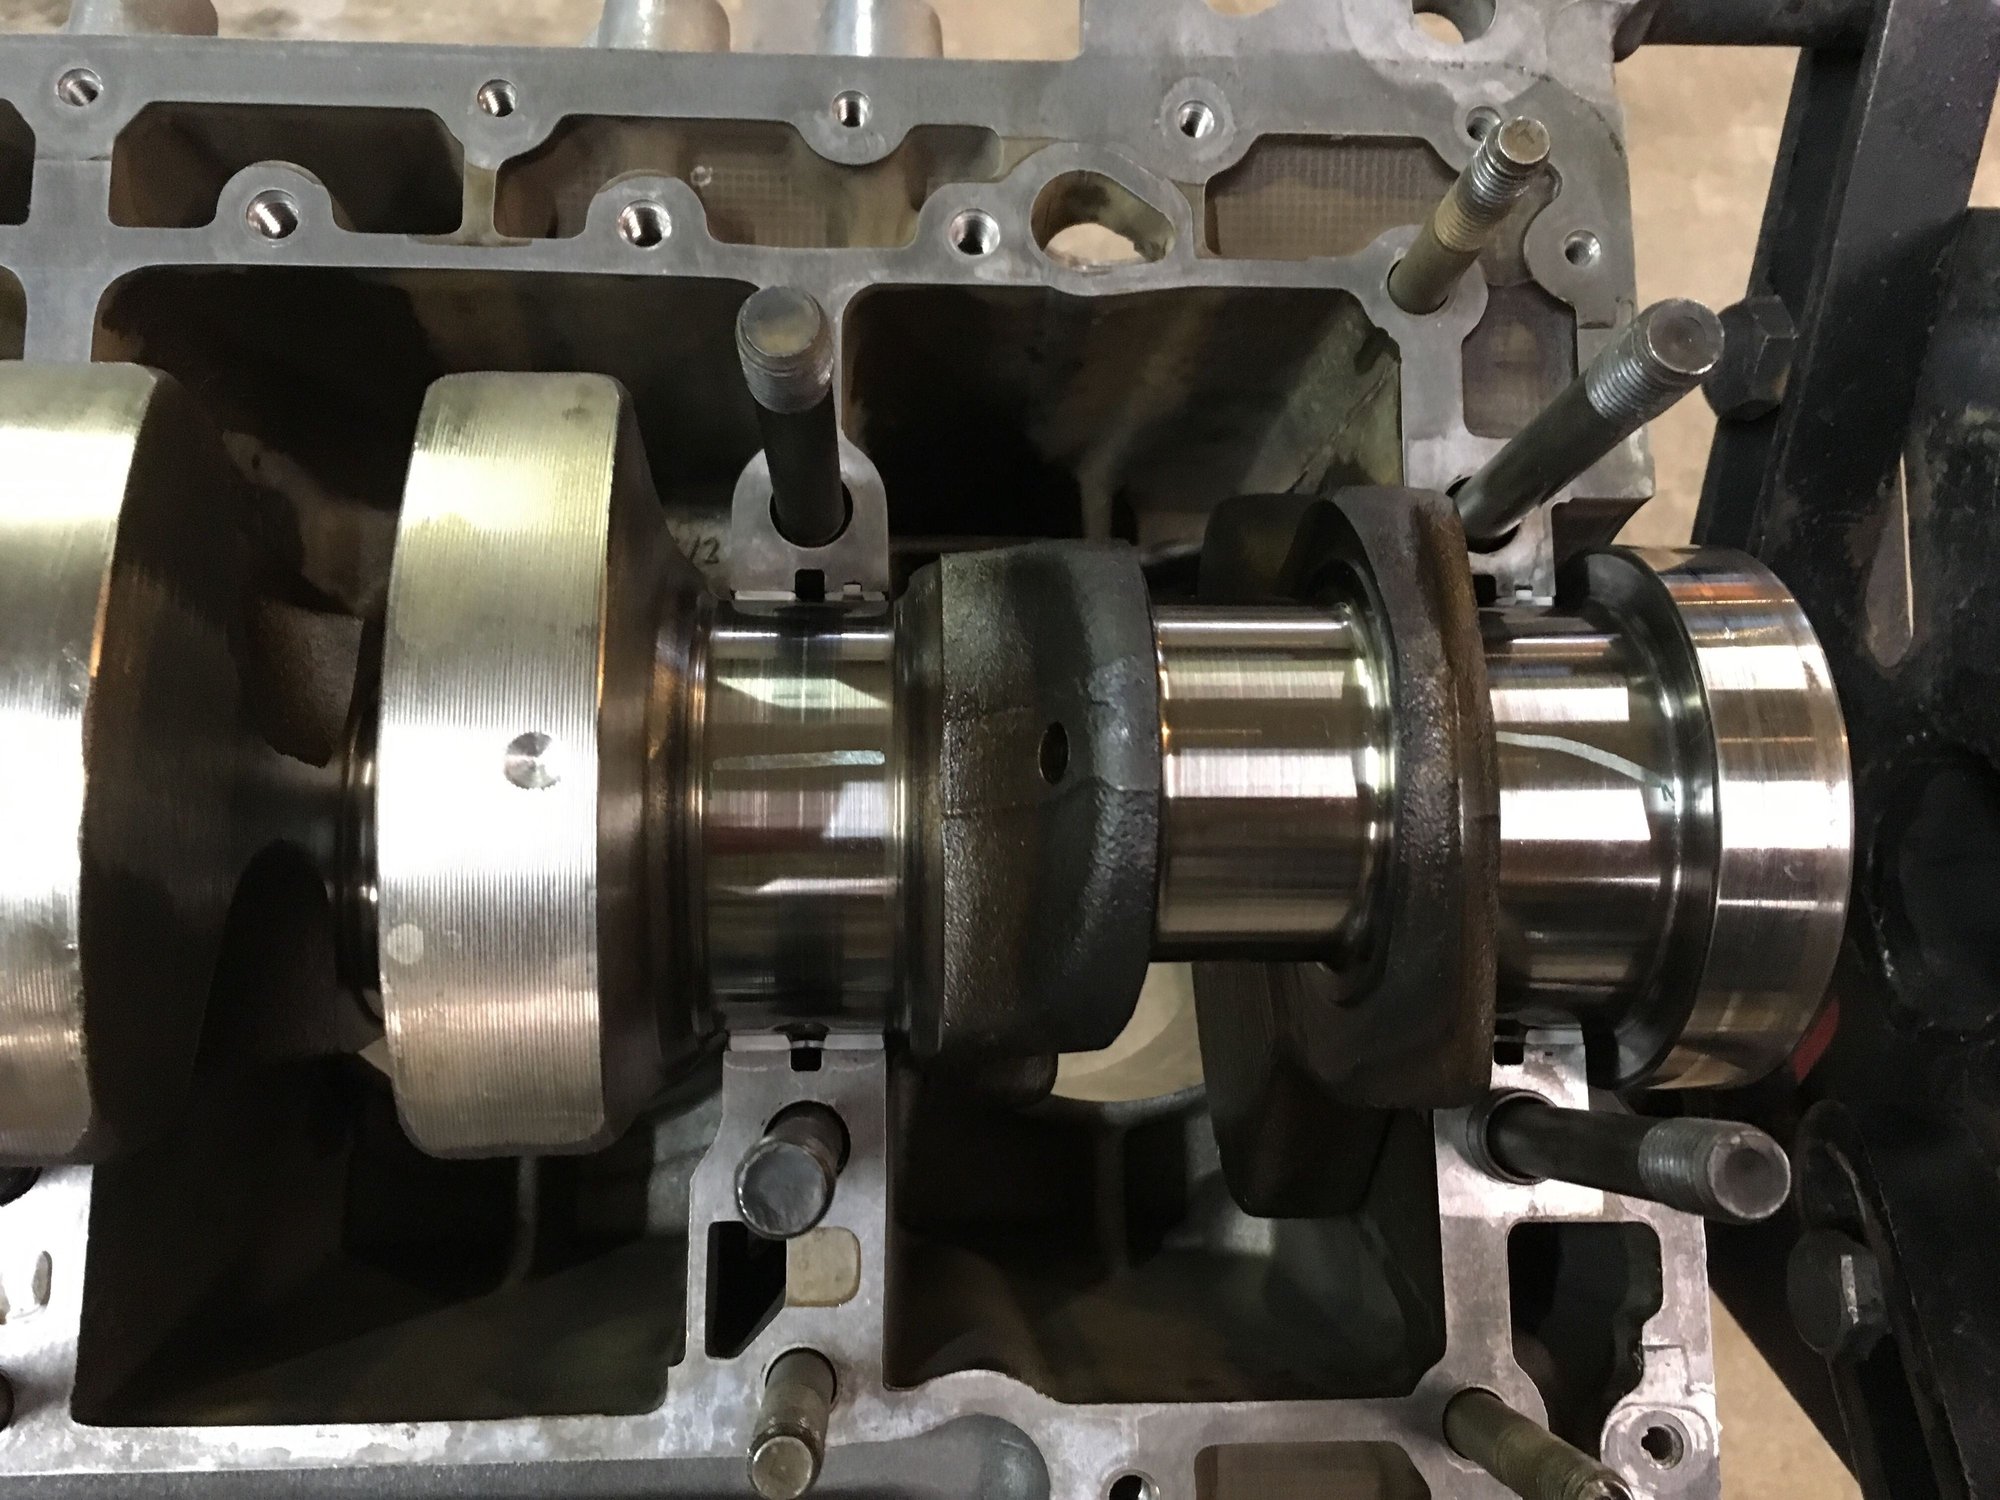
Crank appears to be in great shape.
And the bearings in the block side are in good shape as well (though they'll just be replaced for peace of mind).
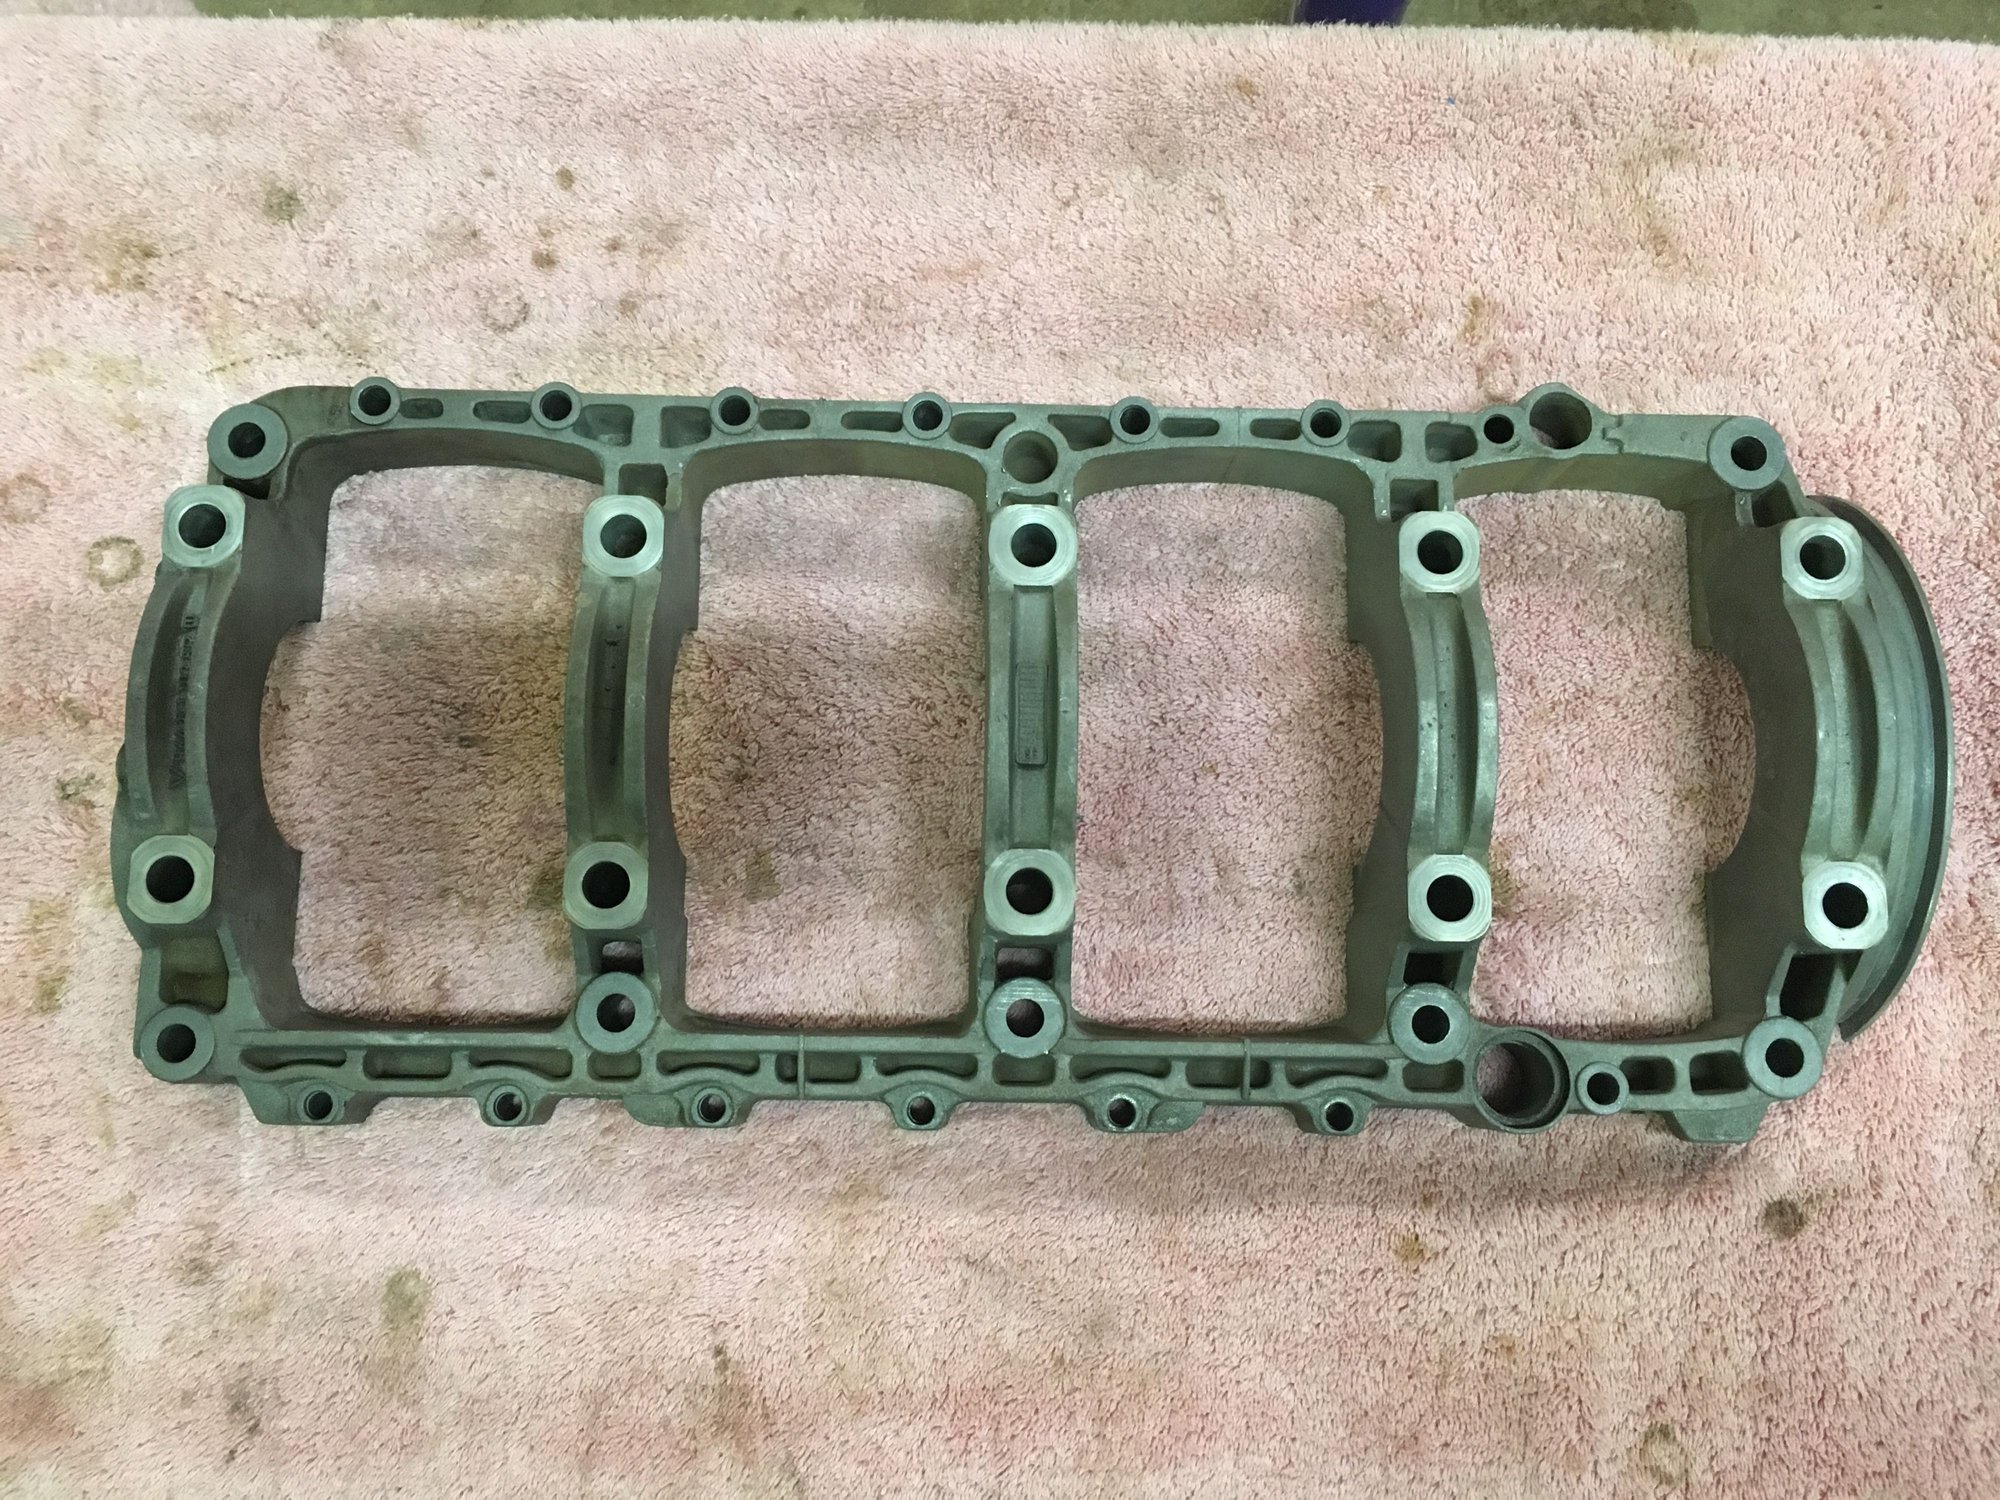
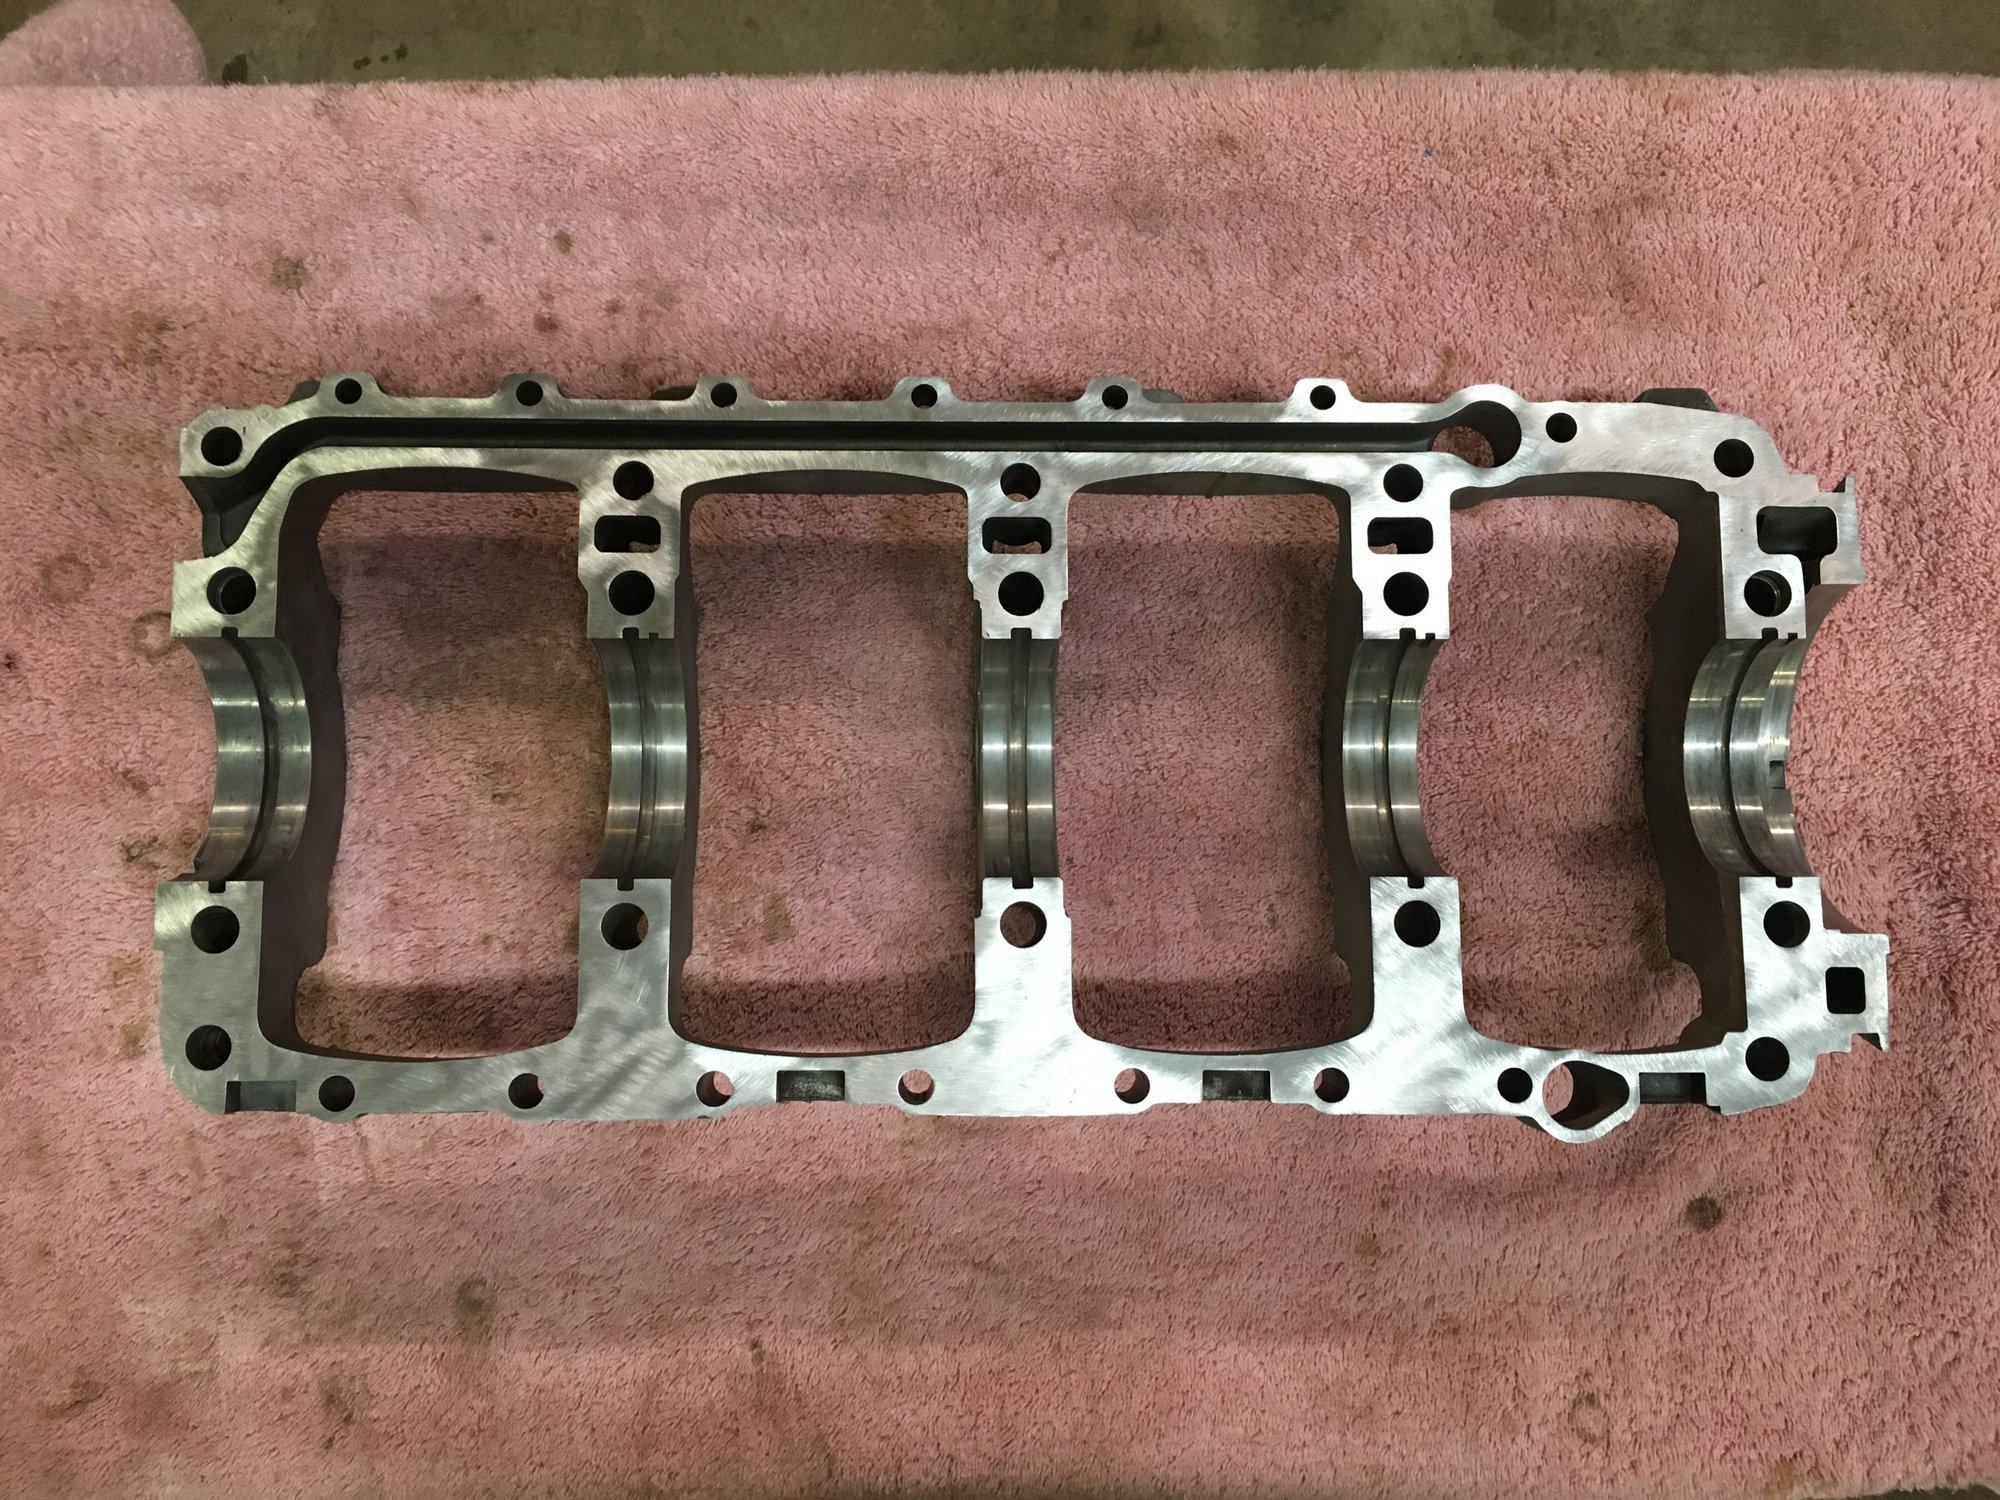
I cleaned up the girdle so it's ready for reassembly in a couple weeks.
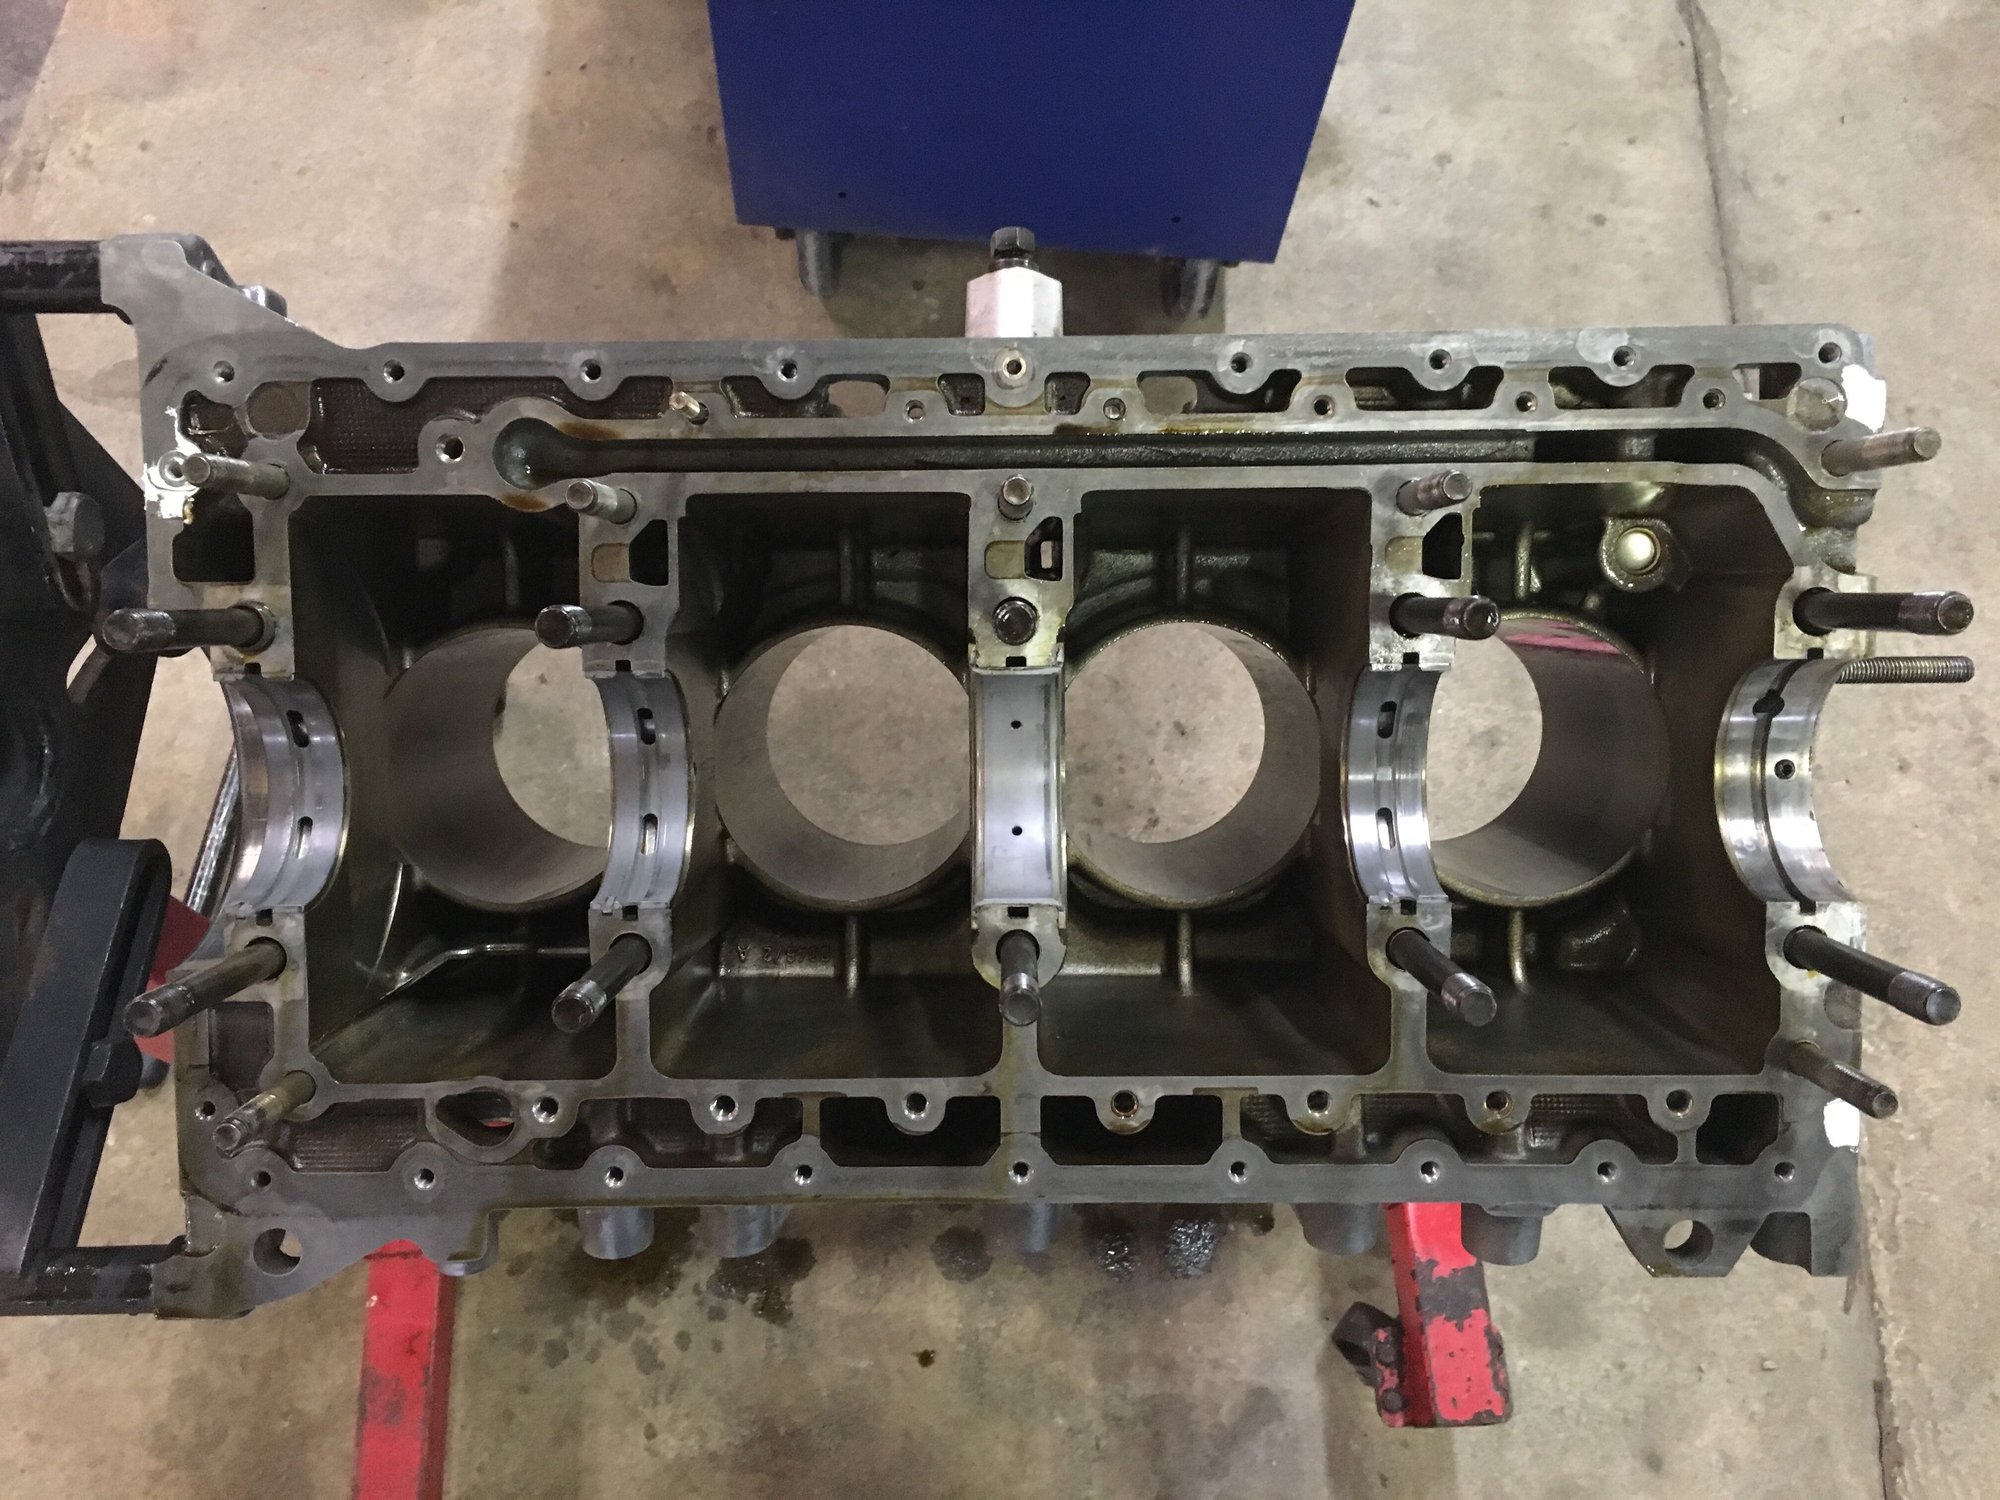
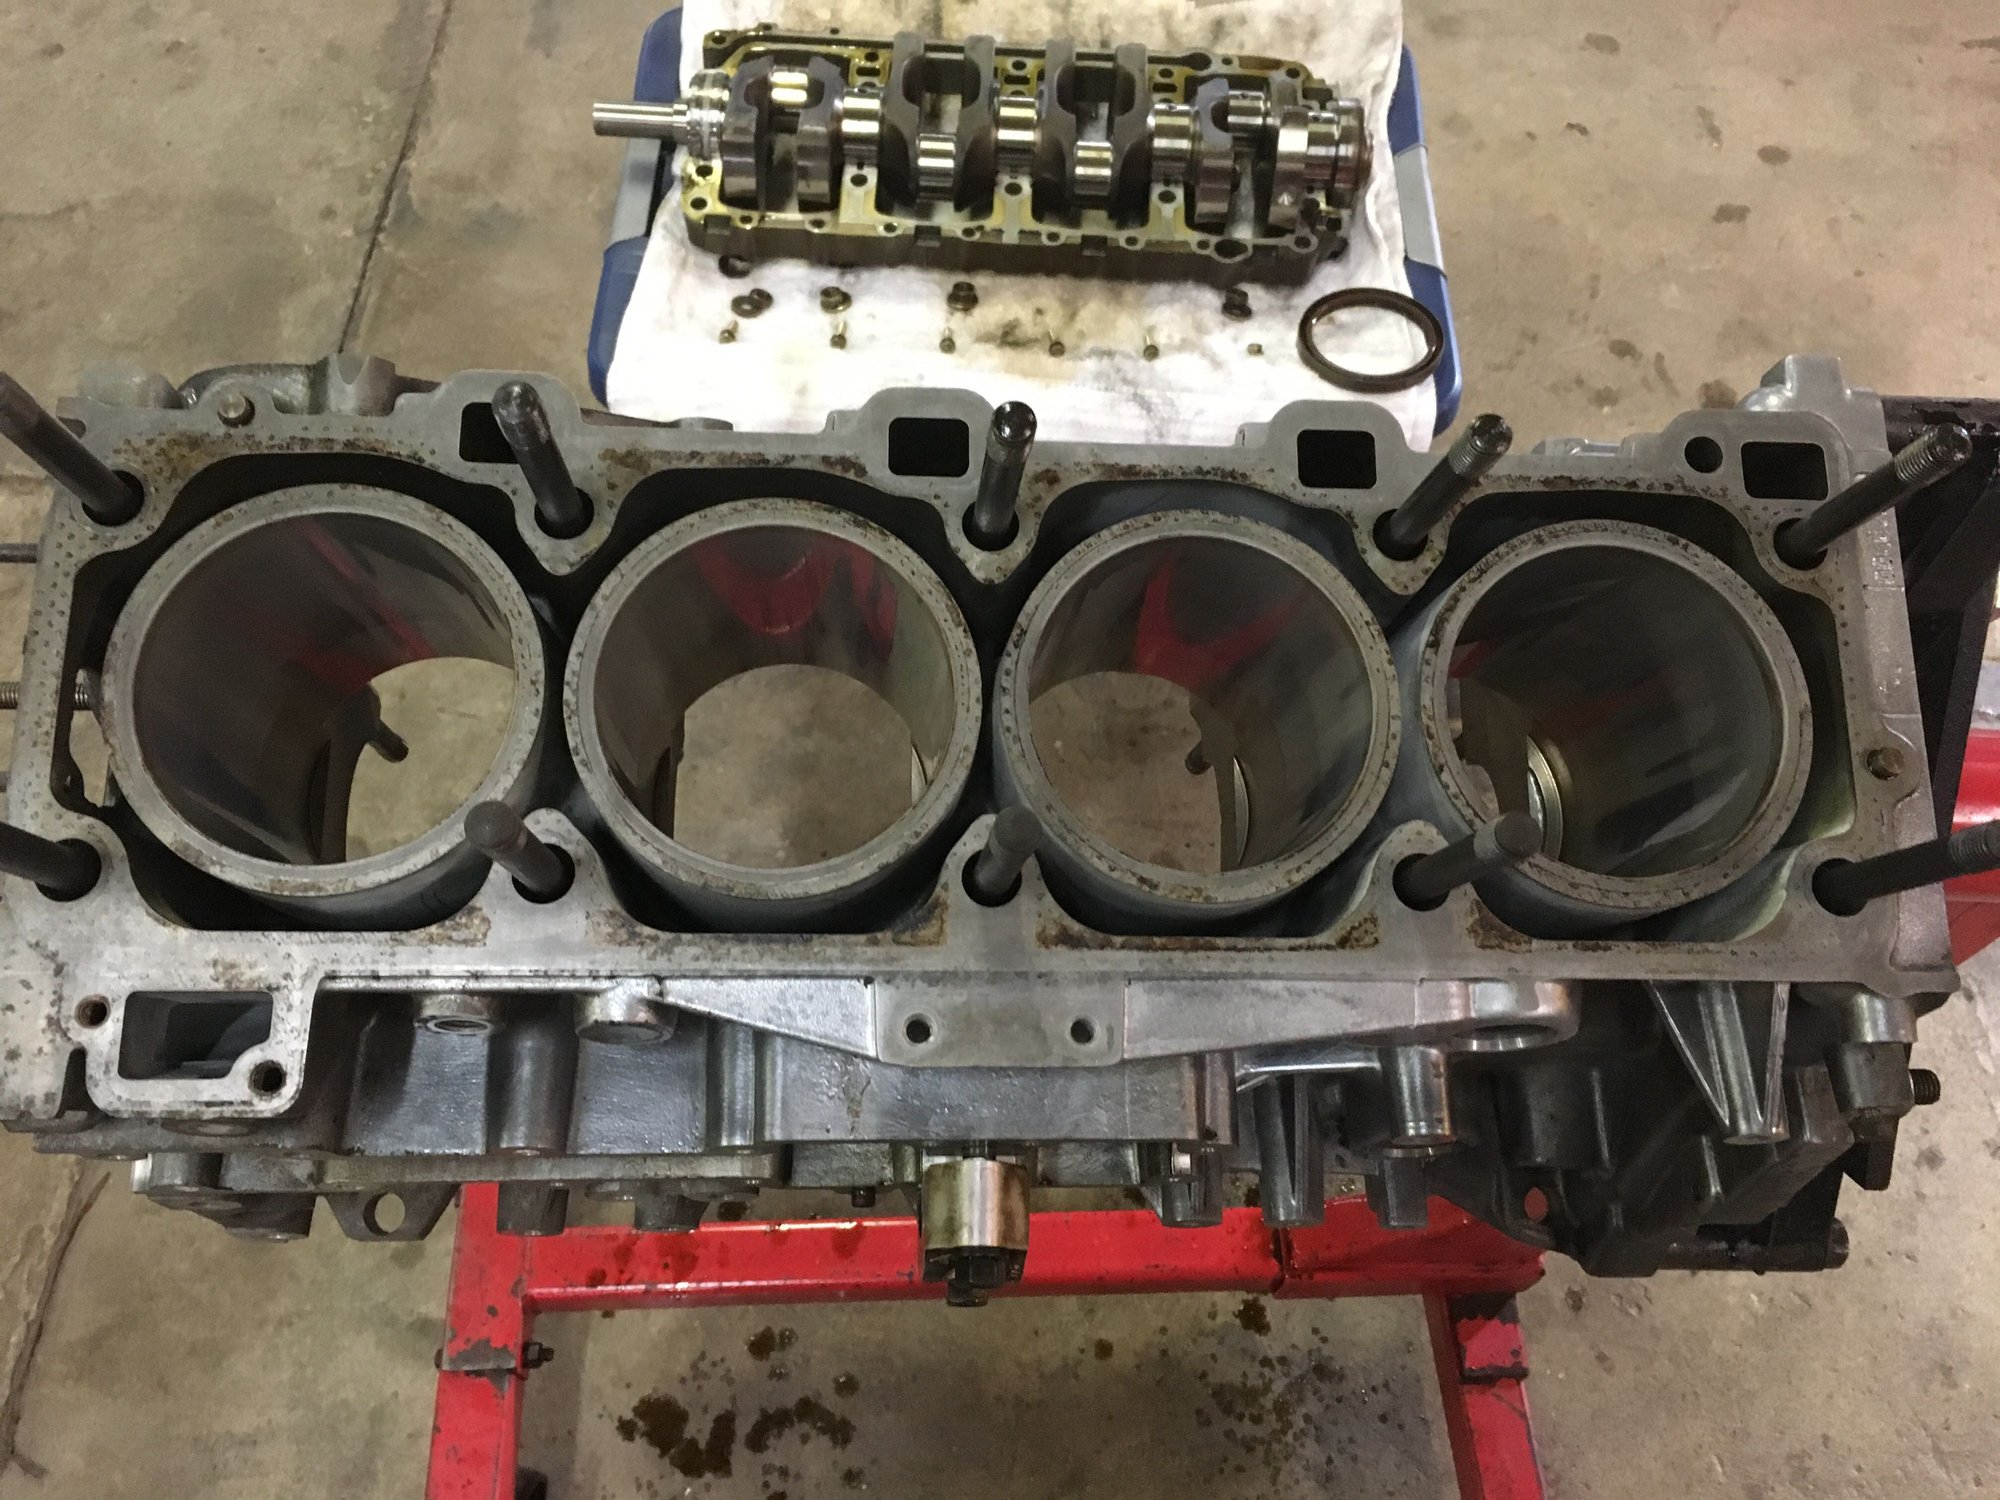
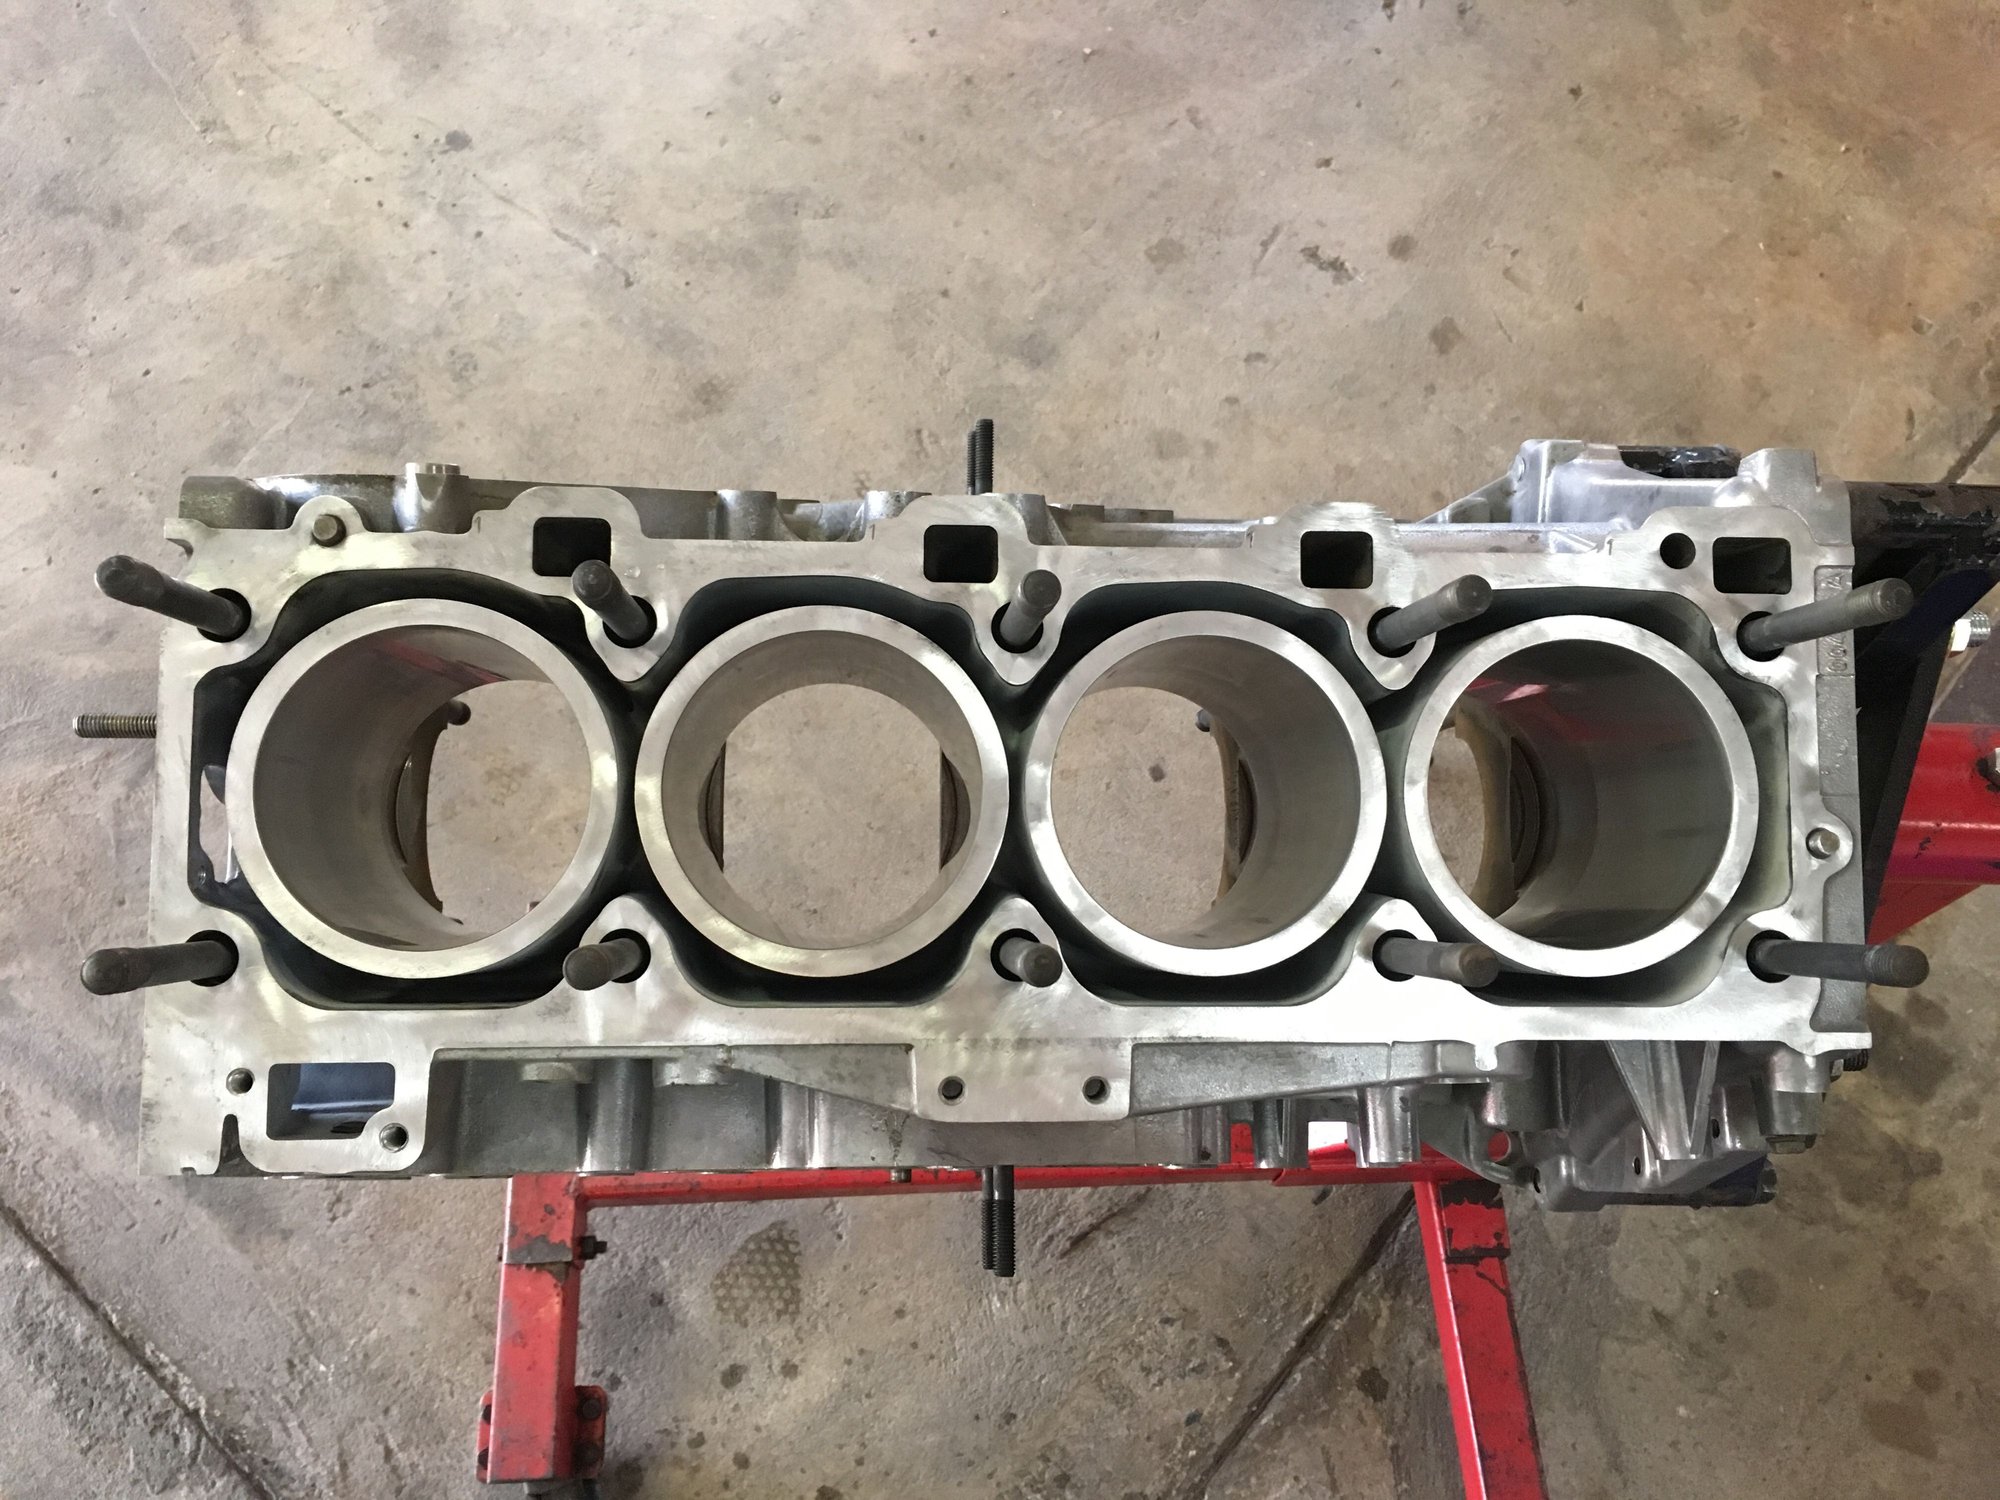
And finally, the cylinder bores. Seriously, these things are so clean they look new. If it weren't for all the oil leaks forming I really wouldn't have needed to tear this thing apart.
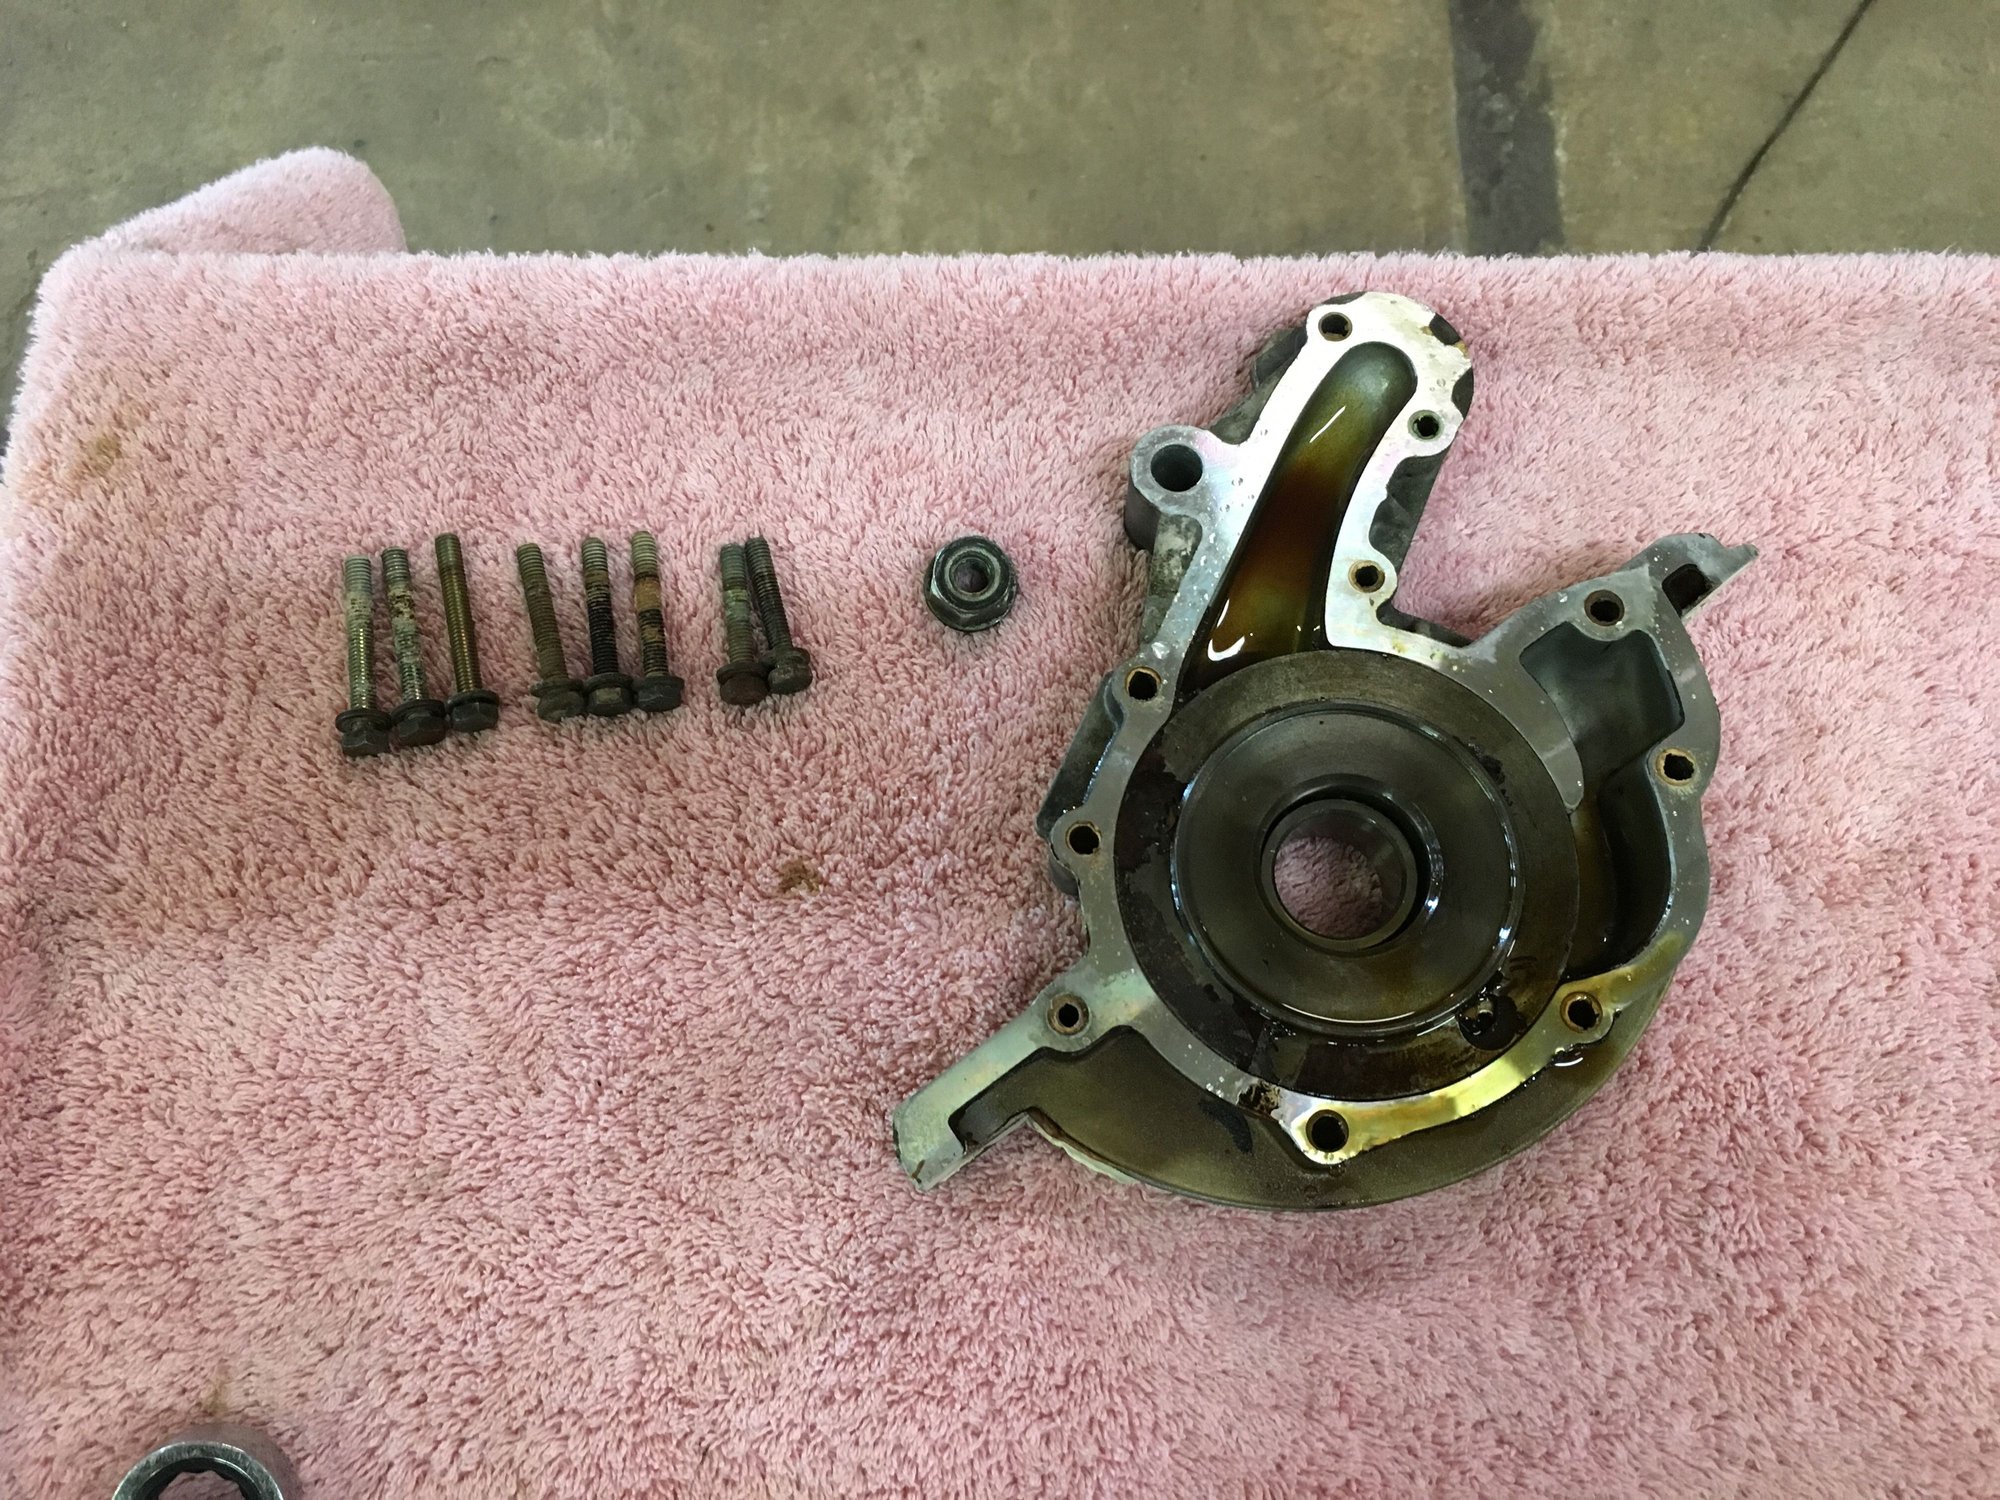
I have a lot of cleaning to do on the block still. I need to chase all the threads and clean all the residual Loctite off the mating surfaces. I figure I'll replace all the water pump studs as well while I'm at it - I'm sure those will be a royal pain in the *** to remove.
Hoping next time I can get the block all cleaned up and get the crank reinstalled with the new main bearings. We'll see...
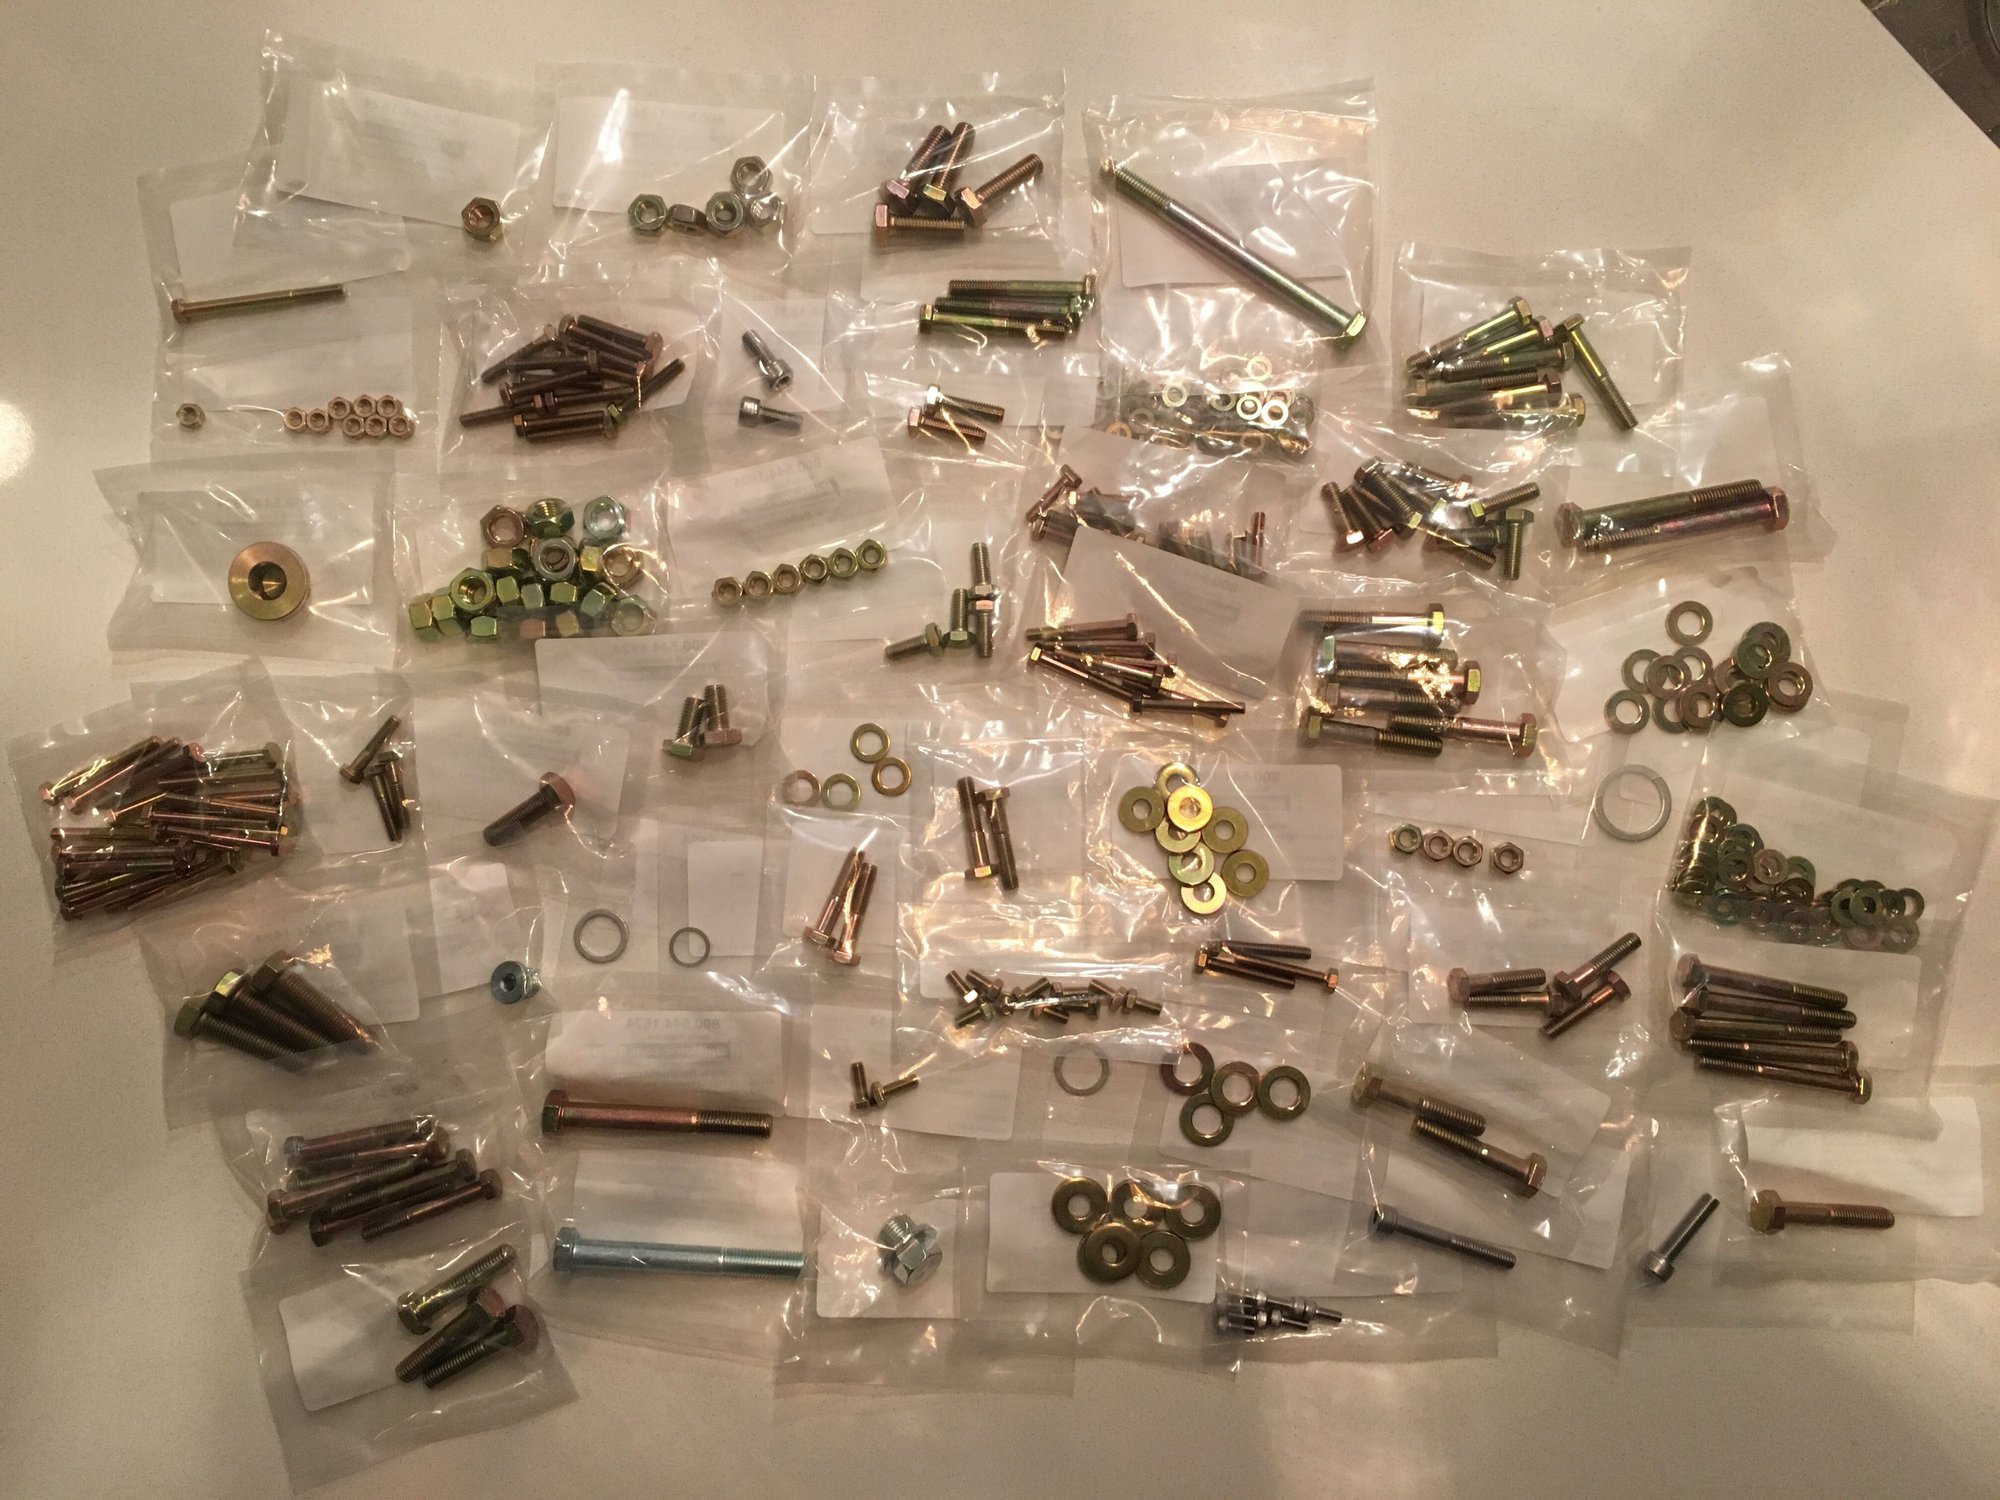
A couple weeks ago I placed a big order with Bel Metric for 397 pieces of zinc plated hardware. I can pretty much guarantee I forgot a few pieces, but I should at least have everything I need for the bottom end.
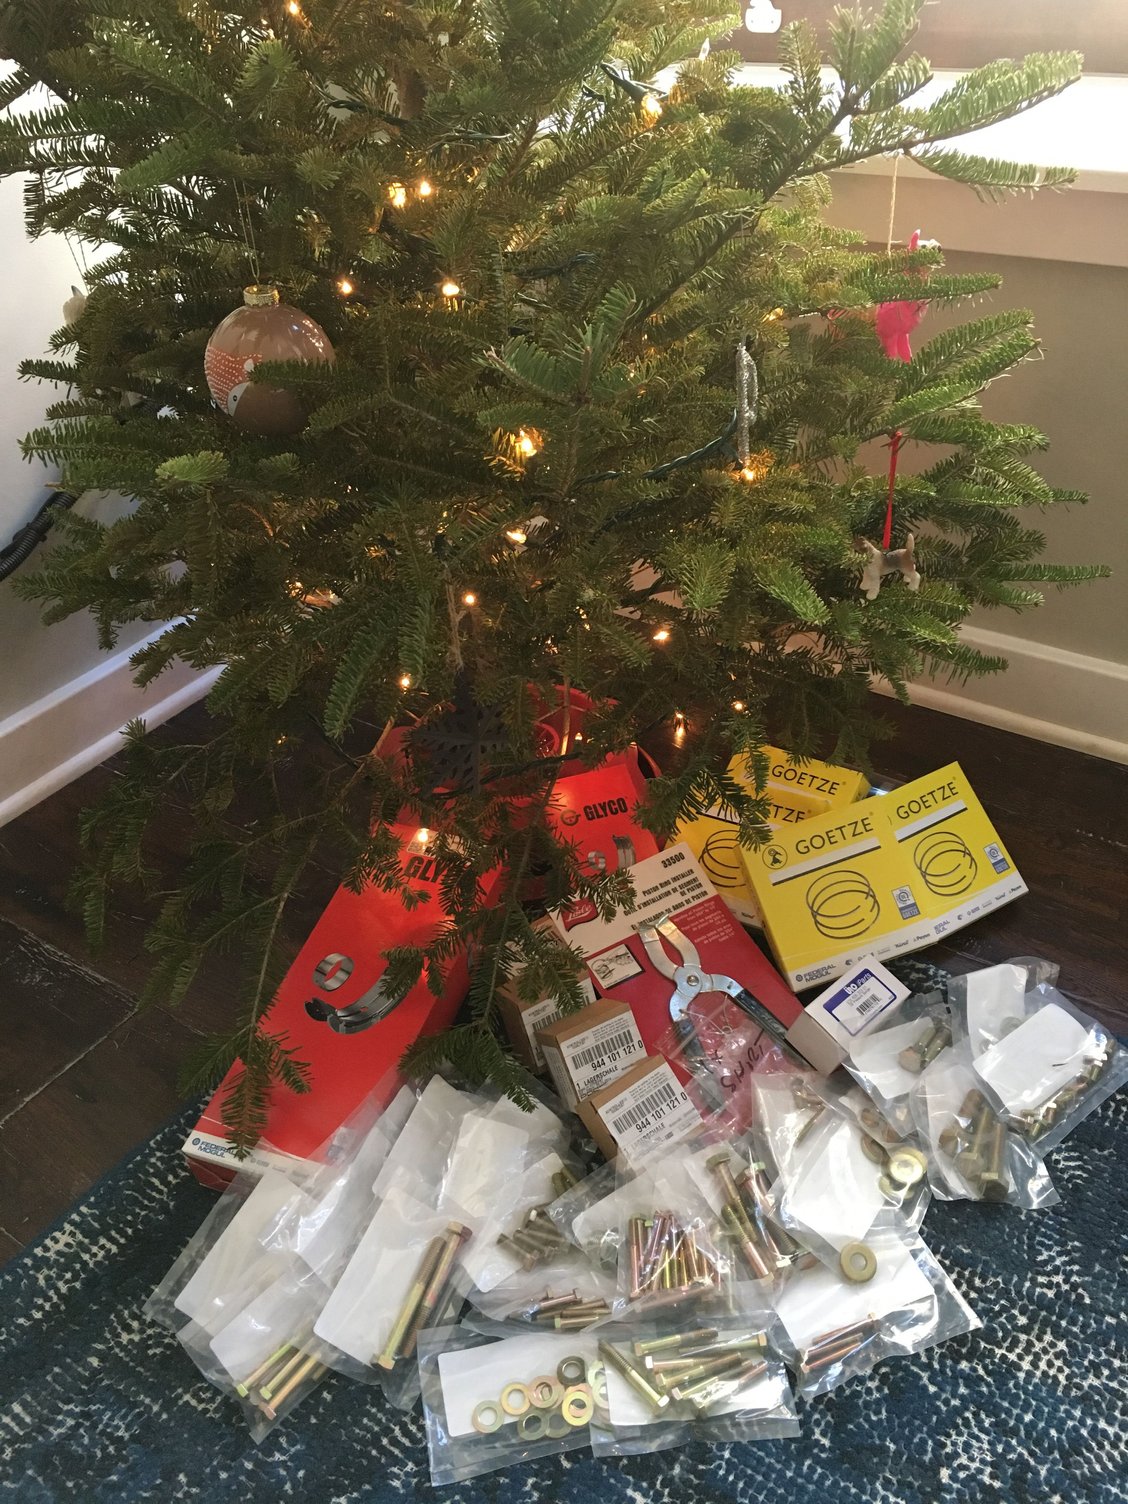
I ordered all the other parts I need for the bottom end rebuild, and decided since it was Christmas and all, I'd place them under the tree just like Santa would do. Naturally, my wife thought I was ridiculous. Not shown is the crankcase gasket set that's already in my stash at my father-in-law's.
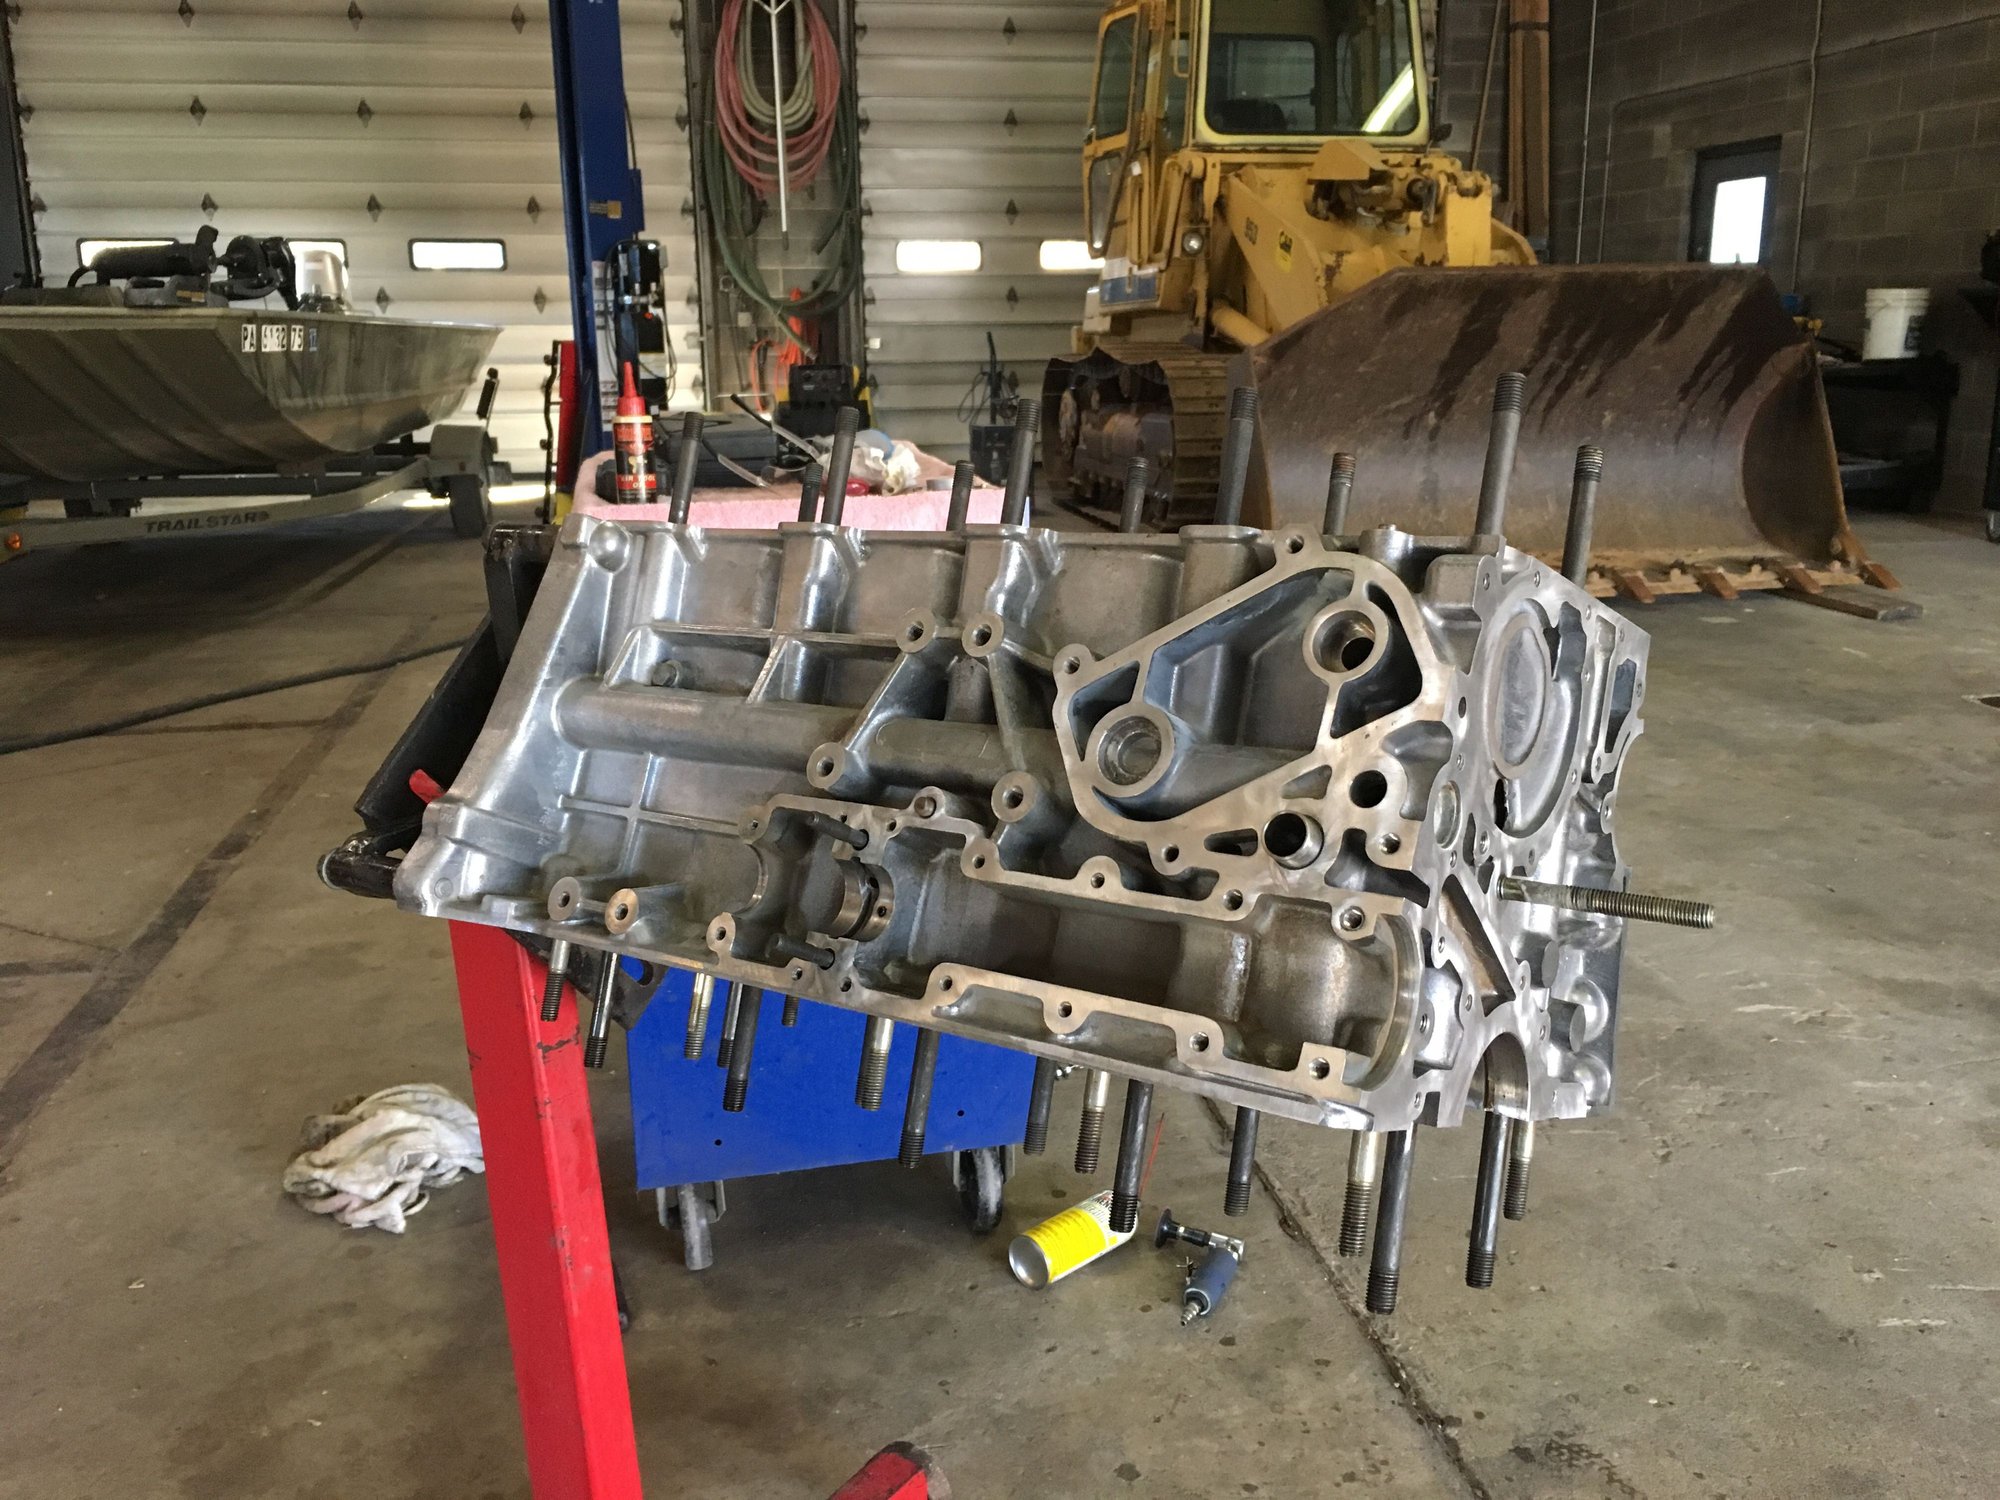
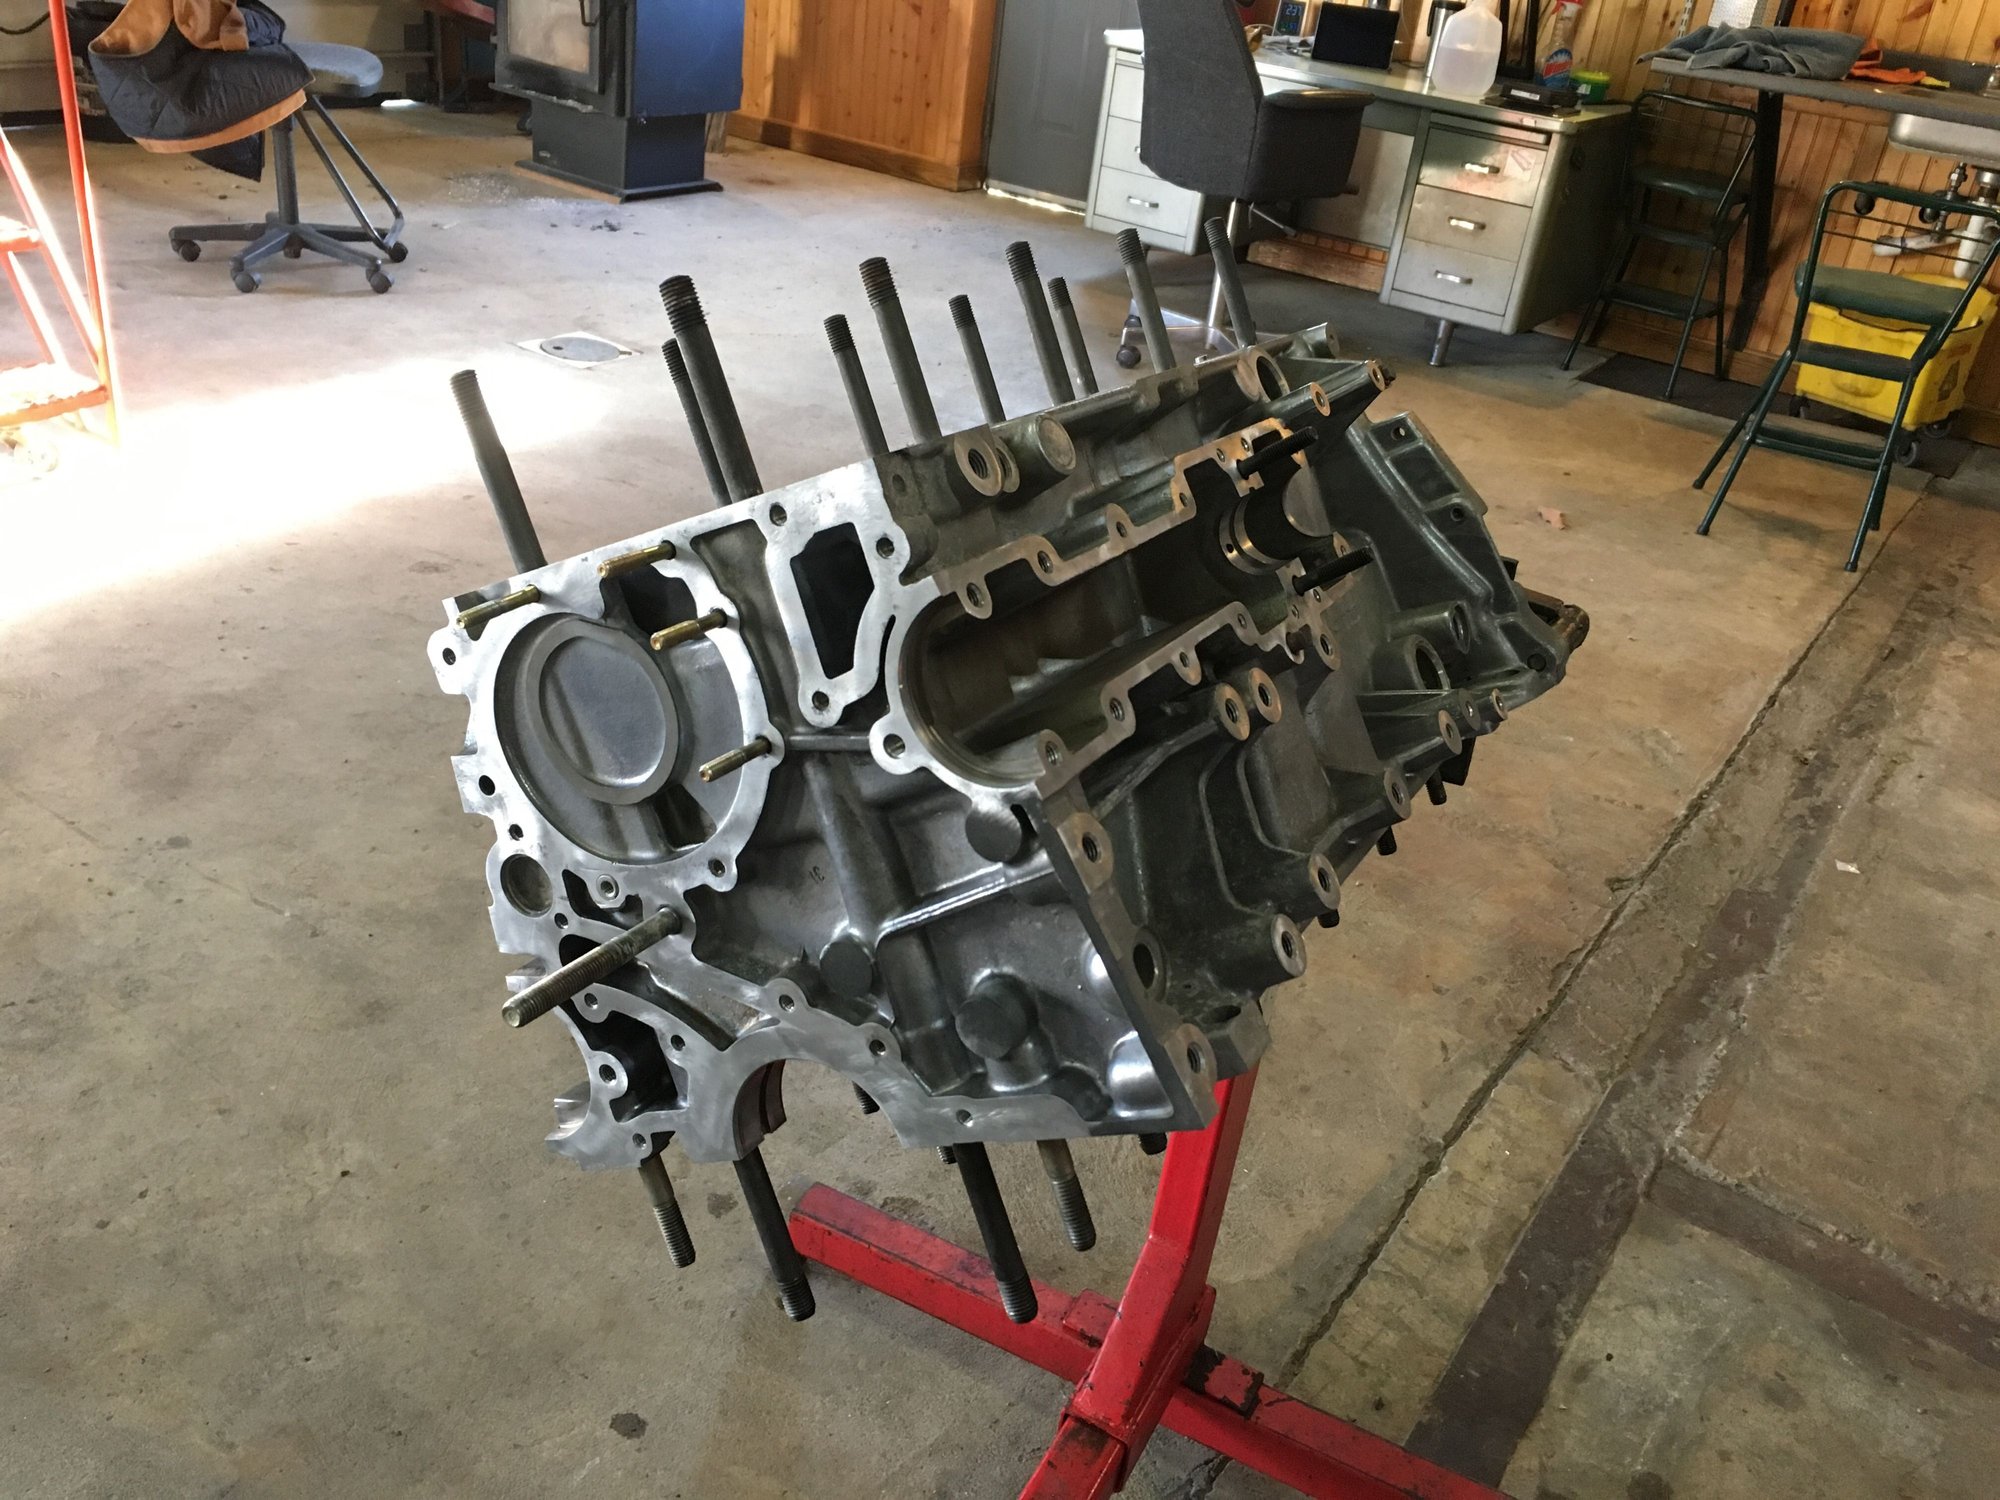
I was able to spend some time yesterday cleaning the block so it's ready for reassembly. I could have scrubbed even more than I did and removed every last little bit of exterior dirt, but I figured no one will notice once it's back in the car.
I fixed the rogue 1/4-20 threaded insert at the water pump and changed it to the proper M6-1.0 thread. I also replaced the water pump studs. 1 out of 4 broke, so I had to drill and tap it. I should have tapped it a little deeper, but I think it will be okay since it was installed with Loctite.
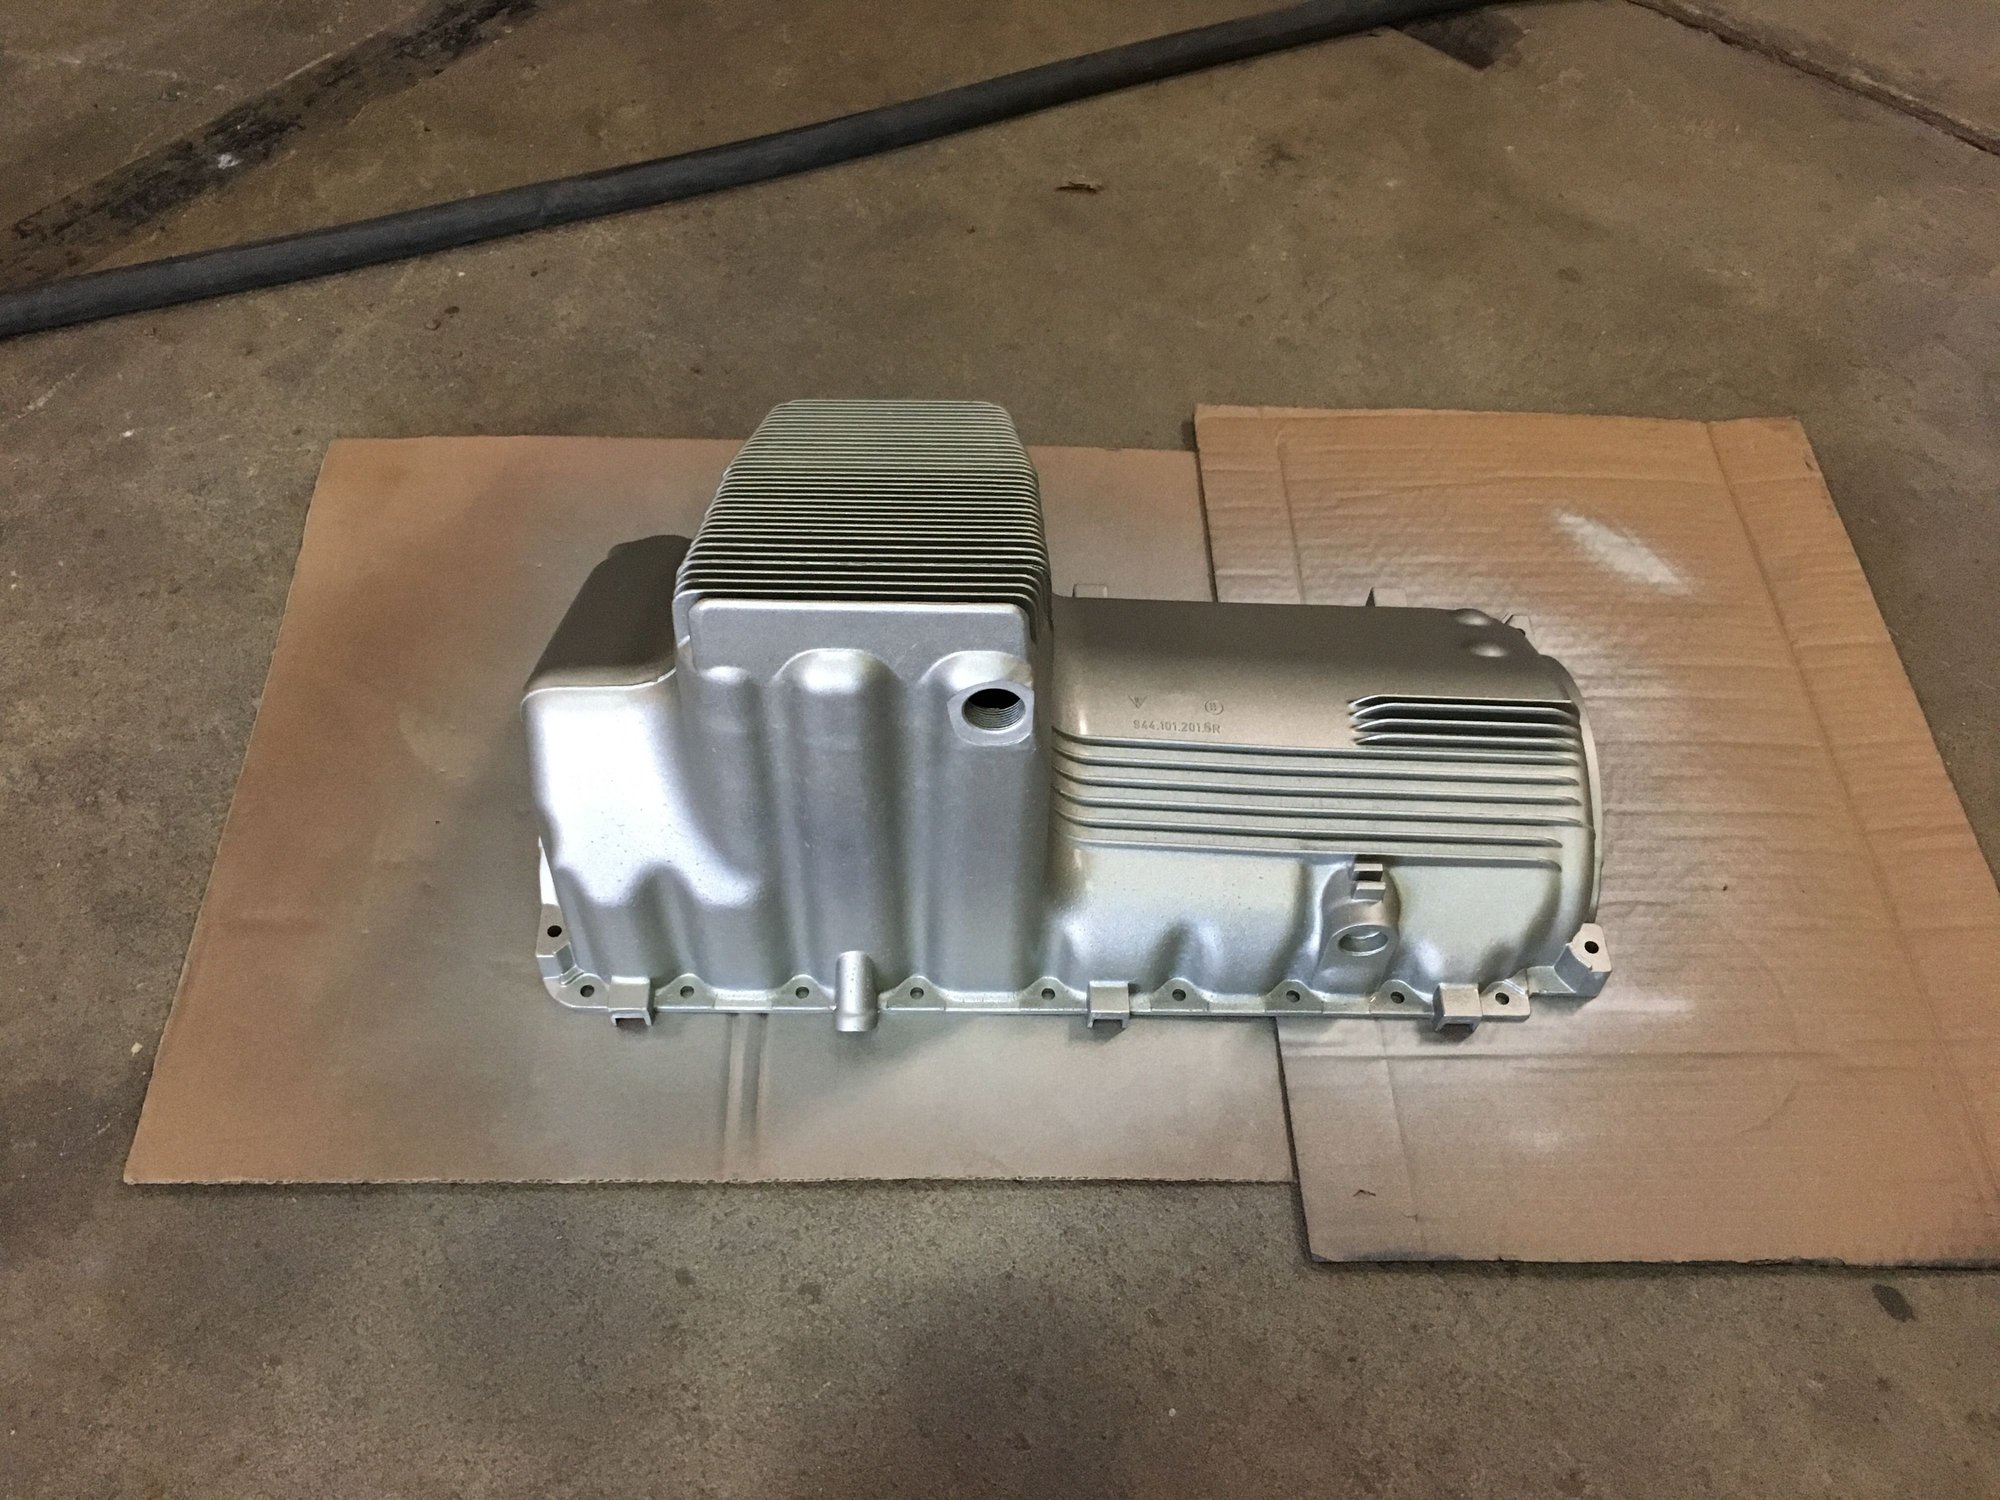
As you may recall, the oil pan wasn't getting as clean as I was hoping. I decided to give the aluminum paint a shot and I must say, it works quite nicely. I may have to paint the oil cooler housing and oil pump so they match a little better since I didn't glass bead them previously.
That's about it. I have everything I need including miscellaneous supplies to begin reassembly. Just need time to do it.
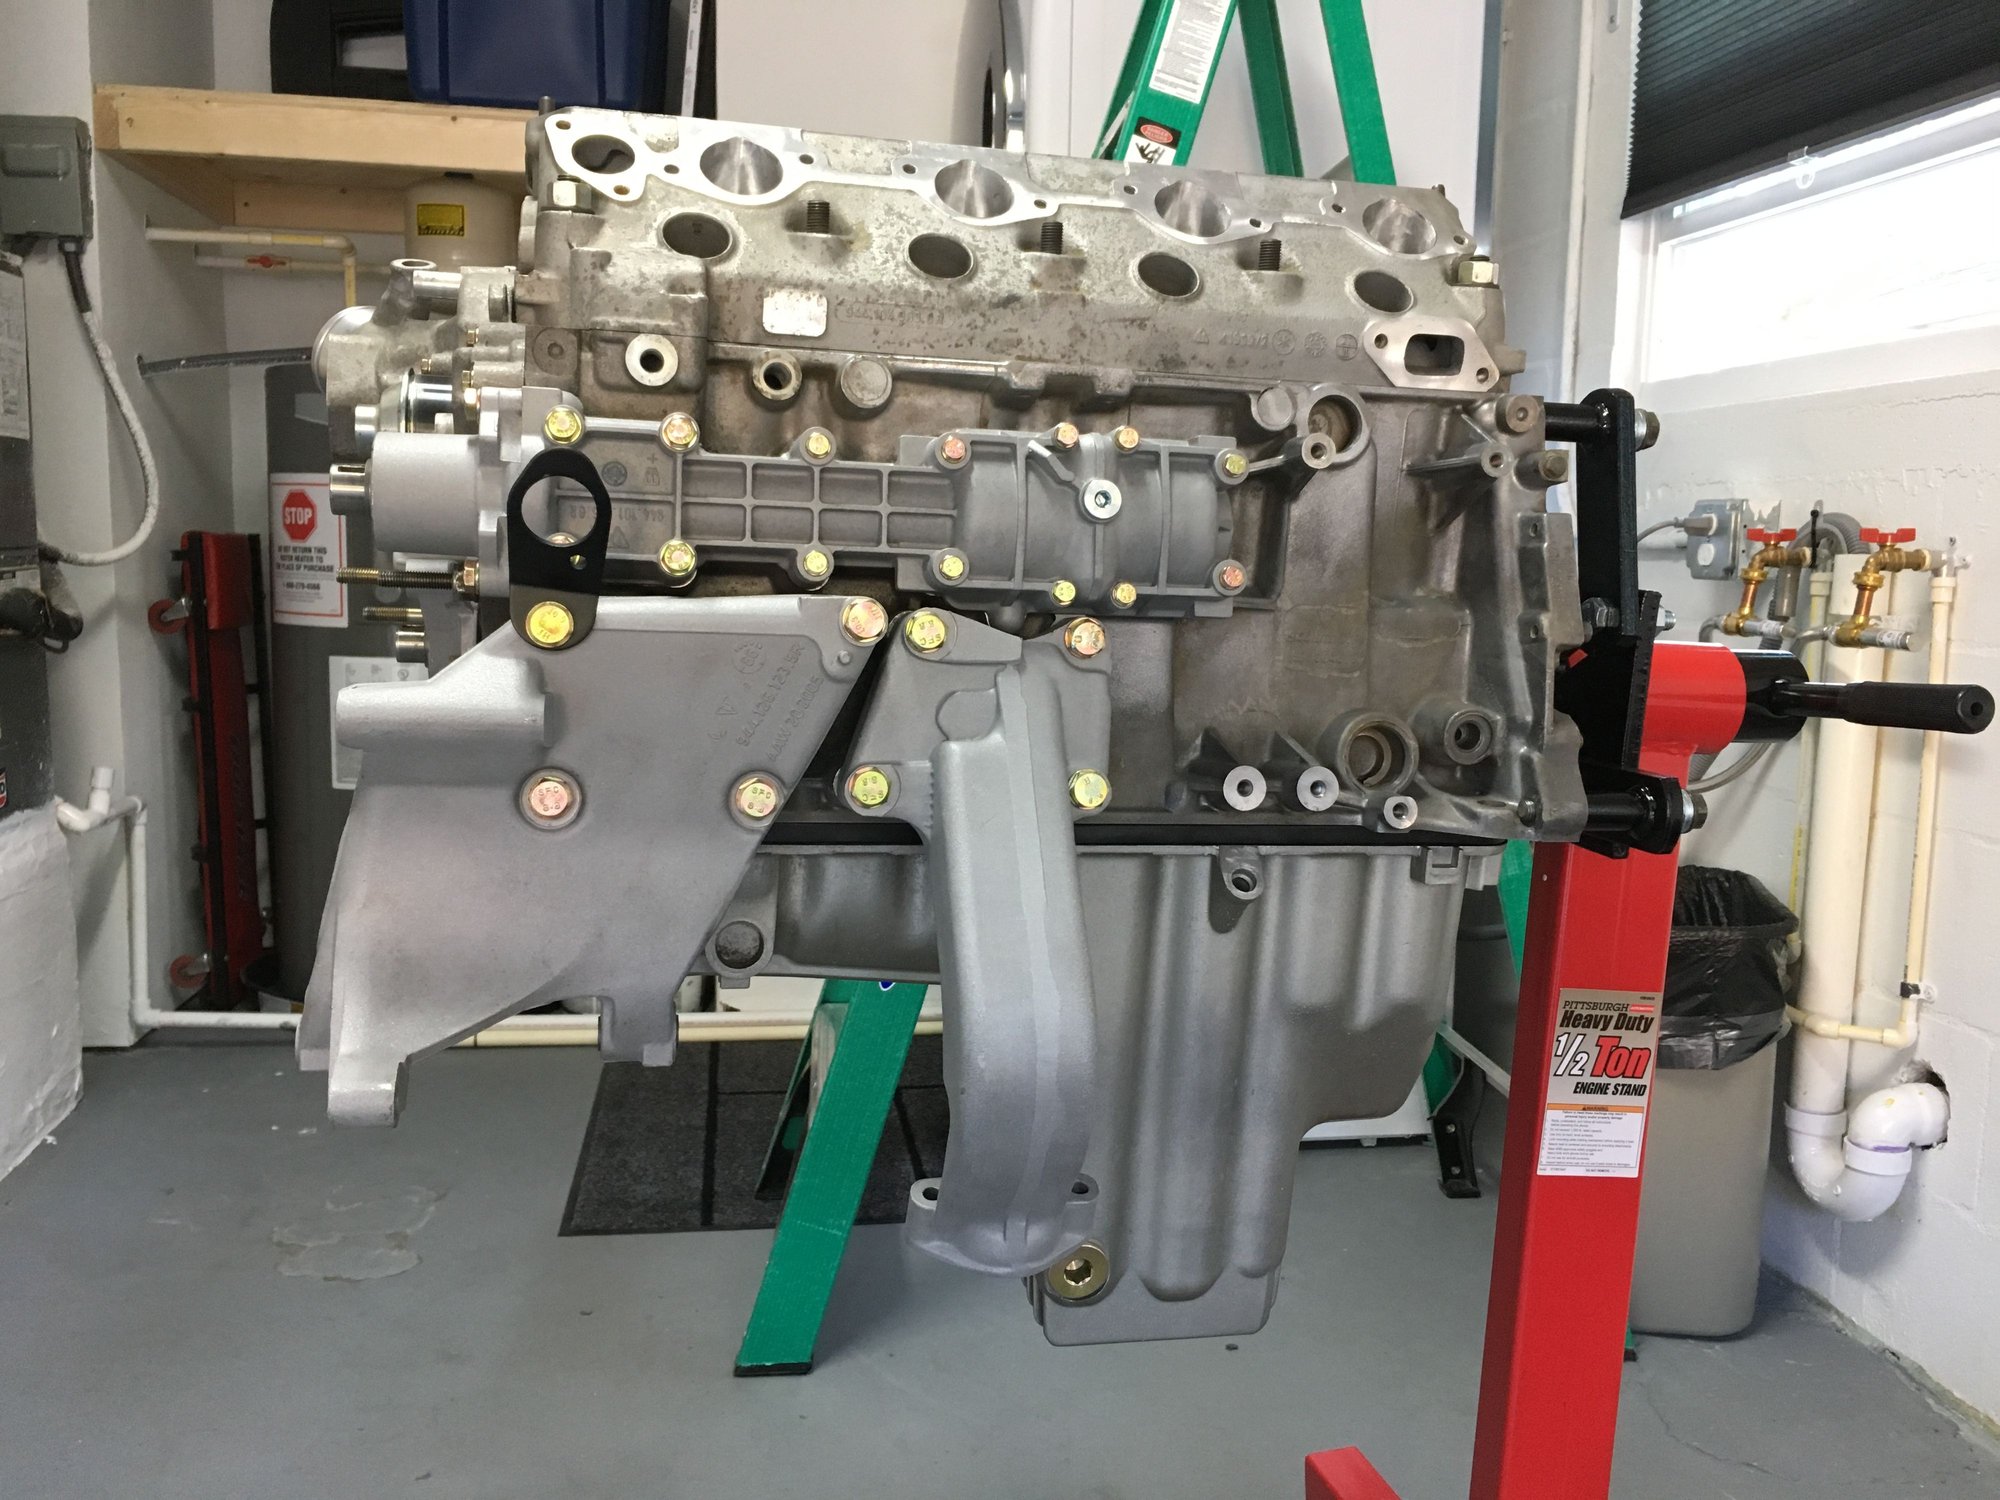
Things are starting to go back together with the engine! Very exciting! (At least I'm excited).
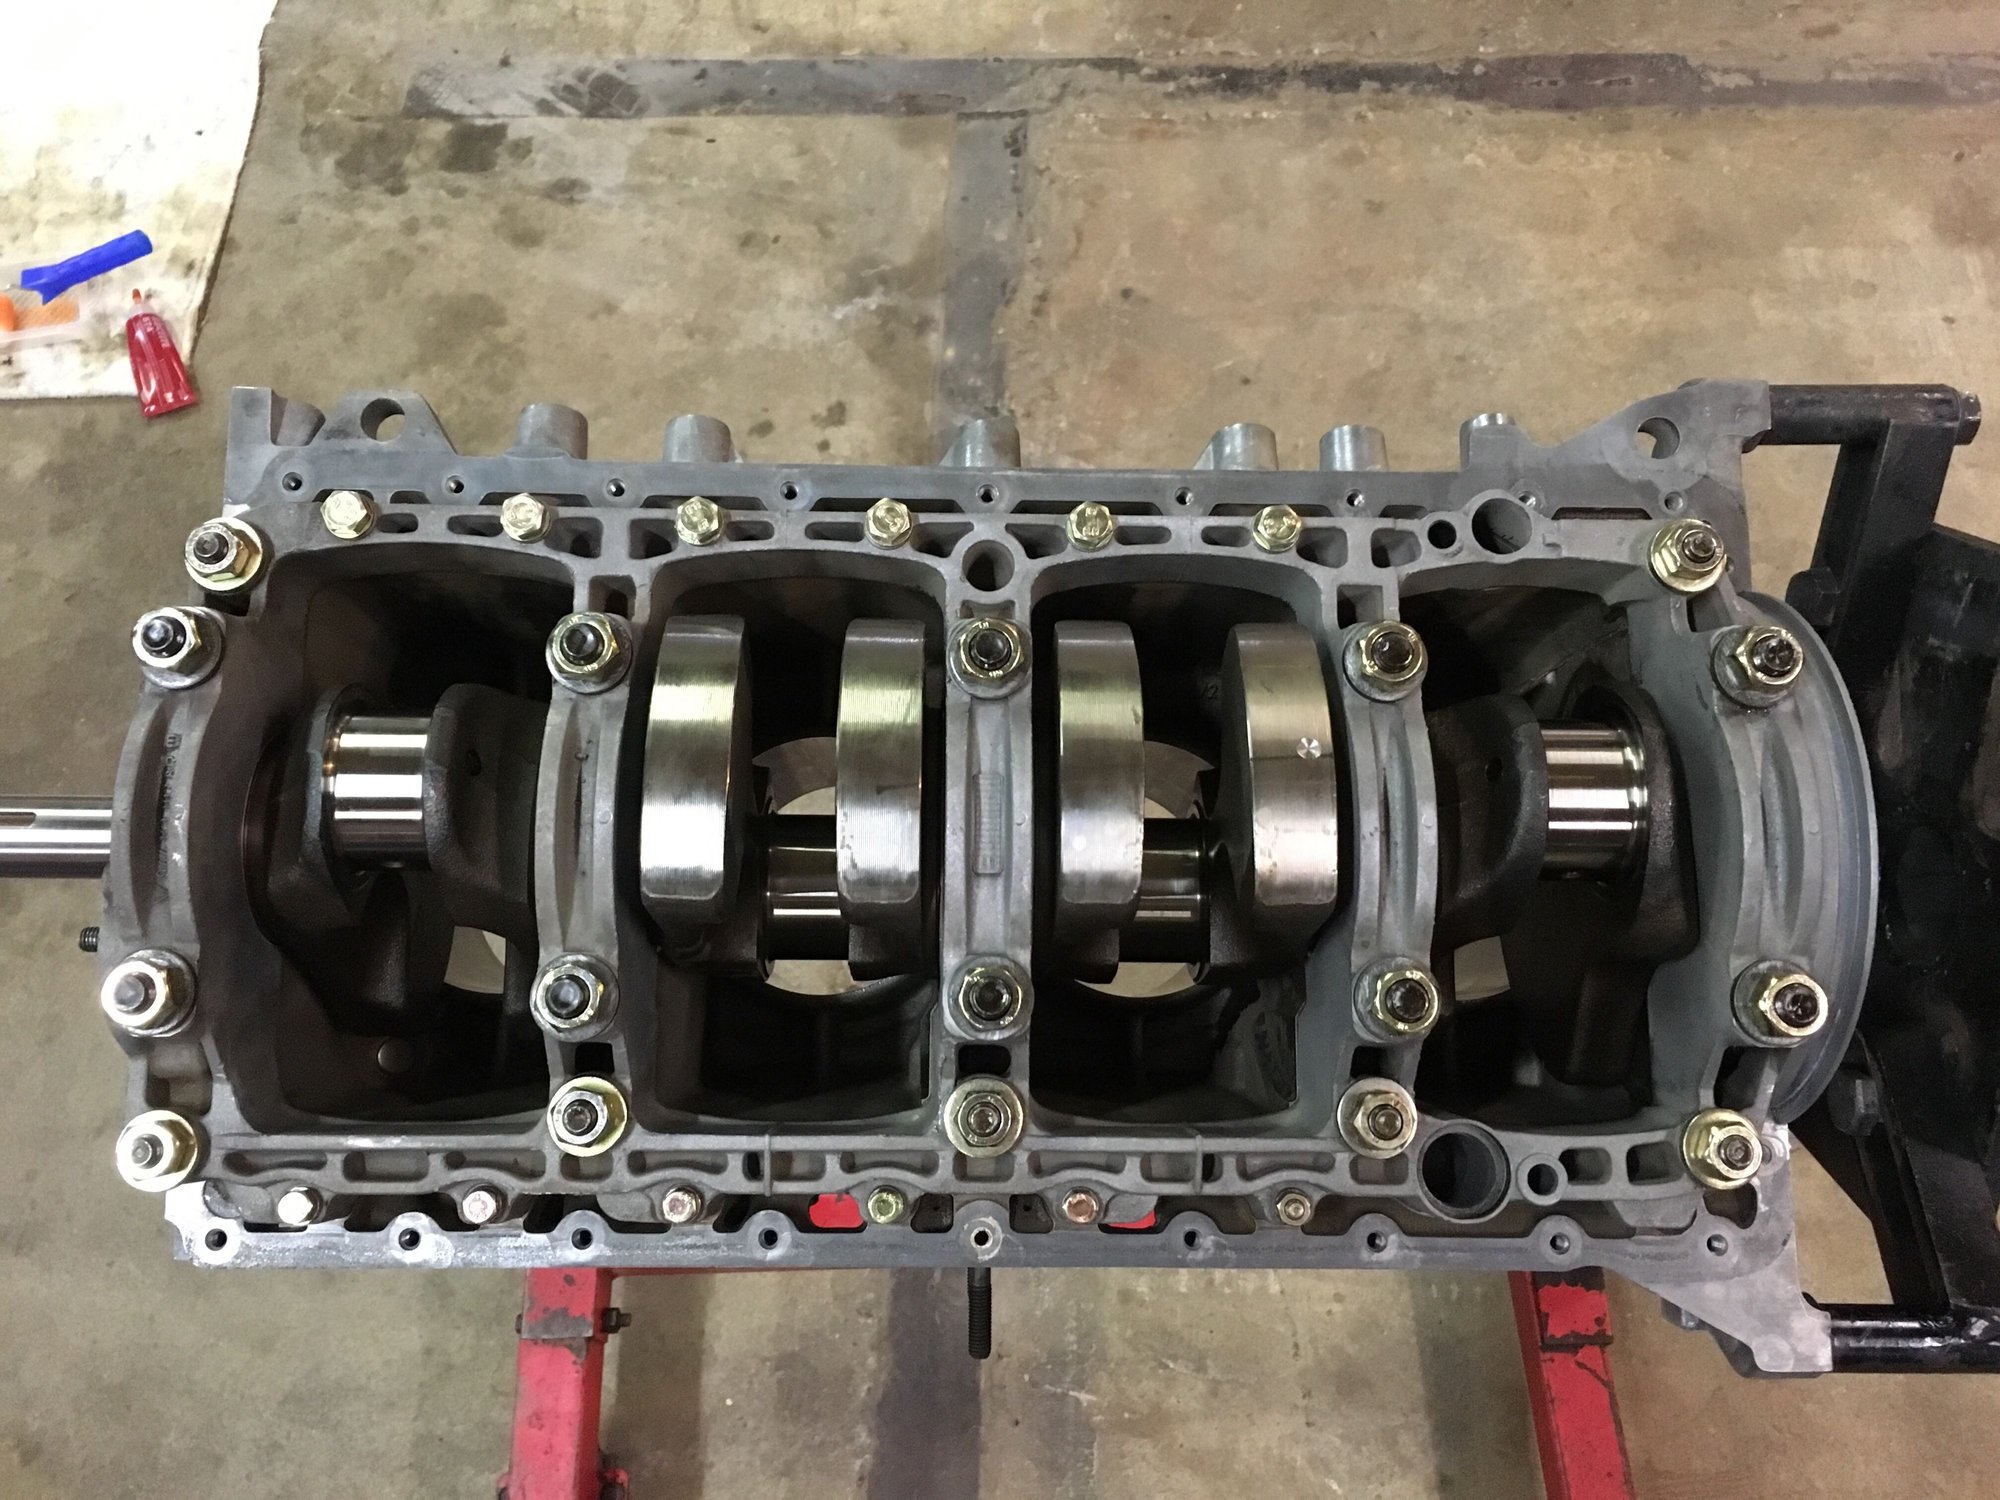
Started by dry assembling the crank so I could check the main bearing clearances. I bought new ones, but my ****-retentive nature wanted to know what the clearances looked like.
I torqued everything down and then disassembled to check the plastigauge. Turns out all my main clearances are right around 0.050mm, so pretty damn good.
Lubed everything up really well with some ultra slick assembly lube and put it together for real, of course using the Loctite 574 and a nice foam roller.
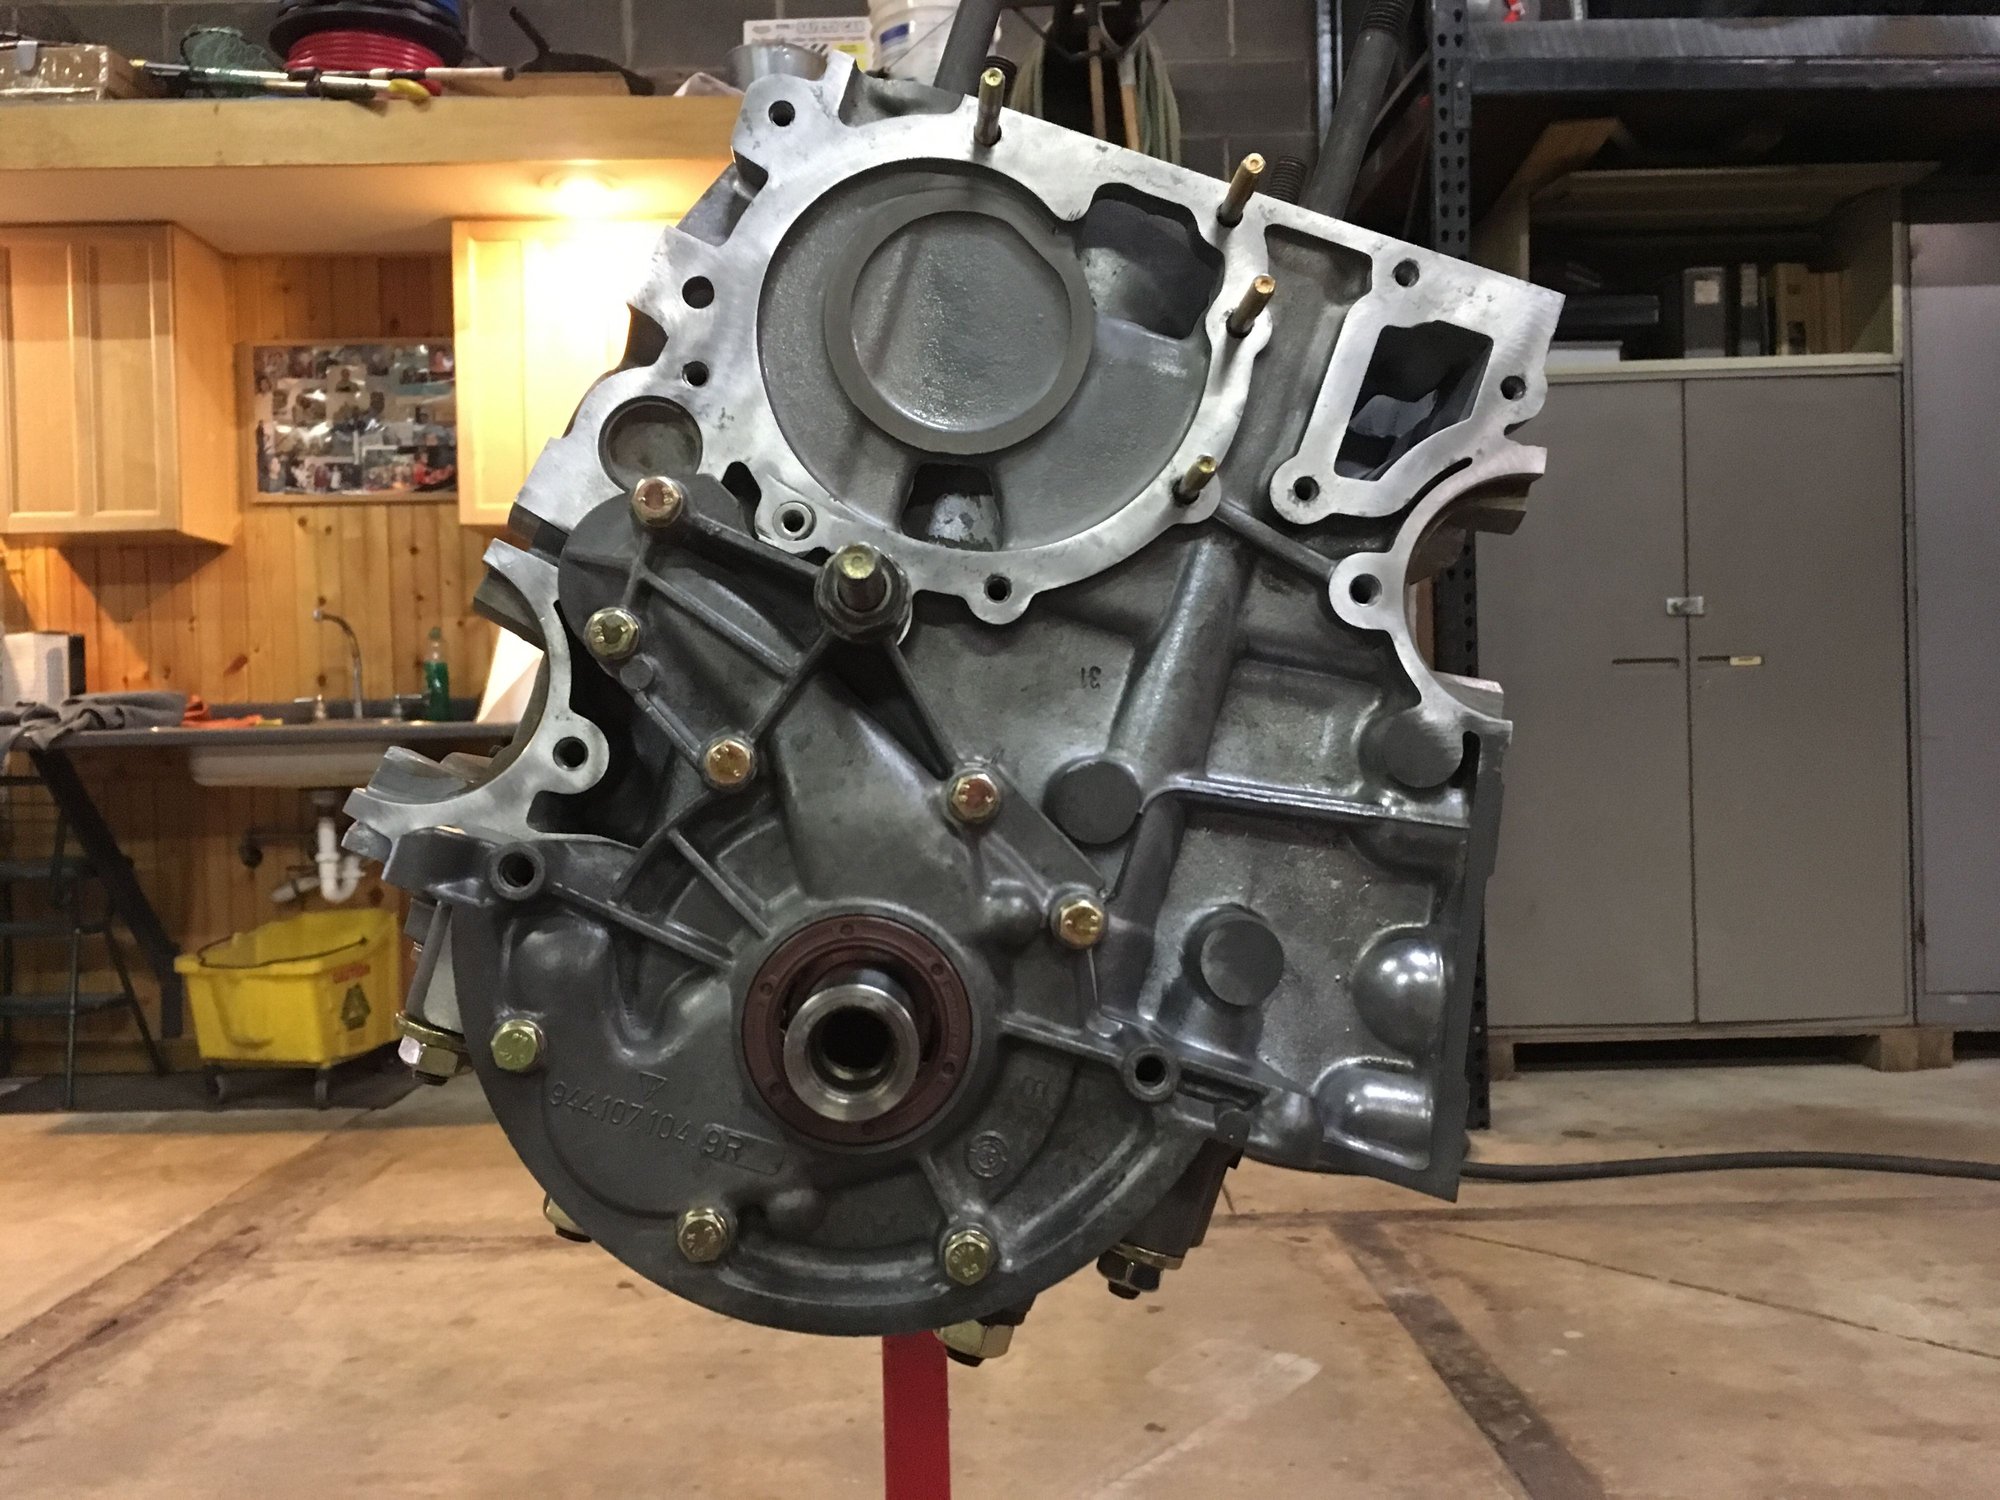
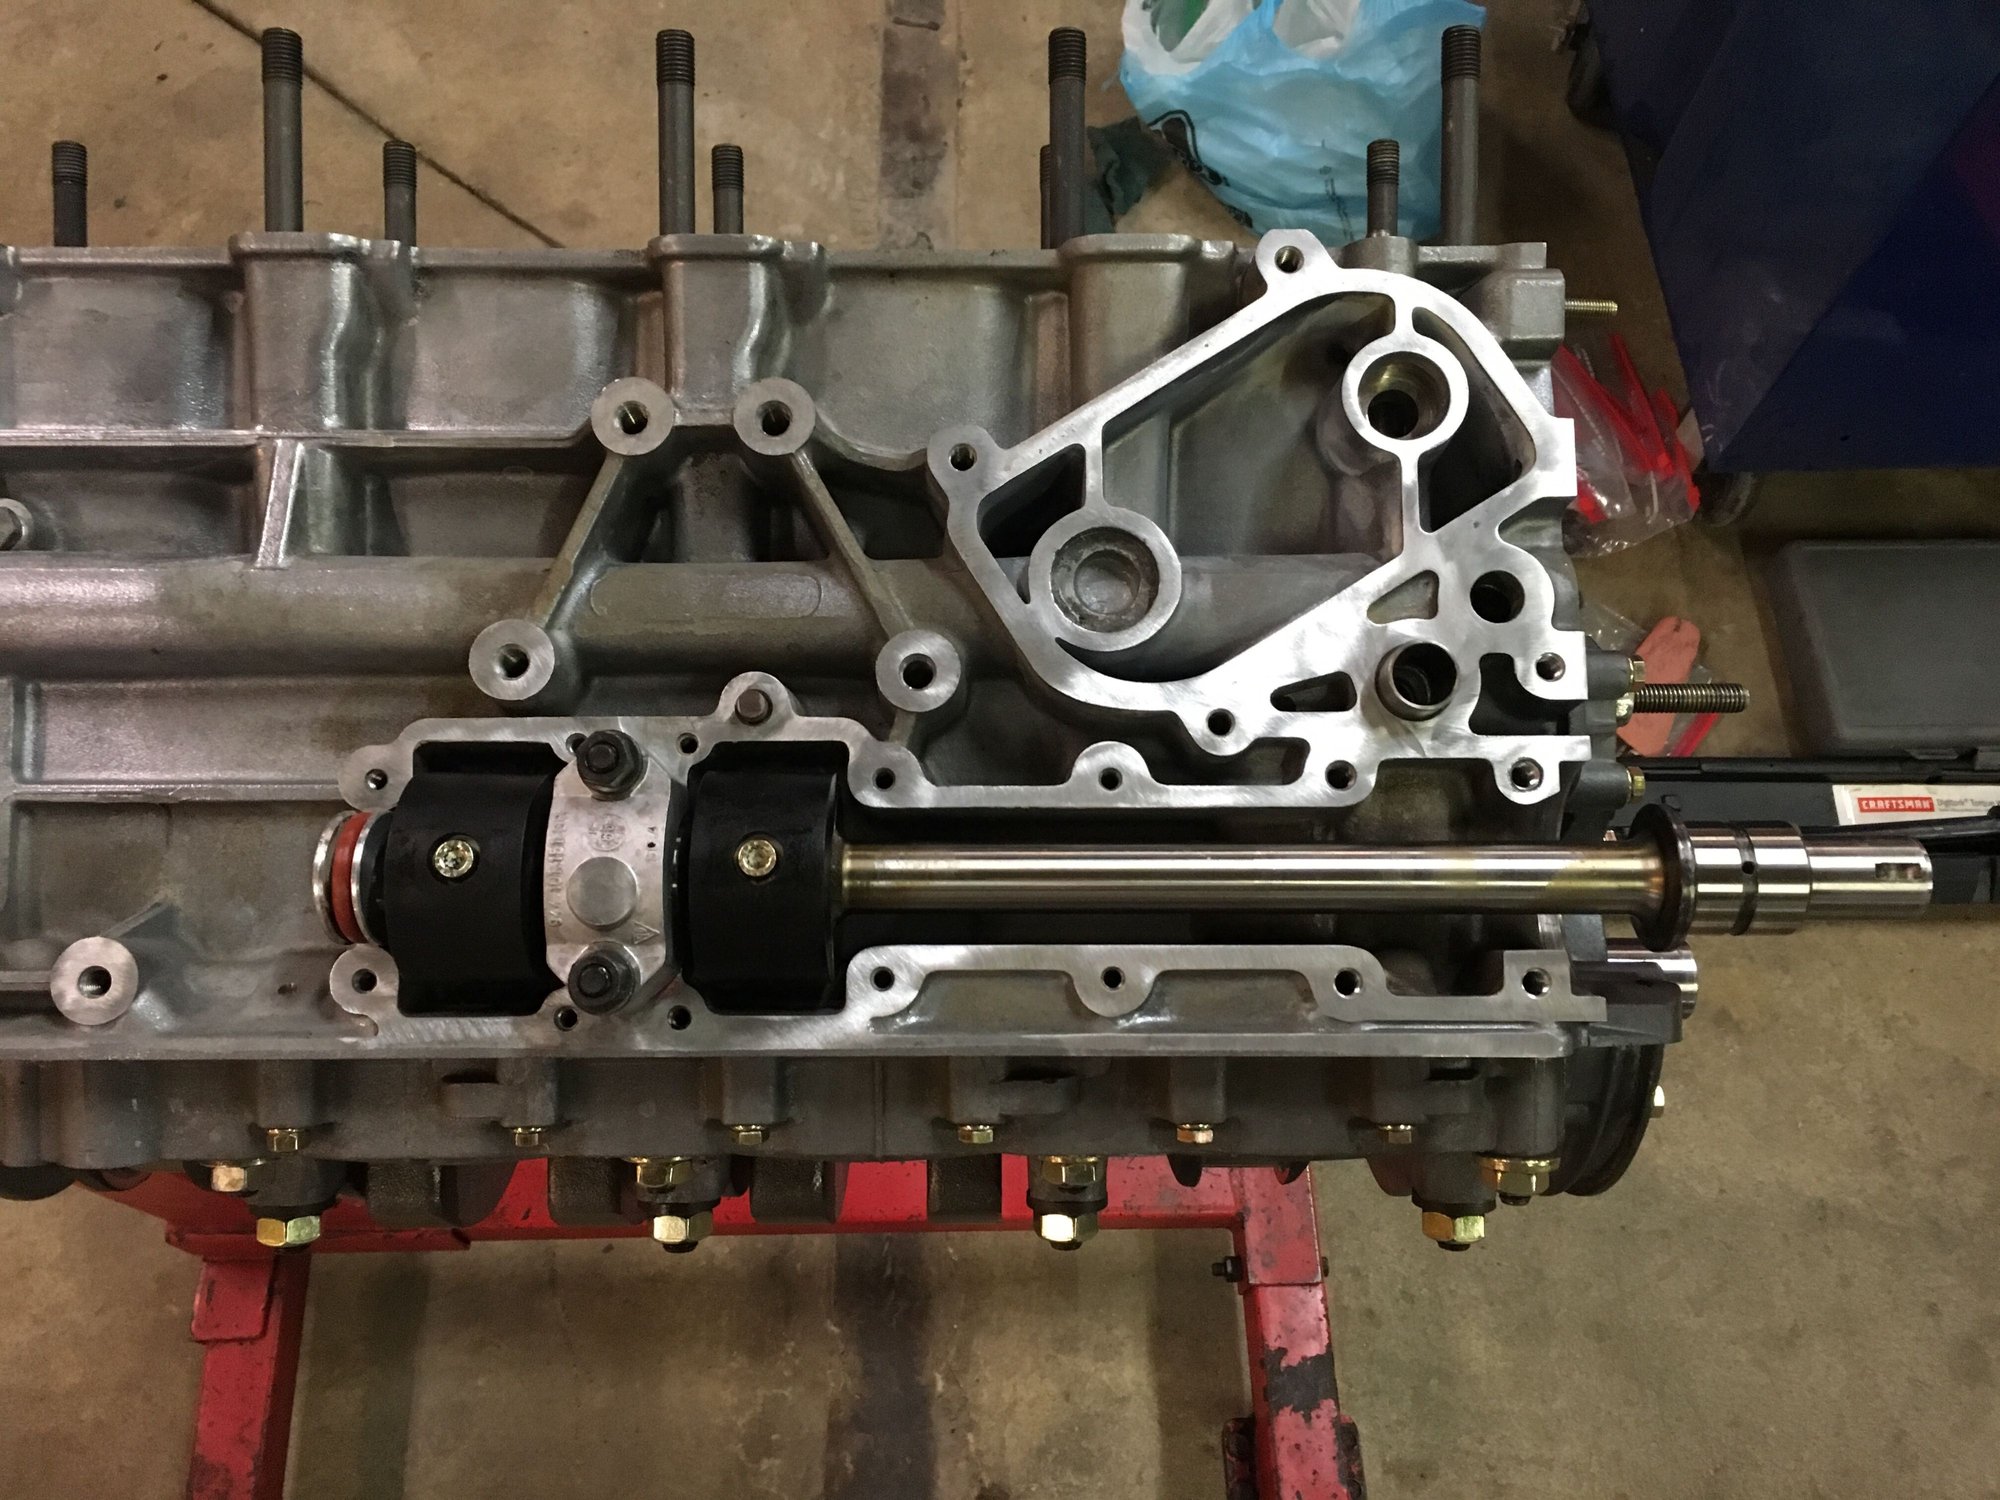
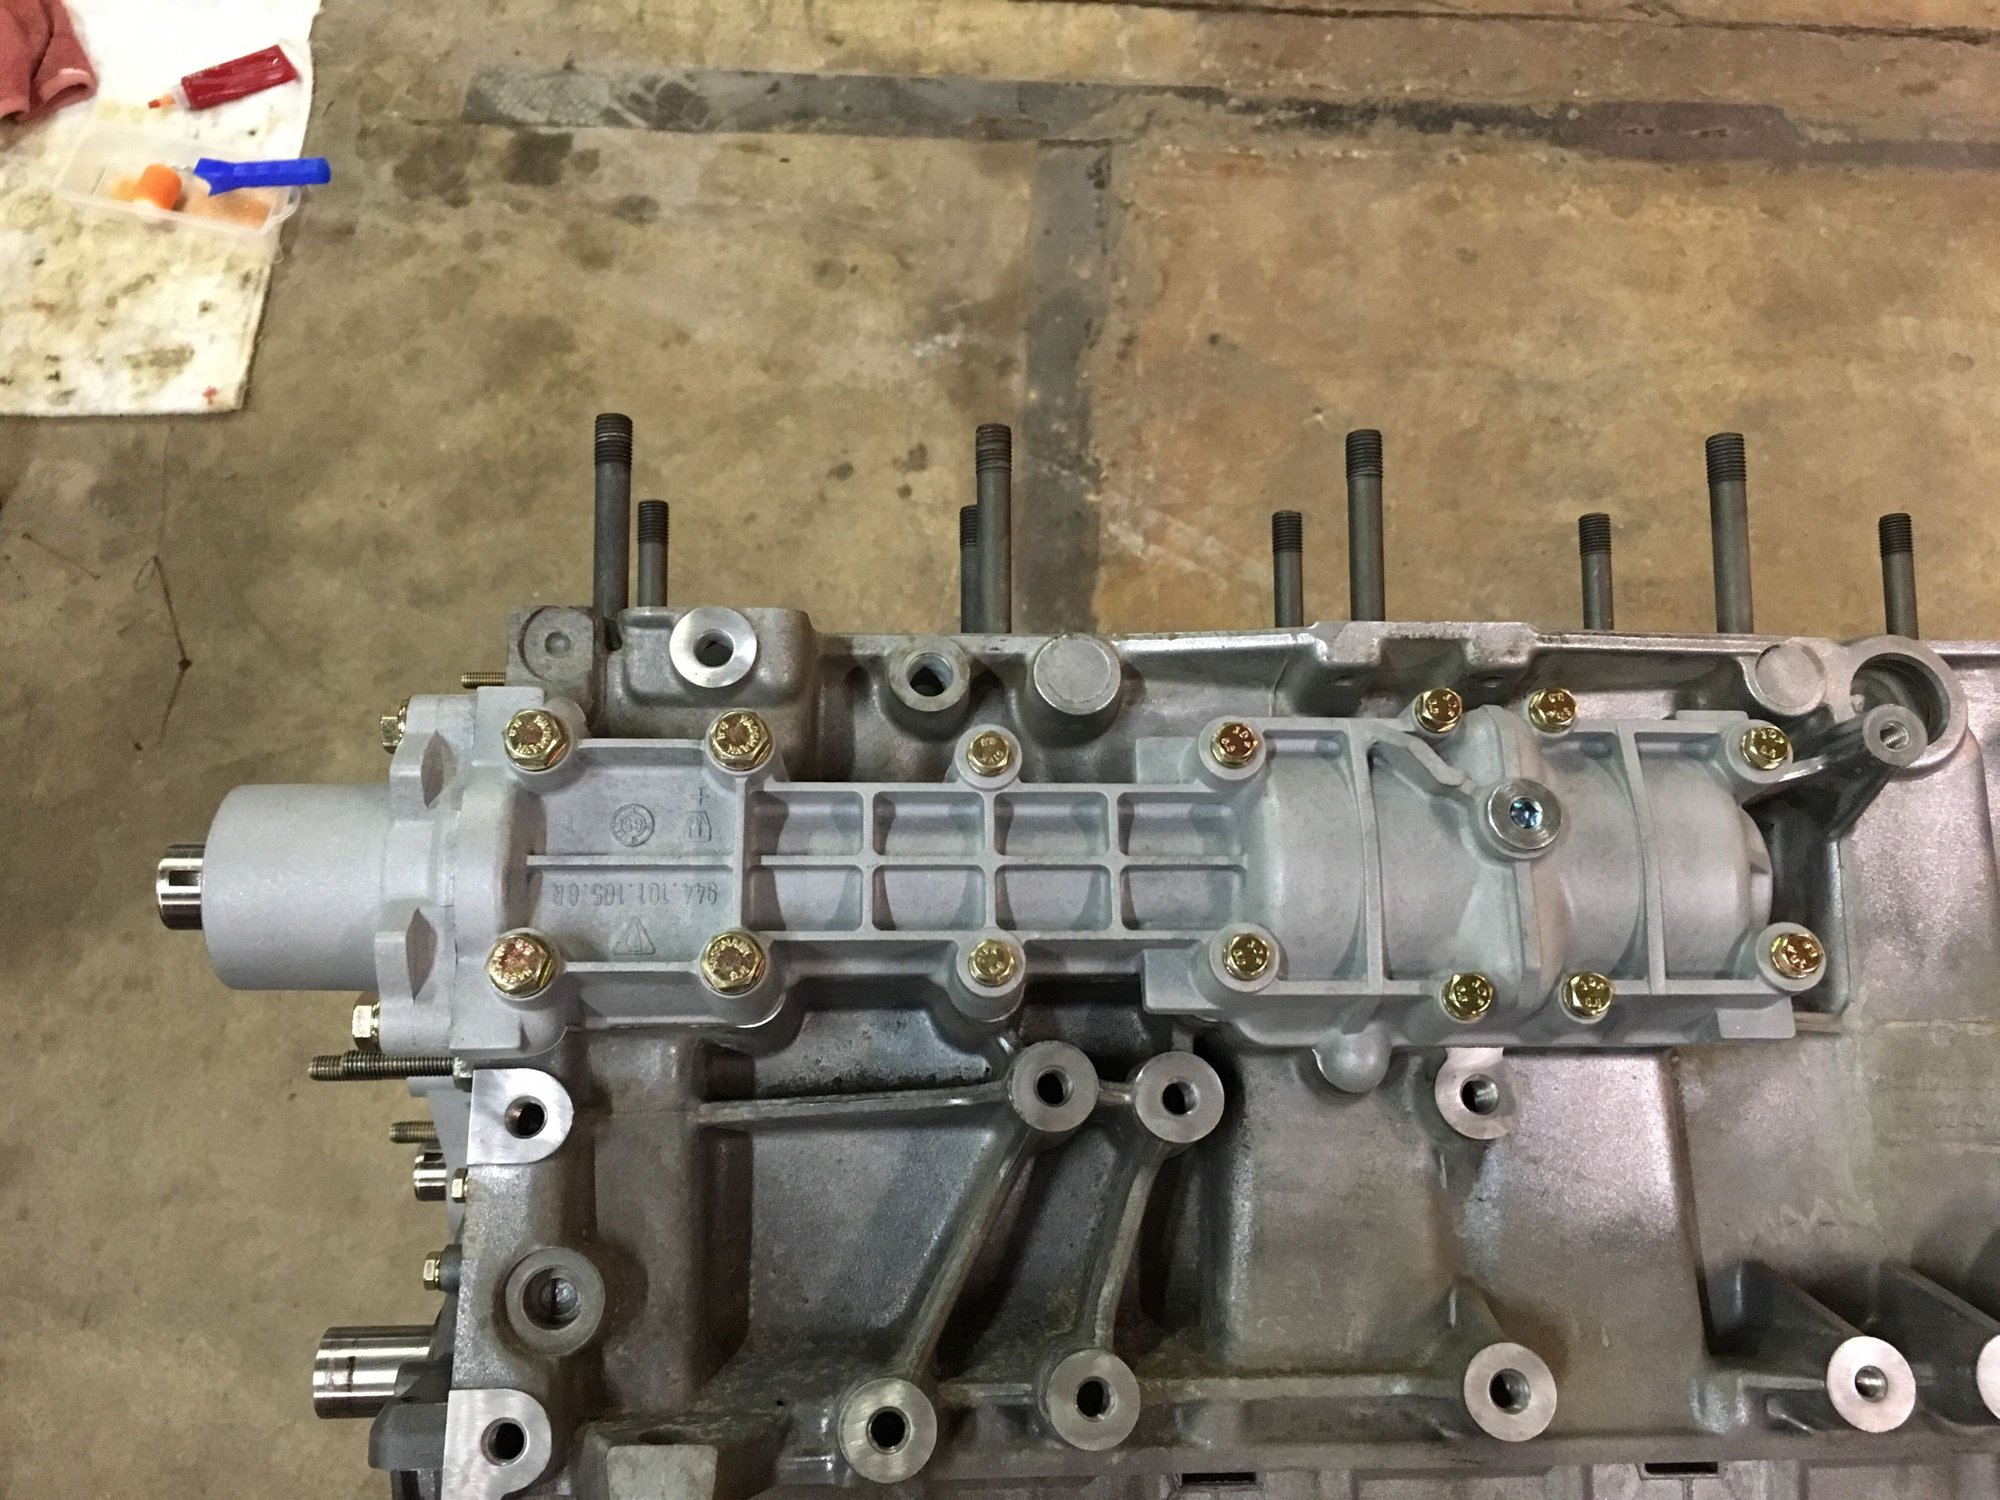
Next up was the oil pump, also with Loctite 574.
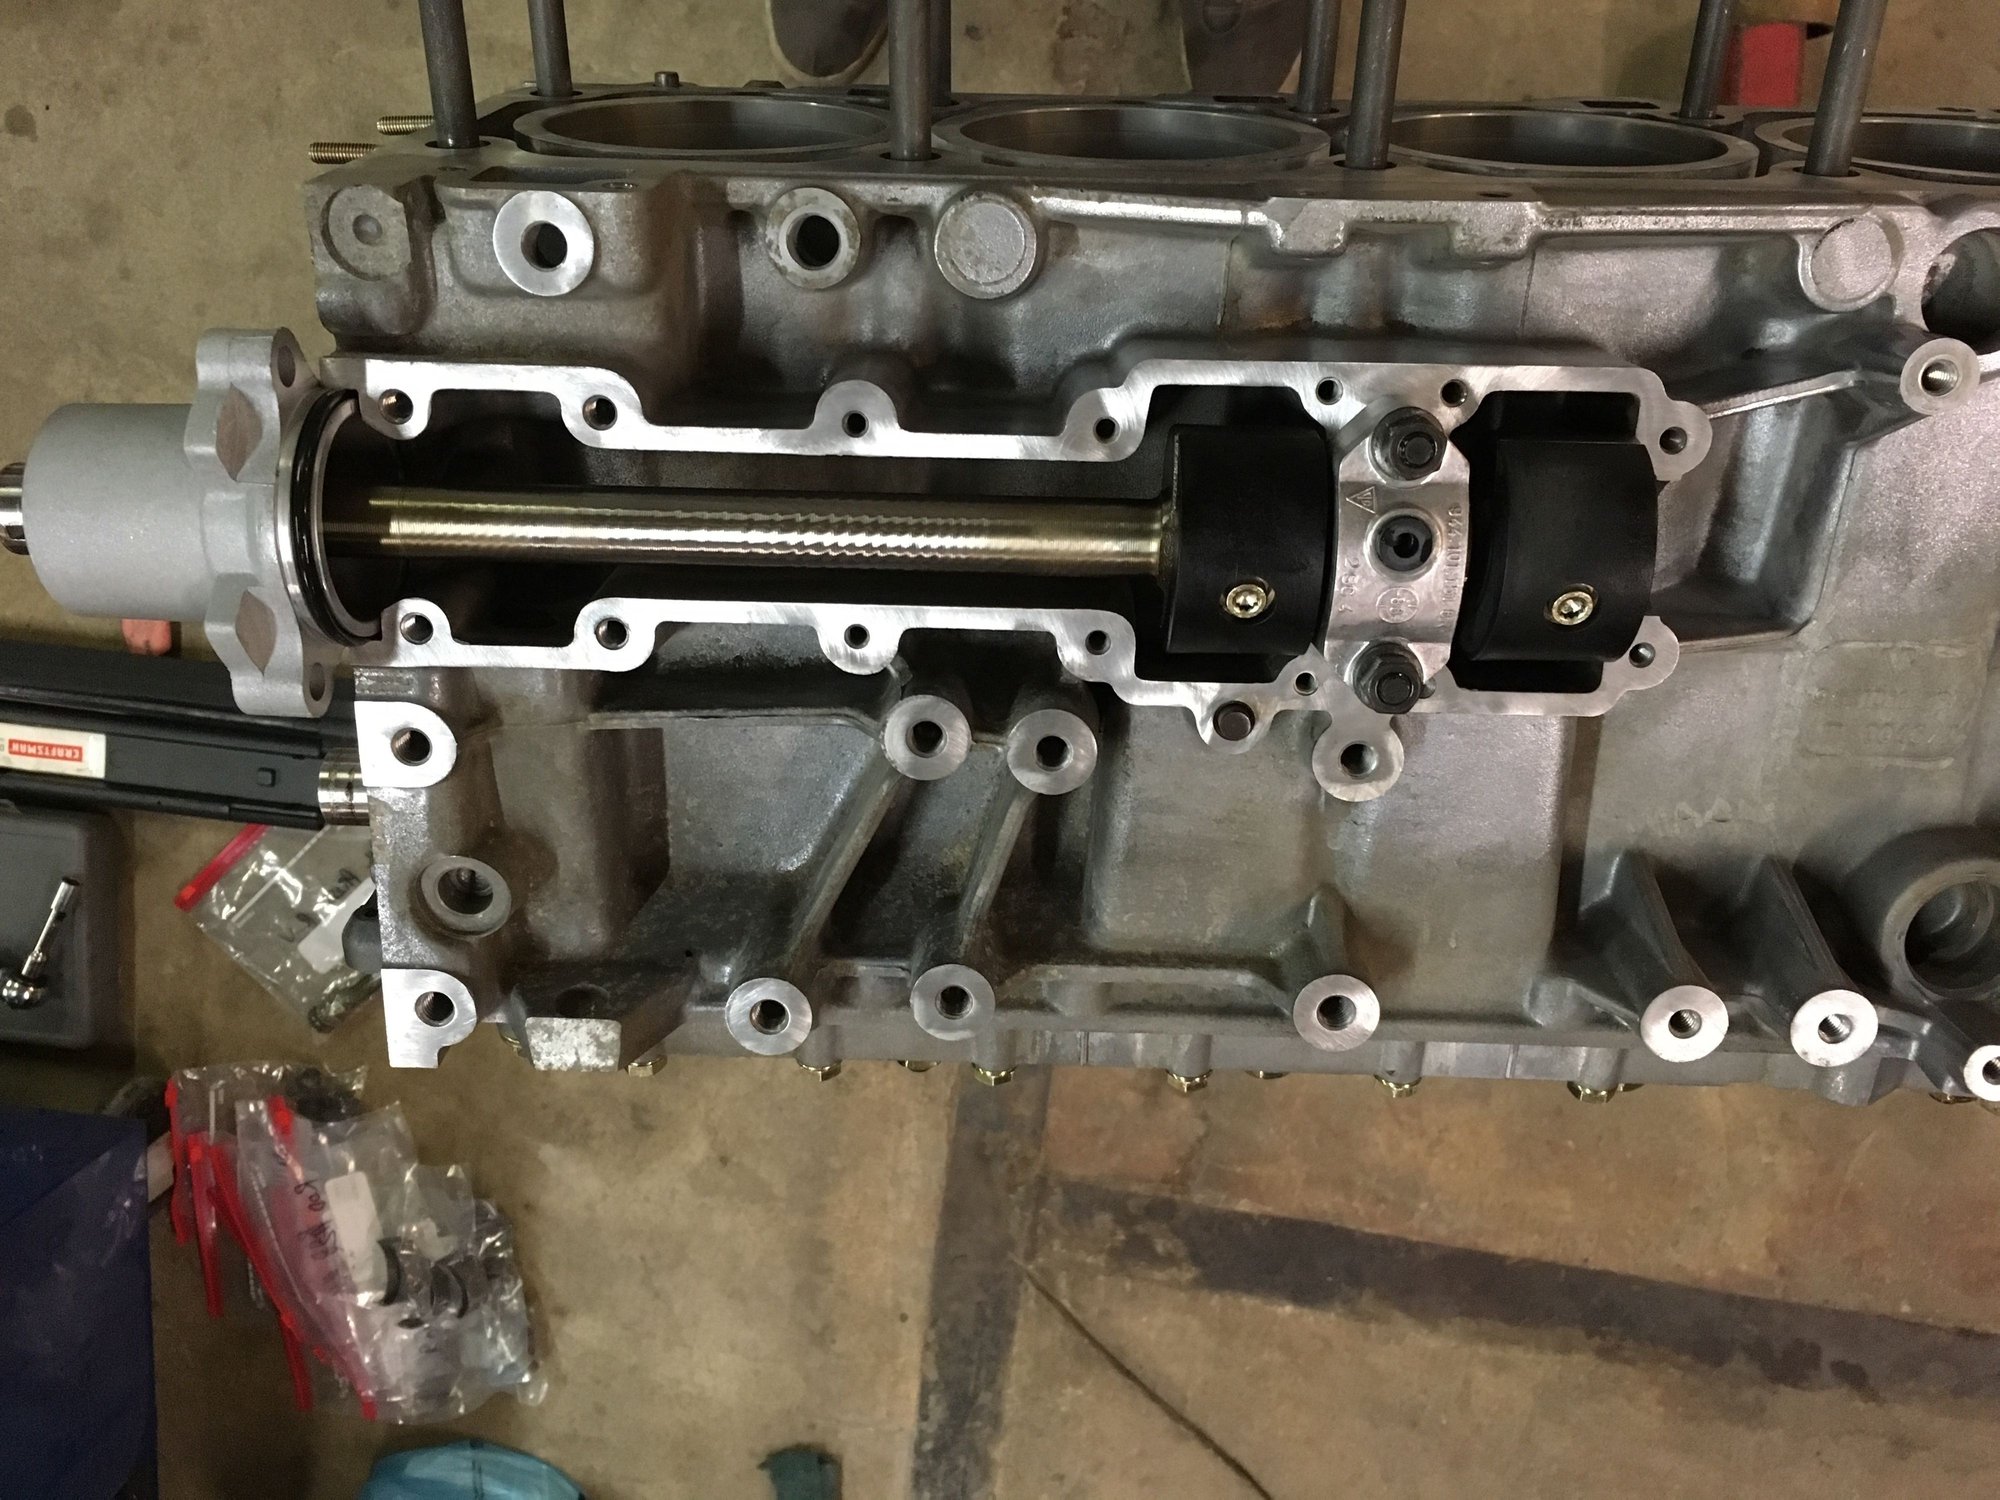
Did the passenger side balance shaft first. Installed new bearings in the girdle. Left the nose bearing alone since it looked fine.
More Loctite 574 and all new hardware. Torqued everything down and voila!
Naturally, did the same thing for the driver side balance shaft.
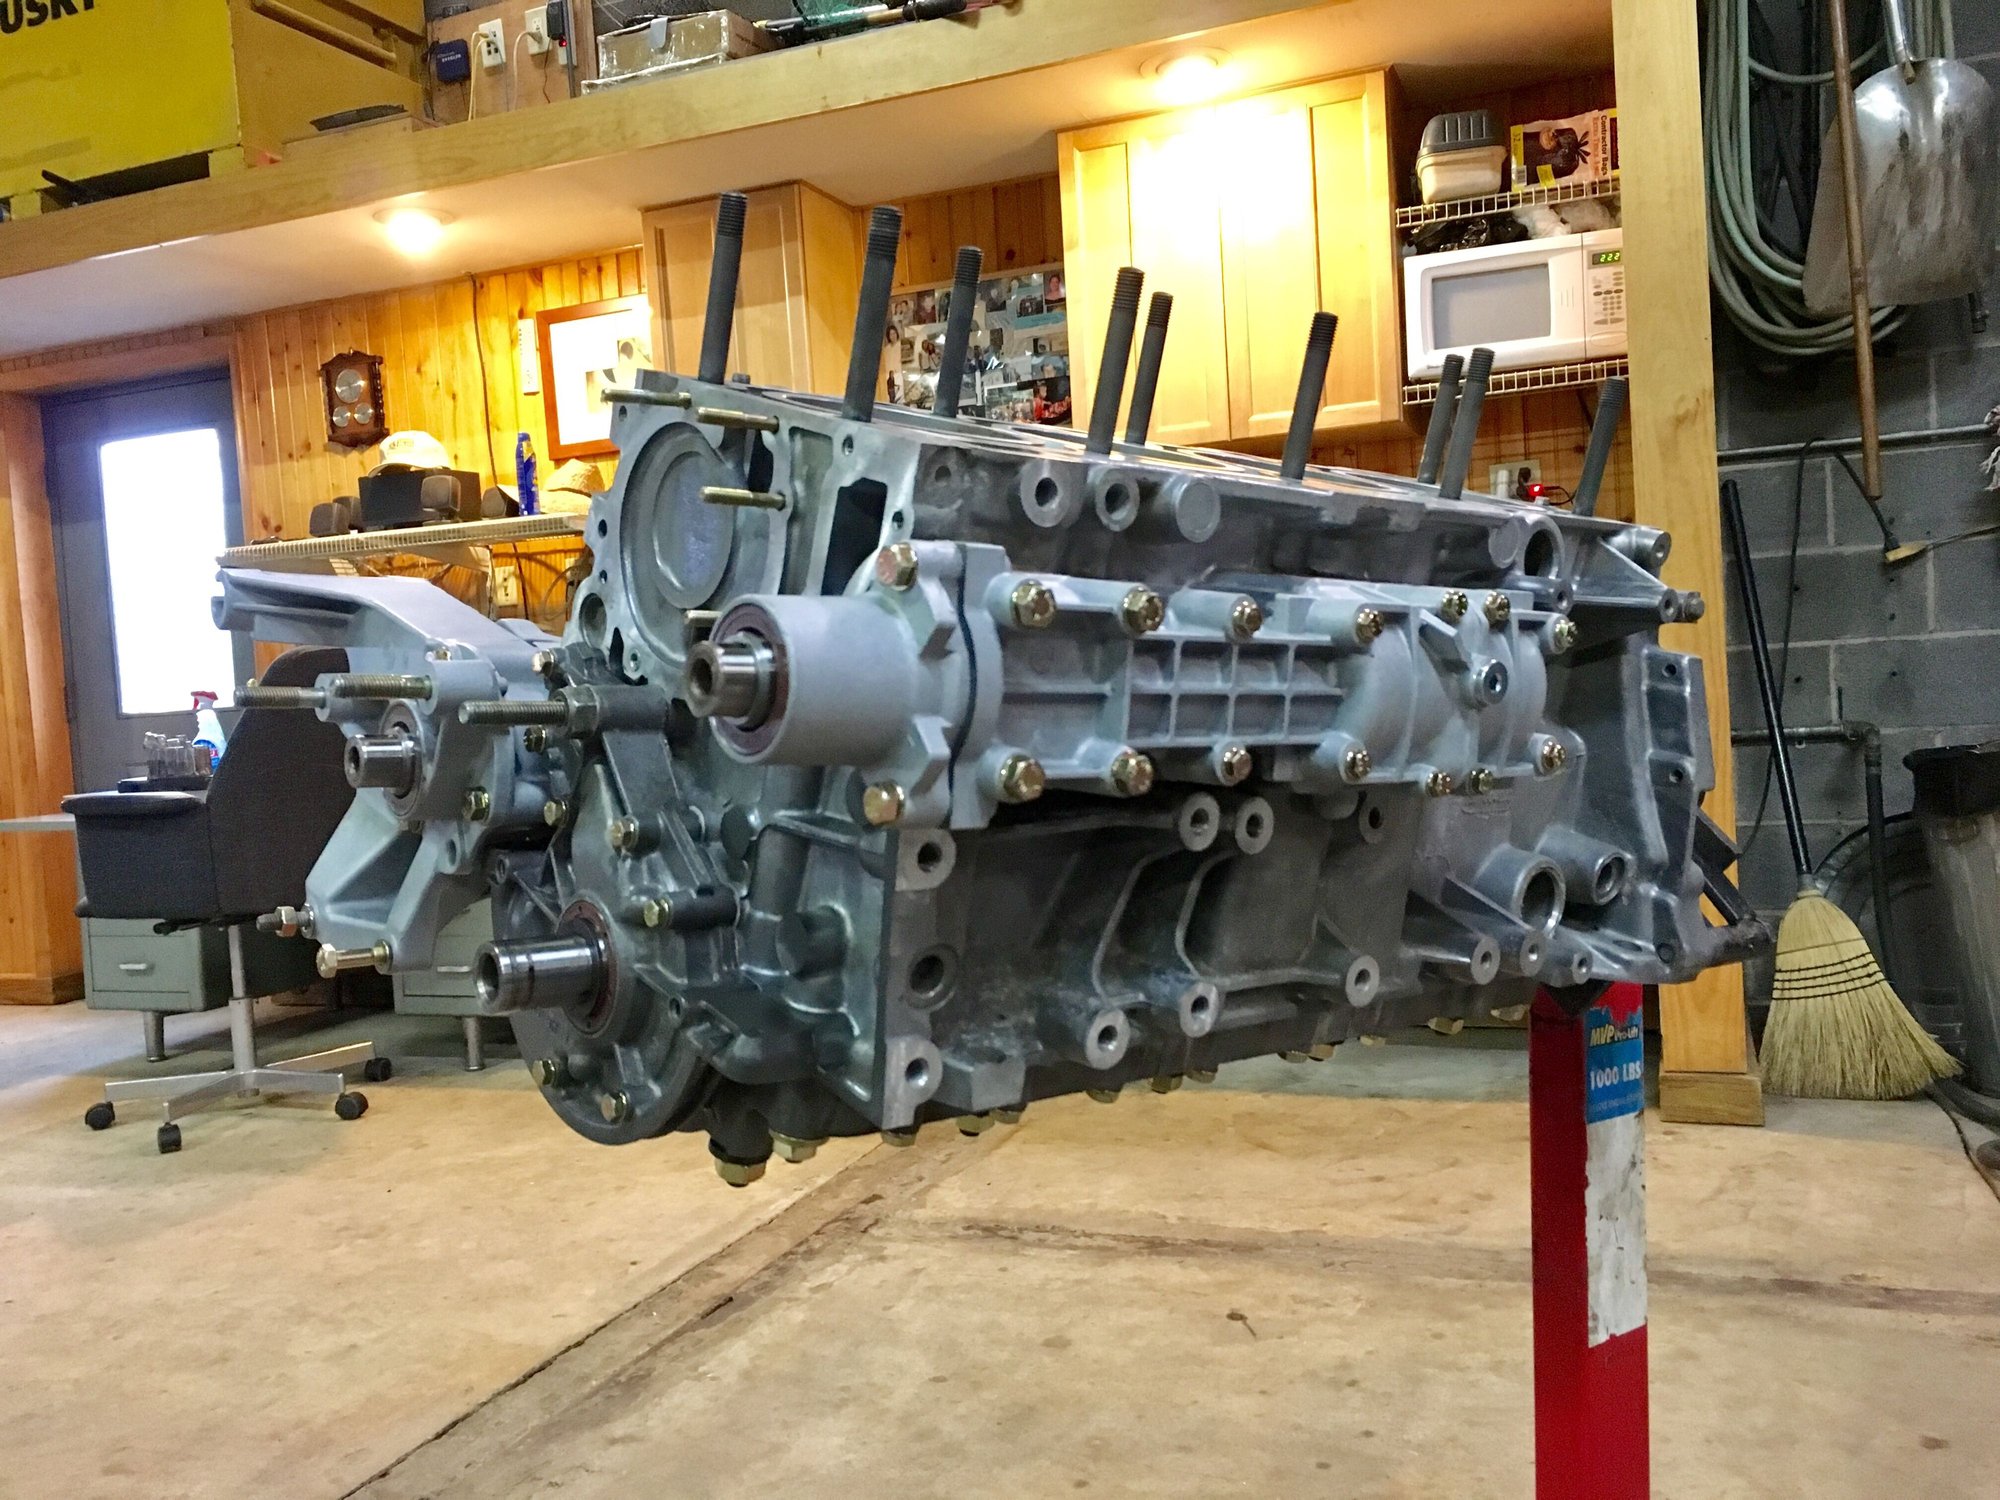
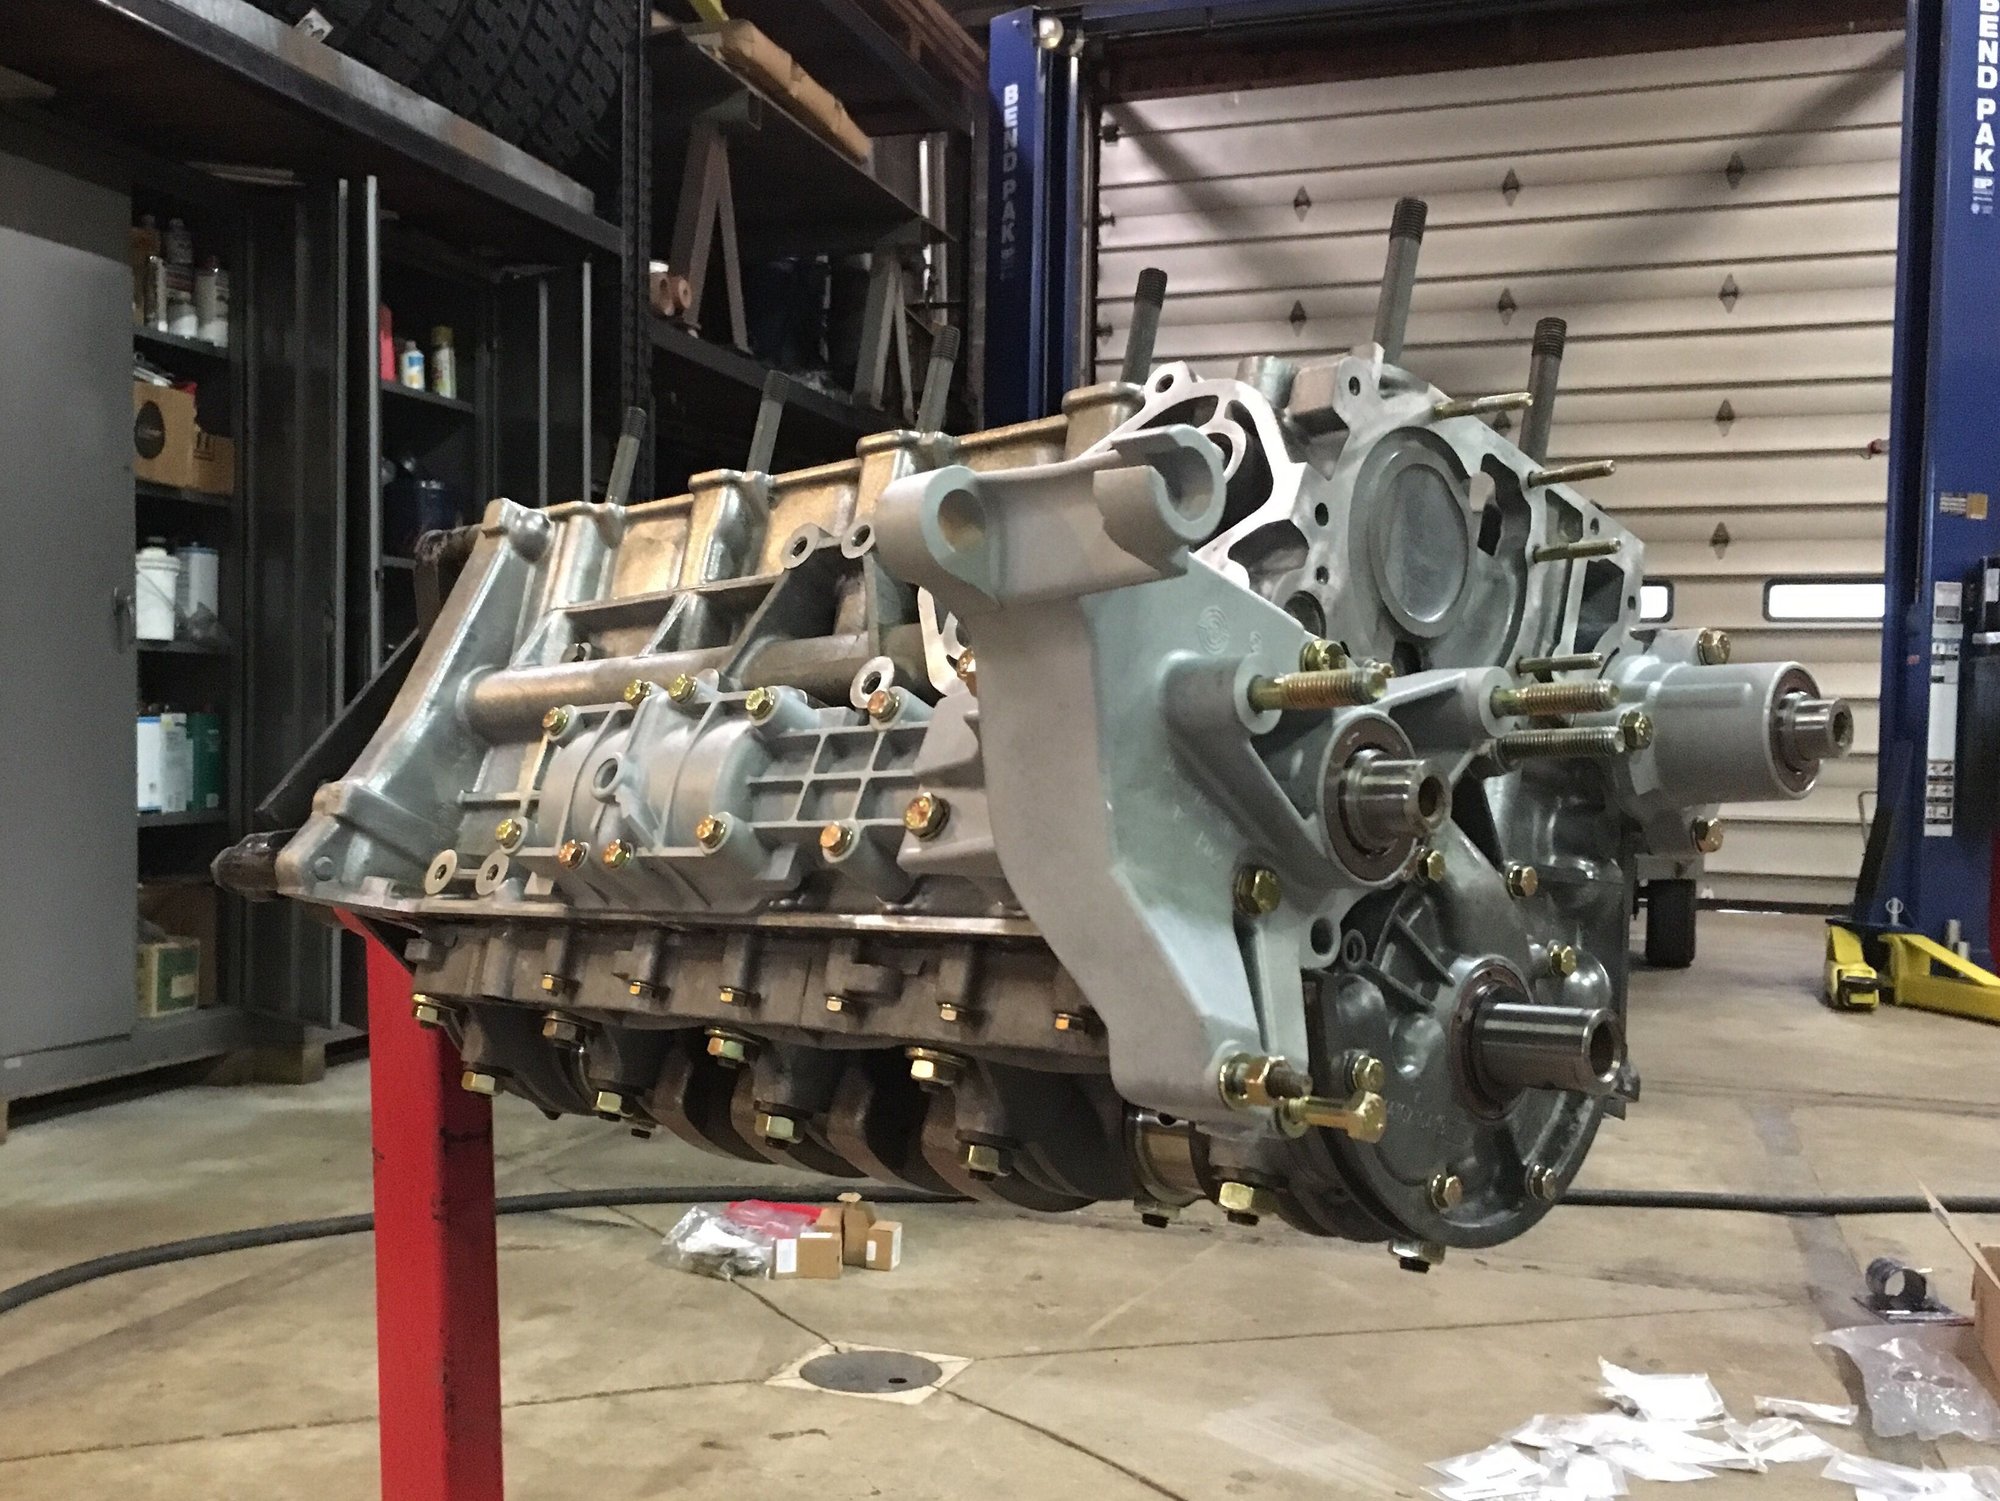
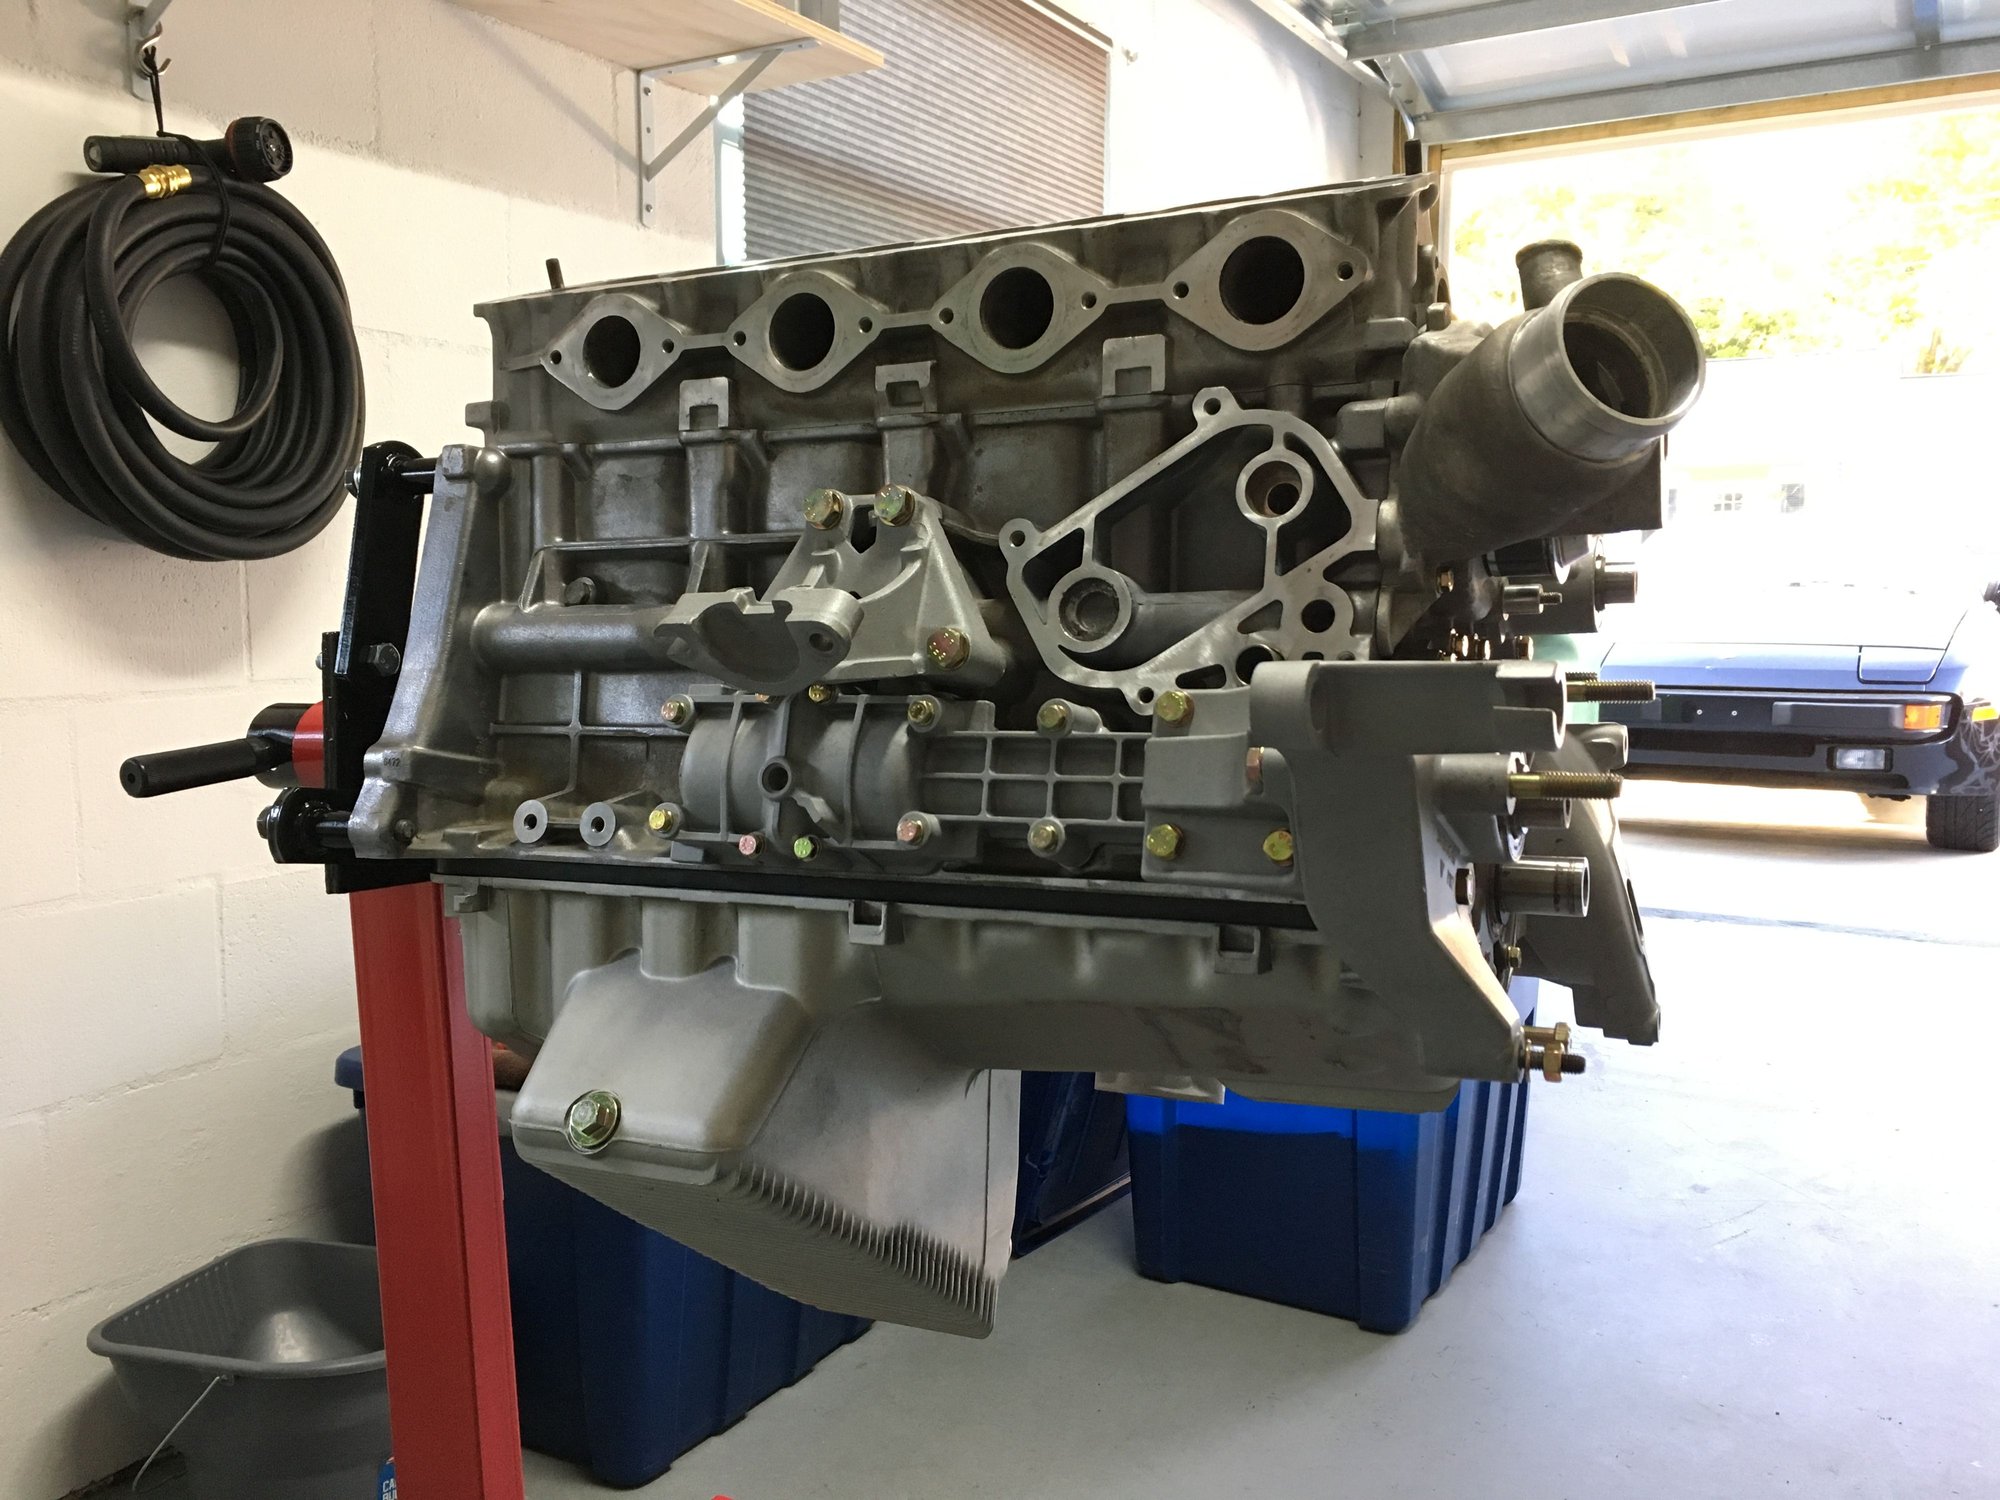
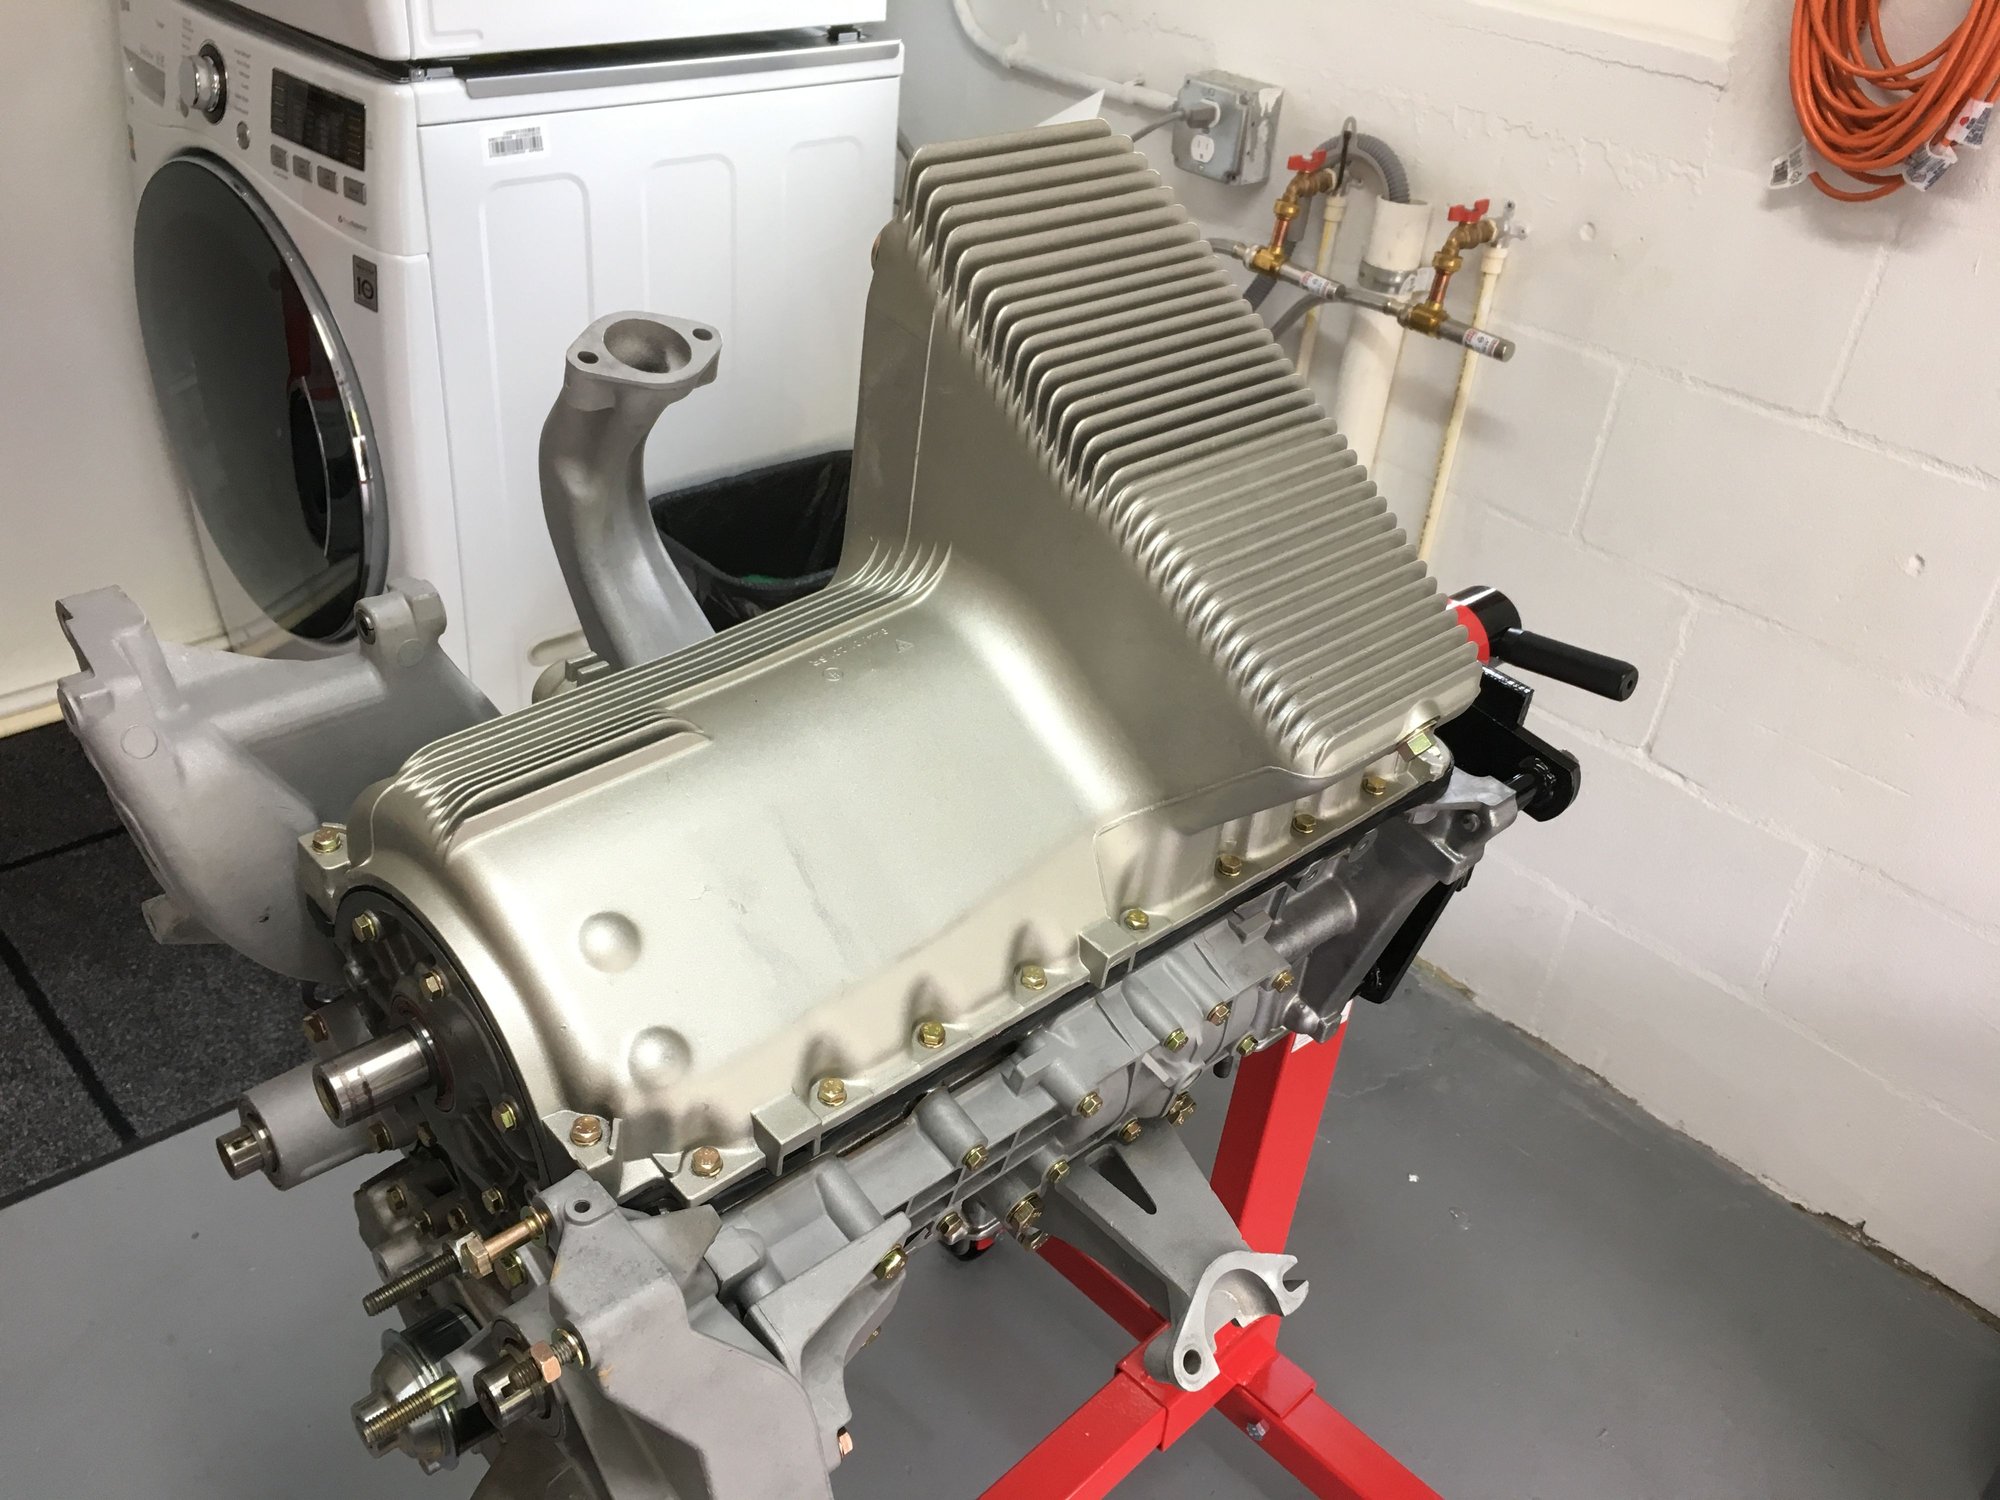
And that was about it for today. It's starting to look like a motor again!
Next time will be ring gapping and piston installation so I can button up the oil pan. Reassembling is definitely more fun than cleaning parts.
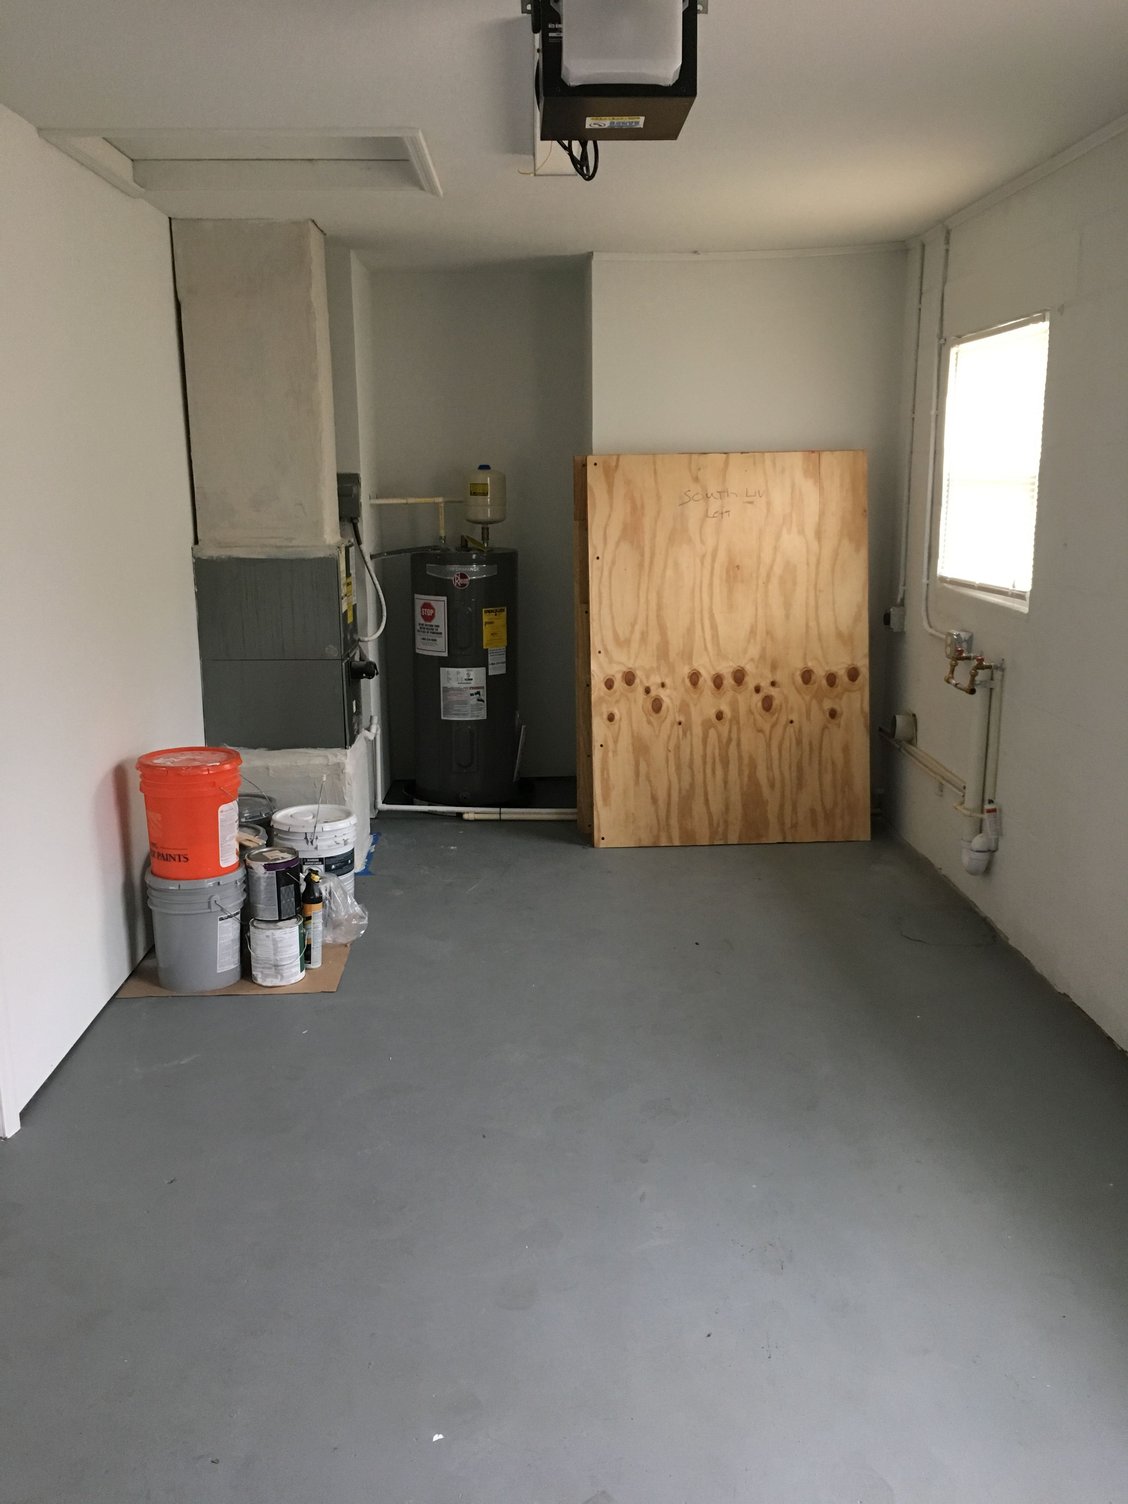
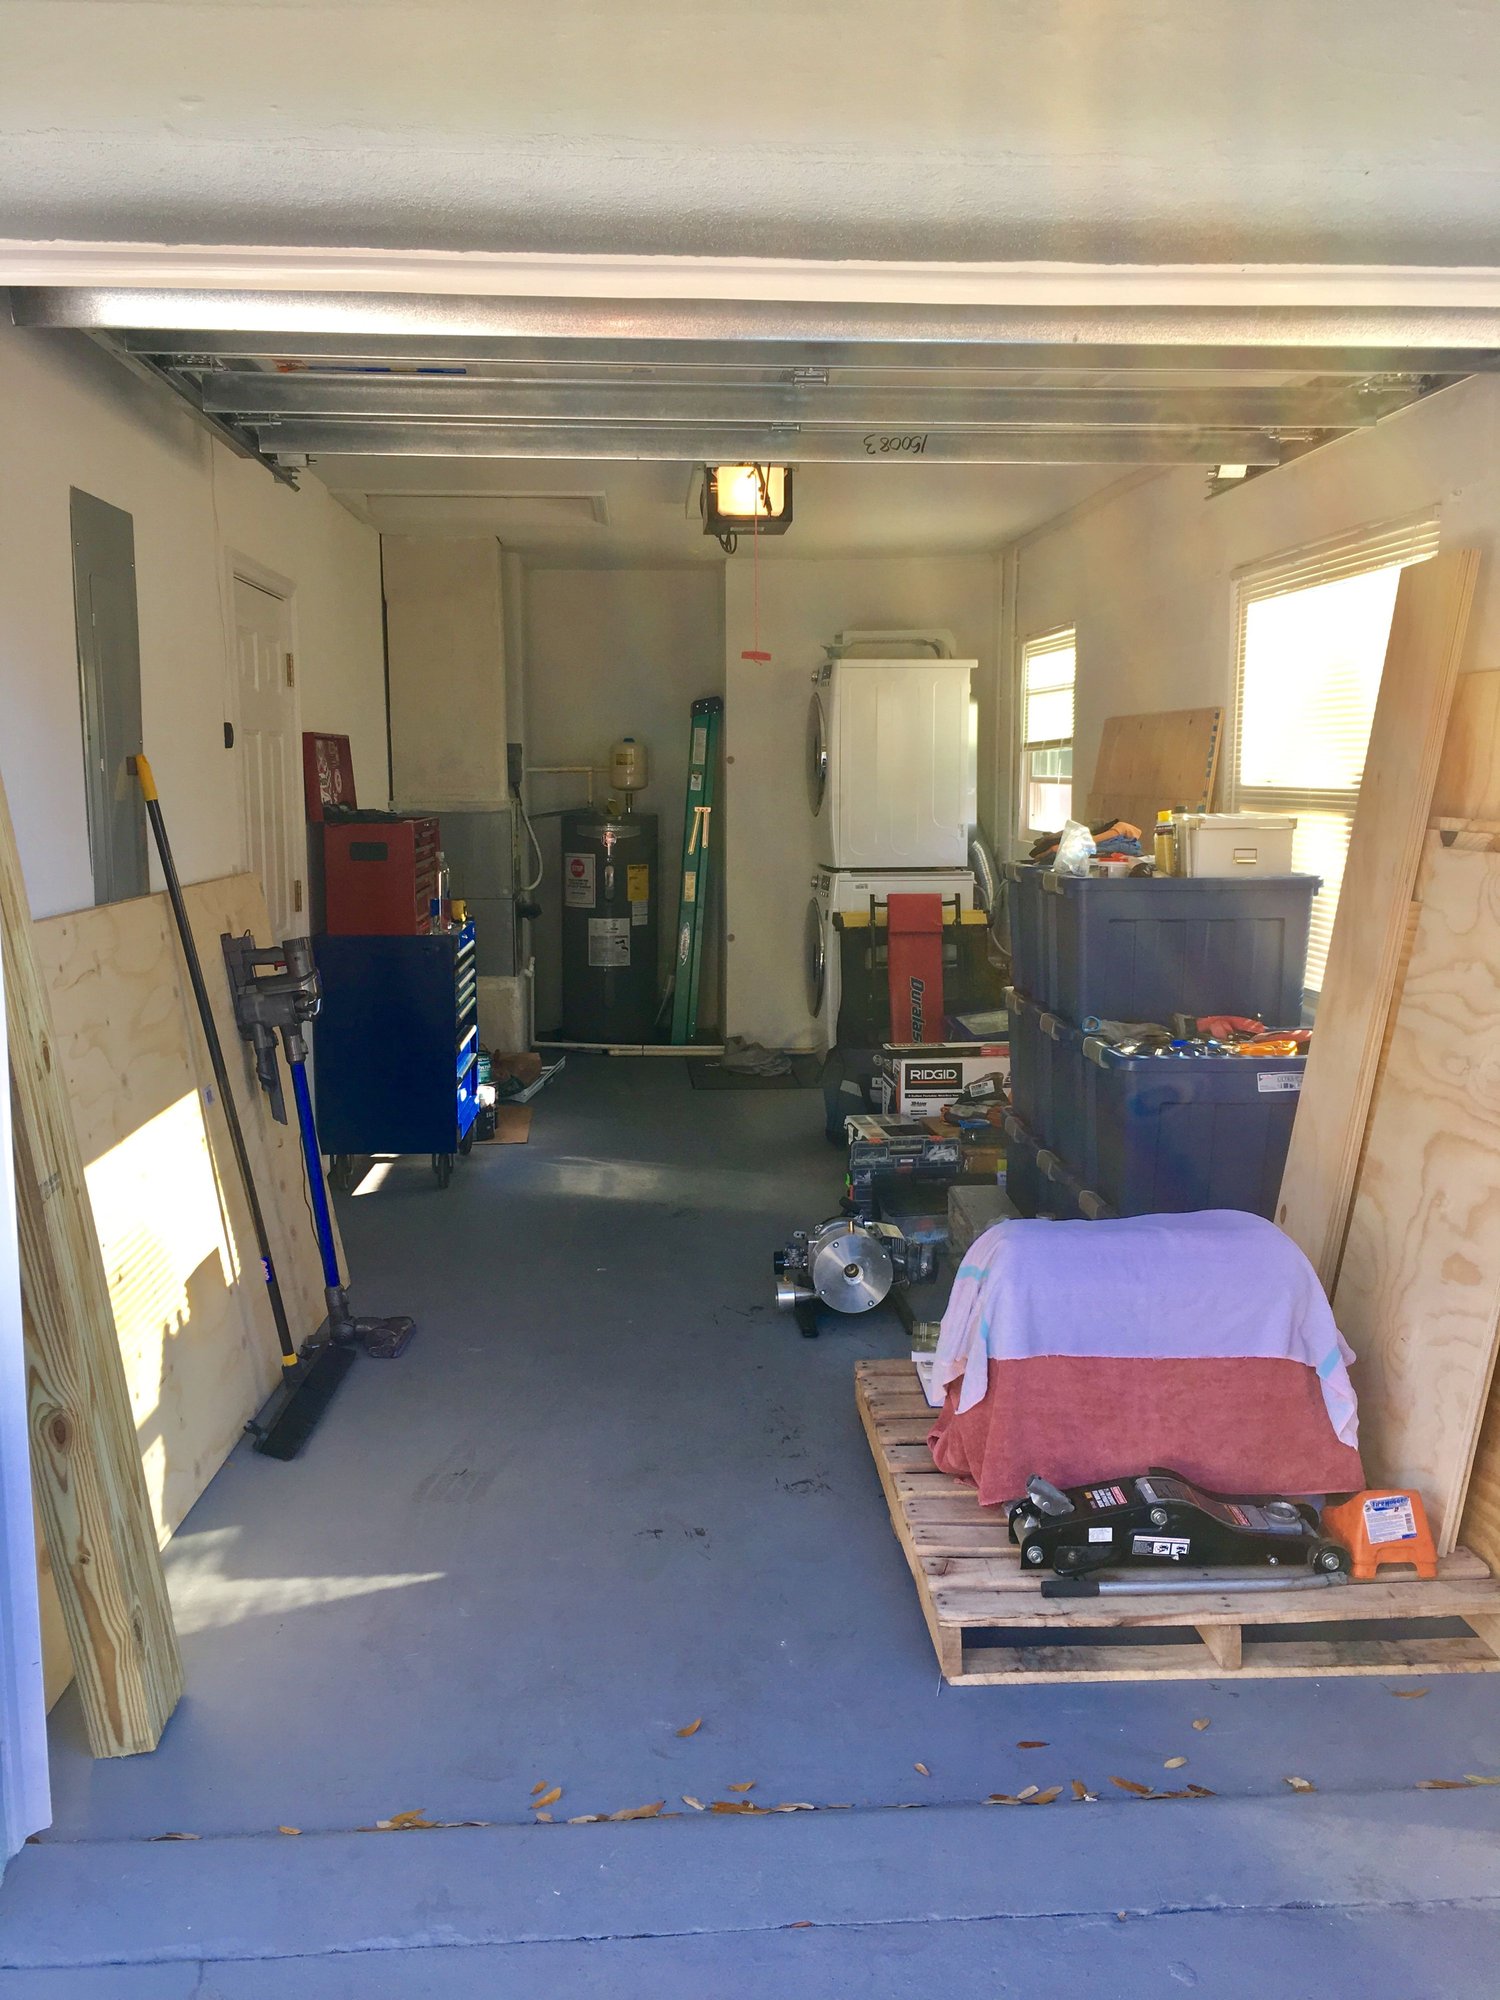
The Mrs. and I decided to relocate from Philly, PA to Tampa, FL since the company I work for is based in central FL. This means I had to find all my parts and tools, pack up my disassembled engine and hire an auto hauler to ship the 944 down south. We moved in the beginning of February and it's taken me a few weeks to get settled in with a usable garage and get back to work. But, I now have my own garage attached to my house, which is awesome. It's only a single car, so much smaller than what I was working in at my father-in-law's, but it's mine so I'm pretty stoked.
I know it's a car forum, but just a few quick shots of the garage so you can see what I'm working with. In order - before moving in, during and after.
I'm going to need to buy a compressor at some point and a few other things, but it's pretty damn functional, so I'm happy. Other than the fact that I have to share it with the appliances!
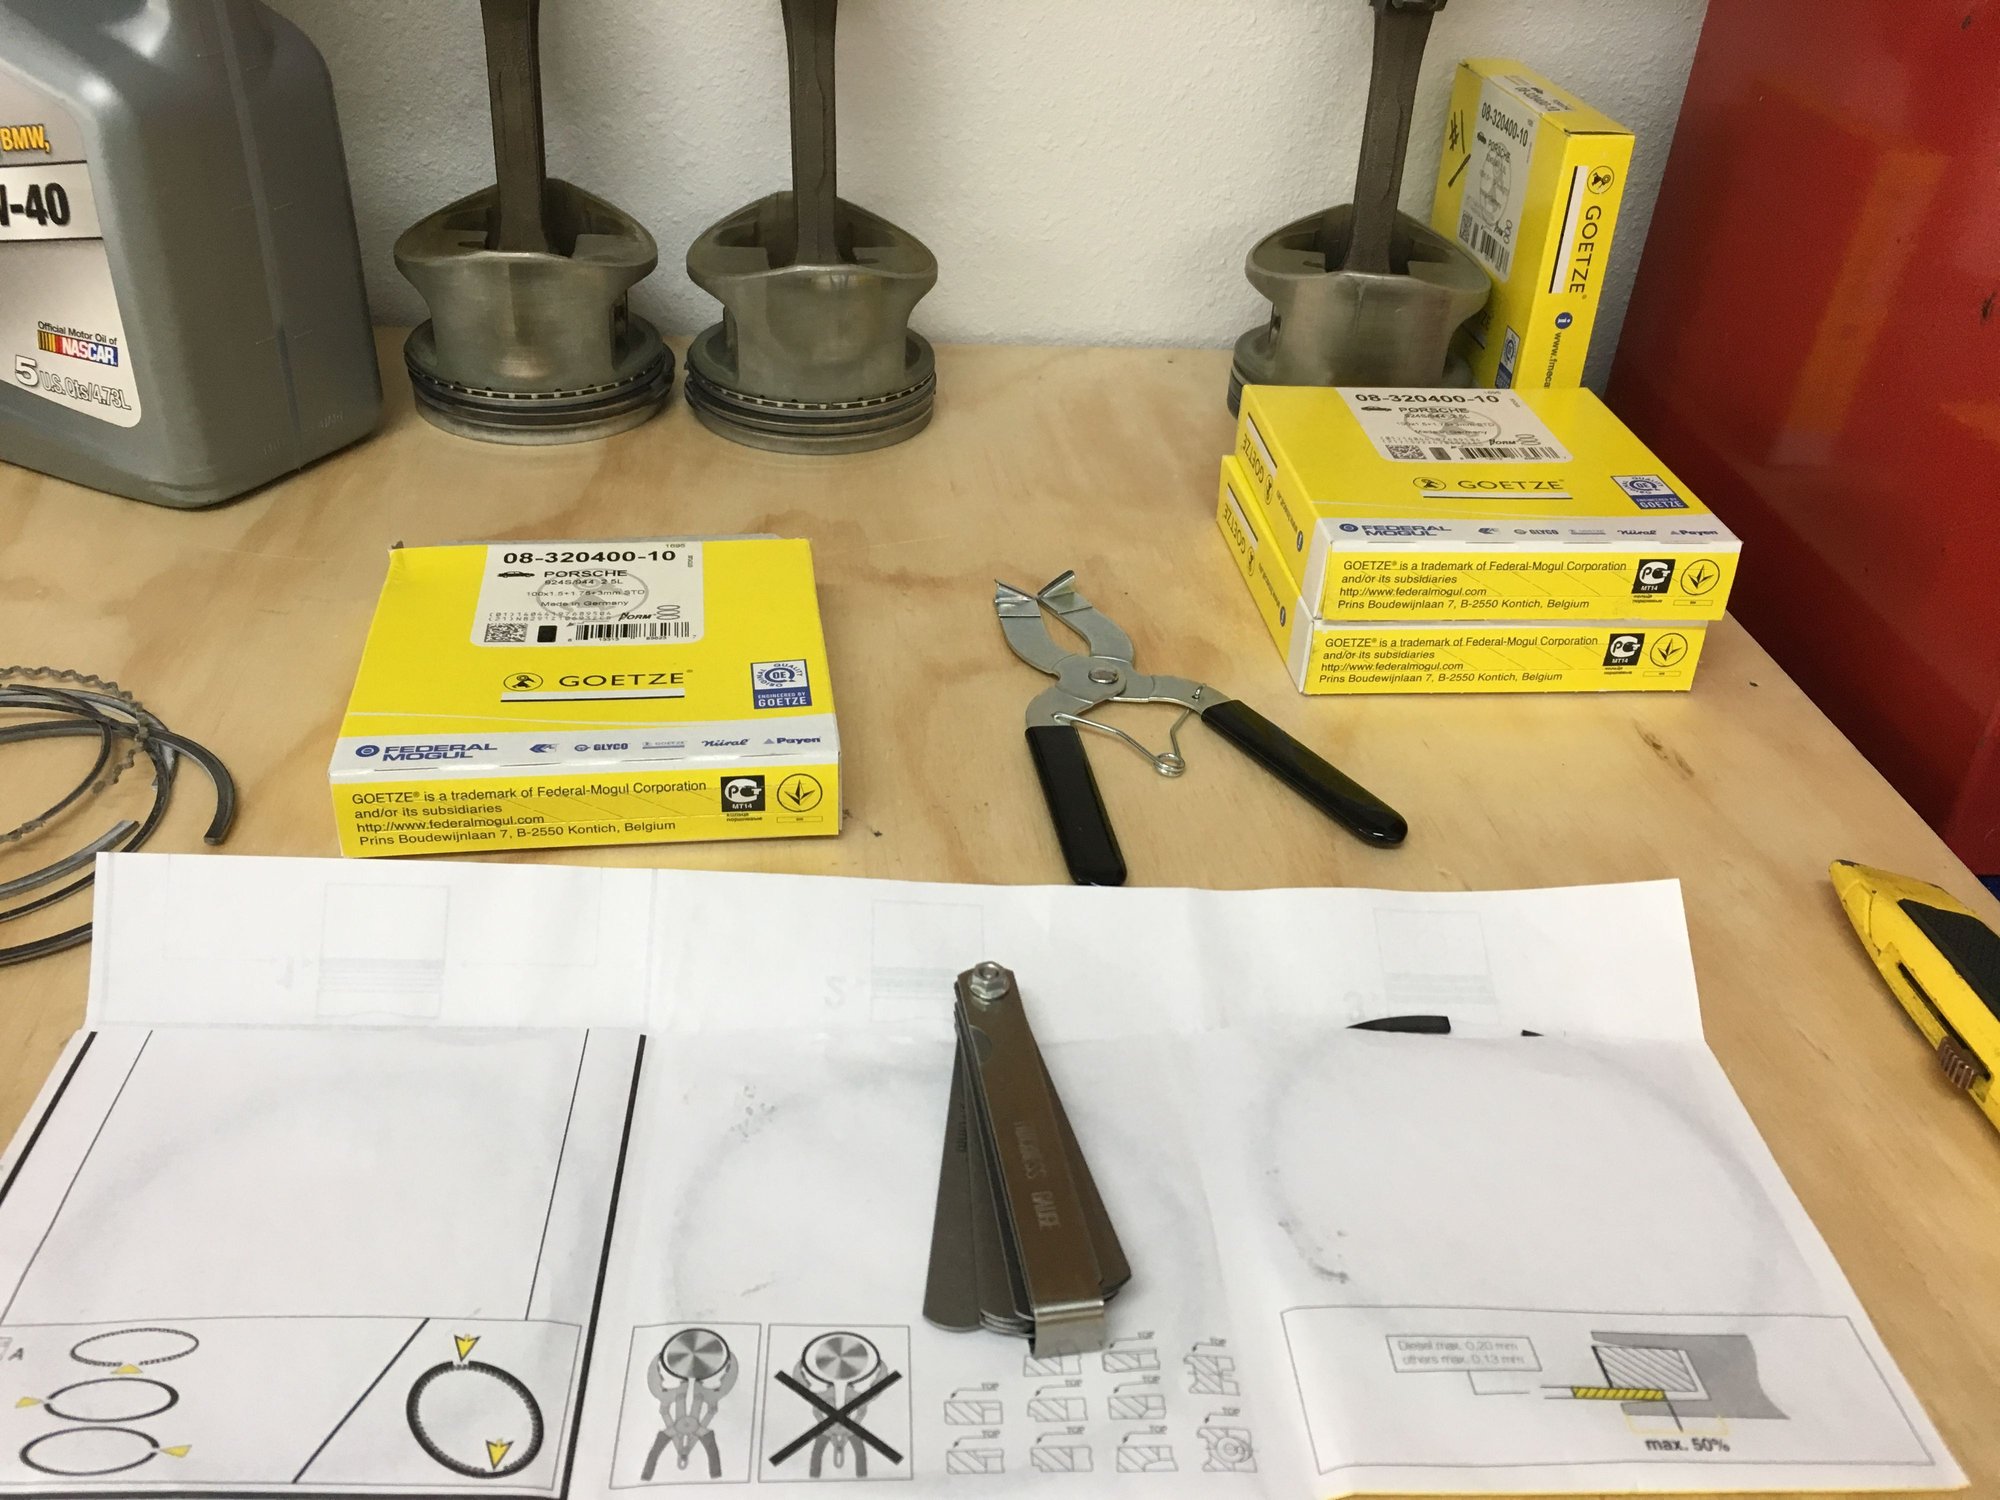
So back to the engine rebuild. I started by checking the gaps on all the new rings. Naturally I did them one at a time by cylinder and then lined 'em up ready to go. I didn't have to file a single one! All the gaps were pretty much to the middle of the tolerance, so not too tight and definitely not too loose.
I plasti-gauged all the rod bearings (even though they're all new) just because I was curious how the clearances looked. Everything is perfect as expected, but now I have the numbers to add to my OCD spread sheet.
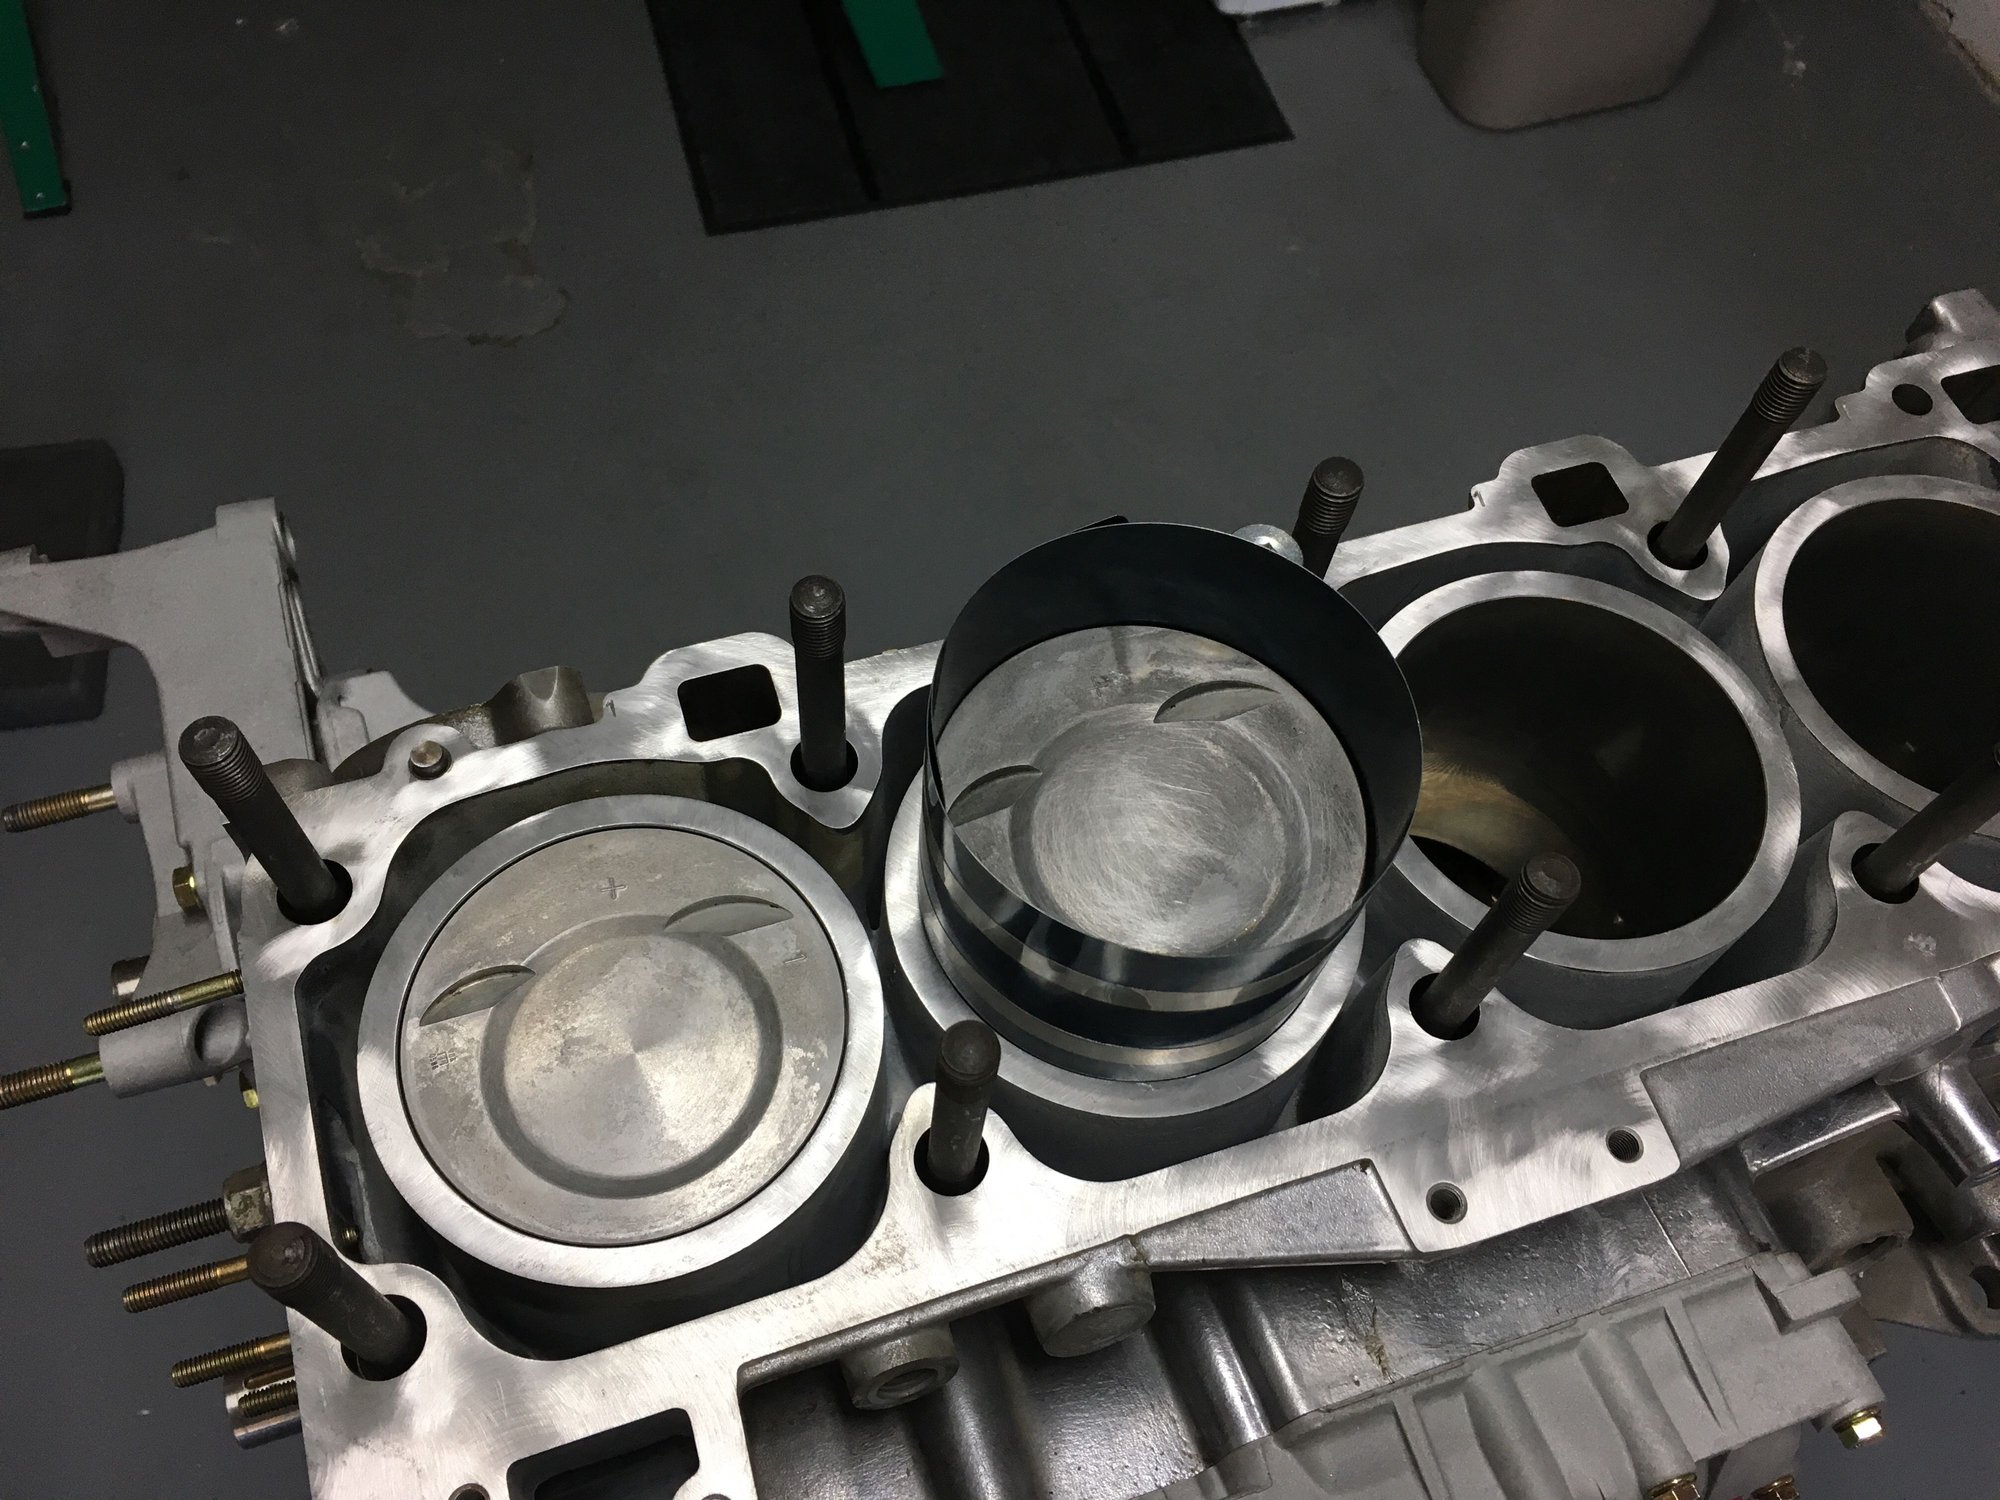
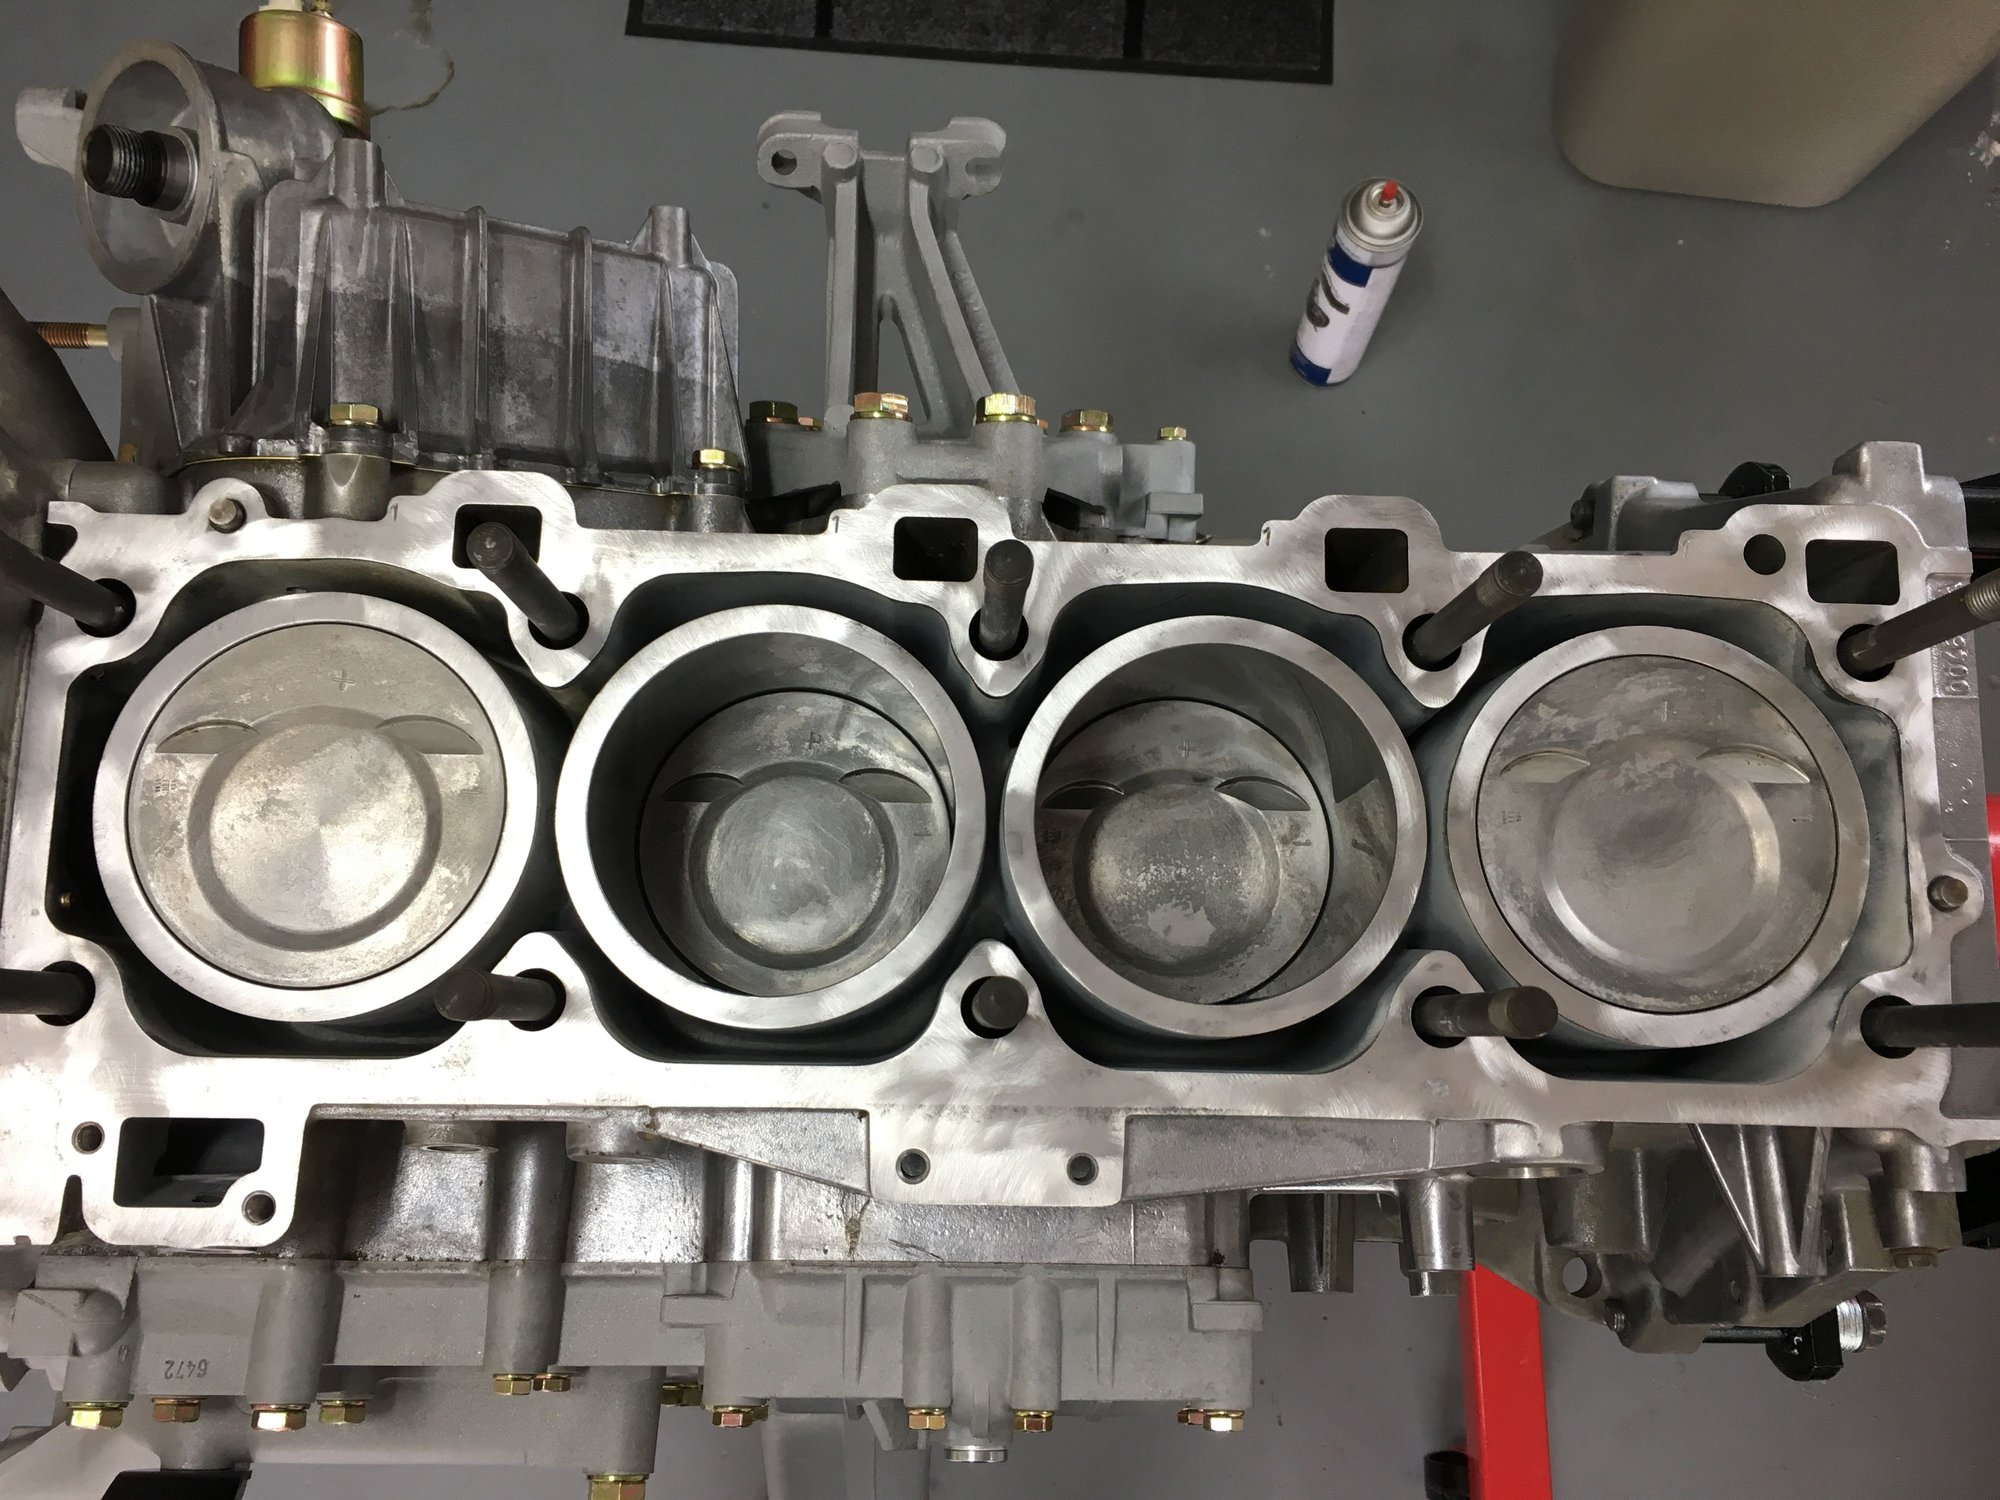
Started installing the pistons...
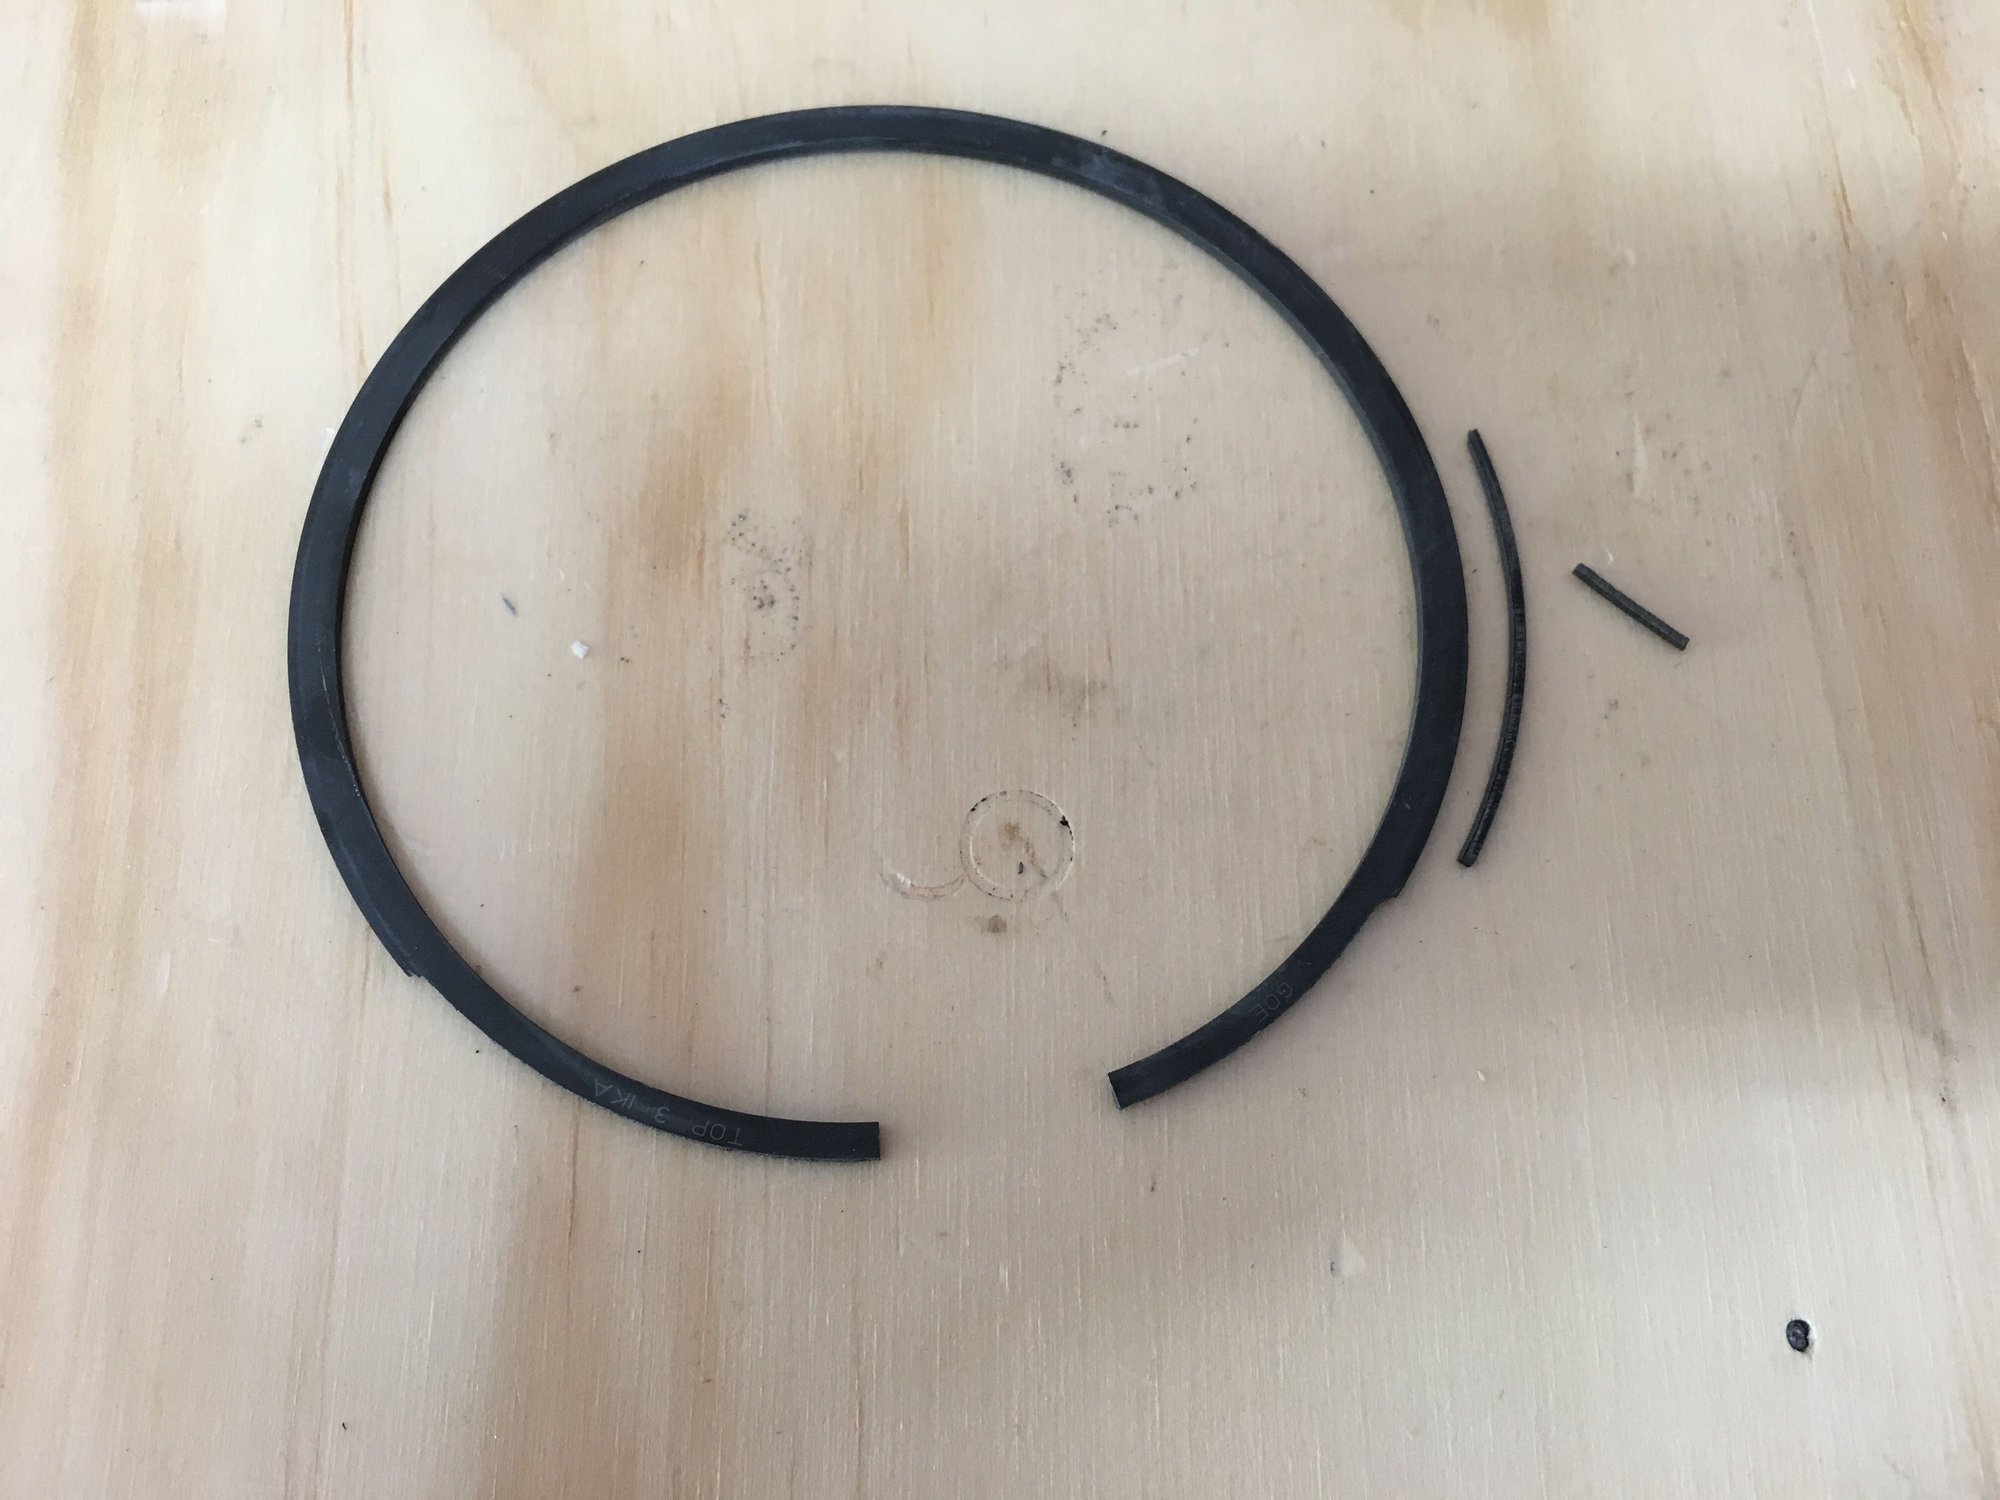
But during the second piston, disaster struck, because I am a dumbass. I was rushing to get it installed before dinner and the top ring slipped out of the compressor. I put some force down on the ring compressor and I cracked the ring.
Major face-palm. But I certainly won't make that mistake again! I ordered another ring pack so hopefully I can get that last piston installed soon. I did do #3 and #4 so I guess I get a 75% on this test.
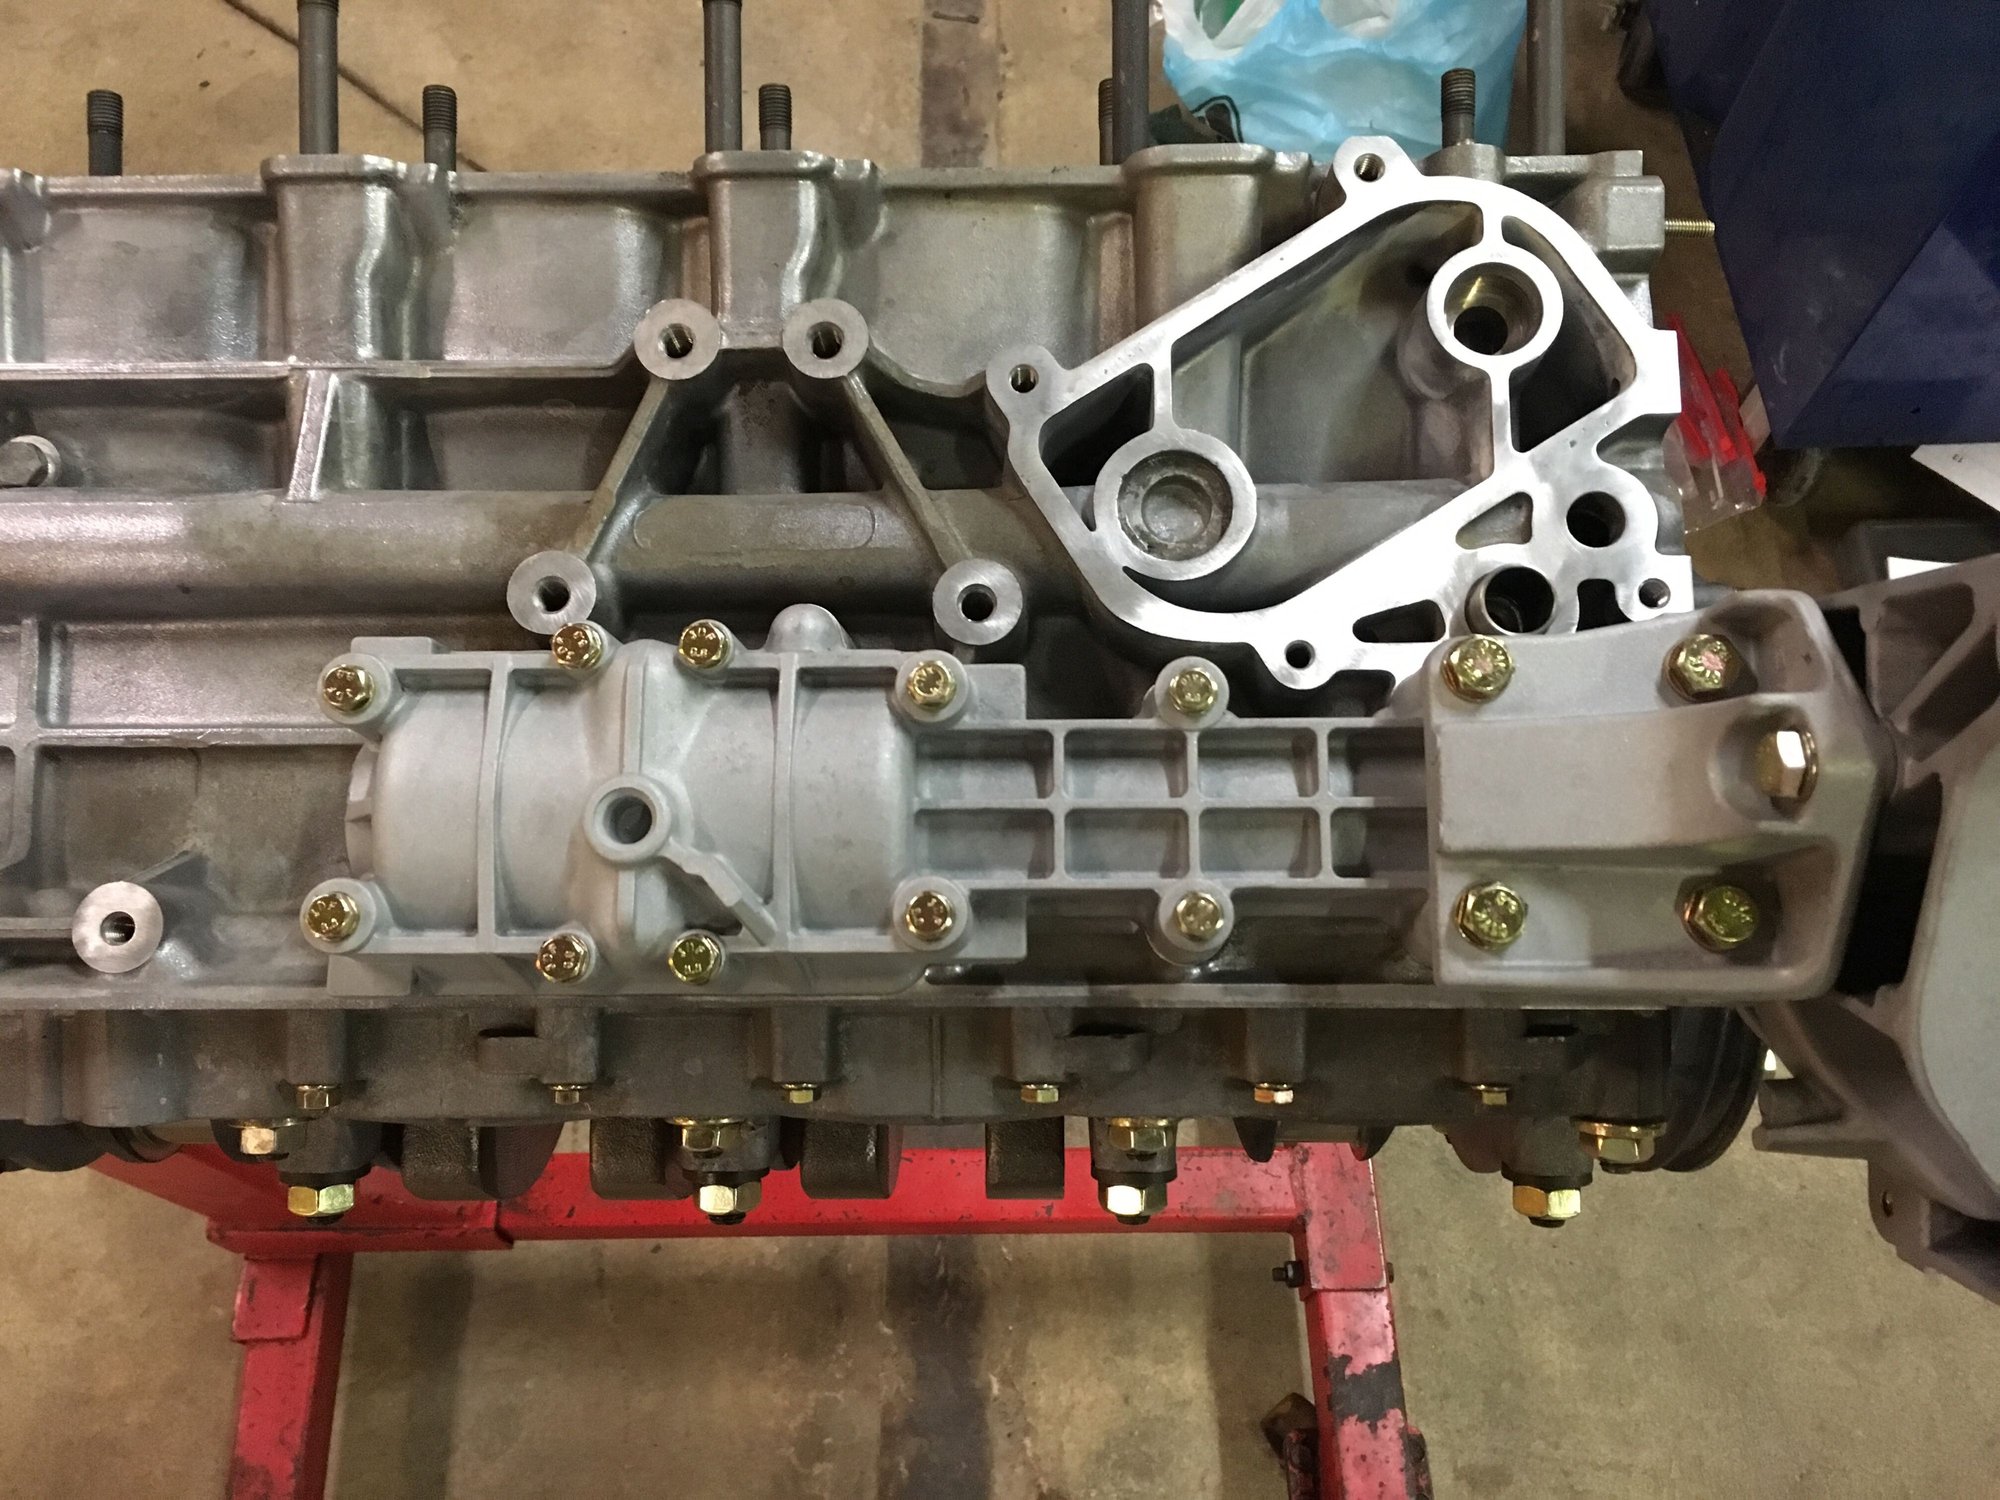
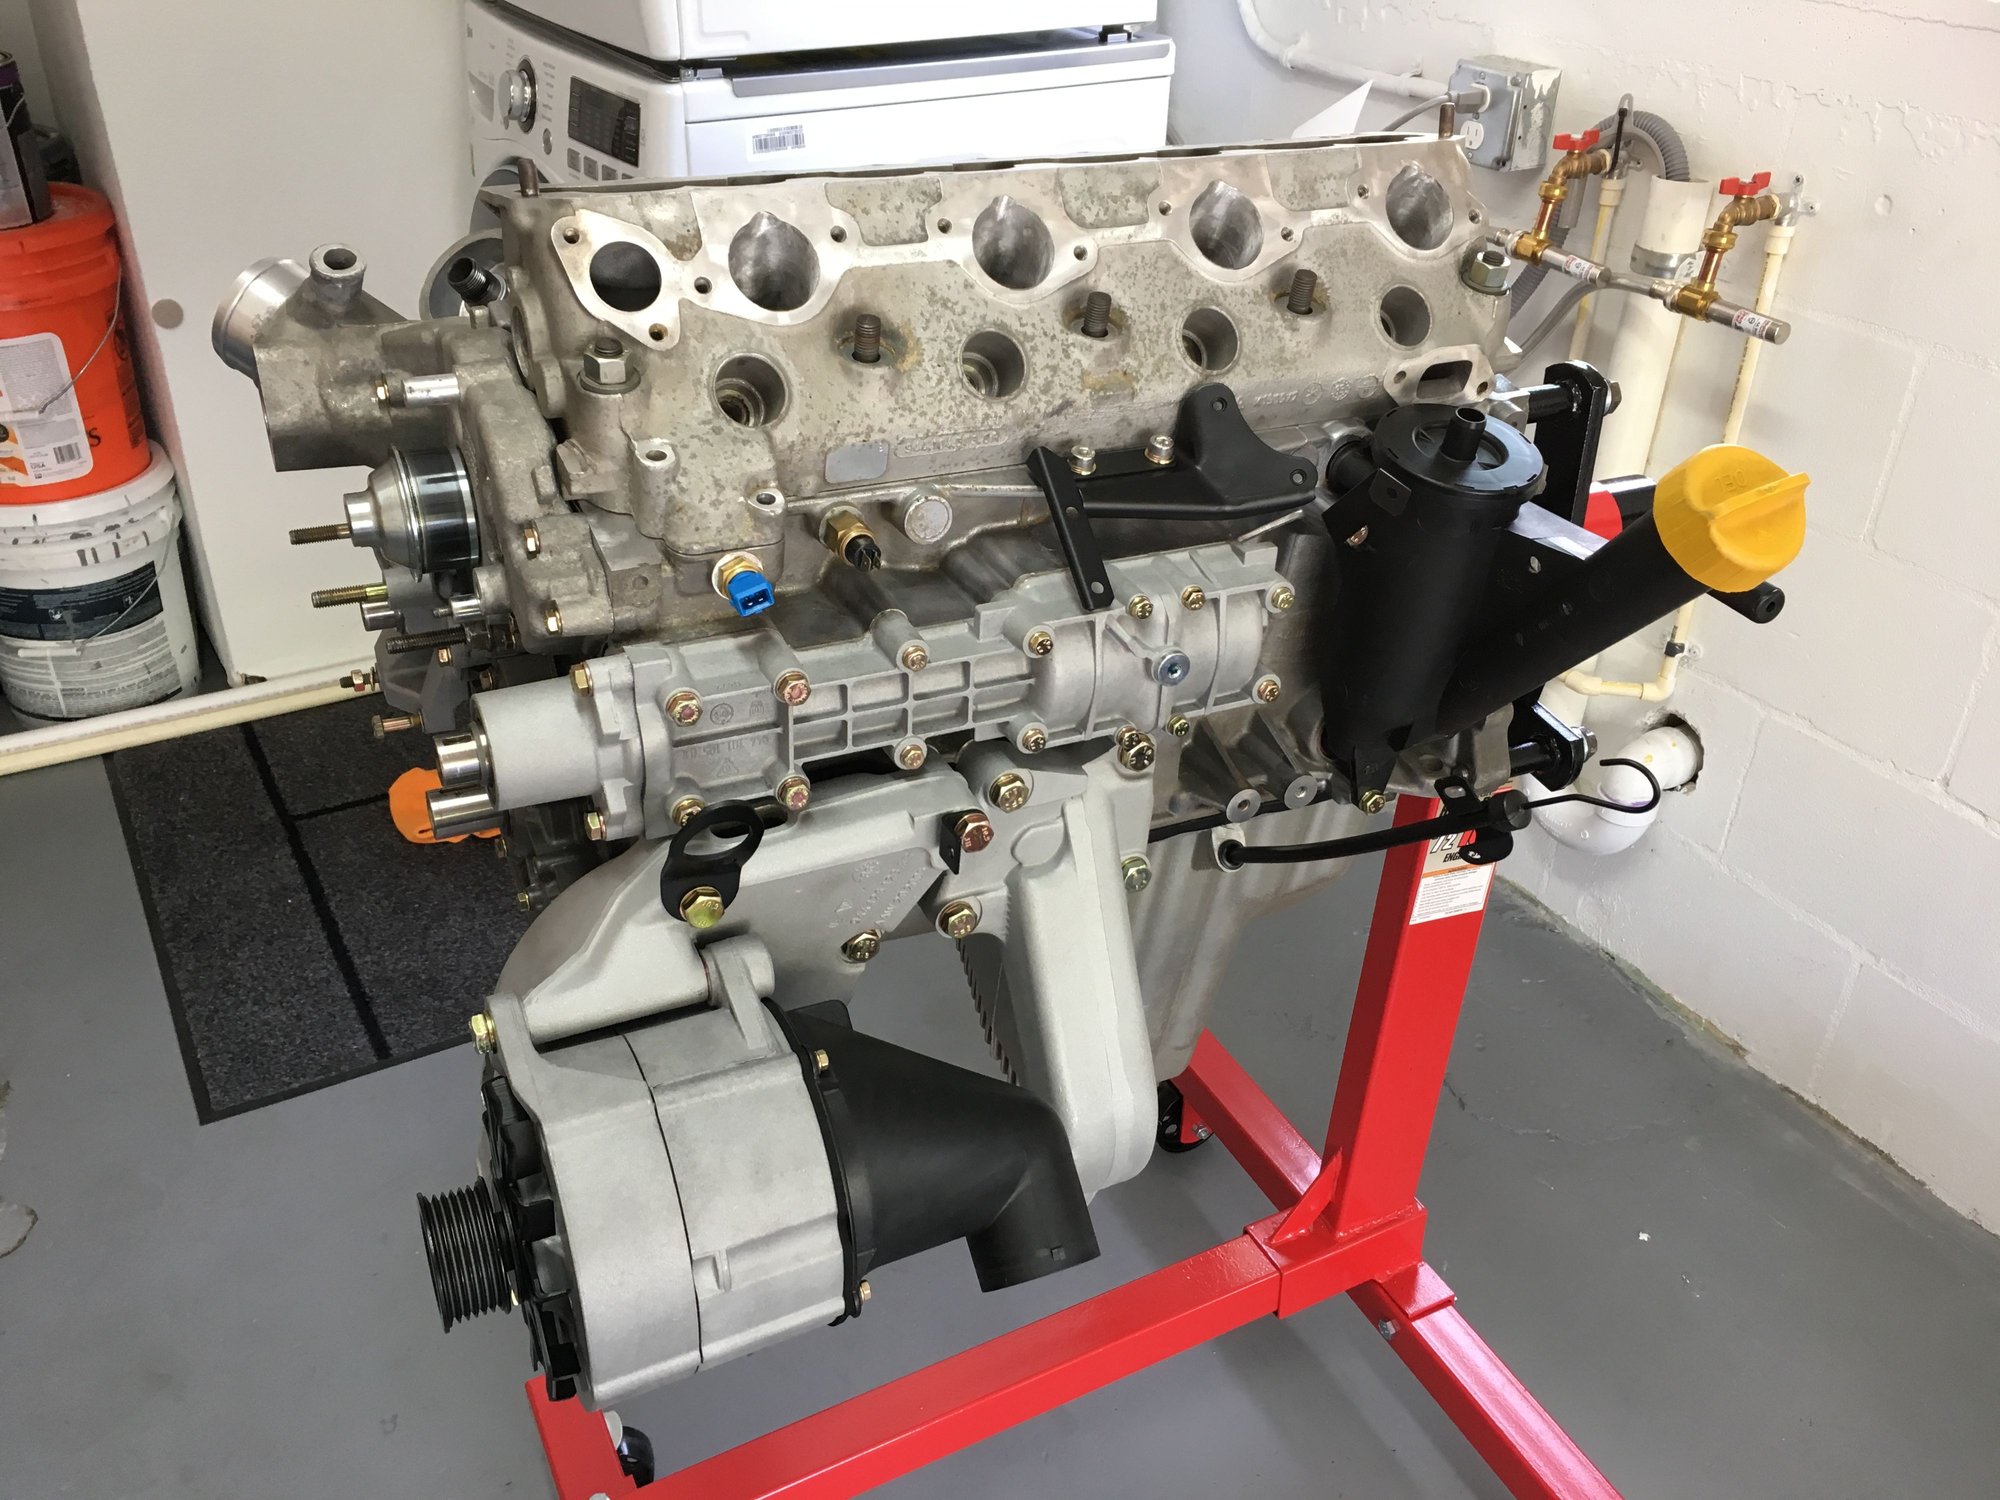
Since I couldn't button up the bottom end, I decided to reinstall a few other components. Cleaned up the water pump a bit and got that installed. It was brand new less than 10k miles ago, so it seemed silly to replace it again.
Reinstalled the alternator support and the engine mount supports (cylinder head and oil pan installed temporarily to get them out of the way).
And that's a wrap for now. Have to travel to Latin America tomorrow for work so unfortunately no more progress this week.
I will leave you with this image below though...chickens literally crossing the city street in Ybor City, downtown Tampa. Apparently they're protected and just sort of do their own thing. Kind of cool.
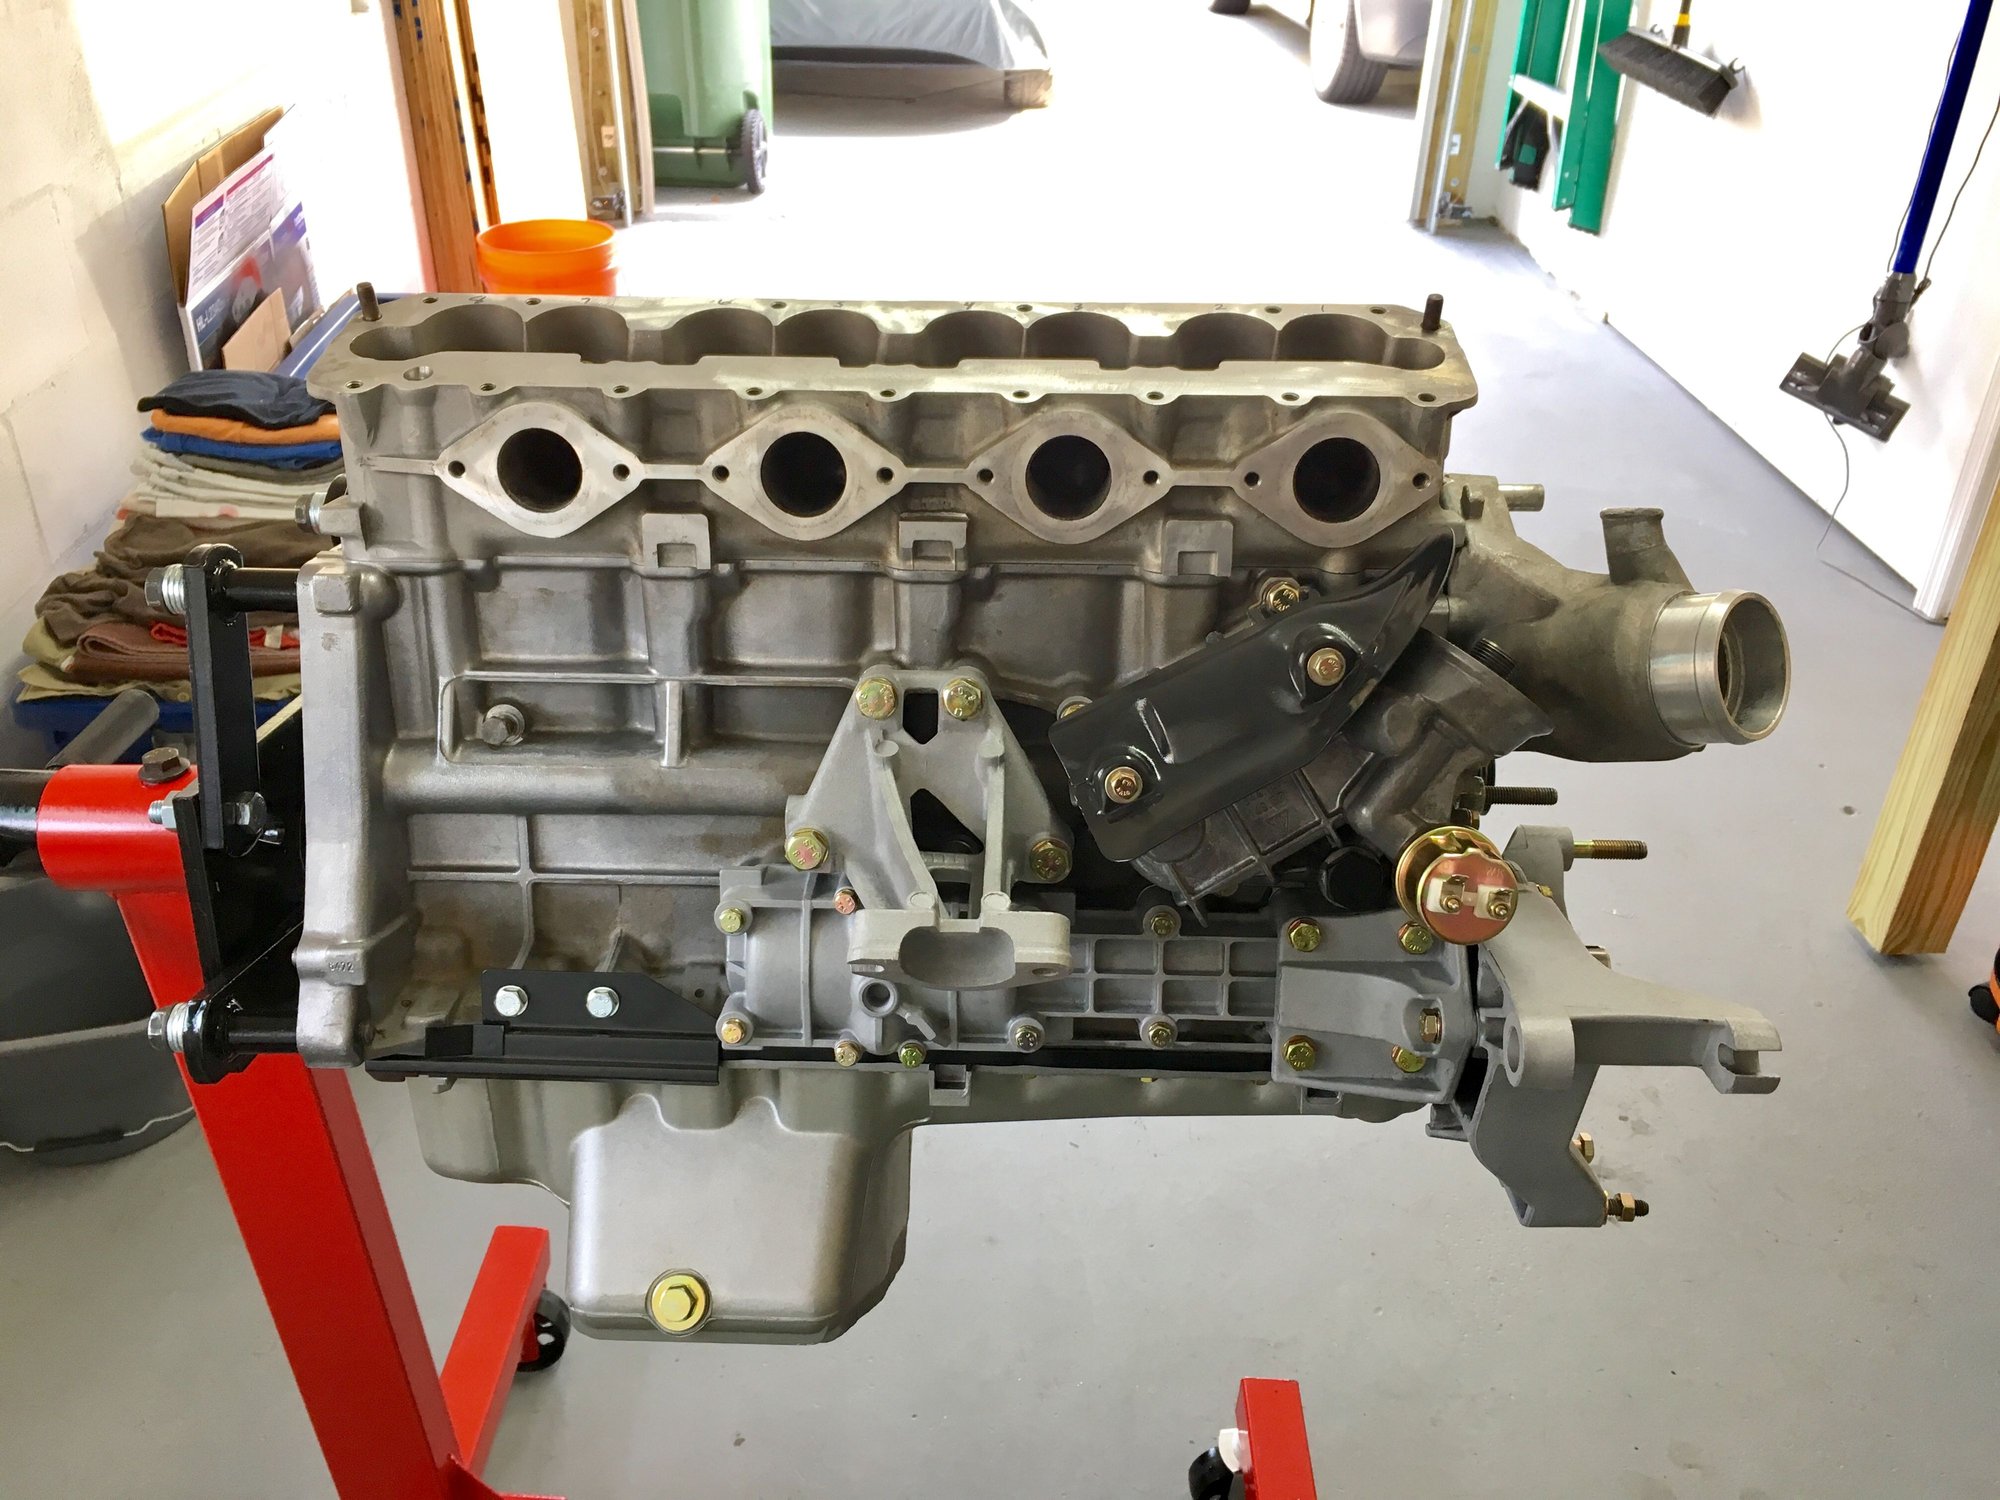
More progress! Got that last piston installed and did not break another piston ring! Go me.
Got the oil pan back on and all torqued down. Quite the tightening sequence. Porsche sure does love their M6-1.0 fasteners...
Oil cooler and housing reinstalled. I did the housing using the oil pressure relief valve as my alignment tool since the engine was out of the car. Worked like a charm - threaded it all the way in by hand, torqued down the fasteners and then made sure I could thread it back out by hand. Easy peasy.
Cleaned the AOS and mounted that along with some of the other miscellaneous harness brackets and heat shields. Mounted the alternator as well.
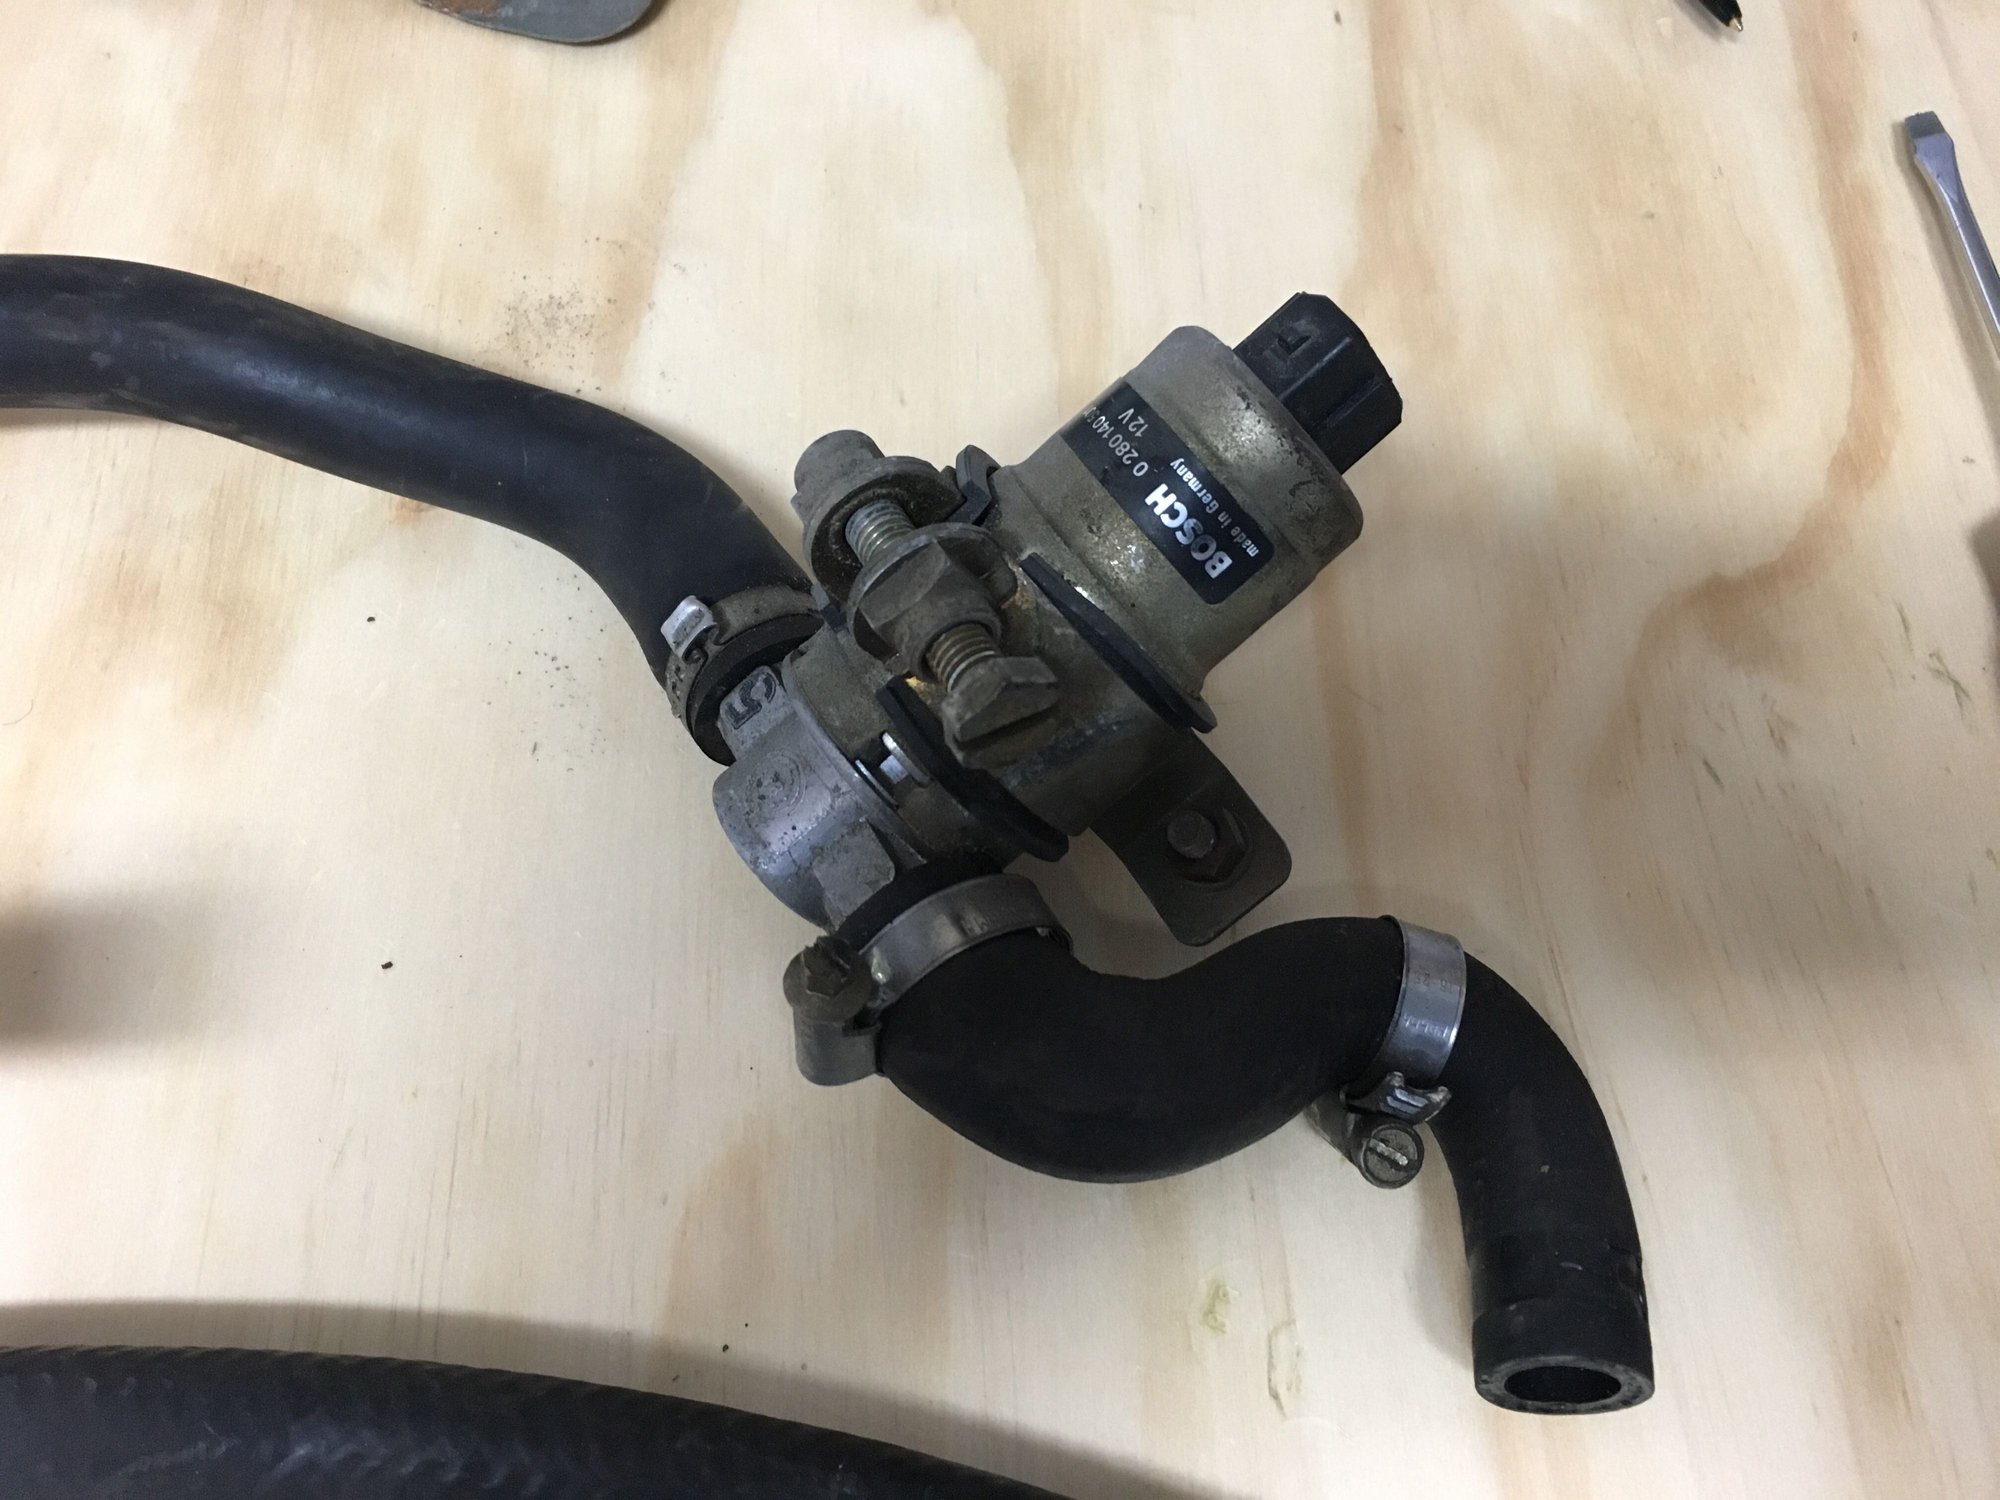
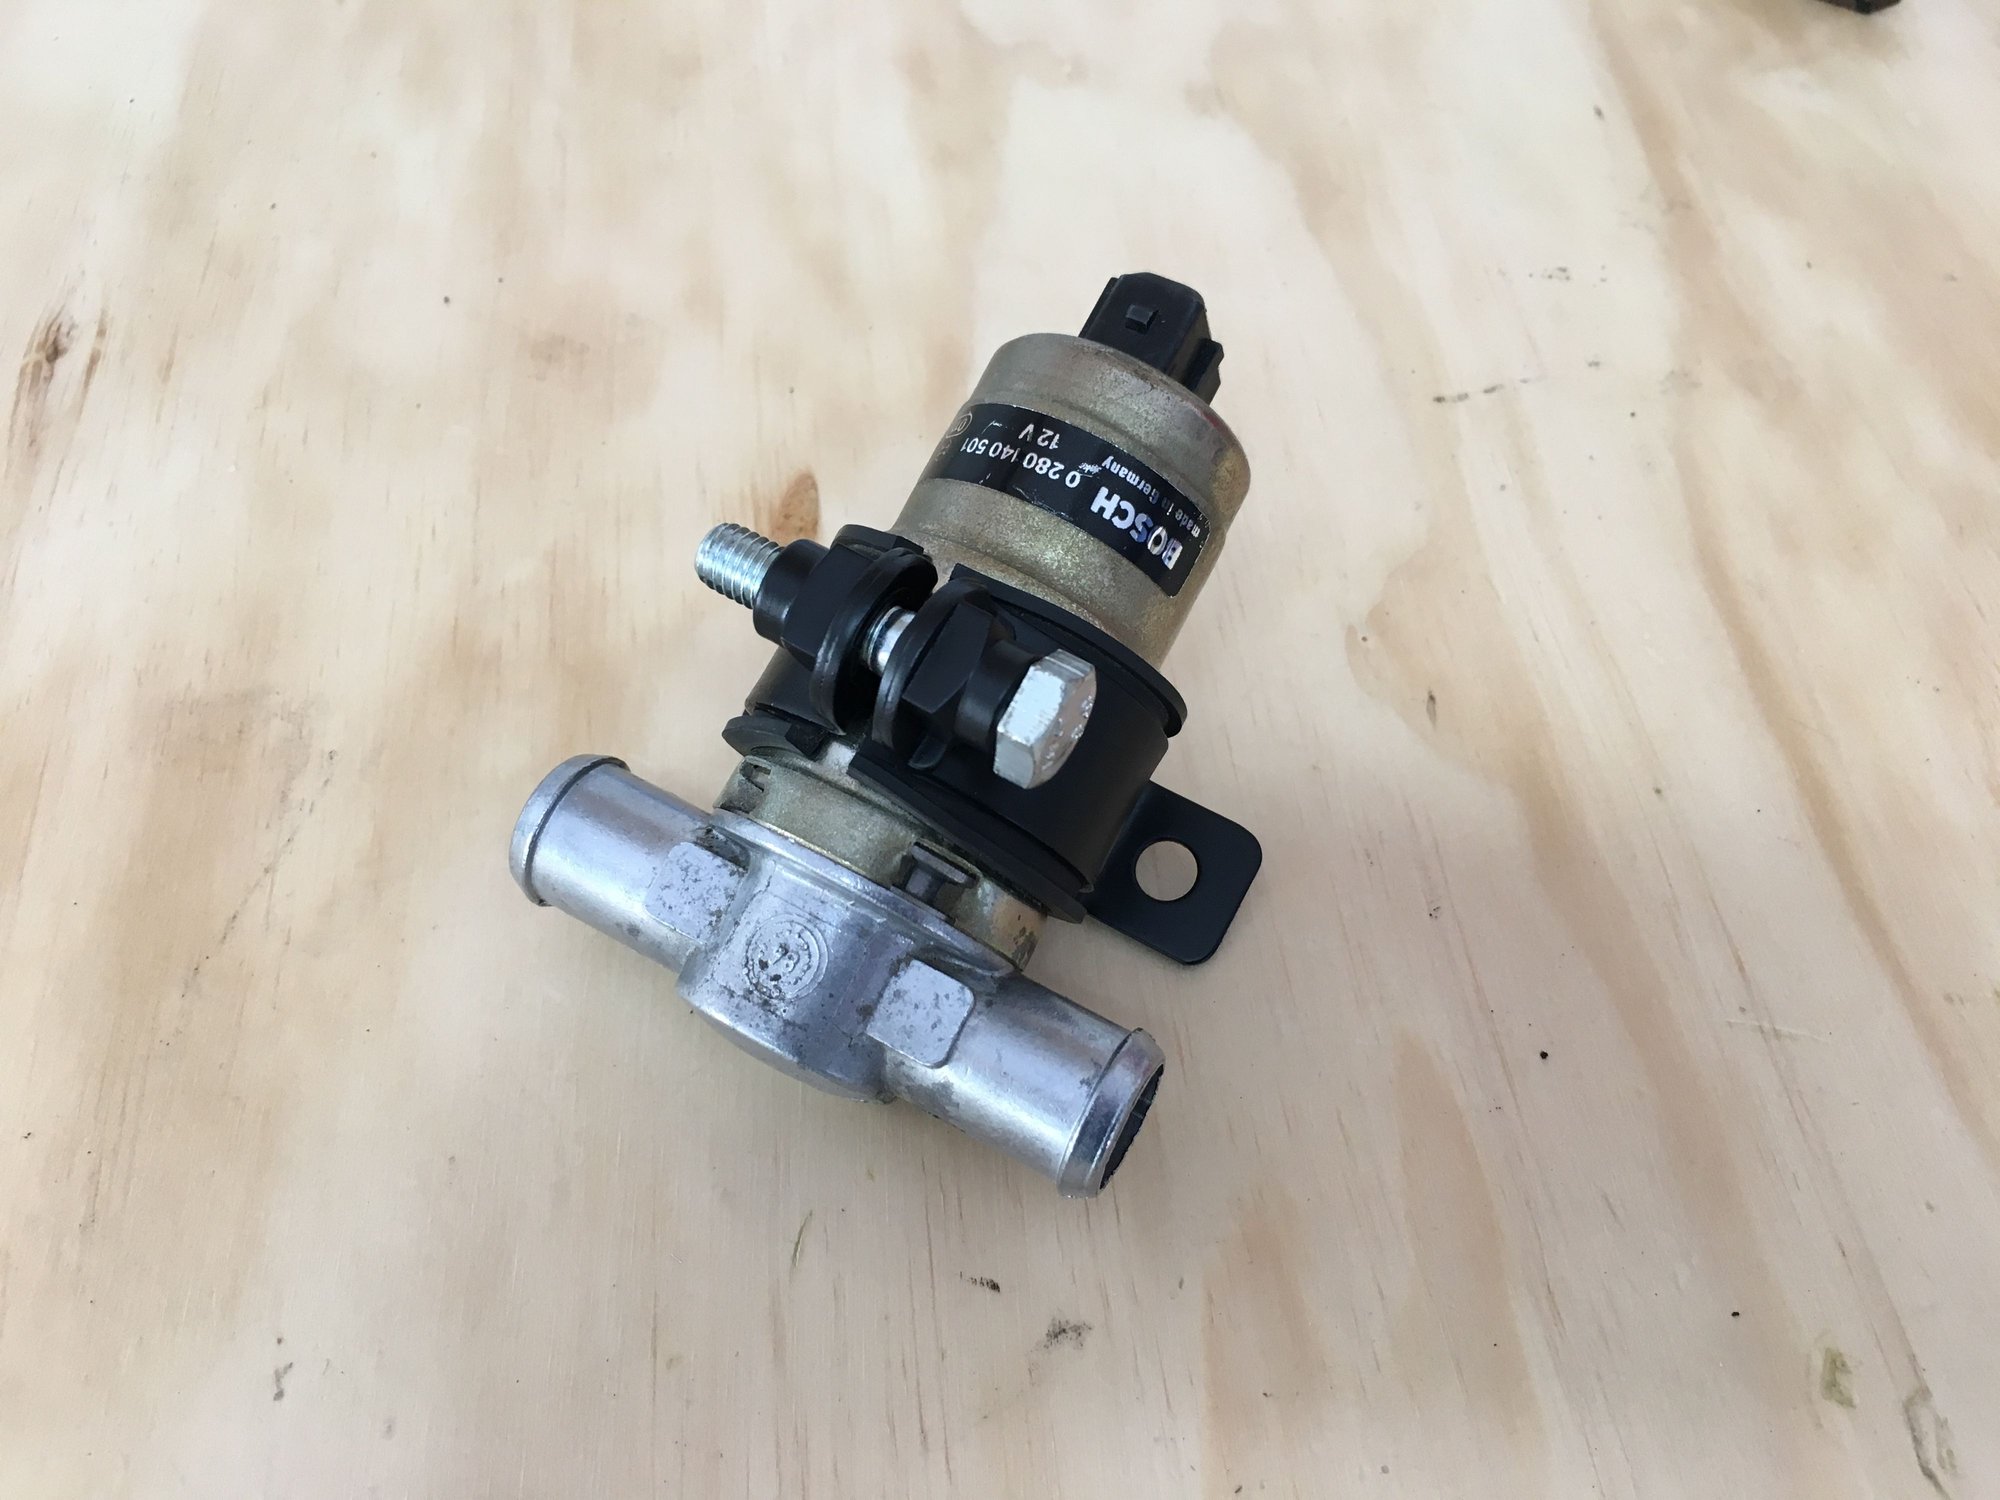
Cleaned up the ICV but need to order some new rubber isolators before it can be mounted. Surprisingly the rubber on my clamp was still in perfect shape.
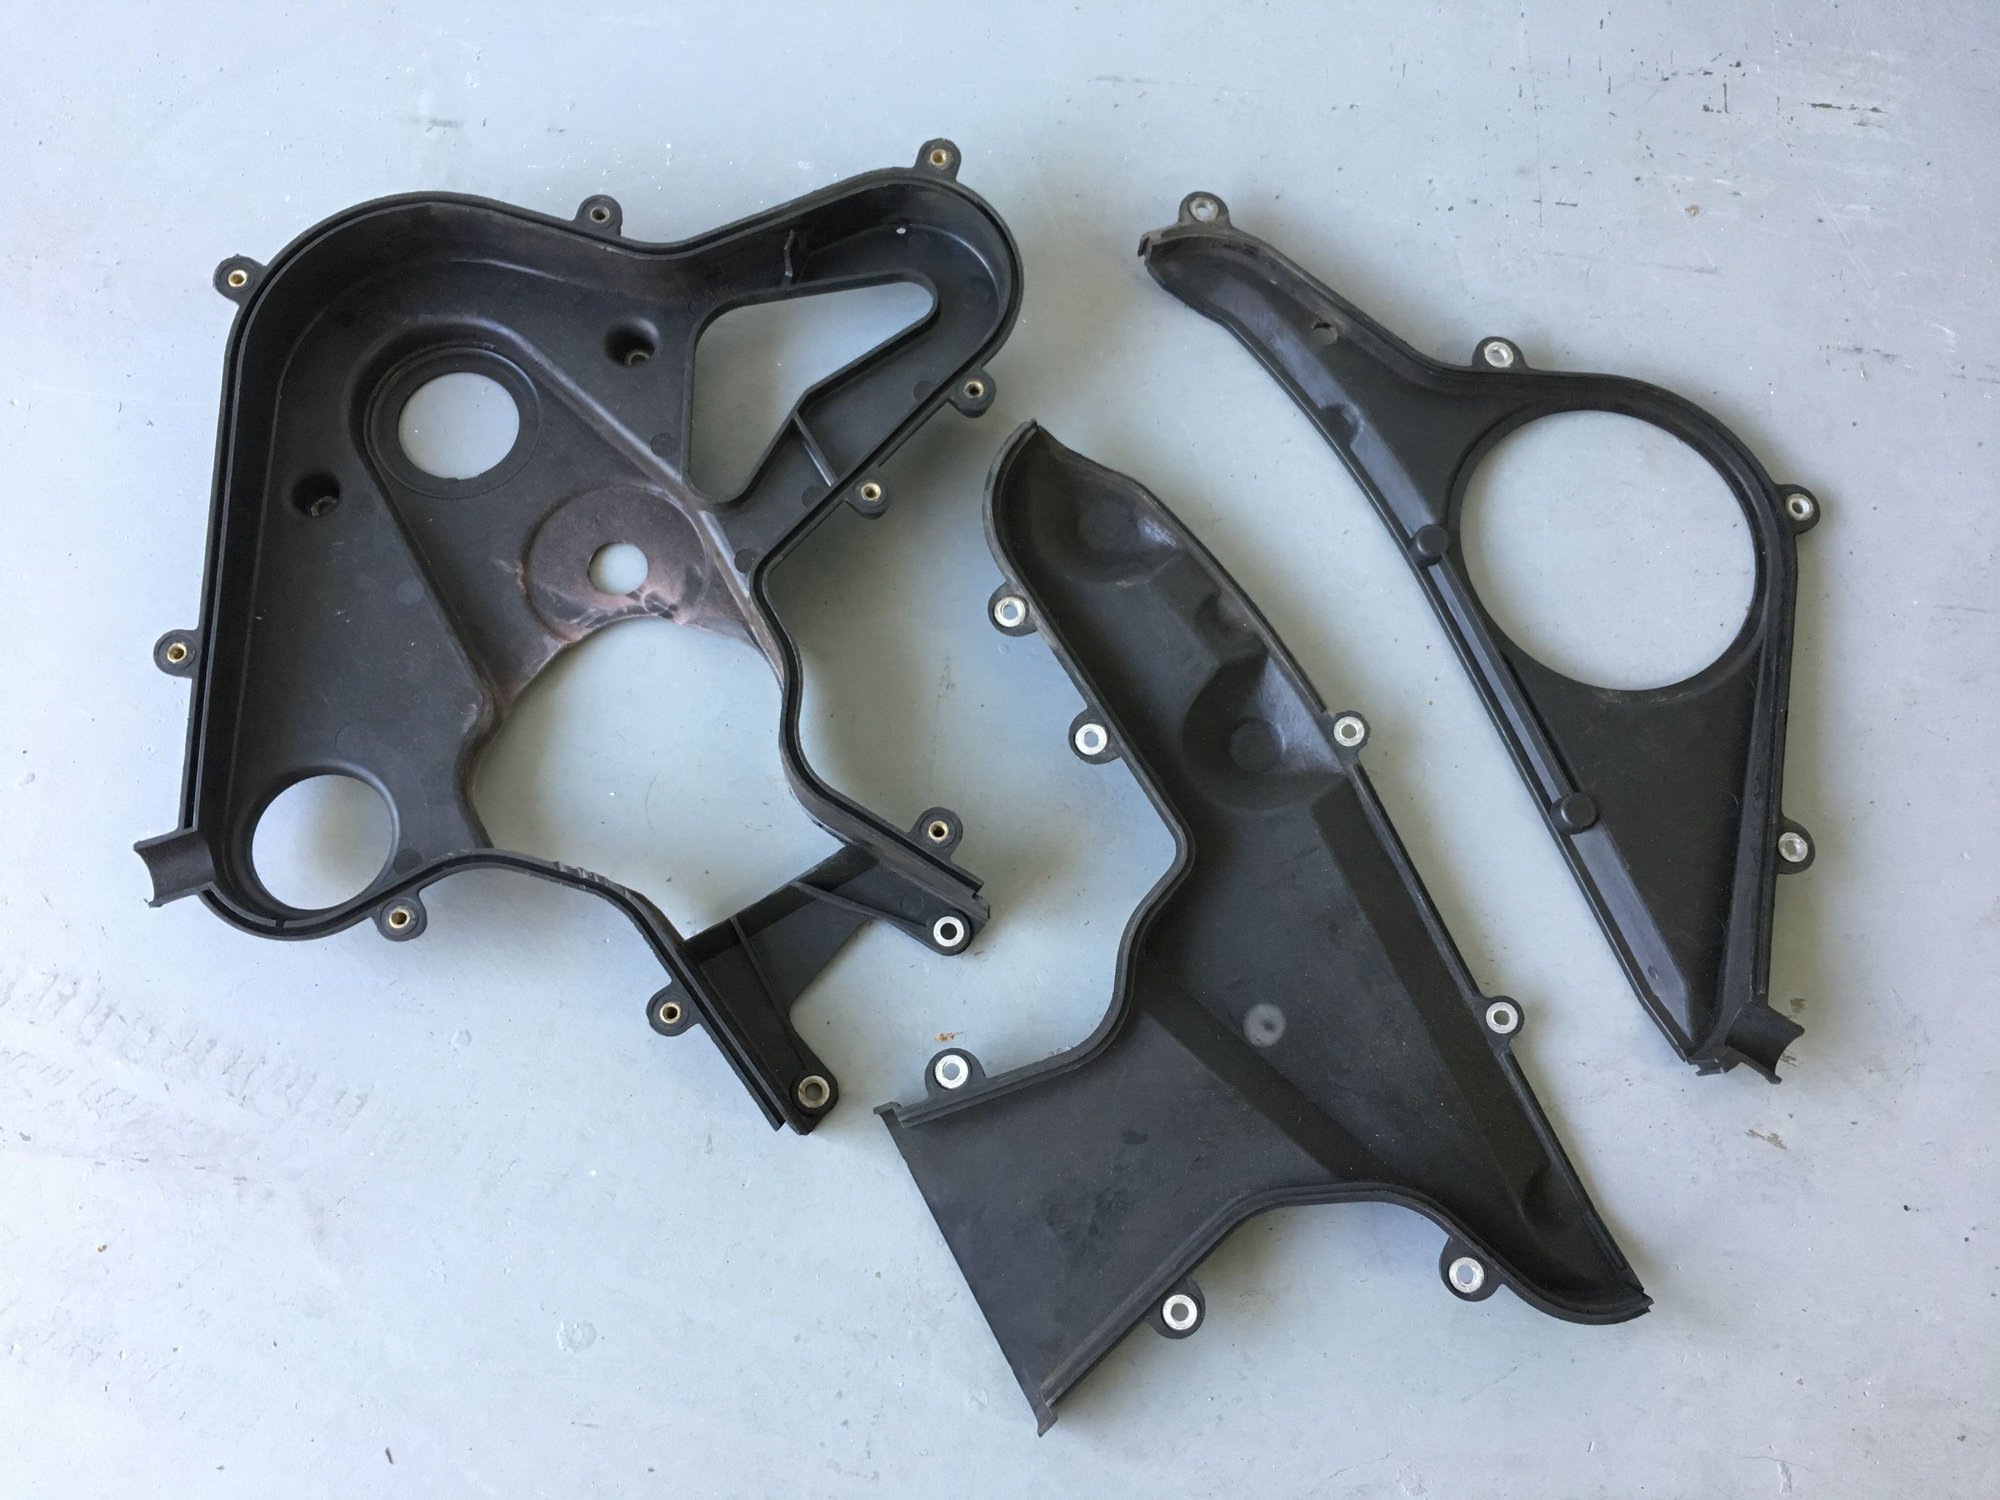
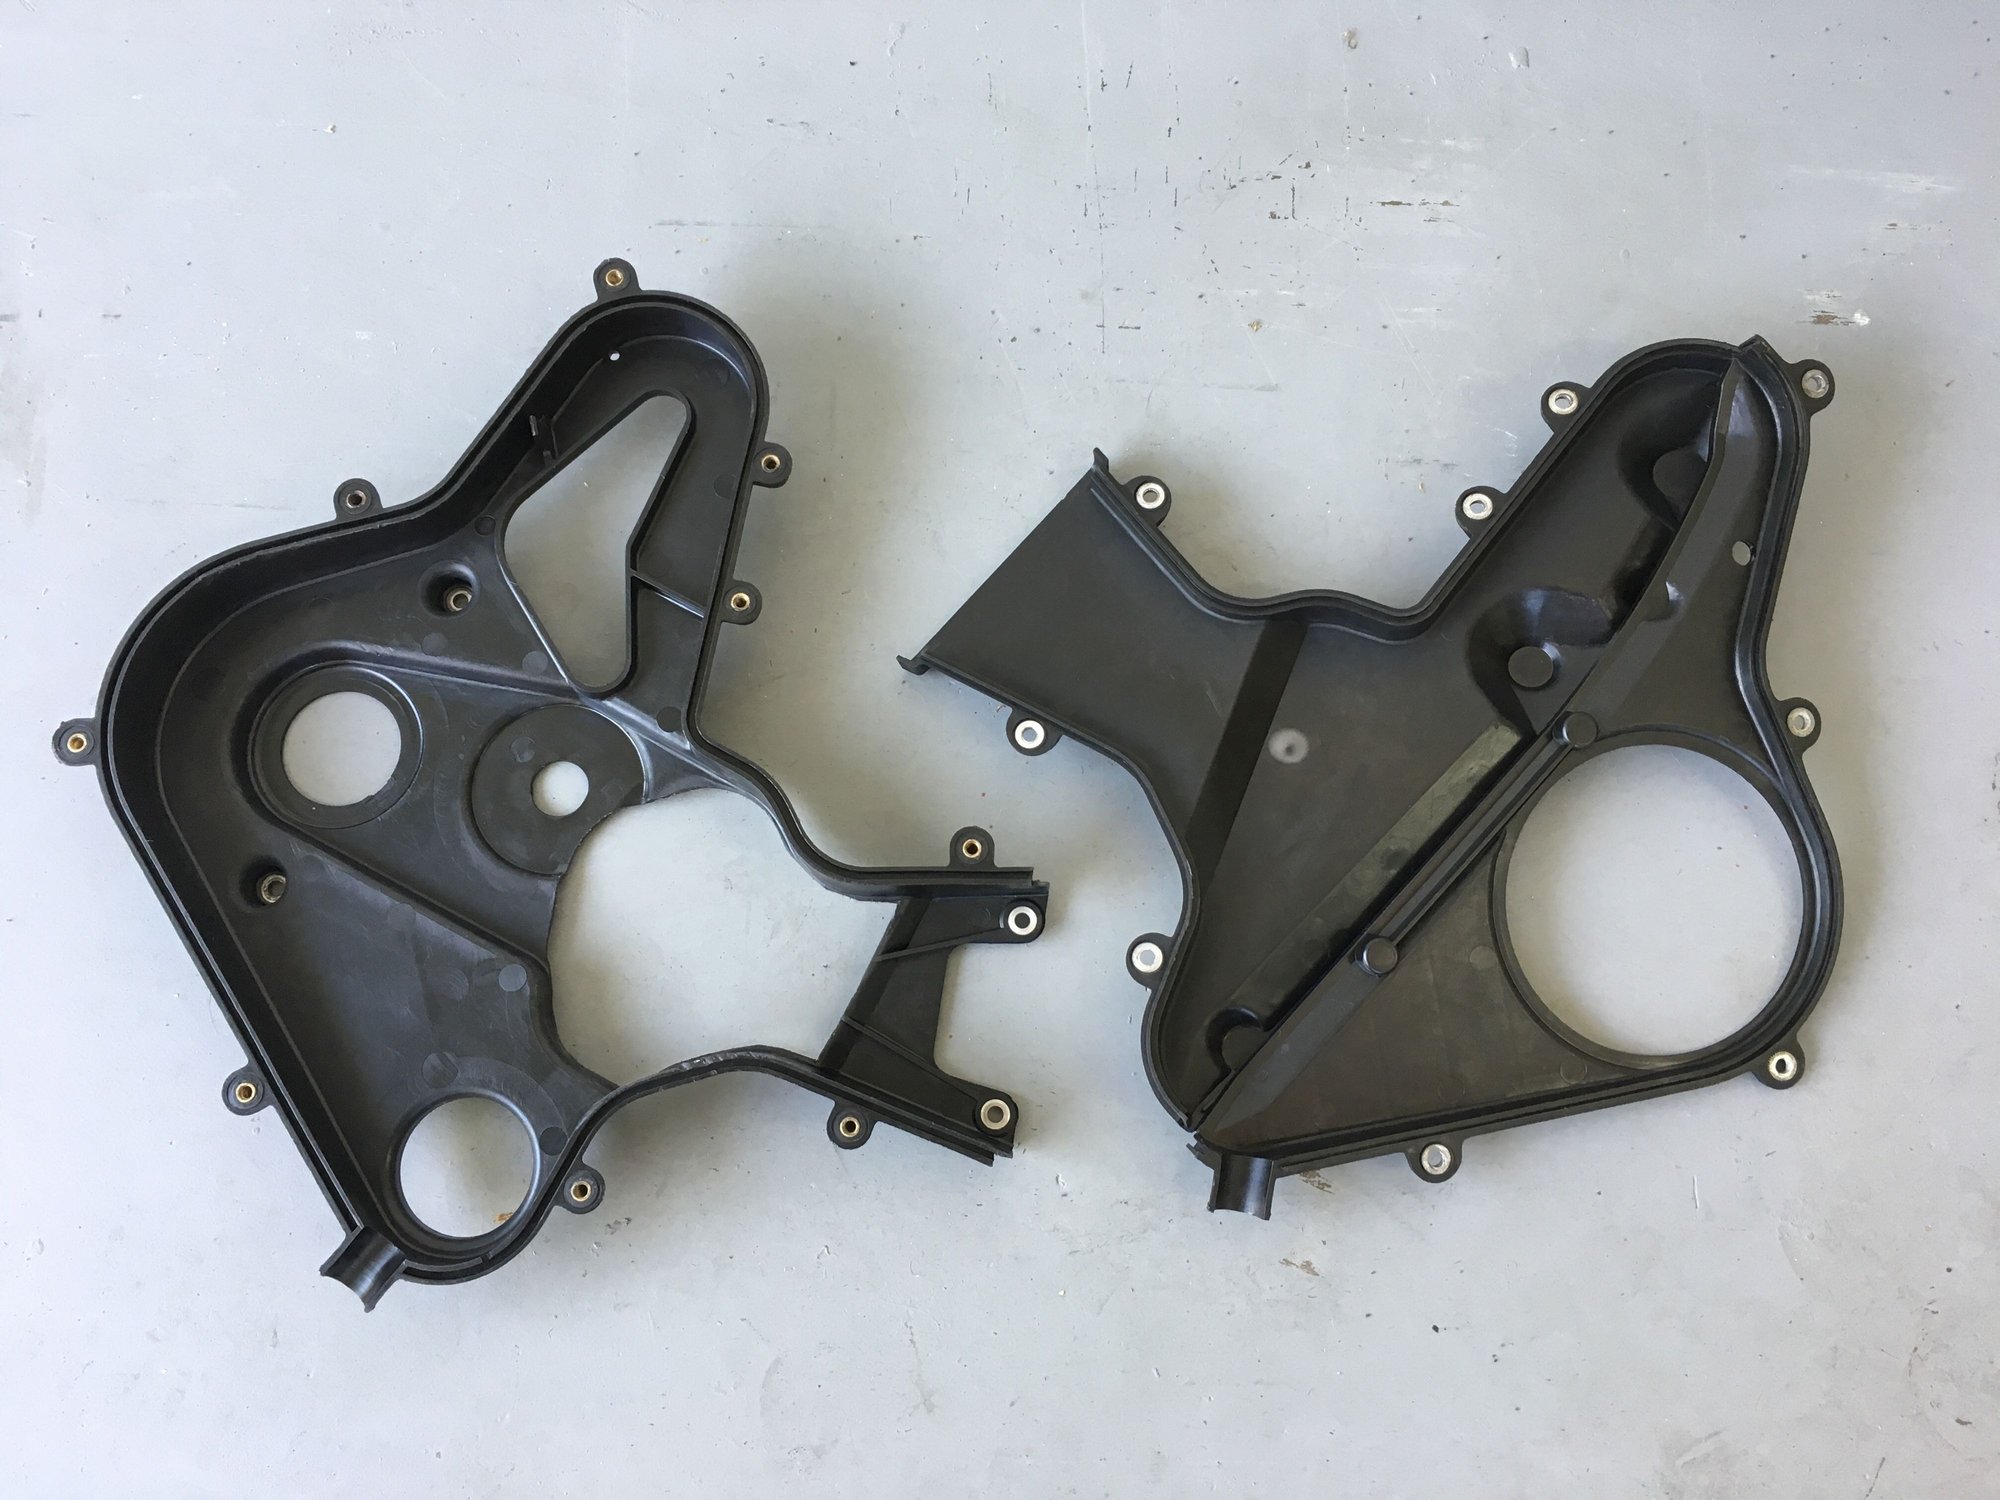
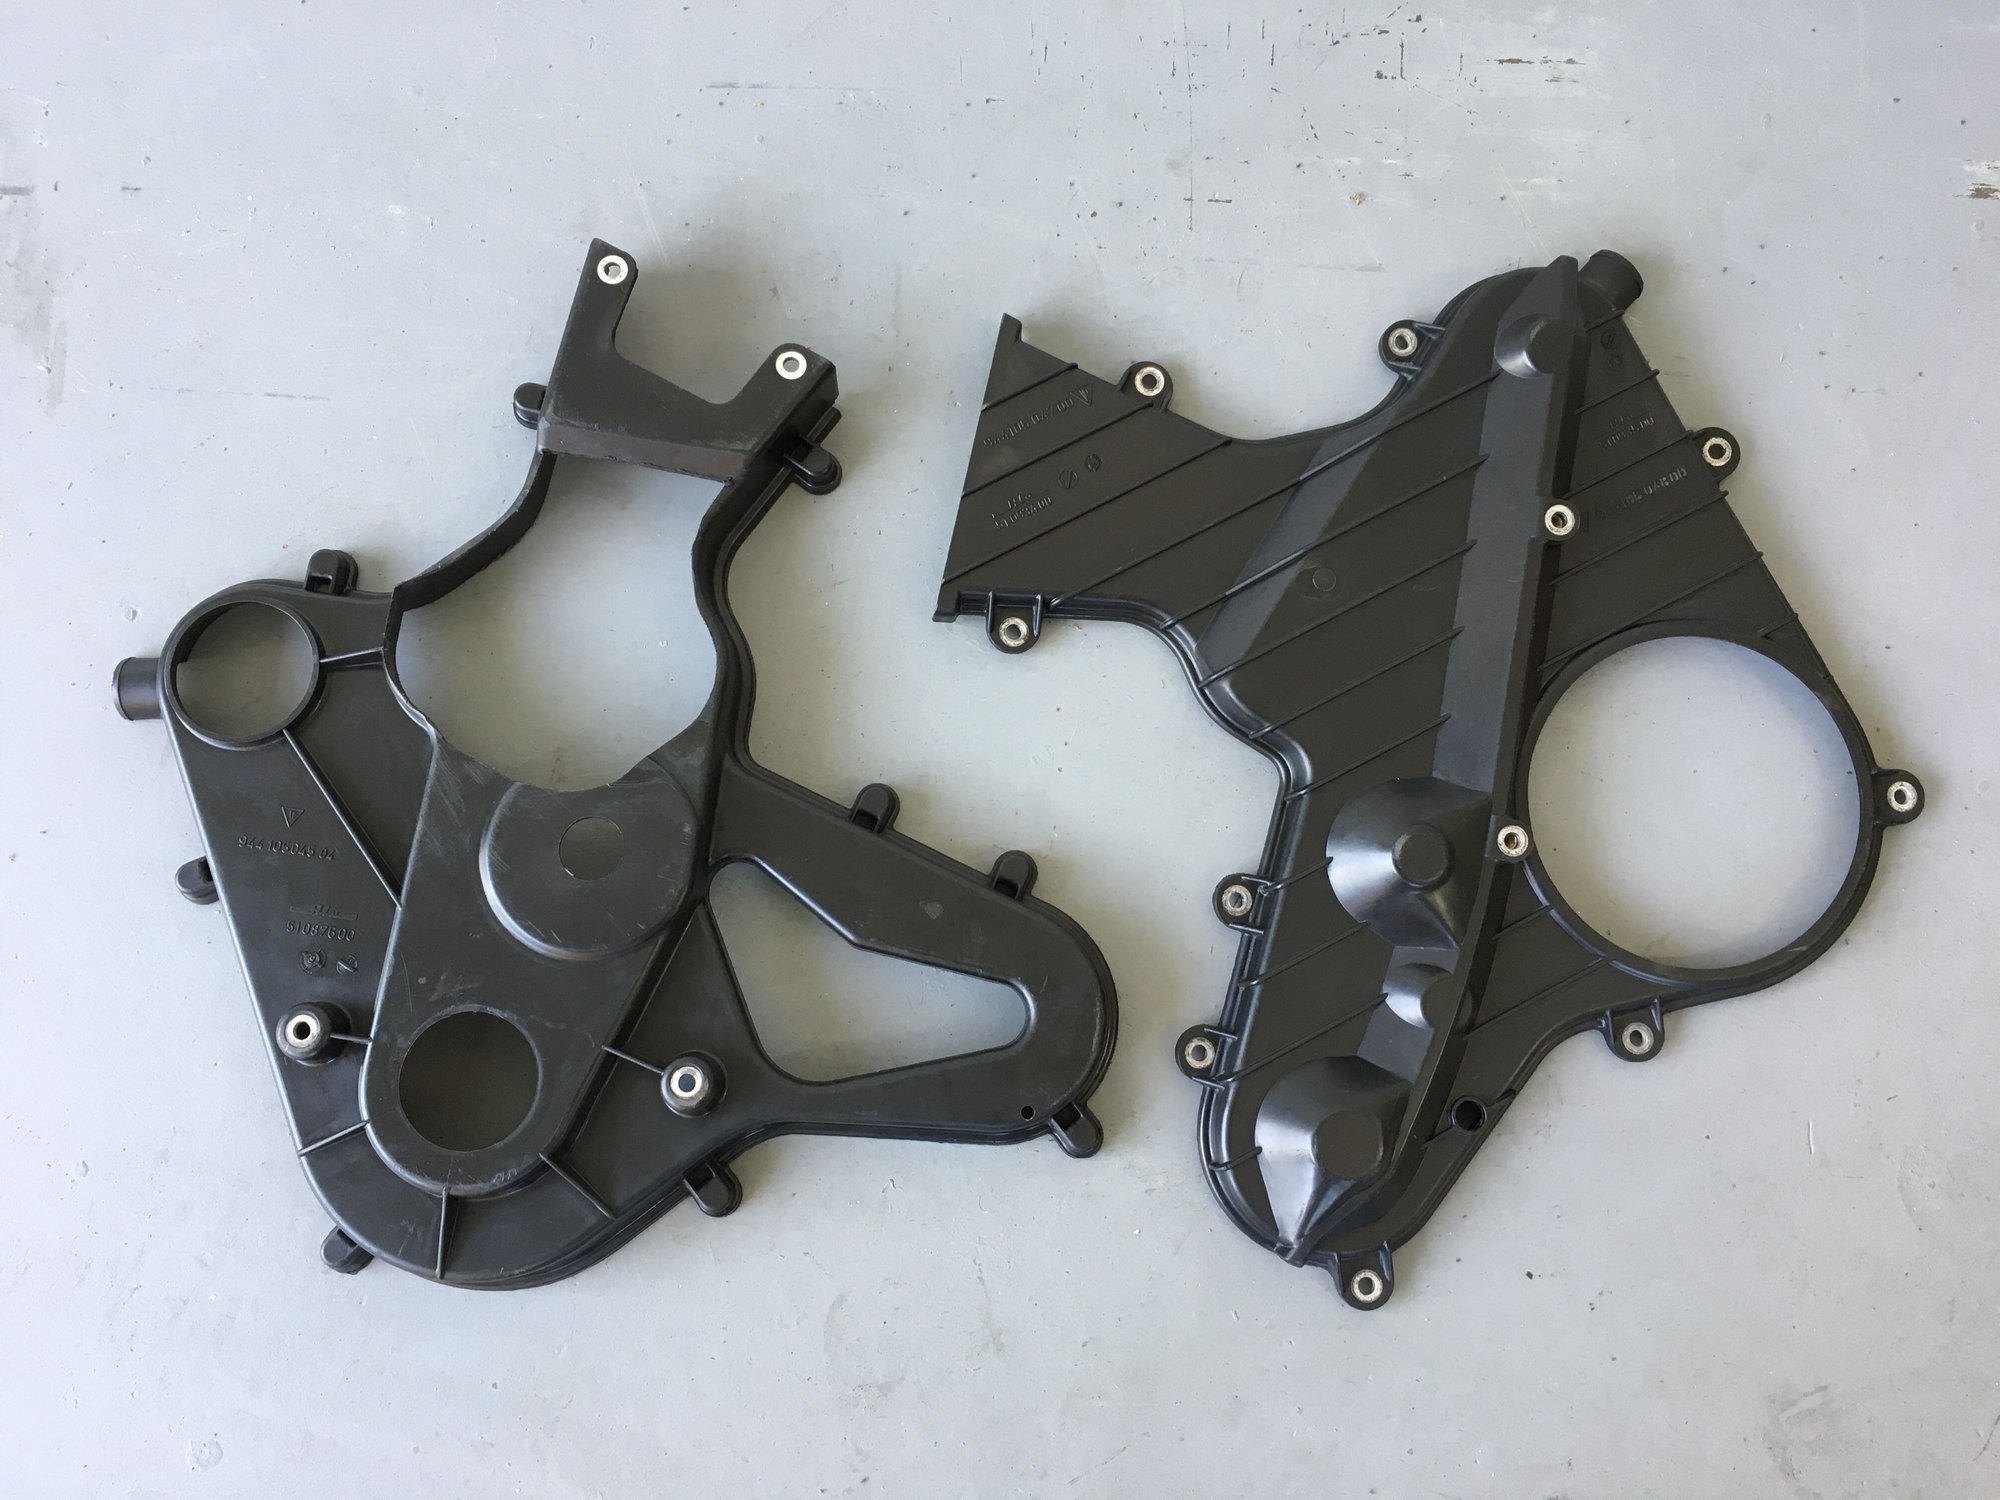
Cleaned up the belt guards to get them ready for installation. I forgot to take a photo of the outsides of them, but they were pretty gunned up. Took a bit of elbow grease but they look new.
I need to start cleaning/checking the harness to make sure it's in good shape so I can get that installed before it becomes more difficult with other components around it.
I still need to get the cylinder head rebuilt, but I have all new springs and guides for that, so it's just a matter of picking a shop here in Tampa. I found a few pretty close to me so I'll have to scope them out a bit.
Also, I purchased some new M8 yellow zinc plated socket head screws for the intake manifold and cam tower. Found a good deal on them at Eagle Day if anyone else is looking for some at a much more reasonable price than the OEM Porsche stuff.
Figured I'd add a bit of an update in here. No major milestones, but lots of little stuff like cleaning and checking harnesses, battery cables and other miscellaneous parts.
My harness was in surprisingly good shape so I just cleaned everything thoroughly and back on the motor it went. Battery cables I removed all the old heat shrink, cleaned away all the corrosion, checked the resistance and then re-heat shrinked the terminals. I'll get some new terminal clamp bolts but other than that we're in good shape.
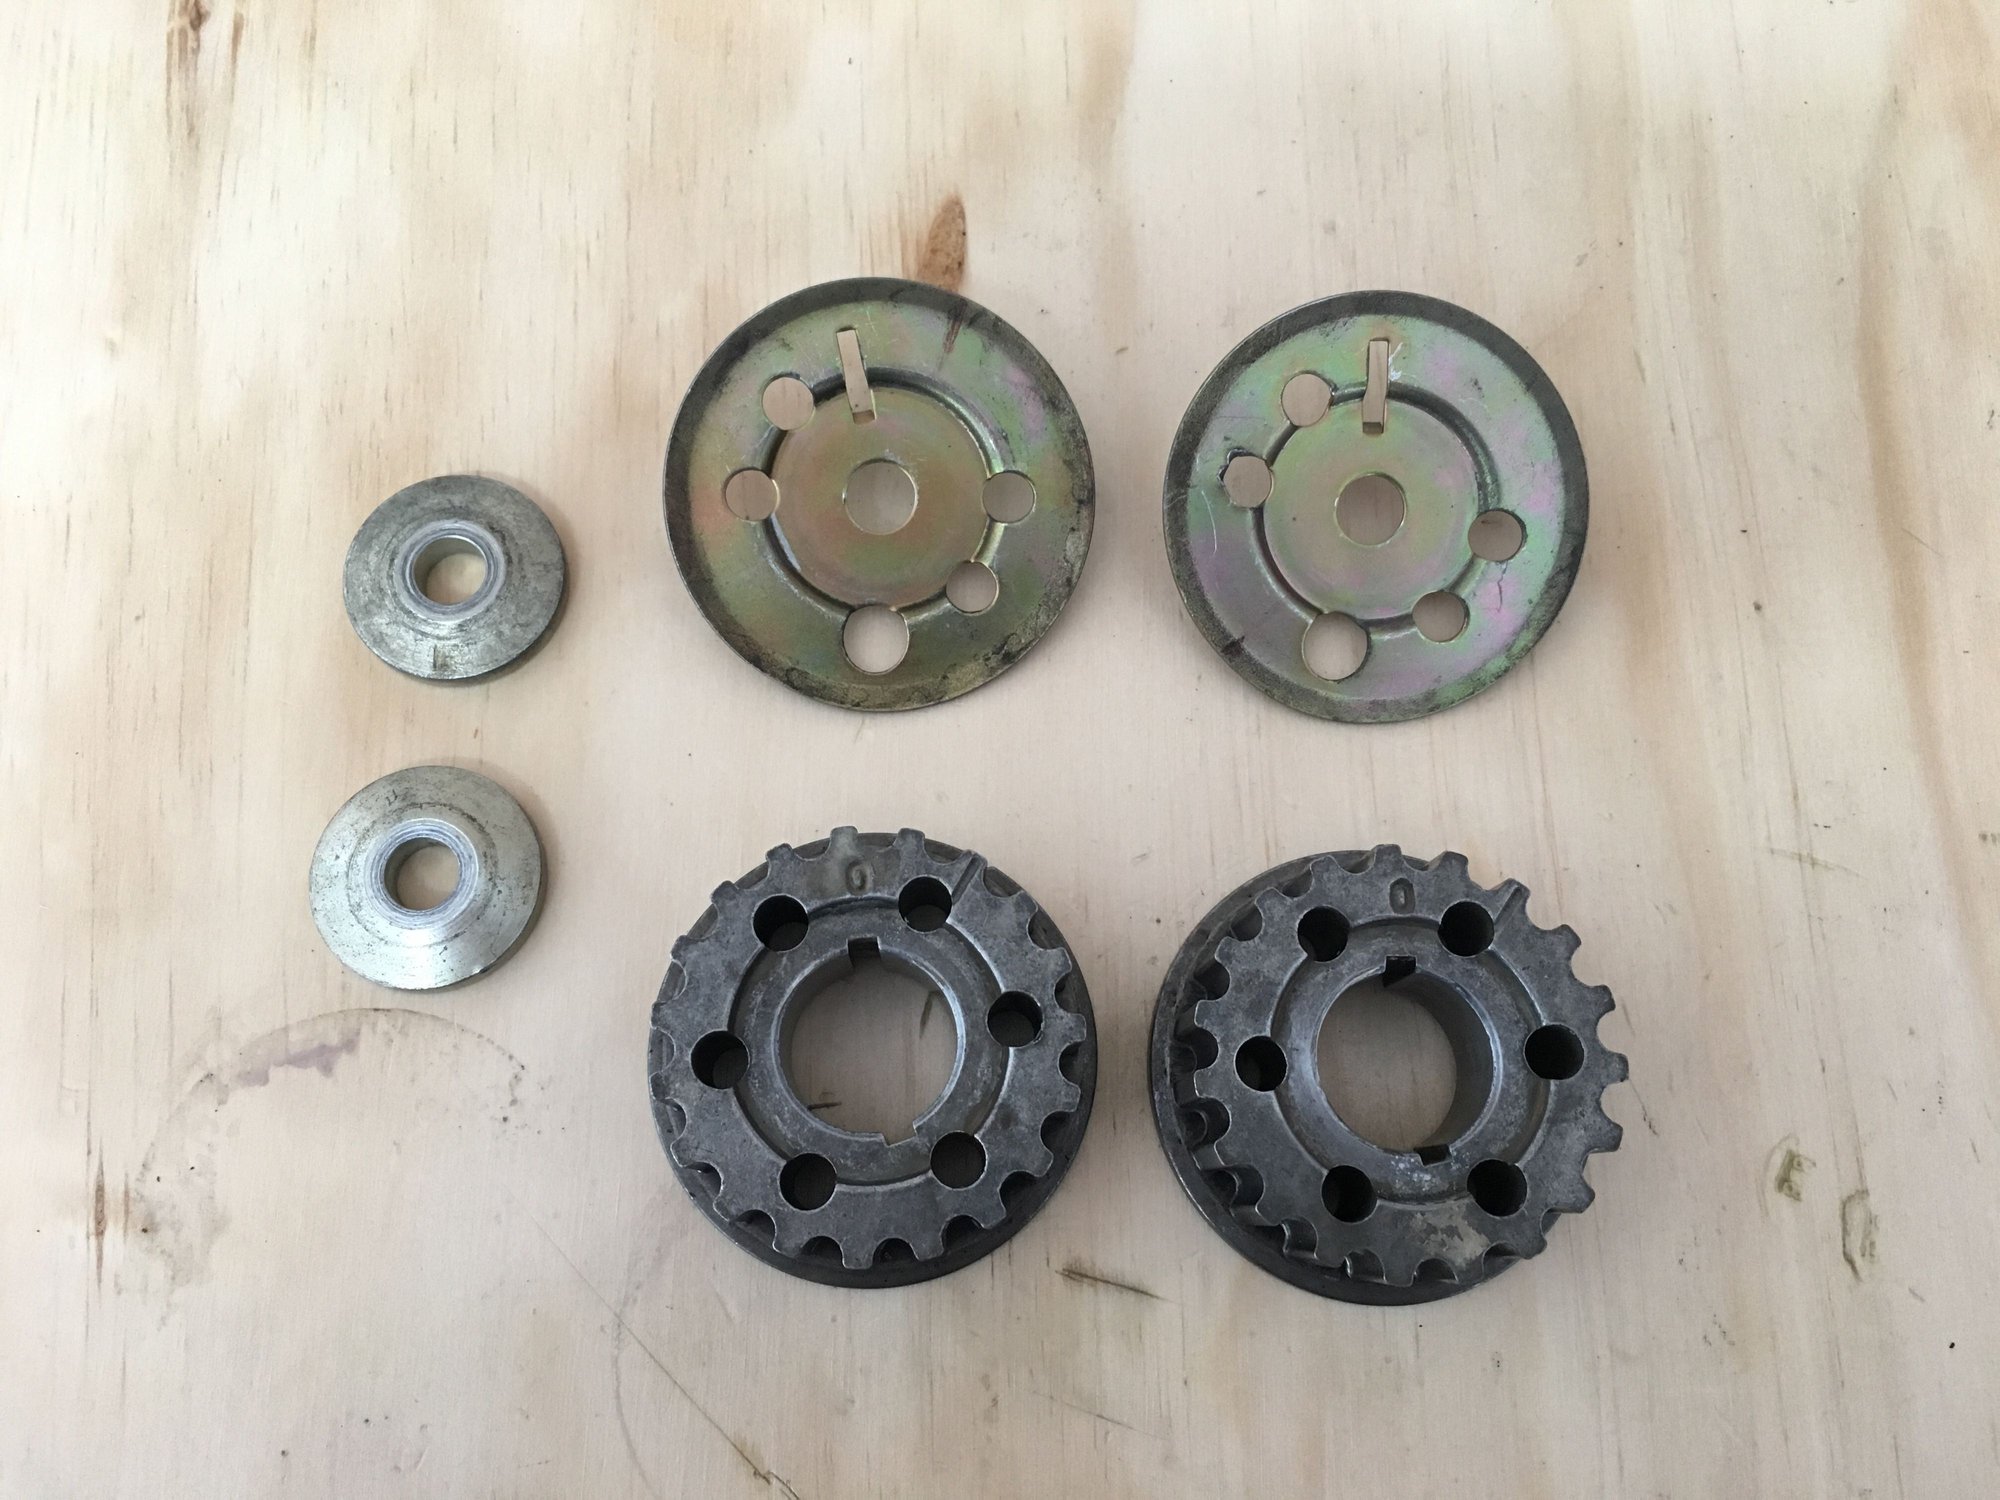
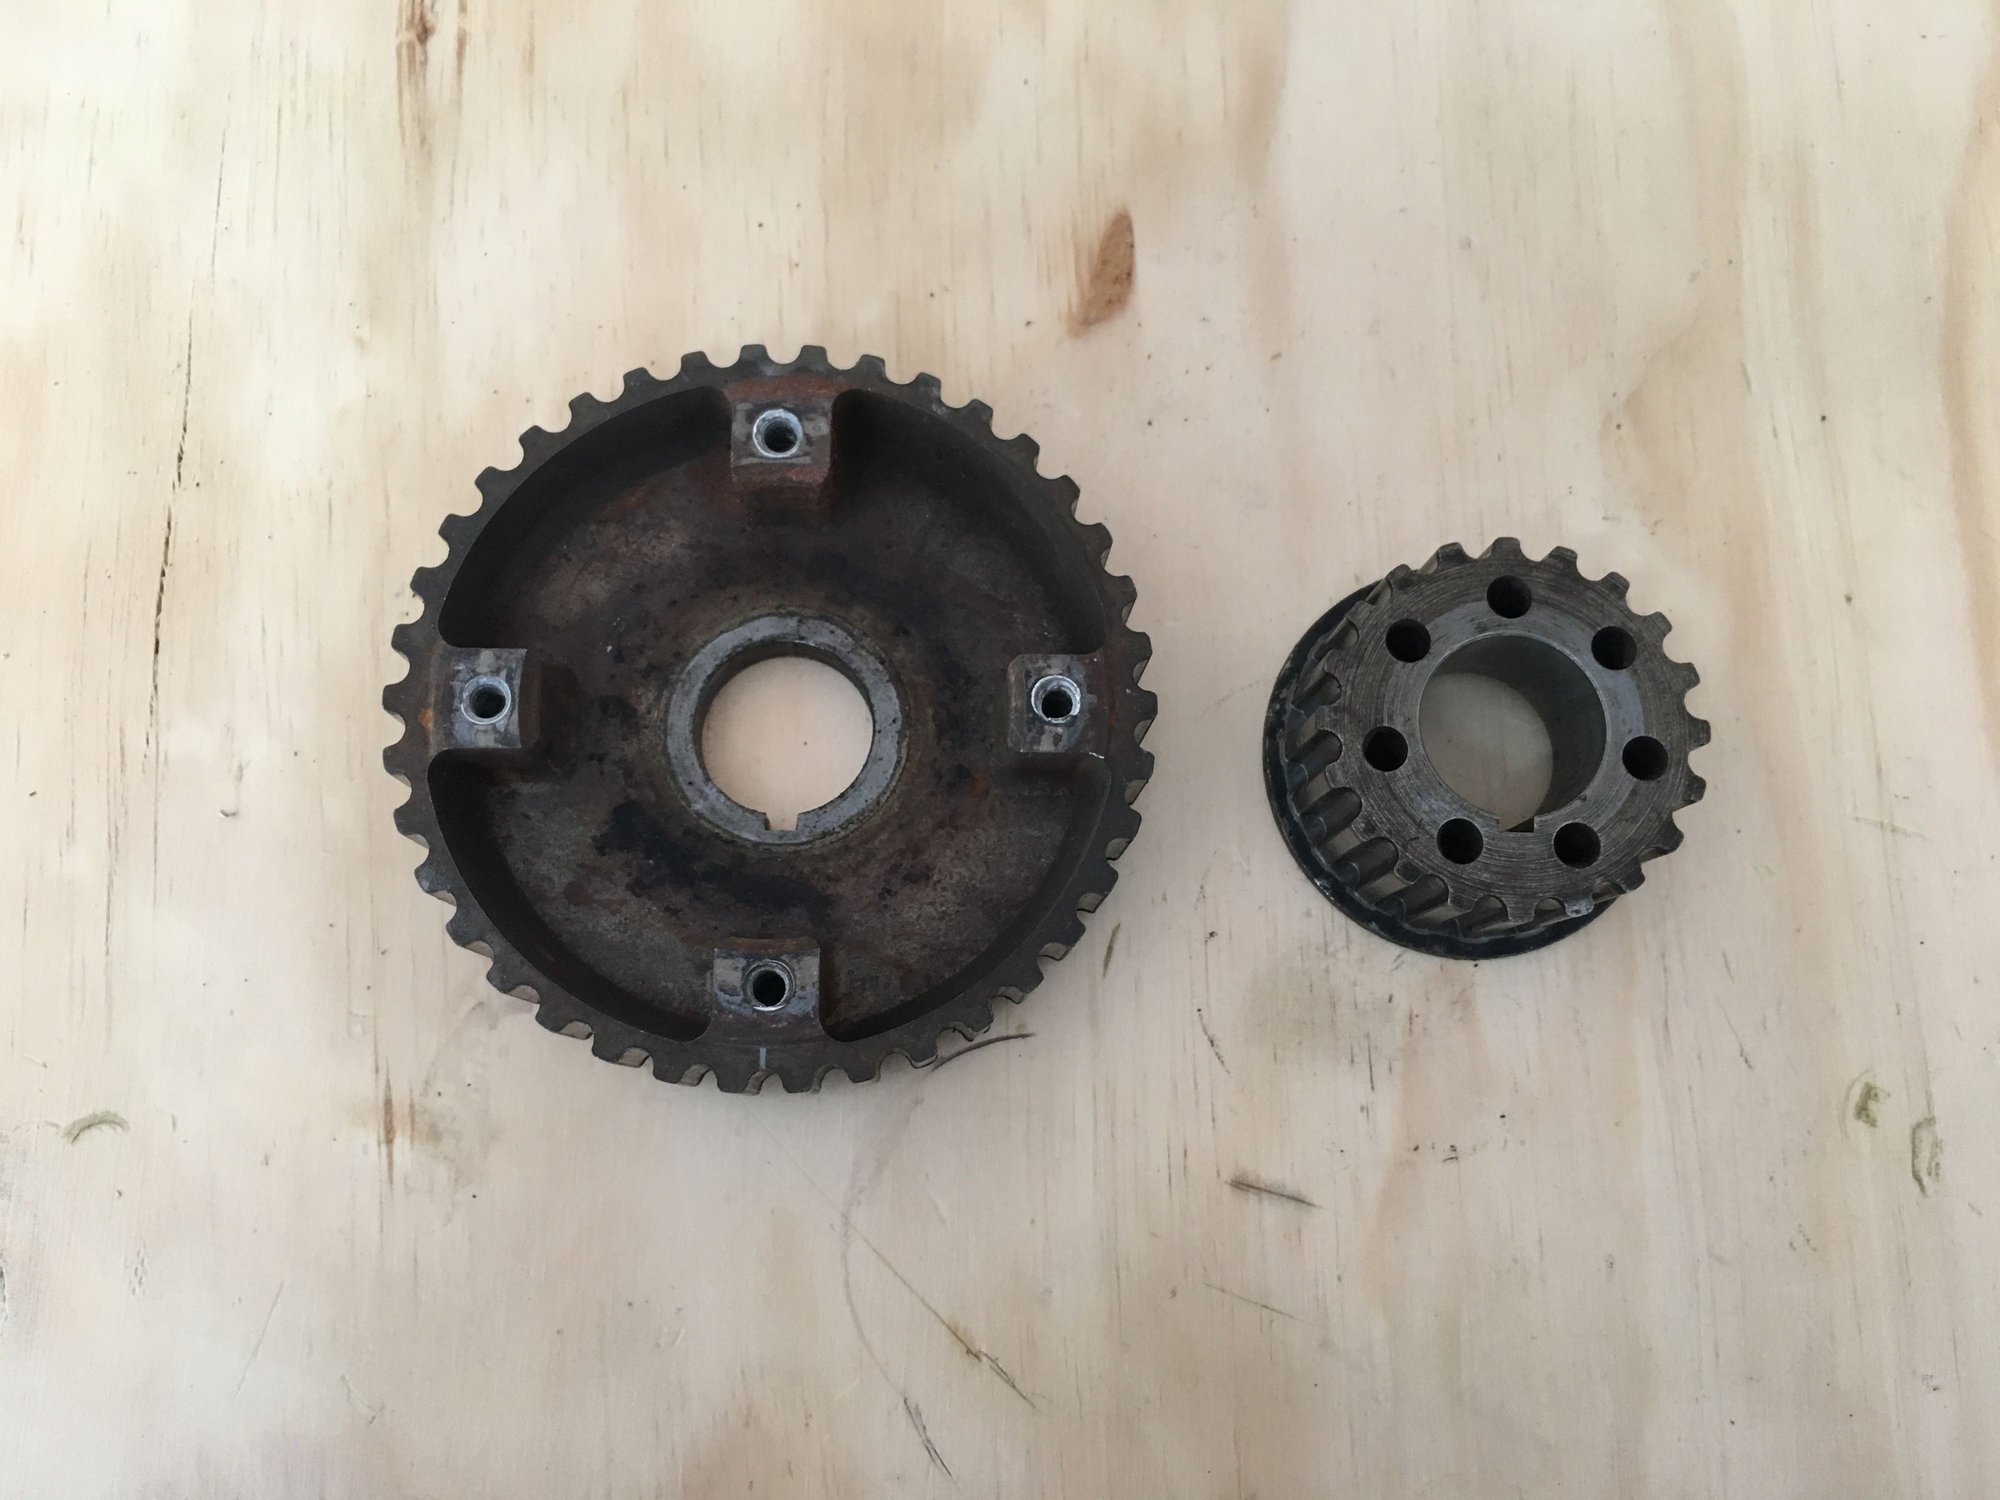
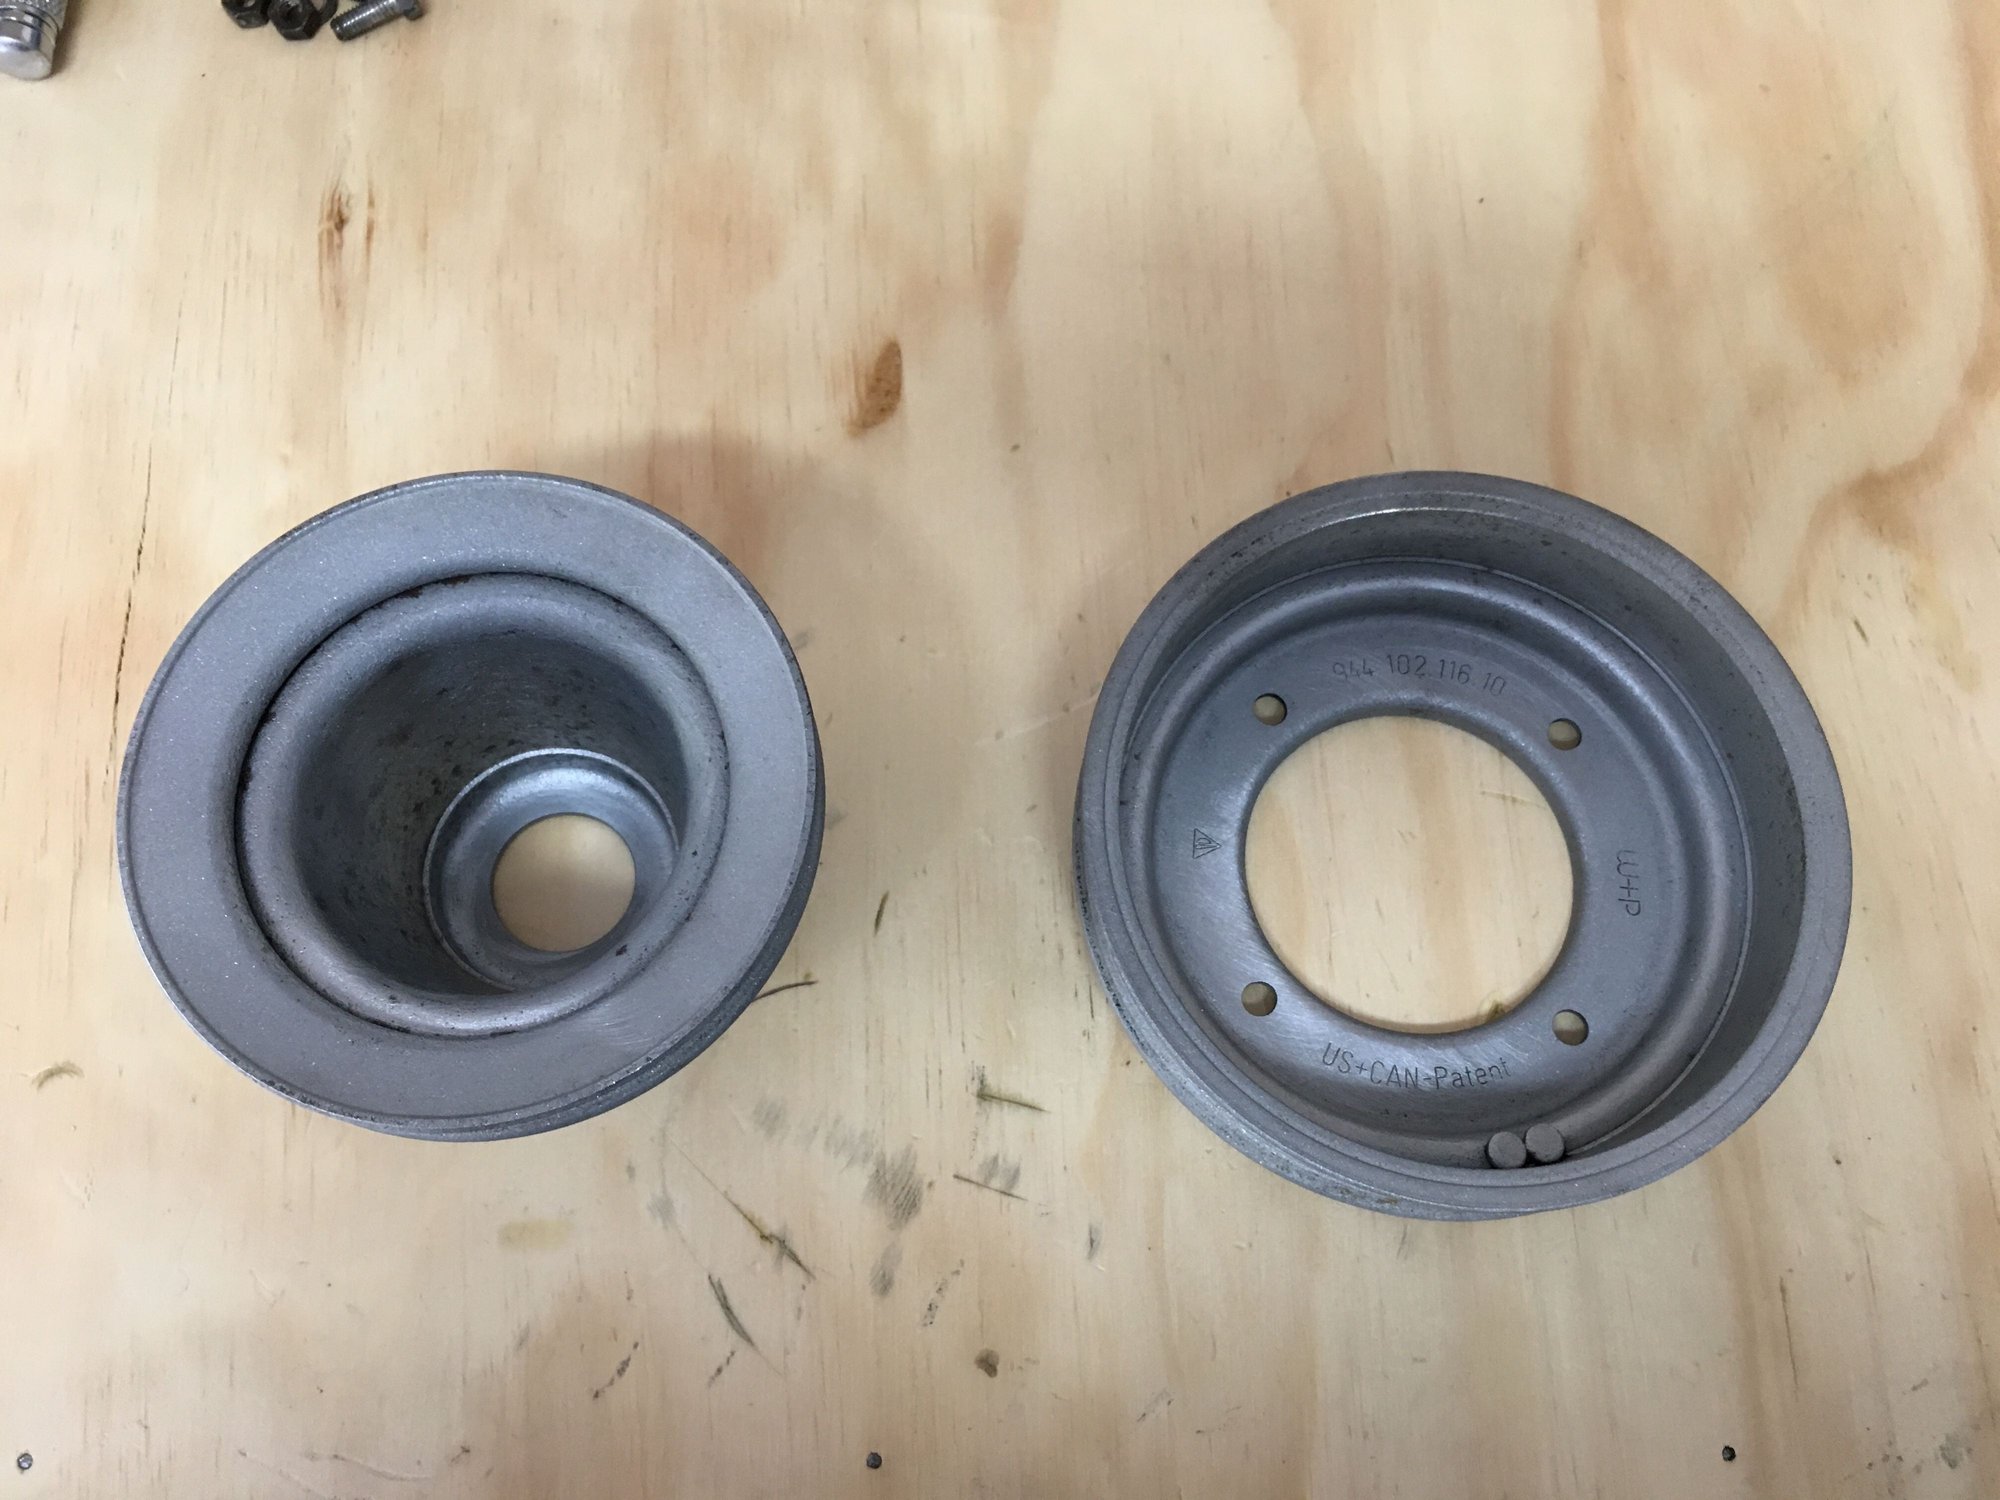
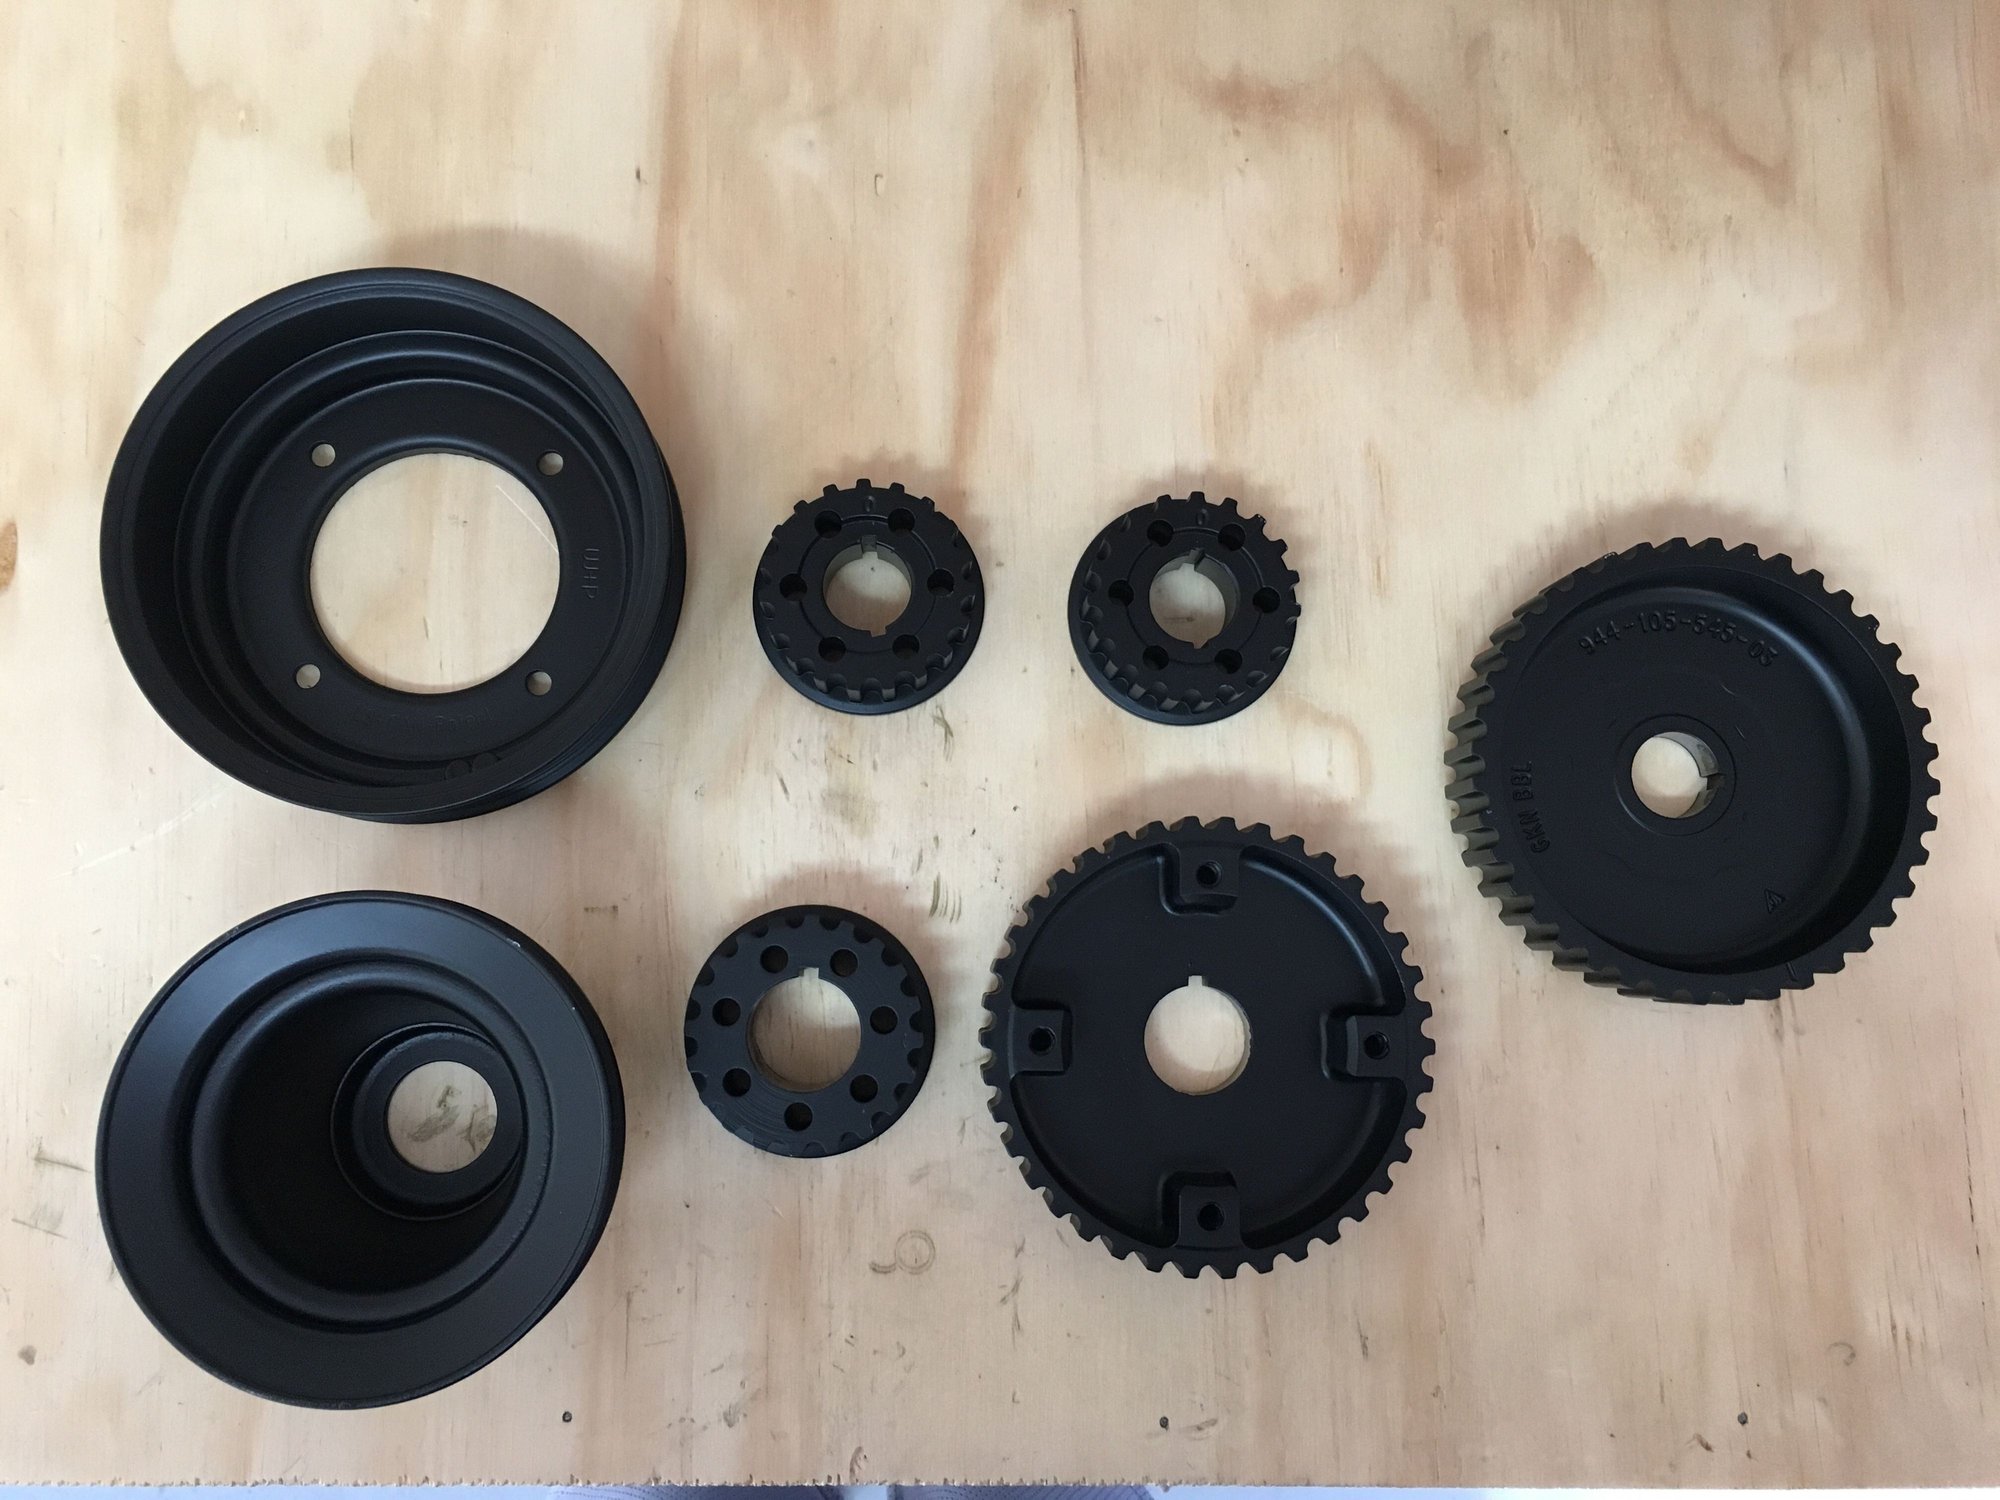
I went ahead and cleaned and painted the timing gears and pulleys. I know most of them aren't even seen, but I figured it would help to keep the rust off of them in the future.
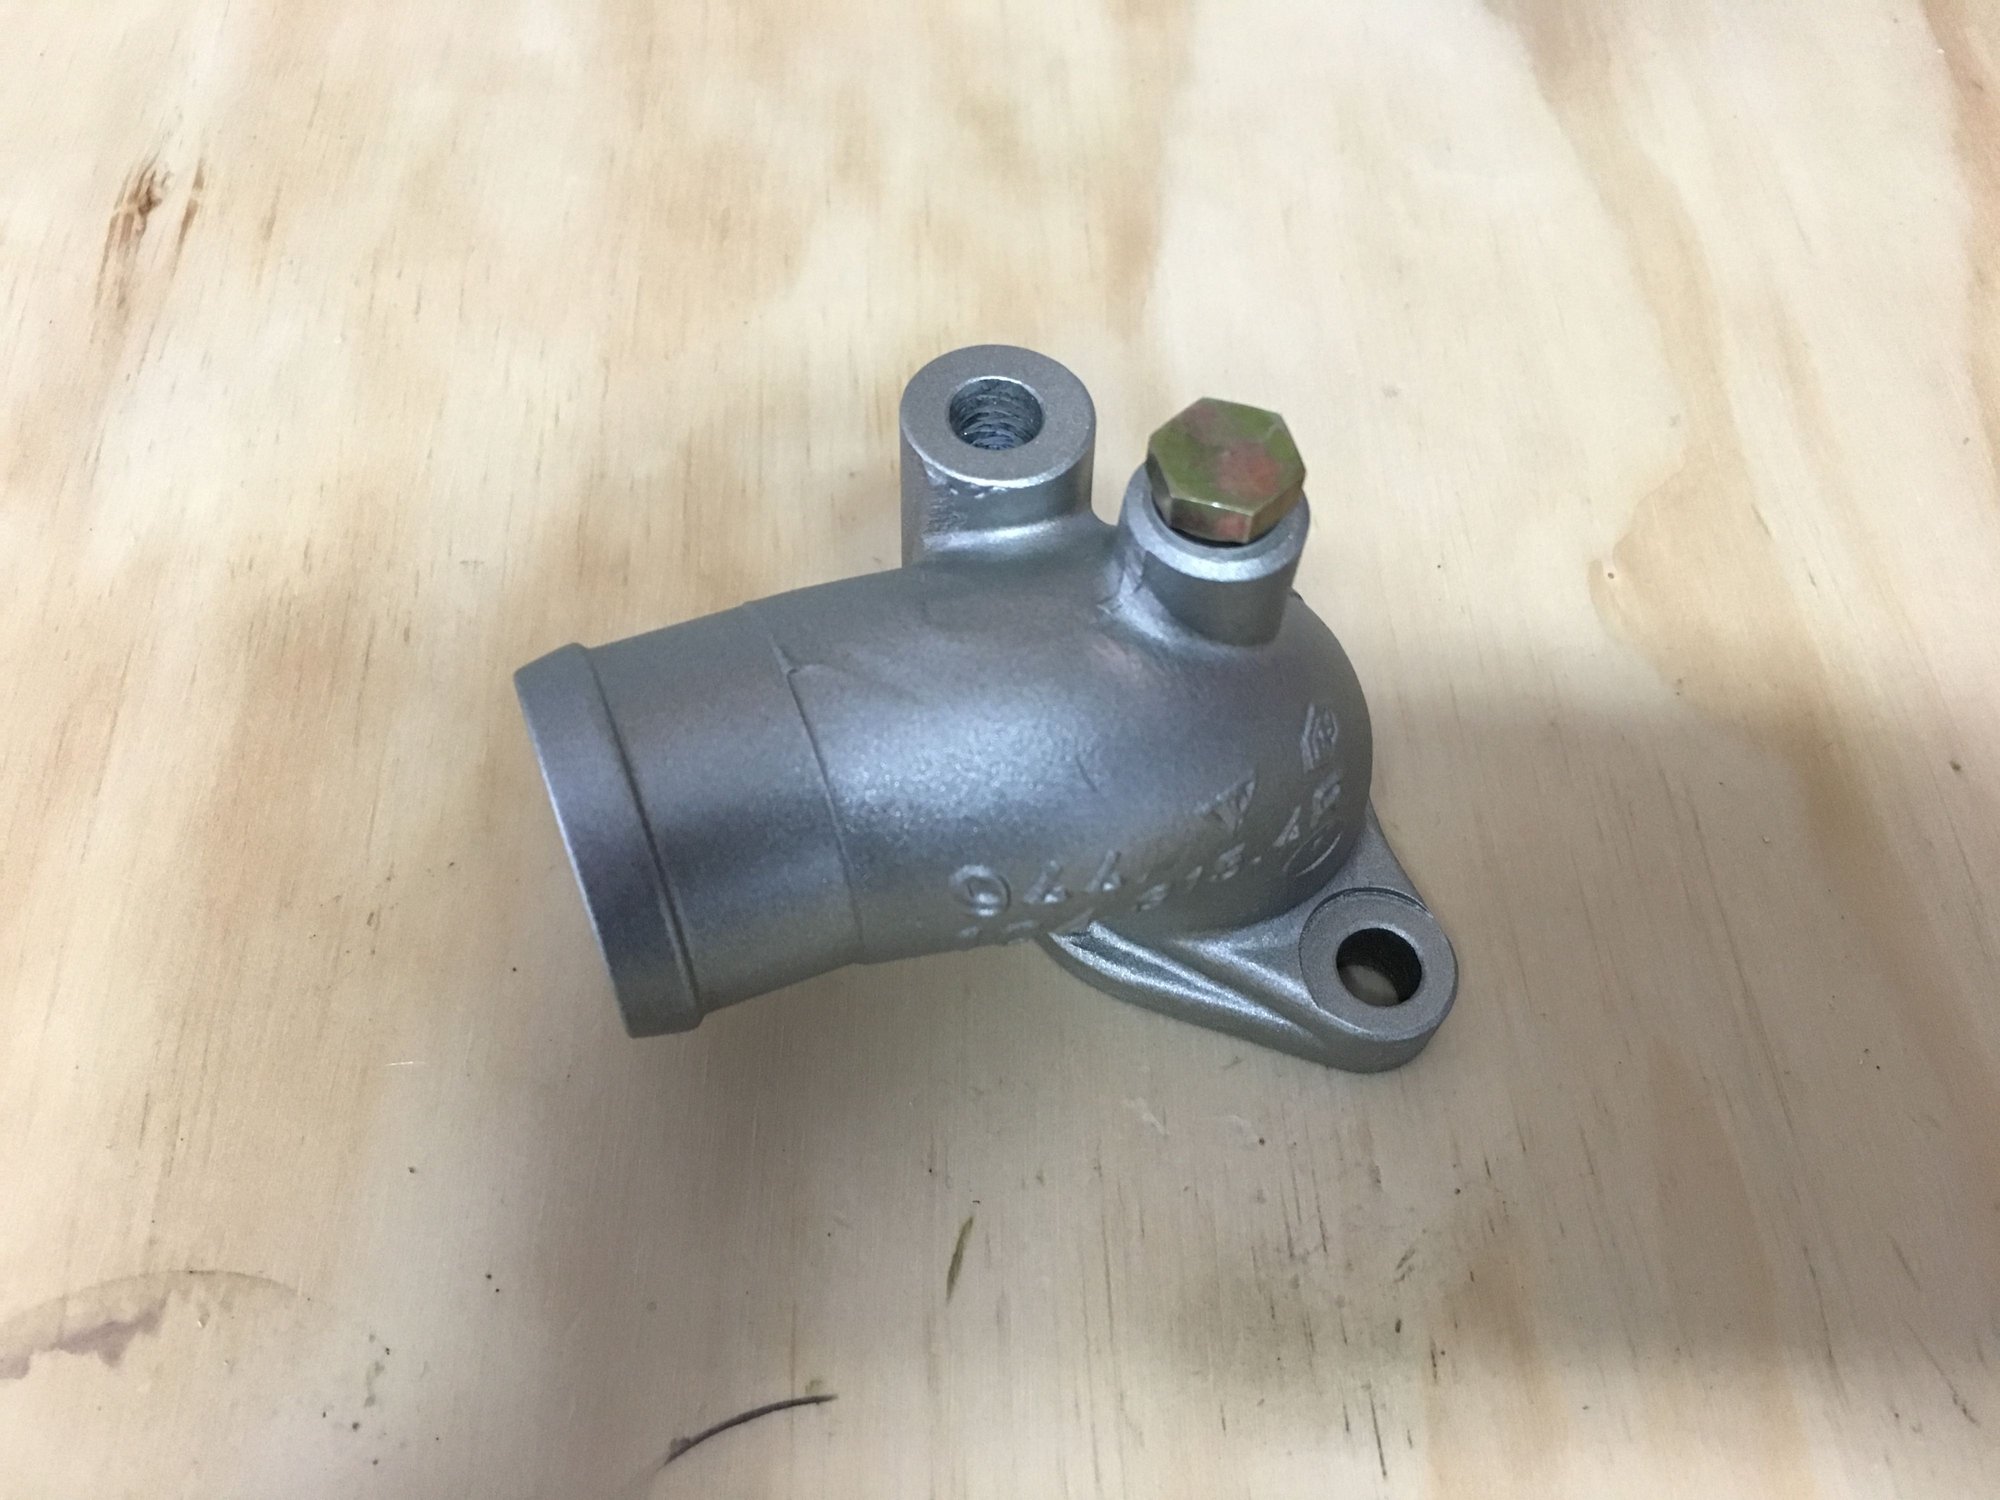
Cleaned and painted the cylinder head water outlet housing.
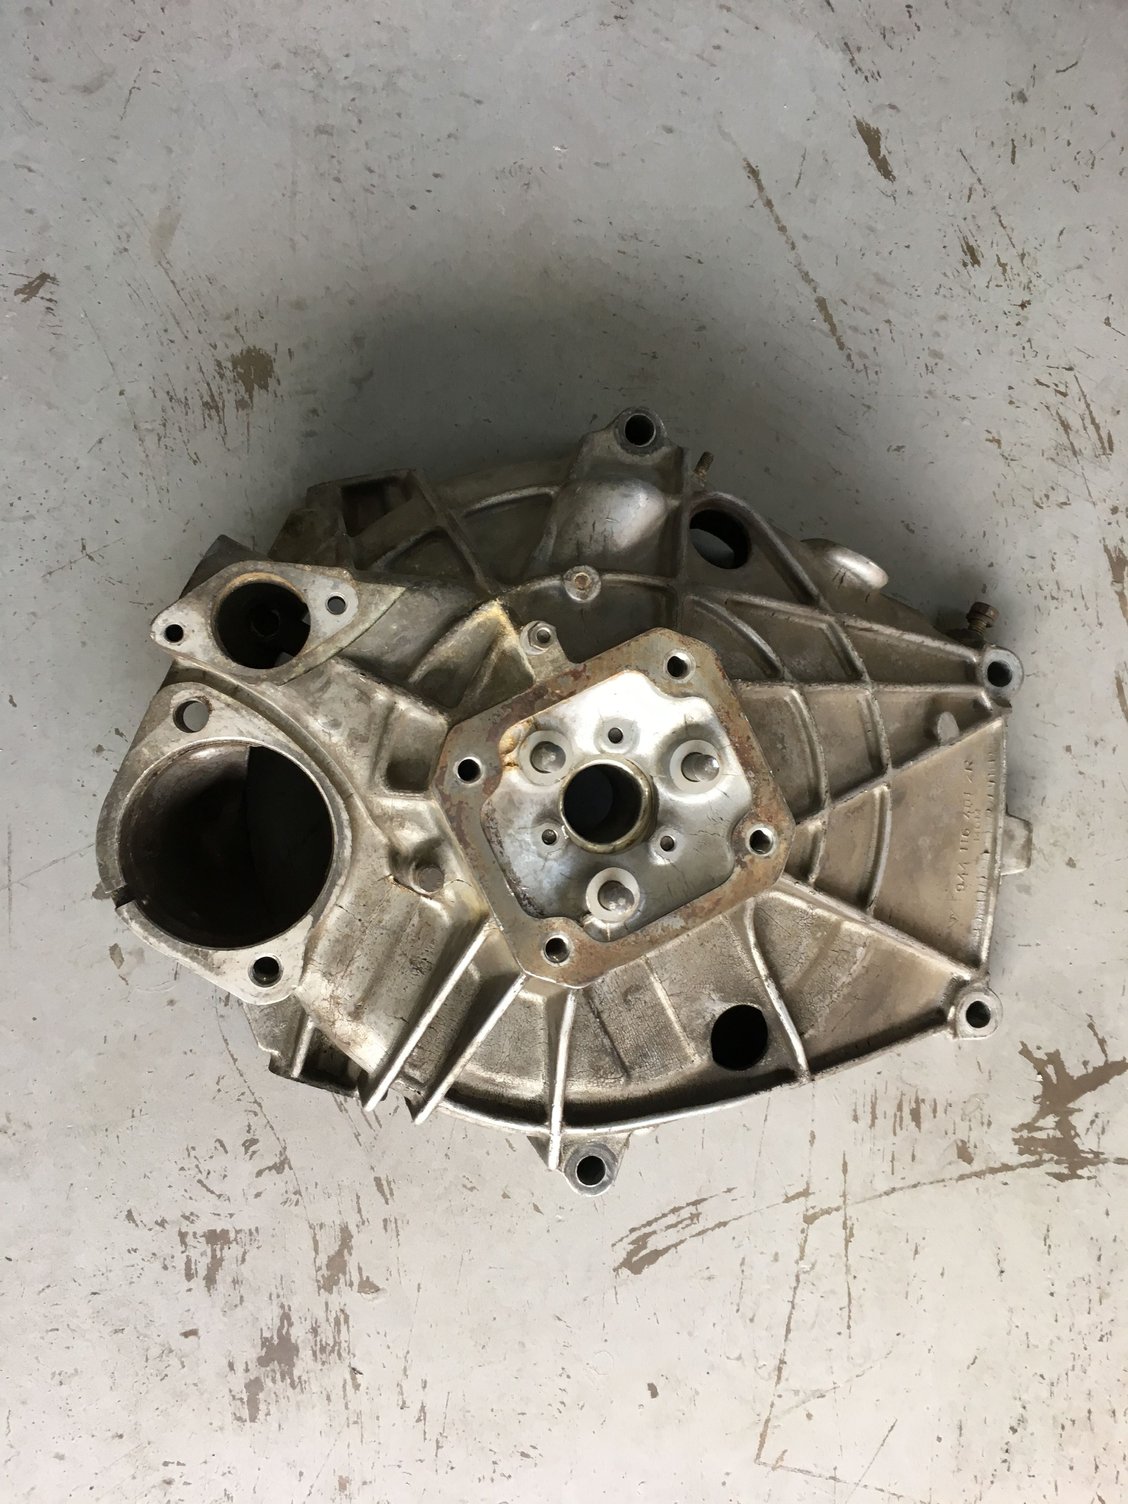
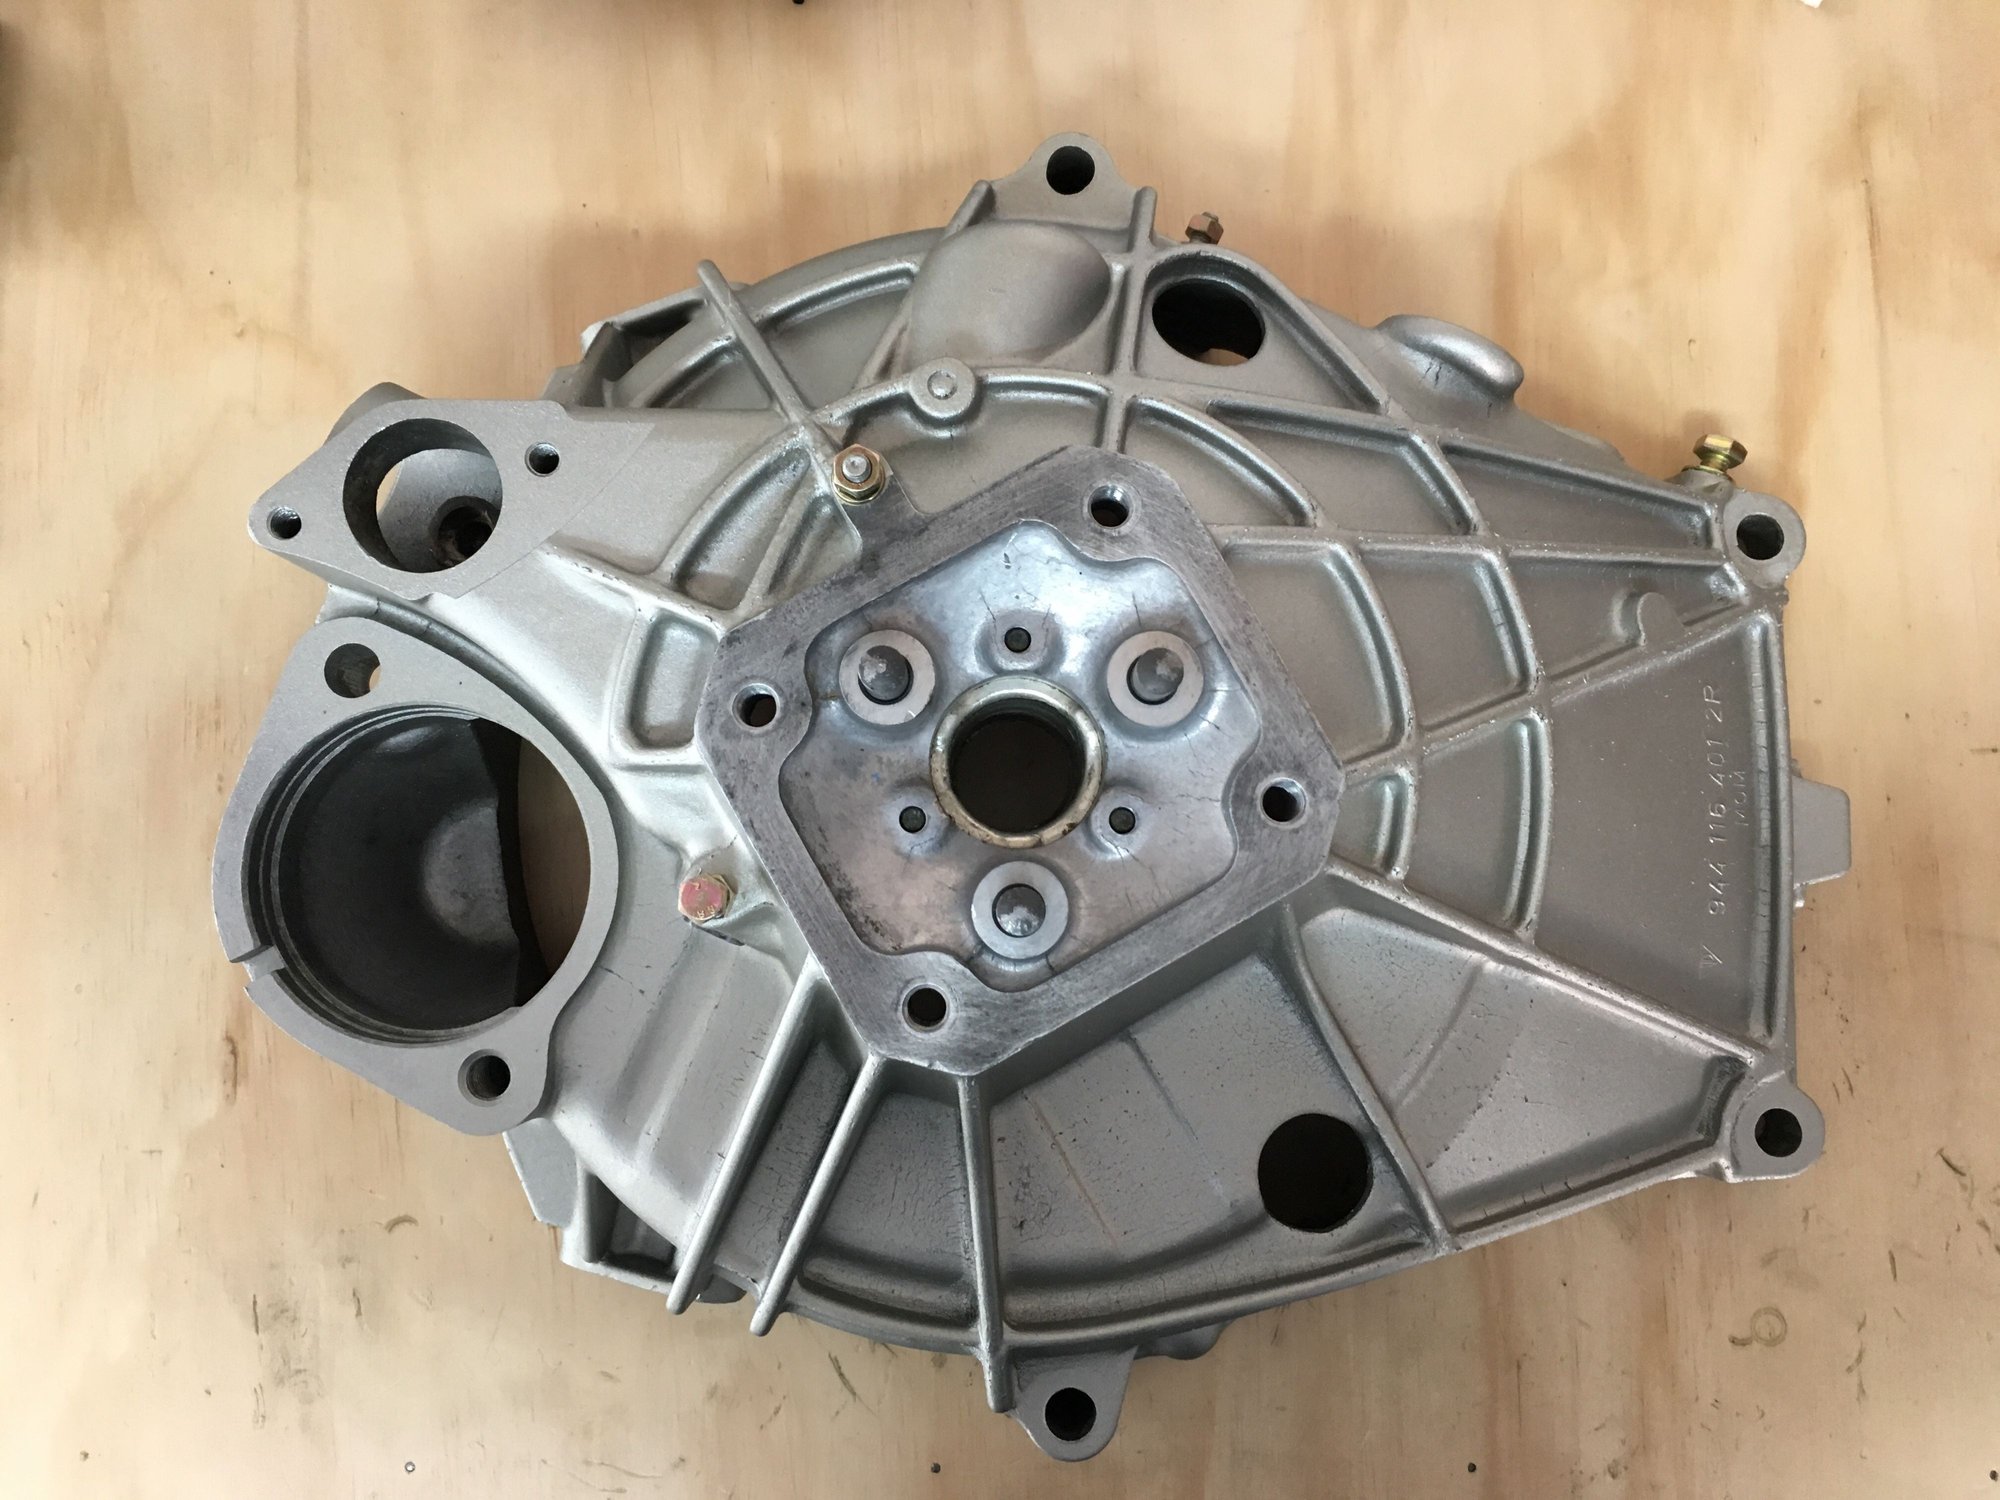
Did the same to the bell housing.
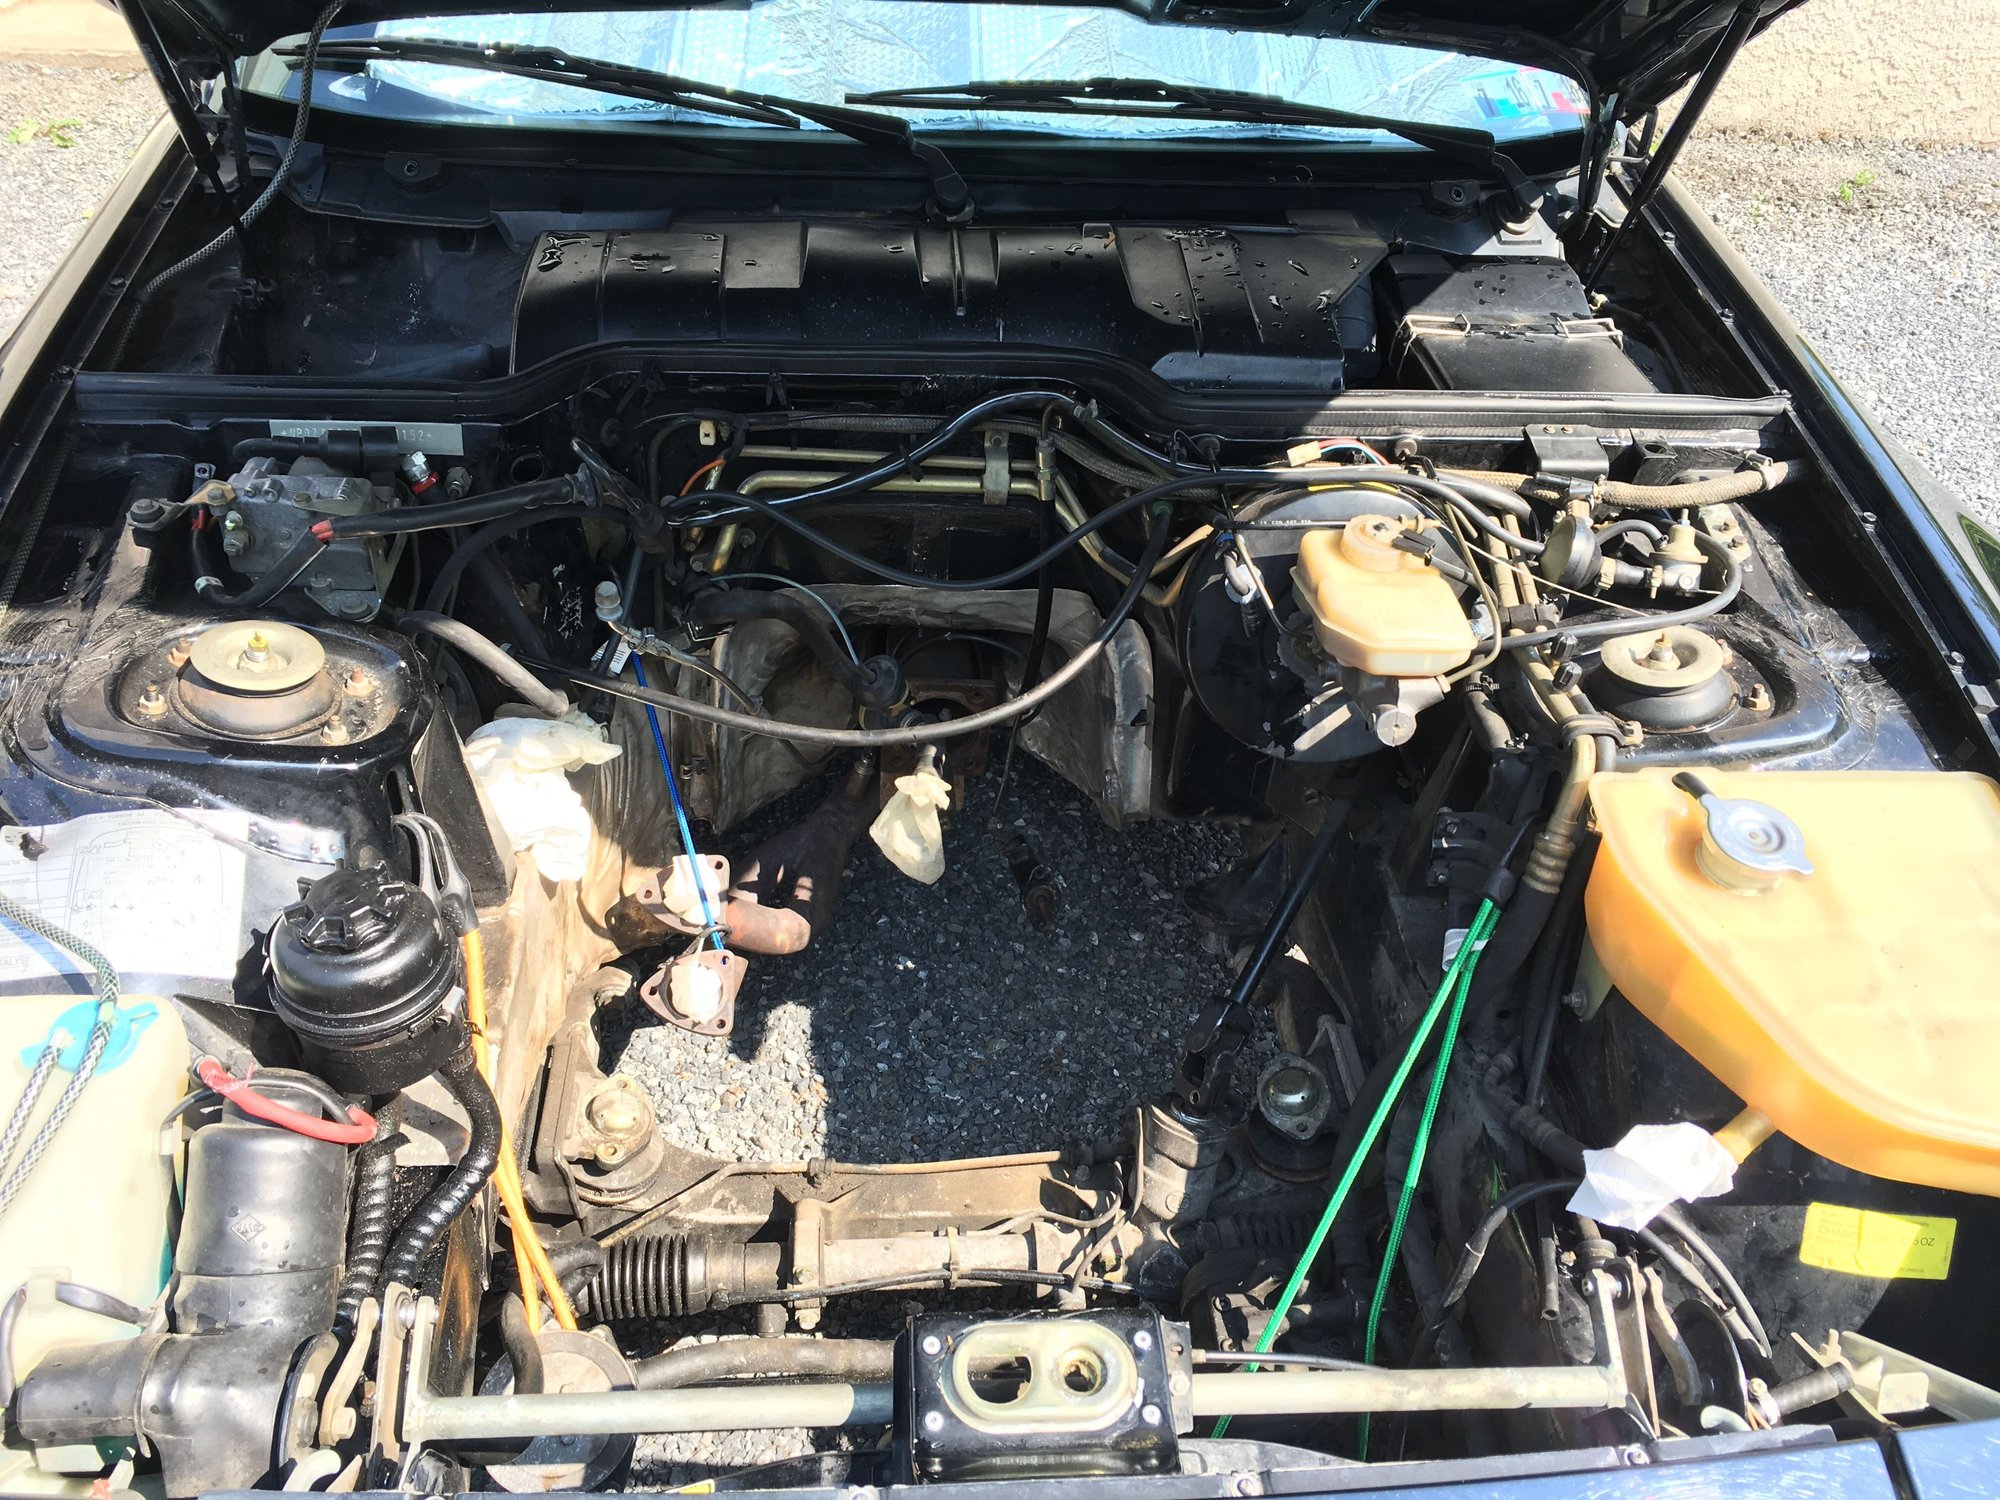
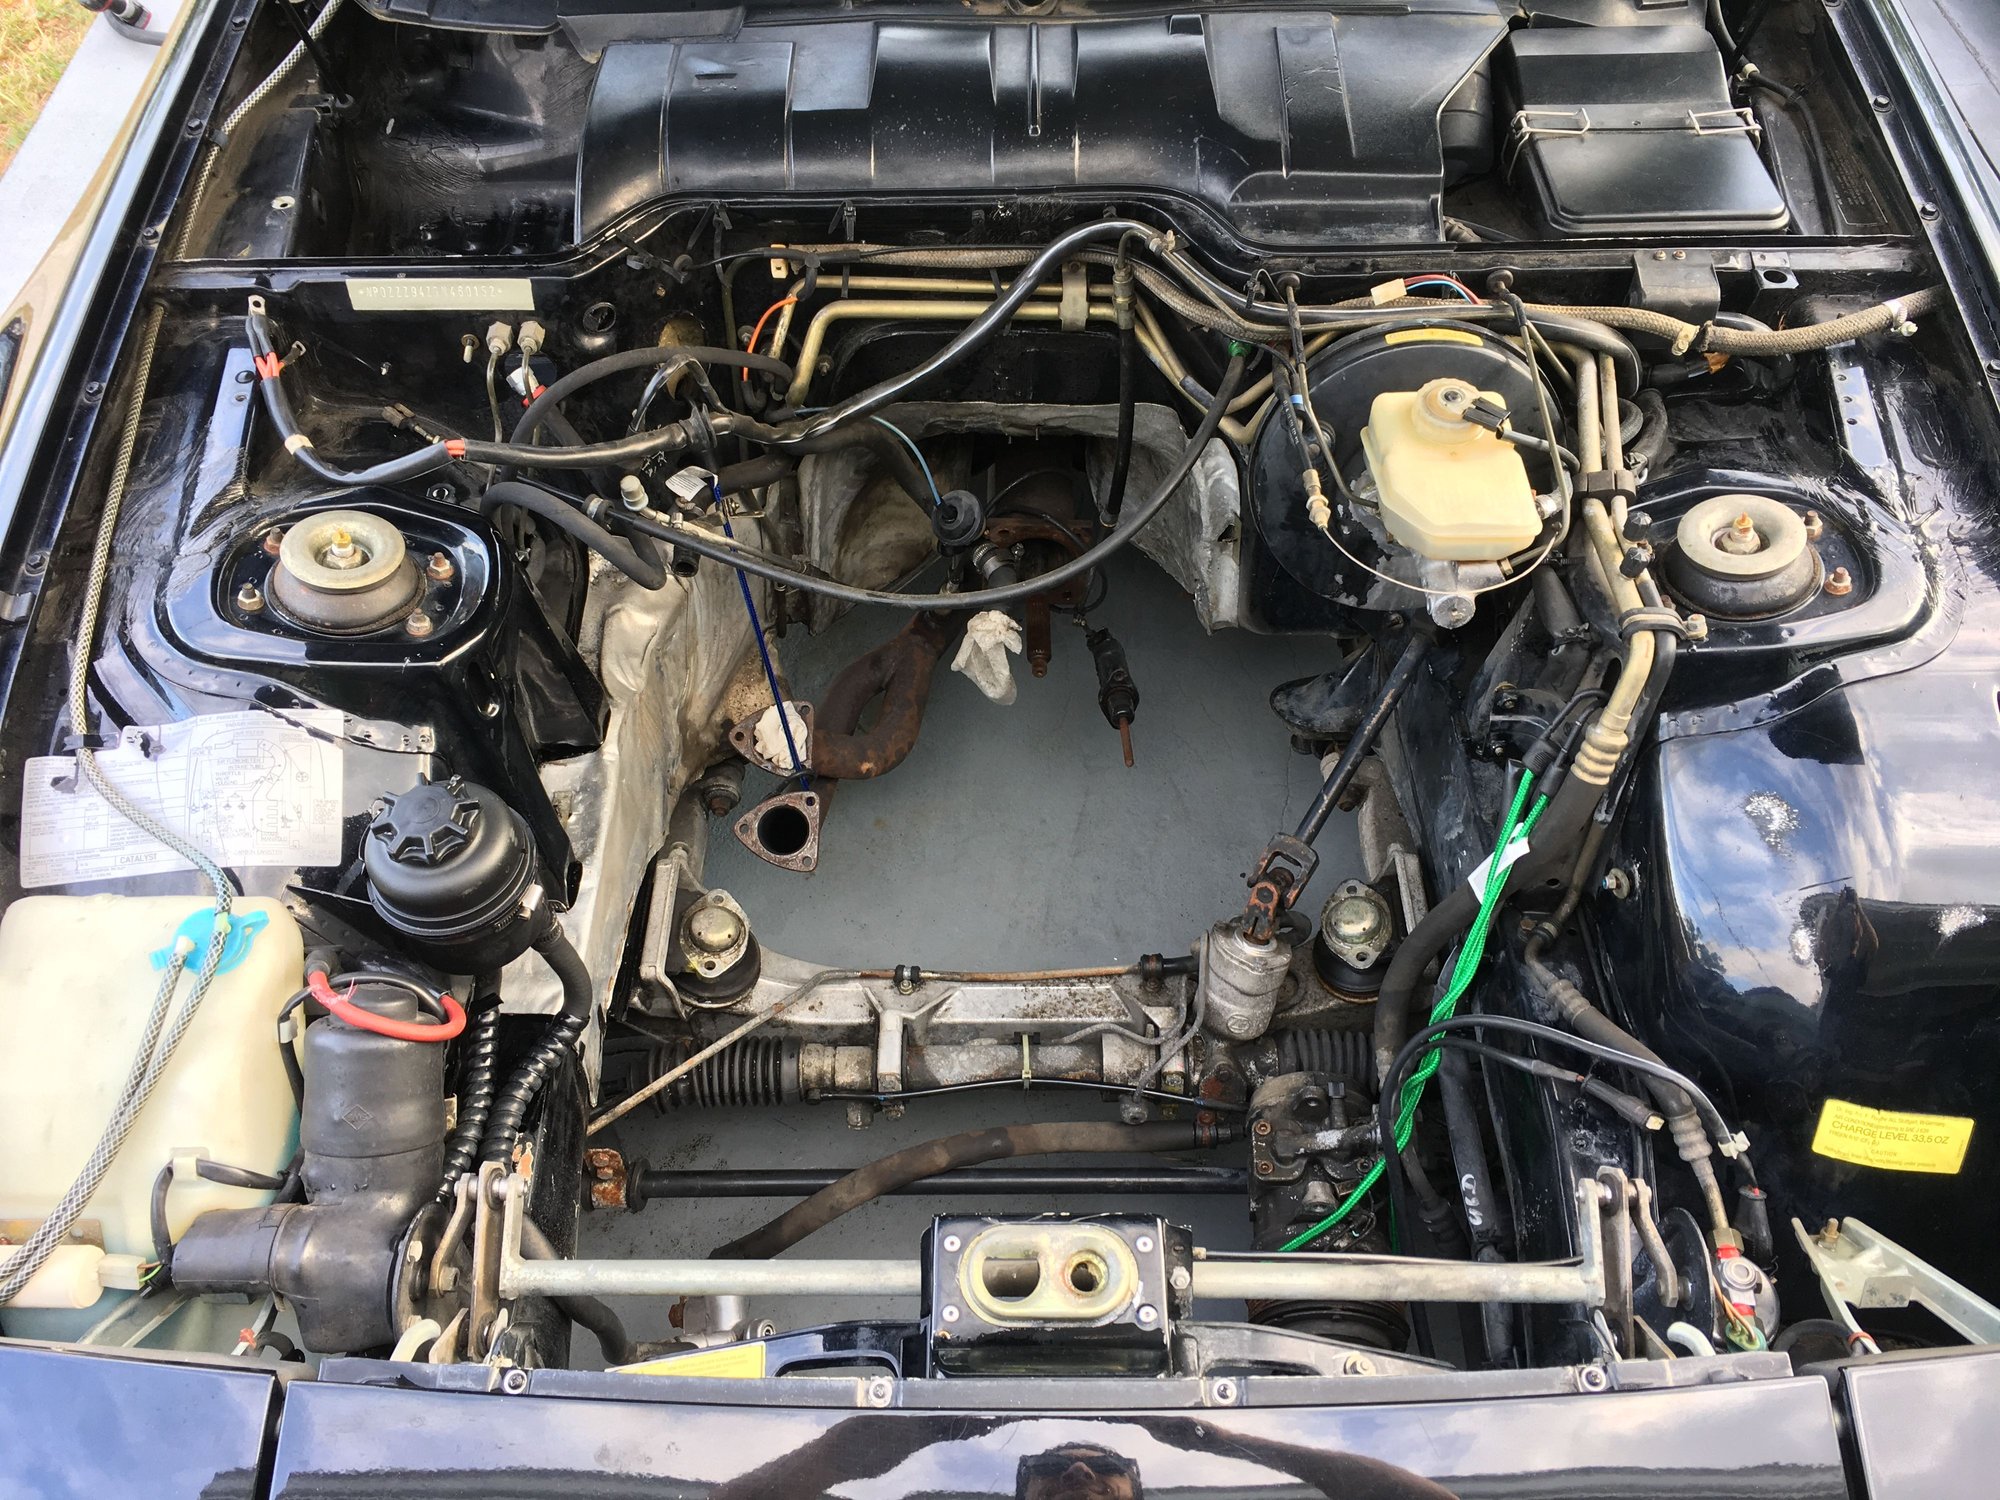
I also started cleaning the engine bay so it will be easier for disassembly and rebuilding of the power steering pump, rack and other WYIT kind of stuff.
And check out how clean this battery tray is. No rust anywhere!
And that's about it. I'll be ordering the remaining engine hardware next month and taking my cylinder head to the machine shop. Hoping to have the engine buttoned up by the end of May.
Hey, I just read the whole thread and this is what I would love to do on my 924S. It had a shredded rod bearing so I'm doing a full rebuild, and figured I'd try sprucing it up while I was there.
What parts did you NOT glass bead? I know you mentioned the oil pump covers, but what about others?
I hope to get my rebuild started in the near future as I already have a replacement crank
While I had the block out of the car I would tap 3 holes and mount a spring tensioner off and 87 or 88. It is a simple job. You can buy them cheap and personally I like them better than the single stud coming out of the block. I have put the spring tensioner on several 86 models.
I just repaired a 944 a few months ago that the stud had broken on. They tend to break on the backside of the oil pump where they go into the block. I was talking to another friend that works on 944's and he said he had seen several break and described the same breaking point.
If you do this check the clearance where the stud comes out of the oil pump. Seems as if with some pumps I had to grind the pump down just a little for clearance. You will also have to trim the back cover.
What parts did you NOT glass bead? I know you mentioned the oil pump covers, but what about others?
I didn't blast the oil pump, oil cooler housing, the block or the cylinder head. Pretty much every other aluminum cover I blasted. I carefully taped off all the machined surfaces to protect them and then flushed them out really well with water and compressed air when I was finished.
I've been slacking lately and haven't made any progress. The GTI required some new tires, insurance and registration now that I'm down in Florida which sucked up a bunch of my free cash. Hopefully next month I'll start making some more progress again.
While I had the block out of the car I would tap 3 holes and mount a spring tensioner off and 87 or 88. It is a simple job. You can buy them cheap and personally I like them better than the single stud coming out of the block. I have put the spring tensioner on several 86 models.
Definitely not a bad suggestion, but I've seen some people complain about failed spring tensioners as well. I think I'll roll with the standard, single stud eccentric tensioner for now. Seems simple and effective.

 11-20-2016, 11:56 AM