When you click on links to various merchants on this site and make a purchase, this can result in this site earning a commission. Affiliate programs and affiliations include, but are not limited to, the eBay Partner Network.
A question to those who enjoy this ridiculous build thread. I'm having a custom mounting bracket (actually two) that will secure a pair of traction mats on the rear hatch glass. Since the brackets will sit flush on the glass, I'll need to use some type of metal to glass adhesive (something like Liquid Nails). Does anyone have a specific recommendation? The goal will be to install the mats in this fashion:
Thanks!!
JB WELD is always a good go to epoxy . I'm pretty sure that it'll do the job OK..You can buy it in small or medium sized tubes at the local FLAPS or hardware store. Get the one that has the highest tensile strength..it's on the pkg. HTHsome.
I would be inclined to use something resilient like a windshield / side glass adhesive. They're designed to stick glass to (primed) metal so should be good on a metal to glass interface too.
I like your idea of contacting the experts. Critical will be to make sure that the adhesive will provide both flex and cushioning. You don't want to get out into the boonies and have to deal with a broken rear hatch glass due to stress at the interface.
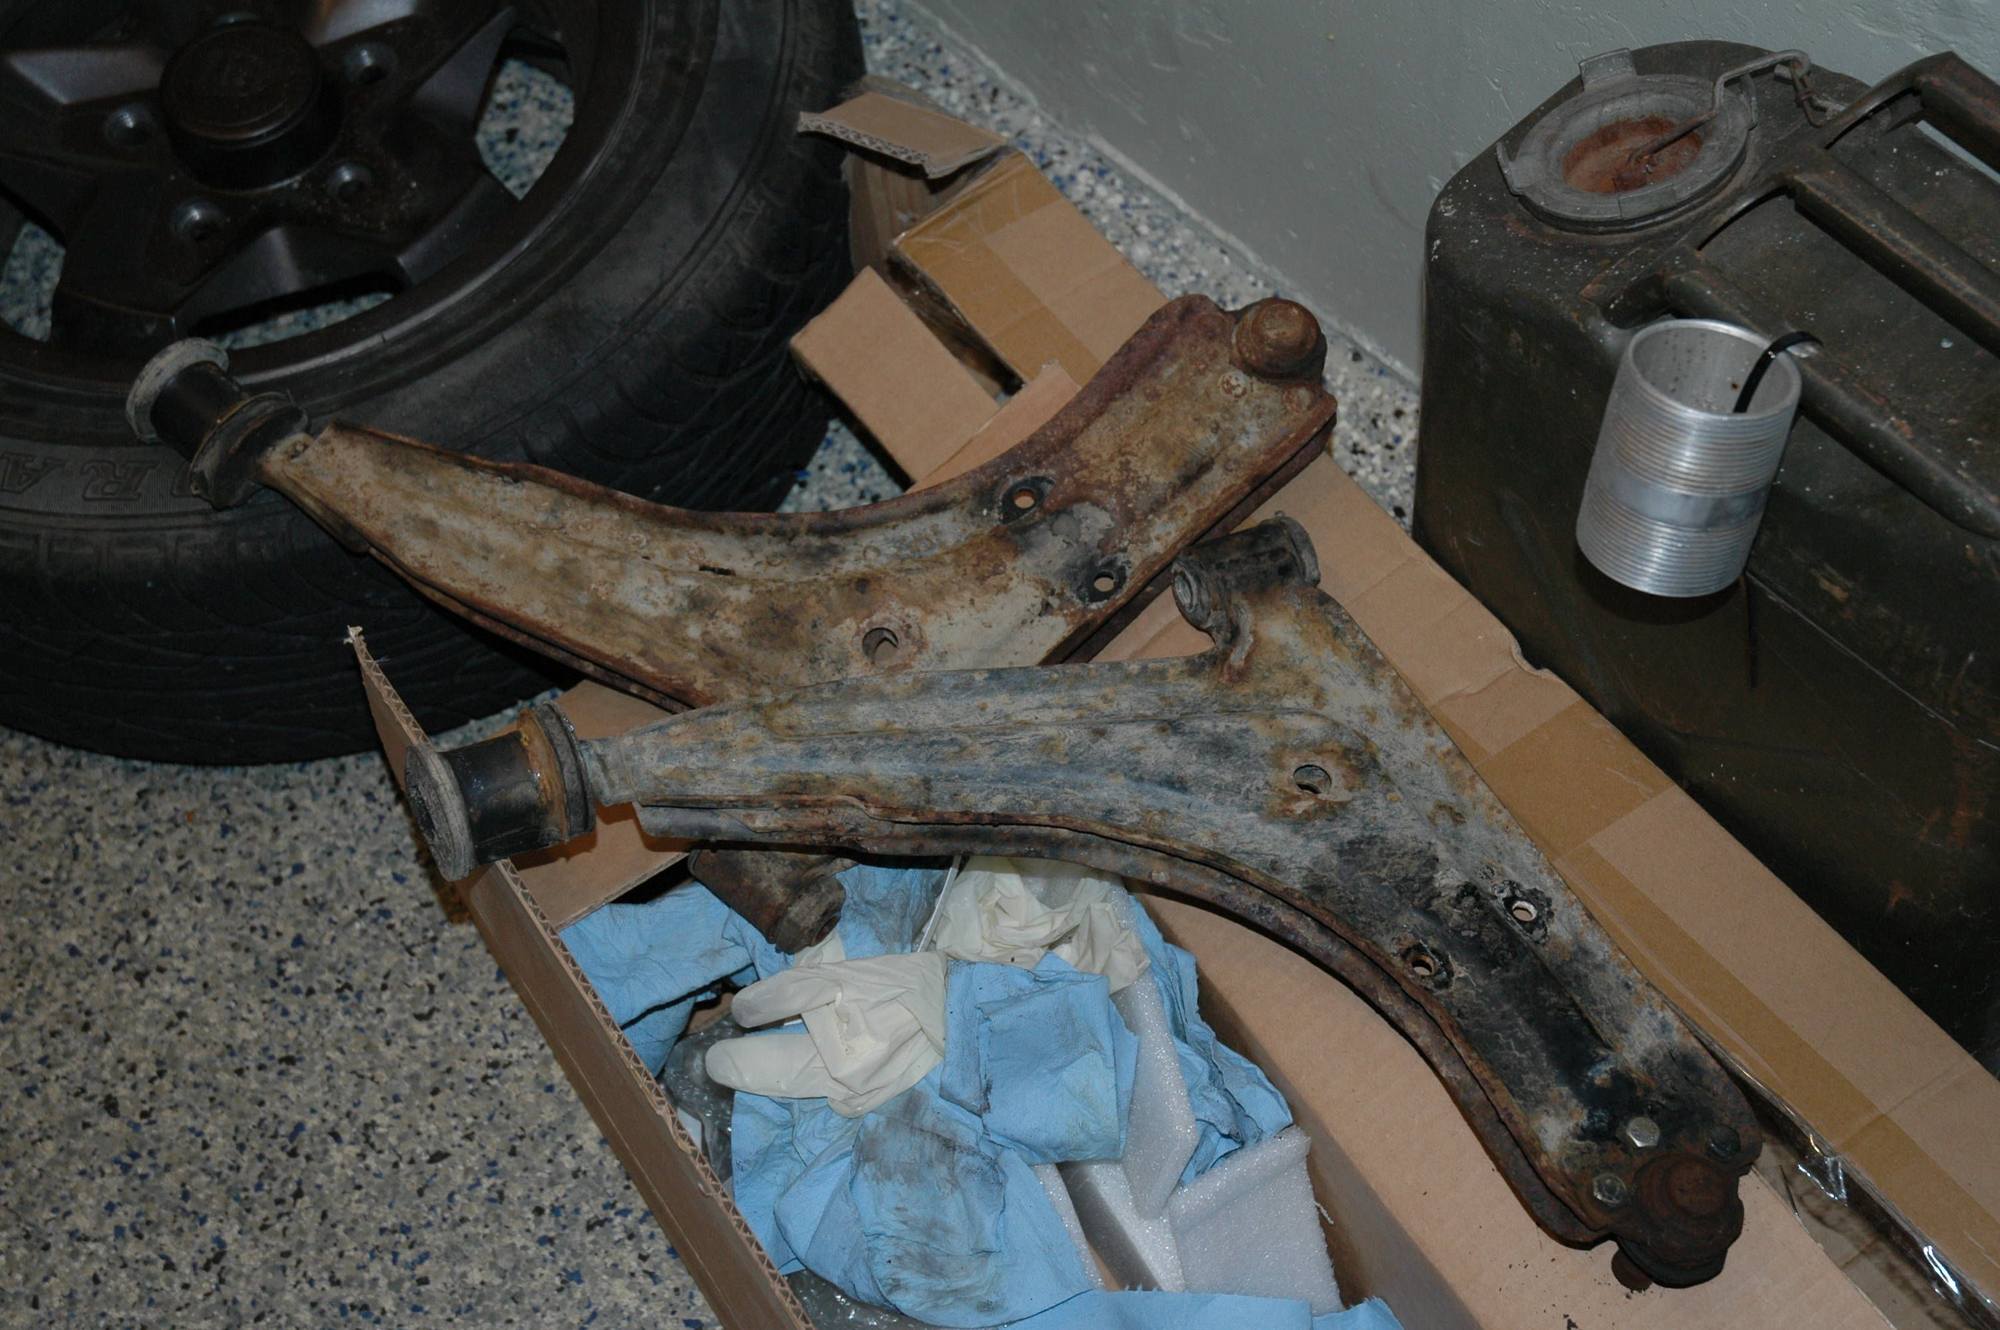
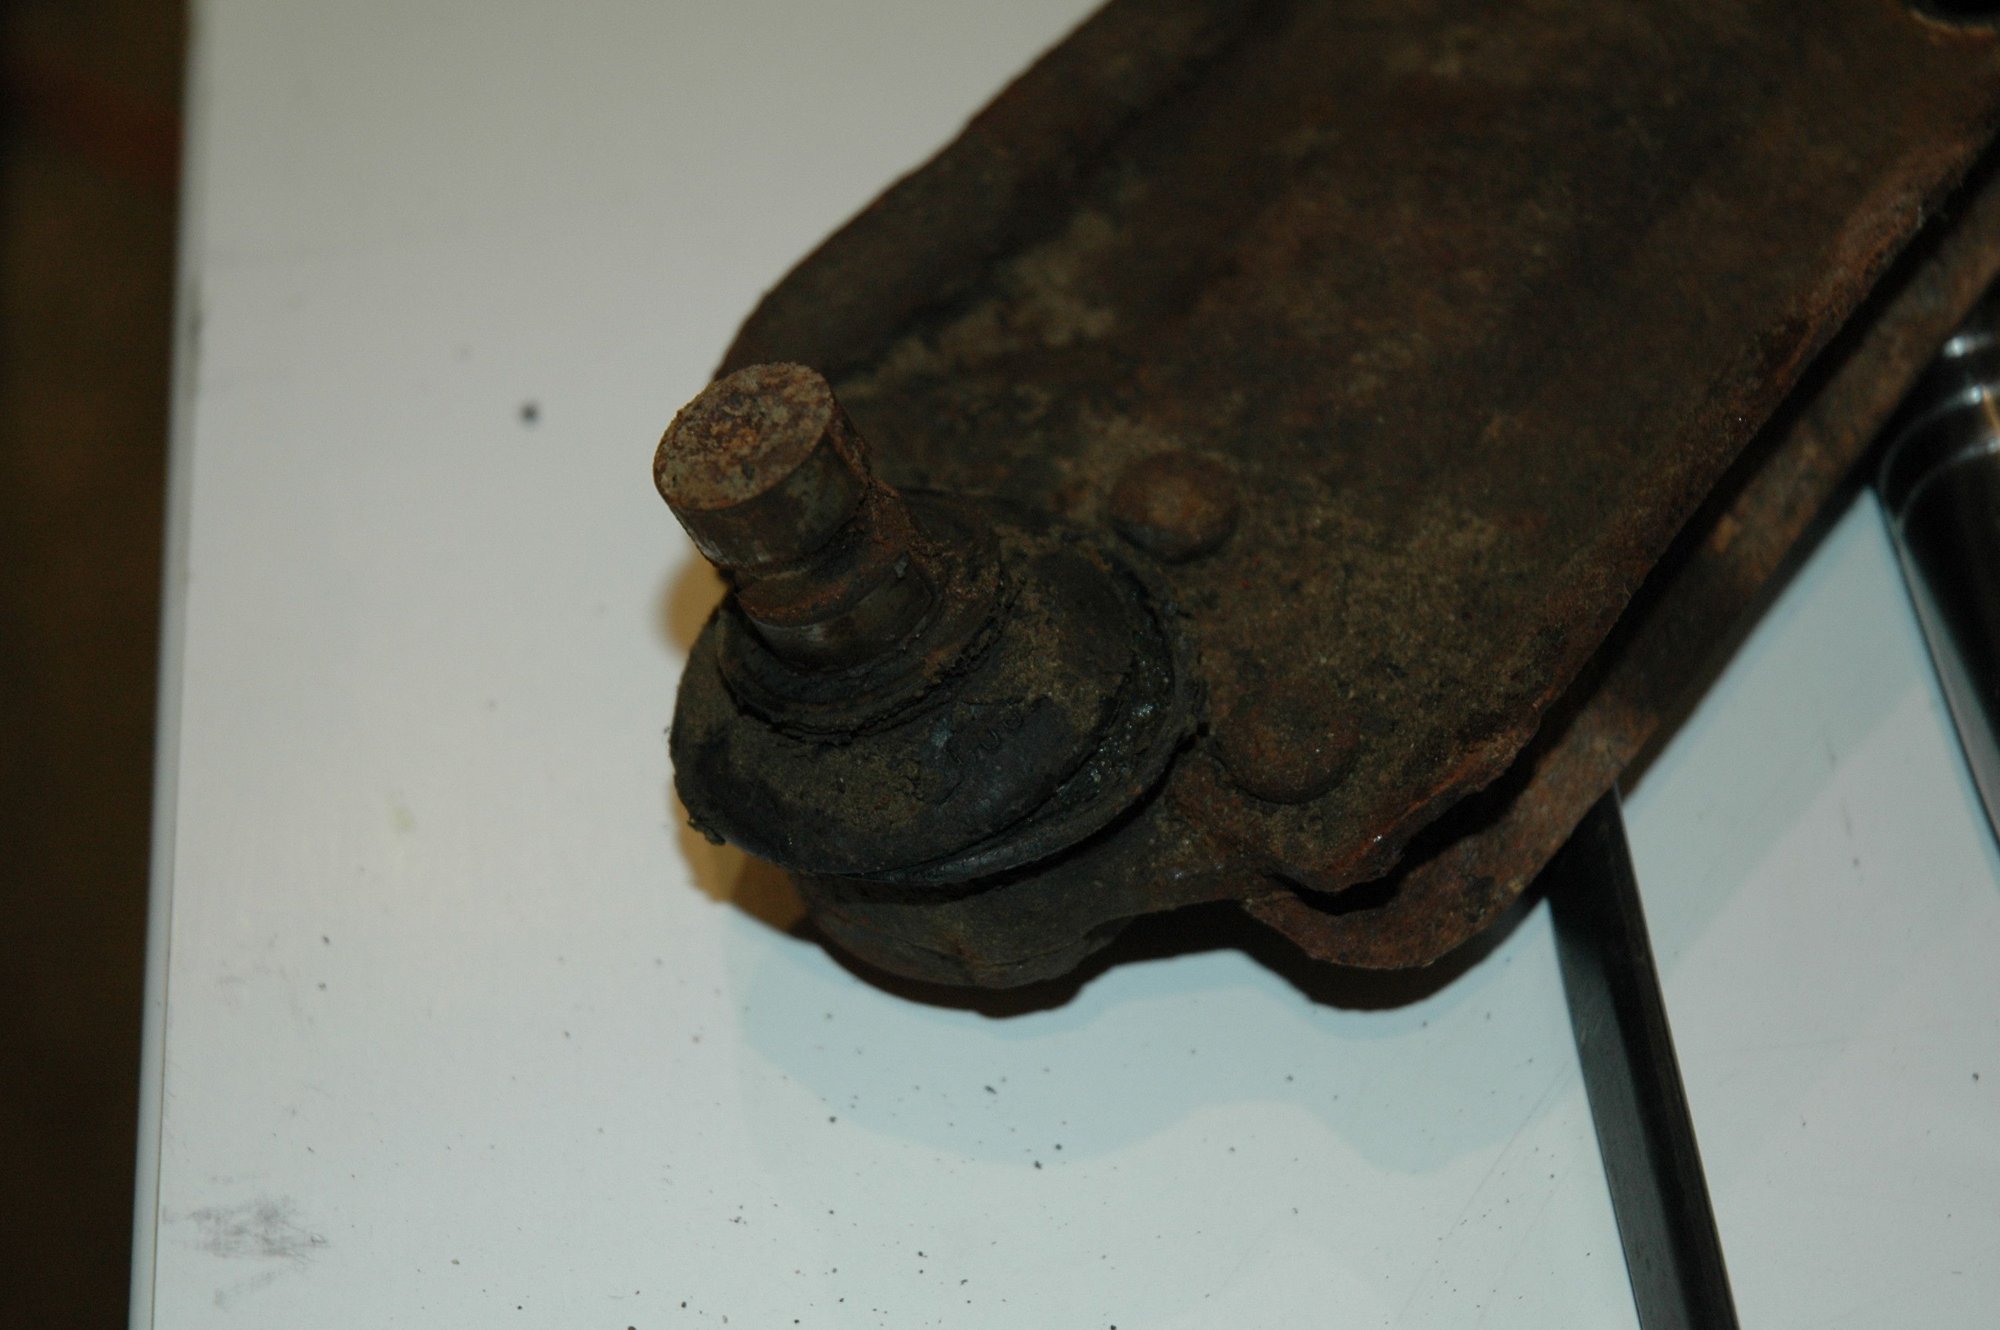
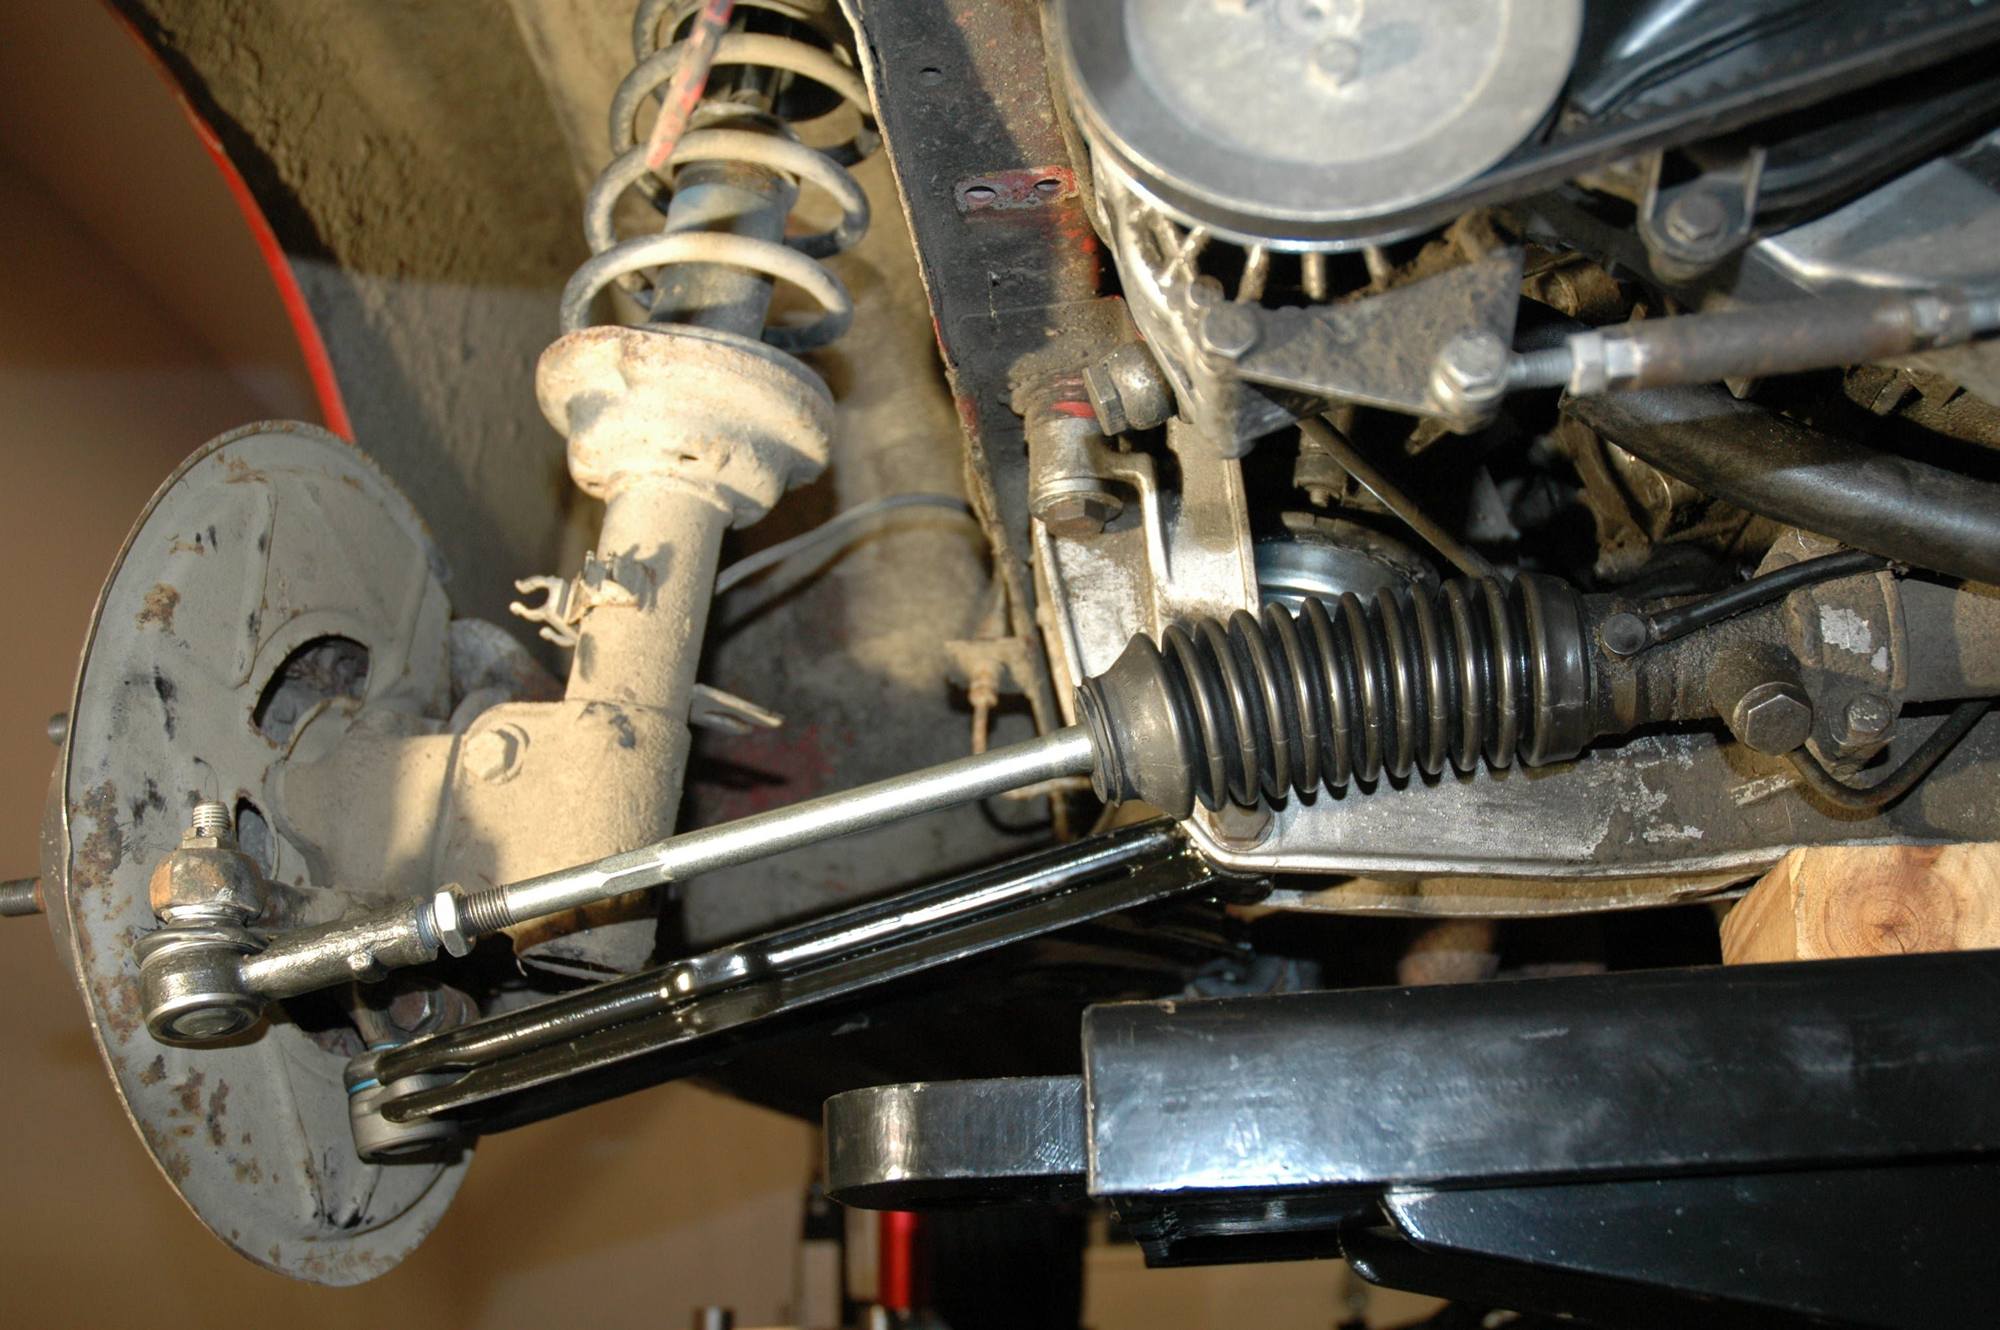
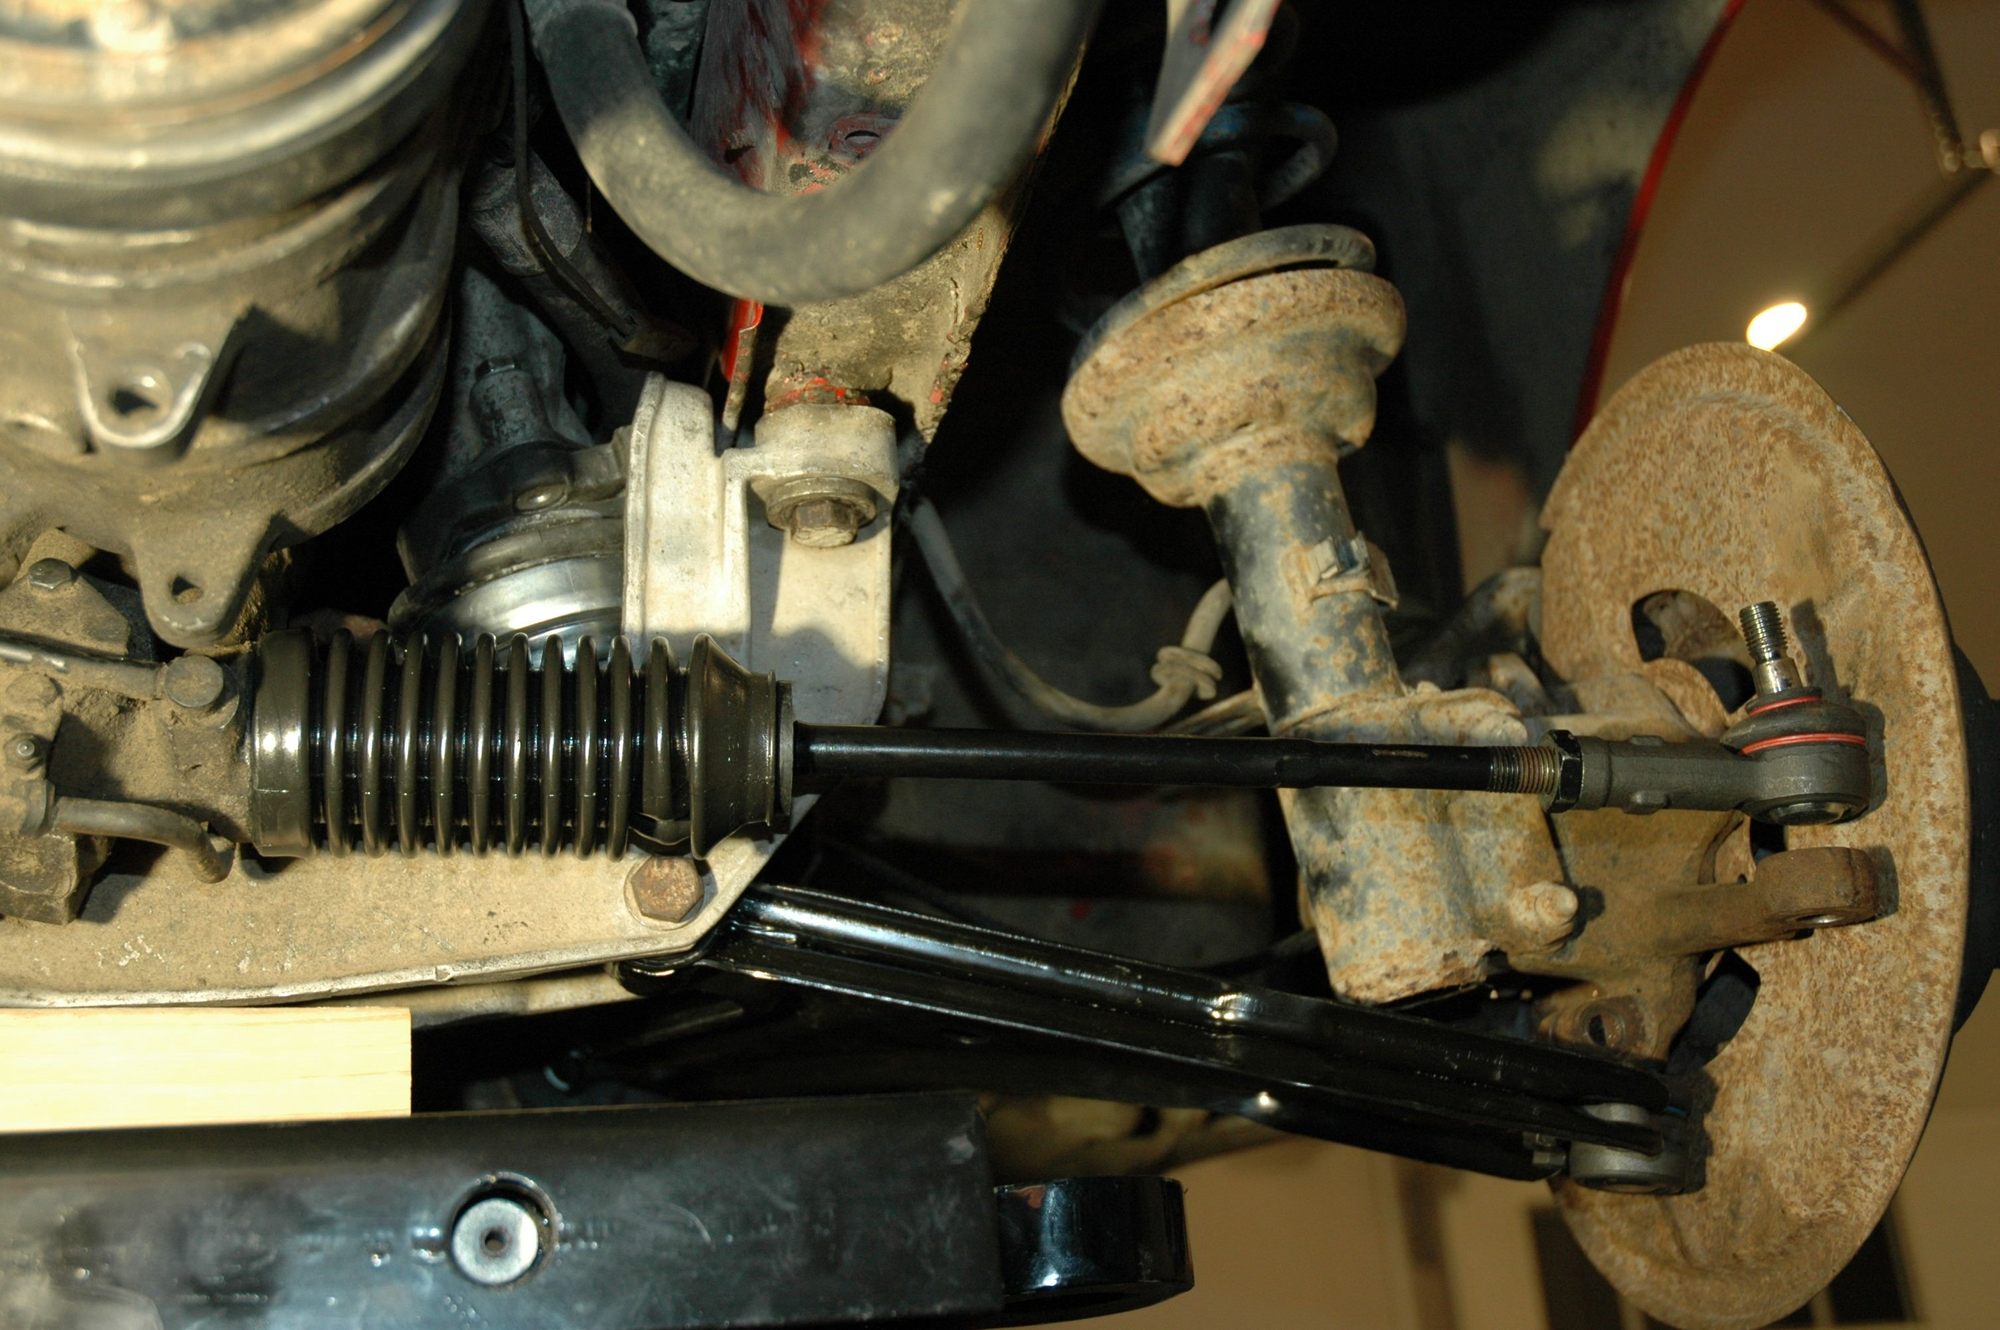
While waiting on the those mat brackets, I decided to replace the very worn motor mounts. While I was in there, new control arms, bushings, ball joints, tie rods and TR ends (new spares that have been sitting on my shelf) were installed. Of course the driver's side ball joint clamping bolt stripped out during re-install so the project halted until a replacement arrives. Also, it appears that the new ball joints utilize a nylon nut (12mm x 1.5) instead of the original castle nuts with a cotter pin and, of course, I'm missing one of those nuts. More to come...
While waiting on the those mat brackets, I decided to replace the very worn motor mounts. While I was in there, new control arms, bushings, ball joints, tie rods and TR ends (new spares that have been sitting on my shelf) were installed. Of course the driver's side ball joint clamping bolt stripped out during re-install so the project halted until a replacement arrives. Also, it appears that the new ball joints utilize a nylon nut (12mm x 1.5) instead of the original castle nuts with a cotter pin and, of course, I'm missing one of those nuts. More to come...
Yes, the 12x1.5 lock nuts are one time use items per the fsm. I plan on using the all metal conical lock nuts from belmetric
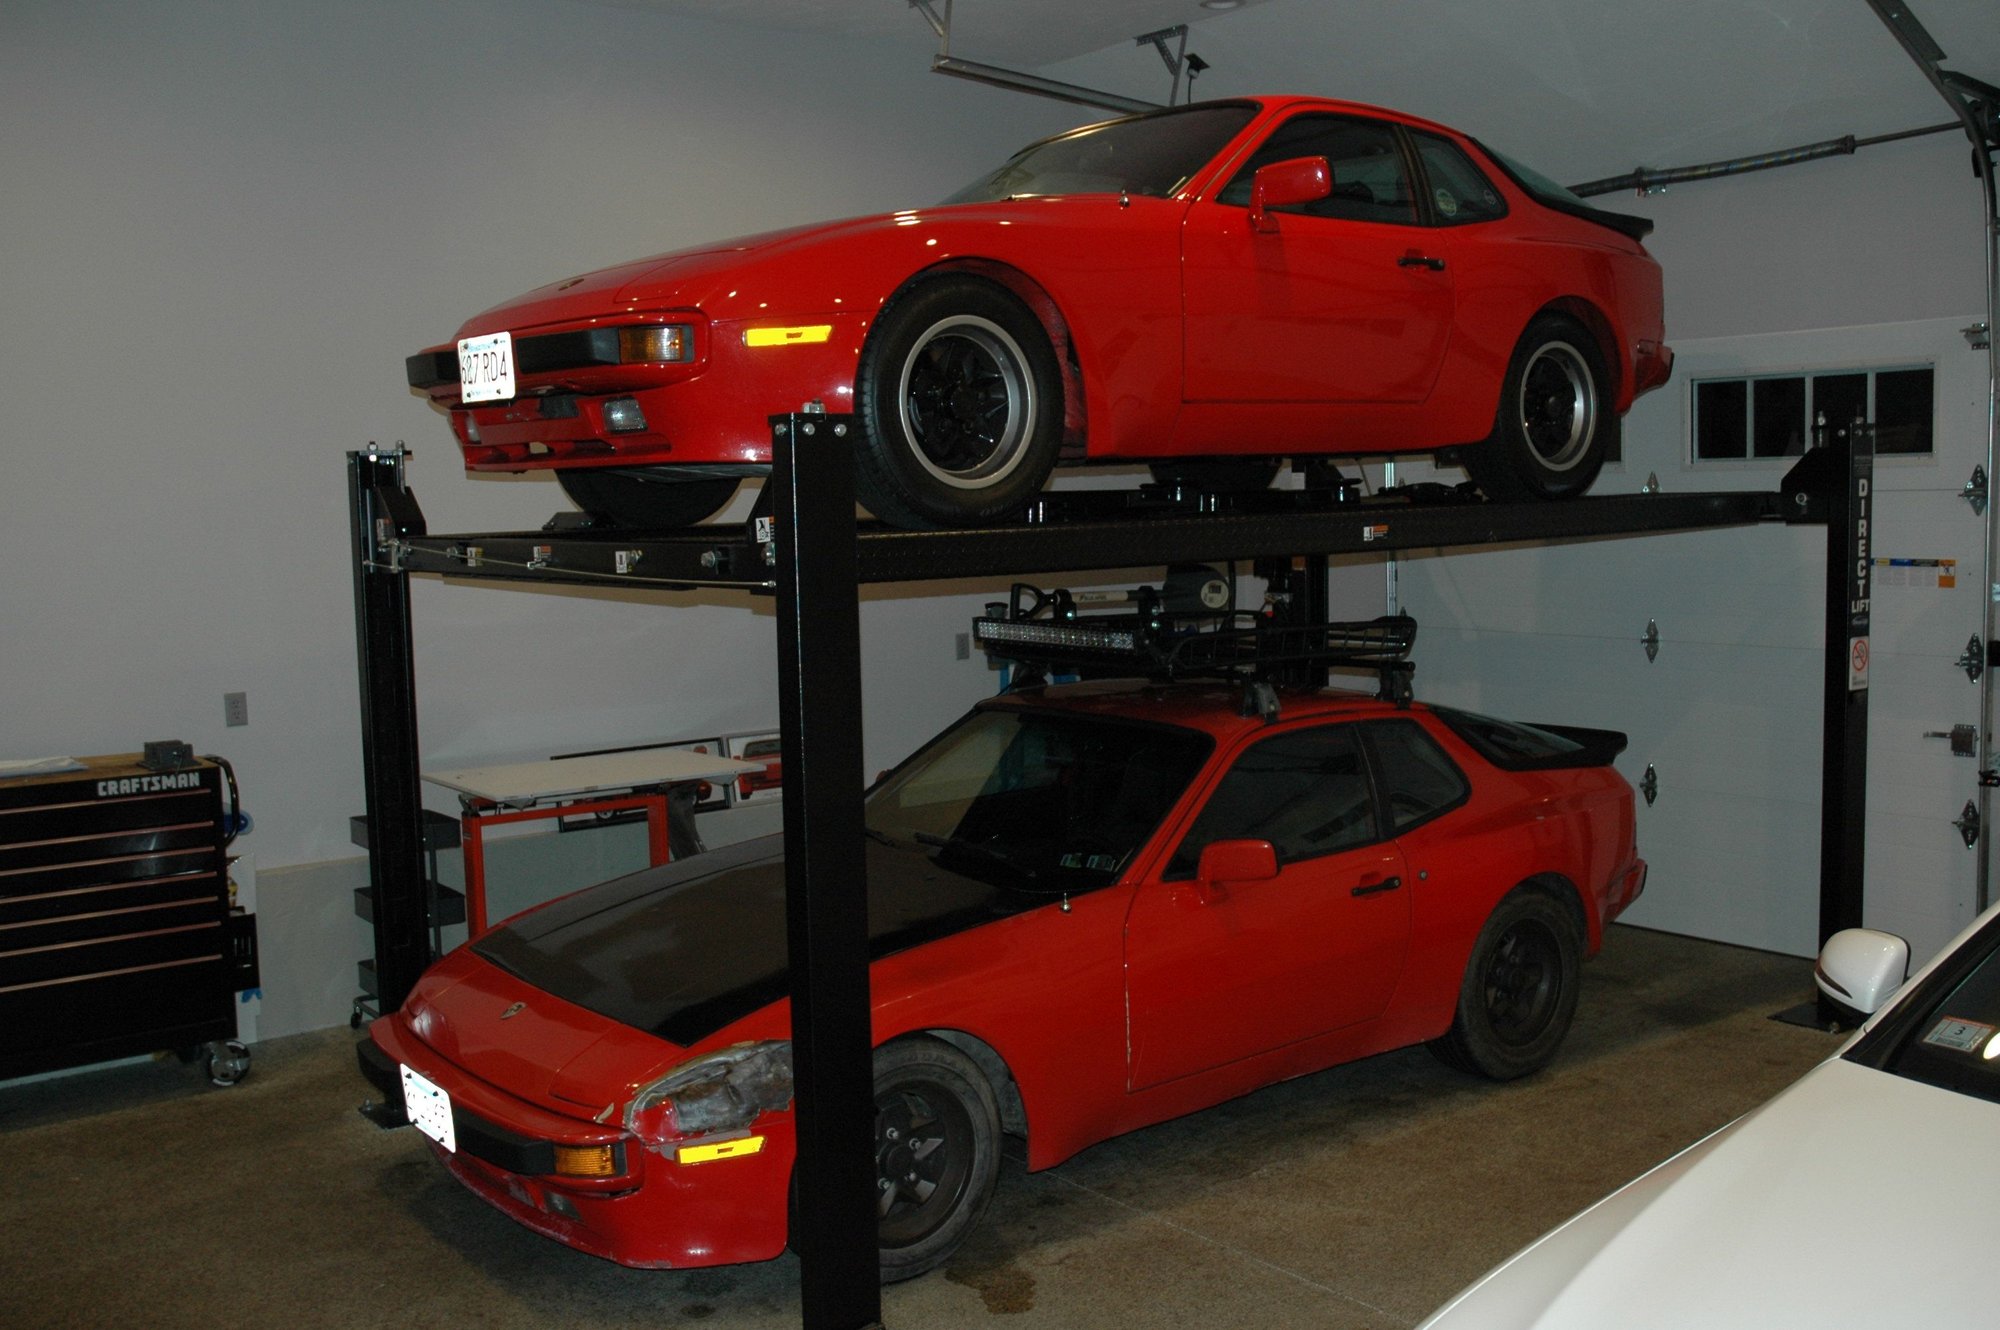
Brought her to the local P-specialists (Southshore Autoworks - Kingston, MA) for an alignment as she was completely out of whack since fiddling with the front end. She's back home sleeping comfortably with her younger sister... That's water BTW due to being caught in a deluge on the way home.
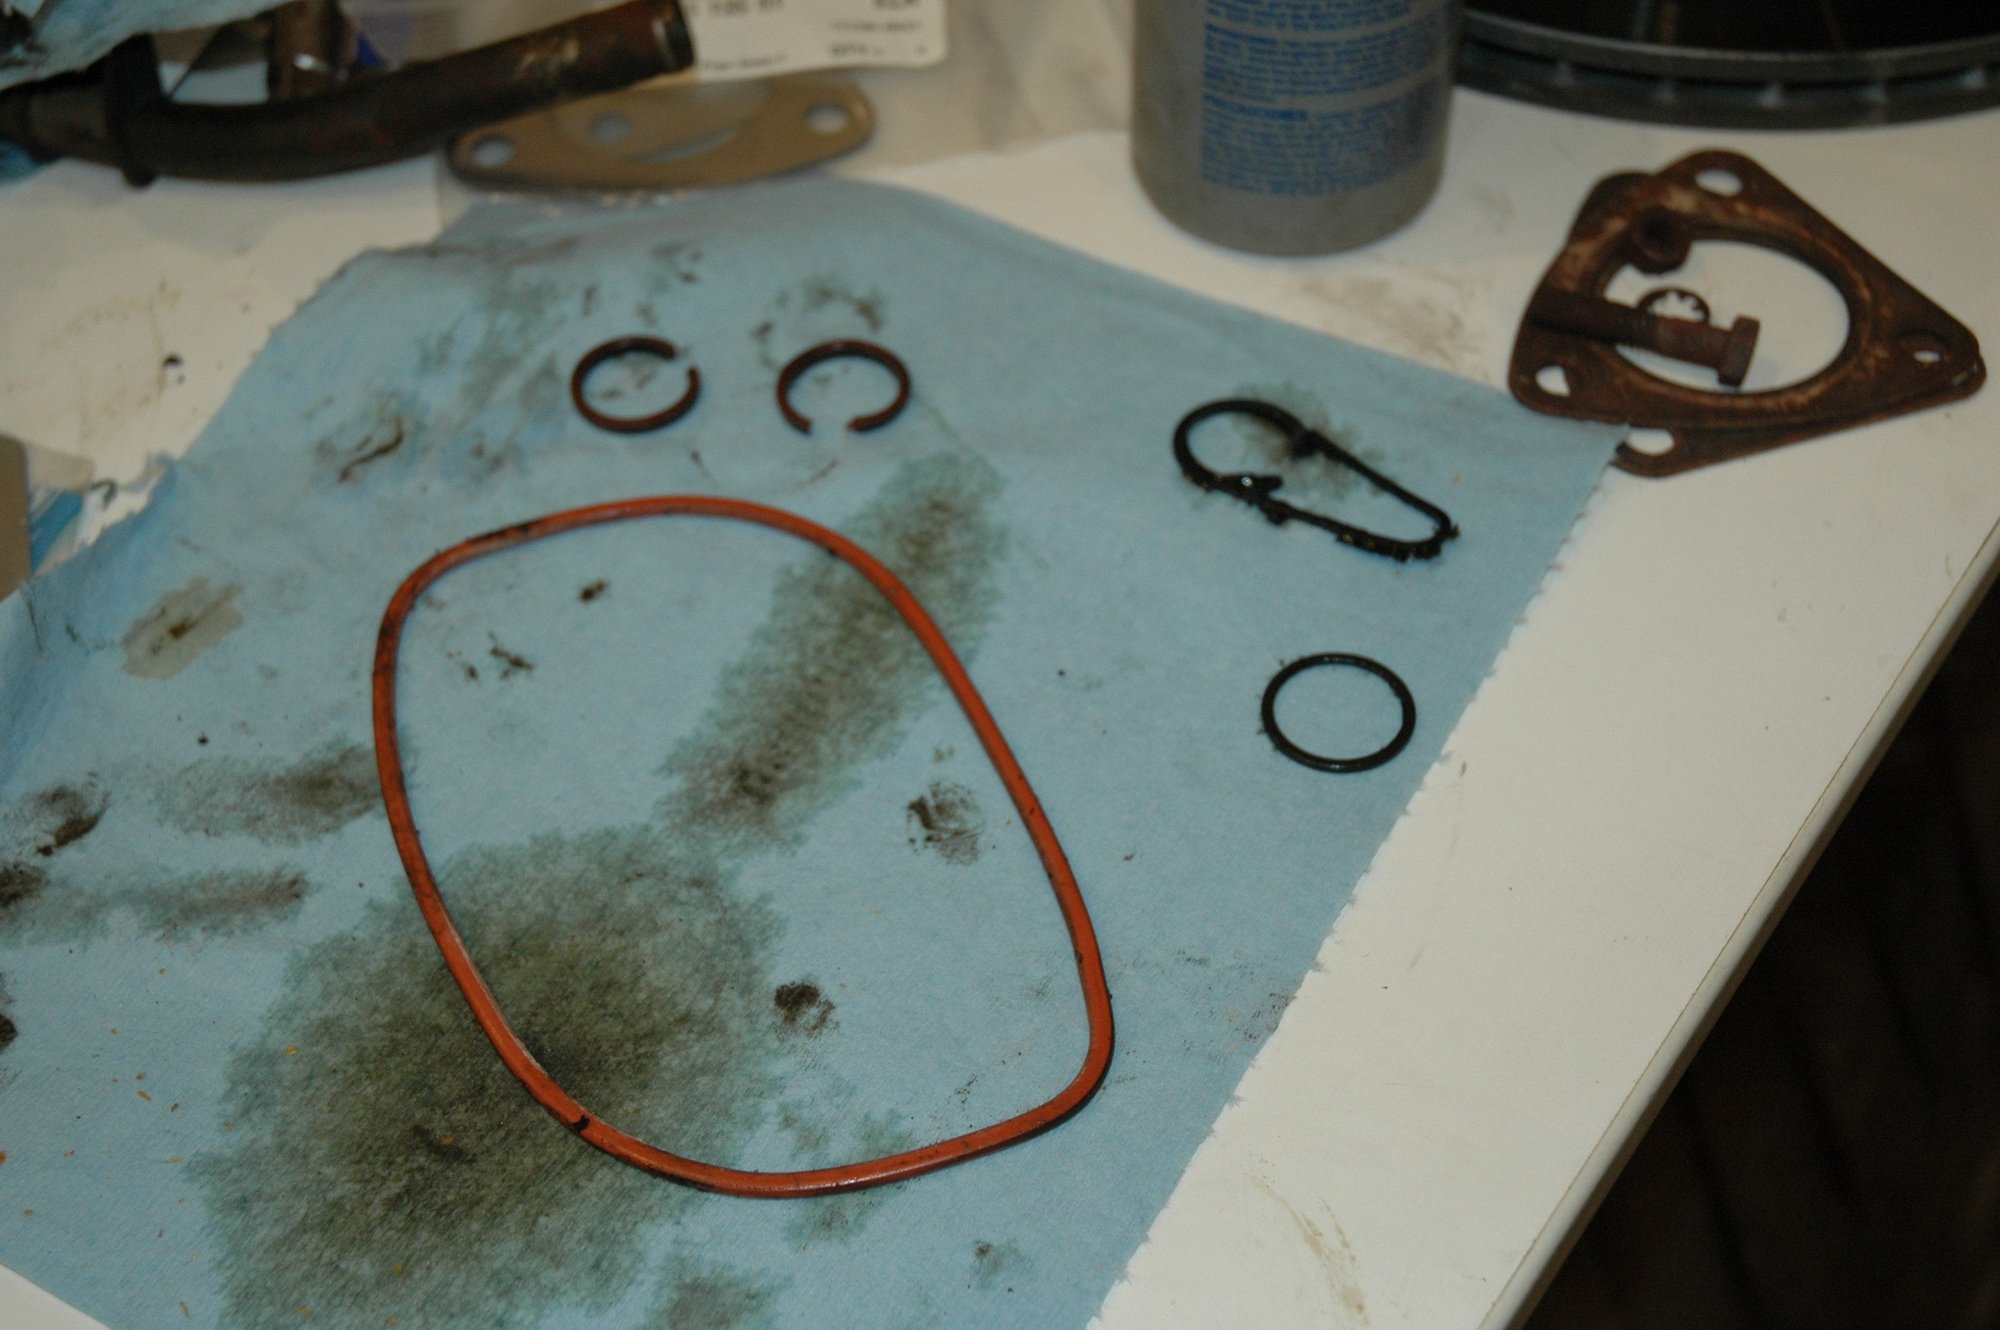
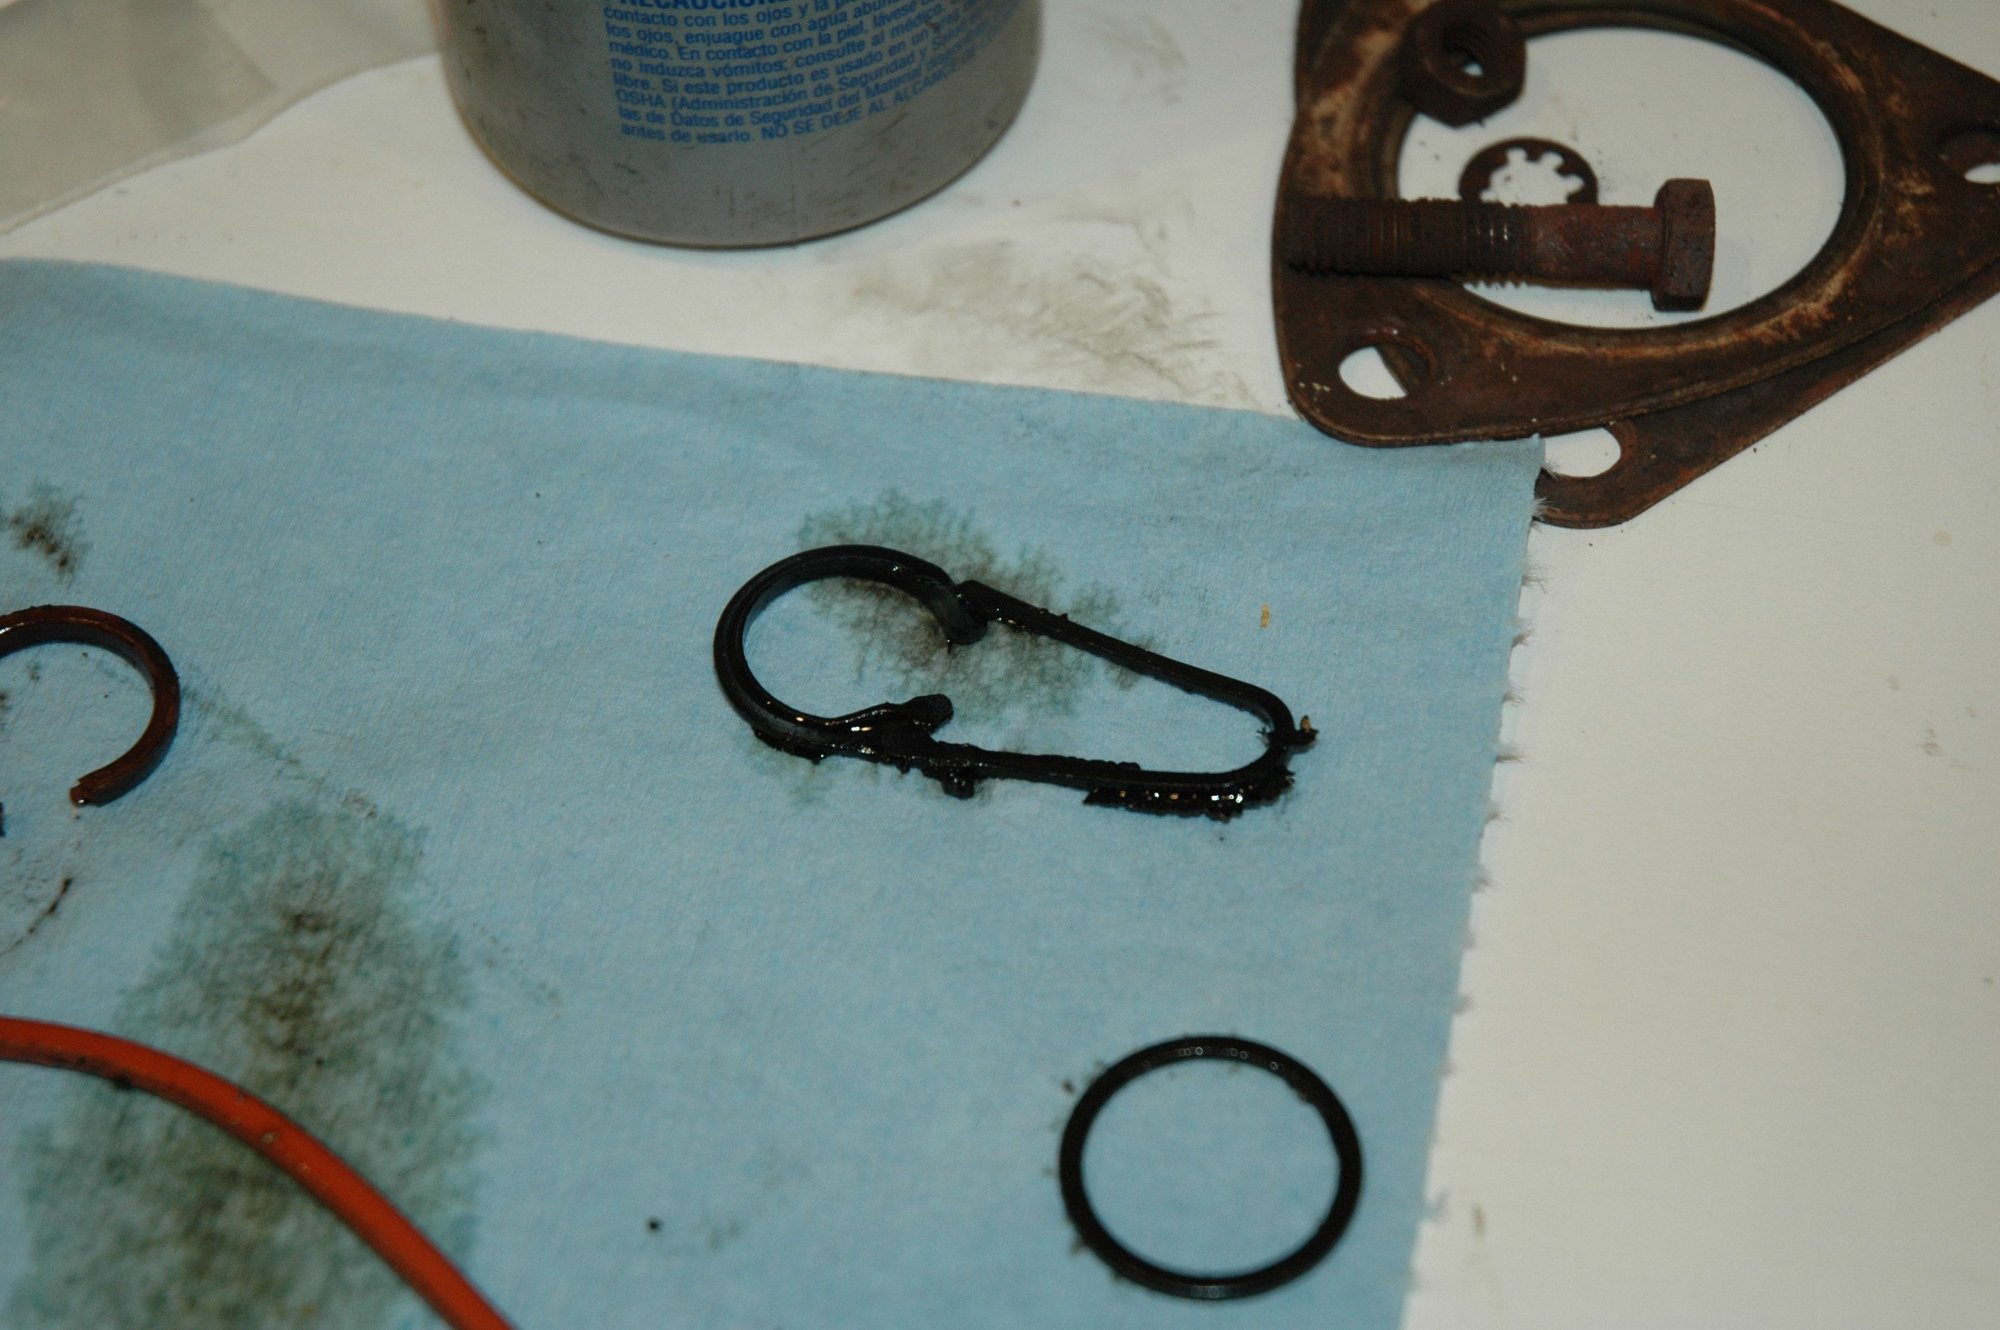
S-more work performed today... She started leaking oil a few weeks ago (probably because I've driven her over 1k miles over the past few months after sitting for years) so off came the oil cooler. I'm glad I did because these seals look original!
And the oil passage gasket looks like it's about to give up the ghost.
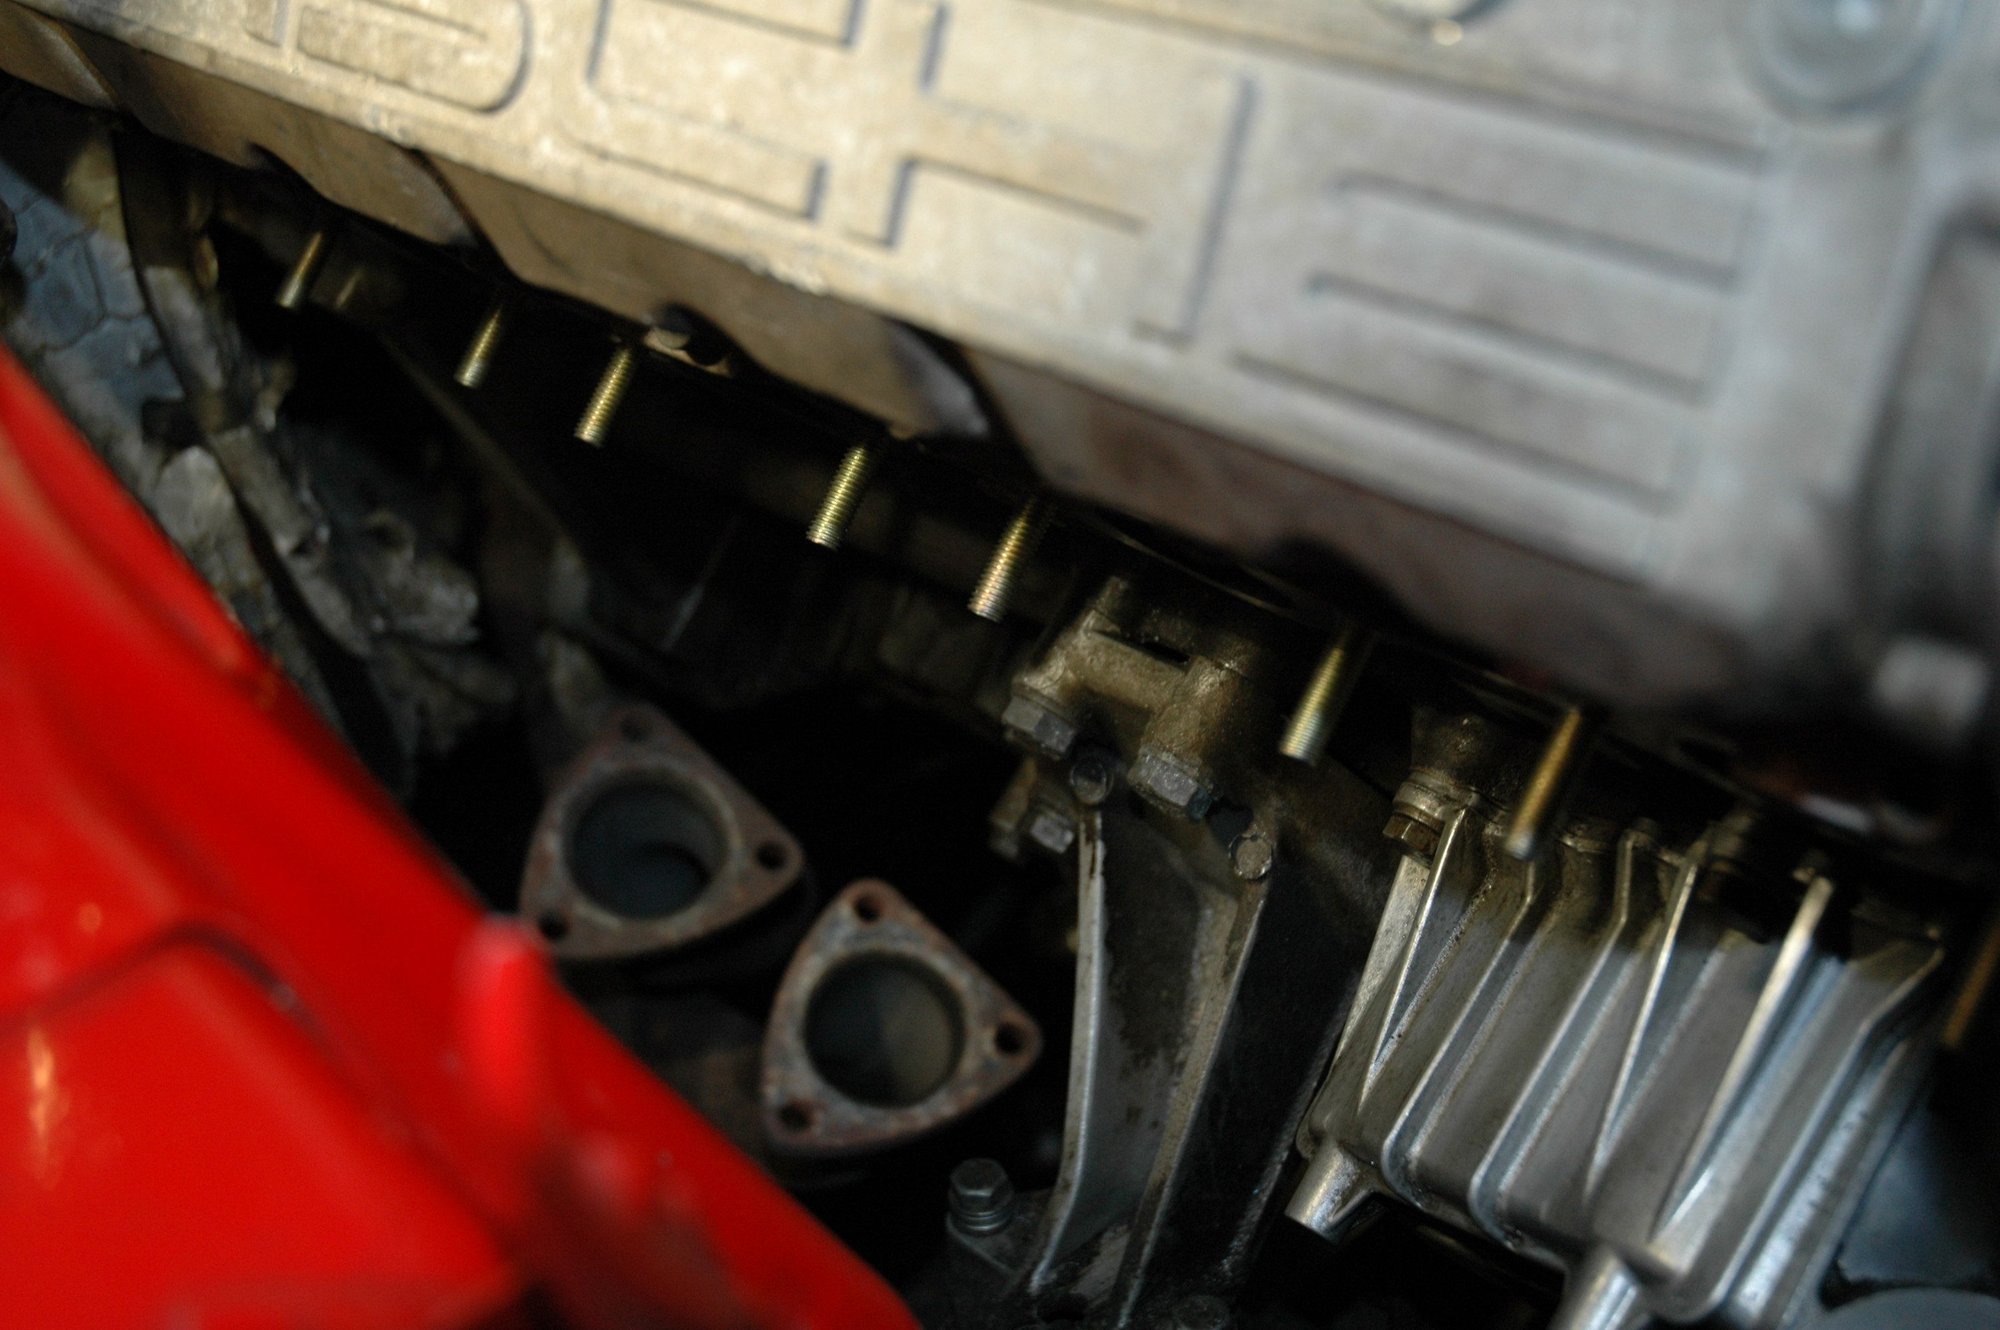
While I was in there, I felt it was a good time to replace the exhaust manifold seals and hardware. New studs to start...

 08-25-2021 | 10:45 PM