When you click on links to various merchants on this site and make a purchase, this can result in this site earning a commission. Affiliate programs and affiliations include, but are not limited to, the eBay Partner Network.
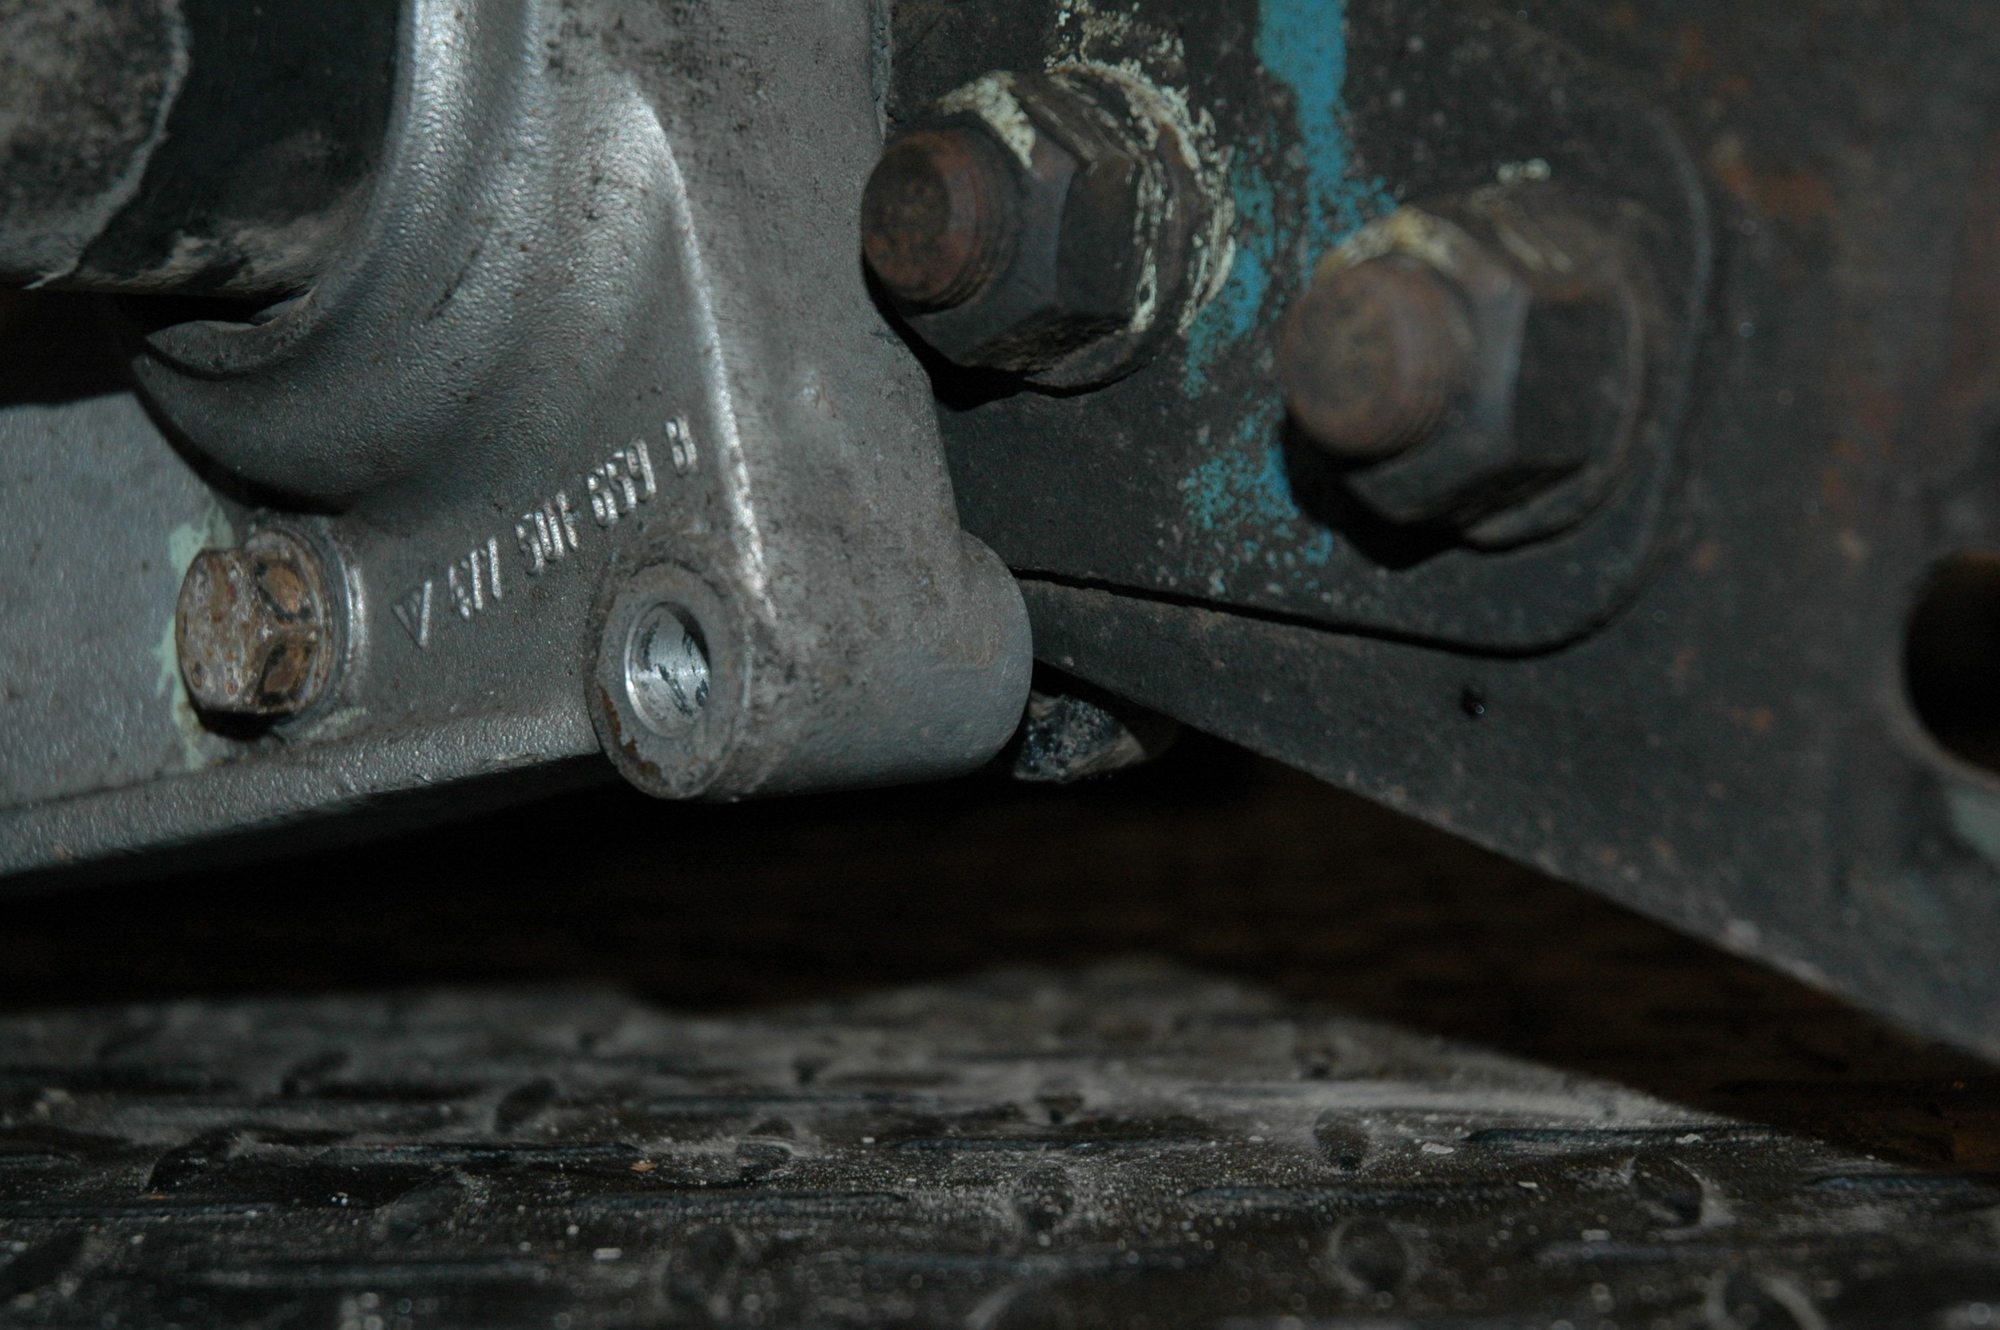
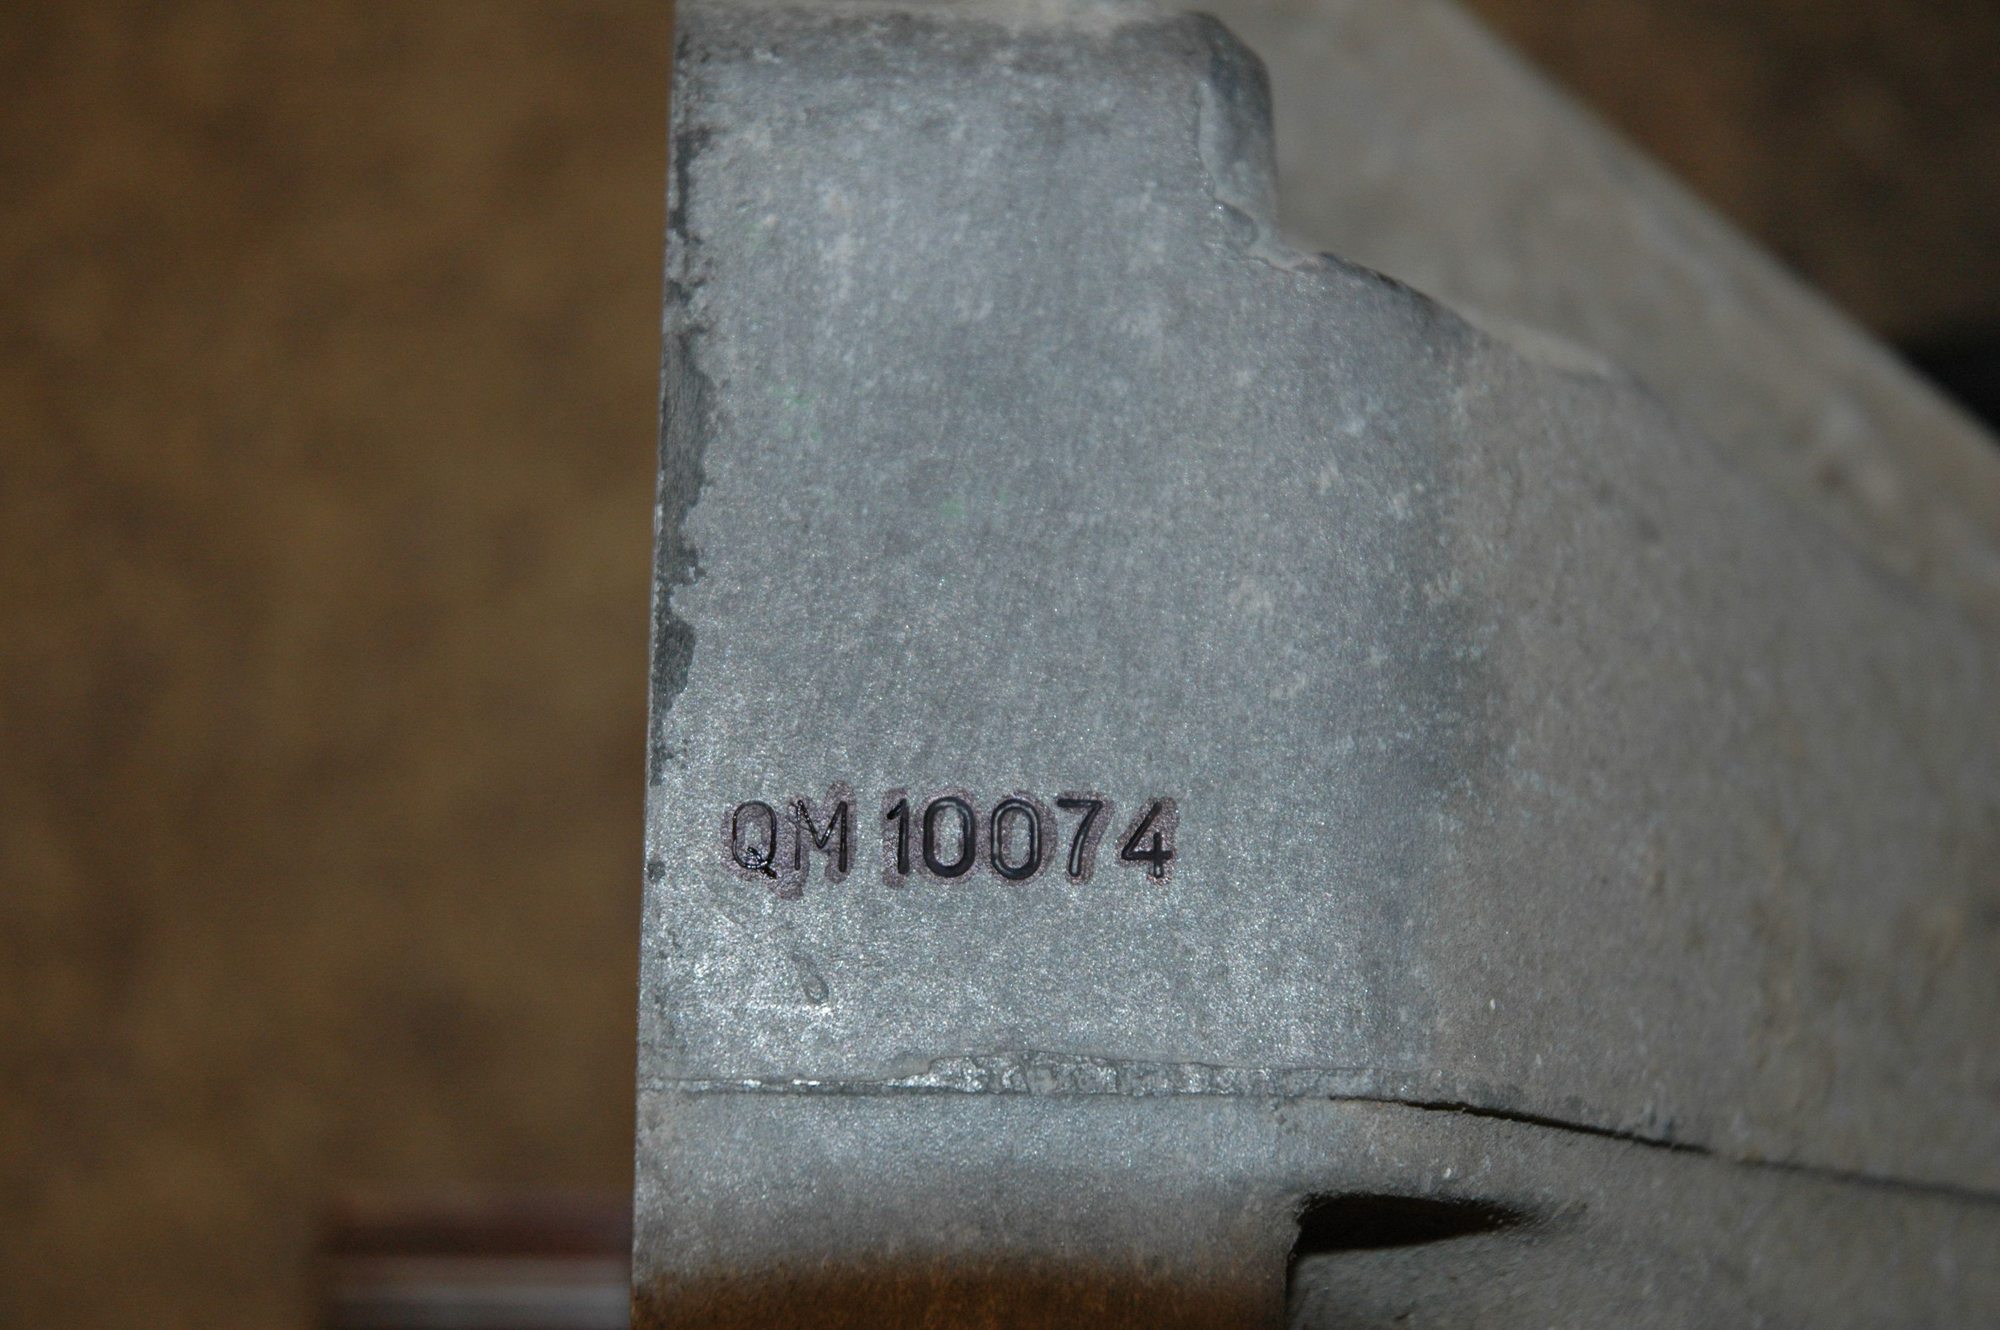
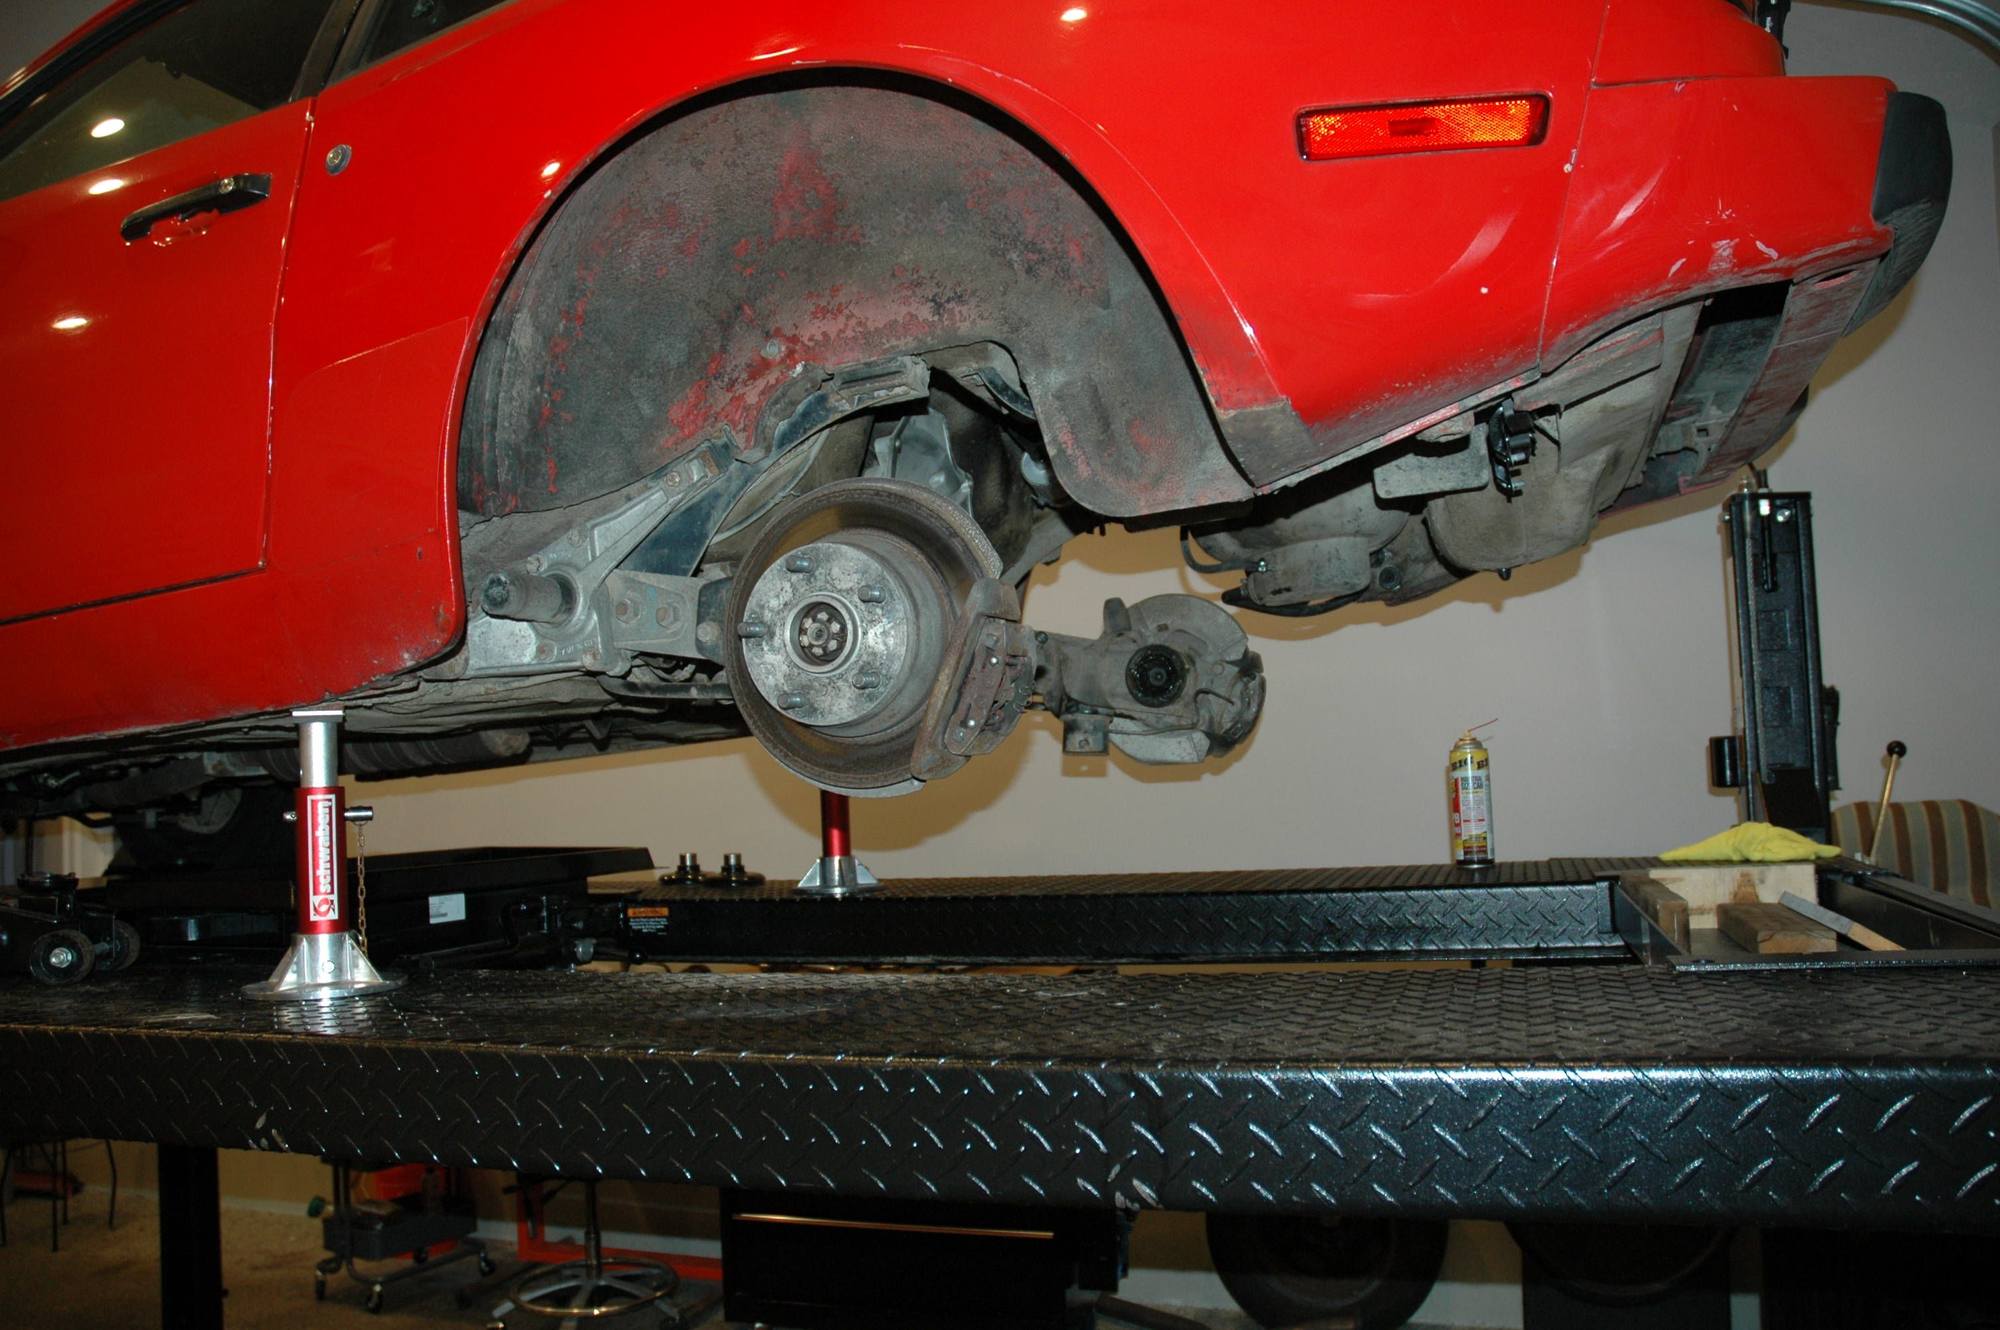
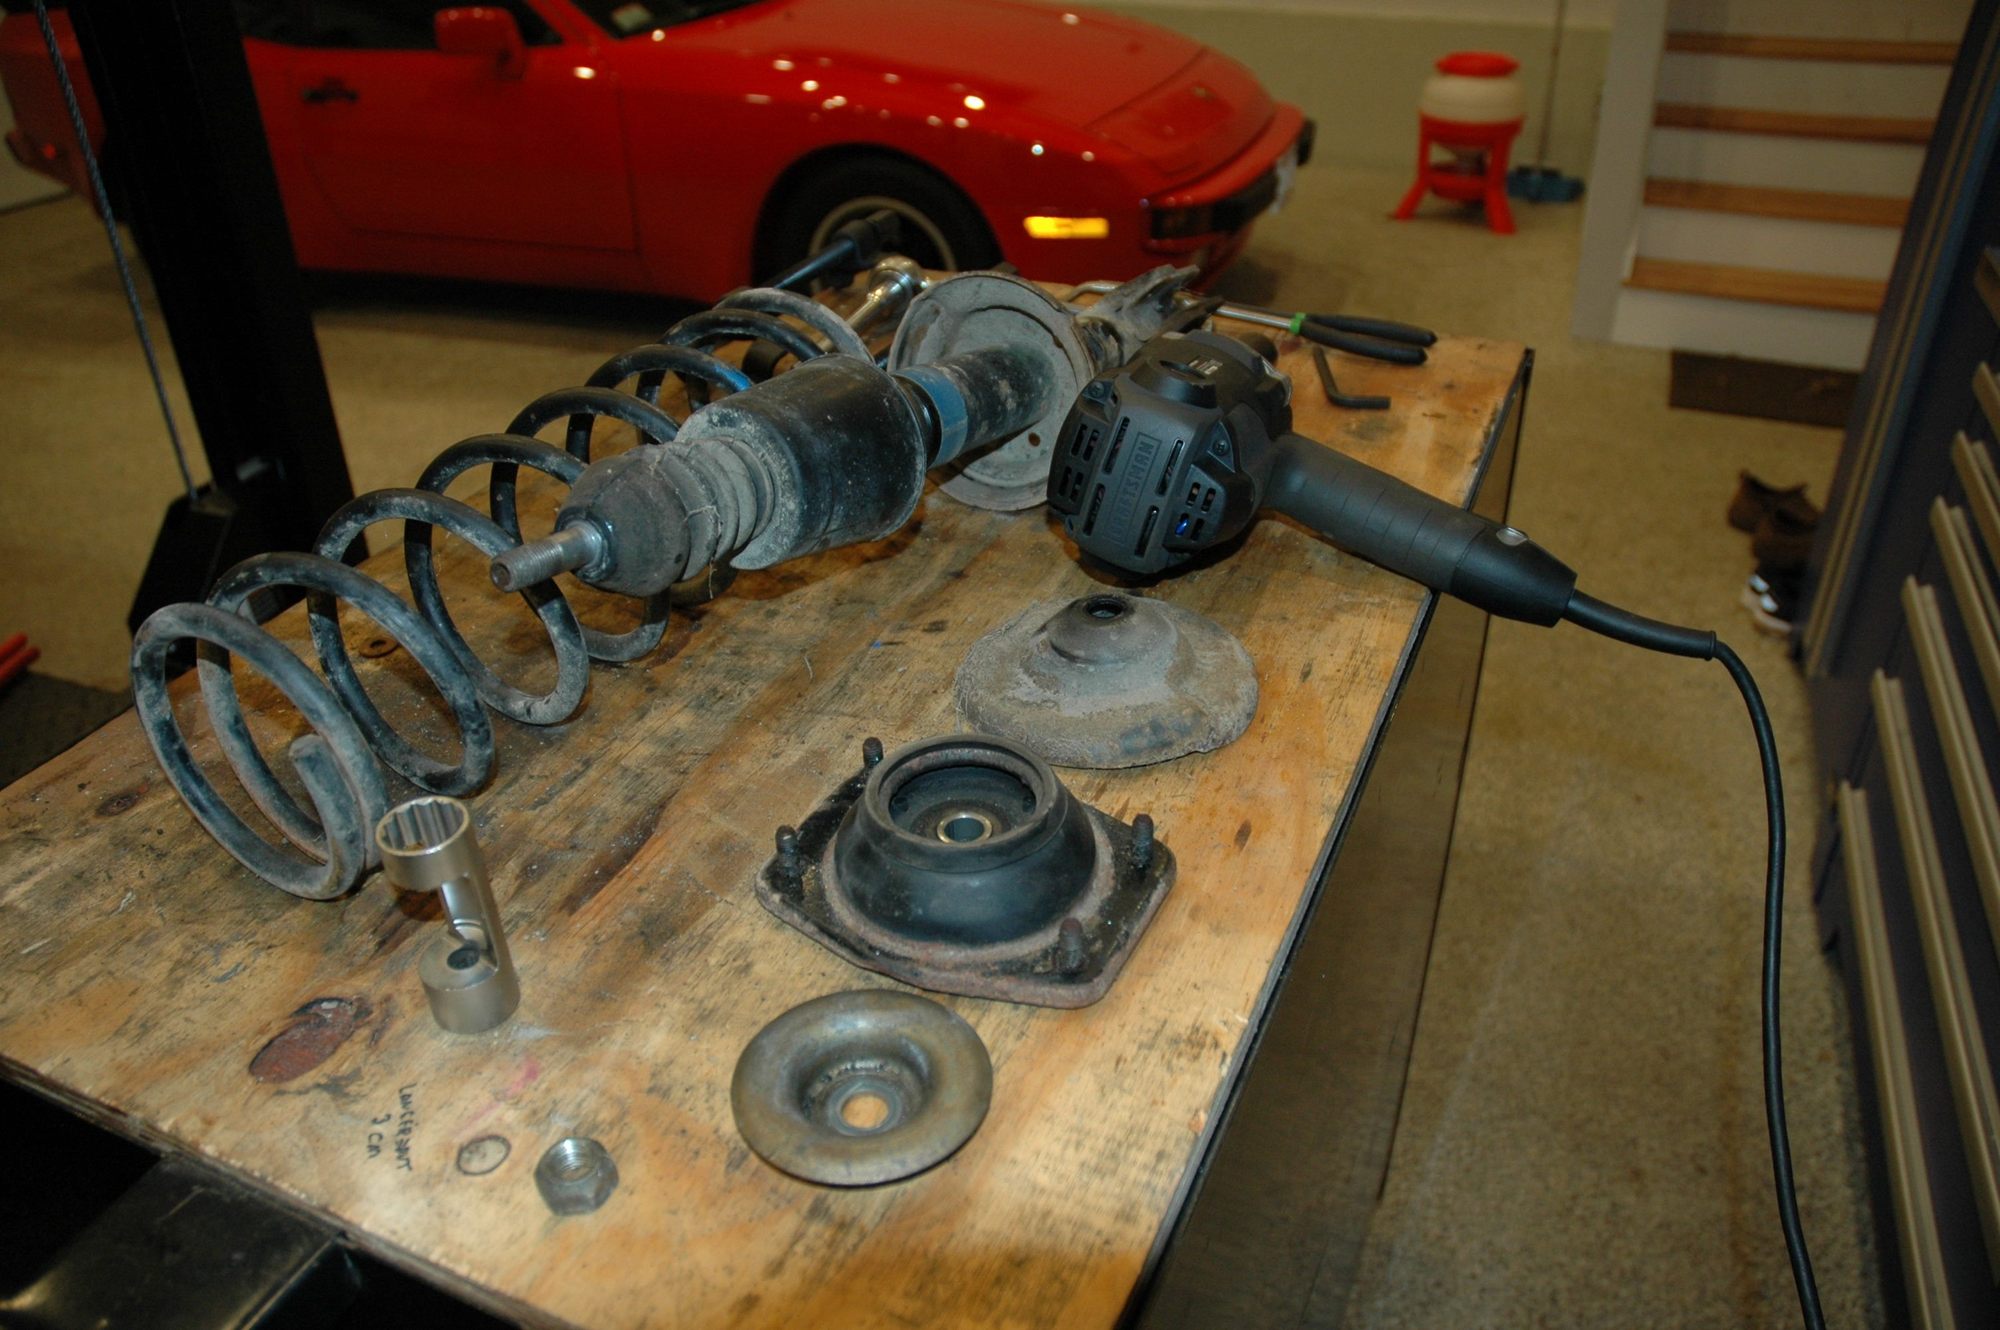
Yesterday (Sunday) was significant to this car's build as I started the preliminary breakdown process of her rear suspension. Unfortunately, I was very disappointed to discover that a PO (and I use that term in the worst possible context) swapped out the limited slip unit for a regular Open Diff Transaxle (I found code QM instead of 8Q, according to Clark's Garage). Oh well... I do have a ROW early transaxle that has a lower 5th gear (my spare unit) so I think I'll install that one - It will provide me with just that small boost of torque at highway speeds.
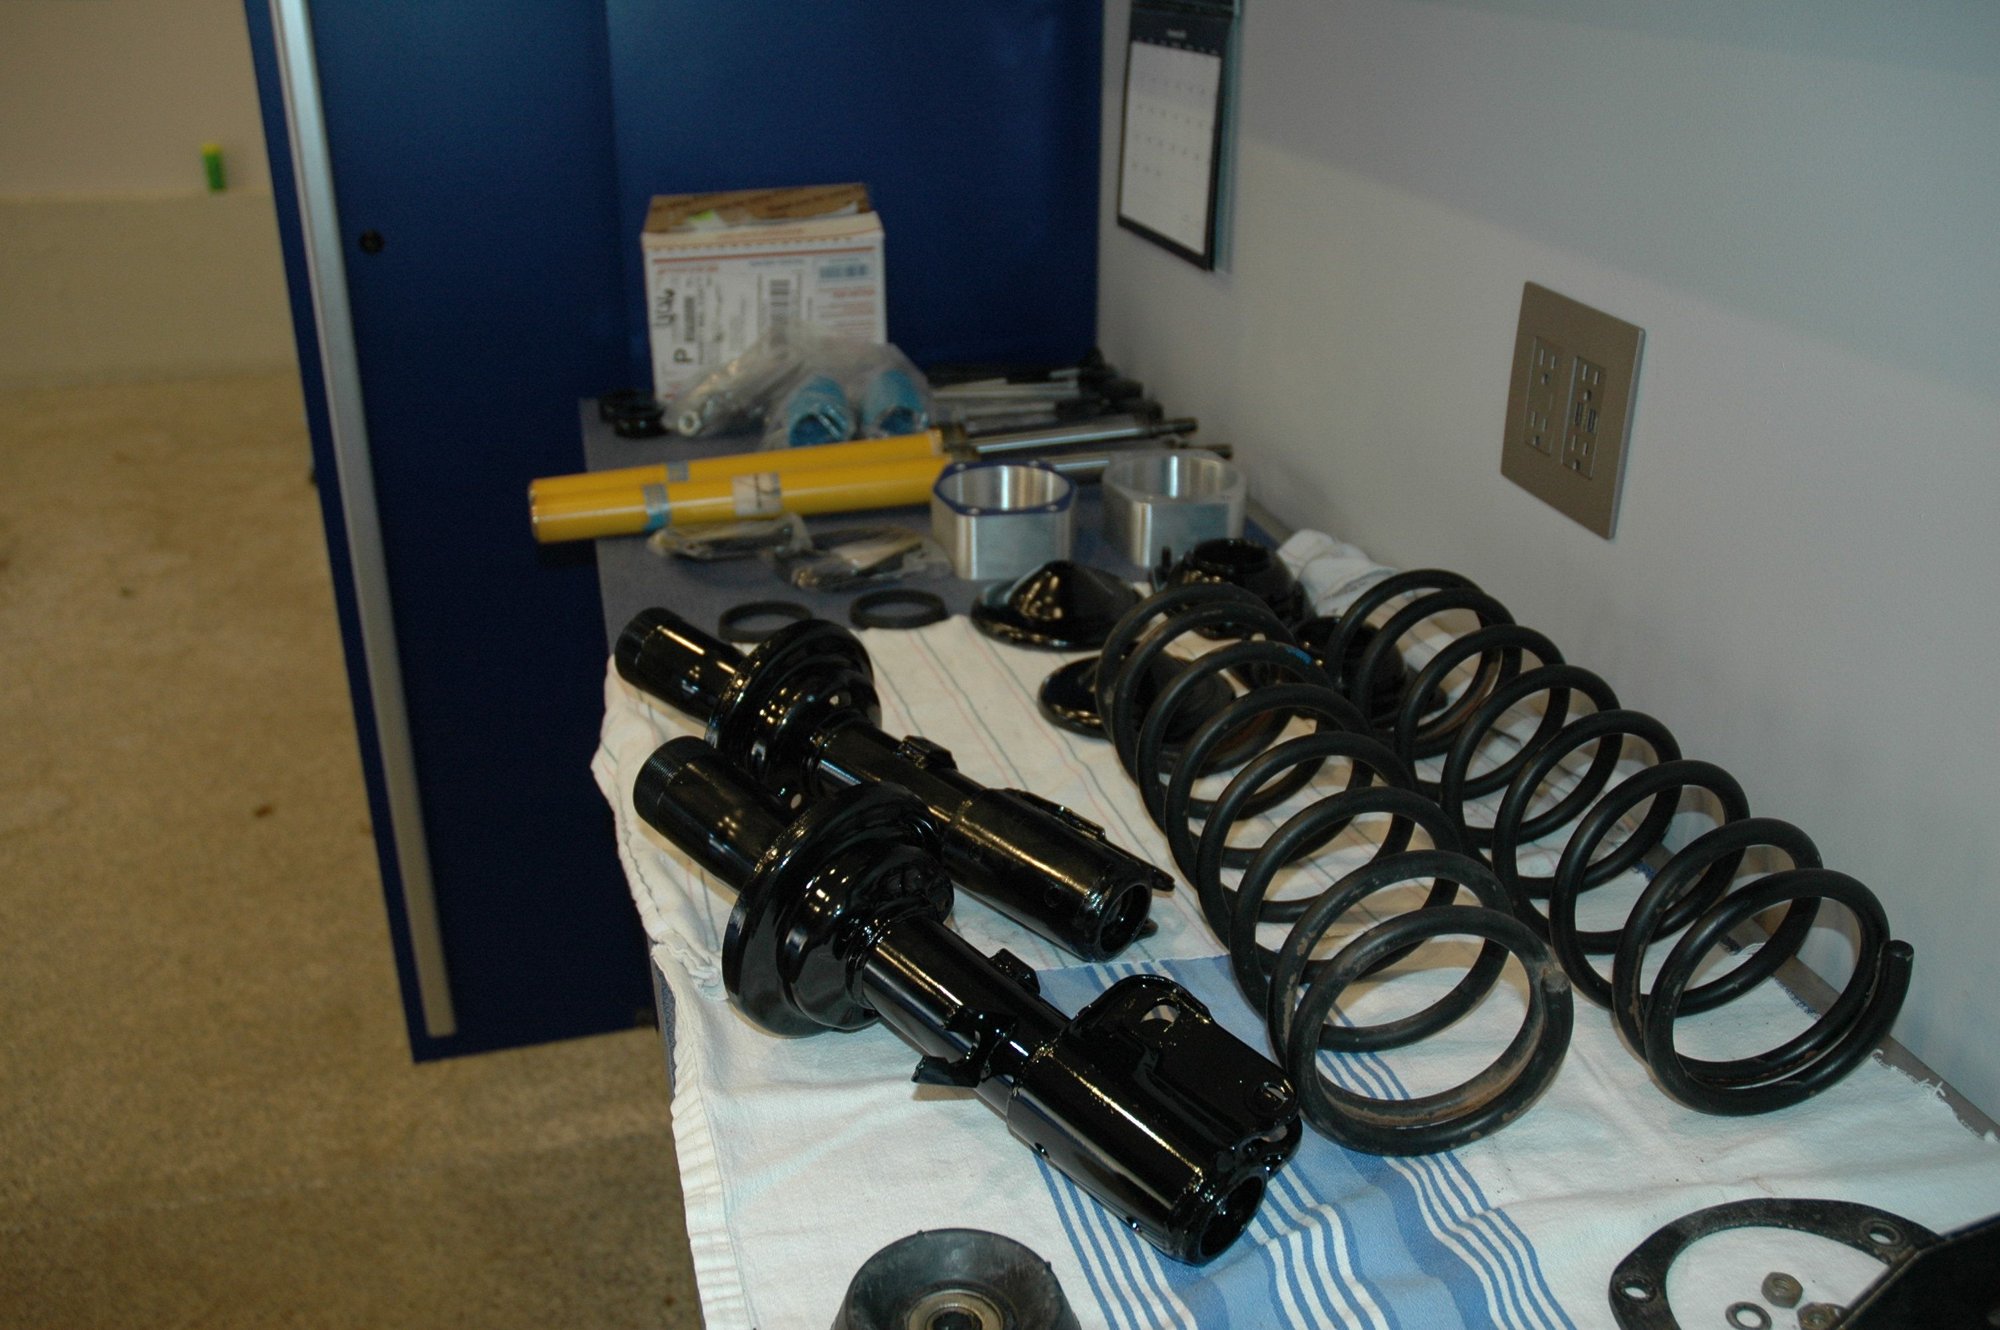
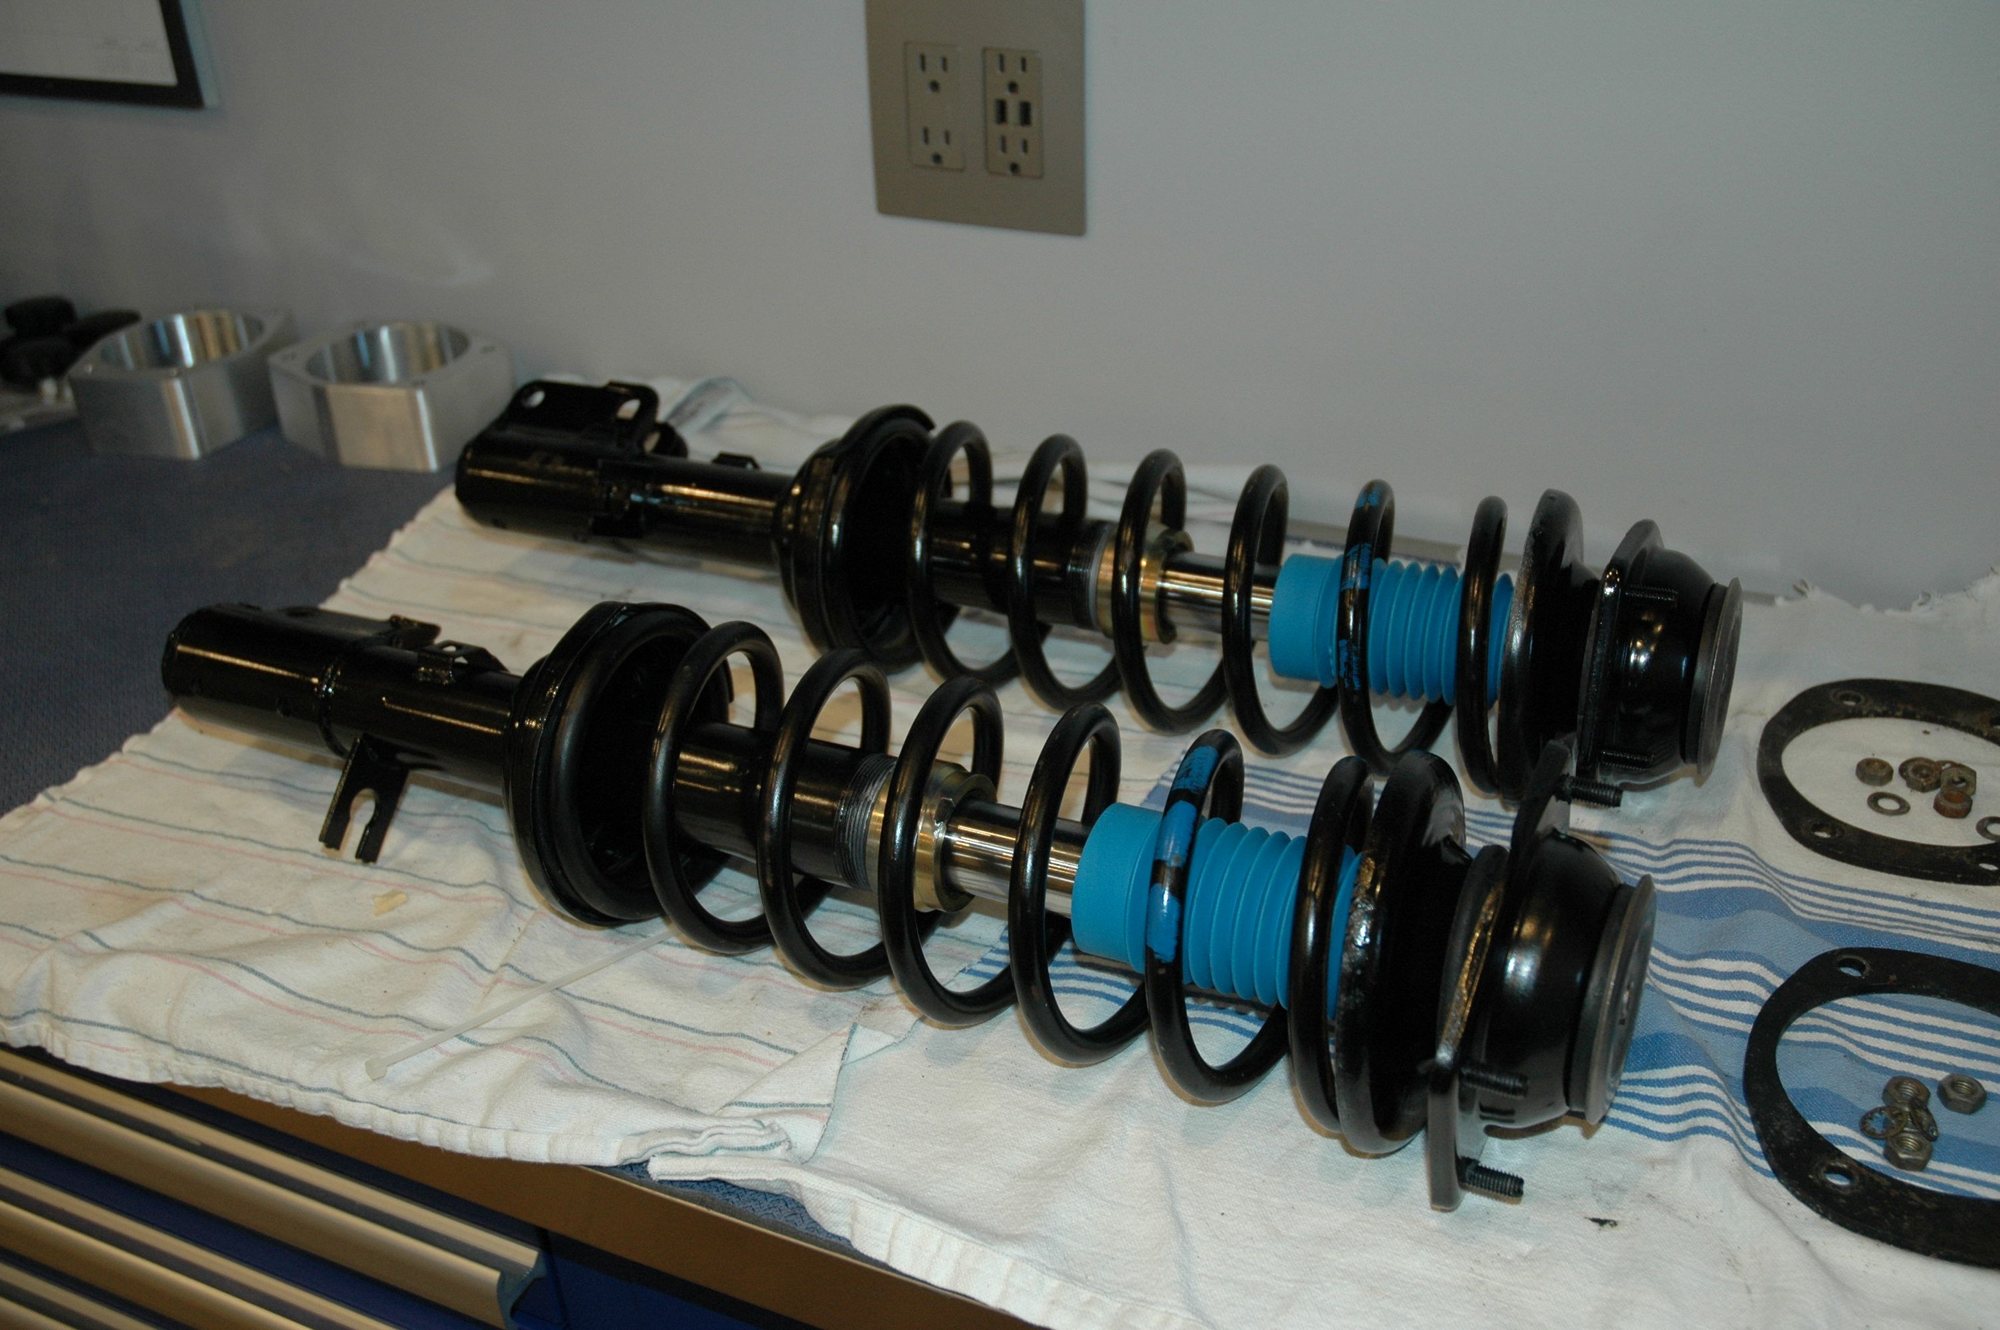
So today real progress was made, albeit without one or two hiccups. I picked up the cleaned and painted (as needed) parts this morning and started with the rebuild.
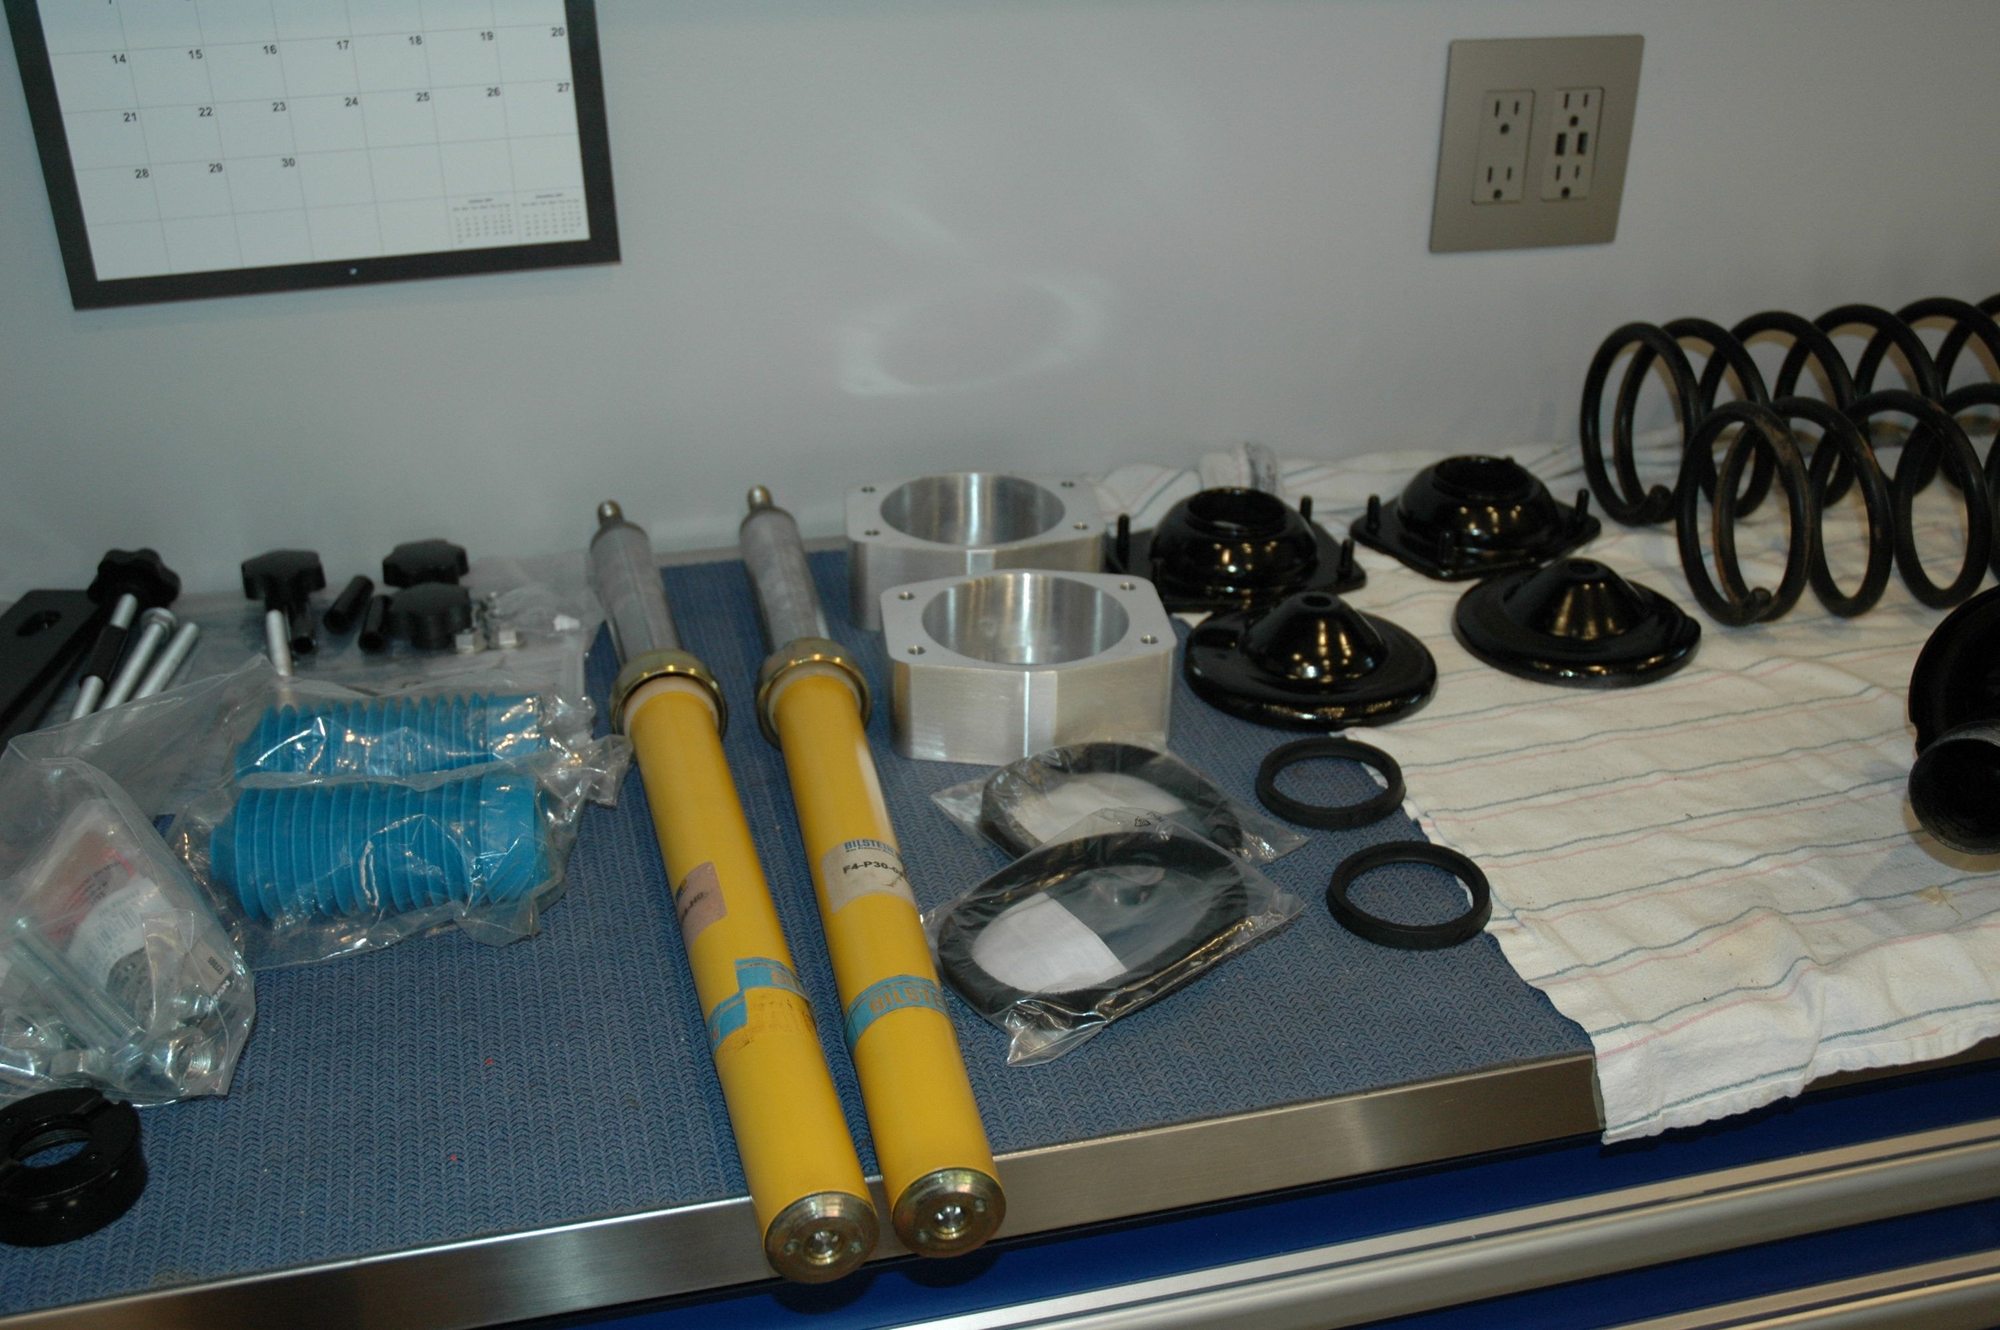
Decided to finally use the (NOS or very close to...) Bilsteins that have been laying around for a while.
The strut housing came together quite easily until I realized that the upper strut cap still retained the original length studs, which secure the housing to the strut tower. OOPS!
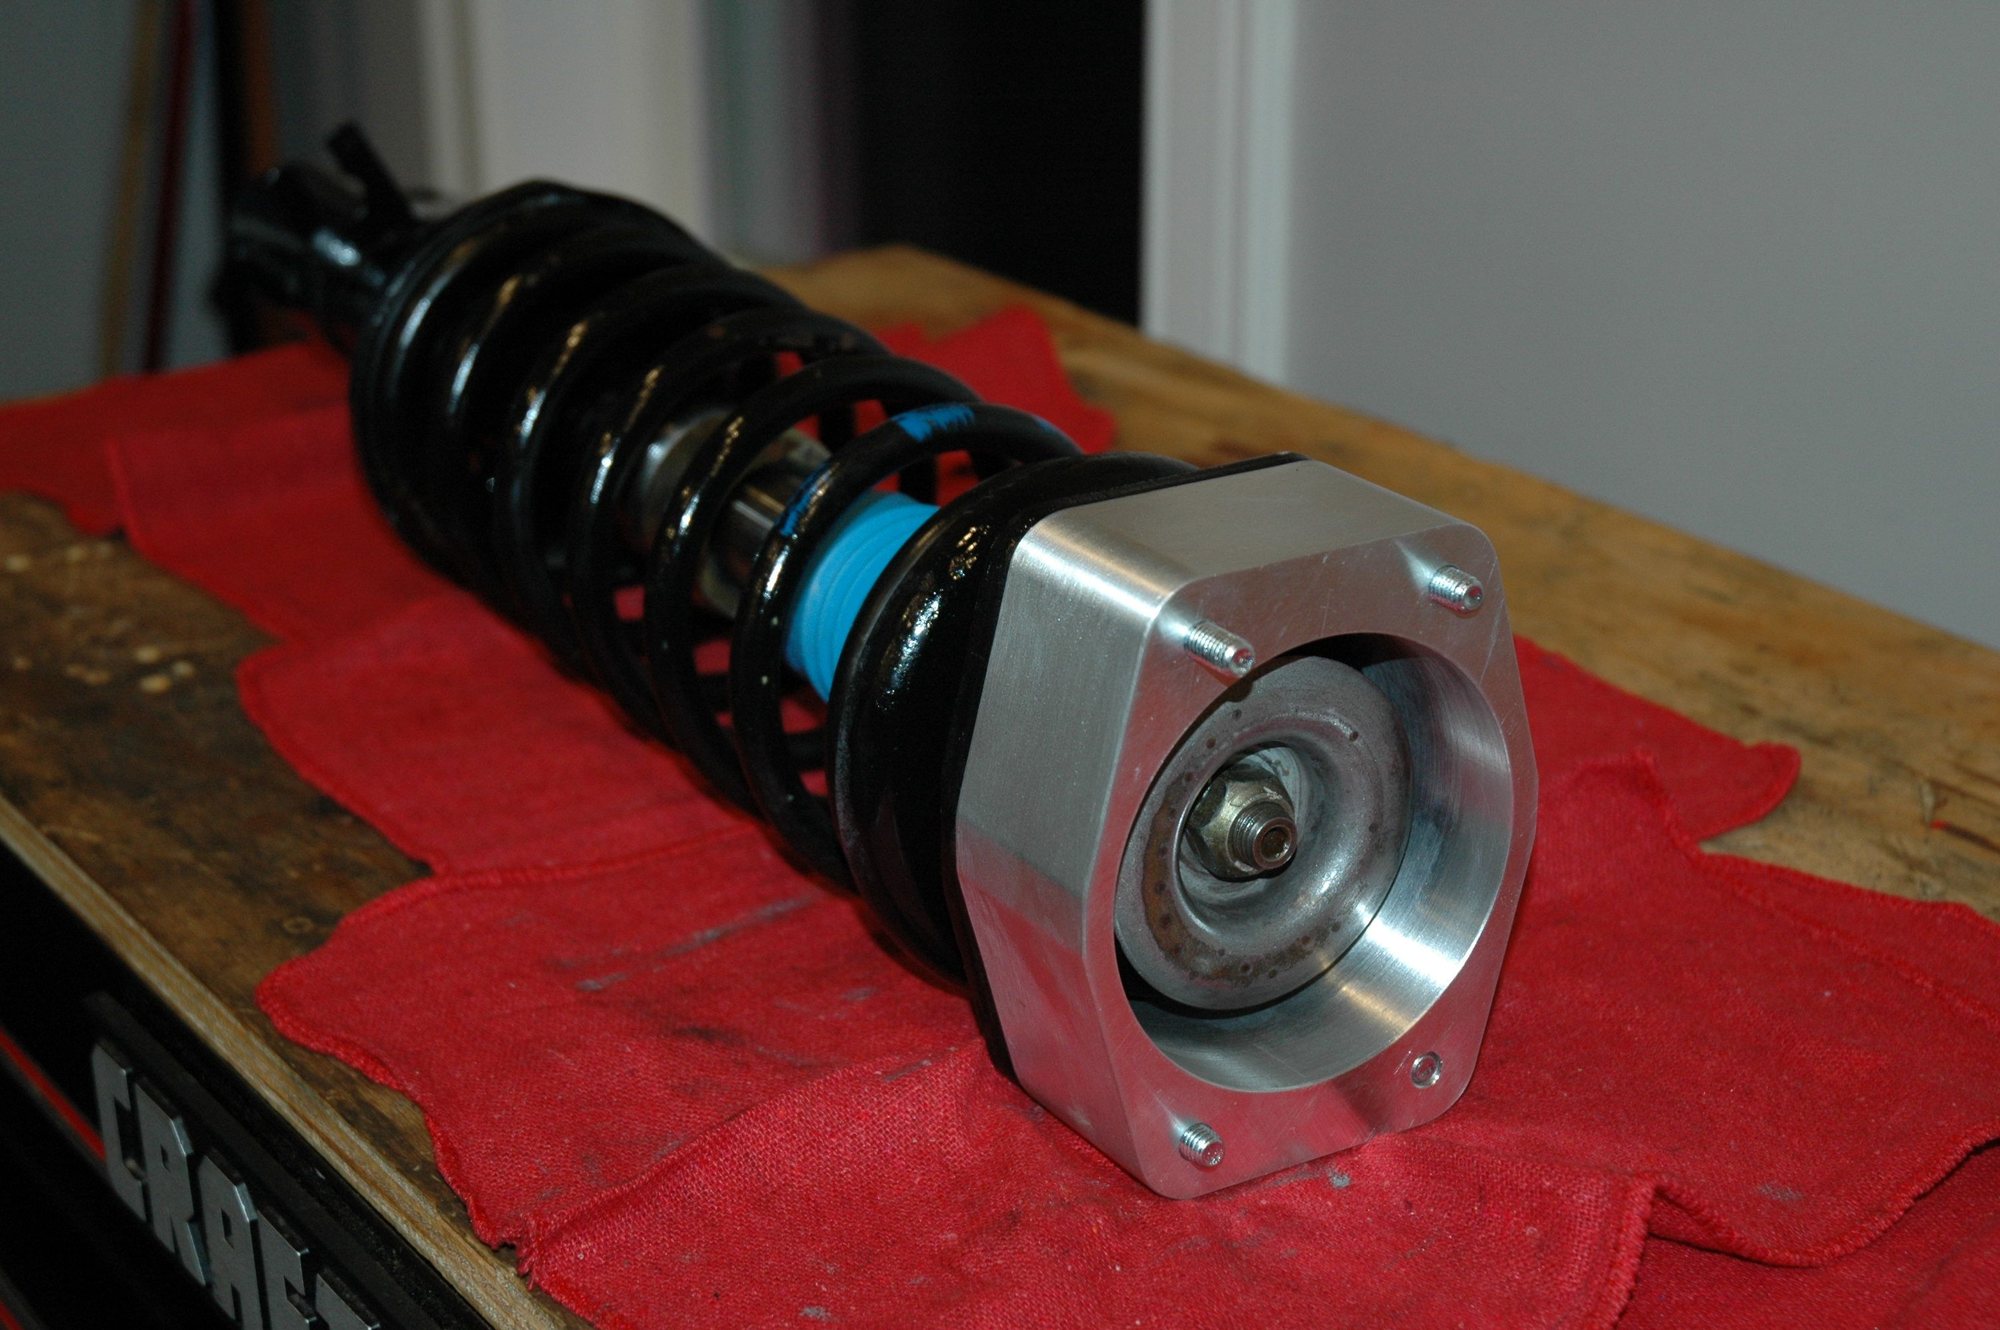
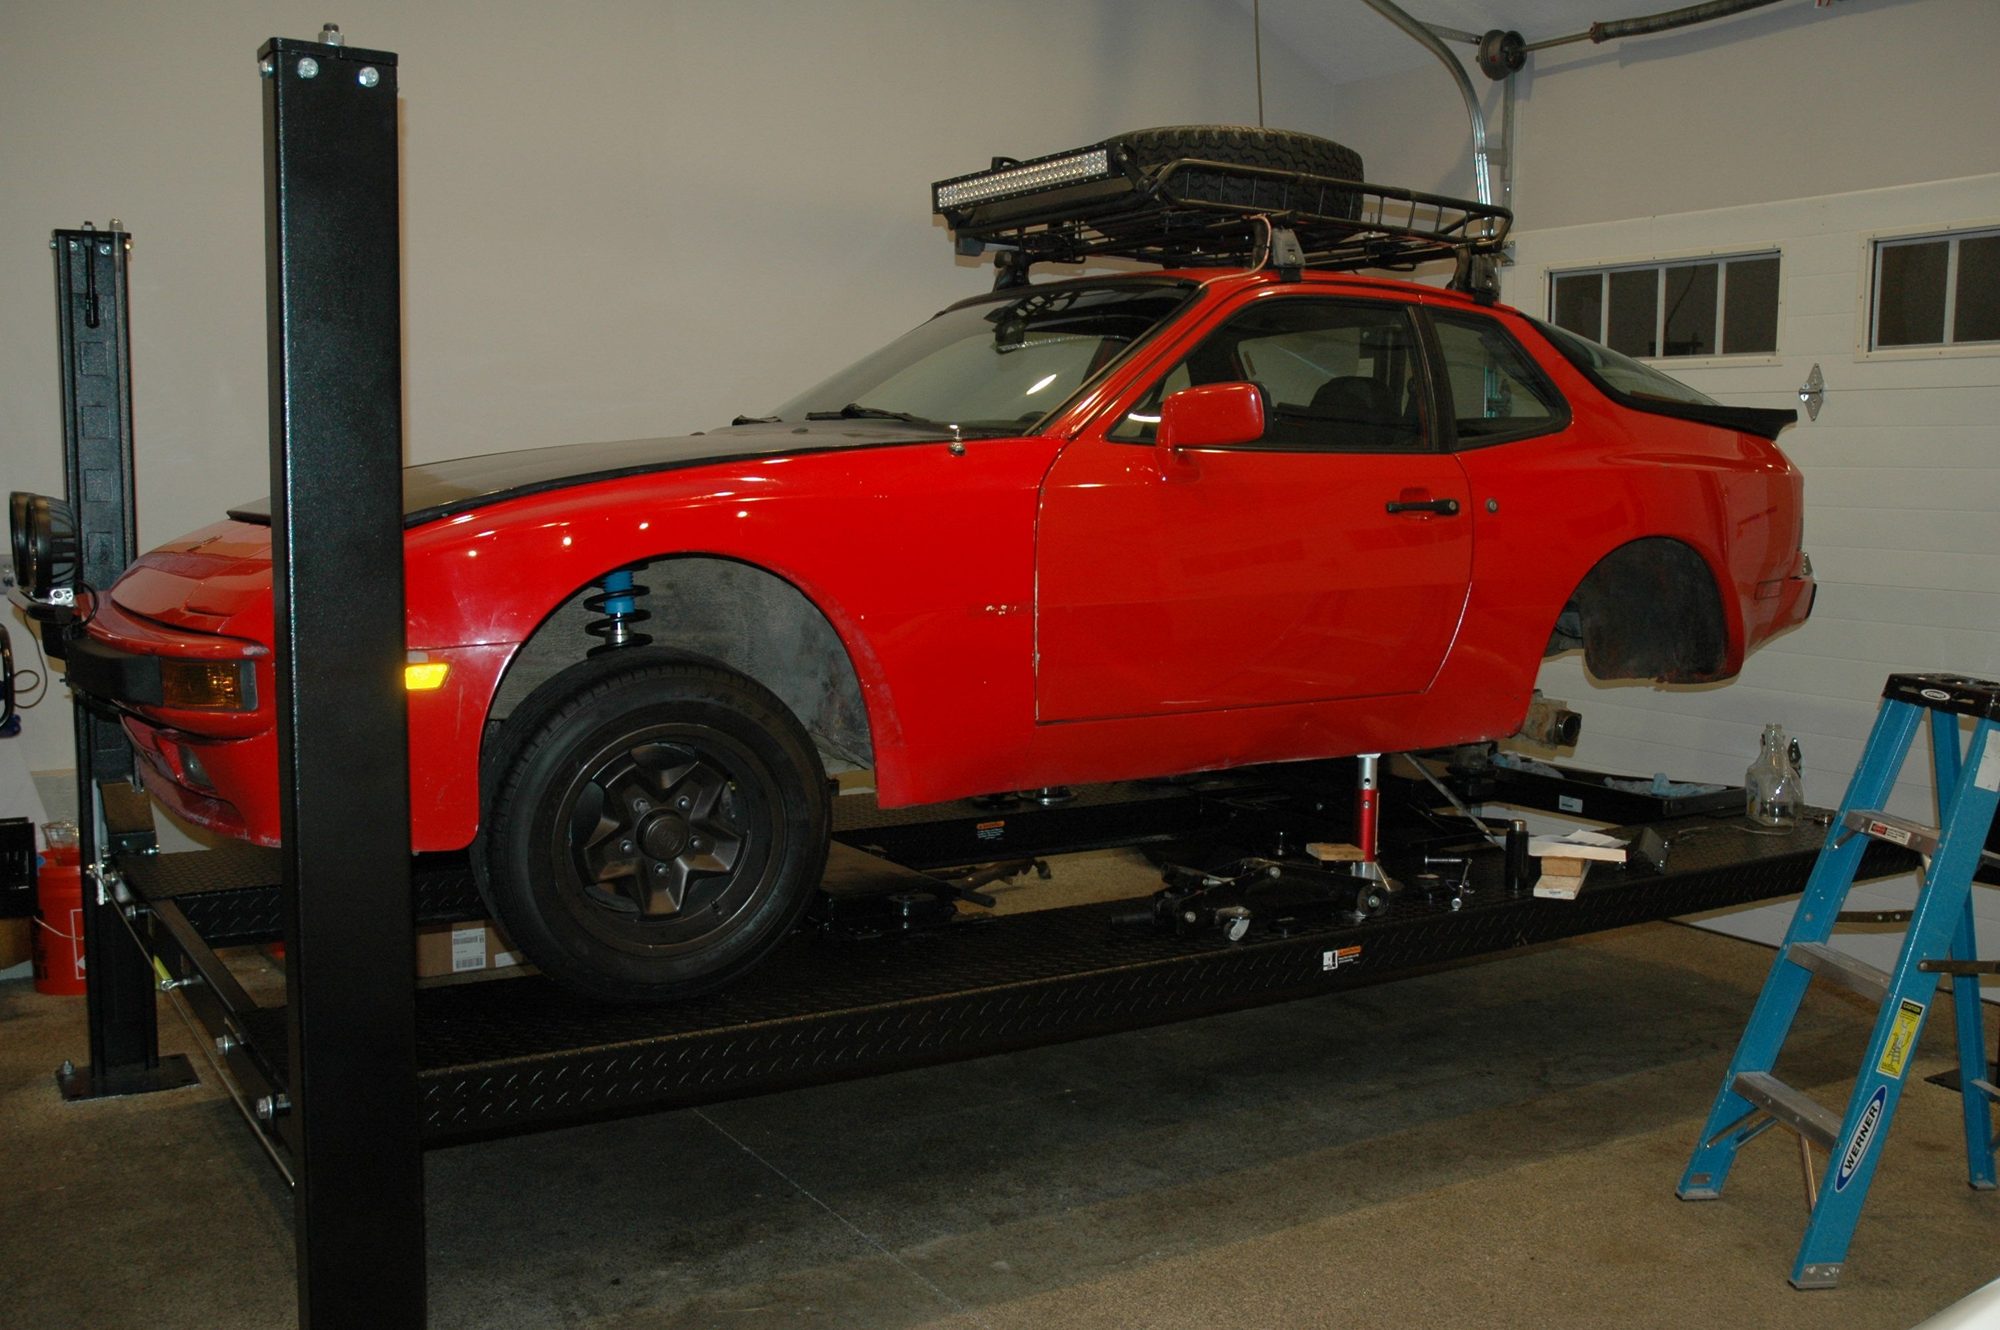
Ok, I admit that I totally forgot about replacing them with longer bolts to accommodate the lift blocks... Luckily, the machine shop was still open and the owner pressed them out for me (at no charge - what a guy!!). So, a while later, things started to come together (again). BTW: The lift blocks are 2".
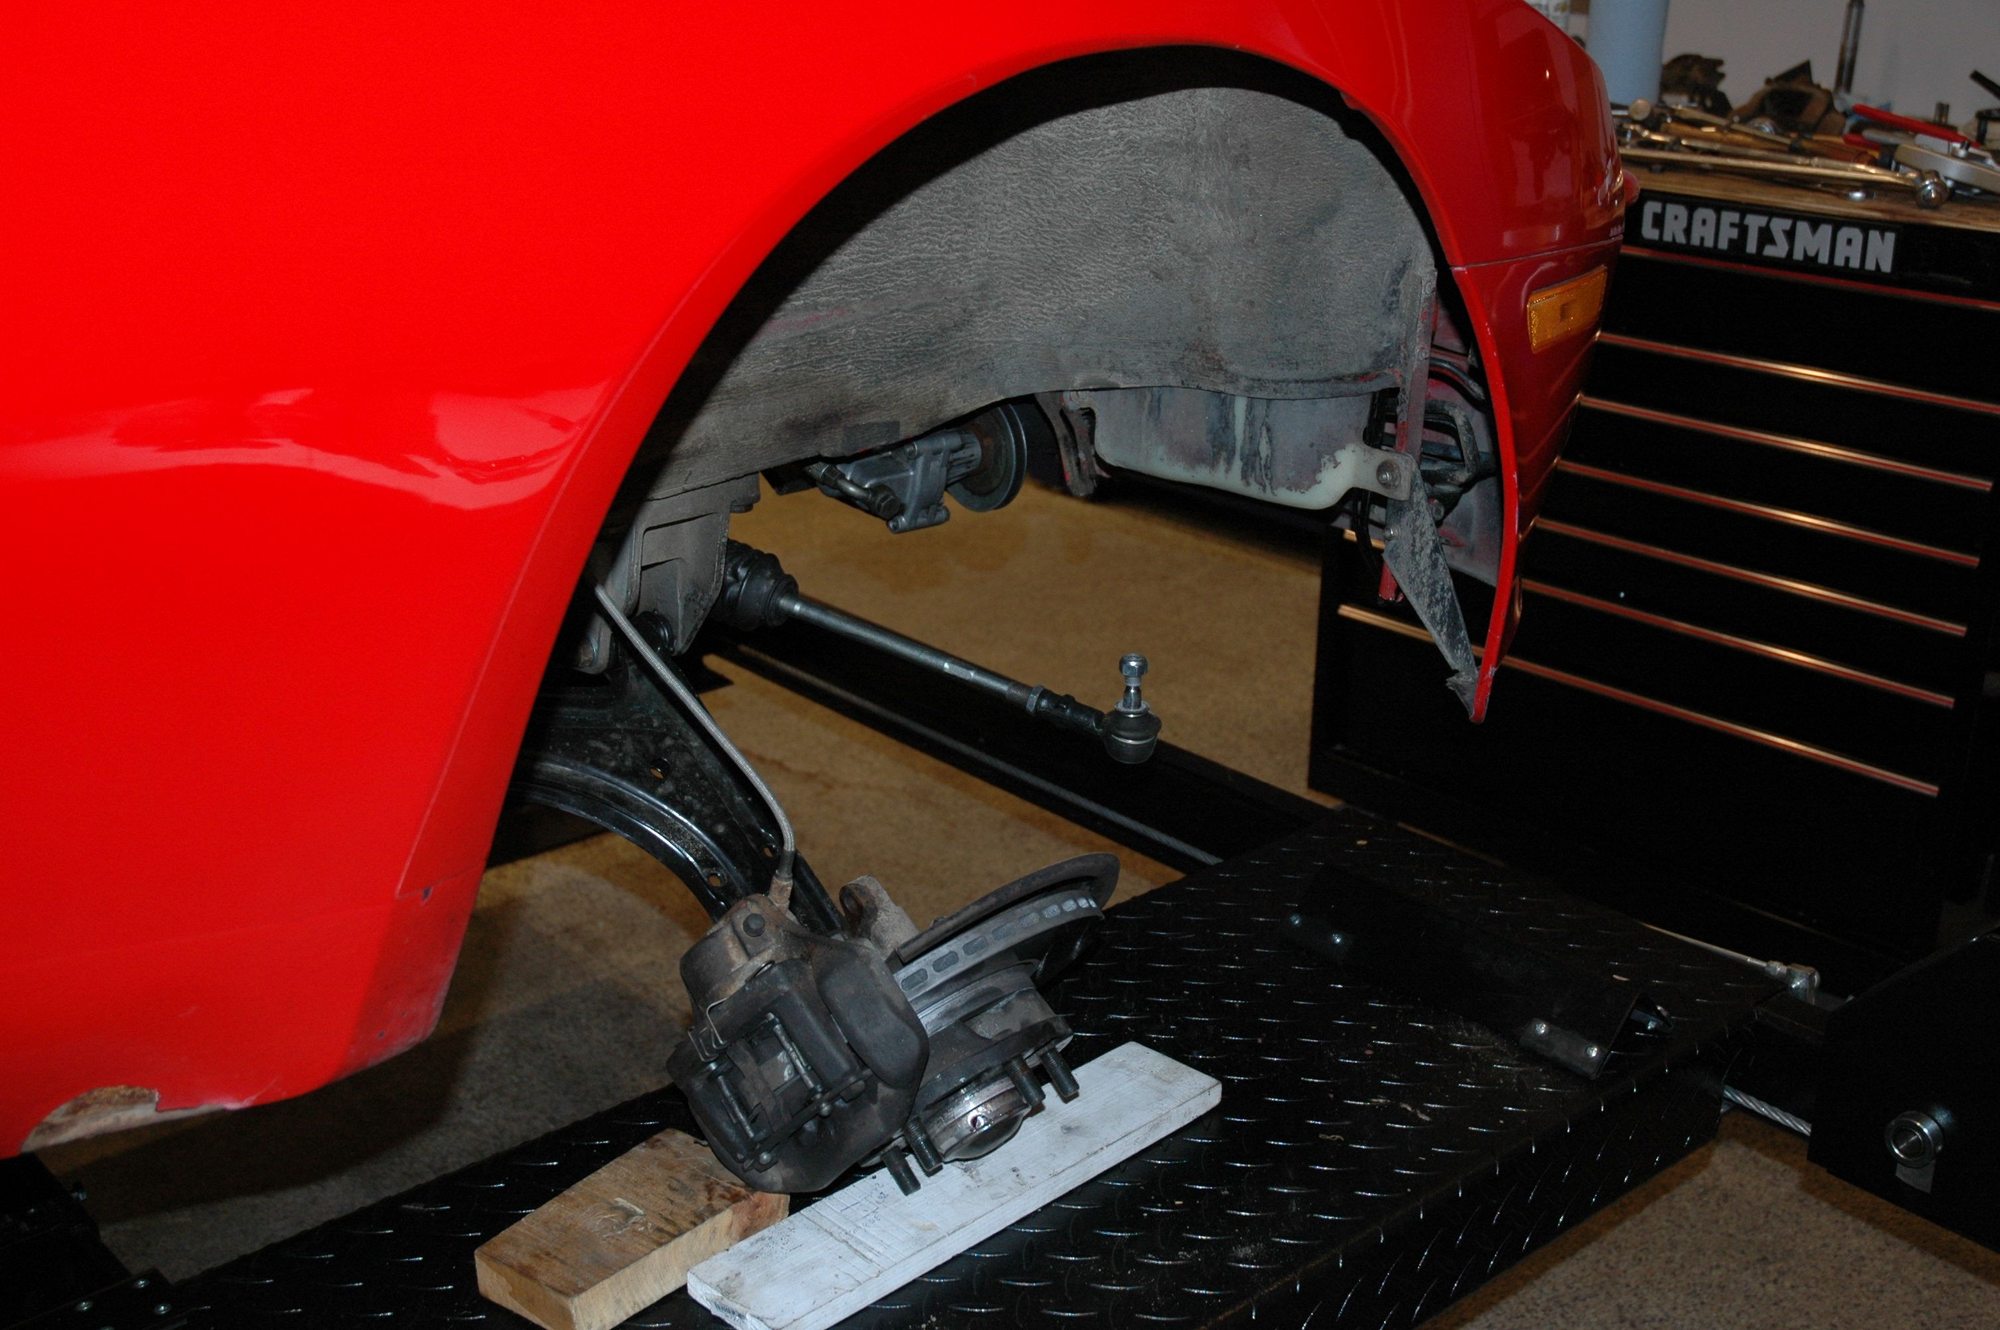
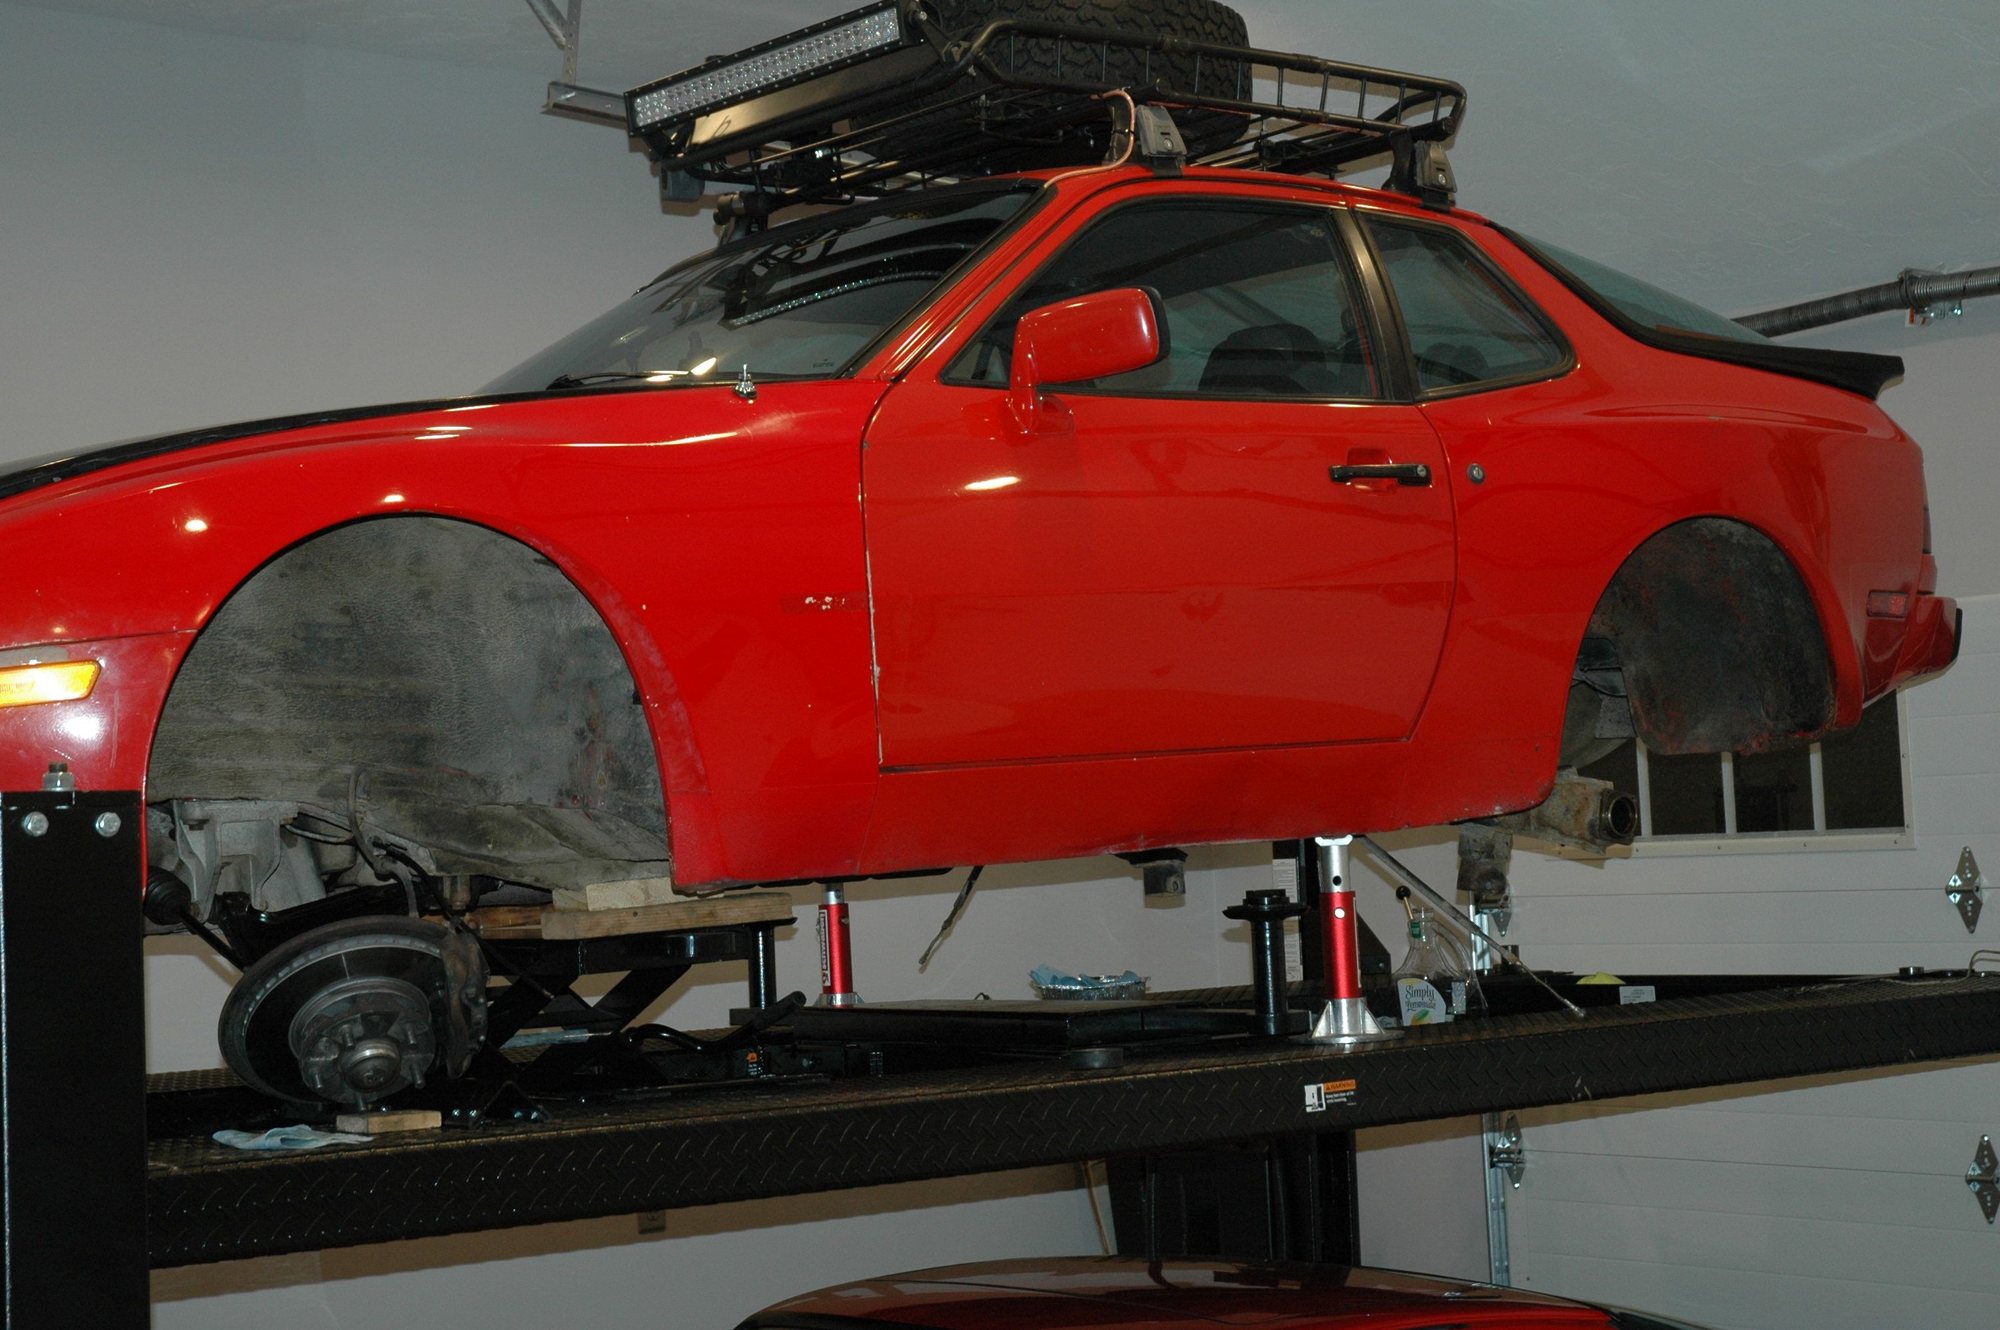
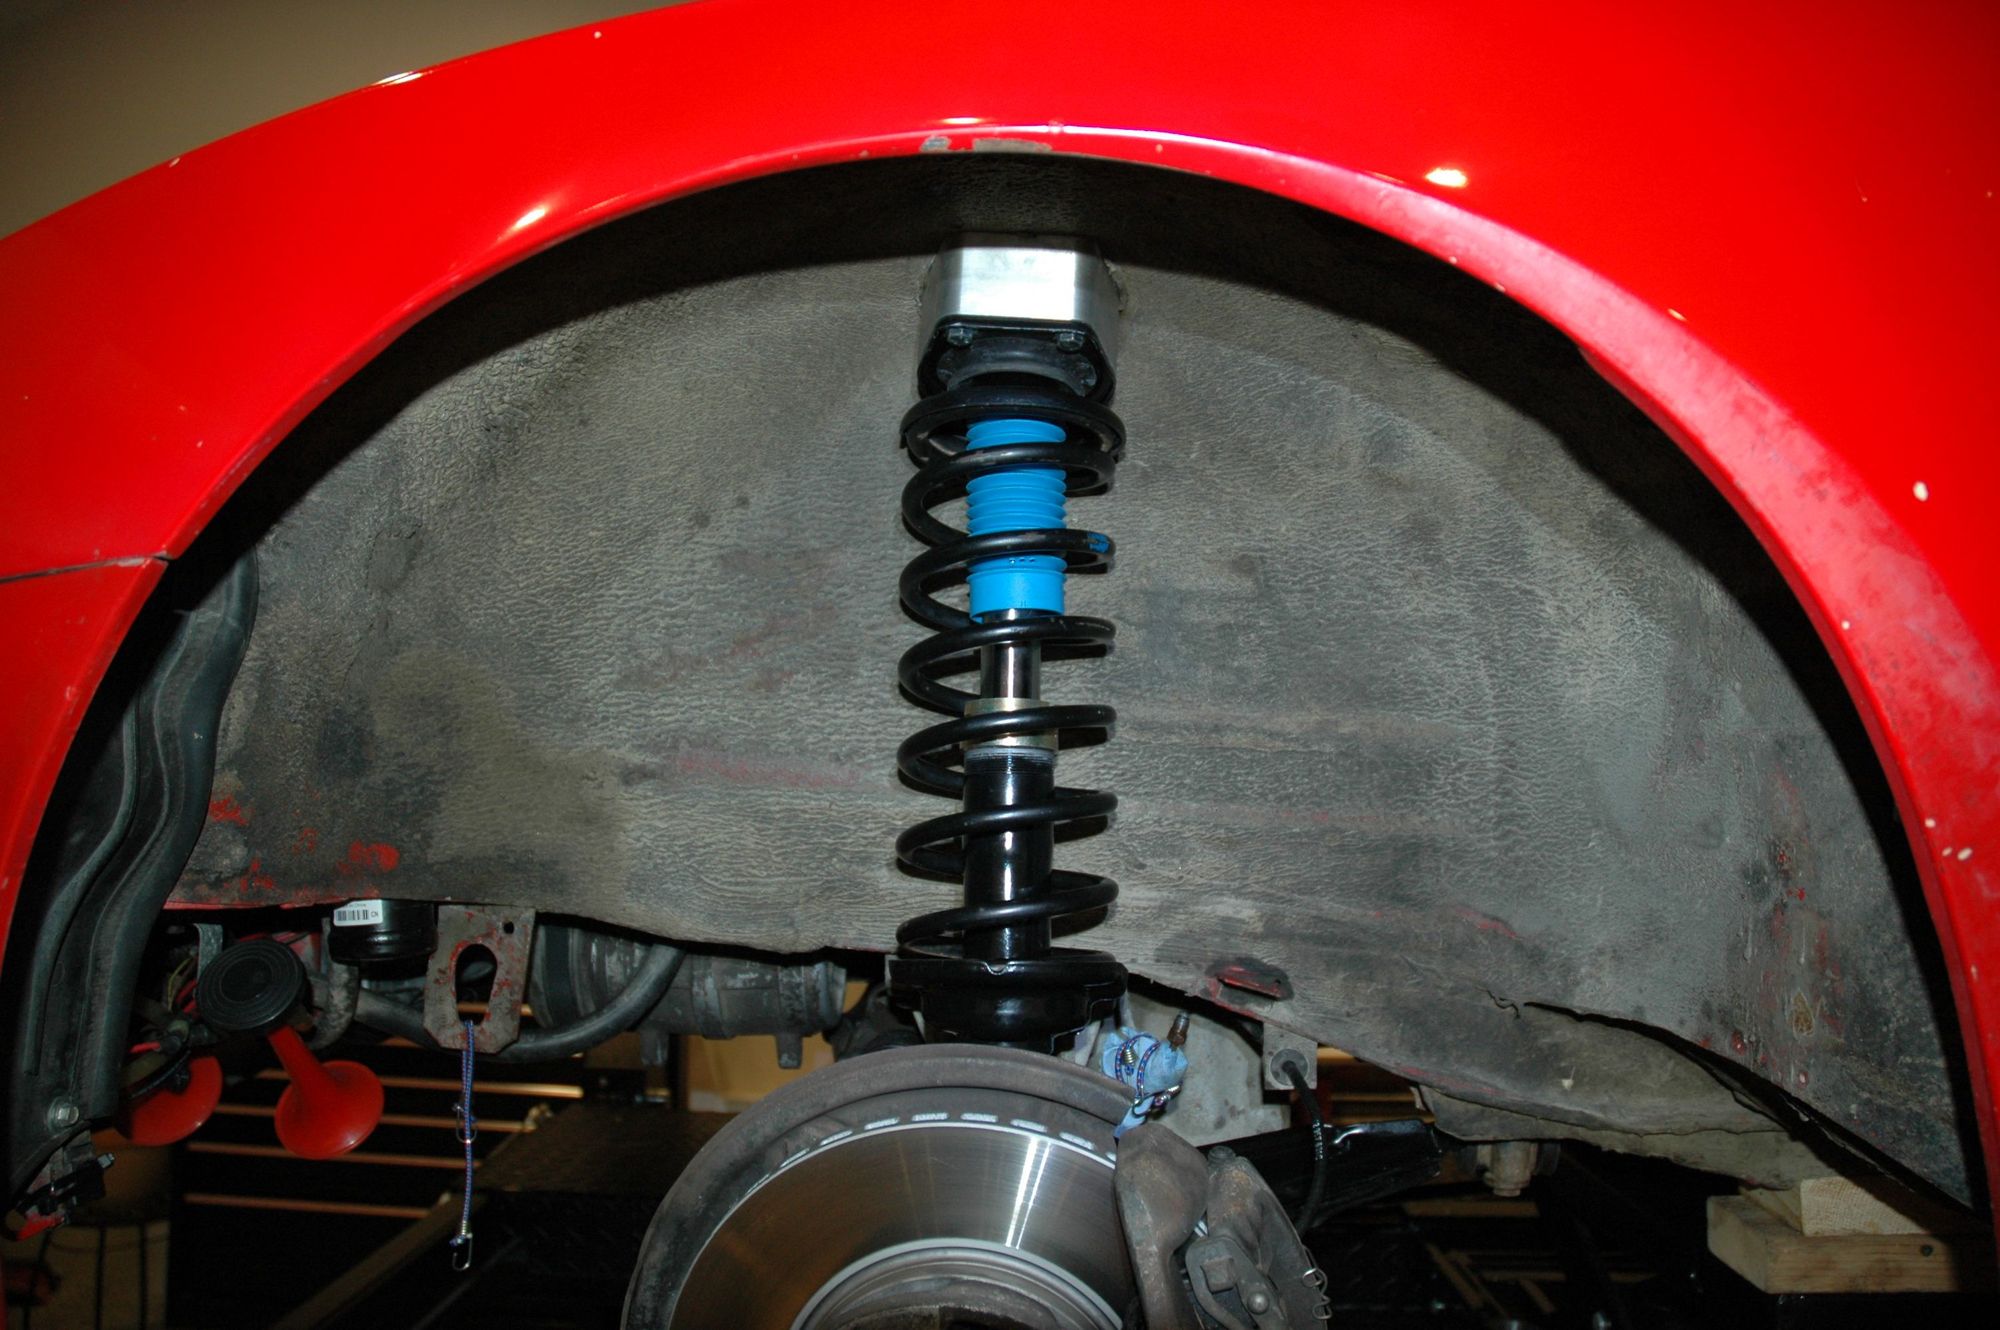
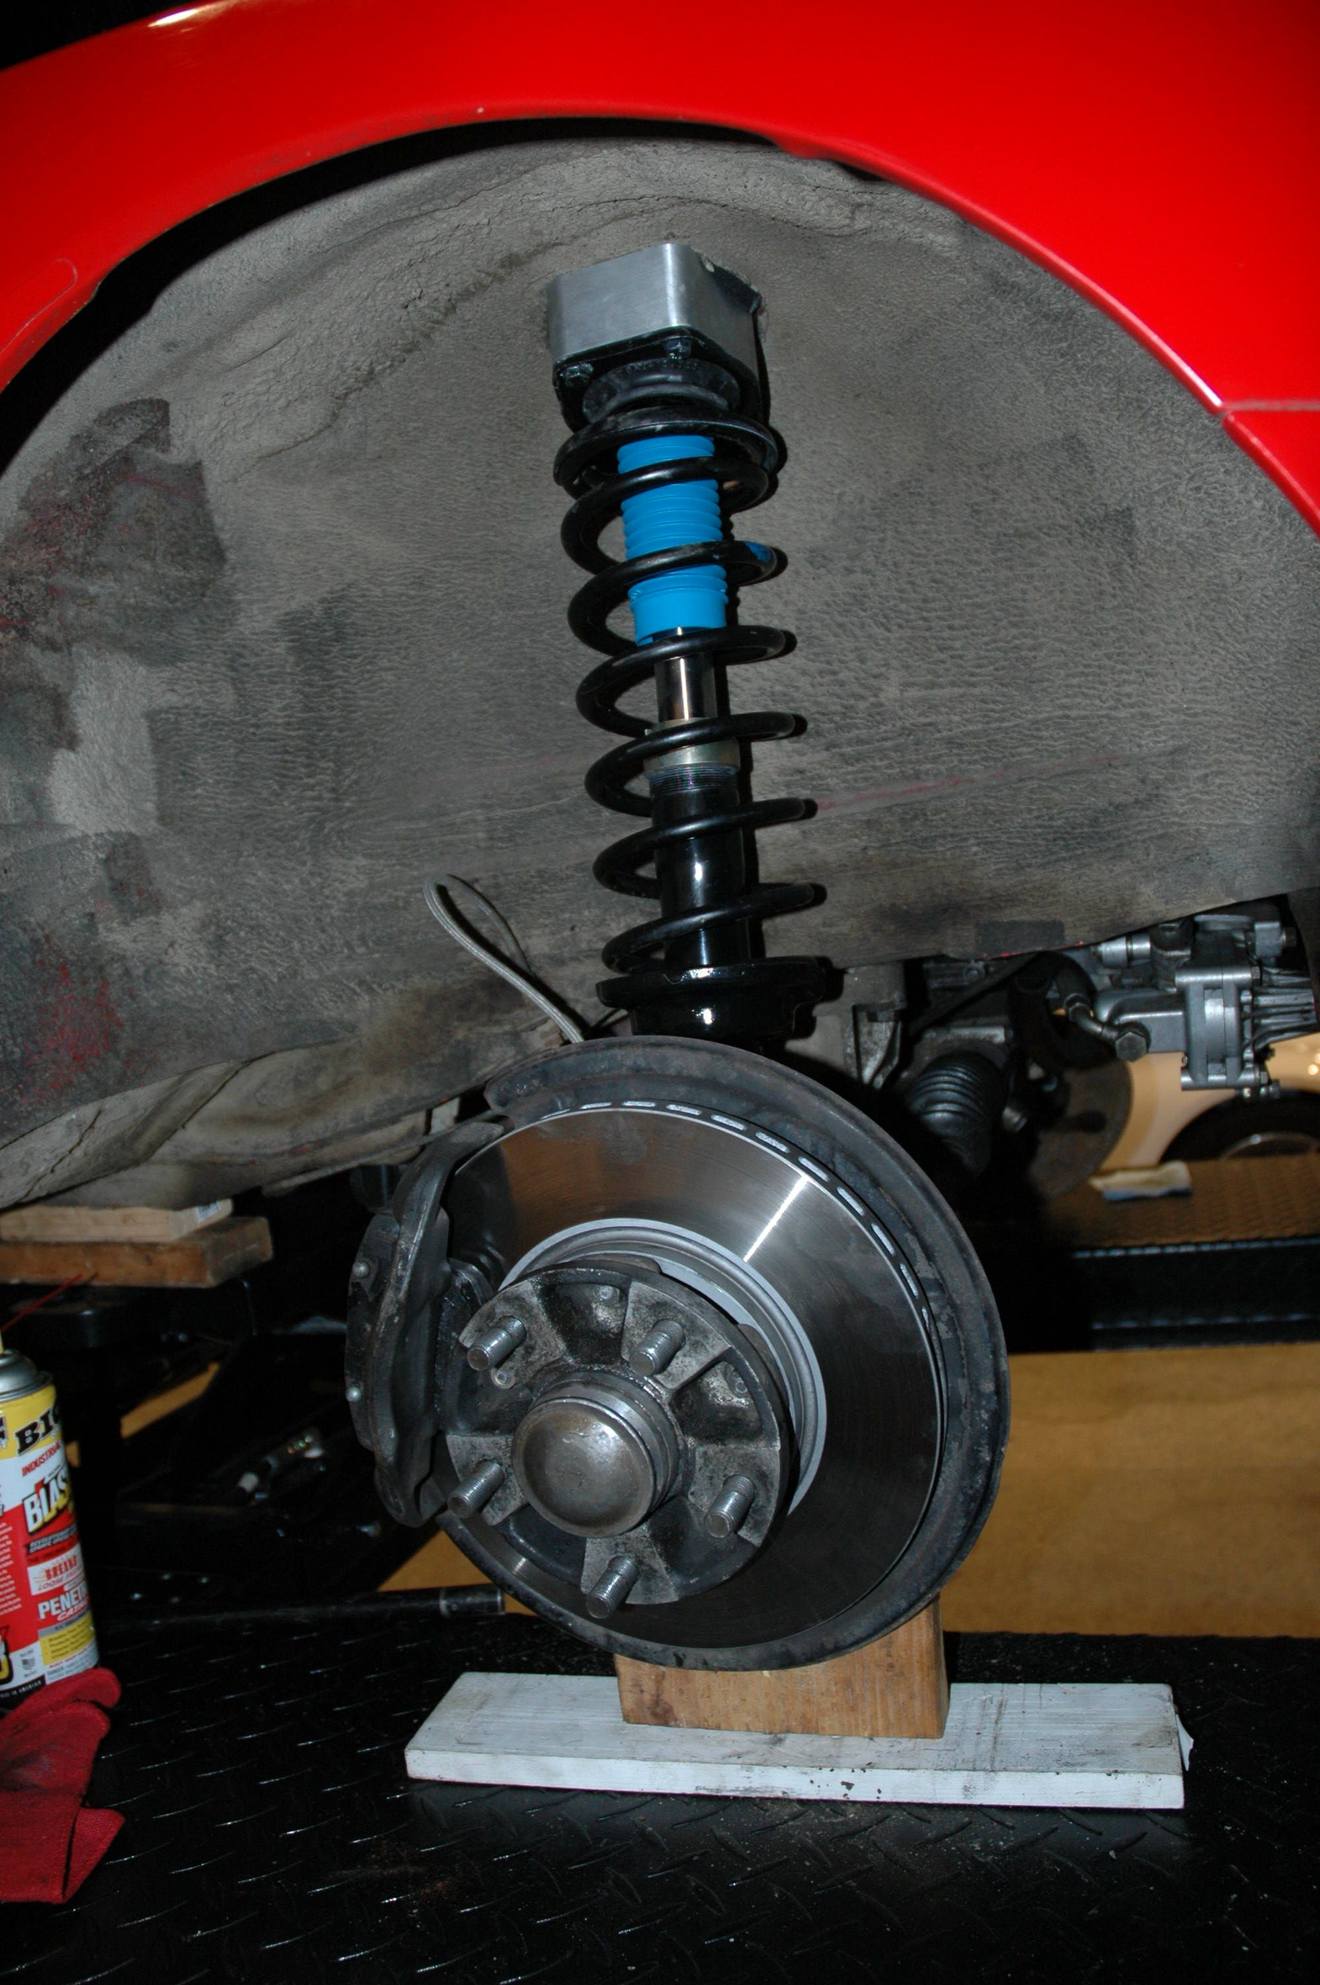
Strut housing installed:
I did remove the brake hoses; new ones should be arriving tomorrow and, while in there, checked/adjusted both front wheel bearing assemblies. Fronts are finally done. I will pay attention to the new suspension angles and look for real bad squirreliness once on the road.
Now on to the rear suspension...
Nice work , I love all those shiny freshly painted strut housings etc. Was the paint anything special? 2K? I've got a few rusty components that will need doing someday
Much appreciated guys. I prefer to describe my work through pictures, while offering tidbits of narrative. As for the paint, good question. I think the machine shop uses some sort of chassis paint. I'm really not too concerned on this build as she's not undergoing a factory (quality) restoration. The parts just need to have some corrosion preventative on them.
I may start the rear tomorrow but I'm still unsure about alleviating any preload on the torsion bars - don't want parts flying off or toward me!
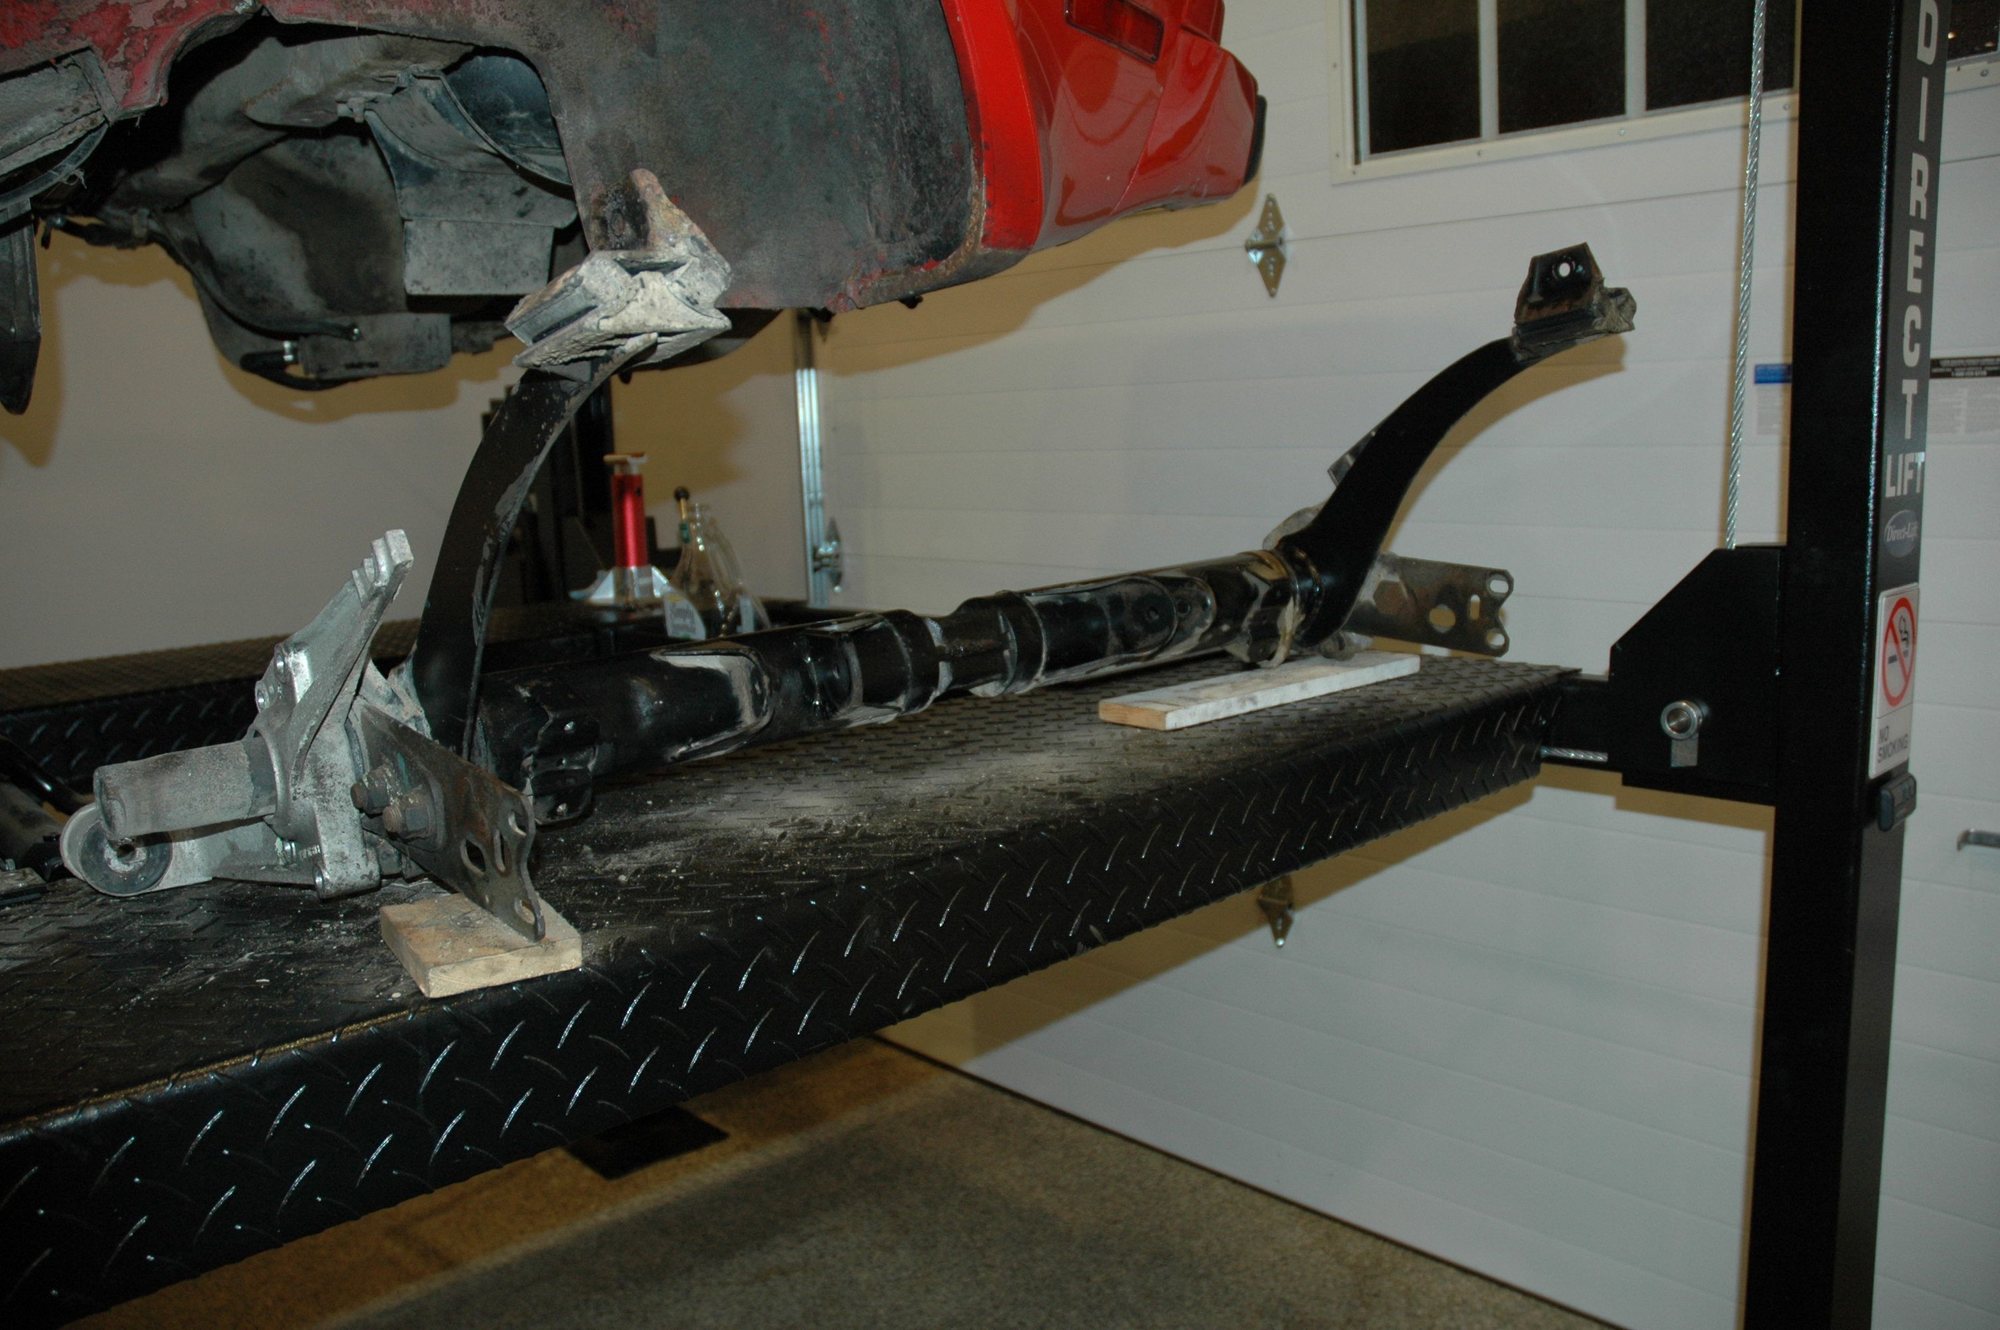
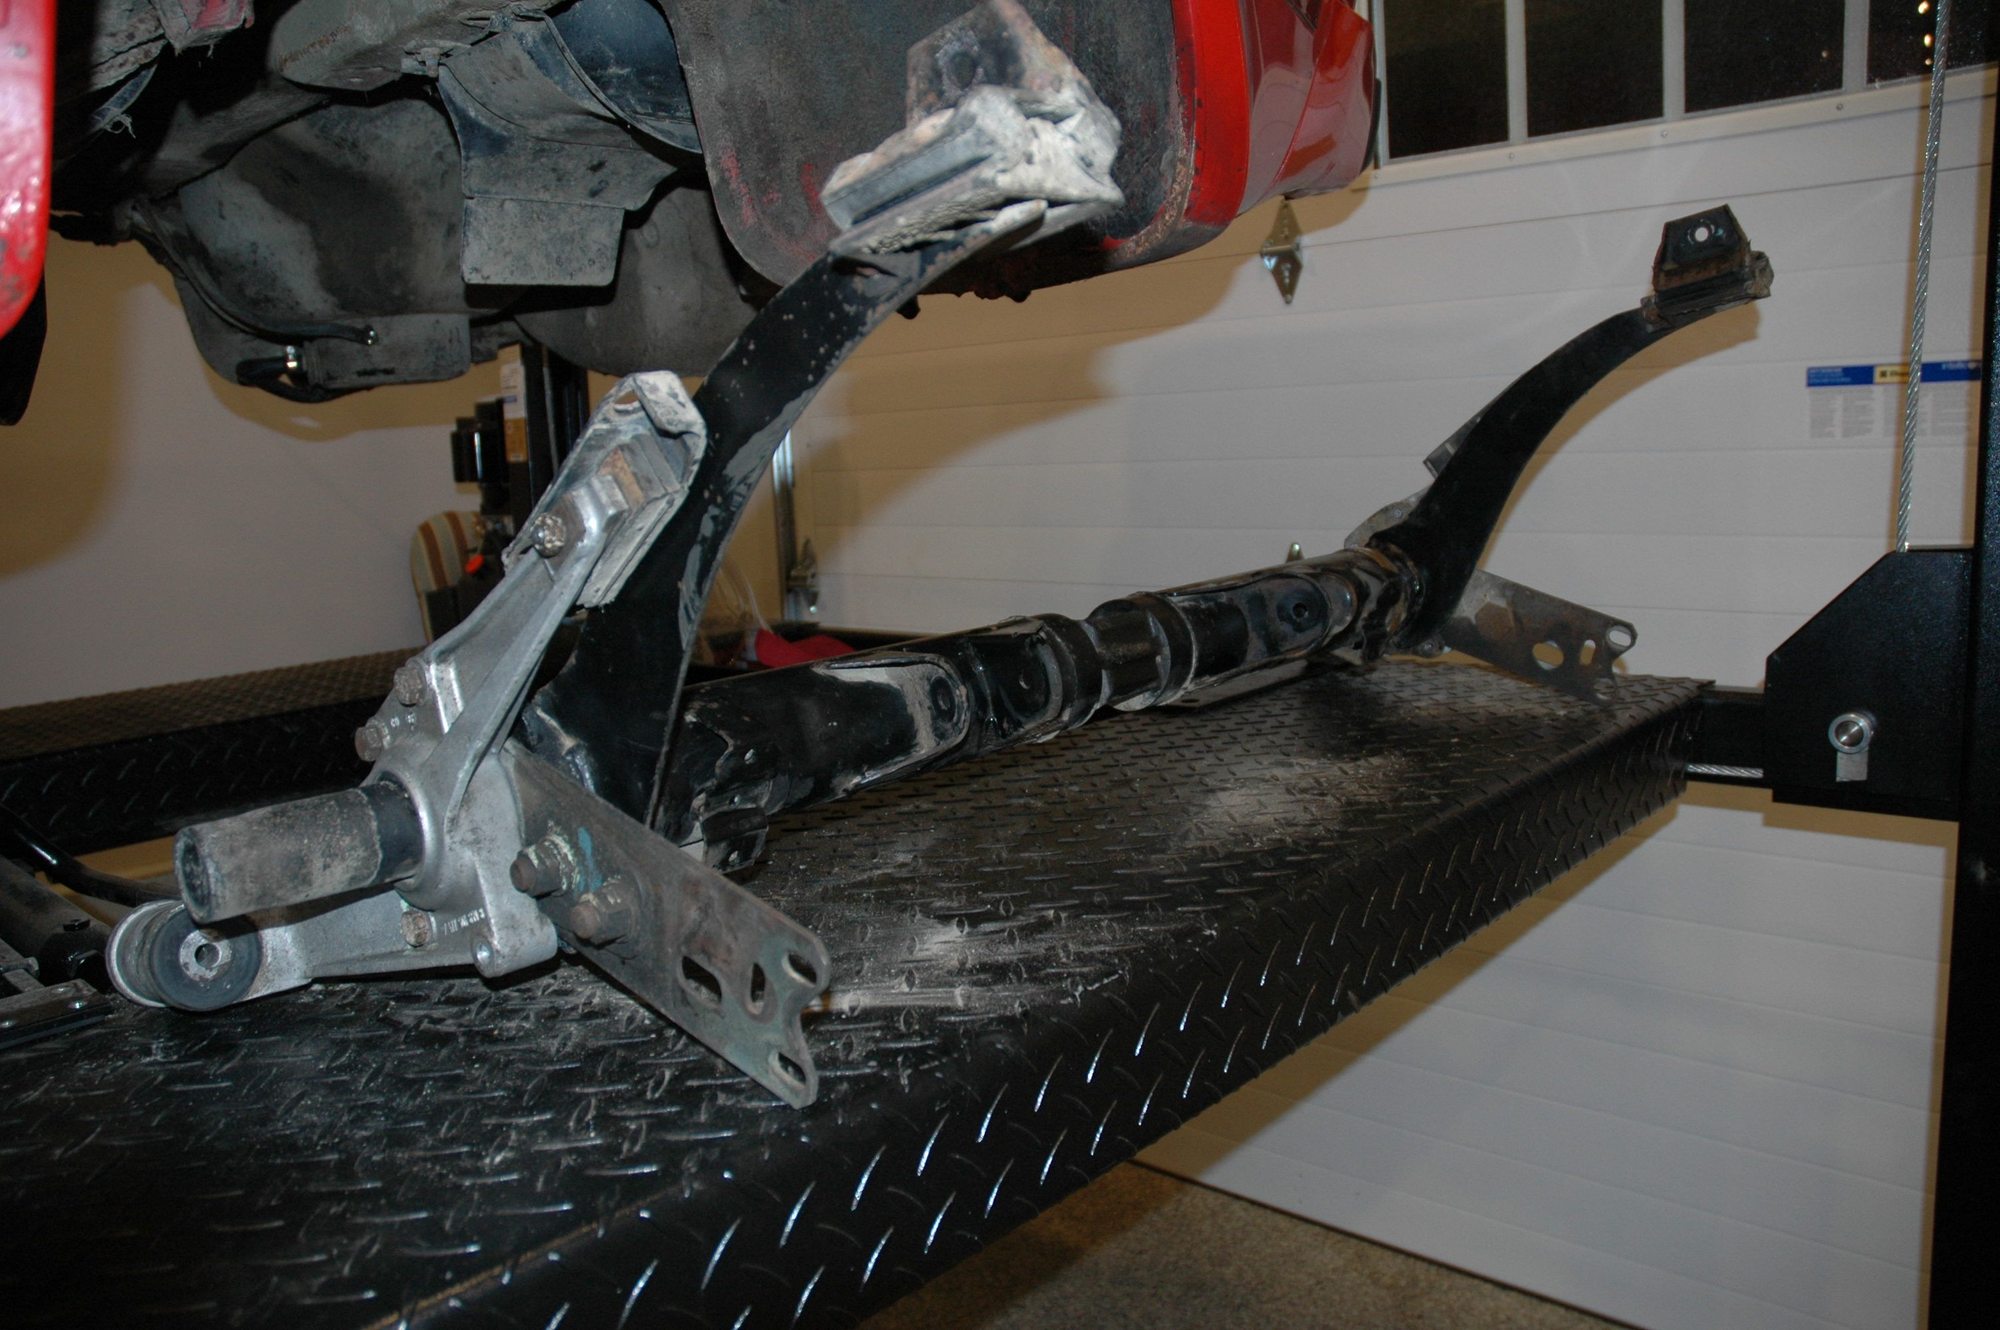
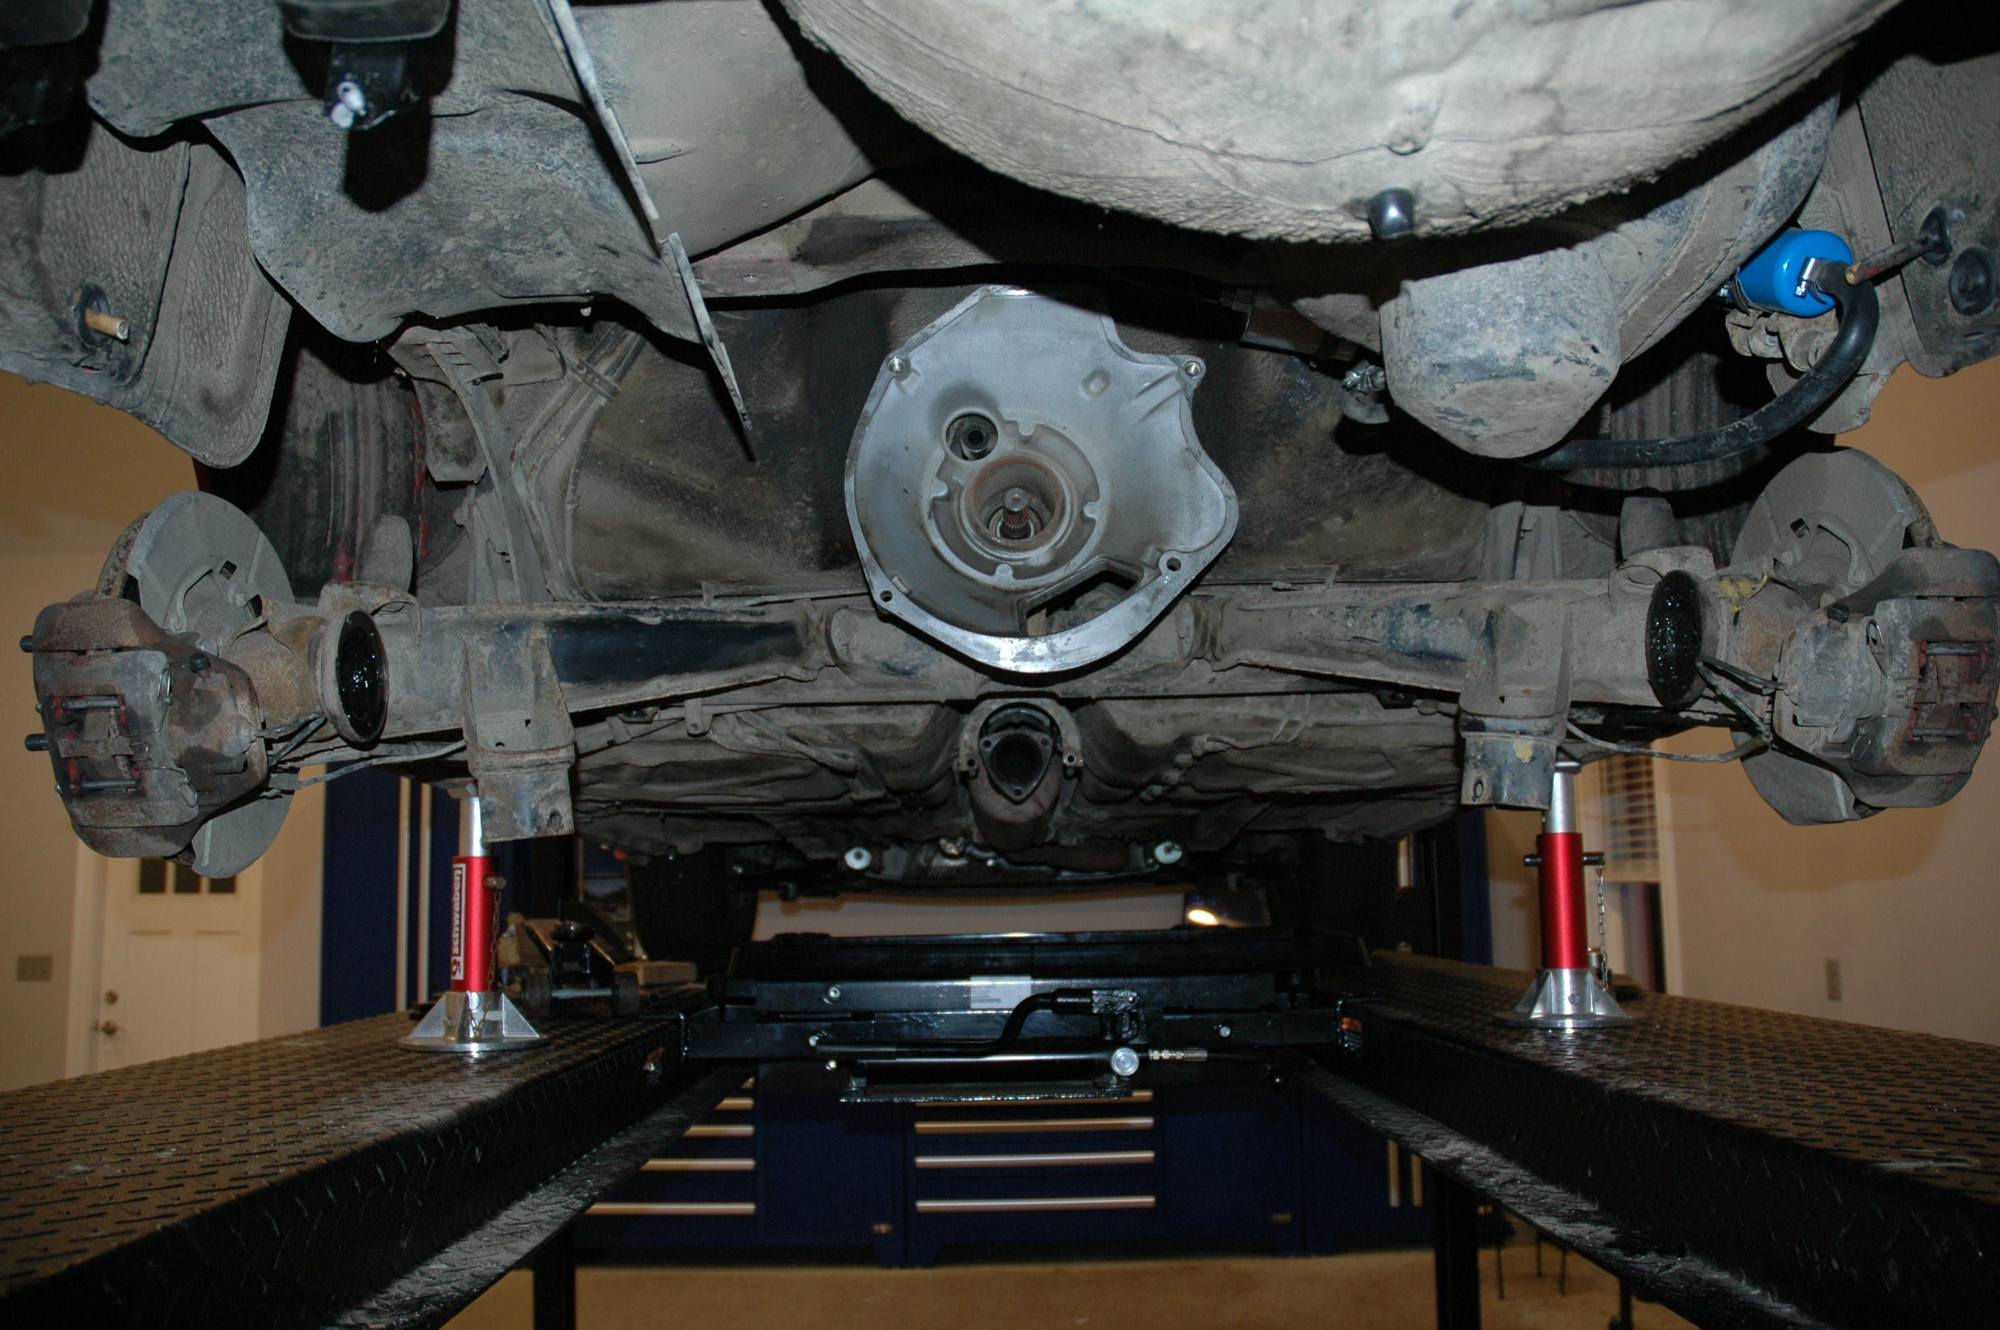
Dropping the rear suspension. Someone (PO) installed the parking brake cross member backwards so it was embedded into the rear torsion bar carrier (Porsche calls it the rear axle carrier), which required a crowbar to remove it. Also guys and gals, don't forget to remove both rear brake hydraulic lines from the carrier!!!! I started to lower the unit and it was held up by the passenger side line... Luckily no damage was done.
I removed the trailing arms, mainly so that I can handle the carrier by myself, but also to clean all the mounting hardware.
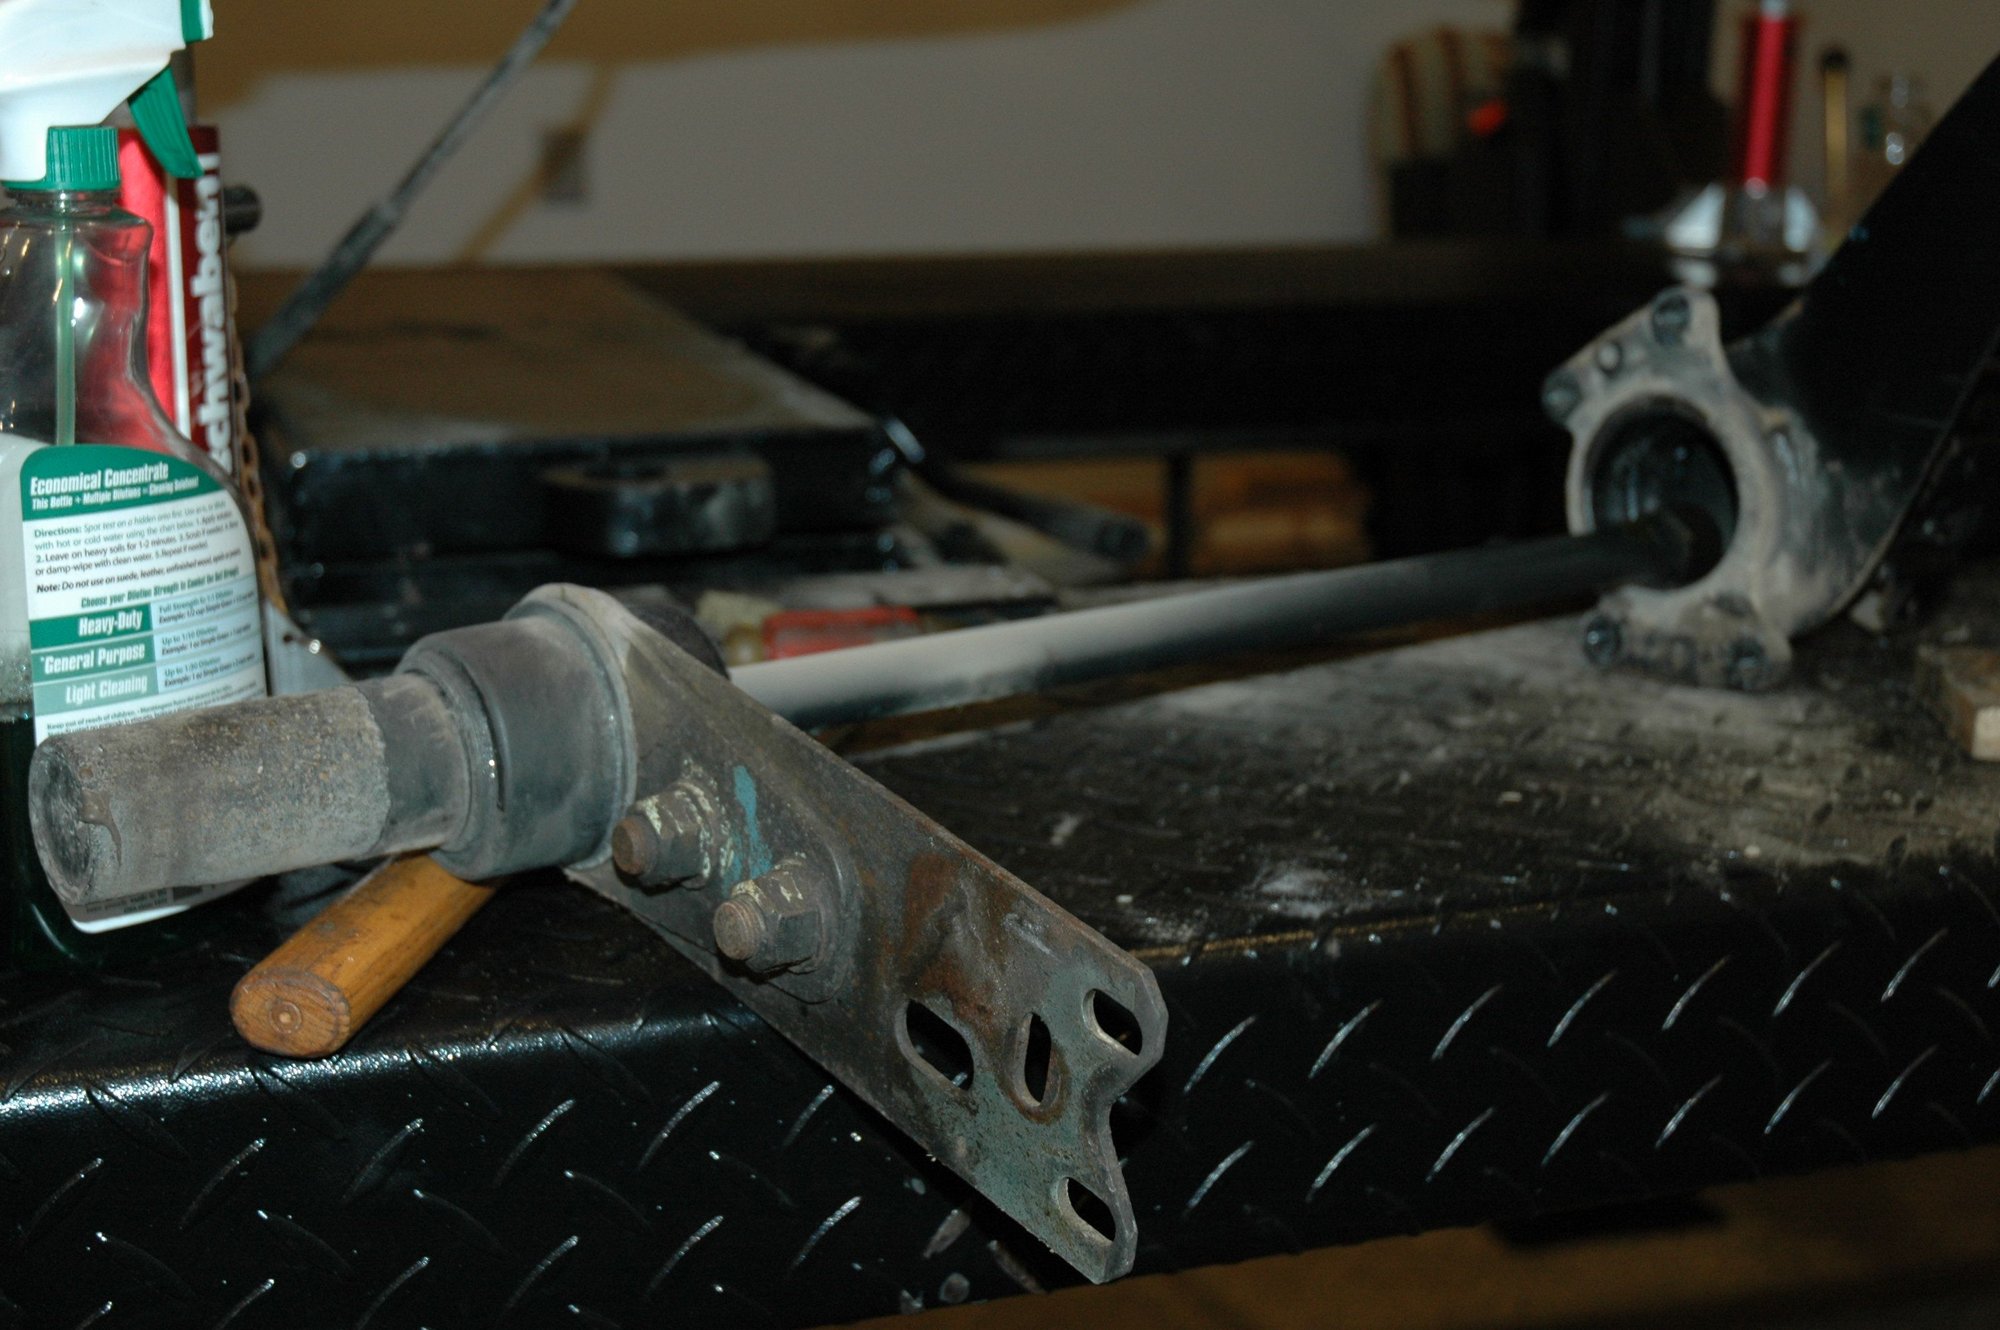
Note: Be sure to alleviate all Tension (preload) between the carrier and the bearing flange (aluminum assembly) before removing these bolts.
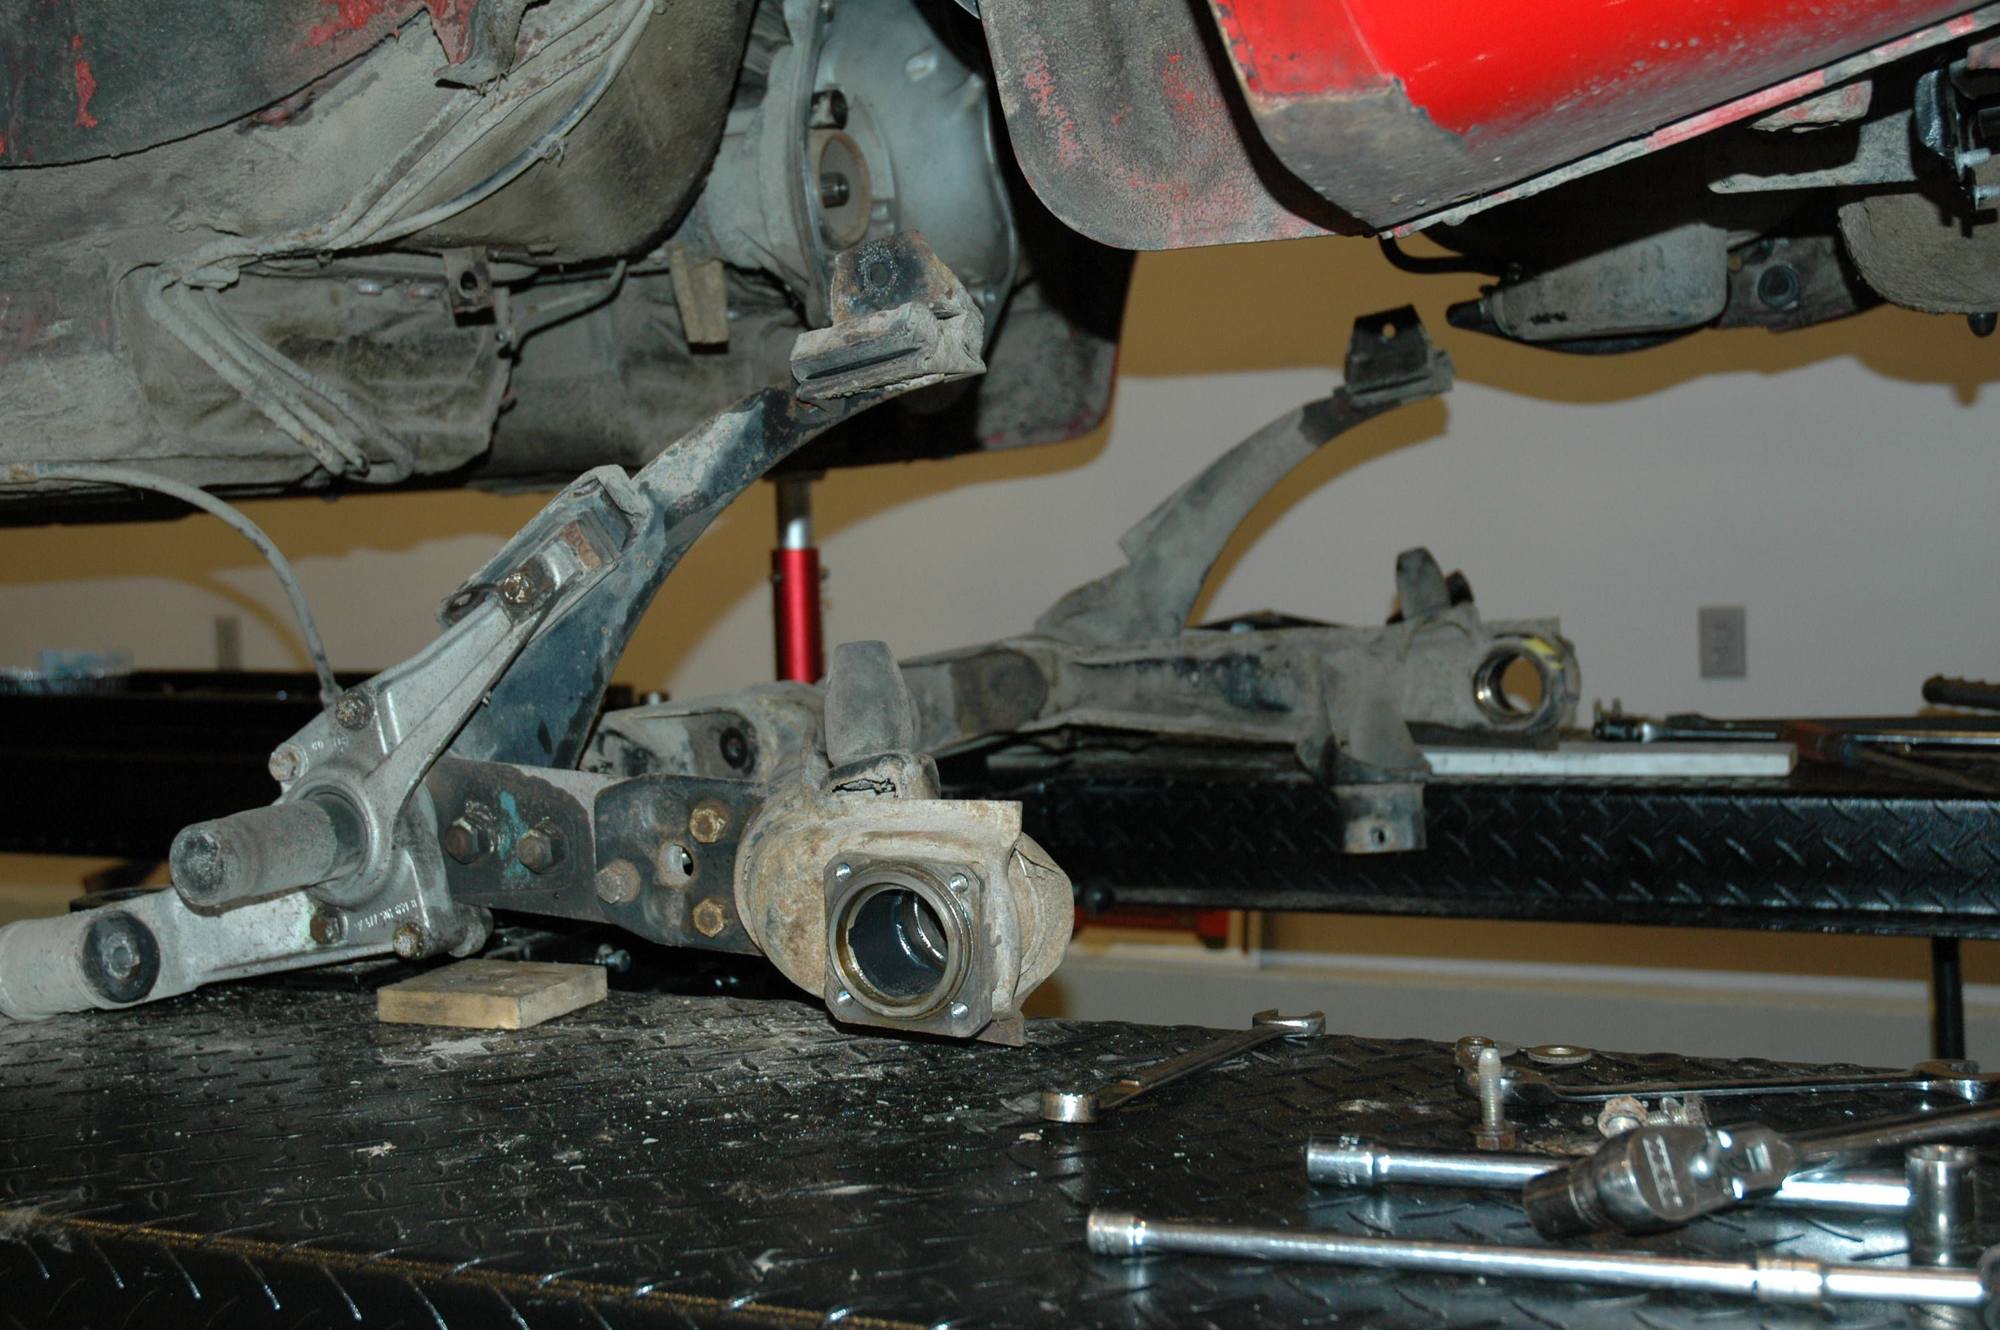
The torsion bars came out without too much fanfare; I did use a my 24" crowbar to gently persuade the rear axle strut (torsion bar cap unit).
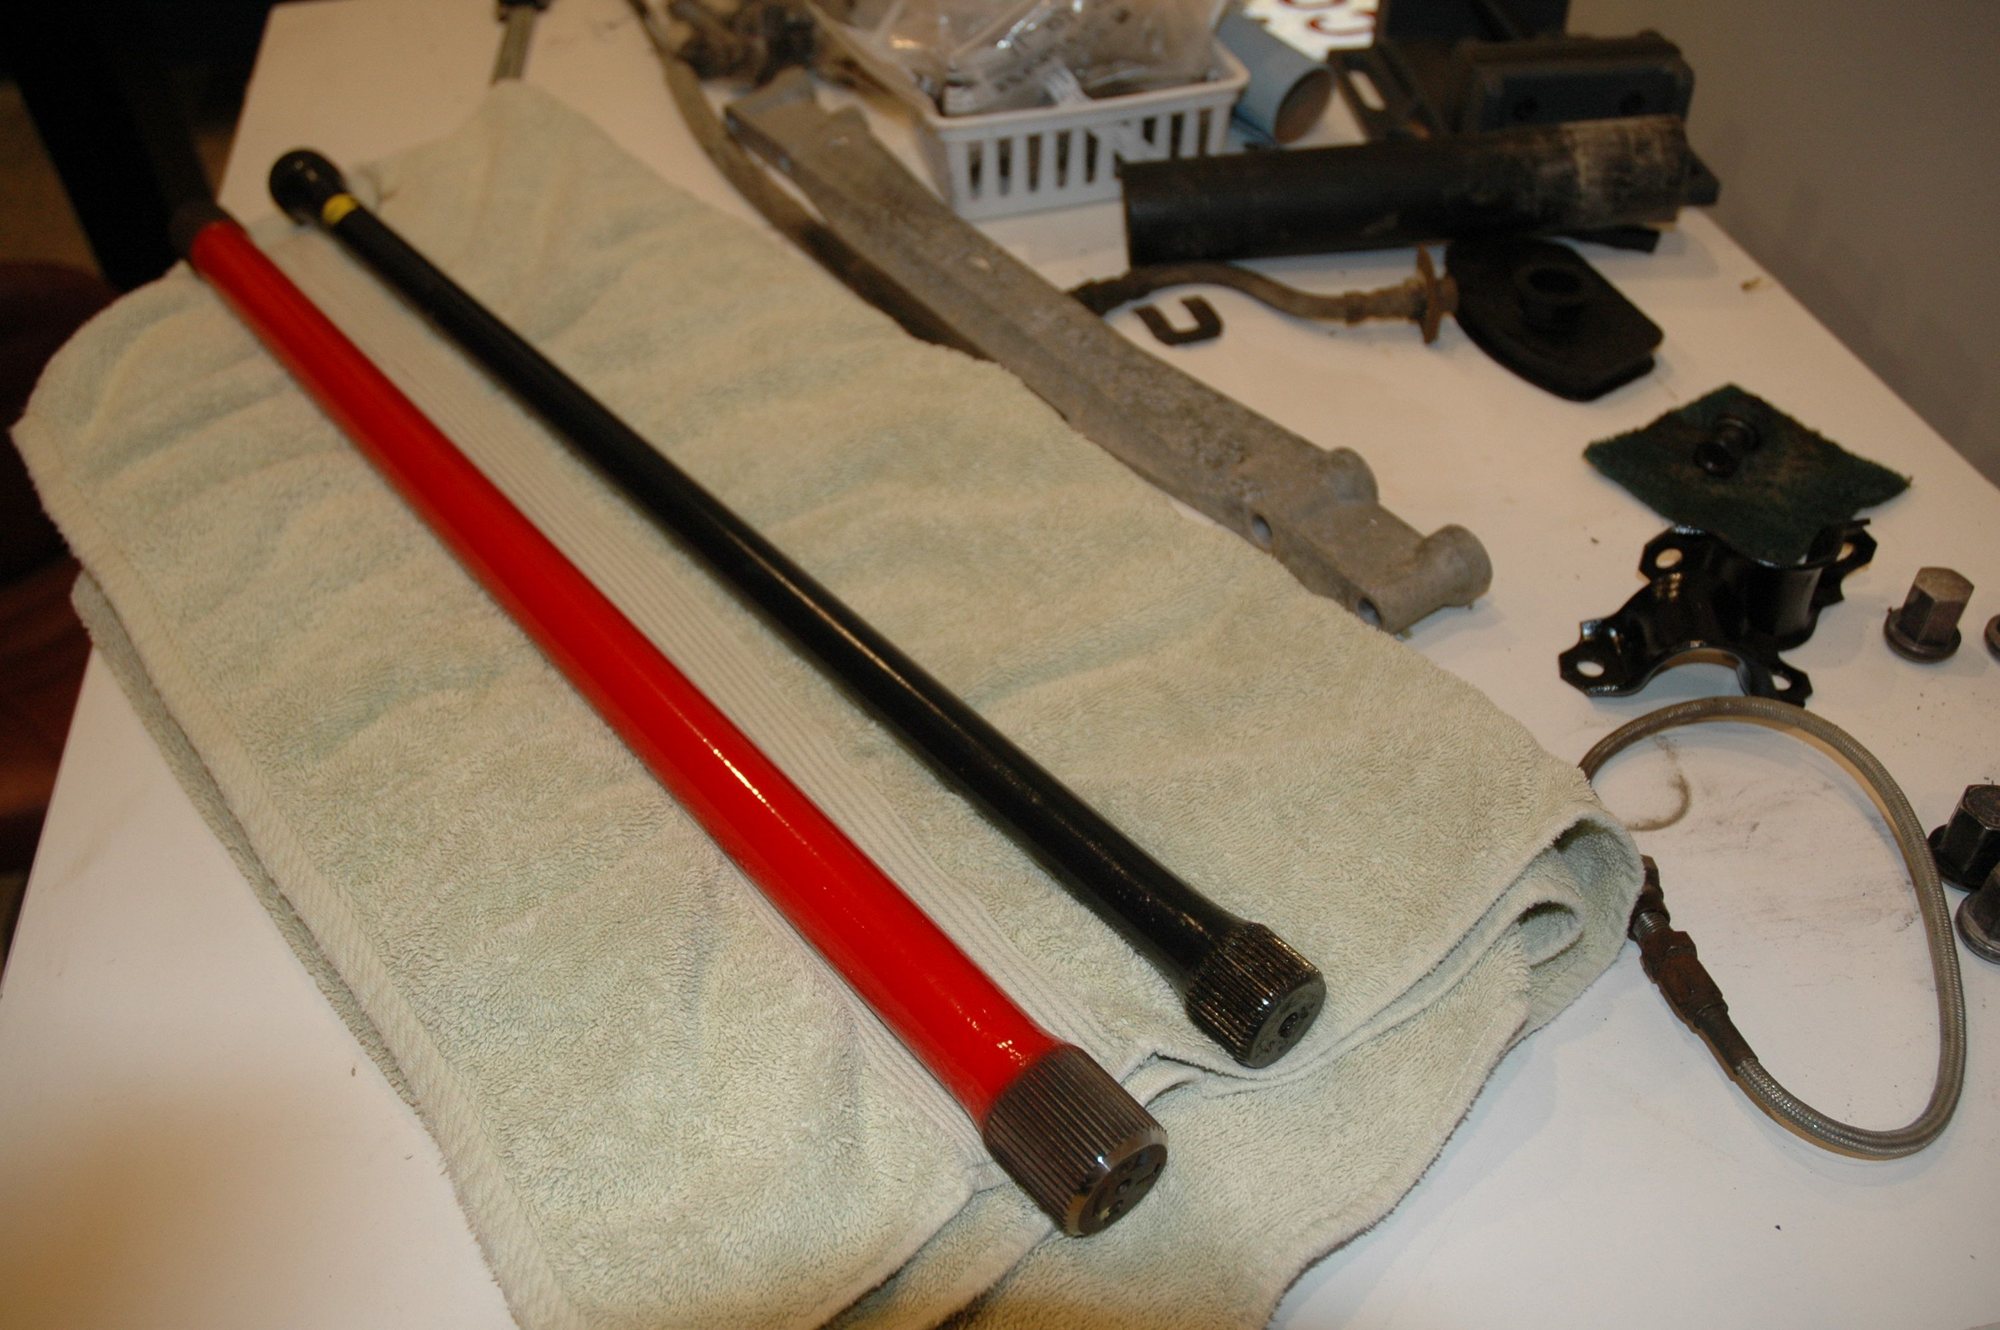
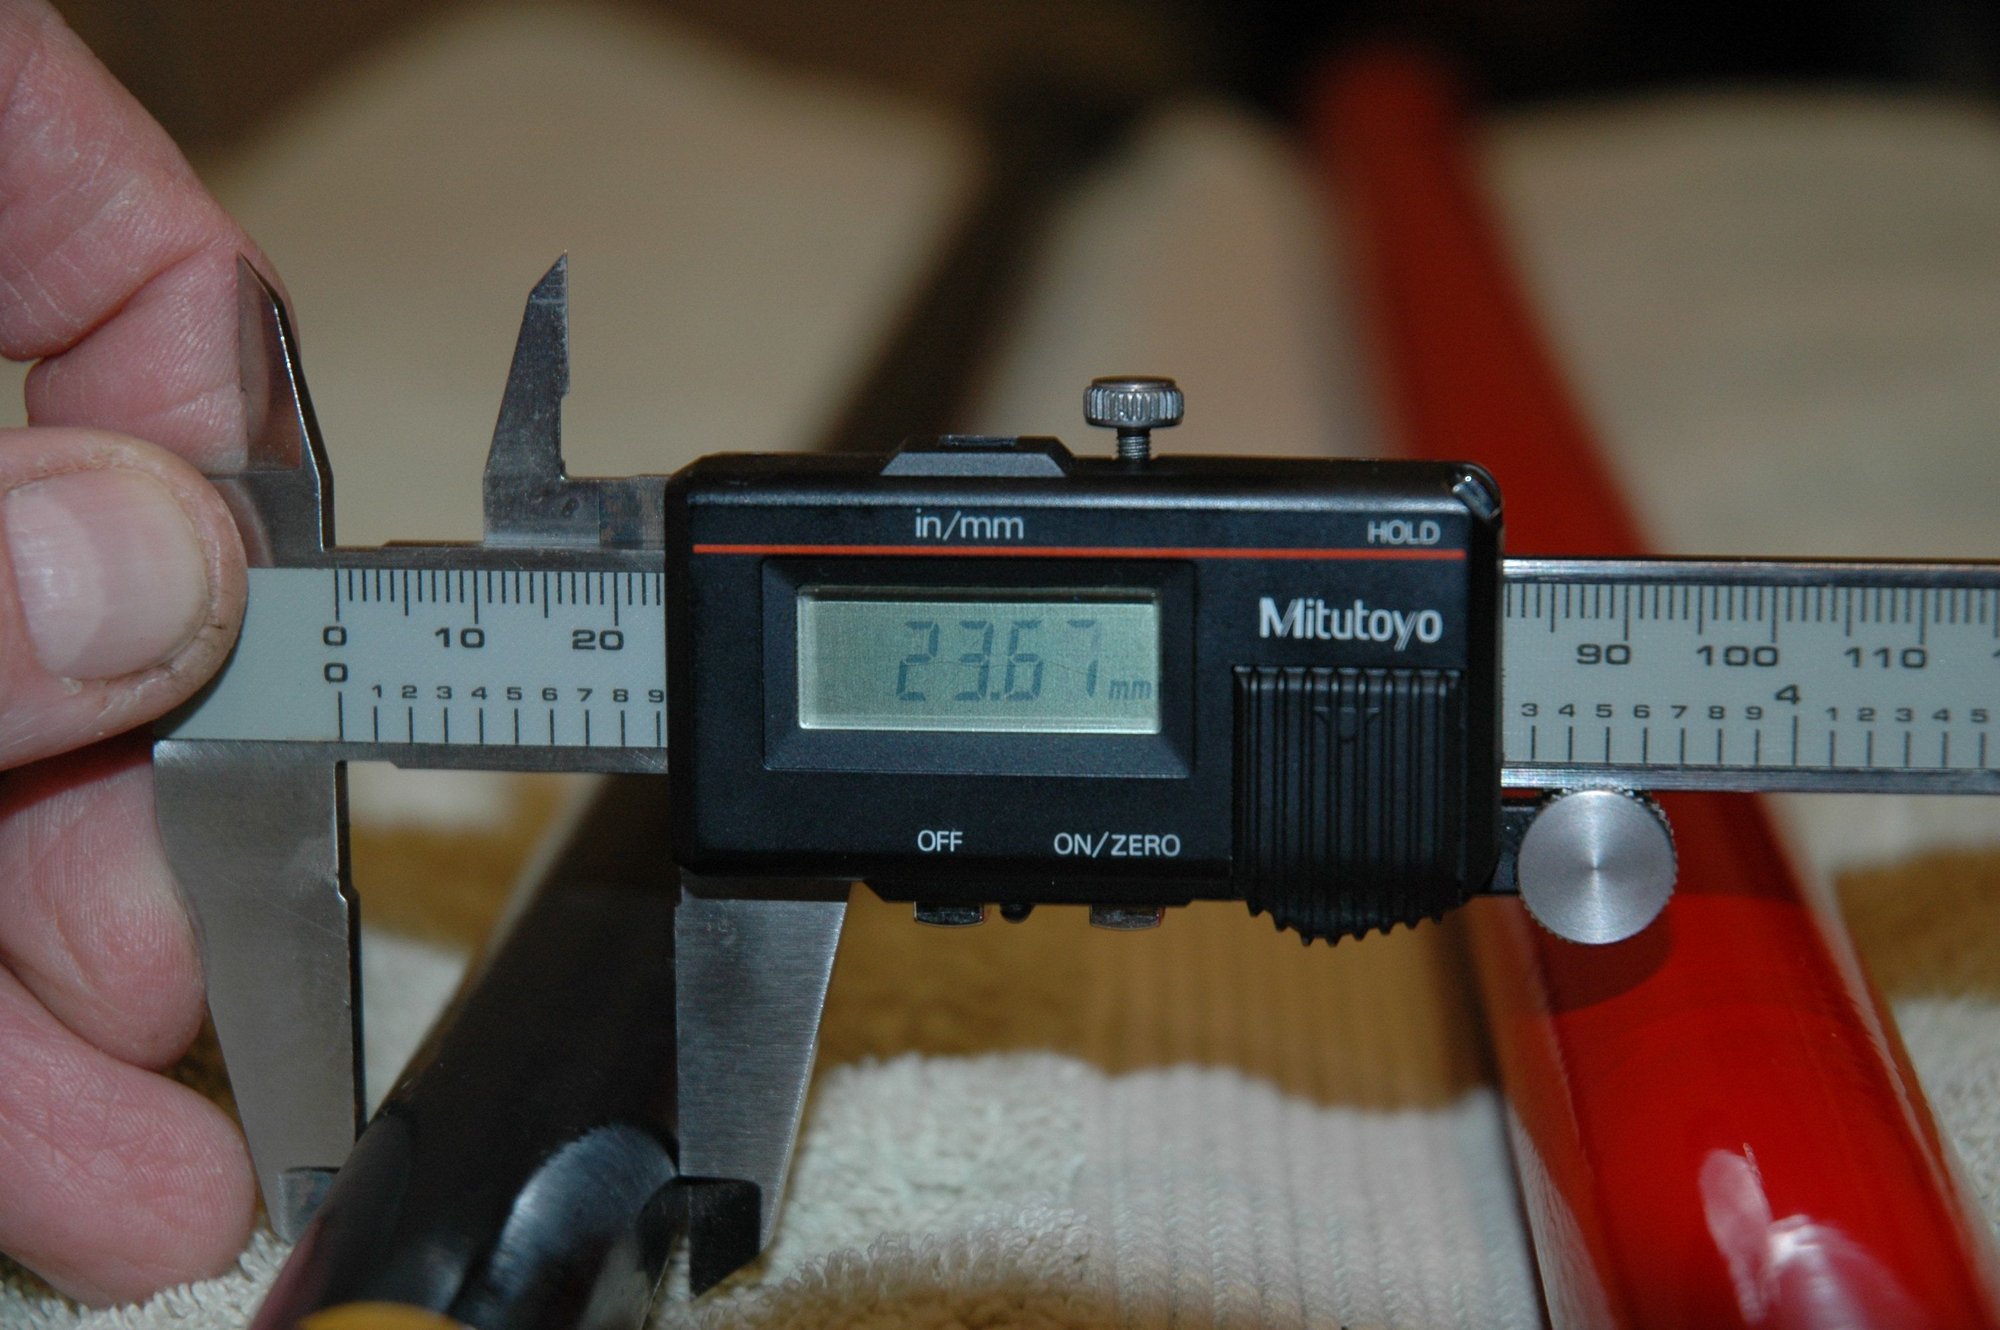
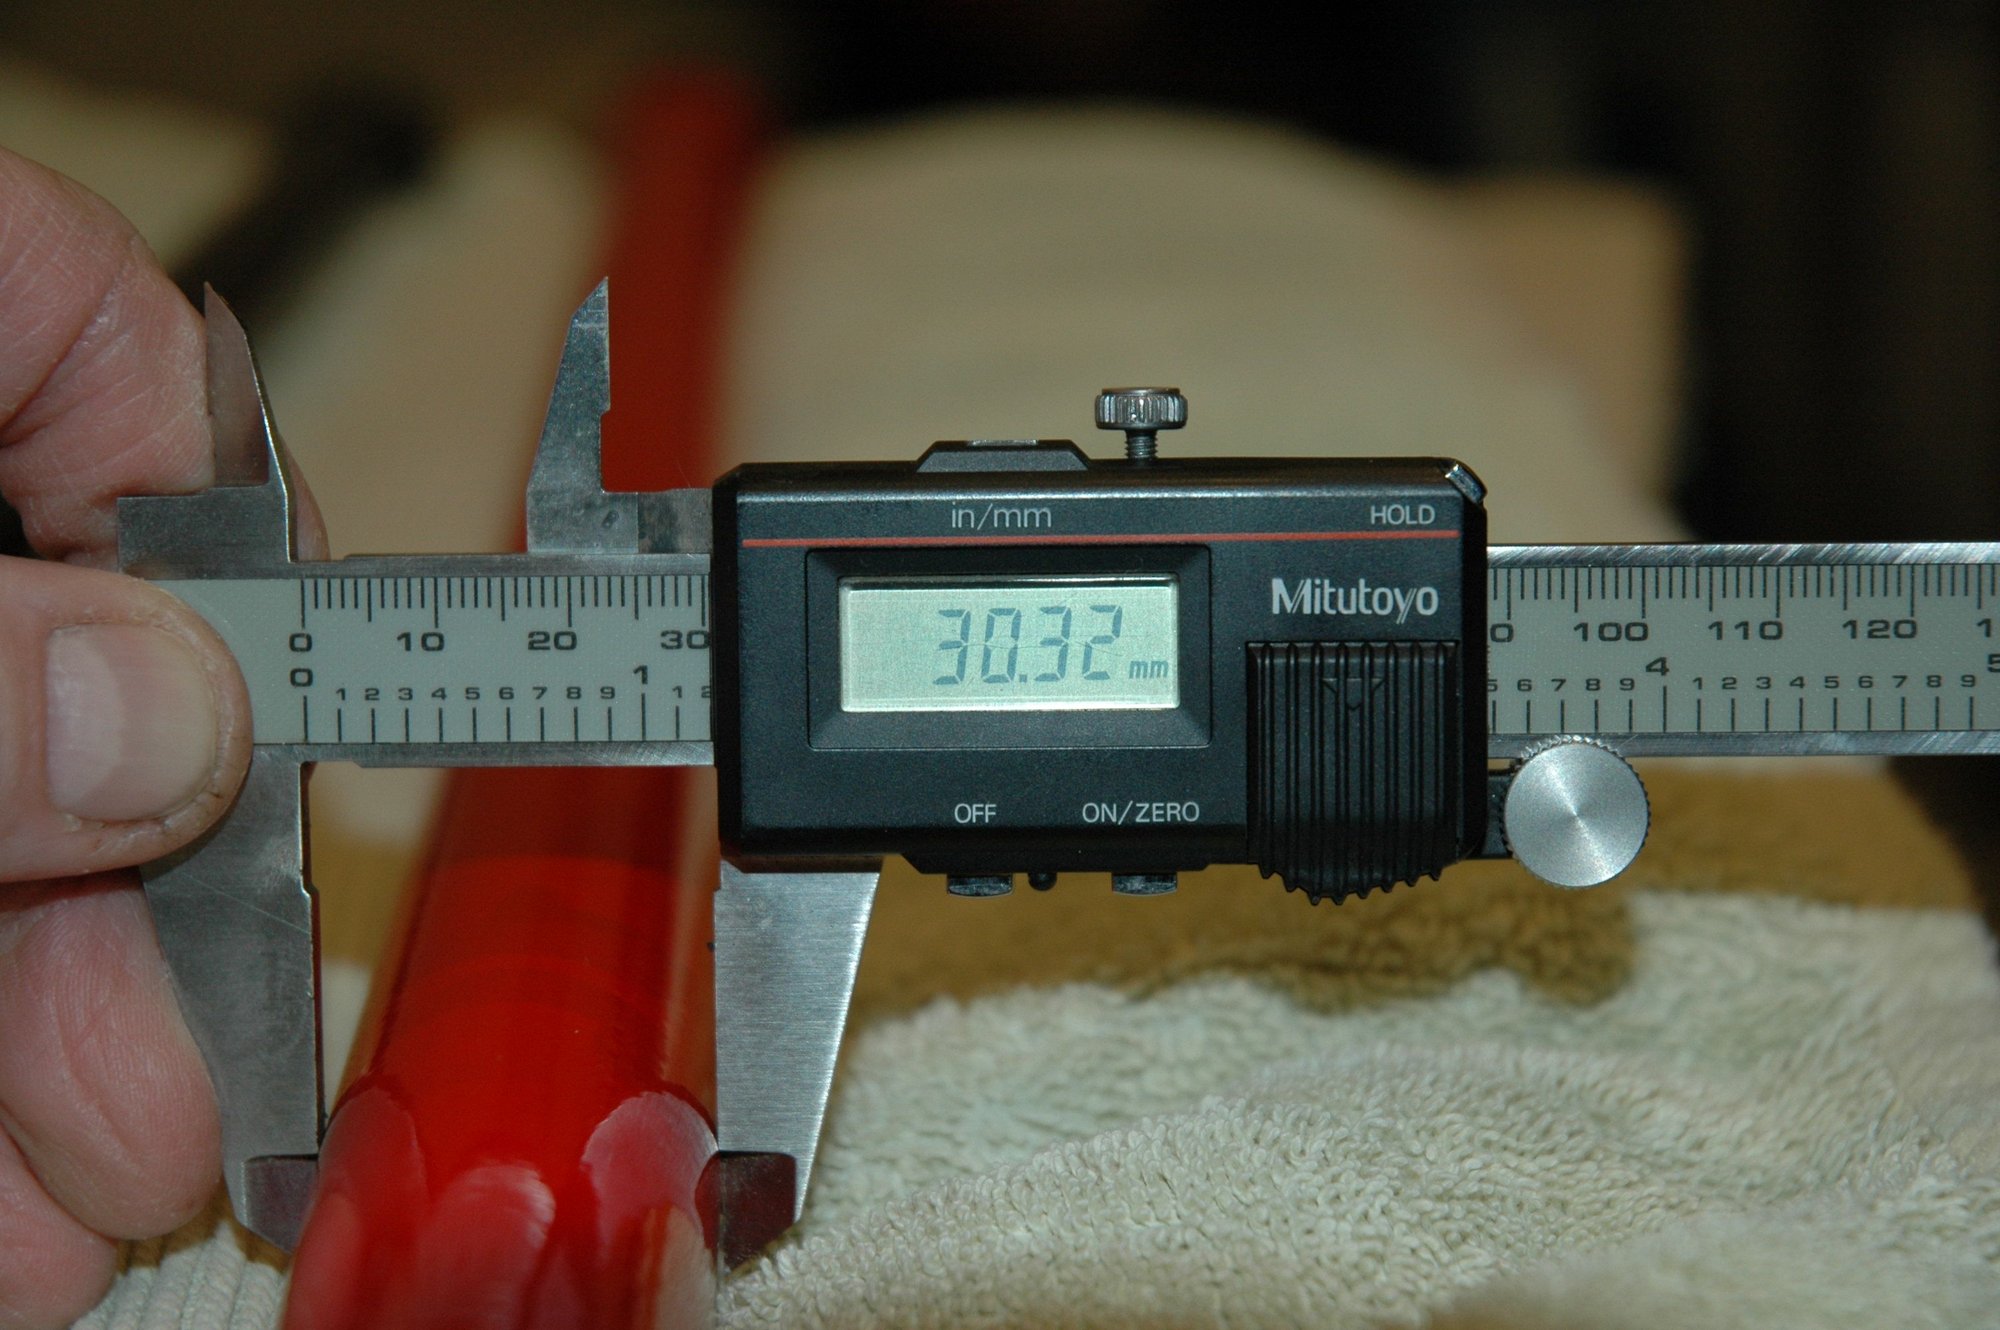
Here's a comparison between the original torsion bars and the new beefier ones (in red) I picked up from NEXGEN Off-Road.
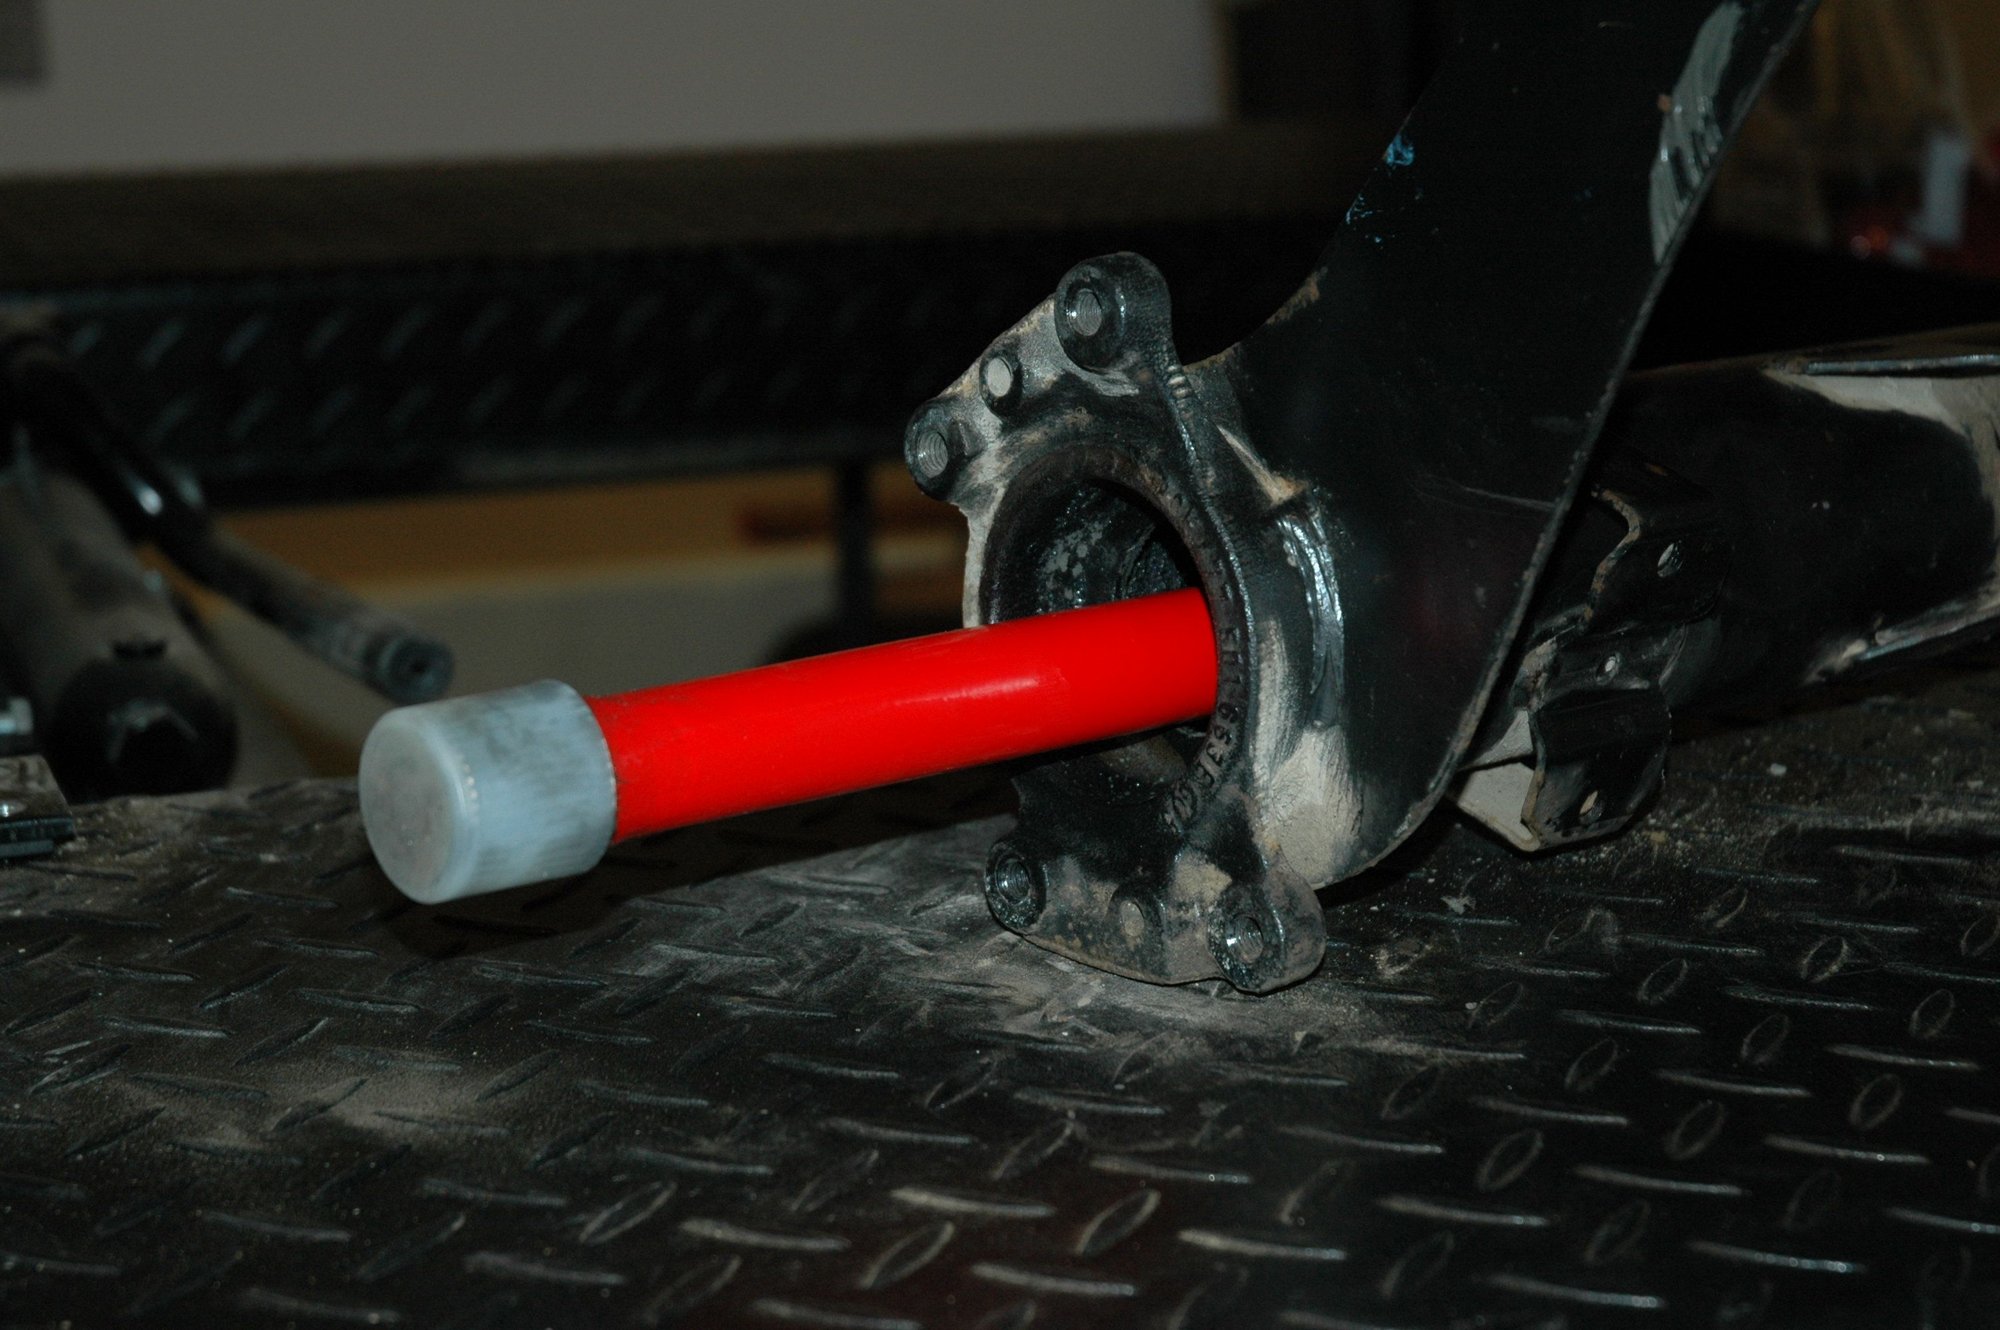
Make sure to apply a liberal amount of grease before inserting the torsion bar into the carrier. BTW: They only go in one way - different diameter splined ends.
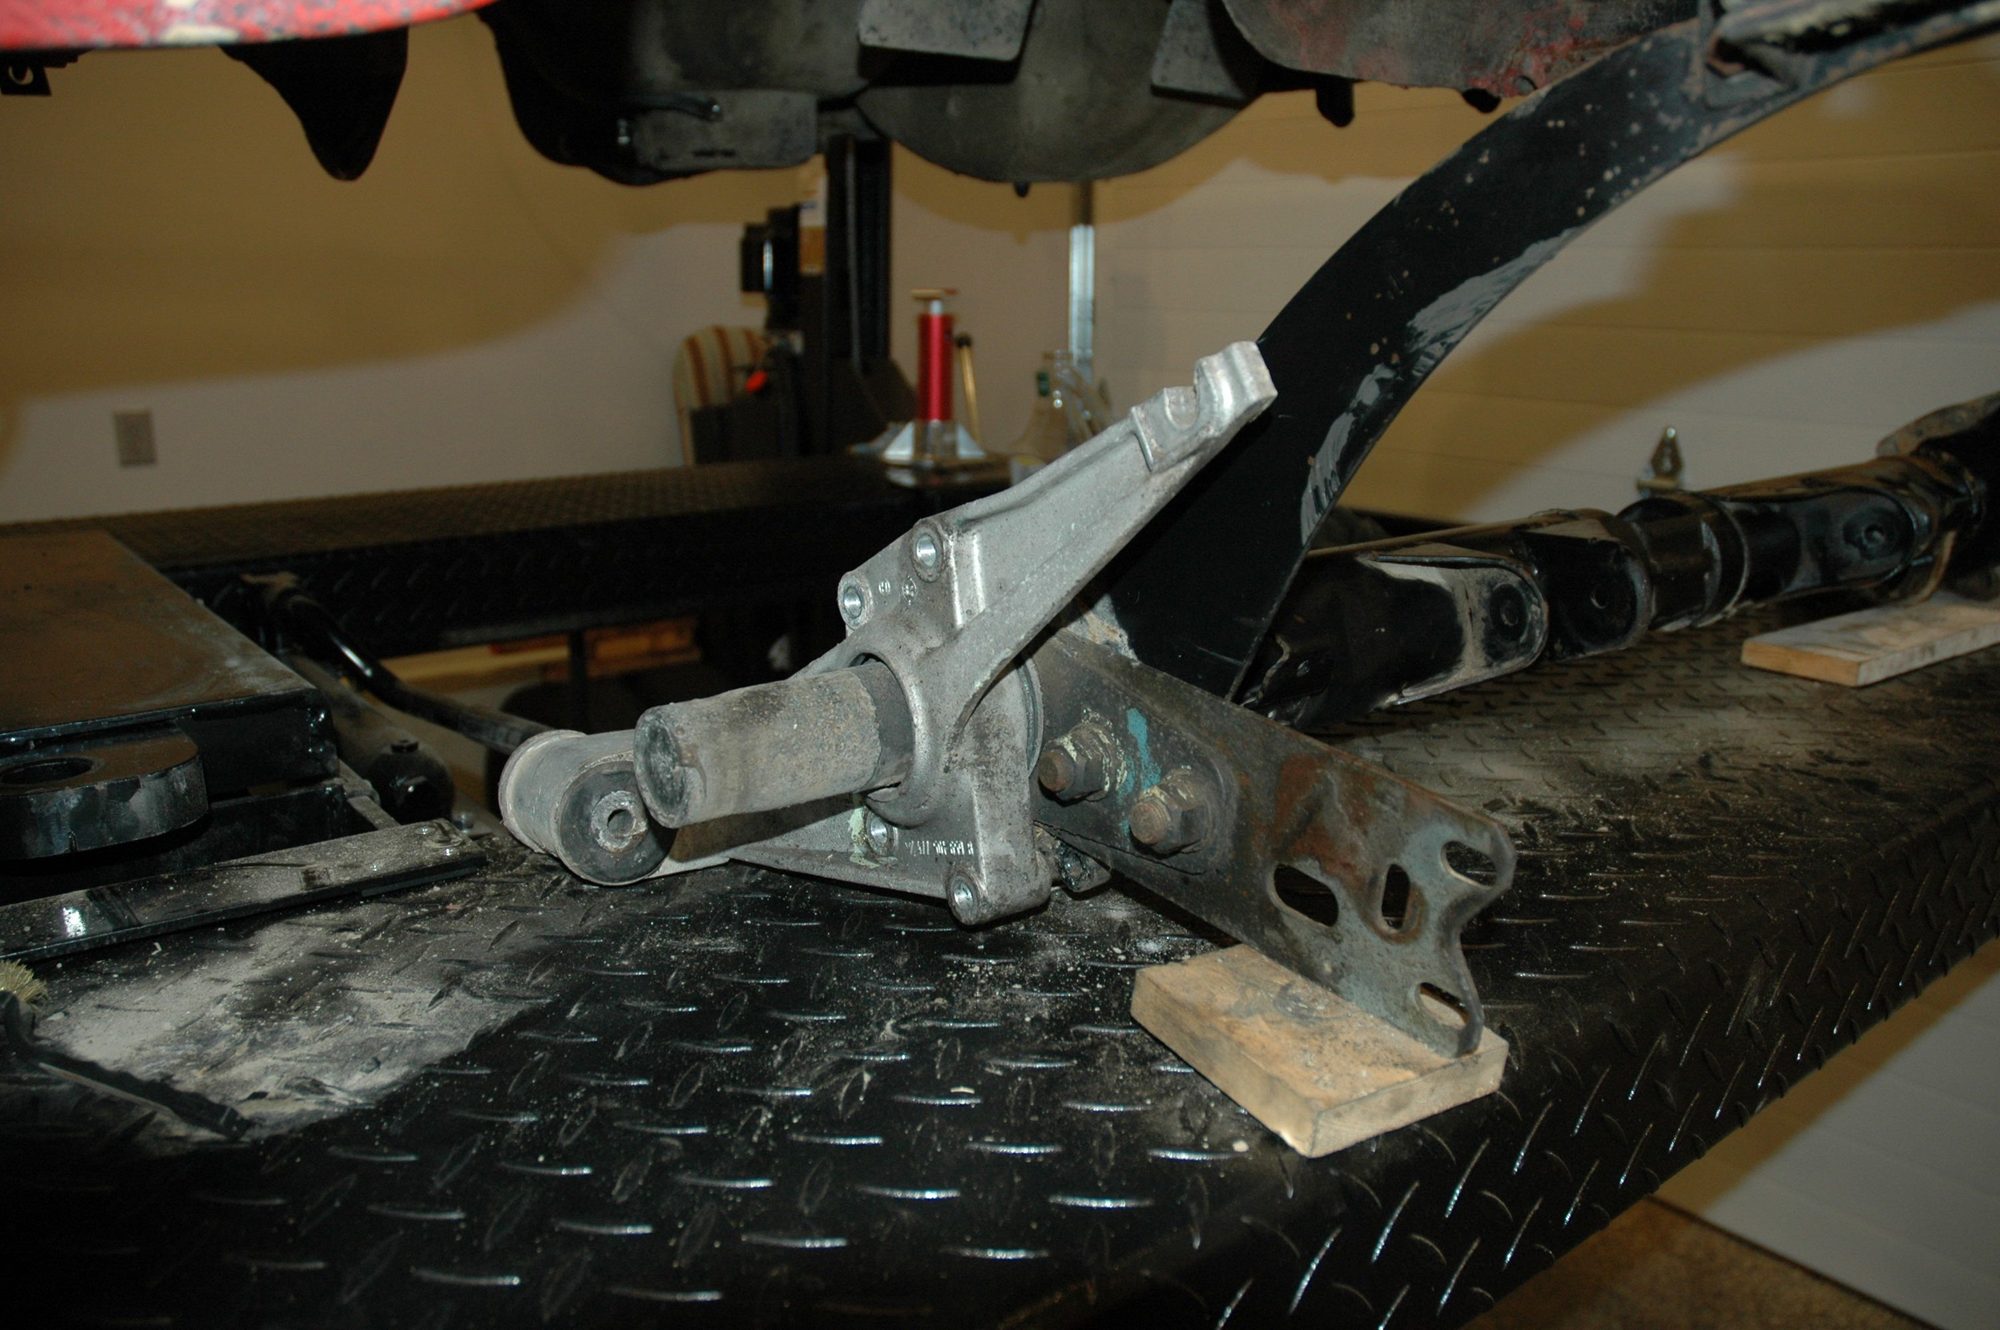
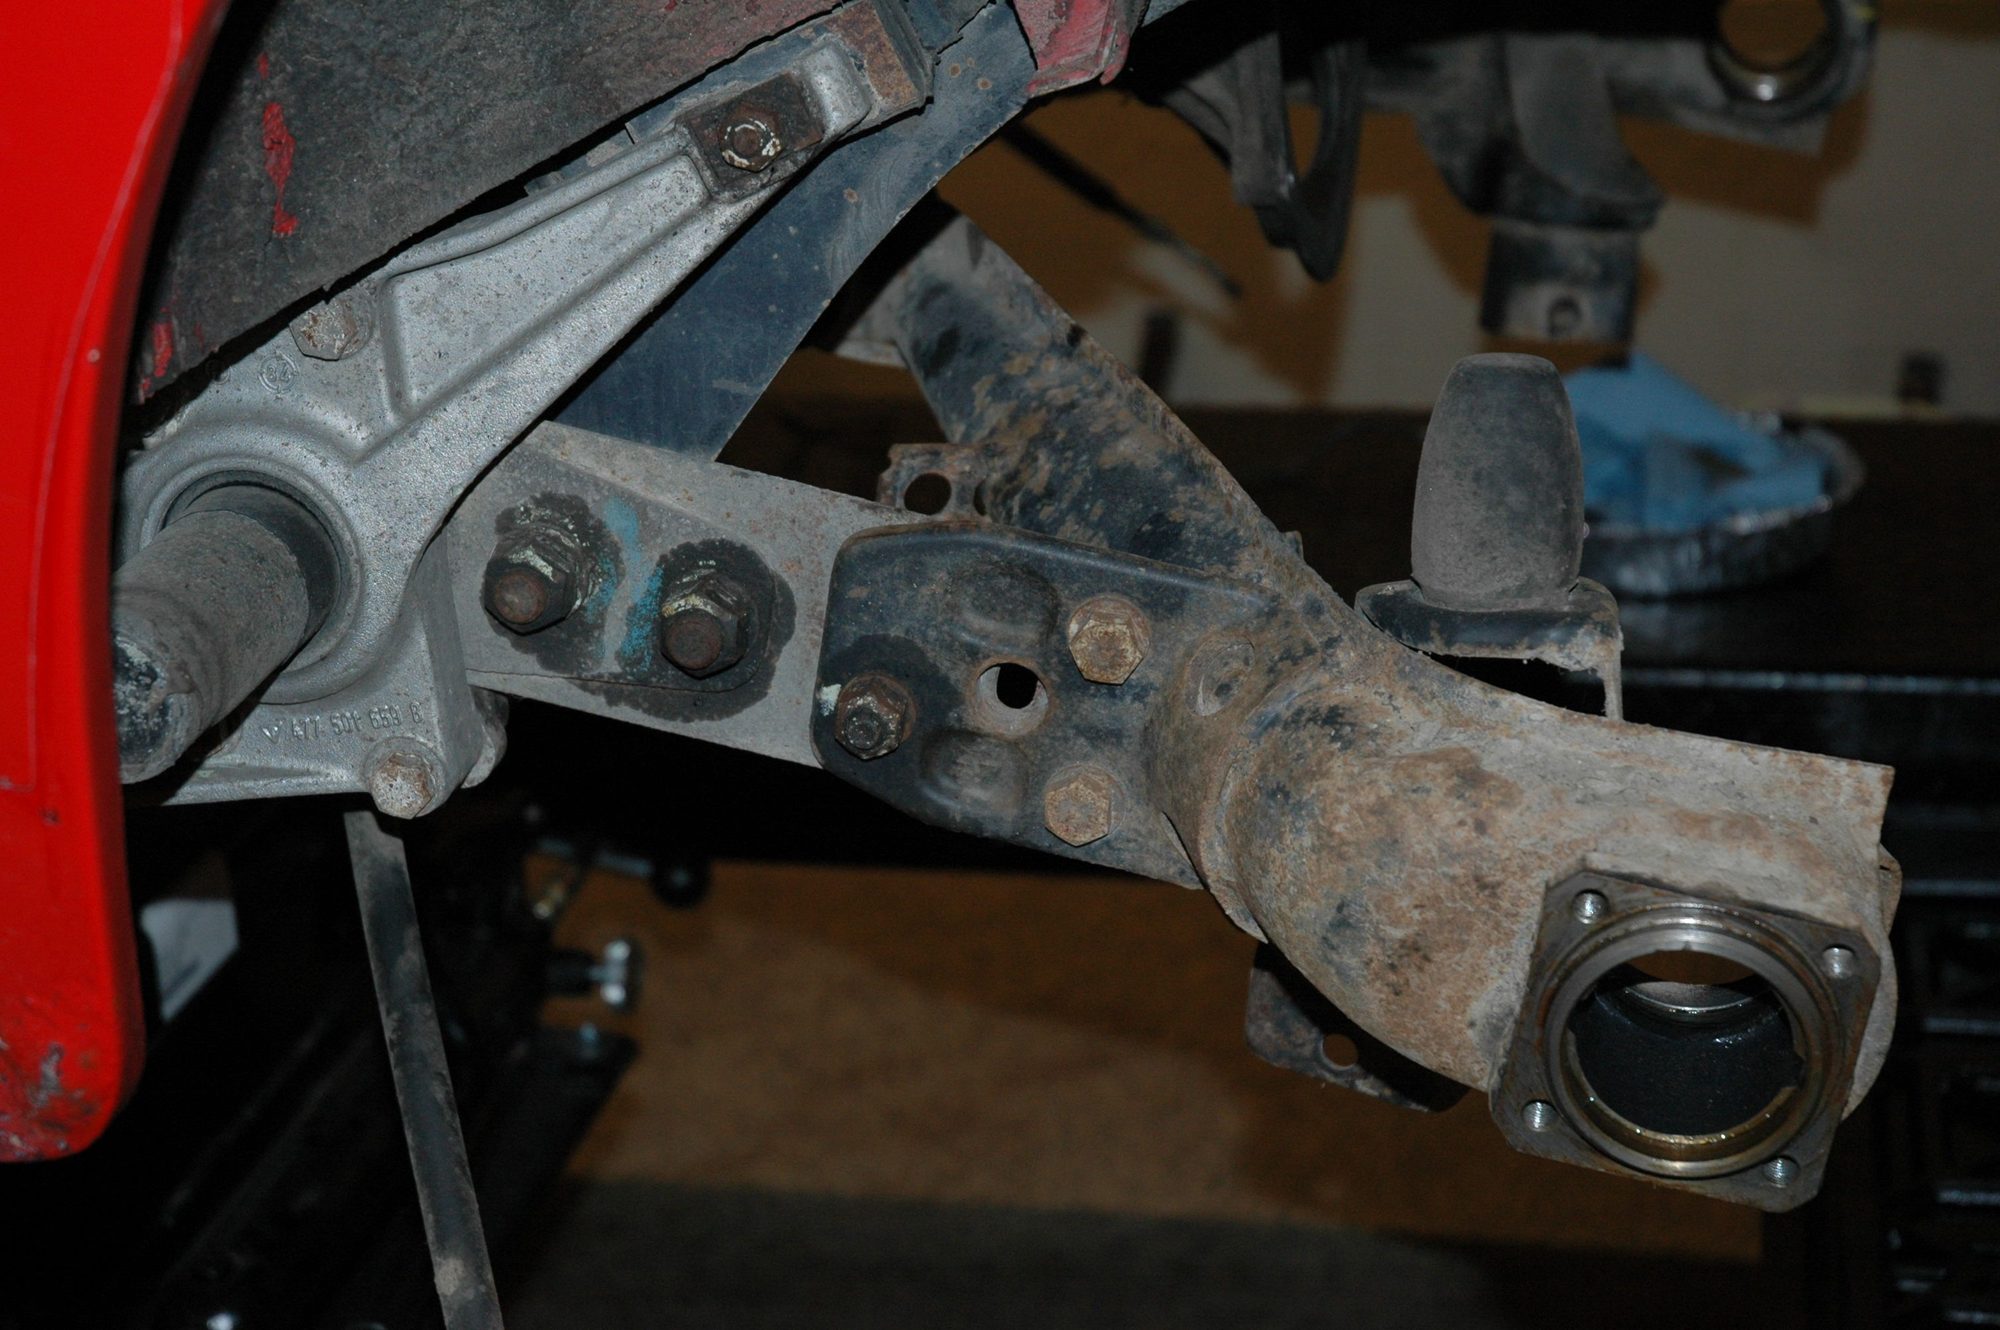
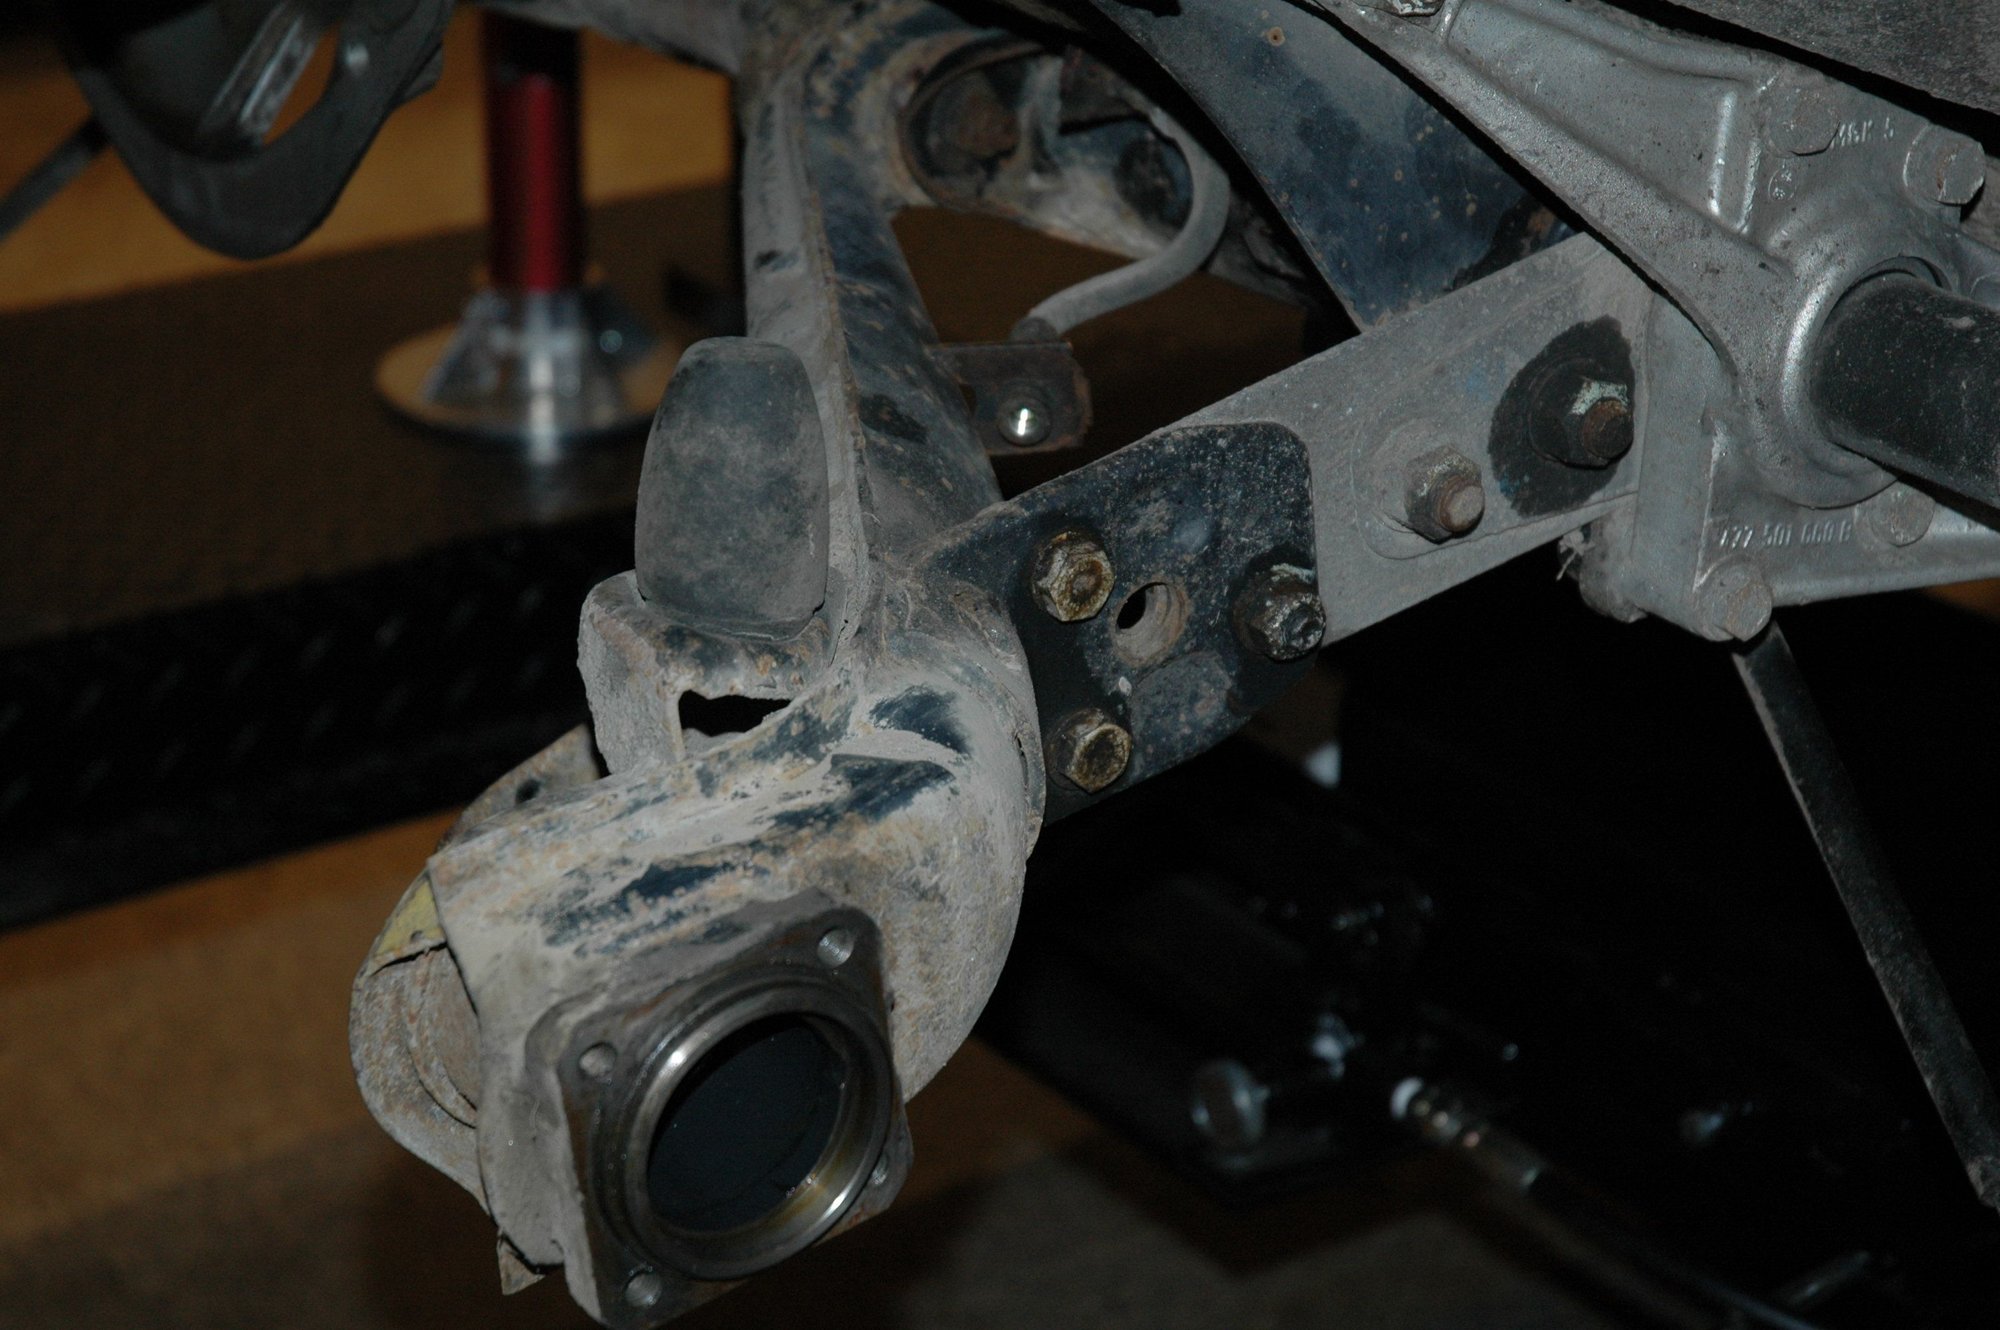
Here's where things got interesting... After watching just about every YouTube Video and reading every article I could get my hands on, I spoke to Michael Crum (a young engineer who designs and supplies 924/944 lift kits) and he basically confirmed what I thought; Just turn the rear axle strut two (2) splines clockwise (driver's side) and counterclockwise (passenger side) and press in the strut and bearing flange.
All was going well until I noticed that the lower rear bolt hole was obstructed by the rear axle strut plate. I checked the spline rotation about 10 times with the same result on both sides. It seems that I will have to put the full load on the carrier/torsion bar assembly in order for the plate to pivot away from that fourth hole. At least that what I'm hoping for; I'd hate to disassemble the entire rear again... Maybe I'll try to use a jack and apply some load on the axle strut, which may give me the access I need. Anyone with any ideas would be greatly appreciated! Stay tuned...

 12-06-2021, 07:41 AM


 .
.