When you click on links to various merchants on this site and make a purchase, this can result in this site earning a commission. Affiliate programs and affiliations include, but are not limited to, the eBay Partner Network.
I don't know if it's sacrilege to you or not, but maybe switching that connector set over to something like a MetriPack would make sense. Some of those housings are pretty compact.
I'm impressed with how far you've gotten so quickly. My 968 work is stumbling forward much more slowly.
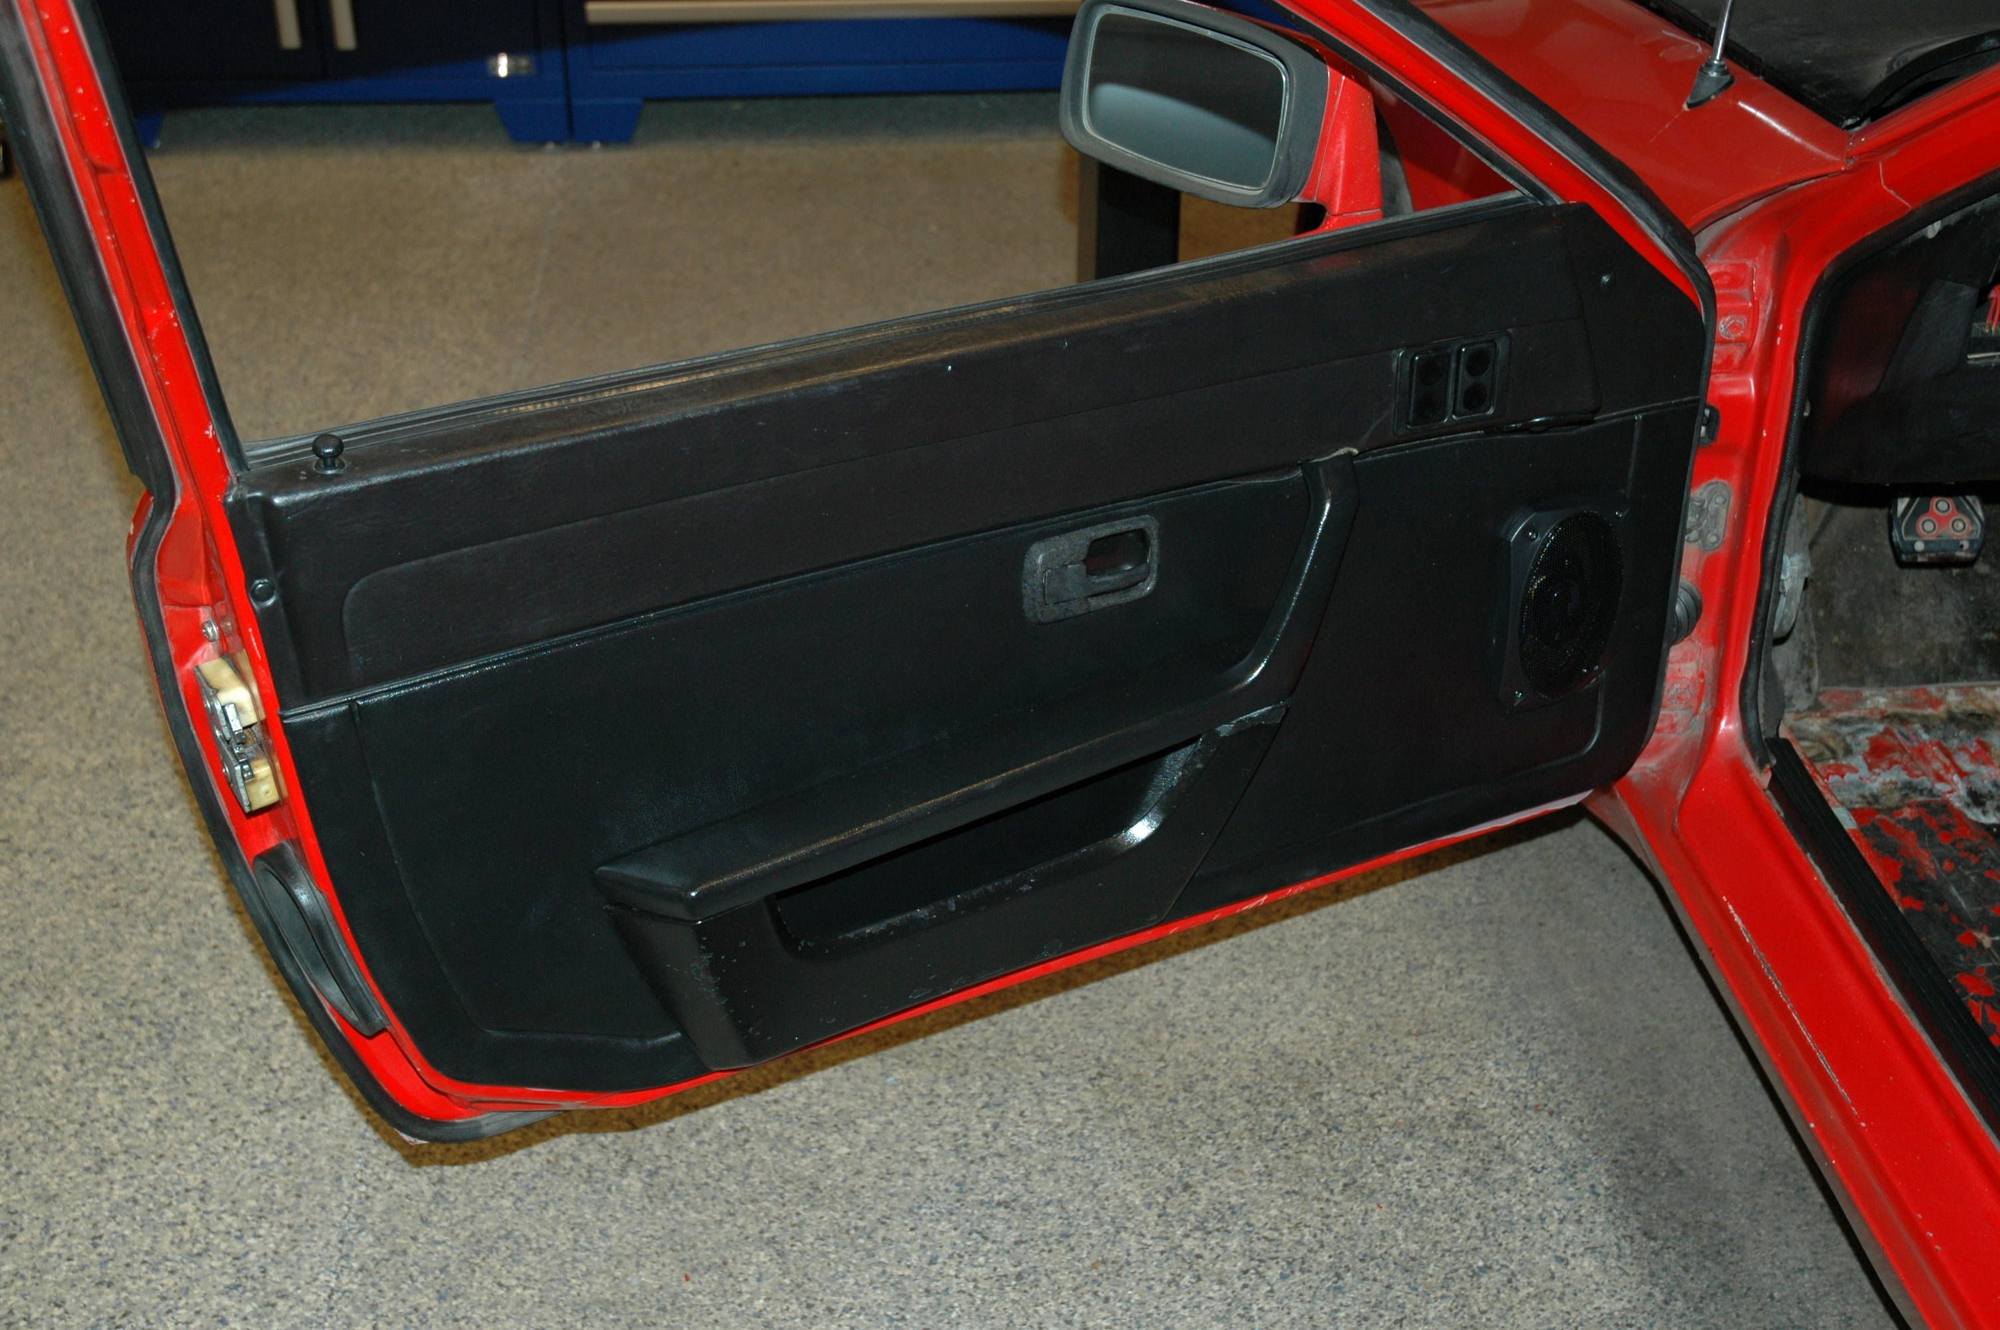
Installed some rear speakers, re-mounted the beat up side panels (and decent carpeting) and performed some general wiping down of several years worth of dirt/grime.
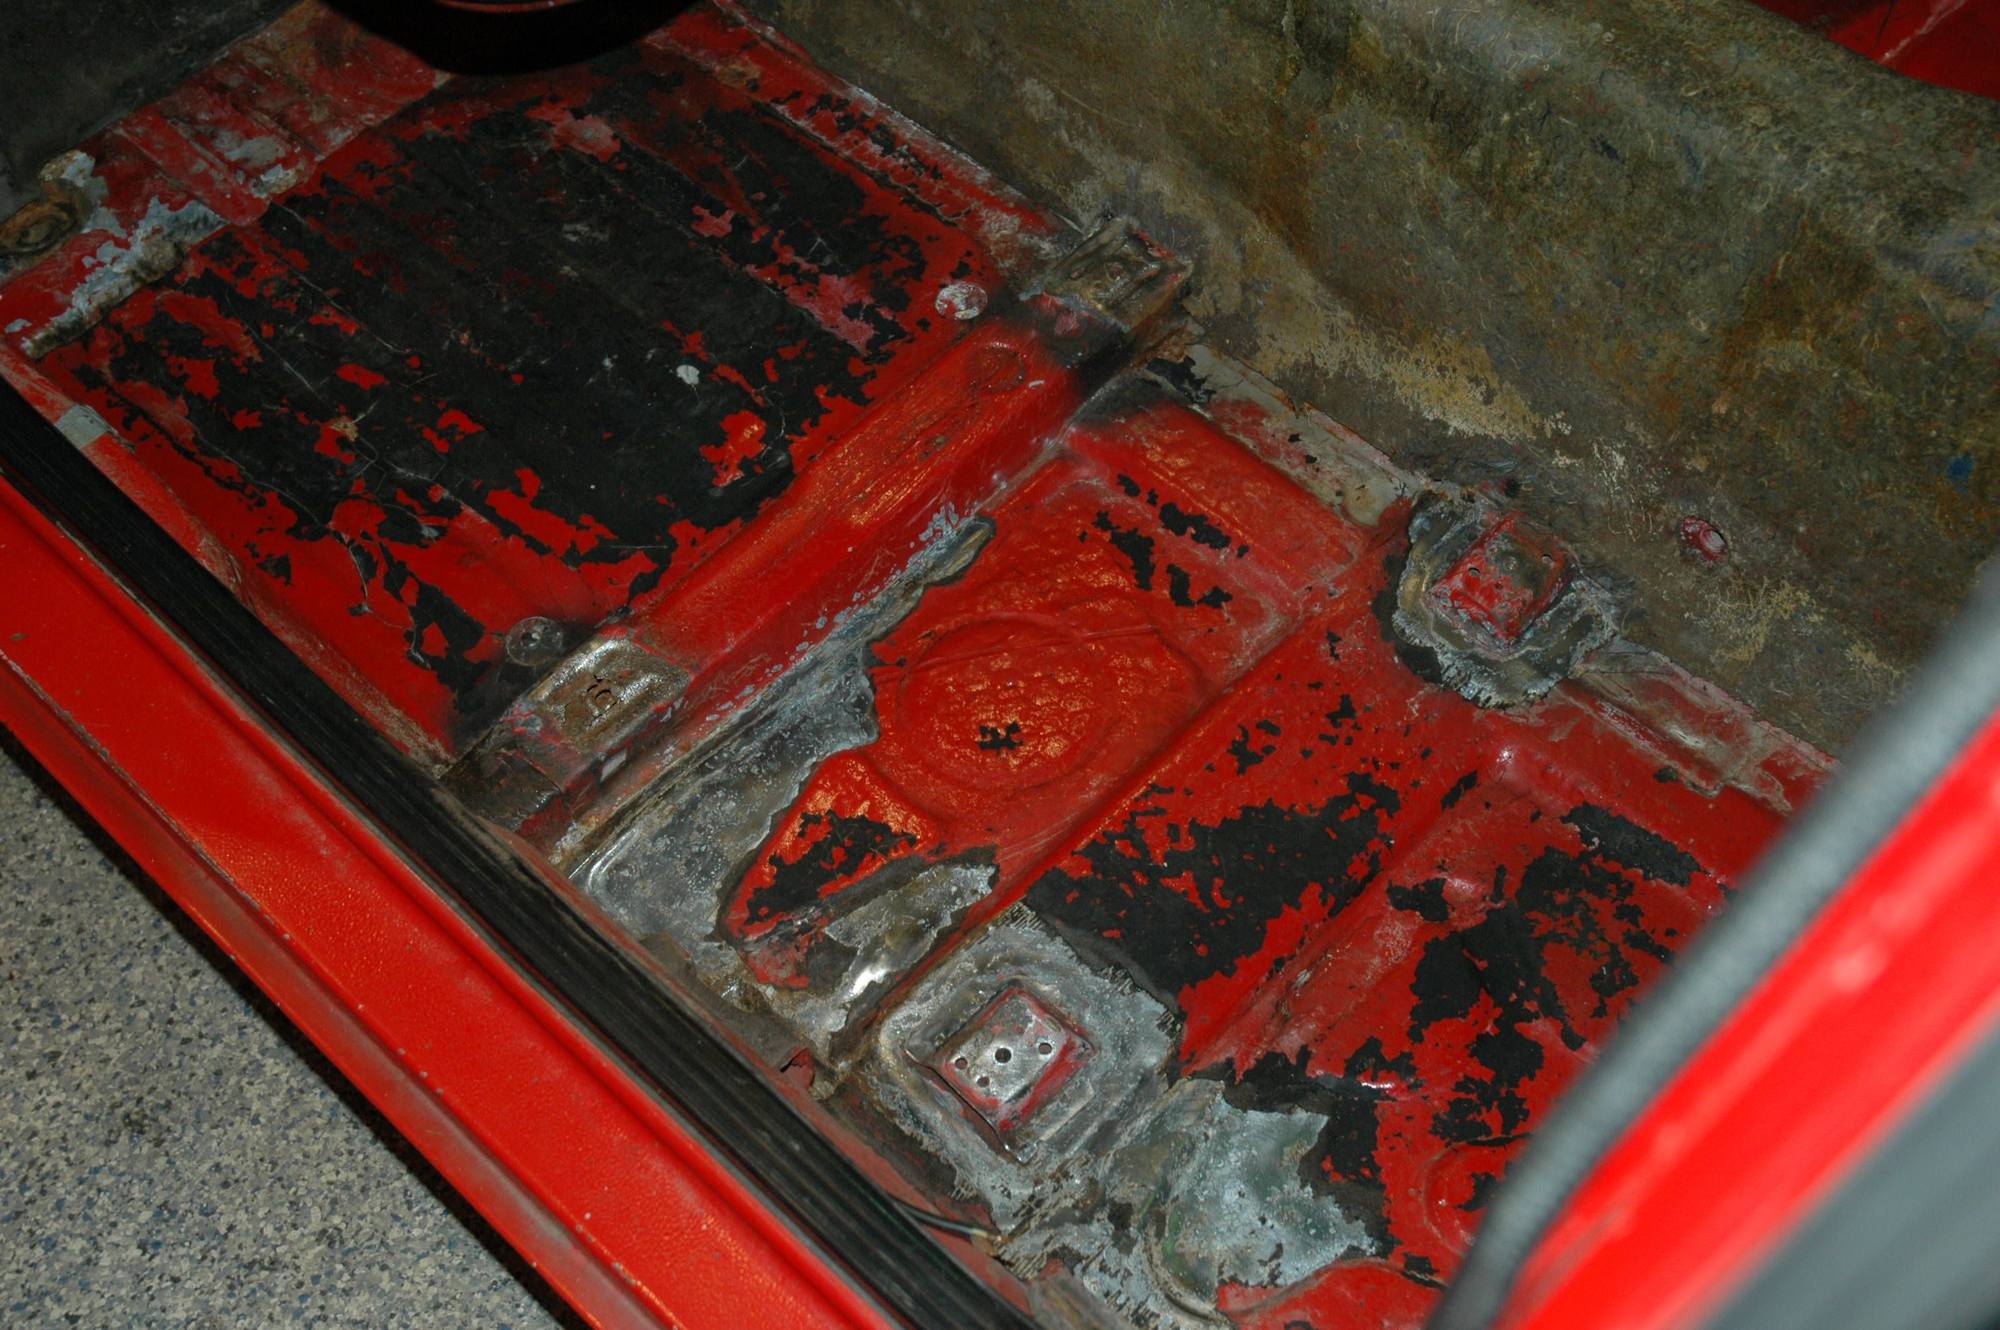
Wire-wheeled the busted seat mounting inserts; the welder (friend of a friend) is arriving Monday afternoon to perform said repairs...
I did temporarily mount the steering wheel and drove her around the neighborhood (@ three heat/cooling cycles) this afternoon.
Dear Patrick: I noticed that the front bolt arrangement of the captive nut under the front cross bar for the seat rail is damaged. If you want to change it out to 8mm, I suggest that you use a dremel with a cutoff wheel and make a rectangular cut in the crossbar close to the captive nut. Do this on the pedal side of the crossbar. Remove the remnants of the 6mm(unsafe) nut and discard it. Drill (ream)out the hole for the seat rail to 8mm along with the crossbar. Using a 13mm flare nut wrench, hold an 8mm nylock flanged nut from below, through the cutout. Screw in an 8mm (later 944 size) allen head (low profile) bolt and you're done! The rear ones are much more contentious to do this with. BTDT.
Since this is going to be an off-road rally car, I would recommend a 5 point seat harness configuration to be used. Using the process outlined above, you might want to locate the submarine strap mounting point in a similar manner in the front crossbar. Just a thought.
Thanks for the advice. I've actually procured the correct 6mm inserts with welding tabs that will be installed on Monday. As for this car, I don't plan on making it into a serious rally car, more like a on/off road (mainly gravel roads) that can hold more camping stuff. I do plan on making this one of my daily drivers if all goes well...
More accomplished today:
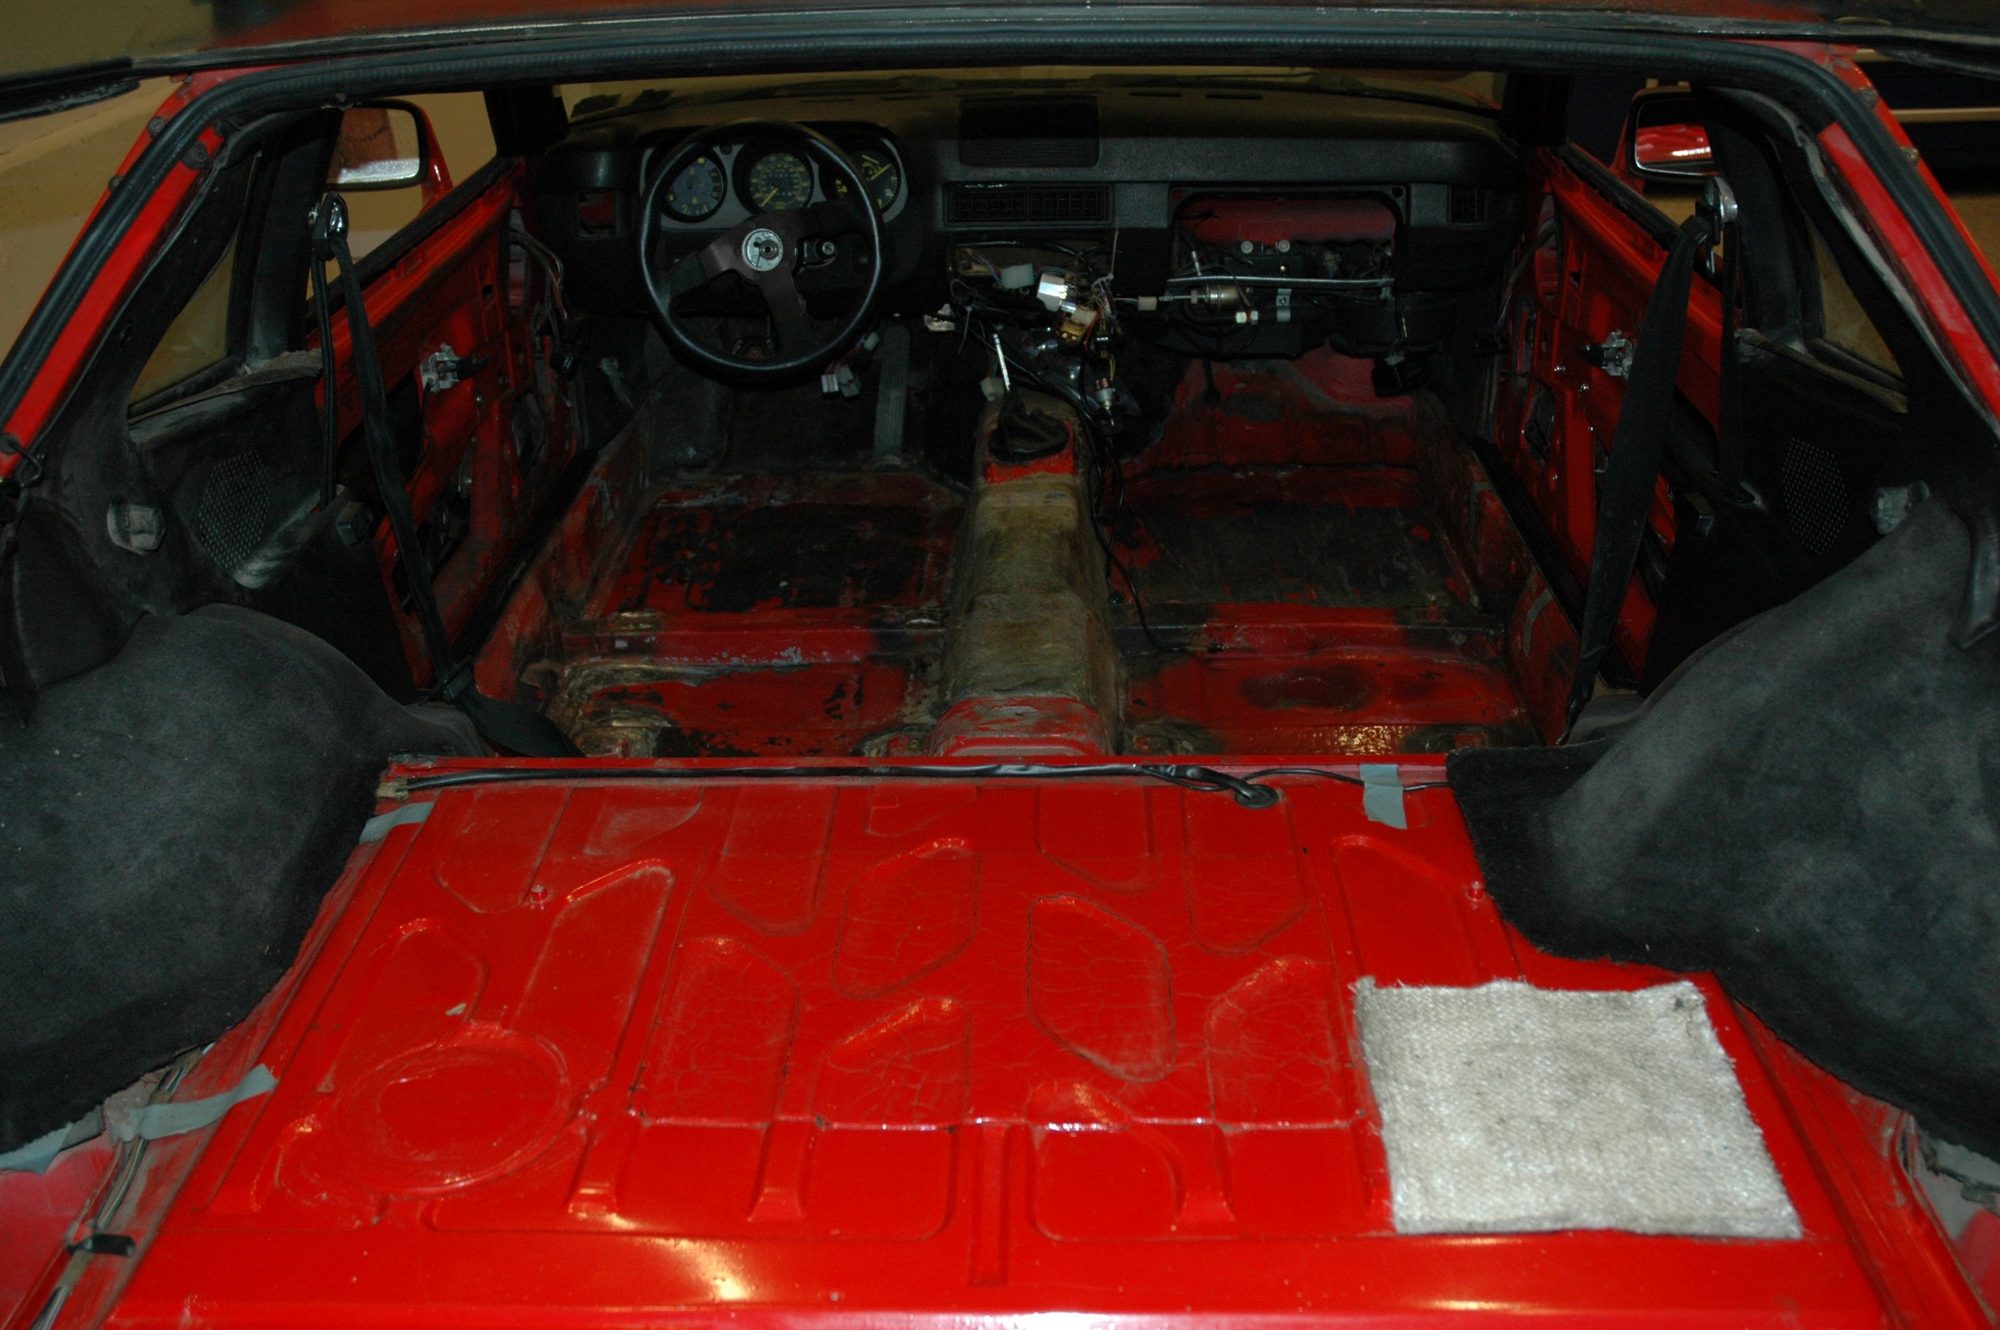
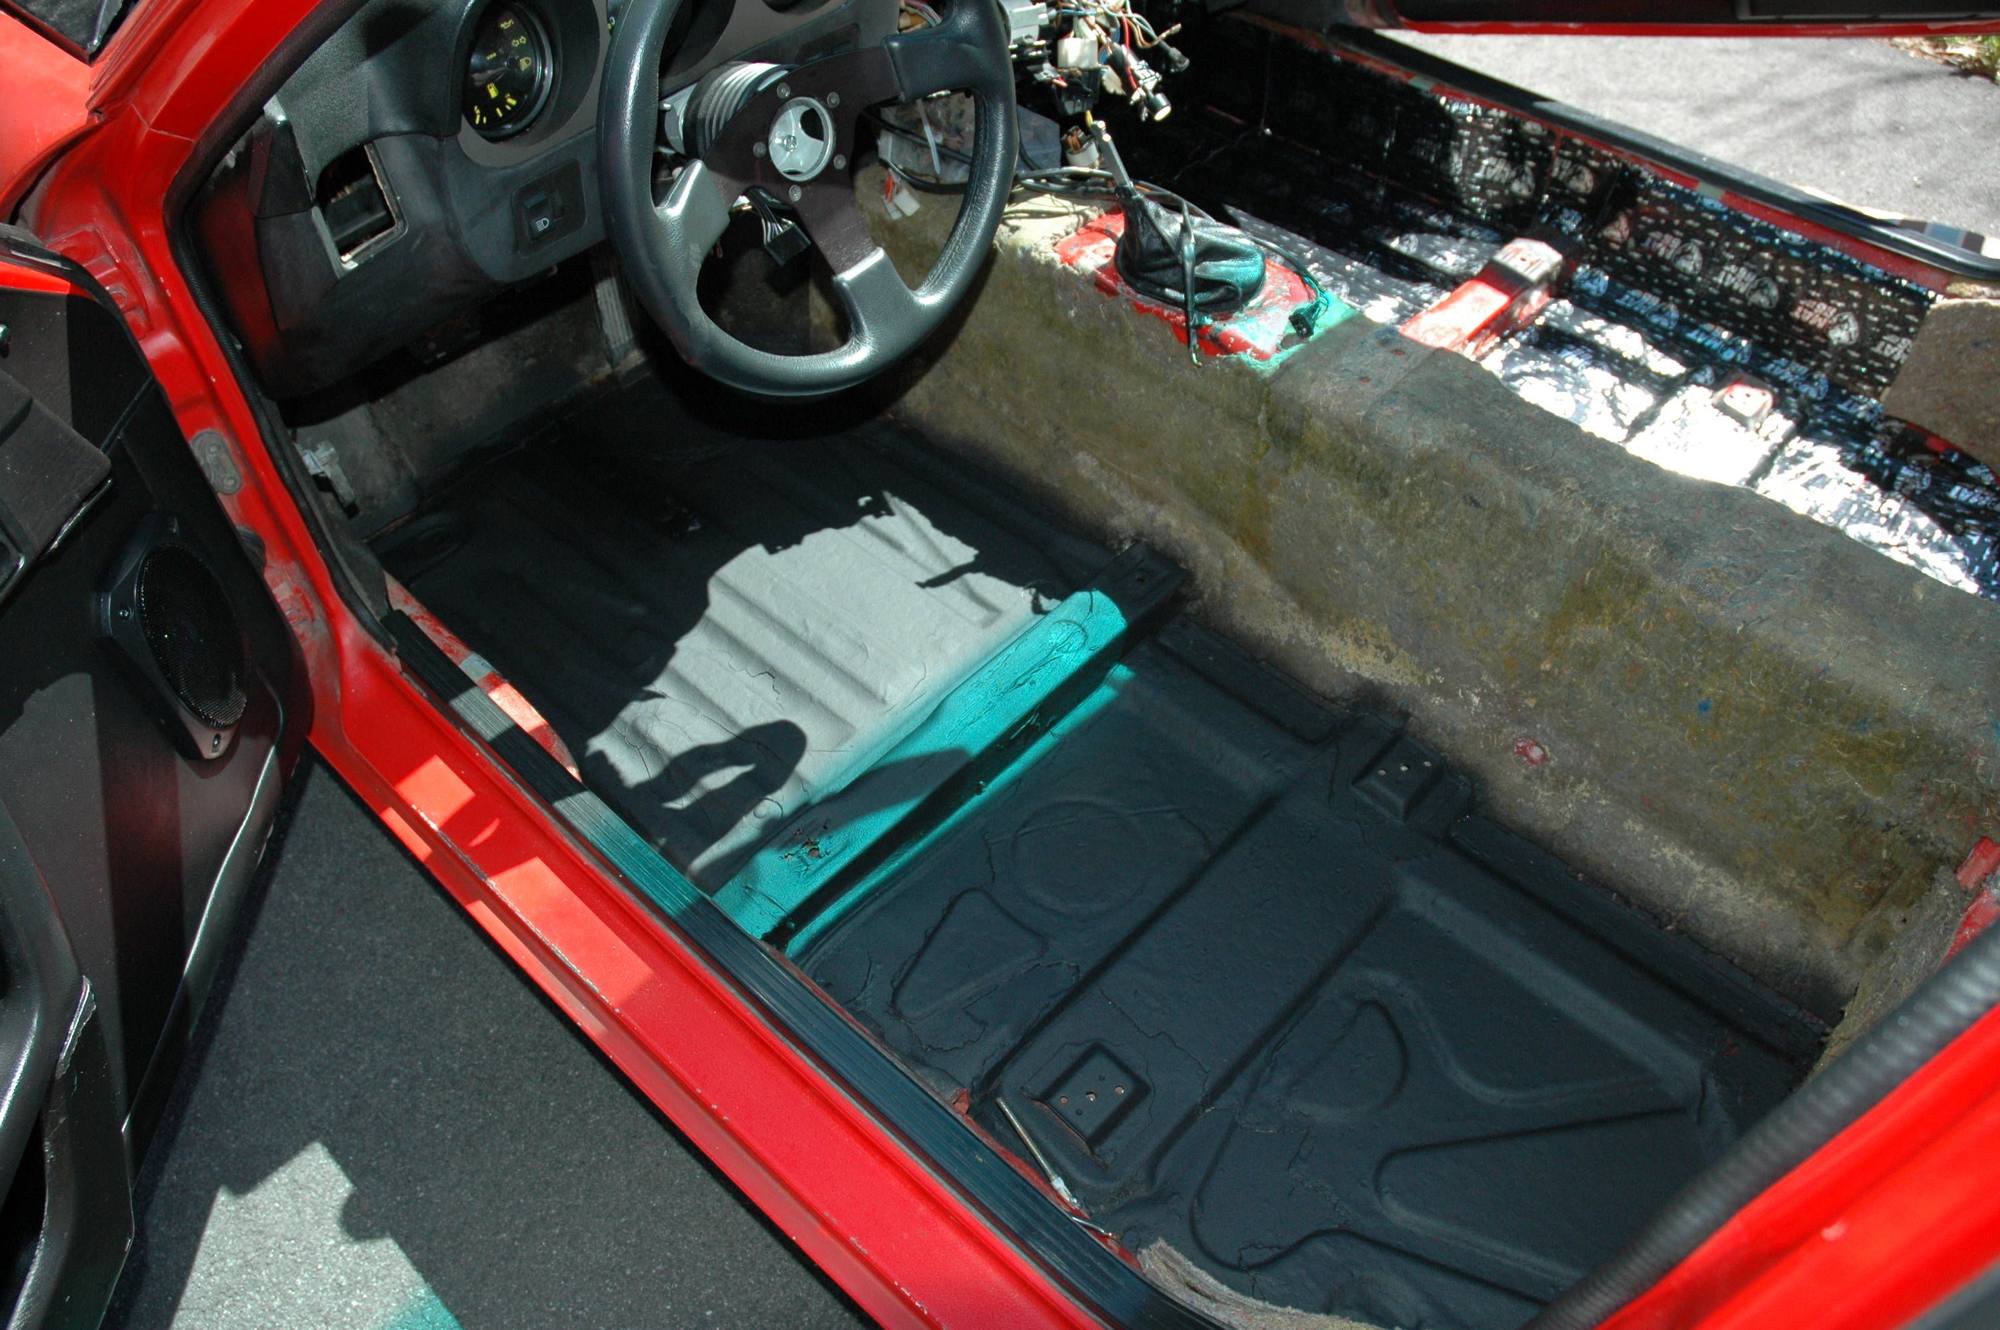
- Finished running the wire wheel inside the driver's side floor pan area and applied rust reformer (actually did this last night).
- Applied 3M rubberized undercoating spray throughout the same area.
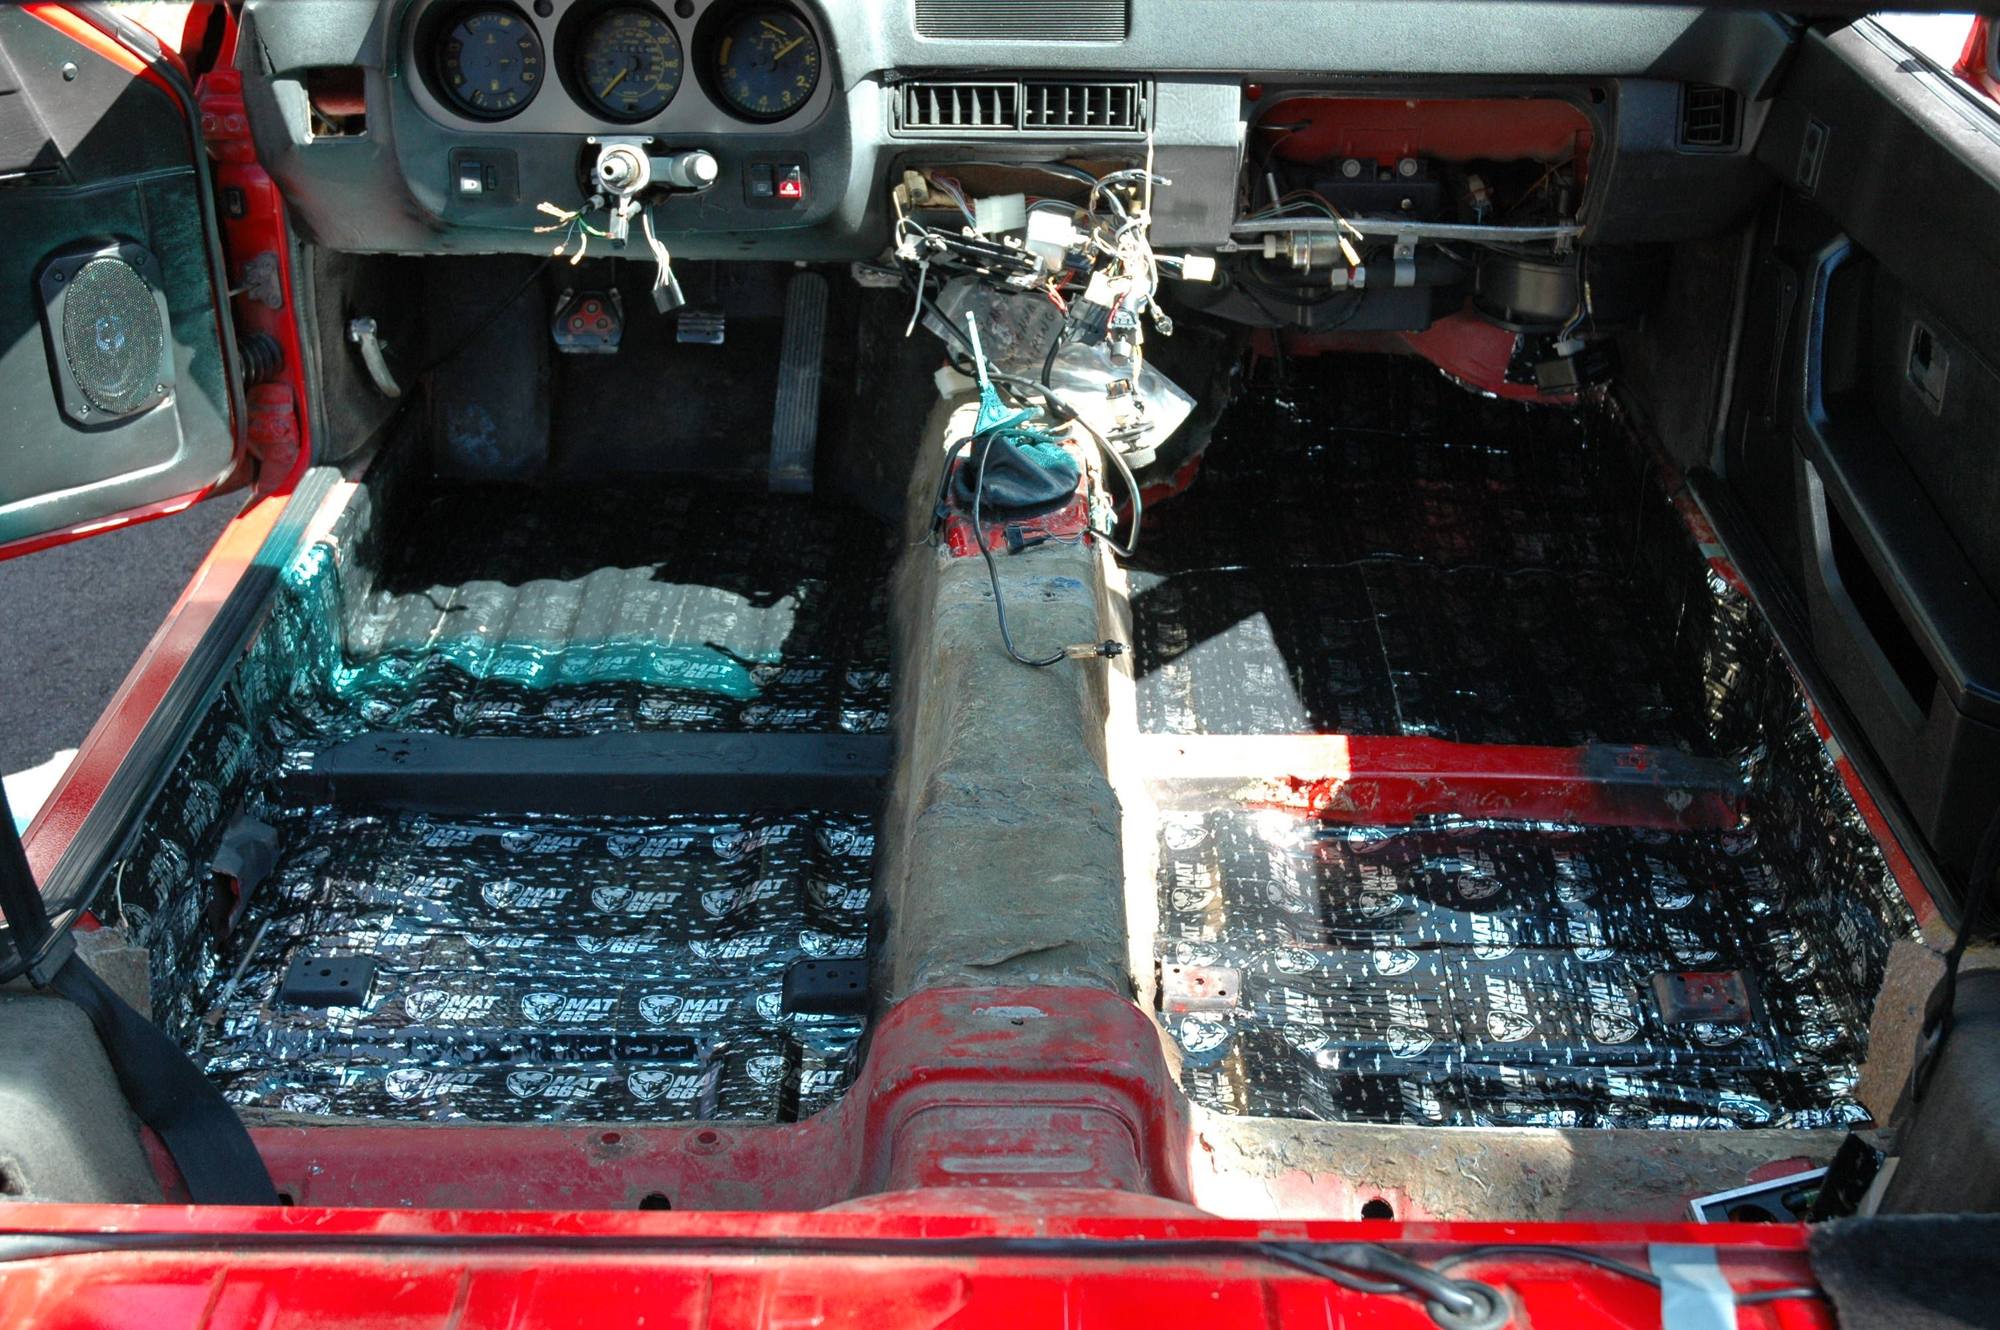
Installed MAT66 ProBlack, 80 mil matting on both sides of the floor pan.
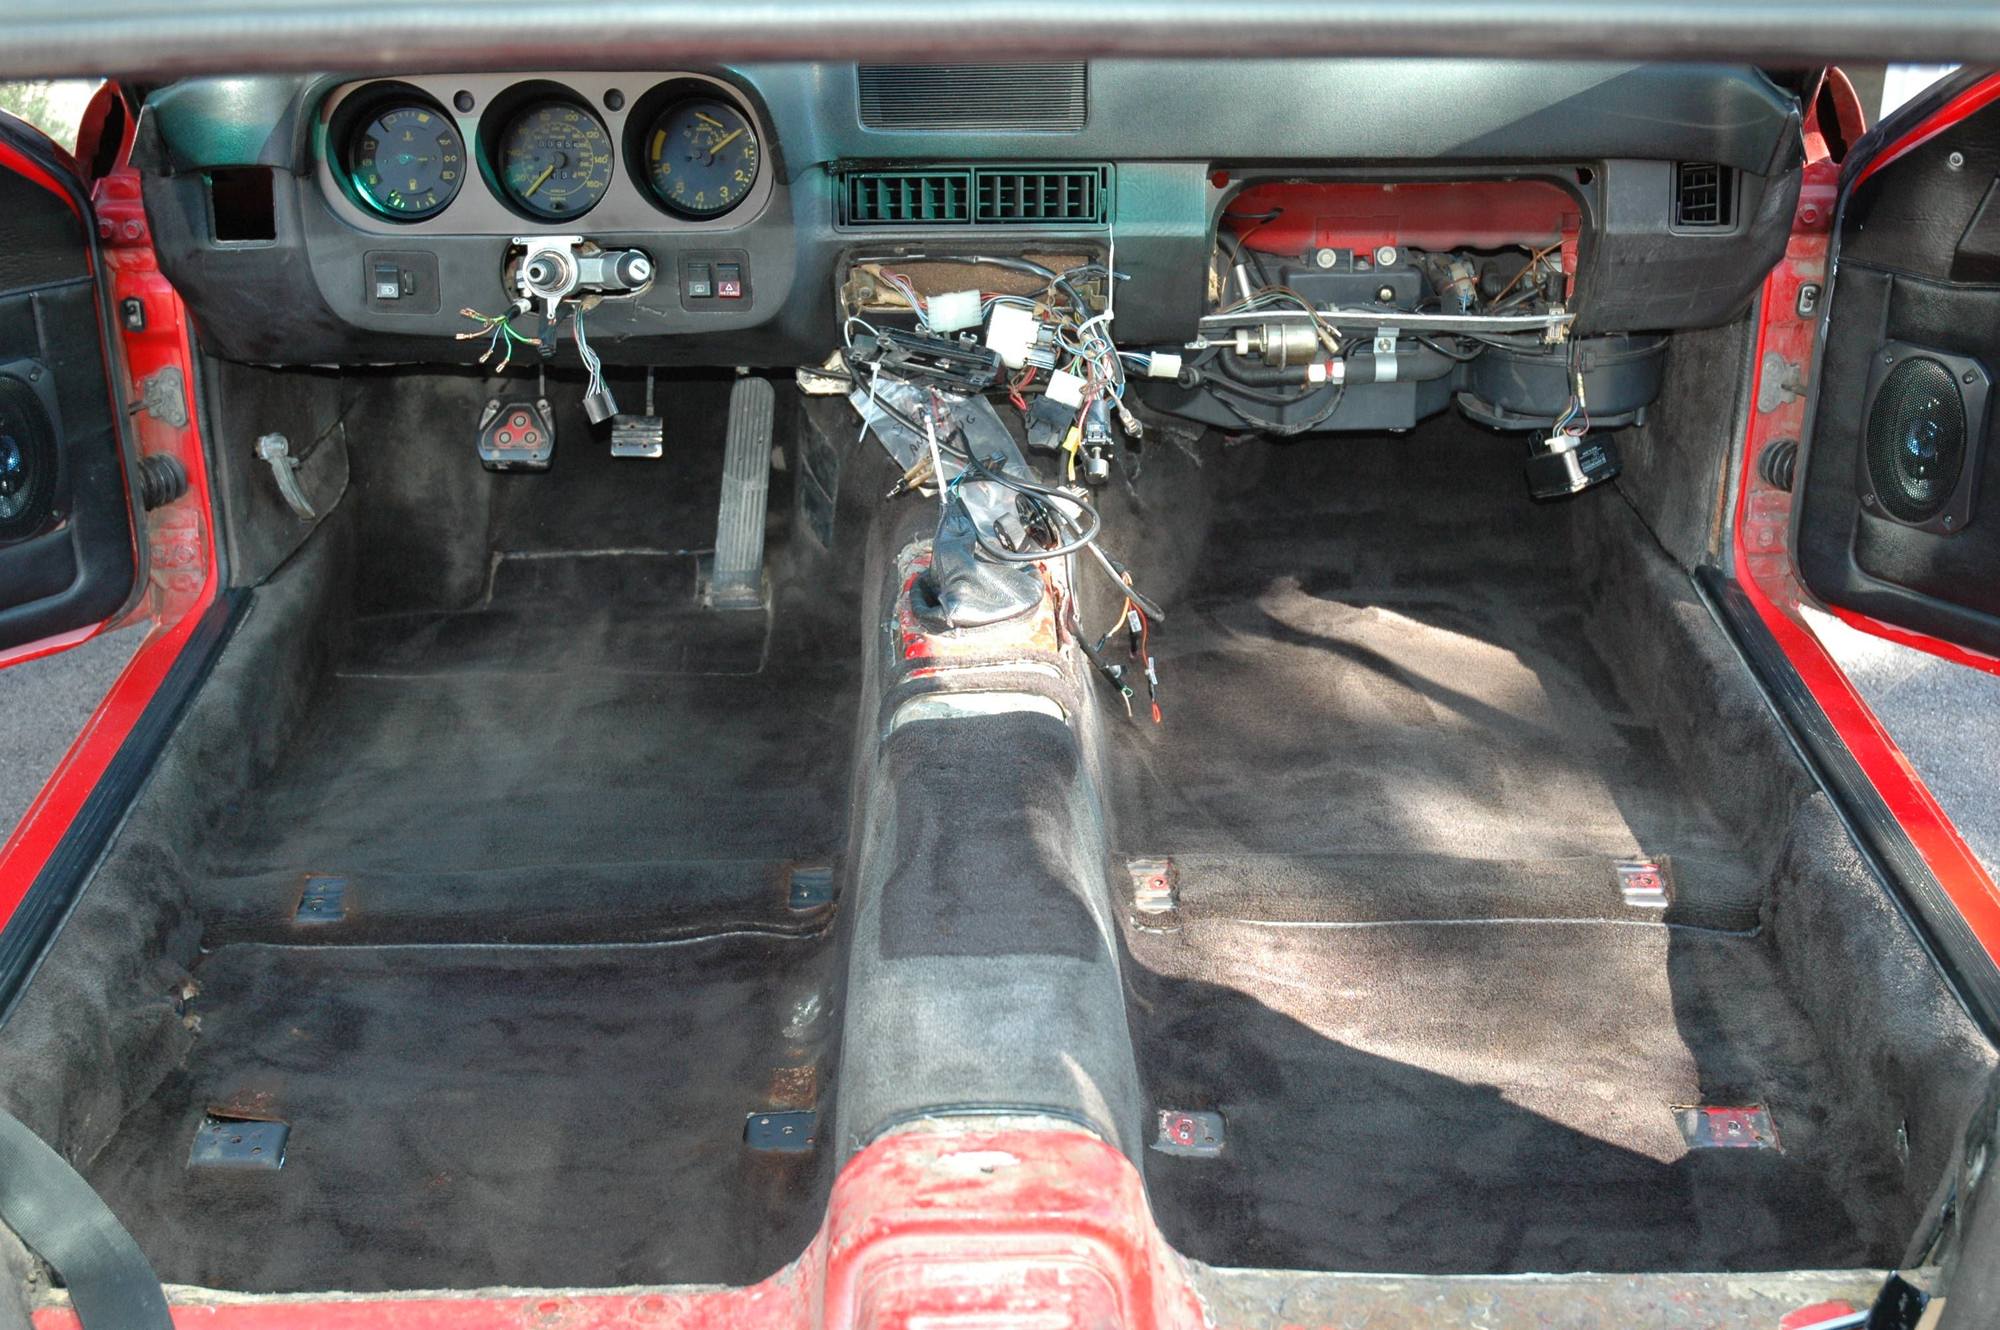
Removed all old jute and re-shampooed the main cabin carpeting, then re-installed...
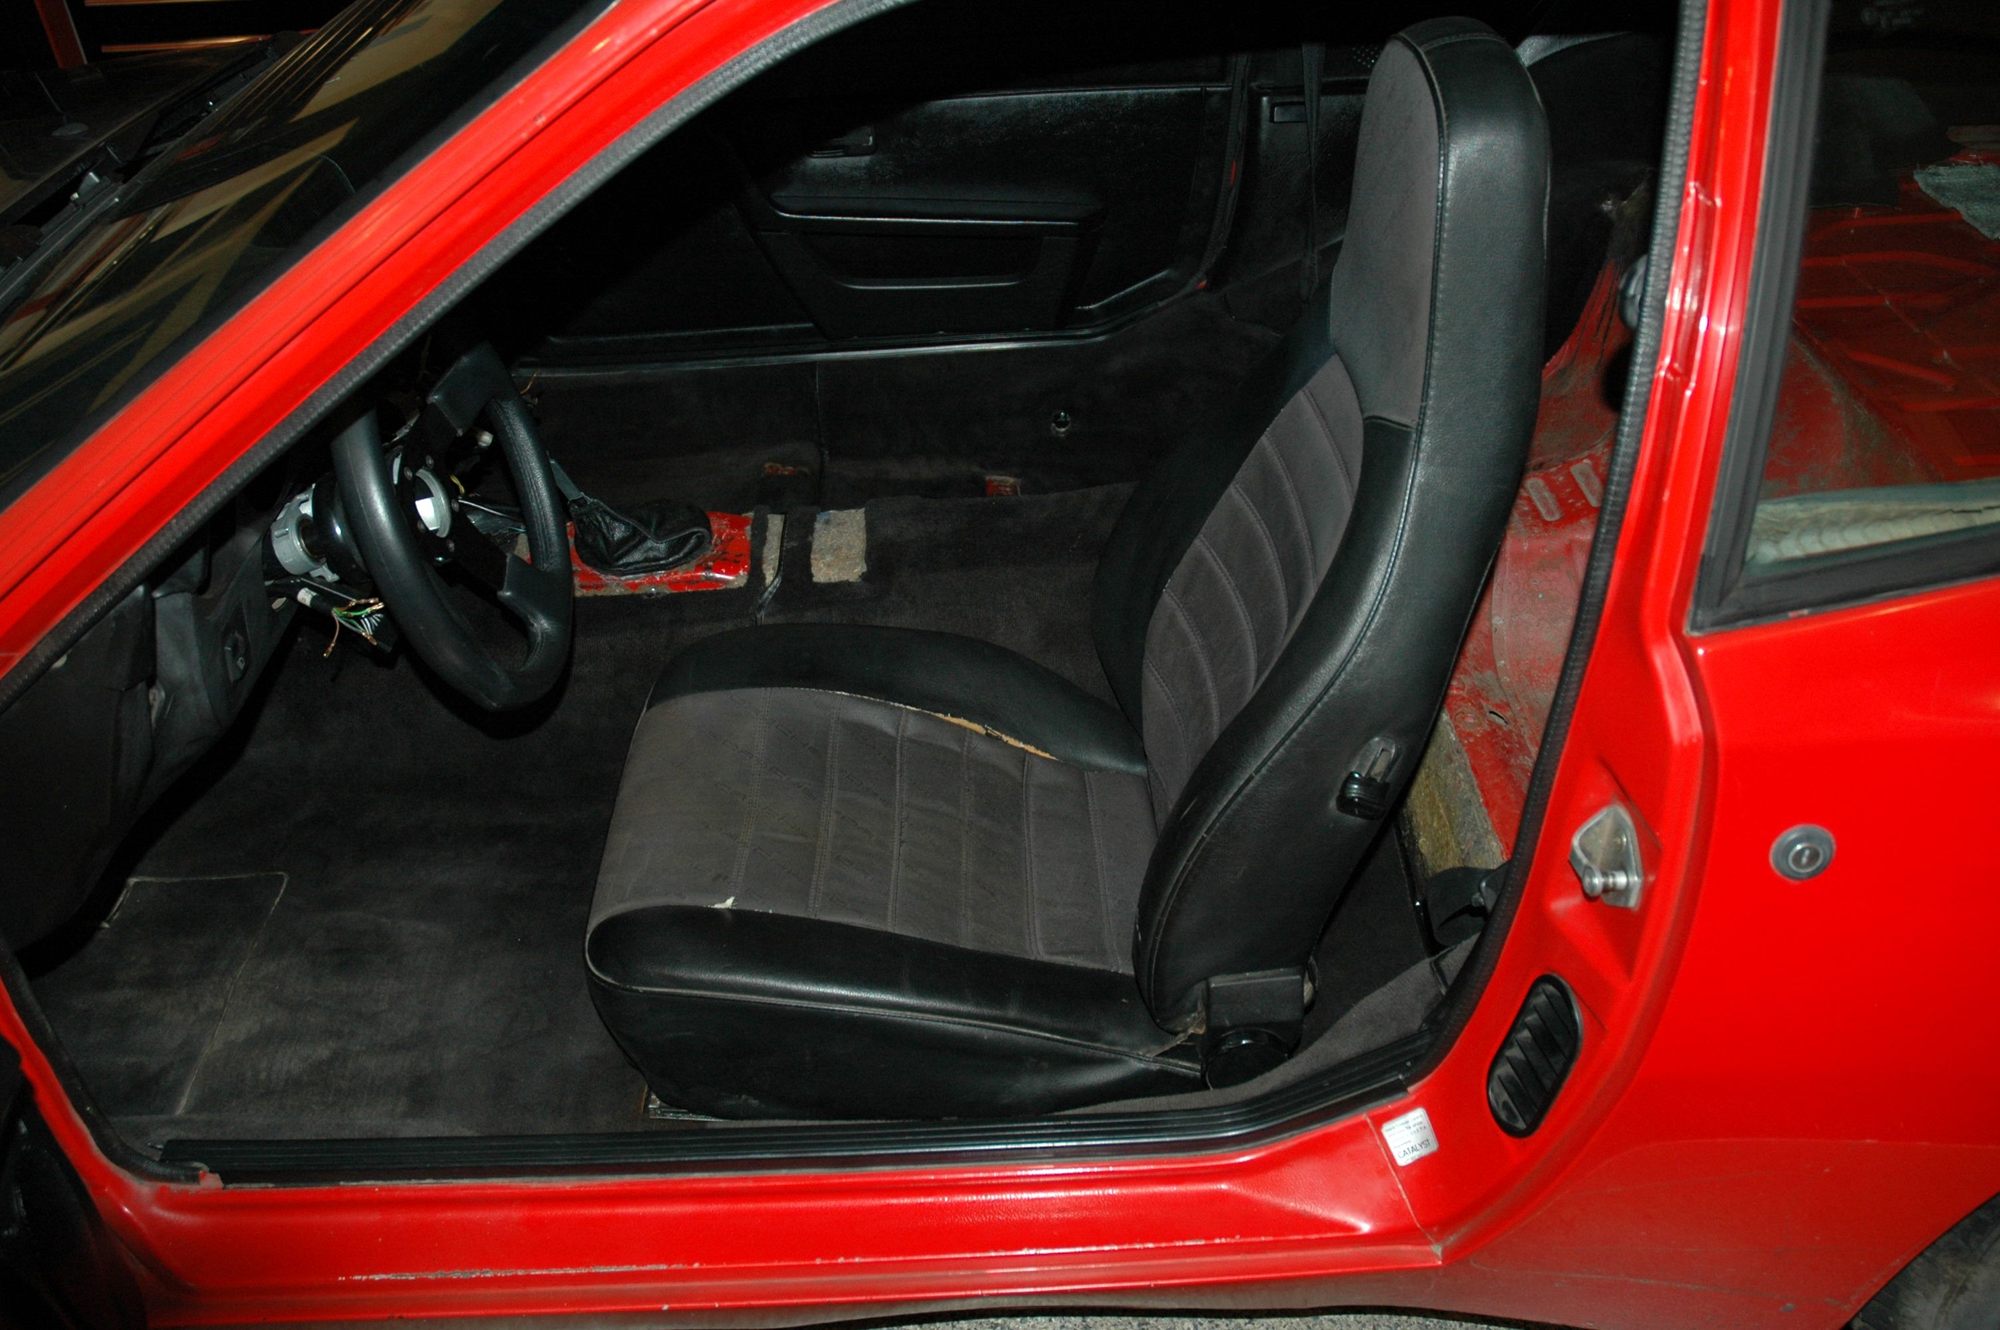
Driver's side seat installed by drilling through the pan and used M8 (instead of M6) hardware, including fender washers. I'll apply some of the rubberized spray once the cabin is totally finished because I'm sure I'll have to take out the seat again soon...
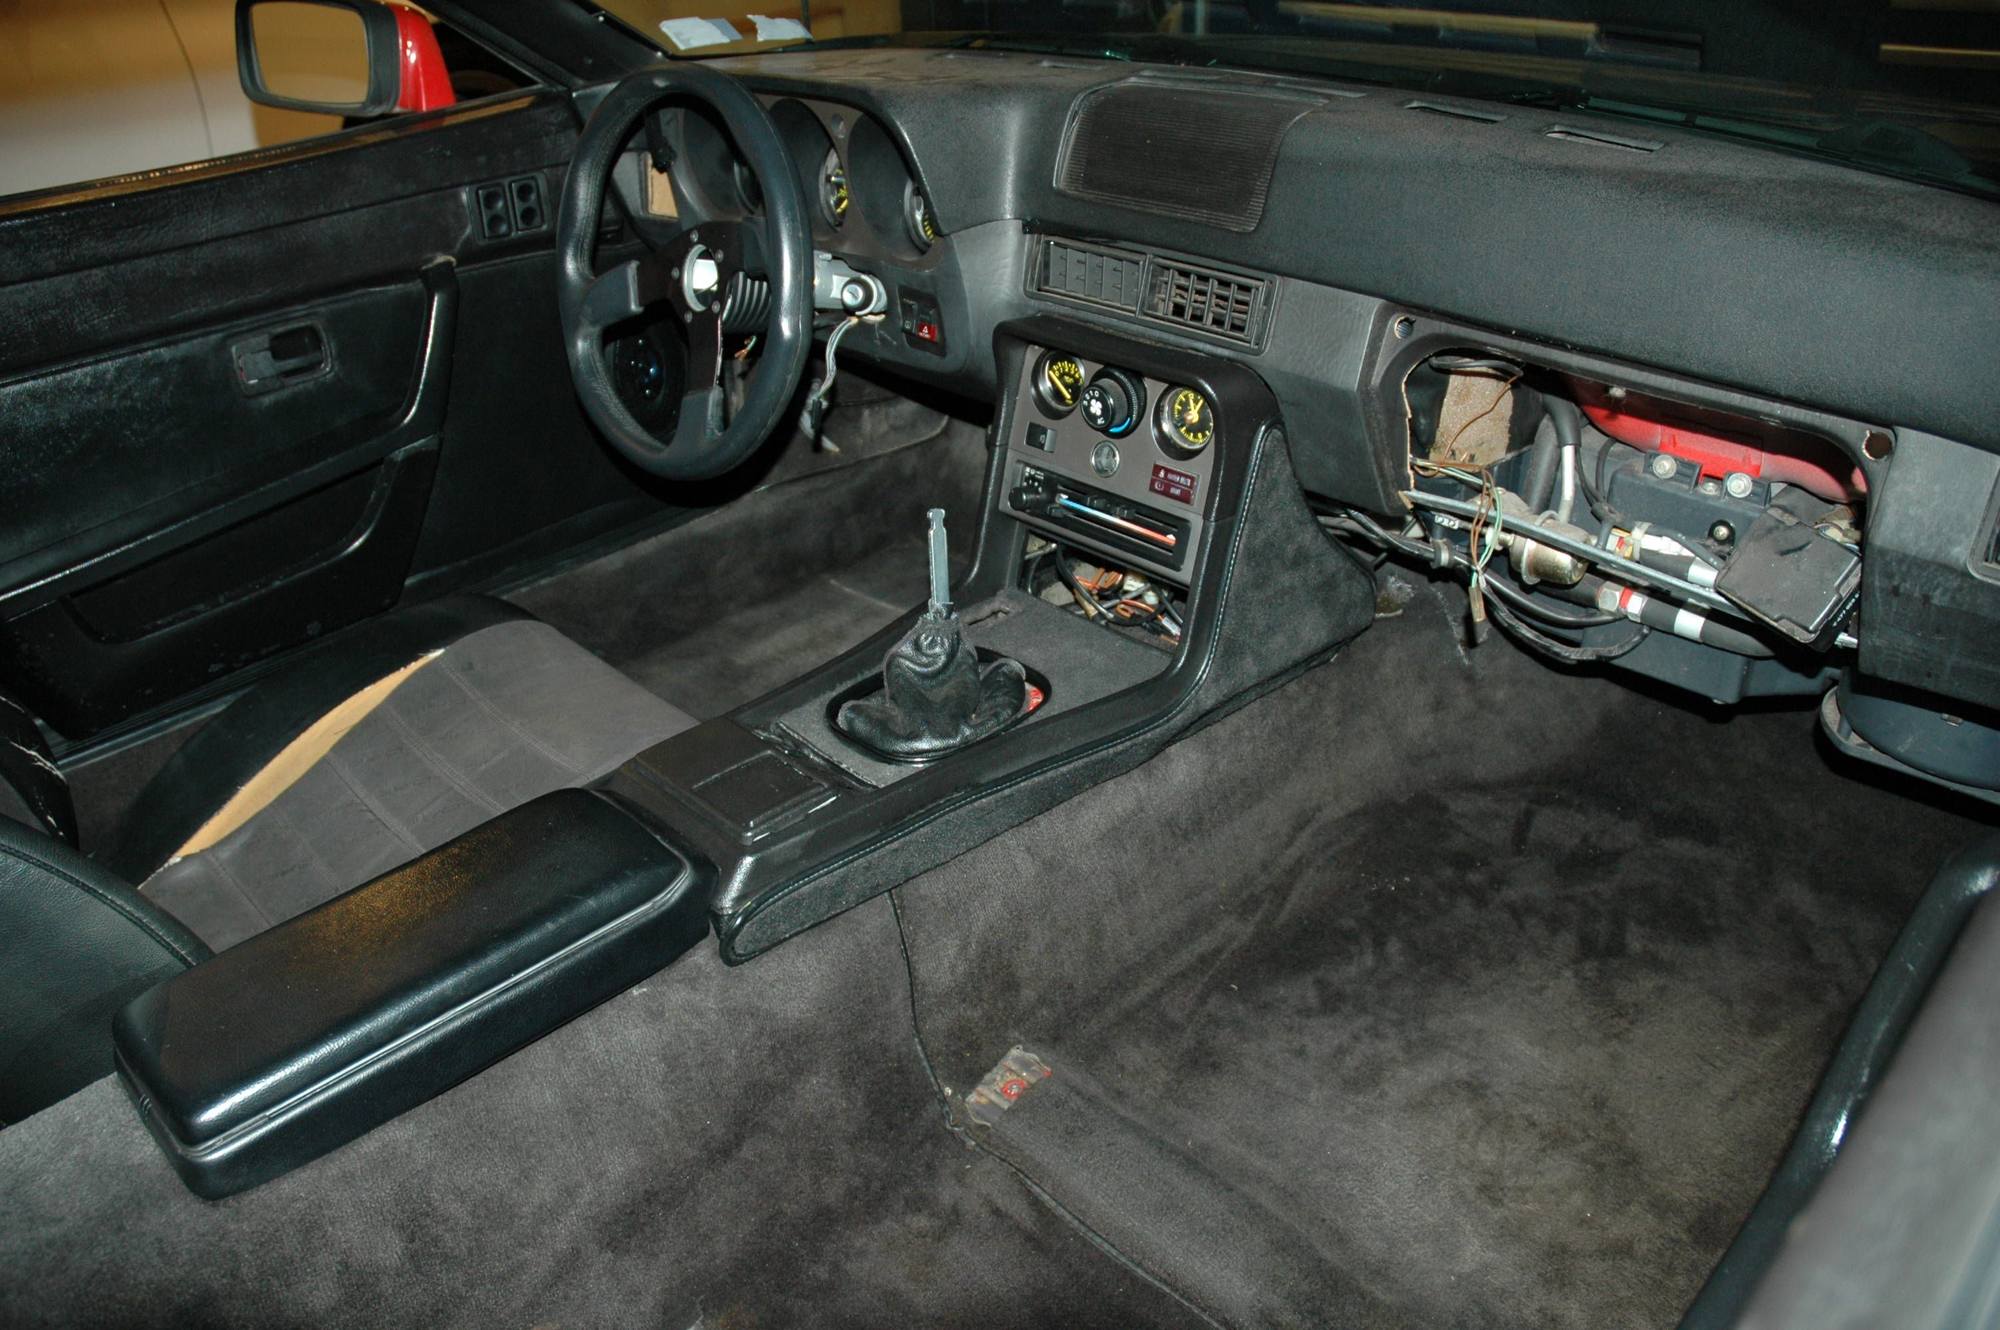
Next is the center console, while I wait for a replacement wiper switch plug.
Burnin' some midnight oil; installed a nice spare center console/cassette holder that I had laying around. And the AC blower motor magically came to life!! The fresh air blower motor still needs some diagnosis but it's almost 2am and I'm done...
Jeff - You may be right but it's actually a little bit easier to change direction with that round black thingy...
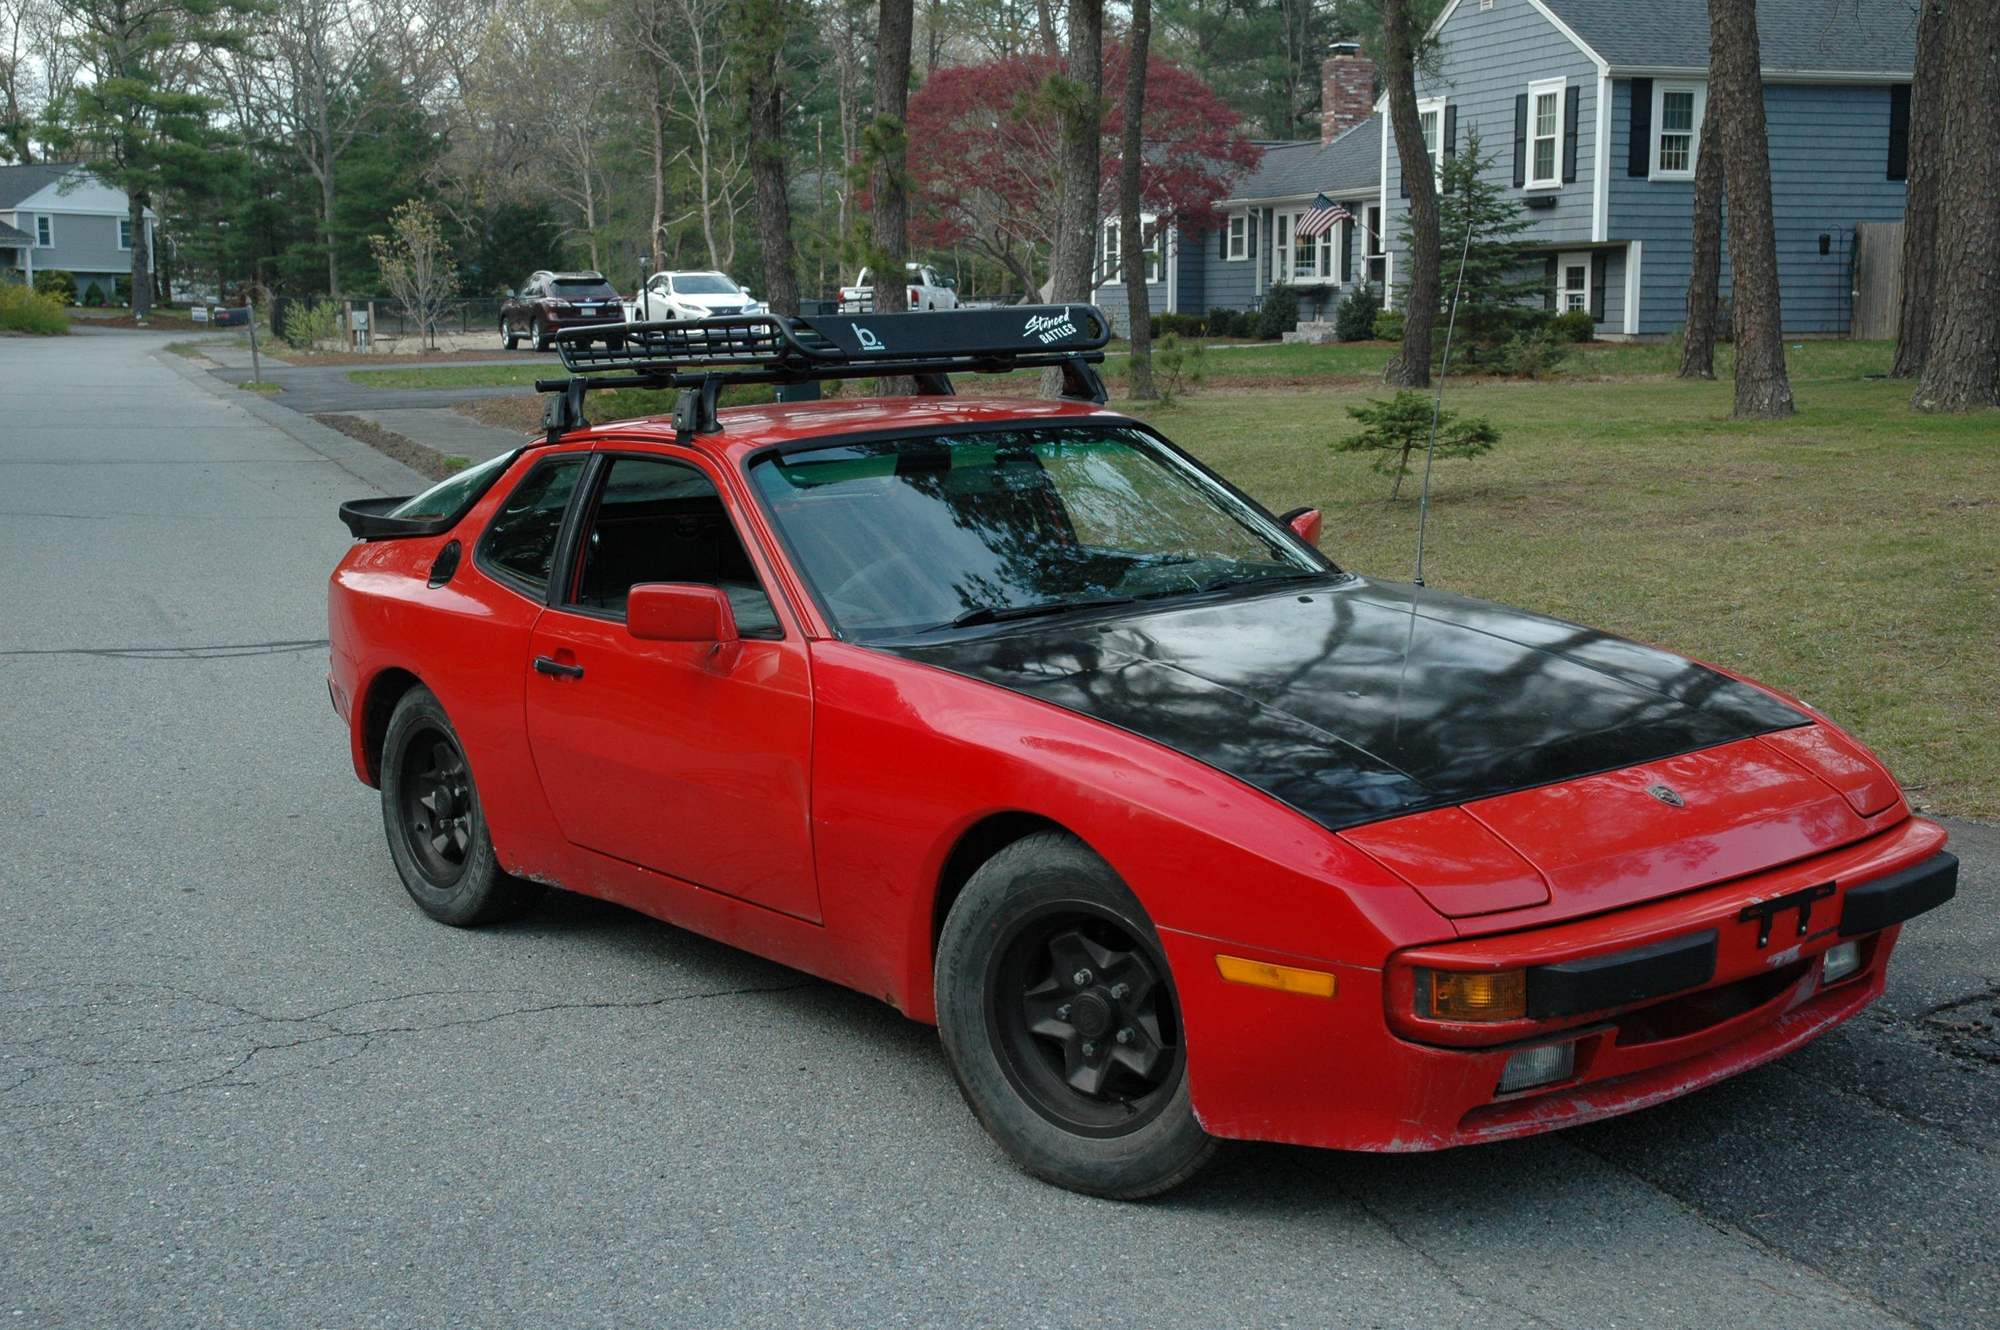
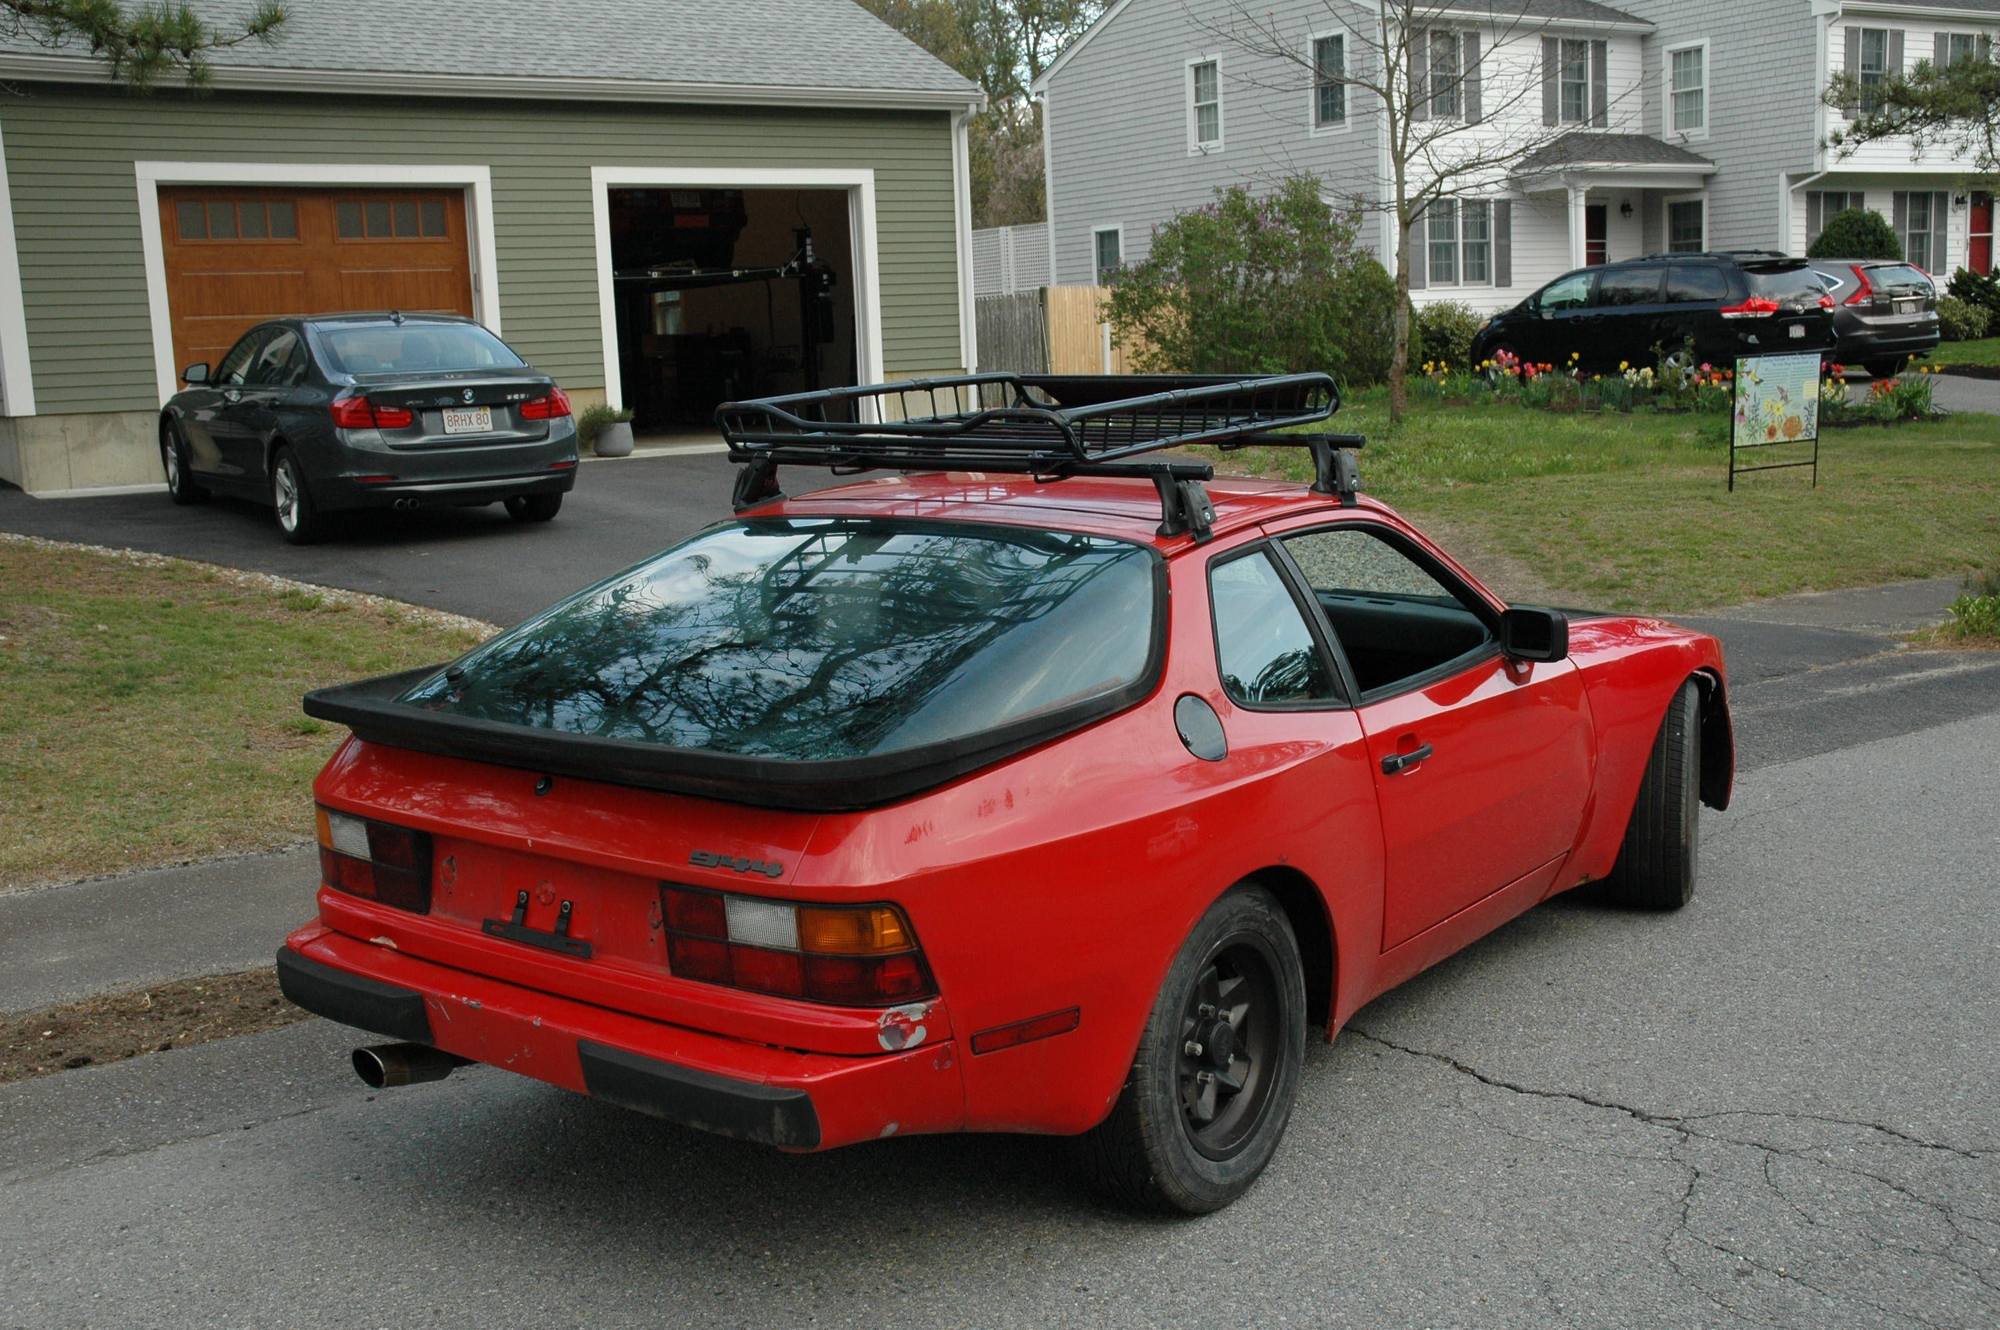
As for today, I admit that it's quite amazing (to me anyway) how a single part really transformed the build. The basket showed up this afternoon so of course I wasted no time installing it. I'm also beginning to design a winch mount behind the front bumper.
BTW: That turn signal connector arrived the other day and it too was partially melted so two pins were stuck. Garbage... The part number is: 171-953-635 in case anyone was wondering. I reached out to Elliott Grafton (944 Barn) in Georgia and one is on it's way.
 04-22-2021, 04:55 PM