
My 1967 912 Build Thread

Thread Starter
Professor of Pending Projects
Rennlist Member
Rennlist Member

Joined: Nov 2001
Posts: 9,898
Likes: 33
From: Ocala, FL
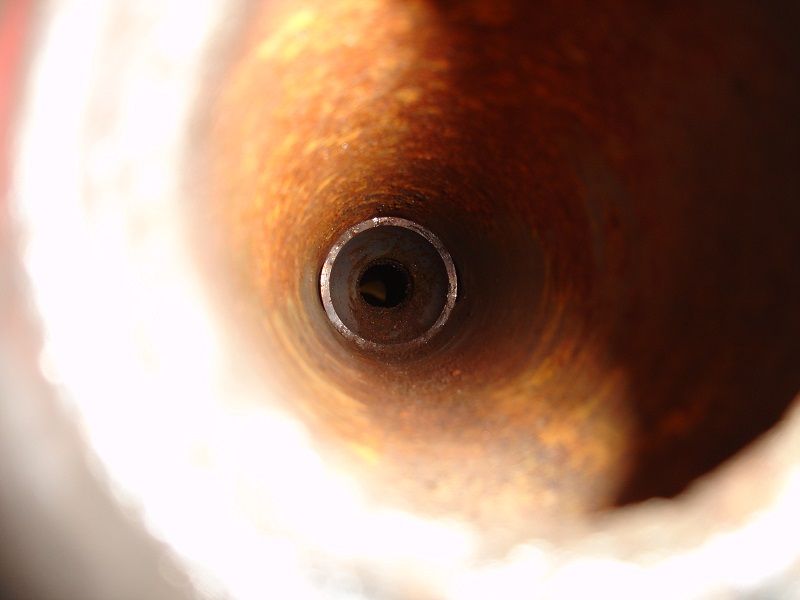
Removed torsion bars. I will clean the tunnel with a wire brush. Mostly surface rust... clean clean, grease the area, and will insert those back in...
Thread Starter
Professor of Pending Projects
Rennlist Member
Rennlist Member
Joined: Nov 2001
Posts: 9,898
Likes: 33
From: Ocala, FL
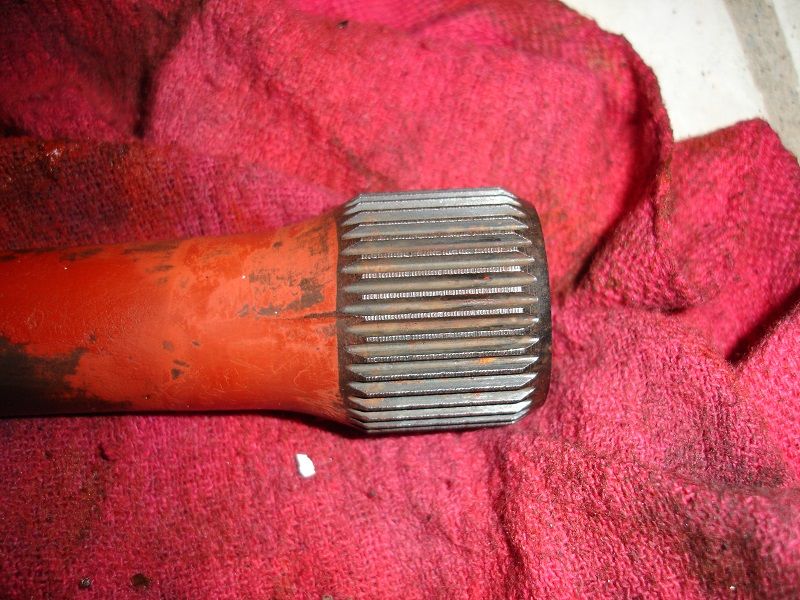
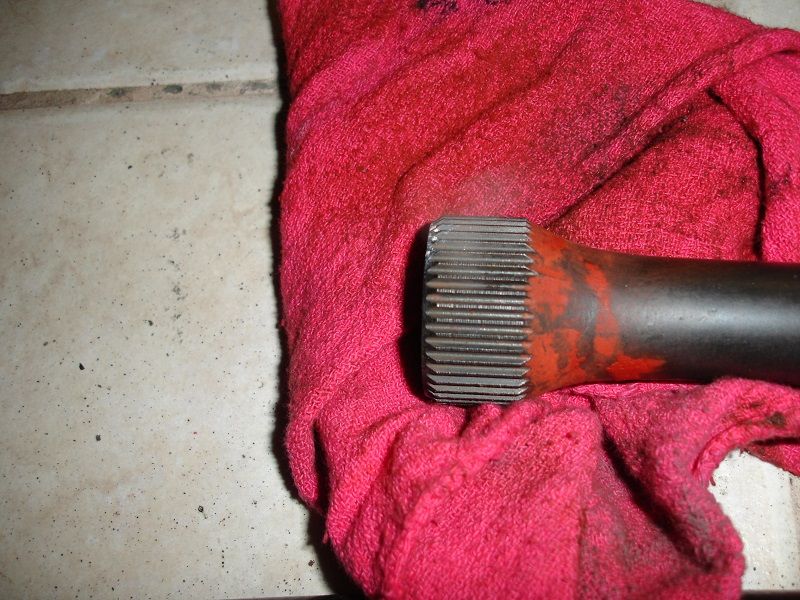
I cleaned the torsion bars, use some fine sand paper on the areas that were not coated. Had some of this so I put a good coat of it on the torsion bars... only thing is that is clear so it looks the same, but at least it is protected... When I removed the bar I did not see rust on it... it had a thin film of grease on it... just some spots where the coat that it had was missing. So looks like I might be OK with them...
Just an additional comment, for those like me, that is the first time seeing one of these bars... I thought that it was painted, but it is not paint, it is coated with something like a wax type of coating. Paint would just start falling off based on how these bars work... so it has to be coated with something that would work with those constant torsion forces...
Just an additional comment, for those like me, that is the first time seeing one of these bars... I thought that it was painted, but it is not paint, it is coated with something like a wax type of coating. Paint would just start falling off based on how these bars work... so it has to be coated with something that would work with those constant torsion forces...
Thread Starter
Professor of Pending Projects
Rennlist Member
Rennlist Member
Joined: Nov 2001
Posts: 9,898
Likes: 33
From: Ocala, FL
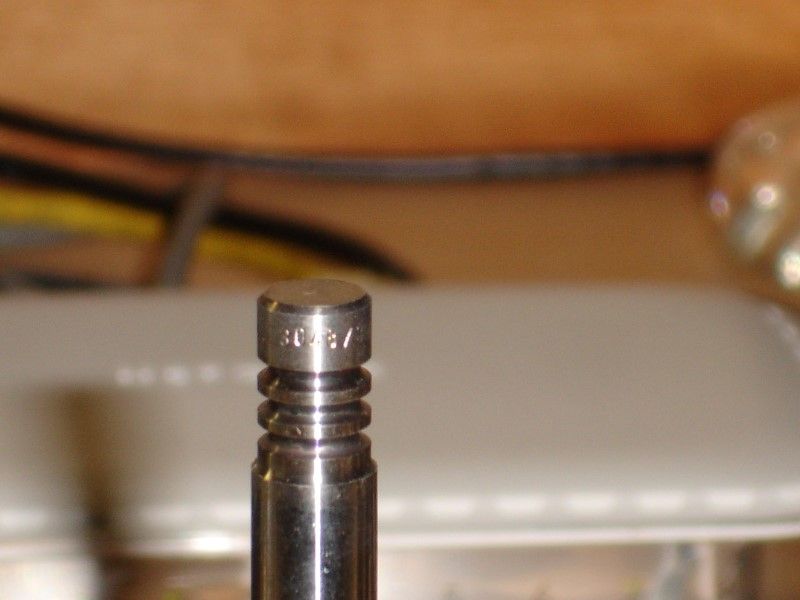
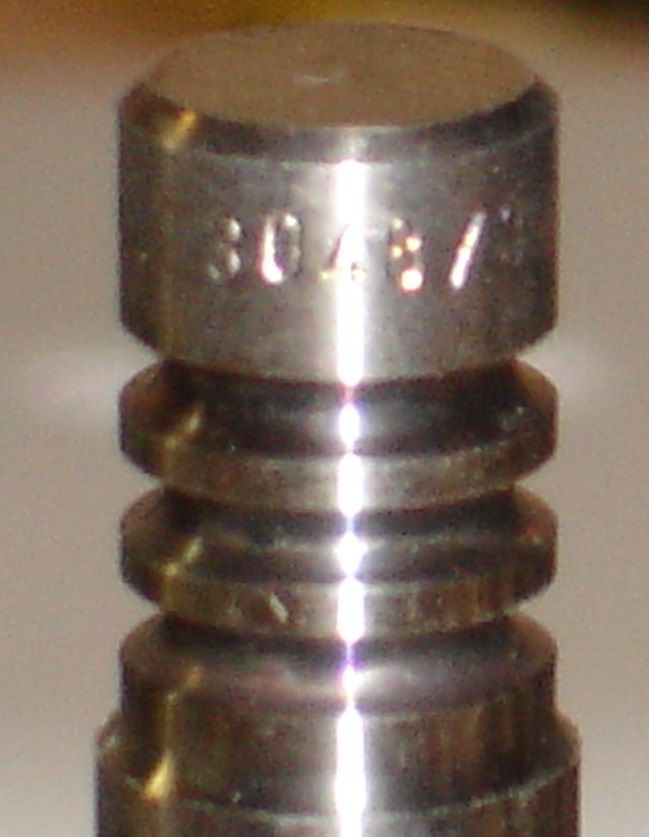
Exhaust valves arrived... TWR 3048. Still waiting to see if I can win the intake valves on eBay...

and, as pointed out by a fellow forum member, manufacturer and part number can be found on the side of the valve
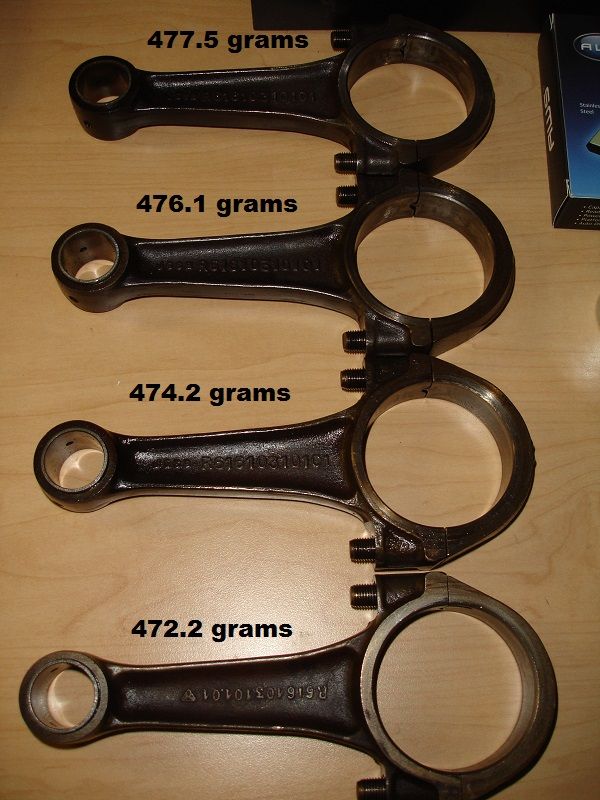
Weighted the connecting rods. Here is how the compare in grams:
477.5
476.1
474.2
472.2 (this is the one that has the same part number as the rest but is a different brand, I think this one is orginal Porsche part as it has the typical triangle with the marking inside)
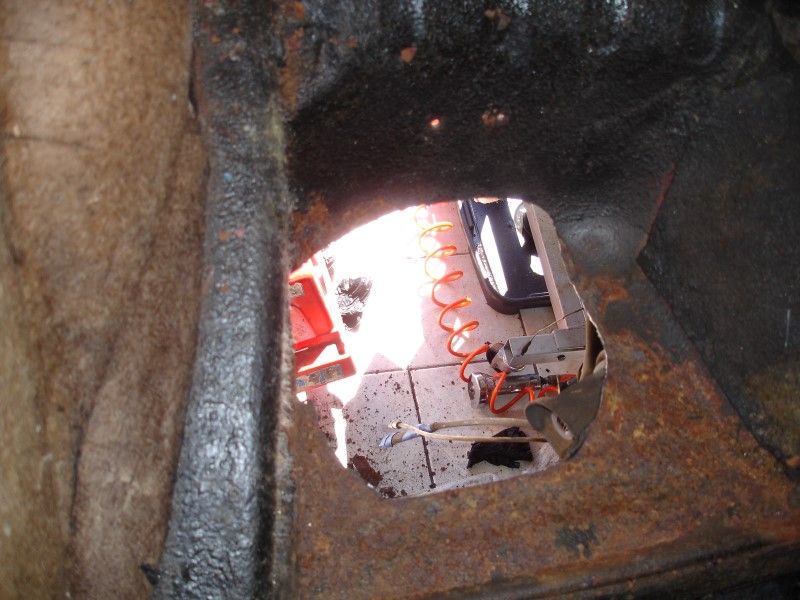
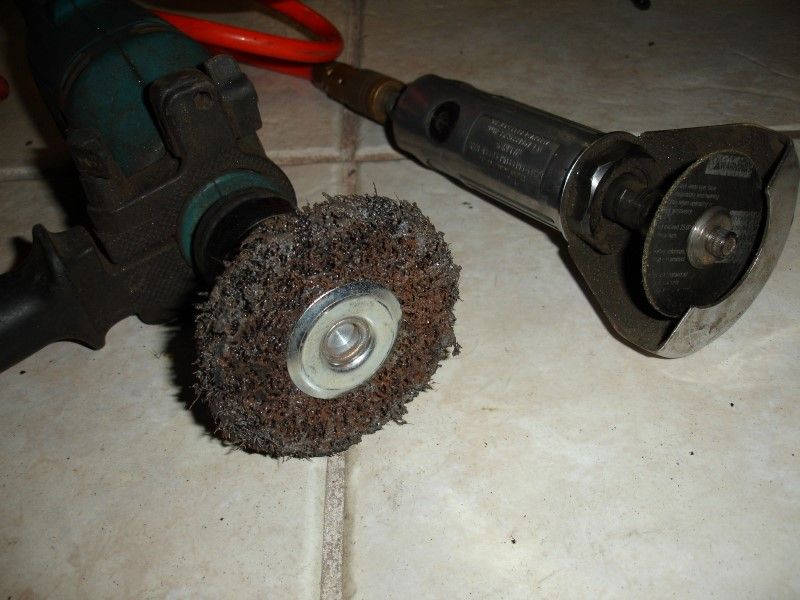
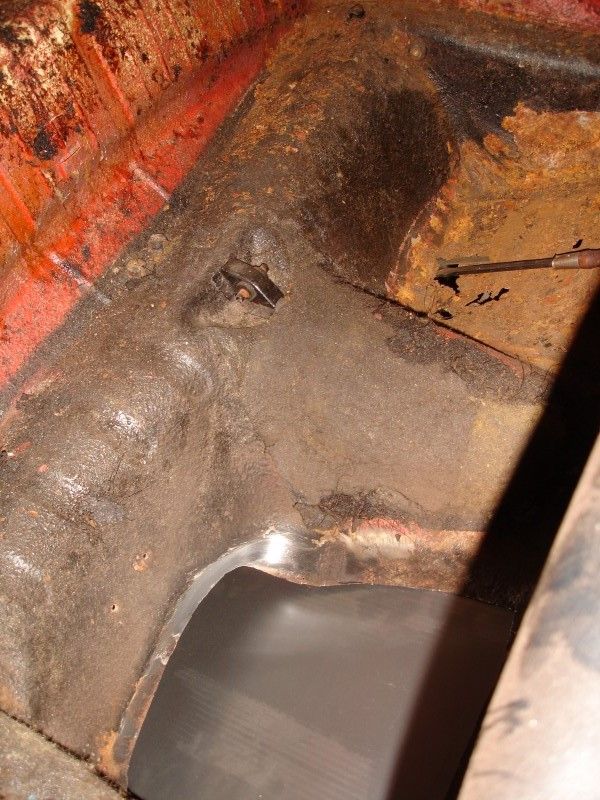
Rusted out section now removed. I will put a cleaning wheel on the drill and remove everything to get to the metal in the surrounding areas to further inspect condition and prepare surface for coating with POR15.
and, as pointed out by a fellow forum member, manufacturer and part number can be found on the side of the valve
Weighted the connecting rods. Here is how the compare in grams:
477.5
476.1
474.2
472.2 (this is the one that has the same part number as the rest but is a different brand, I think this one is orginal Porsche part as it has the typical triangle with the marking inside)
Rusted out section now removed. I will put a cleaning wheel on the drill and remove everything to get to the metal in the surrounding areas to further inspect condition and prepare surface for coating with POR15.


Thread Starter
Professor of Pending Projects
Rennlist Member
Rennlist Member
Joined: Nov 2001
Posts: 9,898
Likes: 33
From: Ocala, FL
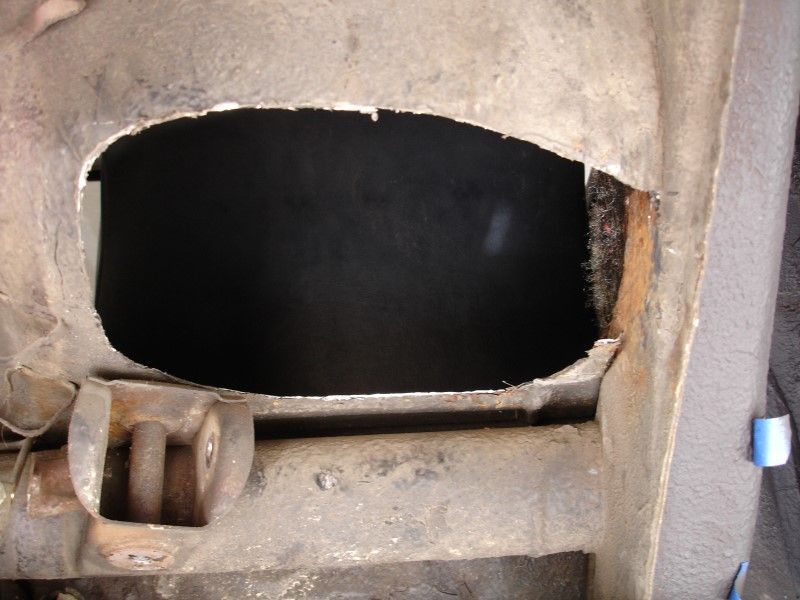
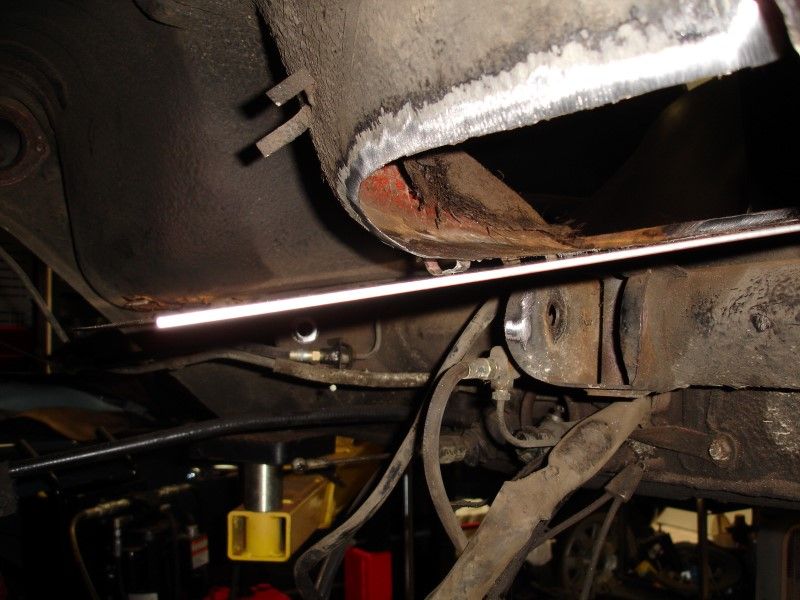
Some cleaning, some more cutting (trying to cut the minimal amount of metal...)...
Out to find some sheet metal to start making that section... watching youtube videos on metal forming techniques to see if I can recreate the form on the seat bottom...
Out to find some sheet metal to start making that section... watching youtube videos on metal forming techniques to see if I can recreate the form on the seat bottom...
Thread Starter
Professor of Pending Projects
Rennlist Member
Rennlist Member
Joined: Nov 2001
Posts: 9,898
Likes: 33
From: Ocala, FL
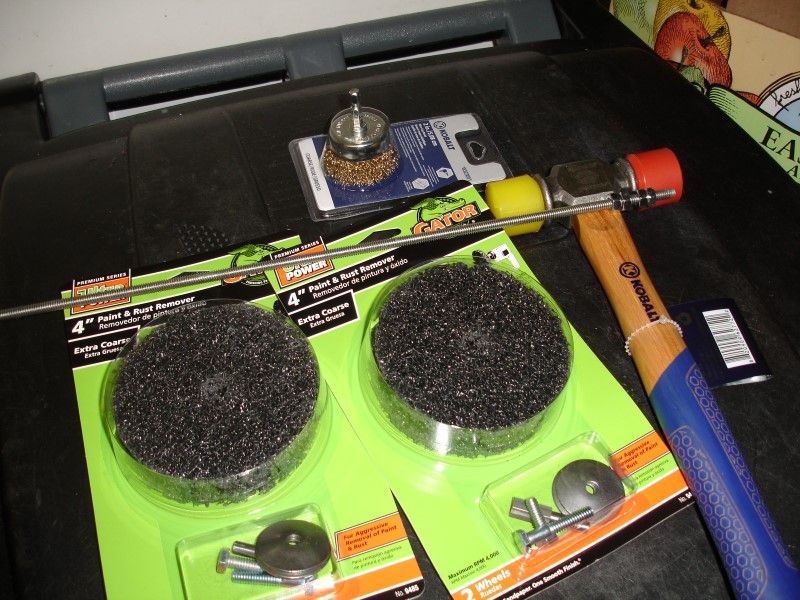
My two best friends for the next few days...
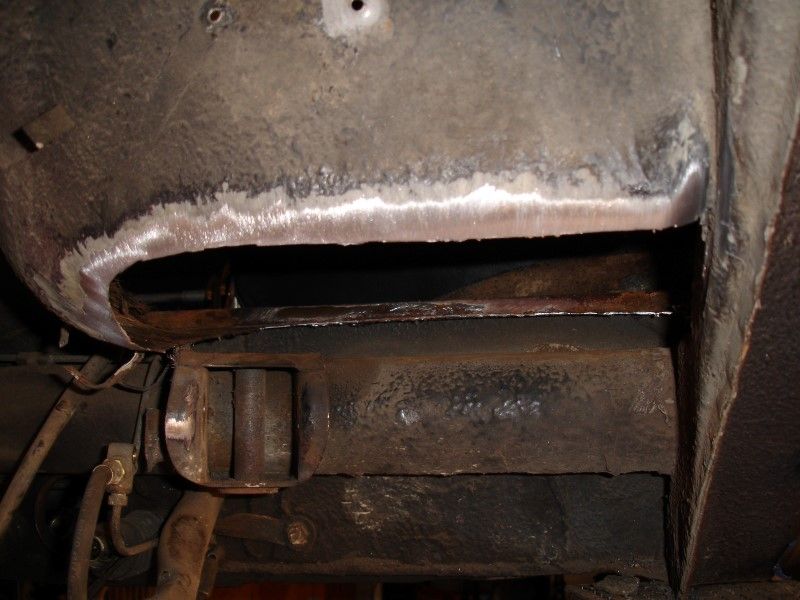
Sheet metal from Lowes was the wrong thickness to be able to work it at home... I will return it and find something in the 18-20 gauge range... But that new sheet metal sure looks pretty in there...
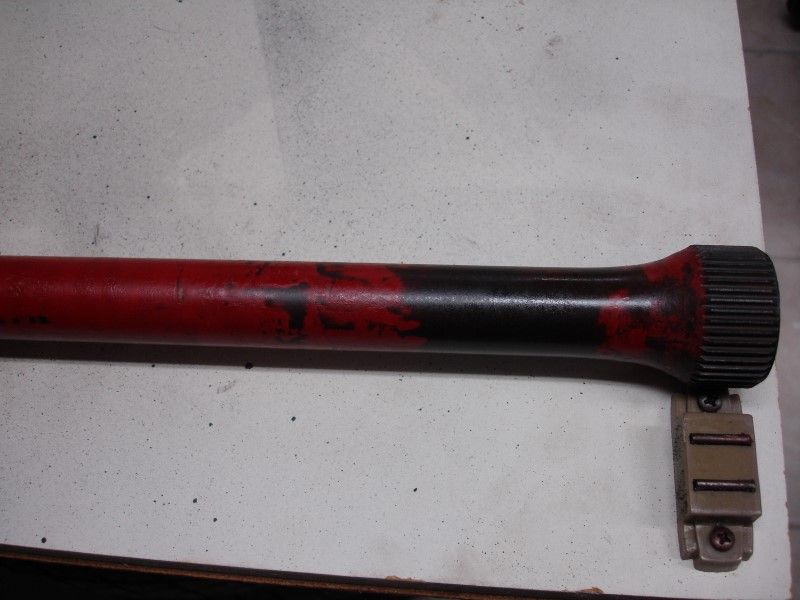
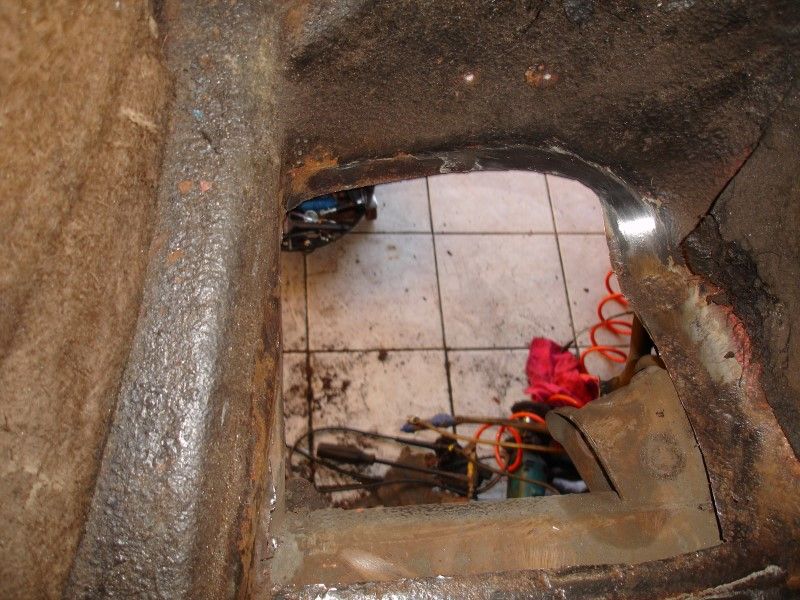
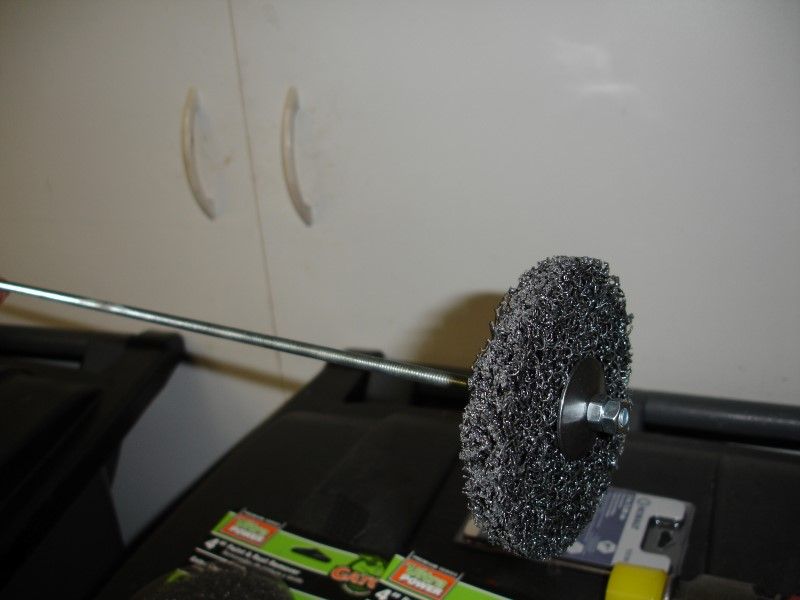
Got a few more supplies. Plan is to use those paint/rust remover wheels to clean to the metal the inside of the car and when the wheels are worn down to the point where they fit inside the torsion bar tunnel, use the threaded rod to do so...
Sheet metal from Lowes was the wrong thickness to be able to work it at home... I will return it and find something in the 18-20 gauge range... But that new sheet metal sure looks pretty in there...
Got a few more supplies. Plan is to use those paint/rust remover wheels to clean to the metal the inside of the car and when the wheels are worn down to the point where they fit inside the torsion bar tunnel, use the threaded rod to do so...
Thread Starter
Professor of Pending Projects
Rennlist Member
Rennlist Member
Joined: Nov 2001
Posts: 9,898
Likes: 33
From: Ocala, FL
Also found a few videos on metal shaping with common tools... pretty cool stuff. Part of all this is to learn new stuff... would love to make those indents on the seat bottom sheet metal with techniques like those in the video...
Thread Starter
Professor of Pending Projects
Rennlist Member
Rennlist Member
Joined: Nov 2001
Posts: 9,898
Likes: 33
From: Ocala, FL
Not much of an update.... still waiting for parts.
Dropped off all the hardware to get cleaned and yellow zinc chromate. Two weeks for those to come back.
Sent distributor to Glenn Ring to be reconditioned.
Parts should start getting here towards the end of the week. In the mean time will keep busy with polishing my metal forming and welding skills
Dropped off all the hardware to get cleaned and yellow zinc chromate. Two weeks for those to come back.
Sent distributor to Glenn Ring to be reconditioned.
Parts should start getting here towards the end of the week. In the mean time will keep busy with polishing my metal forming and welding skills
Thread Starter
Professor of Pending Projects
Rennlist Member
Rennlist Member
Joined: Nov 2001
Posts: 9,898
Likes: 33
From: Ocala, FL
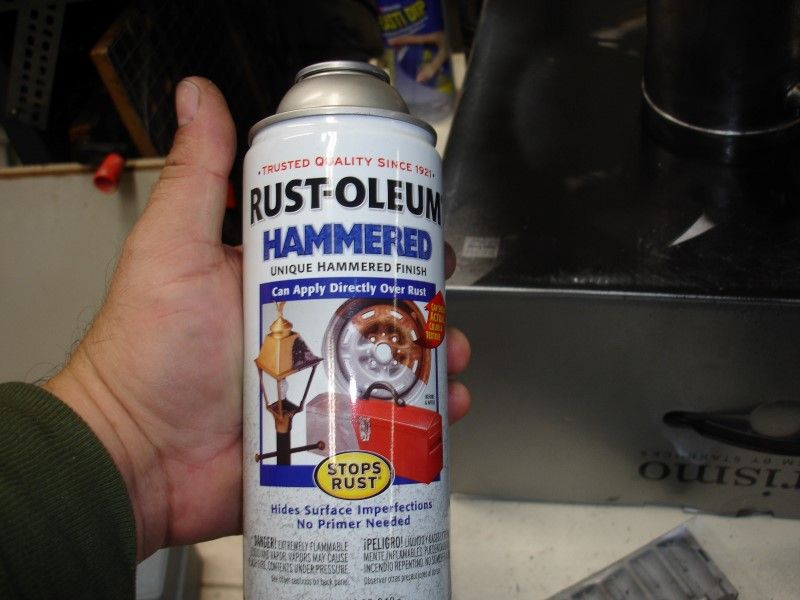
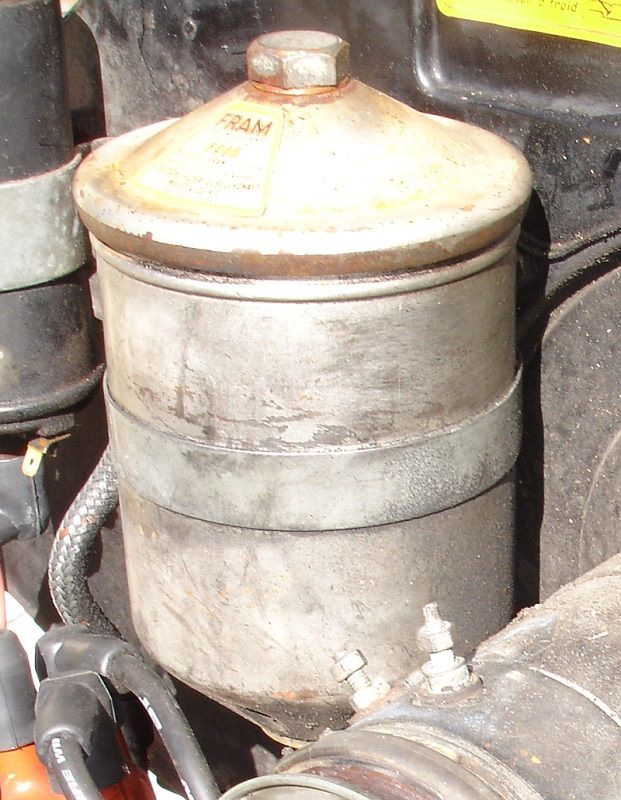
Well... had to do something... Reading a few threads I found that Rust Oleum Hammered is used to recondition the oil filter canister. I had a can of that paint handy (father-in-law must have bought it, because I can't remember doing so) and decided to give it a try.
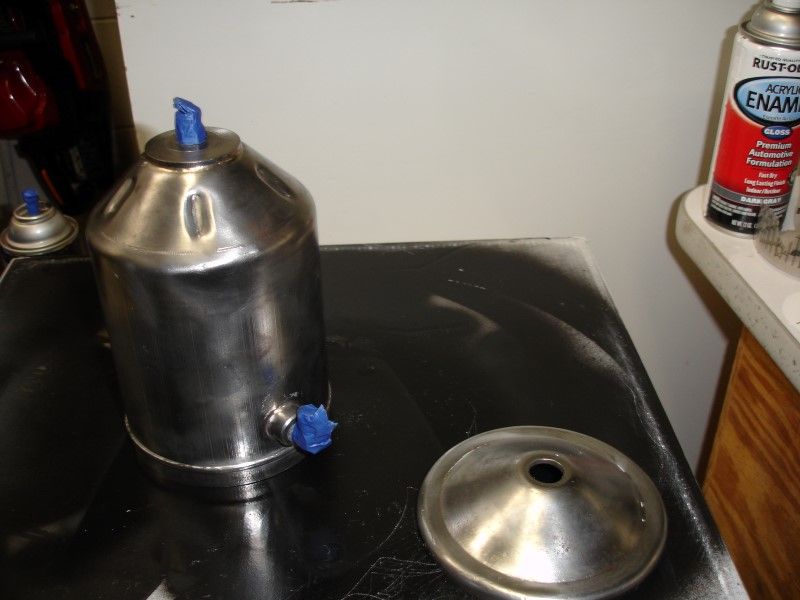
I have to tell you... I am dangerous with a steel brush wheel...
Is it supposed to have that much texture?? Maybe I should have researched a bit more to determine if the finish should have been smooth or not... anyway, at least it is painted and protected from the elements... I will wait for you guys feedback before I do anything else on it.
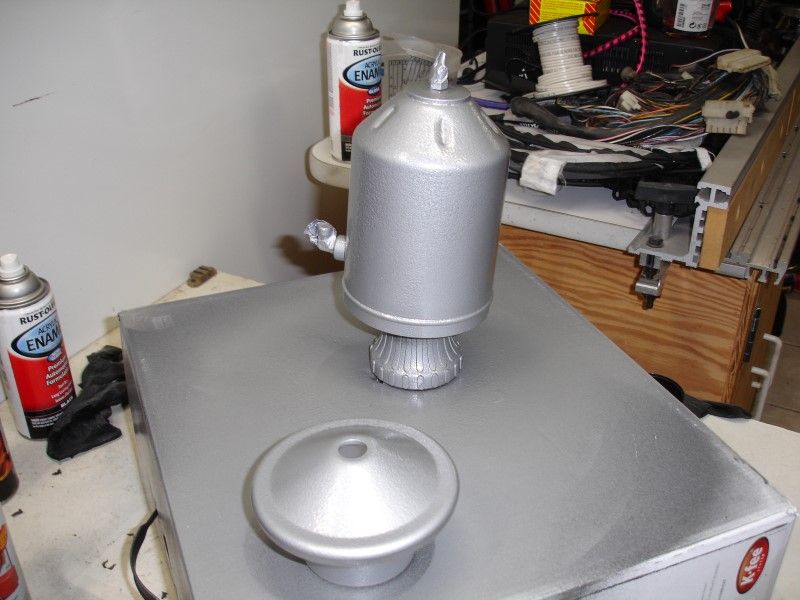
At least it looks better than before...
I have to tell you... I am dangerous with a steel brush wheel...
Is it supposed to have that much texture?? Maybe I should have researched a bit more to determine if the finish should have been smooth or not... anyway, at least it is painted and protected from the elements... I will wait for you guys feedback before I do anything else on it.
At least it looks better than before...
Thread Starter
Professor of Pending Projects
Rennlist Member
Rennlist Member
Joined: Nov 2001
Posts: 9,898
Likes: 33
From: Ocala, FL
I forgot to mark where it goes so that it points to the front 
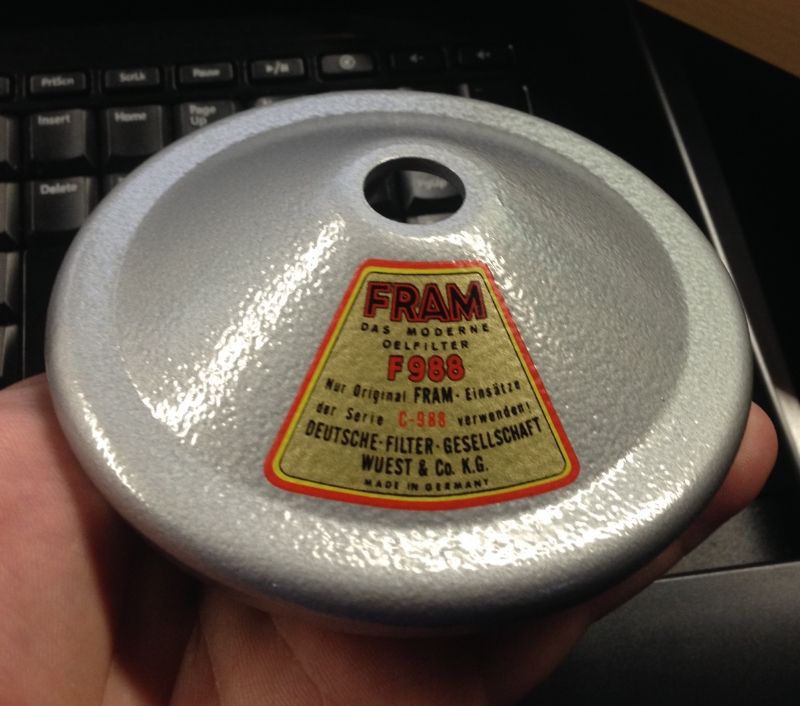
I had one that I got from Sierra Madre Collections... It is a water transfer label... took me back to my days building model cars, lol. Not sure how it will hold up to the heat and use... but it will look great for the initial photos
Bolt is going to get plated (need to make a run to take the rest of the hardware that I had forgotten to put in the bags....argghhh... this bolt was one item, plus the case acorn nuts). Just needed to share baby steps to making things look better...
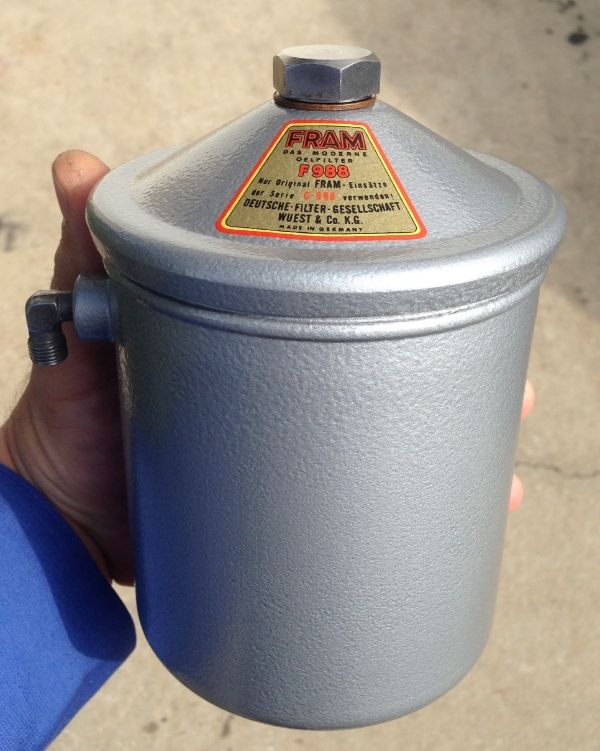
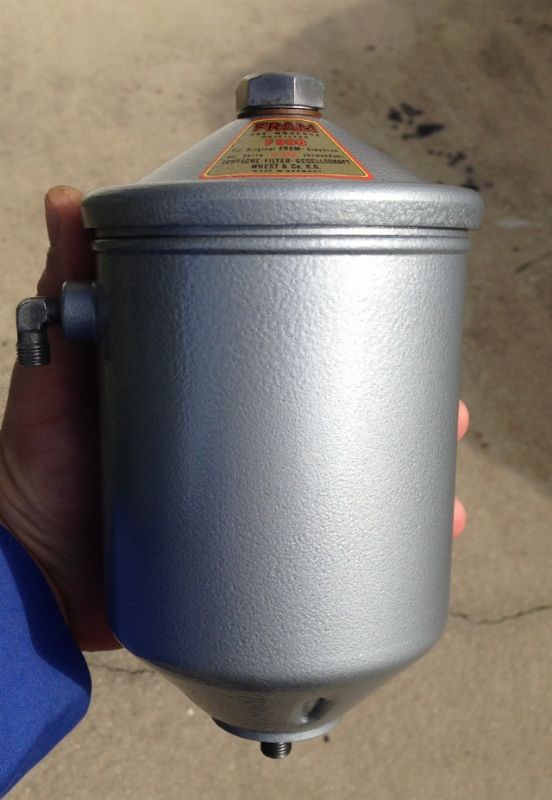
EDIT: Noticed that I was missing the orange label on the side.... the one in the middle in the photo below. Ordered last night:

I had one that I got from Sierra Madre Collections... It is a water transfer label... took me back to my days building model cars, lol. Not sure how it will hold up to the heat and use... but it will look great for the initial photos
Bolt is going to get plated (need to make a run to take the rest of the hardware that I had forgotten to put in the bags....argghhh... this bolt was one item, plus the case acorn nuts). Just needed to share baby steps to making things look better...
EDIT: Noticed that I was missing the orange label on the side.... the one in the middle in the photo below. Ordered last night:
Last edited by Wachuko; Feb 13, 2014 at 11:56 AM. Reason: Updated/Added photos...
Thread Starter
Professor of Pending Projects
Rennlist Member
Rennlist Member
Joined: Nov 2001
Posts: 9,898
Likes: 33
From: Ocala, FL