When you click on links to various merchants on this site and make a purchase, this can result in this site earning a commission. Affiliate programs and affiliations include, but are not limited to, the eBay Partner Network.
The eternal optimistic...I hope nothing else was damaged in the process. Hoping others chime in with comments.
Other observations. When I pumped the gasoline with the manual pump...lots of leaks from the carbs... adjusted all the nuts and bolts, all those leaks stopped. This was way before starting the car. After the car ran, did not see any other gas leaks.
No leaks from anywhere in the engine. I know ot was a brief run, but happy nonetheless to still see everything dry.
The fact it started so easy...was happy there for a moment.
Fingers crossed that there is no additional harm done...
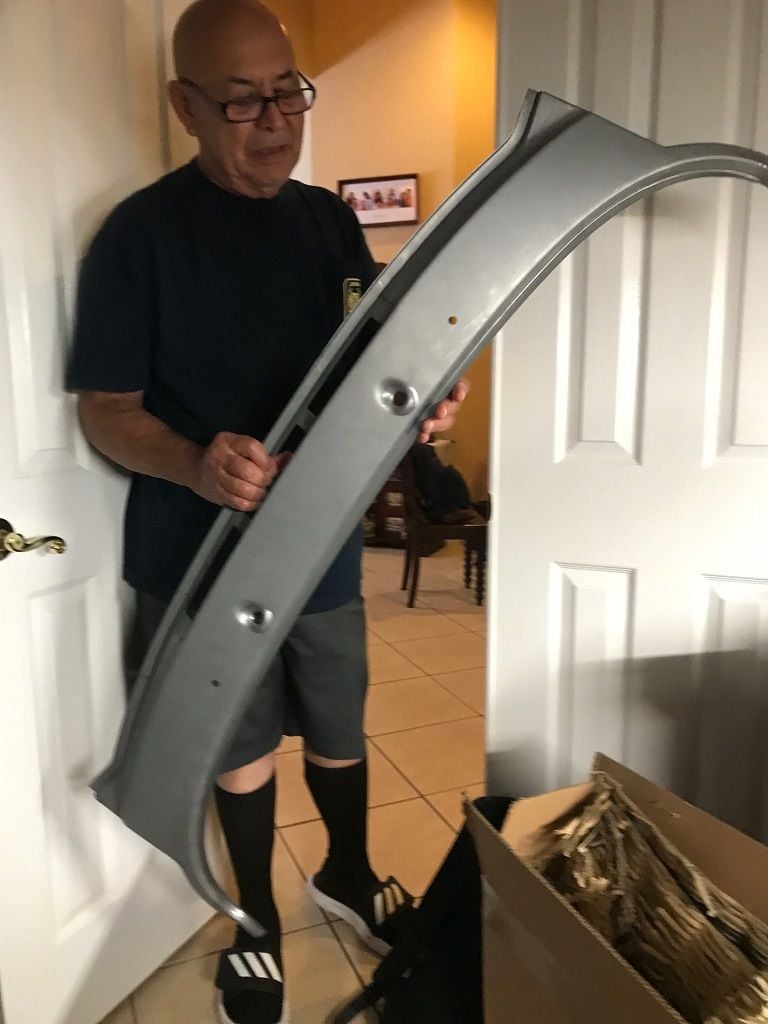
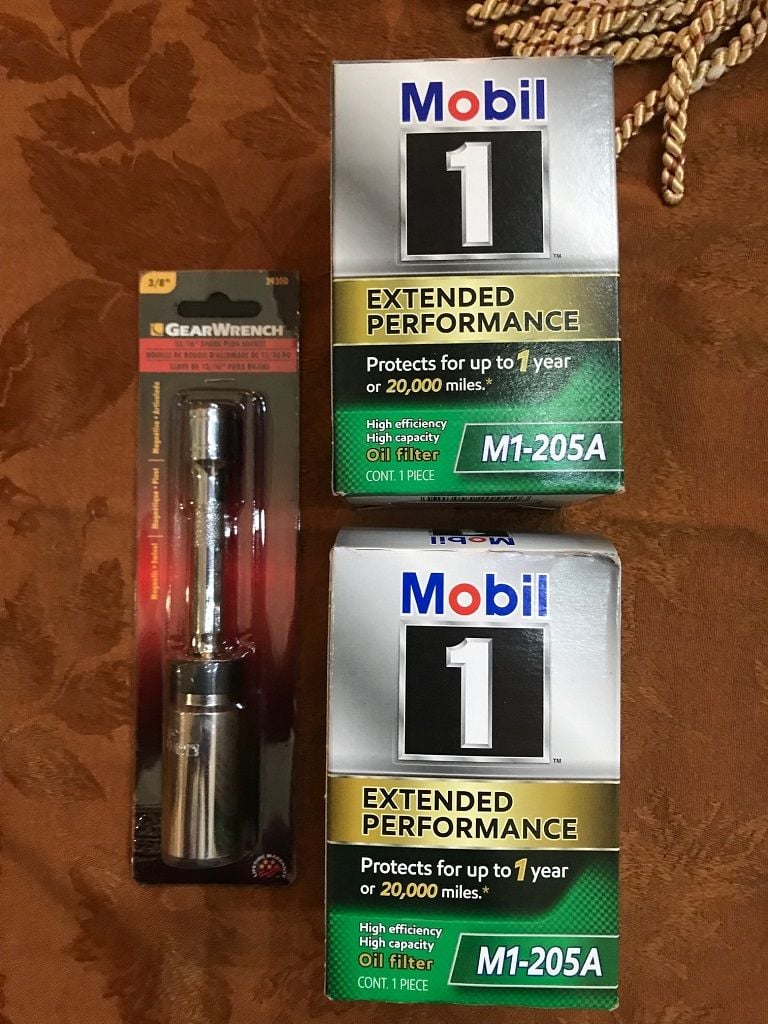
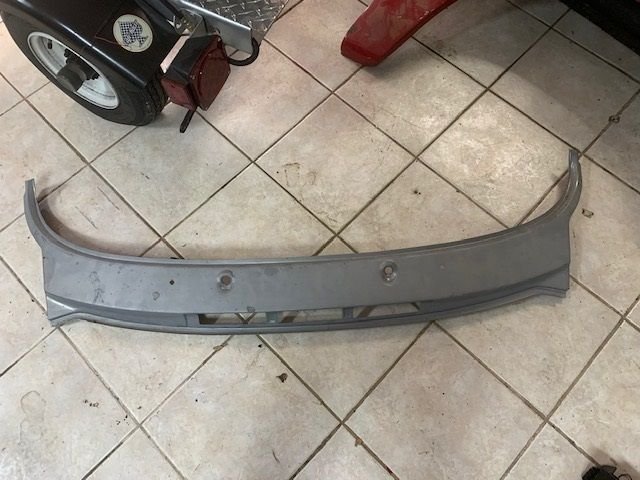
A couple of photos... cowl arrived. Additional filters (for both the stock filter and the additional full flow system from Ron)
and a magnetic swivel spark plug socket...
Also ordered a VDO dual sender (oil pressure and idiot light), like that in the photo below, so that I can monitor oil pressure while doing the break-in on the stand. I got a VDO oil pressure gauge on the temporary panel...
Push rod should be here Thursday... hoping to start it again Friday...
Dude! Looks great. I don't think you have anything to worry about with the pushrod issue. I have seen way worse with home built VW engines that lasted for years & years with other pushrod snafus. Roll on! Good progress.
Dude! Looks great. I don't think you have anything to worry about with the pushrod issue. I have seen way worse with home built VW engines that lasted for years & years with other pushrod snafus. Roll on! Good progress.
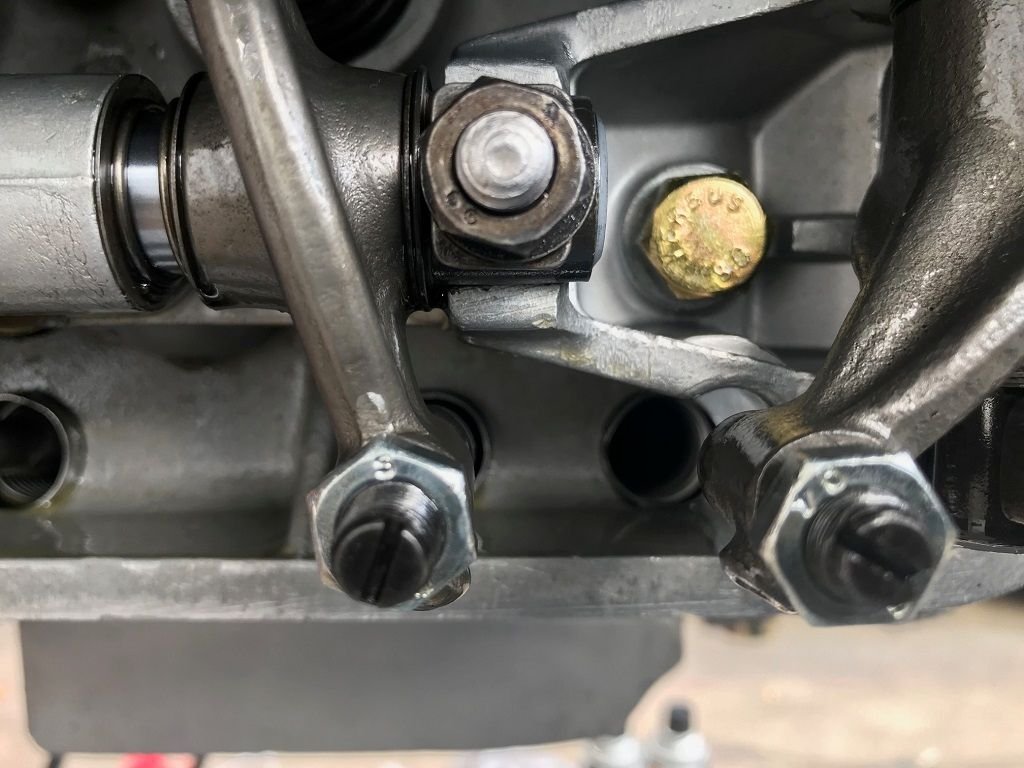
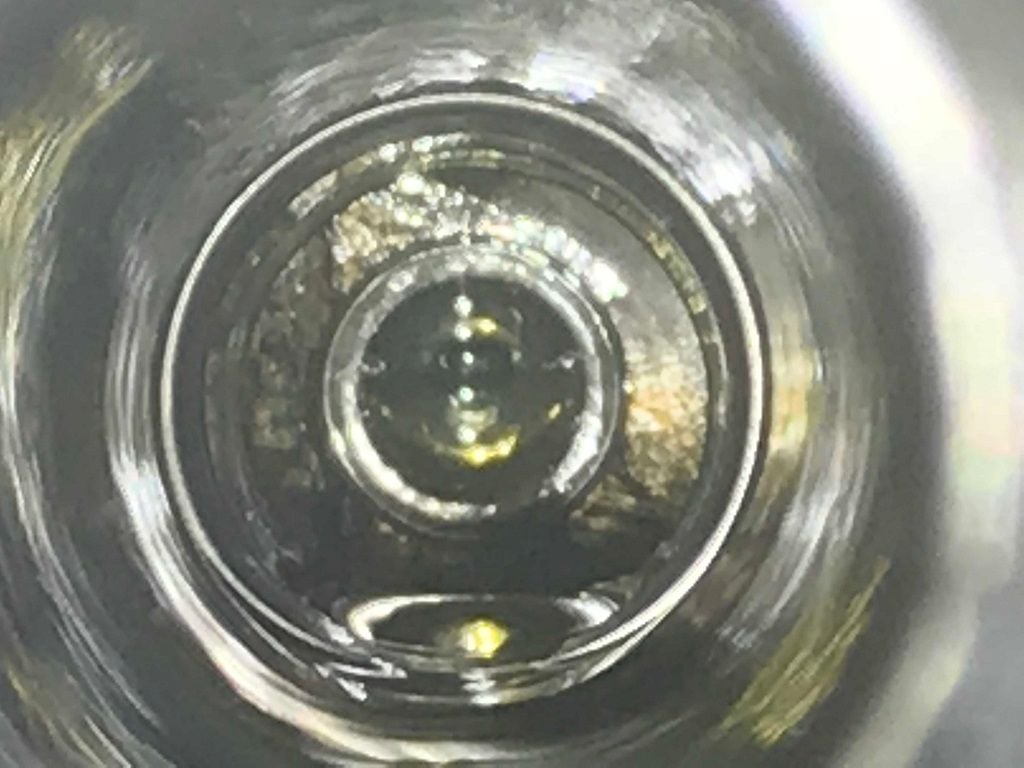
I sure hope so. I got the push rod and when installing I noticed roughness on the rocker and shaft. Looks like the pushrod being incorrectly installed also damaged the rocker shaft. I have sent those to Partklassik for reconditioning again (most likely it will mean a new rocker shaft). Will report back once those parts get in.
Oh, and also found a new set of throttle levers...could not resist and ordered a set
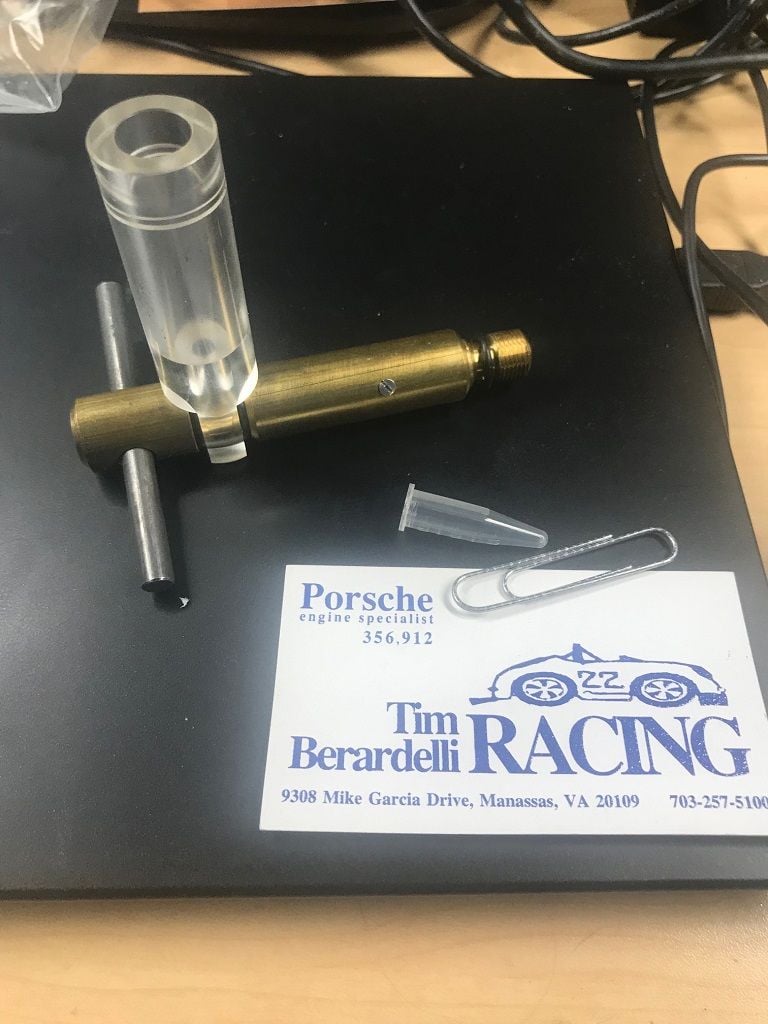
It is alive!!! I set the timing at idle with the timing light I had.. now I just need to learn how to adjust the carburetors... I have the documents Mike Horton shared. I just need to follow the steps in there... wohoooo!!!
My rebuild got a 20 minute break-in for the cam. Then a 200 mile stretch of variying RPM (under 4000) with no full throttle pass. Then I started to drive it under around 4000 RPM with an occasional roll up to 6000 (still not full throttle). At 500 miles I changed the oil & drove it like I would normally, including full throttle for fun.
I adjusted the Webers on mine three times in total, and may make it four soon!
Thank you. In addition to the synchrometer (have it already), I will order the P78 and P25a tools to adjust the carbs. I have been reading on the process and watching a couple of videos. I did not do this while I had them on the bench...I should have...
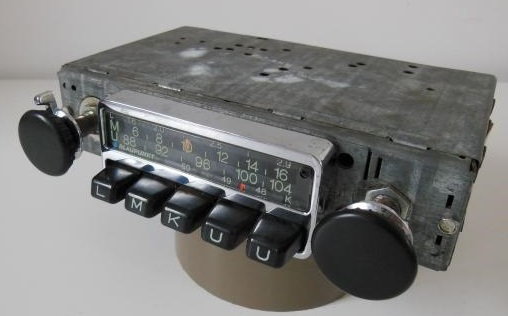
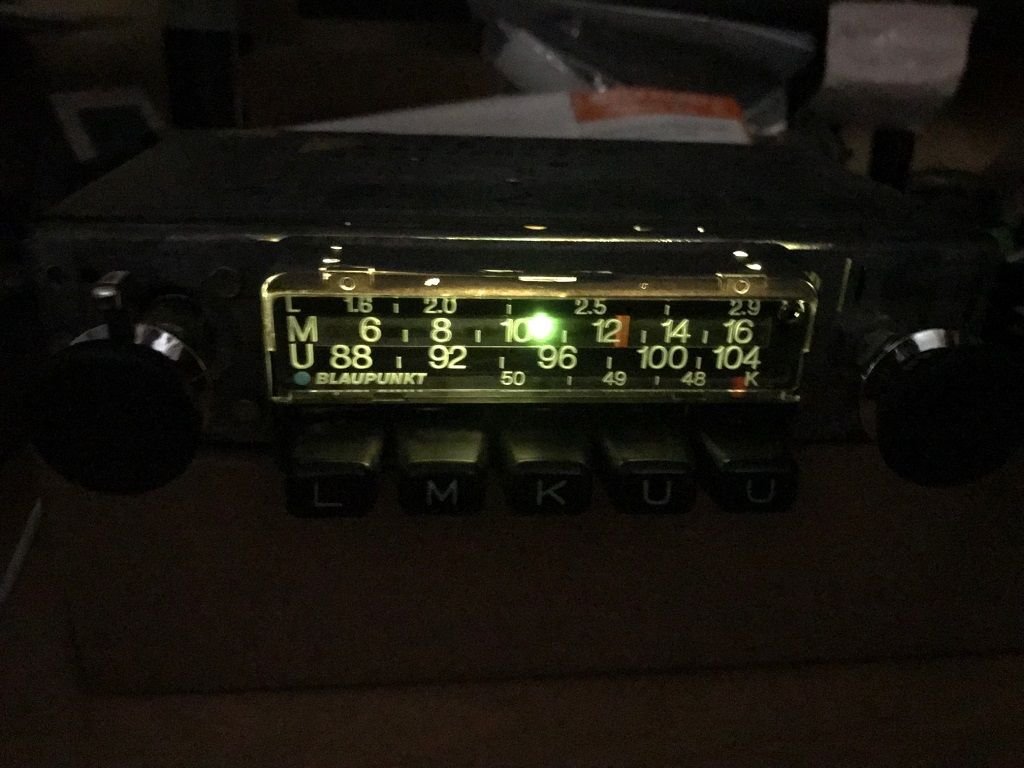
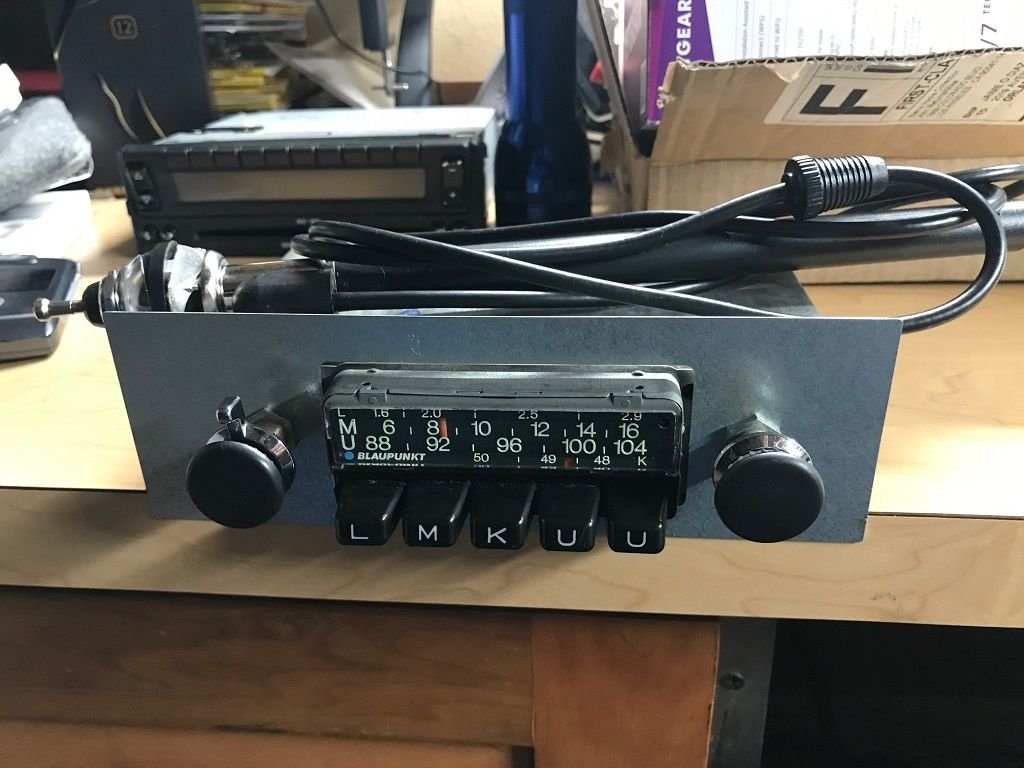
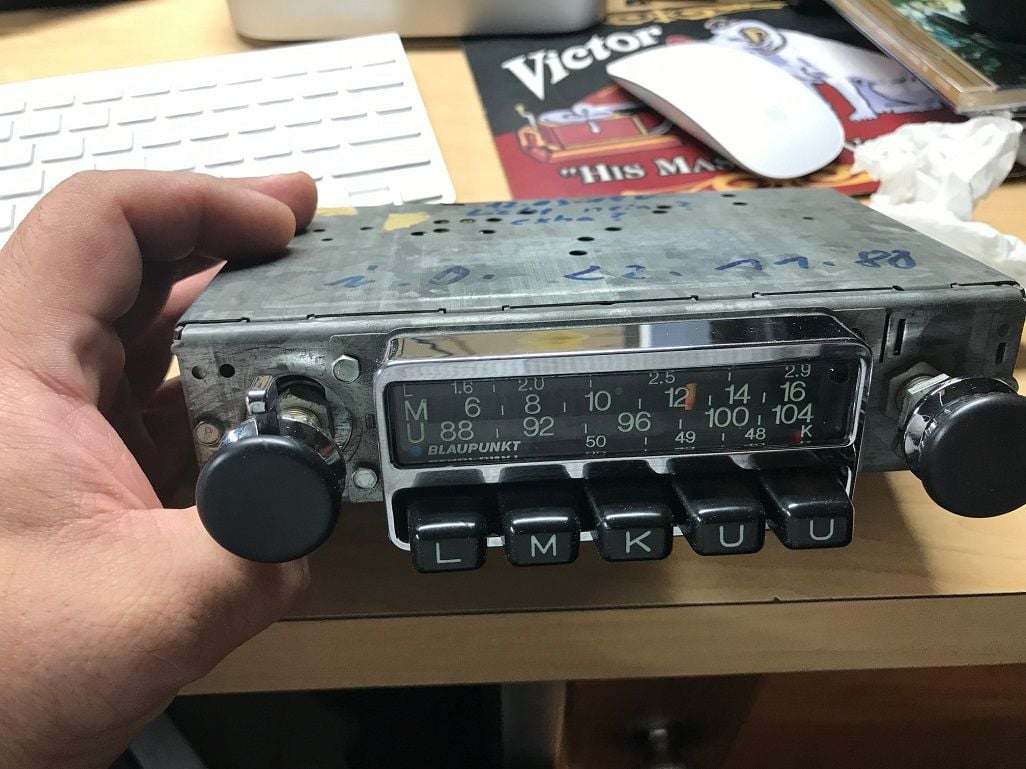
Received the chrome trim from Germany. Radio is done!
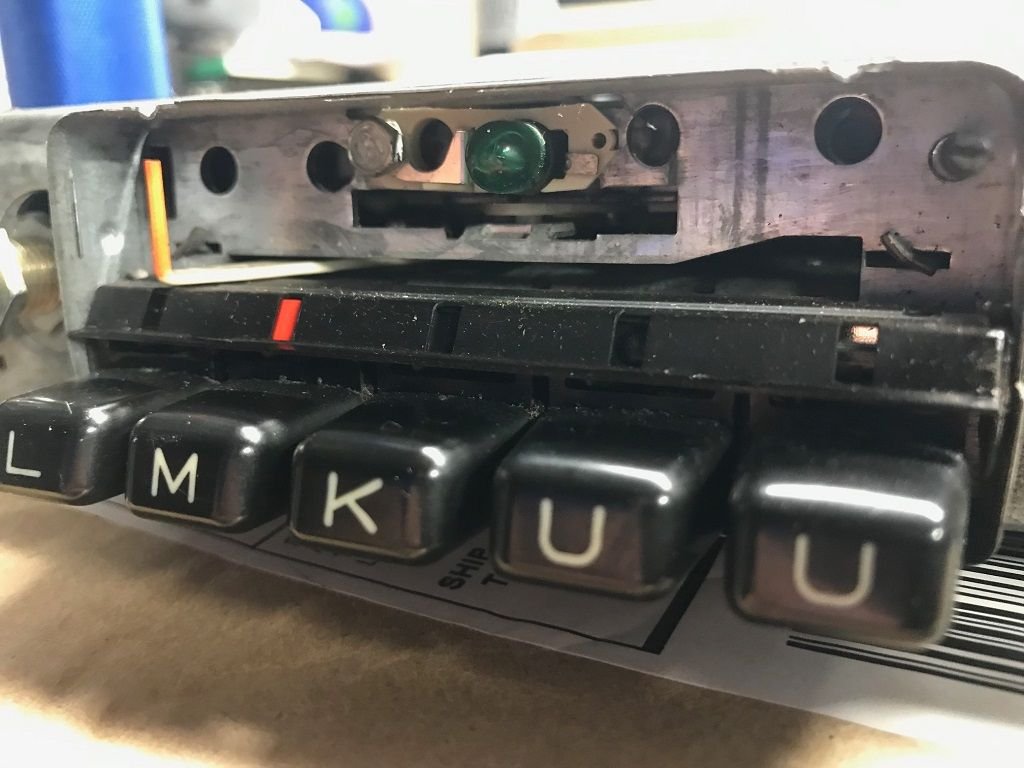
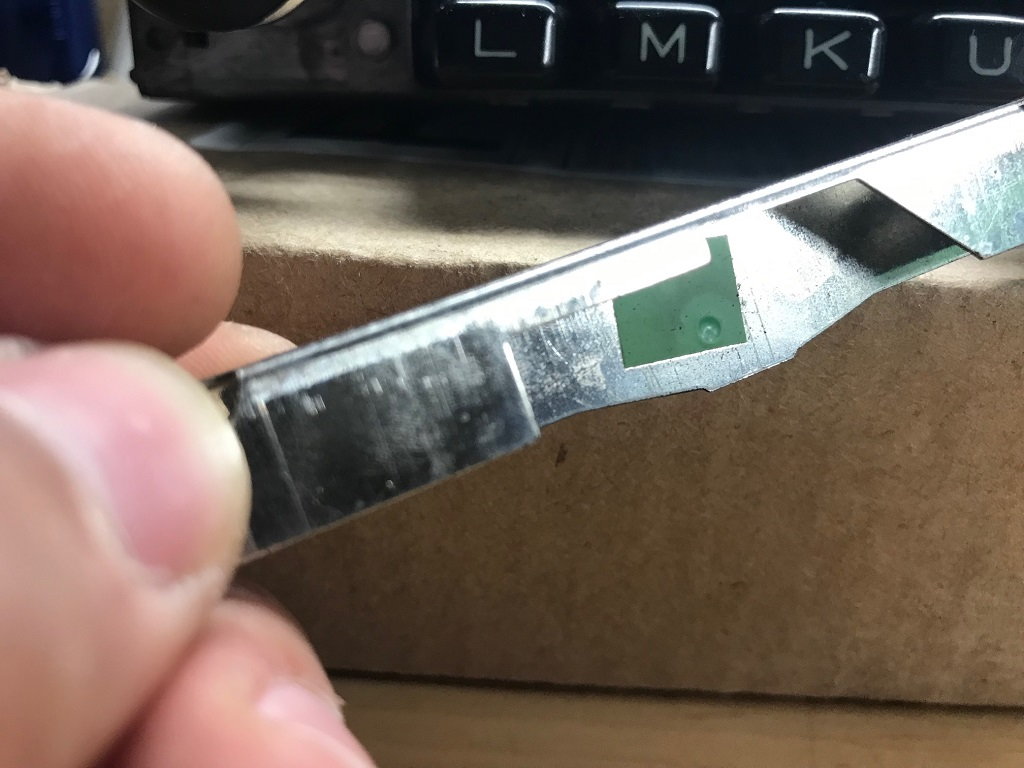
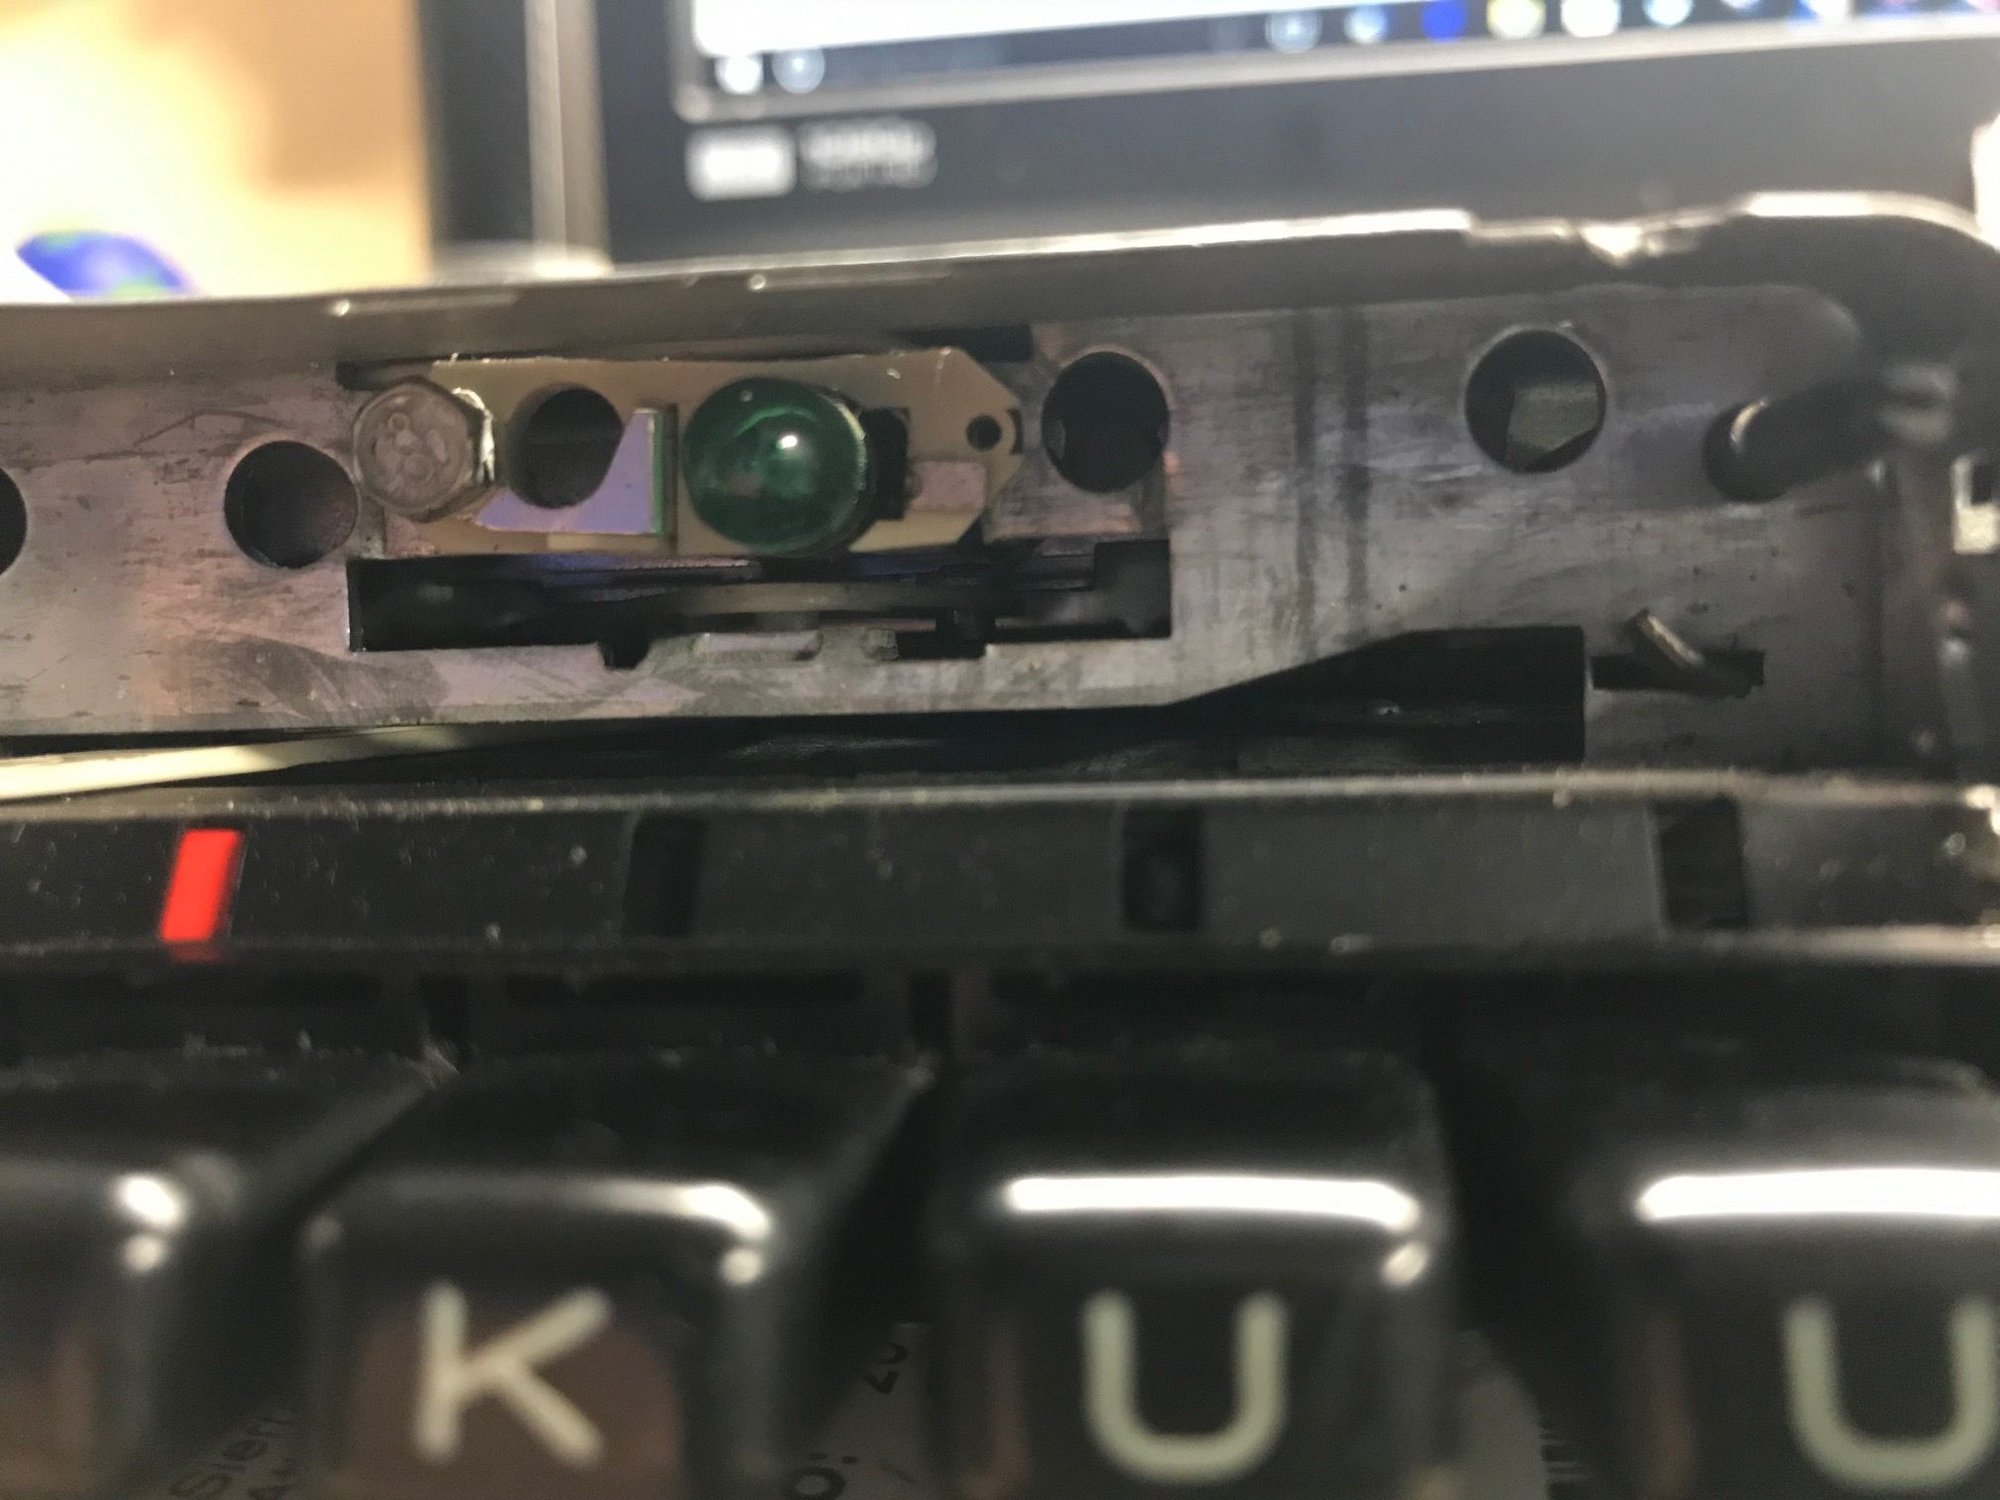
A couple of photos taking it apart to check the light bulb...I order to spares only to find out that the one in there was working... it was just green.
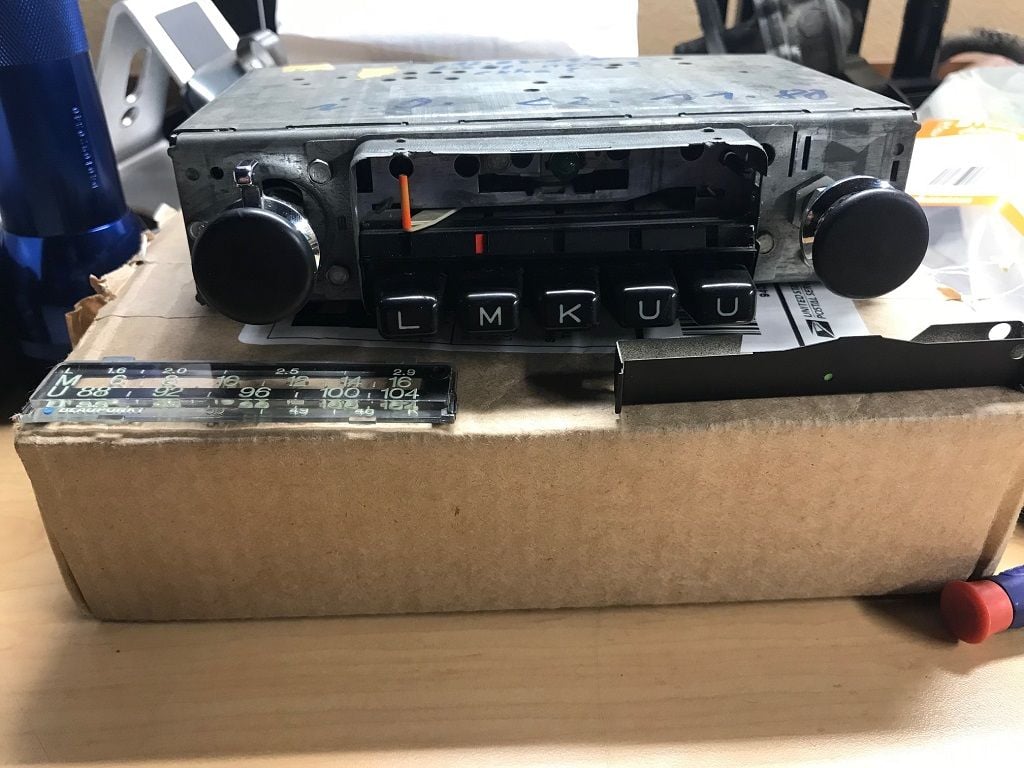
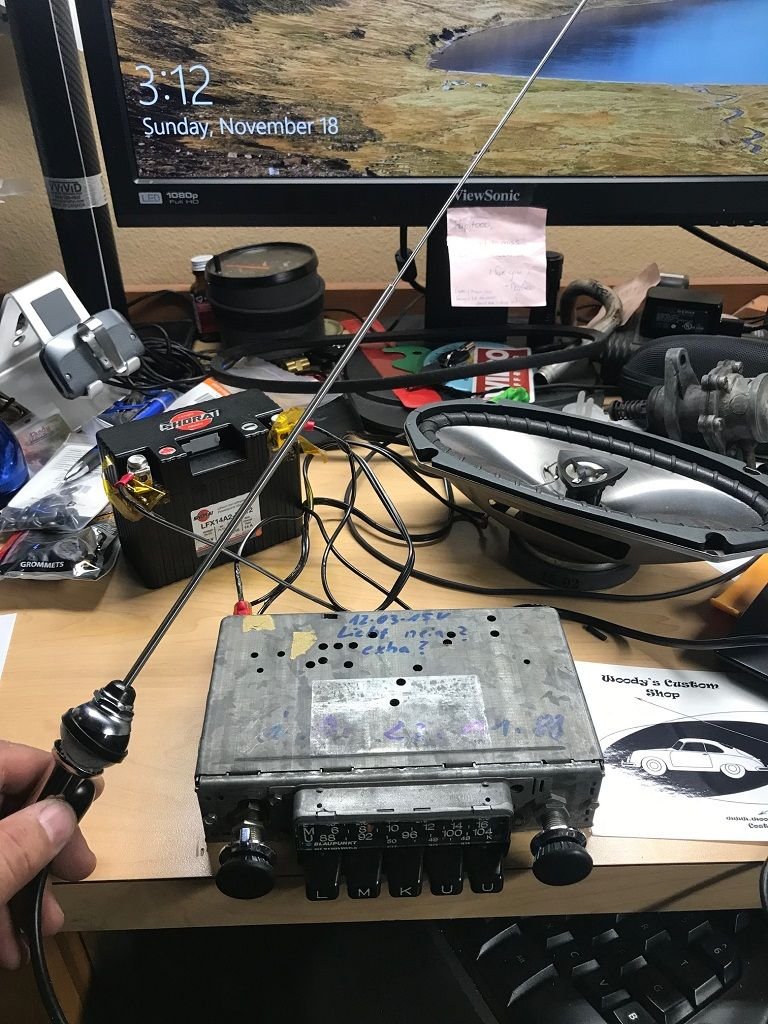
Also one photo with the metal plate to correct the hole made by the previous owner when he installed a larger radio.
Hello Jaime! How is the 912 progressing? I have just started to restore a 1968 and was very happy to find your thread!
I am still waiting for my friend to finish the body... taking forever to do so... everything else is done... engine broken in on the bench... I just close my eyes and dream about driving it... well that and watching Mr Michael B's videos lol
Fantastic thread excellently presented. Thanks very much for the entertainment during coffee breaks. I hope the bodywork is done soon and to the same high quality as you have maintained throughout. Nice one.
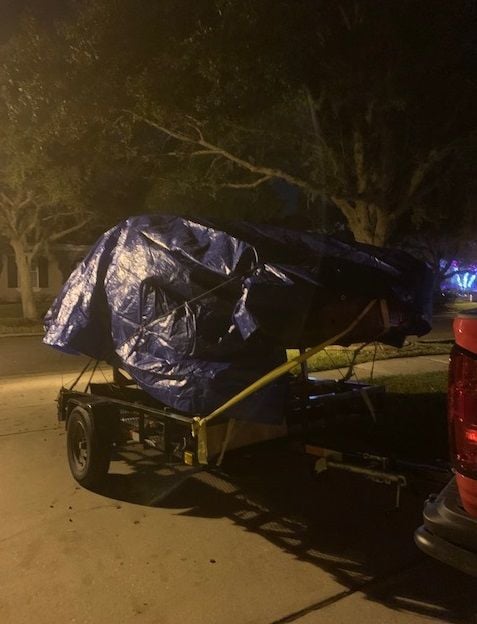
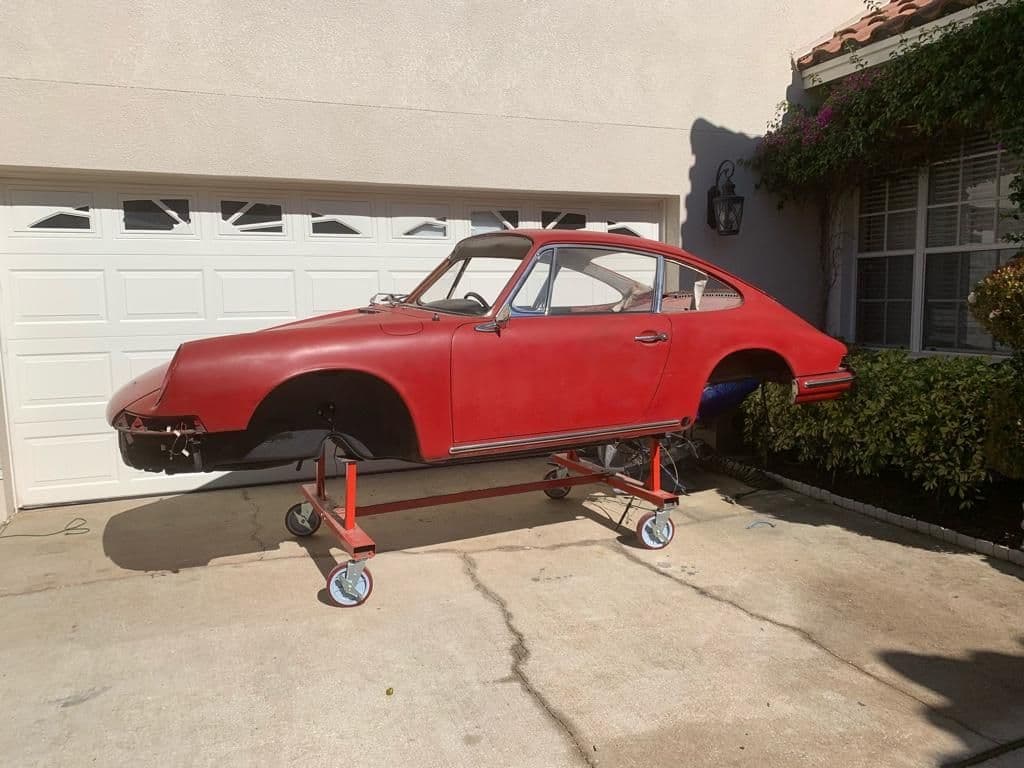
Well... decided not to wait anymore for my friend to finish the bodywork... and brought it home. Plan is to finish what I can finish, get all the mechanical stuff back in the car and just drive the darn car!! I can't paint... so it will remain as is on the outside. But all the mechanical parts and interior (which I am comfortable tackling) will be done.
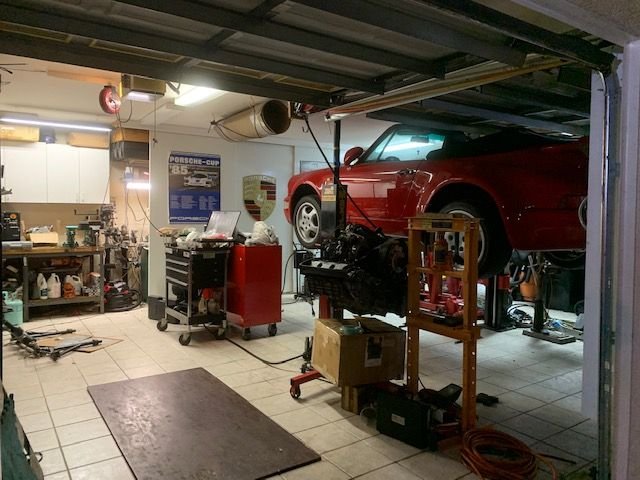
Had to move a lot of crap around and to another garage, to make space... In the middle of all this, also helping a friend finish his Rail Buggie so we can sell it and get some funds for his health care...
Will update as I go... I am now practicing butt-welding before finishing some of the welds needed to finish the floor.
Photo of the night I got it back home
And moving projects around to another garage to make space at home...
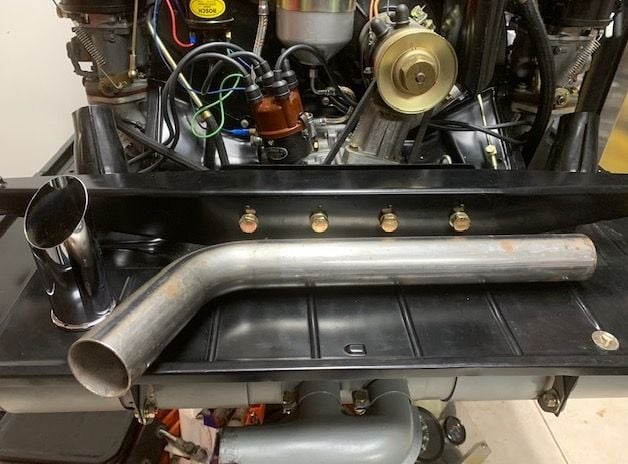
Finally got the correct muffler tip...
The cart has been holding on well... very happy I made this to move it around.
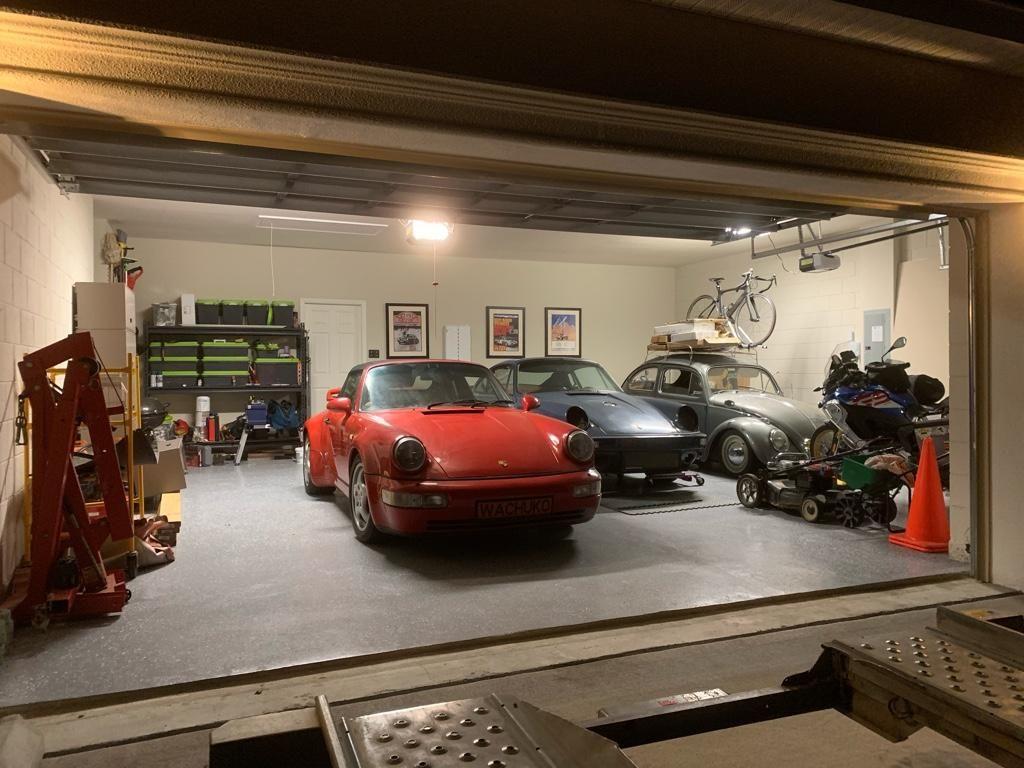
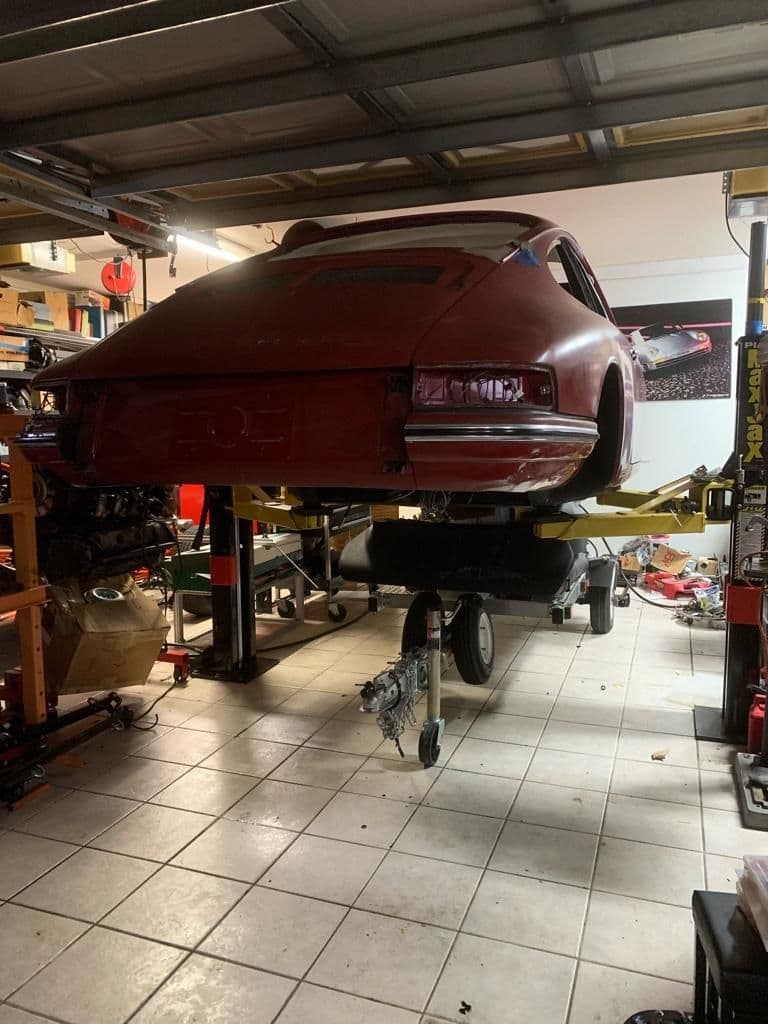
Back in the garage... still need to get rid of more crap to be able to have the underneath clear to work on it at any time... hate to have to move stuff around to be able to work on it...
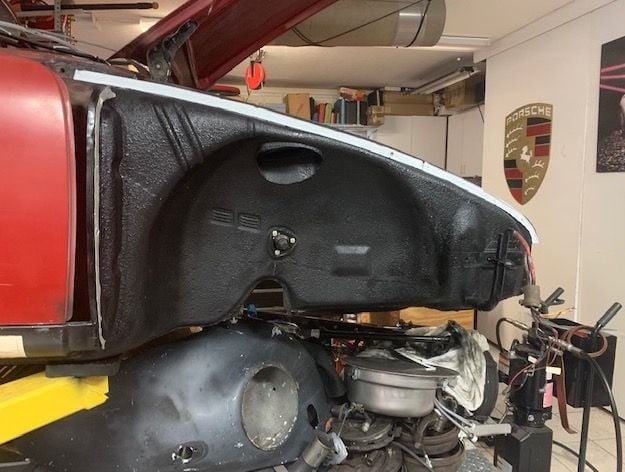
Alejandro had to remove the fender to work on the side sill... so now, getting ready to install the fender back
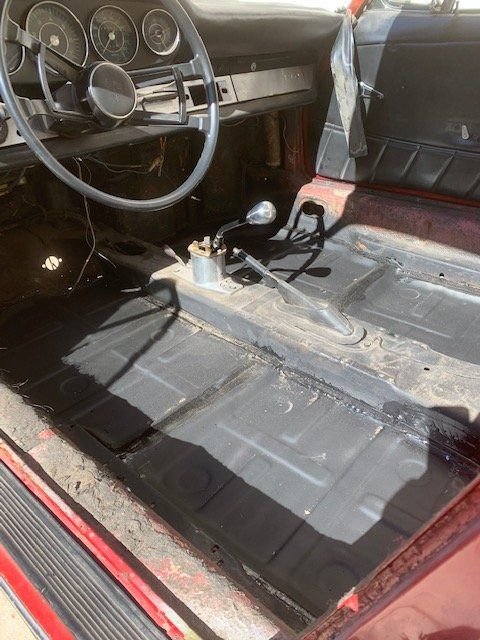
Some photos of the floor pans...from the inside..
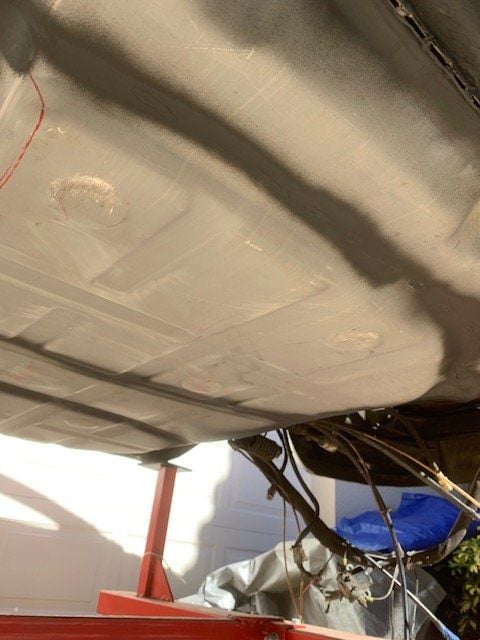
Underneath...
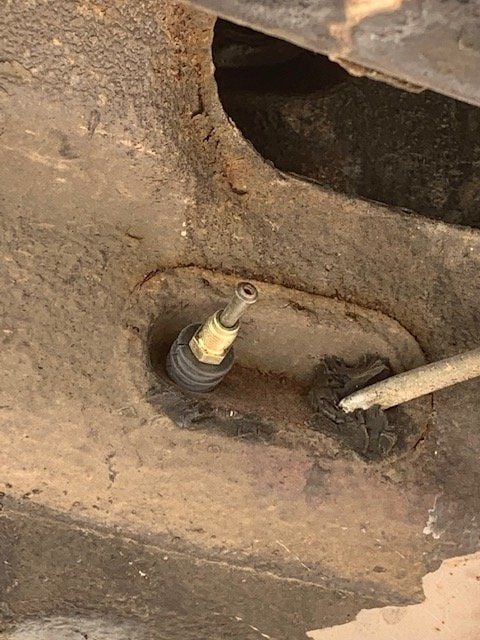
New brake line installed since I had damaged the original one when I cut the floors...
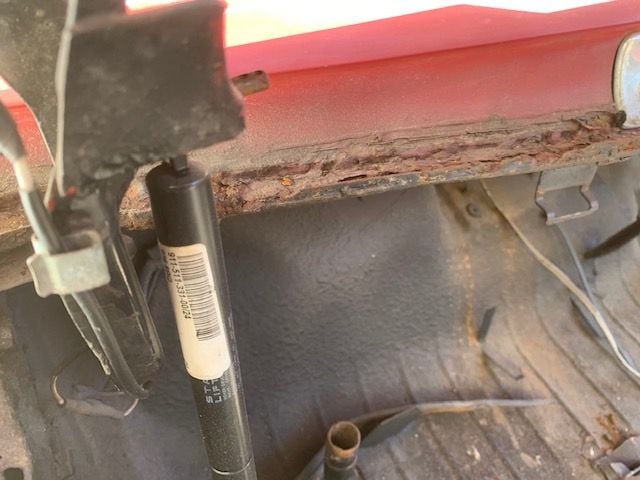
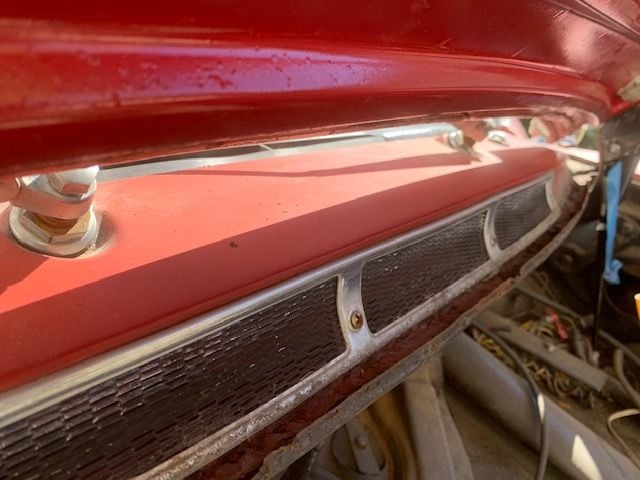
I know I have to change the front cowl... but I am not sure that I can tackle this myself.... and I just want the car driving again... will see how I do with the welding of the floor before I decide if I do this or just patch as much as I can to get it back on the road... The right thing is to replace the cowl... I know... I know...