My 1967 912 Build Thread
 04-23-2015, 02:45 PM
#466
Professor of Pending Projects
Rennlist Member
Rennlist Member
Thread Starter
 04-27-2015, 08:28 AM
#467
Professor of Pending Projects
Rennlist Member
Rennlist Member
Thread Starter
No work in the garage until my arm heals... that gives me plenty of time to surf ebay for bits and pieces for the SC and the 912 projects...
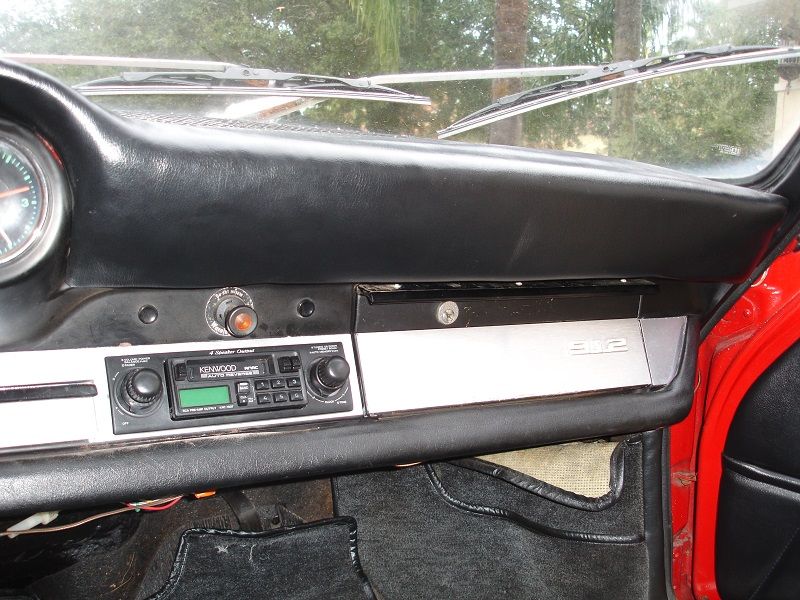
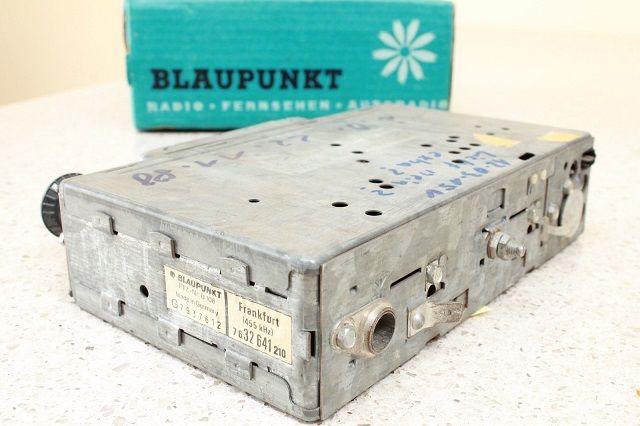
Found and bought a radio for the 912. At least it will look period correct. Do not really care about using the radio but wanted to have something that looked correct in there.
What is currently in the car
The one I got in eBay and should be here at the end of the week.
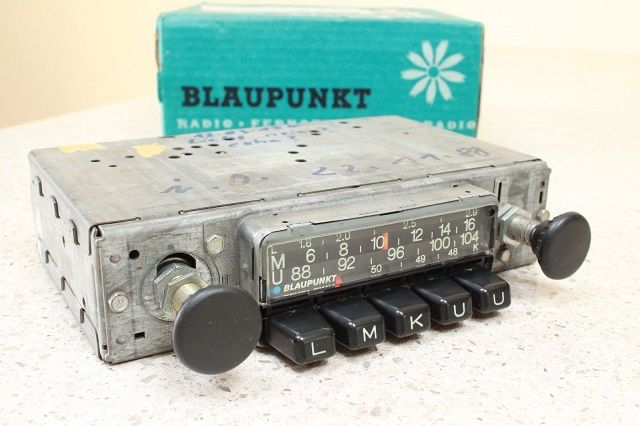
Found and bought a radio for the 912. At least it will look period correct. Do not really care about using the radio but wanted to have something that looked correct in there.
What is currently in the car
The one I got in eBay and should be here at the end of the week.
04-27-2015, 04:44 PM
#468
Professor of Pending Projects
Rennlist Member
Rennlist Member
Thread Starter
This came in
Front bumper end caps... I now need to order the rubber trim... forgot about that. Part no. 999.911.084.40
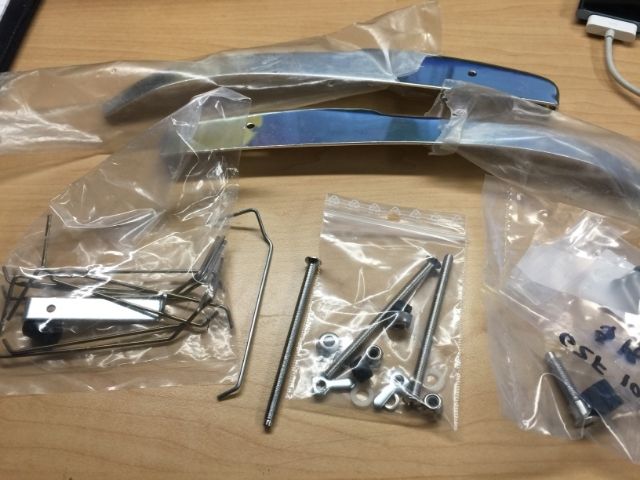
Clips and headlights parts is to fix the headlights on the SC project... needed a few things and it seems that the only way to get them was as part of a kit that came with the headlight chrome trim... so now I have a spare trim for whenever I need it.
Front bumper end caps... I now need to order the rubber trim... forgot about that. Part no. 999.911.084.40
Clips and headlights parts is to fix the headlights on the SC project... needed a few things and it seems that the only way to get them was as part of a kit that came with the headlight chrome trim... so now I have a spare trim for whenever I need it.
05-01-2015, 01:43 PM
#469
Professor of Pending Projects
Rennlist Member
Rennlist Member
Thread Starter

 05-01-2015, 03:13 PM
#470
Professor of Pending Projects
Rennlist Member
Rennlist Member
Thread Starter
Also sent a email to Chuck Moffit on the dash trim. Plan continues to be to use a stock trim from him while he can make the one I want (later style with insert but one that fits early cars).
05-01-2015, 04:22 PM
#471
Professor of Pending Projects
Rennlist Member
Rennlist Member
Thread Starter
68 912 Project Report - The Seats from Hell Rebuilt
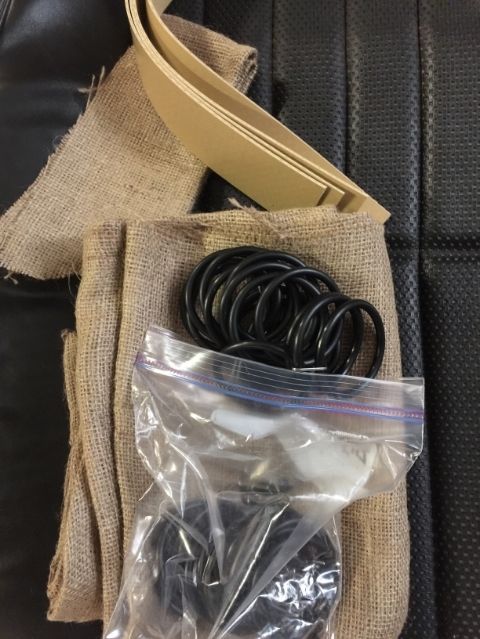
Also got this for the backs
 05-02-2015, 01:38 PM
#472
Professor of Pending Projects
Rennlist Member
Rennlist Member
Thread Starter
Let's start while folks chime in on the difference of my seats...
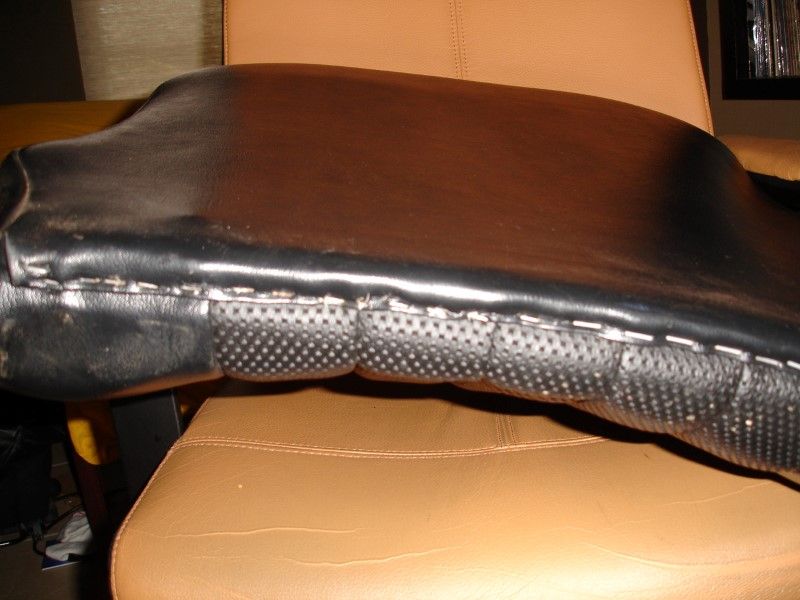
Vinyl cover removed, looking at the back of the seat backrest
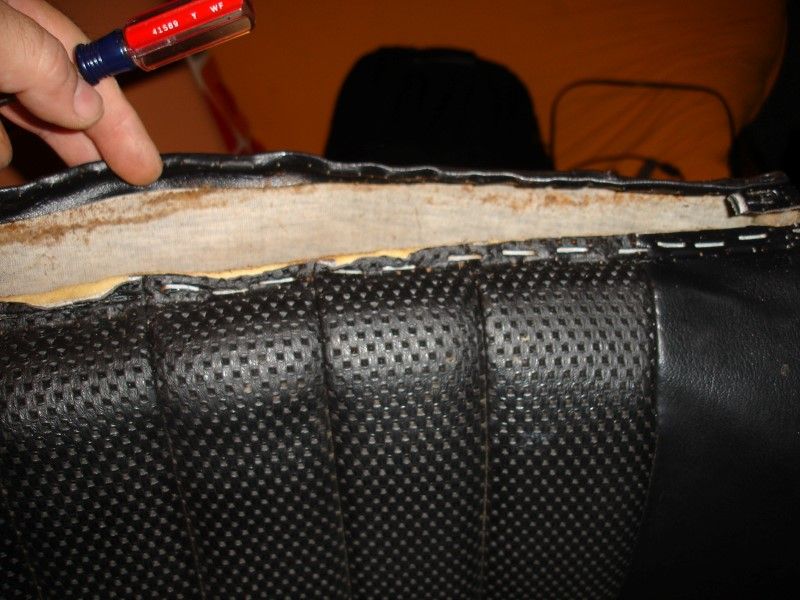
Pad removed, looking at the back of the seat backrest
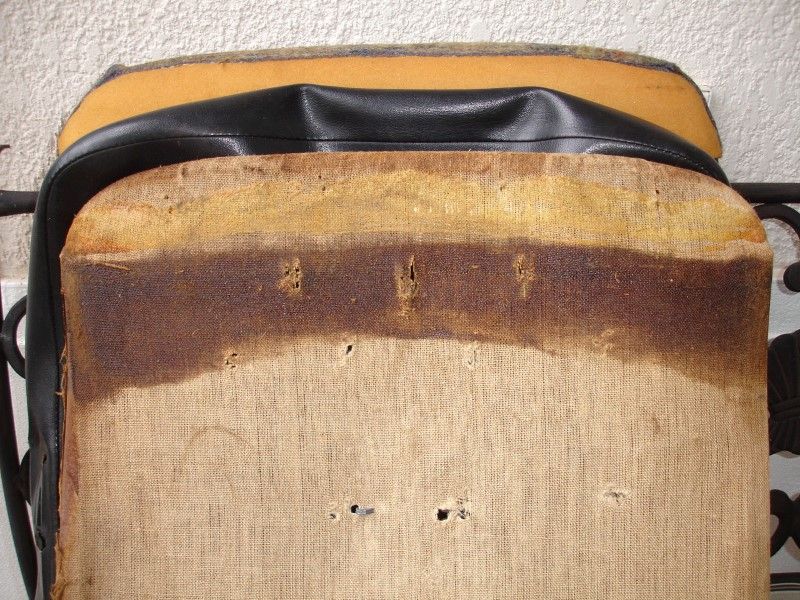
Looking at the other side
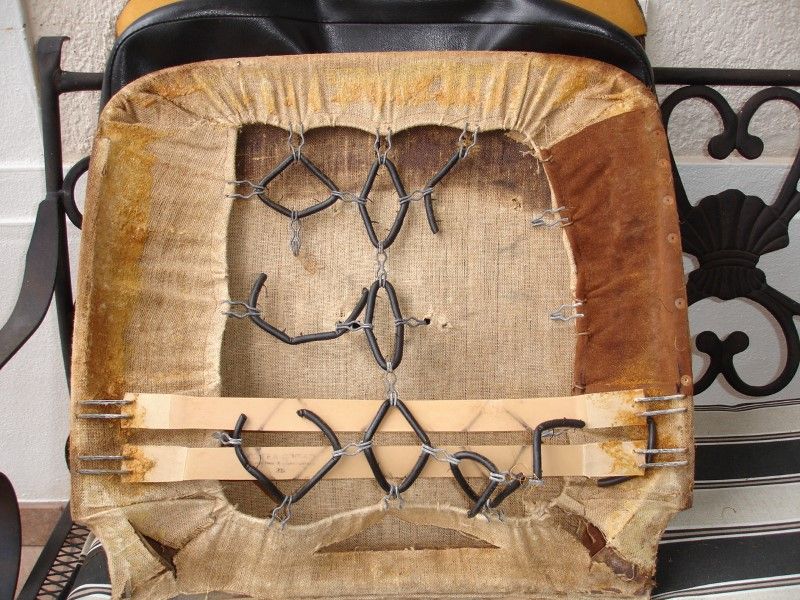
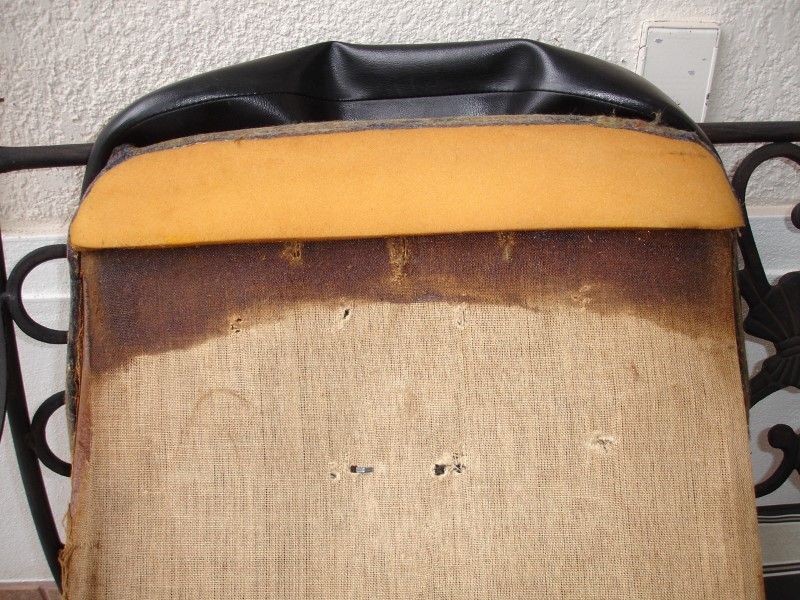
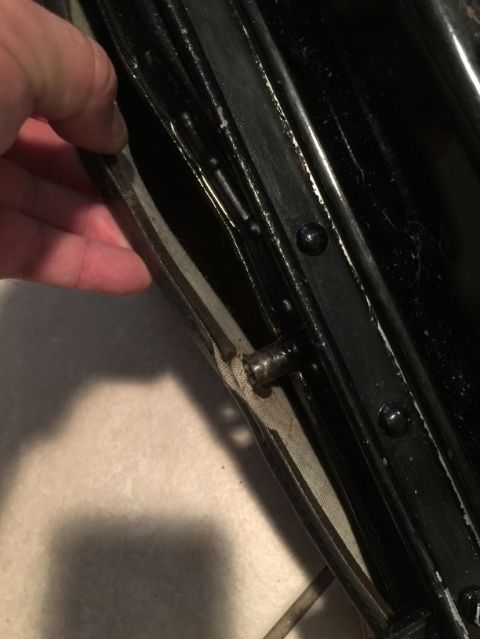
Whatchamacallit removed, looking at the back of the seat backrest
Noticed that one of the nuts came off.
I will weld a new one in place
Vinyl cover removed, looking at the back of the seat backrest
Pad removed, looking at the back of the seat backrest
Looking at the other side
Whatchamacallit removed, looking at the back of the seat backrest
Noticed that one of the nuts came off.
I will weld a new one in place
05-02-2015, 01:39 PM
#473
Professor of Pending Projects
Rennlist Member
Rennlist Member
Thread Starter
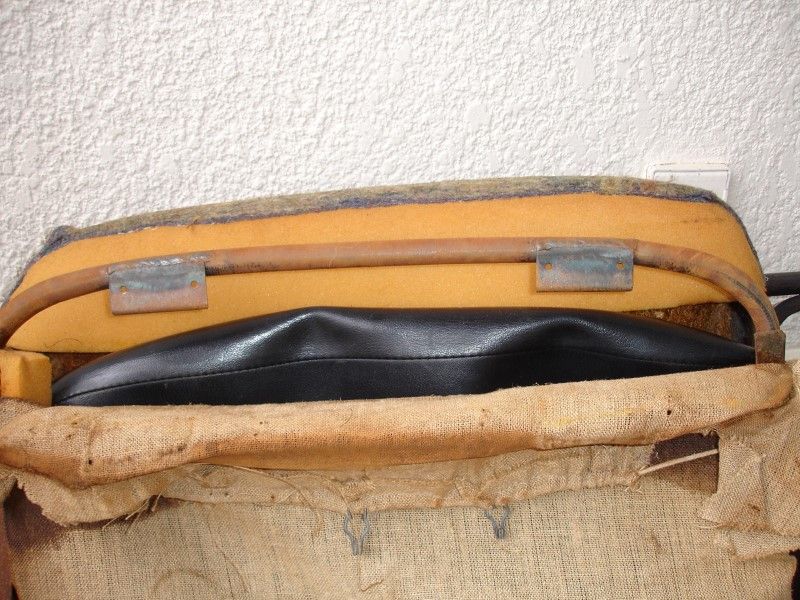
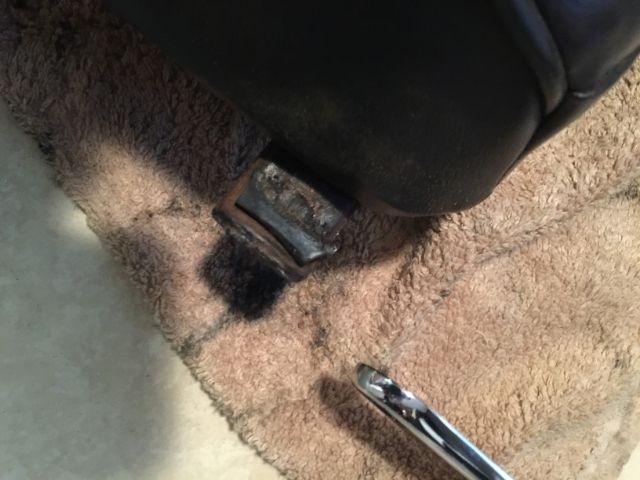
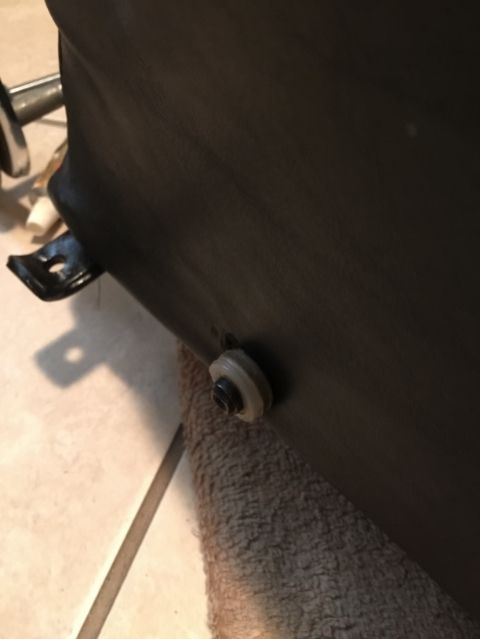
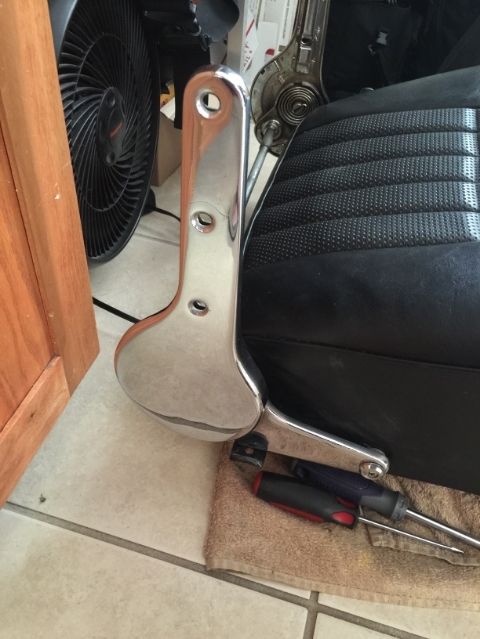
Seat bottom is easier to disassemble. First I removed the hinges
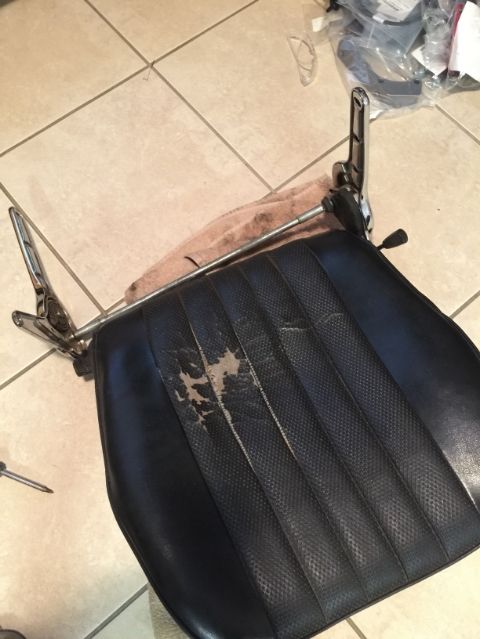
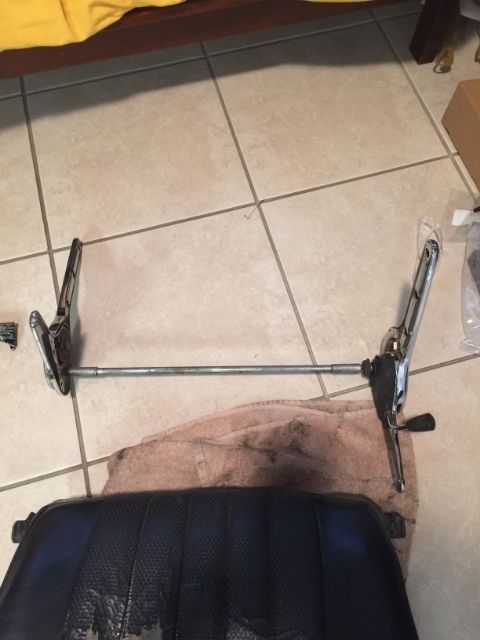
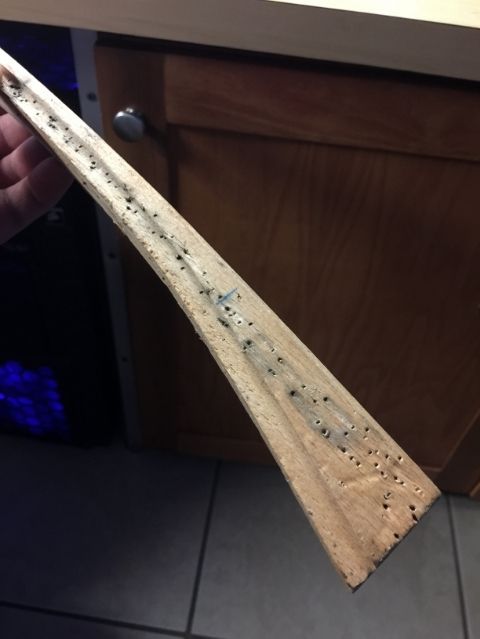
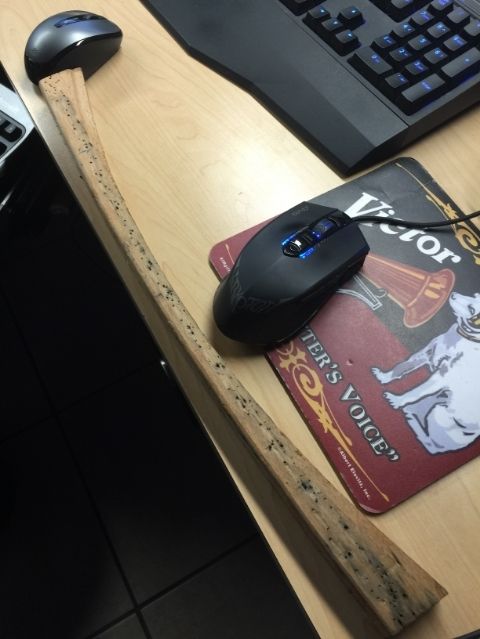
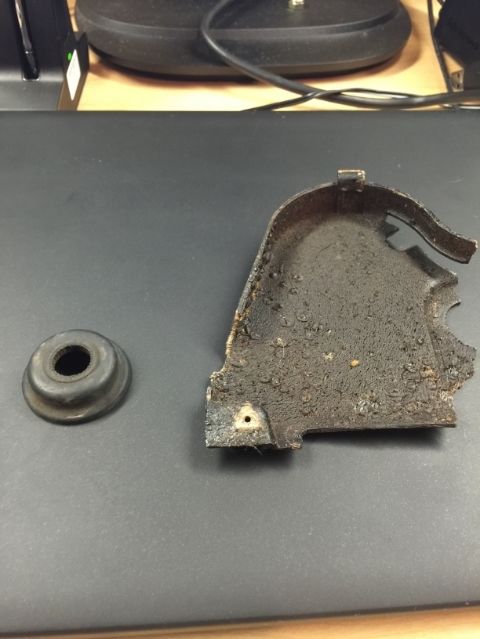
I need to get new rubber (buffer stop) all around - Part #: 644.521.191.01 This is what mine looks like...
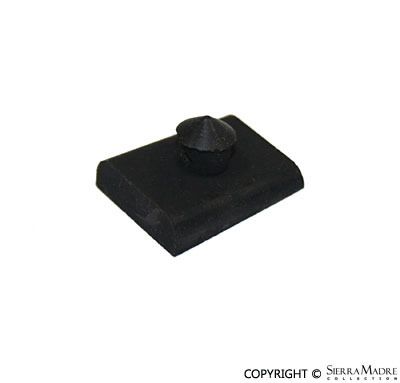
And this is what a new one looks like...
I need to get new rubber (buffer stop) all around - Part #: 644.521.191.01 This is what mine looks like...
And this is what a new one looks like...
Last edited by Wachuko; 05-02-2015 at 03:46 PM. Reason: Correct rubber buffer stop part number and photo
05-02-2015, 01:39 PM
#474
Professor of Pending Projects
Rennlist Member
Rennlist Member
Thread Starter
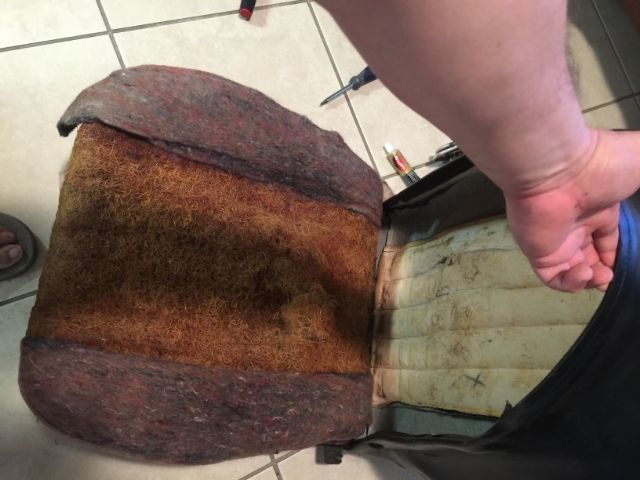
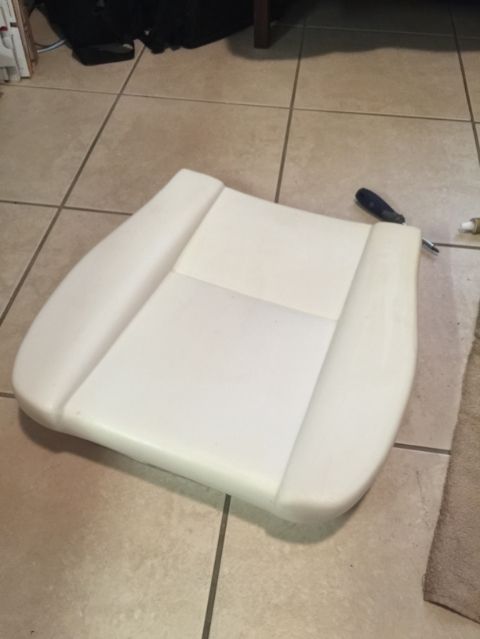
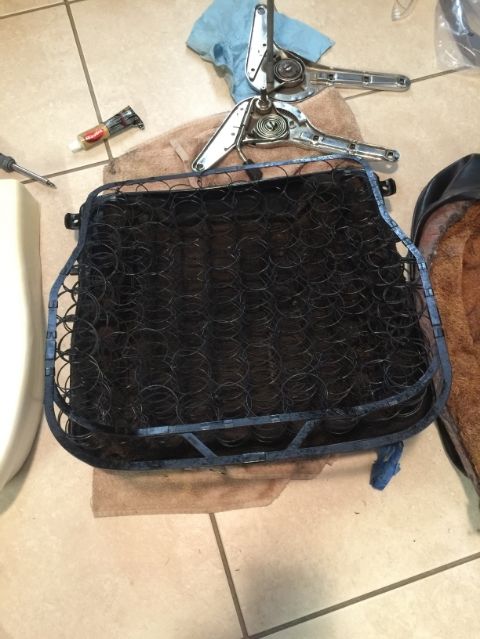
To remove the bottom cover is very easy. I just flipped the bottom over and by just pressing a little bit on it I can remove it... all that is needed is to slide out the cover from the channel.
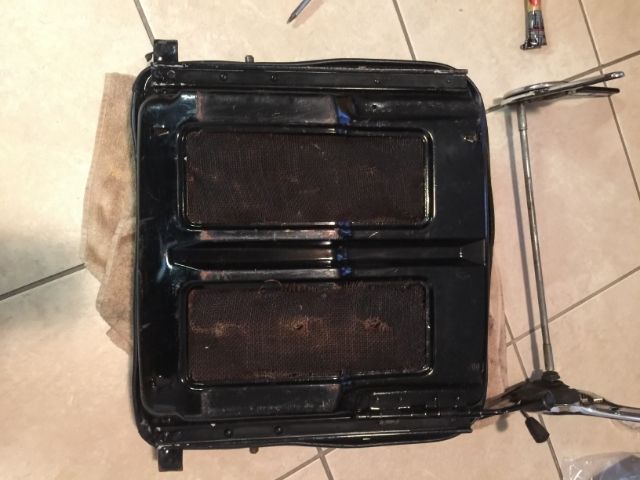
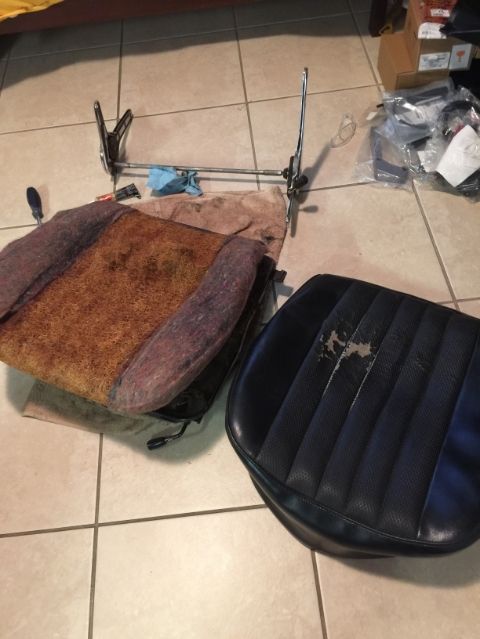
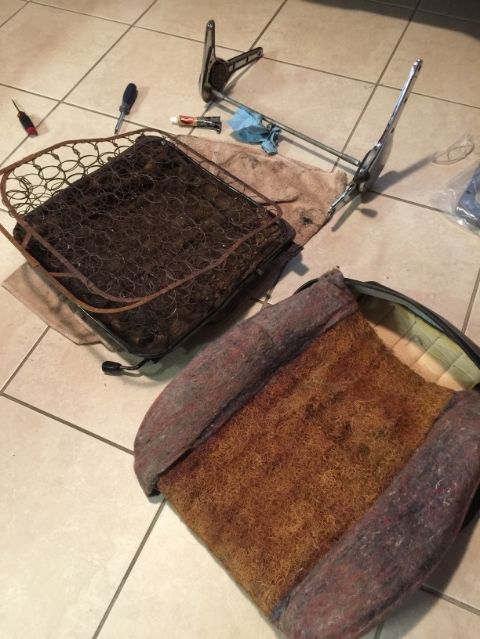
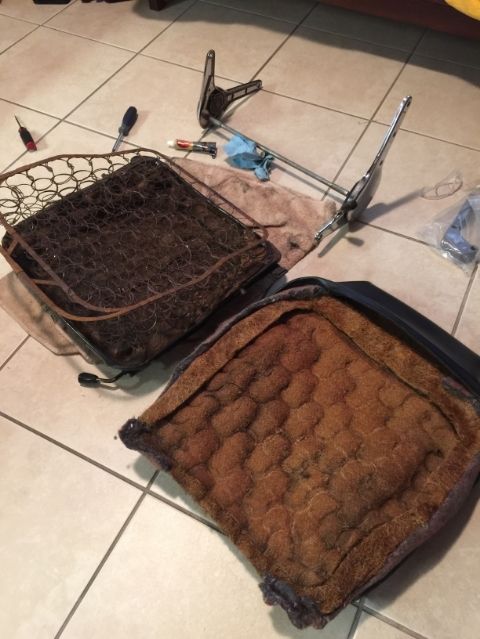
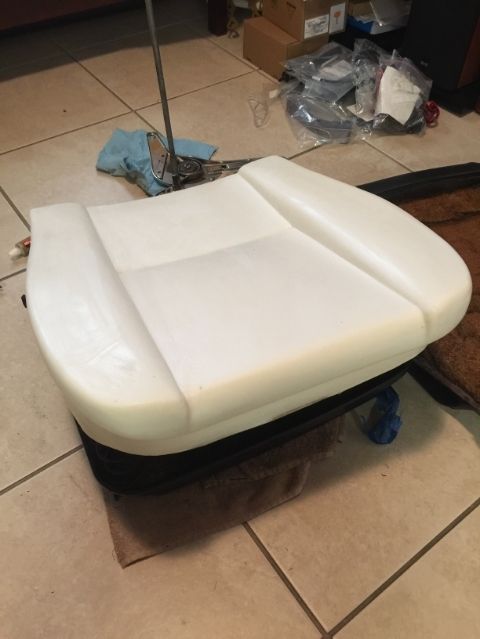
Now to clean and paint the internals before installing the foam and cover.
Now to clean and paint the internals before installing the foam and cover.
05-02-2015, 01:46 PM
#475
Professor of Pending Projects
Rennlist Member
Rennlist Member
Thread Starter
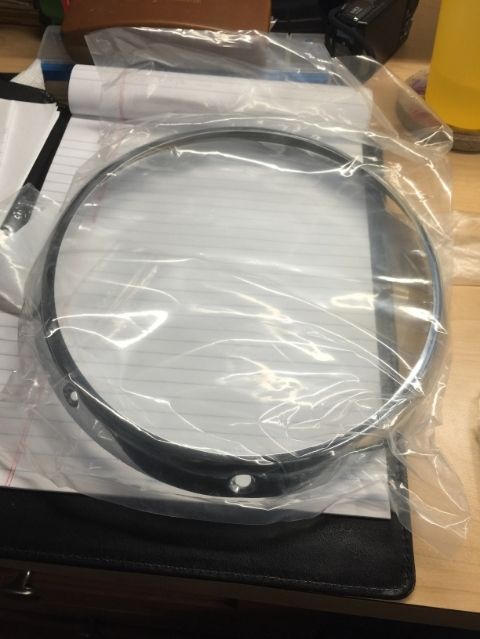
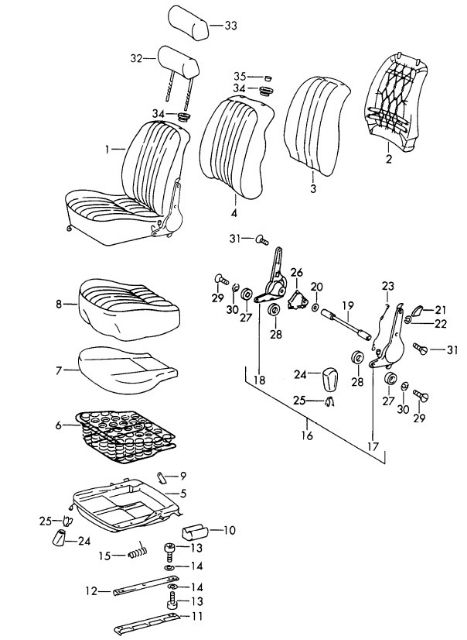
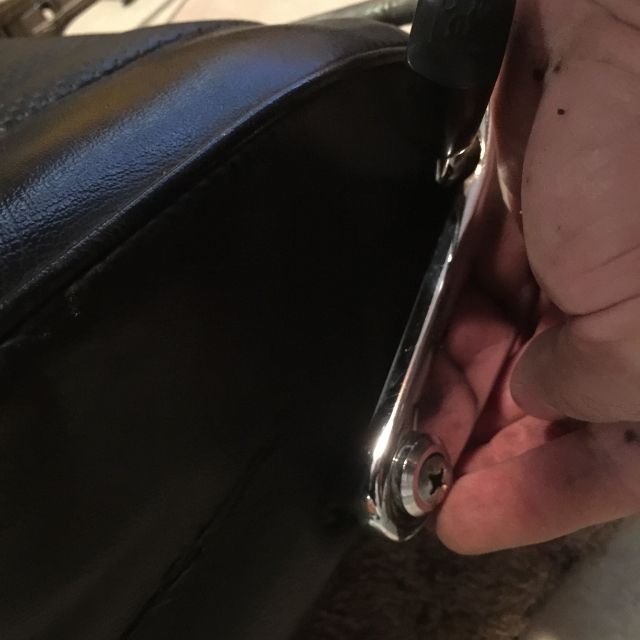
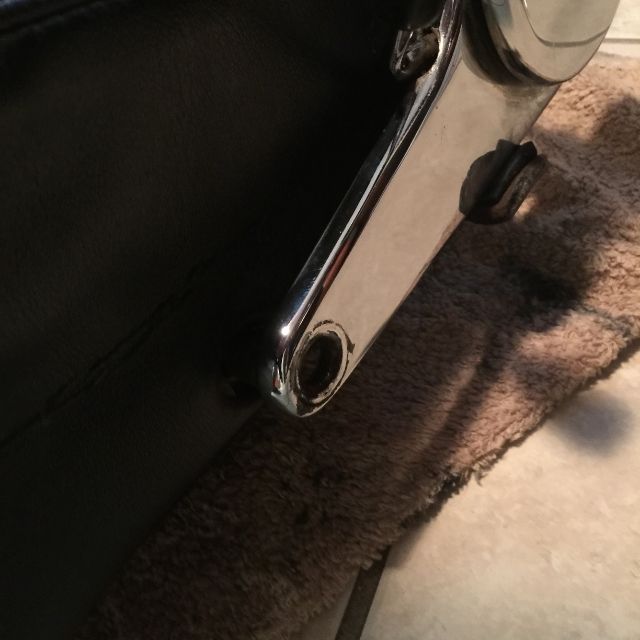
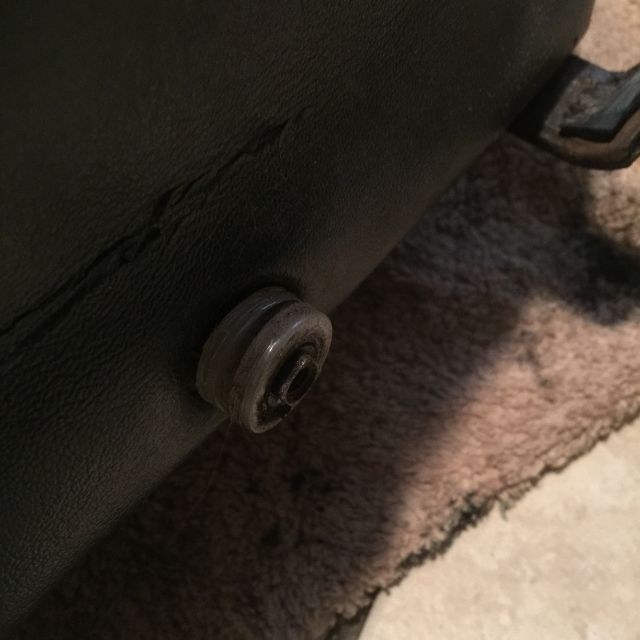
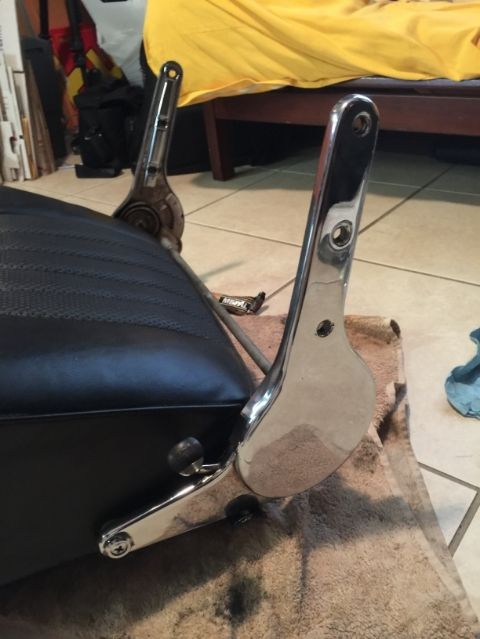
#26 no longer available from Porsche but available as reproduction. Sold as a set. 901.521.915.00
Edit... can't find the part number for the second part... it is a rubber grommet... here take a look:
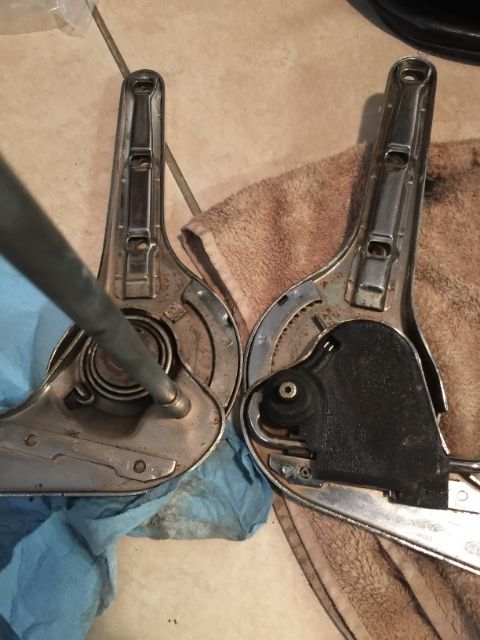
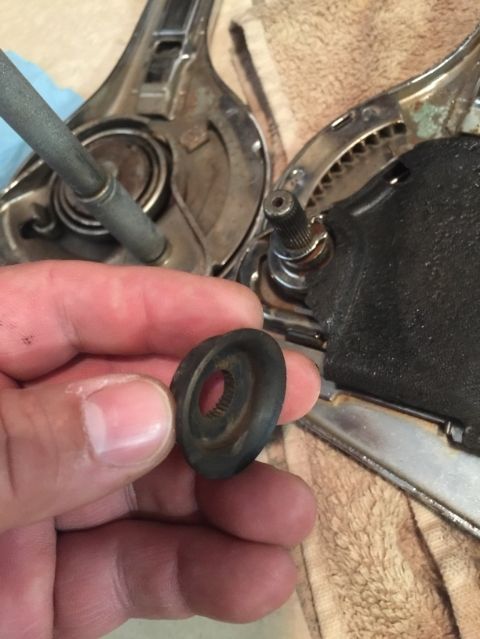
Mechanism looks to be in good shape...


 05-02-2015, 11:10 PM
#478
Professor of Pending Projects
Rennlist Member
Rennlist Member
Thread Starter

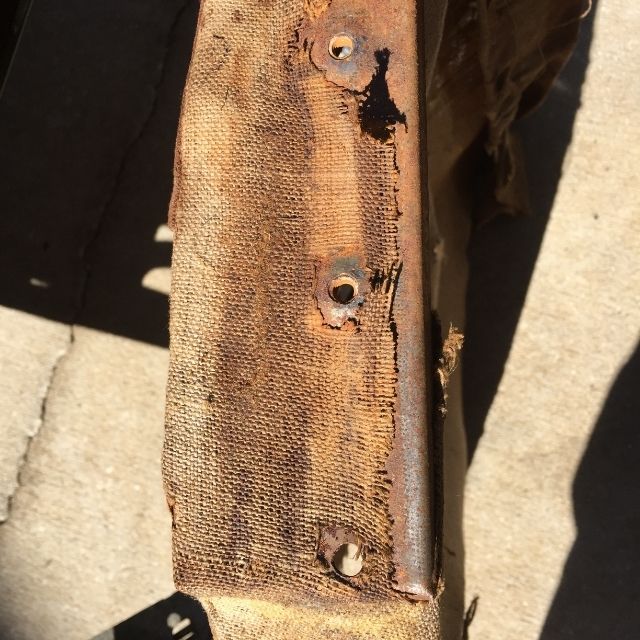
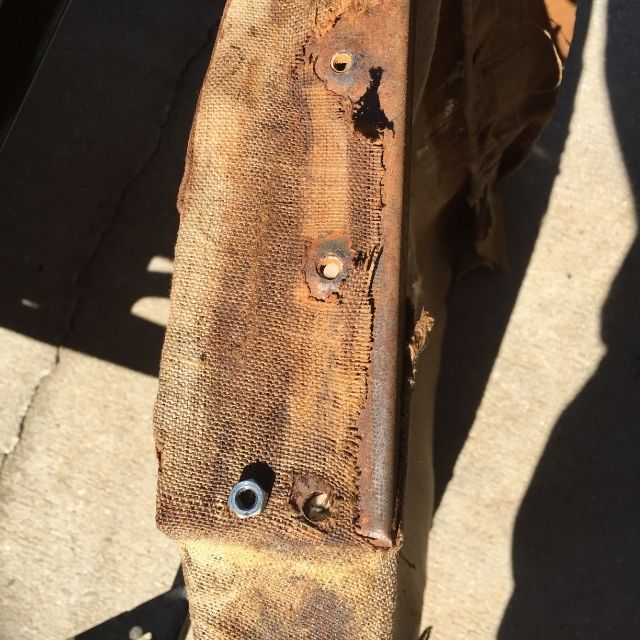
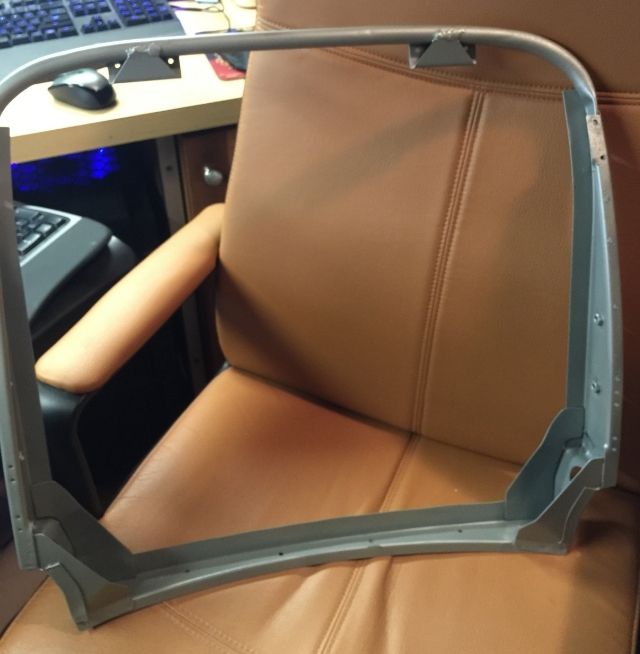
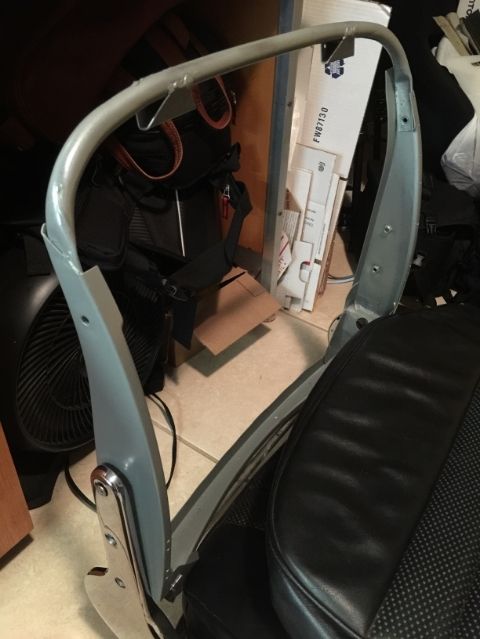
Back to the work at hand:
Missing or broken parts ordered. Still looking for that rubber grommet that goes on the driver side connecting rod.
The backrest frame. Took everything off it. Took a wire brush and got rid of the surface rust it had. Some POR-15 Metal Prep... rinse, blow dry with heat gun... some gray rust-oleum spray and it looks ready to assemble
Also started to disassemble the passenger seat
 05-04-2015, 12:48 AM
#479
Professor of Pending Projects
Rennlist Member
Rennlist Member
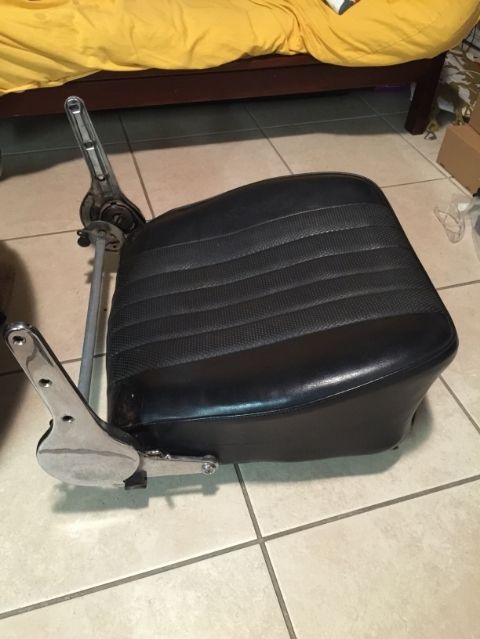
Thread Starter
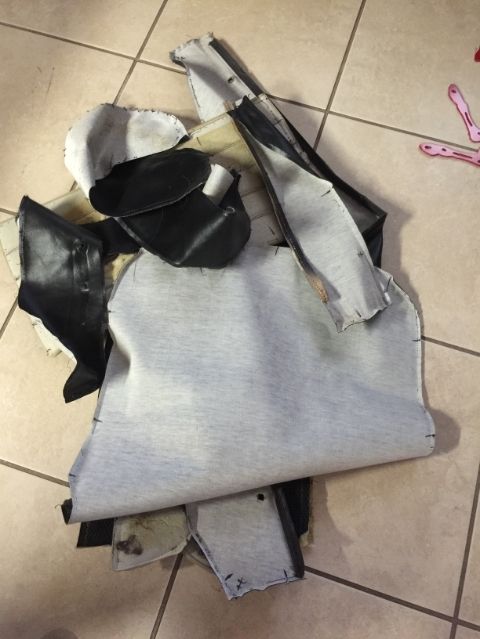
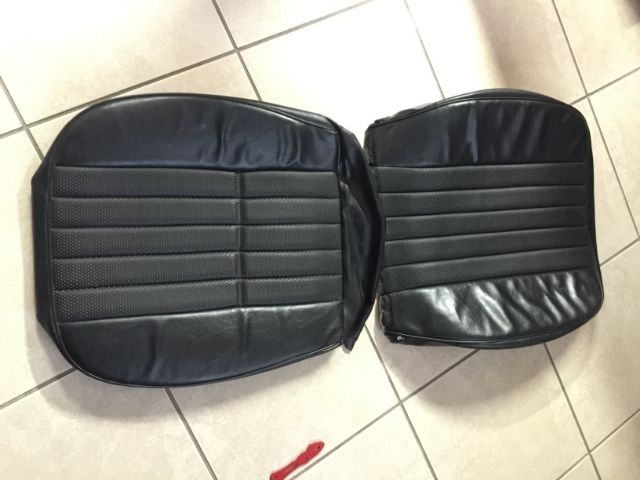
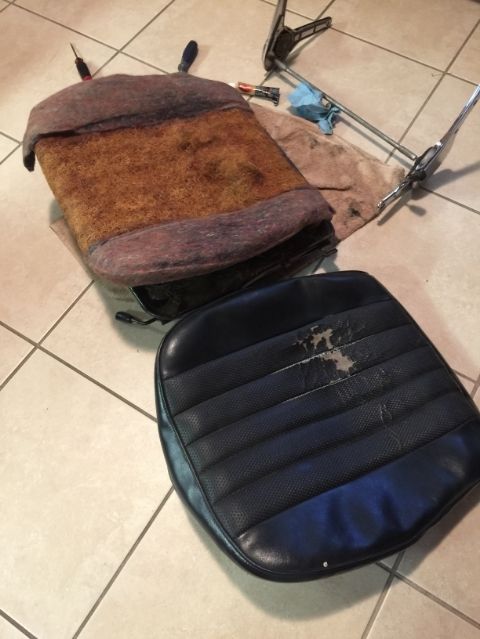
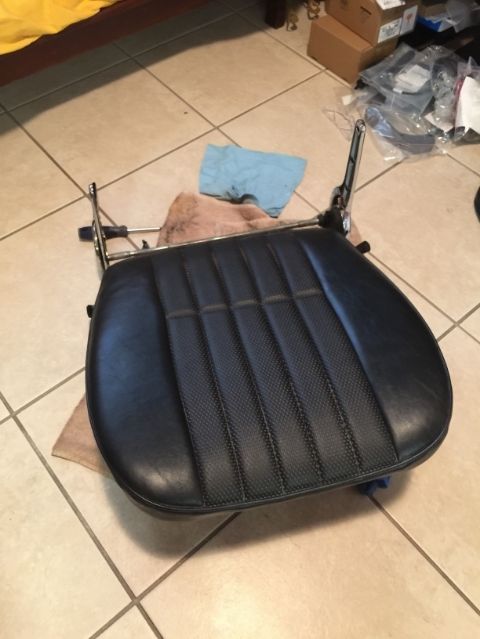
Second seat bottom done. Did not realize until last night that the seat bottoms are different from the old ones. The ones now installed have an indention in the center insert where the old ones did not.
This is what the original looked like
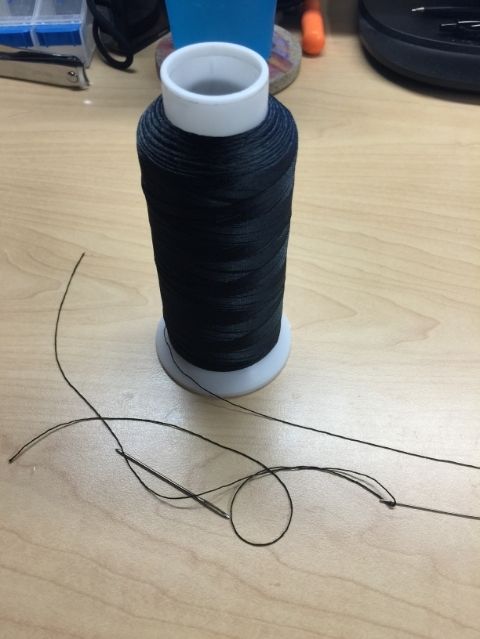
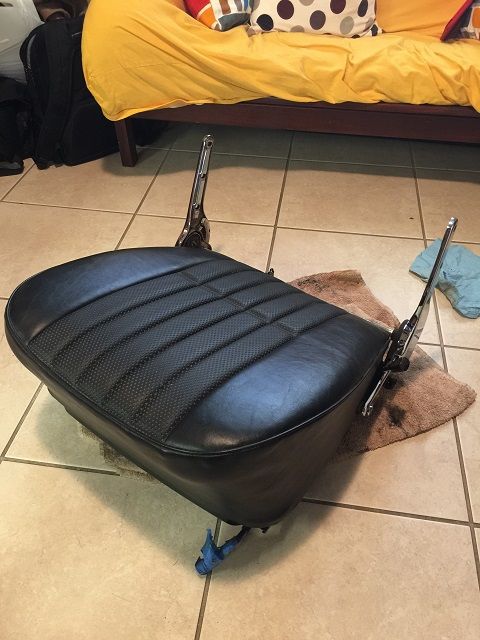
Took me awhile to sew all the pieces together...I kept pinching my finger with the needle. I probably should have not been watching TV and drinking a beer while sewing it all back together
Anyway, seat bottoms done!!

This is what the original looked like
Took me awhile to sew all the pieces together...I kept pinching my finger with the needle. I probably should have not been watching TV and drinking a beer while sewing it all back together
Anyway, seat bottoms done!!