Notices
912 Forum 1965-1969

My 1967 912 Build Thread

Thread Tools
 
Search this Thread
 
Old Feb 21, 2016 | 12:29 AM
  #526  
Wachuko's Avatar
Wachuko
Thread Starter
Professor of Pending Projects
Rennlist Member
20 Year Member
 
Joined: Nov 2001
Posts: 9,898
Likes: 33
From: Ocala, FL
Default

Need to order these as well... they just broke taking them out...

image_zpsk7gblwg6.jpeg

And need new rubber trim for the side sill strip...

image_zpsruaejugq.jpeg

image_zpsdzquvrwn.jpeg

Also, we want to remove the fenders, but can't figure out how to disassemble the plug...

image_zpsvbepd2c3.jpeg
Reply
Old Feb 23, 2016 | 09:18 AM
  #527  
Wachuko's Avatar
Wachuko
Thread Starter
Professor of Pending Projects
Rennlist Member
20 Year Member
 
Joined: Nov 2001
Posts: 9,898
Likes: 33
From: Ocala, FL
Default

Added two seat belt mounts to the order, best to get that corrected now... Order is going out today (called just in time)

Reply
Old Feb 26, 2016 | 05:07 PM
  #528  
Wachuko's Avatar
Wachuko
Thread Starter
Professor of Pending Projects
Rennlist Member
20 Year Member
 
Joined: Nov 2001
Posts: 9,898
Likes: 33
From: Ocala, FL
Default

Last pieces of metal, to fix the car, arrived today...

340dd697-e032-443e-872d-d9ca12799c86_zpsecdhxz92.jpg
Reply
Old Apr 30, 2016 | 06:18 AM
  #529  
STUARTQ's Avatar
STUARTQ
Three Wheelin'
 
Joined: May 2012
Posts: 1,595
Likes: 0
From: Switzerland
Default

Jaime, I know it's been said many times, what a great thread this is, but I'm going to say it again, "THIS IS A GREAT THREAD".

Kind of disappointed I've got to the end, so looking forward to reading the rest of your story as it unfolds.

By the way, if you need some nice period seat belts, give me a buzz.

www.quickfitsbs.com
PM me.

My 964 is undergoing some reconstruction and I've just bought a 912 (slightly modified).

Keep up the good work, I'll have to jump over to your SC build now!
Reply
Old Jun 8, 2016 | 05:08 PM
  #530  
forum member's Avatar
forum member
4th Gear
 
Joined: Jun 2016
Posts: 4
Likes: 0
Default

Thanks so much for all the info in this thread. Very inspirational.
Reply
Old Jul 13, 2016 | 10:43 AM
  #531  
Wachuko's Avatar
Wachuko
Thread Starter
Professor of Pending Projects
Rennlist Member
20 Year Member
 
Joined: Nov 2001
Posts: 9,898
Likes: 33
From: Ocala, FL
Default

I always forget why I do not let people borrow my tools... only to remember when I get one returned. The nerve of some people!

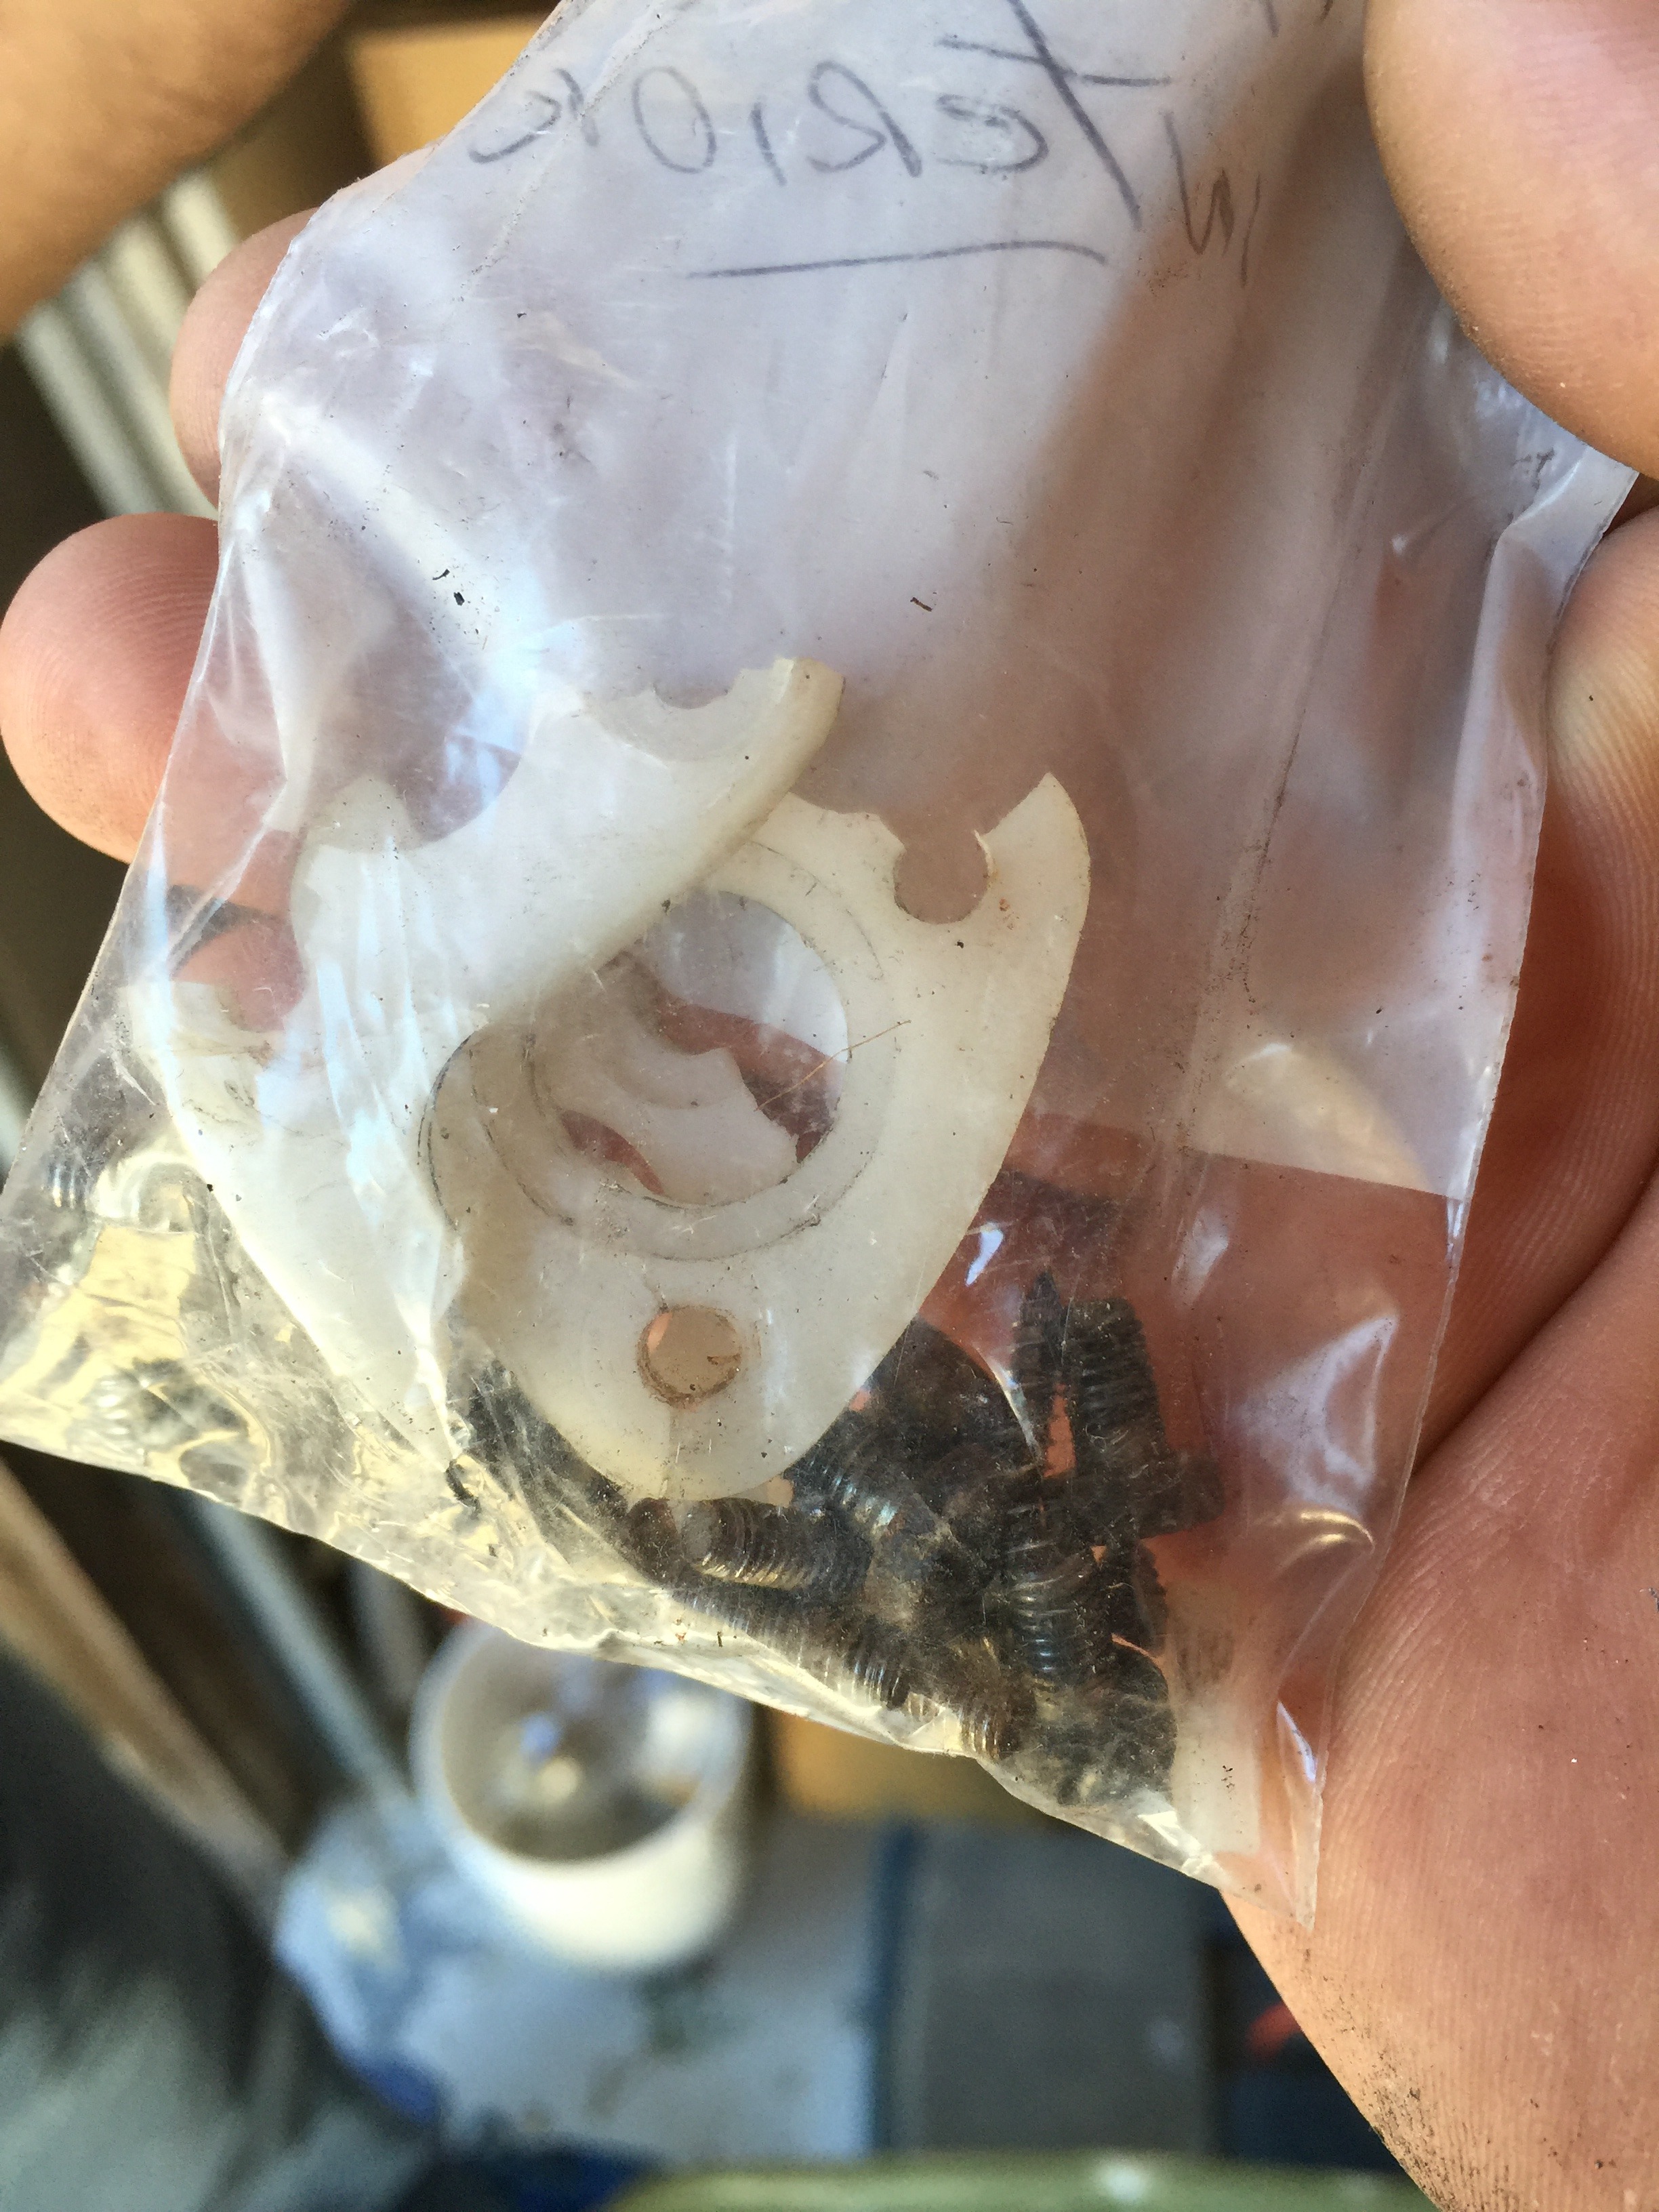
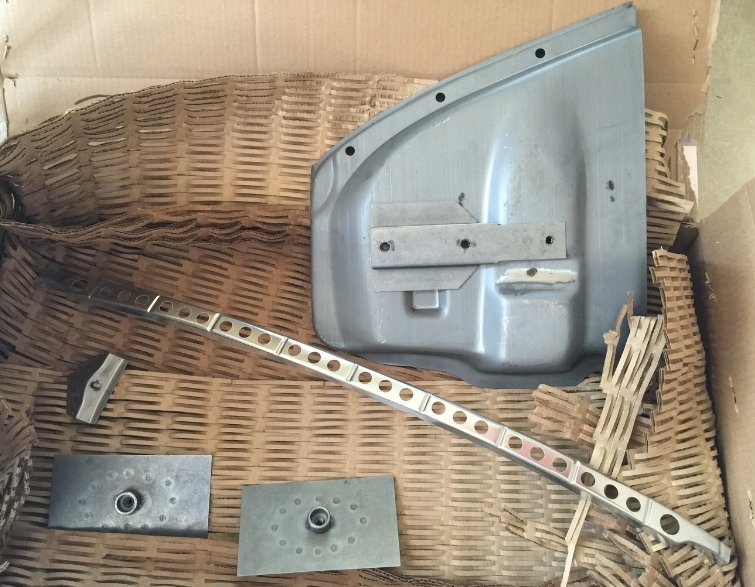
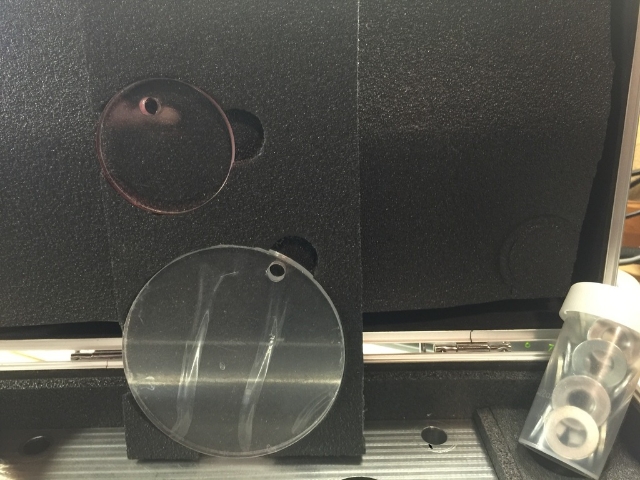
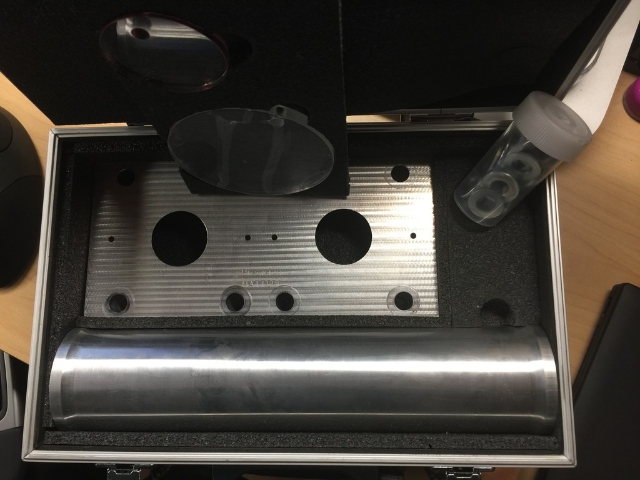
I sent Peter (yes, our Peter Graham in the http://www.912bbs.org/ forum) the Top End Tool Set.. and the Case Dimensioning Mandrel... all in their original cardboard box with bubble wrap. And what do I get back? Do I get back the original packing!!??? NO! I tell you! The nerve of some folks... no respect for other people's tools

I open the shipping box and this is what I find...

74c7d5f7-48d7-4b3f-8b3d-444ba586c791_zpsimpdlmn3.jpg

5aae749c-95de-492a-b77d-786b29dbcd19_zpsmgqsmsfd.jpg

f3333599-ffad-4311-b357-63b22c7a0f38_zpsrgpjqmut.jpg

259e613d-de2d-4c0a-8fc1-37653b418481_zpsu0aooysi.jpg

51b24f2e-6428-42a4-9bb5-081a5cc385fb_zps07bpdje6.jpg

That is correct... A CUSTOM FITTED CARRYING CASE WITH ALL THE TOOLS INSIDE!!!

Peter! bowdown_zps8lowduo9.gif You rock!!!!
Reply
Old Oct 5, 2018 | 11:06 AM
  #532  
Wachuko's Avatar
Wachuko
Thread Starter
Professor of Pending Projects
Rennlist Member
20 Year Member
 
Joined: Nov 2001
Posts: 9,898
Likes: 33
From: Ocala, FL
Default

How time just goes by so fast...

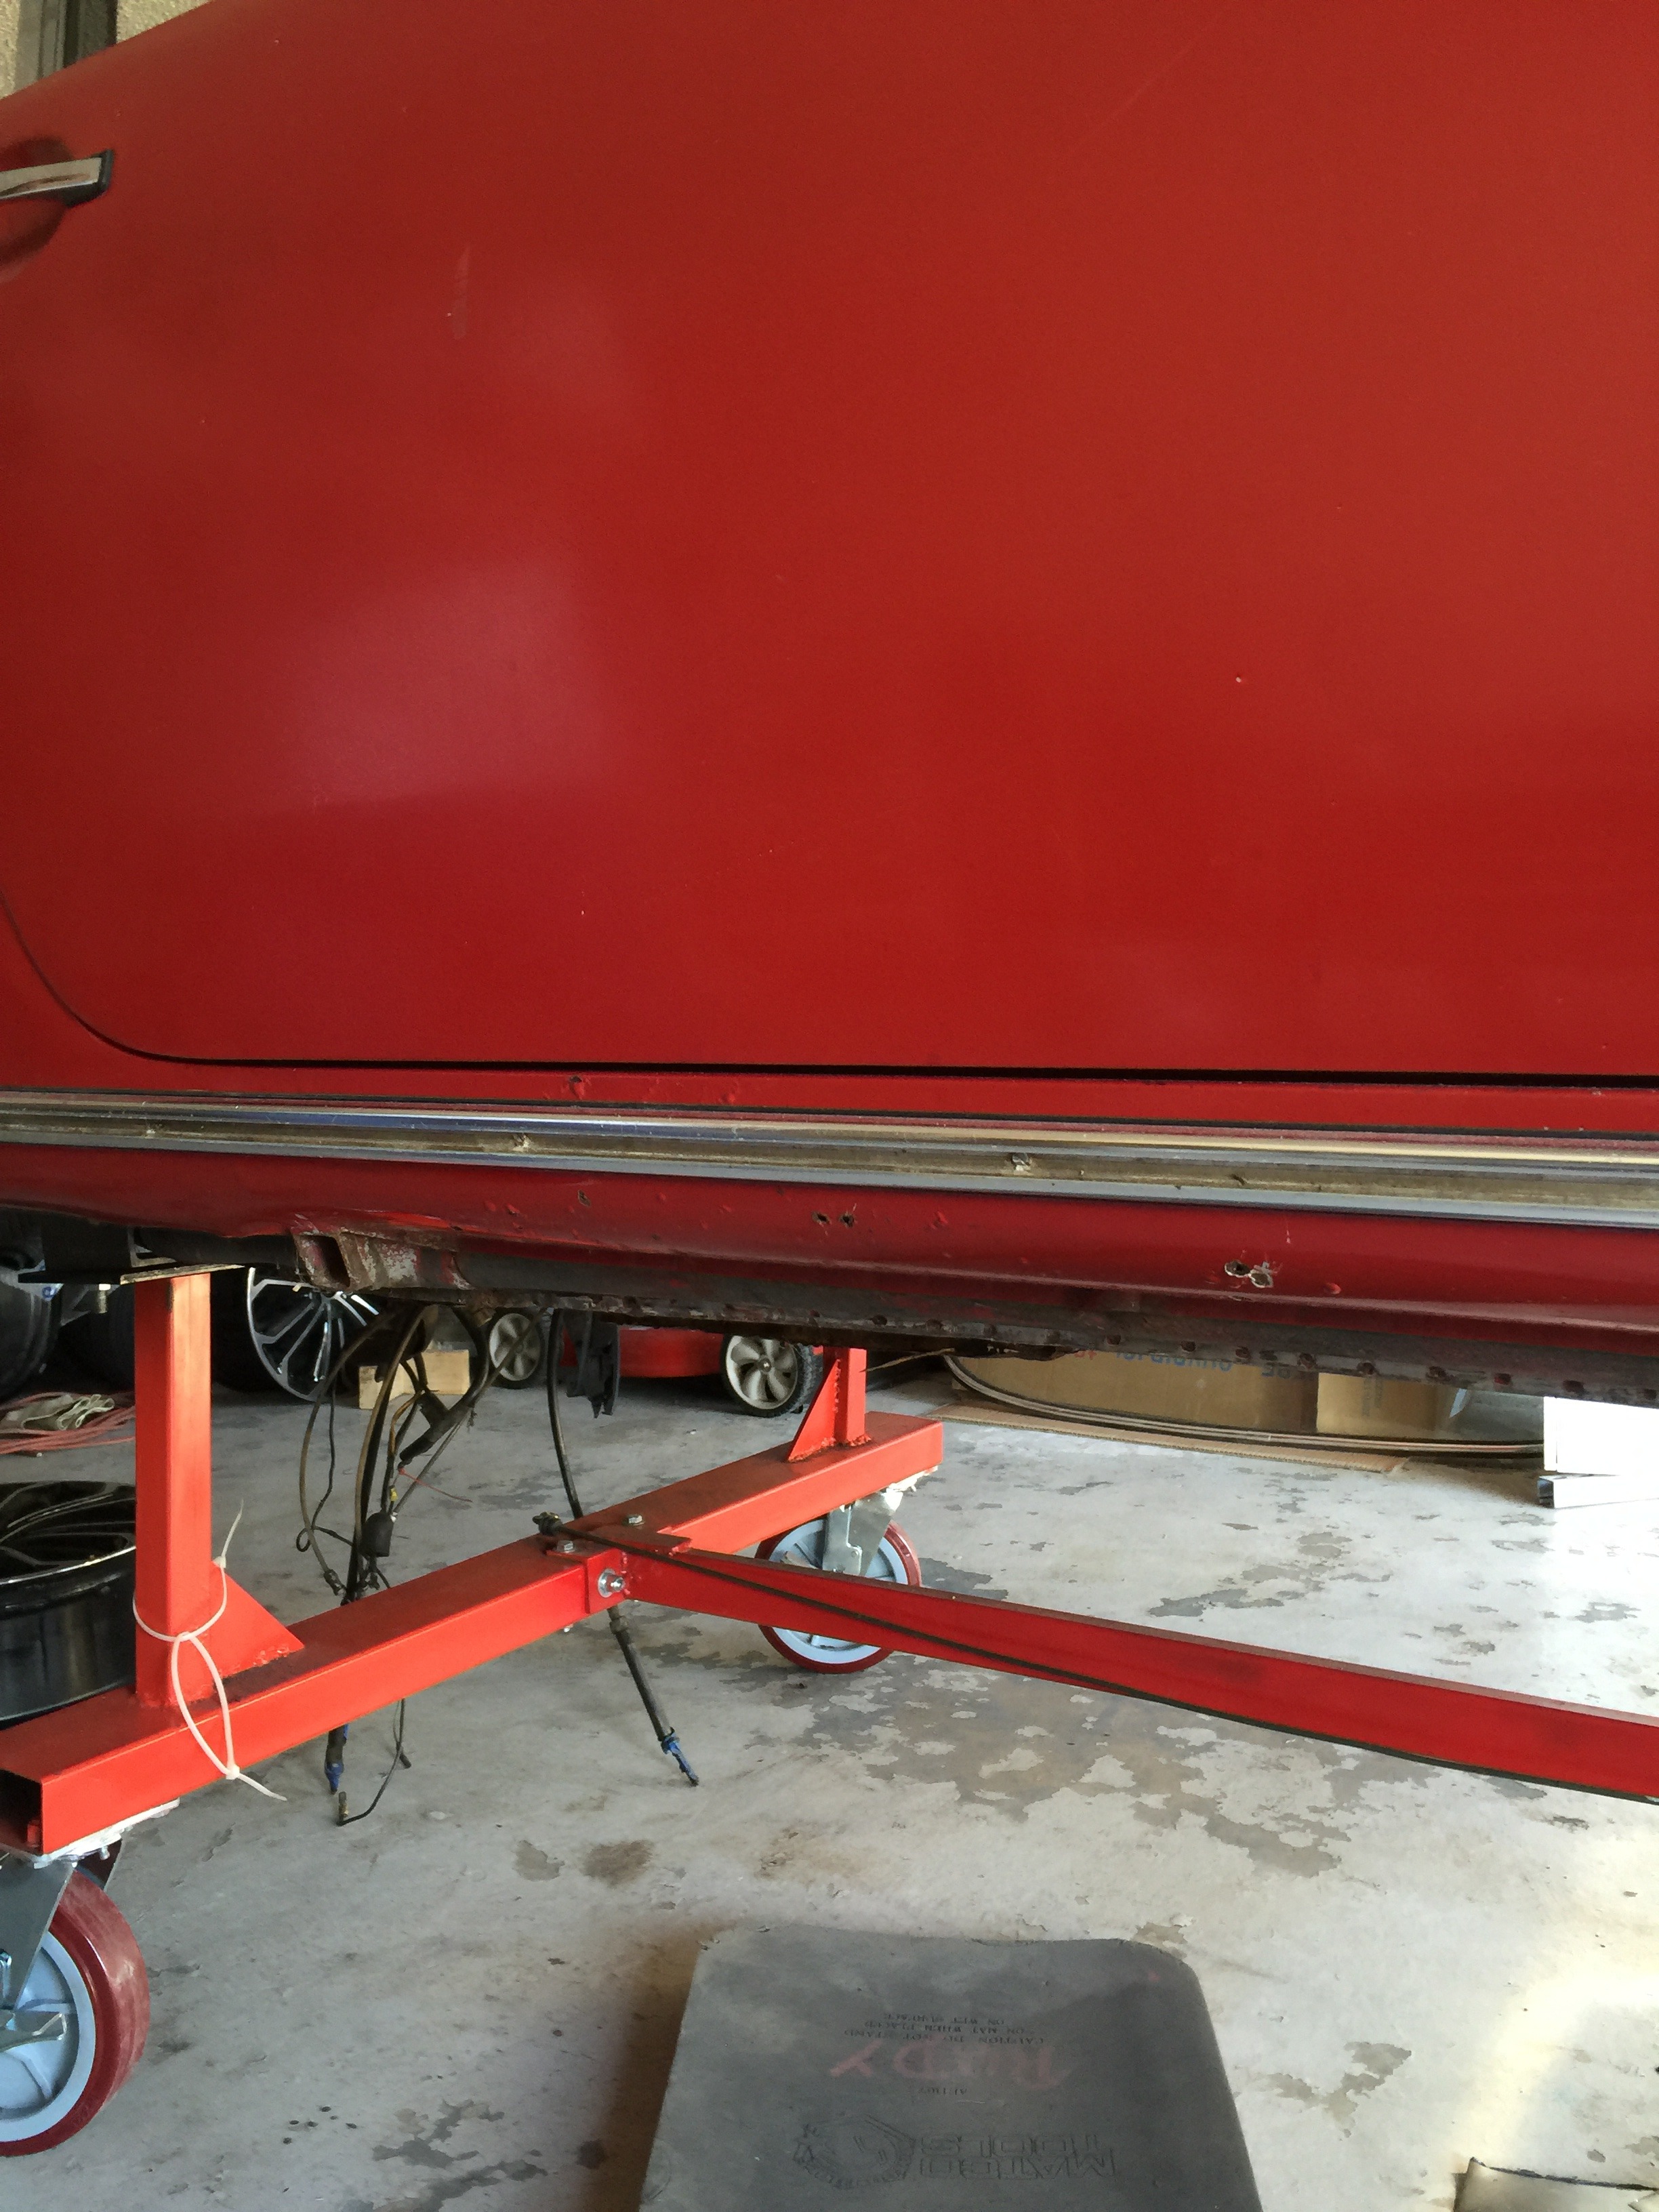
Nothing has changed since my last update... but now restoration-design has the cowl section!!!! Ordered today! This was something that was going to take a lot of work to fix without a replacement part...


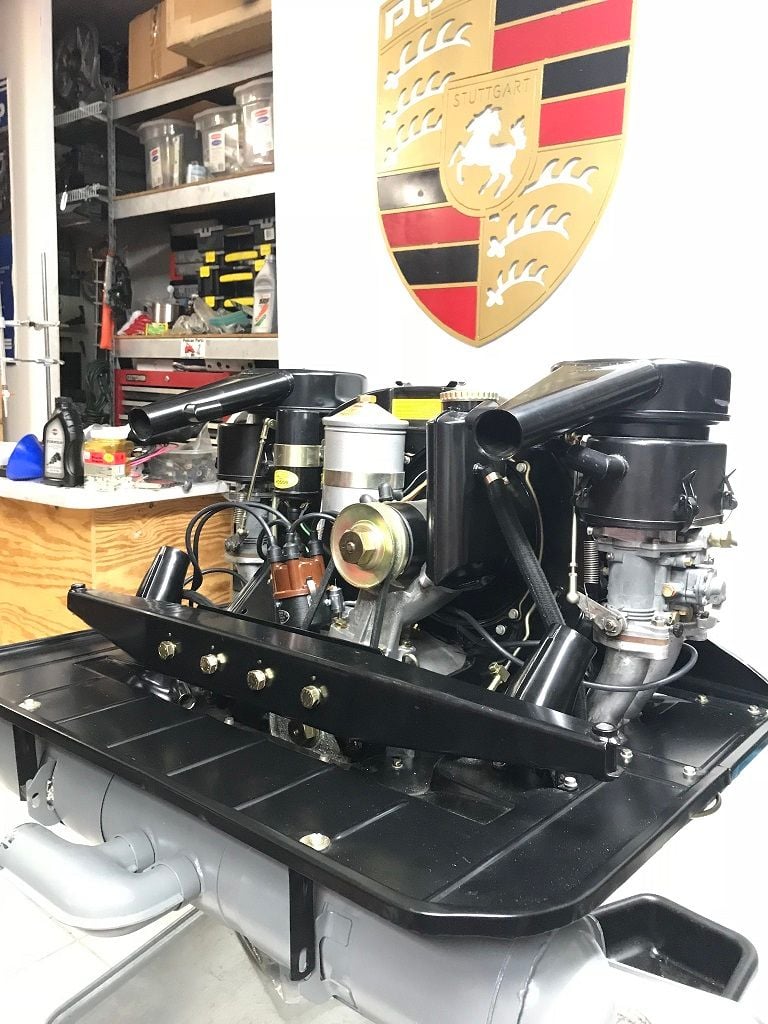
Finally going to finish the engine...

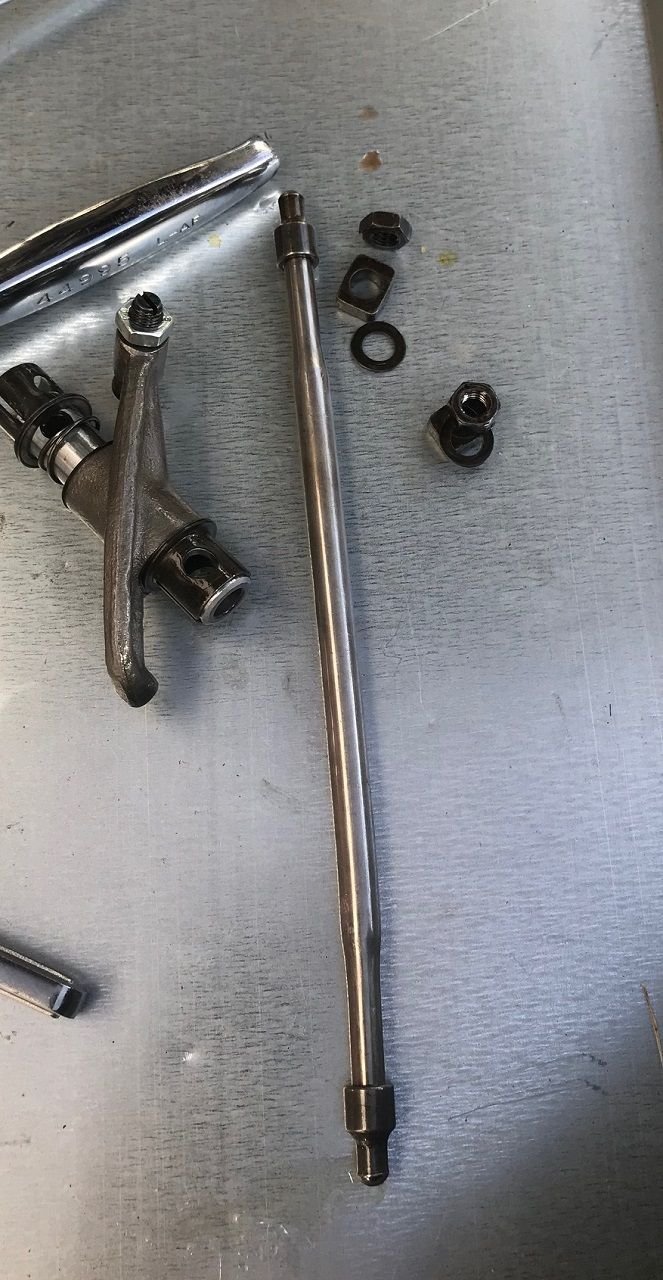
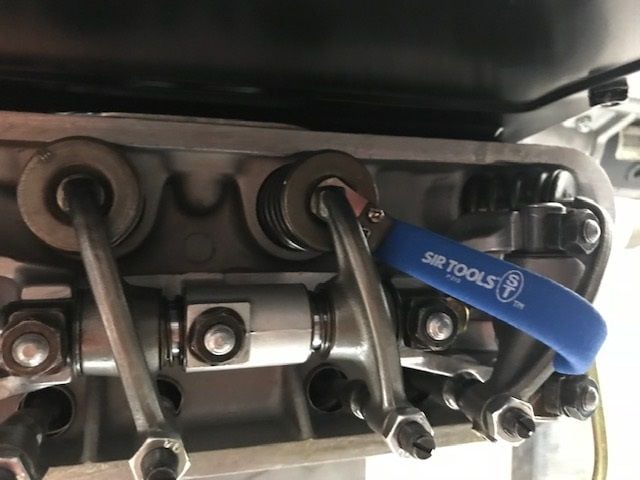
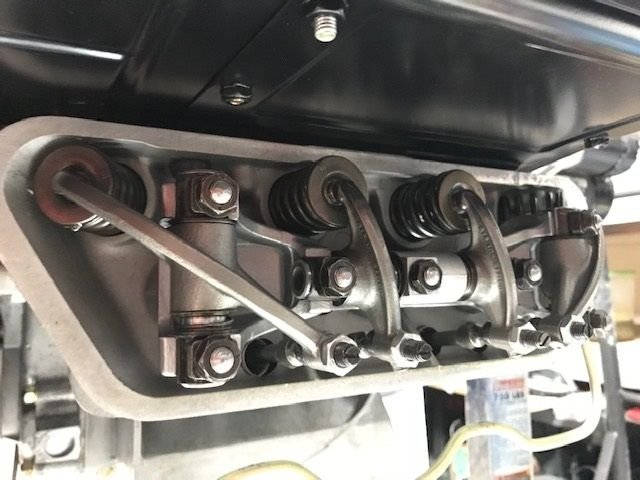
I need to adjust the valves.
Finish the wiring for the temporary dashboard.
Finish the exhaust (need to clean and paint the front section of the header/heater boxes) and install it.
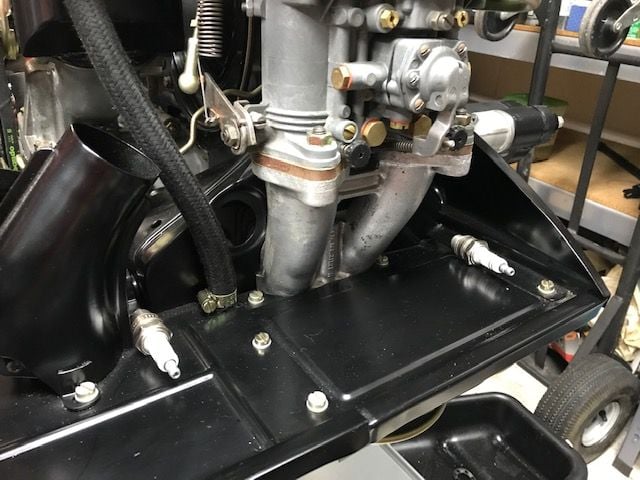
Install the plug wires
Set ignition timing (that is going to be fun...)
Fill with oil to the correct level...

Cross fingers and fire it up...

So happy to finally take the time to continue this project.
Reply
Old Oct 5, 2018 | 11:14 AM
  #533  
Wachuko's Avatar
Wachuko
Thread Starter
Professor of Pending Projects
Rennlist Member
20 Year Member
 
Joined: Nov 2001
Posts: 9,898
Likes: 33
From: Ocala, FL
Default

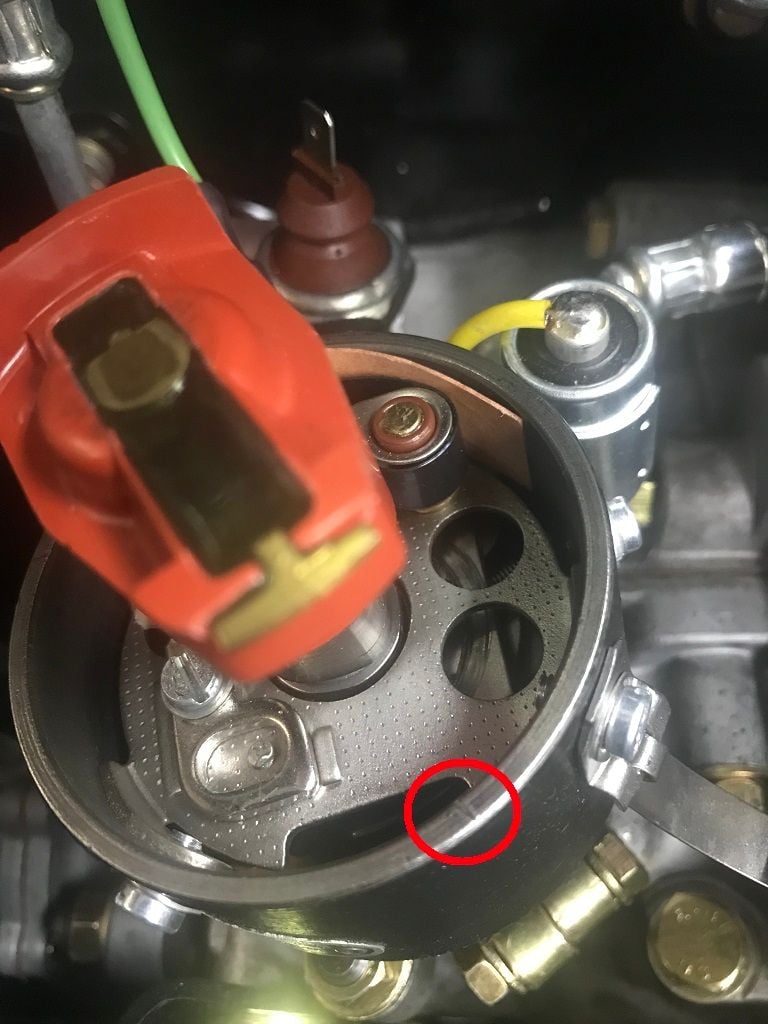
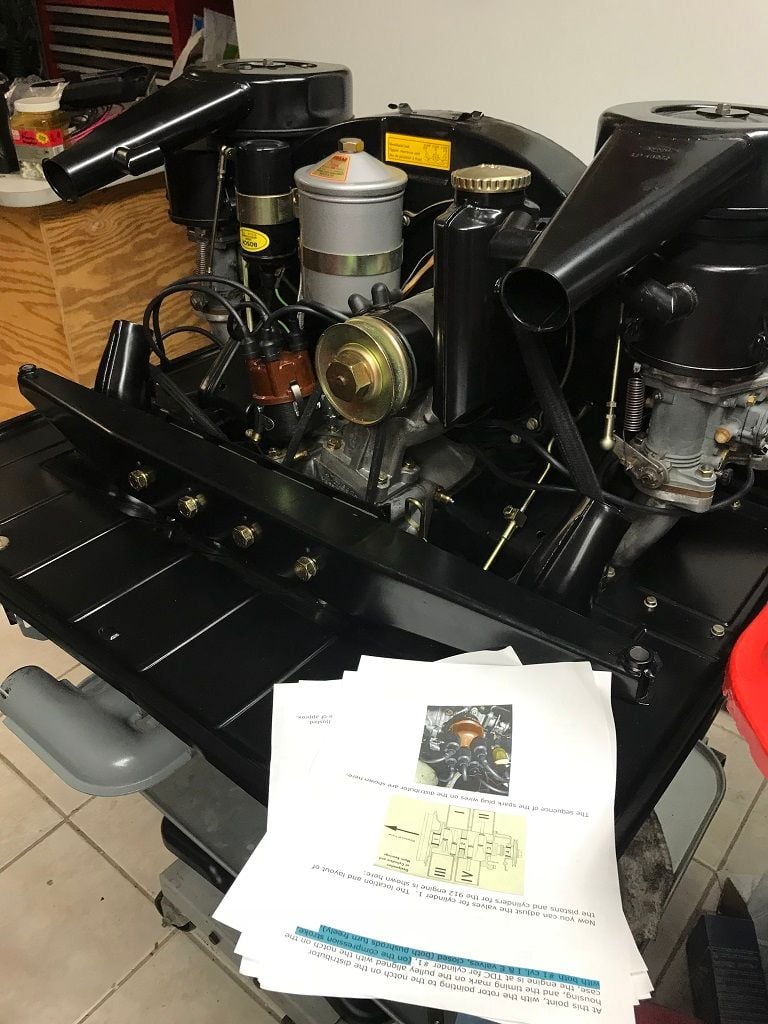
Valves adjusted. Spark plug cables installed. I also figured out why the distributor condenser was interfering with the oil line. Turns out I only needed to rotate the distributor. When I watched this video I noticed the mark on the distributor and how the rotor aligns with the mark when in TDC... so many things that I understand better now.
The video attached and the document Mike (on 912BBS forum) sent me made it all clear on how to adjust the valves...


Doing this with engine out and on a stand... makes me wonder, how folks change spark plugs with the engine in the car!!?? Must be a major pita to do so.

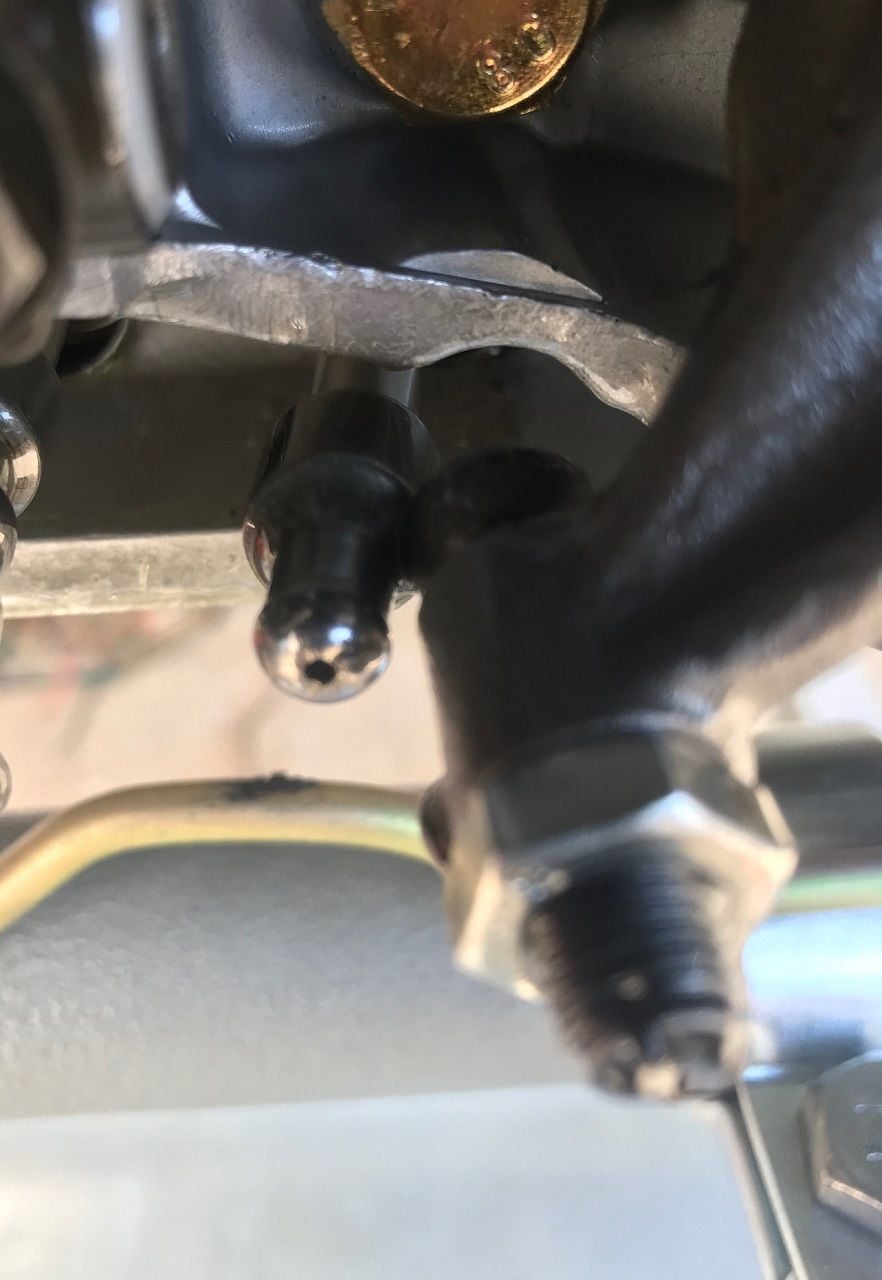
Also, sleeve covers on the spark plug cables (rotor cap end) had to be slid back to make sure cable went all the way in. The I move the covers in place. The big ones on the spark plug side, those I had to slide the cover as far back as I could so that the cover would not go past the hole... then, same thing,push in until it covered the hole.


Oh, photo with the spark plugs on the tray...removed them to avoid the compression making it hard to turn the engine...
Reply
Old Oct 5, 2018 | 11:21 AM
  #534  
Wachuko's Avatar
Wachuko
Thread Starter
Professor of Pending Projects
Rennlist Member
20 Year Member
 
Joined: Nov 2001
Posts: 9,898
Likes: 33
From: Ocala, FL
Default

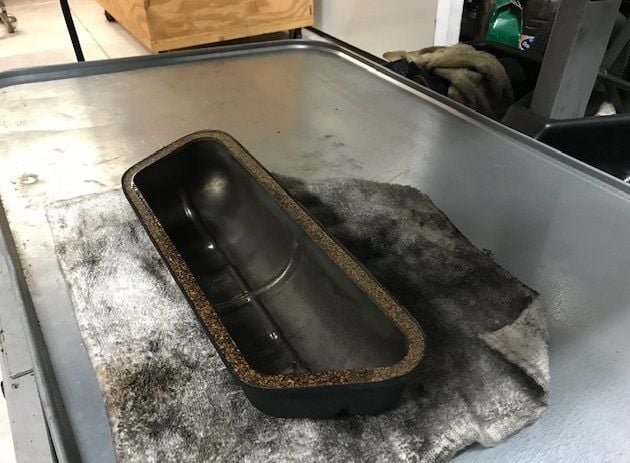
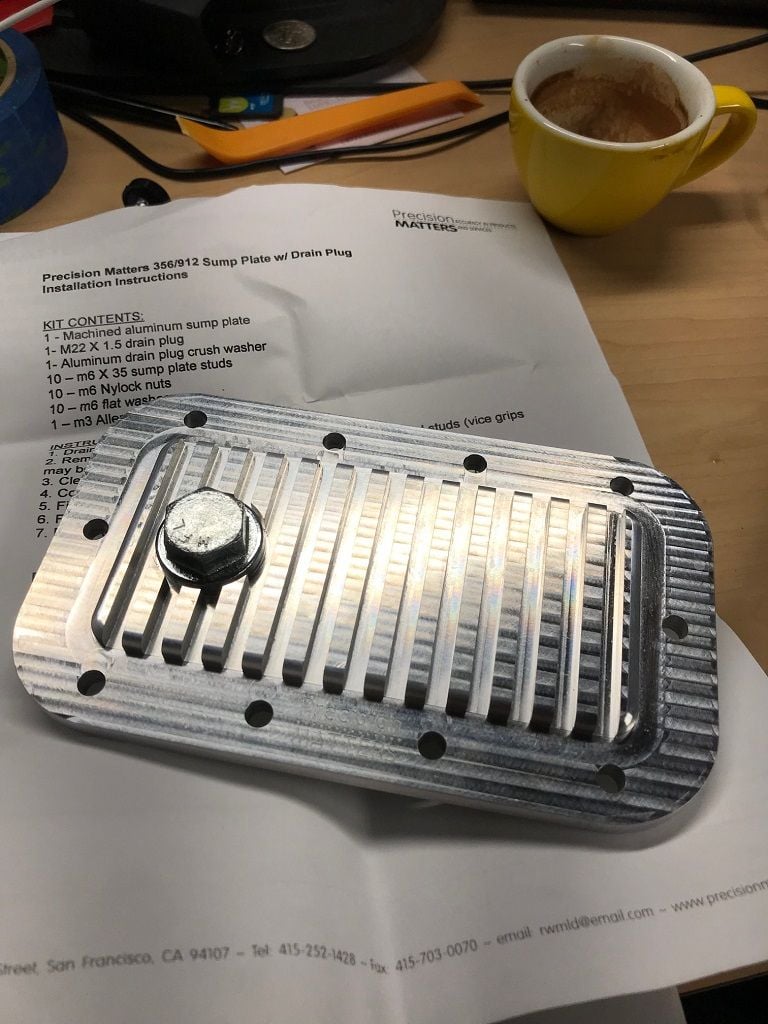
I also need to replace the initial sump plate installed for the updated one with the plug in it... might as well do that now as well since there are only two quarts of oil in the engine at this time. Removing billet unit, replacing with billet unit that has the plug, and filling engine with oil to proper level.

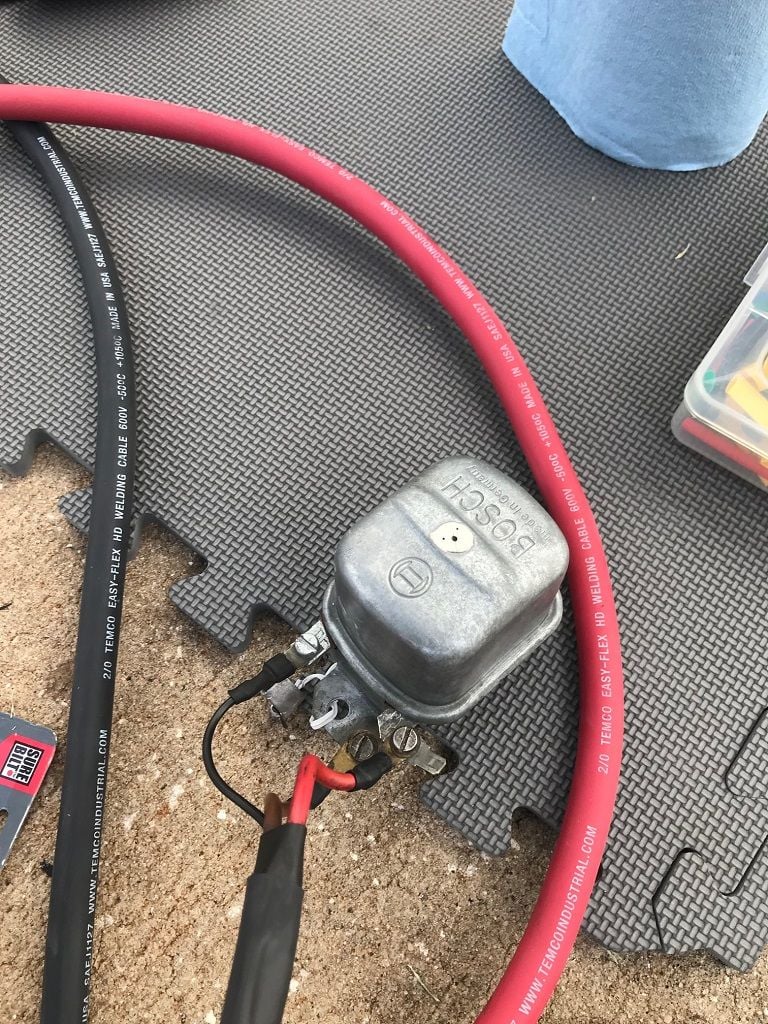
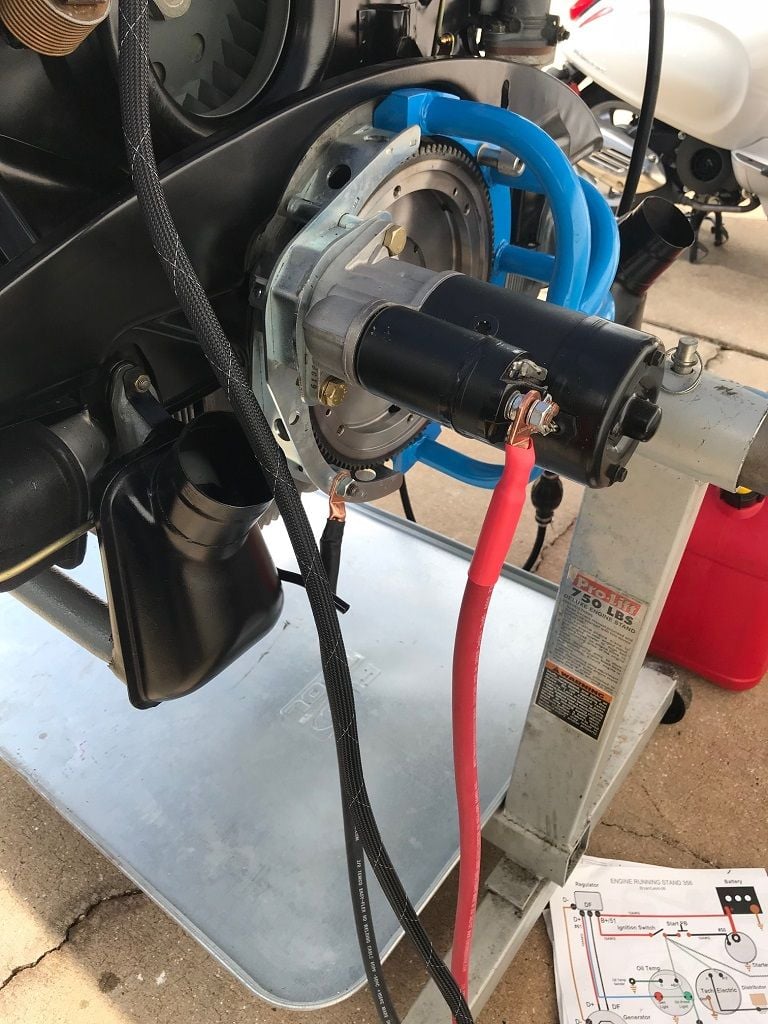
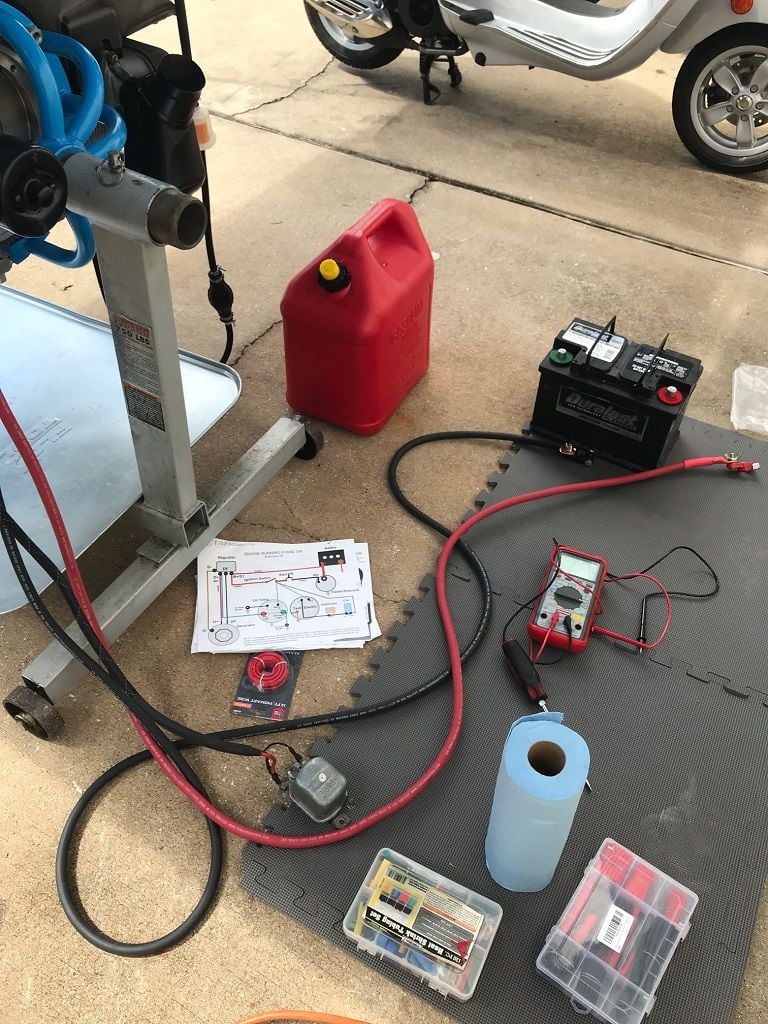
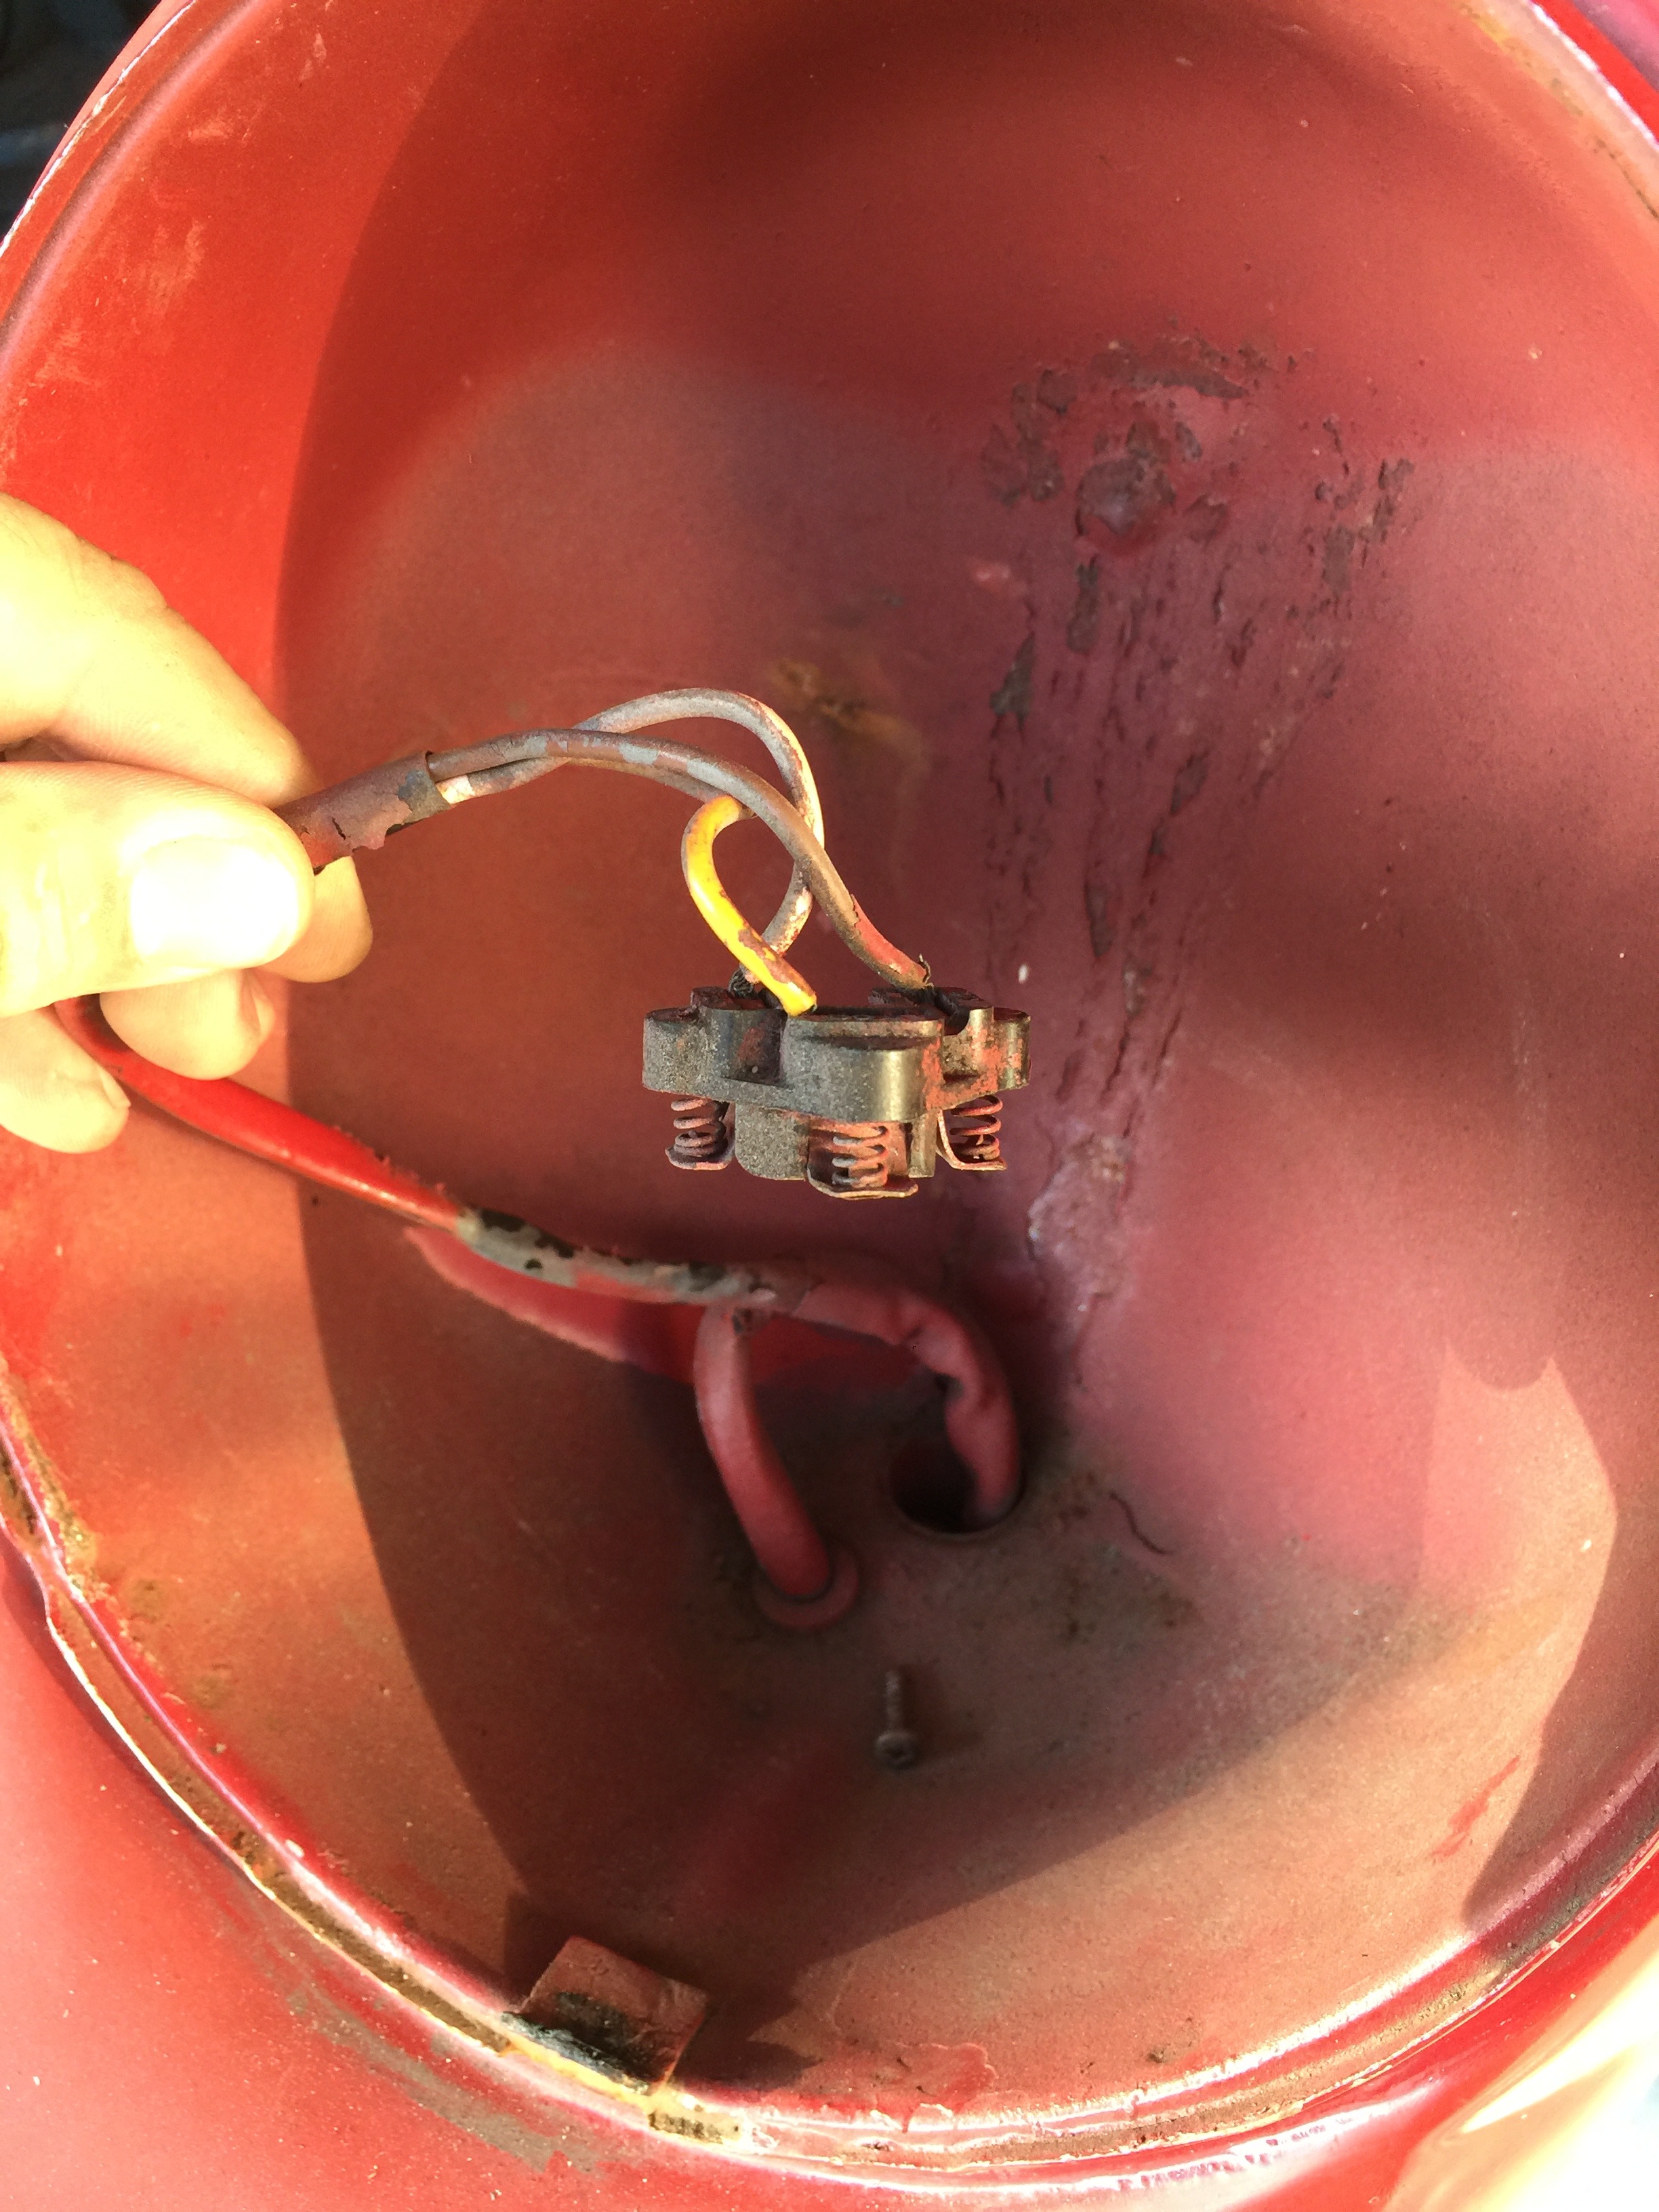
Reading the threads, links, diagrams on how to start the engine on the stand. need to do the wiring. I have battery cables and wire terminals... just need to look again at the diagrams and write ups.

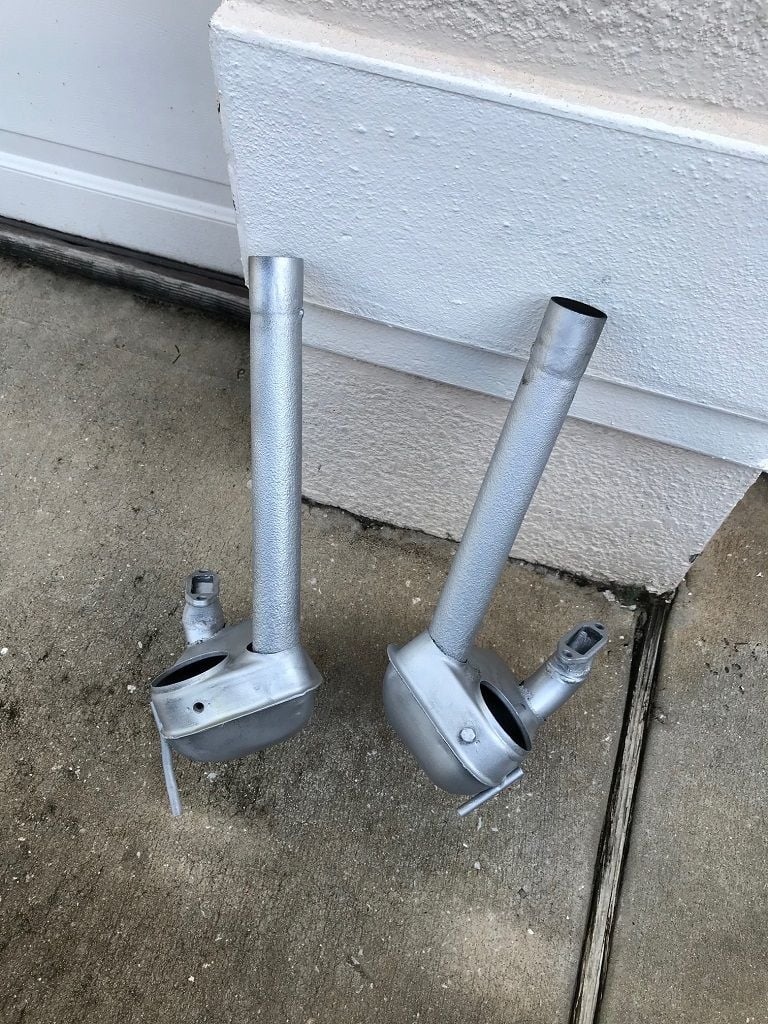
Also cleaning and painting the remaining exhaust parts to install tonight. Using some aluminum high temp ceramic paint, that I will then cover with the gray high-temp used on the muffler. Center box that has the flaps needs to be cleaned and painted as well... that one will be painted with high-temp black paint.


Reply
Old Oct 5, 2018 | 03:43 PM
  #535  
Wachuko's Avatar
Wachuko
Thread Starter
Professor of Pending Projects
Rennlist Member
20 Year Member
 
Joined: Nov 2001
Posts: 9,898
Likes: 33
From: Ocala, FL
Default

Painted the pipe the same high-temp gray, the tin in the back, black... So no I have partial install of the exhaust done... still need to clean and paint the heater boxes, but those are not needed to test the engine on the stand...


Reply
Old Oct 5, 2018 | 05:08 PM
  #536  
Wachuko's Avatar
Wachuko
Thread Starter
Professor of Pending Projects
Rennlist Member
20 Year Member
 
Joined: Nov 2001
Posts: 9,898
Likes: 33
From: Ocala, FL
Default

I will later get the stock tail pipe, but for now will use what came with the car...


Clamps adjusted (these was missing when I got the car)


Reply
Old Oct 6, 2018 | 12:16 PM
  #537  
Wachuko's Avatar
Wachuko
Thread Starter
Professor of Pending Projects
Rennlist Member
20 Year Member
 
Joined: Nov 2001
Posts: 9,898
Likes: 33
From: Ocala, FL
Default

Let's see if I can fire this up today... doing the wiring now...


Reply
Old Oct 6, 2018 | 01:18 PM
  #538  
Wachuko's Avatar
Wachuko
Thread Starter
Professor of Pending Projects
Rennlist Member
20 Year Member
 
Joined: Nov 2001
Posts: 9,898
Likes: 33
From: Ocala, FL
Default

I am just going to wire things by the book... could not find something else simple that I could follow... using regulator... Negative/ground to starter housing... I have a couple of diagrams (as you can see in the photo) but I get confused easily with them...


Reply
Old Oct 6, 2018 | 04:07 PM
  #539  
Wachuko's Avatar
Wachuko
Thread Starter
Professor of Pending Projects
Rennlist Member
20 Year Member
 
Joined: Nov 2001
Posts: 9,898
Likes: 33
From: Ocala, FL
Default

Engine is alive... but towards the end there is a strange noise... going to remove valve cover on sie 3&4 to check valve clearance again... Comments, thoughts?? I did turned over the engine without starting to build up oil pressure... manually pump gas before starting to make sure there was gas in the line... what you see in the video is the actual first start... started easy, just concerned with that noise.

Also, I have not checked timing or anything else for that matter...

Reply
Old Oct 6, 2018 | 04:56 PM
  #540  
Wachuko's Avatar
Wachuko
Thread Starter
Professor of Pending Projects
Rennlist Member
20 Year Member
 
Joined: Nov 2001
Posts: 9,898
Likes: 33
From: Ocala, FL
Unhappy

Well... looks like I found the issue... I might have not installed a push rod correctly... <sigh> Cylinder #4

Came off the tappet and push rod bent... Any guess as to what additional damage could have been done? Do I need to tear down again??


Reply


All times are GMT -3. The time now is 12:03 AM.