My 1967 912 Build Thread
 04-06-2015, 12:56 PM
#451
Professor of Pending Projects
Rennlist Member
Rennlist Member
Thread Starter
Interesting. I had no idea you could still get these. I just acquired a '67 912 and, although the previous owner had the car for over 30 years, the car didn't come with a manual and he hadn't an idea what happened to it.
I've looked on Ebay and haven't been too thrilled with what I'm finding. Do you mind if I ask approximately how much you paid for it? I'd like to get one right away.
Brook
I've looked on Ebay and haven't been too thrilled with what I'm finding. Do you mind if I ask approximately how much you paid for it? I'd like to get one right away.
Brook
This is the email I got from Bob (Sunset Porsche) back in Jan 2014 (how time goes by so fast!!! )
1967 912 owners manual is still available for $66.27 (wkd460520)
These take longer to get than parts so it could be 2-5 weeks
These take longer to get than parts so it could be 2-5 weeks
 04-06-2015, 01:31 PM
#452
3rd Gear

Join Date: Apr 2015
Posts: 3
Likes: 0
Received 0 Likes
on
0 Posts
04-07-2015, 12:10 PM
#454
Professor of Pending Projects
Rennlist Member
Rennlist Member
Thread Starter
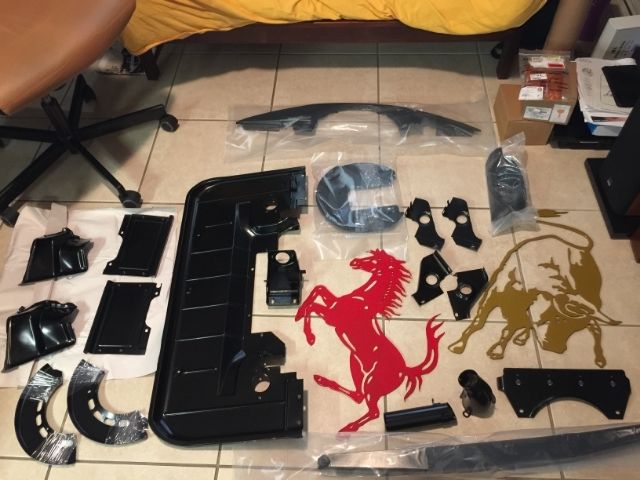
Got all the parts today and they look amazing. I even included the horse and the bull and other stuff that I had... (not everything is in the photo)...
04-07-2015, 06:19 PM
#455
Professor of Pending Projects
Rennlist Member
Rennlist Member
Thread Starter
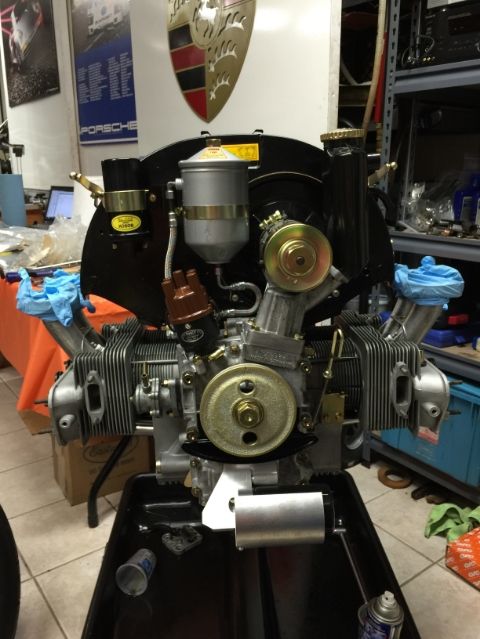
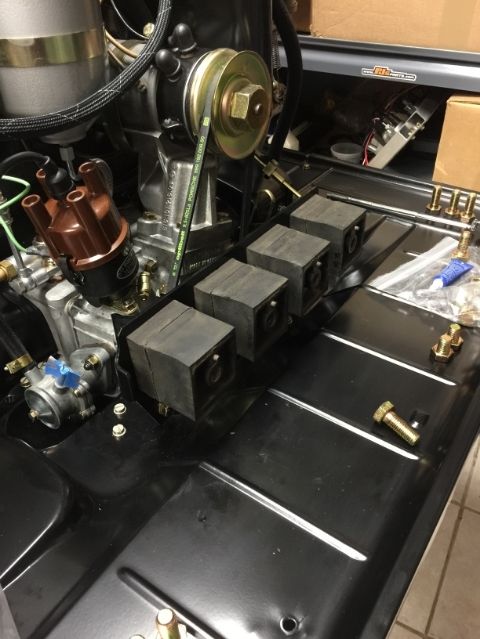
Started to test fit the engine tins to figure out the correct order. I will move the photos around once I have the correct order...
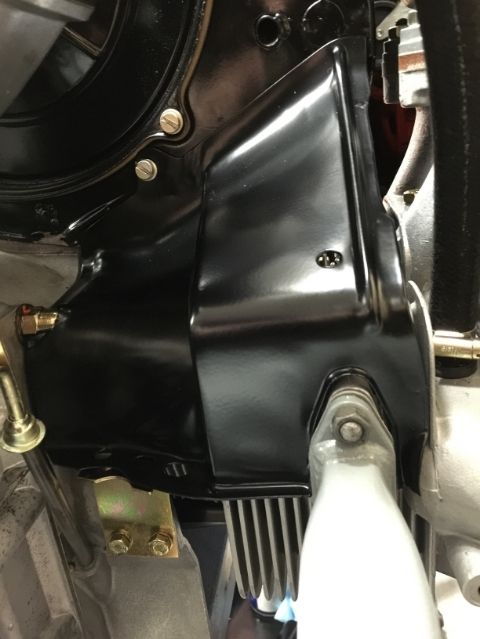
I need to look again, but not sure how to get to the middle bolt since it is right behind the carburetors... carburetors will have to come out to get to it. Not a big issue since I was going to remove them anyway to do the calibration and tests on the bench...
I need to look again, but not sure how to get to the middle bolt since it is right behind the carburetors... carburetors will have to come out to get to it. Not a big issue since I was going to remove them anyway to do the calibration and tests on the bench...
 04-08-2015, 12:14 AM
#457
Professor of Pending Projects
Rennlist Member
Rennlist Member
Thread Starter


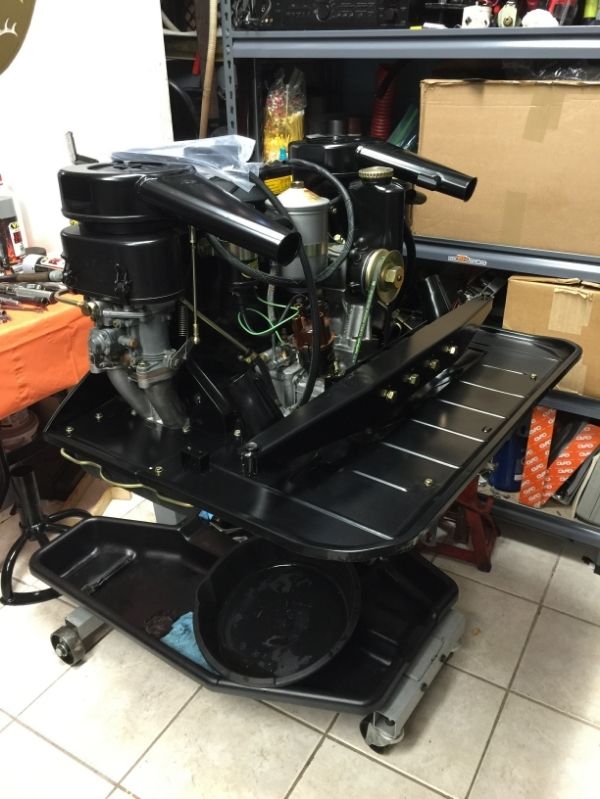
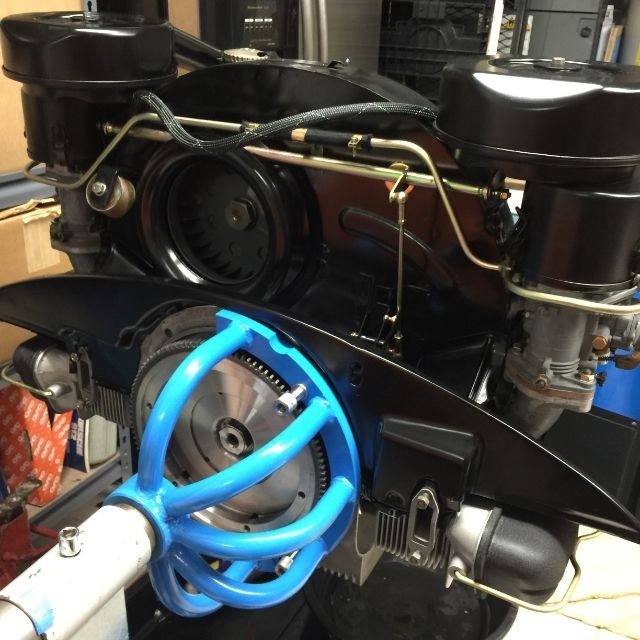
It is late, I will upload and rearrange the photos tomorrow. Had to switch to the Porsche engine yoke (P201) instead of the copycat I was using... only the original allows for the rear engine tins to be put in place...
But the engine tins are in place. I need to finish the heater boxes and the carburetor heat assembly... those are the only pieces missing since I had not reconditioned them in time...
 04-08-2015, 05:07 PM
#458
Professor of Pending Projects
Rennlist Member
Rennlist Member
Thread Starter
First, let me share what is in The Maestro index for order:
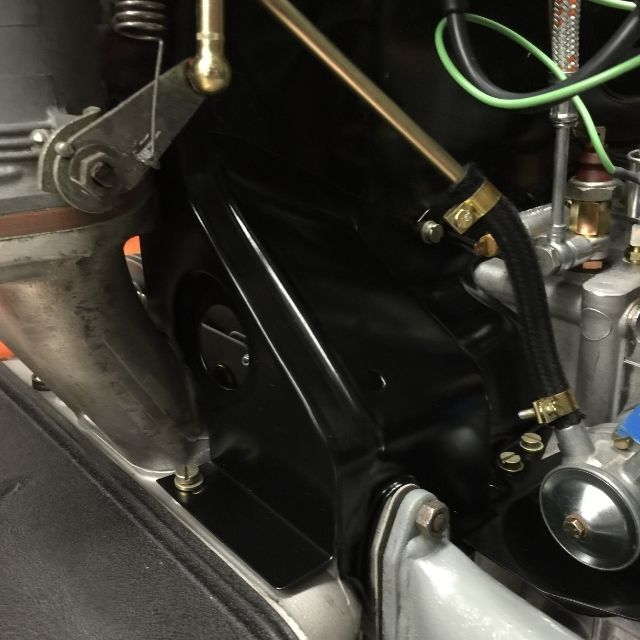
On the engine sheet metal install order... Best to install before you mount the carburetors as a few bolts are hard or impossible to reach with them in place... you have been warned... here is my take based on my recent experience:
1. Install fan shroud
2. Install Cylinder covers. On this I found that unless you have the Porsche yoke (P201), the less expensive yokes will interfere with the engine tins. So if you are looking to buy an engine stand, invest from the get go on the real one (or the one from OSC that is true to the original one - budget around US$200.00 for this).
3. Install the side covers. These are the ones that go in front of the spark plugs and hold the spark plug wires in place.
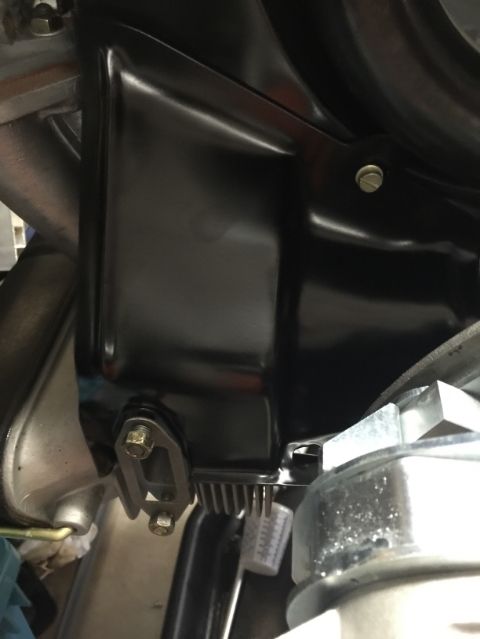
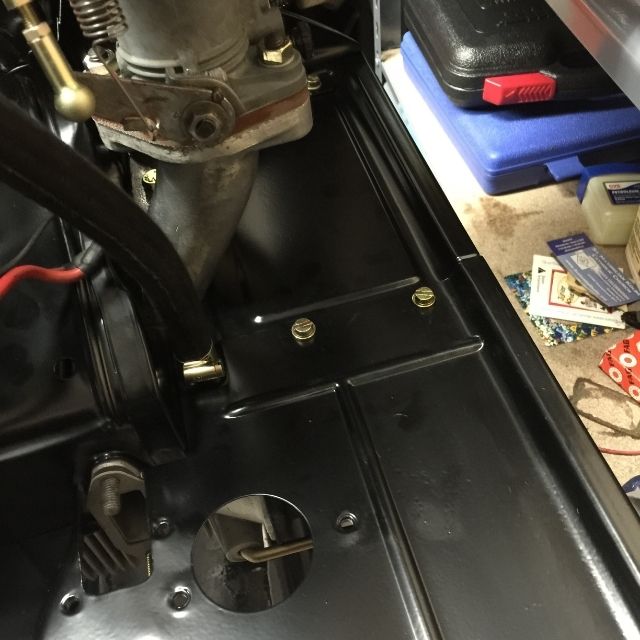
4. Install center side plates
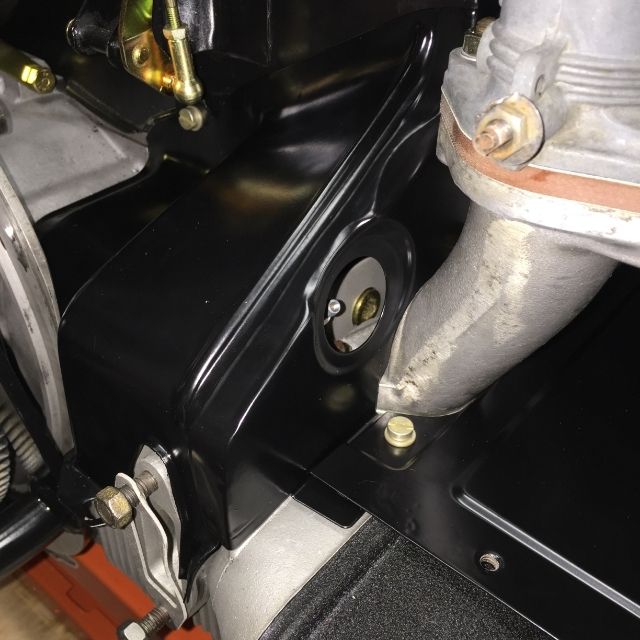
5. Install rear cover
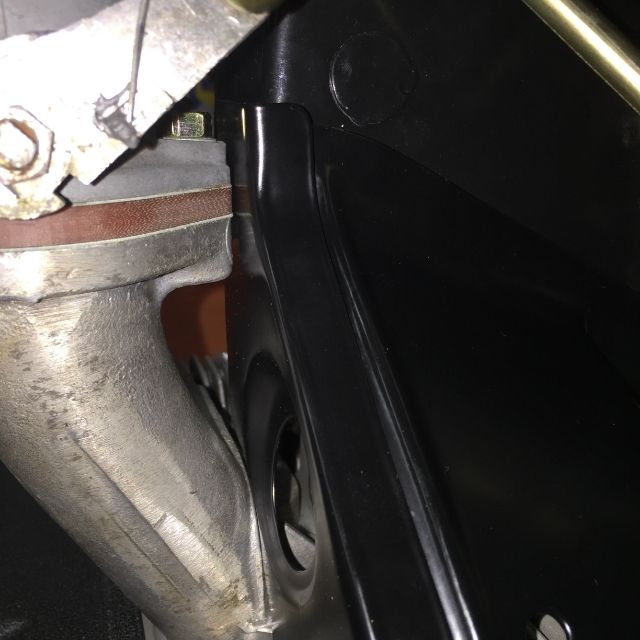
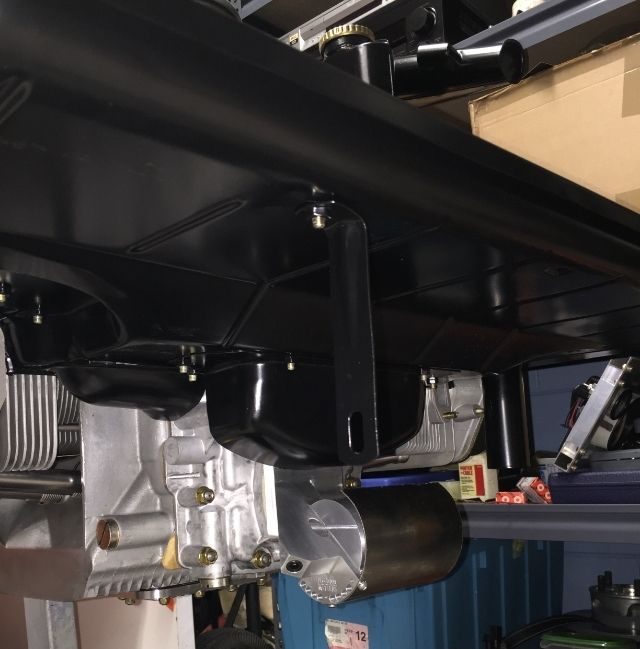
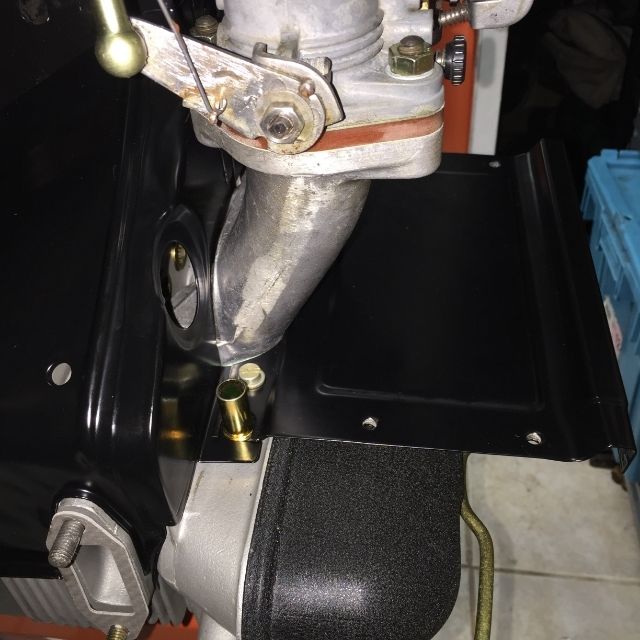
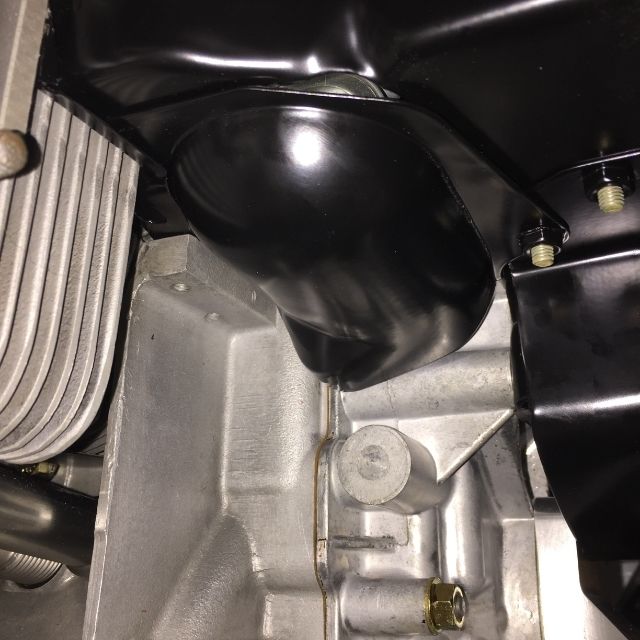
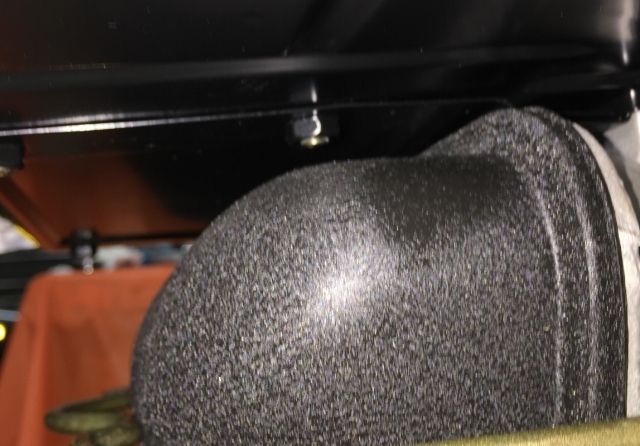
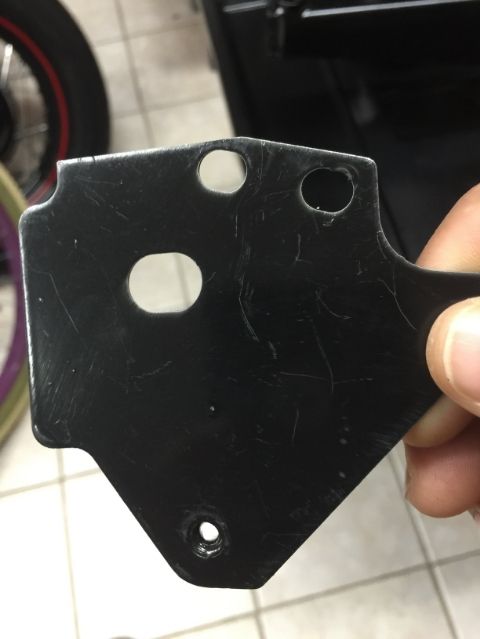
6. Install cover that goes under the fuel pump. Interesting install this one... as it goes over the cylinder tin cover but under the front pan... At this time also install the cover that goes on the oil dipstick side. No photos from me on that since I lost that cover. Just ordered from SMC...
As you slide the front pan into place, remember that the cover under the fuel pump goes under the front pan, not on top...
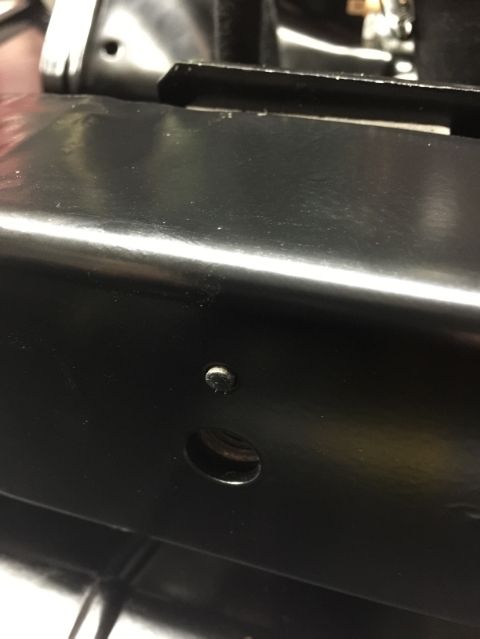
Yes... I played around with this piece so much that I ended up misplacing it, duh!... new one was ordered today from SMC... this hole left blank on purpose, lol...
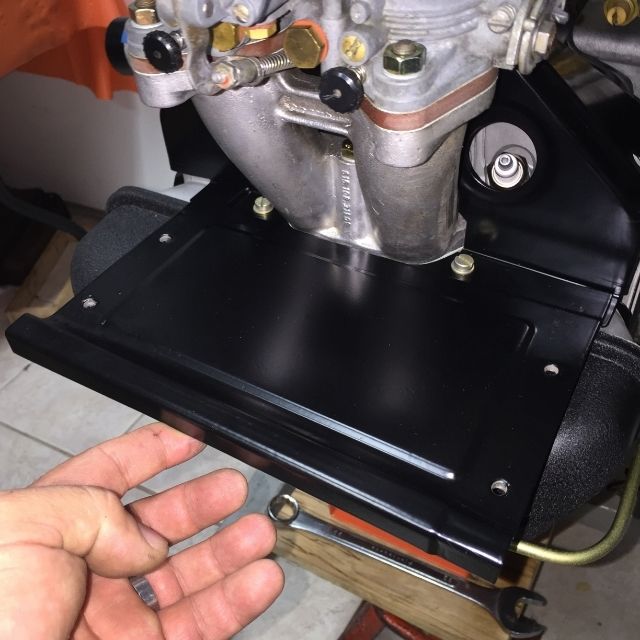
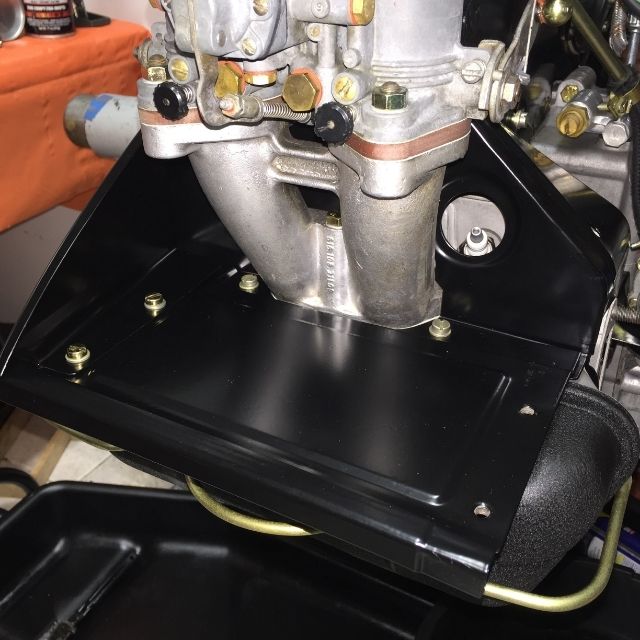
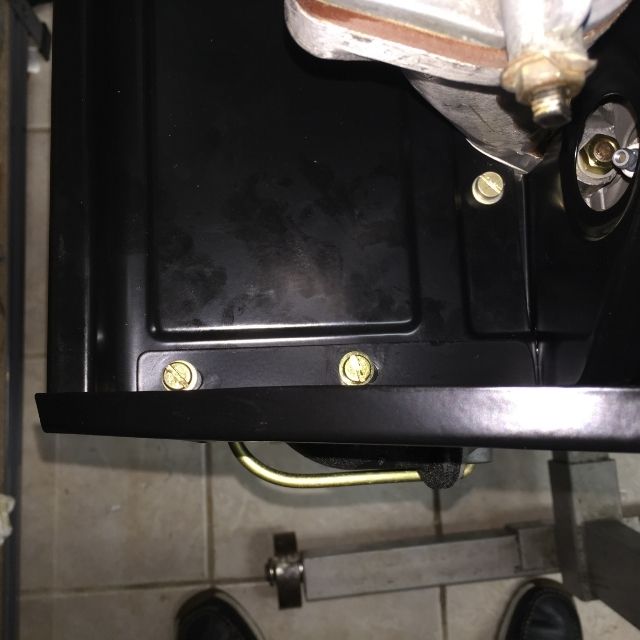
7. Install lower cover for pulley
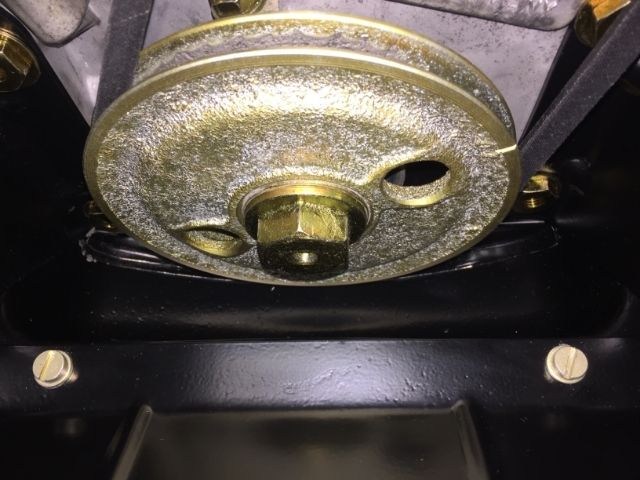

The cheesehead bolts I got are just a tad longer than what the manual calls for... I just could not find them shorter... something to be aware is that this is not an issue (well maybe for the concourse guys it is) except over the valve covers... there I used some of the older bolts I had (those were yellow zinc plated)... here, take a look:
On the engine sheet metal install order... Best to install before you mount the carburetors as a few bolts are hard or impossible to reach with them in place... you have been warned... here is my take based on my recent experience:
1. Install fan shroud
2. Install Cylinder covers. On this I found that unless you have the Porsche yoke (P201), the less expensive yokes will interfere with the engine tins. So if you are looking to buy an engine stand, invest from the get go on the real one (or the one from OSC that is true to the original one - budget around US$200.00 for this).
3. Install the side covers. These are the ones that go in front of the spark plugs and hold the spark plug wires in place.
4. Install center side plates
5. Install rear cover
6. Install cover that goes under the fuel pump. Interesting install this one... as it goes over the cylinder tin cover but under the front pan... At this time also install the cover that goes on the oil dipstick side. No photos from me on that since I lost that cover. Just ordered from SMC...
As you slide the front pan into place, remember that the cover under the fuel pump goes under the front pan, not on top...
Yes... I played around with this piece so much that I ended up misplacing it, duh!... new one was ordered today from SMC... this hole left blank on purpose, lol...
7. Install lower cover for pulley
The cheesehead bolts I got are just a tad longer than what the manual calls for... I just could not find them shorter... something to be aware is that this is not an issue (well maybe for the concourse guys it is) except over the valve covers... there I used some of the older bolts I had (those were yellow zinc plated)... here, take a look:
Last edited by Wachuko; 04-08-2015 at 05:35 PM.
04-08-2015, 05:07 PM
#459
Professor of Pending Projects
Rennlist Member
Rennlist Member
Thread Starter
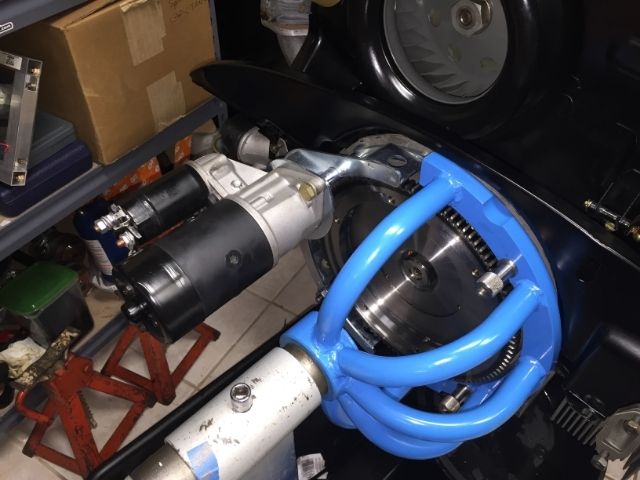
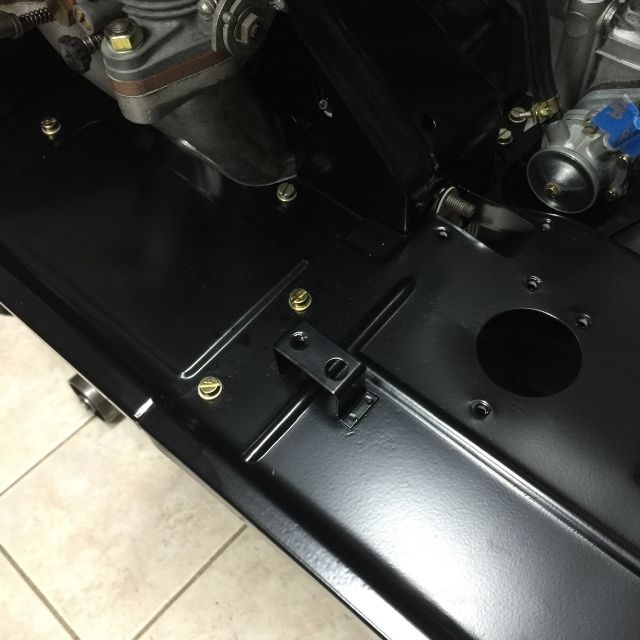
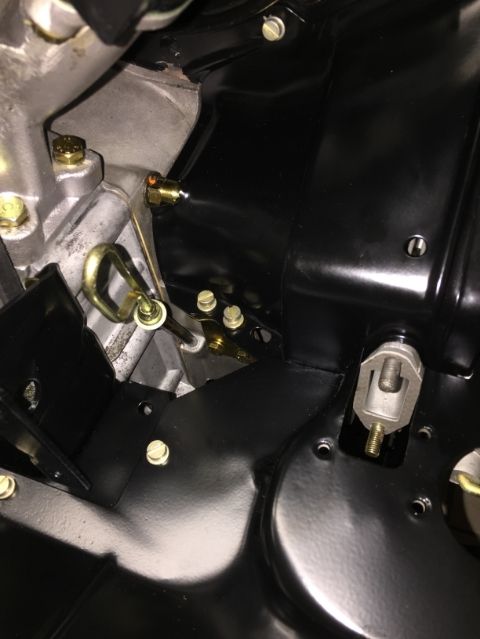
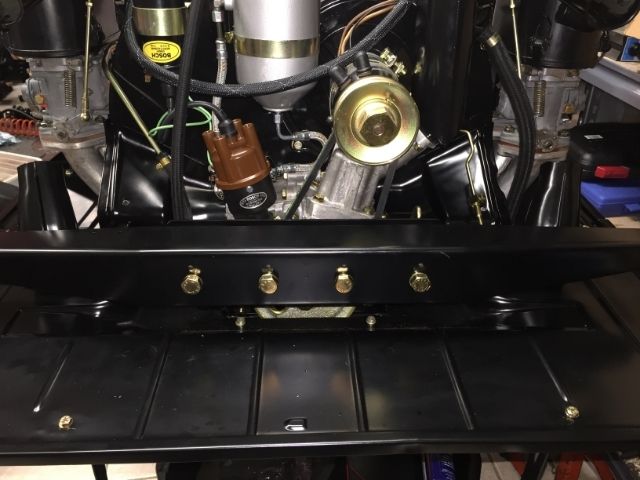
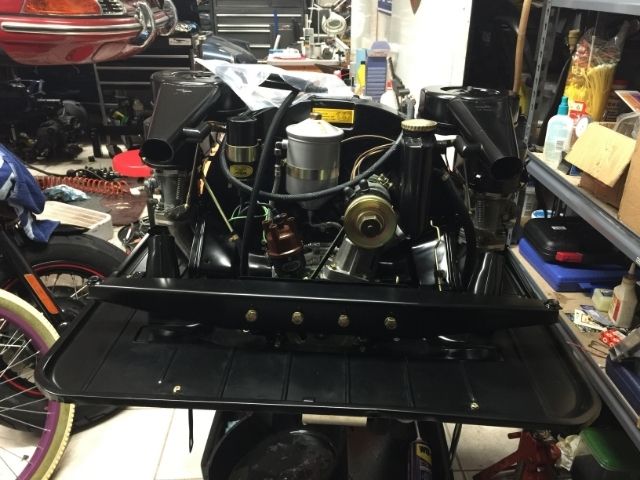
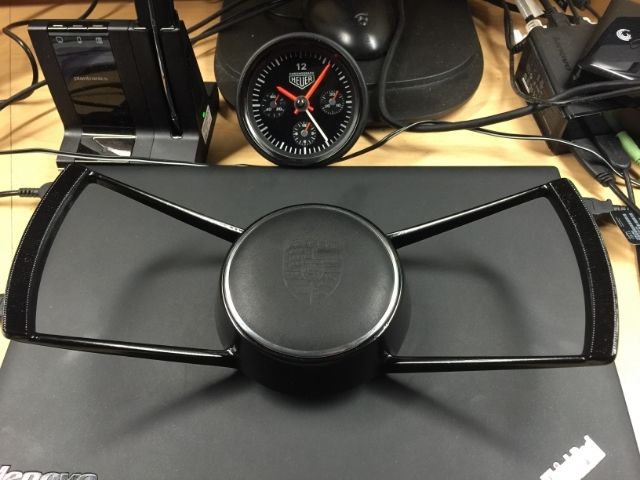
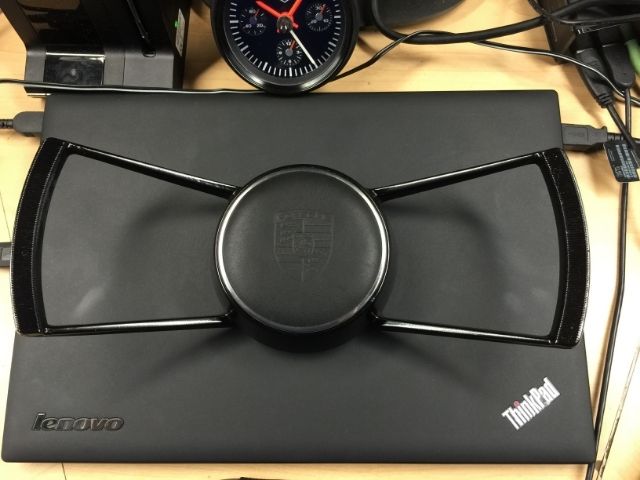
Cross bar mount rubber blocks installed...

At this time you would slide the rod that has the two flappers in place... mine is not reconditioned (doing that tonight)... but imagine it is in there
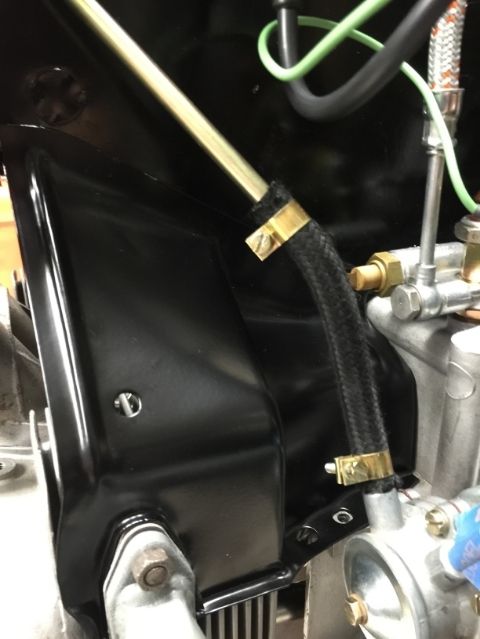
Great time to install the fuel hoses and clamps... because it is tight in there after all is in place...
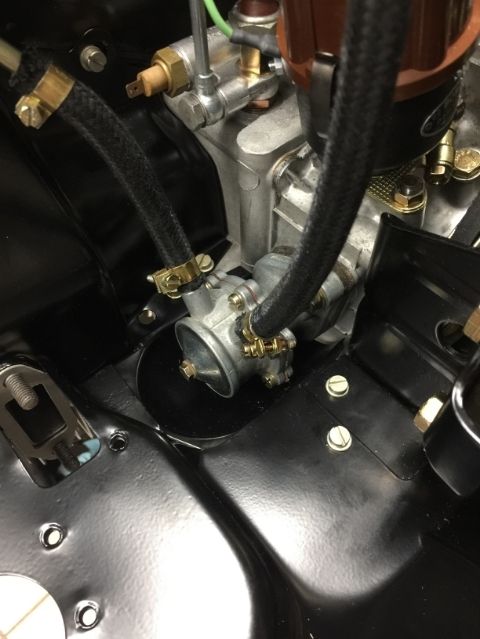
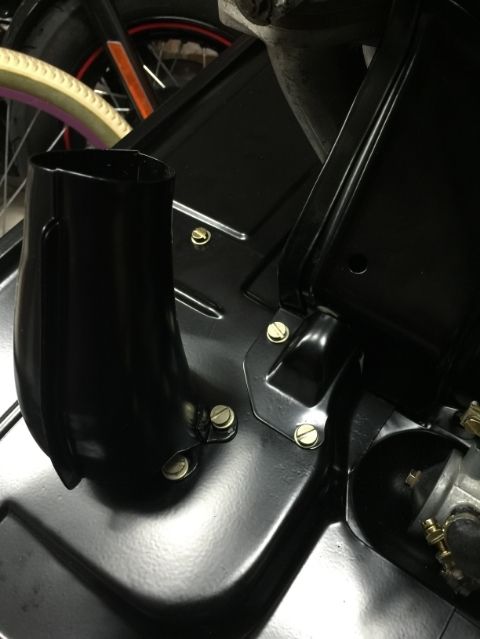
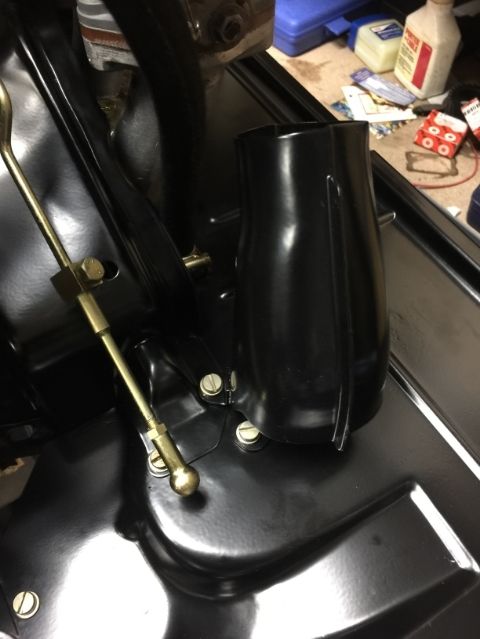
Slide carburetor heater tubes in place...
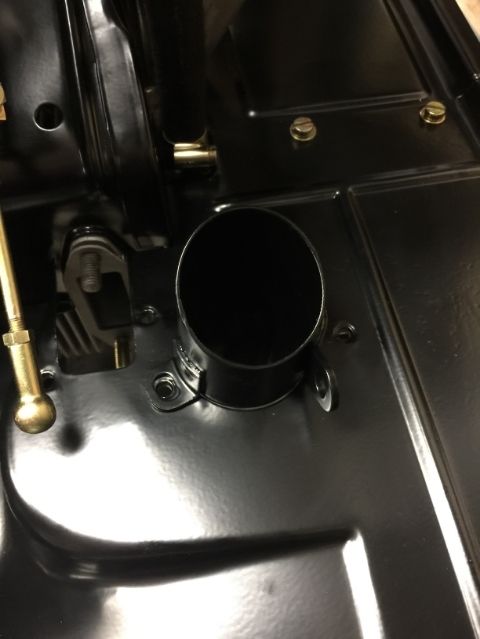
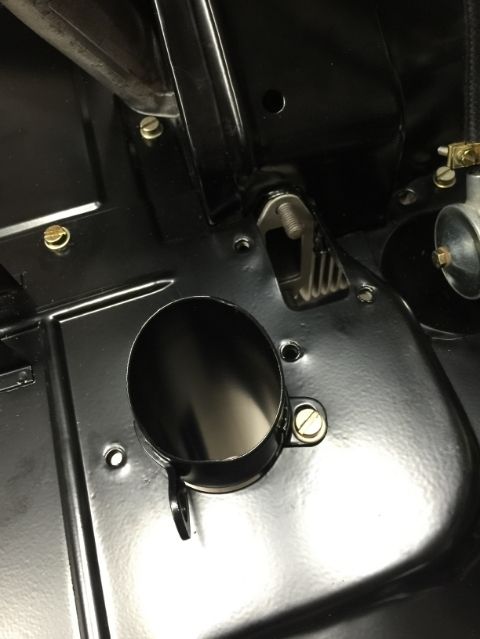
Ducts over the pipes... again, imagine the flaps and rod is in place... Also, you can see the little covers that go over where the exhaust is attached to..
Rubber blocks have nipples that allows for them to fit in just one direction...
Crossbar in place...
All right... when the flaps are finished I will post a few photos of those in place...
At this time you would slide the rod that has the two flappers in place... mine is not reconditioned (doing that tonight)... but imagine it is in there
Great time to install the fuel hoses and clamps... because it is tight in there after all is in place...
Slide carburetor heater tubes in place...
Ducts over the pipes... again, imagine the flaps and rod is in place... Also, you can see the little covers that go over where the exhaust is attached to..
Rubber blocks have nipples that allows for them to fit in just one direction...
Crossbar in place...
All right... when the flaps are finished I will post a few photos of those in place...
04-08-2015, 11:06 PM
#460
Professor of Pending Projects
Rennlist Member
Rennlist Member
Thread Starter
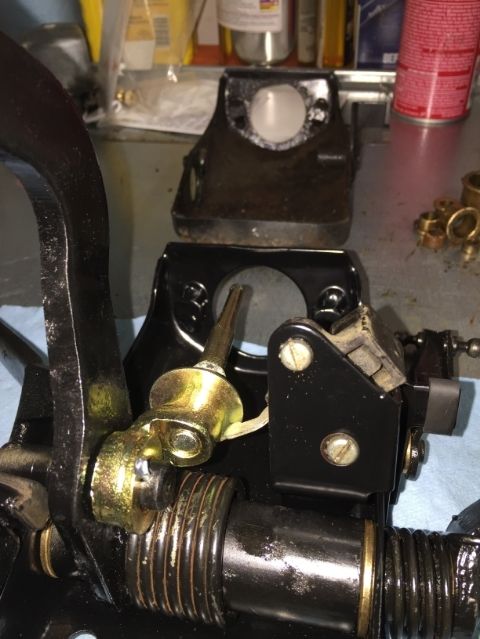
Pedals with switch installed.. and the correct rod/shaft...

Close-up

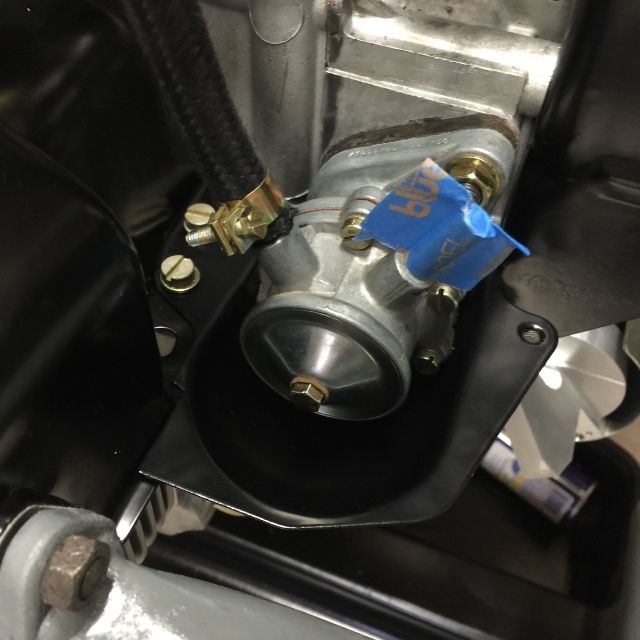
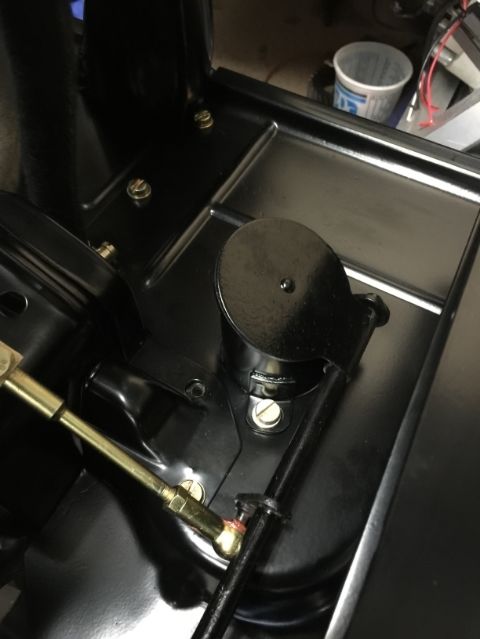
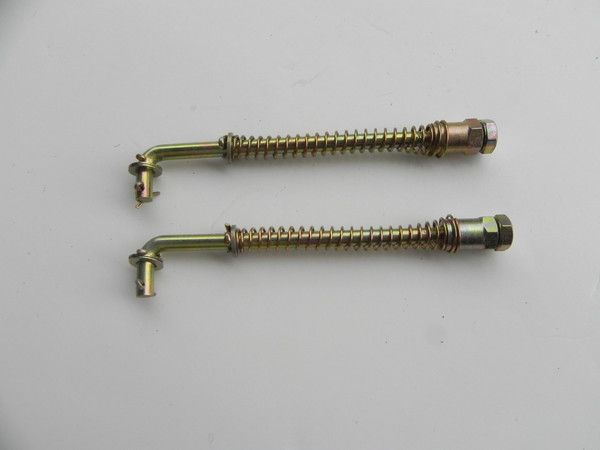
On to the carb heaters..
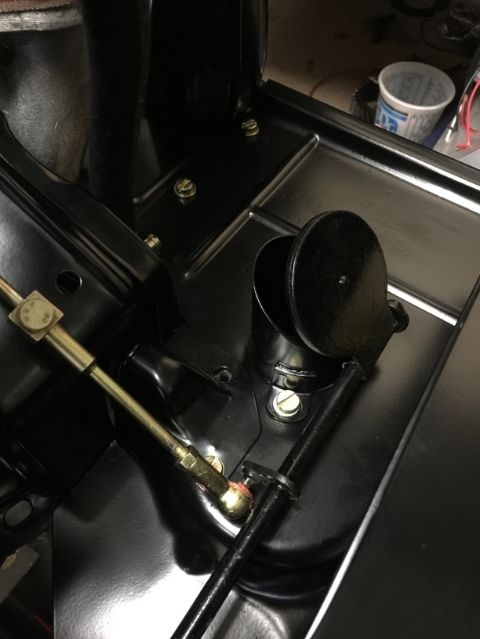
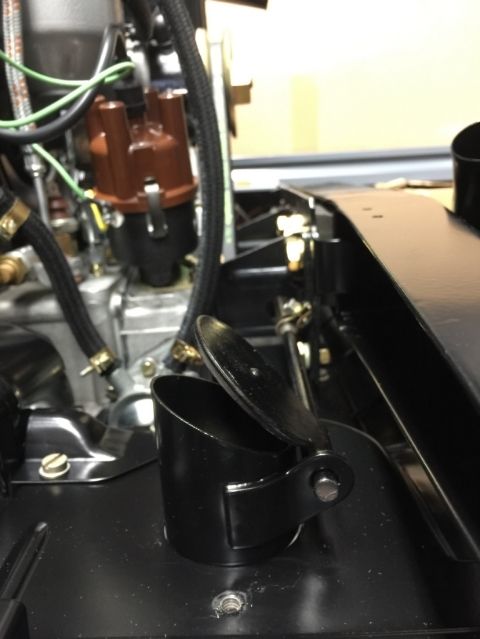
Tested by applying a heat gun to the thermo spring thingy... and sure enough, they closed as expected...

Close-up
On to the carb heaters..
Tested by applying a heat gun to the thermo spring thingy... and sure enough, they closed as expected...
Last edited by Wachuko; 04-15-2015 at 10:08 AM.
 04-14-2015, 03:45 PM
#463
Professor of Pending Projects
Rennlist Member
Rennlist Member
Thread Starter
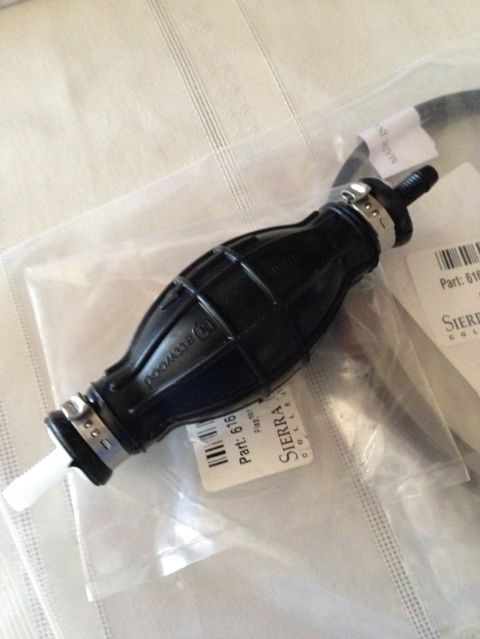
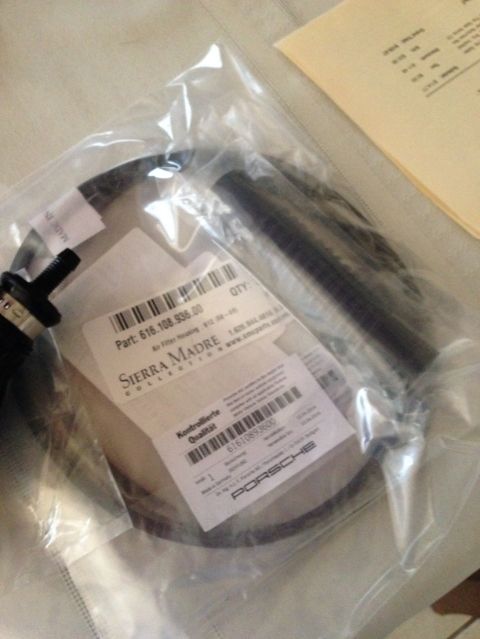
Got this yesterday
Pump to prime lines and carburetors...
Misplaced tin replacement...old one is sure to show up in a few days, lol.
Gasket for the base of carburetor air cleaner plates and hose from air cleaner to oil breather
Pump to prime lines and carburetors...
Misplaced tin replacement...old one is sure to show up in a few days, lol.
Gasket for the base of carburetor air cleaner plates and hose from air cleaner to oil breather
04-22-2015, 12:54 PM
#464
Professor of Pending Projects
Rennlist Member
Rennlist Member
Thread Starter
Found this place and ordered a few things...
http://www.aasesales.com/
Got some Front Right & Left Bumper End Caps - 1969-73. Not sure if I can make those fit my car, but it was an inexpensive part...

EDIT: Turns out they do not have them either...
Partsklassik was out of the Carburetor Linkage so ordered a set from them as well...
On another note...
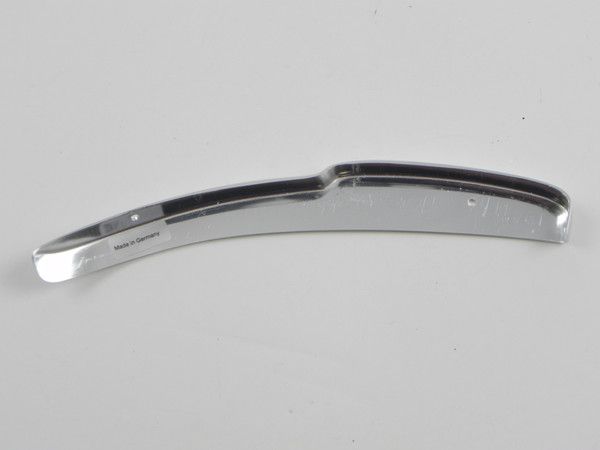
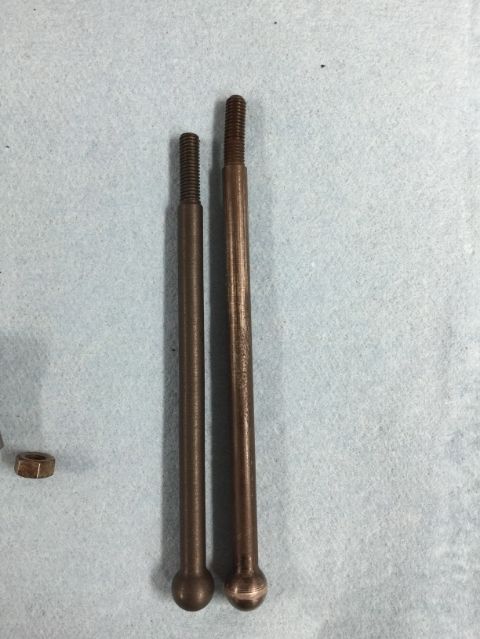
I ordered a new accelerator pedal rod to replace the one I had. Old one was bent.
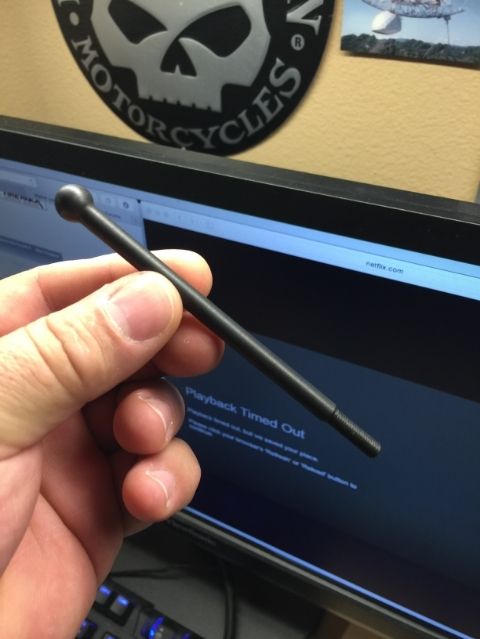
But turns out that the new one is shorter than the the one I have.
http://www.aasesales.com/
Got some Front Right & Left Bumper End Caps - 1969-73. Not sure if I can make those fit my car, but it was an inexpensive part...
EDIT: Turns out they do not have them either...
Partsklassik was out of the Carburetor Linkage so ordered a set from them as well...
On another note...
I ordered a new accelerator pedal rod to replace the one I had. Old one was bent.
But turns out that the new one is shorter than the the one I have.