When you click on links to various merchants on this site and make a purchase, this can result in this site earning a commission. Affiliate programs and affiliations include, but are not limited to, the eBay Partner Network.
More parts being shipped out for rebuild/restoration.
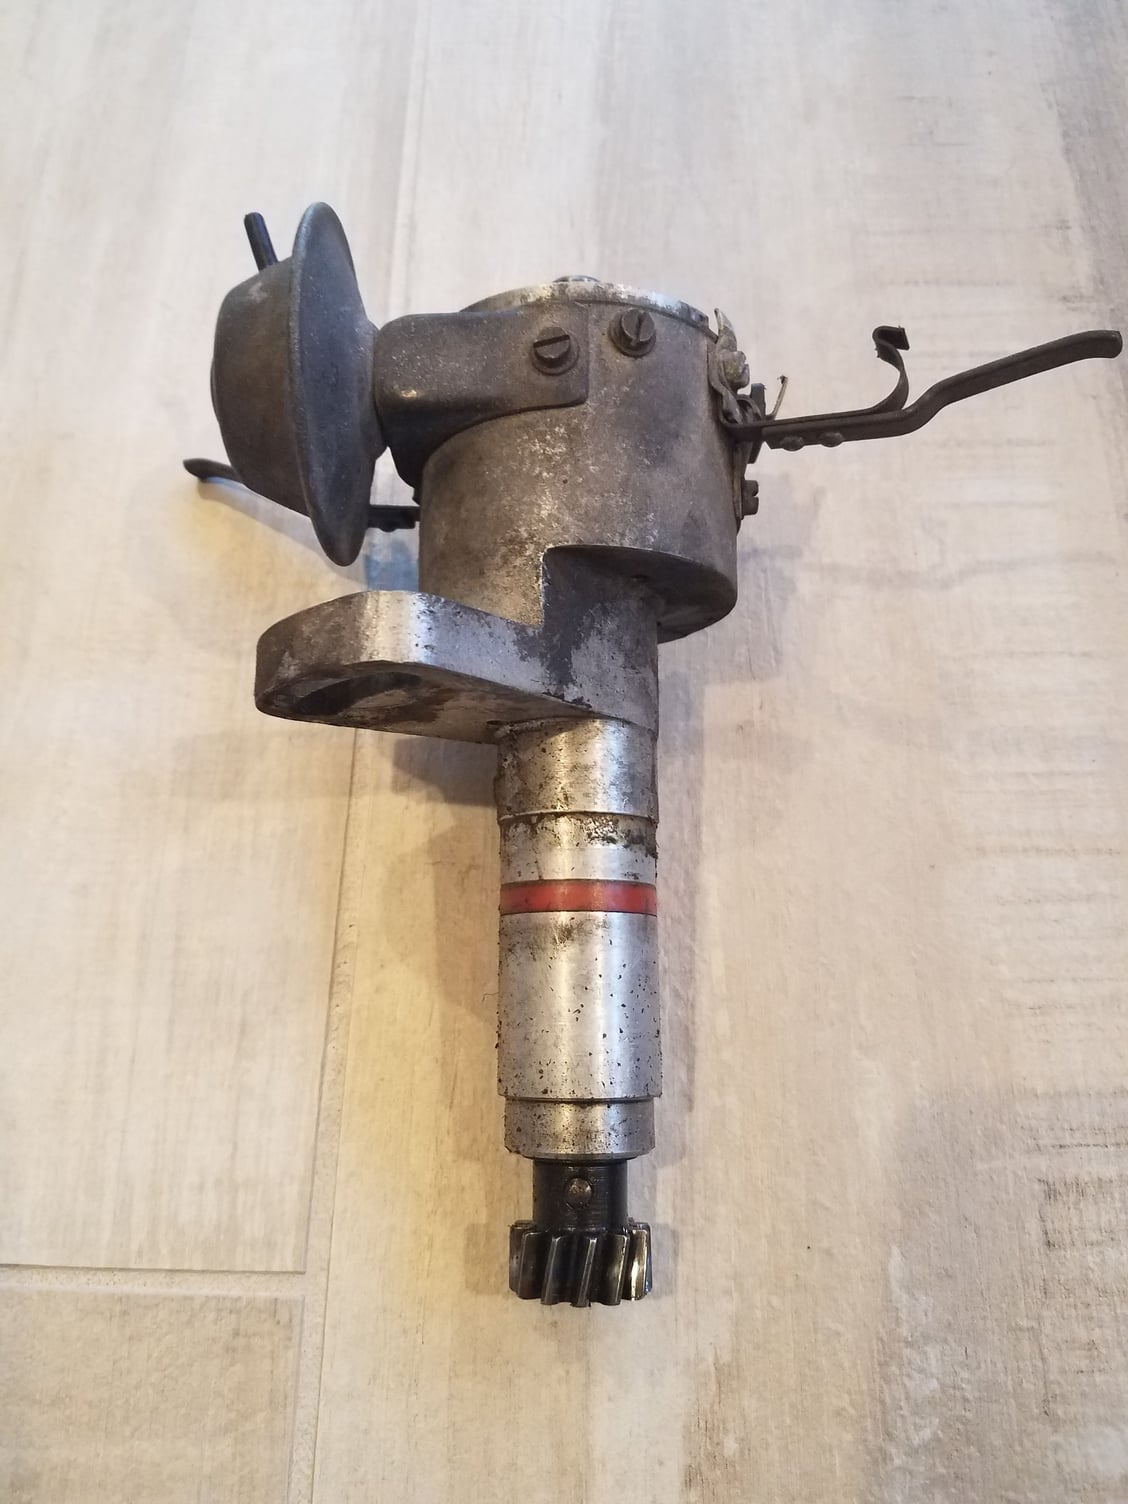
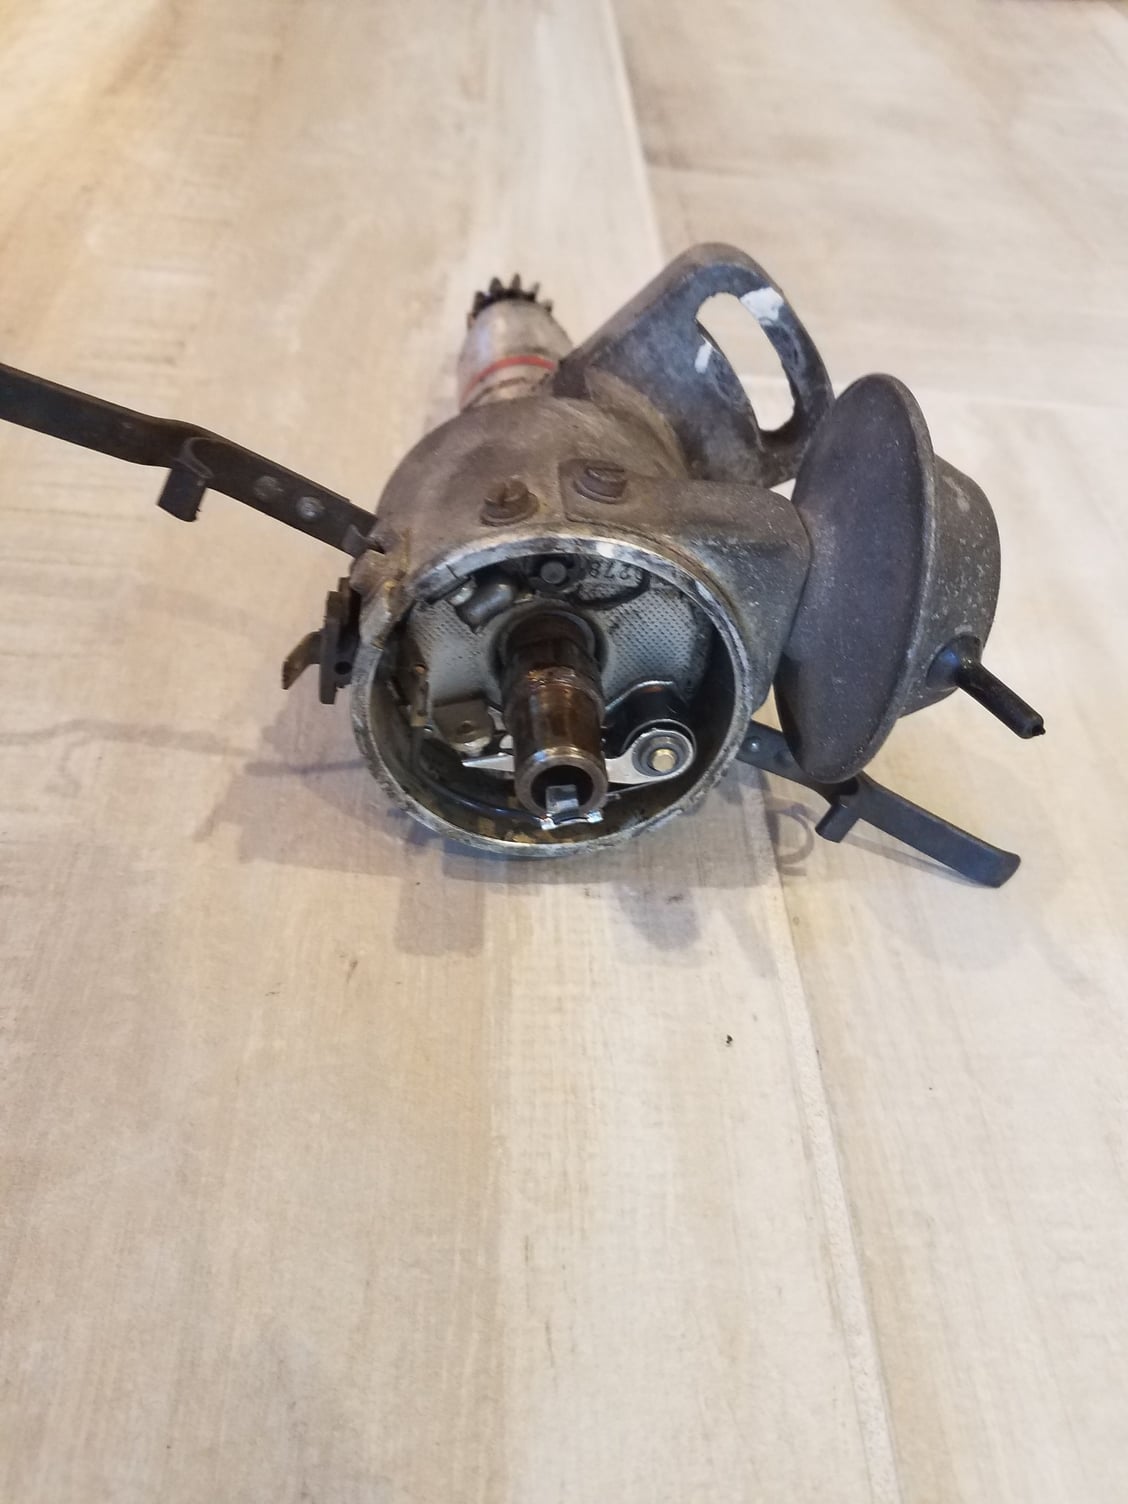
Shipping my Bosch 003 distributor to Ed Fall at Vintage Werks. He will have it for a while but I'm in no rush. Ed does beautiful work and will go thru it thoroughly and test before shipping back to me.
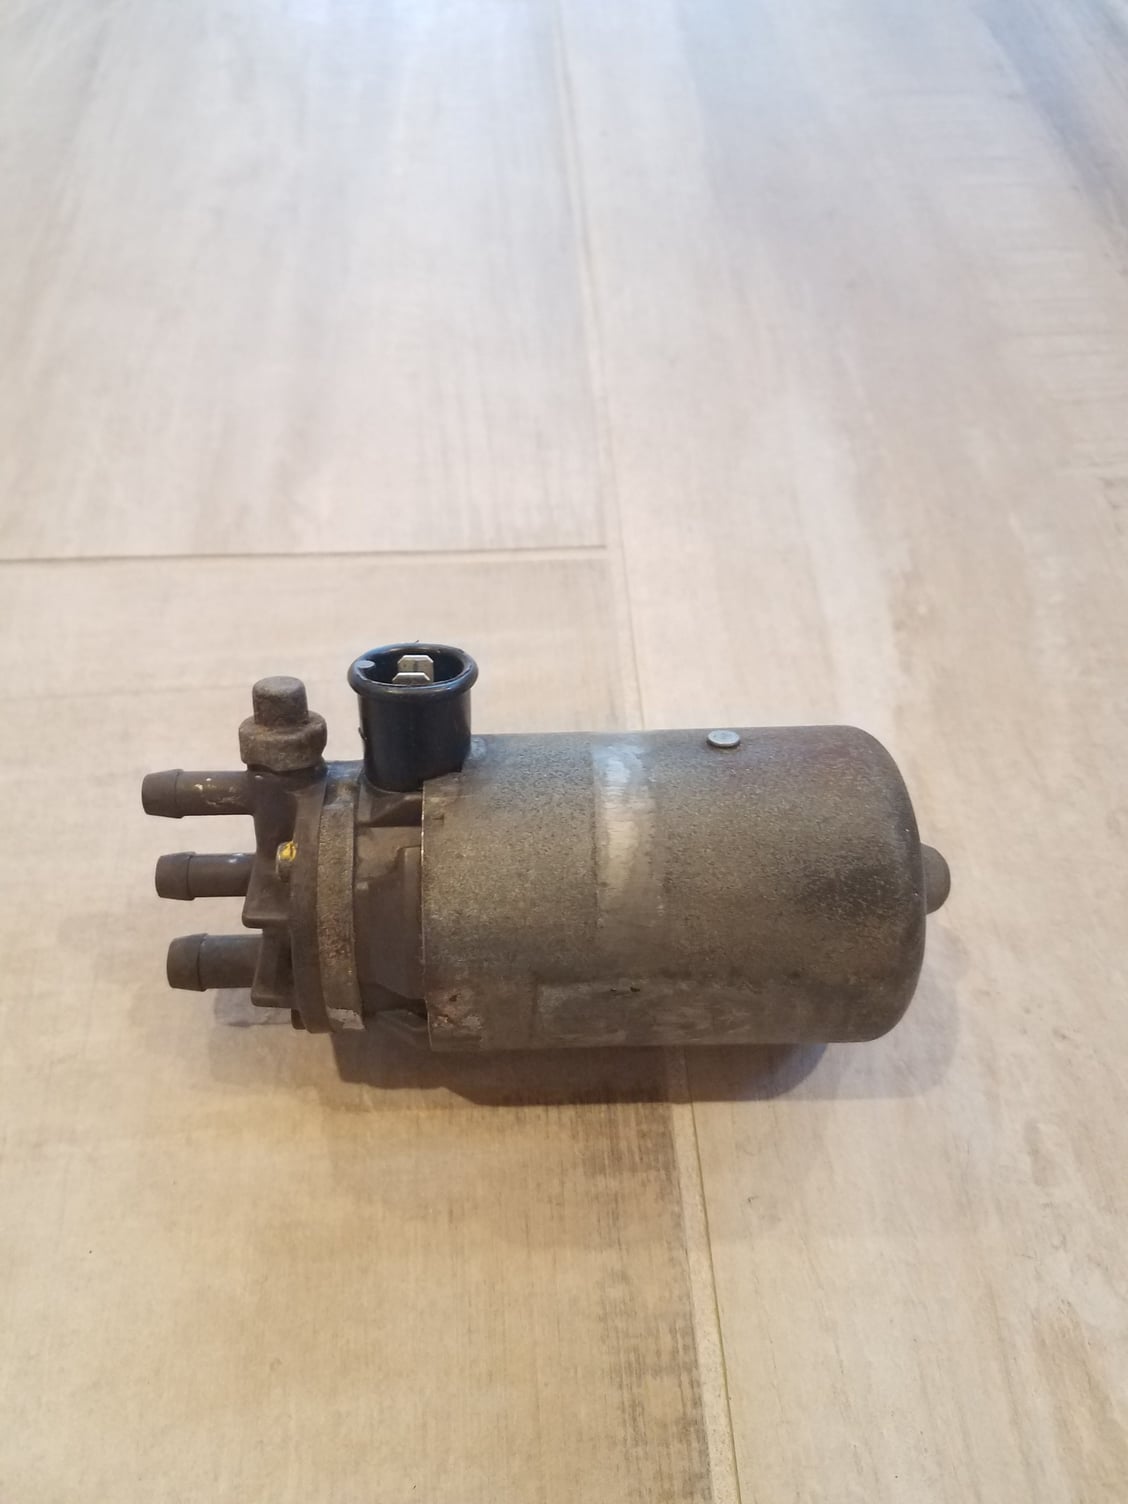
Also shipping out my electric MFI fuel pump to Fuel Injection Corp for full rebuild and test. These MFI fuel pumps are hard to find and expensive when you do, so I am going to have them make this one like new. The MFI system relies on a much stronger fuel pressure than carbs. I had already cleaned my pump up a bit as it was extremely dirty like everything else coming off my car.
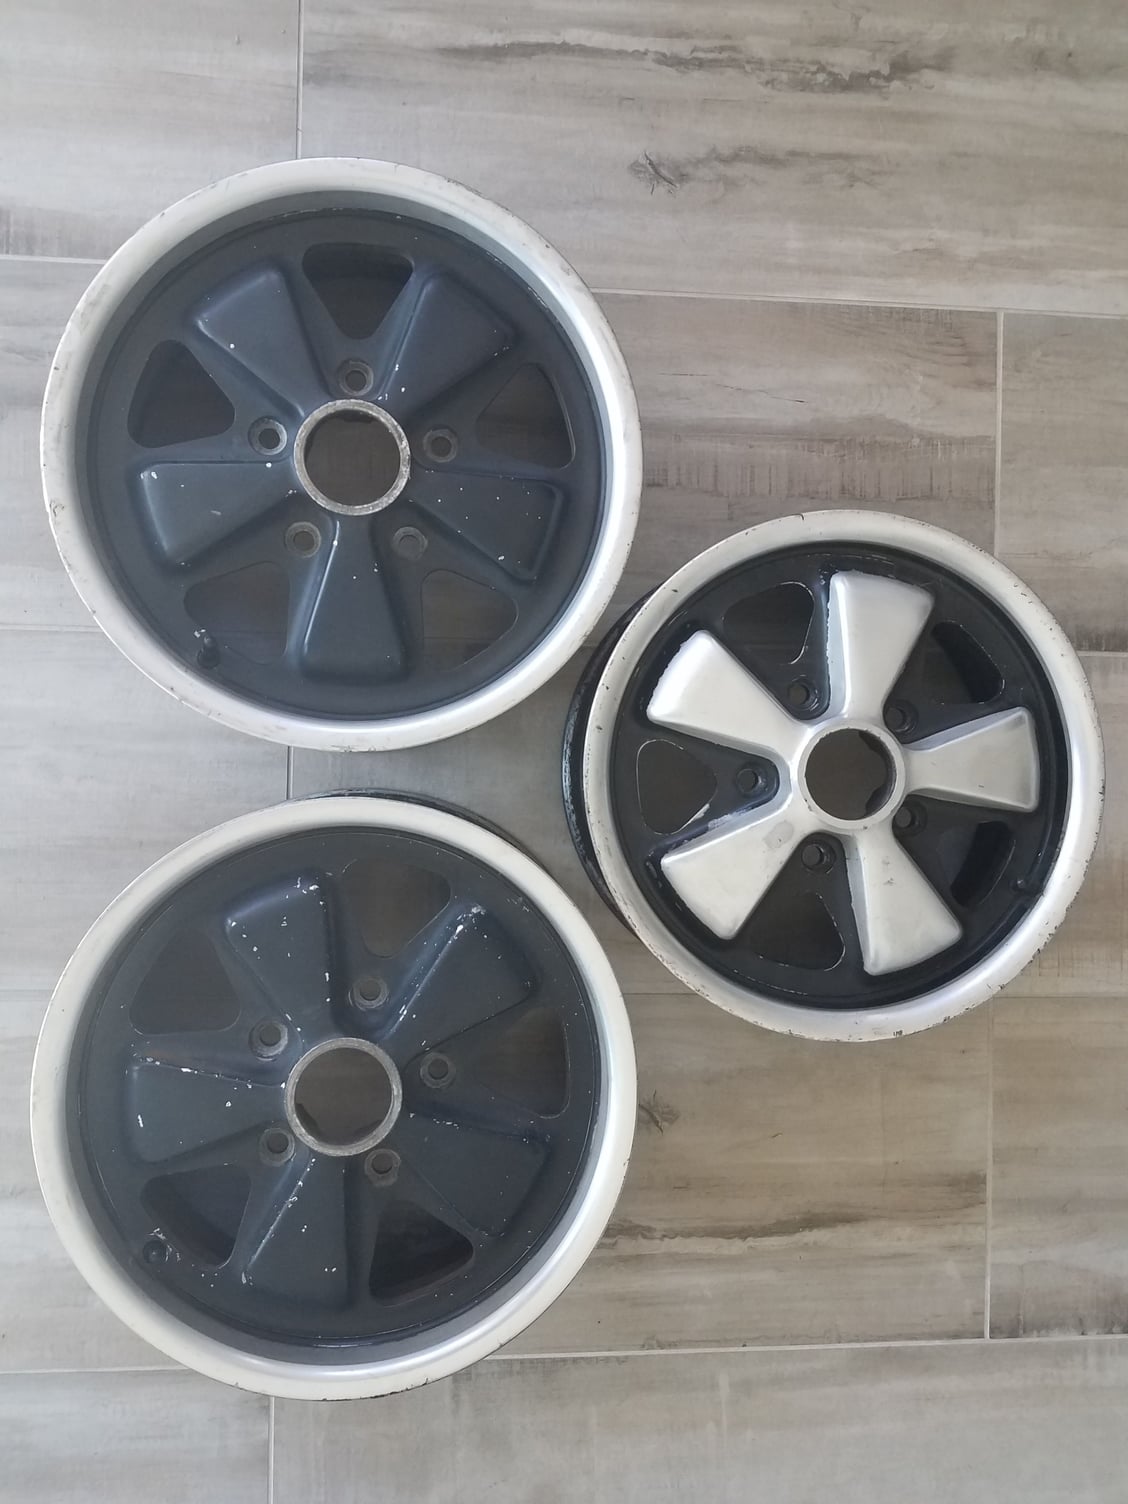
For those following along (maybe for comedic entertainment?!) you may recall that my car came with 14" Fuchs (original 15"'s were long gone). I sold 4 of my 14" wheels to make way for 15"s. I was also planning on using a Mahle Gasburner as my spare to save a few pounds up front. Well, I kept the spare 14" Fuch and will use that as my spare instead of a Gasburner (still think that is a cool idea) which saves a a couple pounds. I also found a good deal on 2 date matched (to my car) 'flat' 6"x15's to run up front; I will most likely be using the Maxilite deep 7's on the rear.
So I need to refinish my 3 Fuchs - which are in pretty crappy shape - and will be doing the RSR look for my hotrod.
So after research I have decided to try the process that Magnus Walker uses for his RSR wheels (purists stop reading now!) Here is a link to the process:
MagnusWalker911: DIY RIM REFINISHING http://magnuswalker911.blogspot.com/...shing.html?m=1
So I dropped off my old crappy Fuchs today for media blasting. Wish me luck on the rest of the process.
Oh for sure - I sent him my MFI Pump (big mechanical pump) and Injectors back in April and he still has them - that guy is in high demand. Mark is pumping up the performance of my pump too - details to be shared once it is completed. I can't wait to get it back to see his work. He does not work on the electric fuel pumps, which is why I sent my electric fuel pump (pump that sends pressurized fuel from tank to the mechanical pump) to Fuel Injection Corp (highly recommended for the electric pumps).
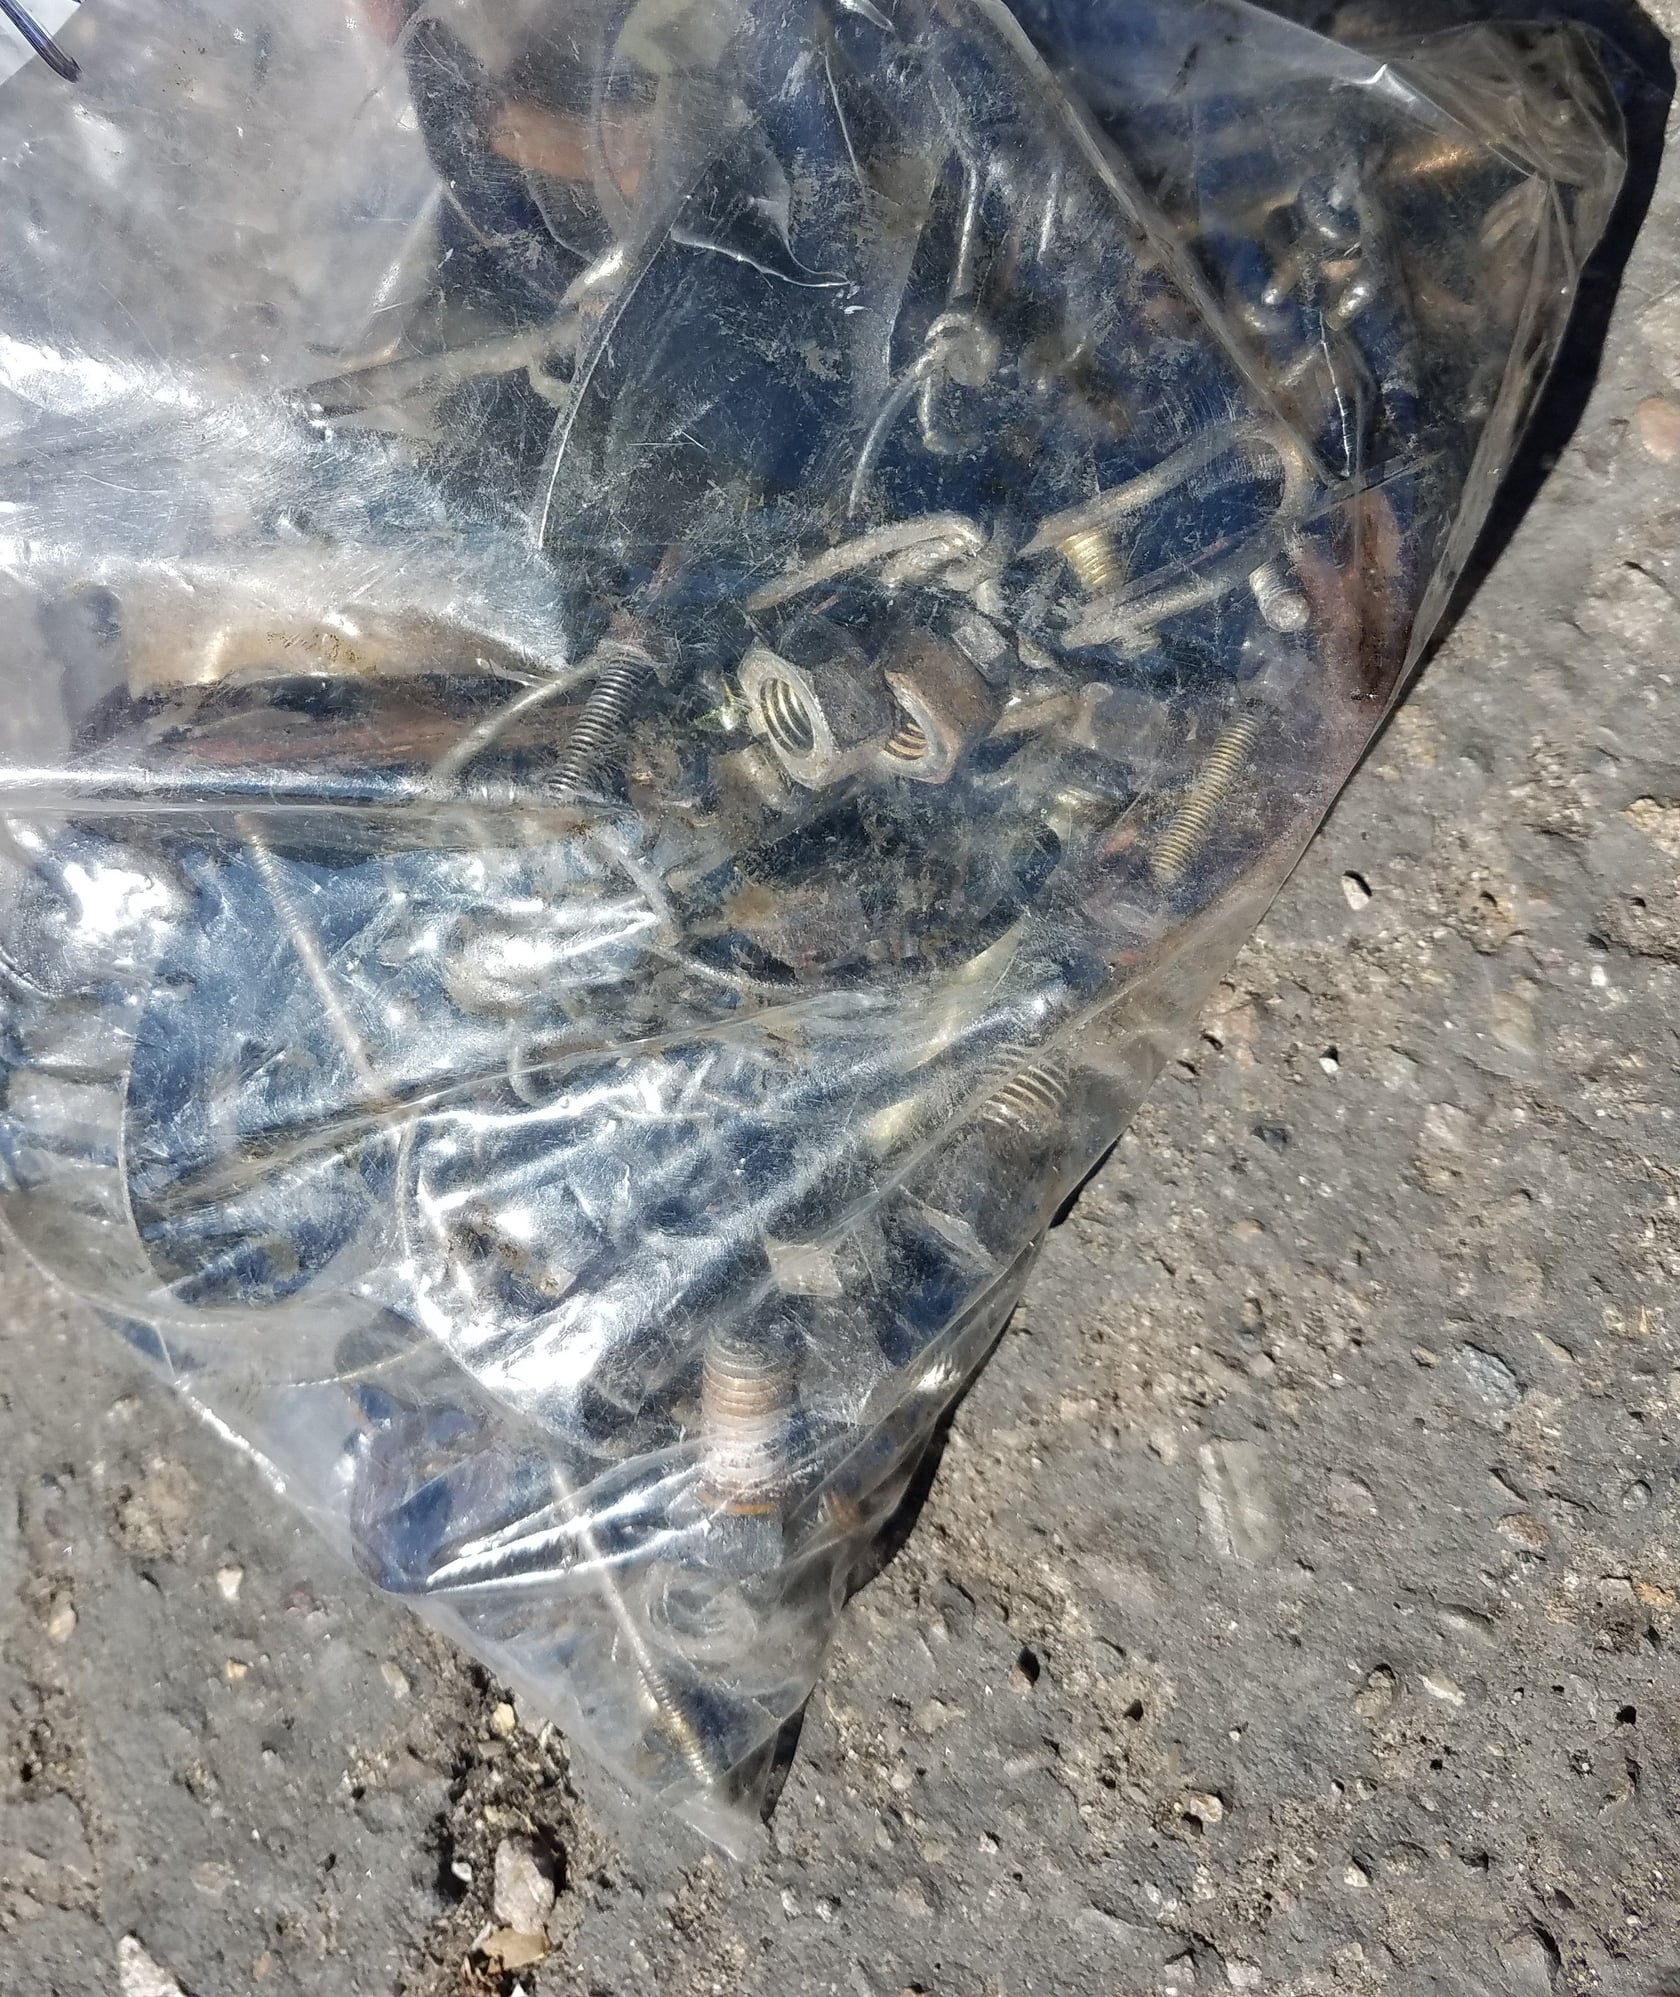
I am in full triage mode now - with parts shipped out all over the place. I accumulated enough hardware to make another trip to the plater today. This bag of 150 pieces will be done in yellow/gold chromate zinc. I have another bag that is close to getting full that I will have done in silver - maybe in a couple weeks.
Took these poor quality photos as I was about to walk into the plater for drop off. Rusty, dirty stuff that will come back nice and ready to reinstall.
While my wheels aren't completely finished yet, I thought I would share some sneak peek photos of the progress. I need to do some minor paint corrections (light sanding), wash them down and then clear coat them. I have to wait a couple days for them to fully cure before I can do this. I used the Magnus approach to these wheels for the most part, but I wanted to share my experience in case it helps others.
Tips:
1) Cover the part numbers/markings on the rear with duct tape to prevent the blasting from damaging them. The numbers were 'dulled' quite a bit on one of my wheels.
2) Use very good masking tape. I was going to use the 3M tape, but went with Scotch Sharp Lines which worked extremely well. It left very sharp/clean lines and was very flexible for making the curves/radius around the pedals.
3) Consider having the lip polished by a pro before sending the wheel to the media blaster. This is what Magnus did. Because I wanted to polish myself, I ended up having my entire wheel blasted, which created a ton of work to polish them out. The tiny markings from the media took me hours to remove for a mirror finish. The challenge is that you need to remove the protective anodizing to polish them - and that oxide layer is extremely tough and difficult to remove. Knowing this is why I opted to have the lip blasted. Maybe I was better off taking the time to sand through the oxide layer instead of blasting it - either way, be prepared for a lot of work polishing this durable forged alloy.
4) Be very careful not to scratch or mark the areas that will remain with the rough/textured finish. If you mark these areas, the only way to get the texture back is to send them back to the blaster.
5) Wrap your lug nuts with aluminum foil and use them to cover the lug nut holes to prevent painting those areas.
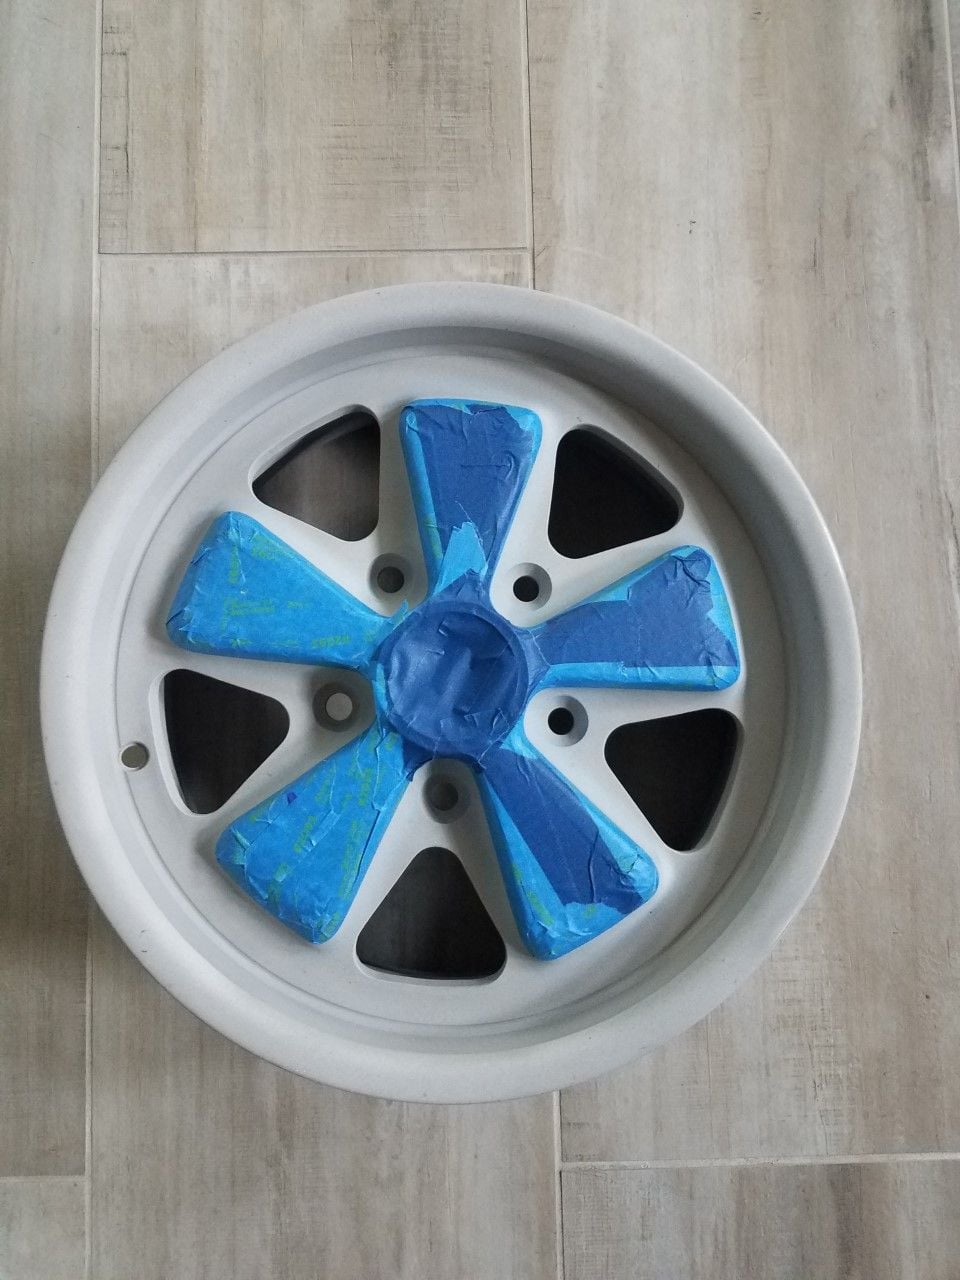
Here is where I started. You can see the wheel has been blasted and I have taped off the pedals.
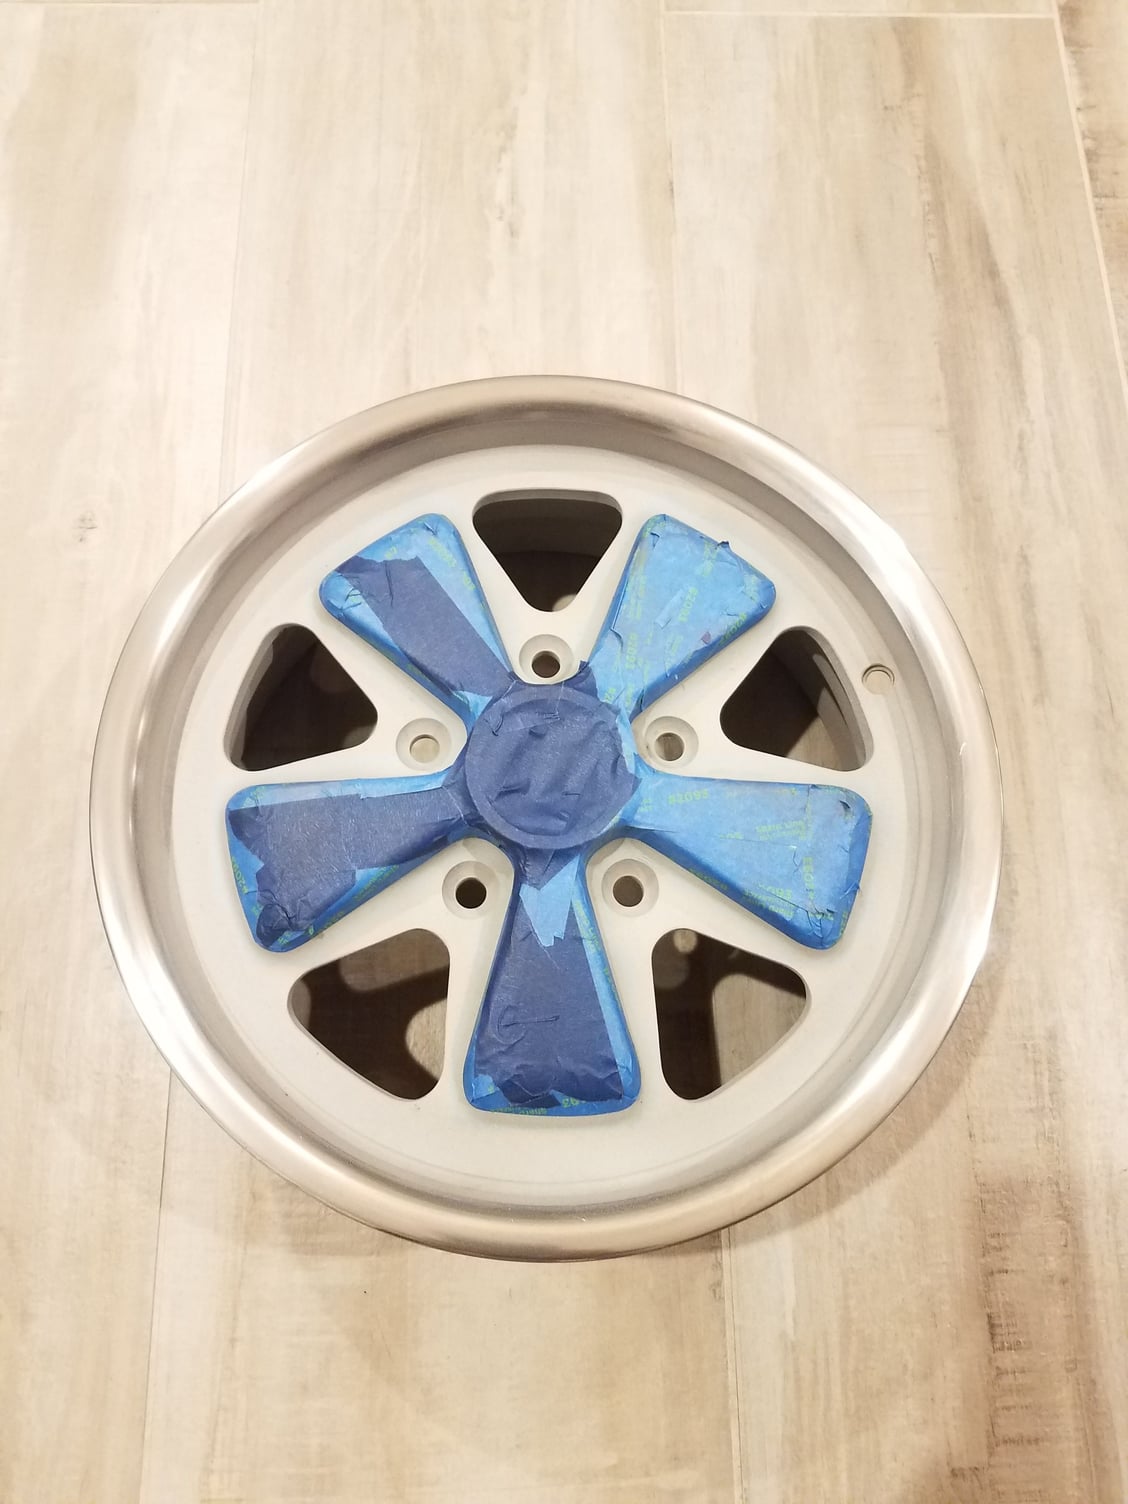
Then I polished the lip. I started with 240 grit on my Dremel Multi-Max oscillating tool. The triangle shaped sanding pads were good for sanding along the lip line. I couldn't find these pads in higher grit numbers unfortunately, so after this I used 400, 600, 800, 1000, 2000, 2500 by hand and them finally polish using Mothers Aluminum Polish. I think that may have been overkill - could probably go right to 800 and work up, however because I had to sand the rough surface with the 240 it took quite a bit of sanding to get all of the marks out - the tiny pits made by the media were tough to get all of the way out. I wouldn't know how well I sanded them out until I got to the final polish stage - and would start over if I could see marks. I have polished aluminum before and this forged alloy was tough to sand/polish.
I love the contrast between the rough textured area and the polished lip. Carefully sanding and polishing along this line requires a steady hand and patience.
The wheels are not done yet - will correct any minor imperfections, wash them up good and then clear coat them using Rustoleum High Performance Wheel Clear.
I searched forums quite a bit to see what black paint was recommended and most recommended basic Rustoleum Satin Black - so that is what I went with. Here are the lug nuts wrapped in foil - like Hershey kisses lol
in a factory finish there should be no sheen, i think its more flat / matte than satin...
hard to see in picture but my recently refinished wheels the black has no reflectivity
The wheels look cool. the polished lip is easy to maintain with some mothers or polish. the rsr finish, I've heard it can be a little bit of a pain to maintain as it can take a stain
you seem to be knowledgable about coatings and paint, so curious why you would use a cheap rustoleum product on your wheels after spending so much time making them look nice.
eastwood makes a 2K matte clear coat. https://www.eastwood.com/eastwood-s-...tte-clear.html
lots of work in your project. nice job.
took me over 4 years to completely restore my 914
^thanks and fair question. I searched forums quite a bit and that was what most recommended - I was and you would be surprised by how many on Pelican and Early S recommended Rustoleum Satin 7777. Certainly wasn't a cost reason - I had faith in the community. I have used a lot of Eastwood products (including their 2k ceramic and epoxy primer) and they are not bad but sometimes the spray patterns aren't great if using a rattle can. Let me do more research on the clear before I shoot it - thanks for the link.
gotcha.
I actually used Eastwood's 2k urethane clear coat in a spray can to re-clear a fender when I wet sanded into the base color Also used their internal frame coating, weld thru primer, etc.
in any event...seeing all your photos reminded me a lot of my restoration I just finished this year. You have a lot more done in the first year than I did. Keep up the good work
I forgot about their internal frame coating - I have used that too and it seemed to have good coverage with the nozzle and hose connection. Appreciate the comments - what I can say is that I am learning a lot and sharing my crazy journey for others to learn from things I may have done well and not so well. If I were to do this again, it would go much more smoothly as I have learned the hard way on a lot of things. It is rewarding doing this work. I'm sure you feel that way every time you drive your 914.
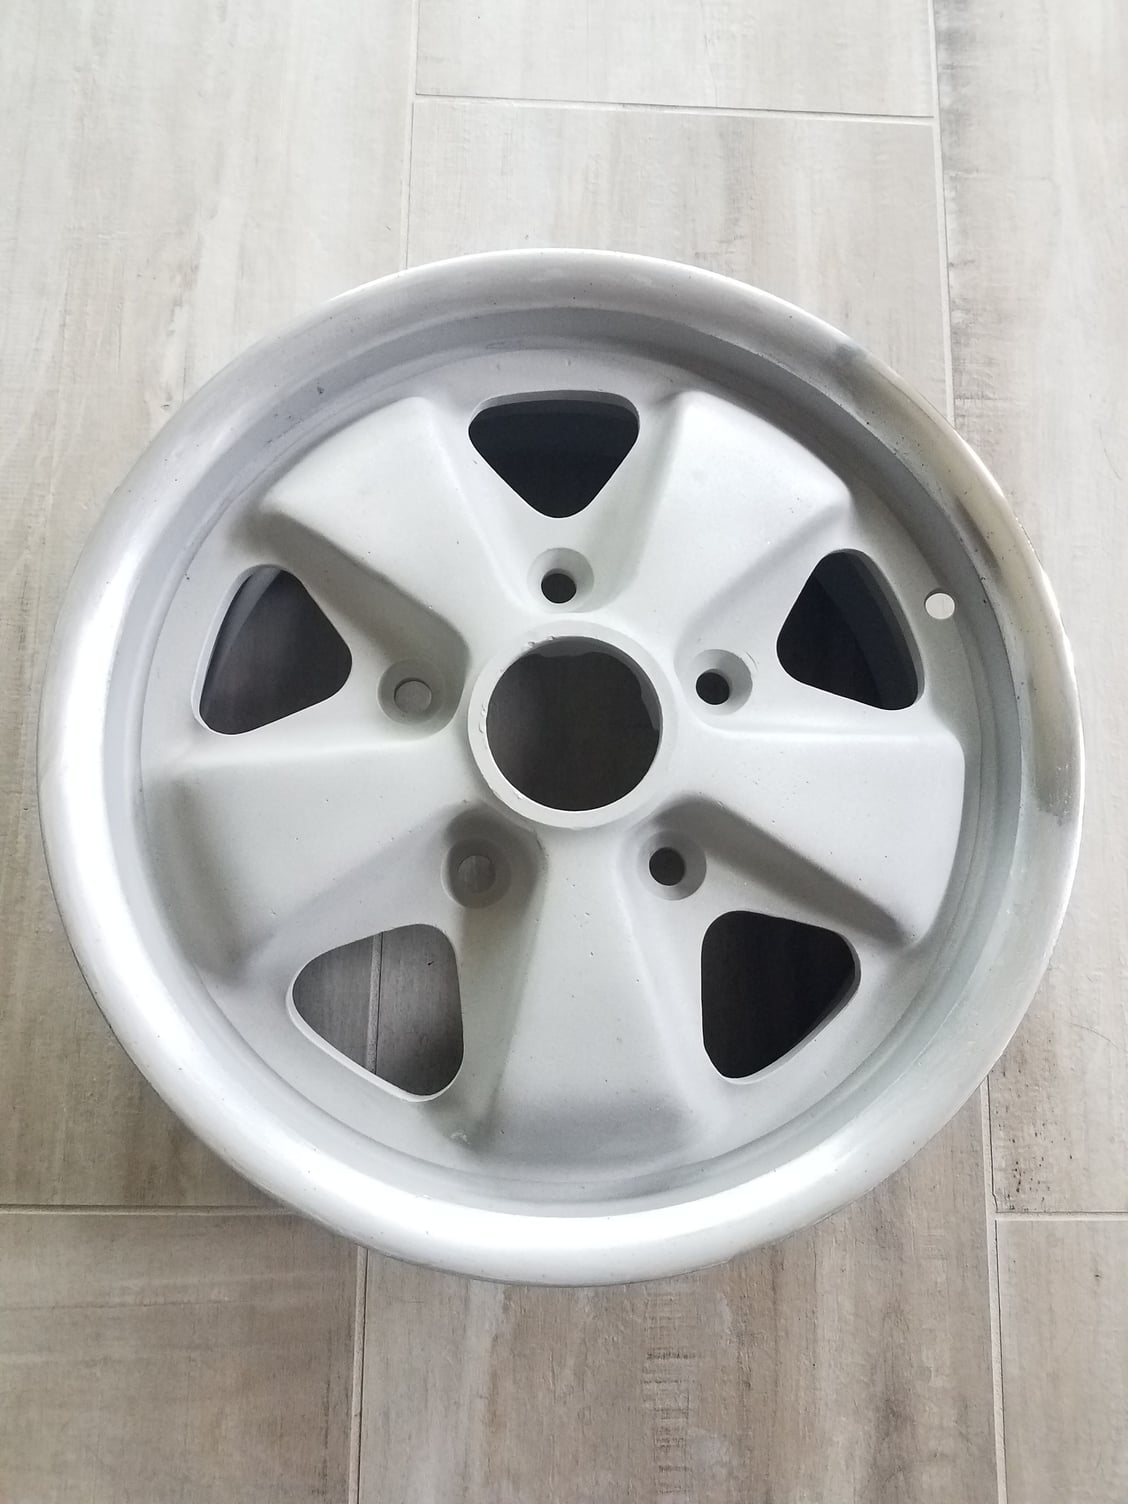
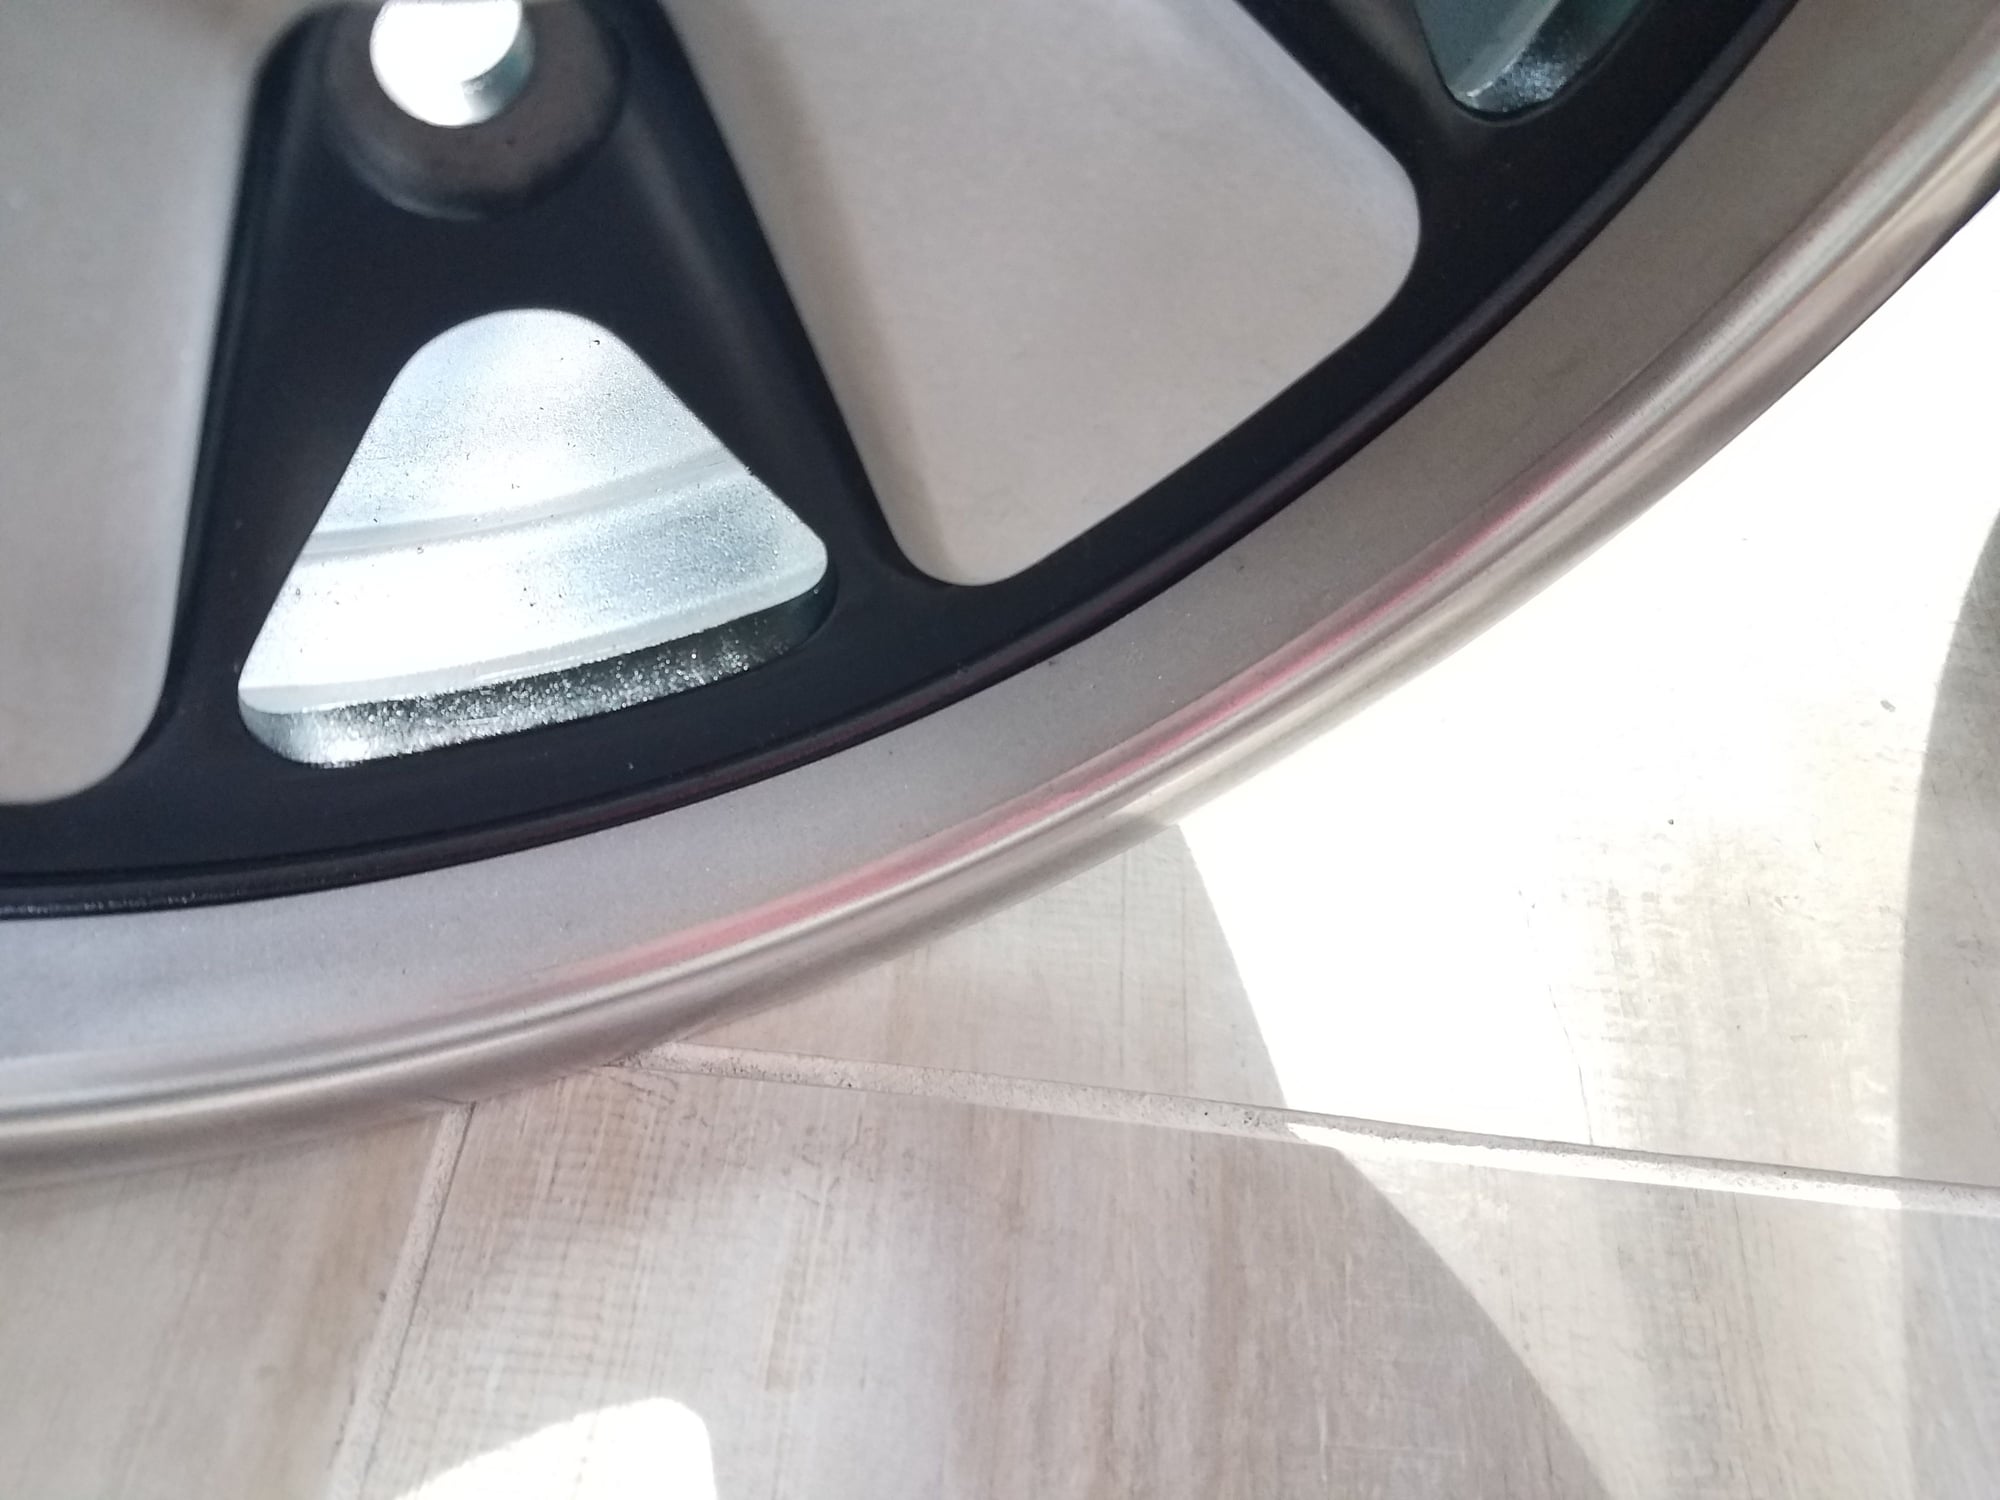
I have been working on the wheel I plan to use for my spare. It is a 14x5.5 dated 1969 and most likely from a '69 911E. It is in really bad shape so it is taking a ton of work to polish out the defects in the lip. After weighing the wheel it is ~2.4lbs lighter than my 15�6 wheels so near the weight of the Mahle Gas Burner I was going to use. Decent weight savings and will look at home as the spare.
Here is a shot after quite a bit of sanding all around the lip. You can see the polished area shows a lot of deep marks still so I have an idea of just how much work I still have to do to get the marks all around this wheel out. Go back and look at the pre photo of this wheel - yikes.
Having to do some travel for work so I figured I would provide some updates while passing time in airports.
Update on my wheel refinishing:
Good news first - I was able to sand out and polish the lip on my spare wheel. It took a few nights of sanding after work while I watched the world series. Having the game to watch and a beer in hand made the sanding go by a little easier. It took quite a bit of sanding to get the marks out and not make the surface wavy. I then taped and painted the wheel - it looked great until...
The bad news - I purchased a couple different clear sprays based on comments from Mitro (above in thread) that I figured I would experiment with. Once I was comfortable with spraying the finished face, I moved forward. Luckily I experimented with my spare wheel not the others because the clear actually ruined the black topcoat. It lifted/wrinkled it. Now I have to strip the paint and start over. Not sure if it was the cheaper base coat or just the clear itself that caused this. I have used 2k ceramic for almost everything else I have painted in black (sans high temp paint) but didn't for the wheels. I also researched this issue and found that rattle can clear sprays do have a tendency of doing this as they are full of harsh solvents. So I may need to buy better clear and apply with a spray gun for my other 2 wheels - not sure I am up for stripping and starting over on those. Ugh
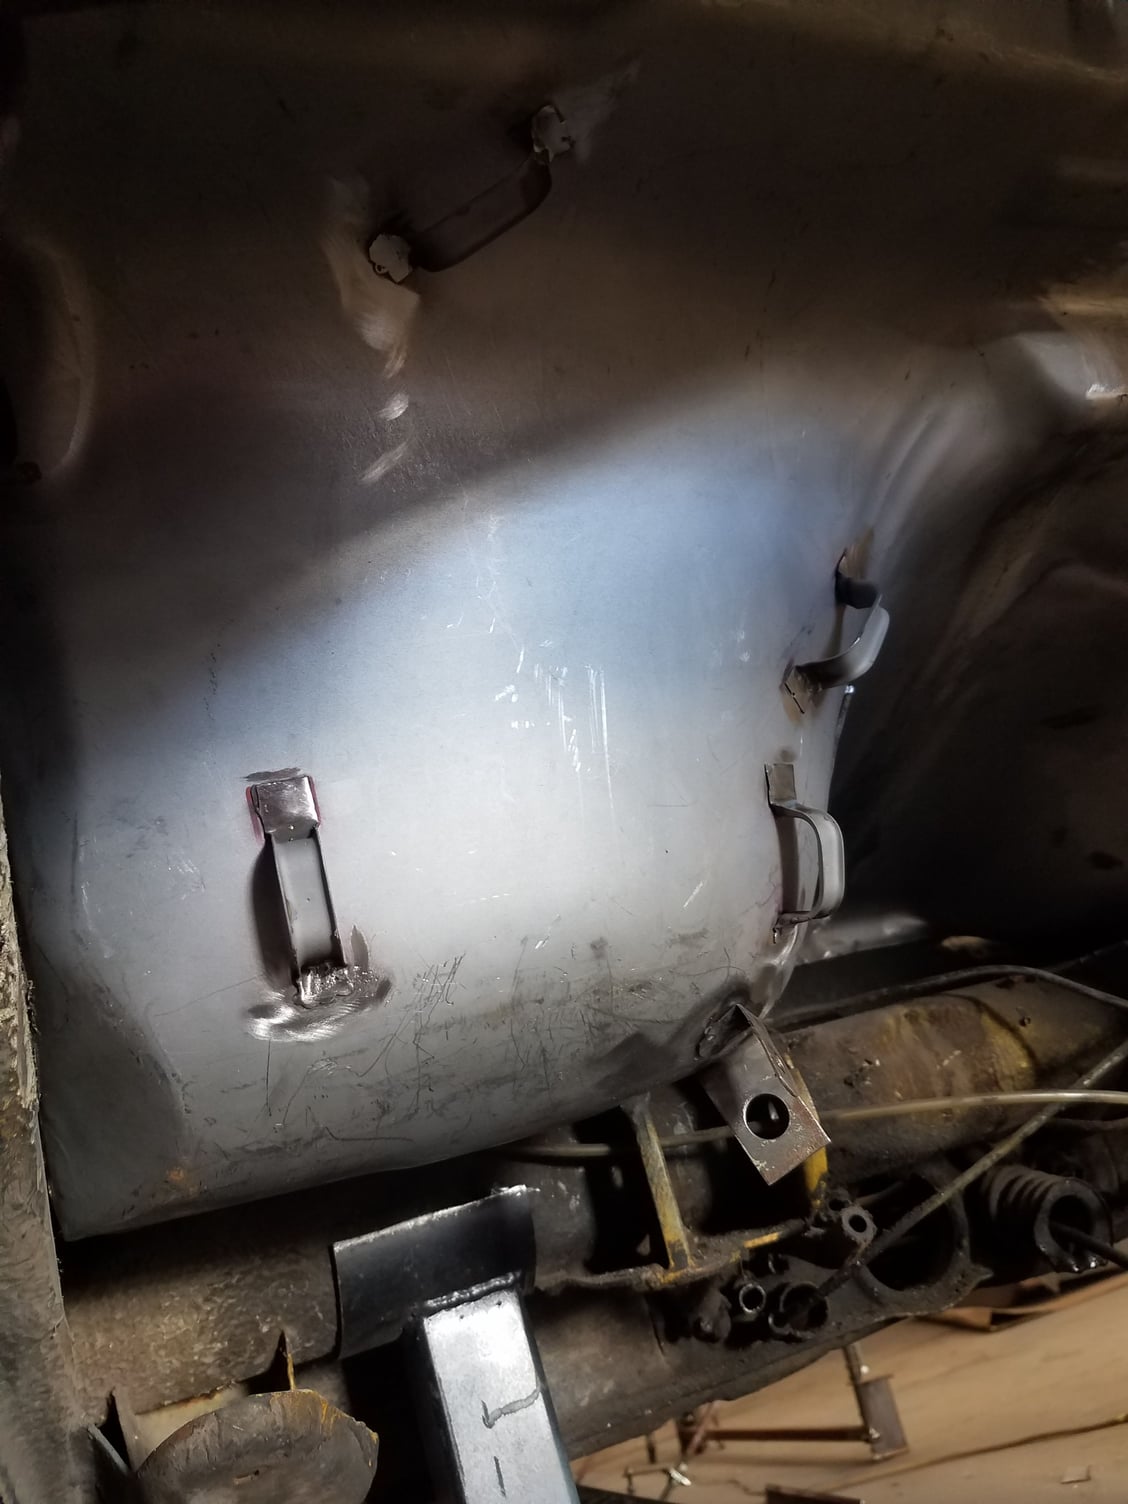
I also stopped by Andy's shop this week. Progress continues to be a bit slow on my car but this is fine. Among many cars being restored in his shop is a '74 Euro (MFI) Carrera that is having tons of sheet metal work. With this car they replaced the entire rear buckets rather than grafting just the bottoms. Andy and I talked this through for my car and have agreed to use the same approach for my car.
Here is a shot of my car with the rear buckets being tack welded in. Once he is done, you will not see seams.
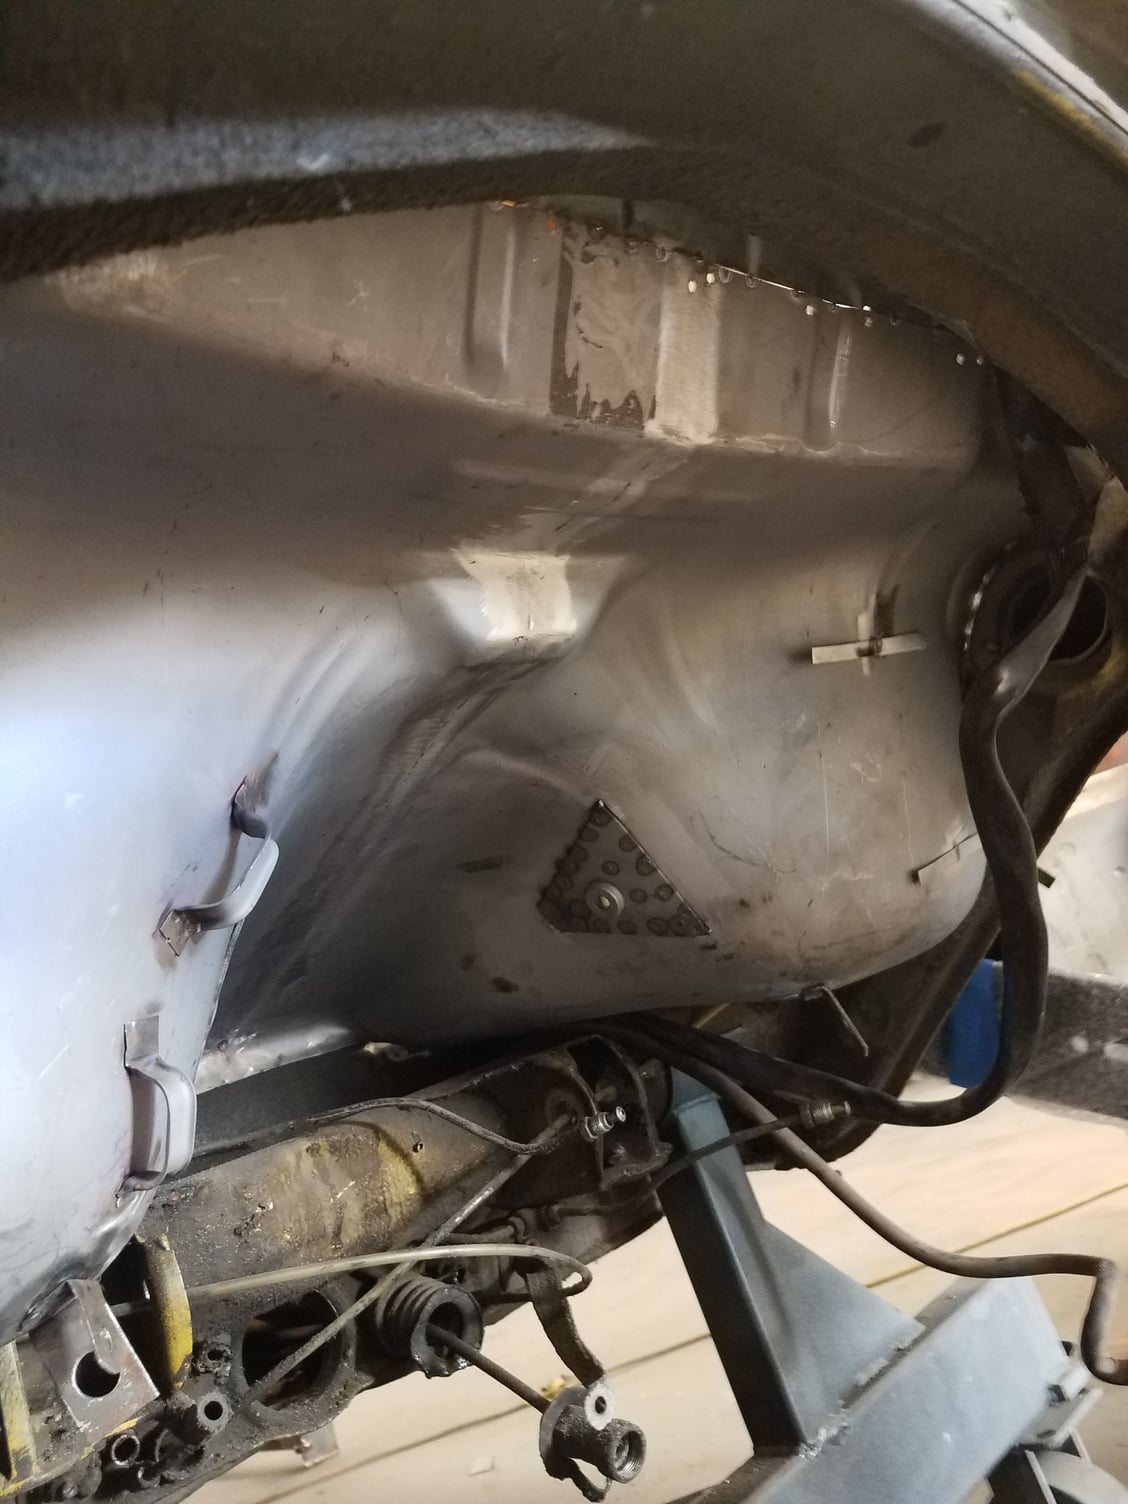
Here are a couple shots showing the bottom of the seat buckets. You can see how he welded on the seat belt anchors, various loops/brackets for the fuel lines, brake lines, harness (flat tabs in second photo which will lift/fold around the harness) etc.
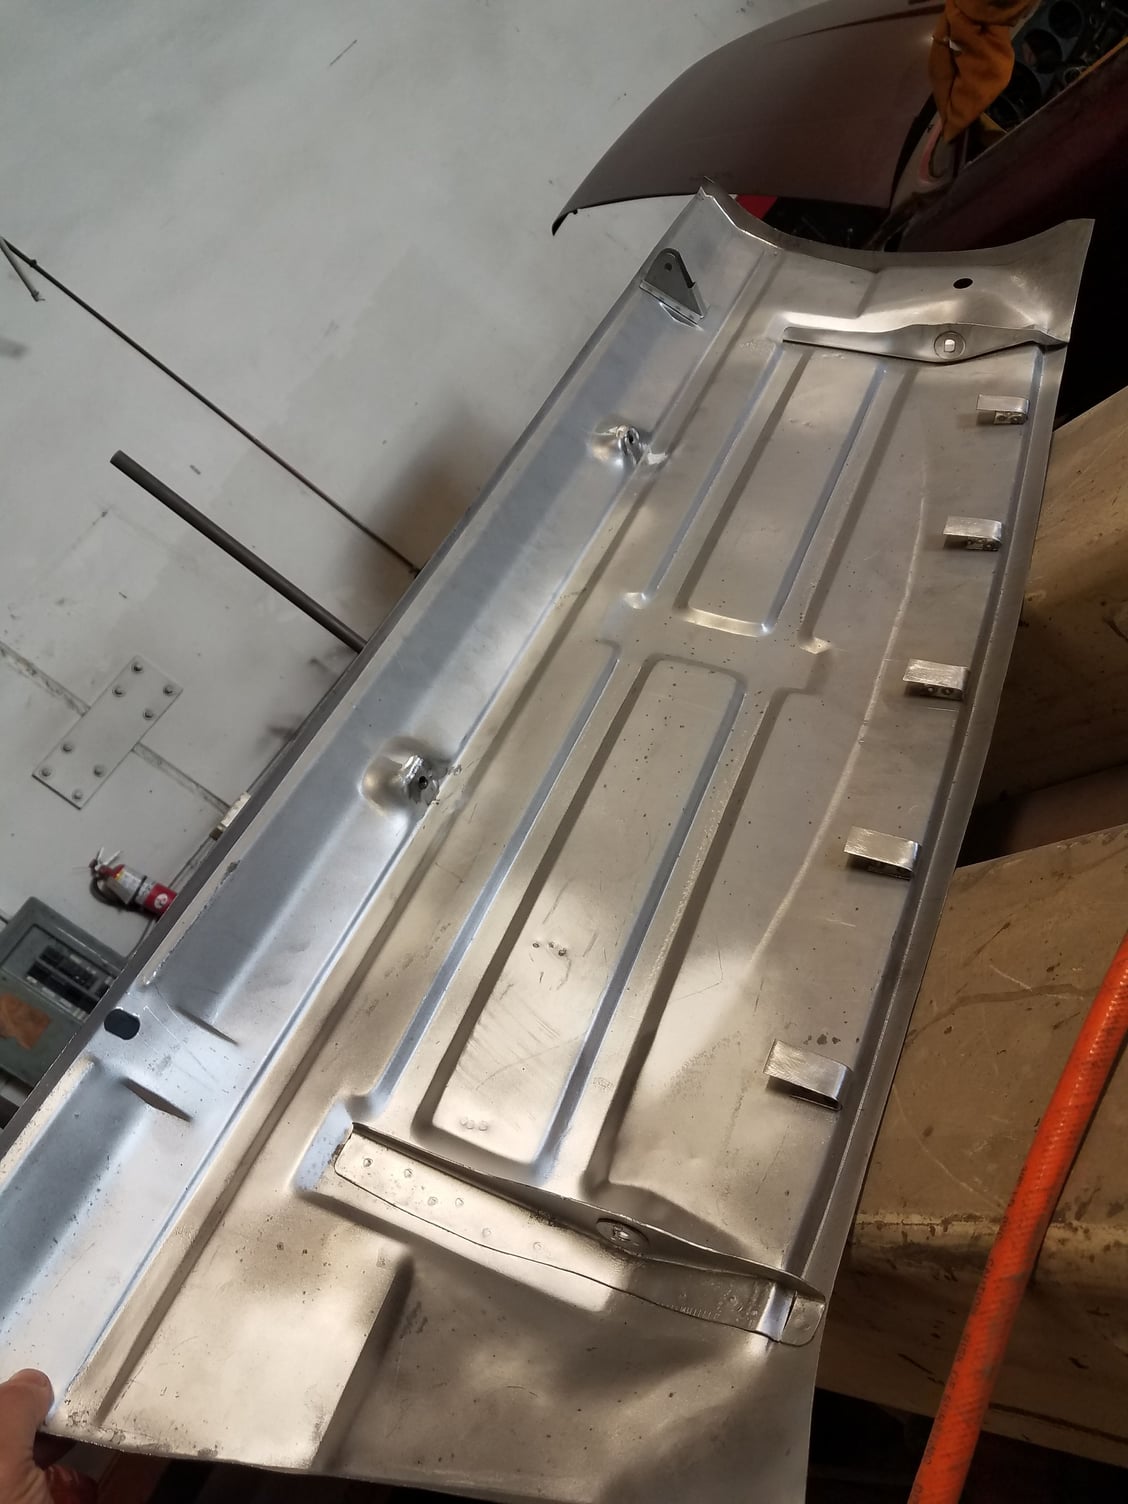
Here is a shot of the parcel shelf being prepped for installation. You can see the various pieces welded onto the panel such as the decklid hinge brackets, tie down mounts, tabs for the firewall insulation, etc
One other quick update that I will have more to share in the coming weeks is I have agreed for Andy to use his dry ice blasting machine to clean up the front wheel wells, engine compartment, areas of the pan/floors and even removing some of the paint from the body. These machines are awesome - you can dial them in to remove material and rust layer by layer without damaging the panels like media blasting typically does. This will also preserve much of the original under coating so I can refinish like I had done in the rear wheel wells.


 10-21-2019 | 10:33 PM


 Also used their internal frame coating, weld thru primer, etc.