When you click on links to various merchants on this site and make a purchase, this can result in this site earning a commission. Affiliate programs and affiliations include, but are not limited to, the eBay Partner Network.
That certainly does help I'll ask SC where in the config I can set this. 45degs BTDC on cycl 1 sounds a good enough place to me. I'll hop over now and catch up on your build thread
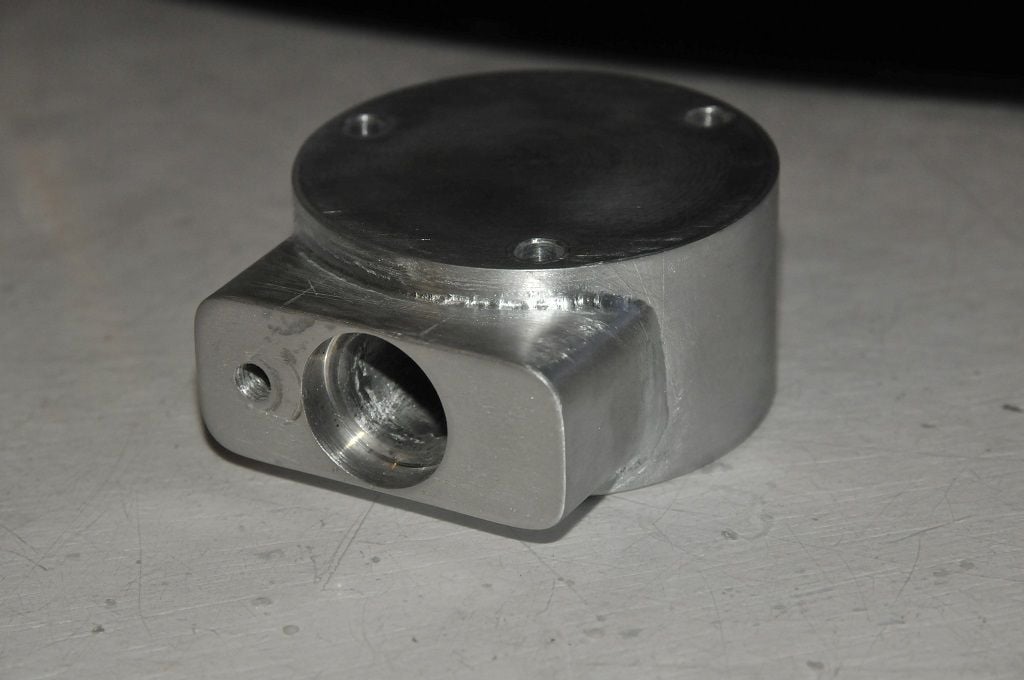
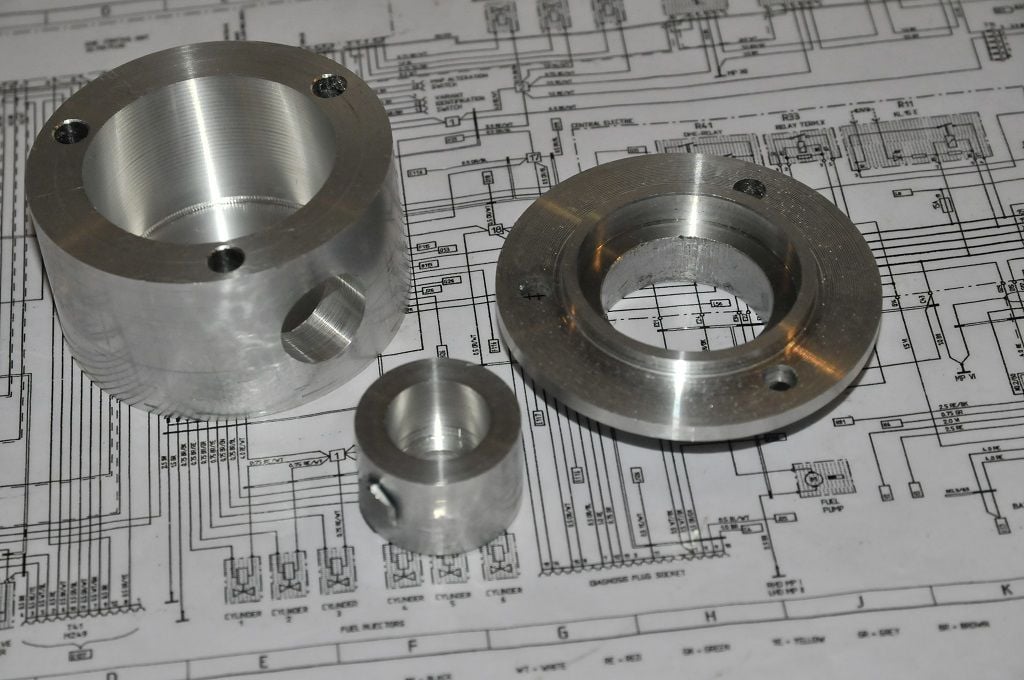
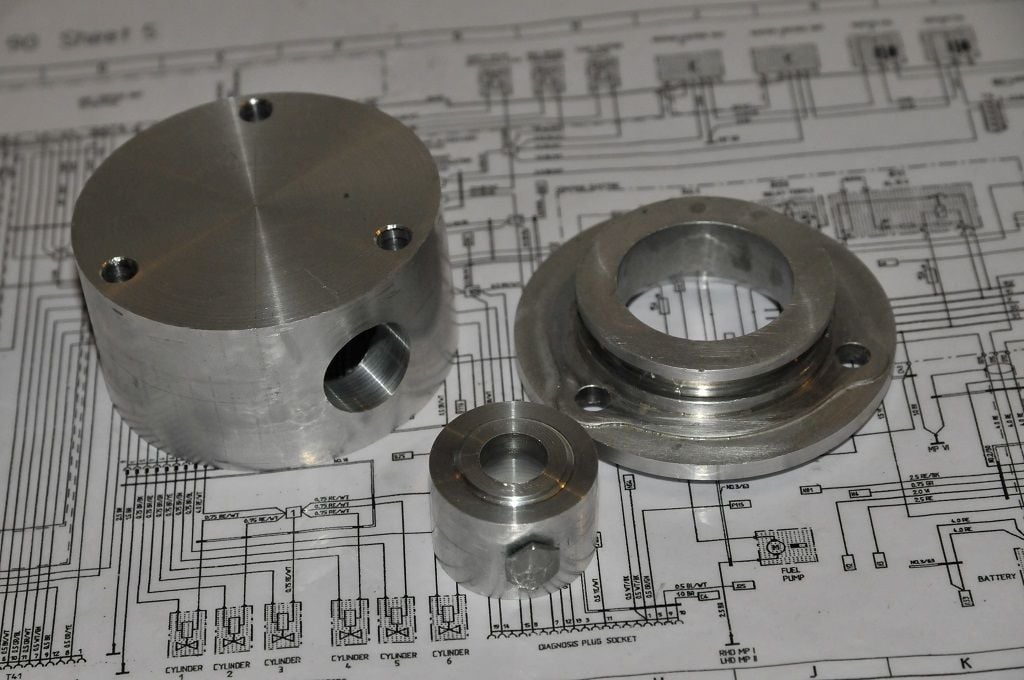
As promised we have pictures of the parts I've knocked up
The piece on the left is the main housing for the cam sensor, the piece in the middle will be bolted to the end of the cam shaft using the existing thread, and the piece on the right is the base plate and oil seal housing that I cut out of the old power steering housing and machined to suit.
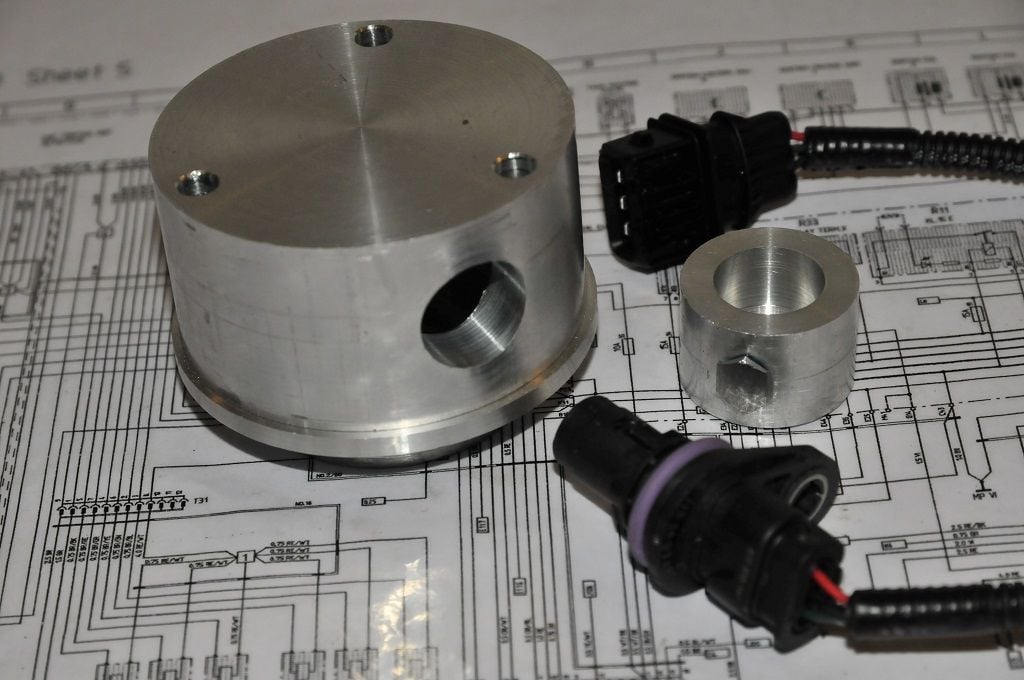
Same parts but the other way up. The middle piece that bolts to the end of the cam has a tapered seat to ensure it fastens concentric. You can see that a small bolt has been threaded and fitted into the side. This will be the pickup tooth needed by the hall sensor. It's looking a little rough and I'll tidy it up once I get round to setting the clearance of the sensor.
I need to machine a small saddle mount next that will allow the sensor to be bolted to the side of the housing and provide the required 0.5 - 1mm clearance between the nose of the sensor and the pickup tooth. Waiting for some stock ally square bar to arrive before I can move onto that.
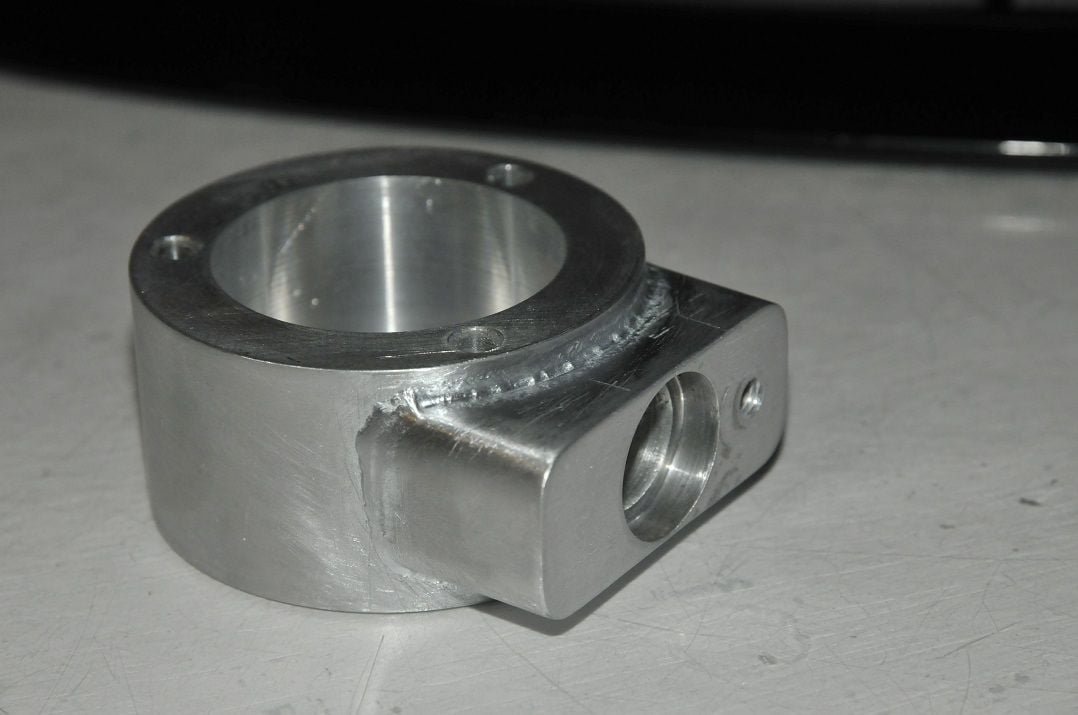
Lastnight I machined up the sensor boss that will allow the hall sender to attach to the housing. Man, this lathing is getting soooo addictive
The boss will need to be welded to the housing but for now I'll just strap it on so that I can tweak the alignment, get the motor running with it and generally check everything is ok.
All being well I hope to get it running with sequential injection again tomorrow
What lathe did you get in the end? An old Myford 7?
I would love to have a Myford - It was my first choice but saddly even tho it's considered small as lathes go, it was still too large for the space I had available. I instead went for a SIEG Super C3. Like any lathe of this size, you have to work within it's limitations but the low speed torque from the brushless DC motor on this model is a BIG bonus. All the other mini lathes I looked at were pretty gutless unless you spun them up. I fitted a 100mm independent 4 jaw chuck and whilst not exactly large, it'll cover 90% of the parts I'll want to make. We really need to move house....
A cough/cold/sore throat had been steadily getting worse all week. By Saturday morning I was absolutely hanging but eager to fit and try out the cam sender. Bolted it on, configured the ECU and the motor started first turn Happy with that.
Now I know everything is good I'll machine all the surfaces to clean it up and round the edges of the boss before having it welded on.
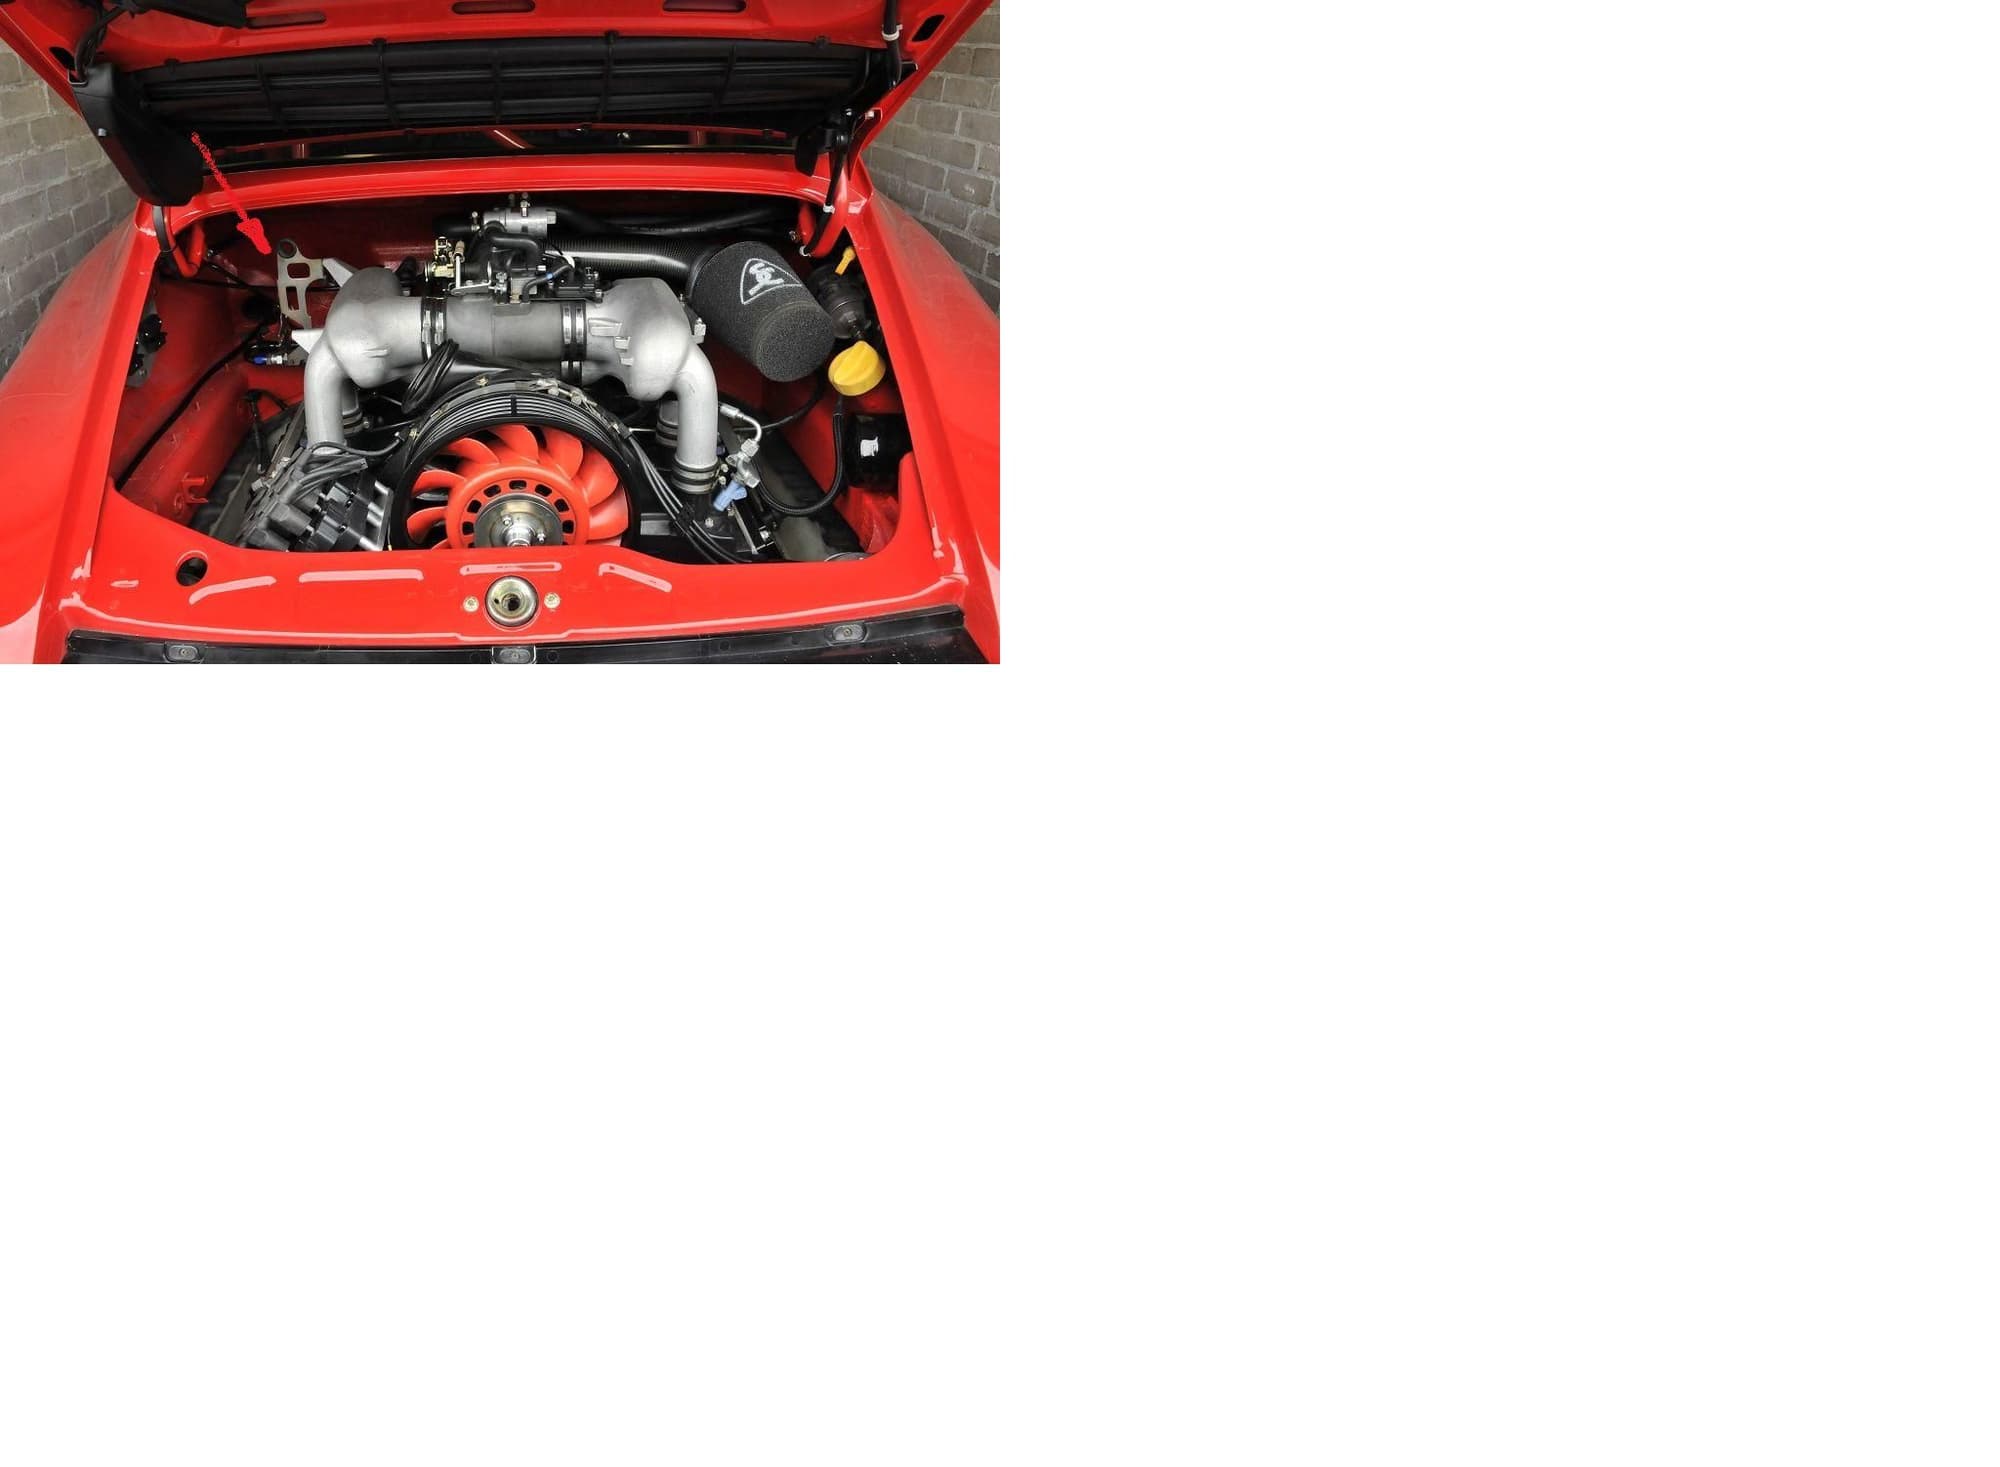
Spurred on by this little victory I found the motivation to pull put the entire engine loom to make way for the new clean, lightweight one I've made.
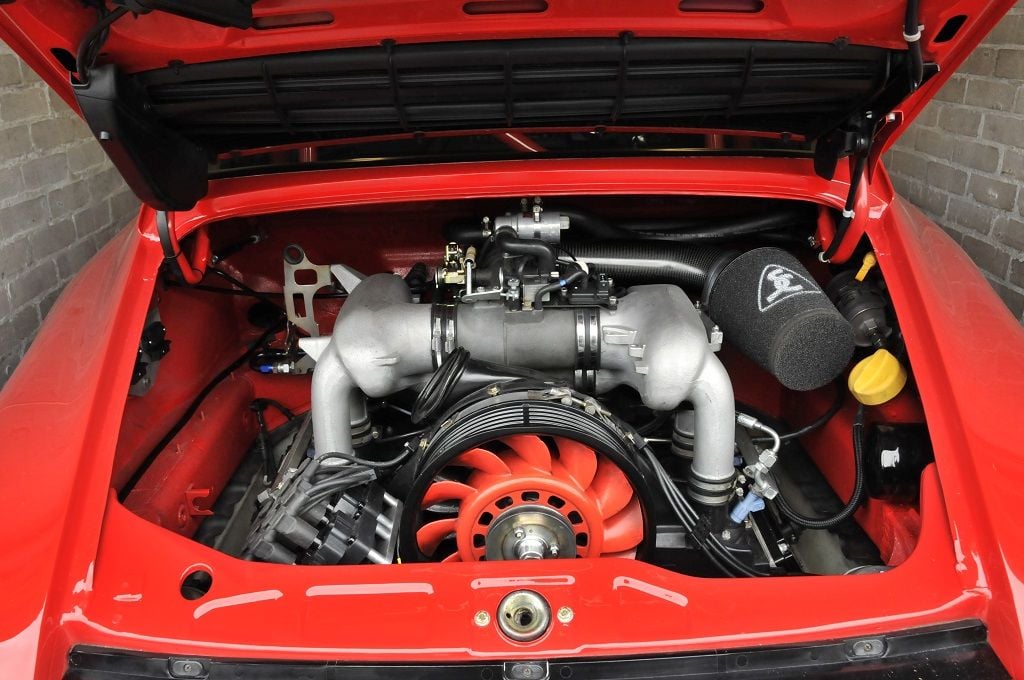
It's looking nice and minimalist in here now
By this point I died, gave-up and slopped off to duvet from where I haven't left and write this up type now.
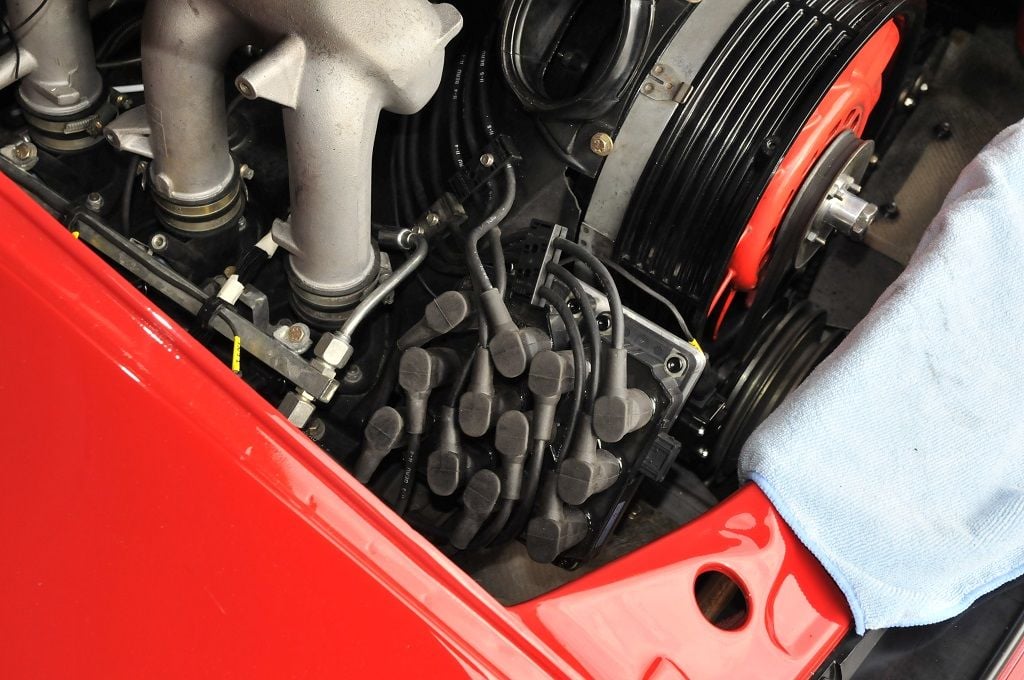
Next two pictures illustrate how with a bit of shuffling of HT leads and extra HT cable clips, they've been routed with the new coil packs.
No more garage playtime for a few days. Docs orders
Well, following a week of inactivity (off sick ) and the rumours of Magnus Walker dropping by to visit L9O next Tuesday, I was spurred on to get the car running. The custom ECU loom and engine loom were ready to go back in so I fitted them Tuesday night. My goodness, soooo easy I kid you not, it took about an hour to get the loom in, all connected up and strapped down. It's about a quarter of the size of the original porsche item. There is also now only ONE cable and connector that connects the engine to the loom and carries all inputs/outs. A lovely 37pin deutch motorsport connector I now have a very empty engine bay and a quick-release engine
Before attempting a start I ran through a few basic checks but then just thought - hell - go for it. Started first time - love it. Yesterday afternoon I dropped the seats back in, gave it a good hover and took it out for a shake down drive over to Tom's place (Lemass). Pleased to say no issues, ran pretty well if a little on the rich side. I'll get this sorted in a week or two on the rollers but in essence we're rolling again. Just need Magnus to extend me that job offer now
...It's about a quarter of the size of the original porsche item. There is also now only ONE cable and connector that connects the engine to the loom and carries all inputs/outs. A lovely 37pin deutch motorsport connector I now have a very empty engine bay and a quick-release engine
Love it!
Originally Posted by ThomasC2
wow, really nice! Never seen the left side of the engine bay so empty and clean.
Yep, it's on the list It's only still there as it supports the fuel return line. Once I've made up an alternate line it'll be comming out. I want to cutoff all the lobes, lumps and brackets from the plenum halfs, polish it up and have them ceramic coated
Finished off the cam phase sender housing this evening. Radiused the ends of the boss and then brazed it onto the main housing. I decided to use some HTS 2000 brazing rods that I had bought a while back but not got round to trying. I have to say they work very well but their scope is limited by the amount of heat you can put into and keep in the work parts. Larger the part the more heat required - and its a lot! You'll need a Mapp torch as a minimum. The two parts were first pre-heated, the mating faces tinned, clamped together, reheated then braised round the circumference.

 03-04-2015, 03:50 AM
 I'll ask SC where in the config I can set this. 45degs BTDC on cycl 1 sounds a good enough place to me. I'll hop over now and catch up on your build thread


 Happy with that.
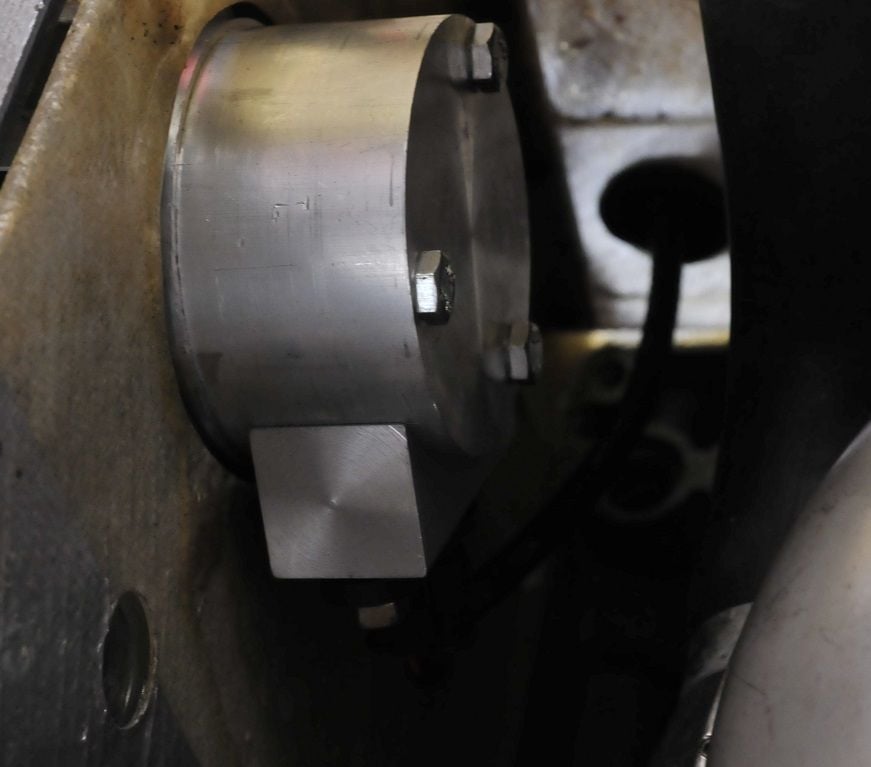


 just keeps getting better