What did you do to your 924/944 today
#5911
Rennlist Member
i broke off the 'radiator to expansion tank' nipple installing the hose. 
besides that, a number of items went in relatively well. i guess you can't expect everything to go so well.

besides that, a number of items went in relatively well. i guess you can't expect everything to go so well.
#5912
Drifting
Well, I have a few parts that I intended to start installing today. But after installing a charged battery it showed not enough charge to start. In fact the dash lights only showed a dull glow. I had 12.9 volts across the battery terminals. Tomorrow I'll investigate for bad earth connections at the engine. 

#5913
Changed oil & filter, transaxle oil and brake fluid. Everything went well up to removing the jack stands. Had a floor jack on one side and a scissors on the other, as I started letting the floor jack down, the car moved and fell off the scissors jack. Luckily there was no damage and only 1 neighbor was watching. She's ready to drive to Moab in 2 weeks to a 914 gathering.
#5915
I was able to rewire the connections to the cooling fan resistors just below the windshield. Now my cooling fans work as they should (use to only run on high speed)!
AZbanks, are those TRS projectors?
I don't think the race header panel is a good look. You can either buy the light housings from D9 or the other guy who makes them (forgot his name atm, but he post on here).
Another option is to go with the TRS sealed projector in a 7" housing, but you'll still be using flip ups.
#5917
Freedom Enthusiast
Rennlist Member
Rennlist Member
AZbanks, are those TRS projectors?
I don't think the race header panel is a good look. You can either buy the light housings from D9 or the other guy who makes them (forgot his name atm, but he post on here).
Another option is to go with the TRS sealed projector in a 7" housing, but you'll still be using flip ups.
I don't think the race header panel is a good look. You can either buy the light housings from D9 or the other guy who makes them (forgot his name atm, but he post on here).
Another option is to go with the TRS sealed projector in a 7" housing, but you'll still be using flip ups.
Last edited by azbanks; 09-02-2014 at 04:46 PM.
#5918
Freedom Enthusiast
Rennlist Member
Rennlist Member
Took out all the original headlight equipment and started making the brackets to hold the new lights. I felt like a blacksmith hammering away with the sledge. That is what made the little dots on the steel.
1"X 1/8" steel and aluminum plate.
1"X 1/8" steel and aluminum plate.
#5921
Started removing parts to get access to the rear main seal. About 9 hrs later, I was able to take off the flywheel and see the seal - thanks Clarkes Garage!
Next up - remove the seal and replace with a new one.
Next up - remove the seal and replace with a new one.
#5923

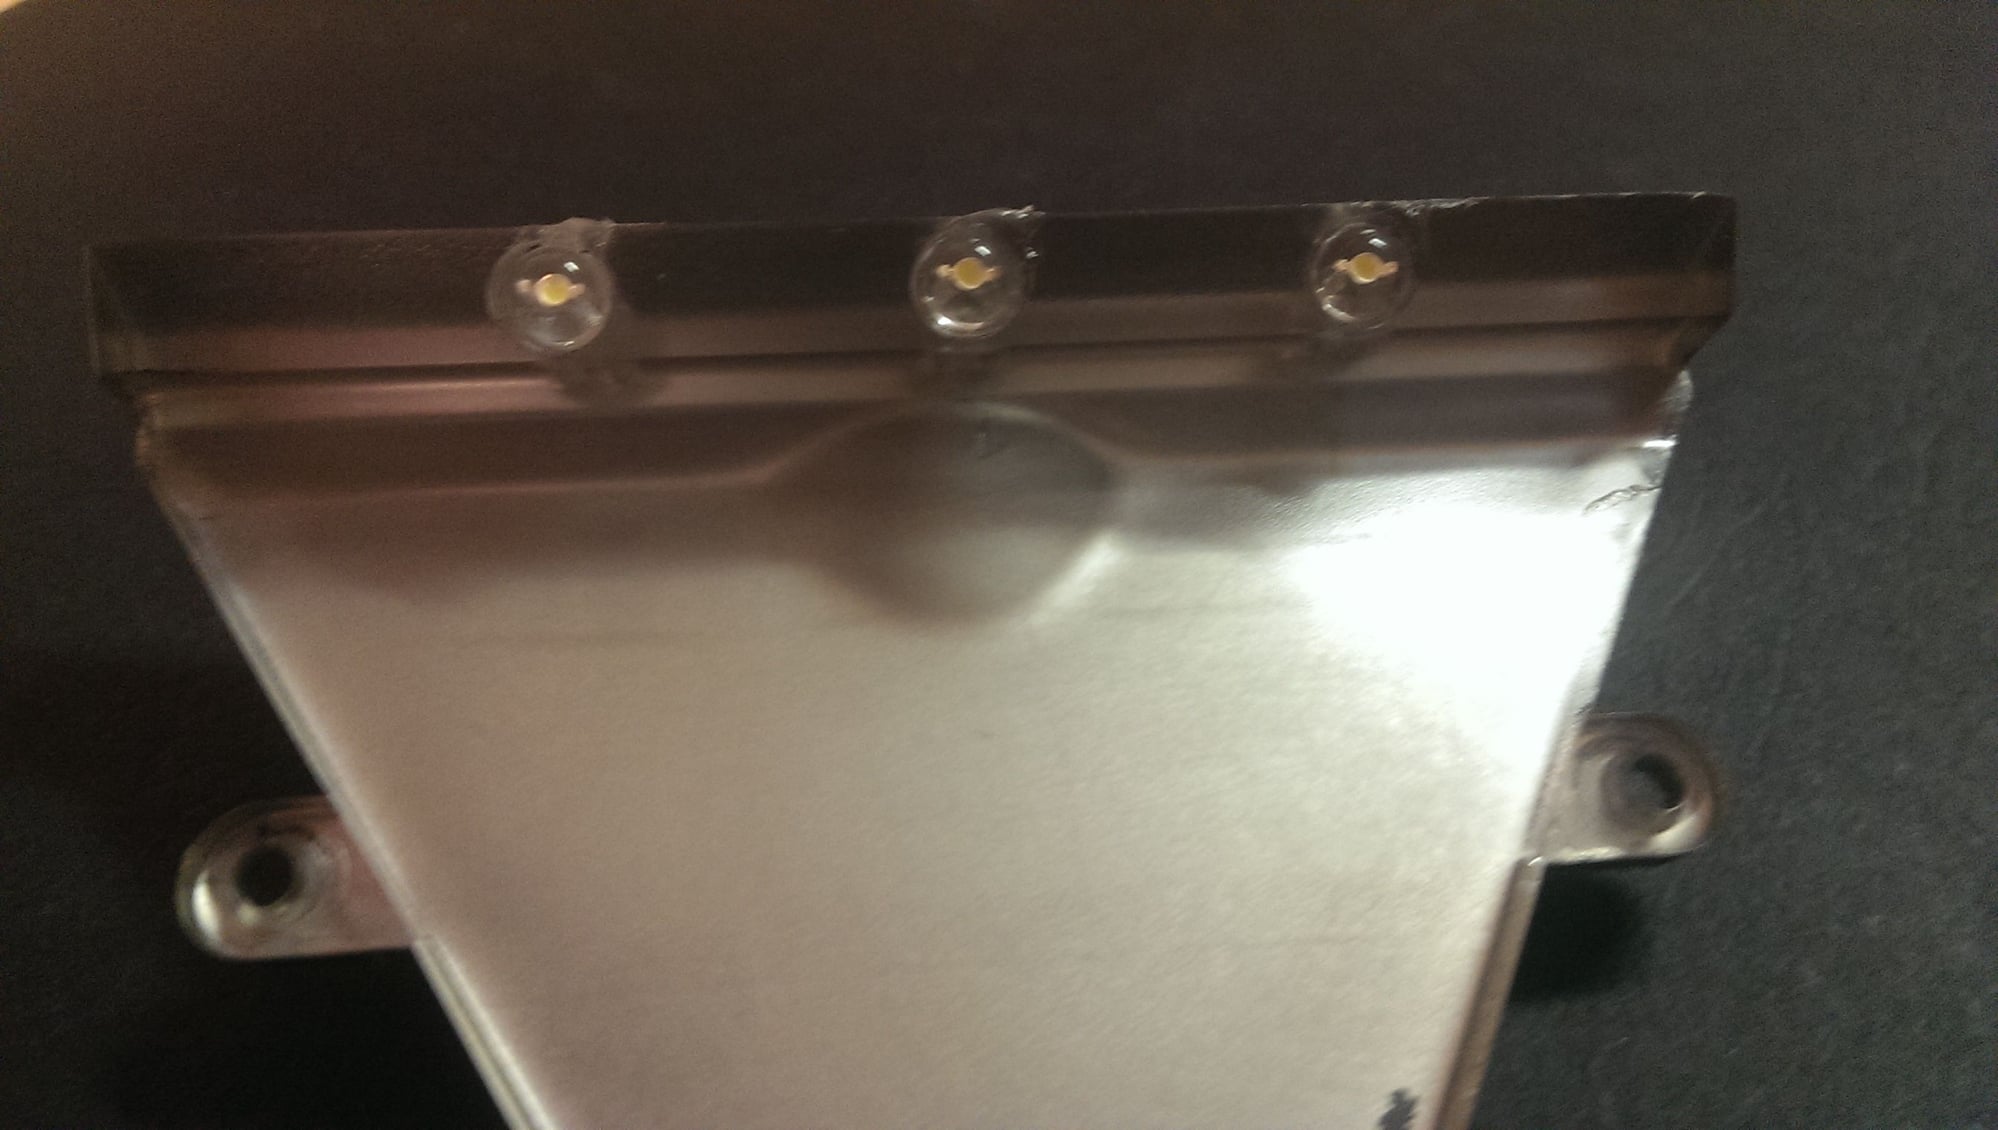
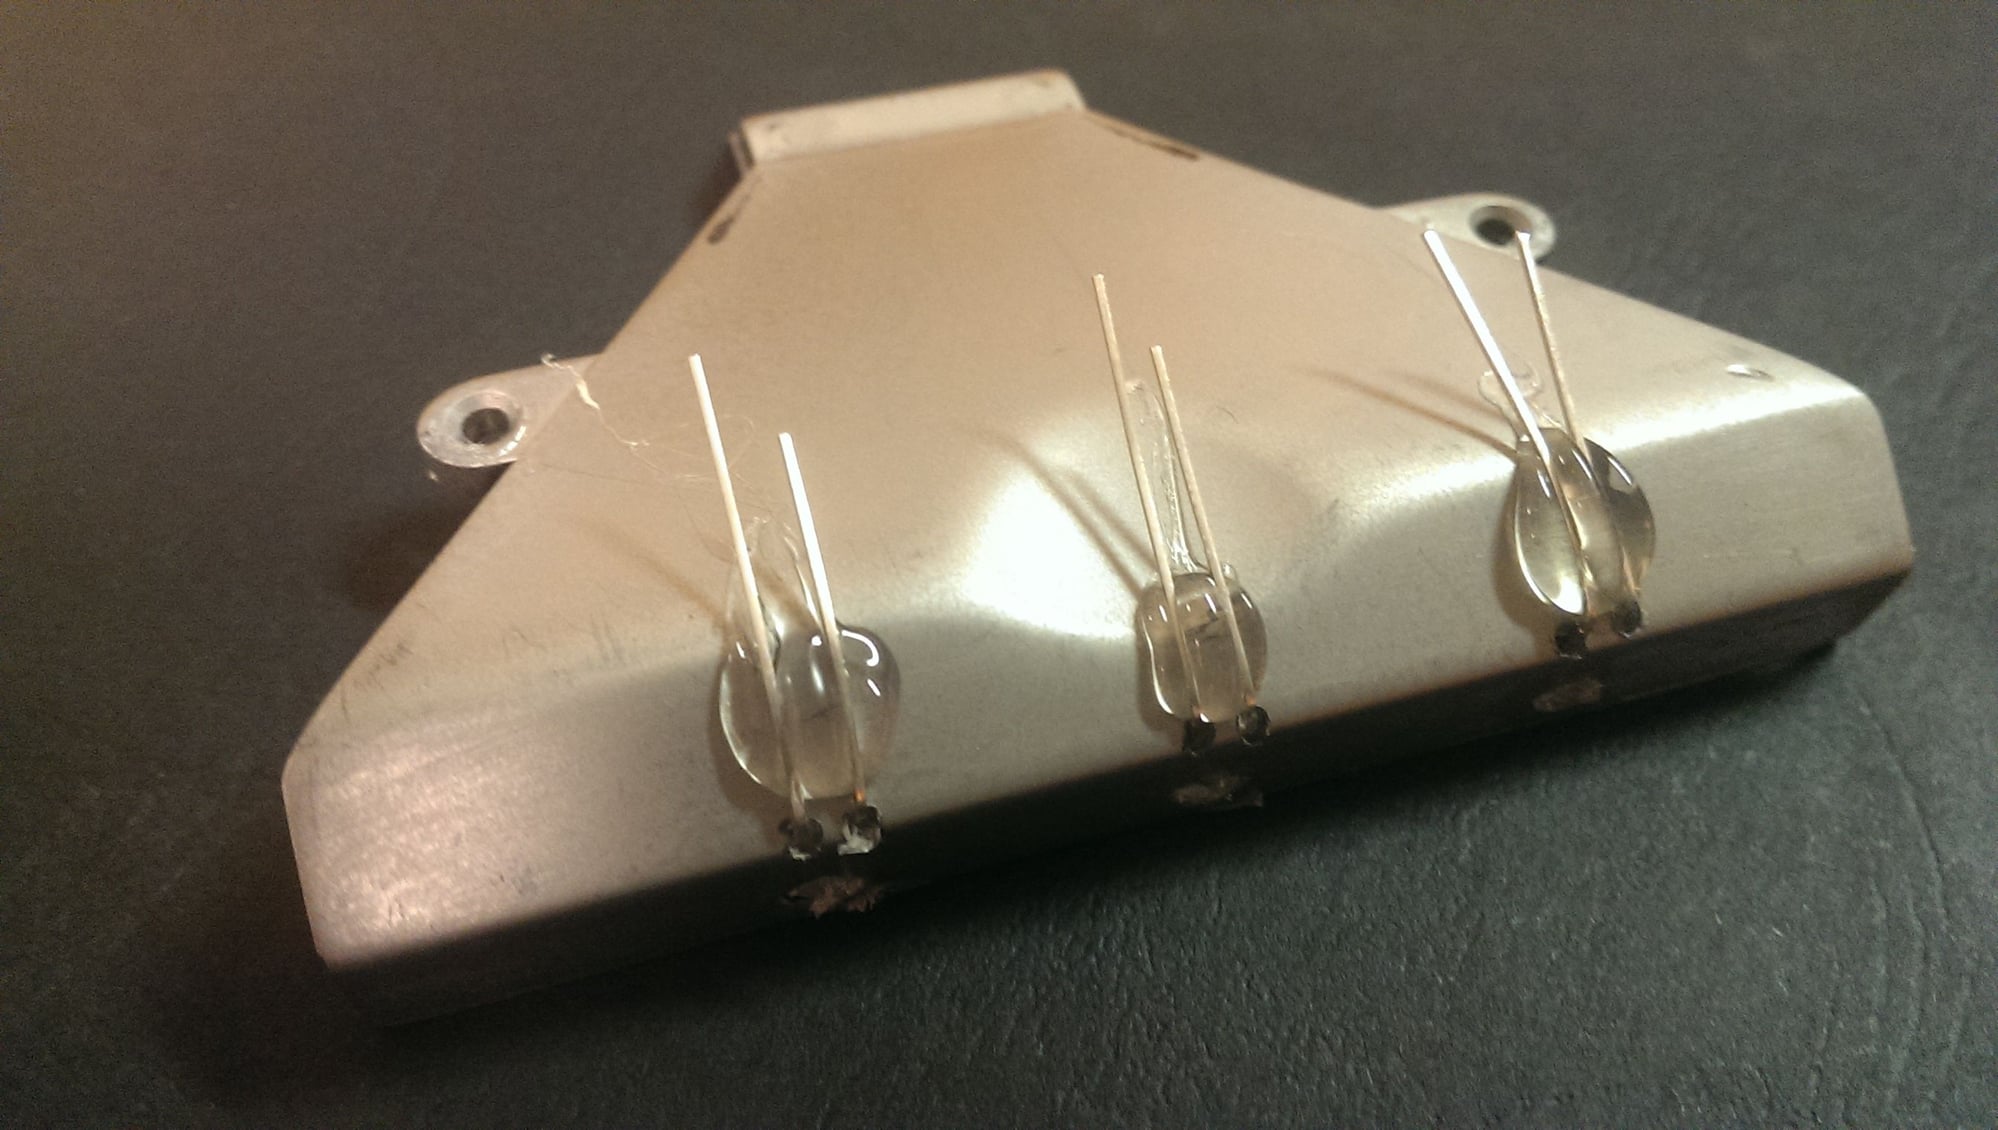
I gave up on trying to get the factory dash lights to put out enough light. I have tried spraying a new coat of mirror finish paint on the light diffusers, but they never worked well at all. So I have drilled out the tips of the diffusers and inserted three white LEDs in each one. The tip that sticks into the gauge cluster. Then, I ran them off of a microprocessor, which is PWMing them. Then, I tied the microprocessor to the factory dimmer switch, so it could dim or brighten the LEDs along with the rest of the interior lights. That also makes them turn on/off with the normal dash lights. Now they are very nice and bright!

#5924
Freedom Enthusiast
Rennlist Member
Rennlist Member
More work on the lights. 90% done.
I wired in a diode to control the high beam activation. There is only one bulb per headlight(no separate hi and low bulbs). I had to feed both the low beam and the high beam circuits into the single bulbs. There is a solenoid that controls a metal plate that blocks part of the light beam for low. The electricity from the low beam was traveling back up the wire and tripping the solenoid so I installed the diode to block that electricity. Now everything works perfectly.
My first bracket design wasn't right so I remade new ones. I've got the drivers side all mounted up. It lines up exactly where my old lights did on the garage door.


