When you click on links to various merchants on this site and make a purchase, this can result in this site earning a commission. Affiliate programs and affiliations include, but are not limited to, the eBay Partner Network.
Was it something we said? We haven’t had an update from you in almost 90 days. Please check in and let us know what’s happening - some of us are living vicariously through your project (not naming names) and we need our "fix".
Happy Holidays,
DaveGee
Hi Dave, I have hit a road block (pun intended) with the body work.
My strategy was to wait until the body shop was ready to take the car, then transport it to them, remove the ABS unit, drain the coolant and have it all ready in a week or two for the rest of the project.
The reality is that with no car clogging up their shop, I’m out of sight and out of mind so my slot never seems to come.
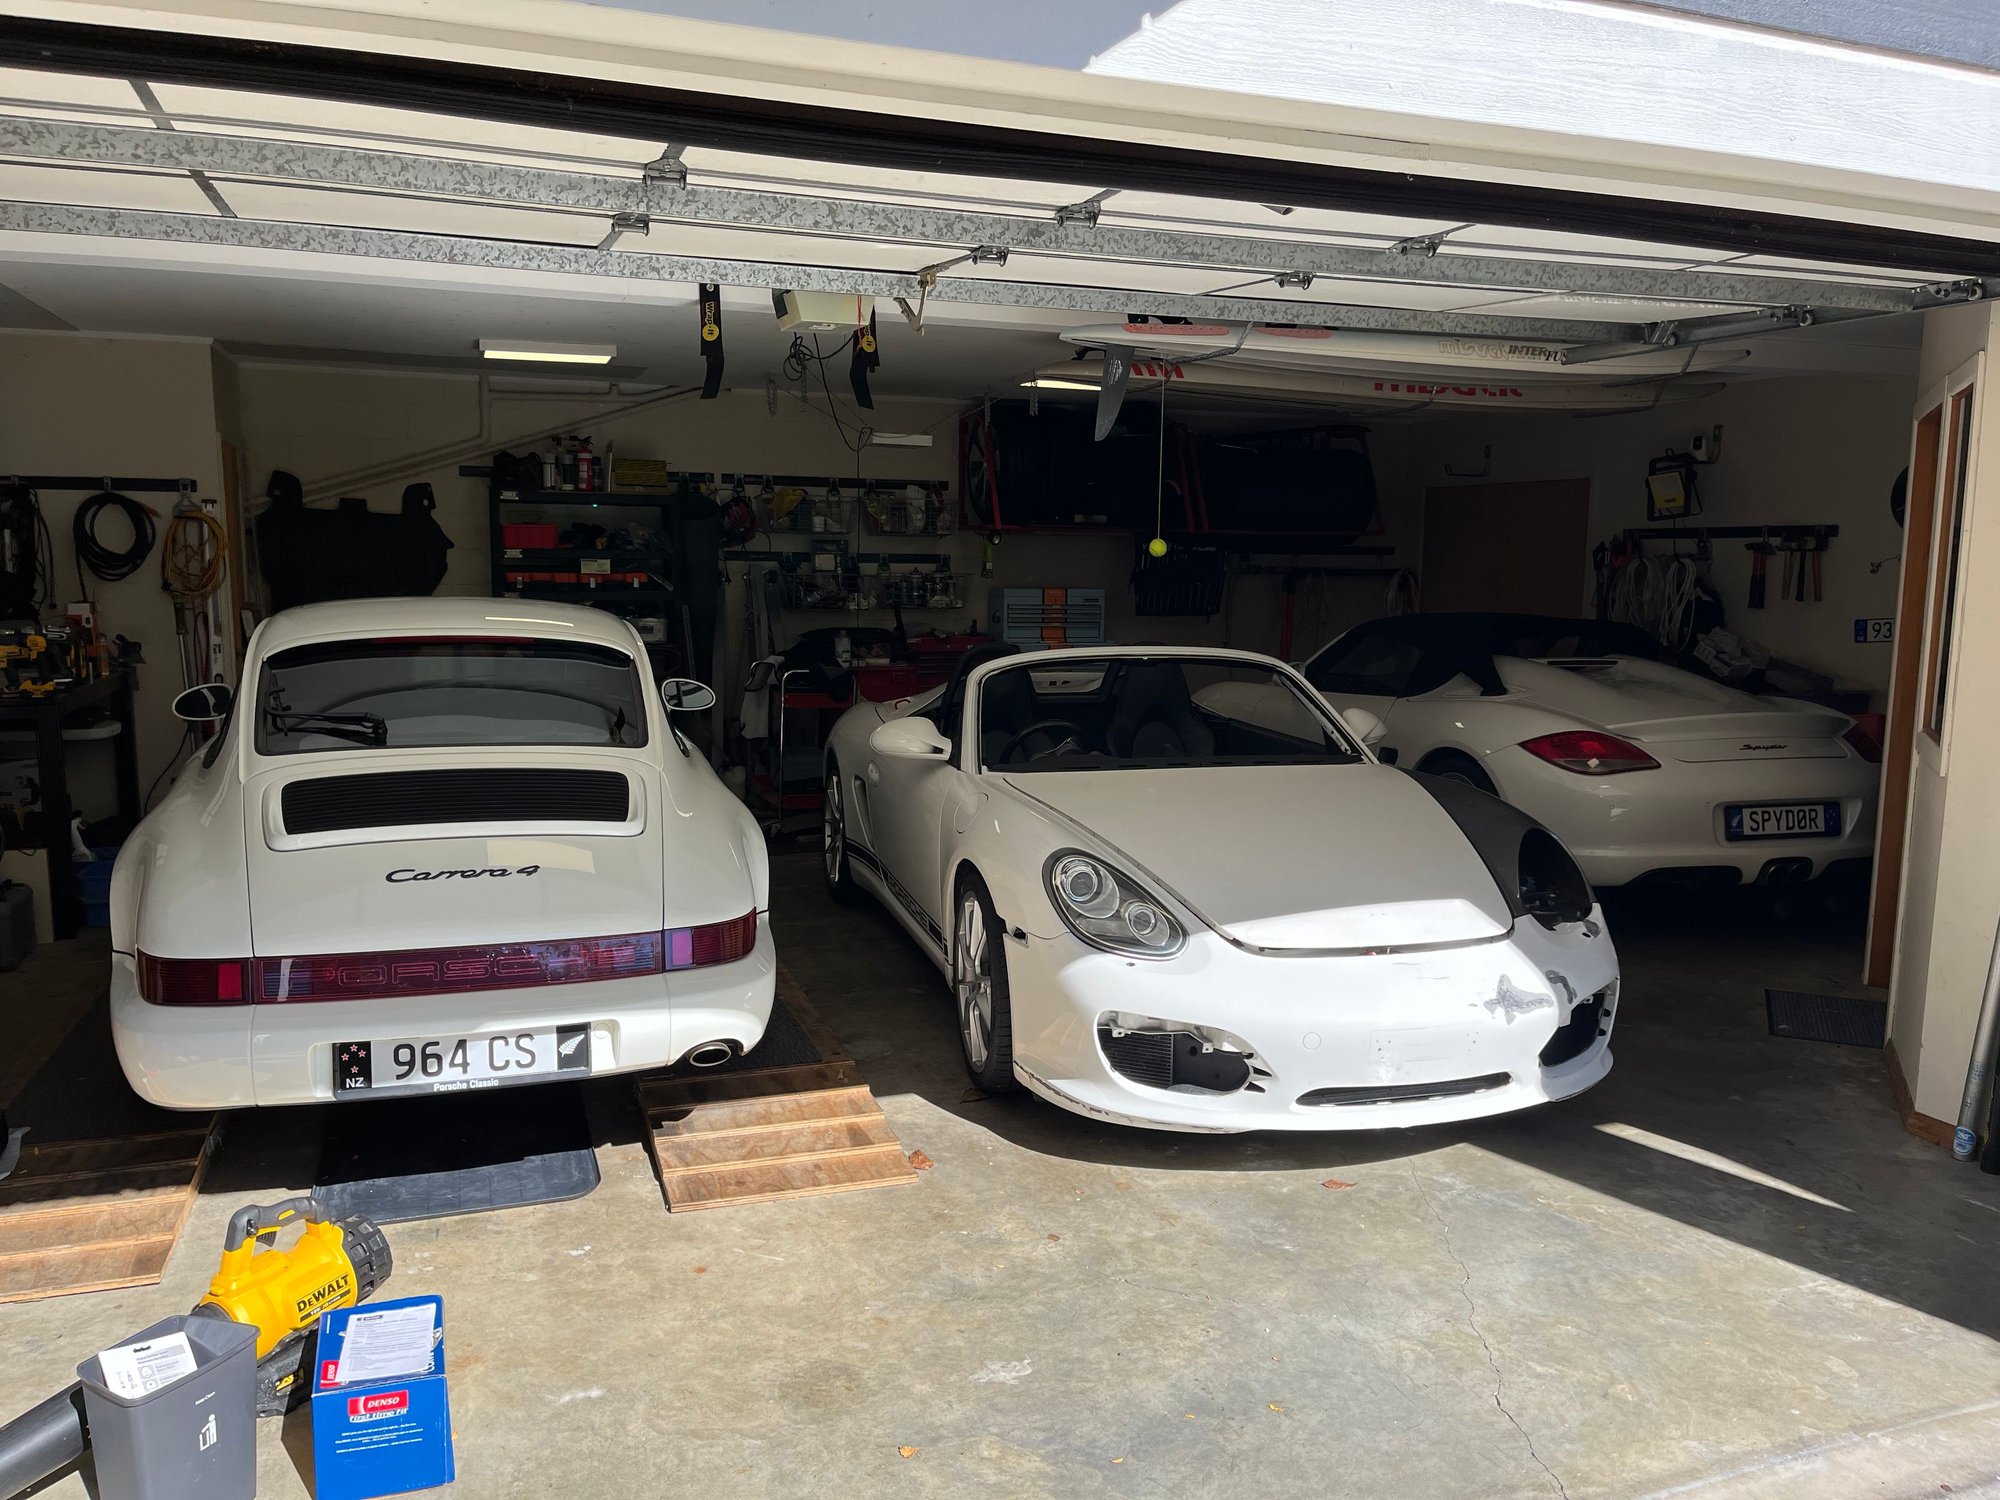
I’ve started my holiday break and will work on making the car body shop proof (protect all interior etc) then ship it to them. At least then, I will have my garage space back. I have a 5,000 Km road trip planned in my 964 and would like that up on my lift for checking etc.
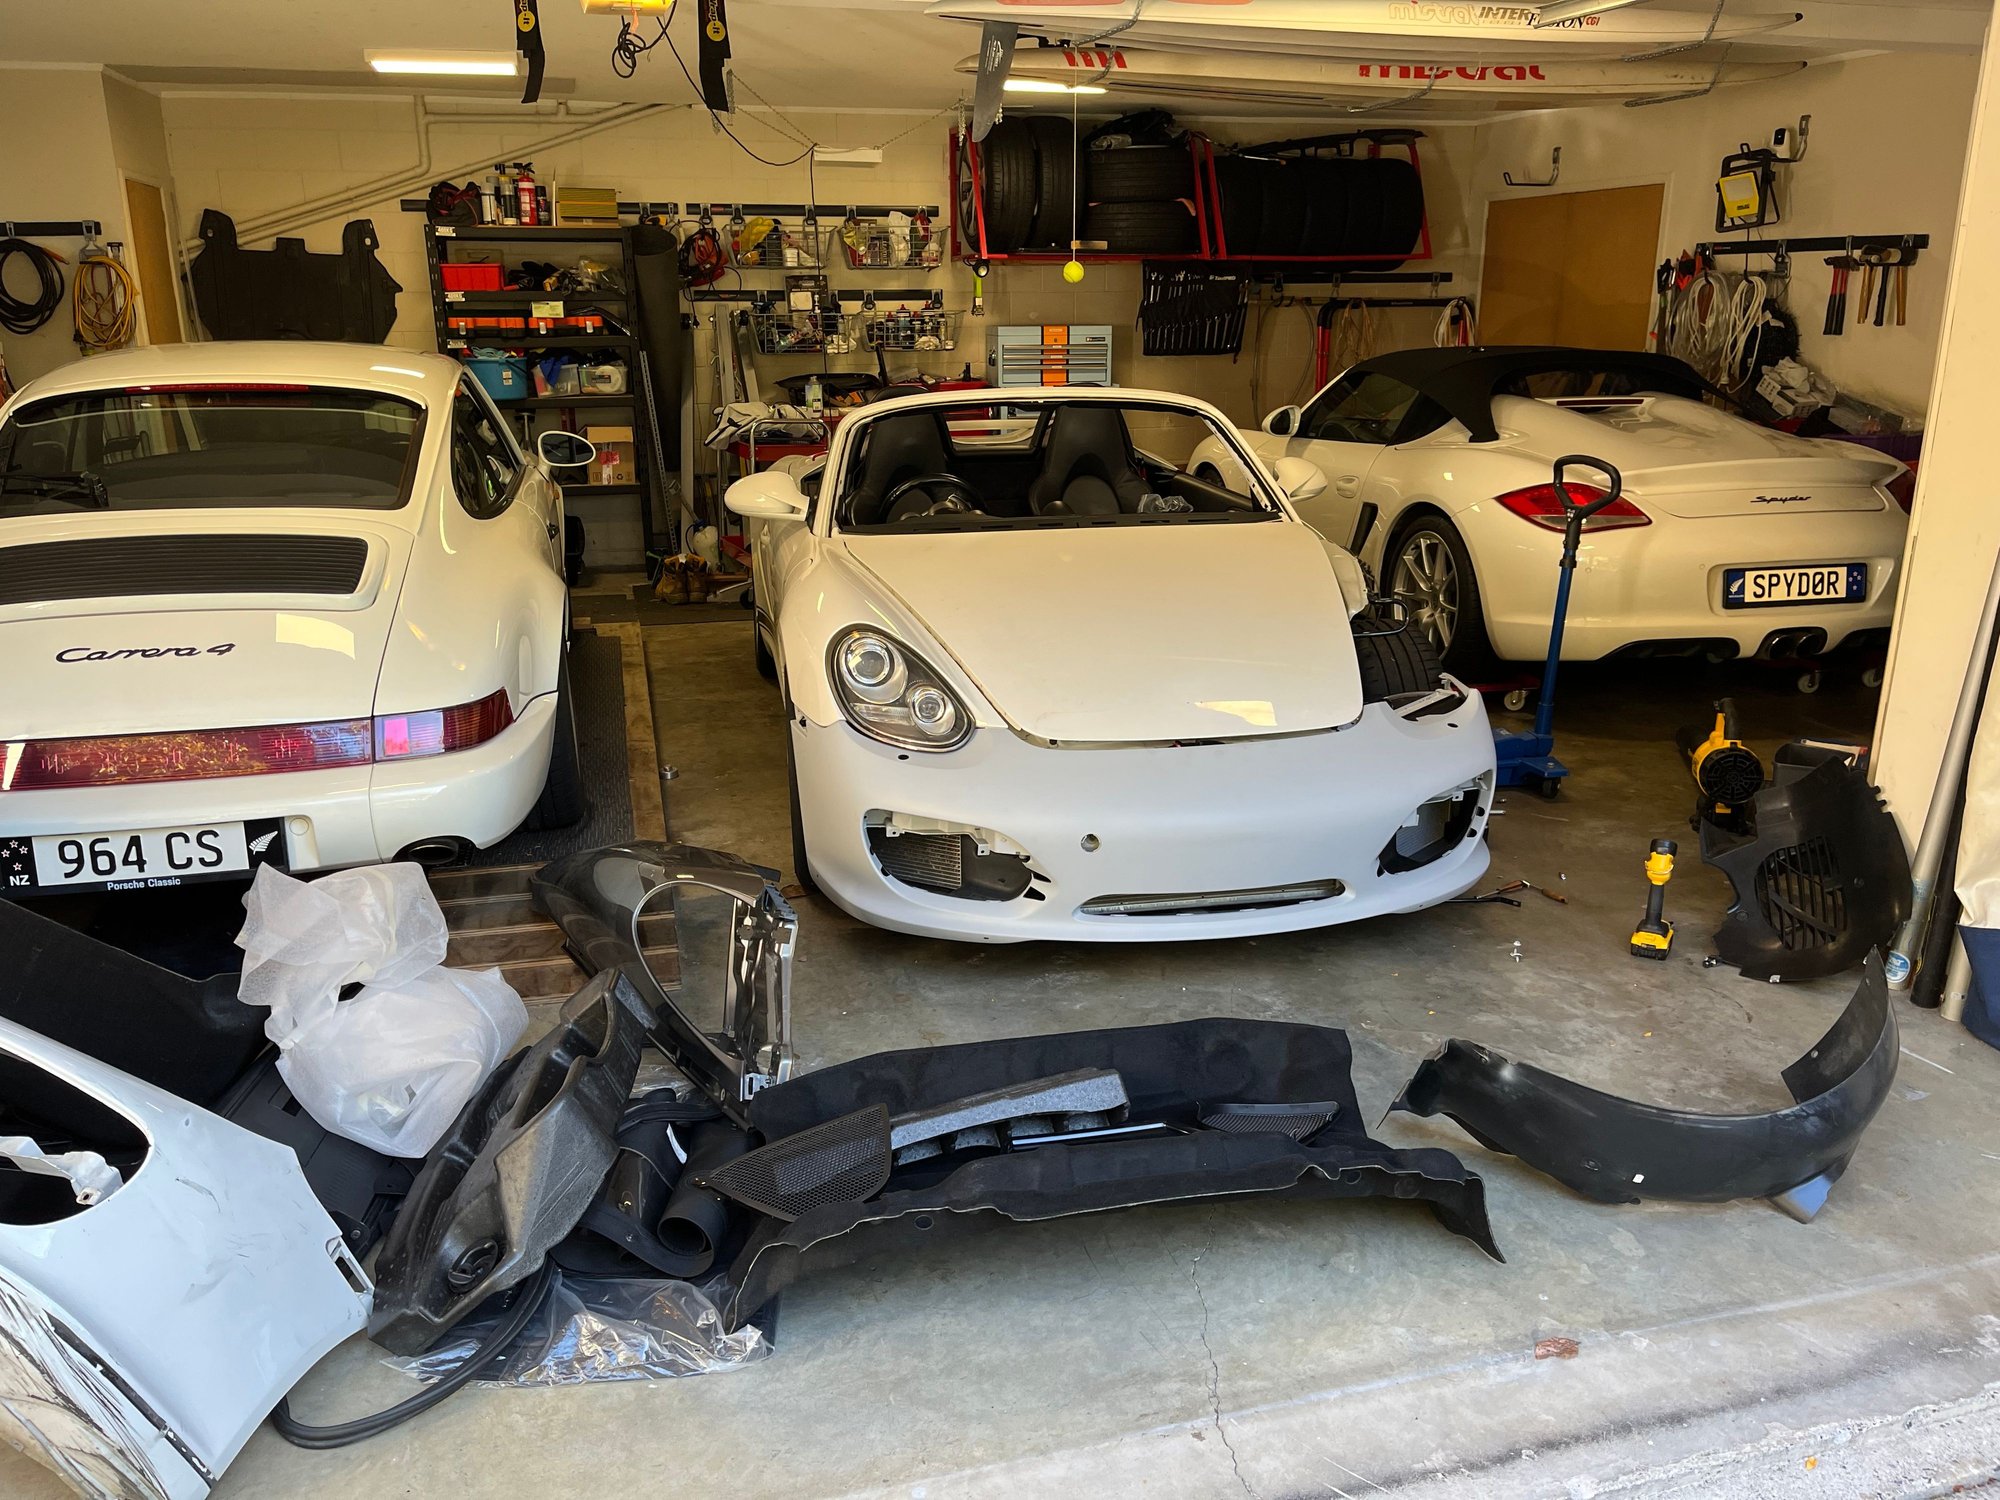
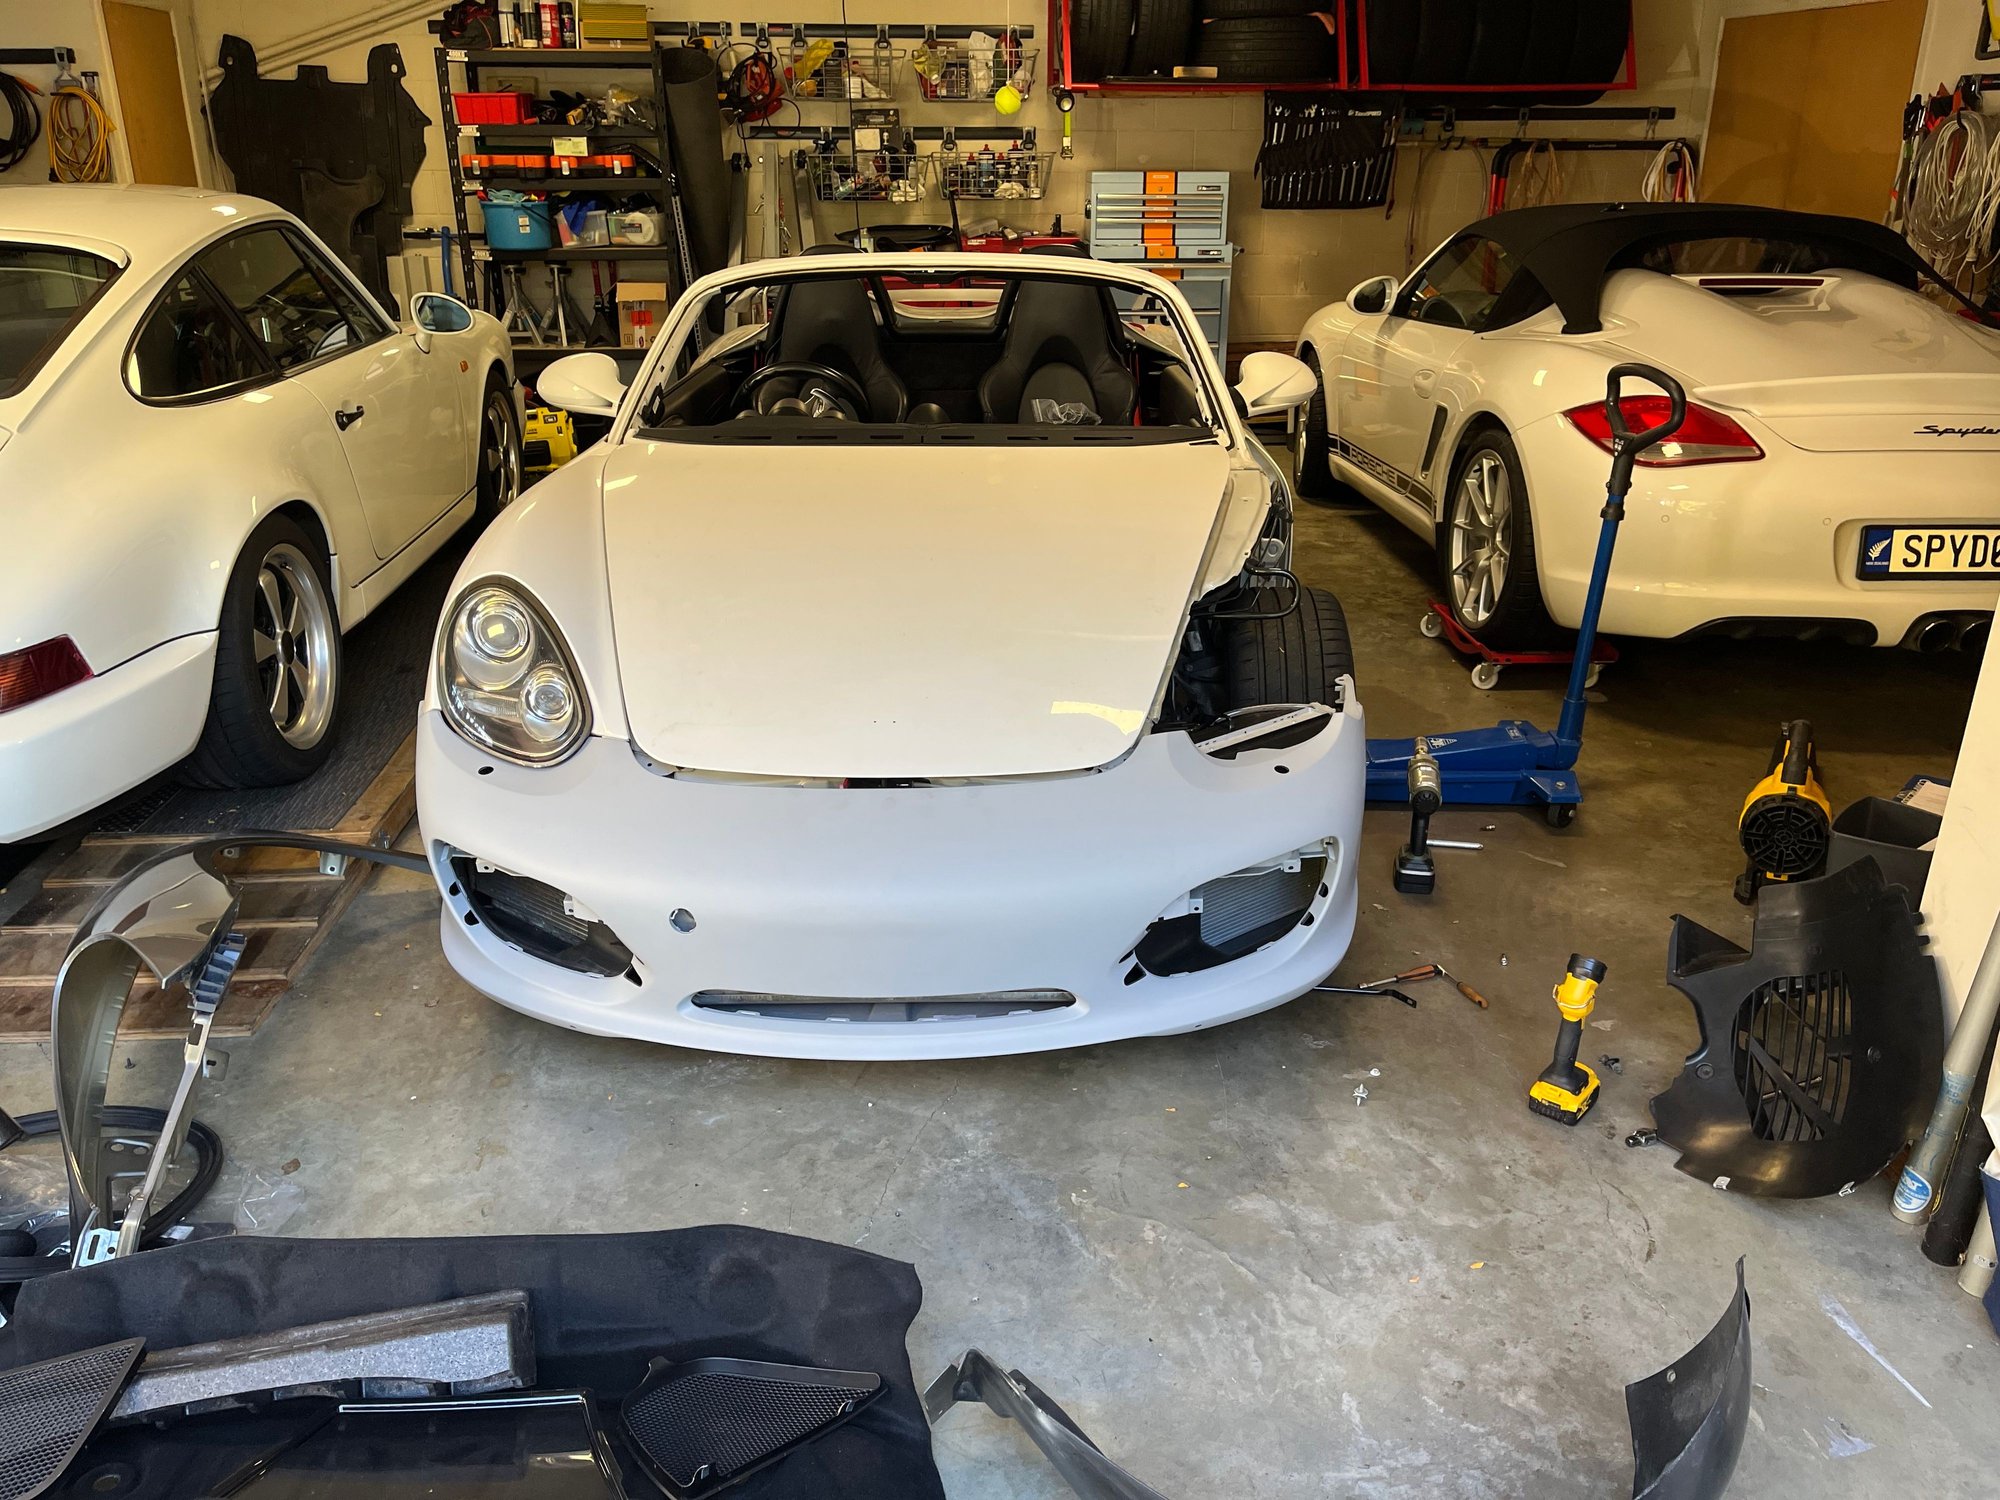
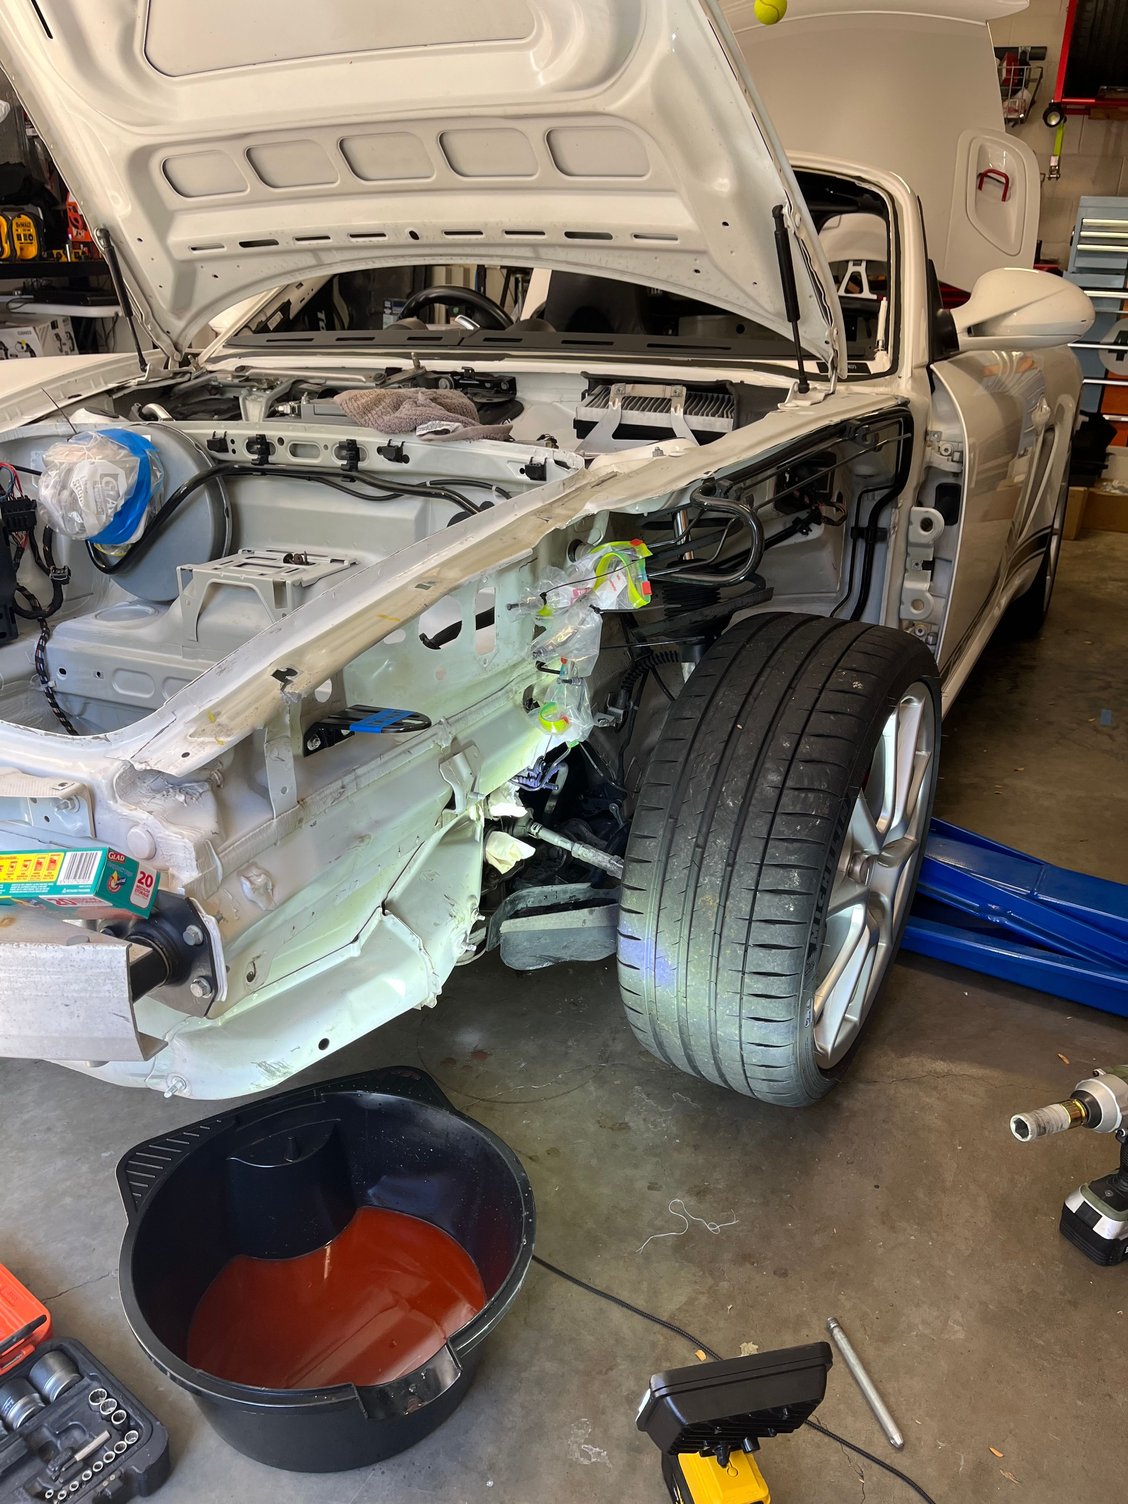
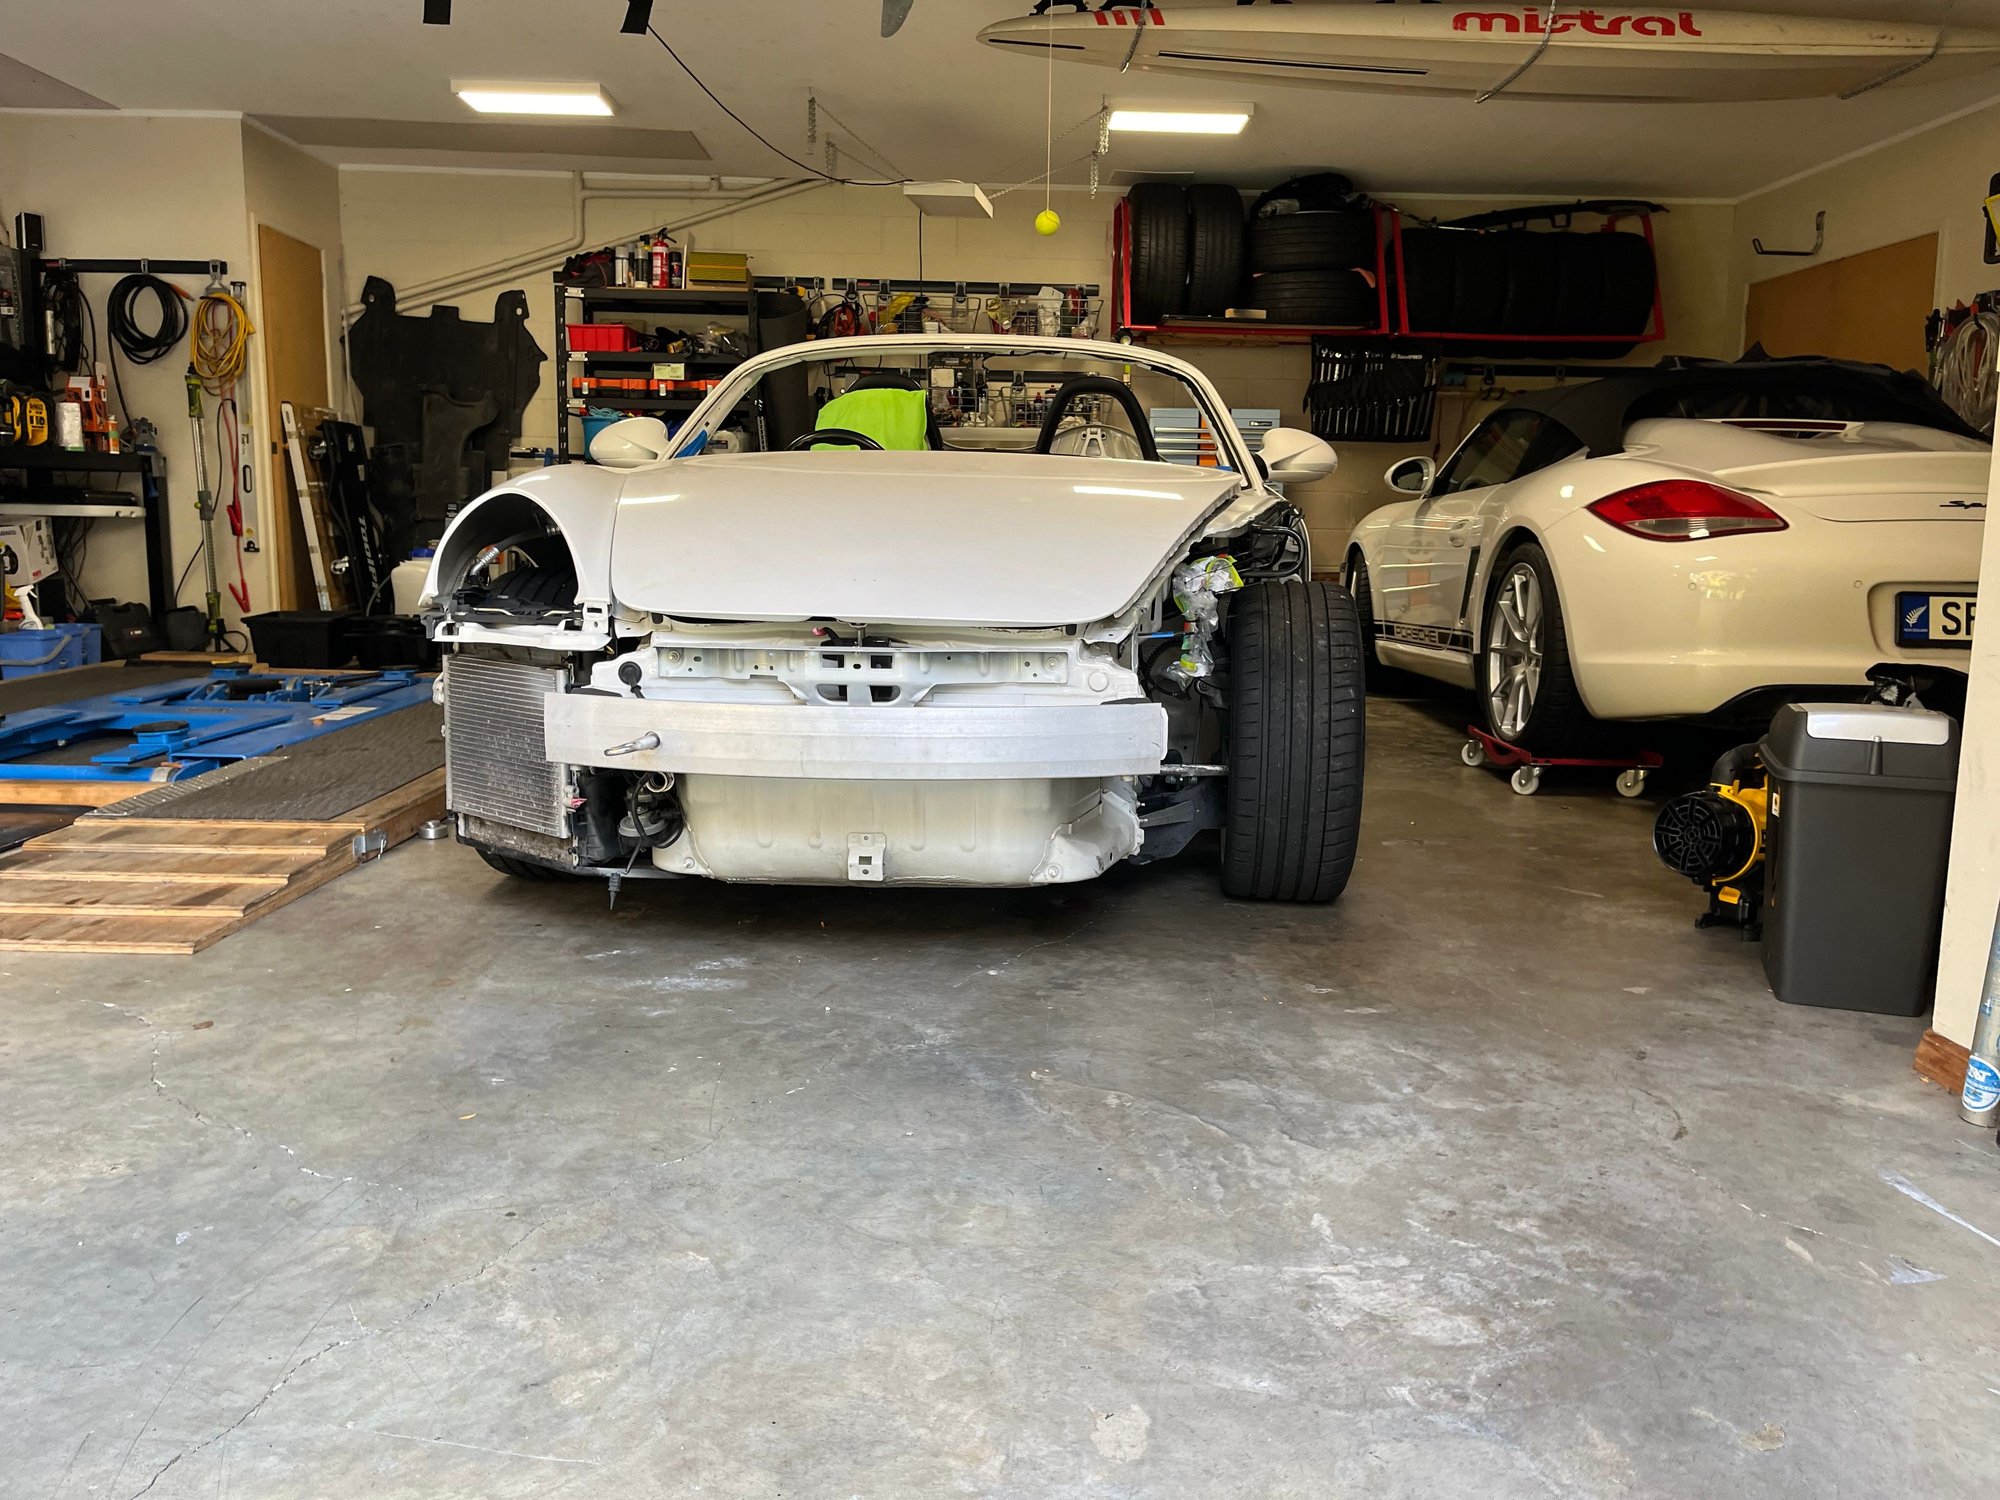
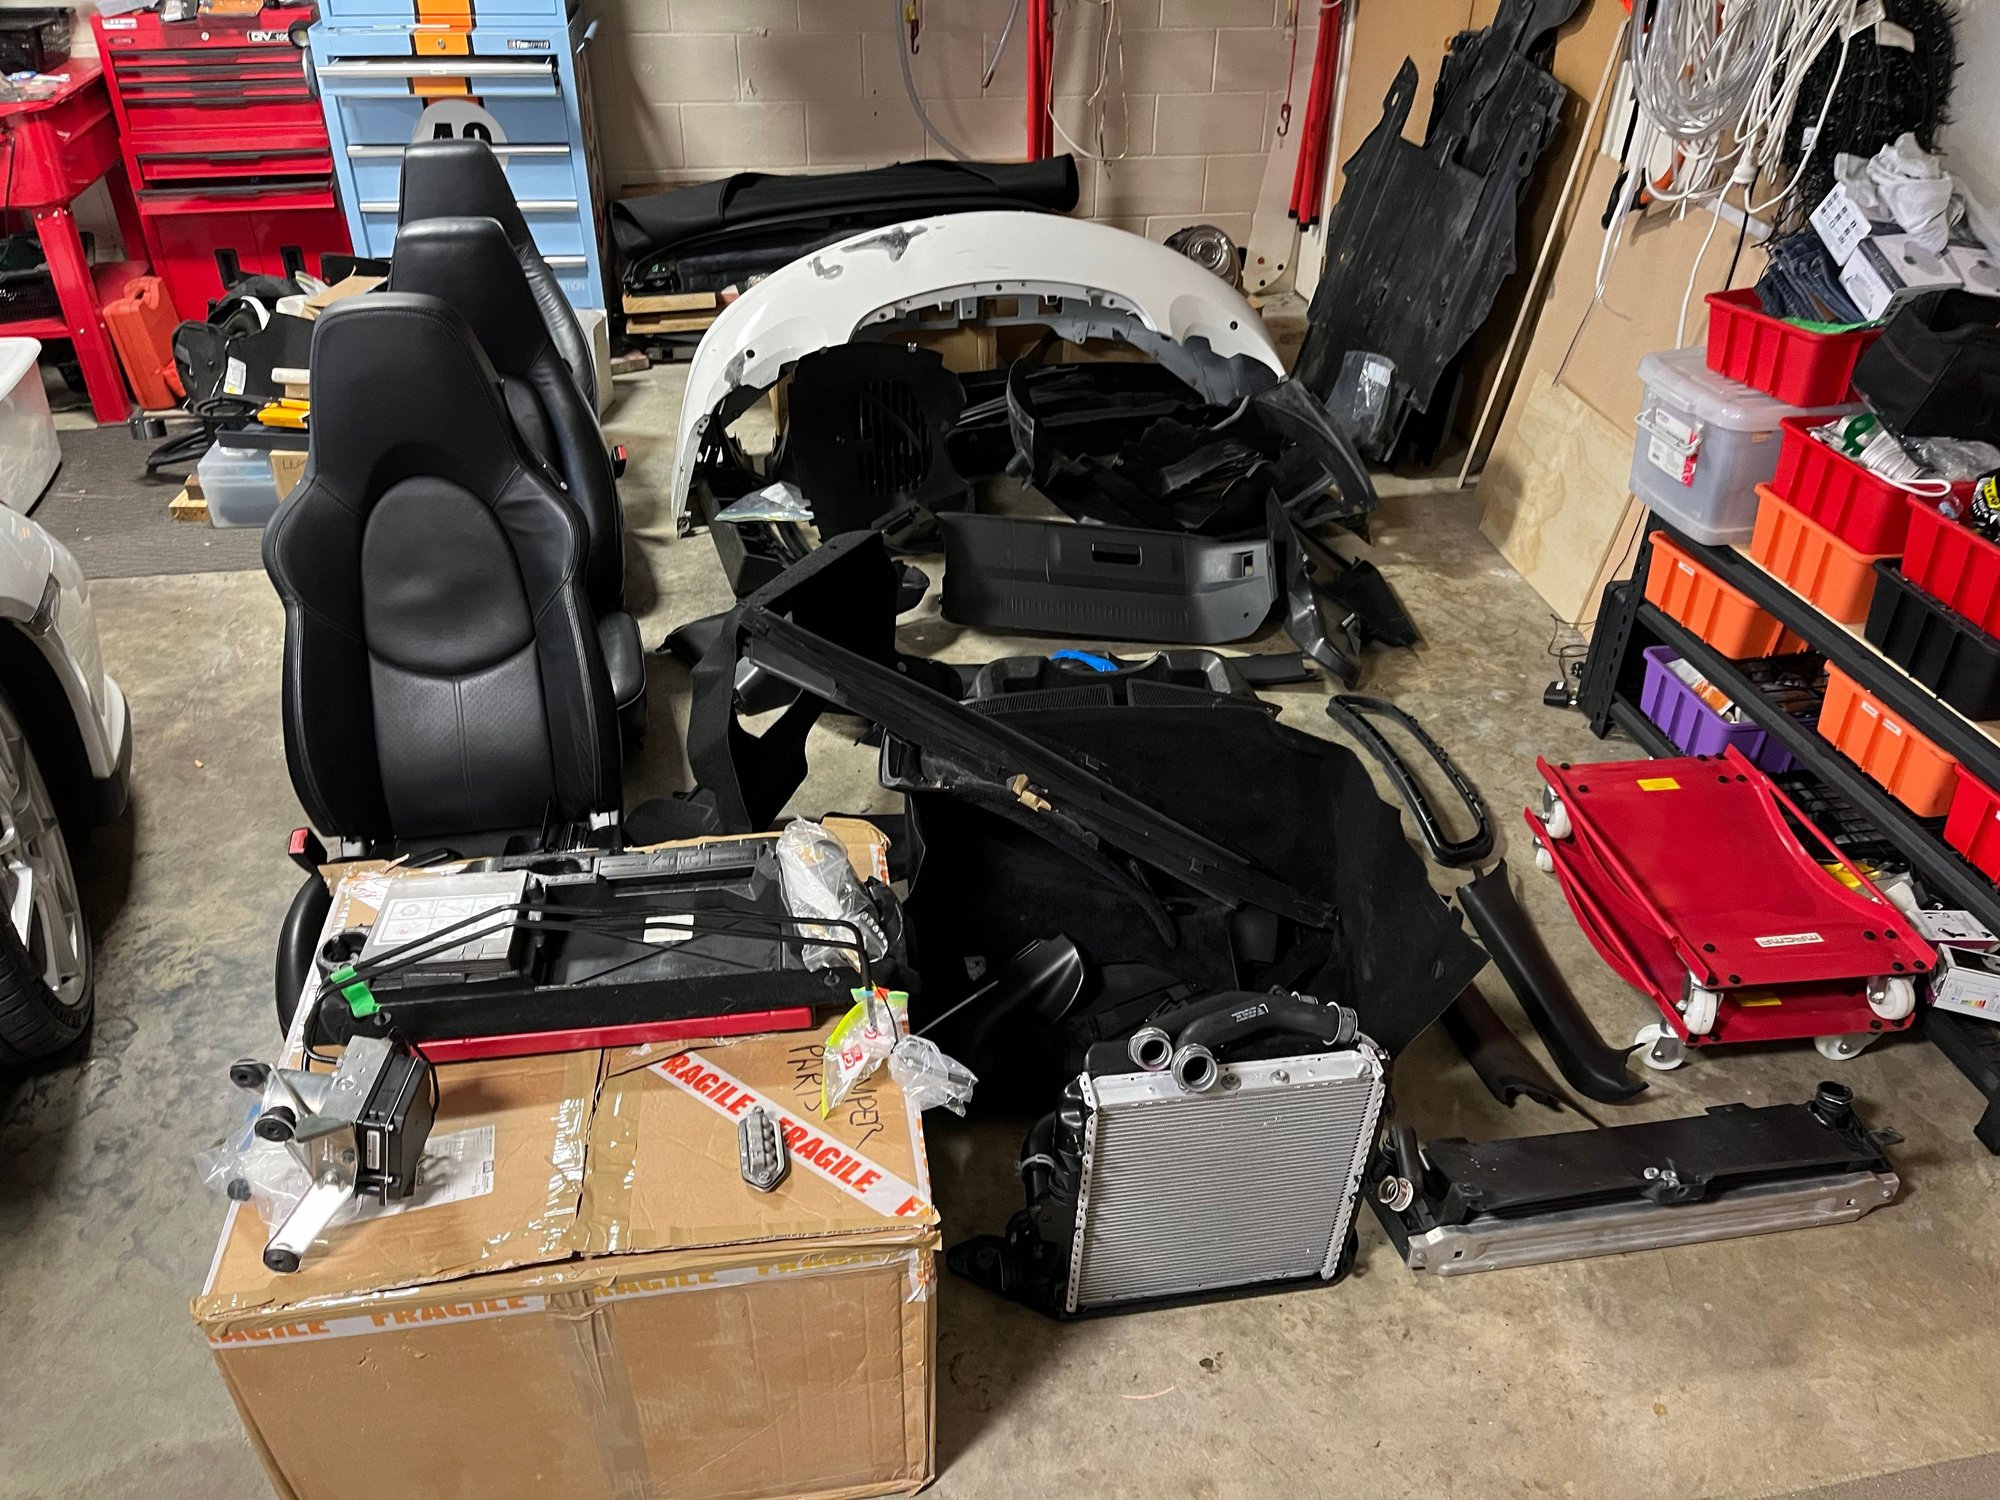
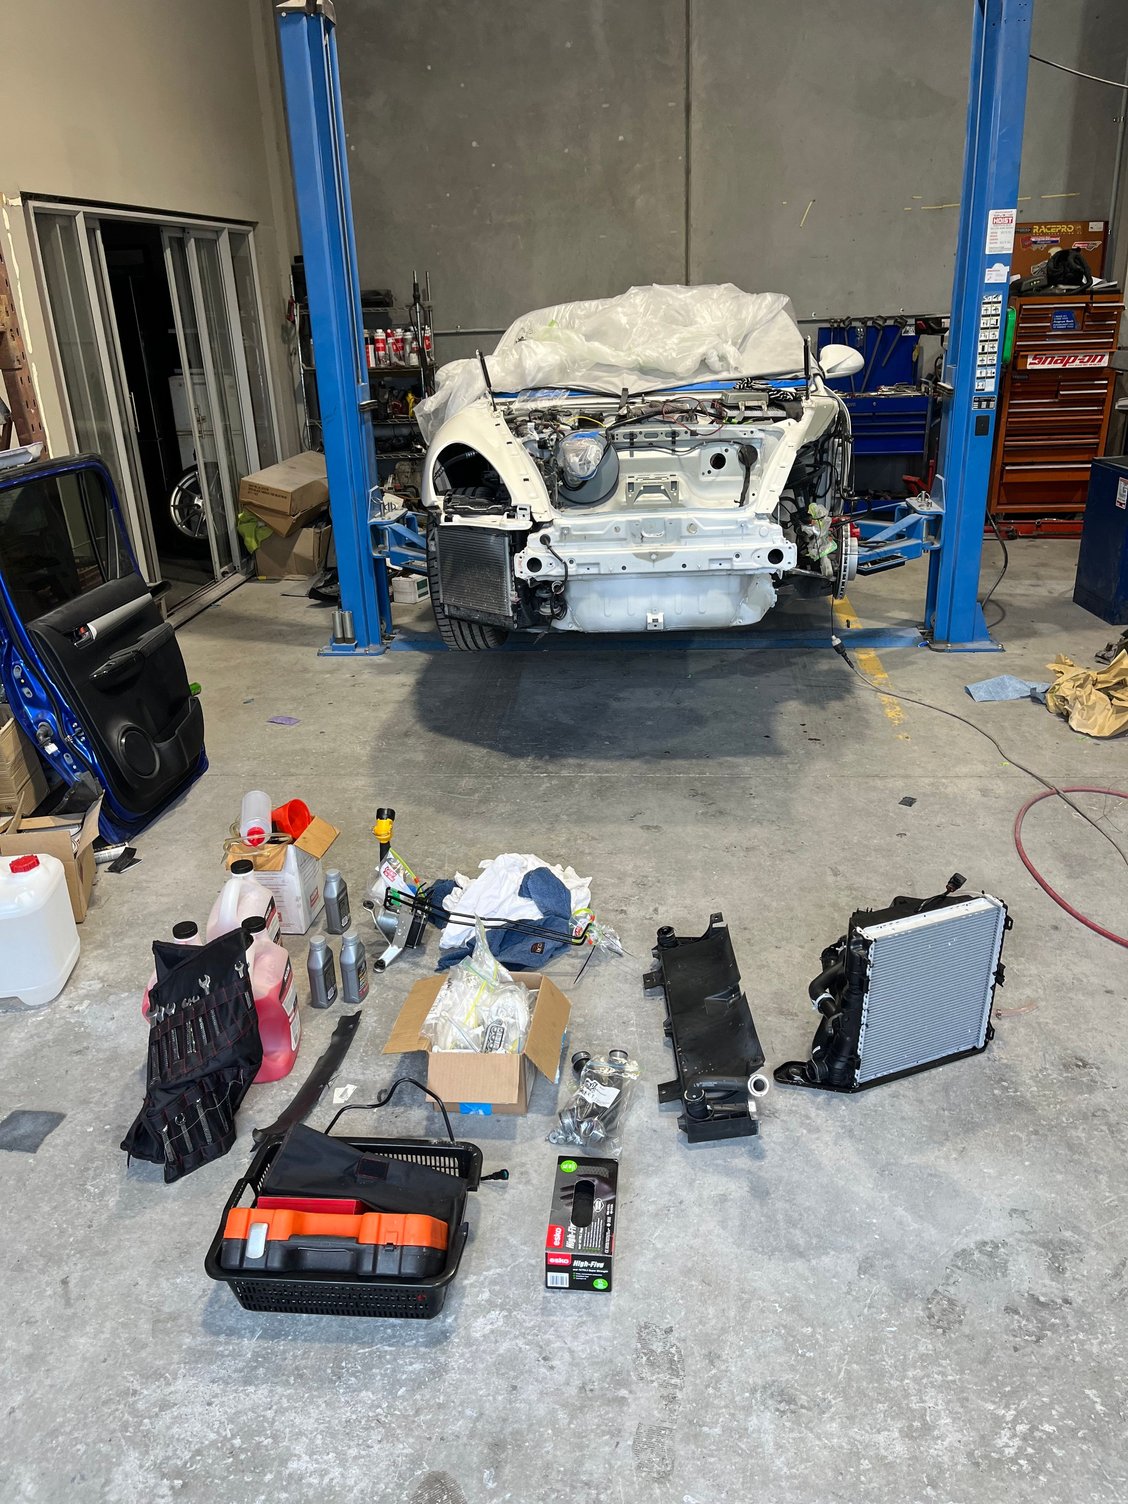
I have a body shop date. The car goes in on Monday, 6 May. Now to start stripping it down and protecting as much as possible against overspray. Playing car Tetris The ABS unit will need to be removed. And the pile of parts builds with a look at the brand new bumper.
So many parts, starting to look like a breakers yard there
Glad this is finally happening for you.
Thanks to you for getting the shop to focus on it. Post the bodywork, I’ll get the windscreen in and have a mobile platform to address the inevitable system issues/tweaks. That’s where my interest is at.
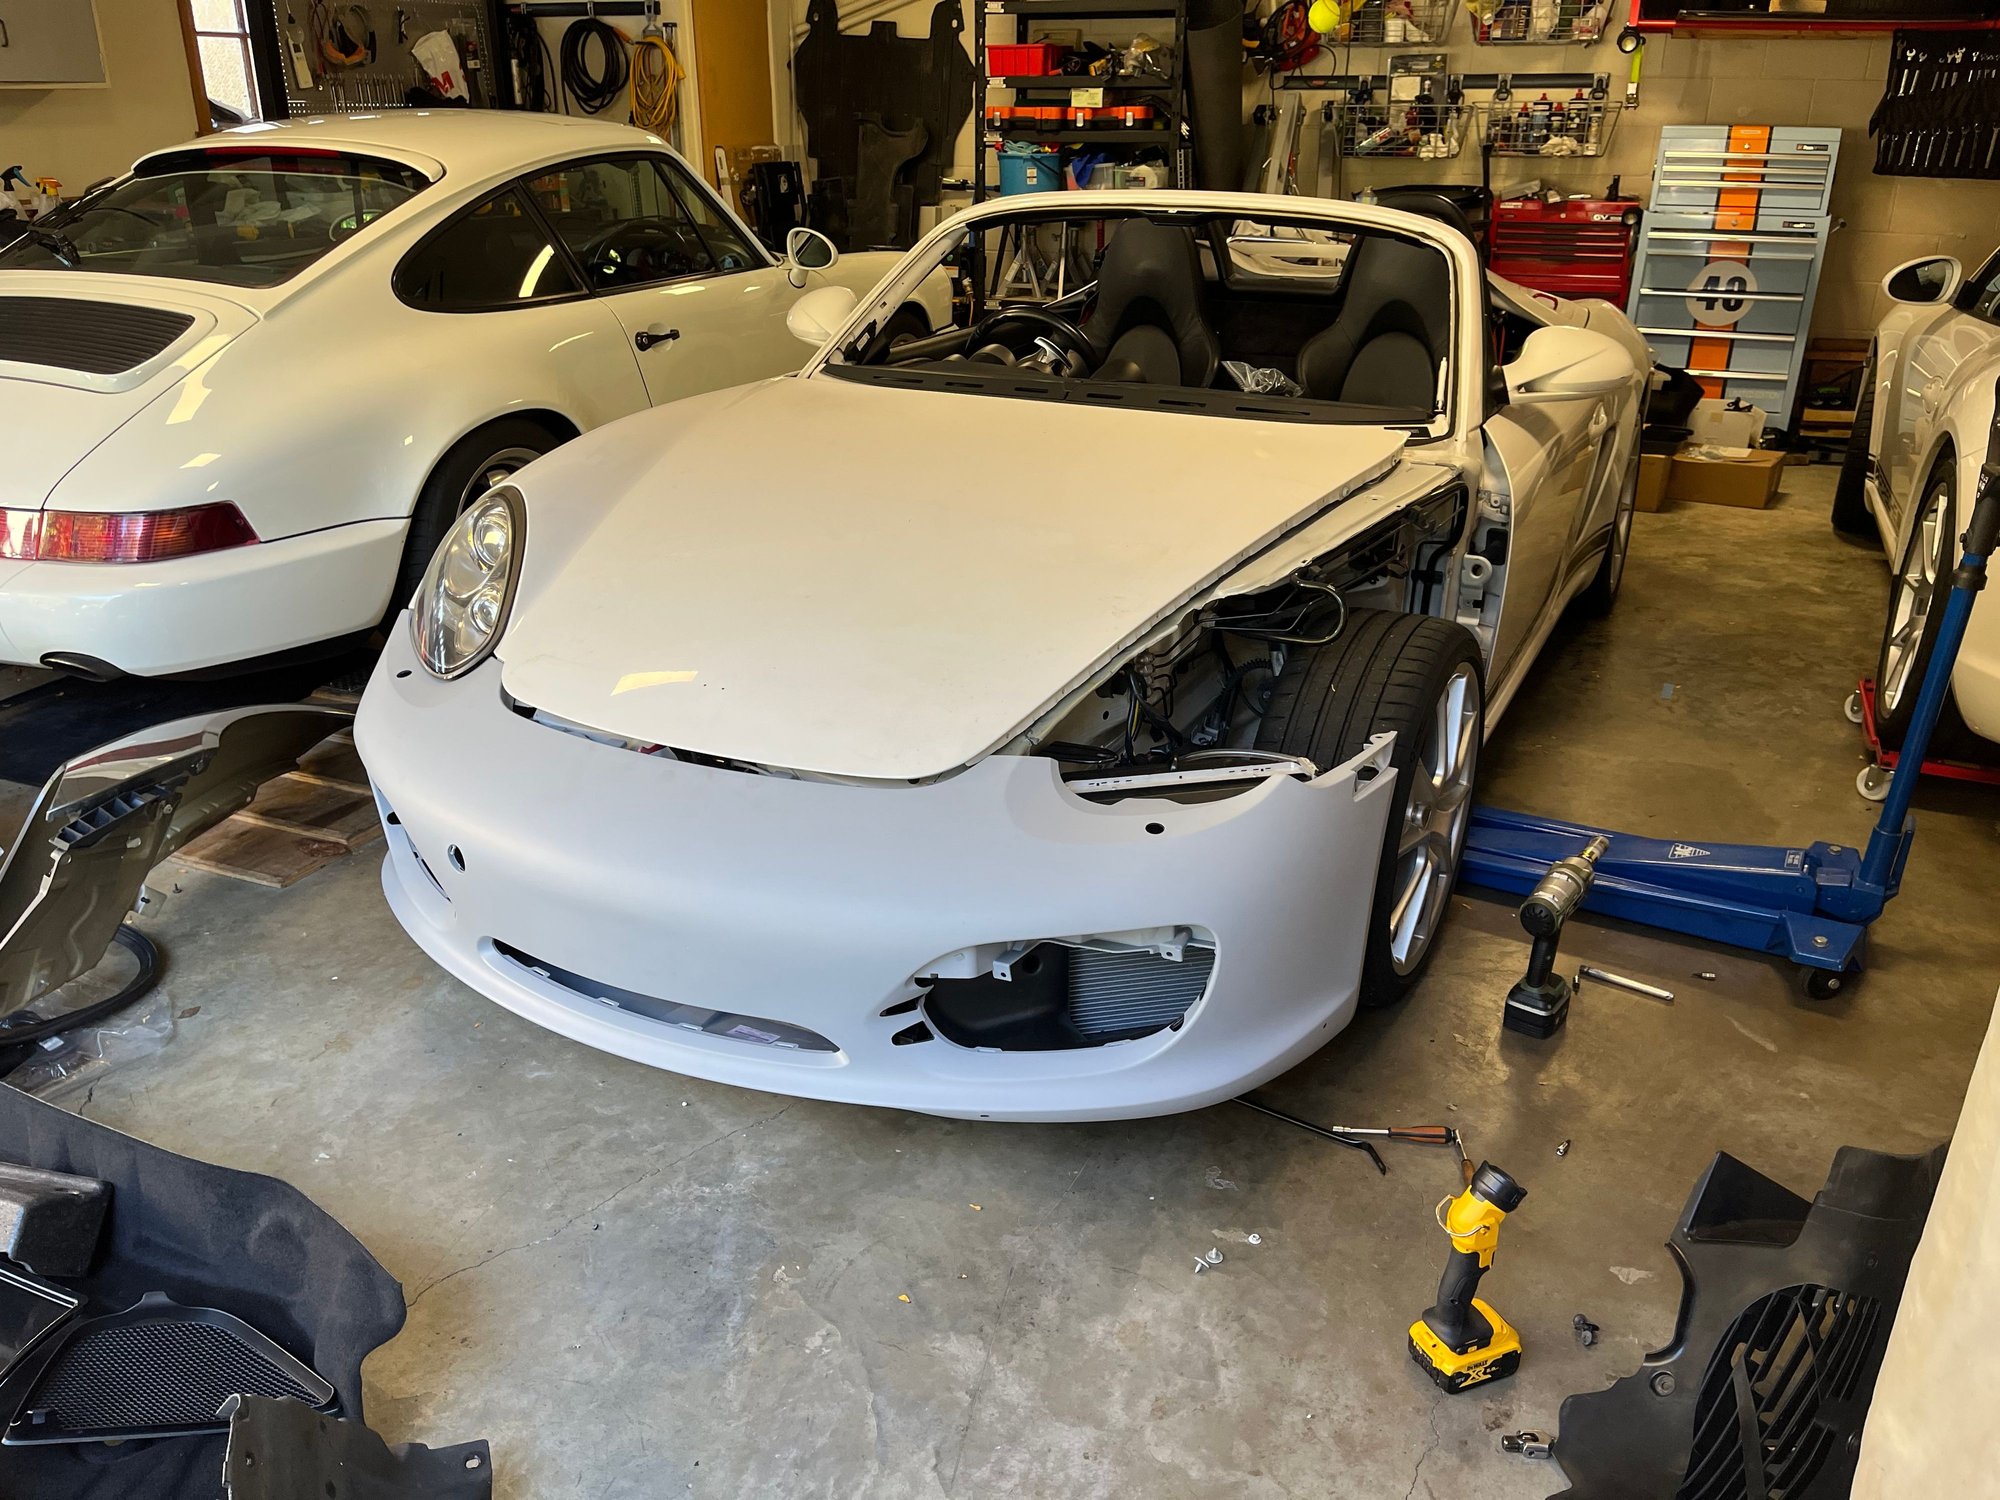
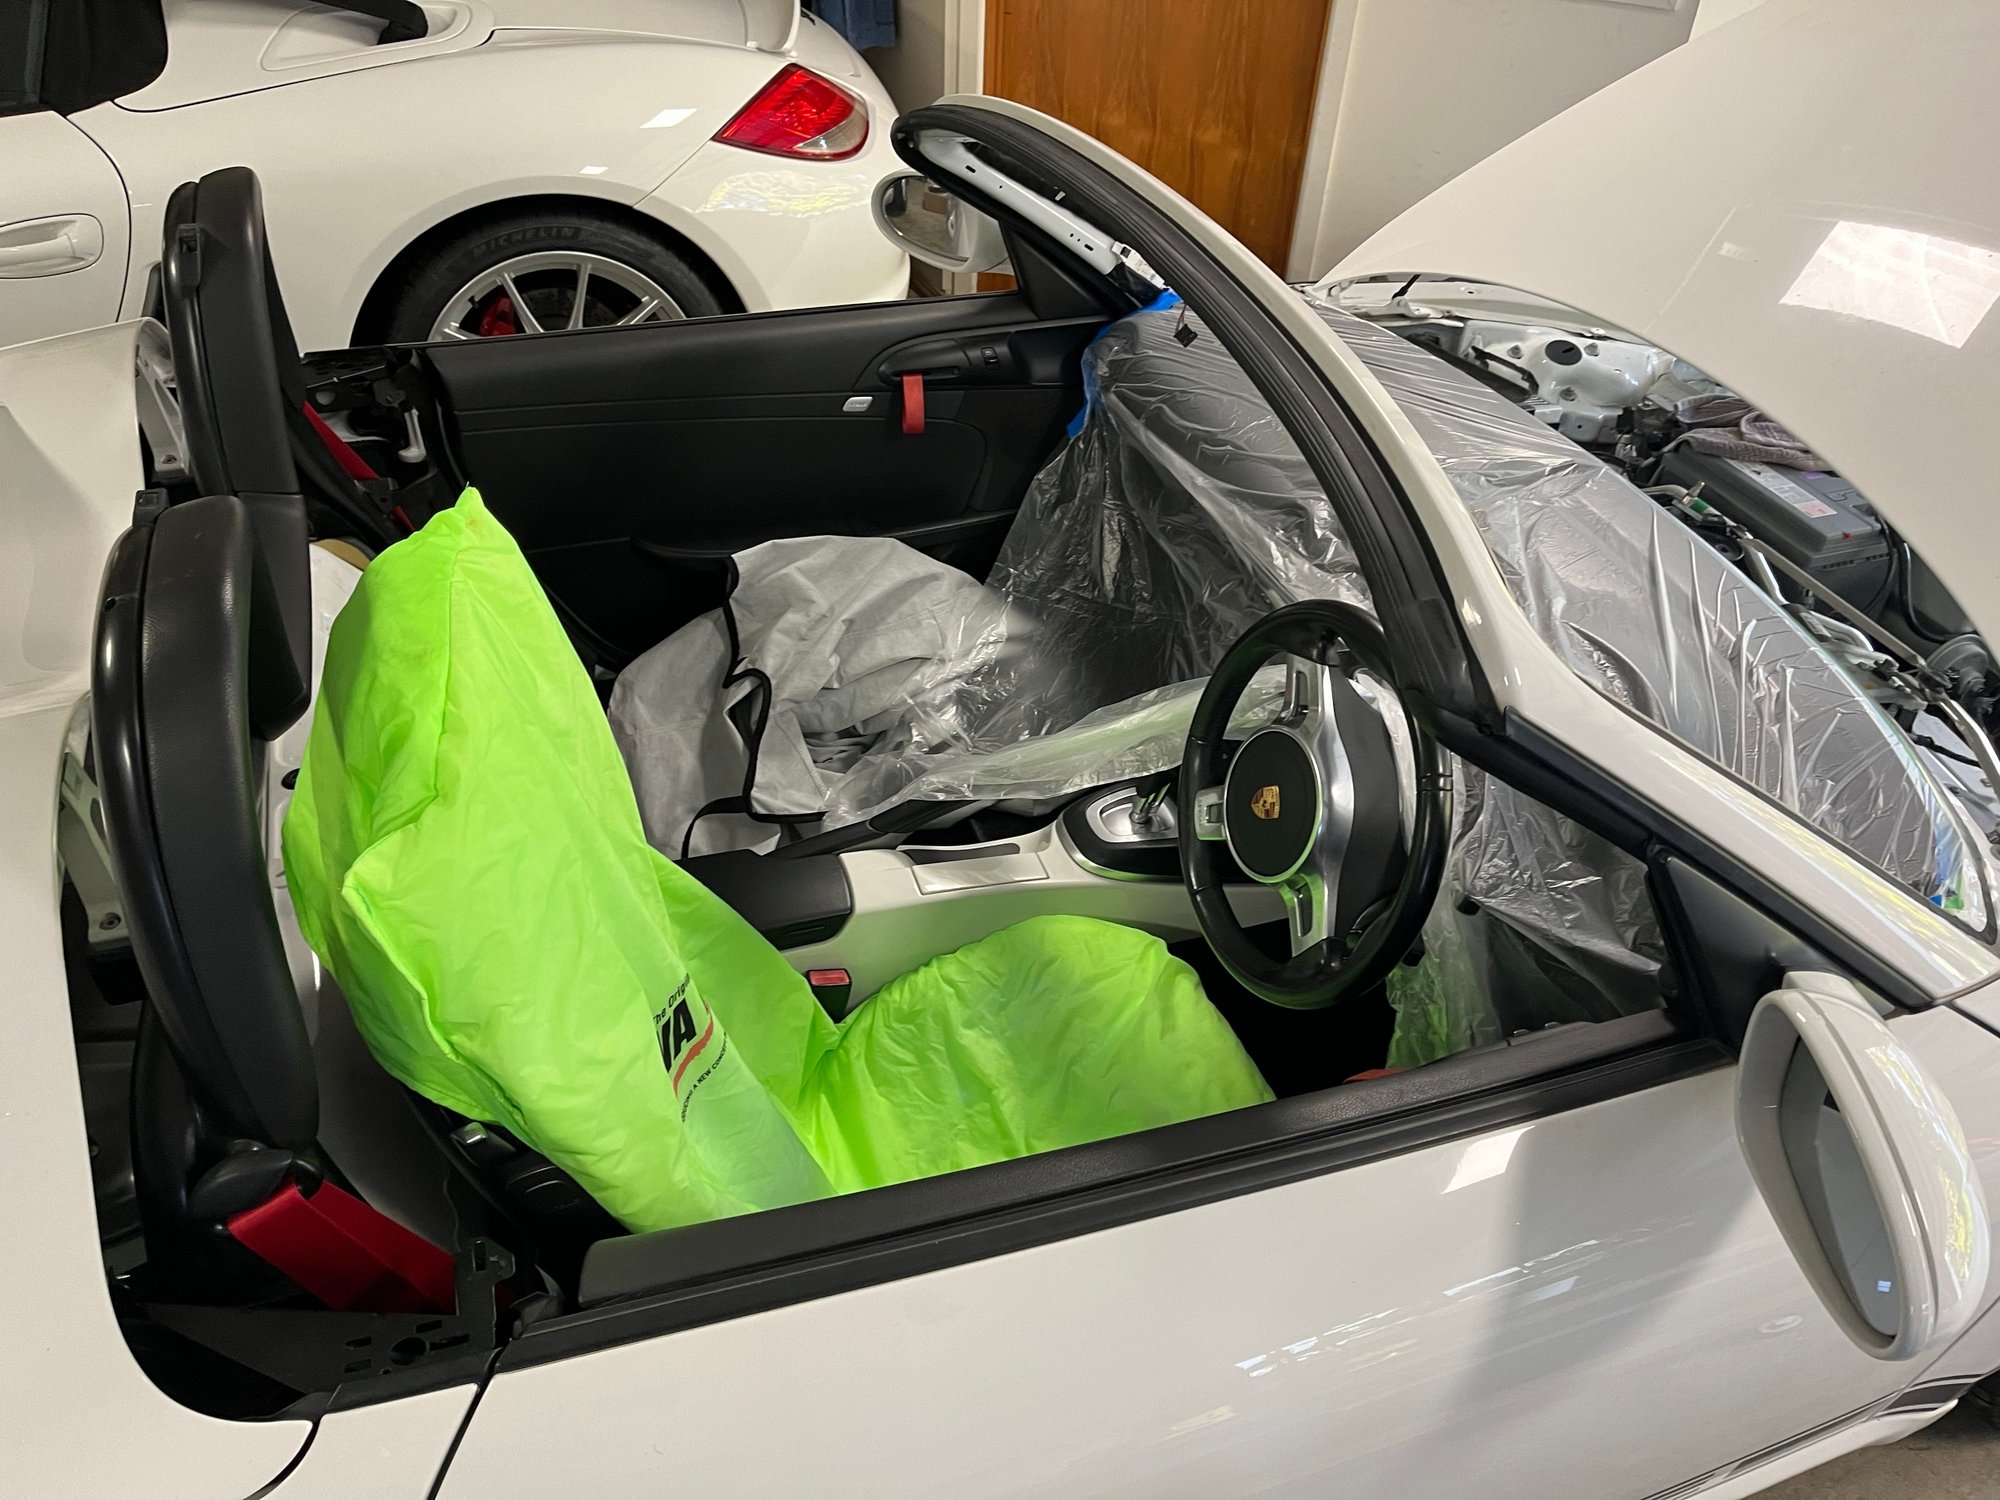
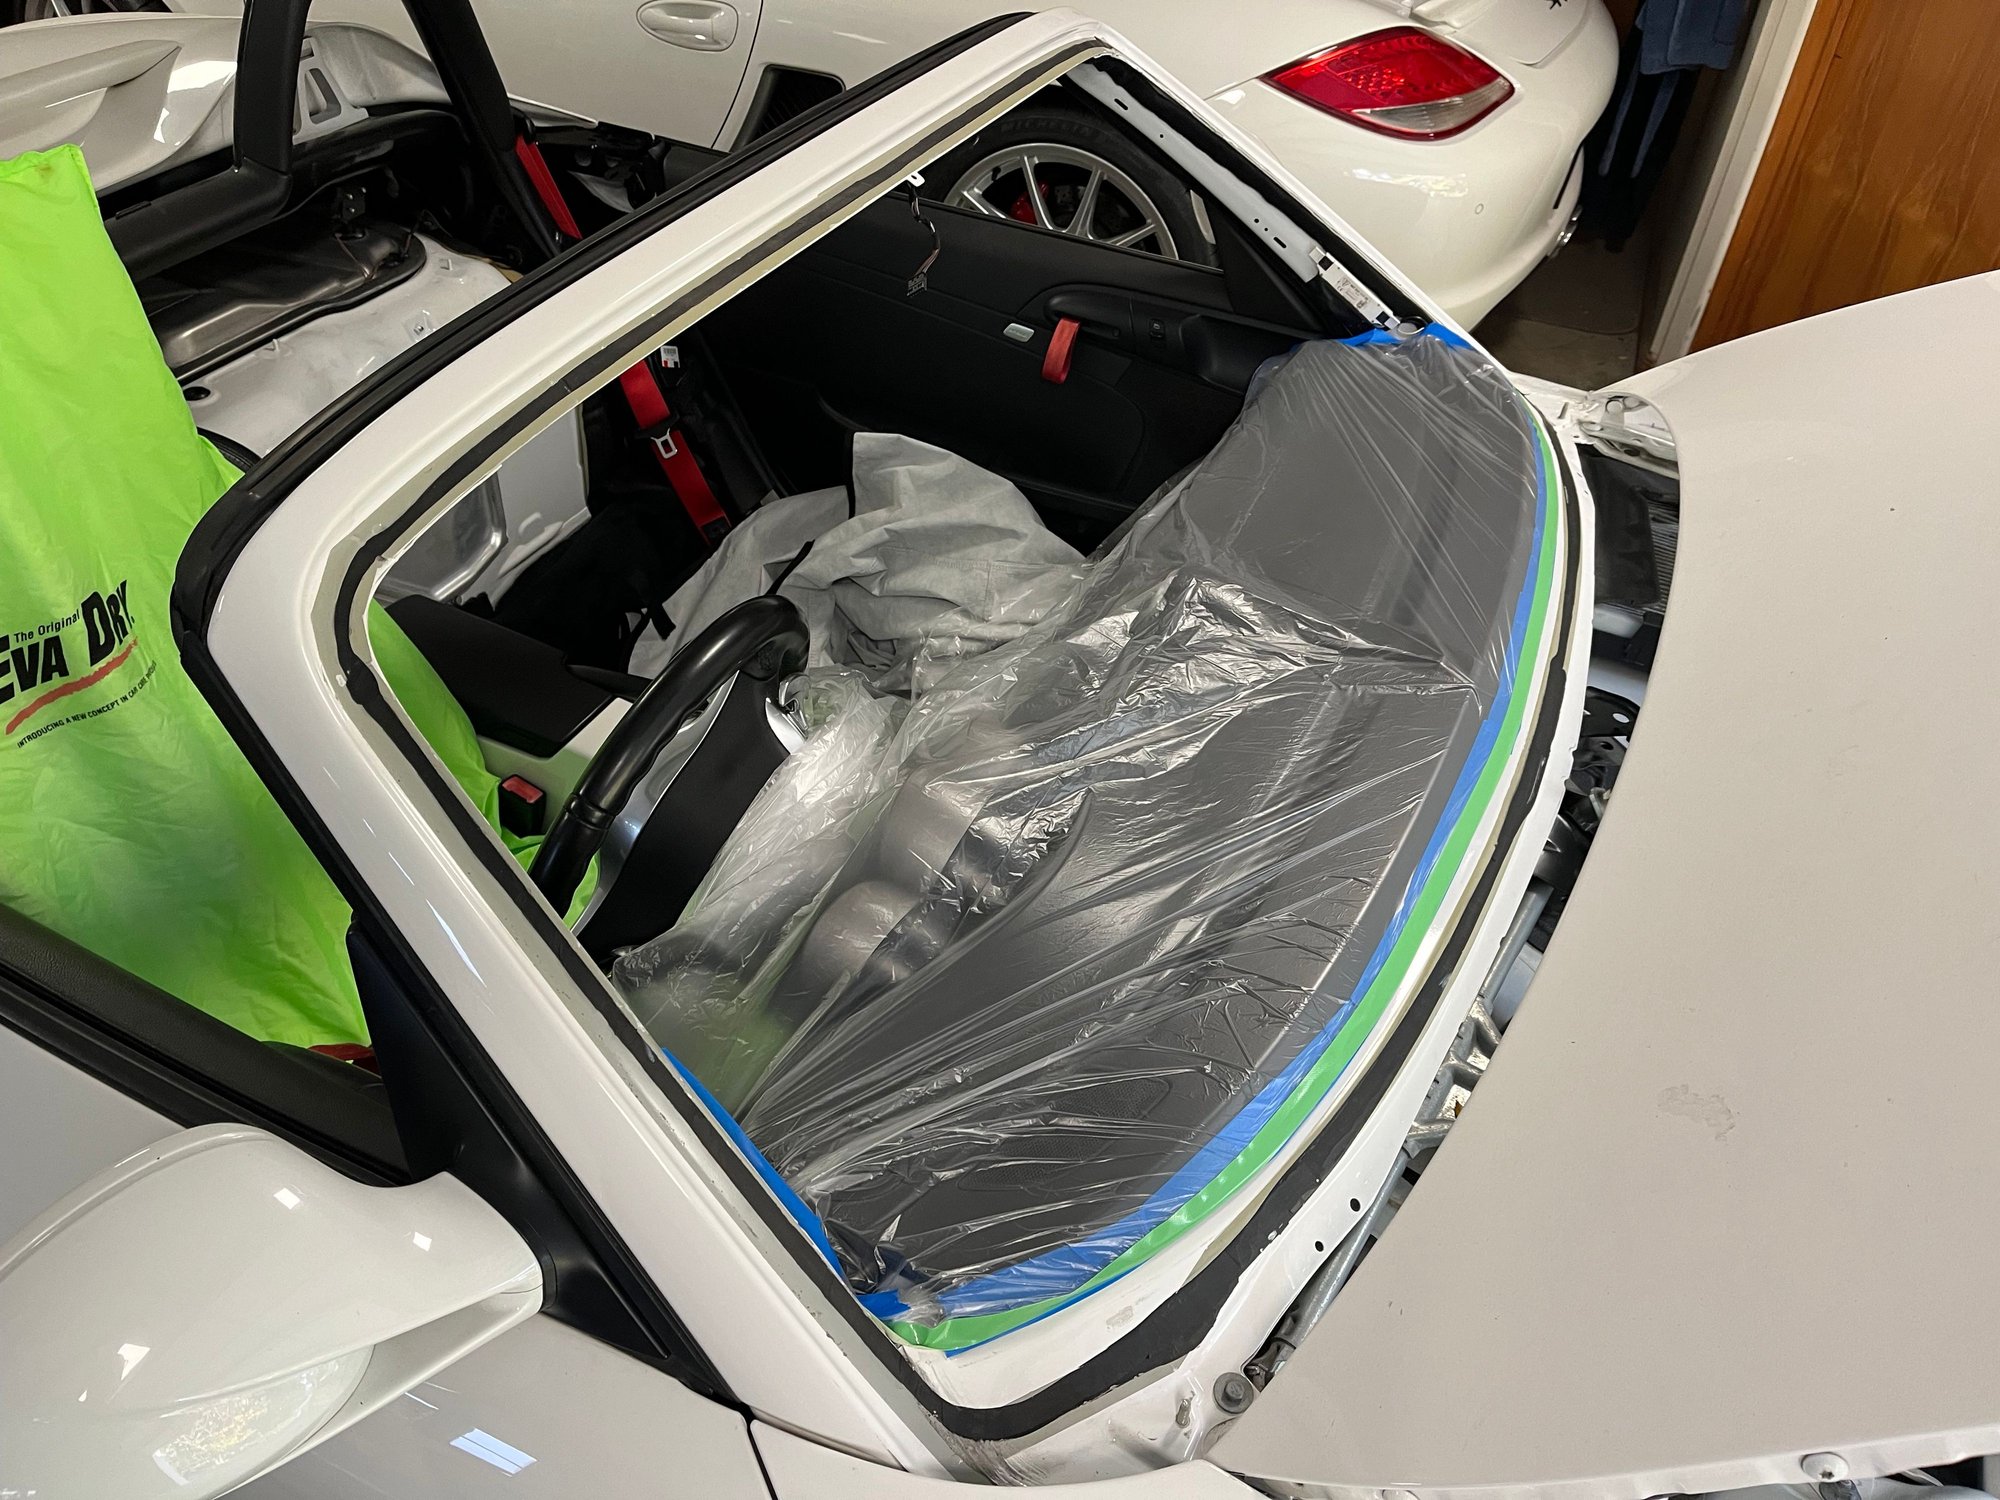
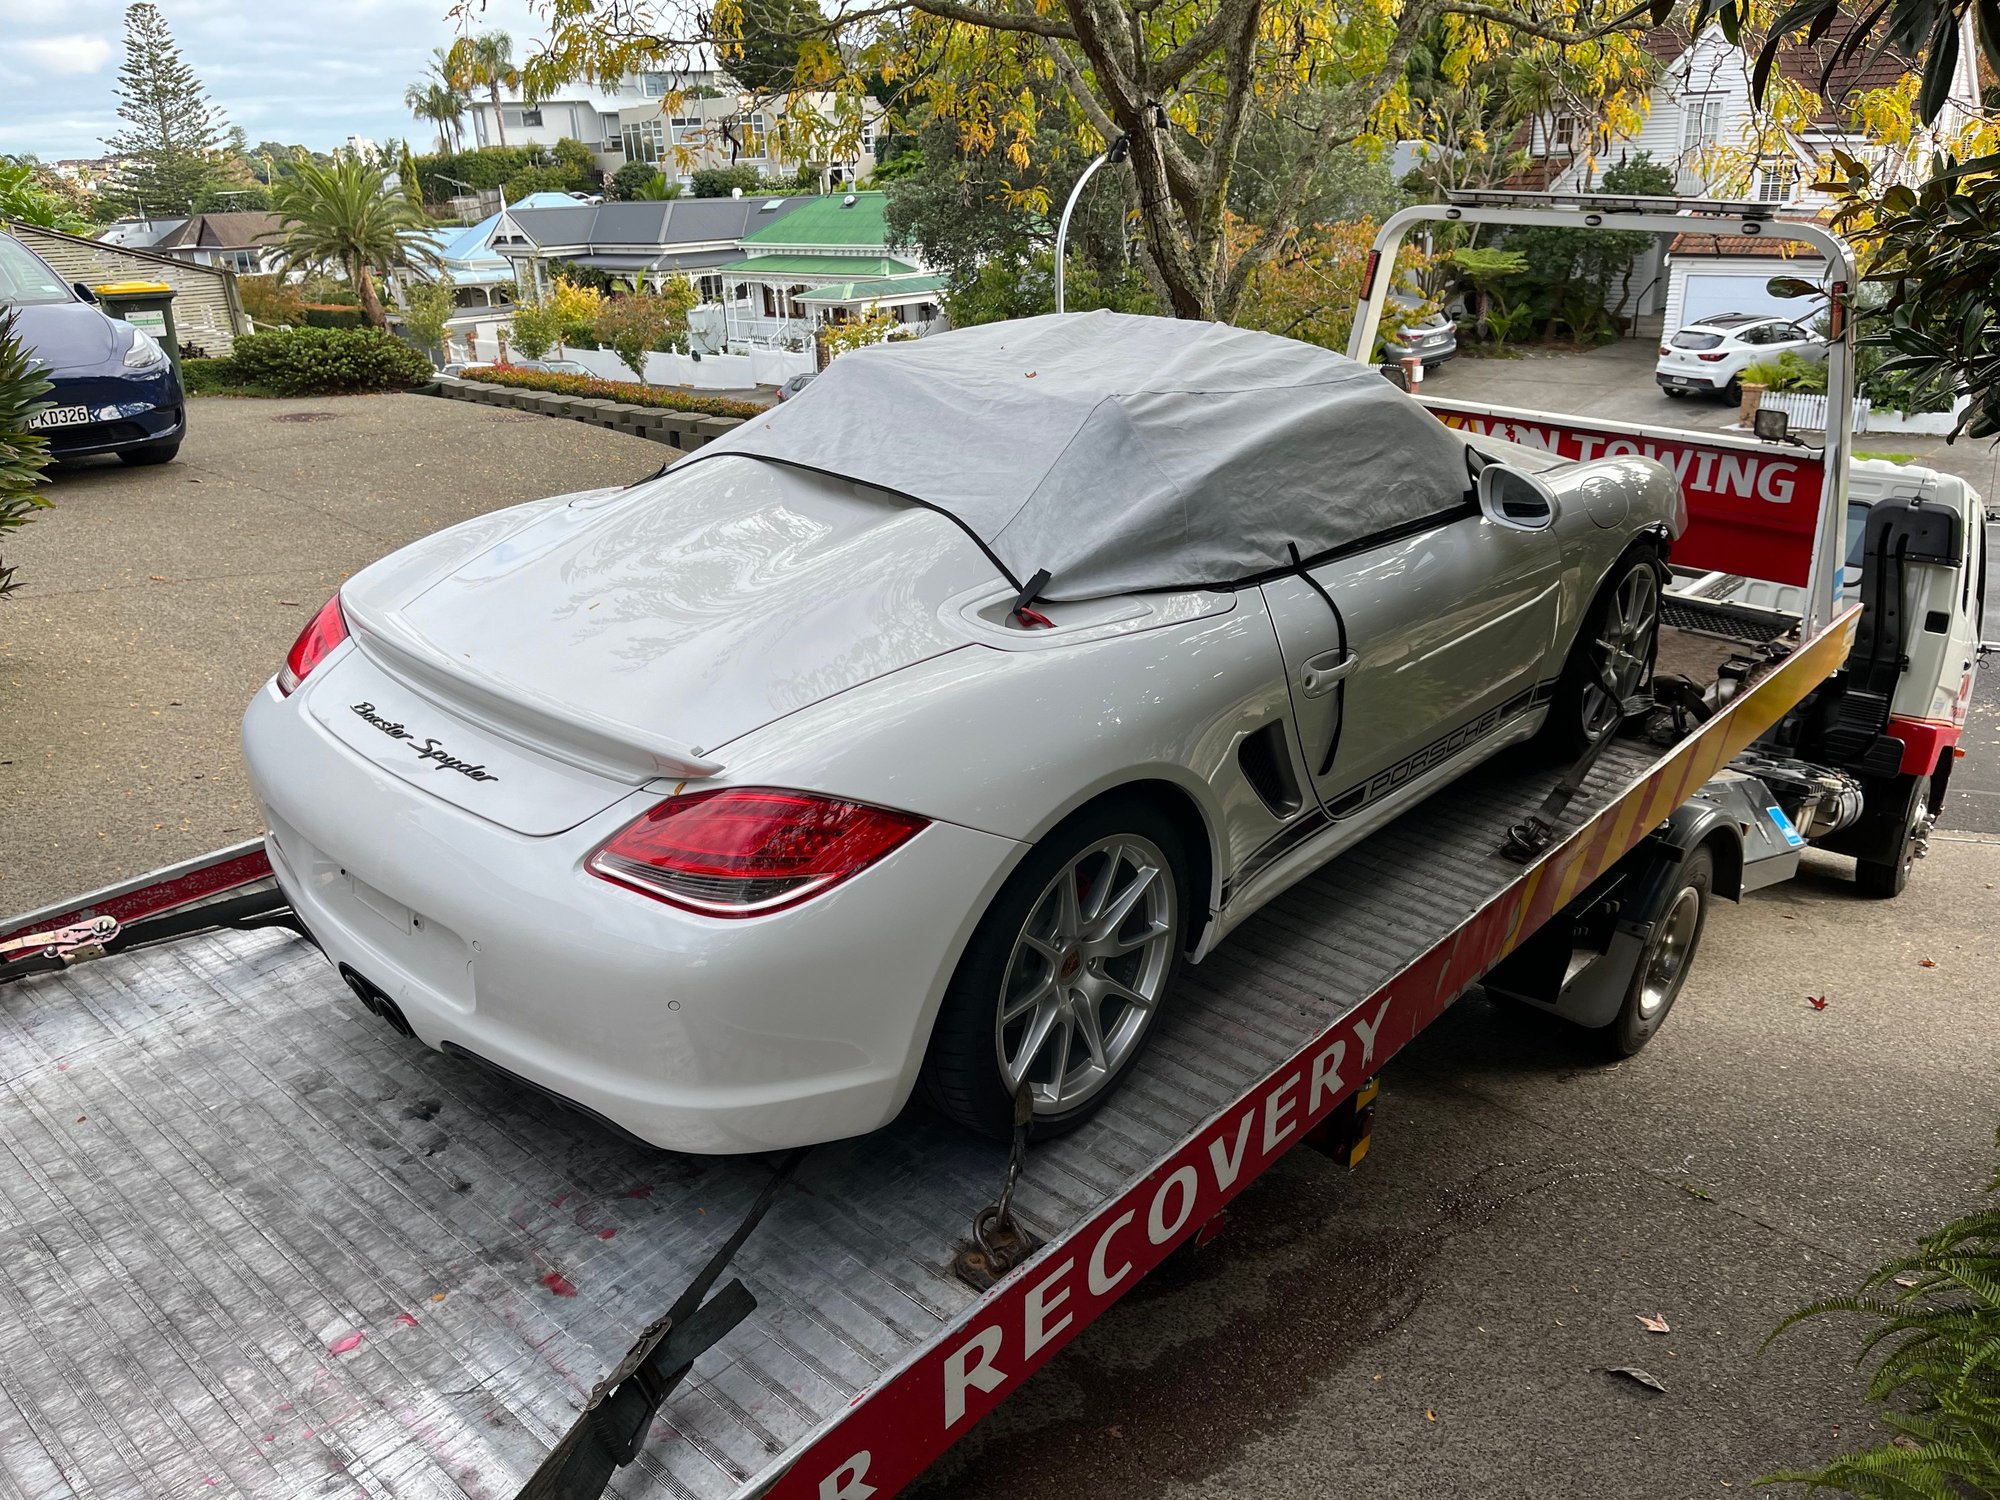
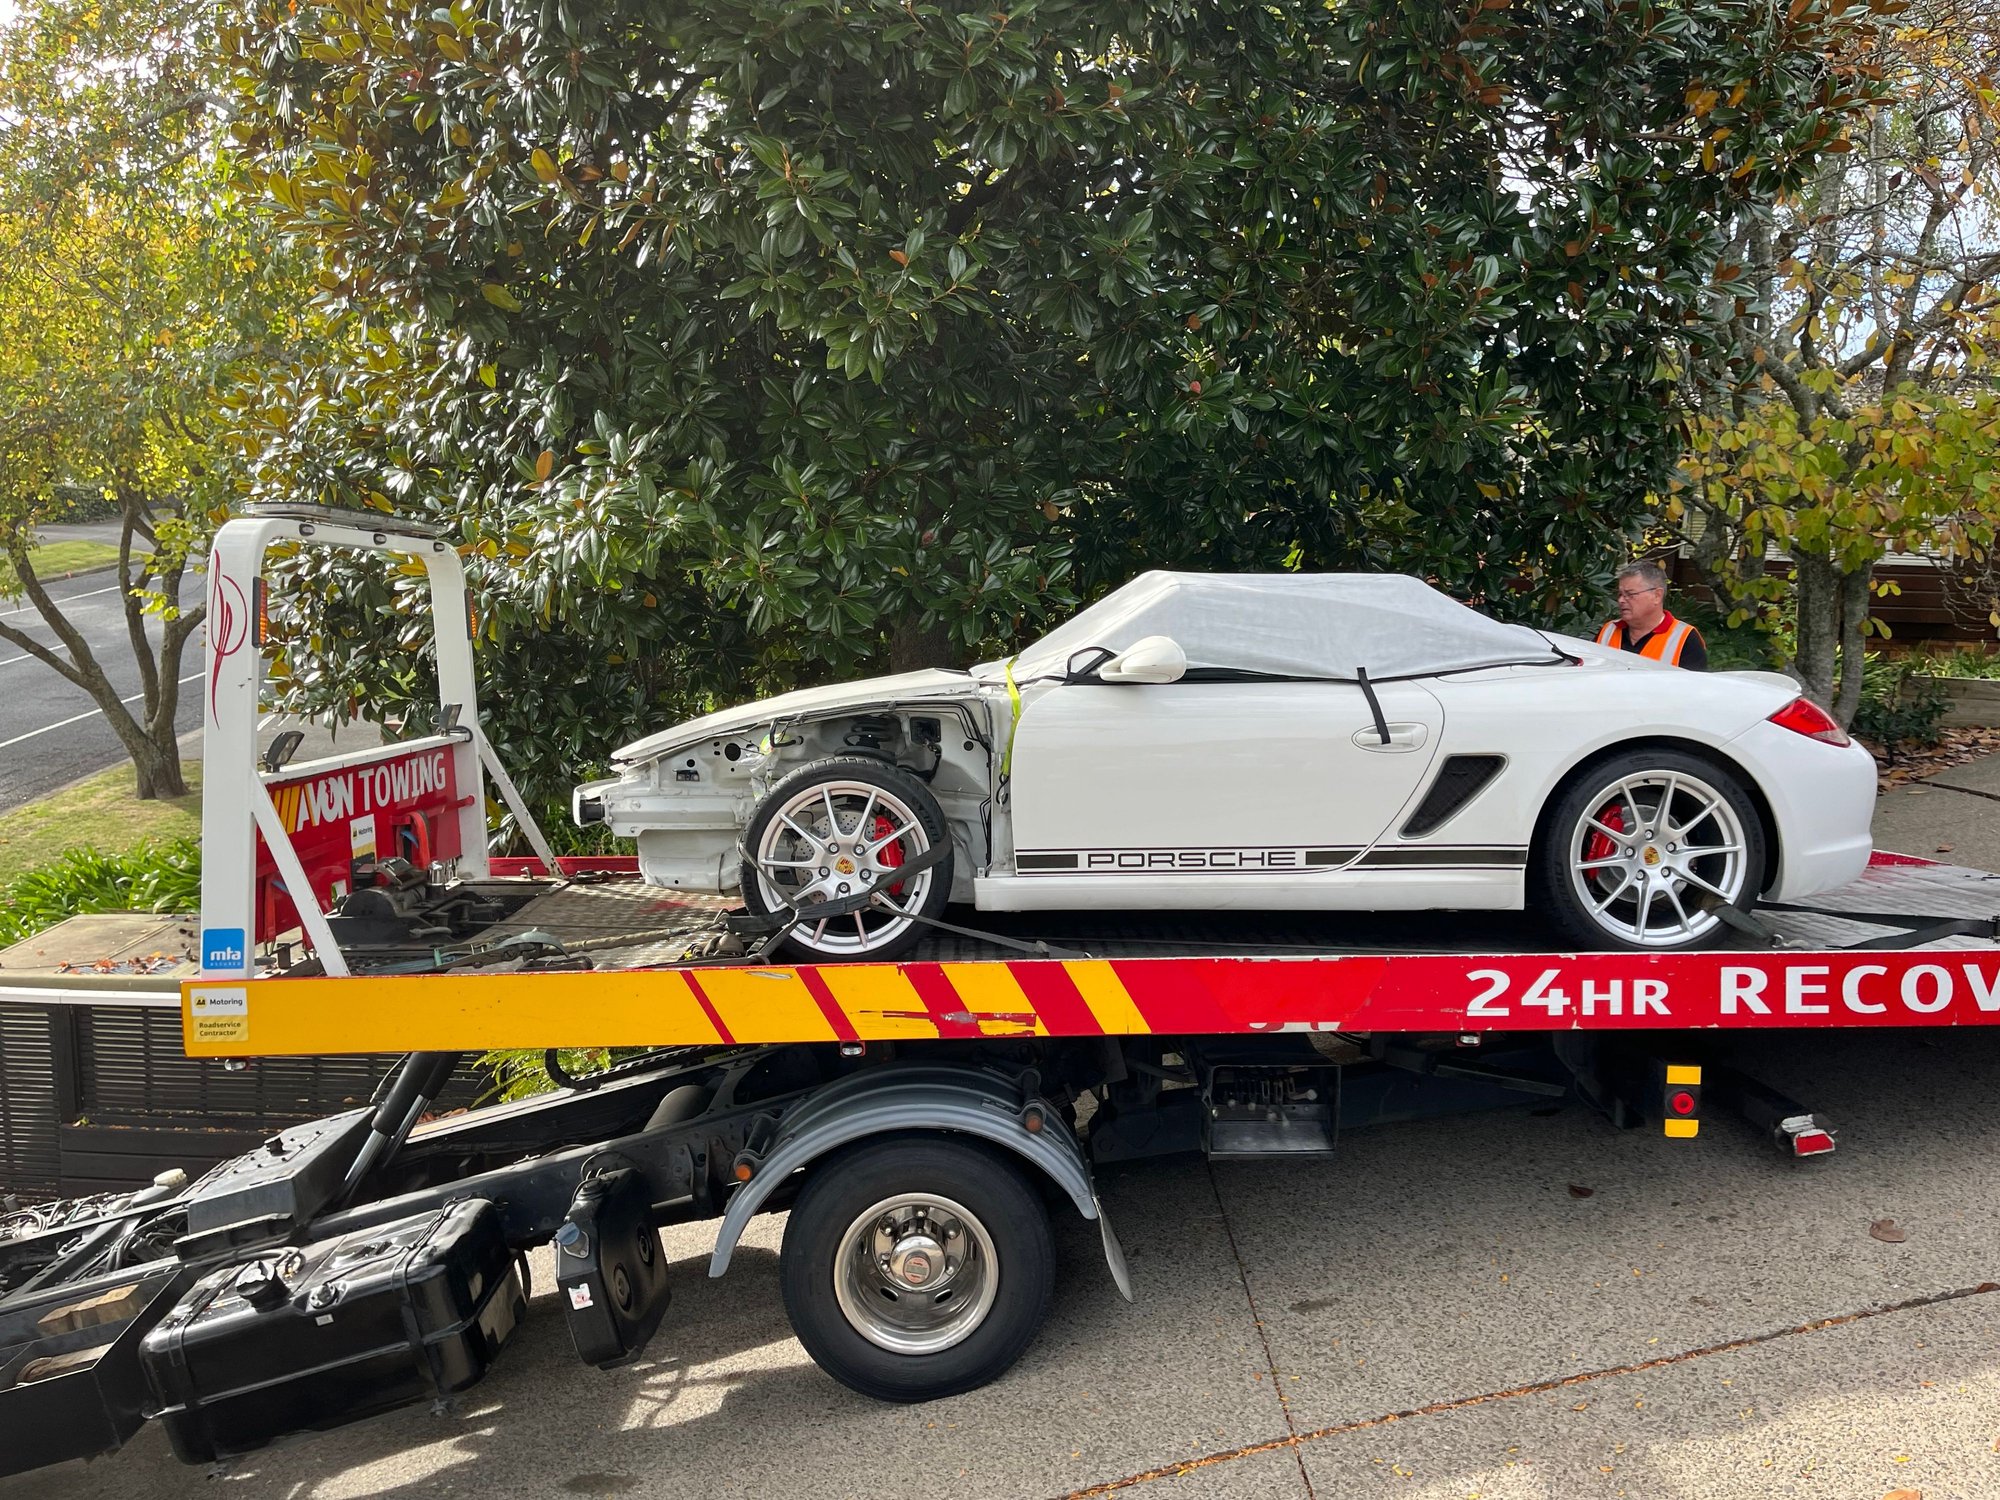
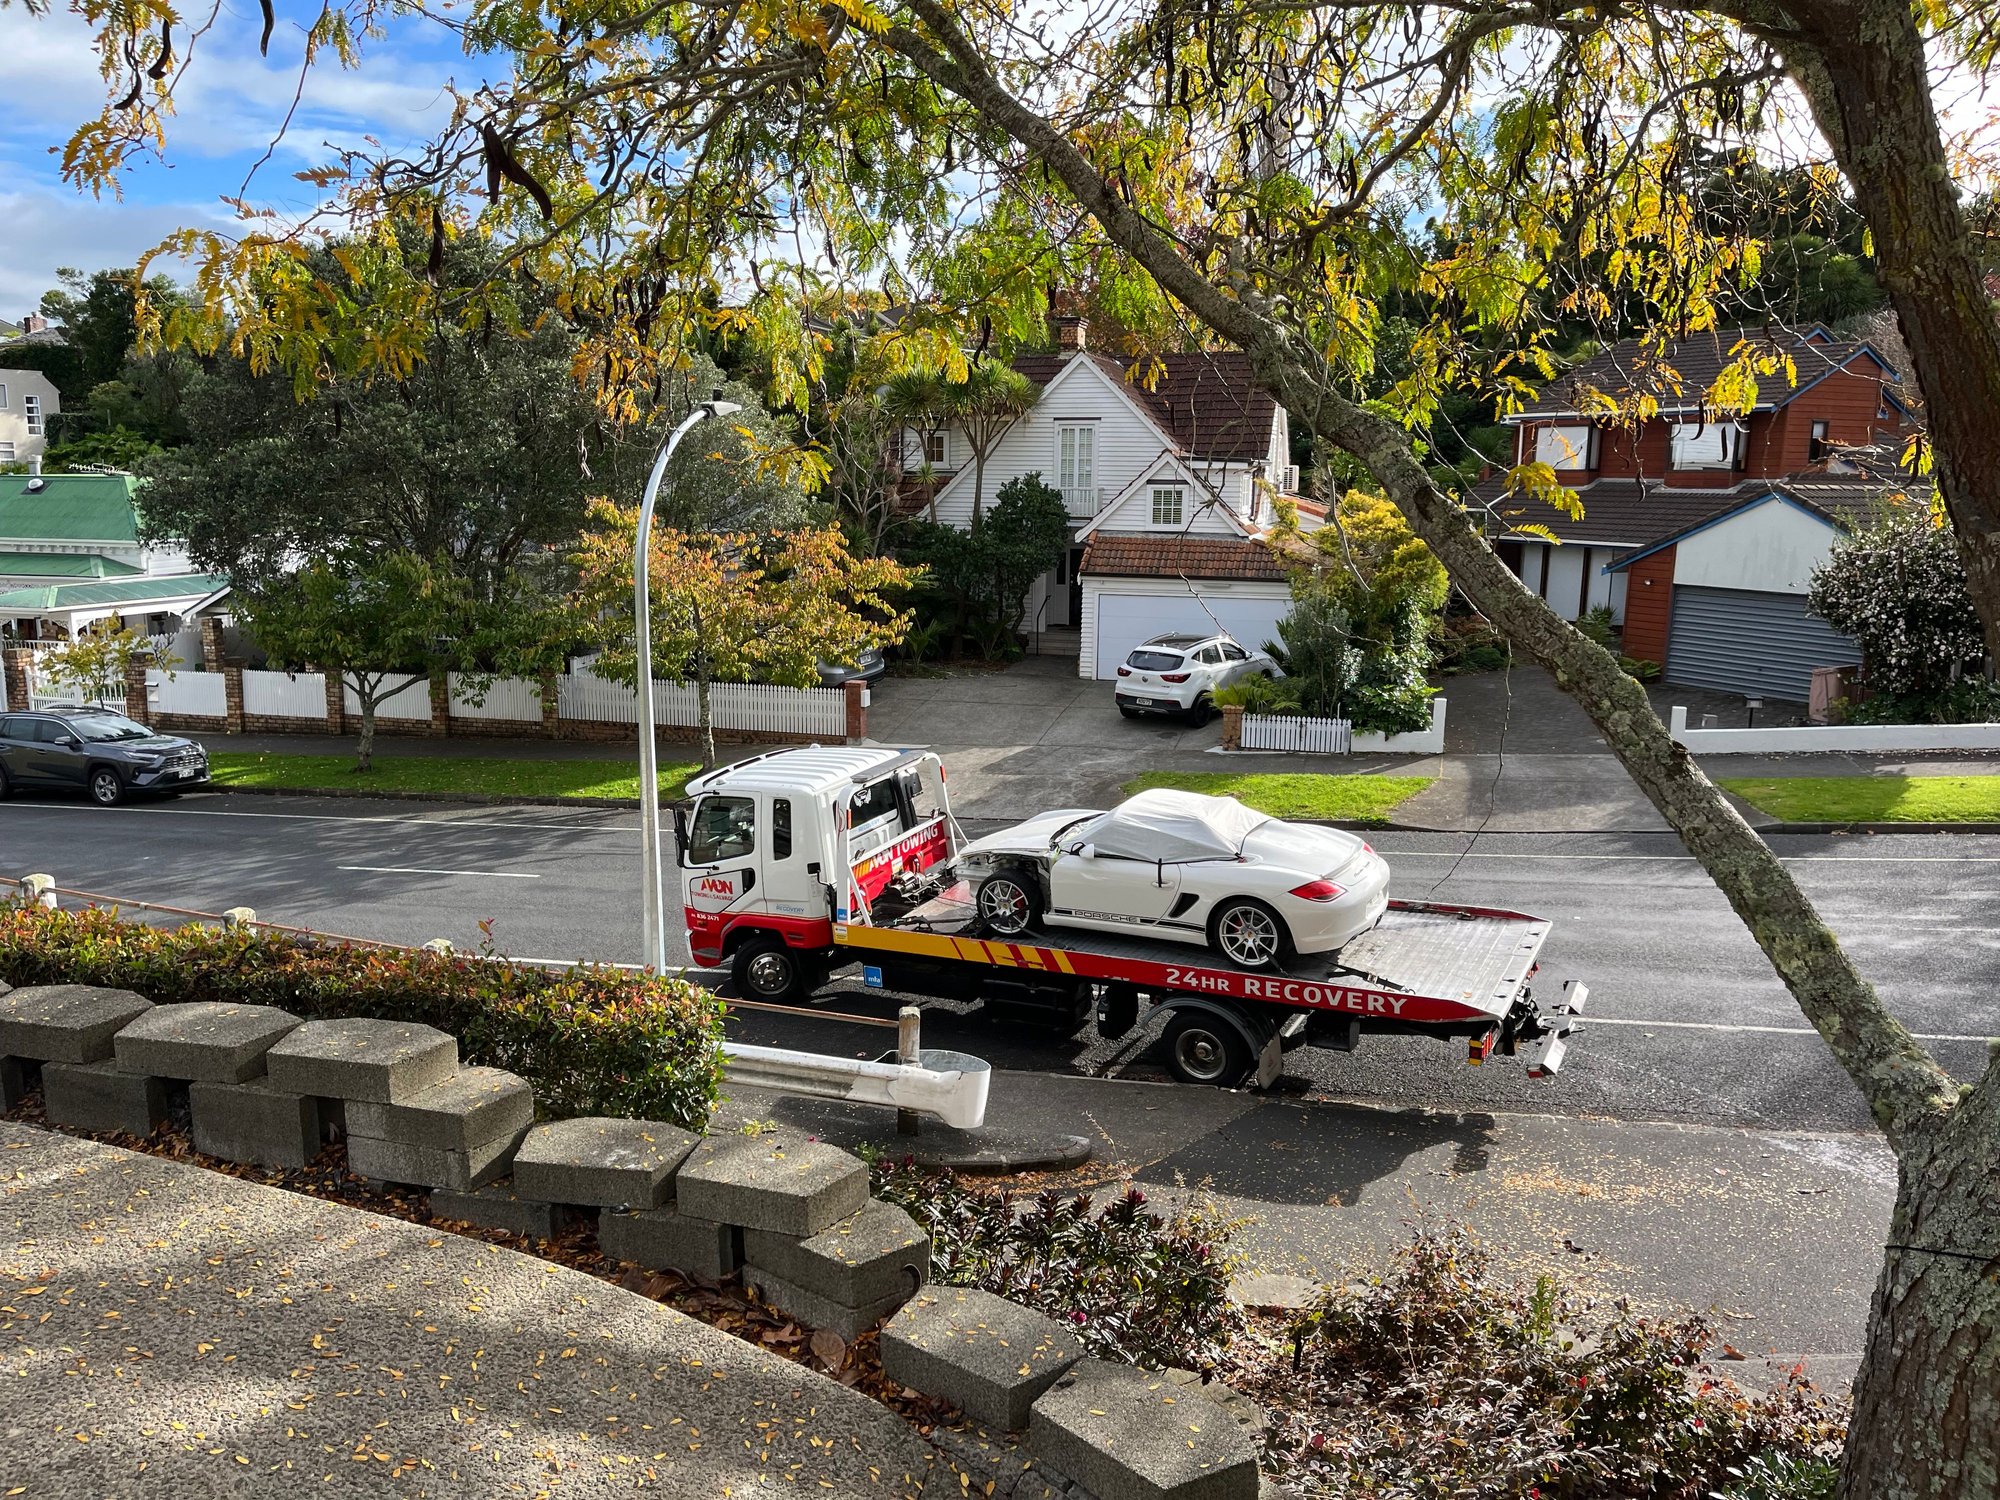
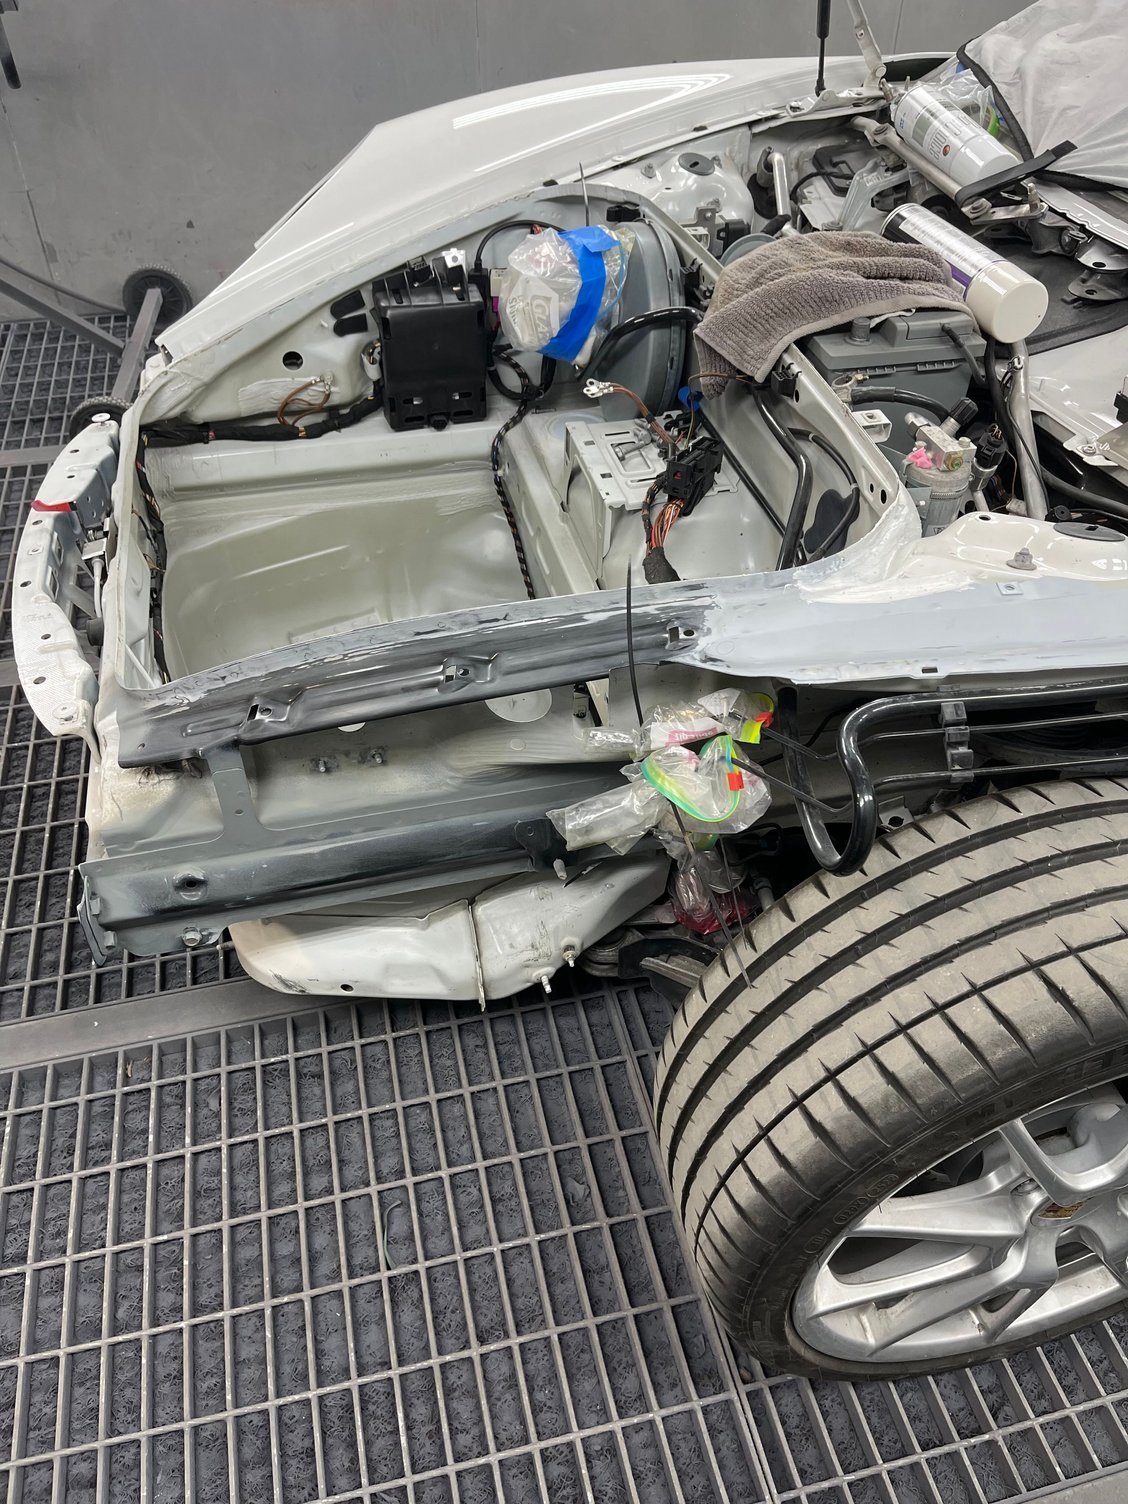
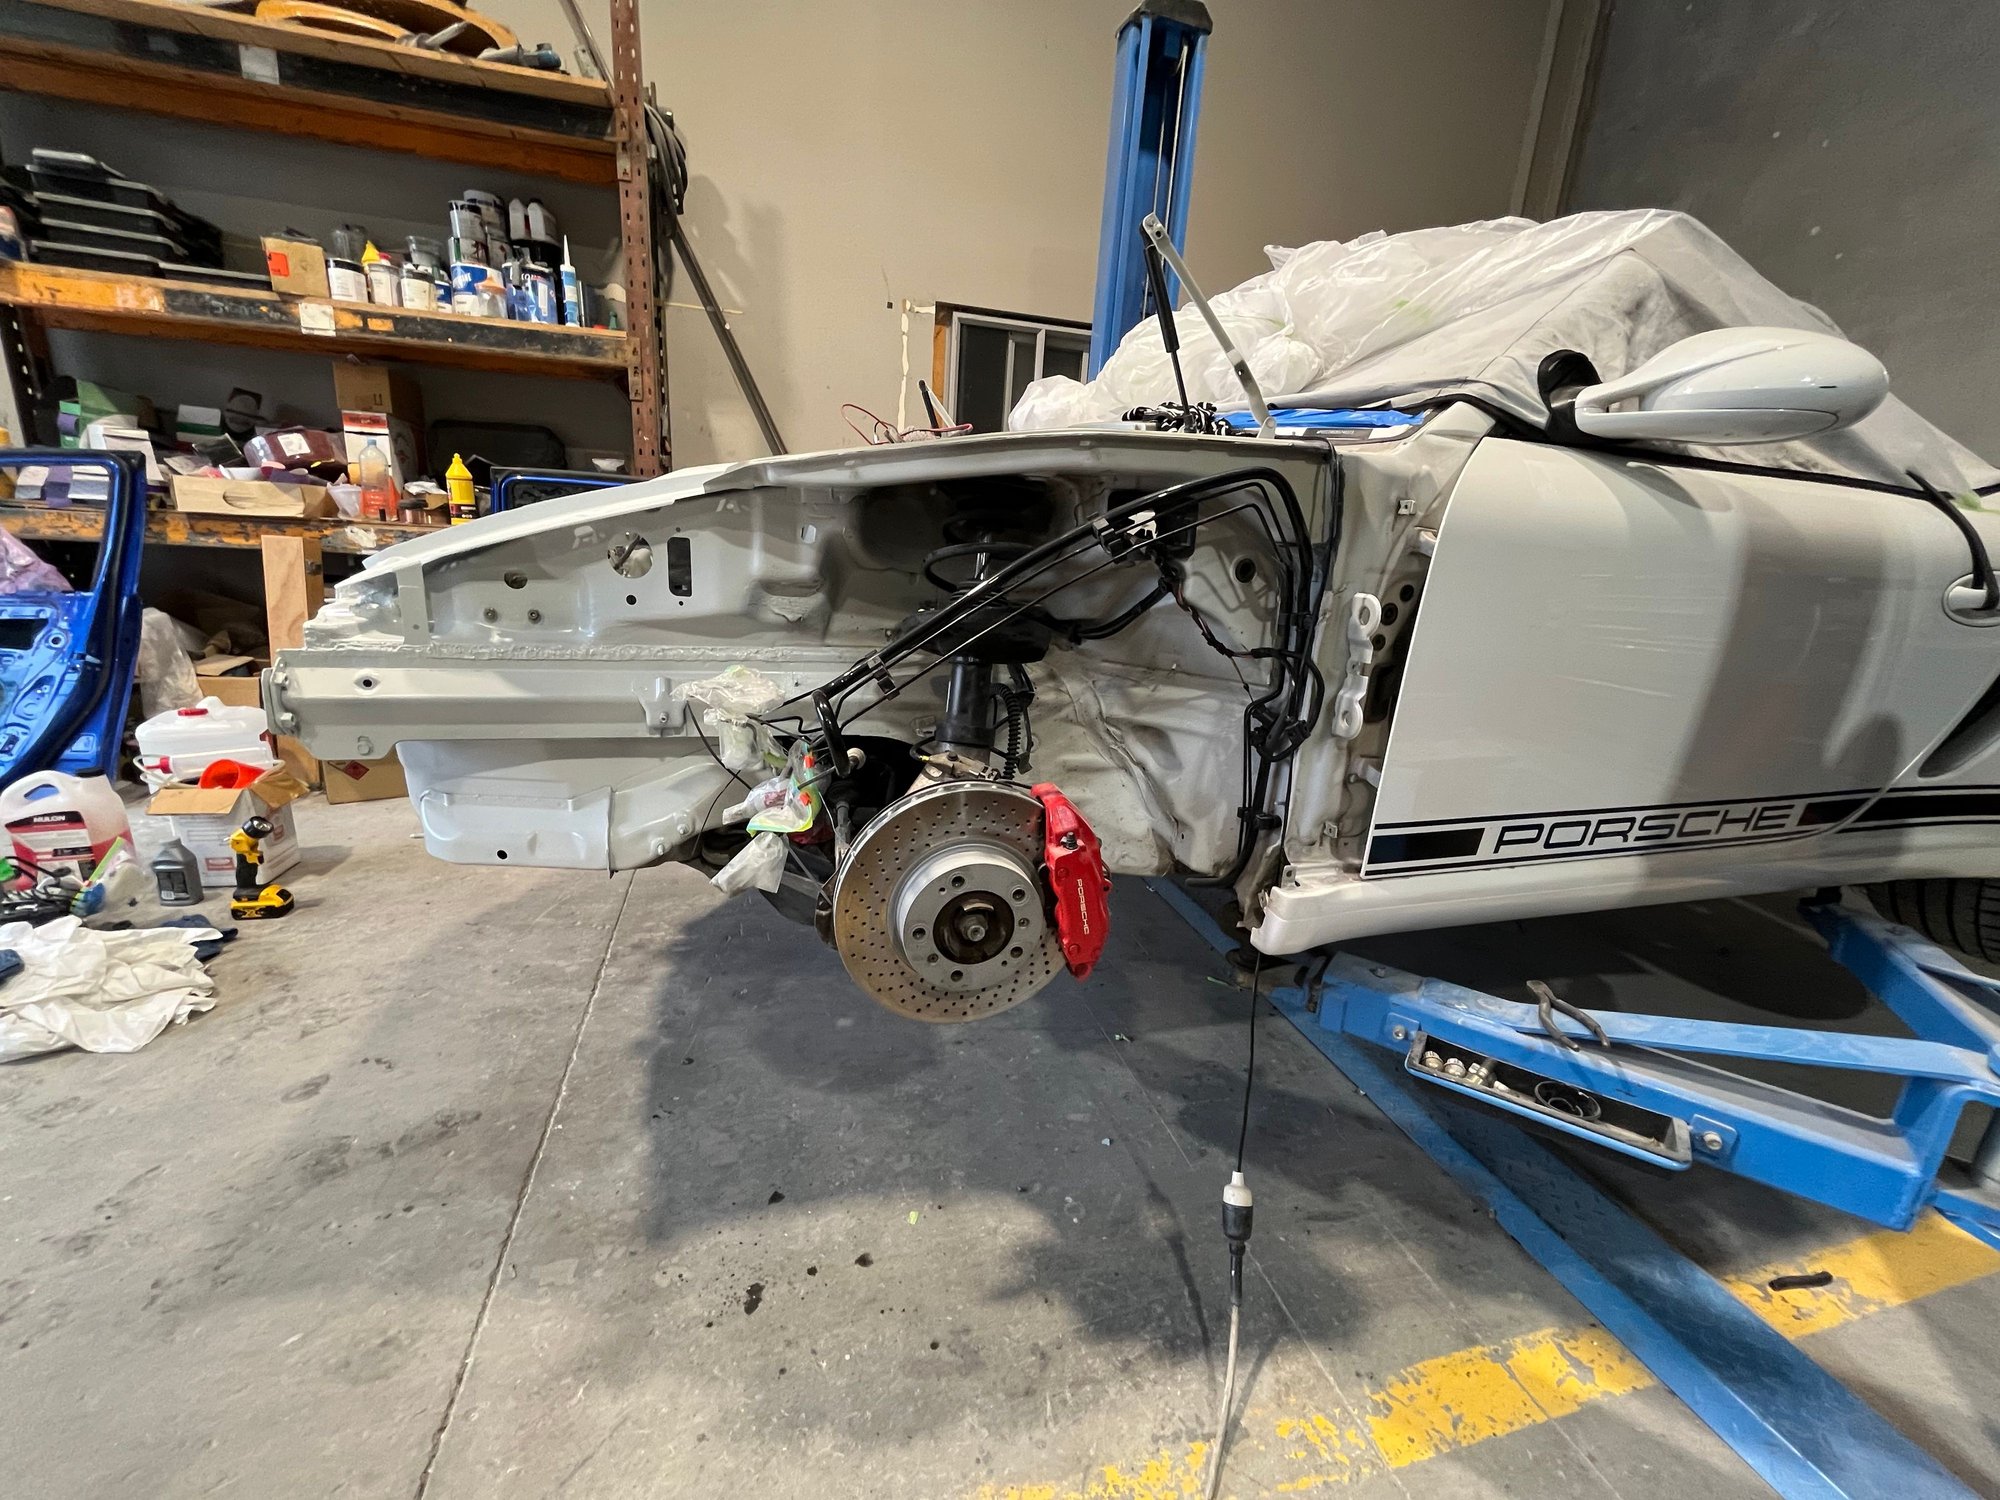
Broken Spyder is safely at the body shop. Drain the coolant Passenger seat removed and a windsurfing protector put over the driver seat. Protection for the new dash Remove the right hand headlight and wheel liner. Ready for the transporter. Locked and loaded. And the broken Spyder starts the bodyshop journey. The parking space is full of parts.
Congrats John, that’s a big step in the right direction. Just getting a body shop appointment these days is really difficult. Looking forward to further updates.
Thanks for the update! It's going to be exciting to get it back.
Thanks, it will and I expect I’ll find a number of items in my rebuild that need fixing but have nothing to do with the accident eg bumpstops, radiator hoses, engine mount. Those might help others do preventative maintenance.
Hi John, are you able to provide the Porsche workshop instructions you found that show the welding instructions and how the repair should be made? I haven't found the exact one I see referenced above. I have a front crashed Cayman R showing up soon that I accidentally won.
Hi John, are you able to provide the Porsche workshop instructions you found that show the welding instructions and how the repair should be made? I haven't found the exact one I see referenced above. I have a front crashed Cayman R showing up soon that I accidentally won.
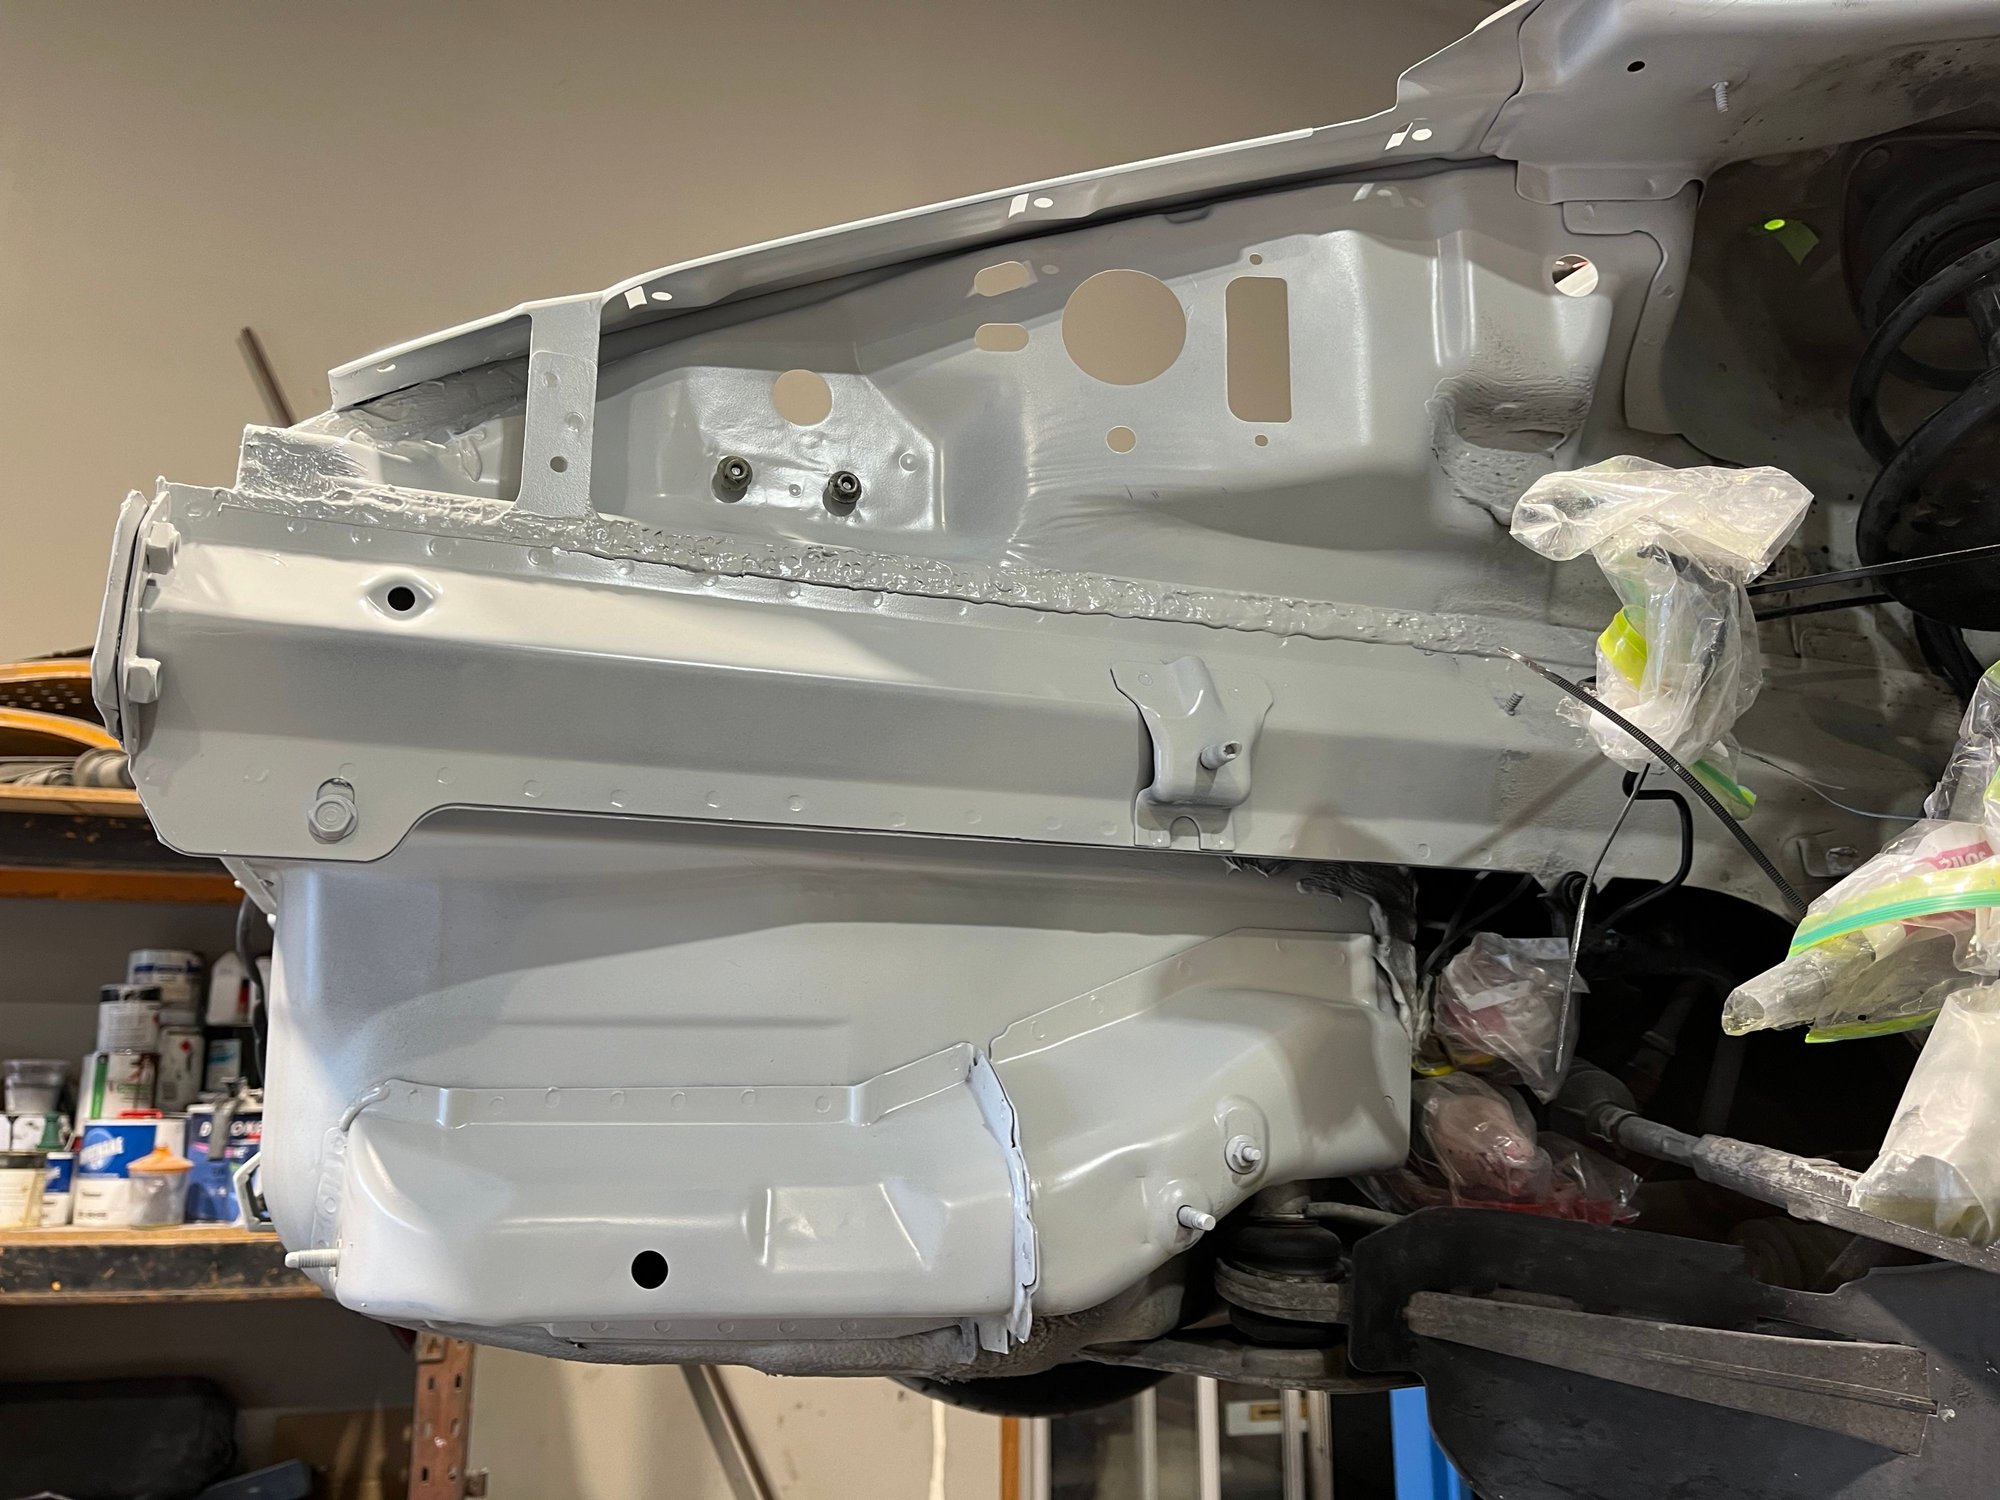
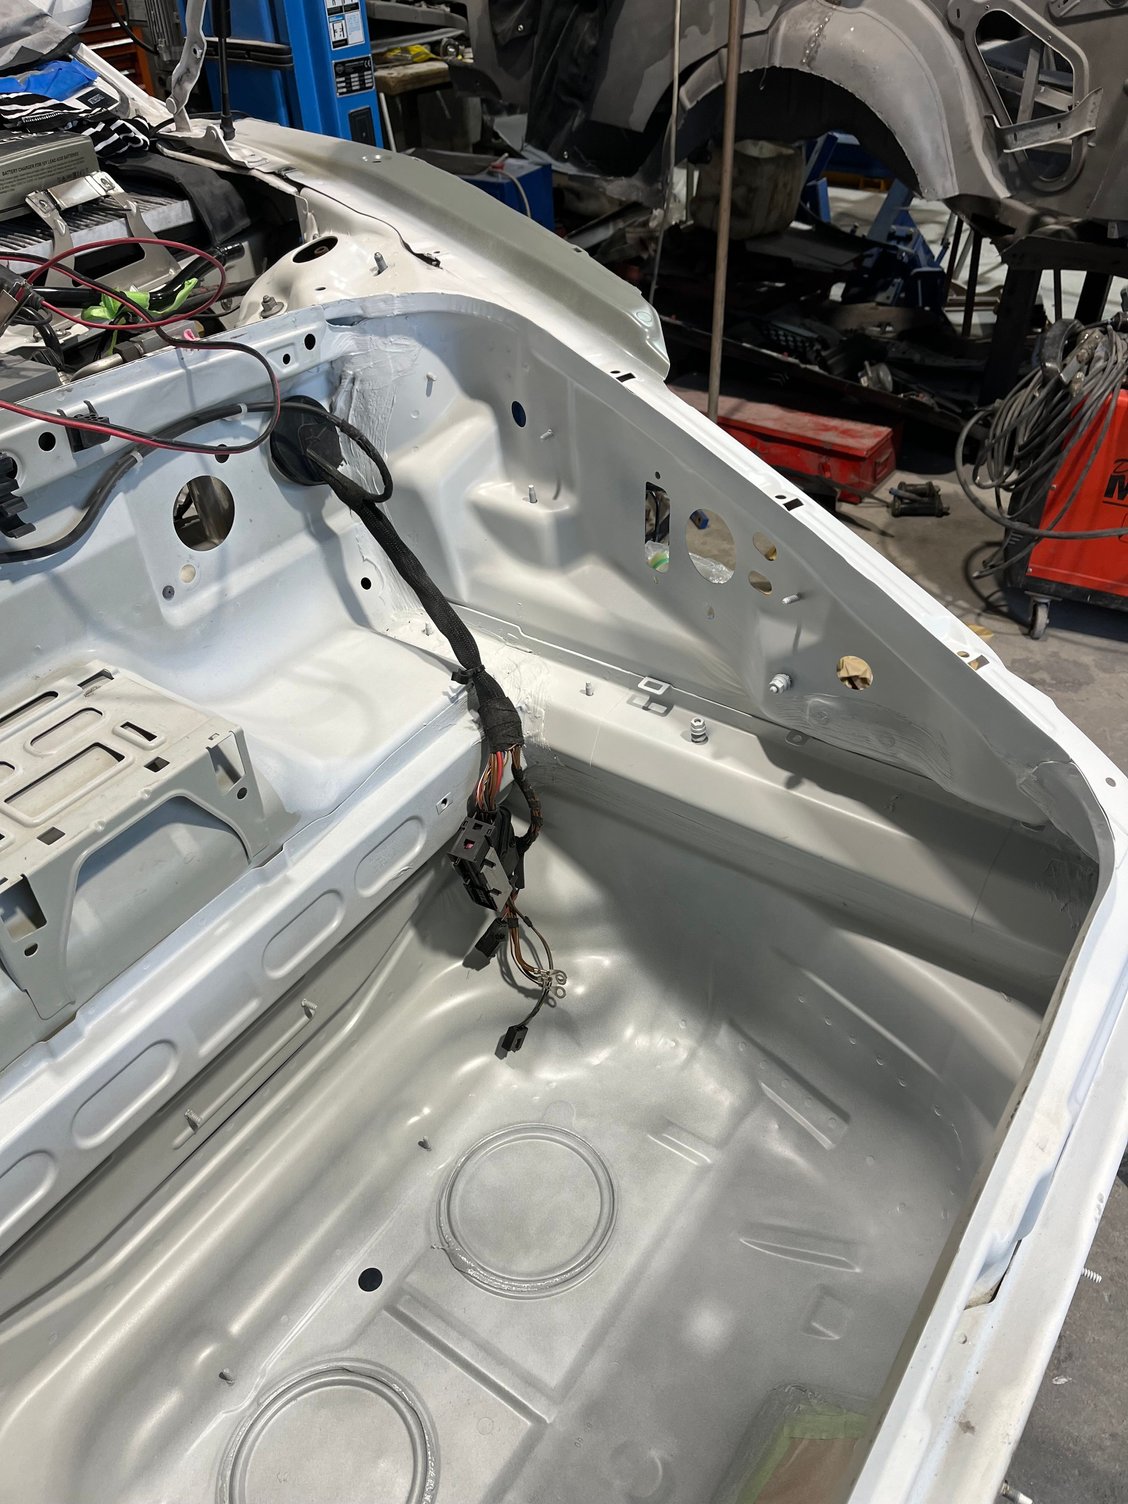
After just over three months, we have action. The new Porsche parts I supplied have had parts cut out of them to fix the frunk lip and outer frame rail. Paint will come later this week.
The left front work has been seam sealed and coated. Base colour and matt clear, apparently.
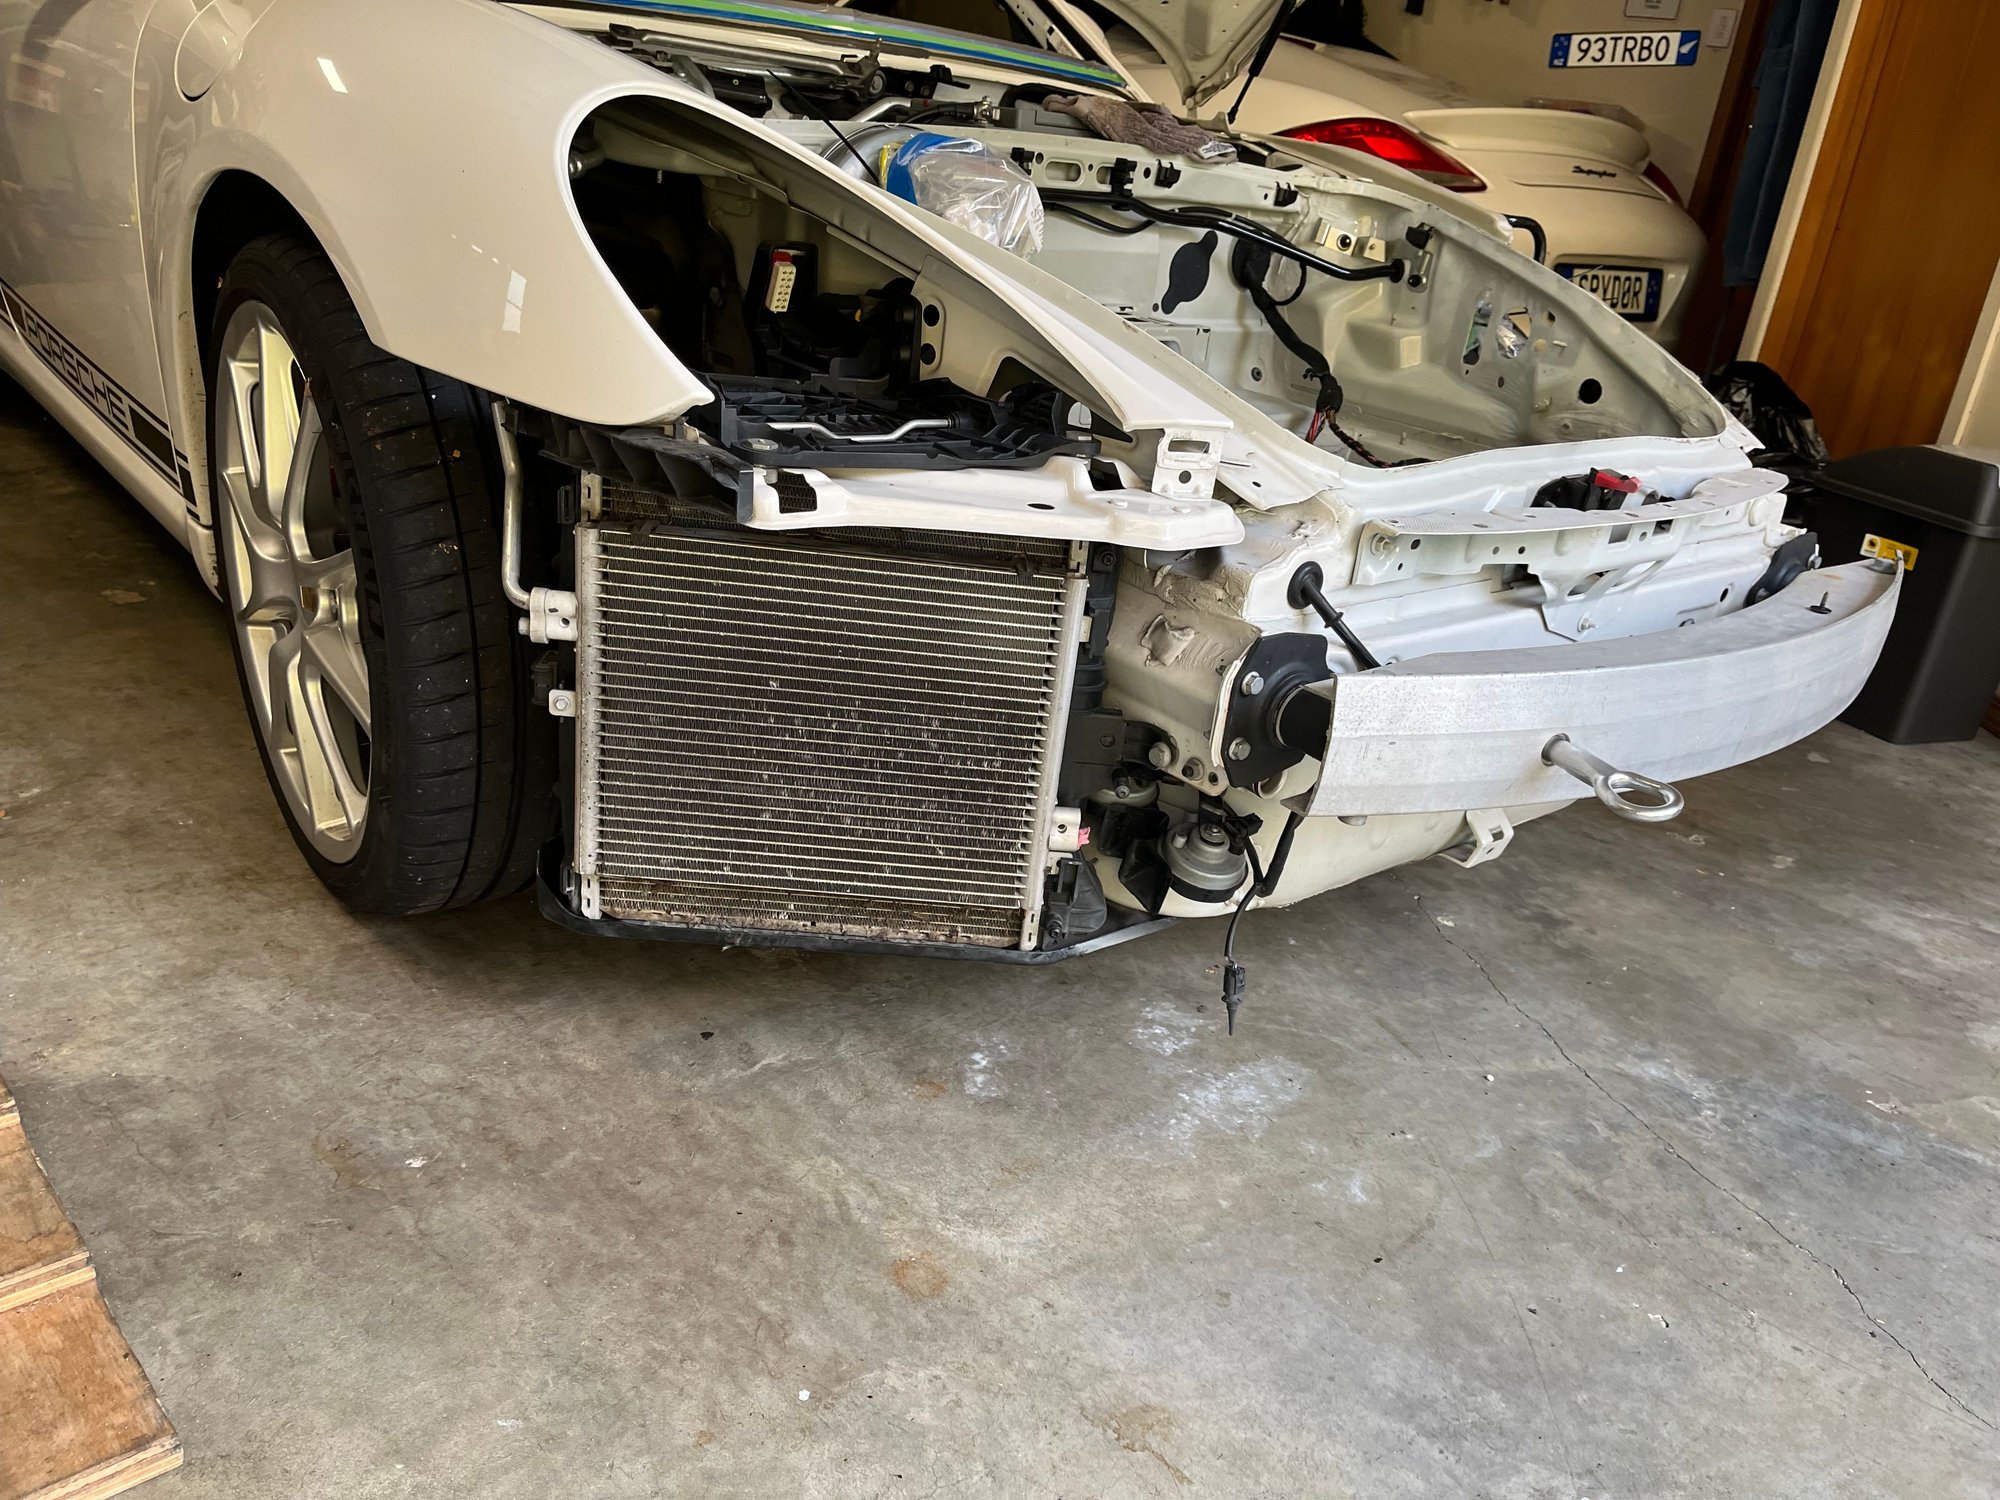
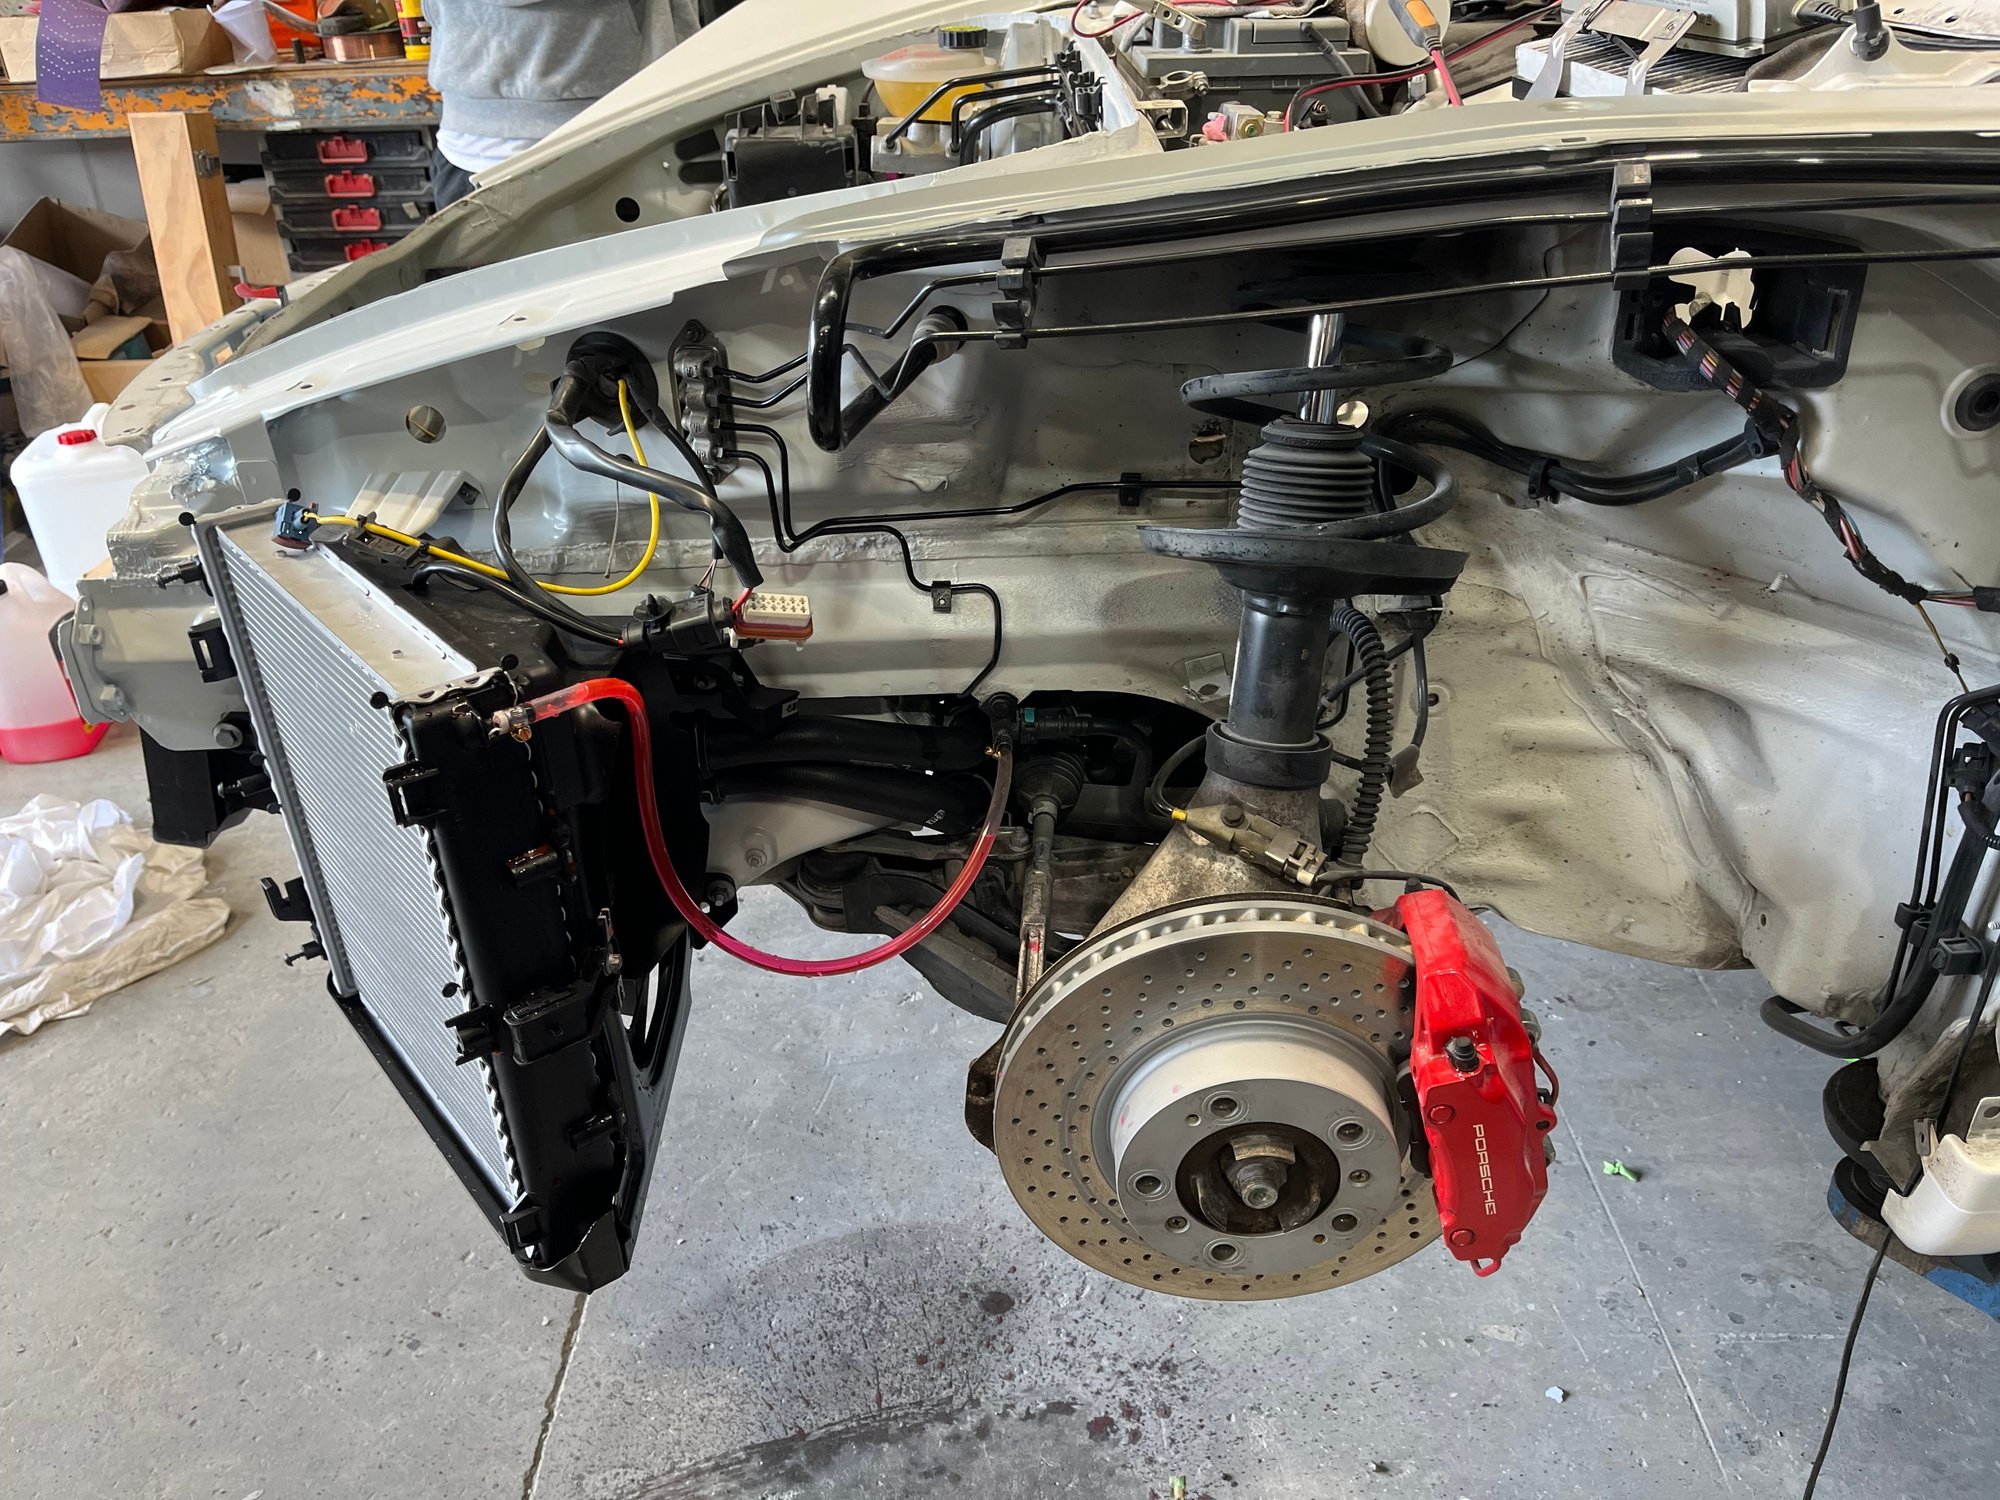
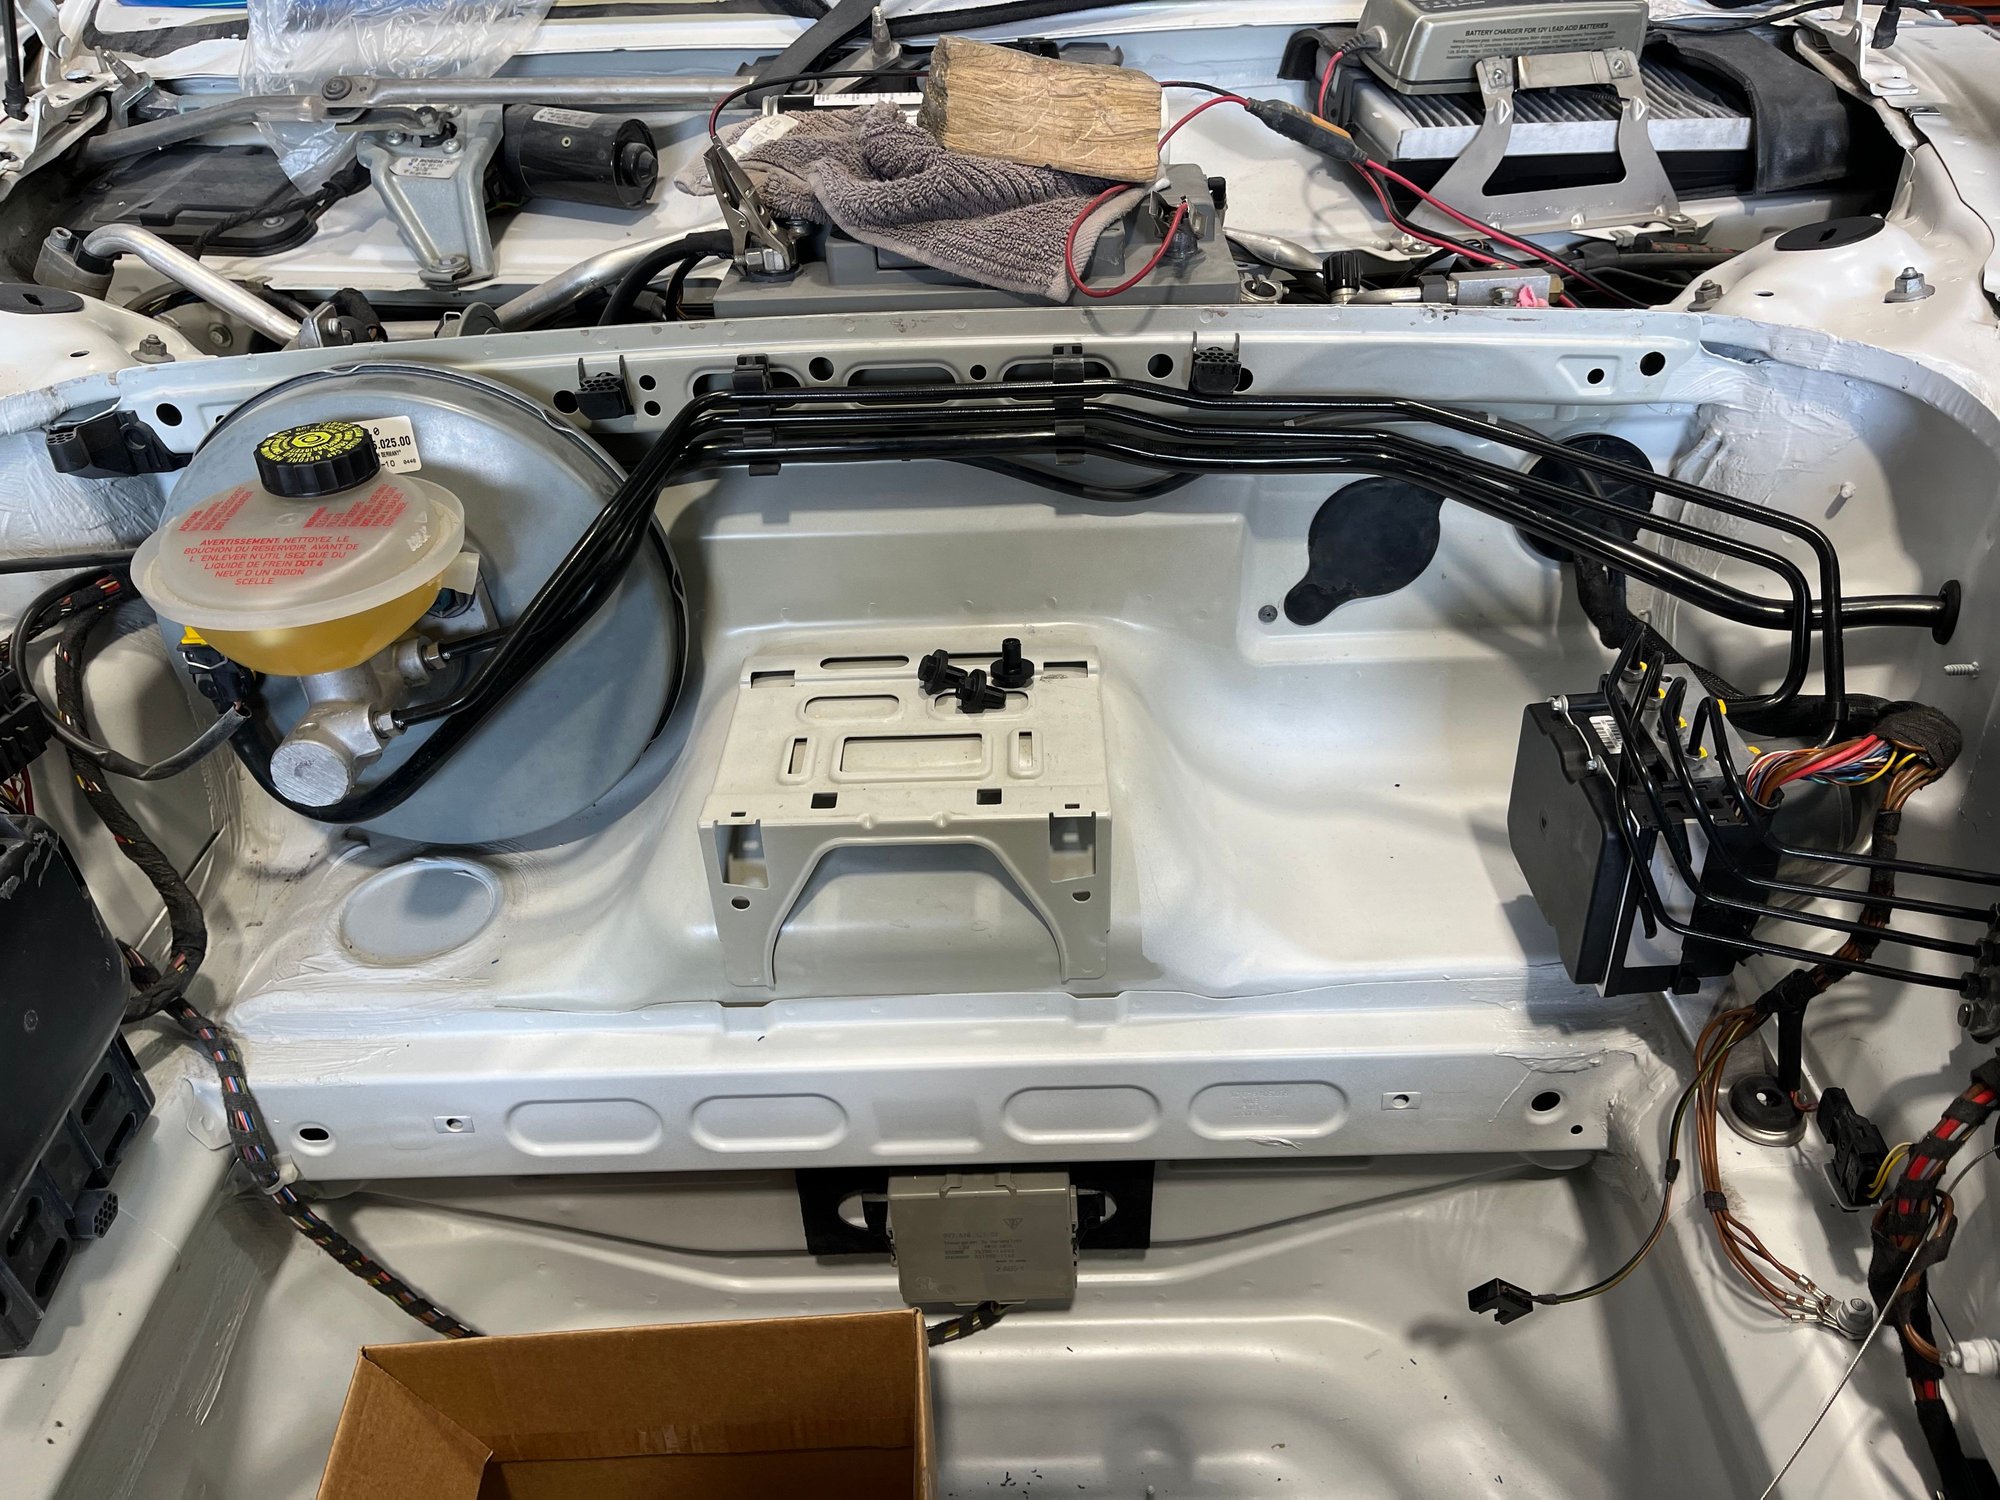
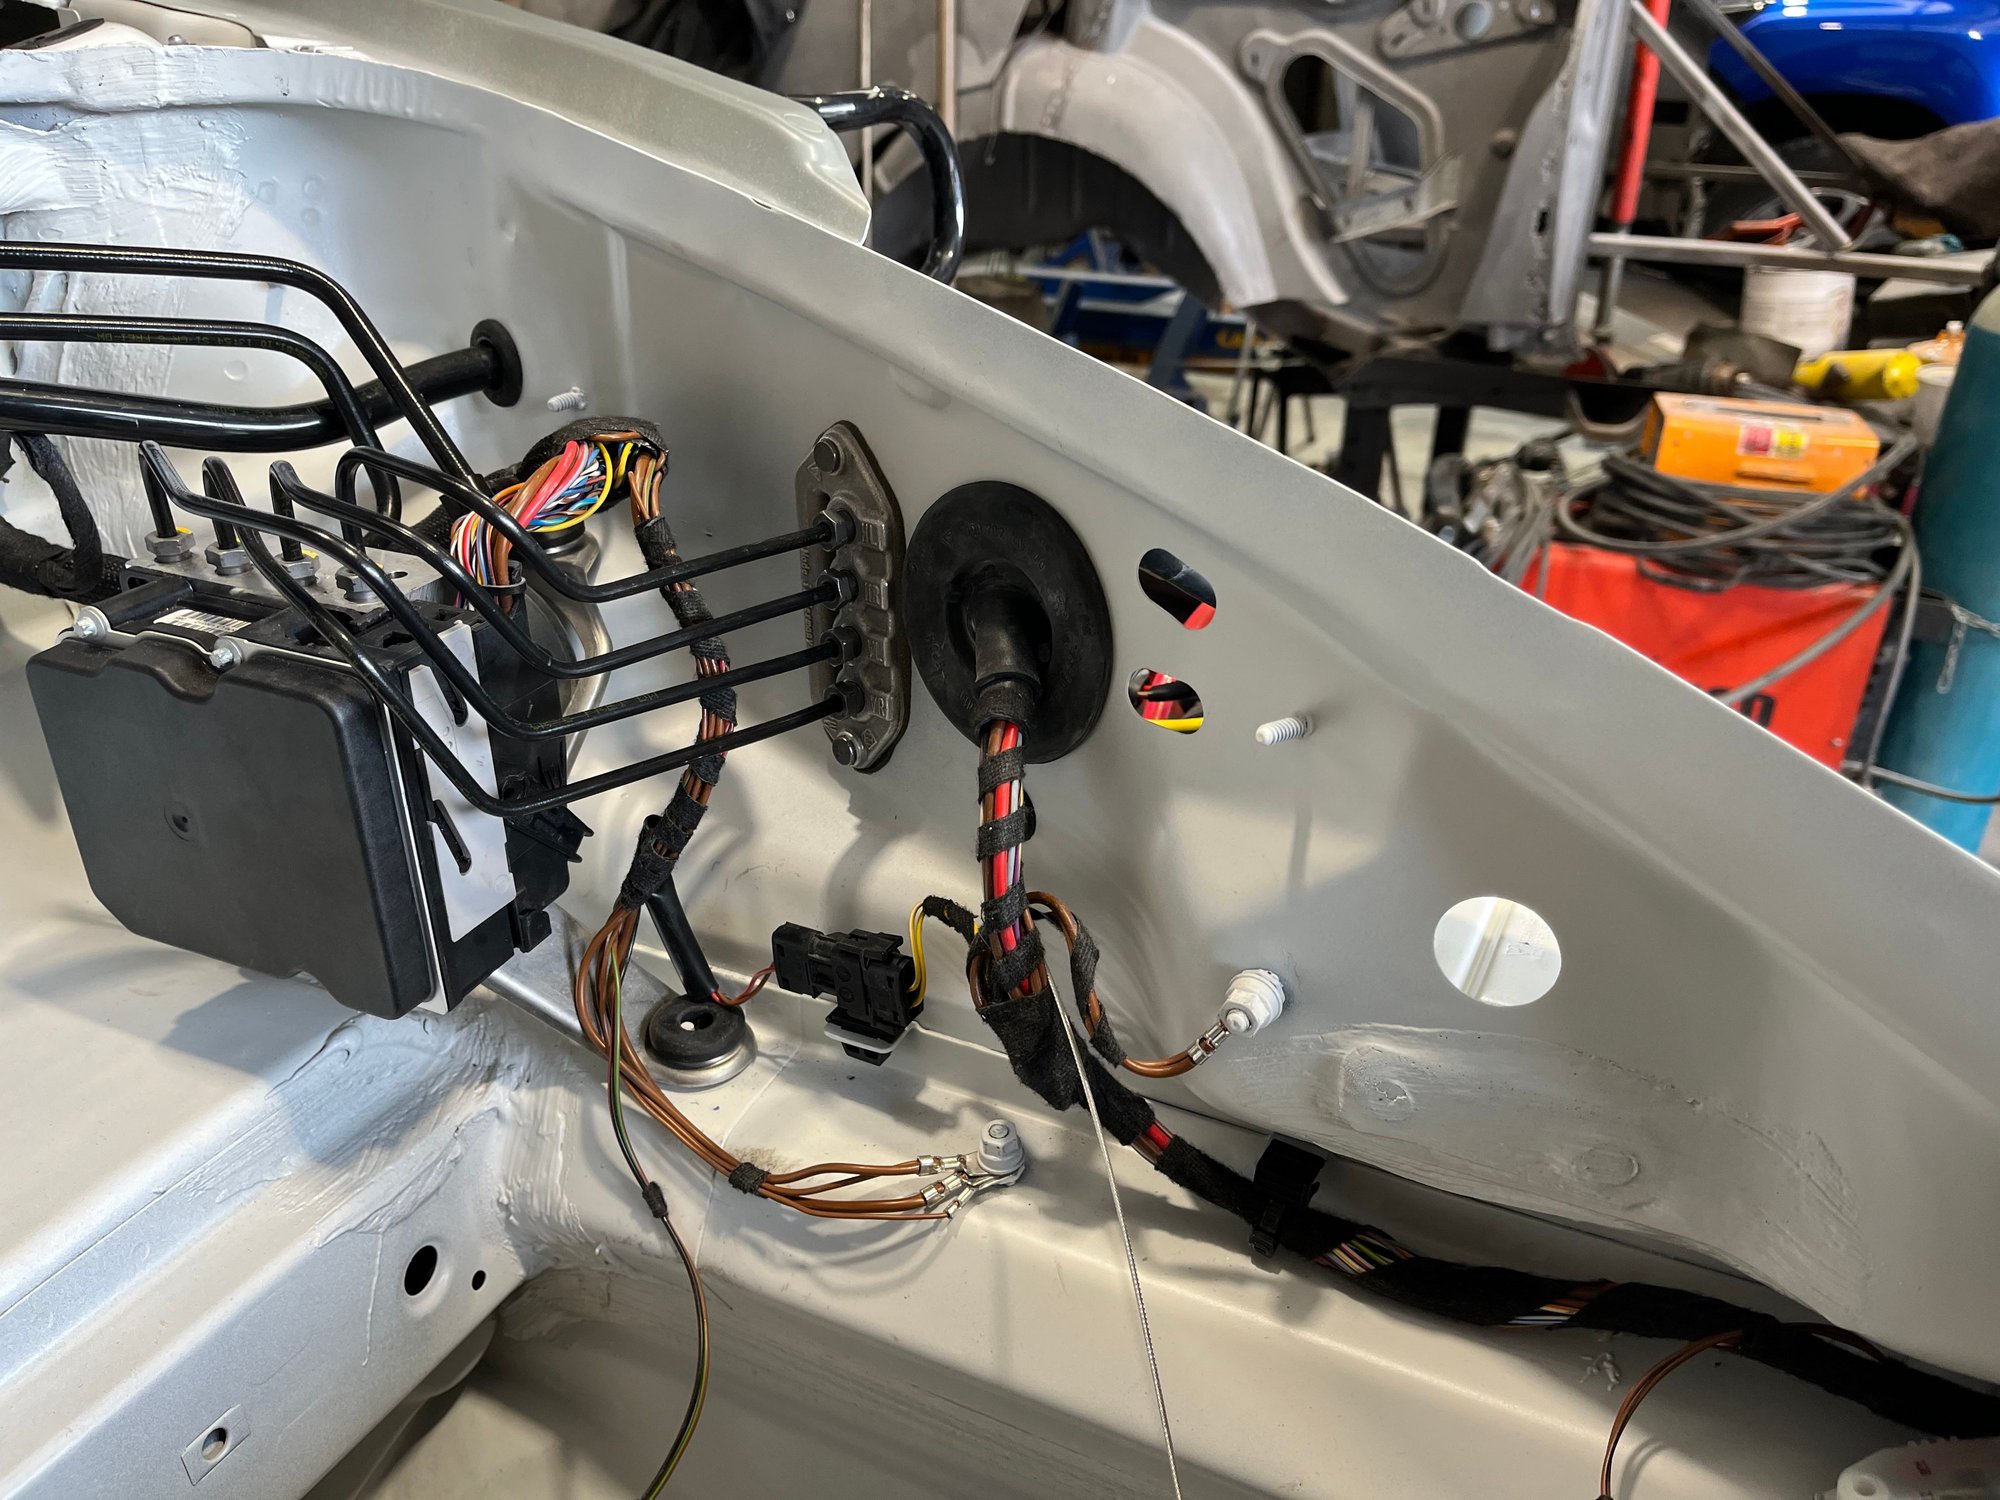
We fitted the brake ABS unit and pipes, then bled the brakes. The fit is so tight on these parts that the body has to be almost perfect.
We also fitted the PDK radiator and left front radiator, started the car up and put as much coolant as we could in. A simple pour. It will require a proper fill later with vacuum. It’s good enough for now, to move the car around.

 12-21-2023 | 10:39 PM


 but other than that it it looks like really nice work.