When you click on links to various merchants on this site and make a purchase, this can result in this site earning a commission. Affiliate programs and affiliations include, but are not limited to, the eBay Partner Network.
I think it’s age and sun exposure. New Zealand sun is known to be harsh. While there is foam in the cover, I think the placement of the speaker makes it quite exposed.
That’s helpful, I imagine it won’t be long before many of us will need to change it.
so on the frame/chassis. So you had it pulled to spec and now it's straight. but there are some bits you need replaced on the frame or chassis? Is this new welded parts? are you able to source those components?
From then its mostly bolt ons right? Like fender, and all those little small bits/radiator, bumper cover, etc. Paint, assembly.
Hows the suspension/shock/tie rods/etc in that corner? Did it take any hit? I know you said wheels straight so thats a good indication maybe suspension survived.
The tub and therefore front have been pulled straight. There is still a dent in the chassis rail that needs to pushed out. Unfortunately they ripped the fender attachment point when pulling the tub and I need to source a new panel for that, before they can complete the work. The part is available from Porsche but I’d prefer to go used for that. The rest is really bolt on. I don’t think the suspension was affected but that really won’t be known until it’s able to be driven.
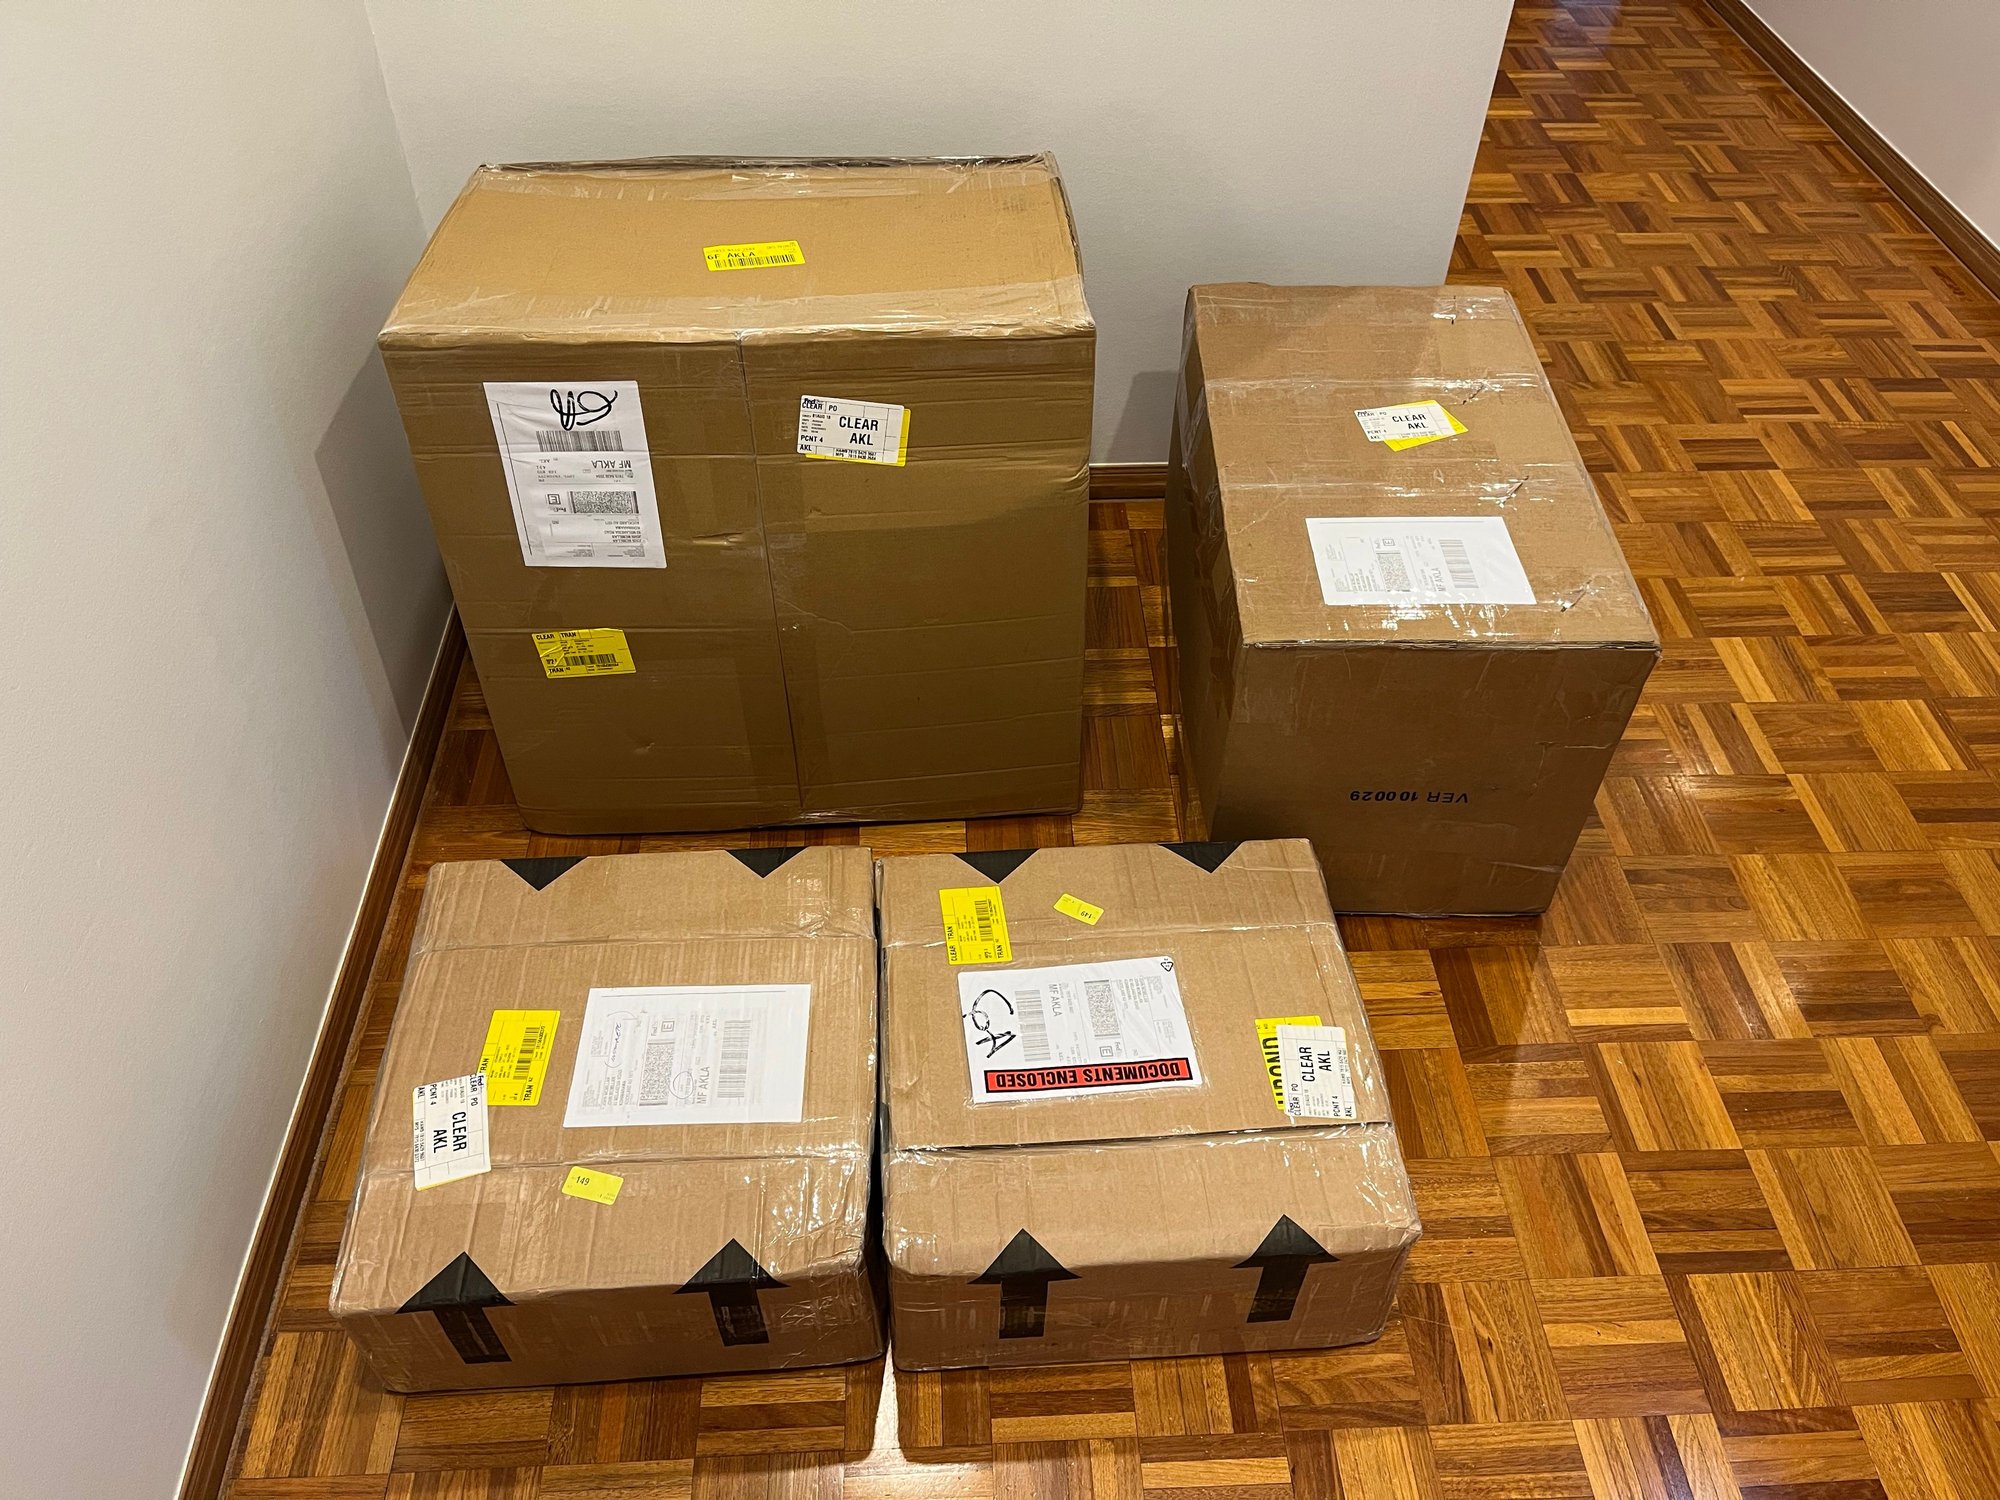
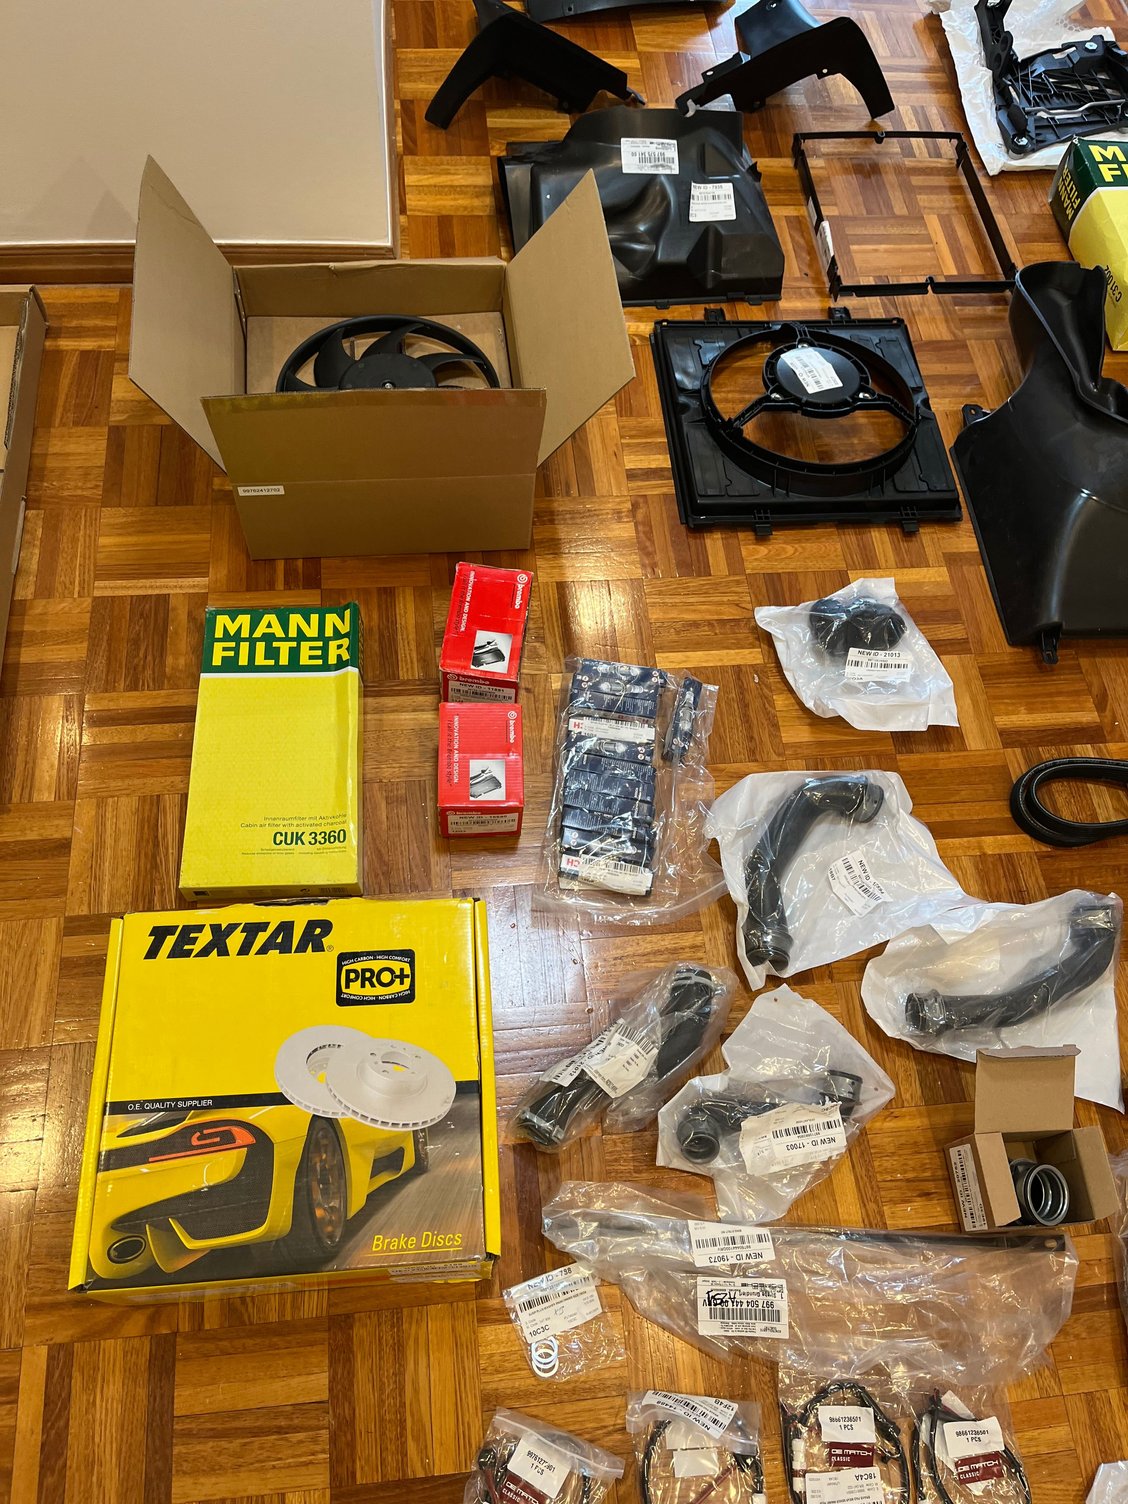
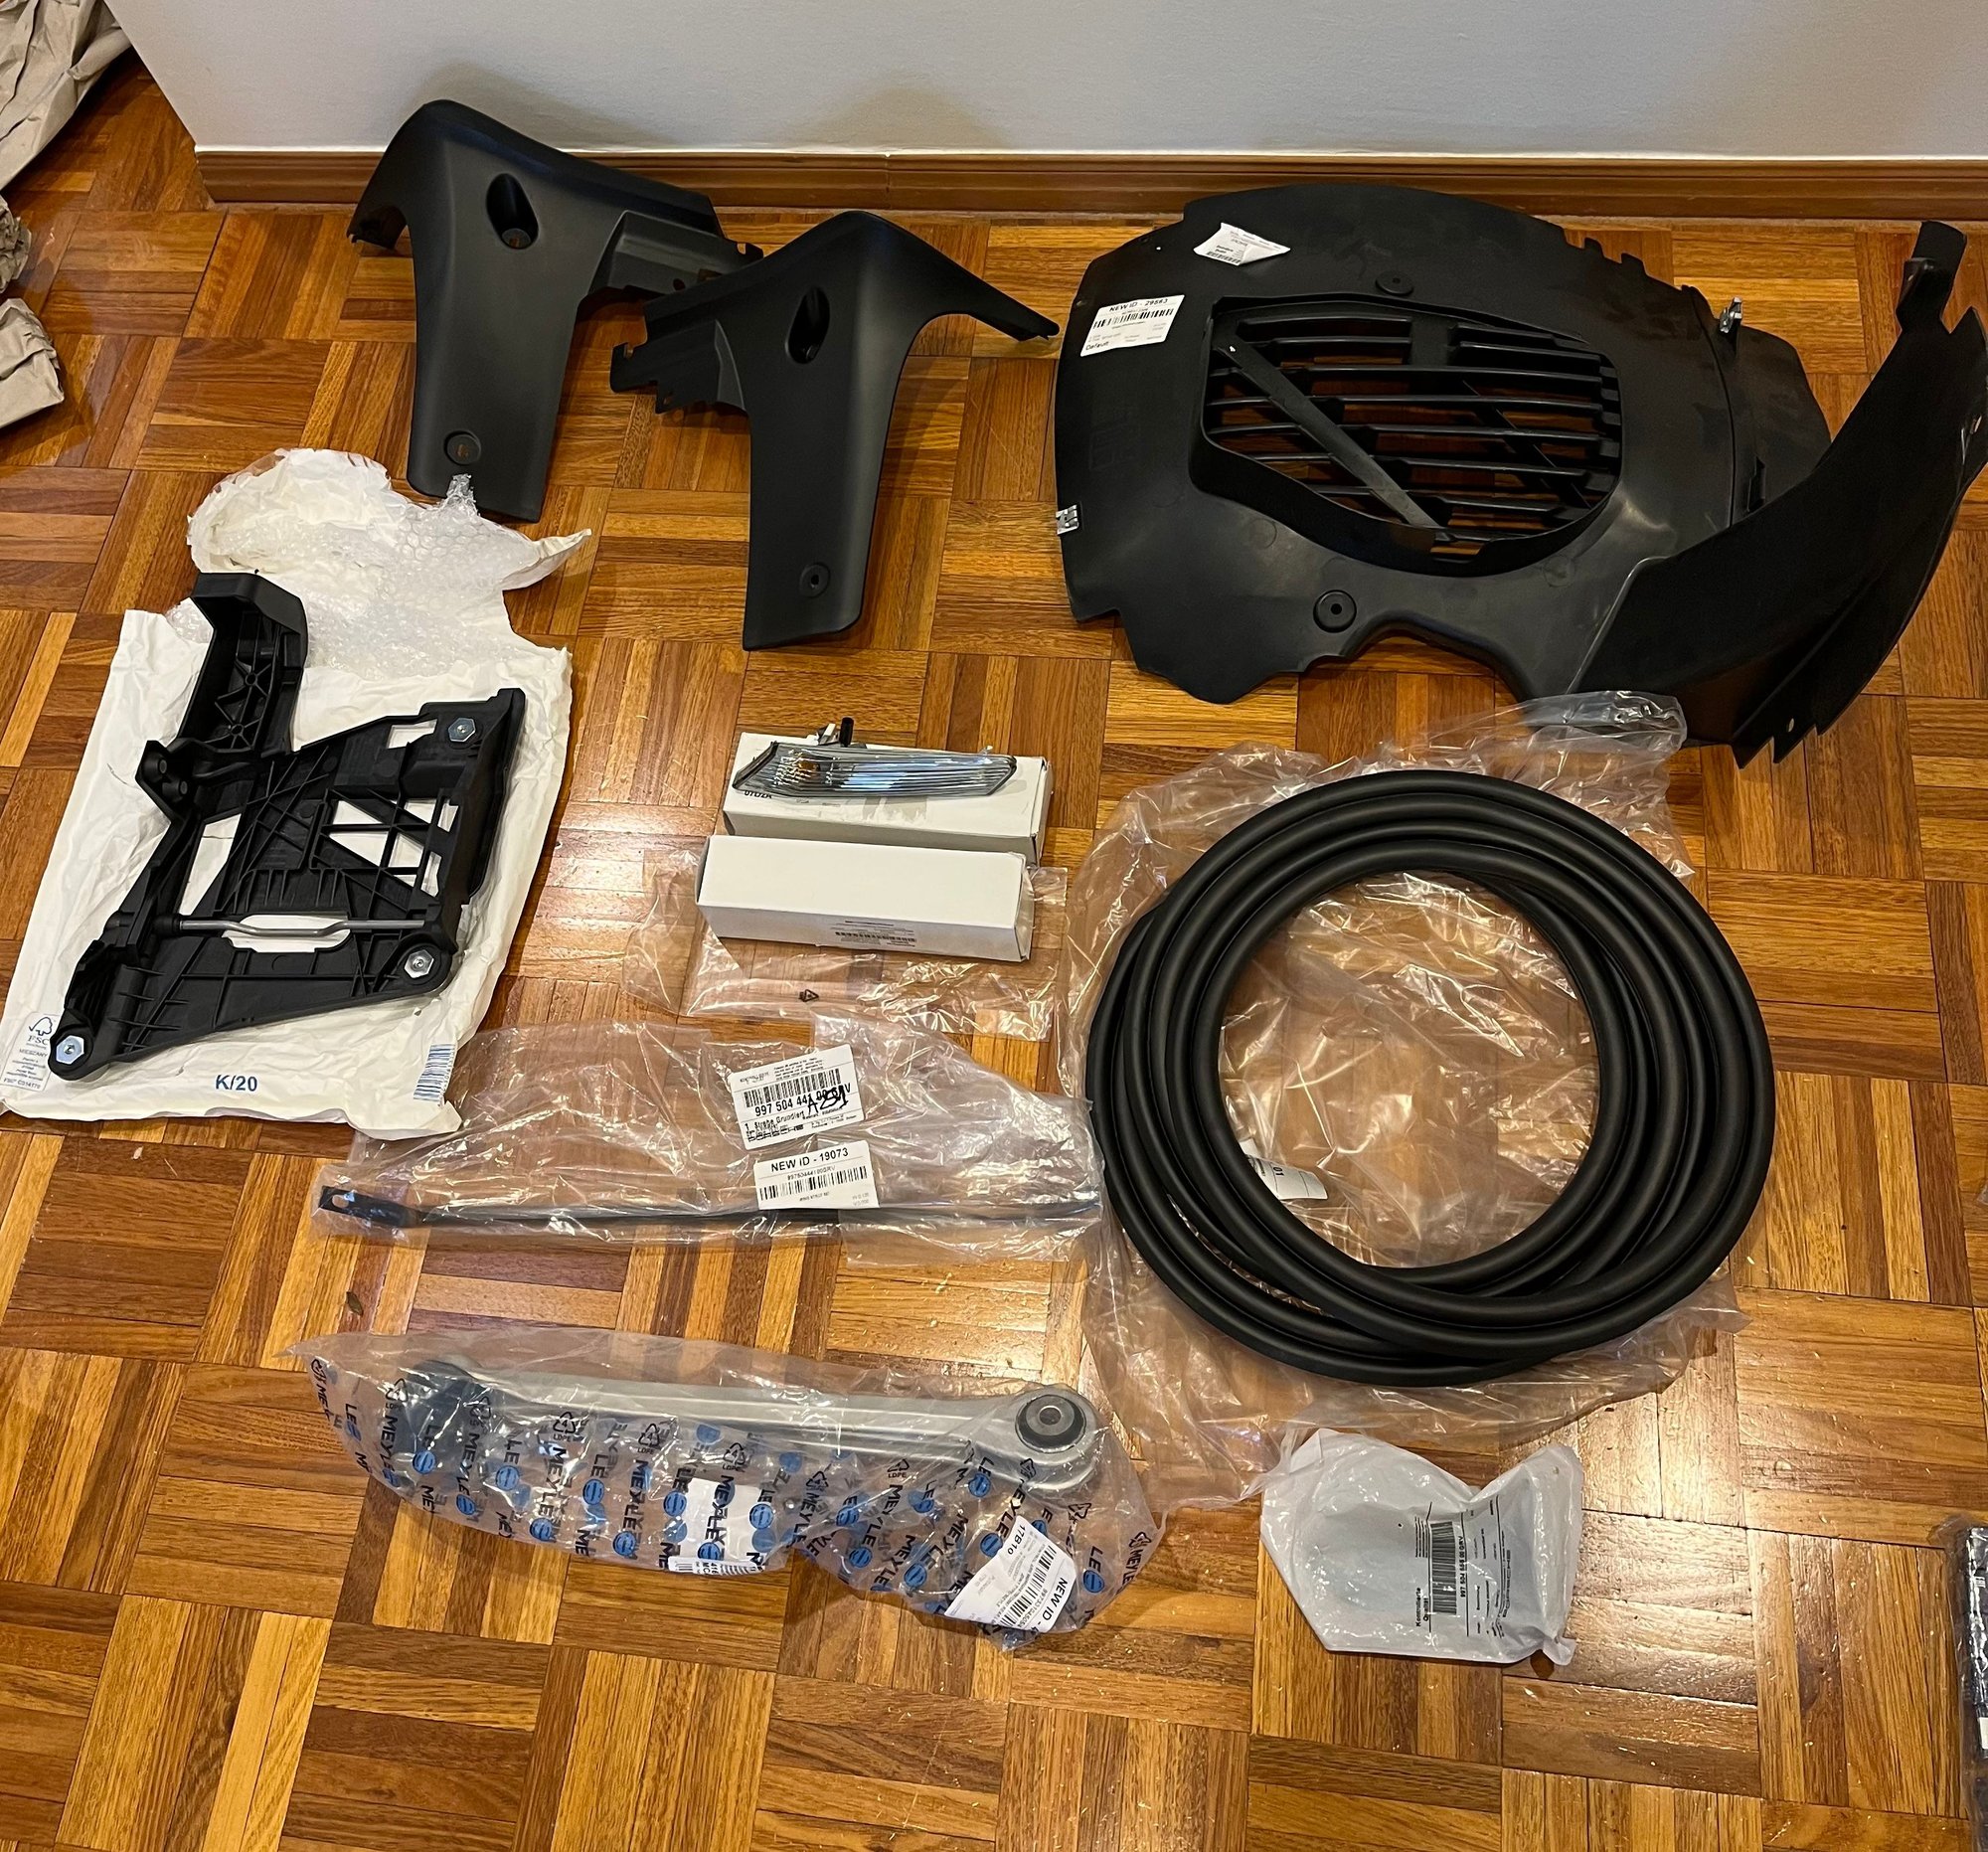
A big delivery of parts from Design 911. All of it is standard 987.1 or 987.2 but I was surprised at the time taken to gather some of it. I don’t sense that there are warehouses full of parts waiting for buyers.
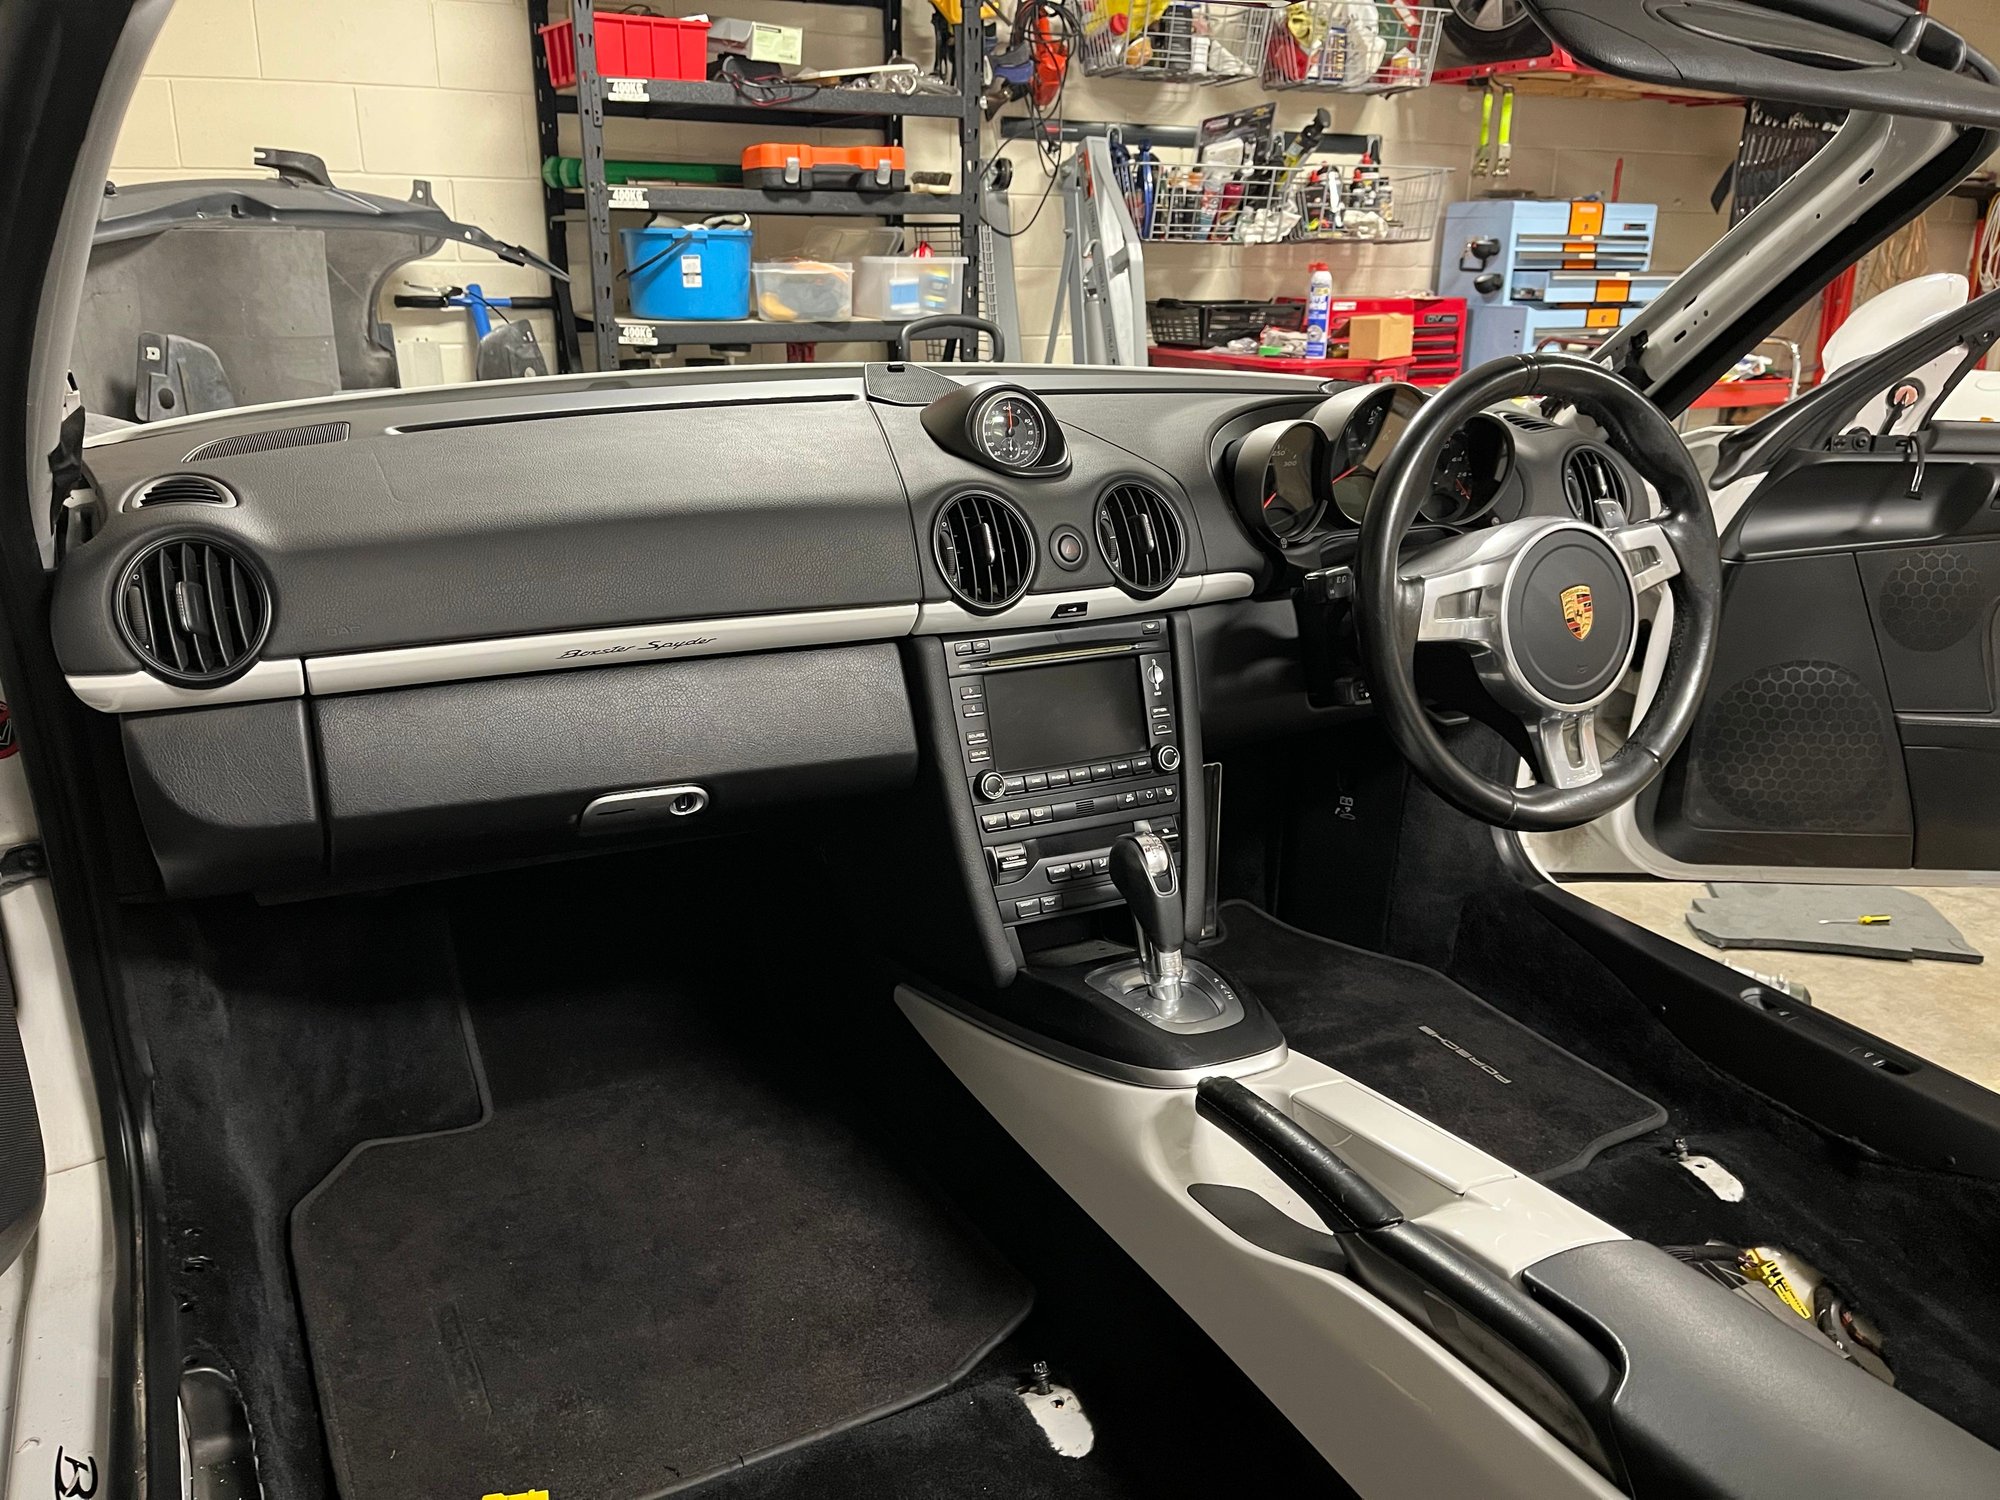
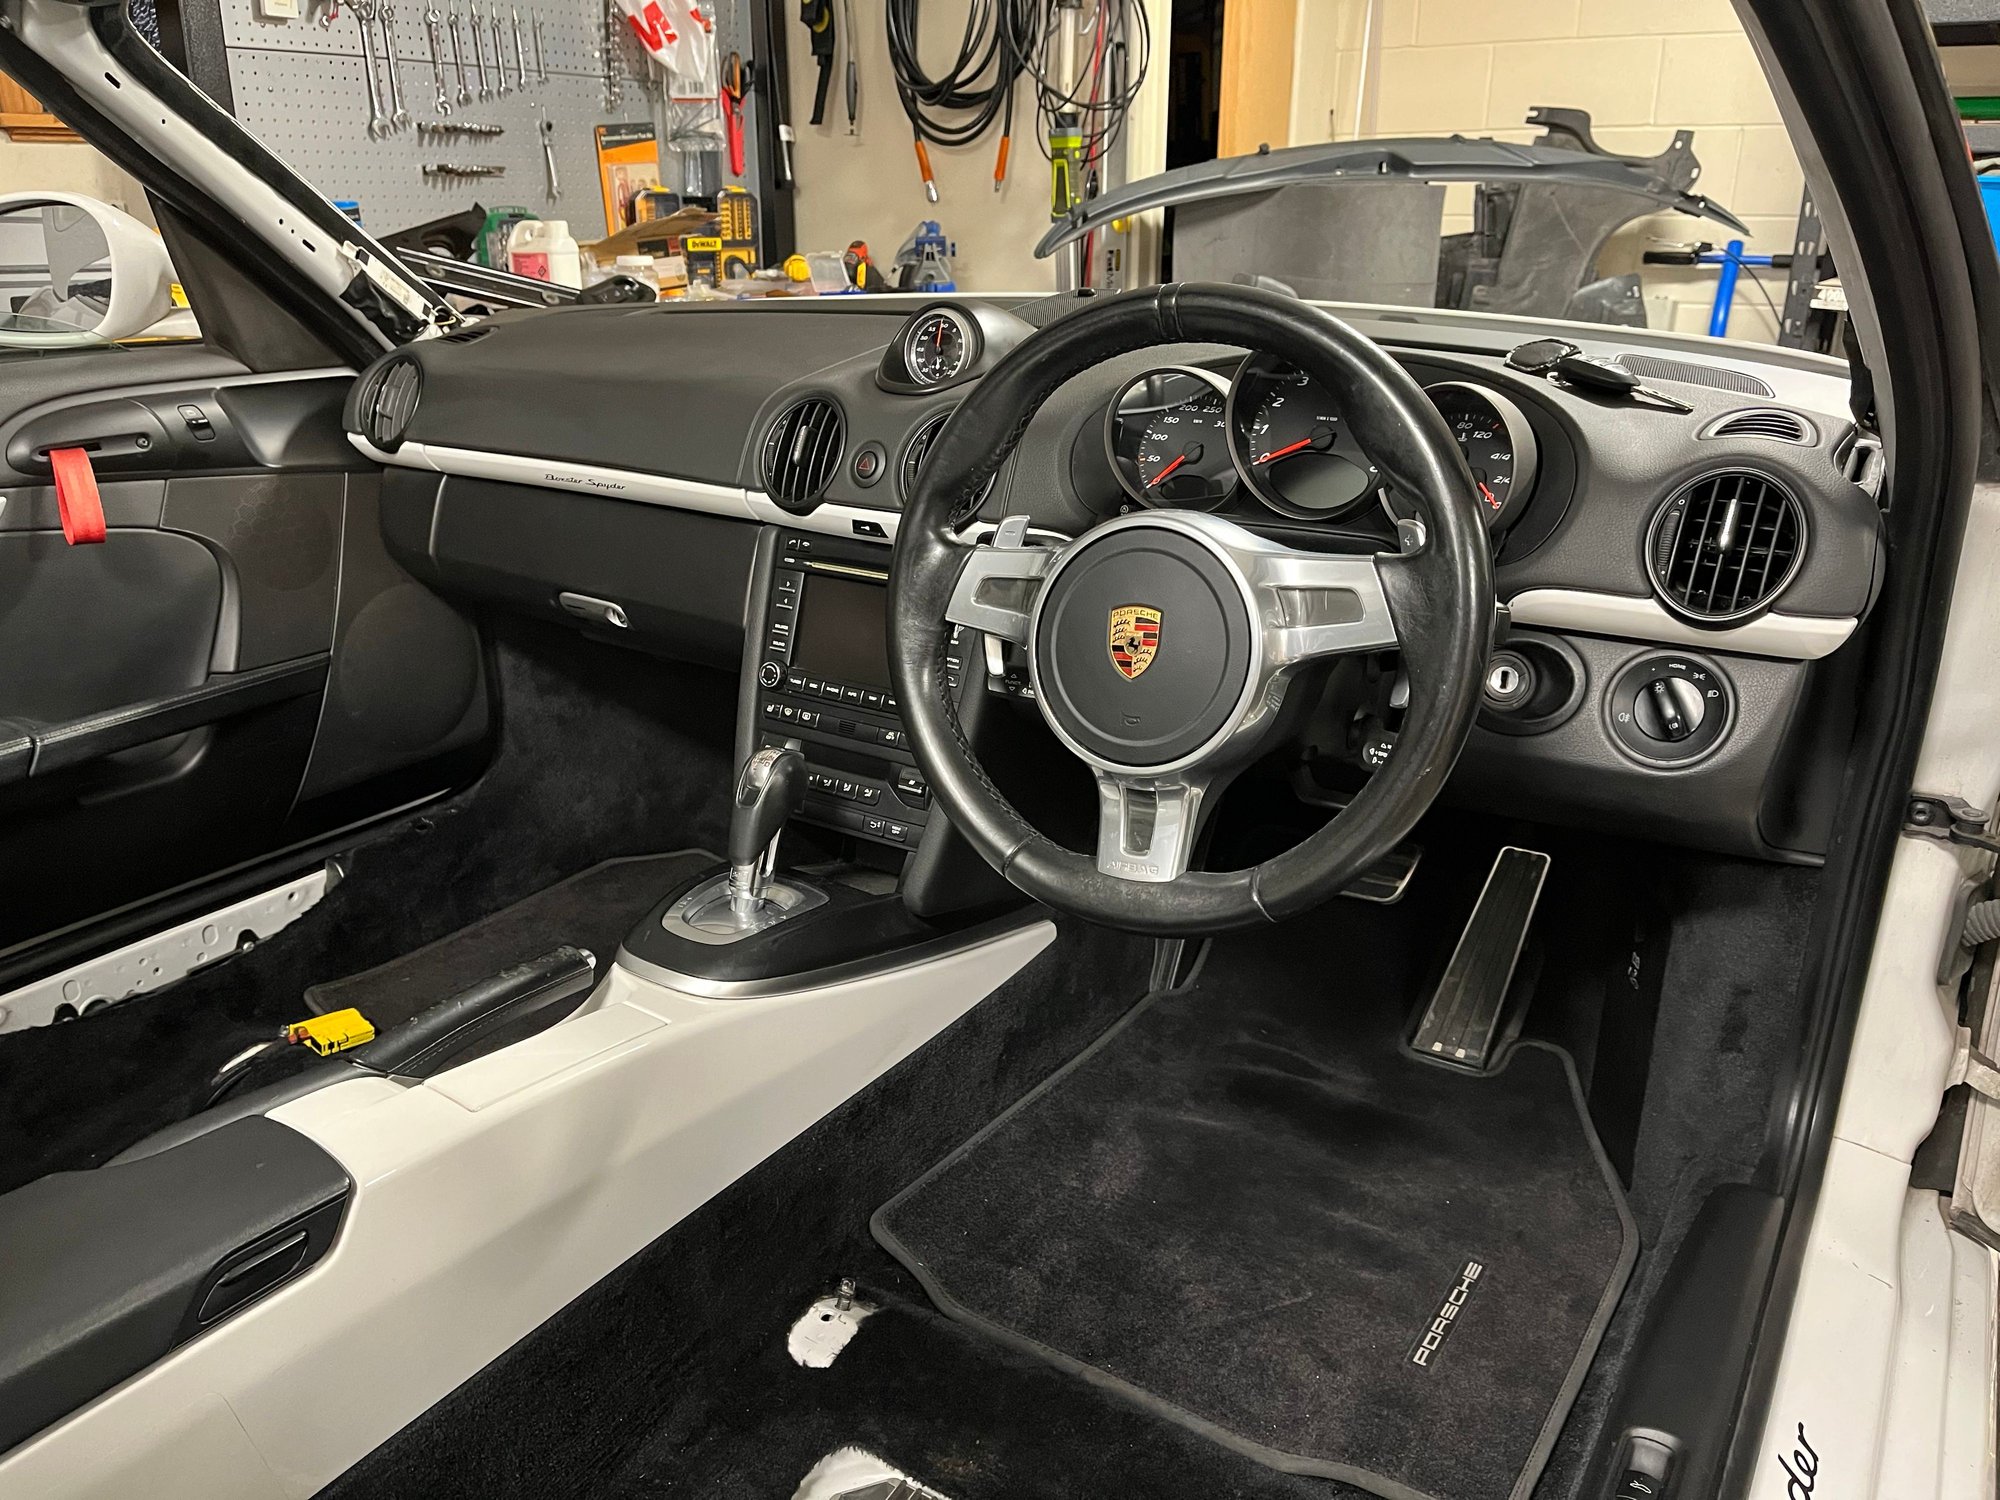
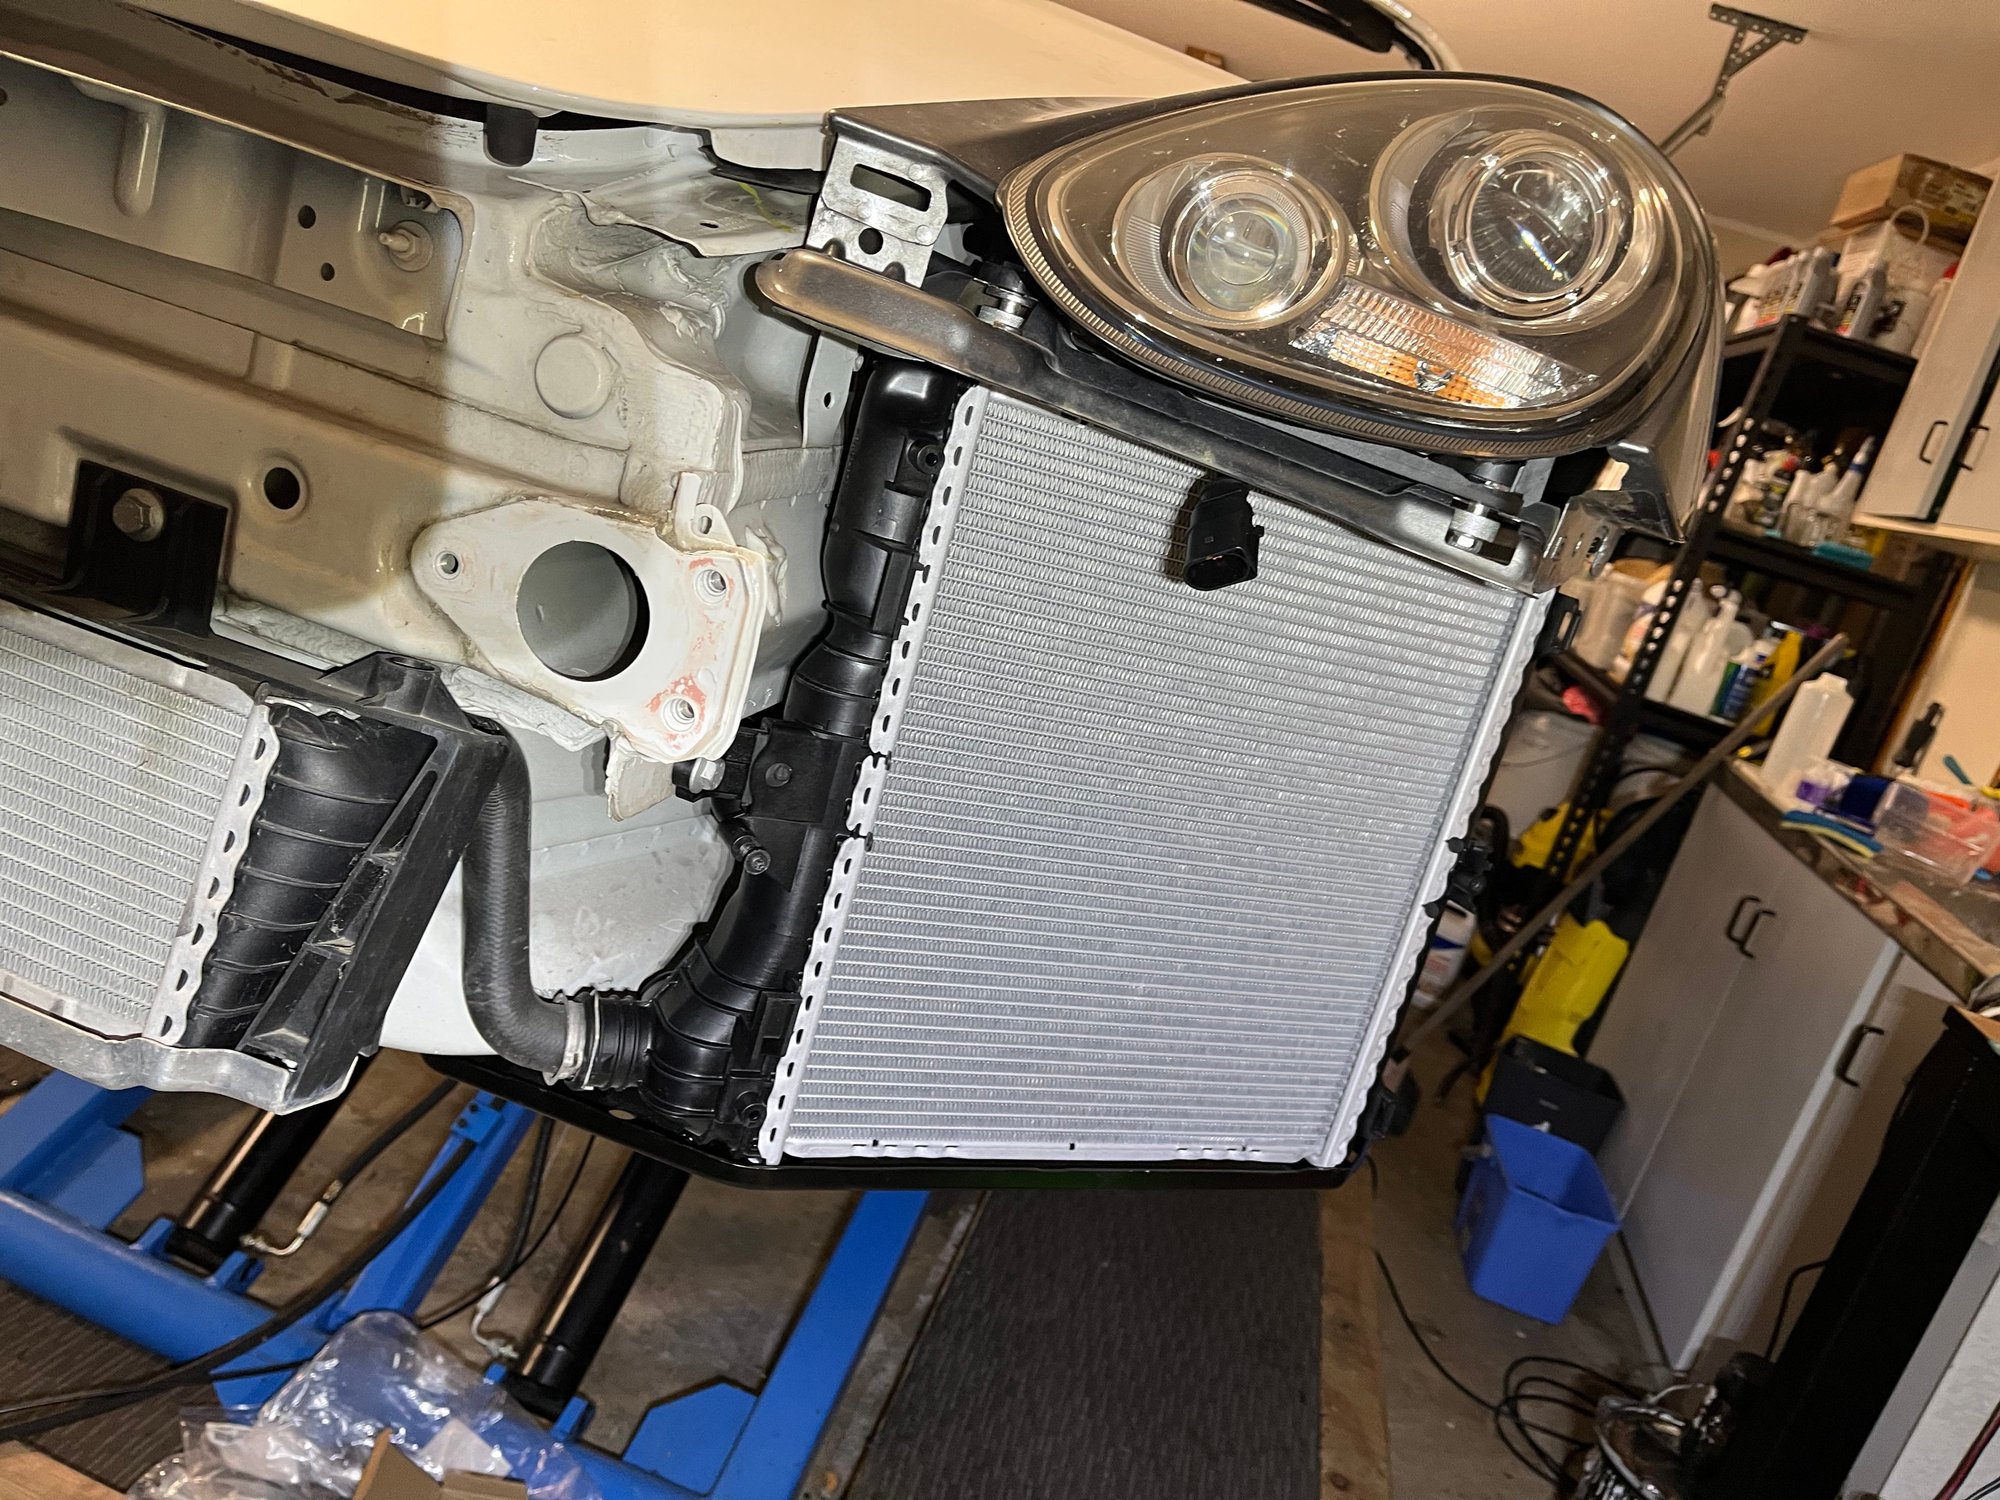
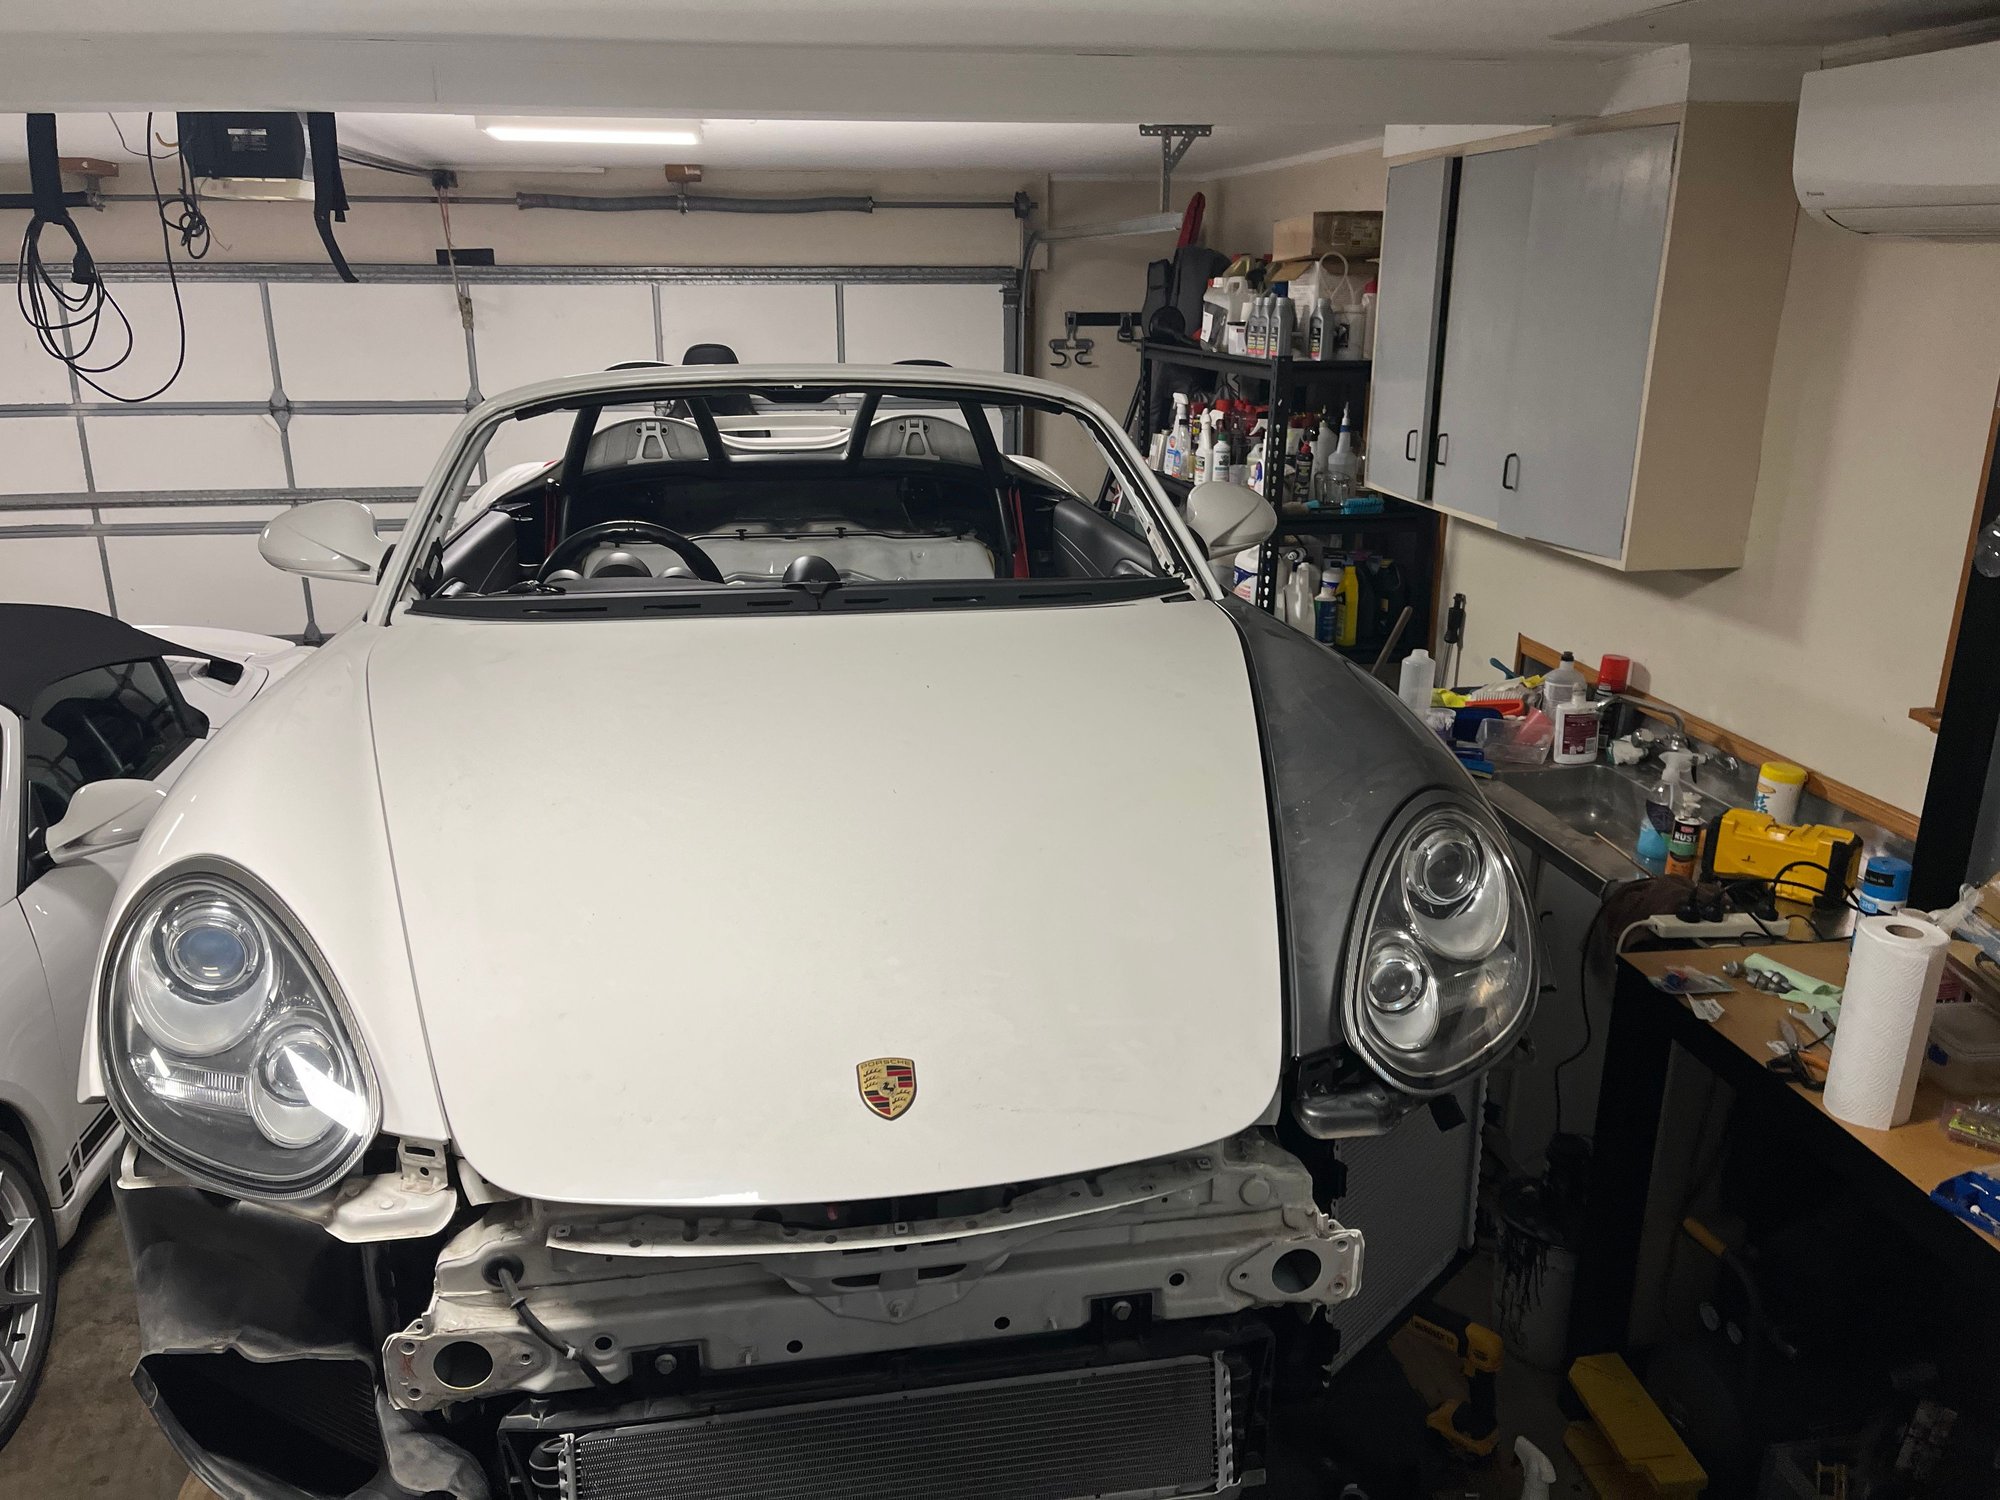
The body work is not yet completed but the tub has been pulled close to original.
Rather than have a store of parts waiting its return, I decided to do trial fits. In other words get systems working, get parts I can see I have missed ordering and generally solve potential issues.
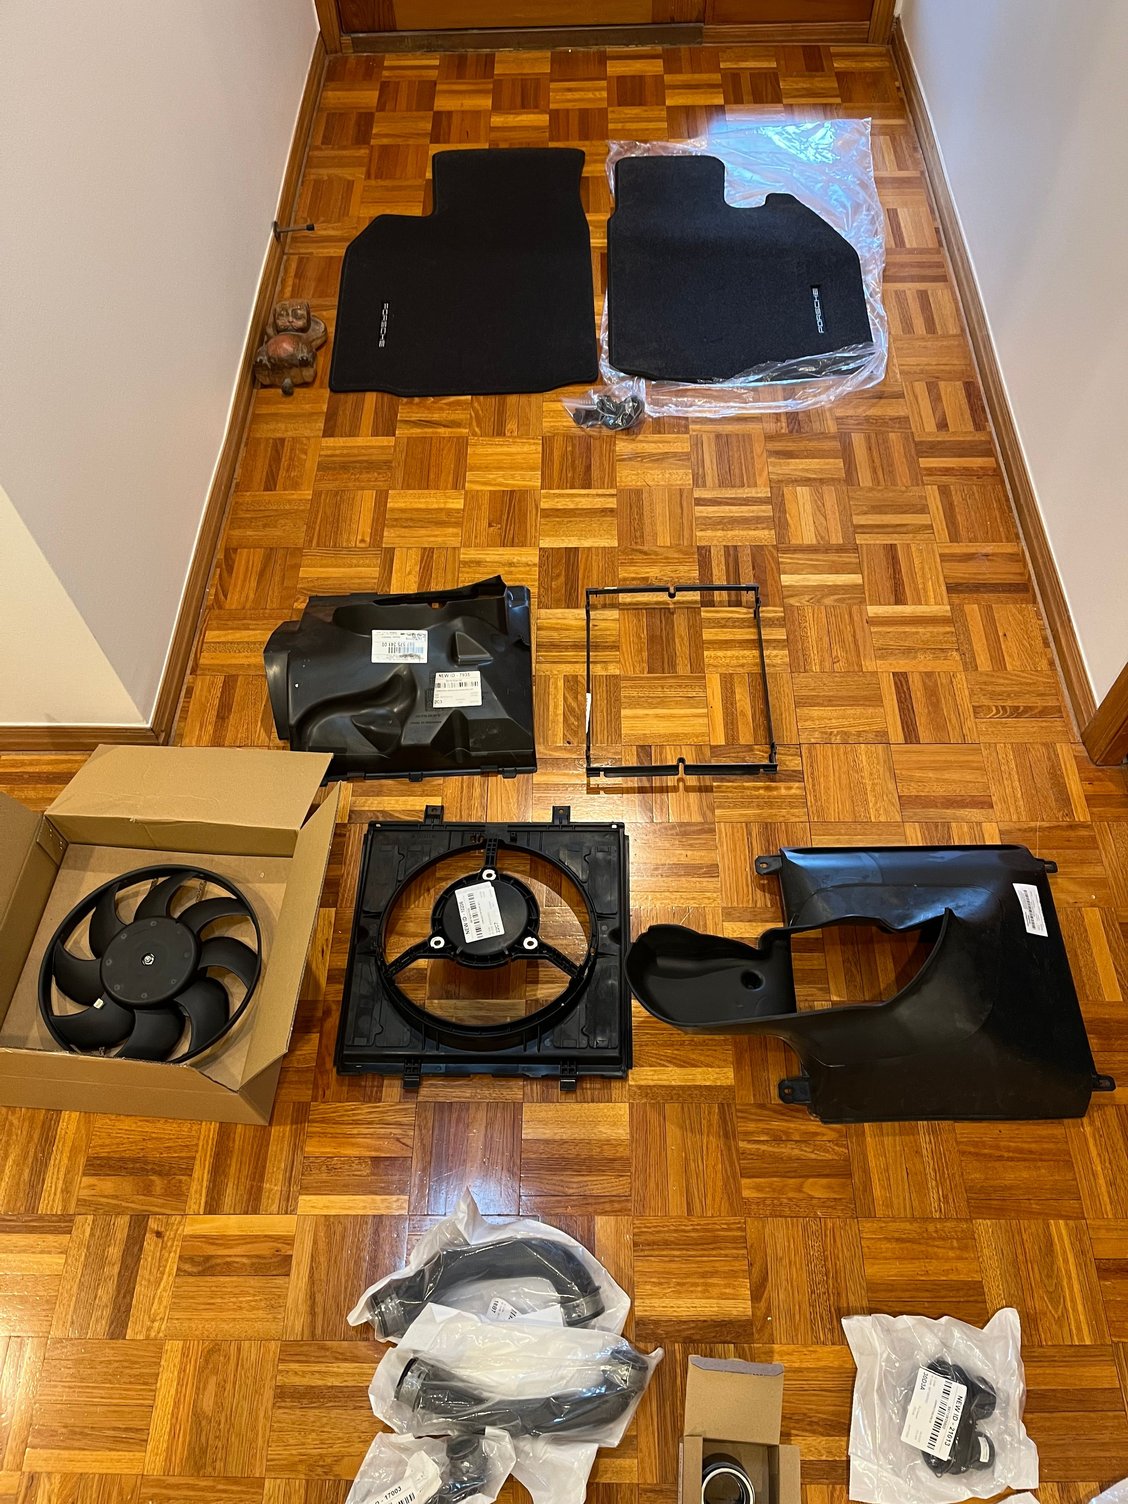
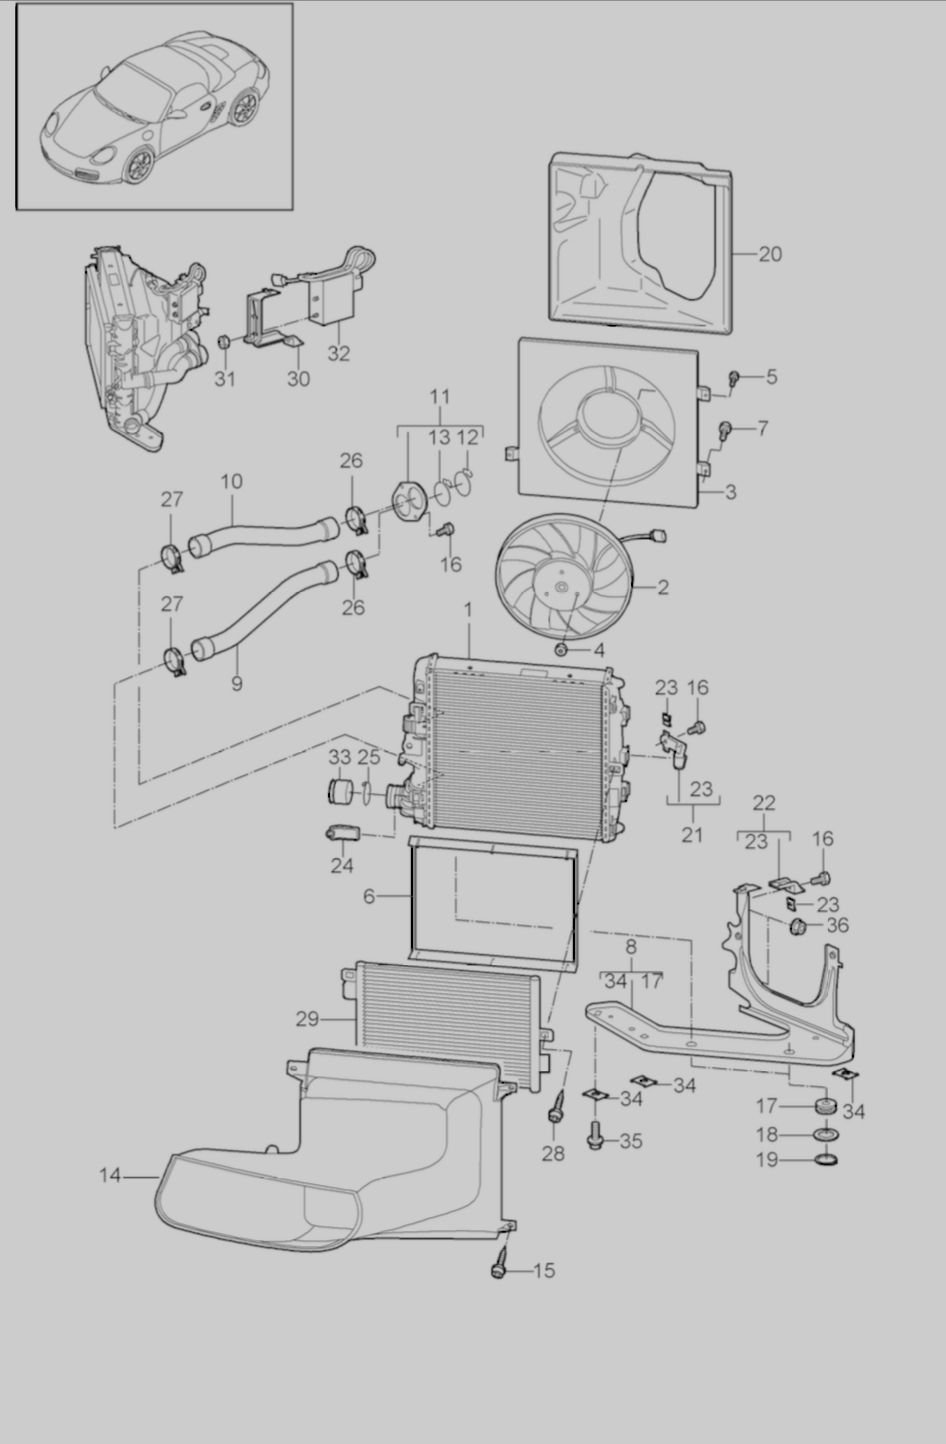
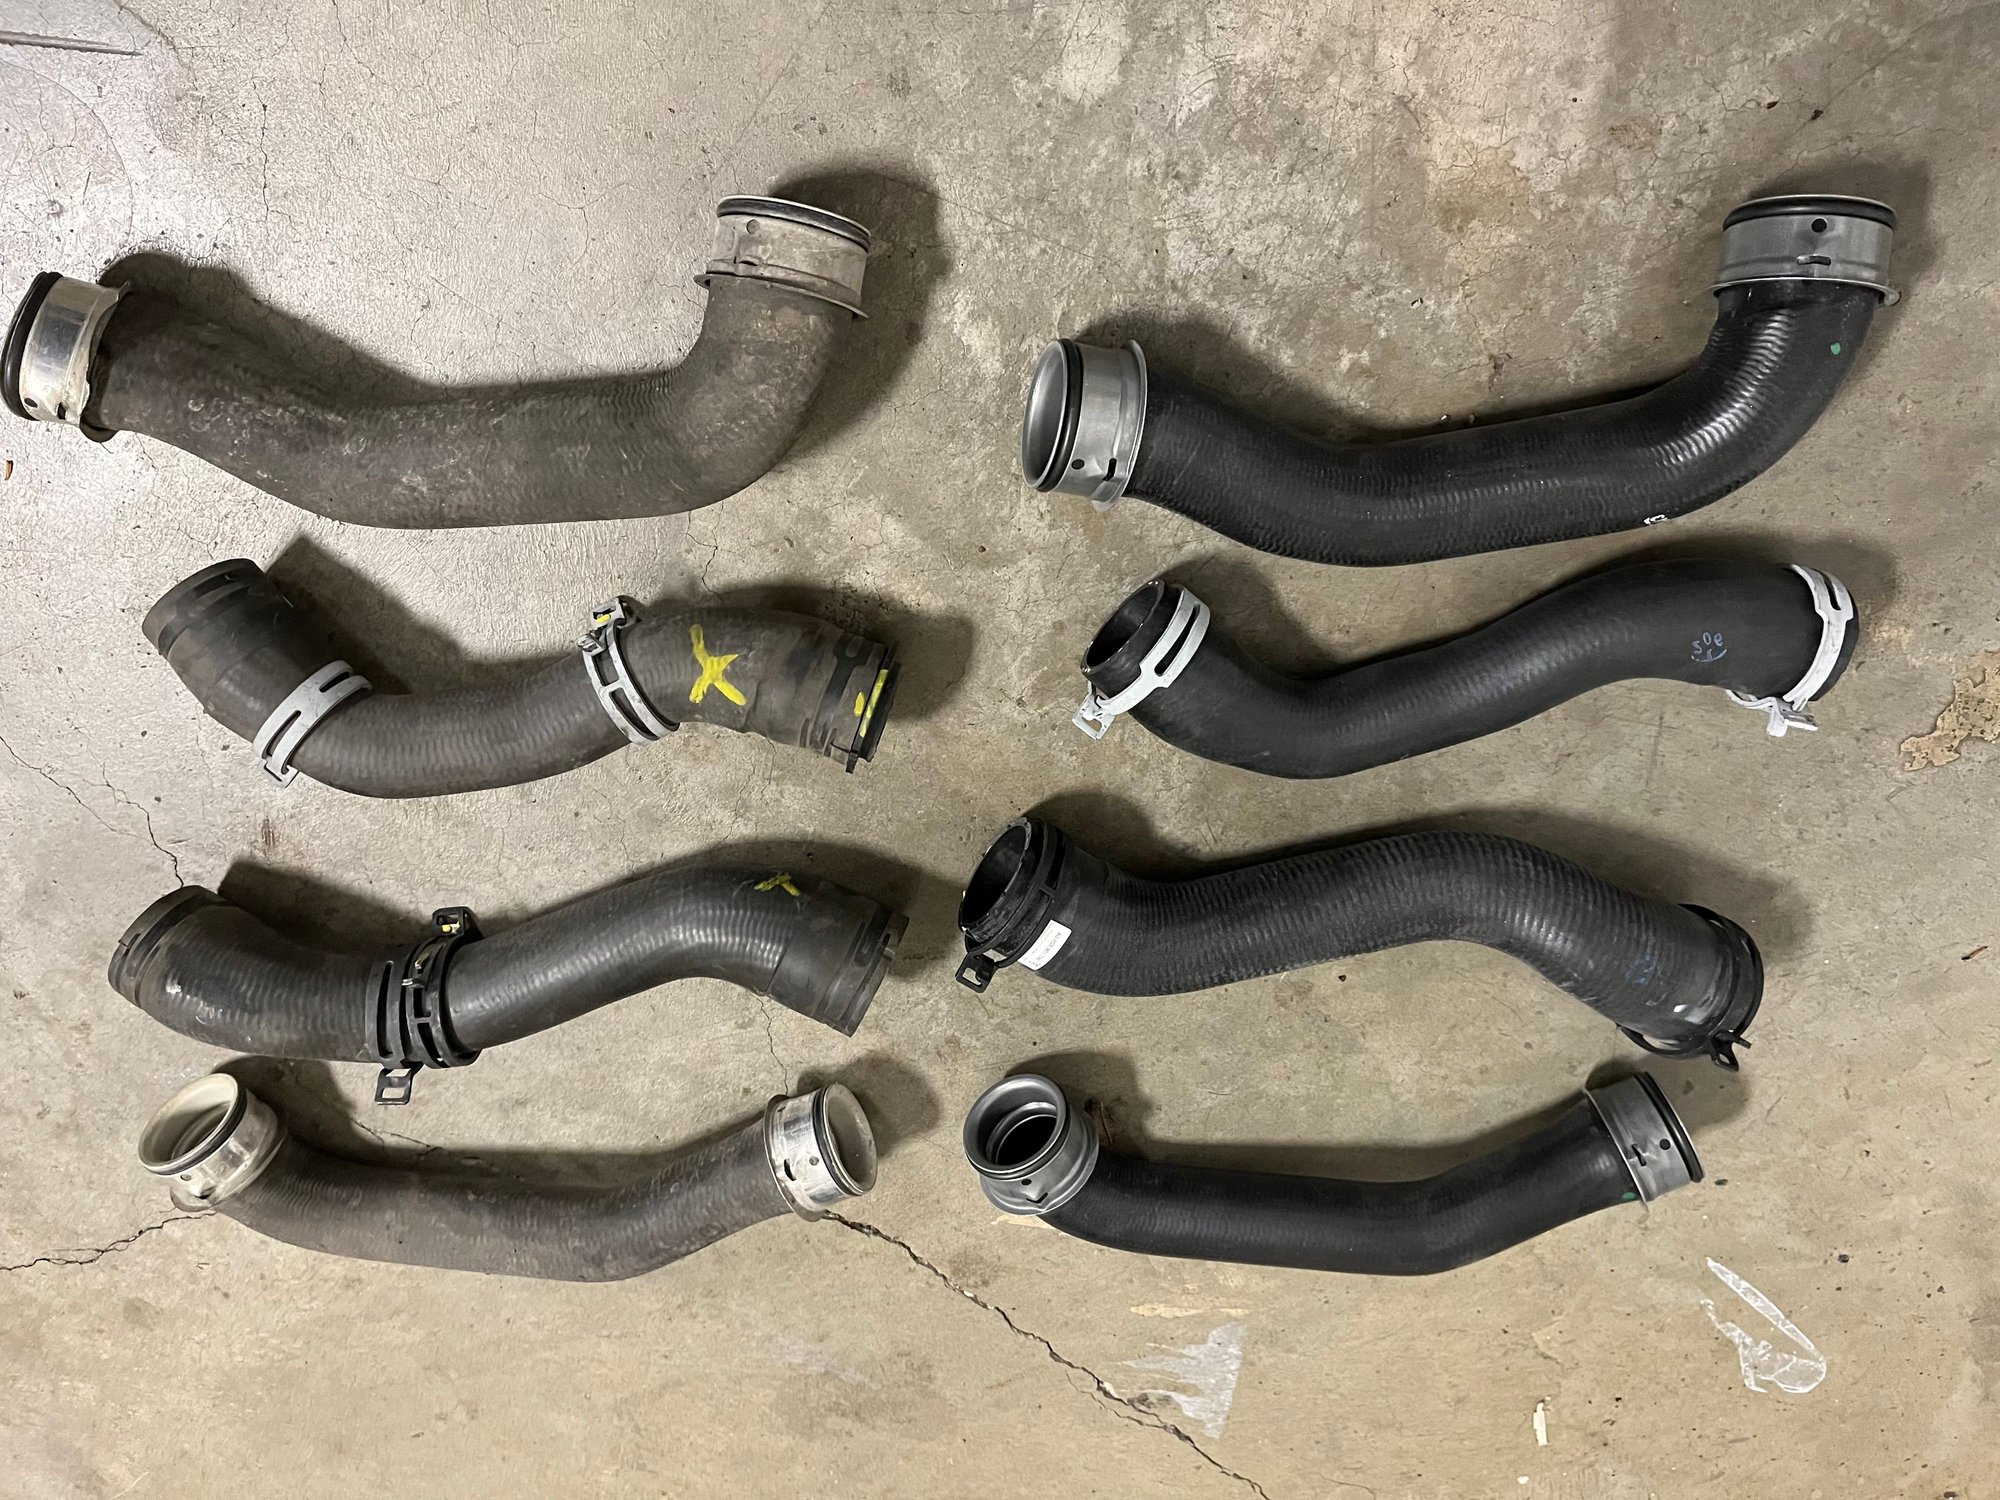
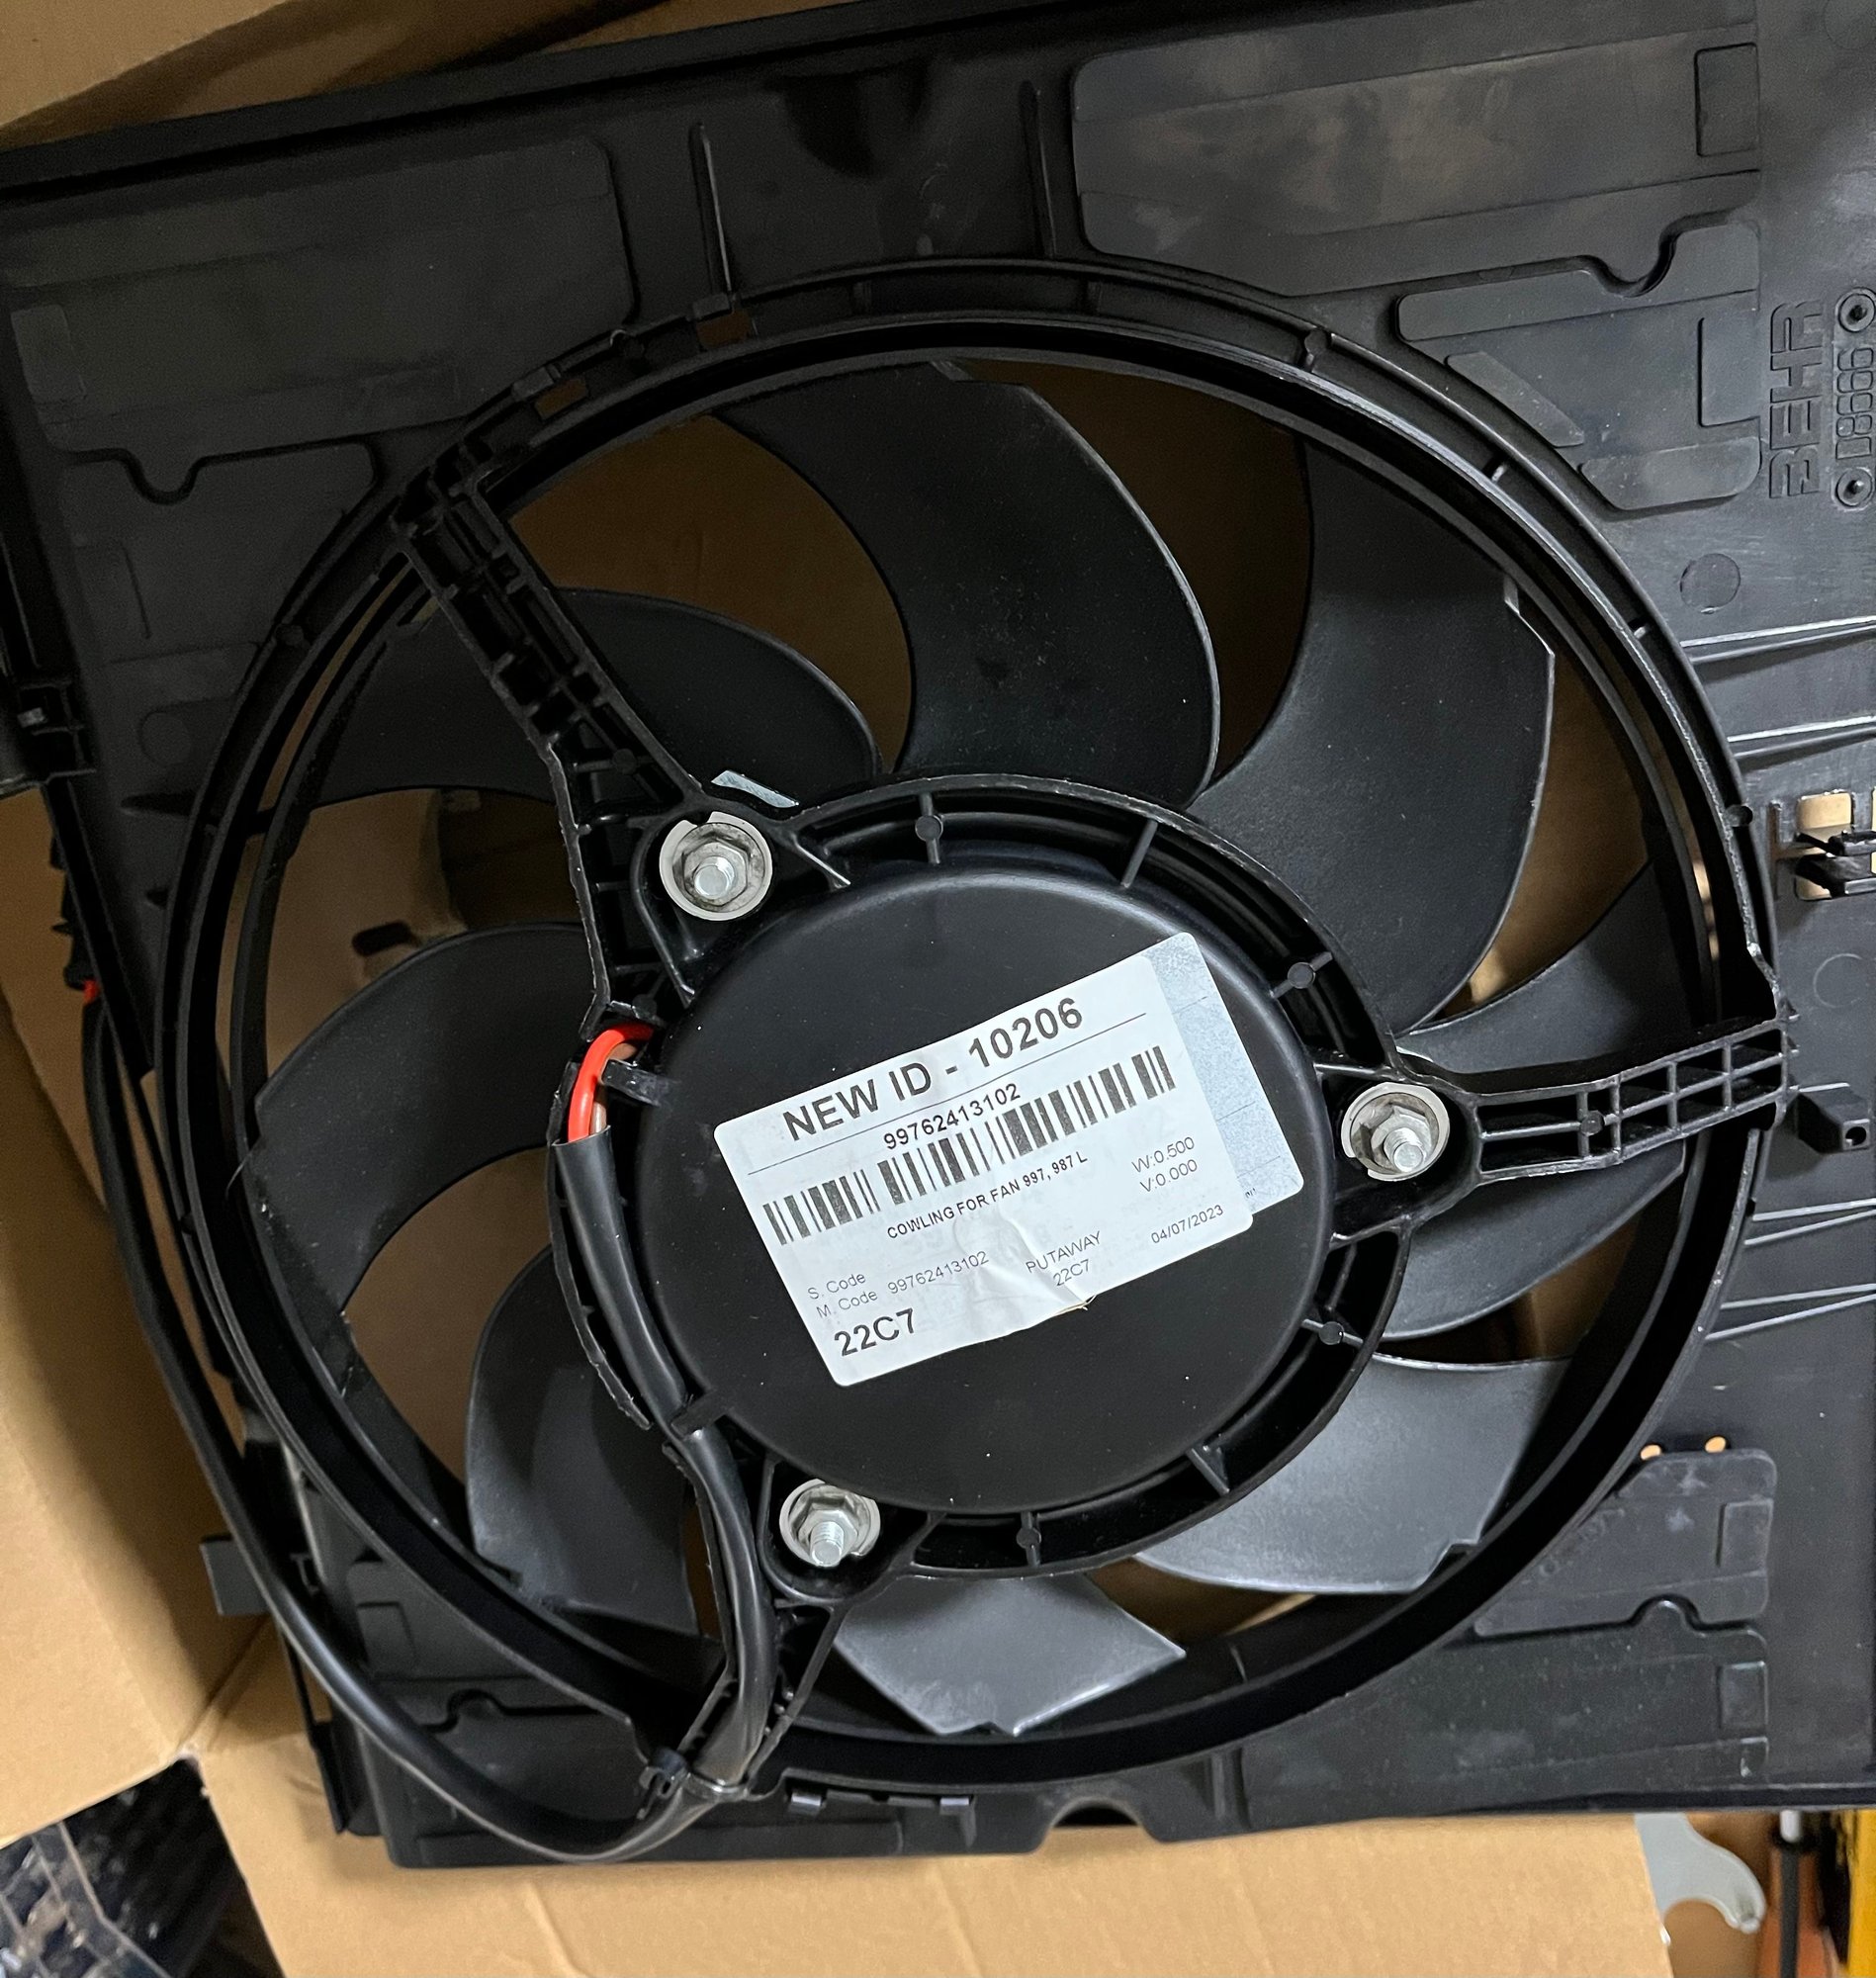
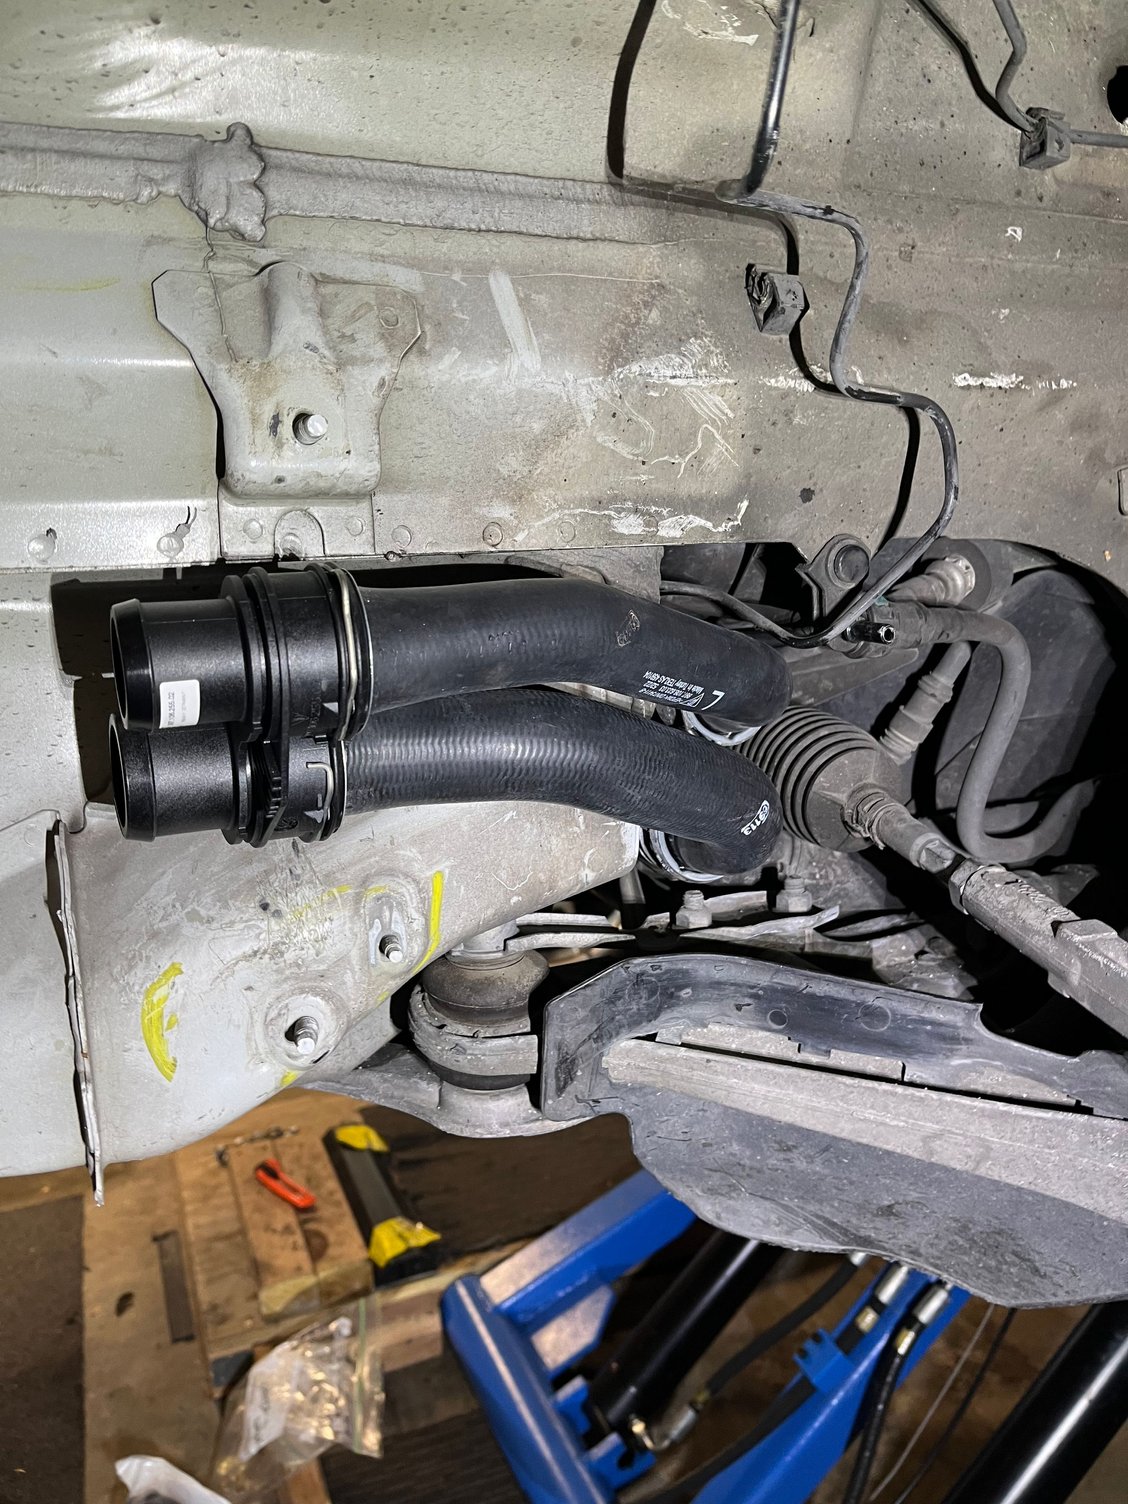
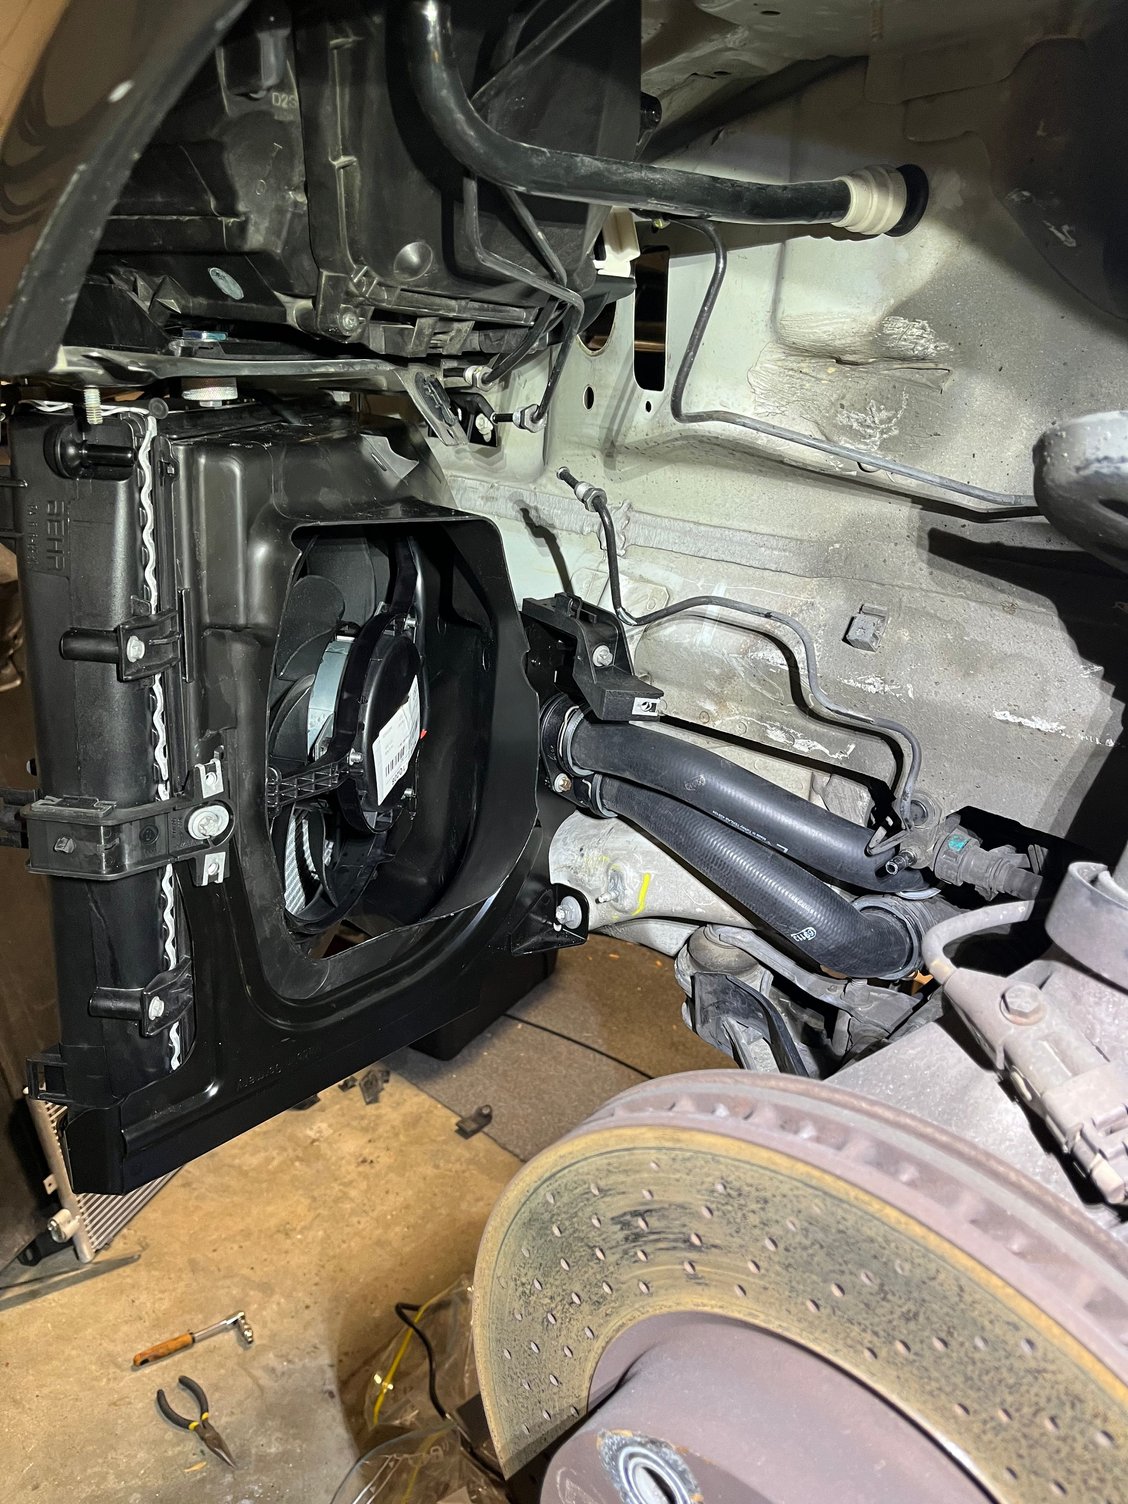
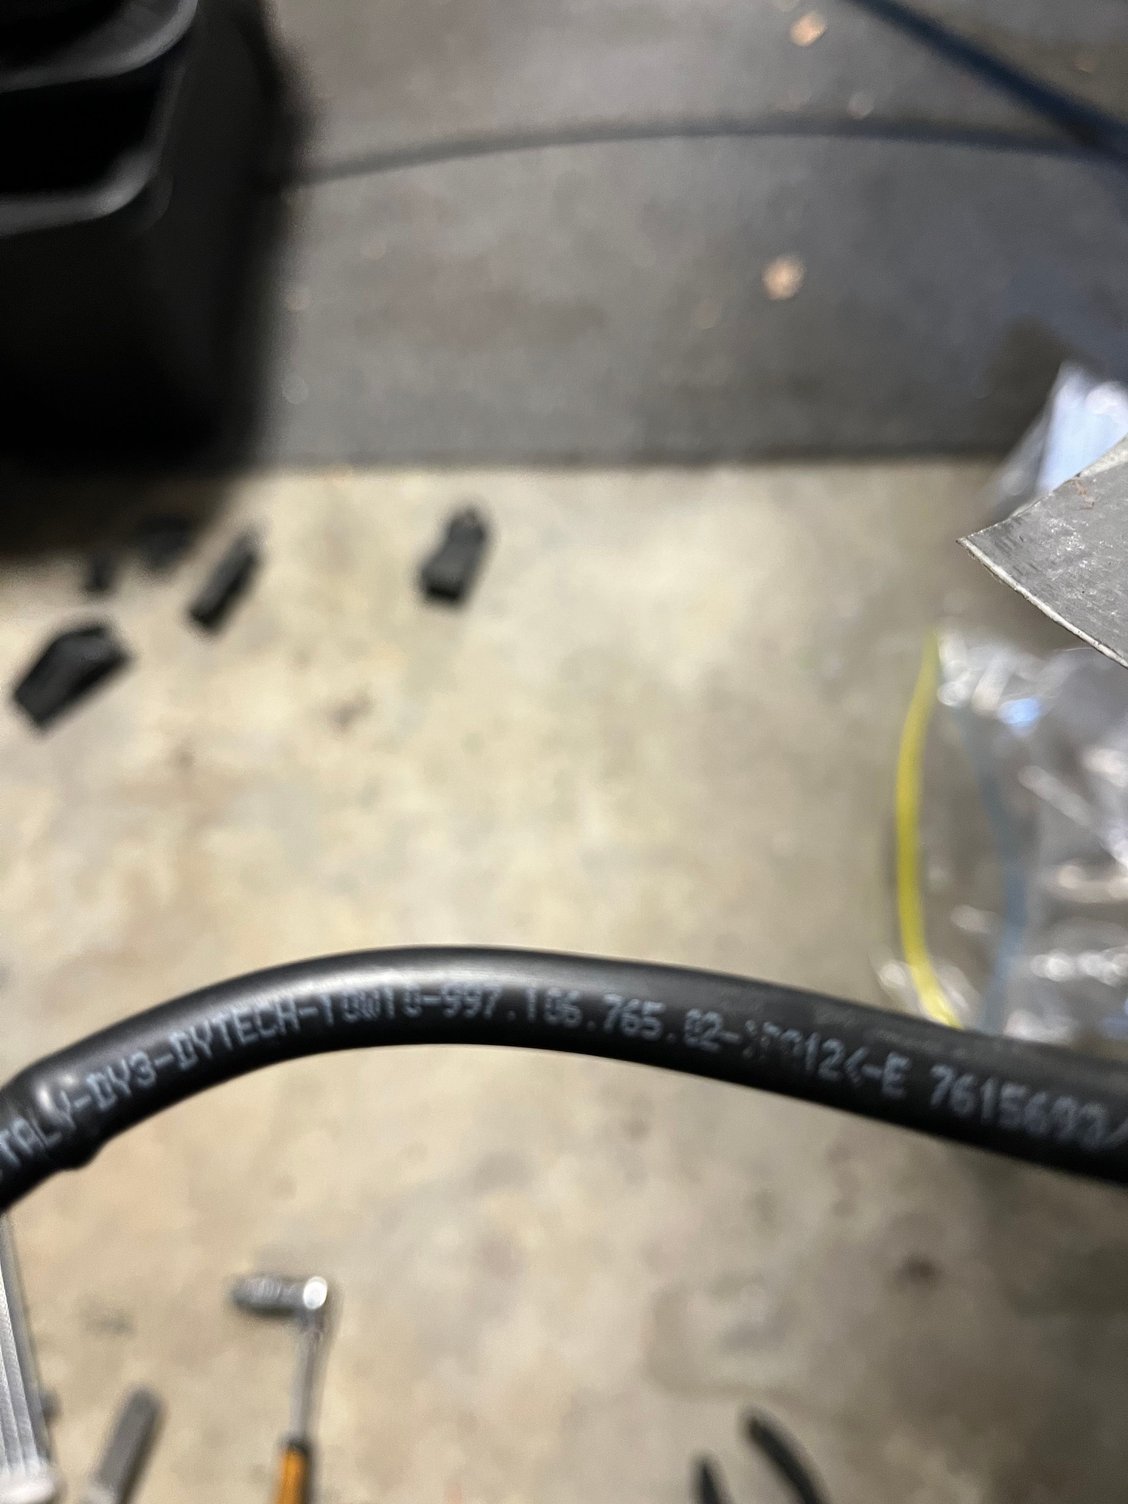
The first step is the cooling system. I have the PET diagrams (largely useless for installing parts), the right hand side uncovered (helps a bit) and a bunch of parts that were harvested off the old system. I have worked most of it out but can’t finish it until I replace the radiator drain pipe as the system can’t be pressurised. The insurance assessor used a yellow X on damaged parts. All of the pipes needed to be done. Broken parts being lined up with new ones. Aftermarket radiator fan Installing pipes. Looking good but with the drain open to the air I can’t pressurise the system. The broken drain pipe. Fan connector needs to be on the other side. Having a play. Looking better each time.
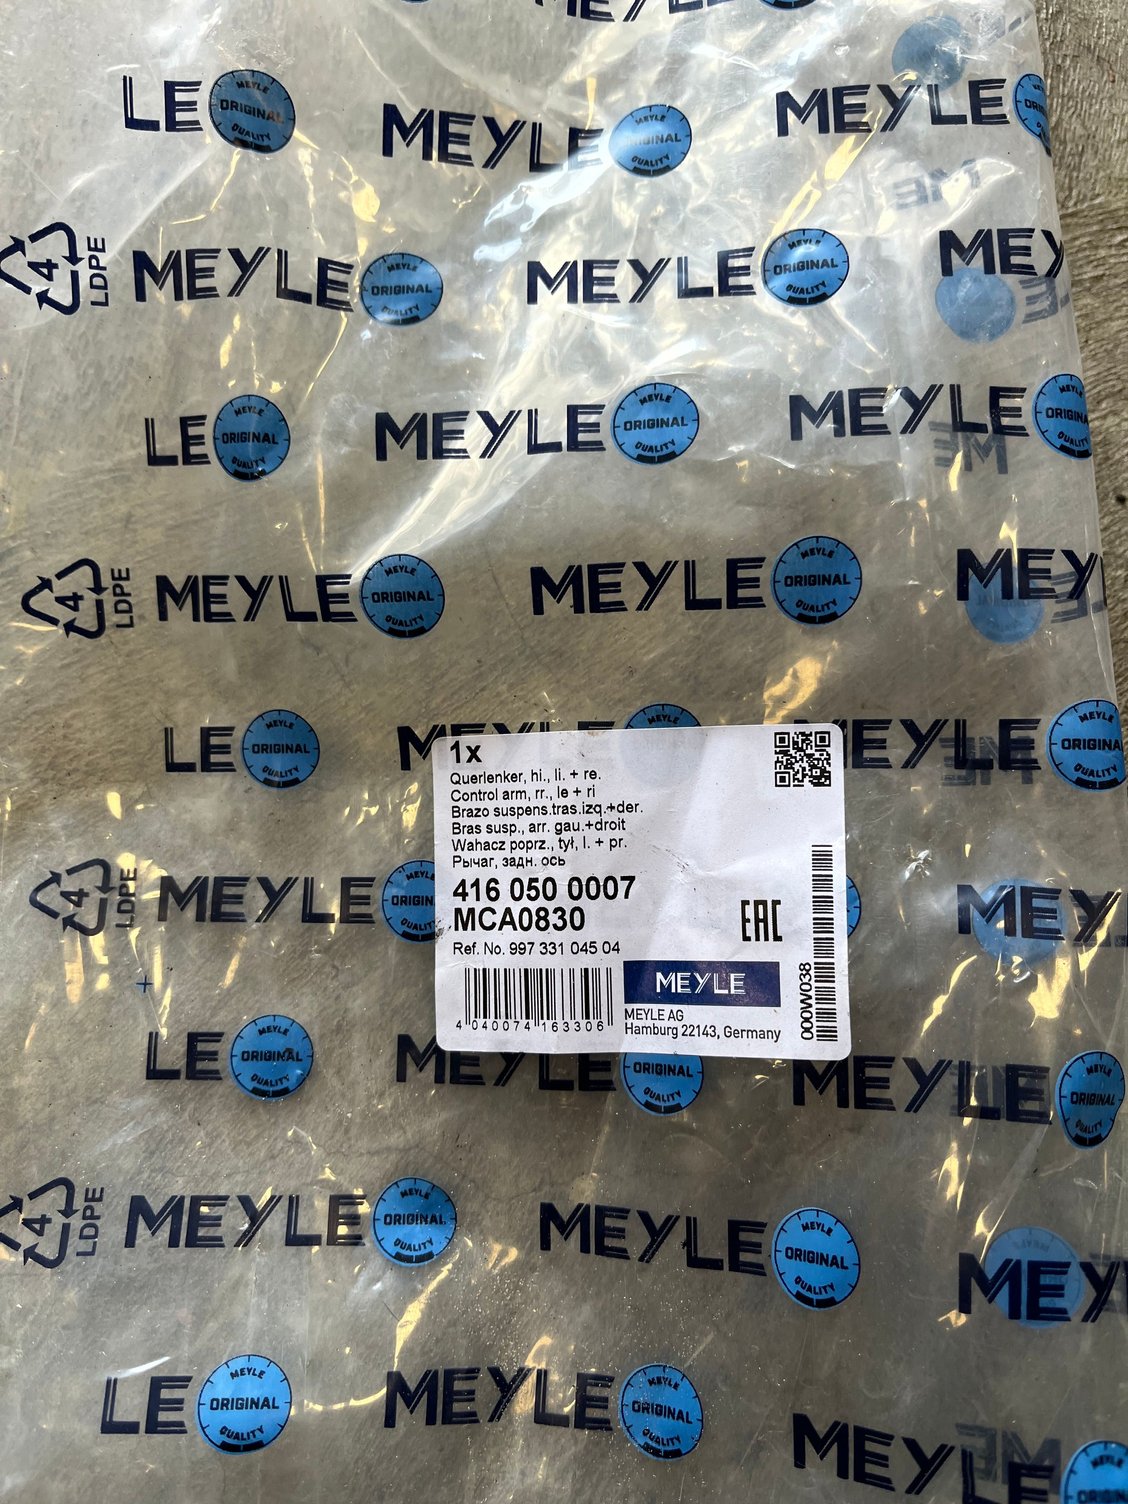
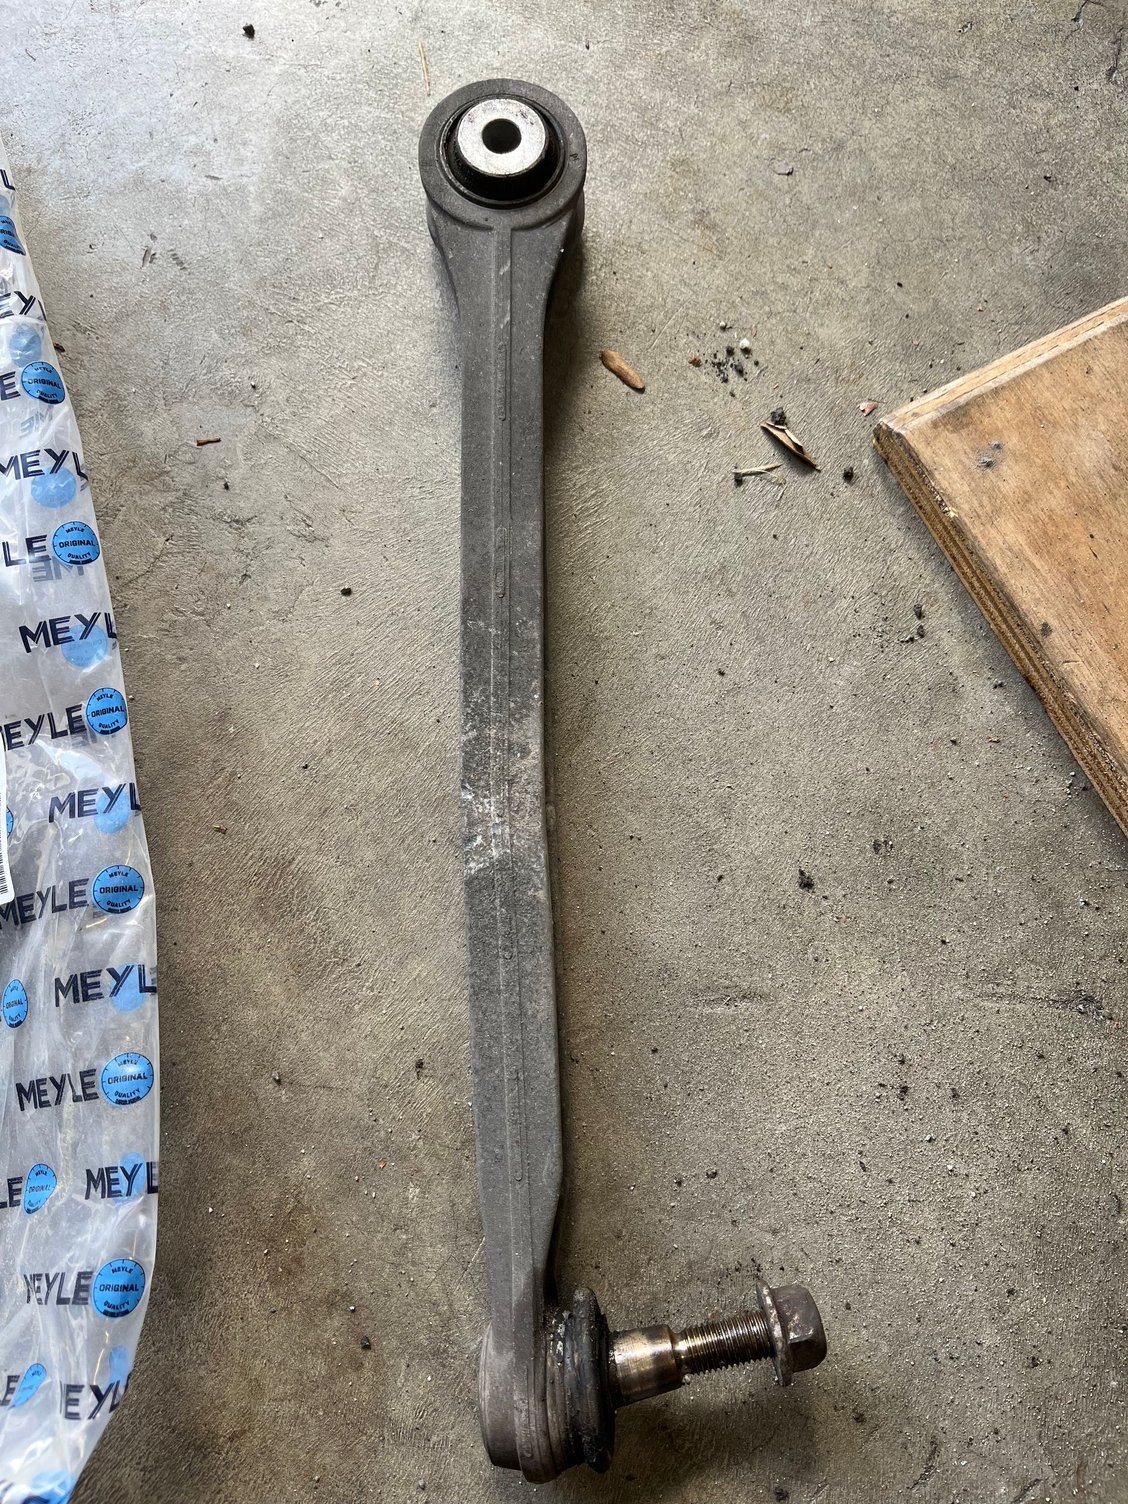
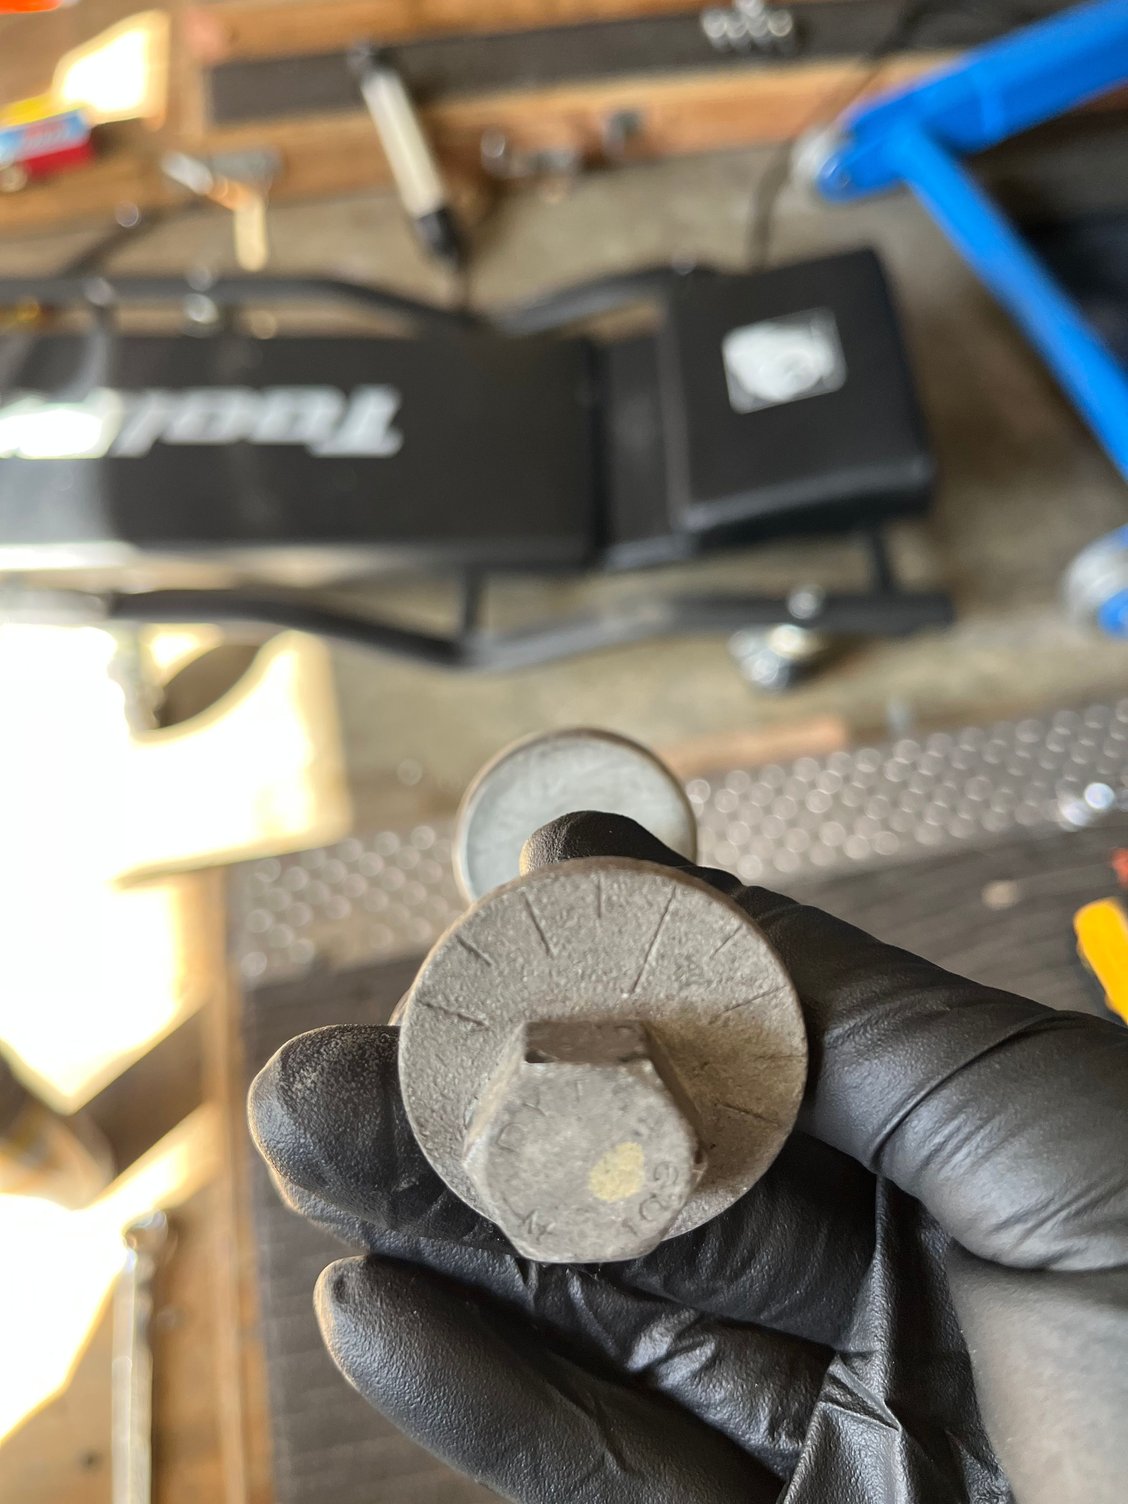
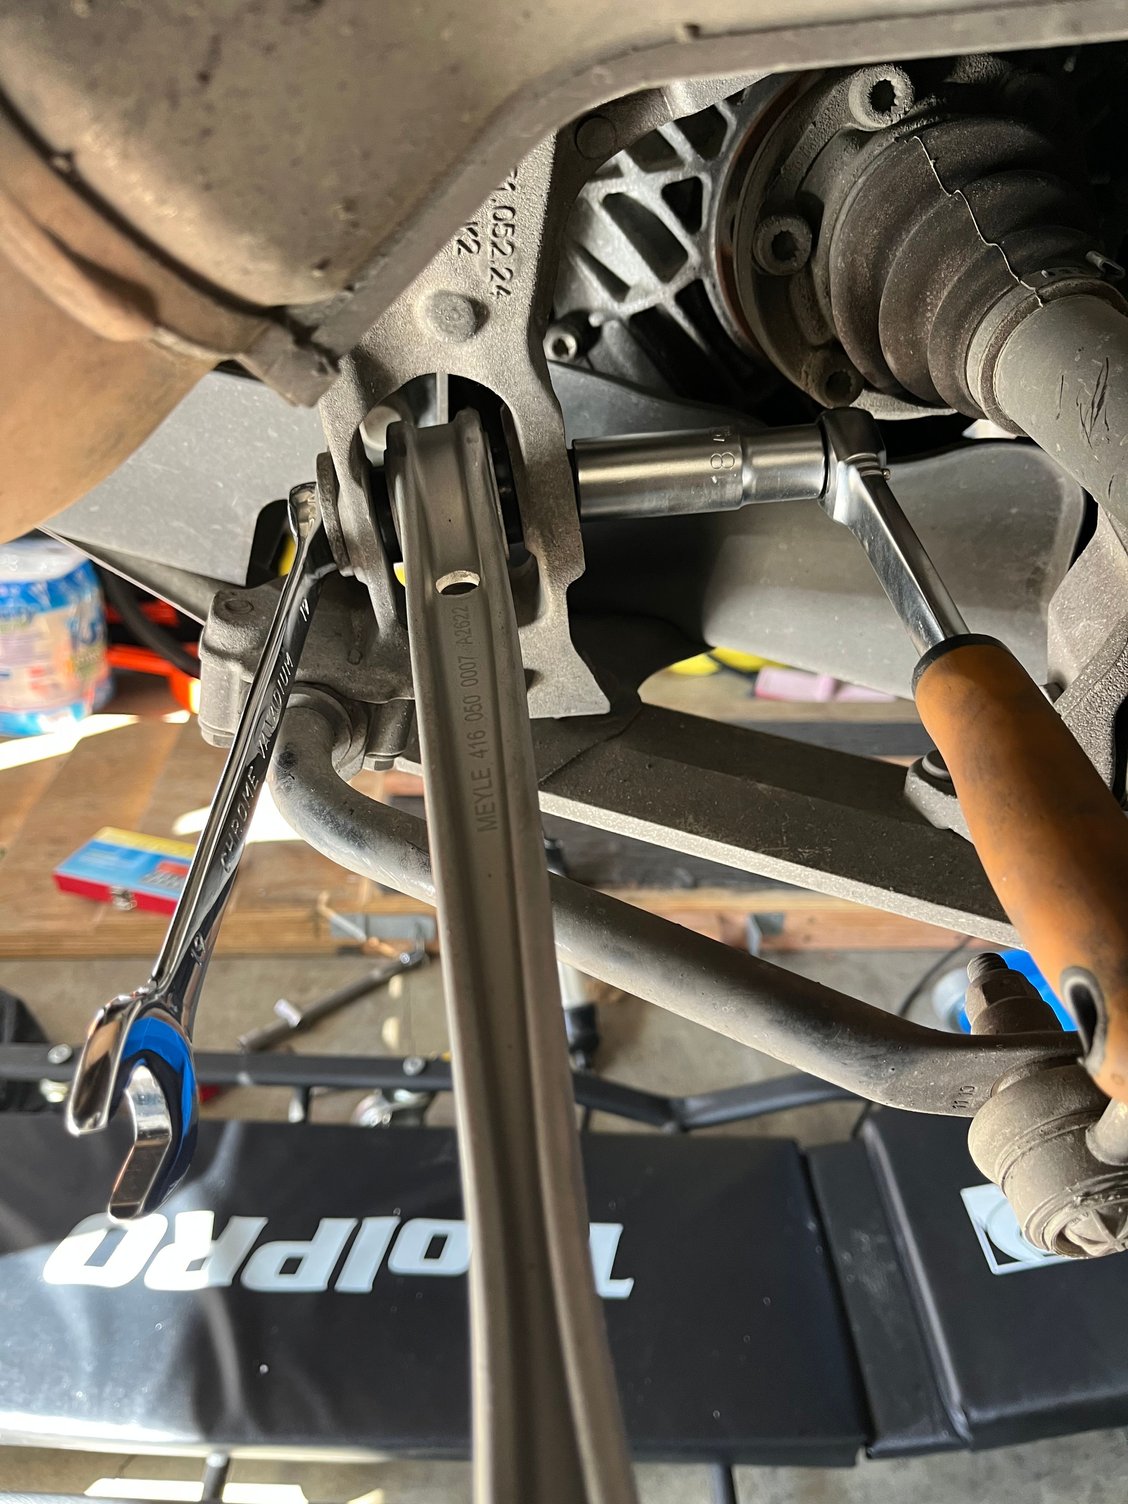
With the coolant system hitting a hurdle, I decided to fix the right rear lower toe arm.
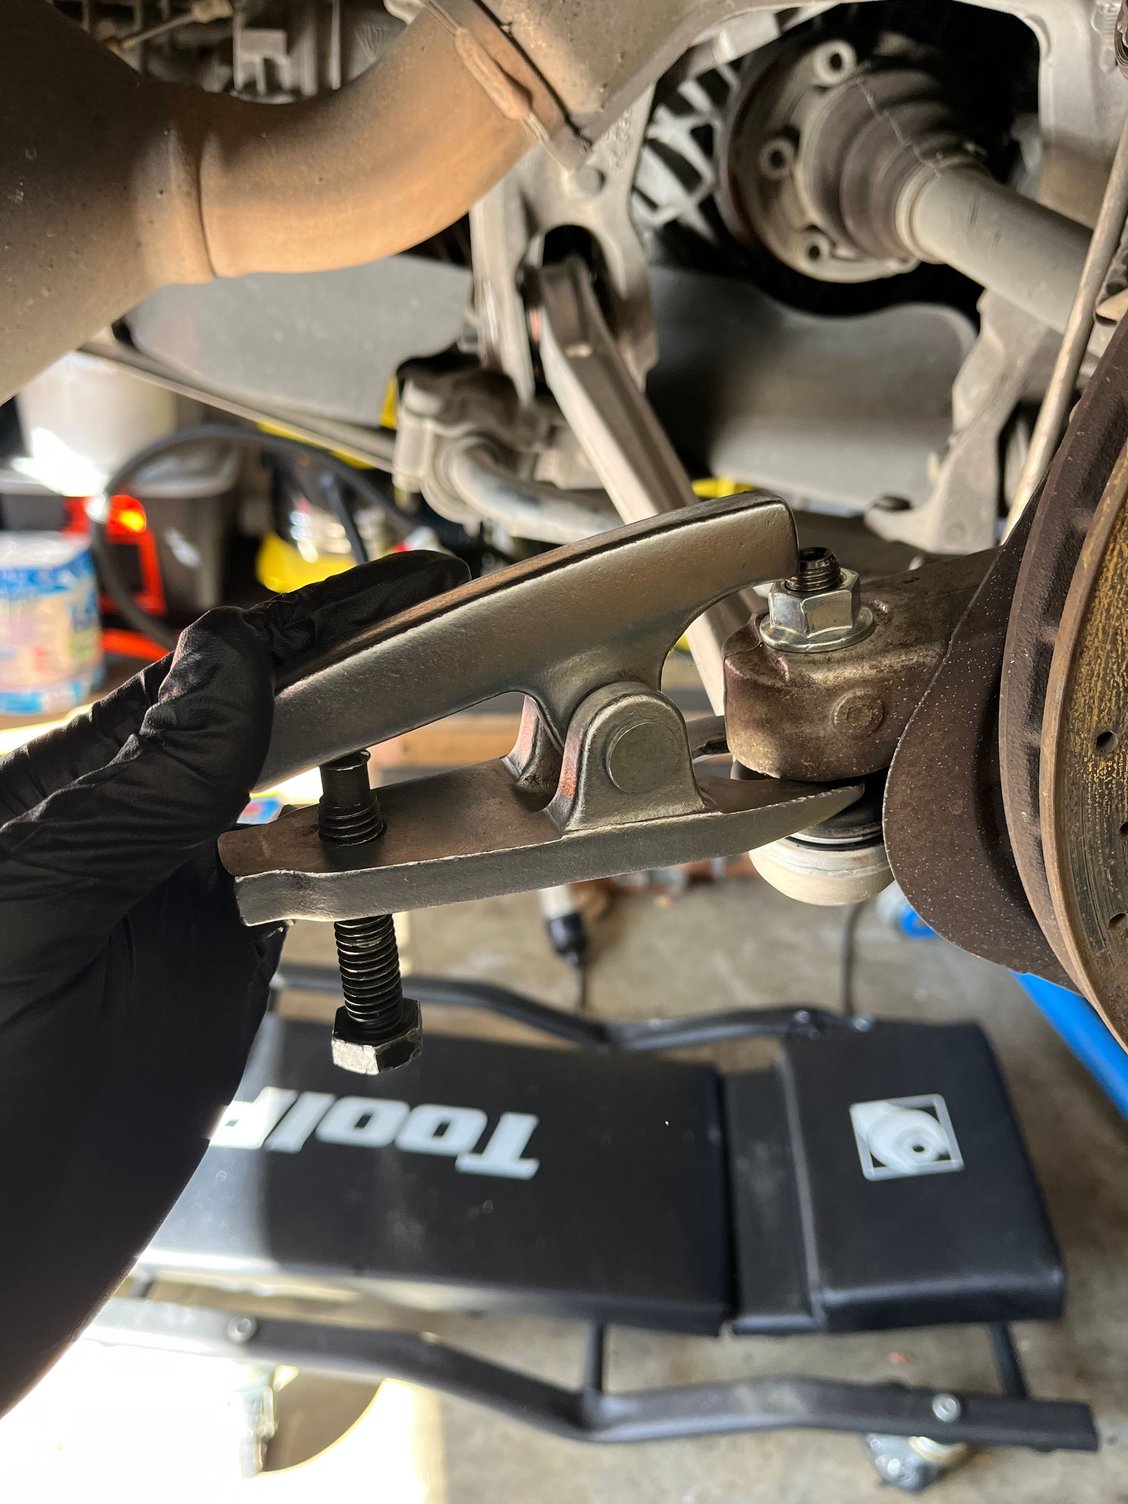
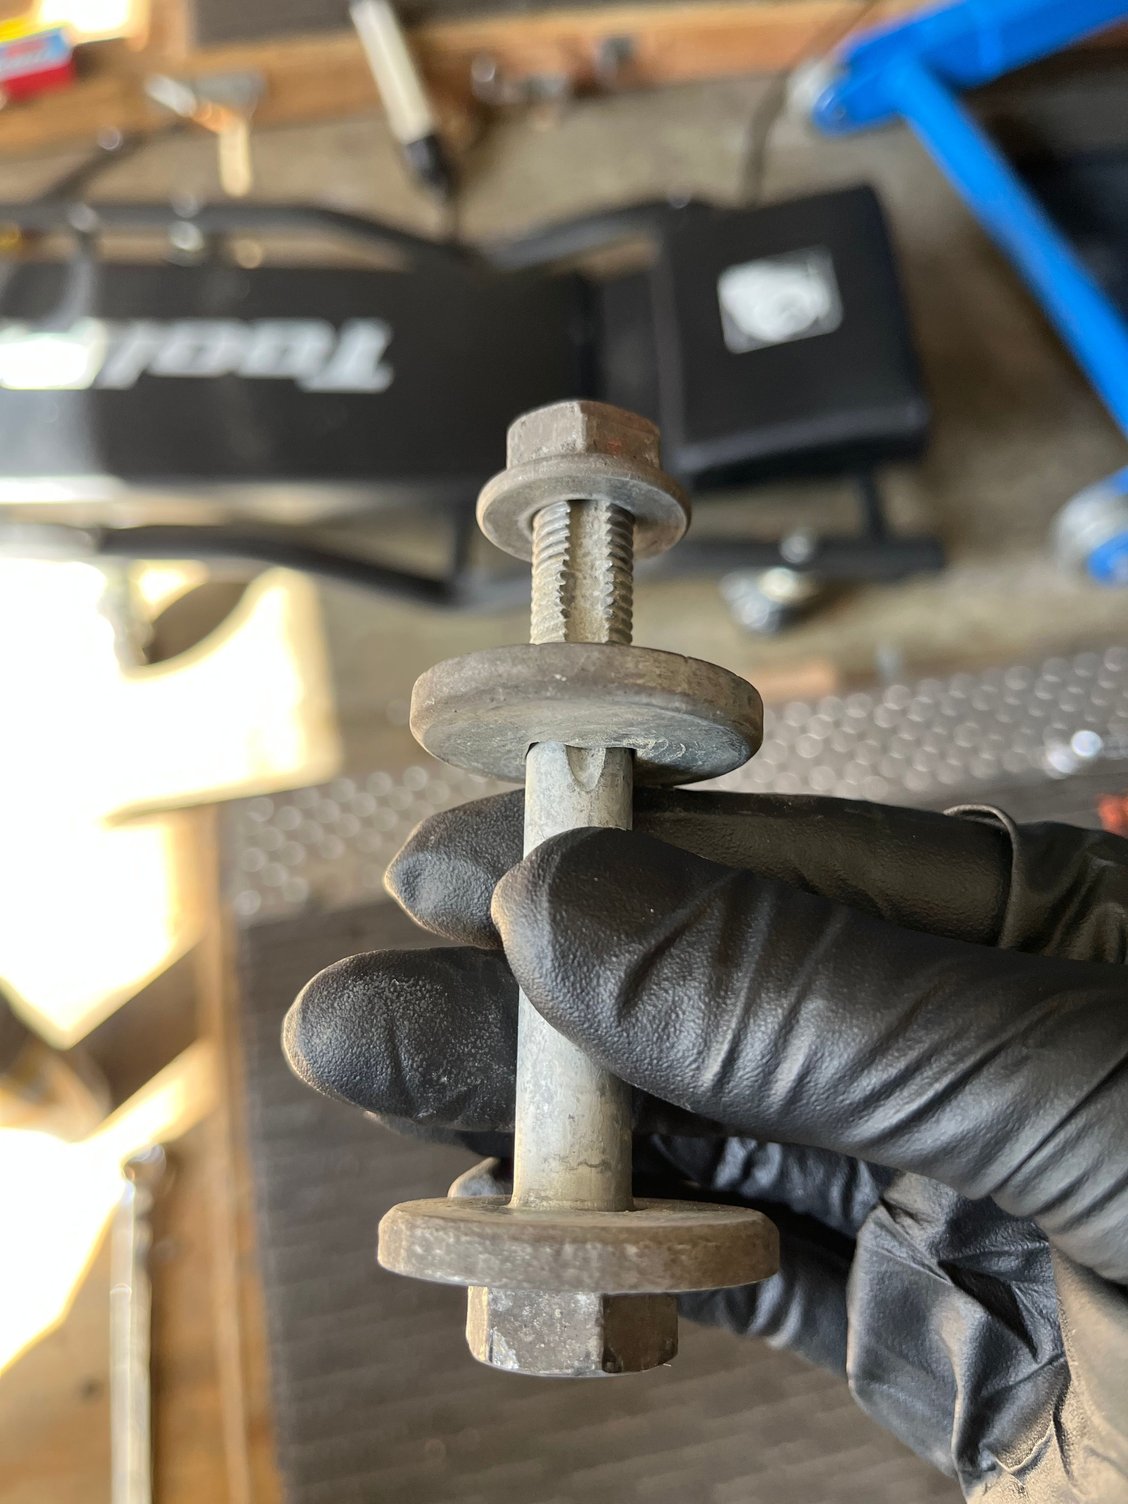
It should be a simple job but the ball joint end needed to use a separator (typical bang when it released) and the nuts were 18mm, a gap in most socket and spanner sets.
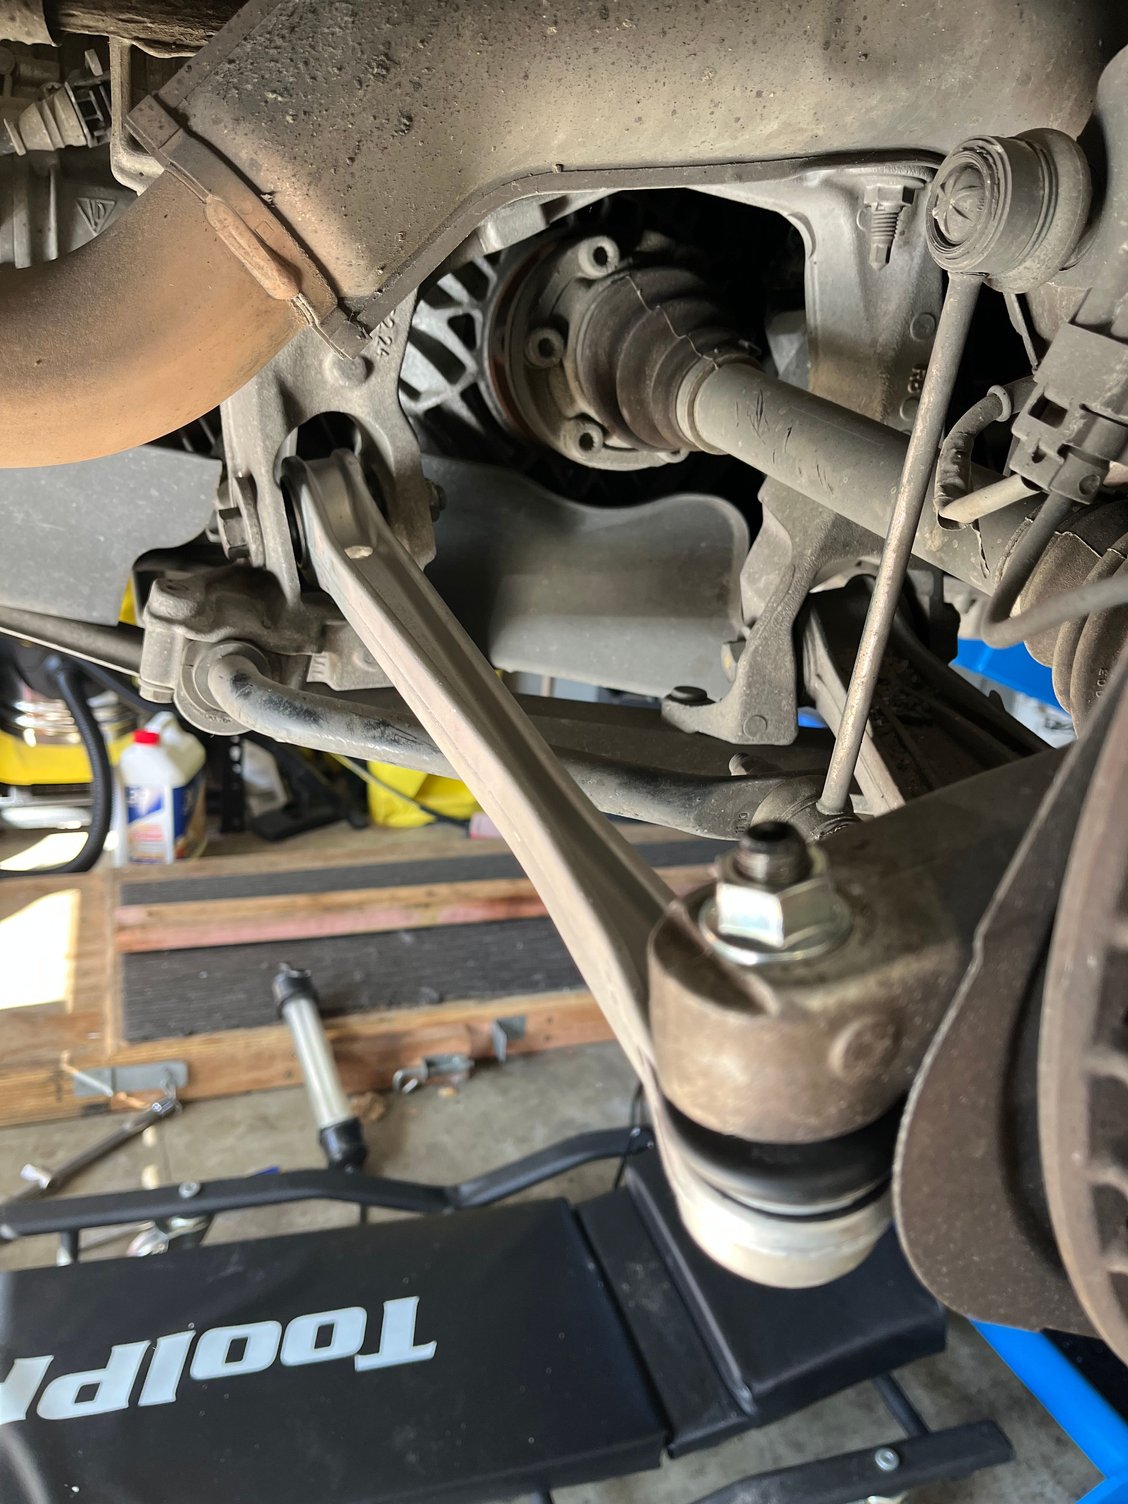
The arm had to be replaced because the certifier saw a mark in the original. Luckily they are not that expensive. Old arm New aftermarket arm Old arm with mark showing (just) This is the tool I used. I forgot to take a pic with the old arm so this shows it with the new arm. Saved by an 18mm socket I had for the 964 Pulley bolt. Sorted. It will need an alignment now.
I’m sure you’re already on top of this but I’ll throw it out there anyway just in case: make sure you’re not torquing down those suspension pieces without a load on the suspension.
I’m sure you’re already on top of this but I’ll throw it out there anyway just in case: make sure you’re not torquing down those suspension pieces without a load on the suspension.
Good point. I didn’t think of it this time (I did with the 964 A arms). Luckily I didn’t torque it up, because I figured it would need an alignment as soon as it goes on the road.
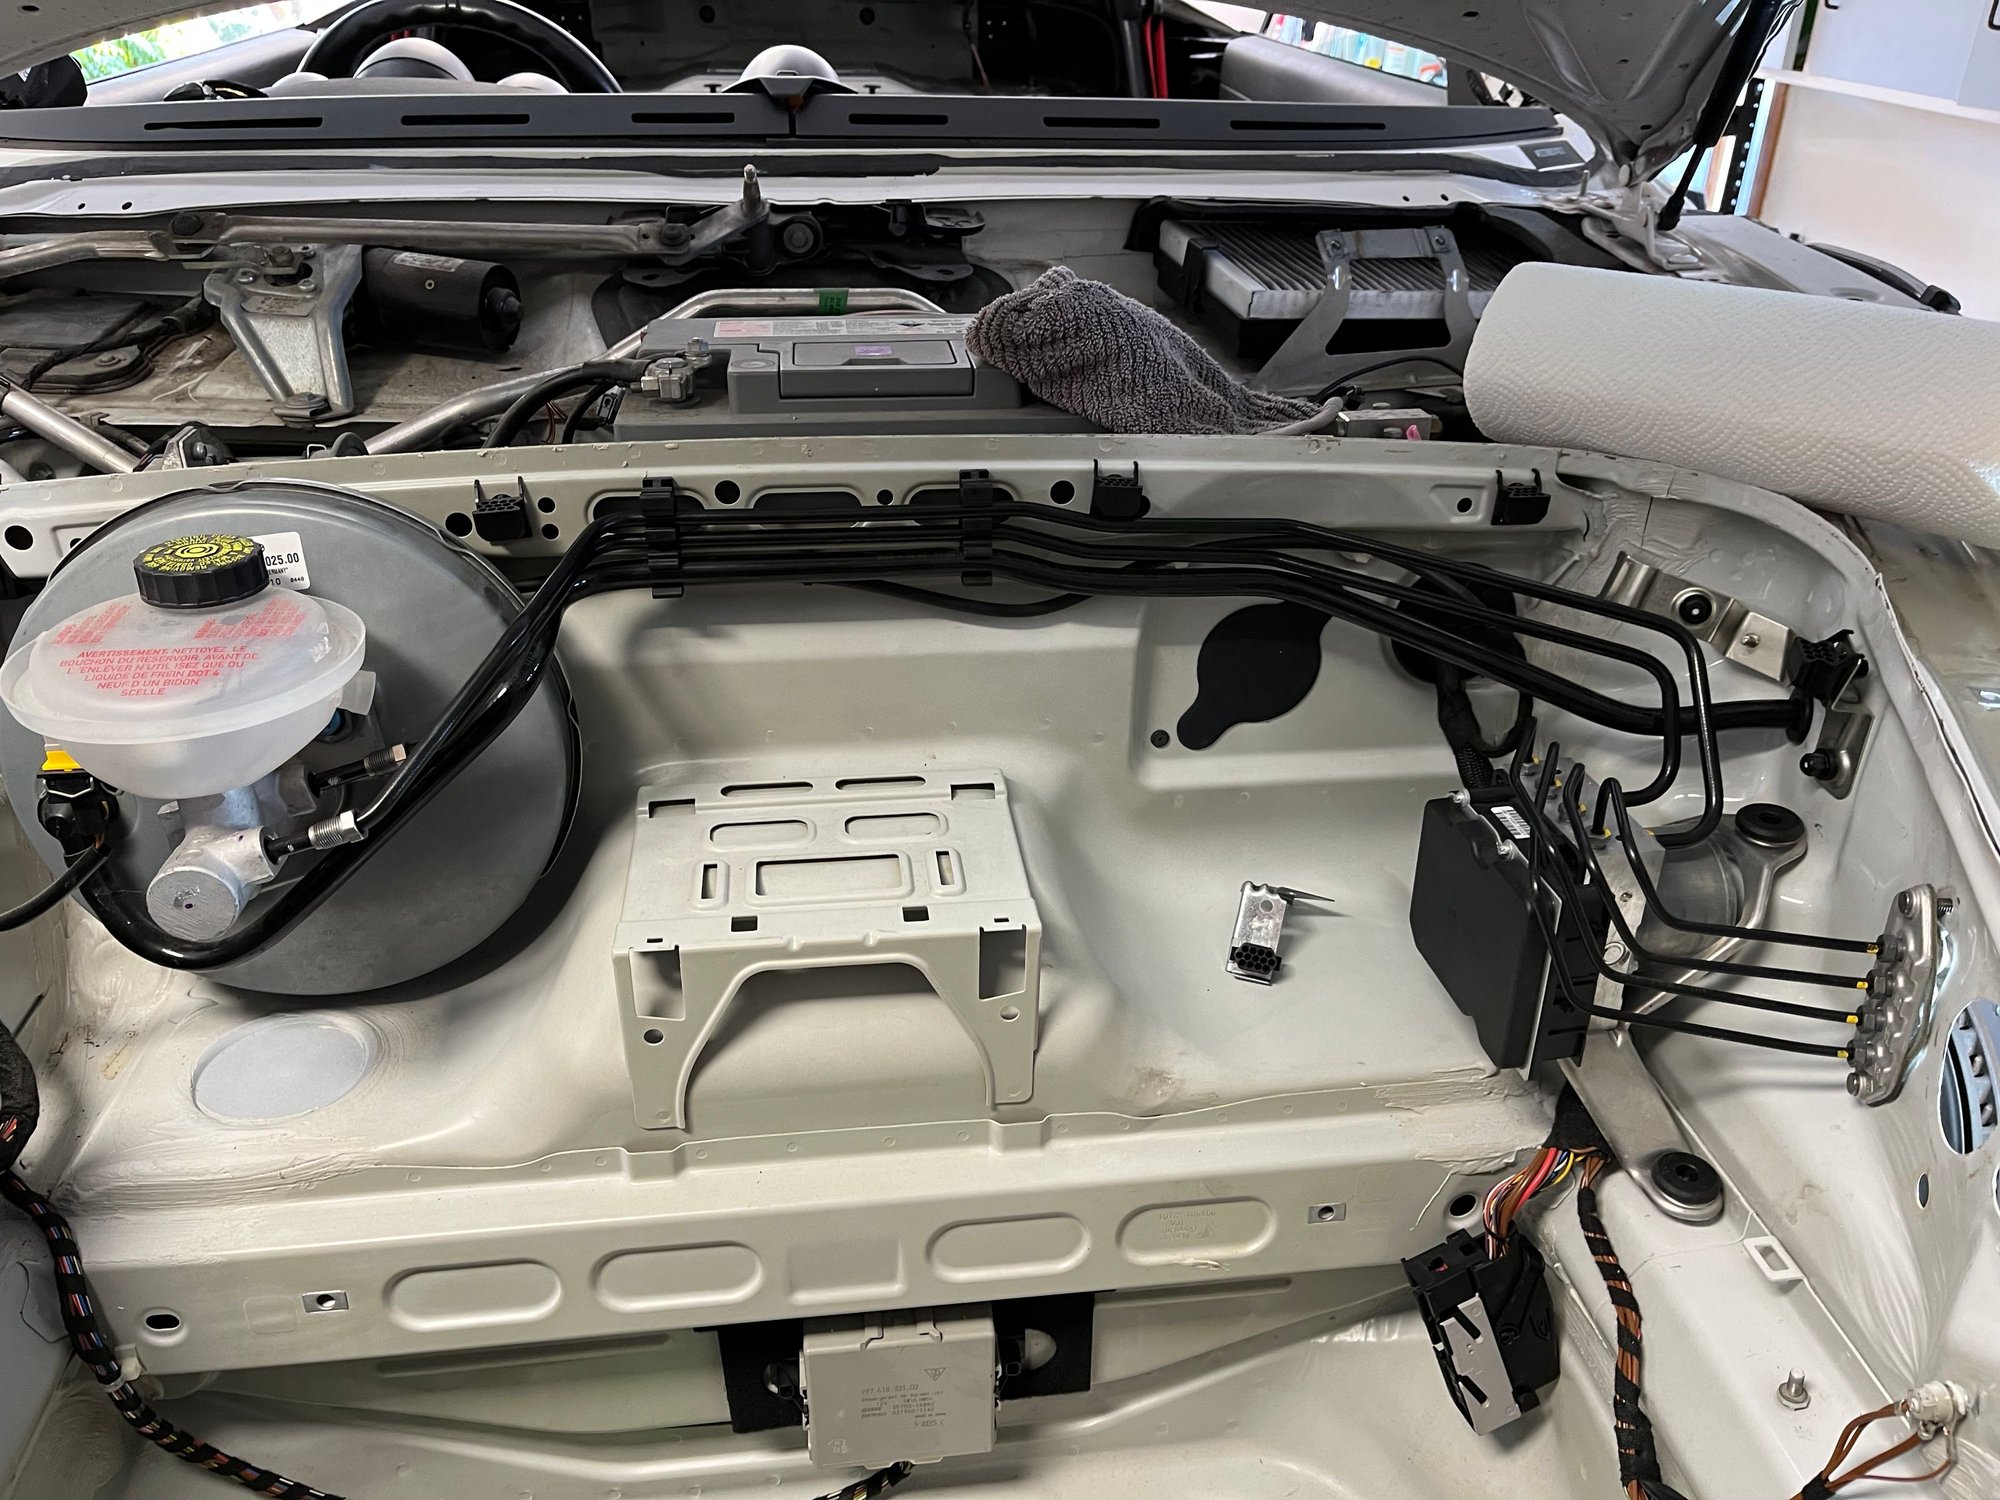
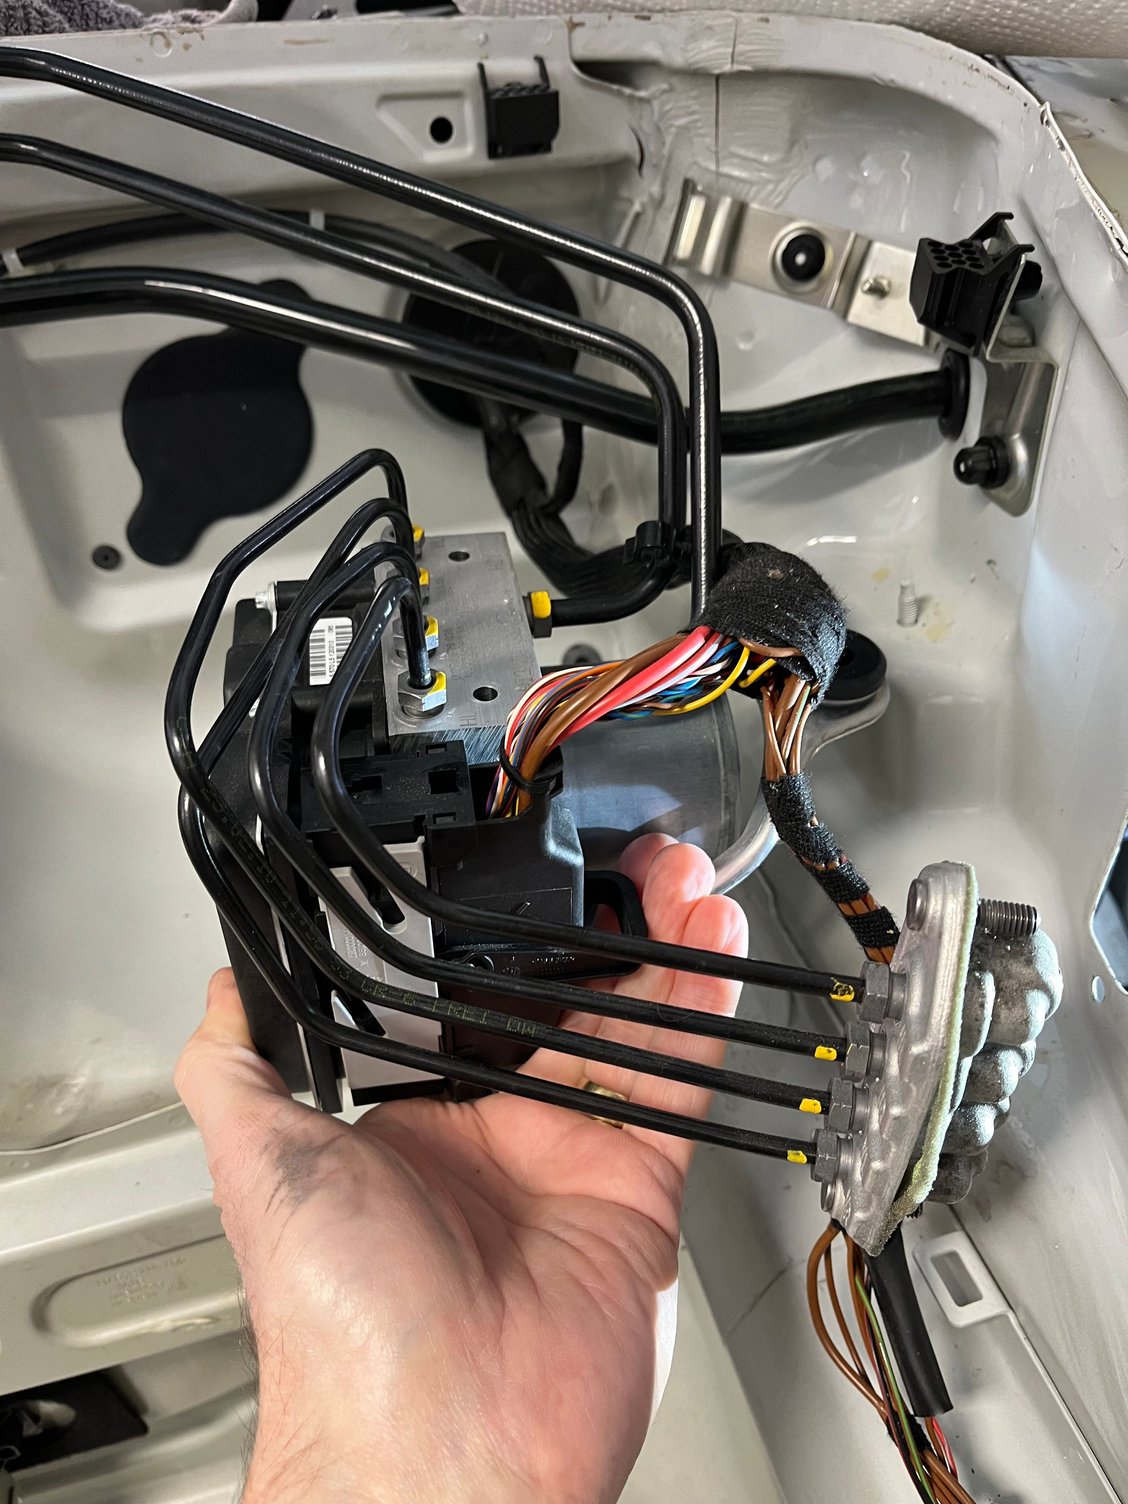
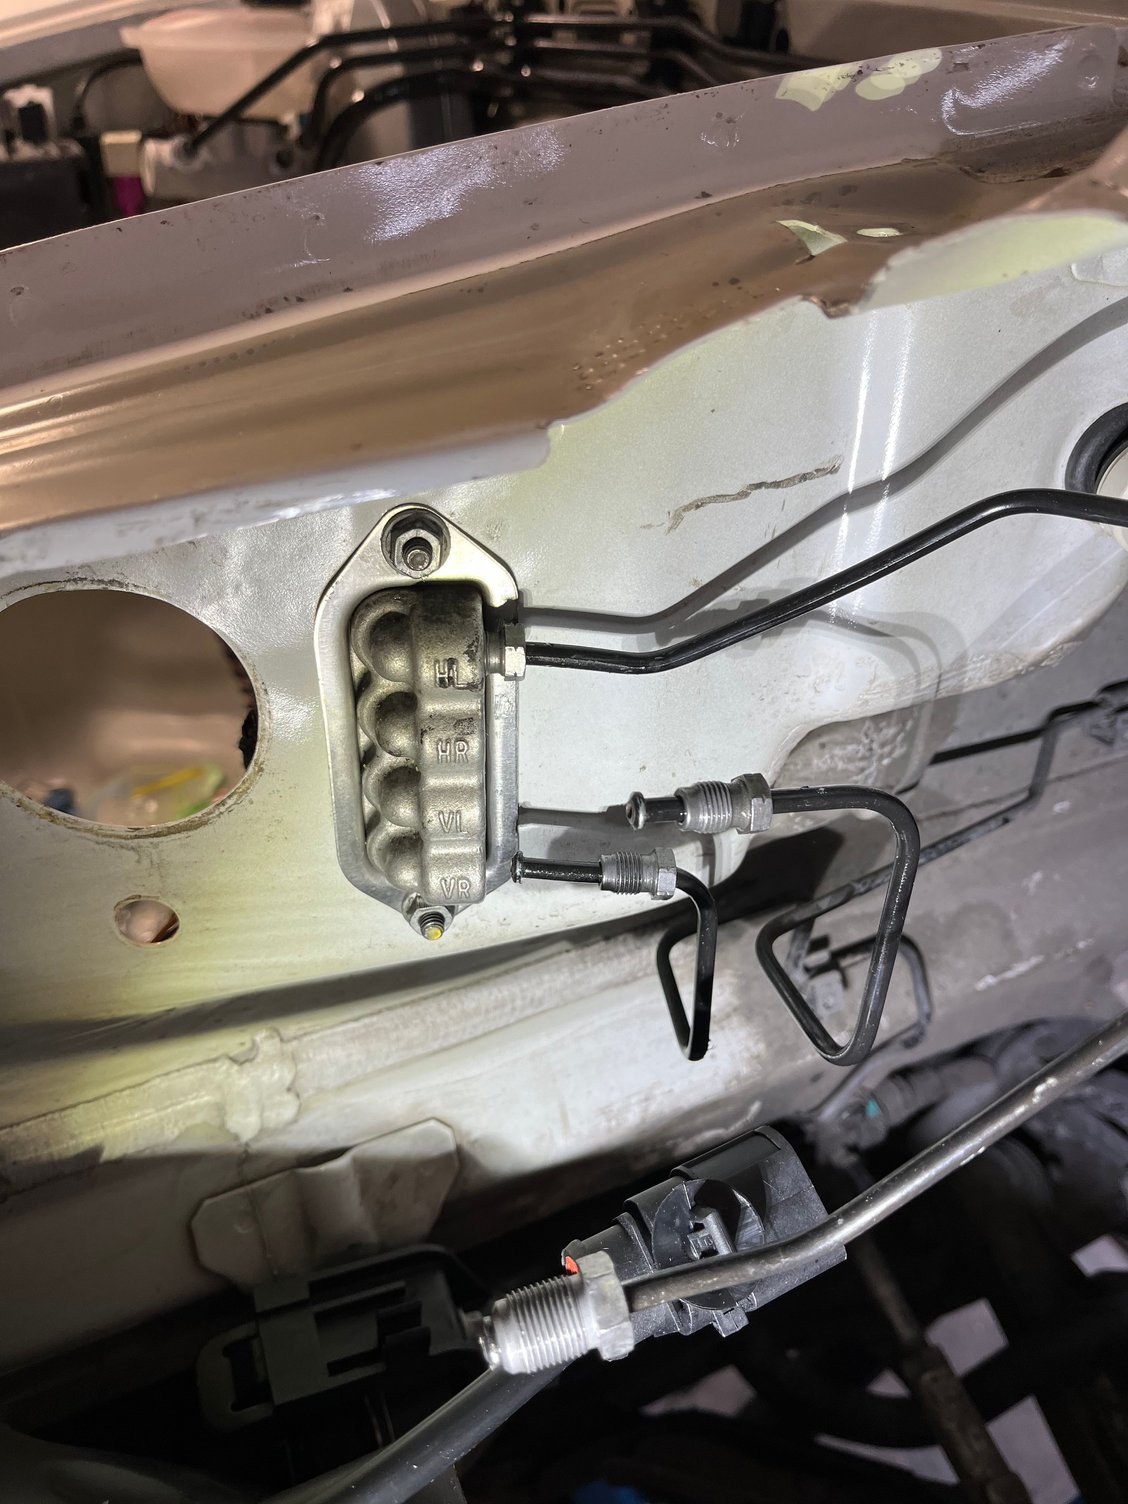
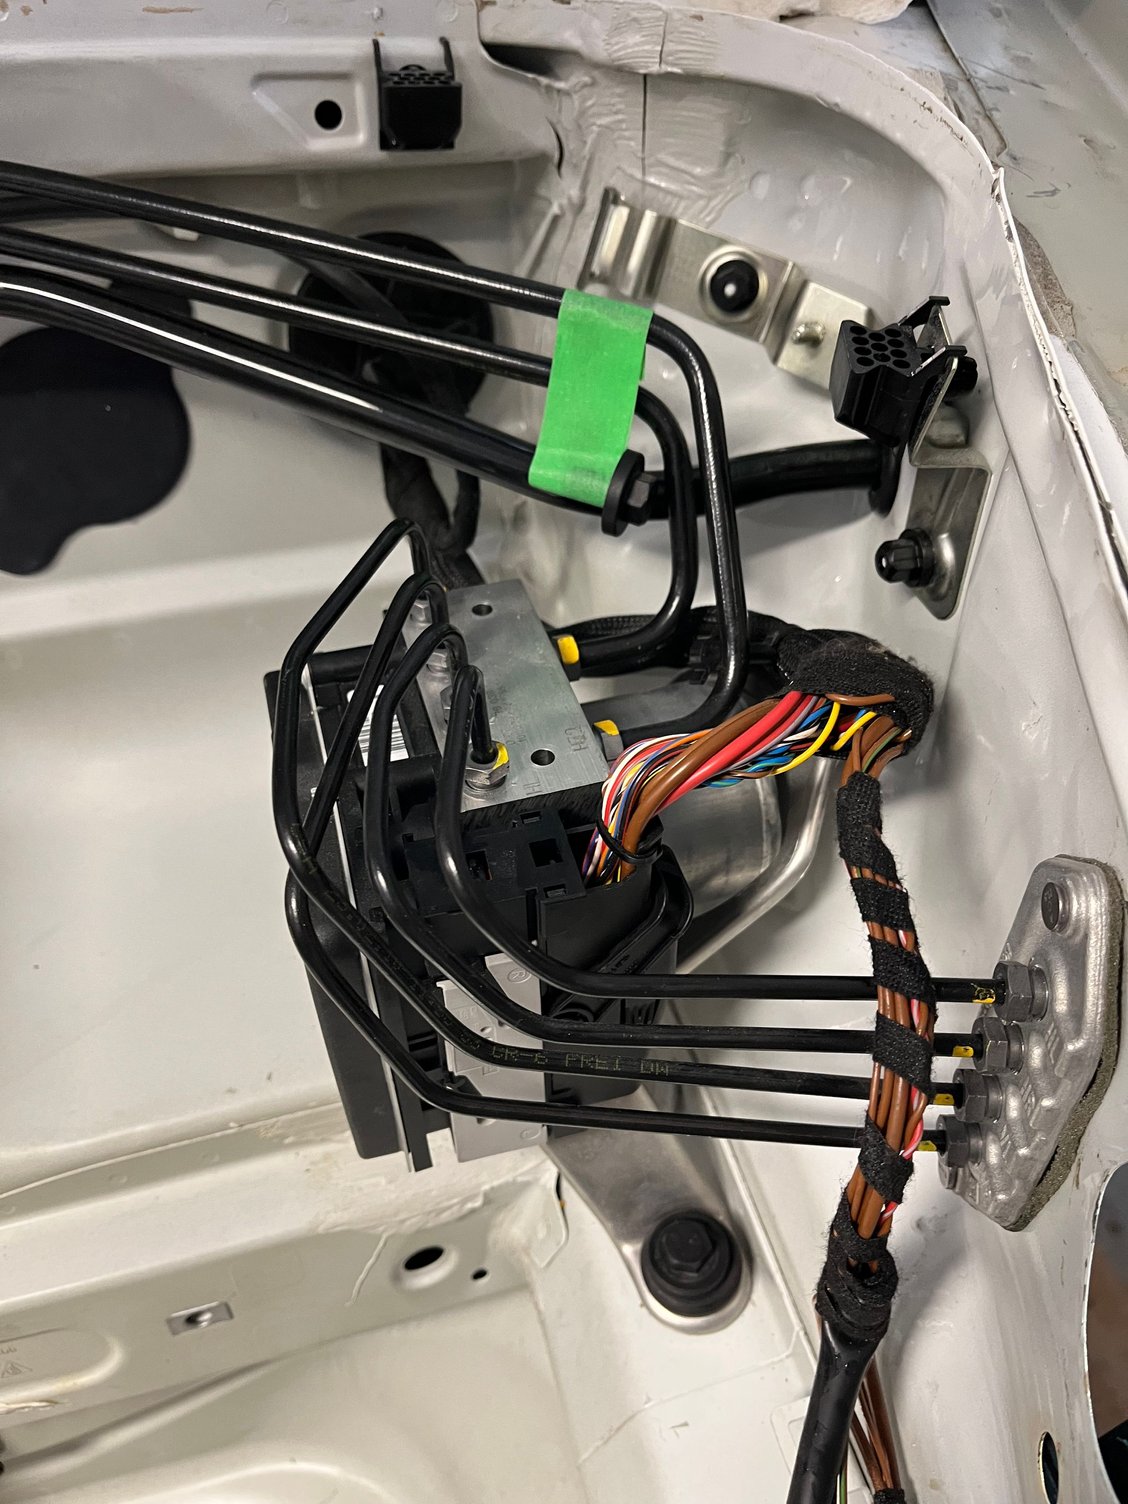
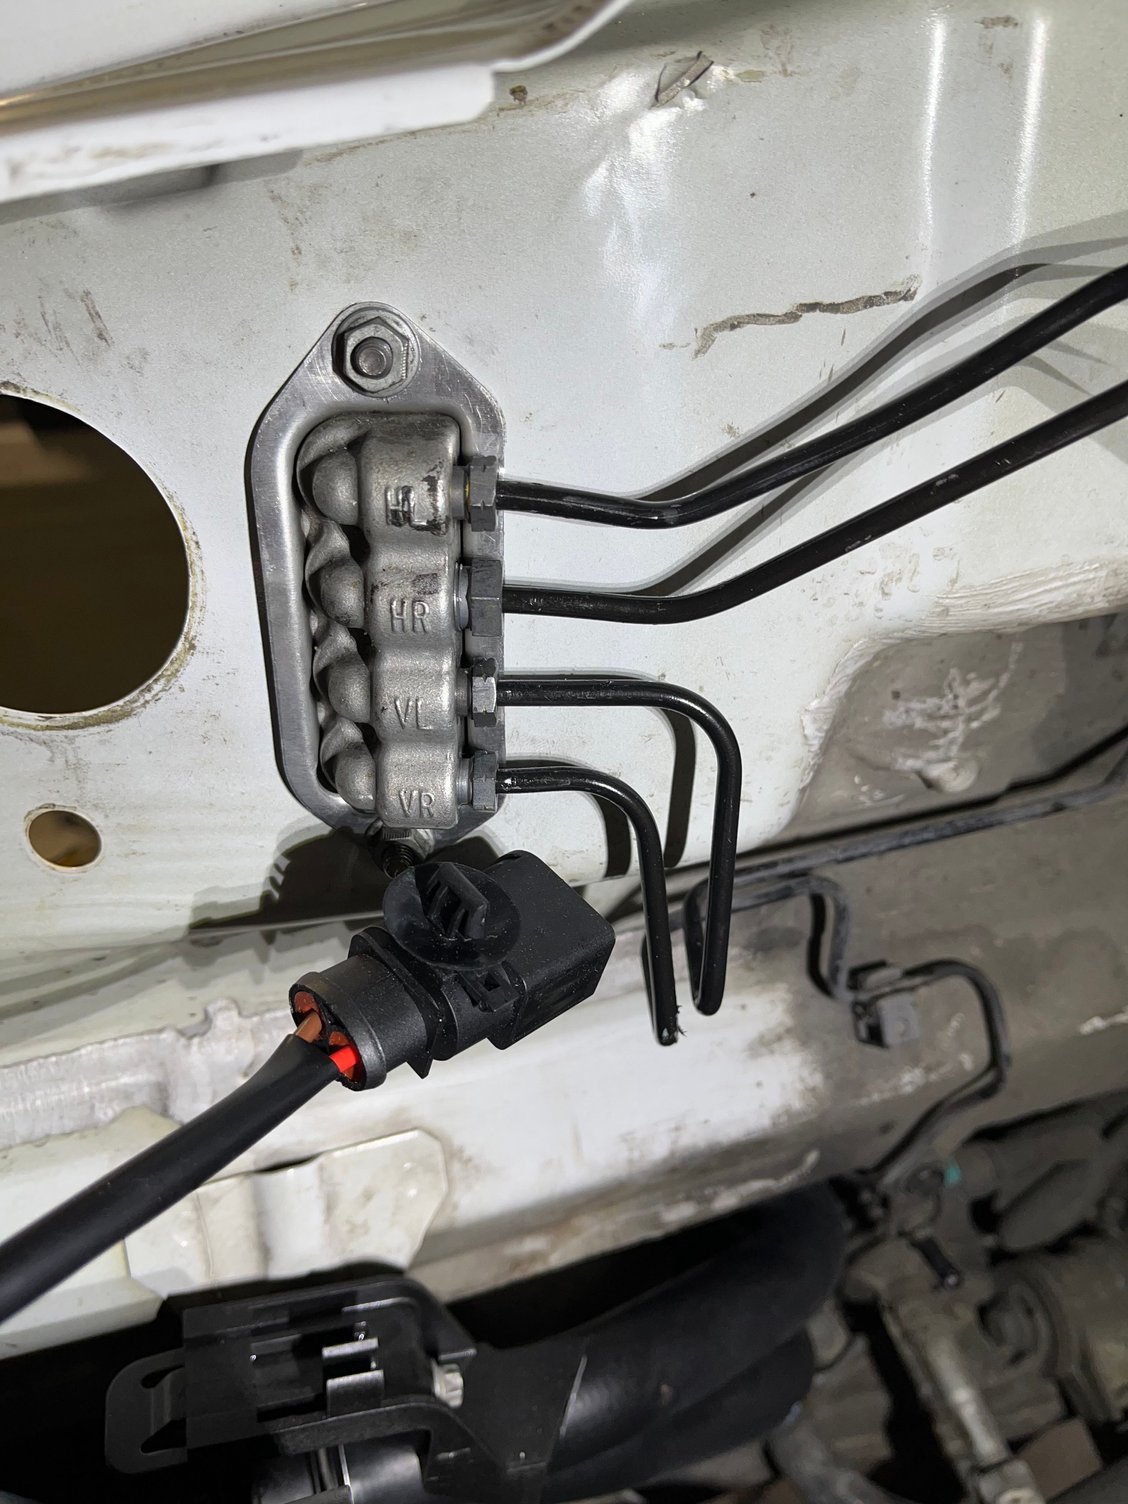
Idiot move for the day. I reinstalled the ABS unit and pipes without attaching the plug. I had to take it all apart and do it again. No way to attach the plug in that position. It all has to come back out. Harness plug connected Start from the top. Being very careful not to cross-thread. Sorted. All good on this side as well.
I am rebuilding this Spyder because I was ‘stupid’ enough to put in an auction bid, not because I need two of them.
I thought I could depart from my normal OCD and grab bits off wrecked 987s and only fix what was absolutely necessary. Wrong.
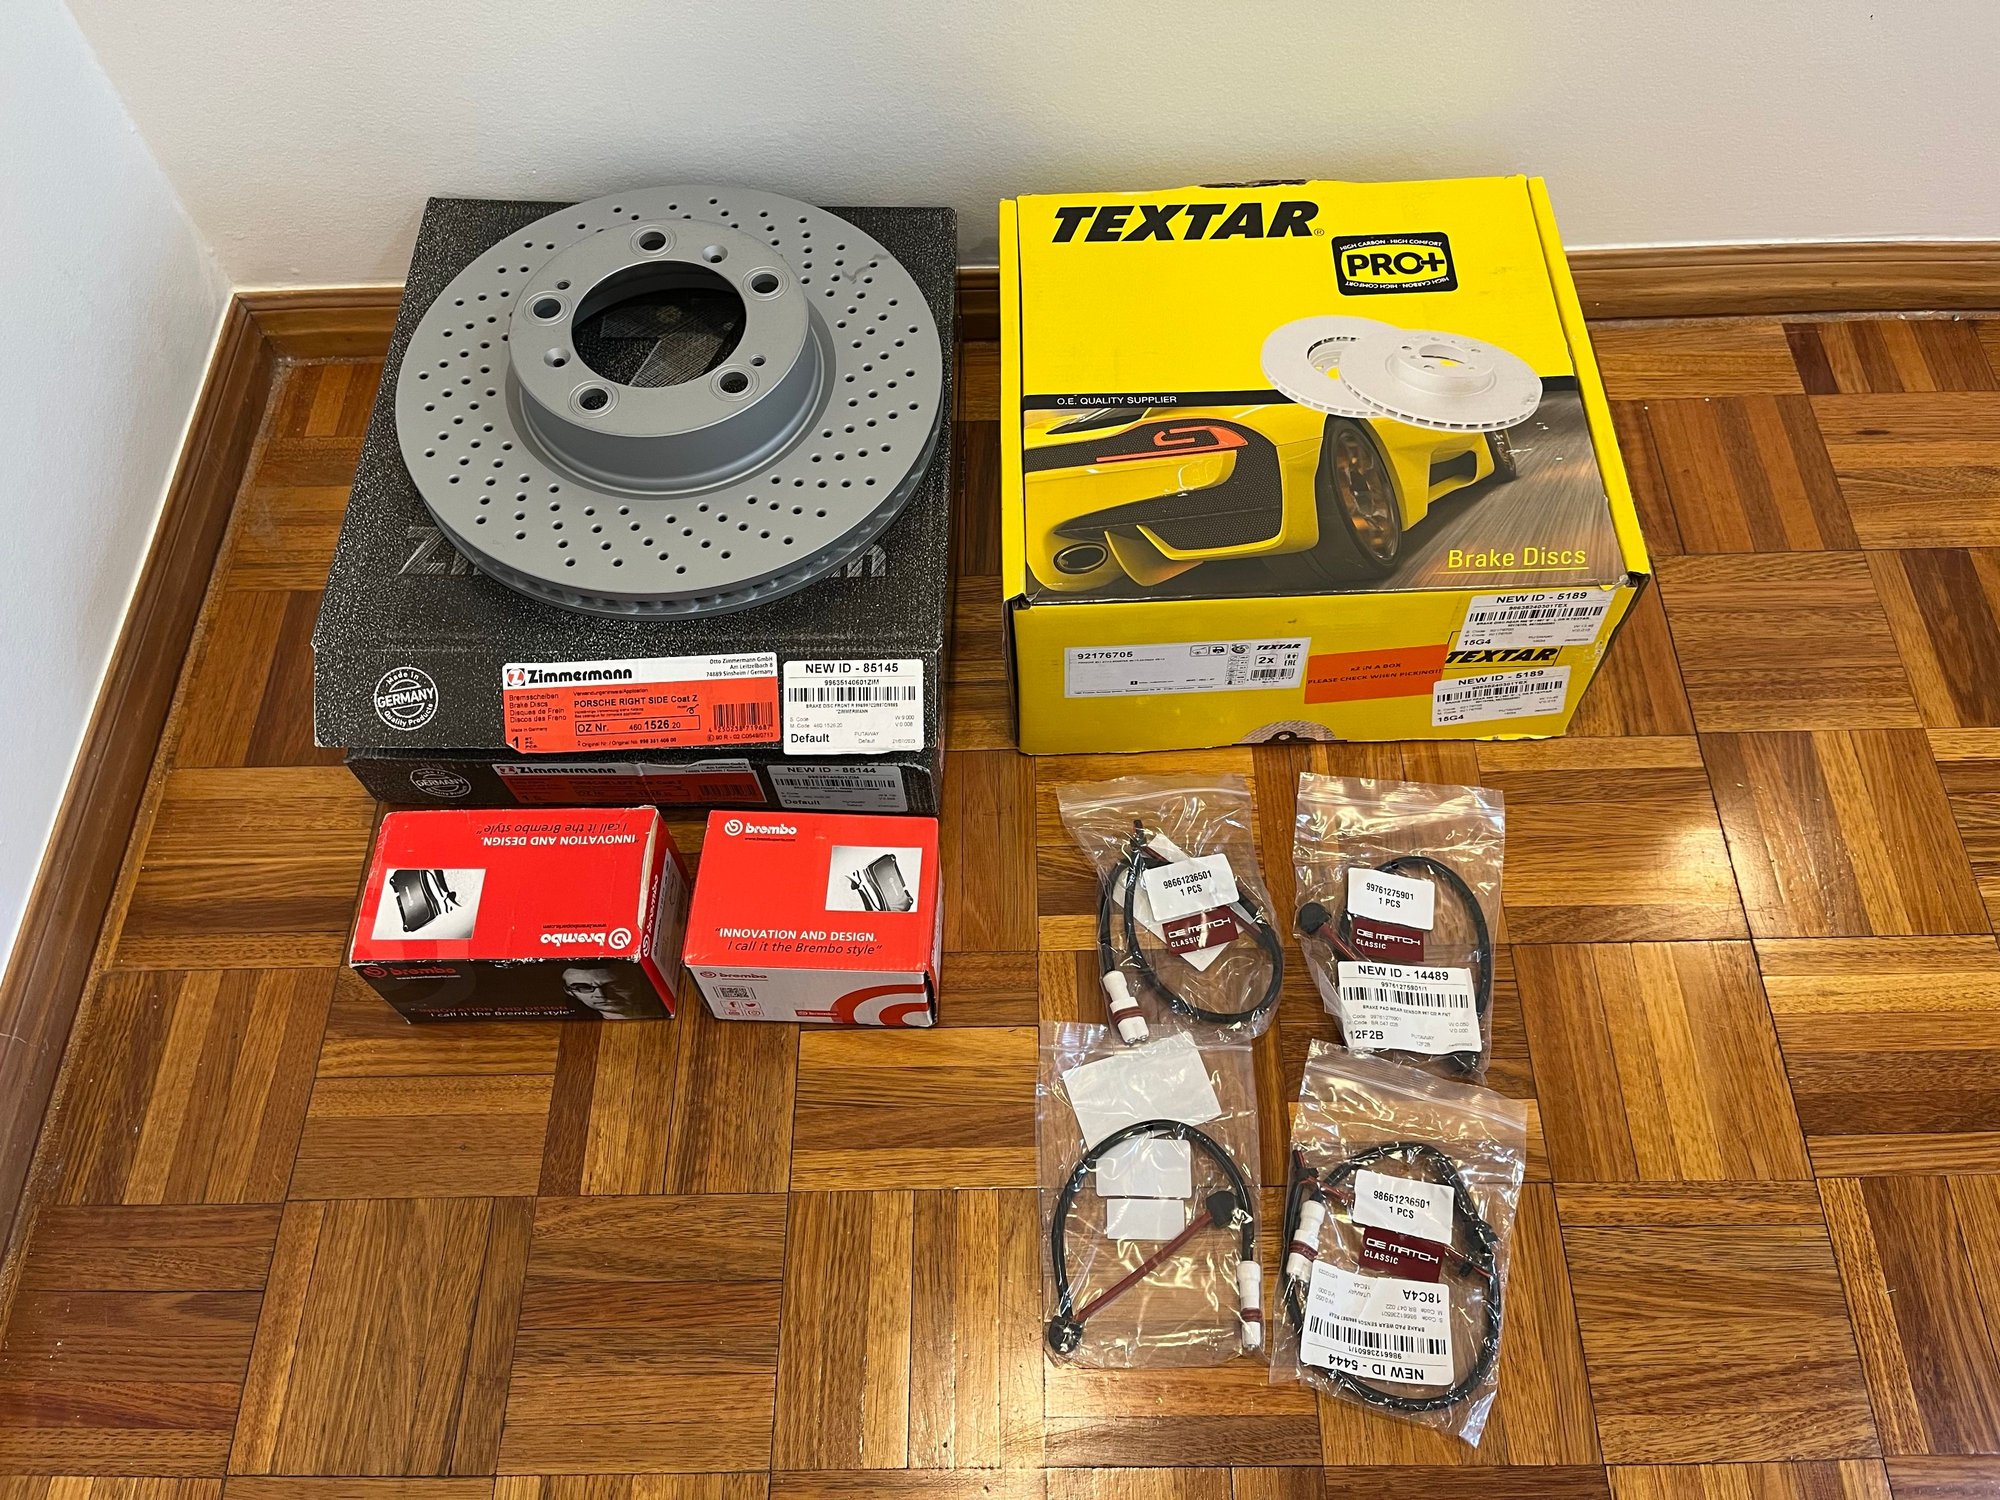
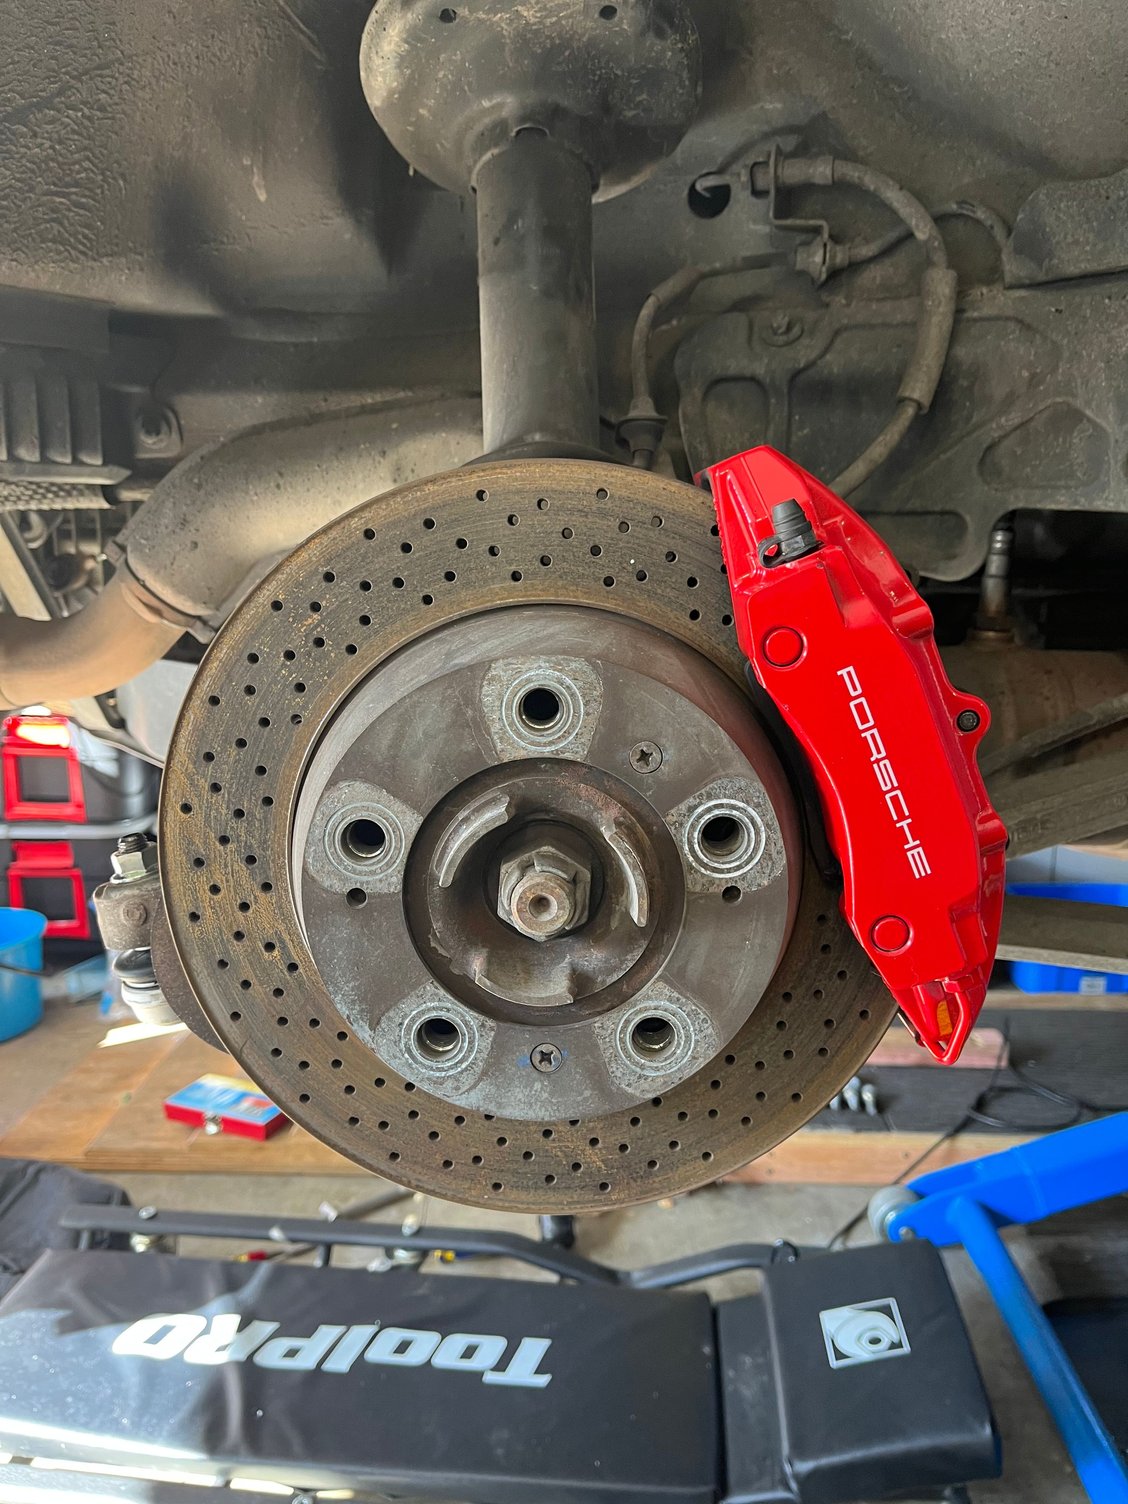
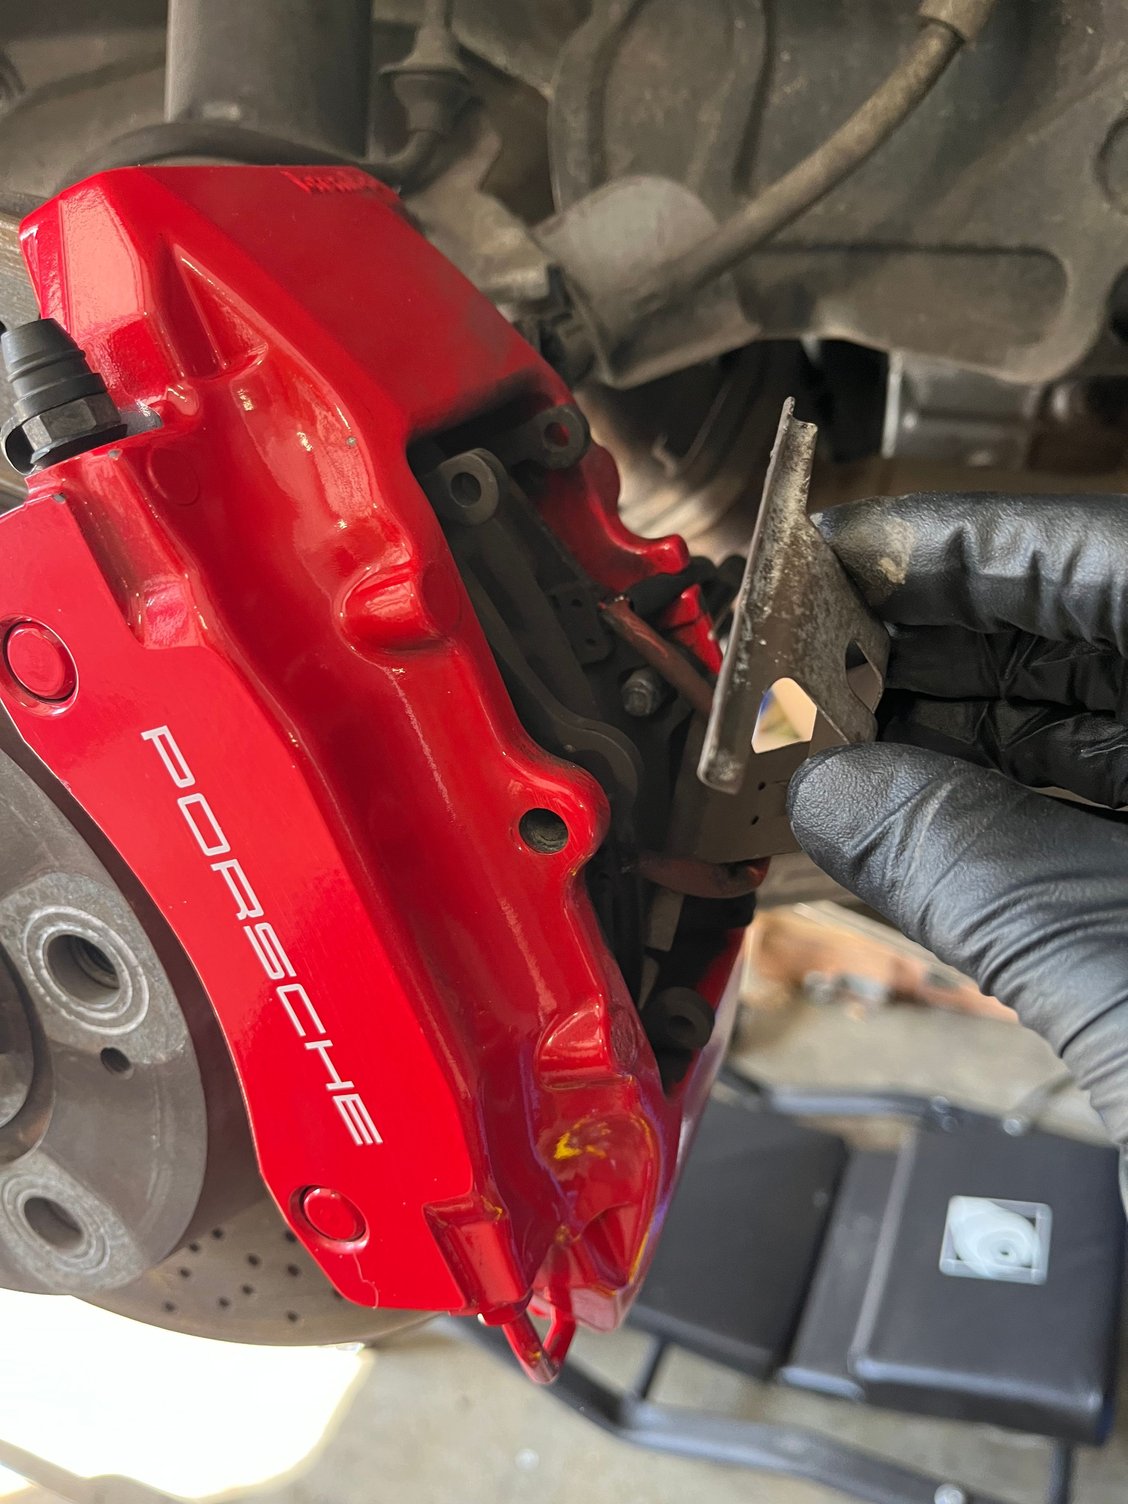
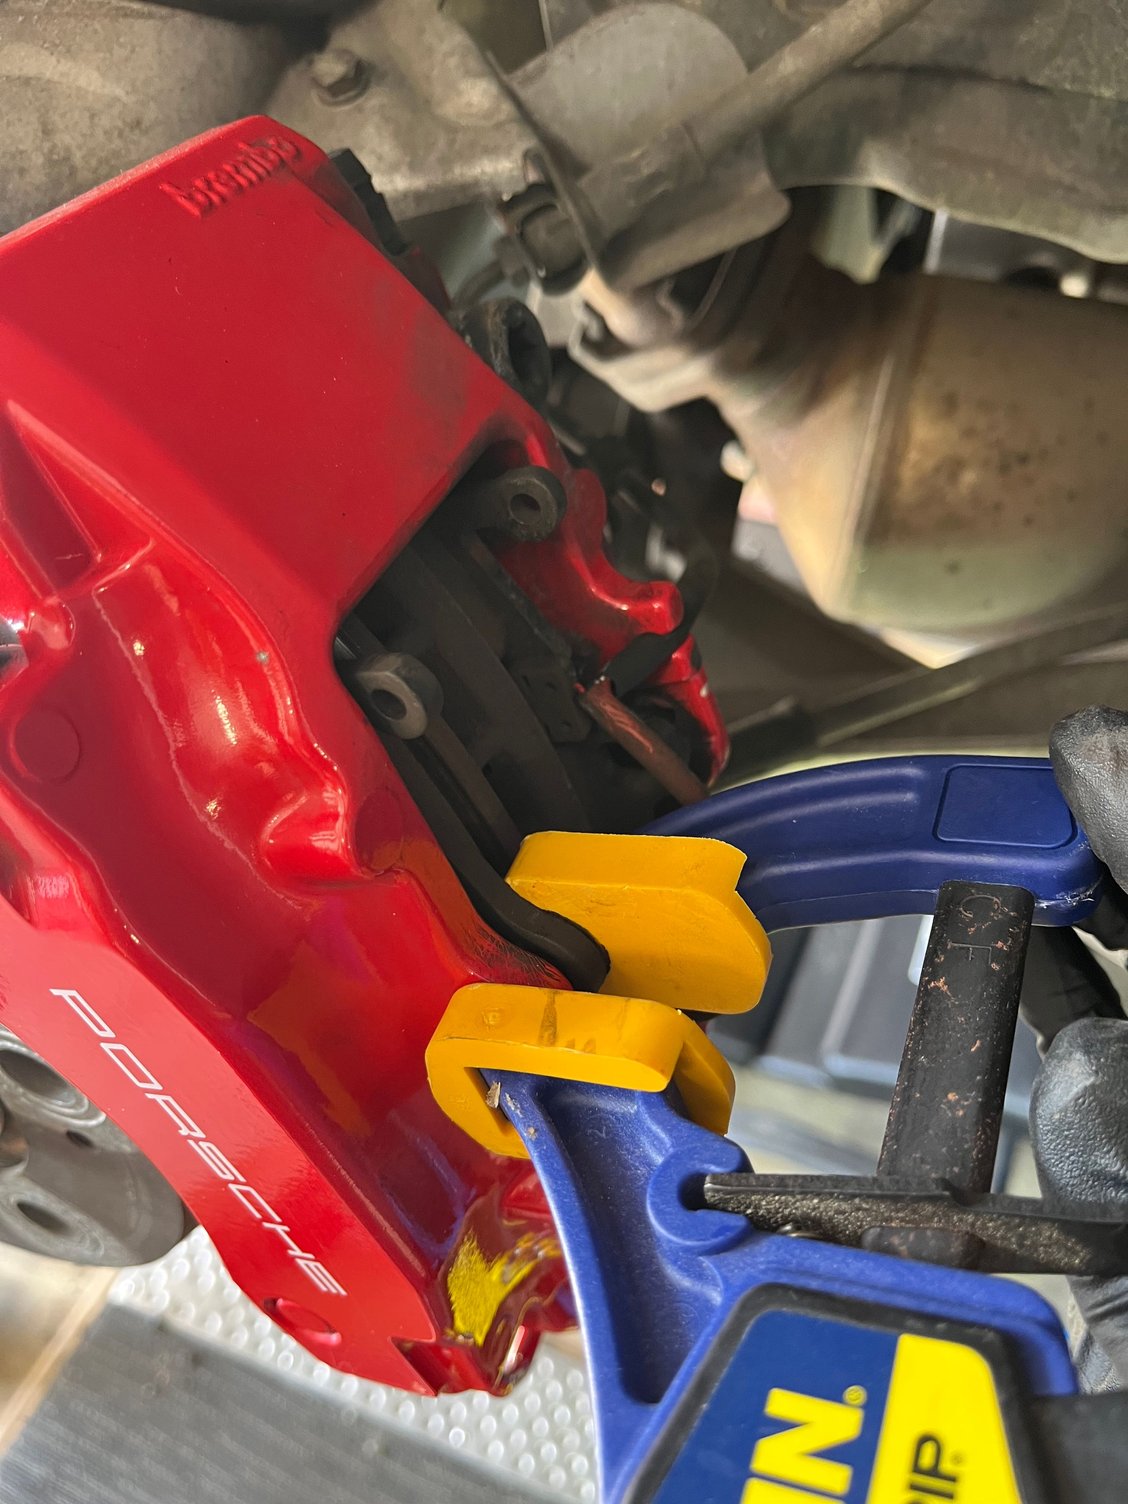
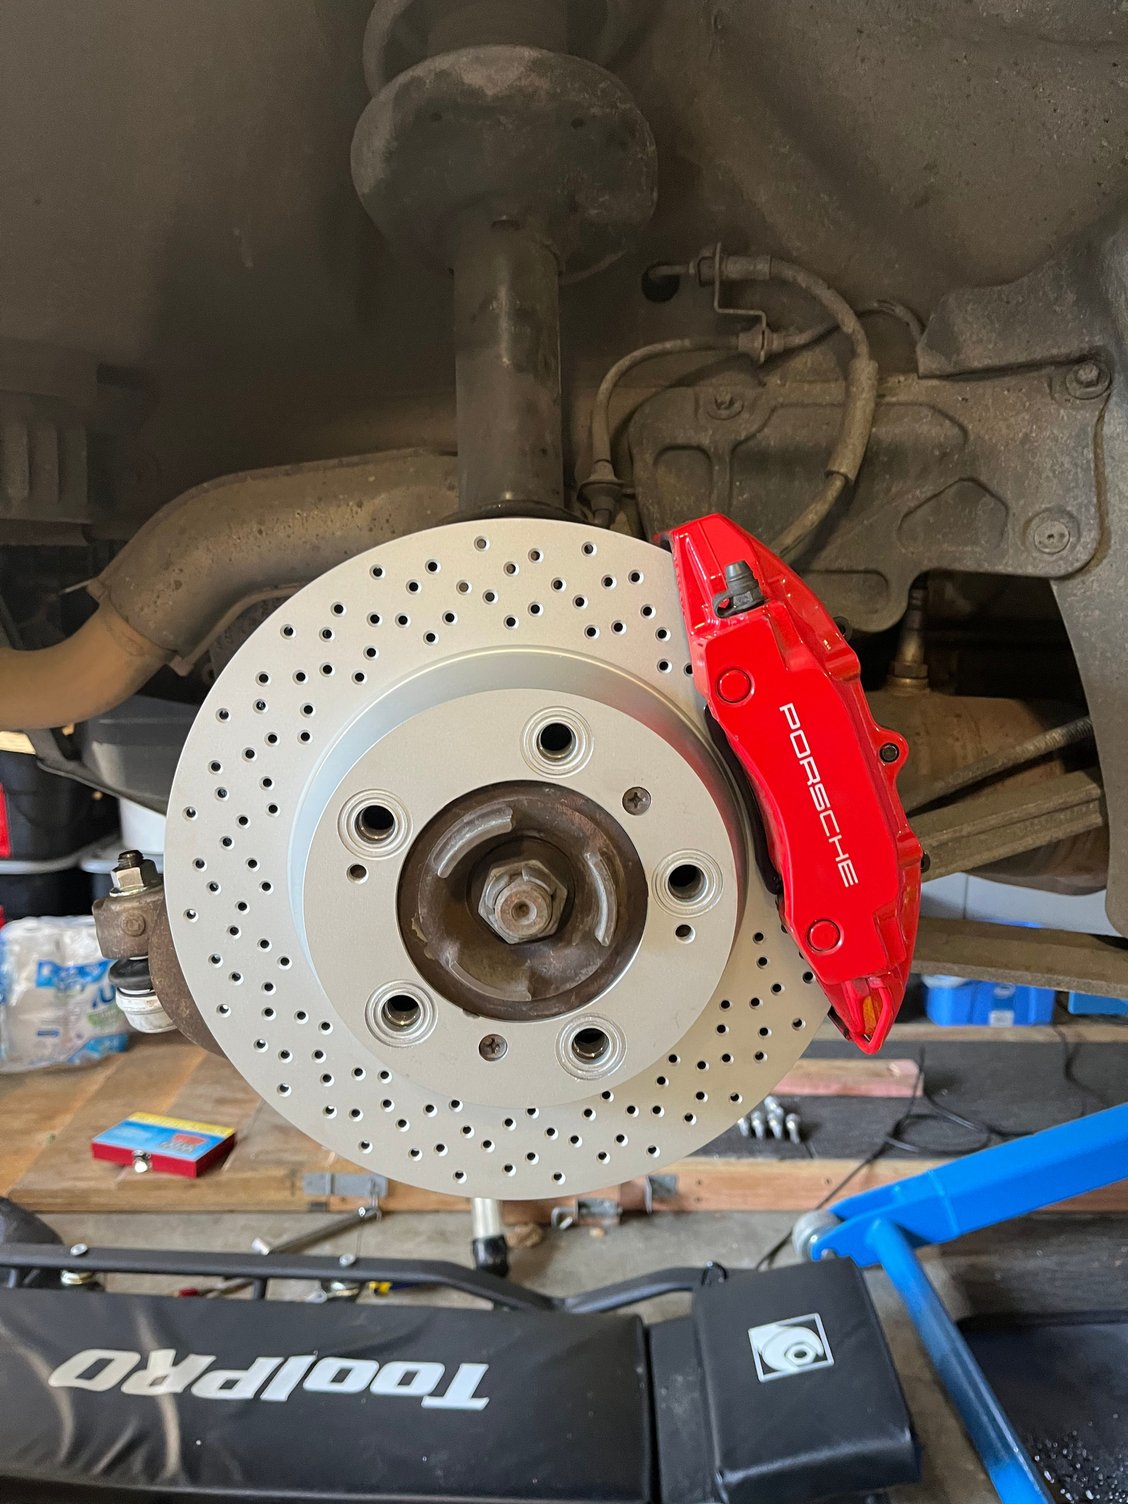
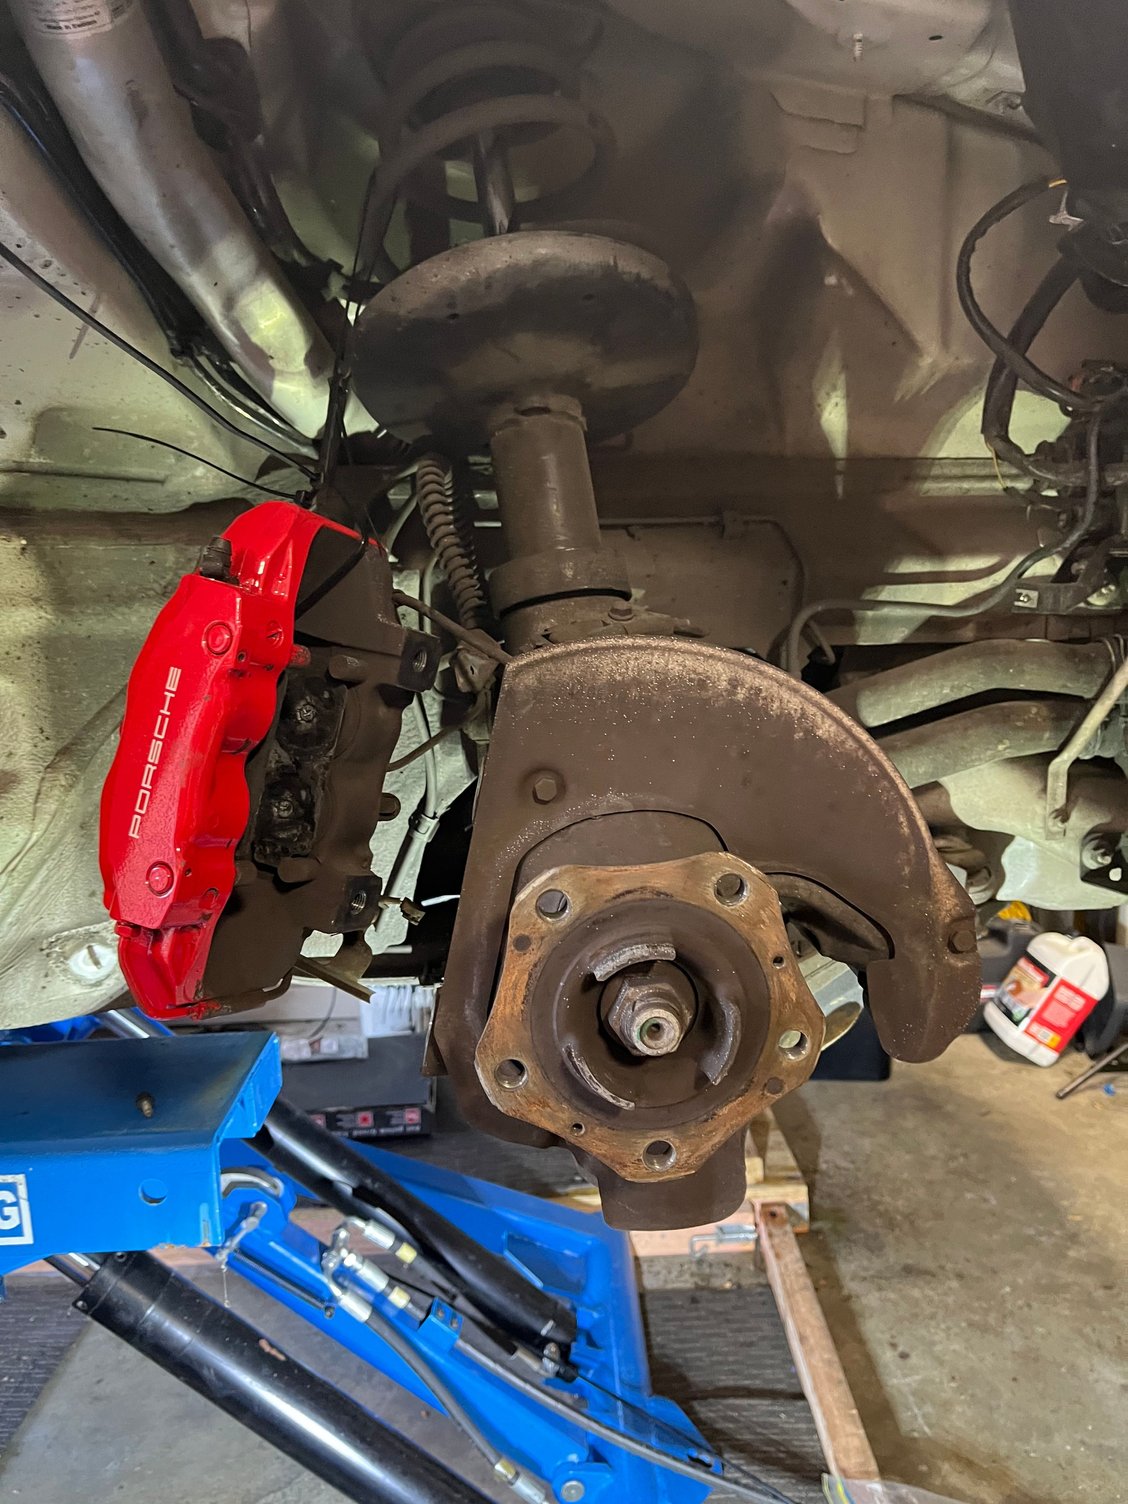
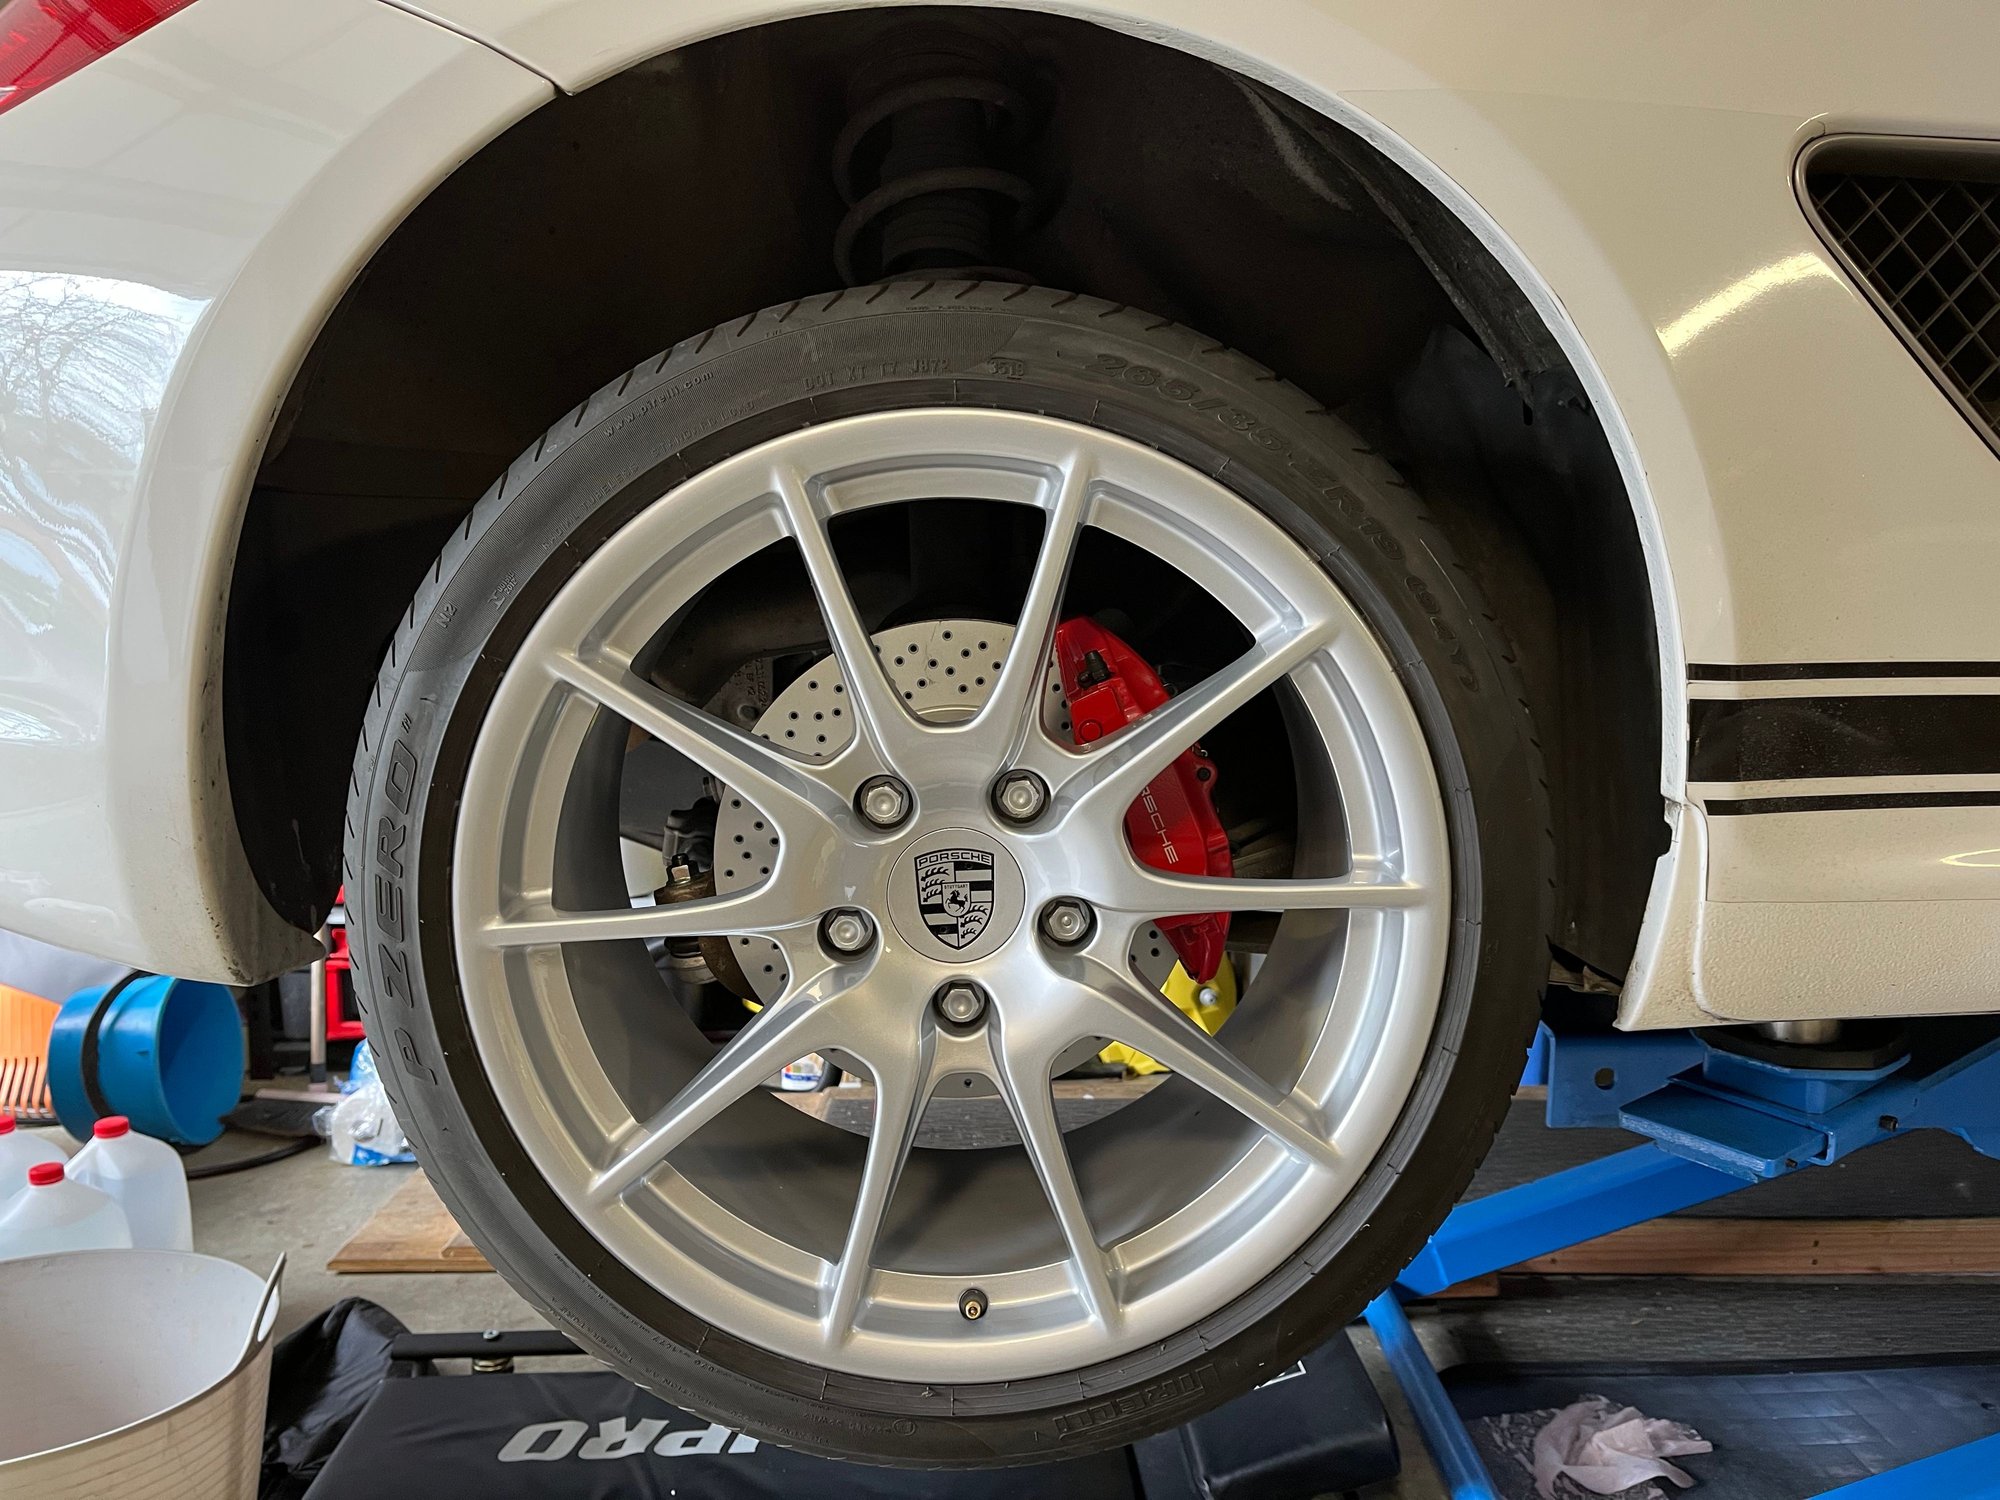
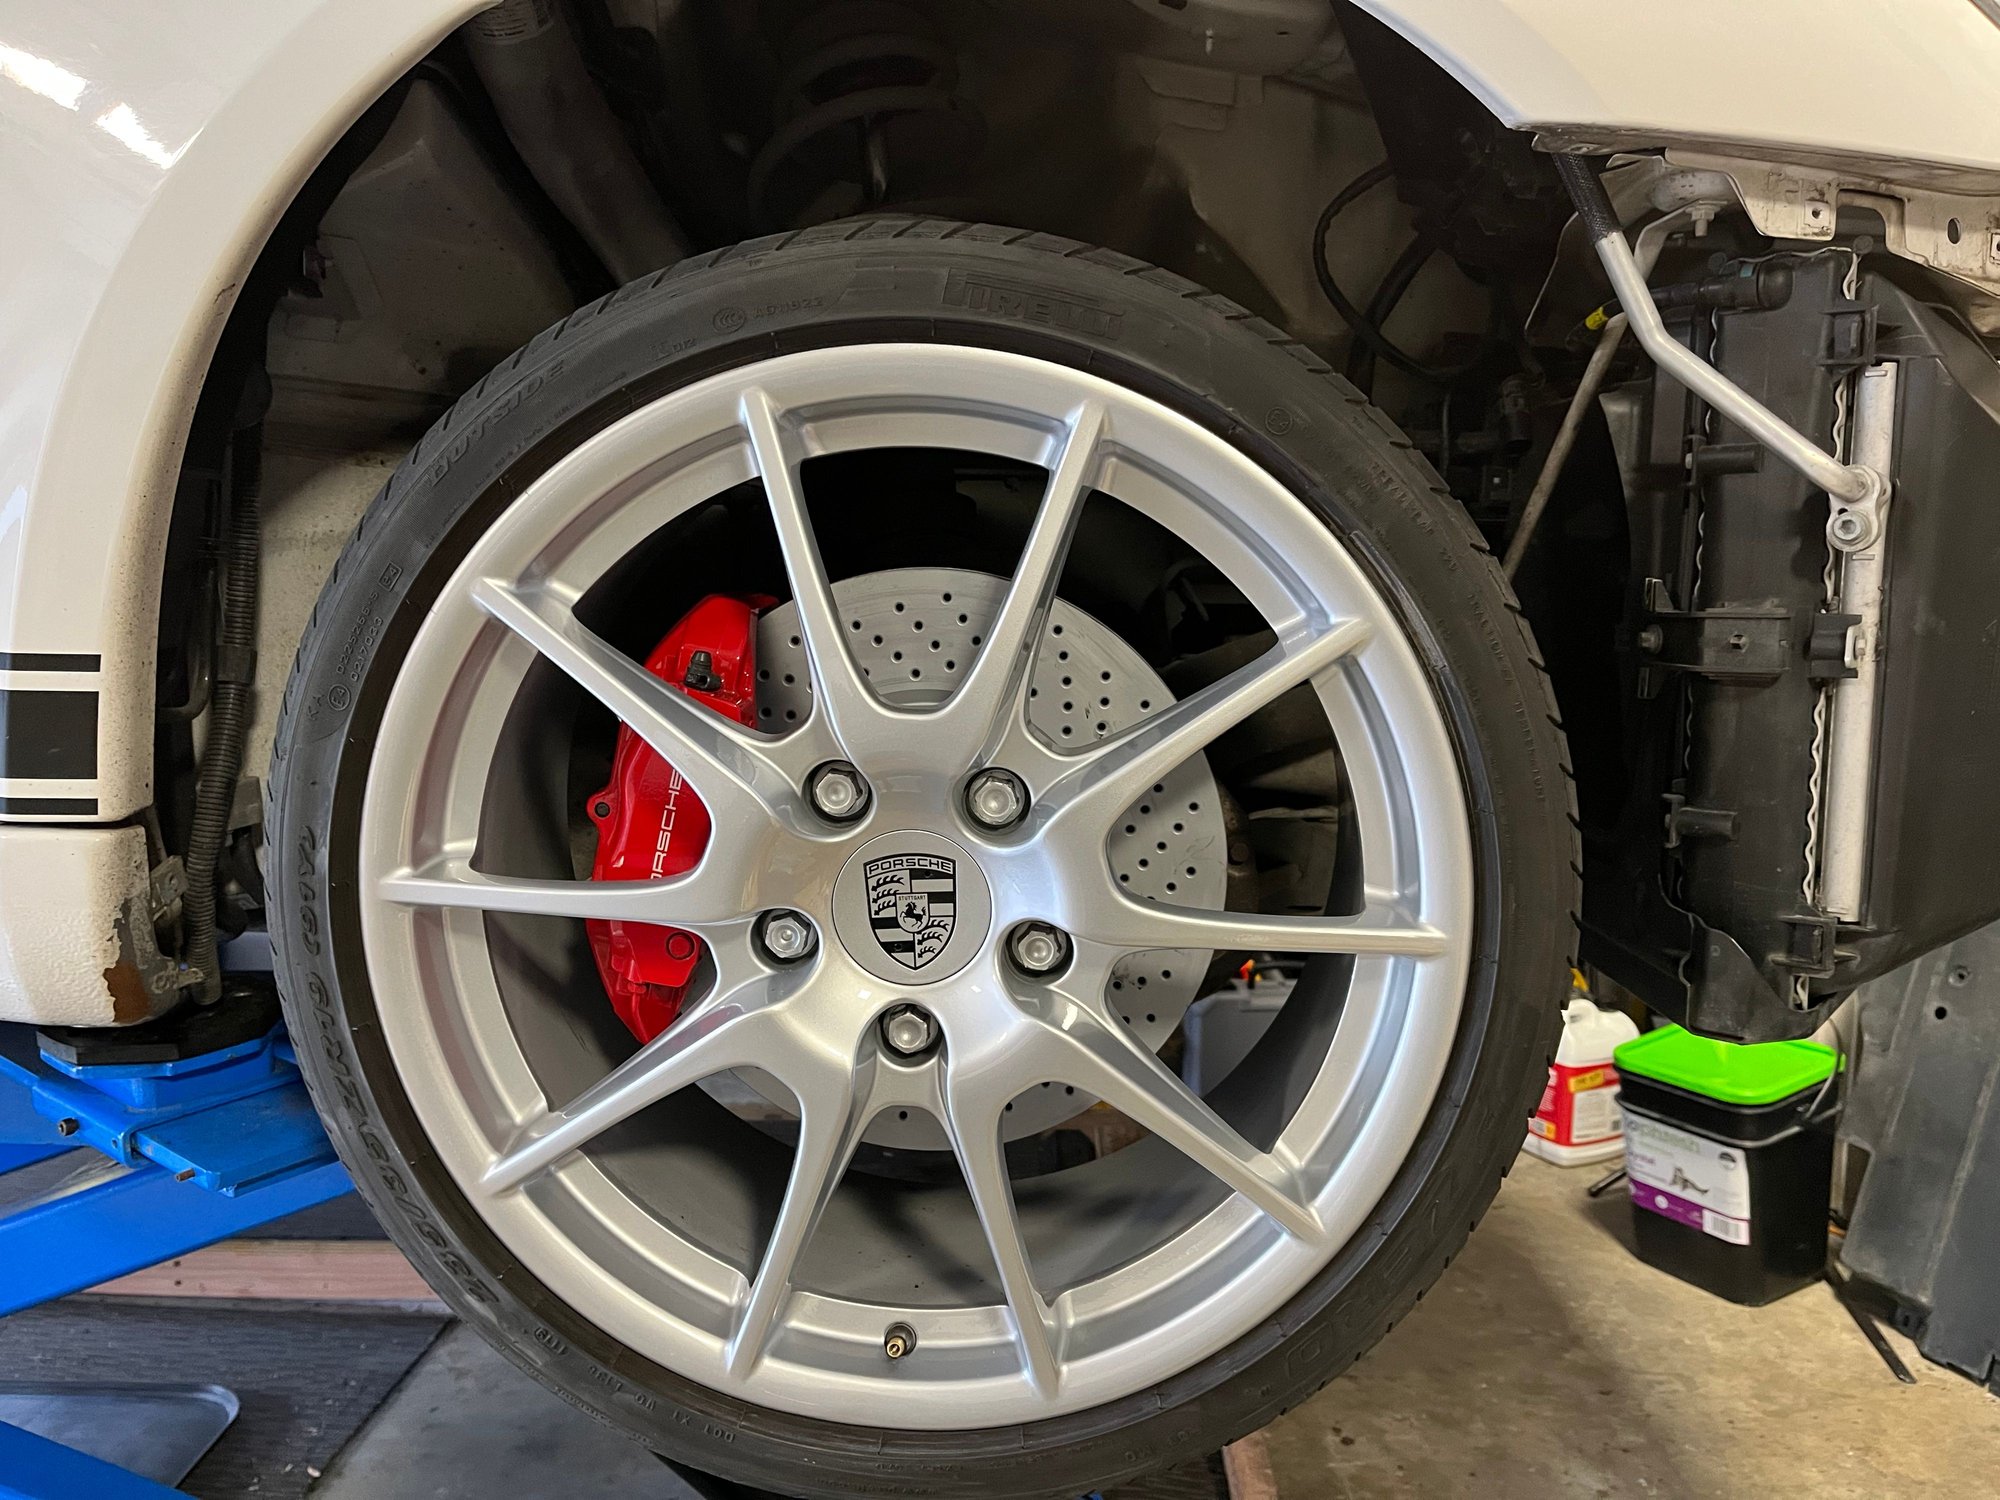
To comply the car, it must pass a Road Worthiness Test This includes the disks and pads.
The Porsche spec is a maximum of 2mm wear. The fronts have 0.05mm left and the rears have 0.88mm left. I could use both but who wants to buy/drive a car on the wear limit? Do it once do it right.
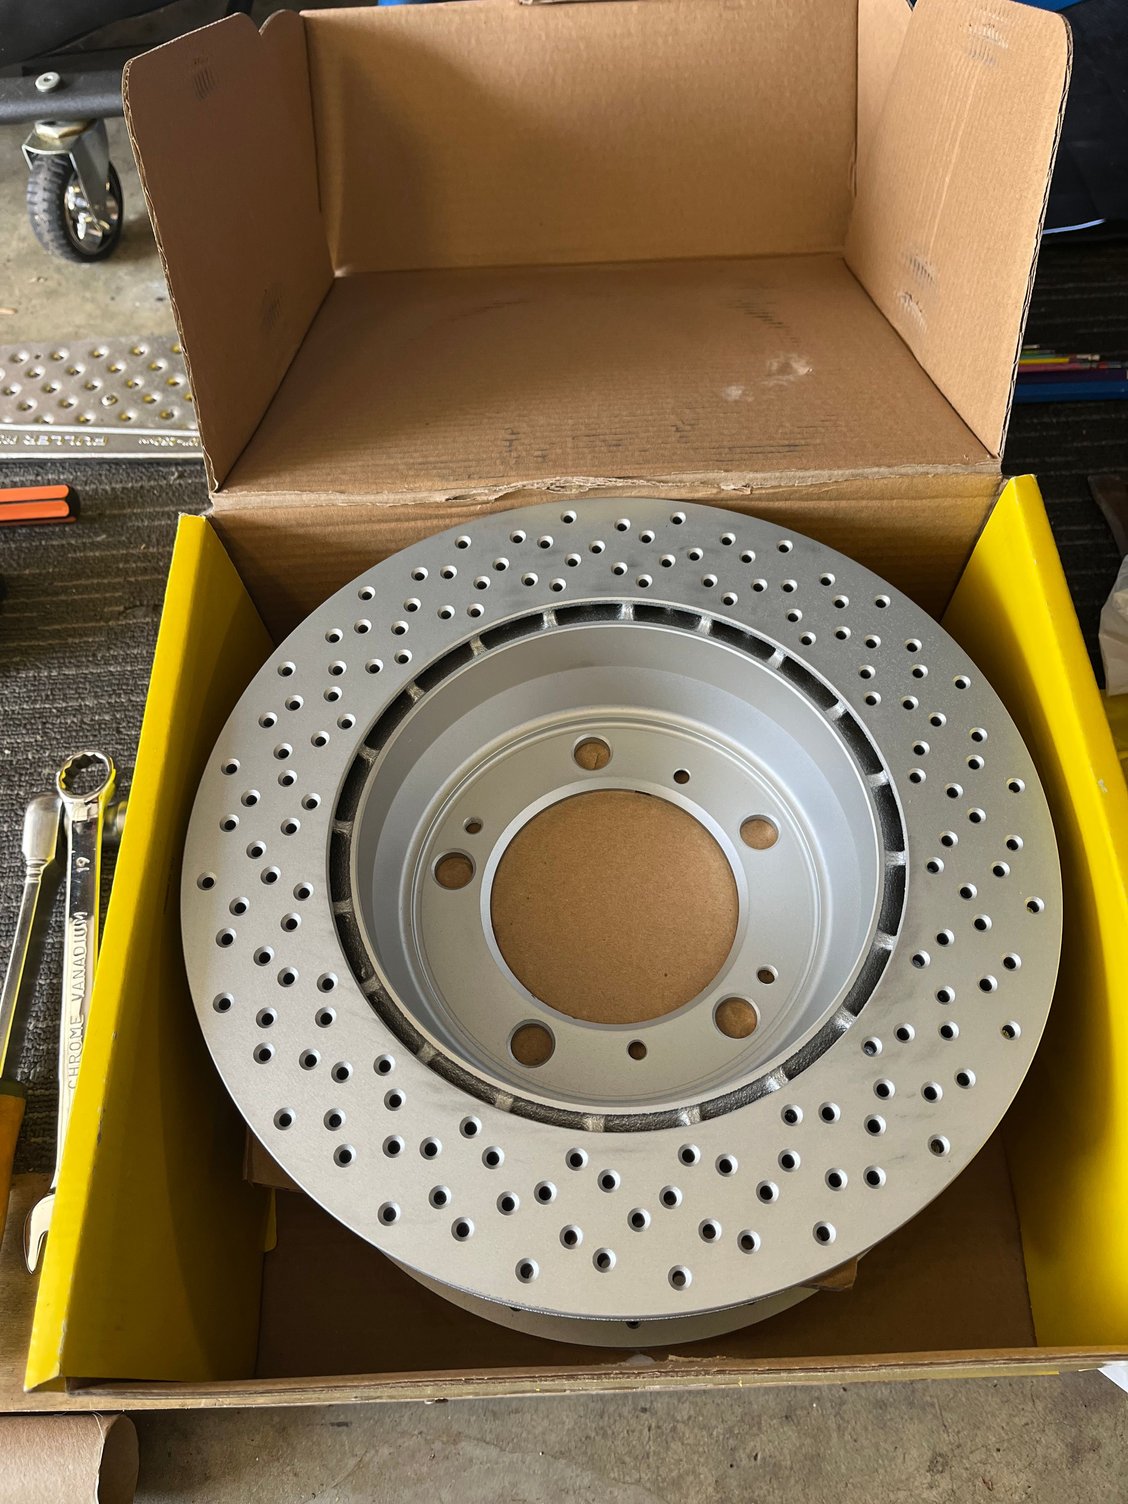
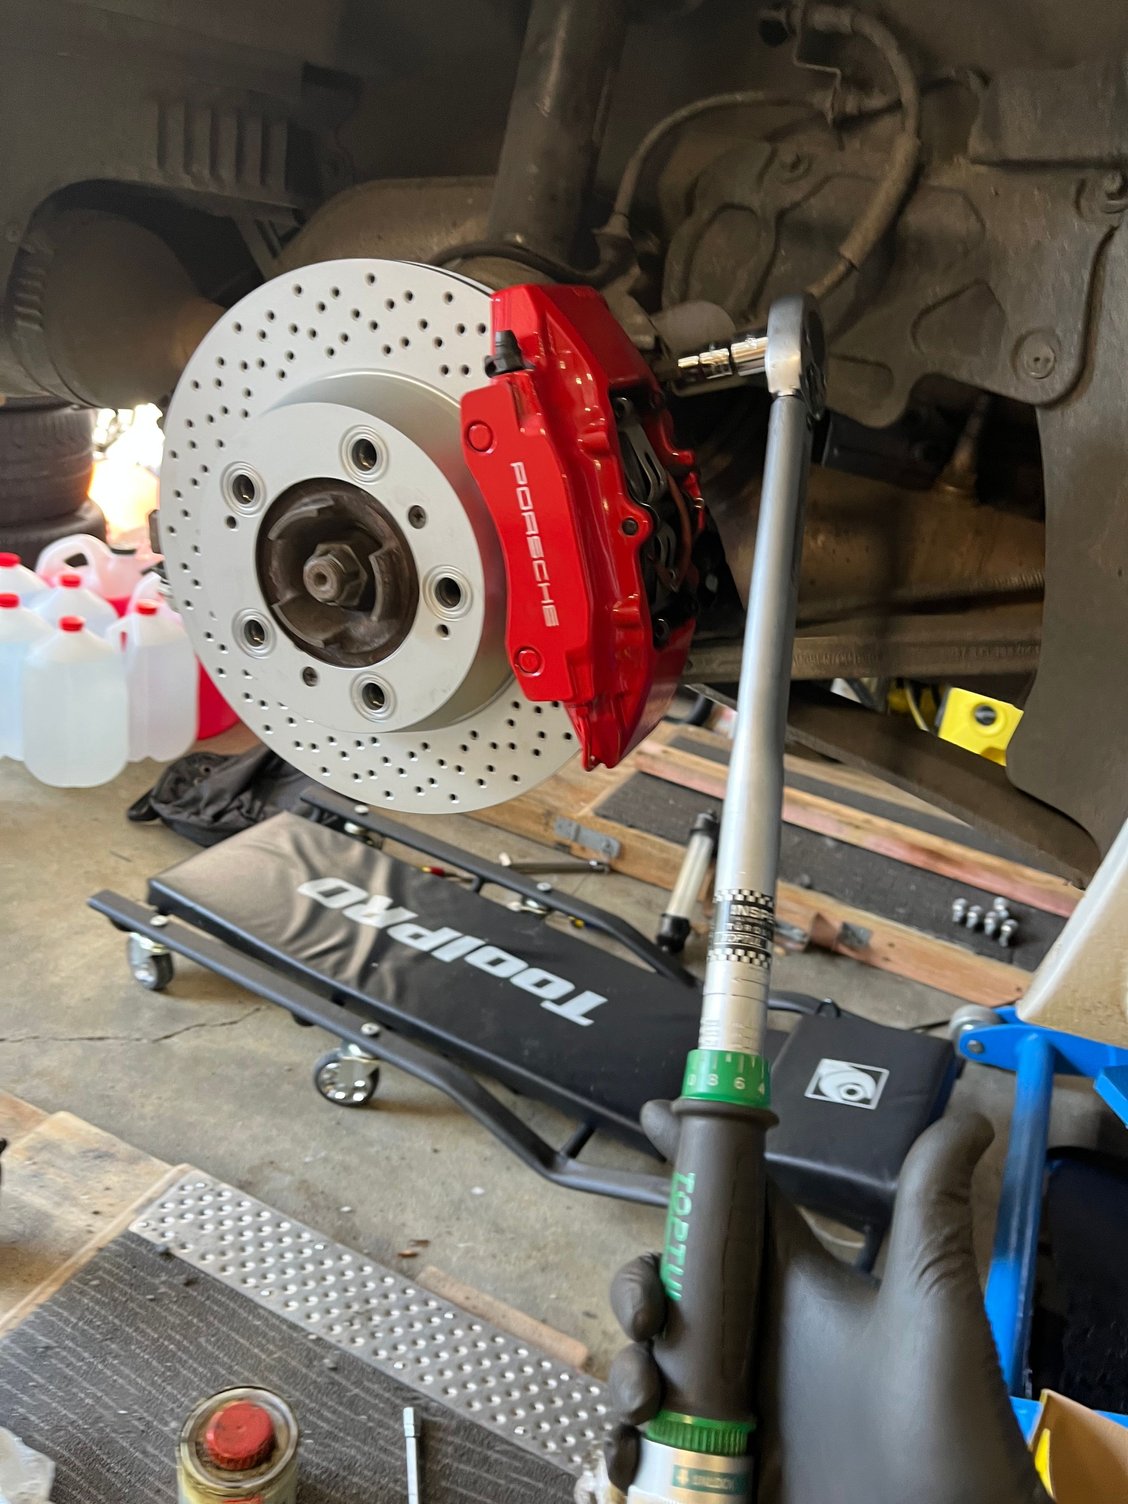
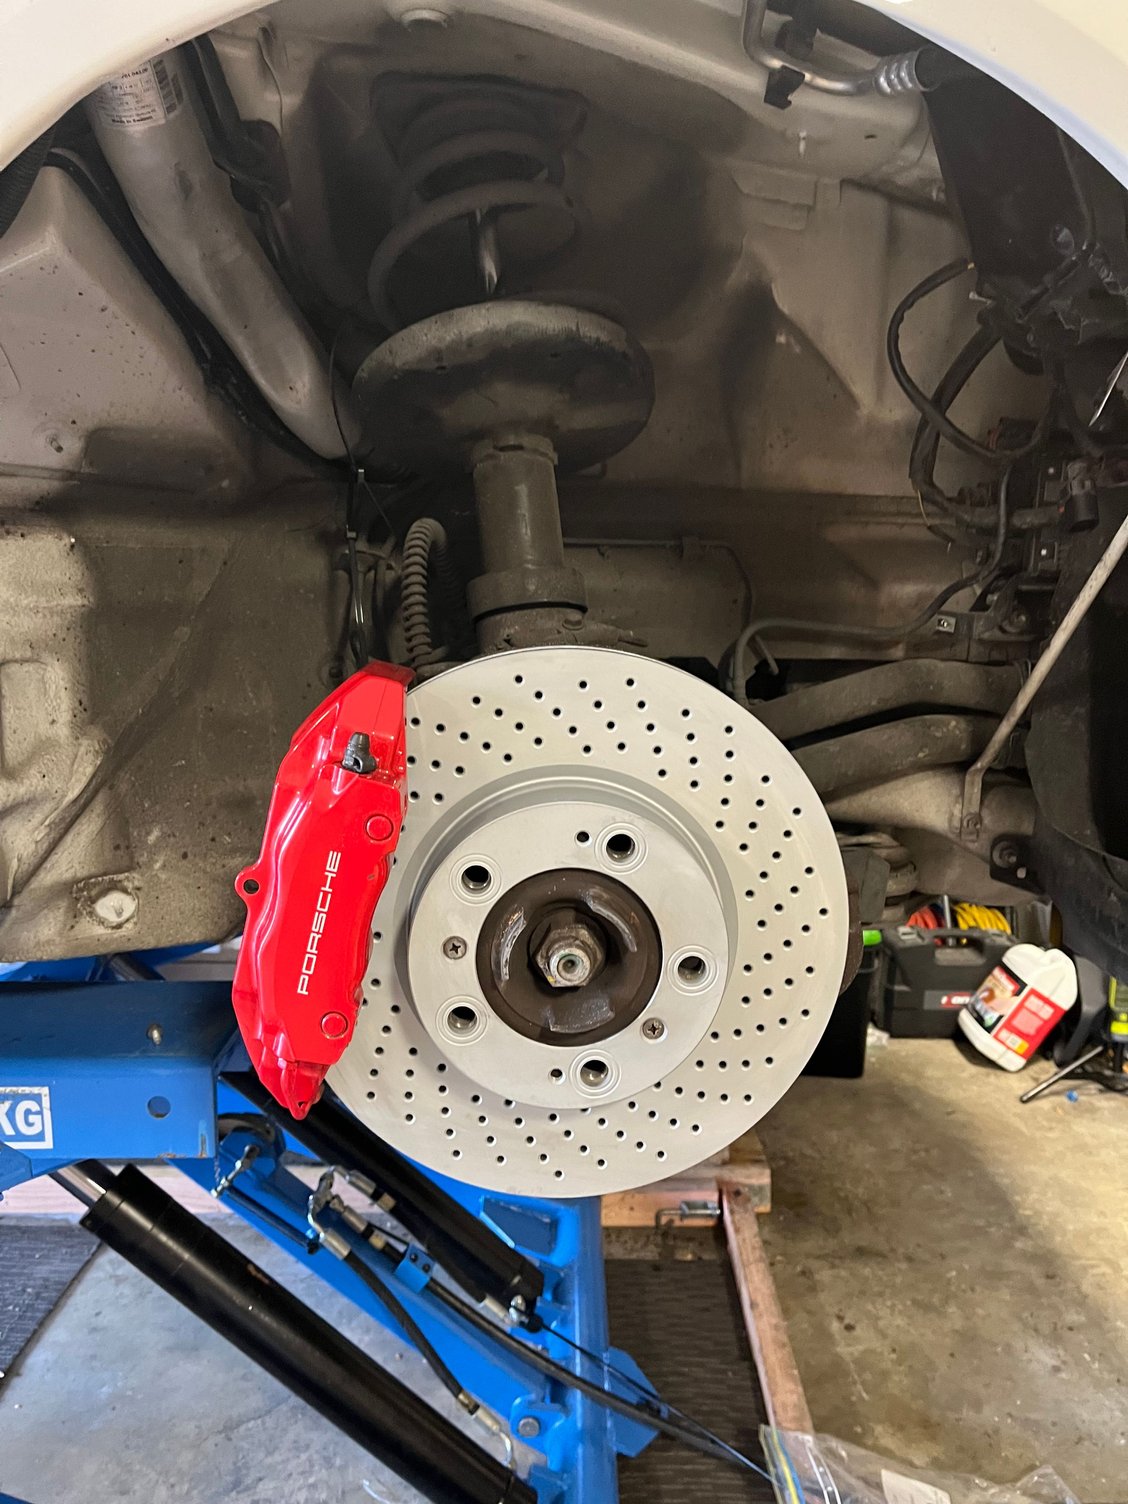
I decided to replace all four disks and associated pads.
The fronts are Zimmerman and rears are Textar. The pads are Brembo.
When that is done, I reckon these will last years as Spyders aren’t driven as much as many other Porsches.
Thanks for continuing to post up each of the steps. I’m amazed at how much had to be replaced. Hopefully you’re right side up when its over.
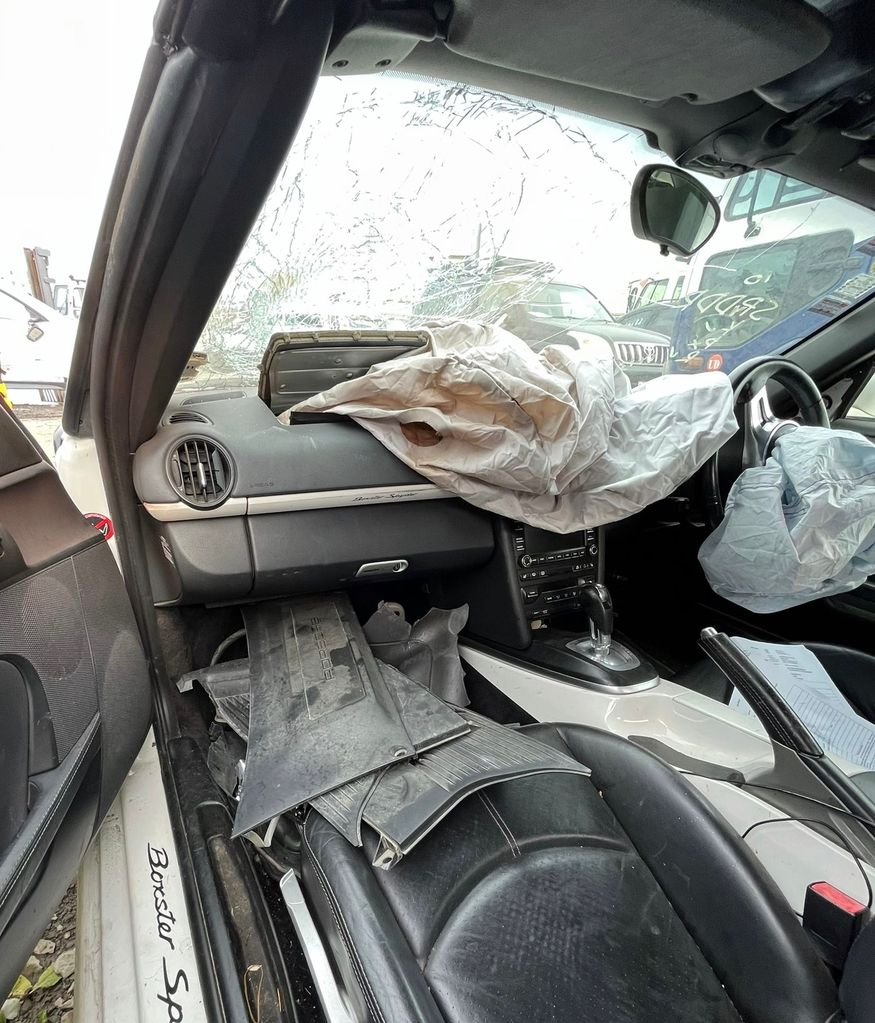
I hope so too. The dashboard, airbags and seat belts totalled USD 8,100 and were absolute necessities but the other costs are building. The insurance assessor thought it would cost circa USD 38,000 to fix. I’m aiming to best that.
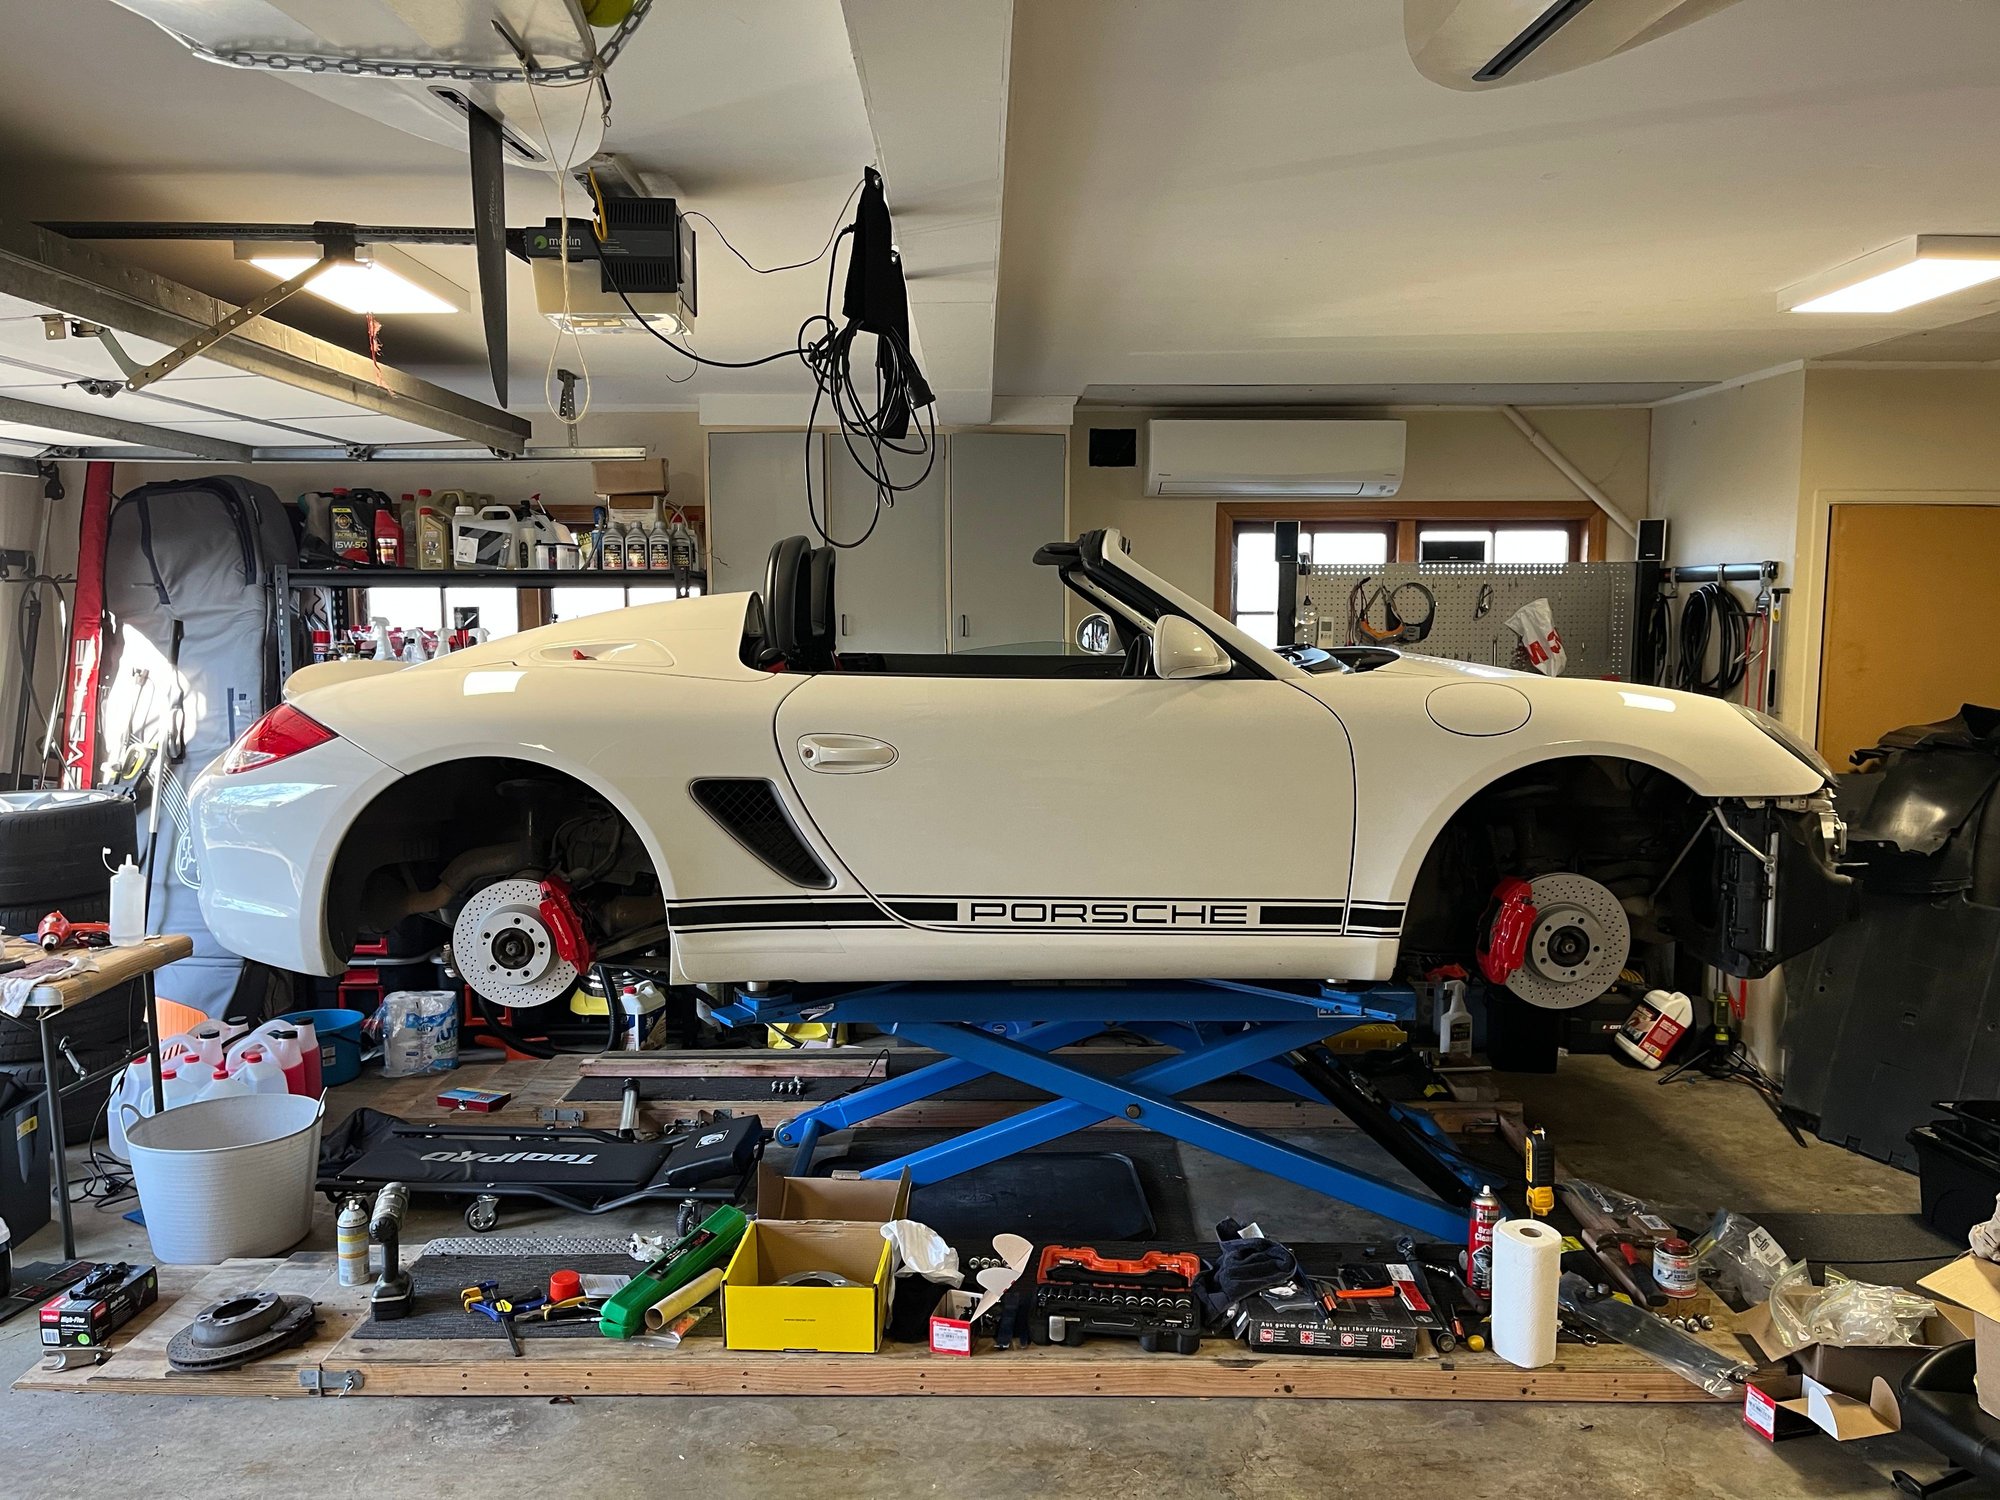
This weekend, my goal is to drive the Spyder (not far) and to do that I need working brakes and engine cooling.
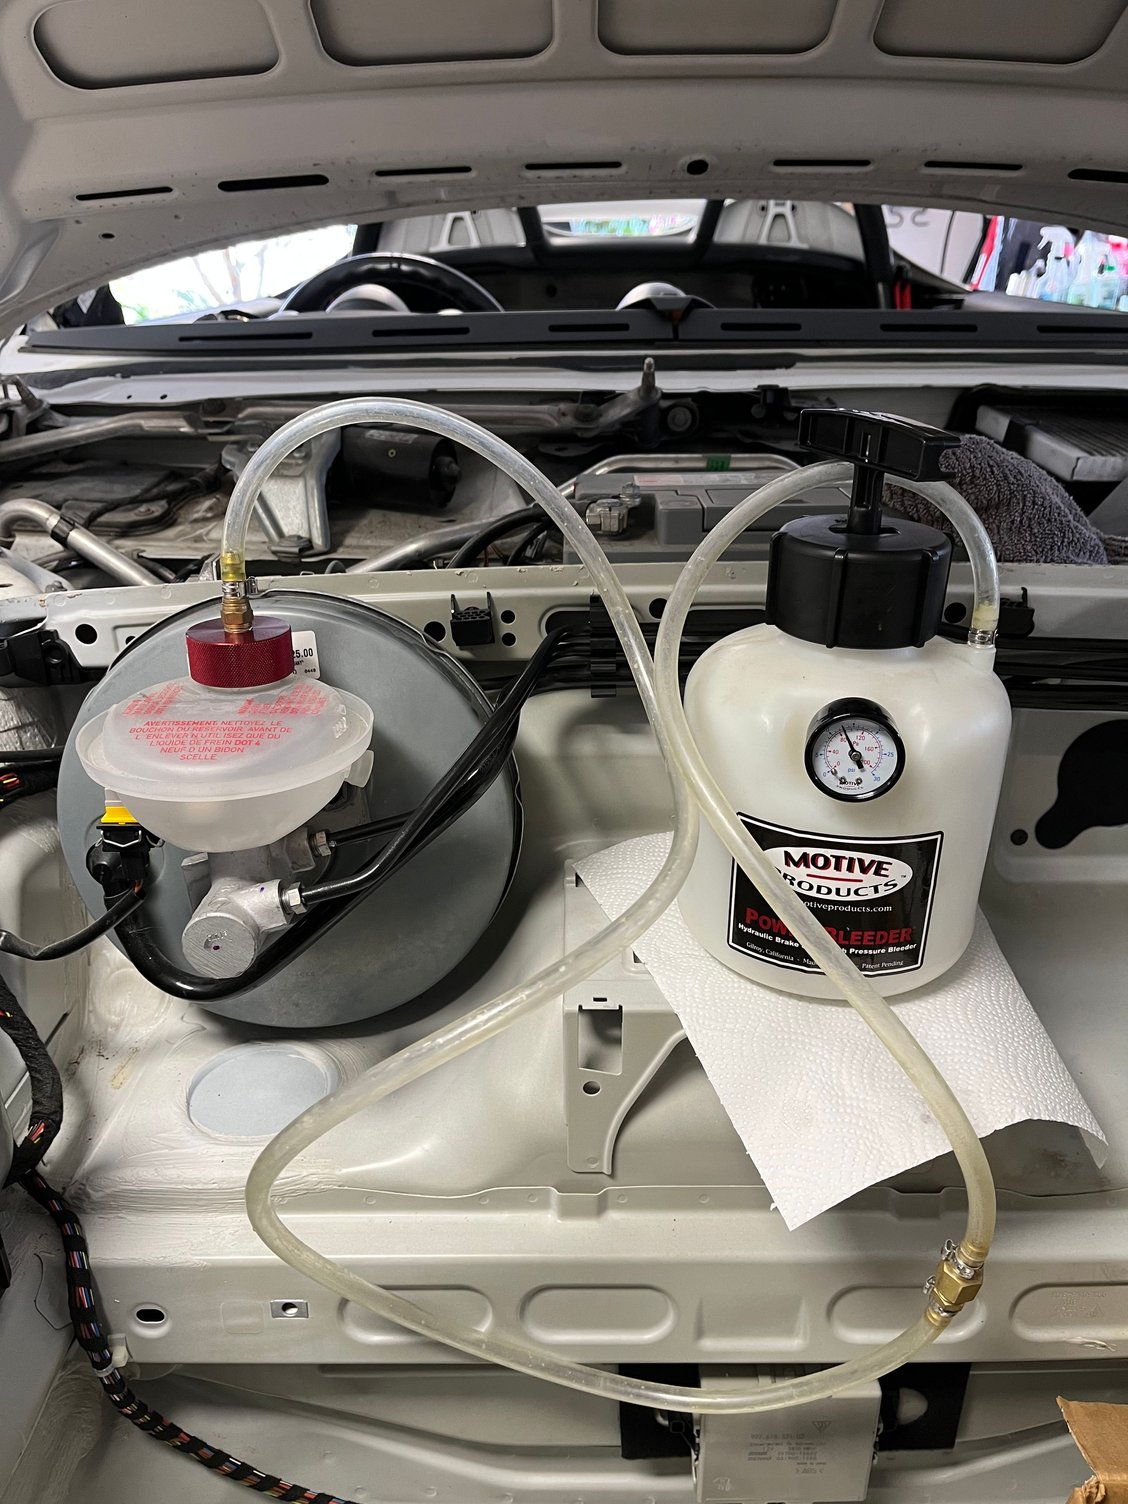
Today, I tackled the brakes. First up was to attach a pressure bleeder to the system, pump it up and then leave it for 20 minutes to see if the pressure dropped, which would indicate leaks if it did. It was fine.
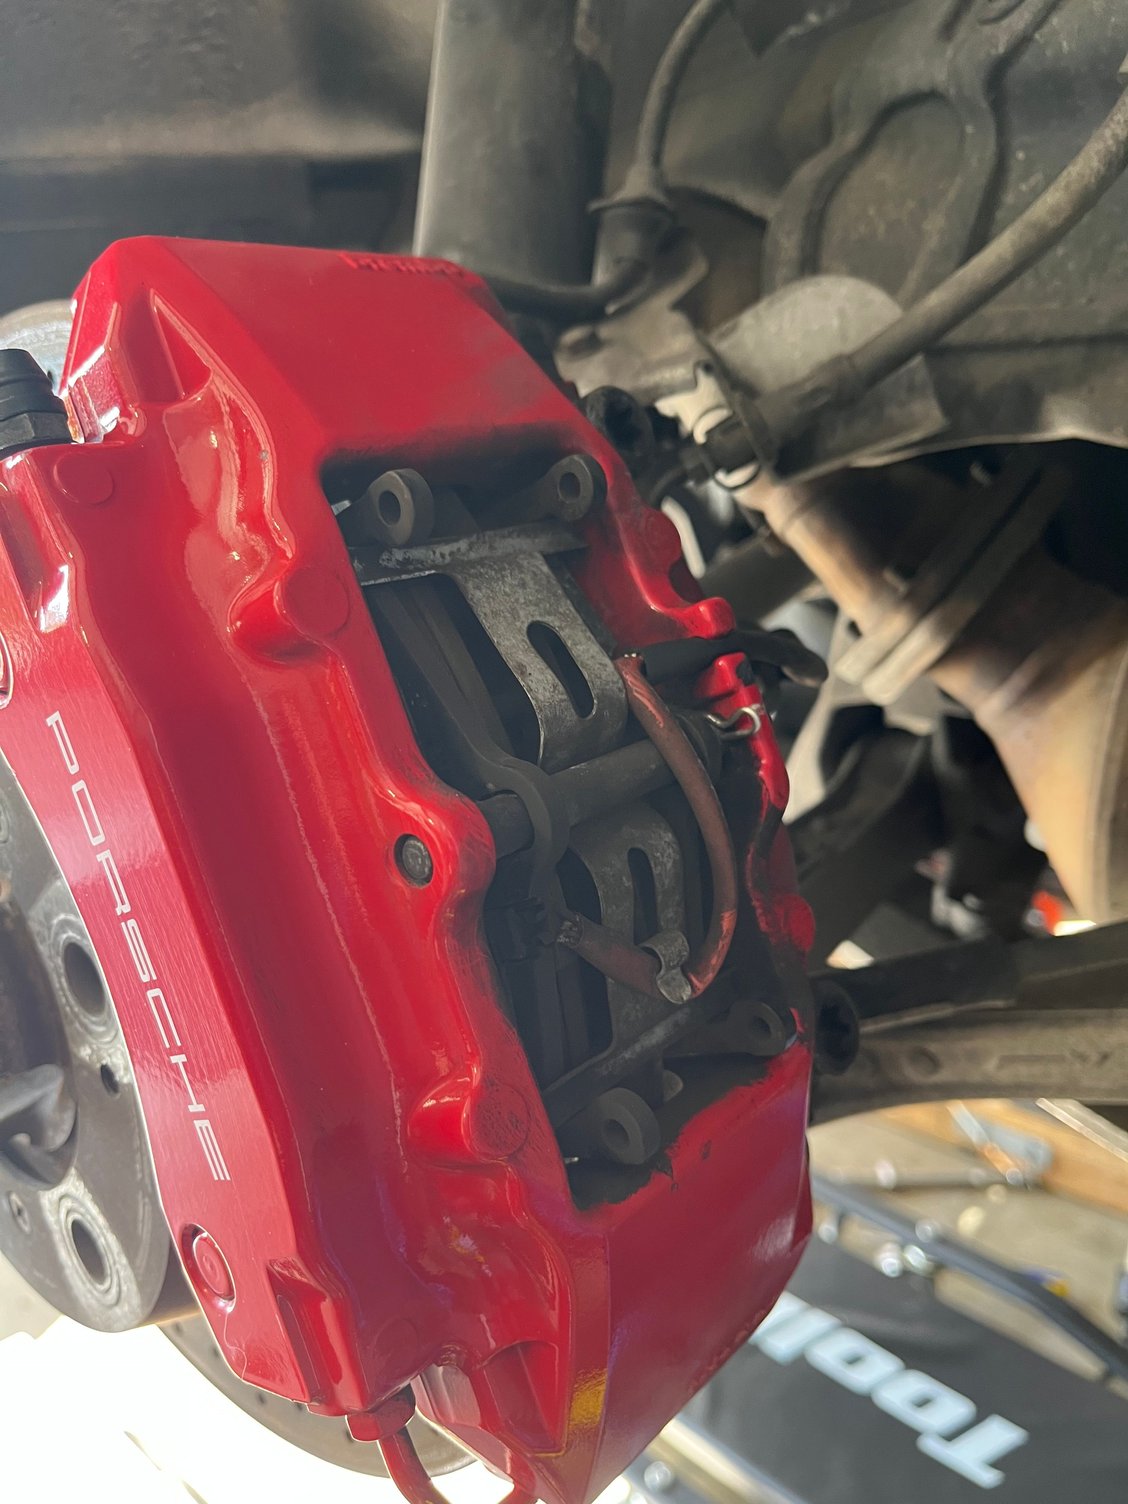
With no sign of leaks, I filled the reservoir to Max, attached the pressure bleeder and pumped it to circa 15psi.
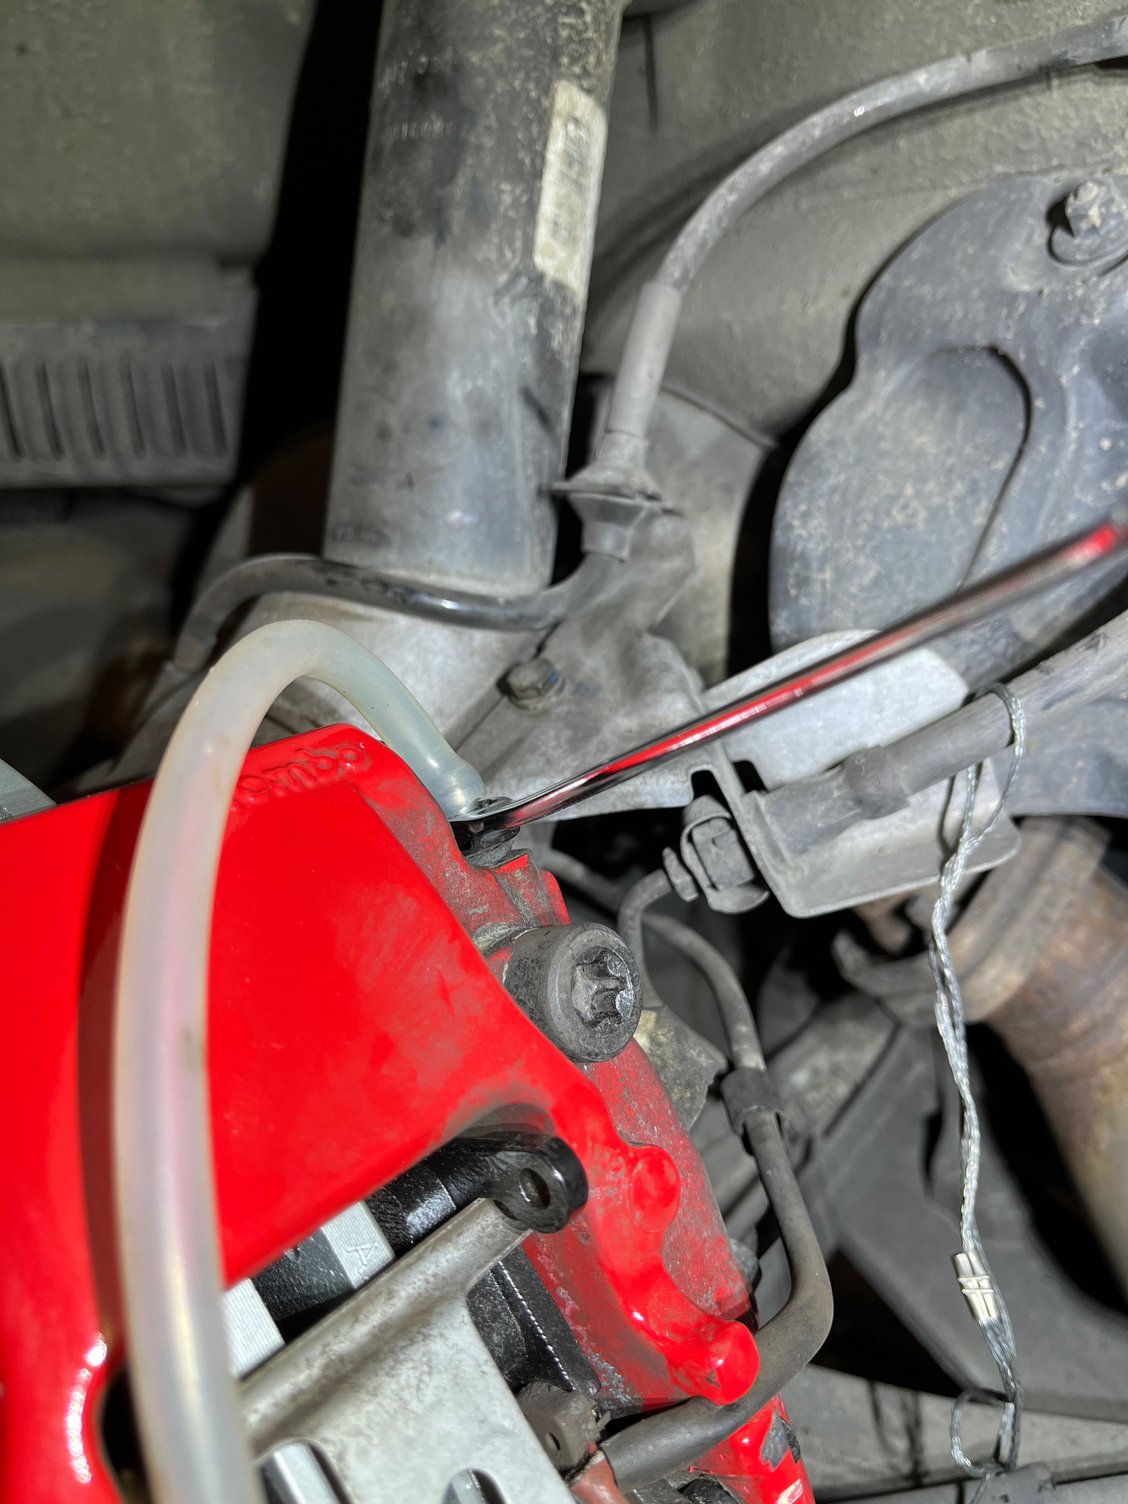
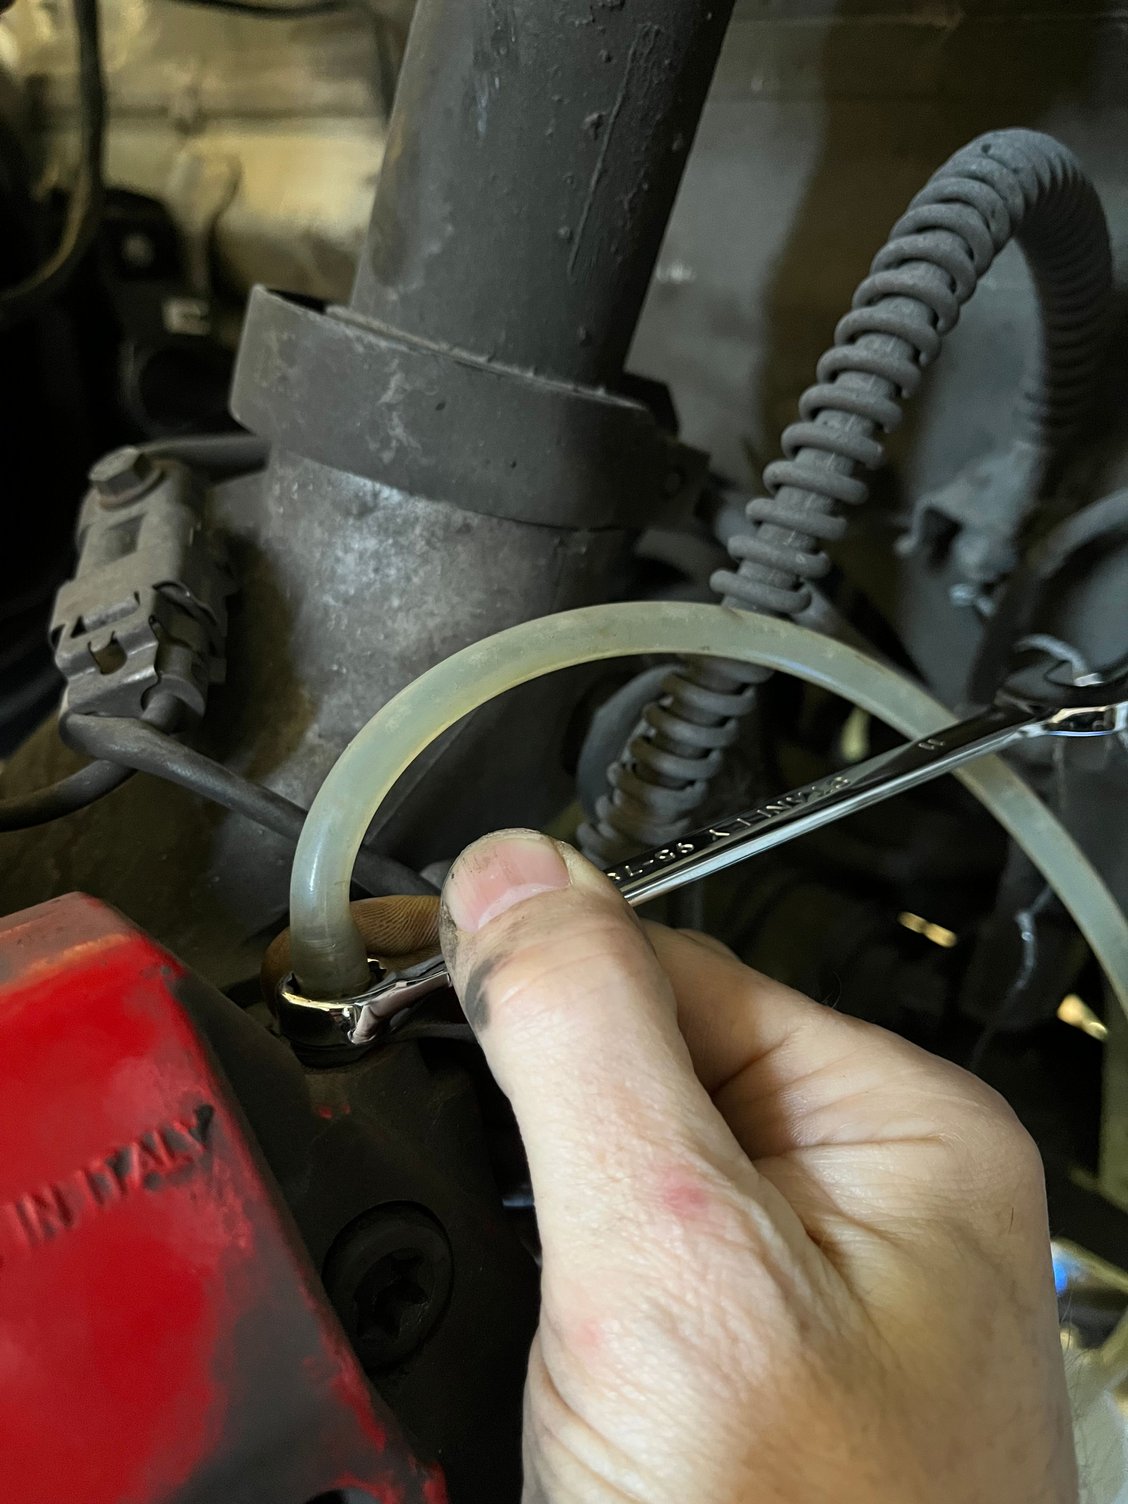
The bleed order is Rear Right, Rear Left, Front Right, Front Left. That sequence goes from longest to shortest distance to the reservoir.
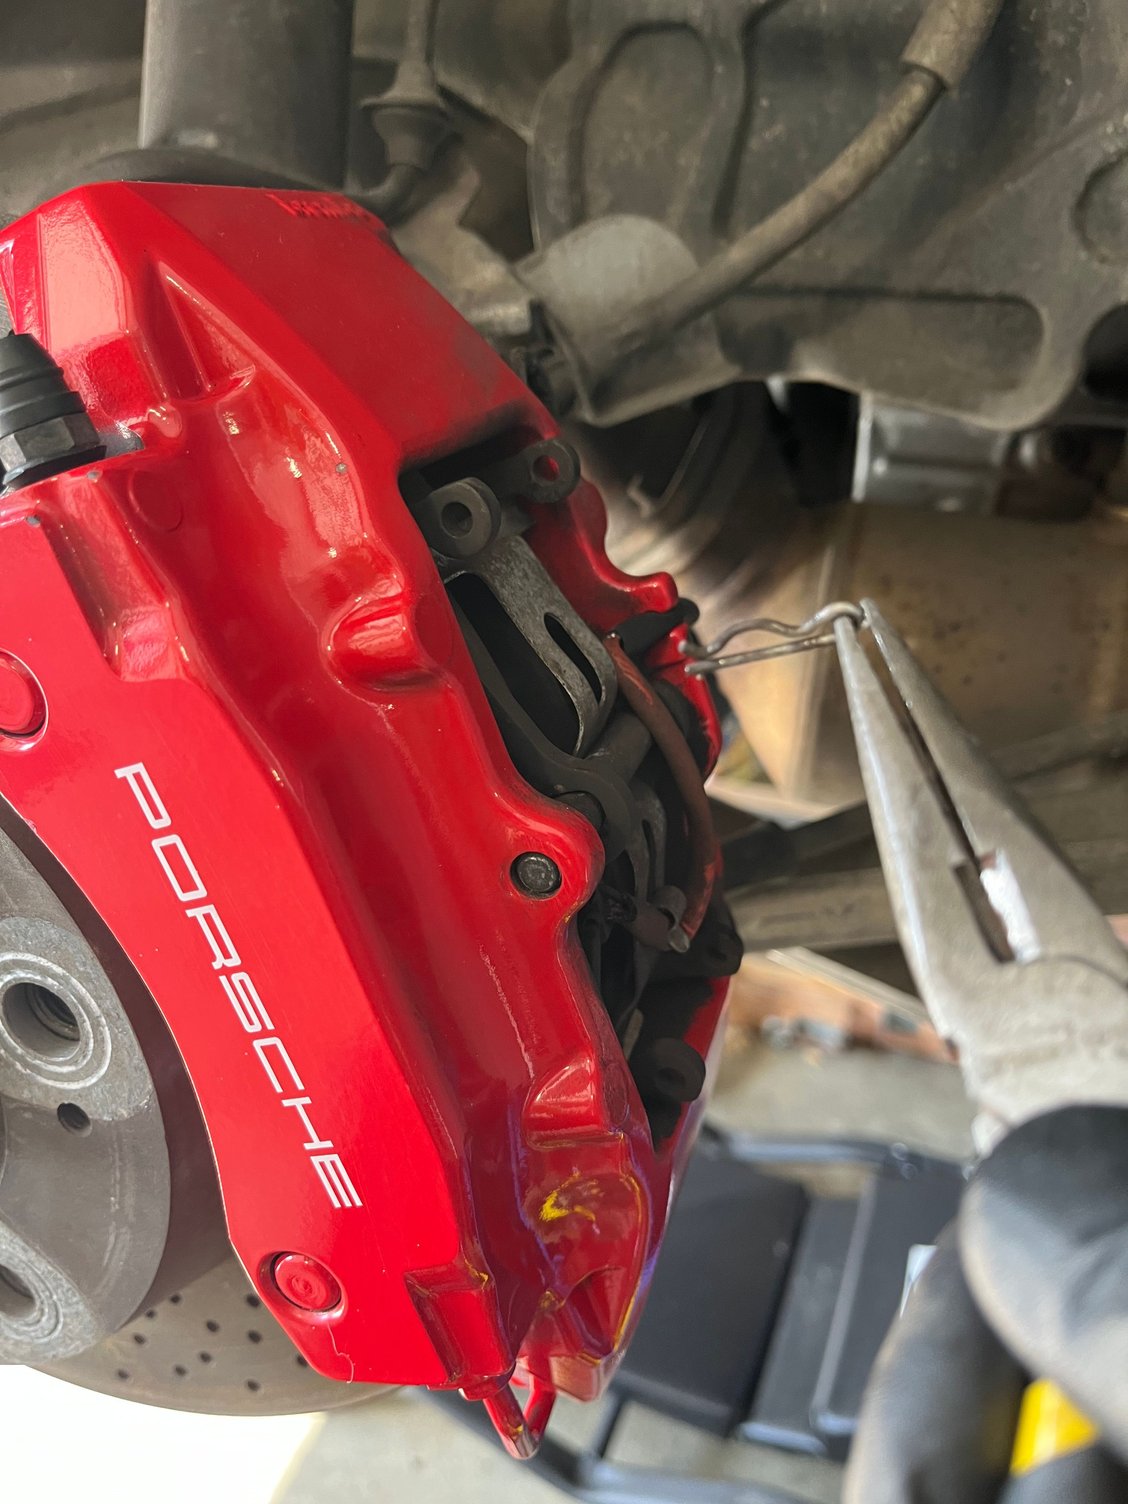
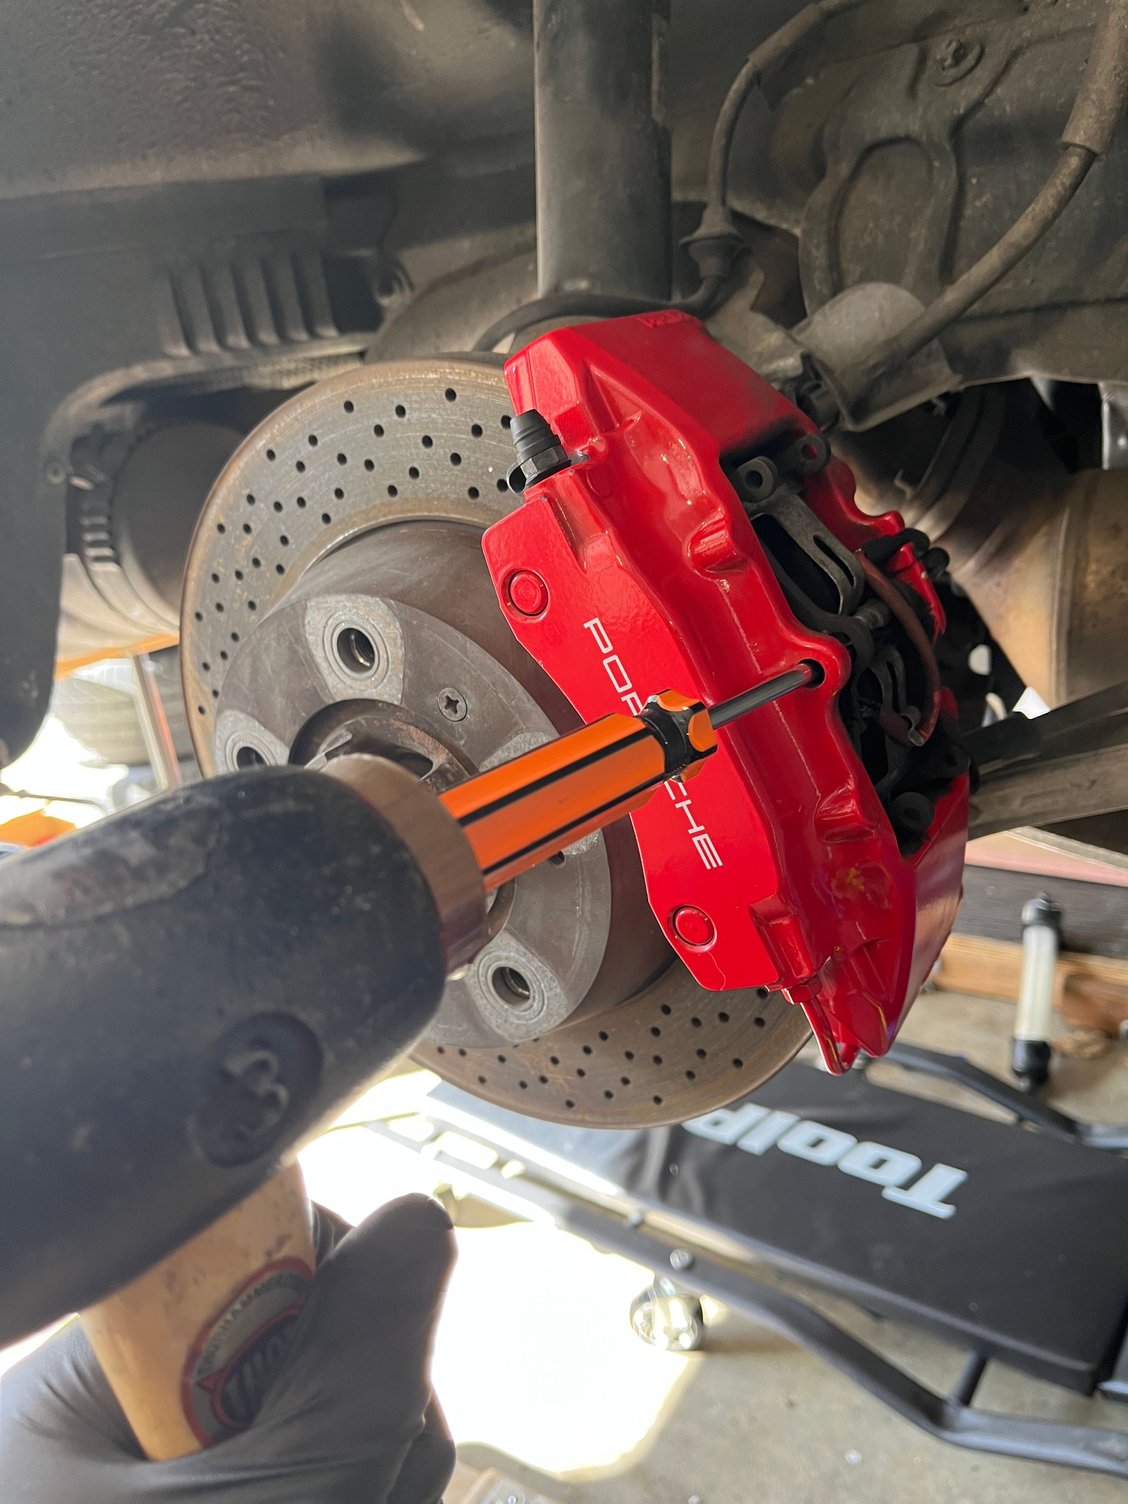
Each caliper has two bleed valves and I went around twice, so it was 16 bleeds. I use two bleed bottles and two 11mm spanners.
Note, the pressure bleeder can be used wet (filled with brake fluid) or dry. Each method has its pluses and minus. The wet method means you don’t need to worry about the reservoir. Whereas the dry method means watching levels and refilling the reservoir, often. I prefer the dry method, mainly because a hose leak doesn’t spray brake fluid into the frunk.
 07-20-2023, 09:10 AM